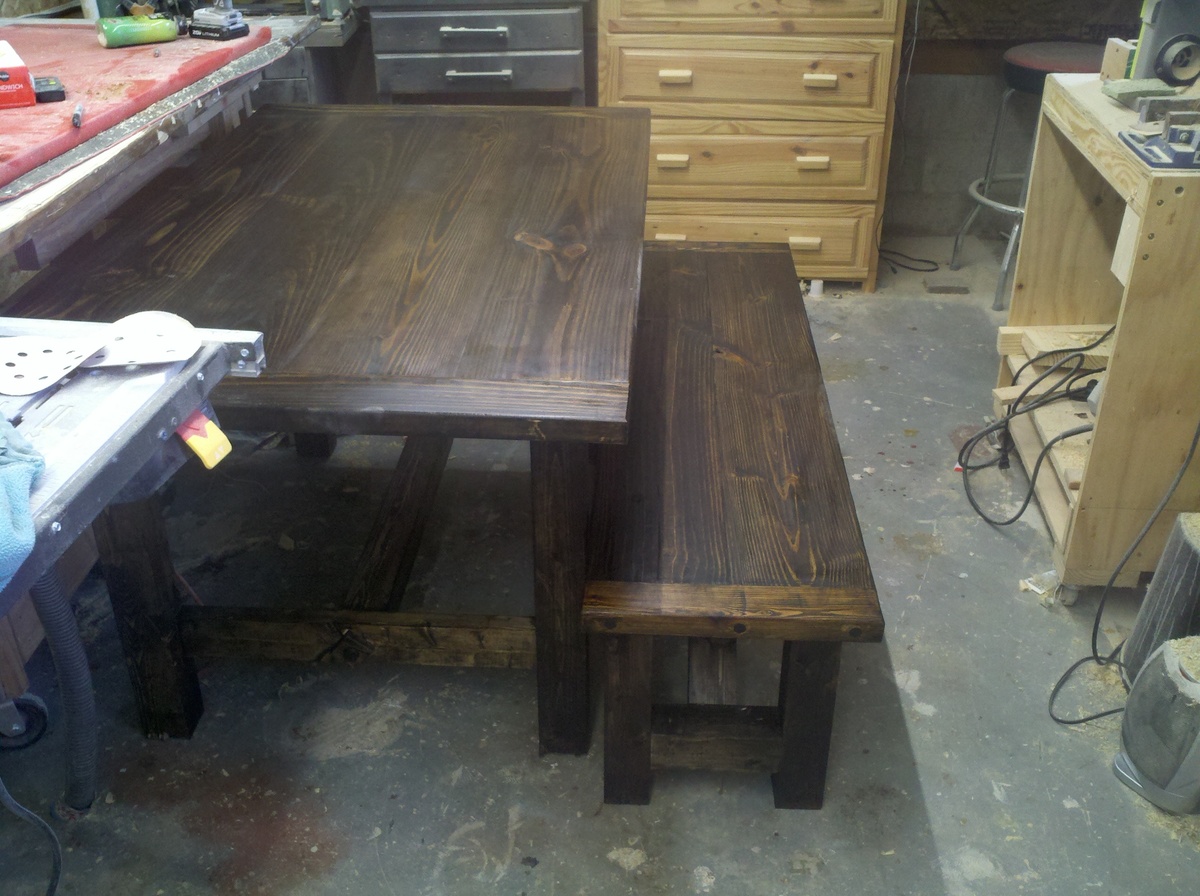
i'm so grateful for all of ana's projects and plans!! we recently bought a new house and have decided to make much of the furniture so that every piece will be customized to fit the space... i'd rather spend hours in the garage making the perfect piece than spending days/weeks (and money!) to find something that "could work"...
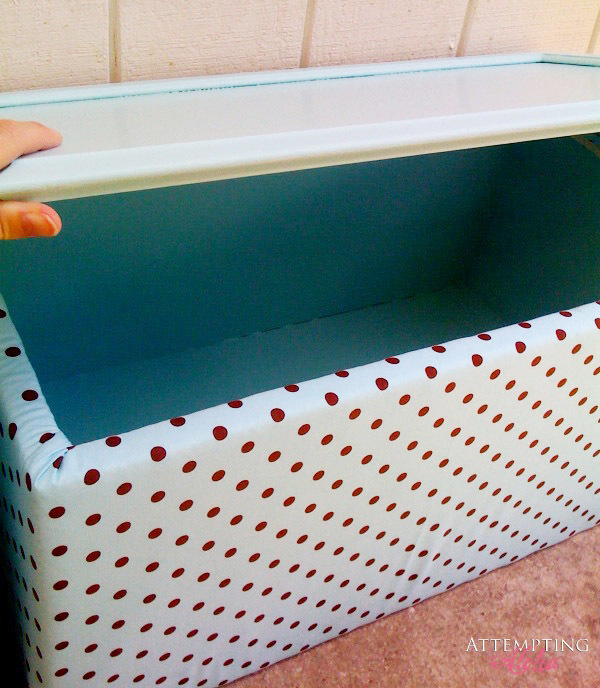
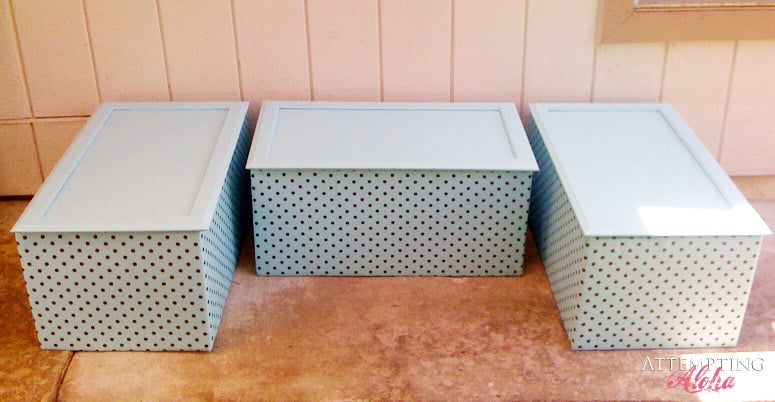
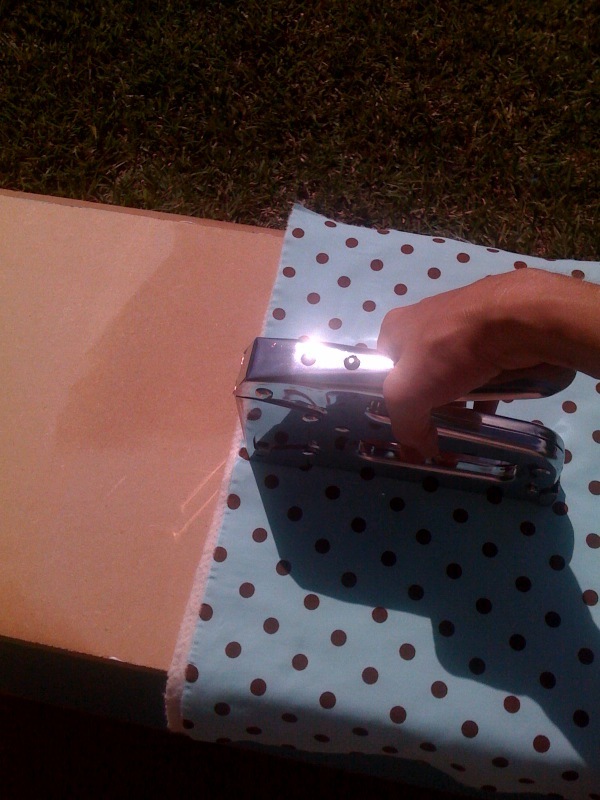
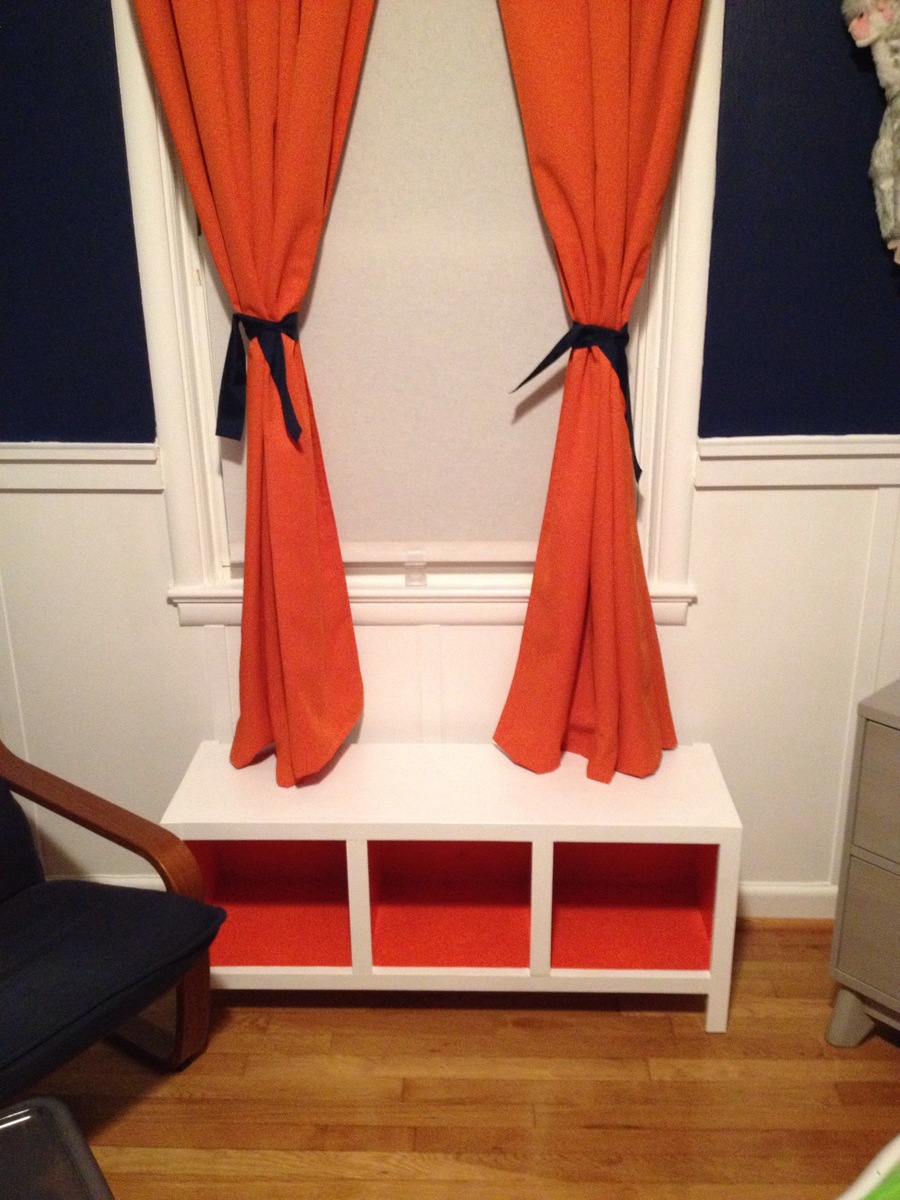
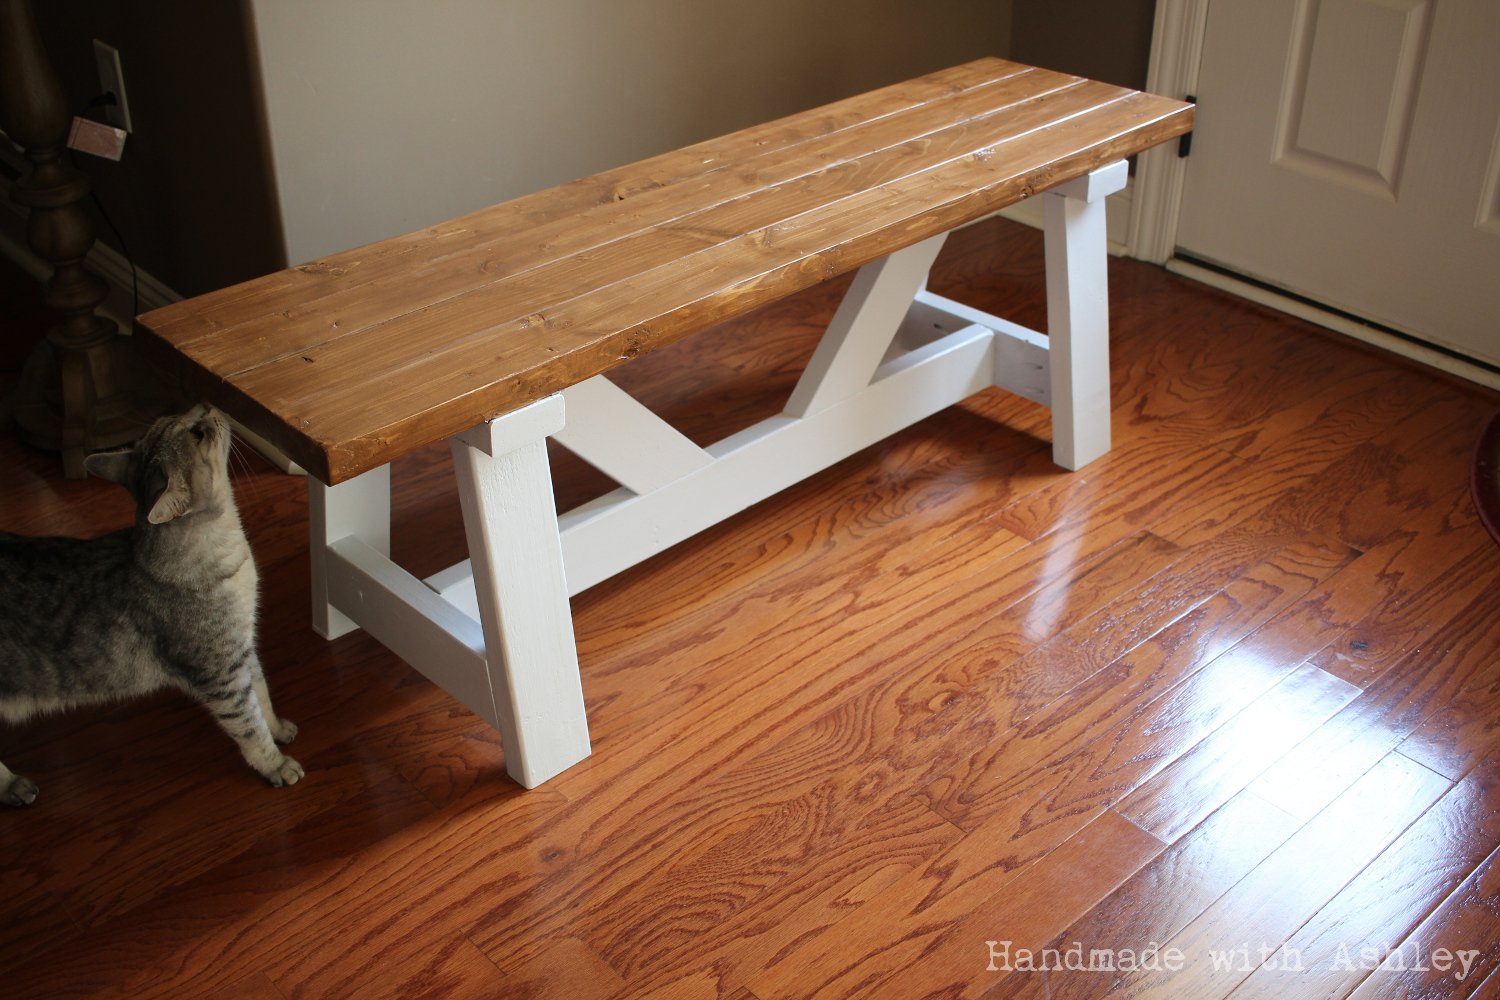
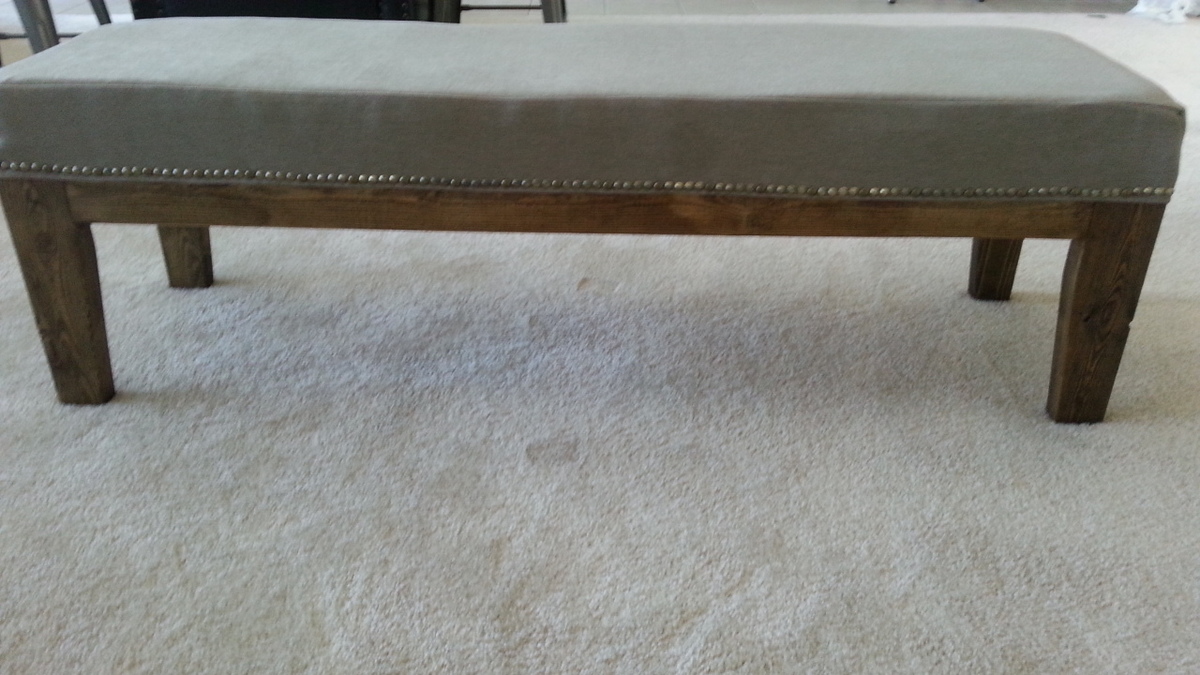
i just finished my latest project from an ana white plan, easiest upholstered bench... and it WAS easy! the hardest part, for me at least, was the sewing.... but even that was straight lines, so not too difficult... and i'm so happy with the way it turned out...
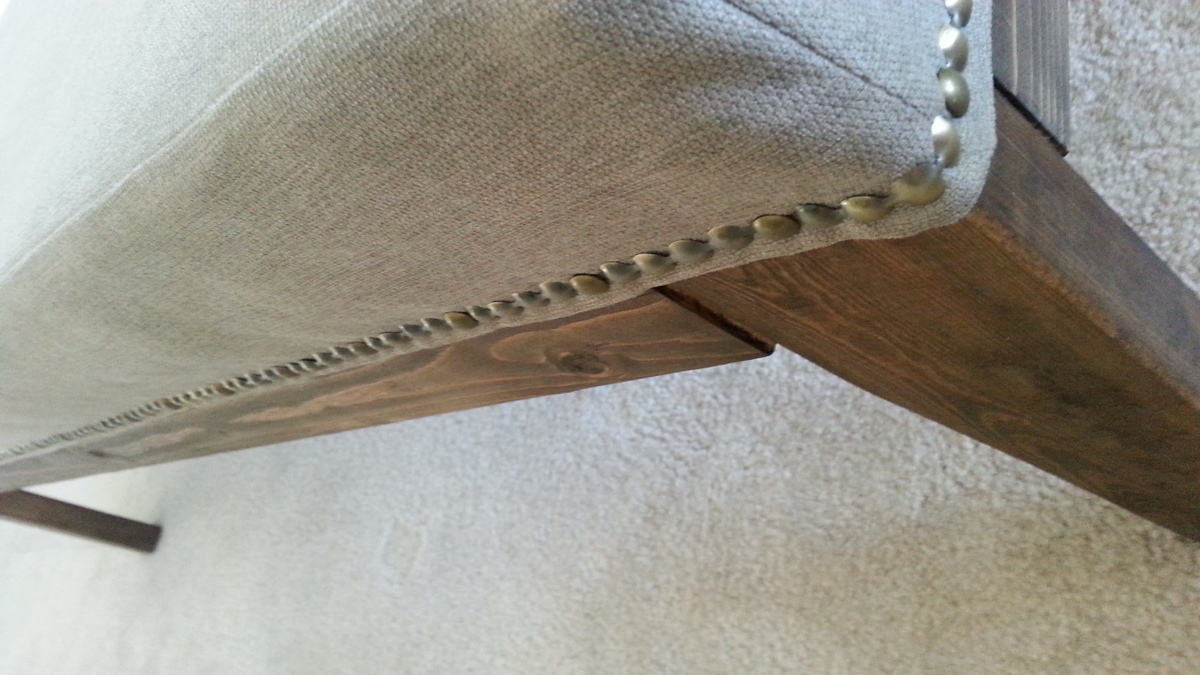
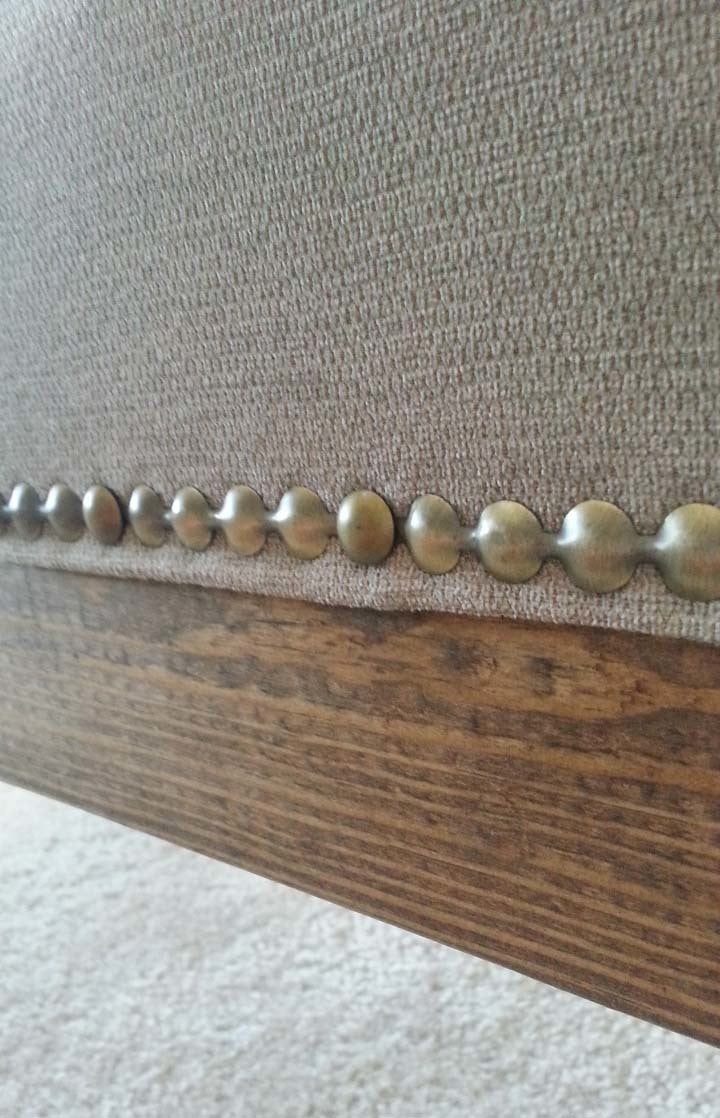
a couple things i did differently from ana's plan were attaching the cover to the bench with nail heads... i like the idea of the slip cover for cleaning purposes... but it was getting "messy" every time we sat down and stood up... it just wasn't laying nicely... so i hemmed the bottom and attached the nail heads... i absolutely love how it turned out... this was my first time using those - and it was super easy... they came on a roll and every fifth "head" has a center hole for you to tap in a real nail head... the other four are just faux nail heads... the only issue i had with the nail heads was that the color was slightly off between the real ones and the fake ones... i read reviews about them and people mentioned a lot of the nails bending, but i didn't have that problem... so, overall, i was pleased with using the nail heads to attach the fabric to the bench...
the other change i made was to the foam... the foam at the fabric store was crazy expensive... and i had heard that getting the foam from home depot was much cheaper... but i couldn't find it at my home depot, so we bought a foam mattress cover for a twin bed... it was $24.99 - which is about 1/3 of the cost of 3" foam from the fabric store! the mattress foam was only 1.5" thick, but it was wide enough that we just cut two pieces and stacked them on top of each other...
other than that, we kept the dimensions of the bench the same as the original plans... it was already the perfect size for what we wanted... and we love it!