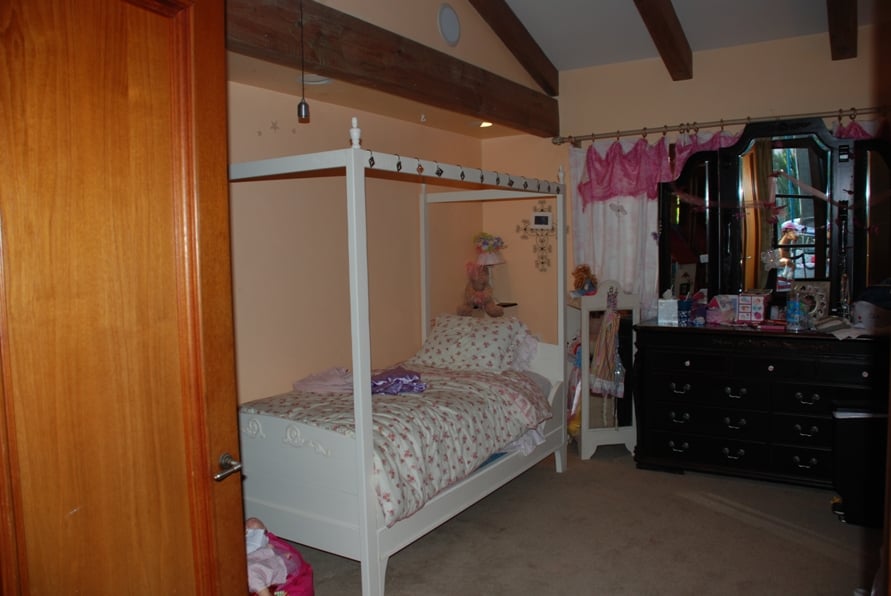
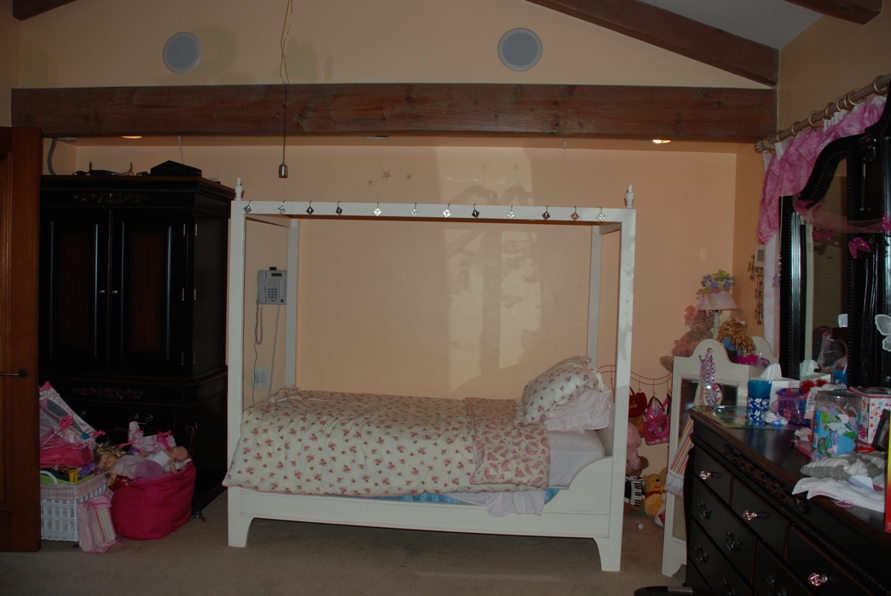
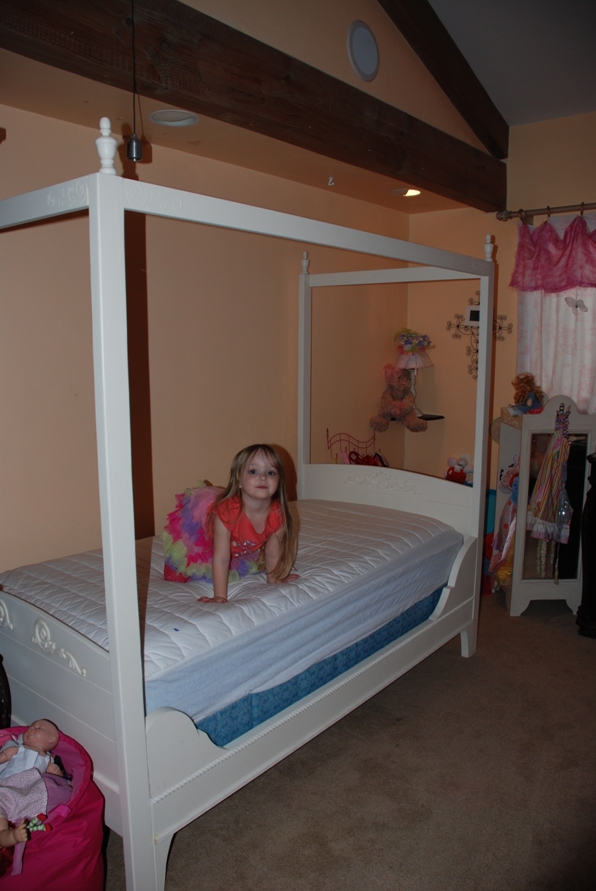
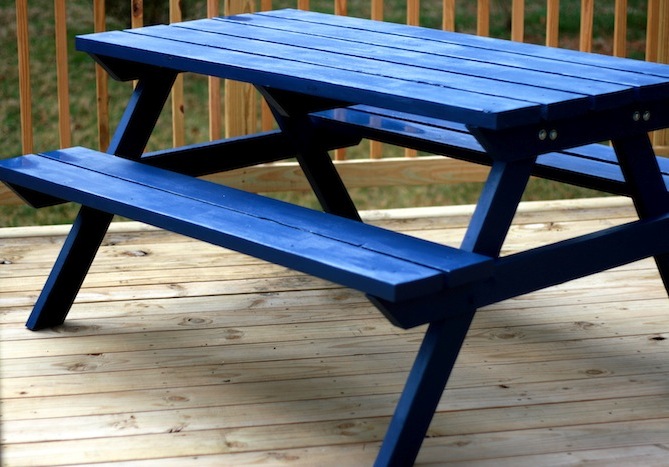
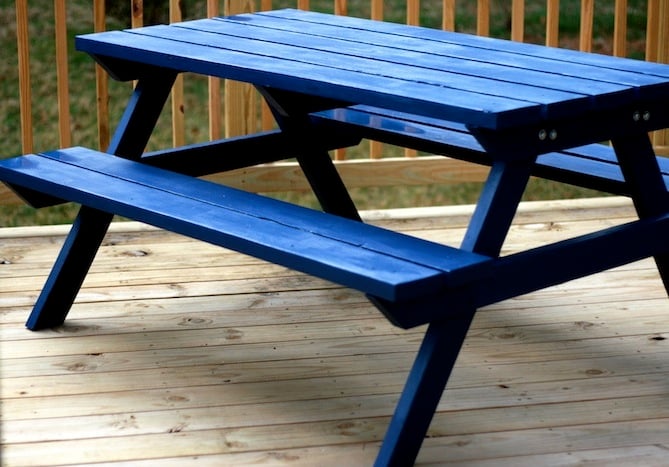
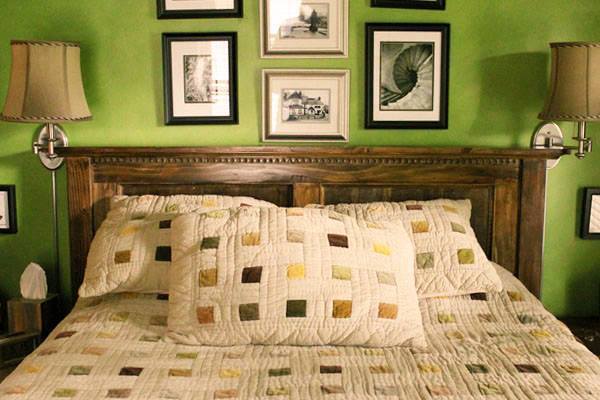
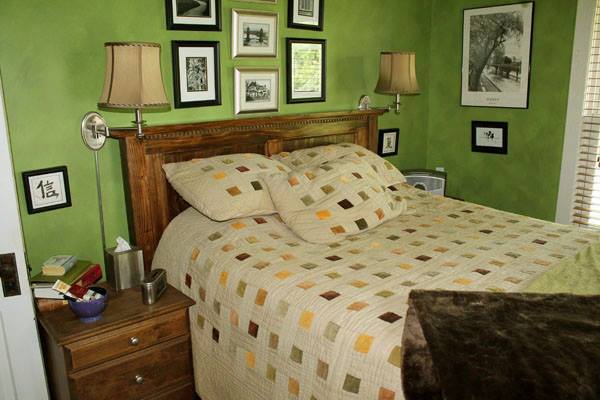
Lydia Twin Bed
I used the Lydia Toddle Bed plans and made the adjustments to be a twin size bed.

Built from Plan(s)
Estimated Cost
100
Estimated Time Investment
Weekend Project (10-20 Hours)
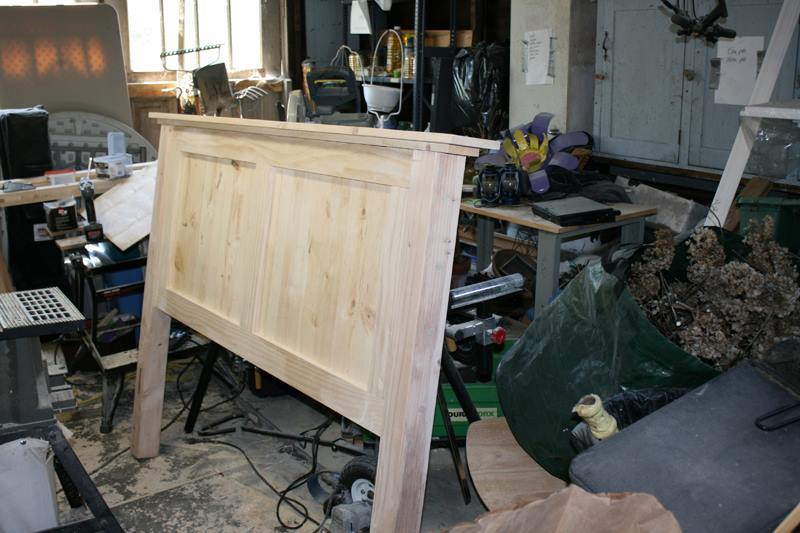
Finish Used
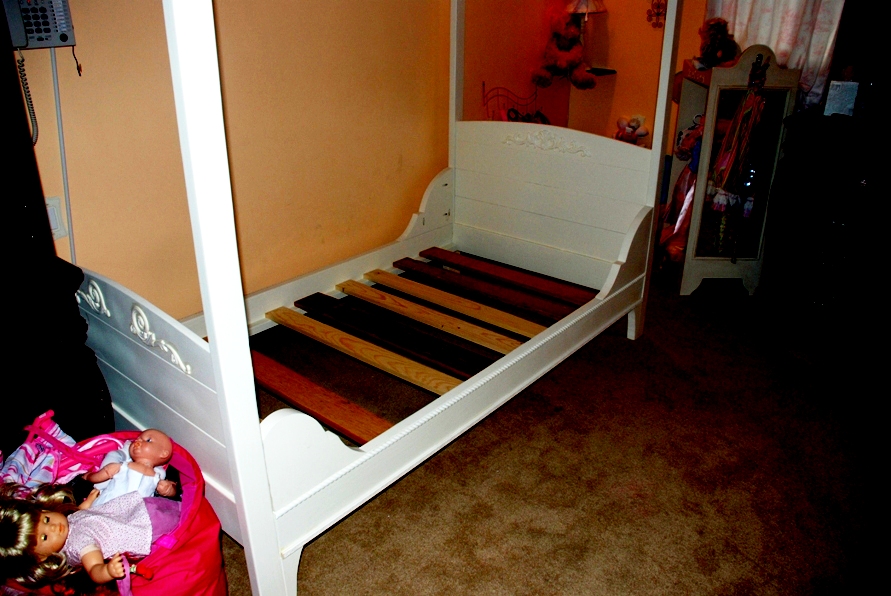
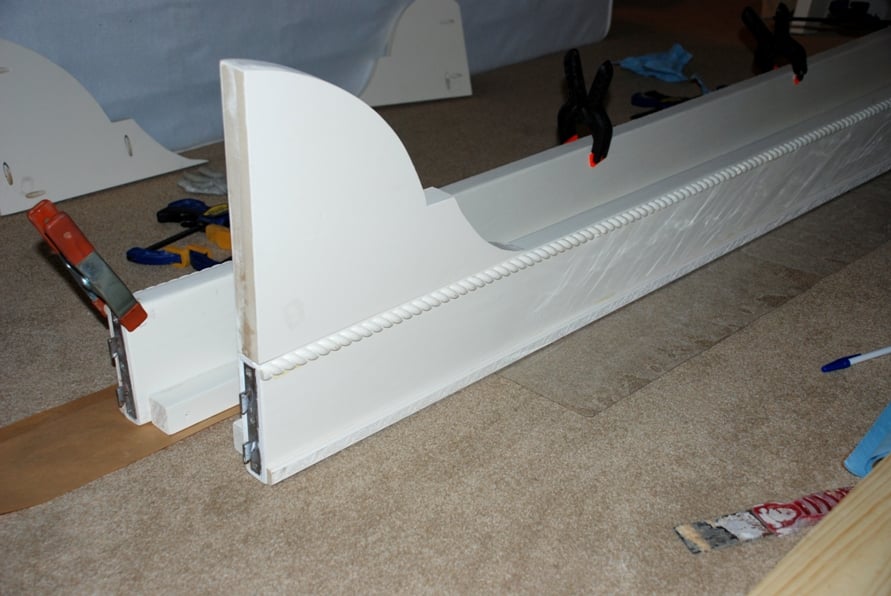
3 coats of primer, 3 coats of cream colored paint (all 6 coats were sprayed through my hplv sprayer). Plugging the pocket holes and filling them was pretty tedious and still not perfect, but I wouldn't use anything other than pocket hole screws.
Recommended Skill Level
Intermediate


Comments
Cilliemz
Fri, 09/06/2013 - 15:54
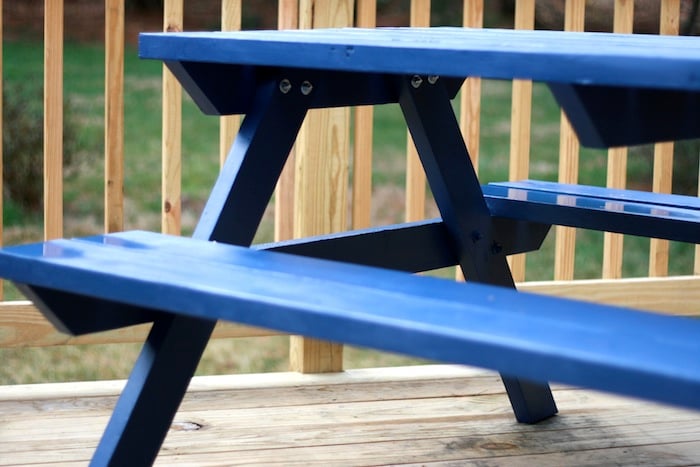
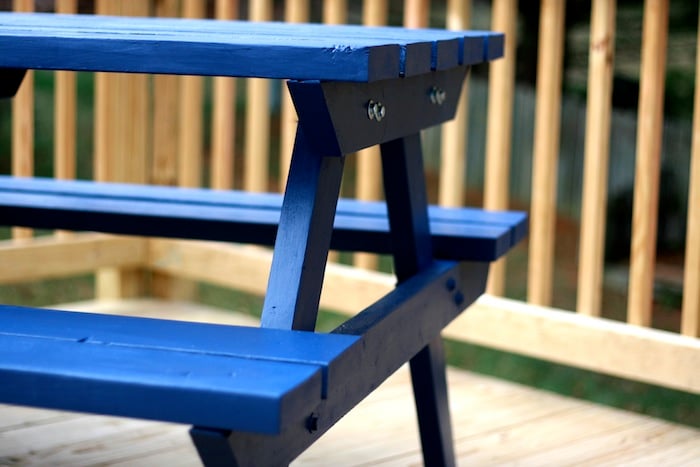
Brackets
Love your rendition of the Lydia daybed. I noticed the brackets from the picture. Did you have to order those? and approx. cost? Thx
cfgenie
Fri, 09/06/2013 - 16:04
bed rails
I actually took mine off a bed I took apart awhile ago. But you can get them from Rockler - http://www.rockler.com/product.cfm?page=10&rrt=1
It looks like they are about $15-$16 for a set of 4
Cilliemz
Fri, 09/06/2013 - 18:29
Bed rails
Thank you! I'm excited about this project! I'll be making 2, for my girls.