Black Pipe Toilet Paper Holder
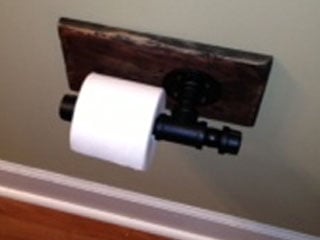
This project was inspired due to faulty installations of a standard toilet paper holder. Most builders do no frame behind where the holder will go leaving the hardware installer only drywall to work with. Over time the screws lost their grip allowing me to create this solution.
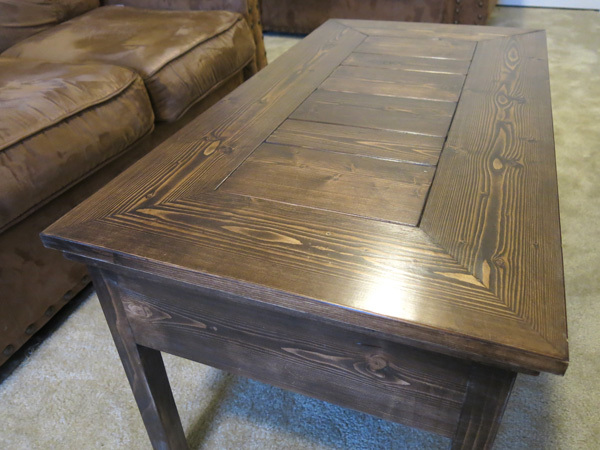
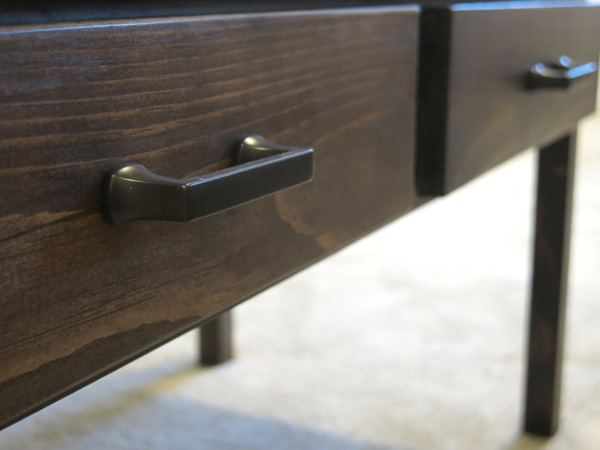
Using standard white pine and some gas pipe fittings I was able to create this holder and couldn't be happier with the way it turned out.
Estimated Cost
$15.00
Estimated Time Investment
An Hour or Two (0-2 Hours)
Finish Used
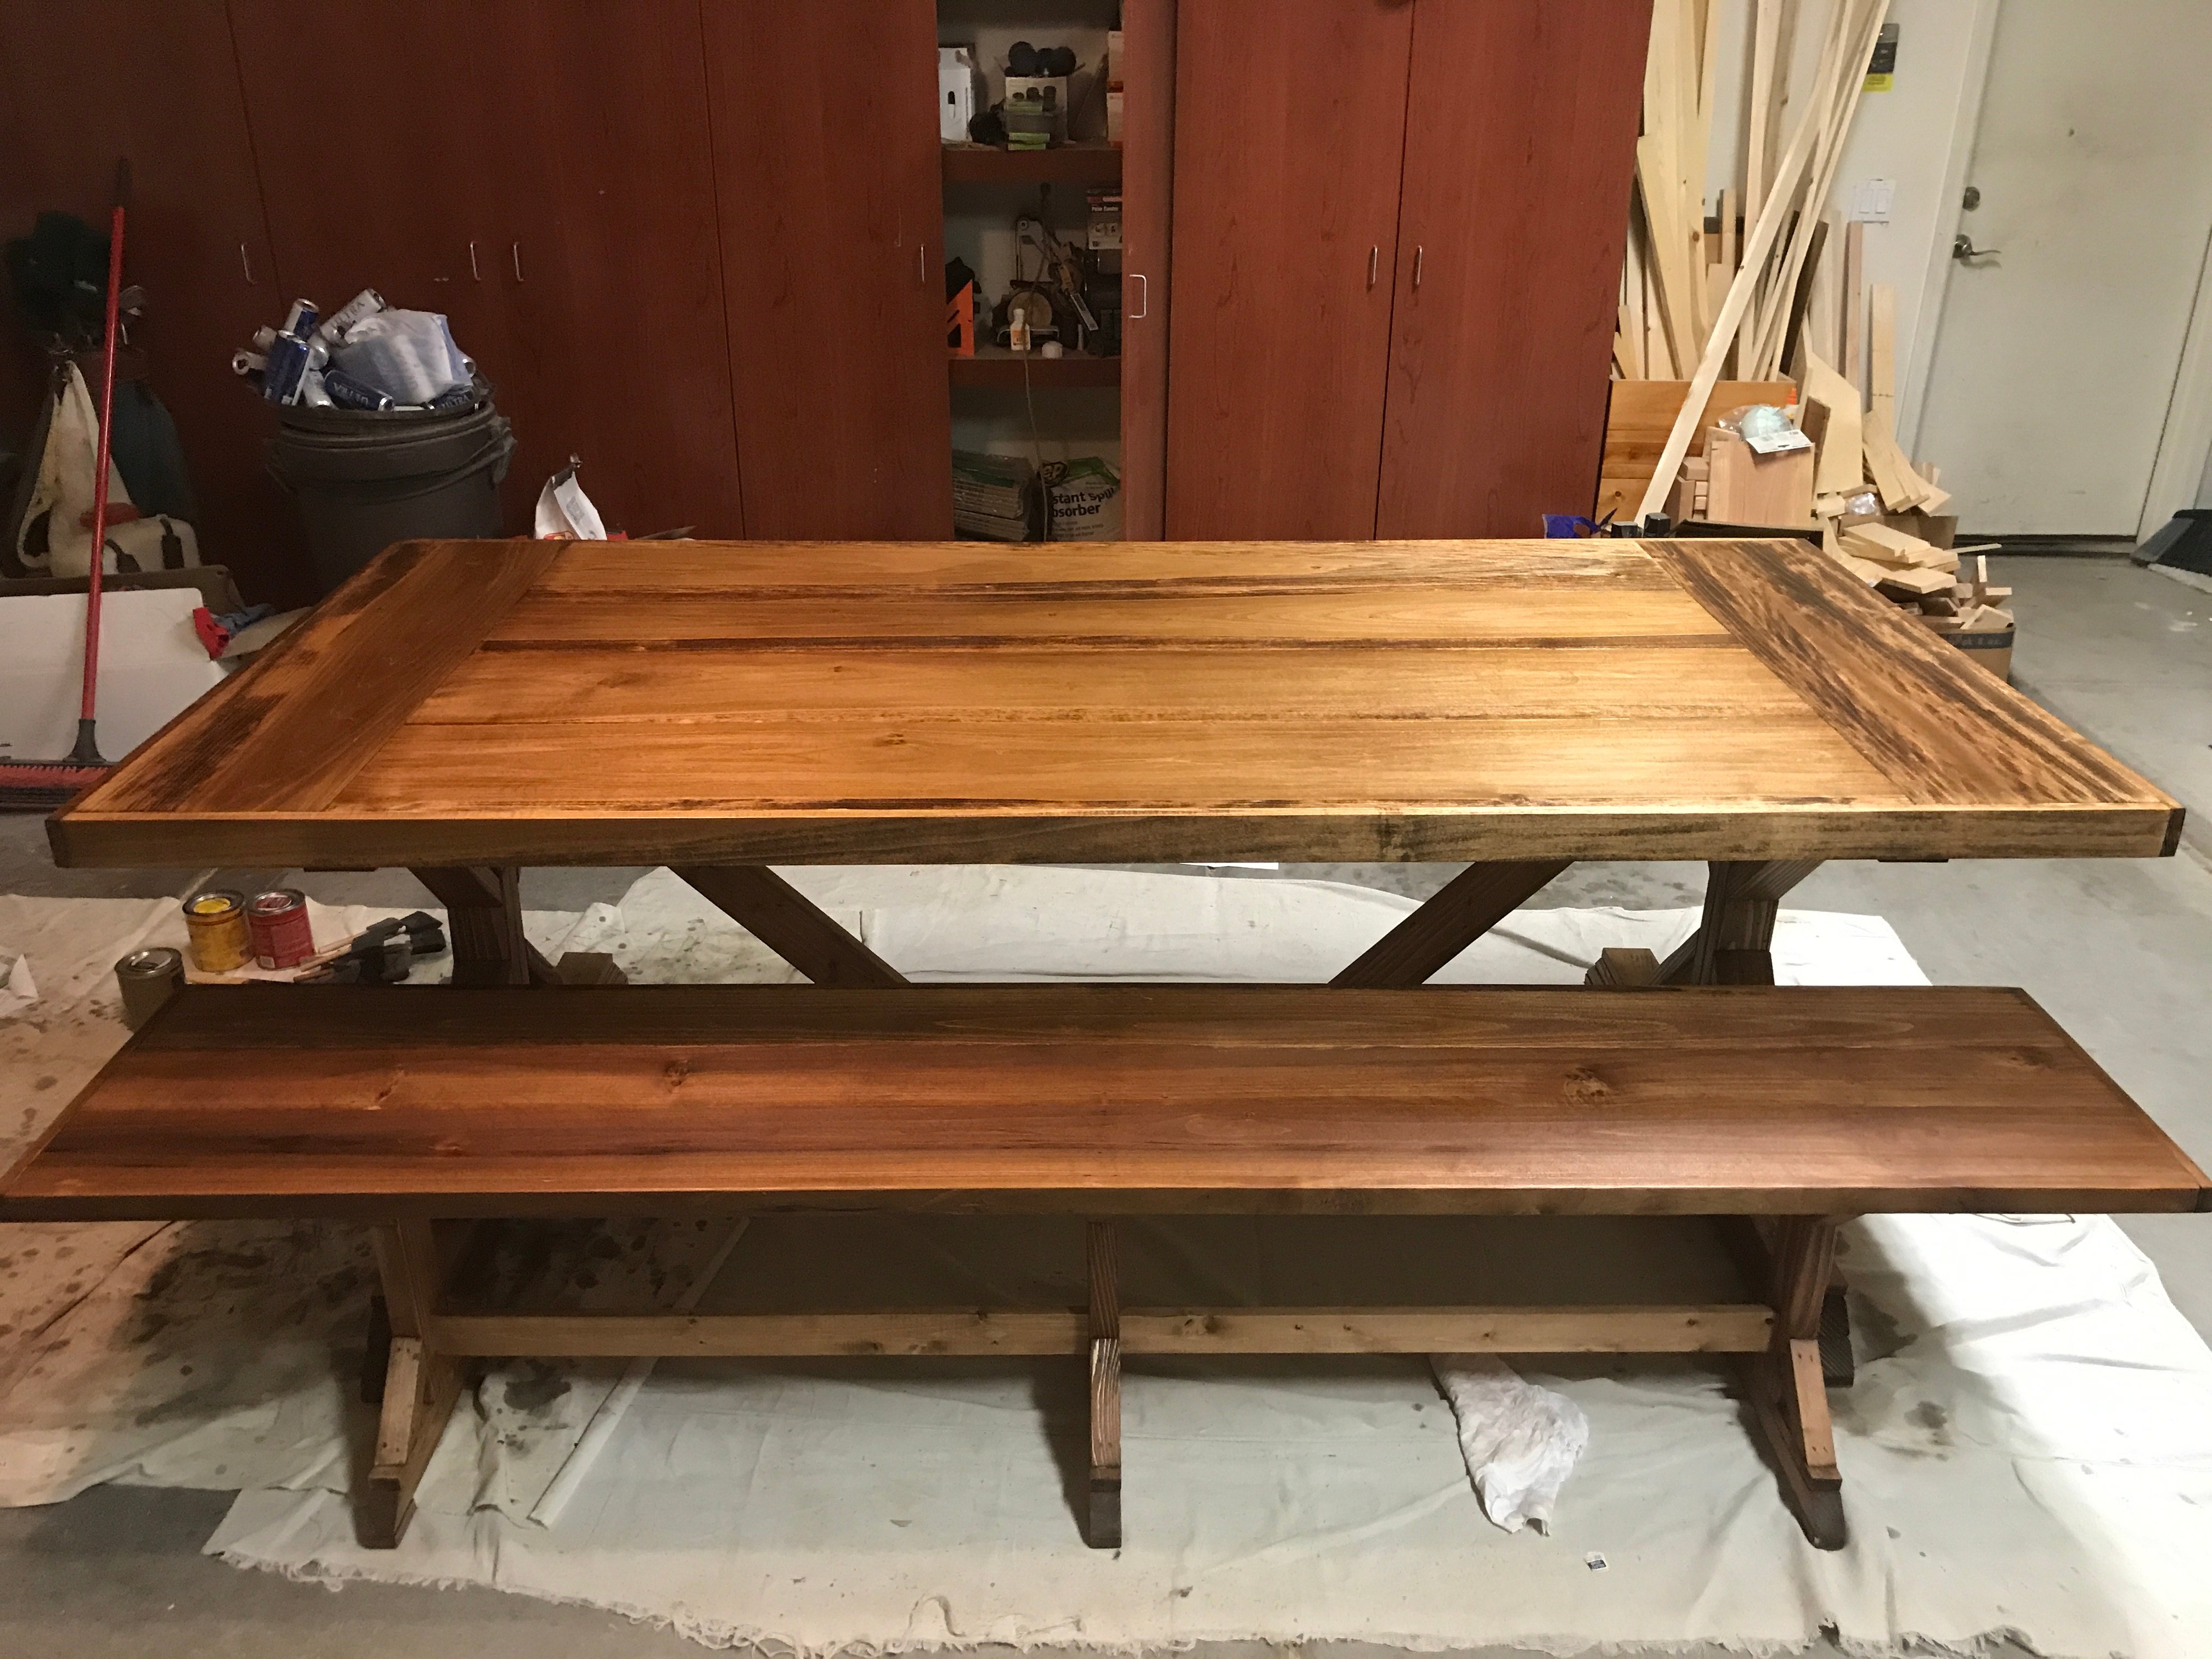
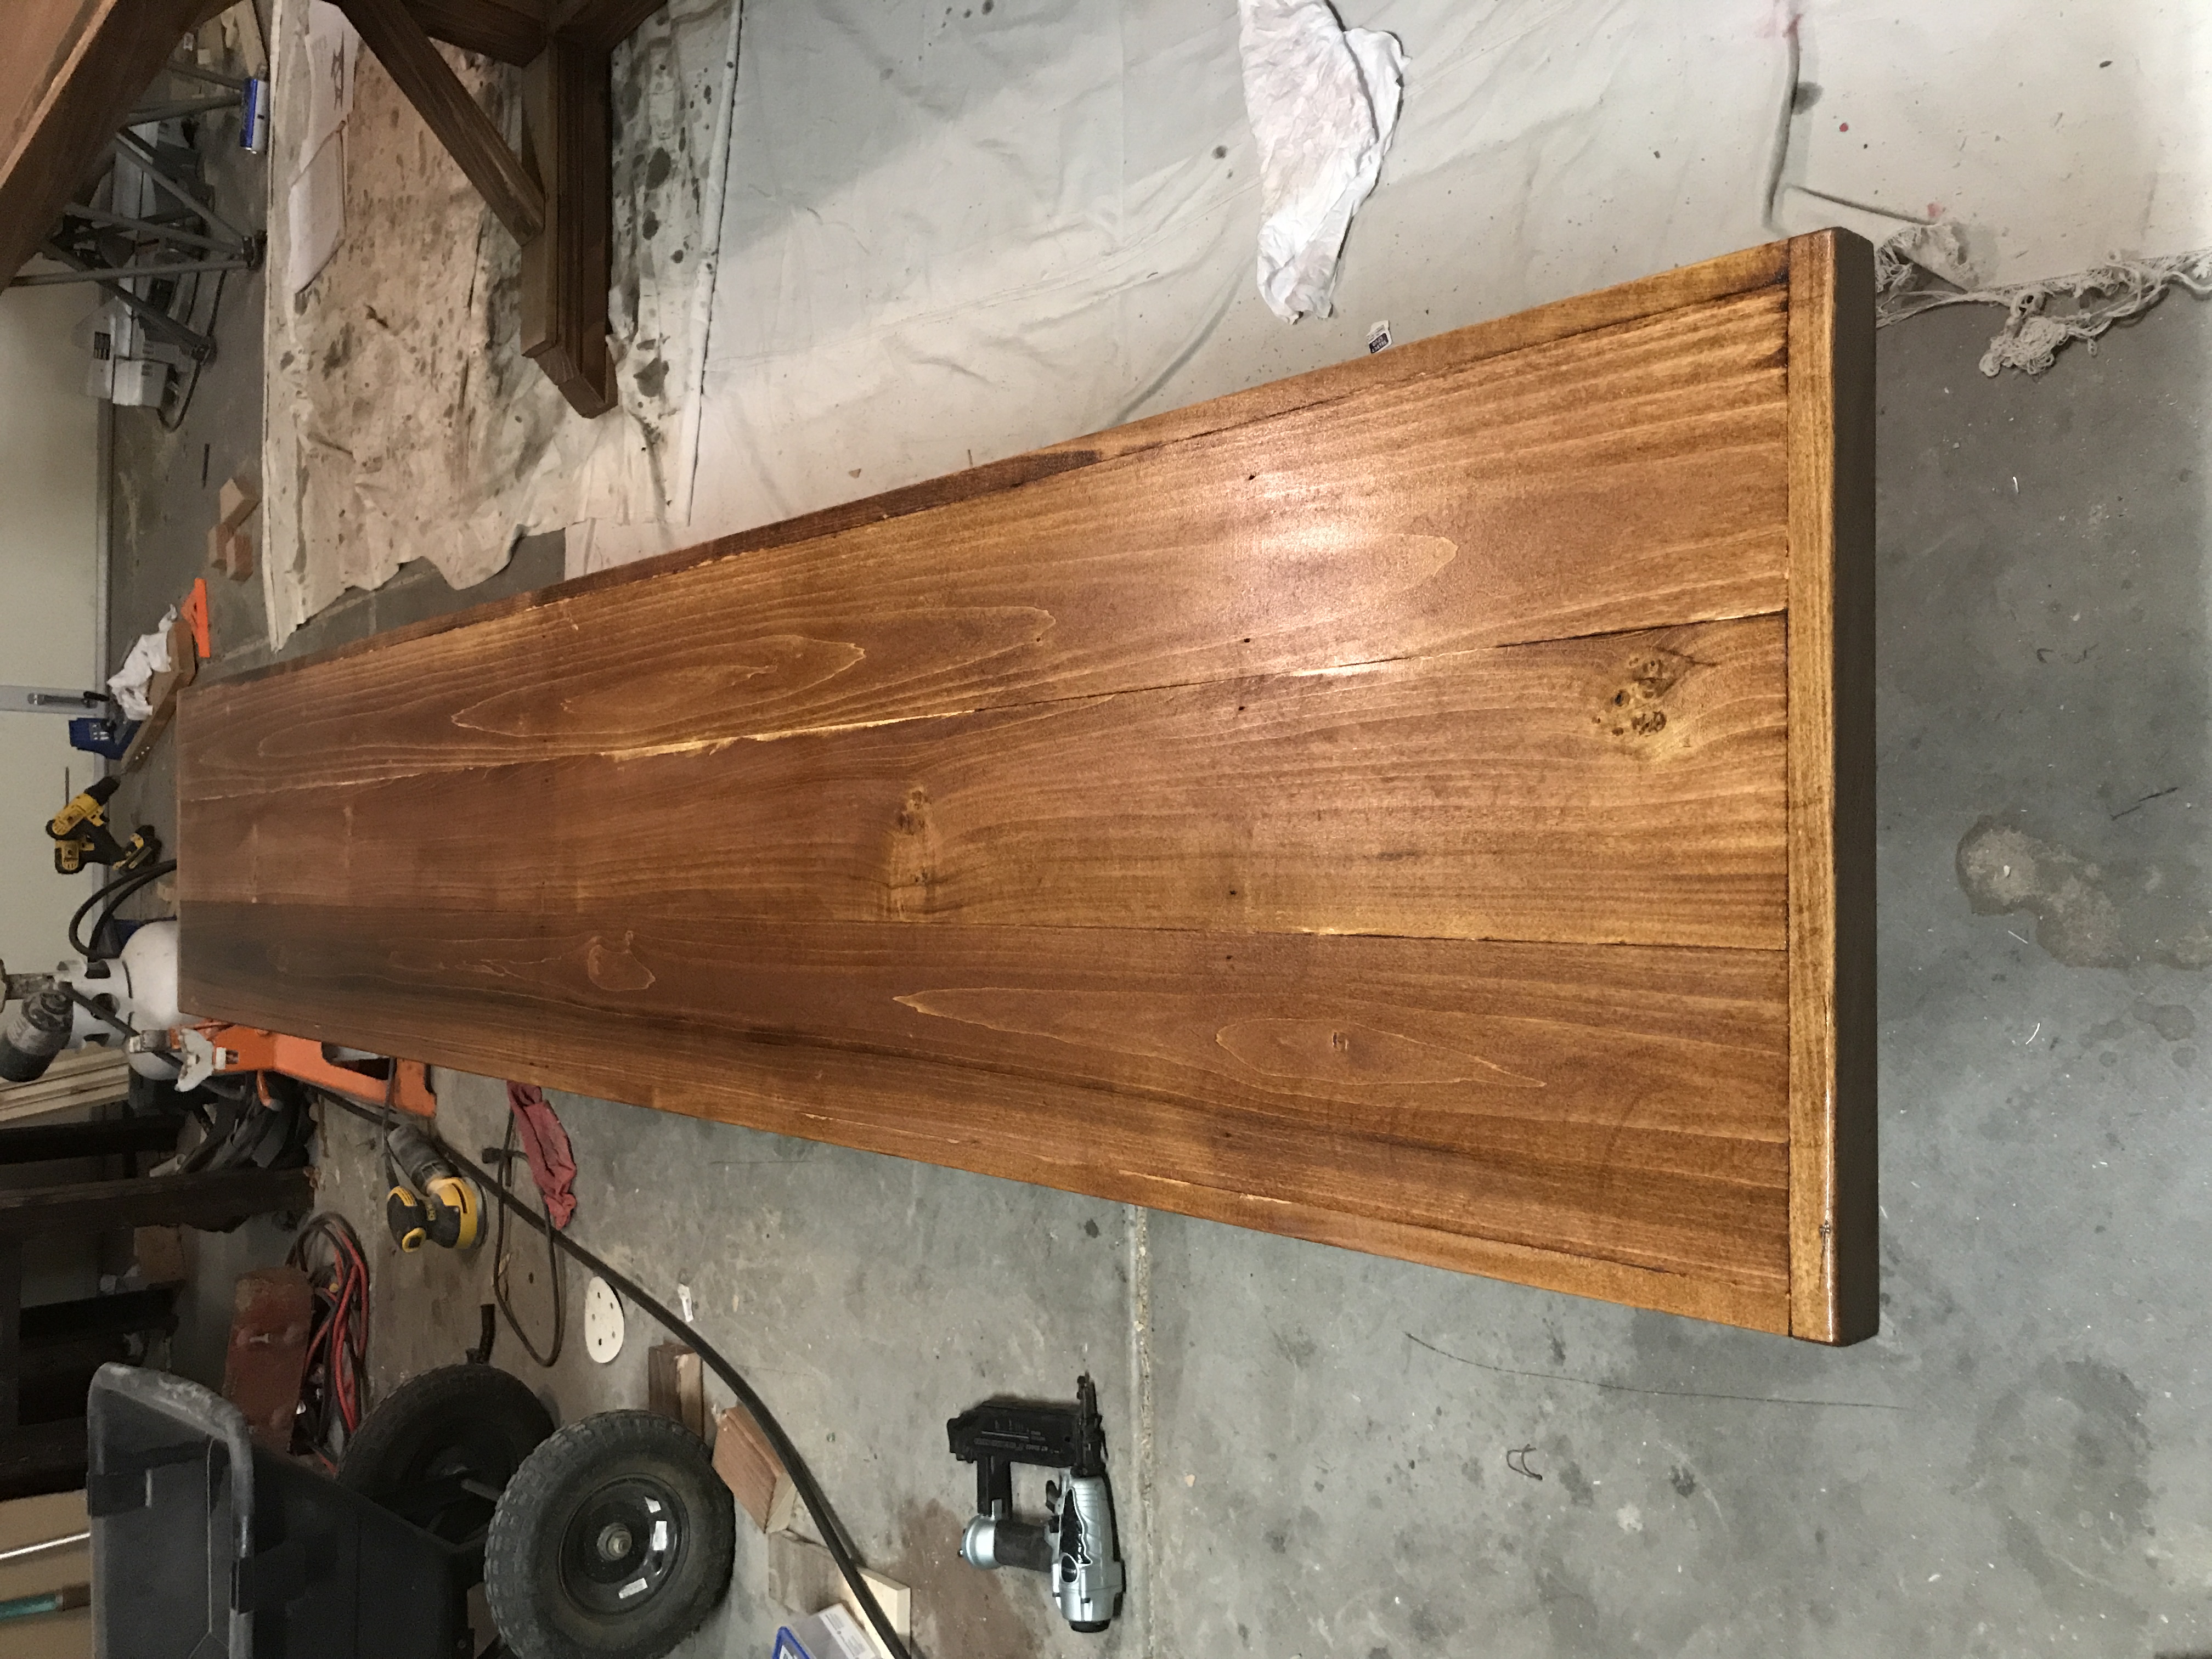
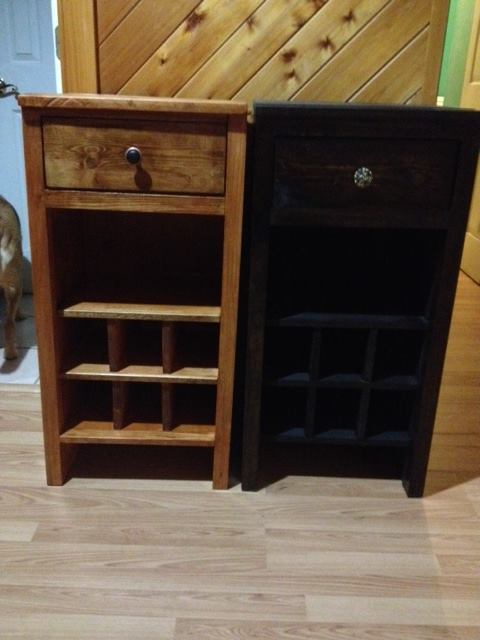
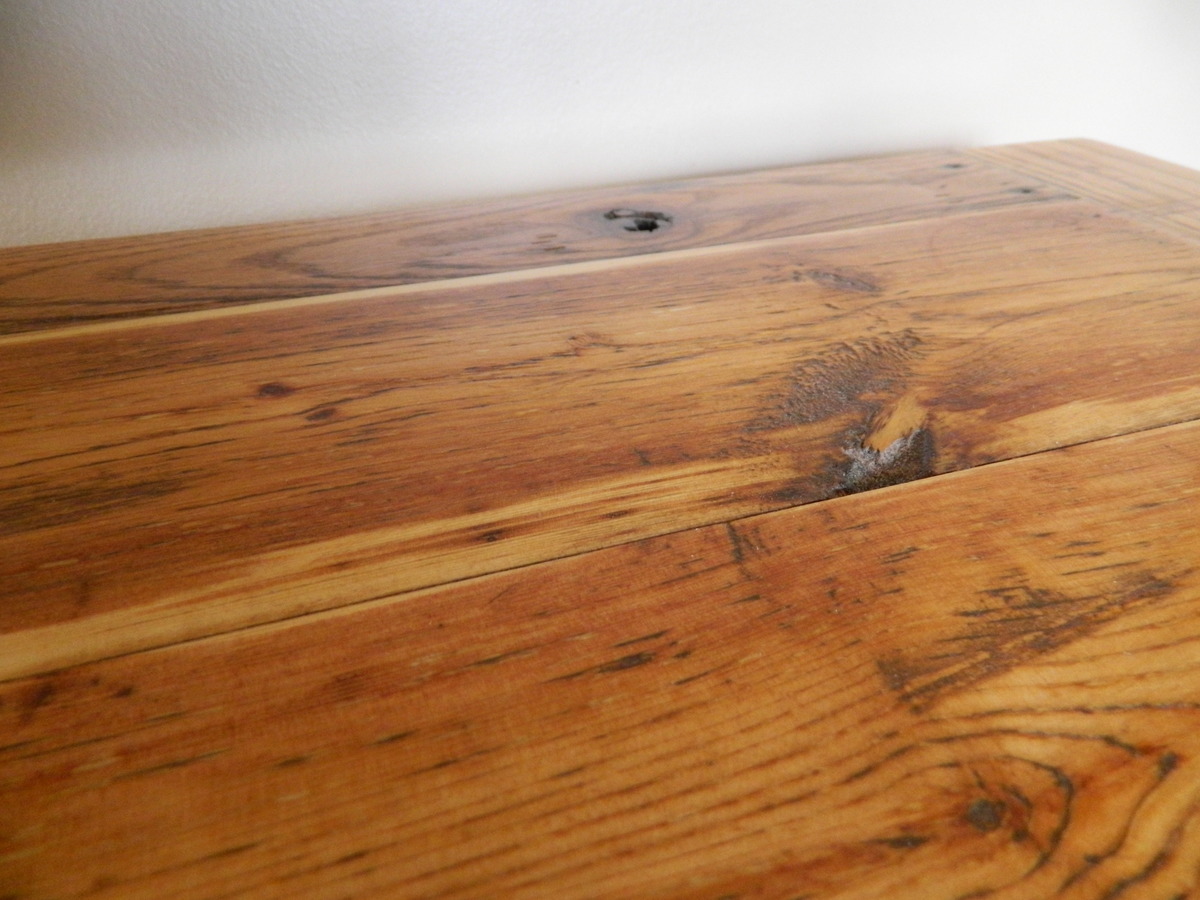
Minwax Ebony, Walnut, and Red Chesnut stain covered with a satin poly. I started with the darker stain first allowing it to soak into the deeper areas of the wood. I sanded the top layer of the wood down to allow the lighter stains to show and then brushed on a heavy coat of poly.
Recommended Skill Level
Starter Project