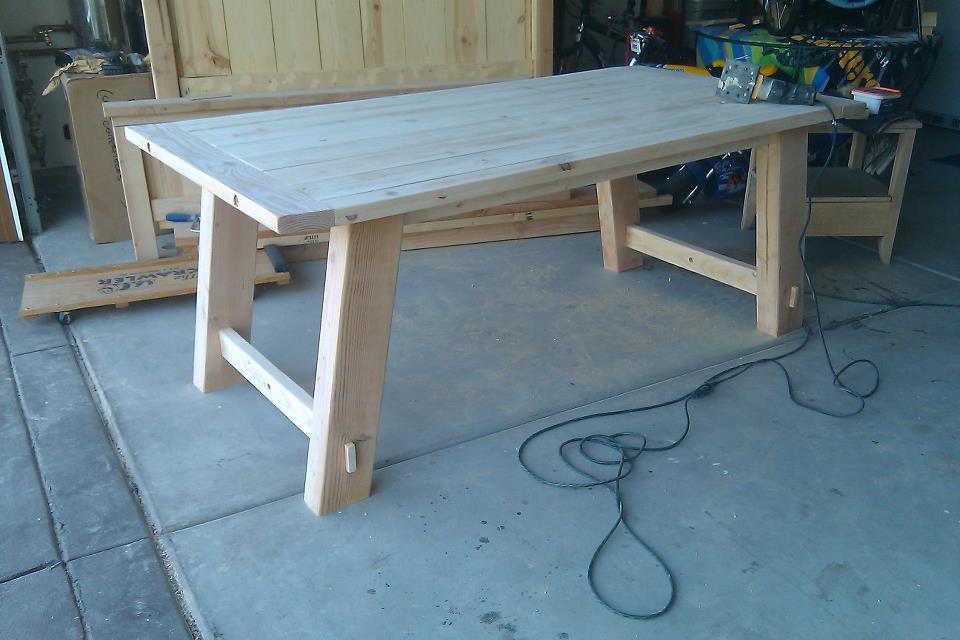
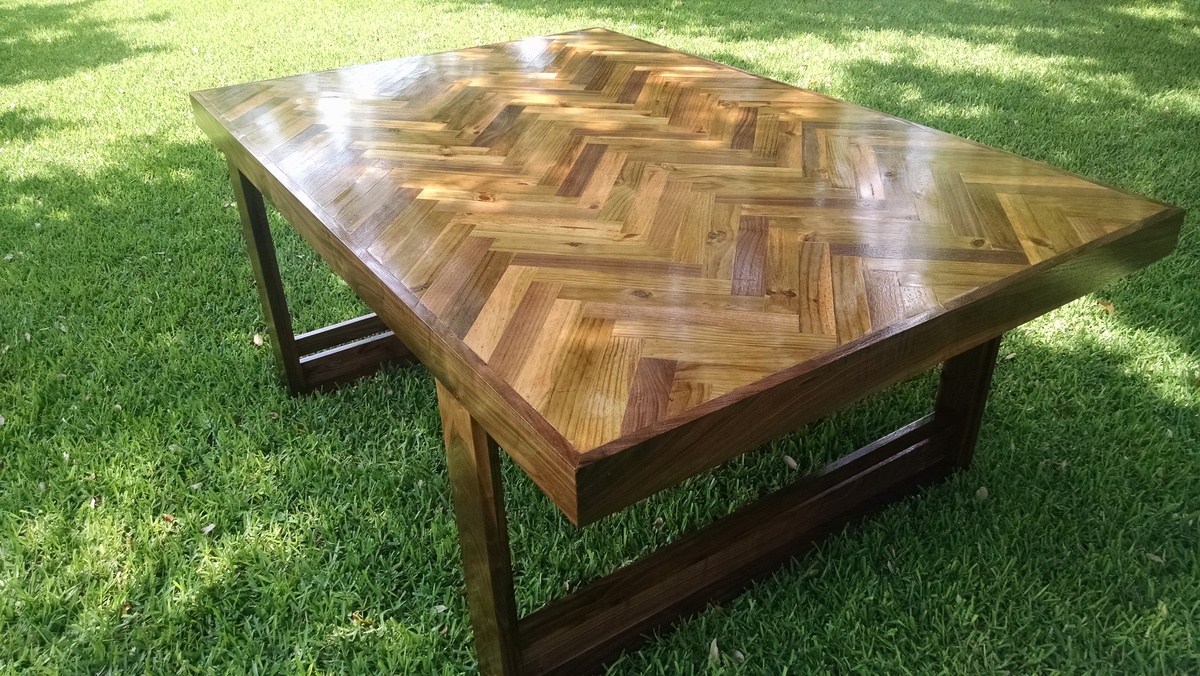
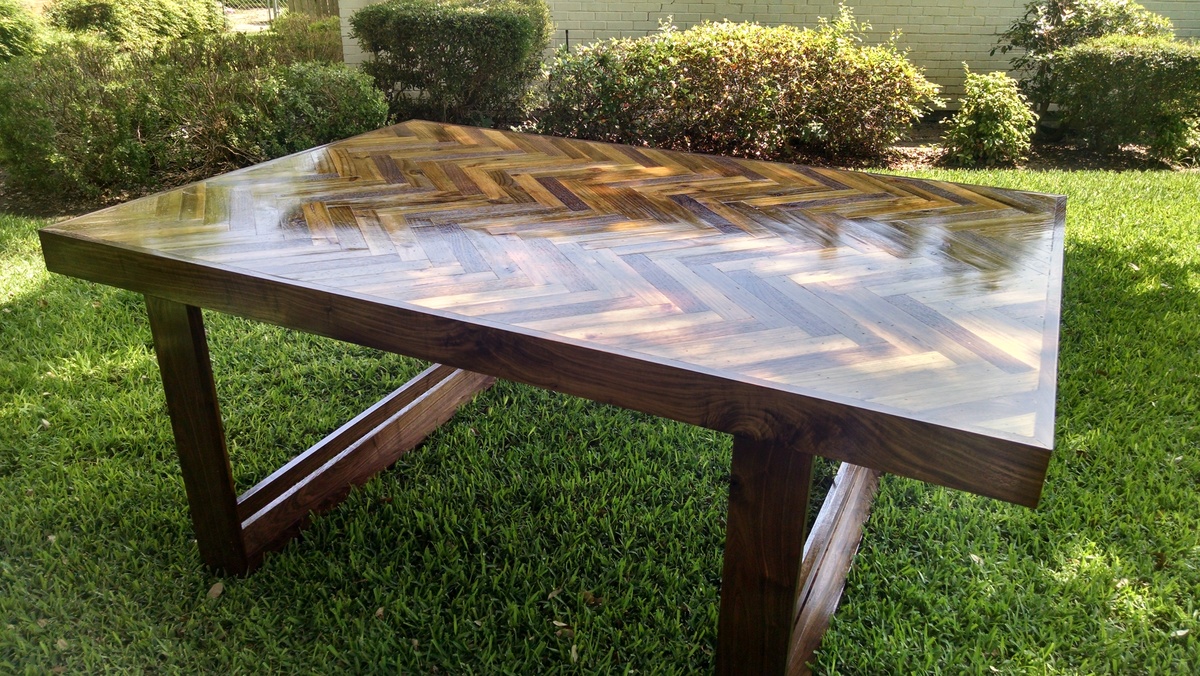
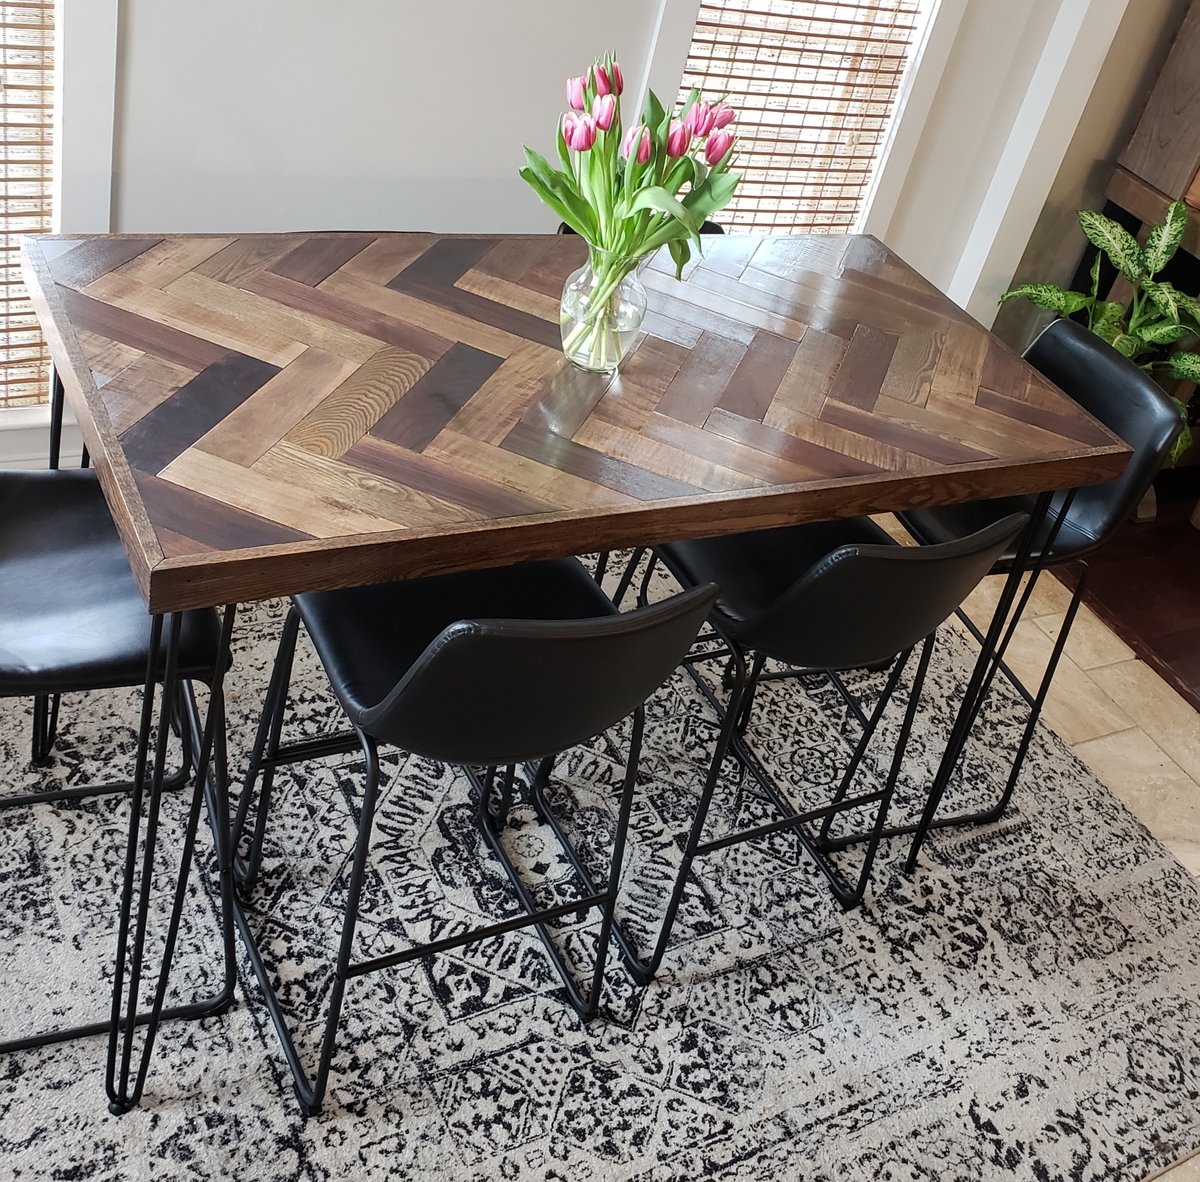
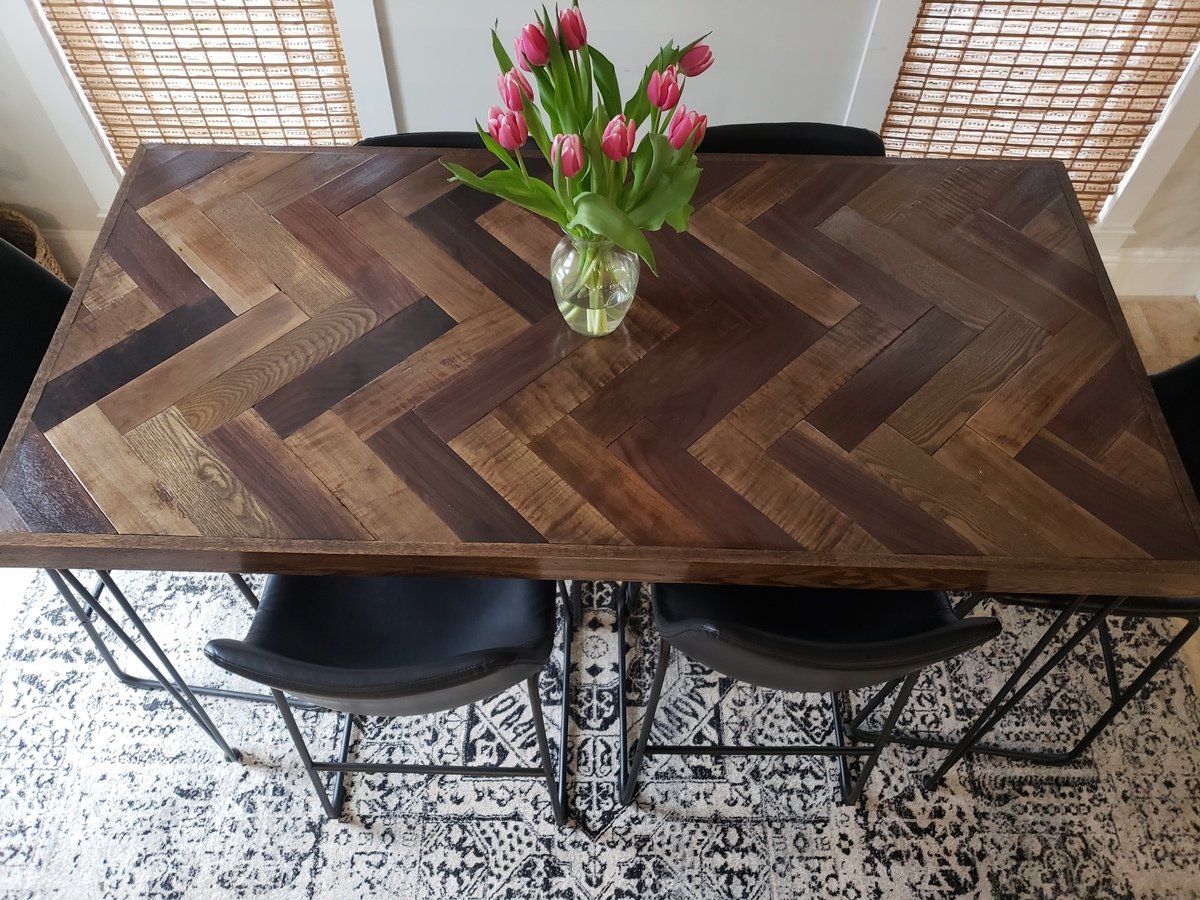
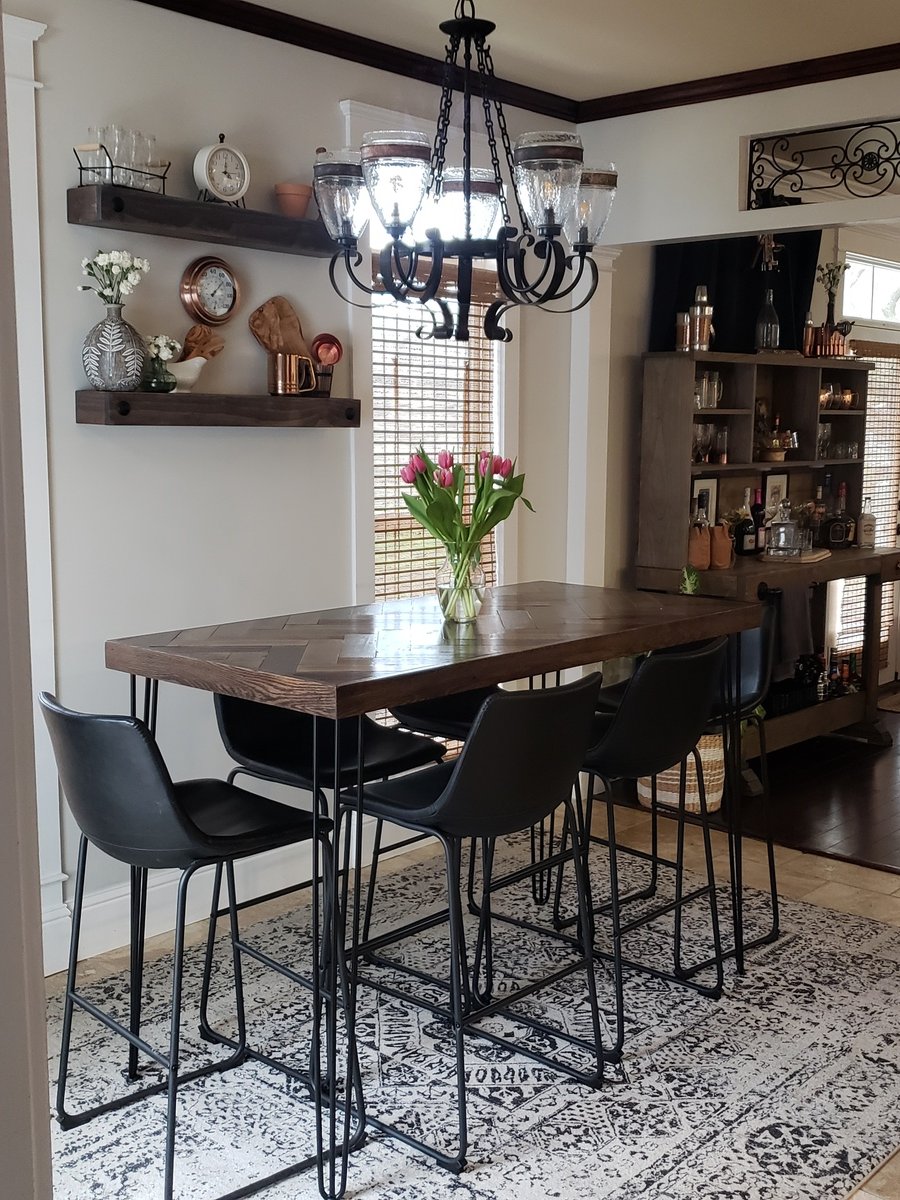
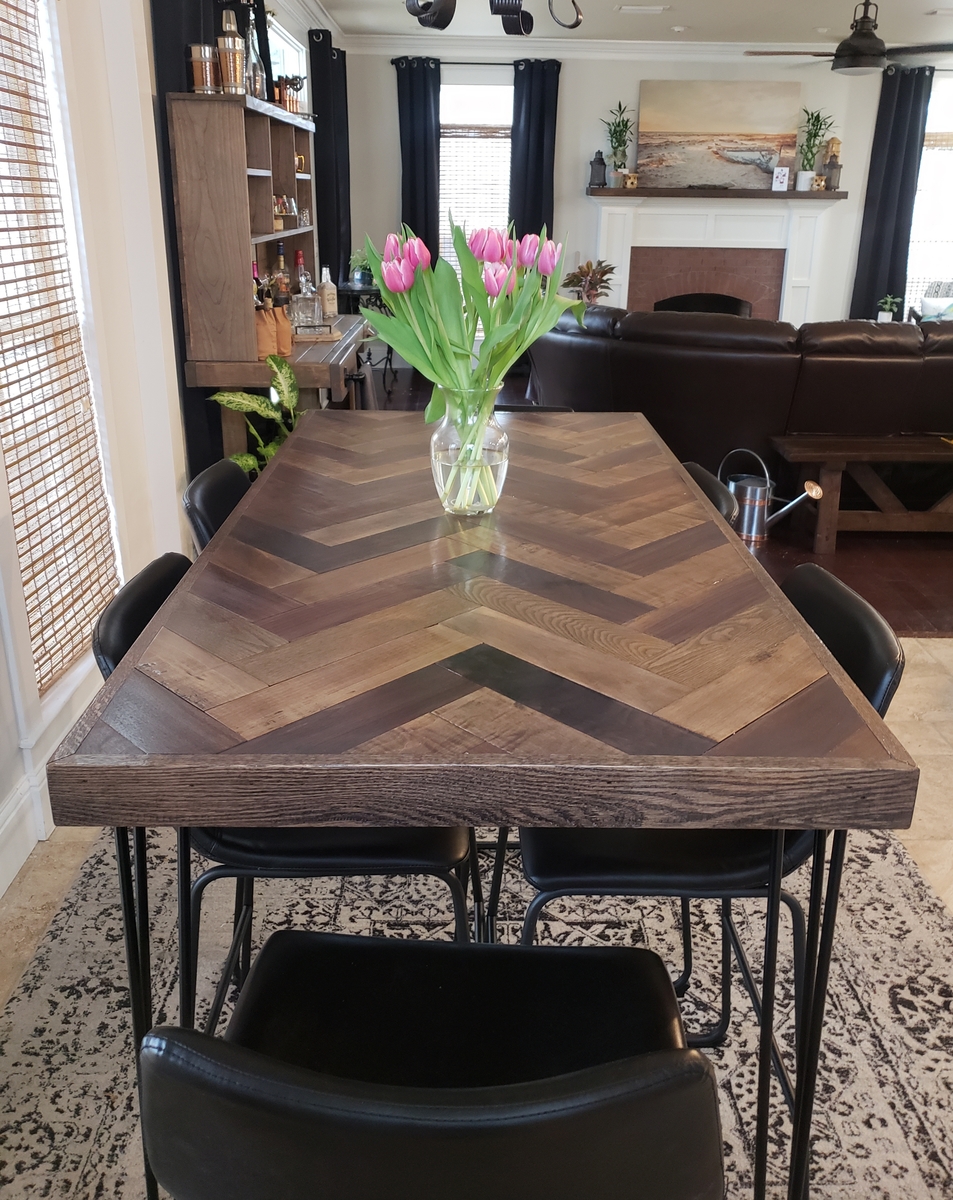
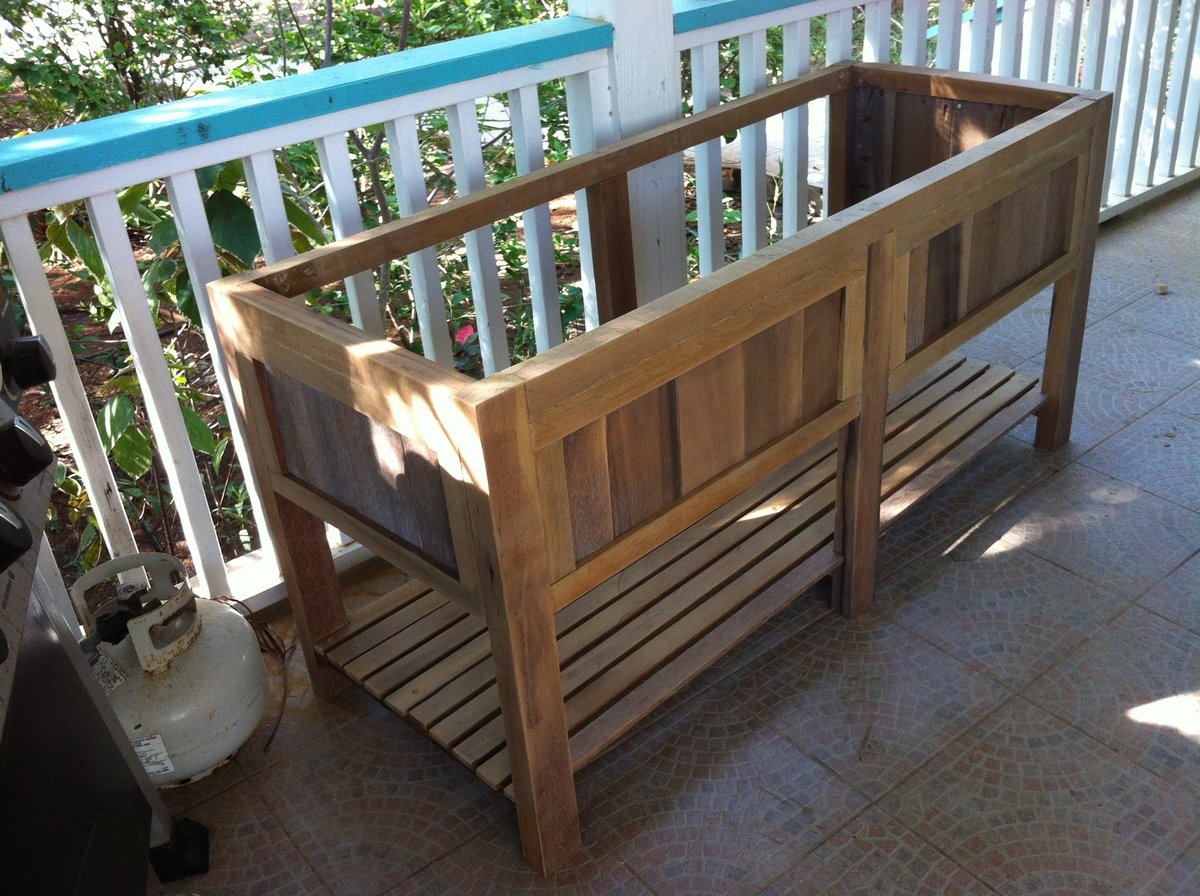
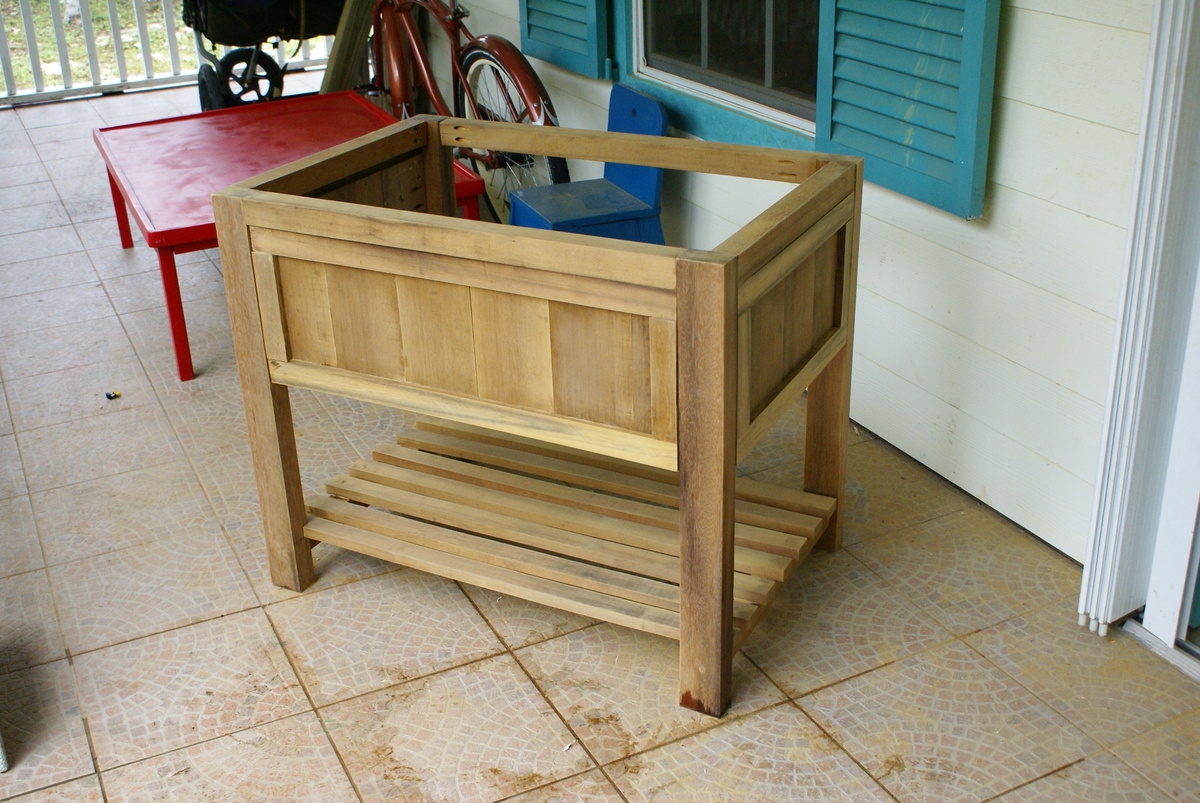
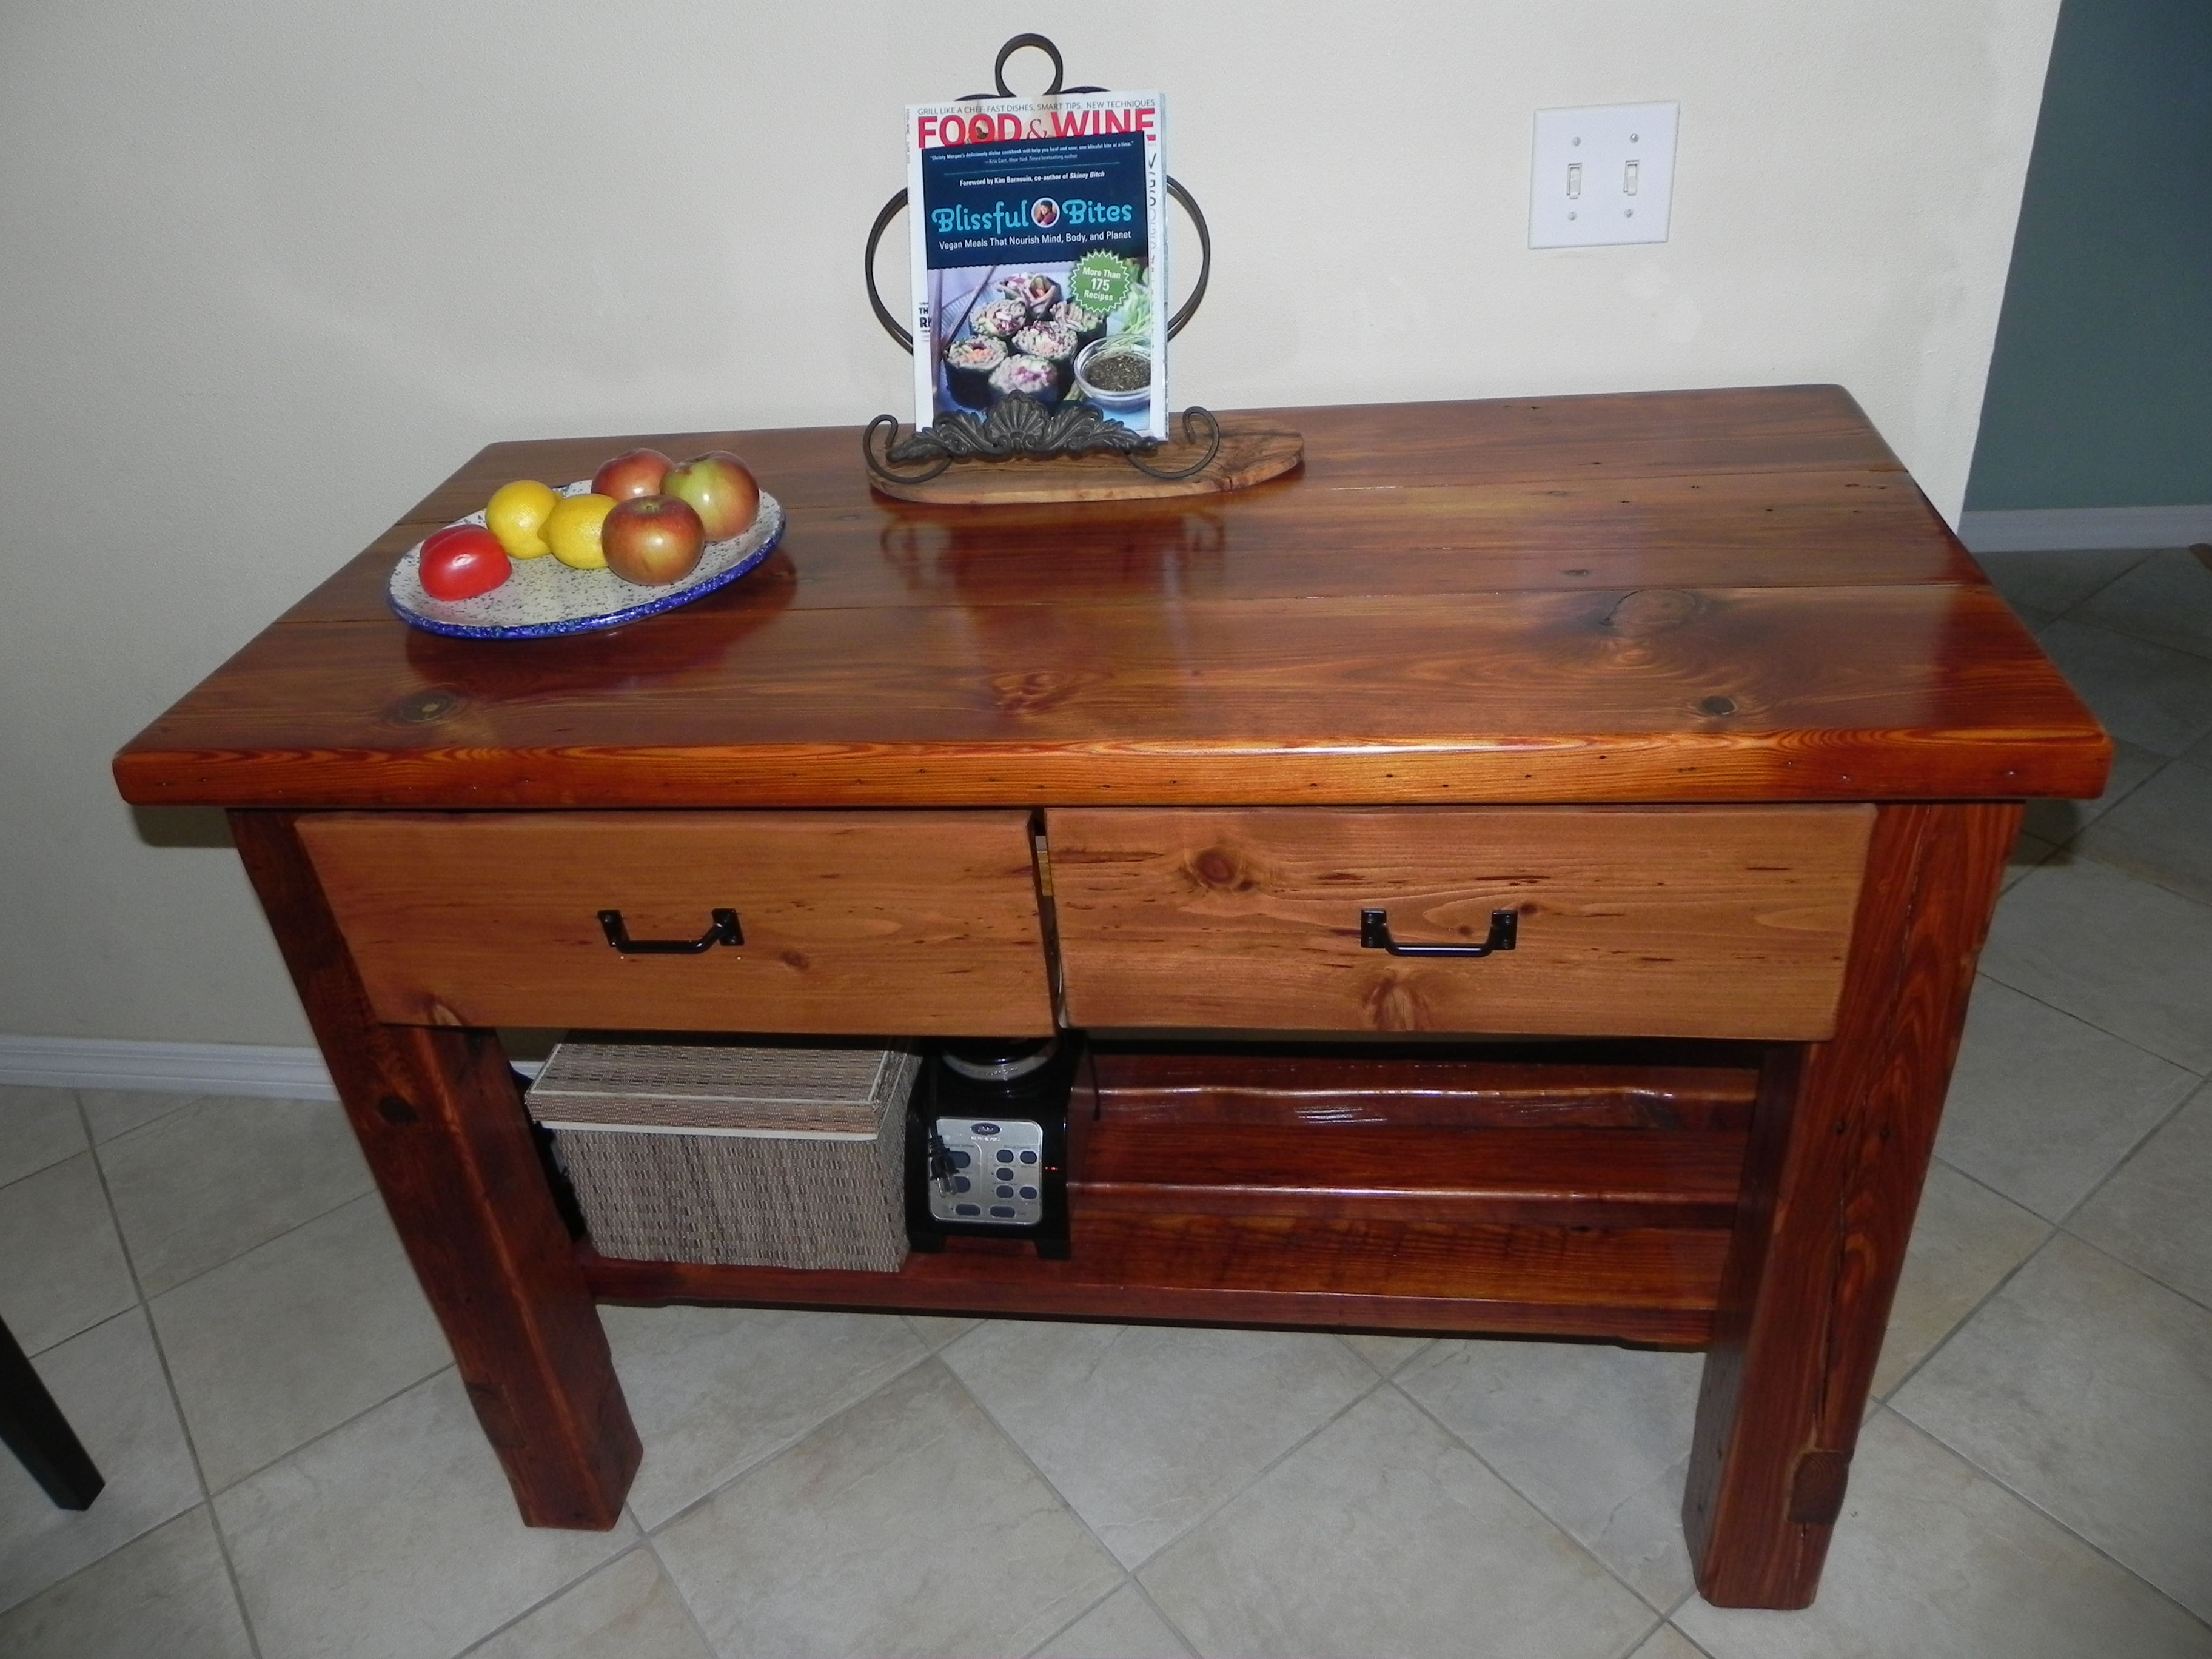
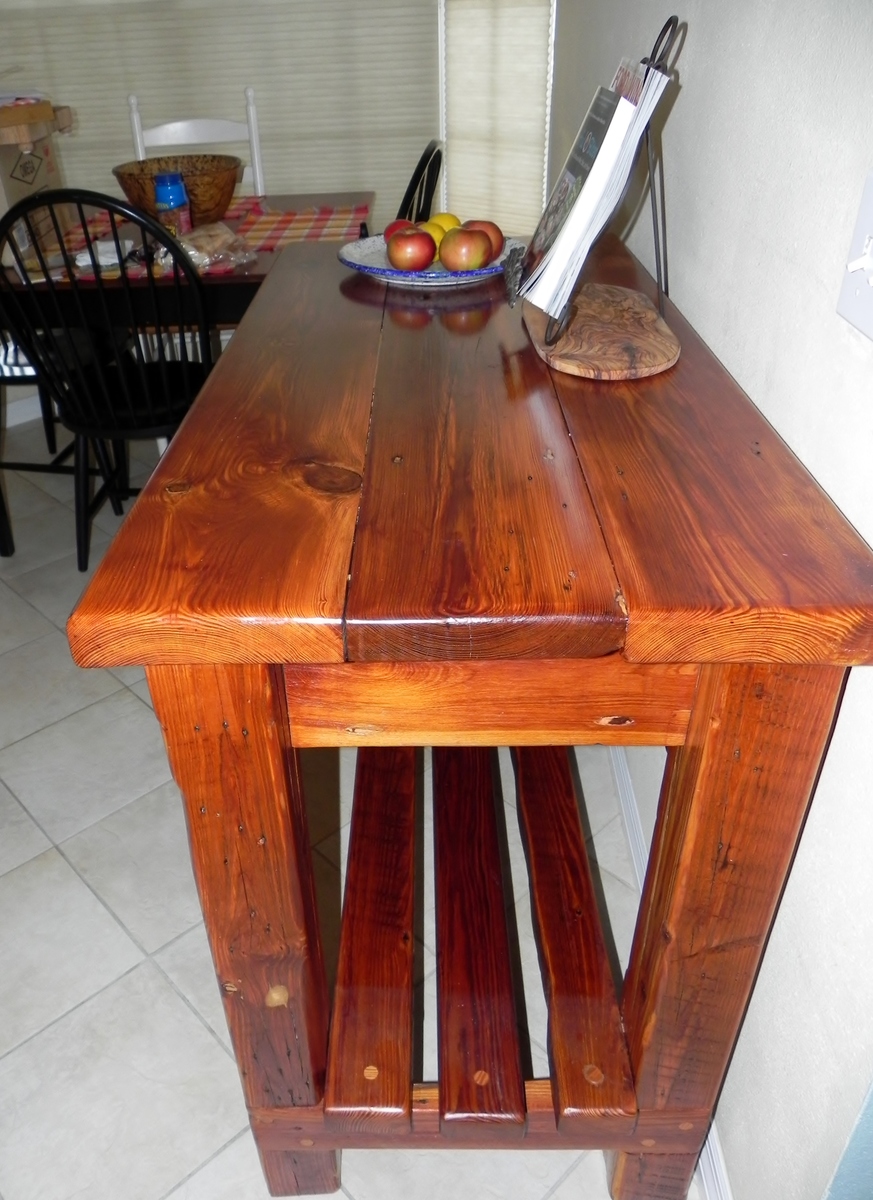
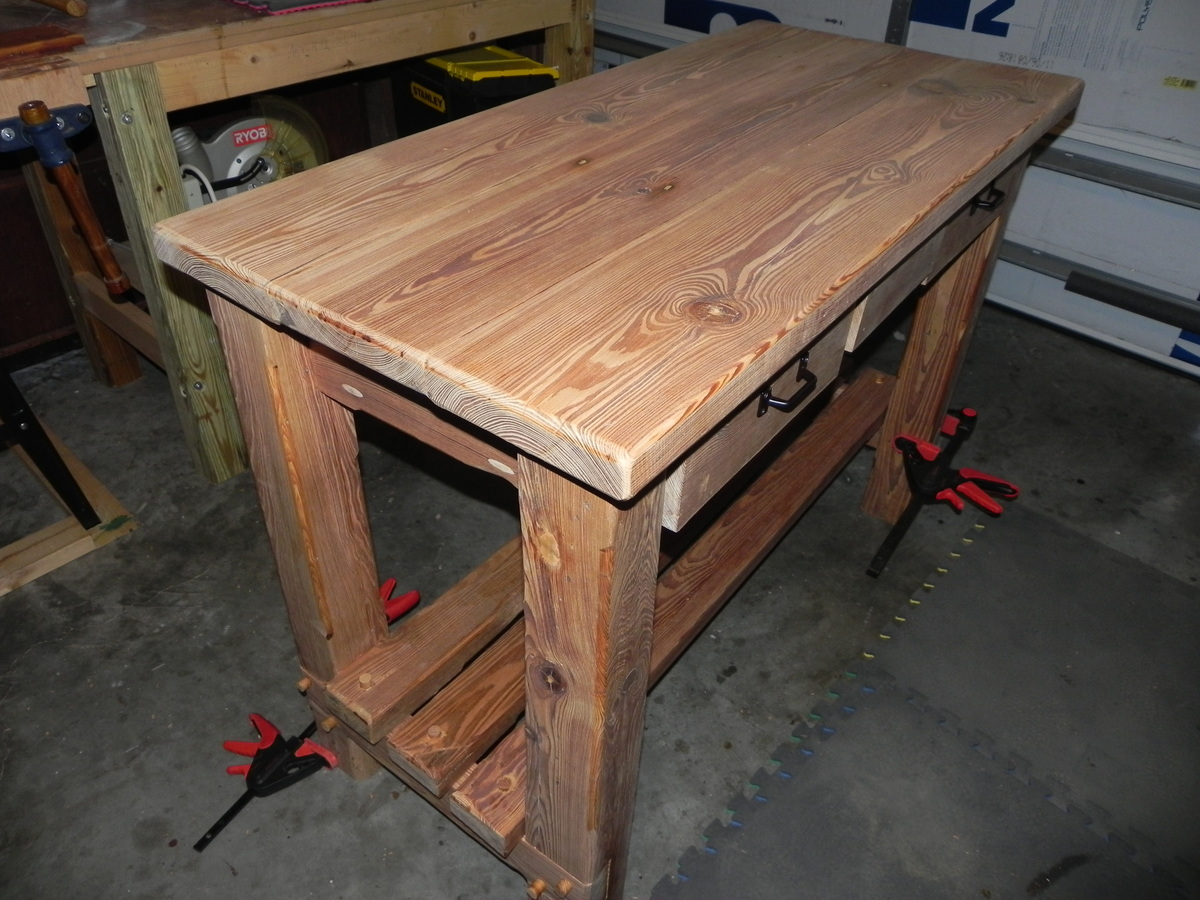
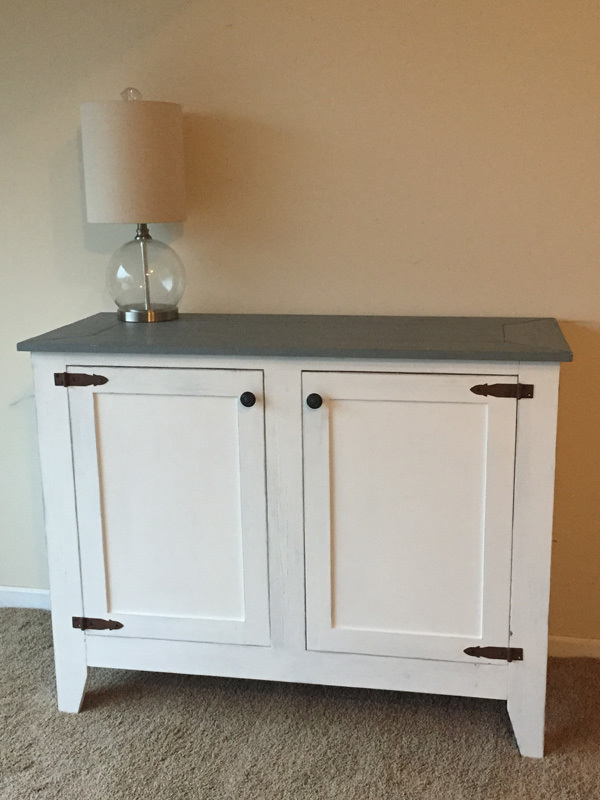
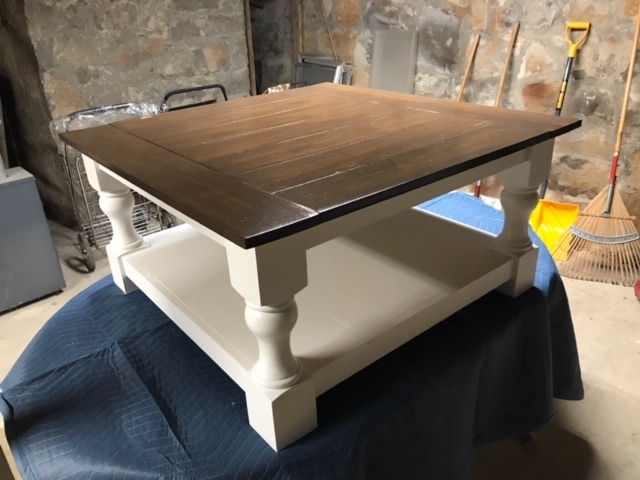
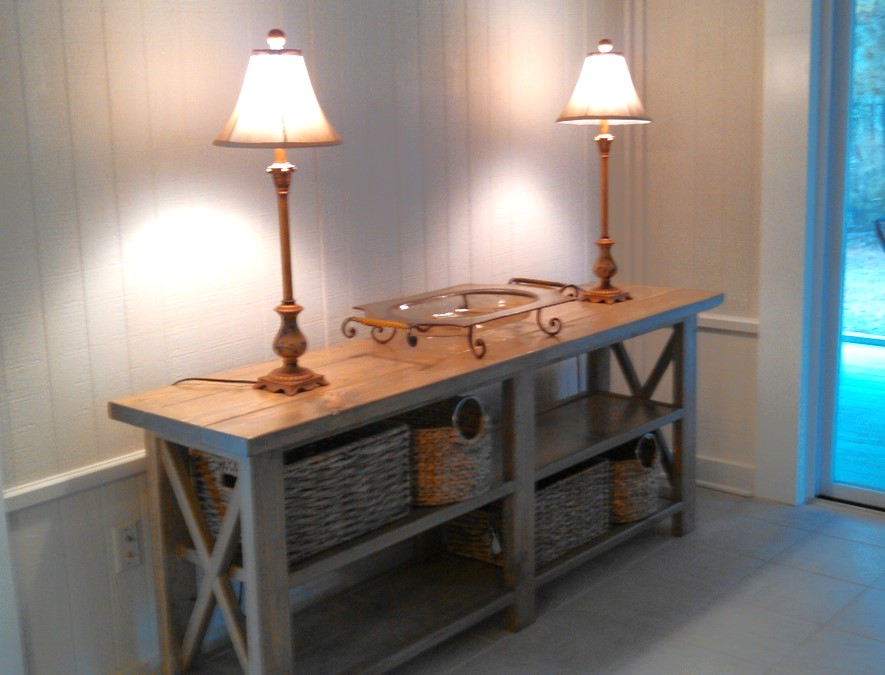
Benchwright Dining Table
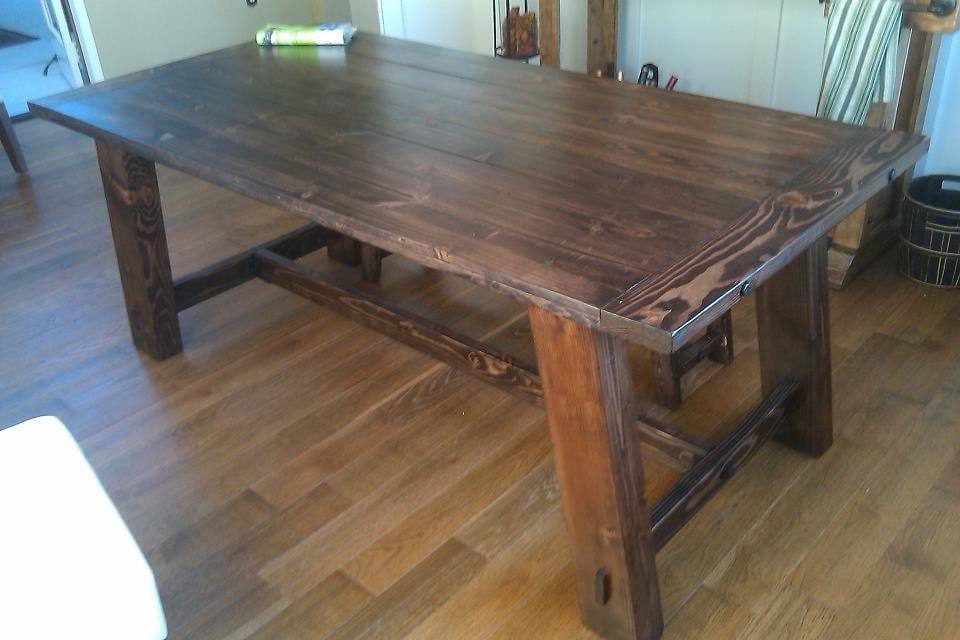
I built this table using a hybrid approach; I used Ana's plans as a loose guideline (leg angles) and drafted the rest using the dimensions supplied at Pottery Barn's website (for the fixed table, not the extendable version).
Estimated Cost
150.00
Estimated Time Investment
Weekend Project (10-20 Hours)
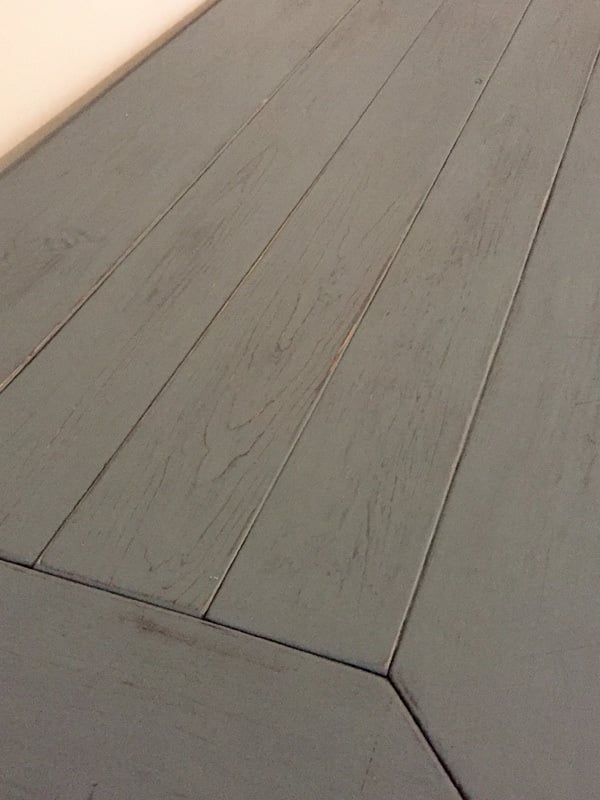
Finish Used
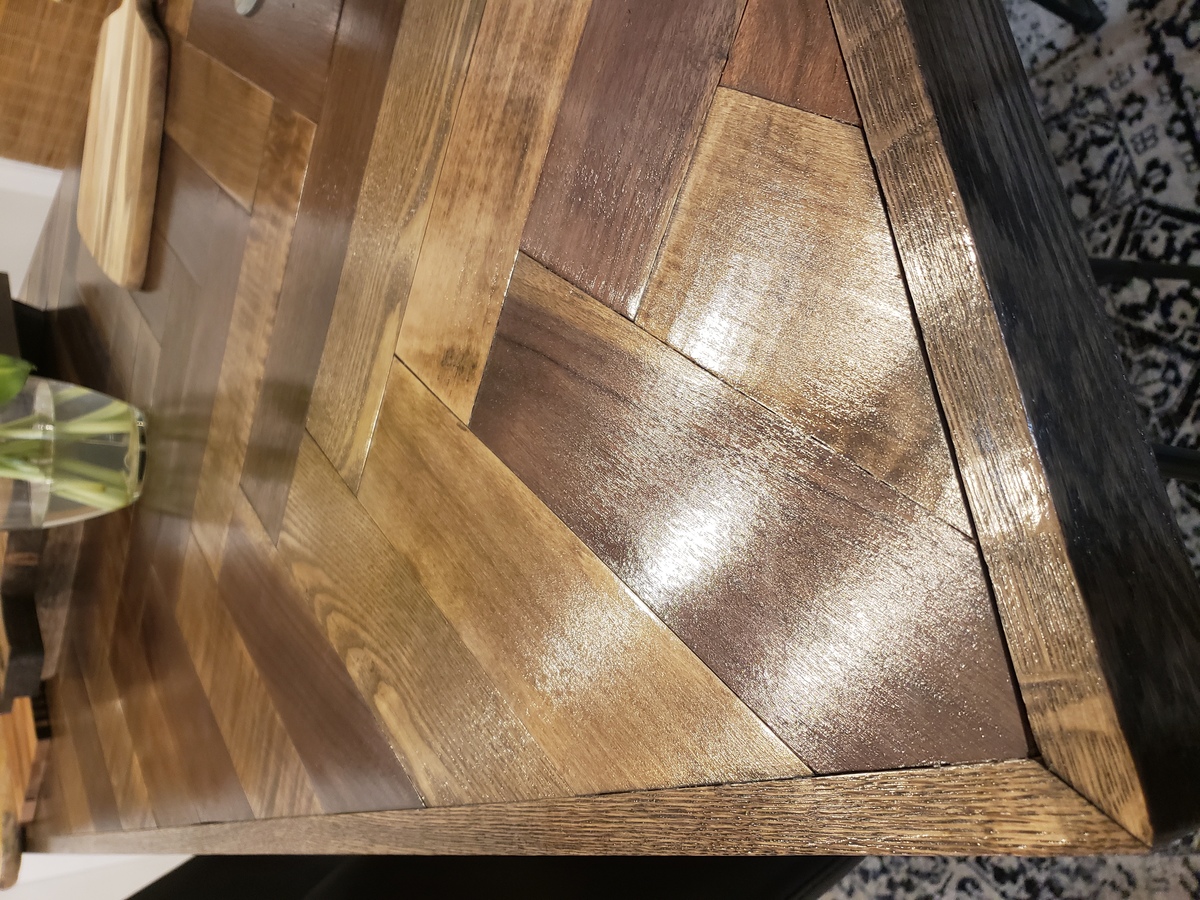
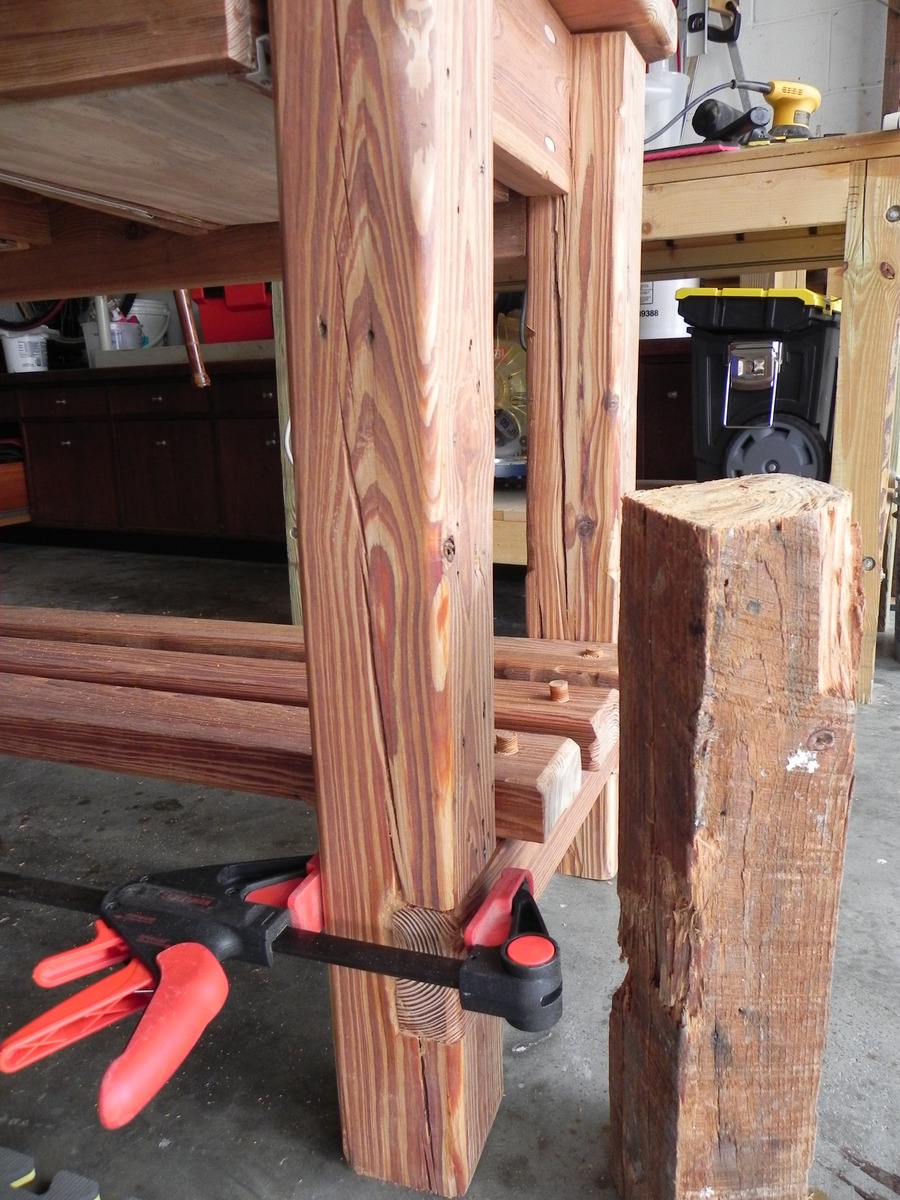
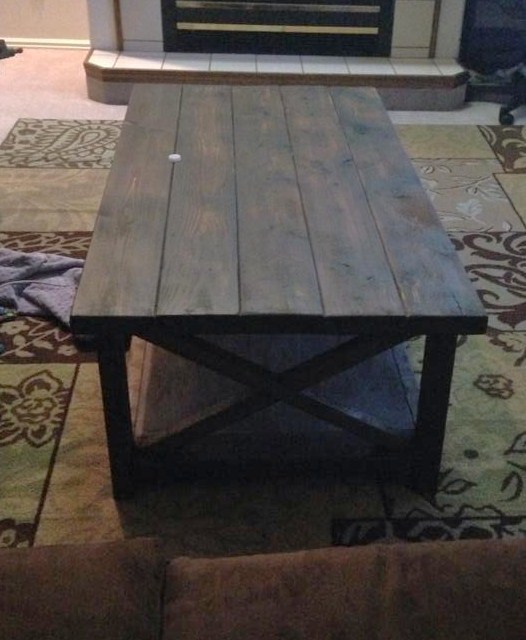
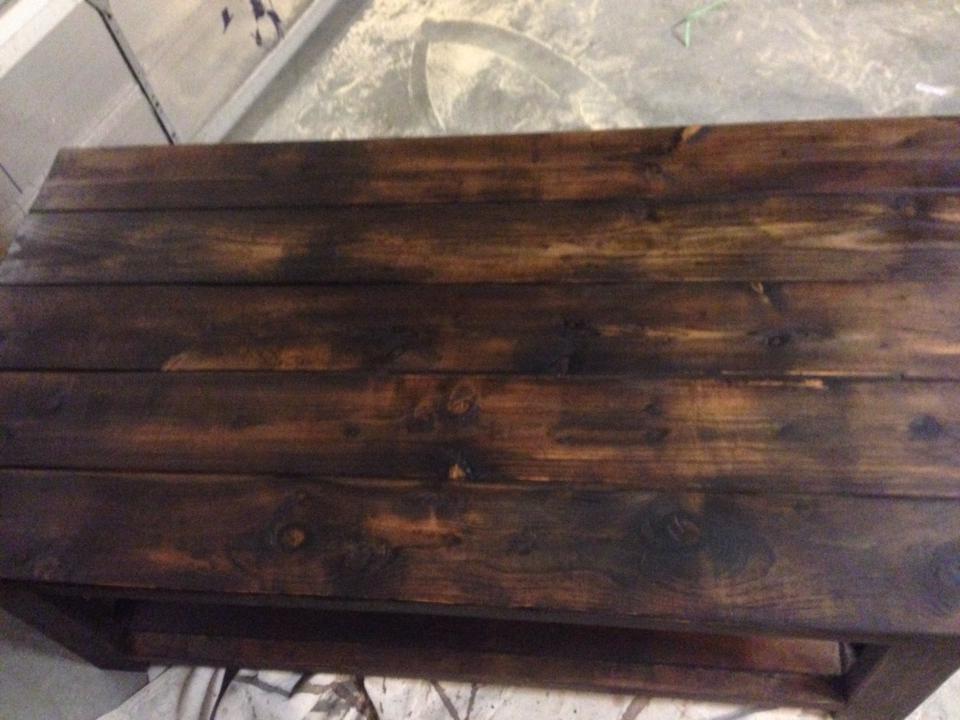
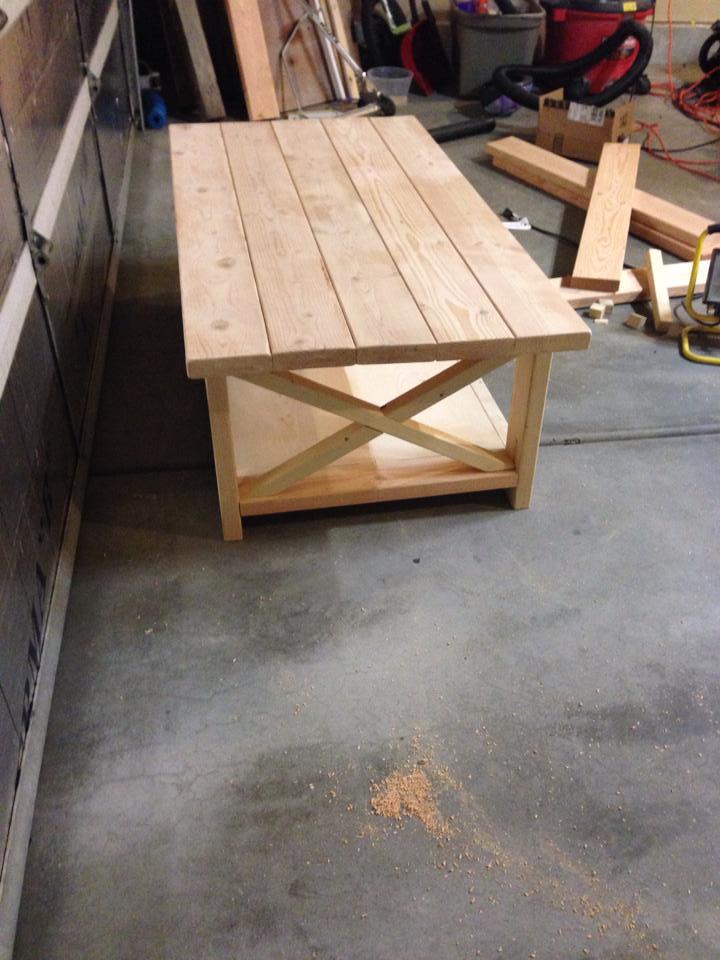
The table is finished in an Espresso stain with a clearcoat of Minwax oil-modified water-based clear satin polyeurethane. I beefed up the table legs by using "4x"6 lumber and also included a wood stretcher instead of a metal one. I originally installed a "3/4 metal stretcher made of spray-painted conduit, but it looked too flimsy and dinky when juxtaposed with the thick legs of the table. I added two countersunk lag screws to each endcap and also attached the stretcher with two lag screws and joist supports (all spray painted with Rustoleum textured black enamel). My favorite part of the table is the faux slotted cross-brace ends that protrude from each leg. I simply cut four "1 pieces of "1x"4 scrap and attached one to each leg using glue, two nails, and a nail set. Pottery Barn charges $999.00 for this table; I built it for $150.00.
Recommended Skill Level
Beginner


Comments
Guest (not verified)
Wed, 09/14/2011 - 18:11
I'm no longer satisfied with my old kitchen table.
This is beautiful! Love it. Thanks for the detailed information.
Keri Beth (not verified)
Wed, 09/14/2011 - 23:04
This is awesome. I'm
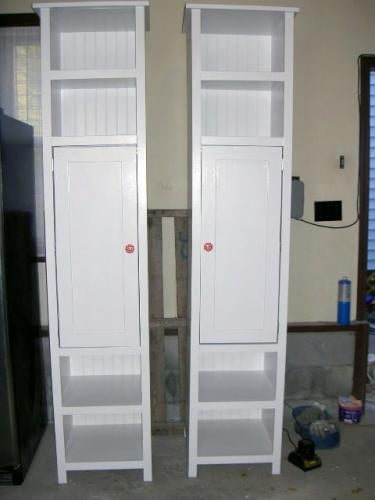
This is awesome. I'm finishing up my first project (floor to ceiling bookcases) and looking for a dining room table to make next. This just might be the one. Thanks for sharing!