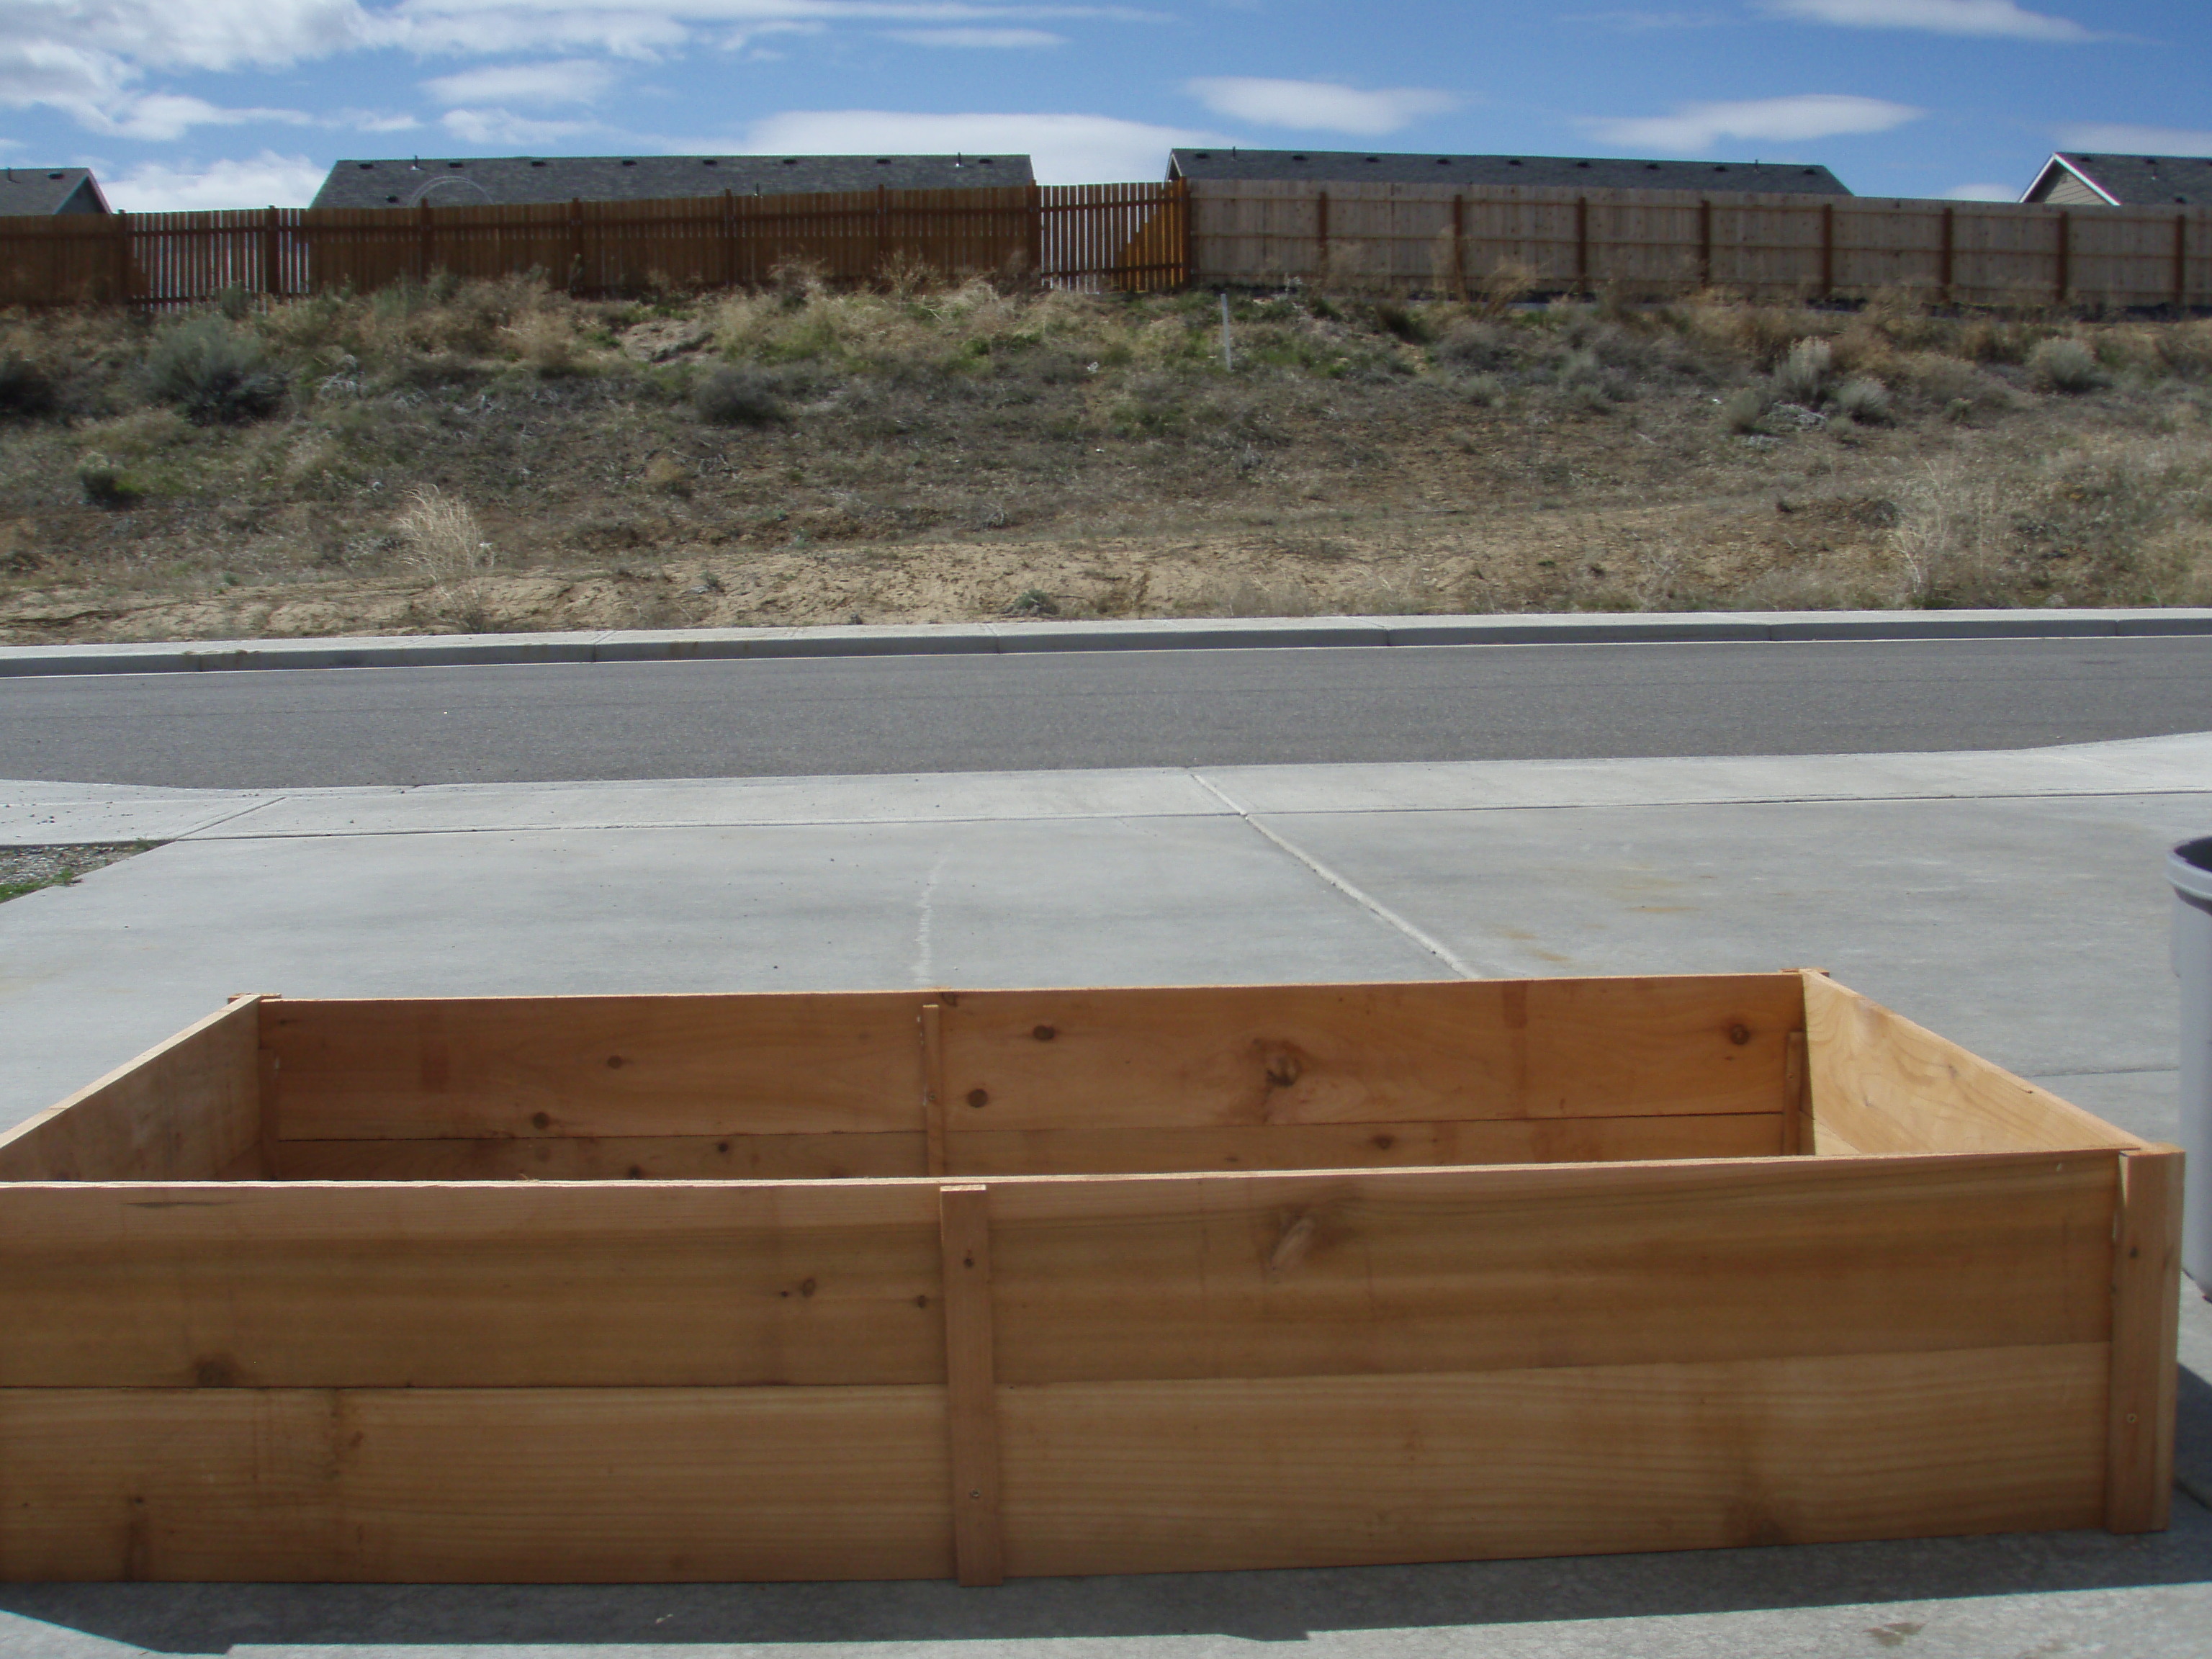
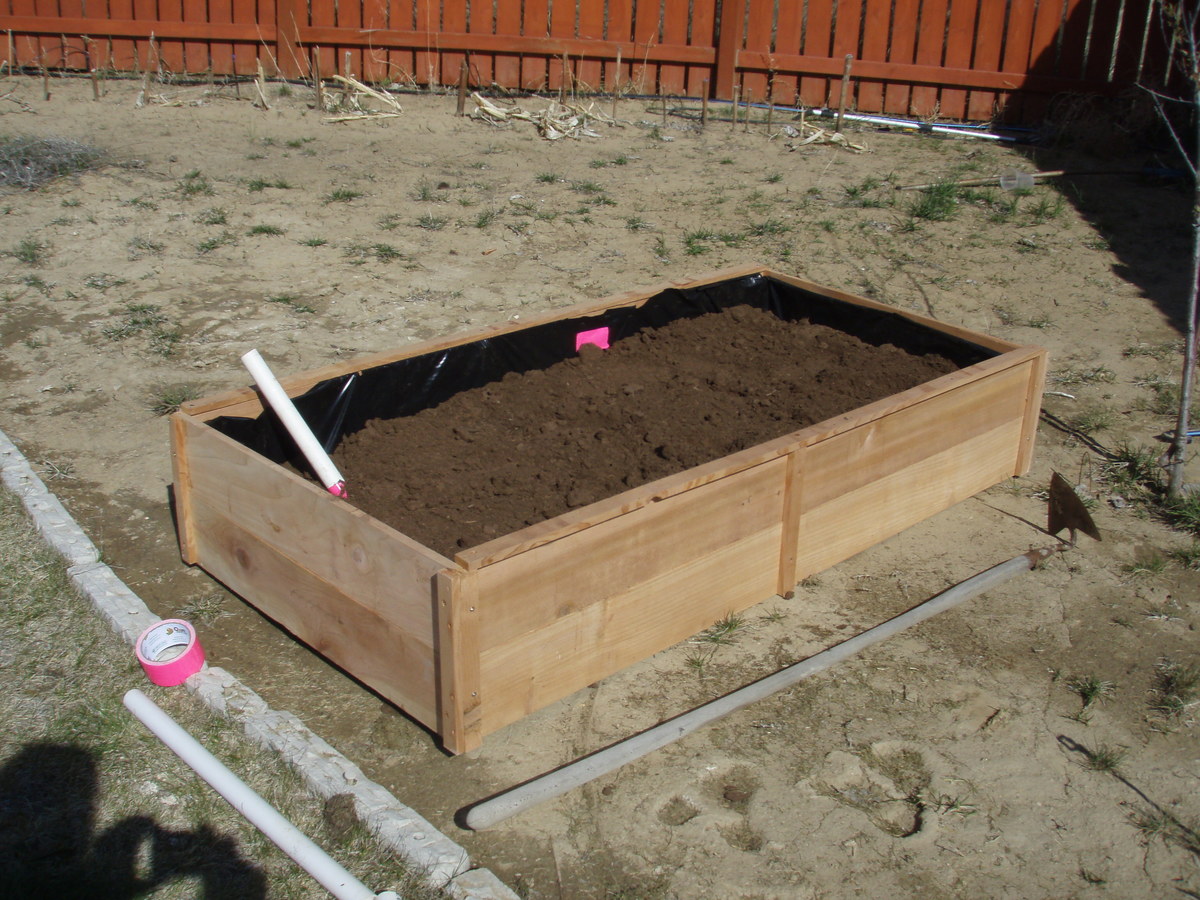
$10 Raise Cedar Garden Palnet, self watering
I read about a SIP, or self watering planter in Family Handy Man April 2012. There planse we expensive and compicated. These were easy and fun to make. I like the I dea of using 50% to 90% less water, and only watering once a week.
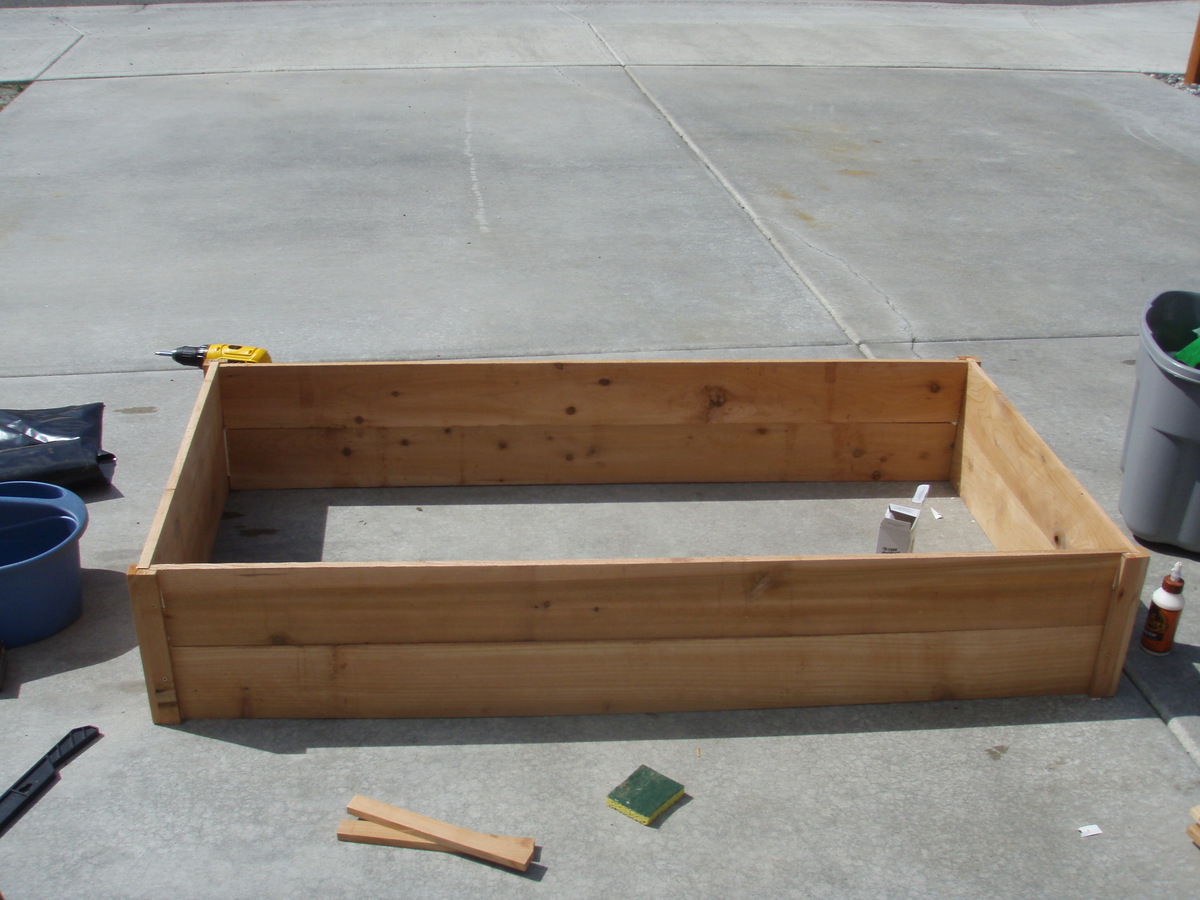
I added a post down the middle to help with bowing.
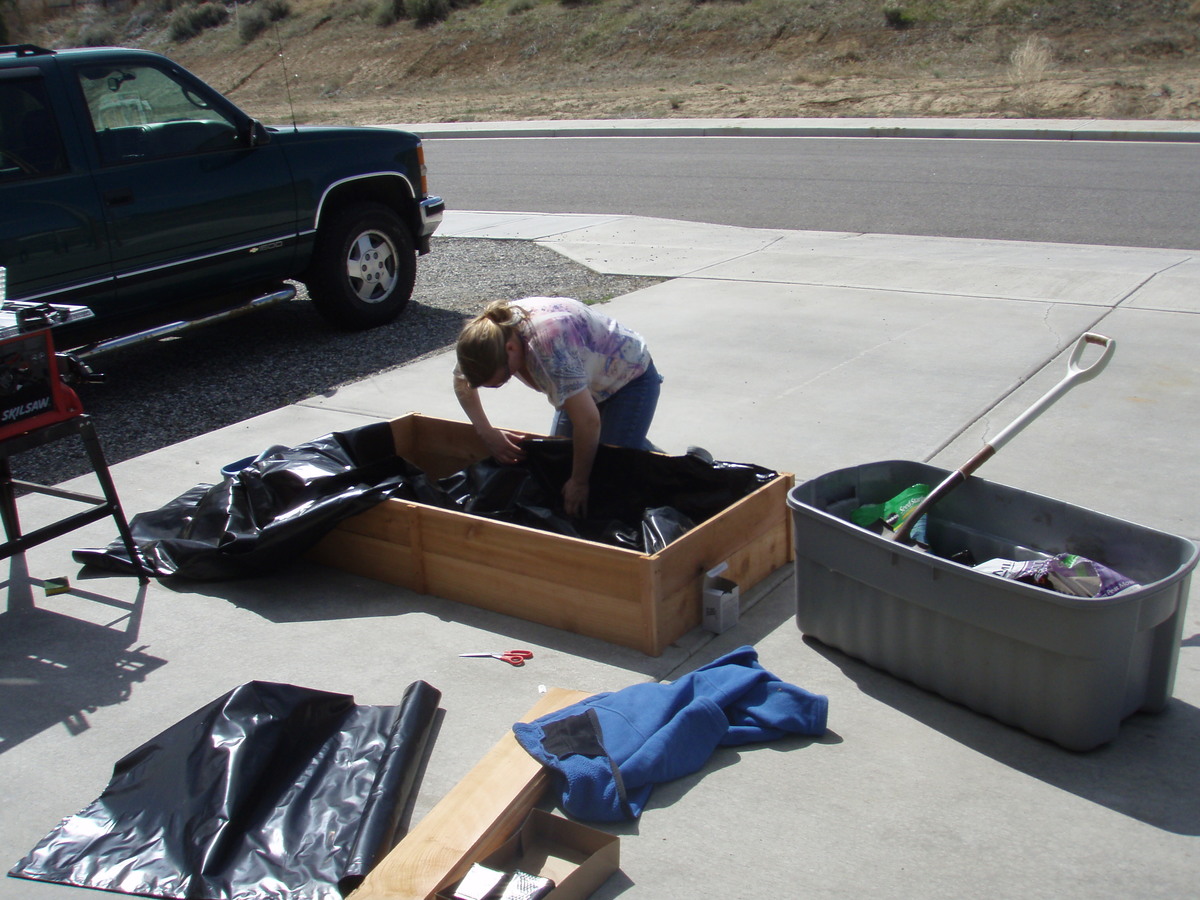
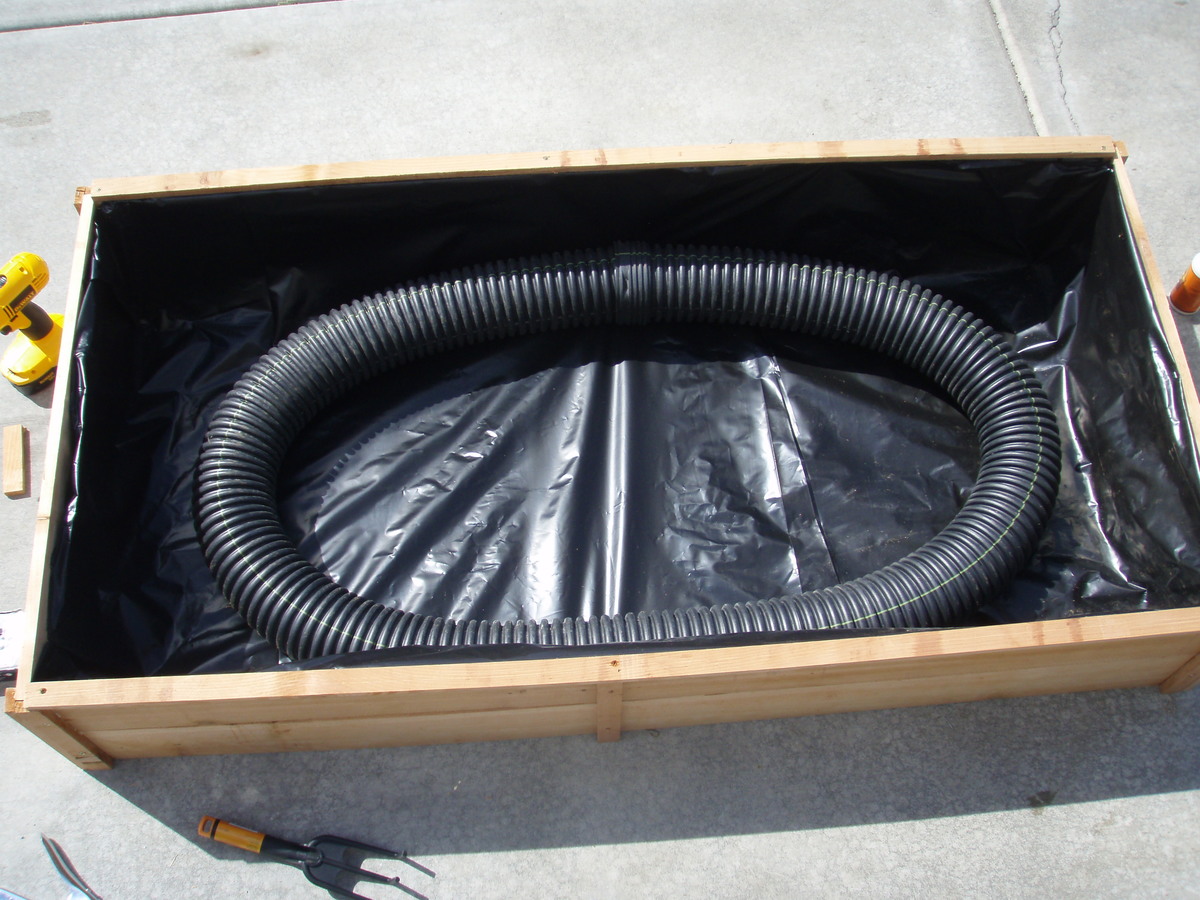
I found 5 foot cedar fence posts for $1.28 at orange. Including glue and screws $10. I have the palsit lininn, the withe piping on hand. HTe drain pipe was $6. for a total of $16.
Orange had a 2 x 2 plastic Self watering planter $30, big savings
I say starter only if you are not ripping, but using 1 x2 's
Built from Plan(s)
Estimated Cost
$10
Estimated Time Investment
Afternoon Project (3-6 Hours)
Finish Used
None
Recommended Skill Level
Starter Project


Comments
rosenzzzz (not verified)
Sun, 05/20/2012 - 12:40
What type of plastic liner
What type of plastic liner did you use?
moonhopping
Wed, 09/05/2012 - 21:12
I am not sure, a roll my dad
I am not sure, a roll my dad had laying around. Most research suggests pond liner.