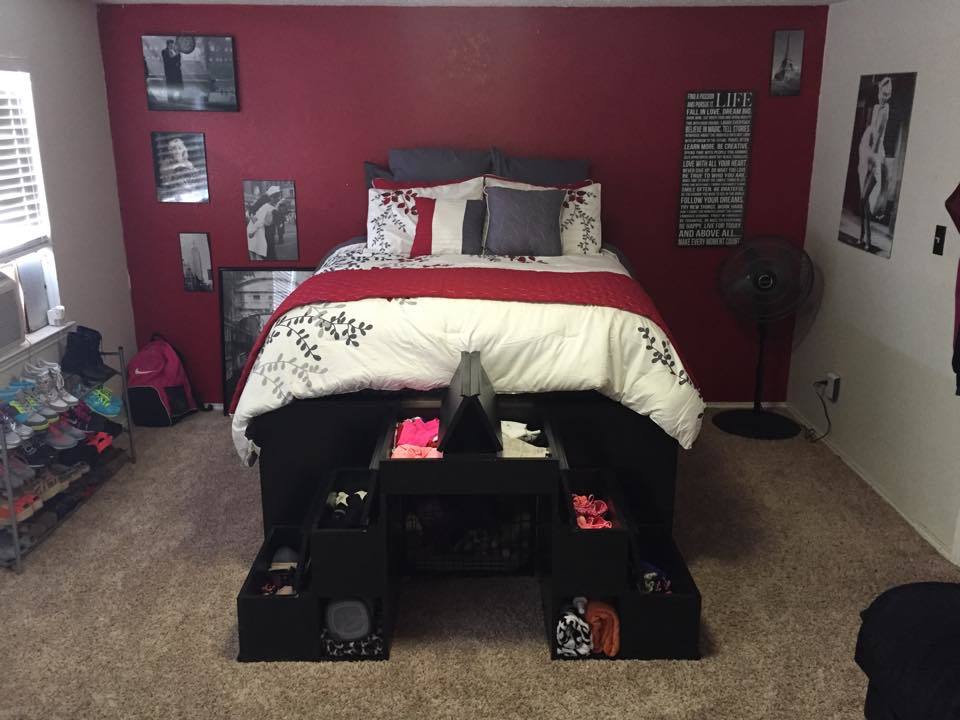
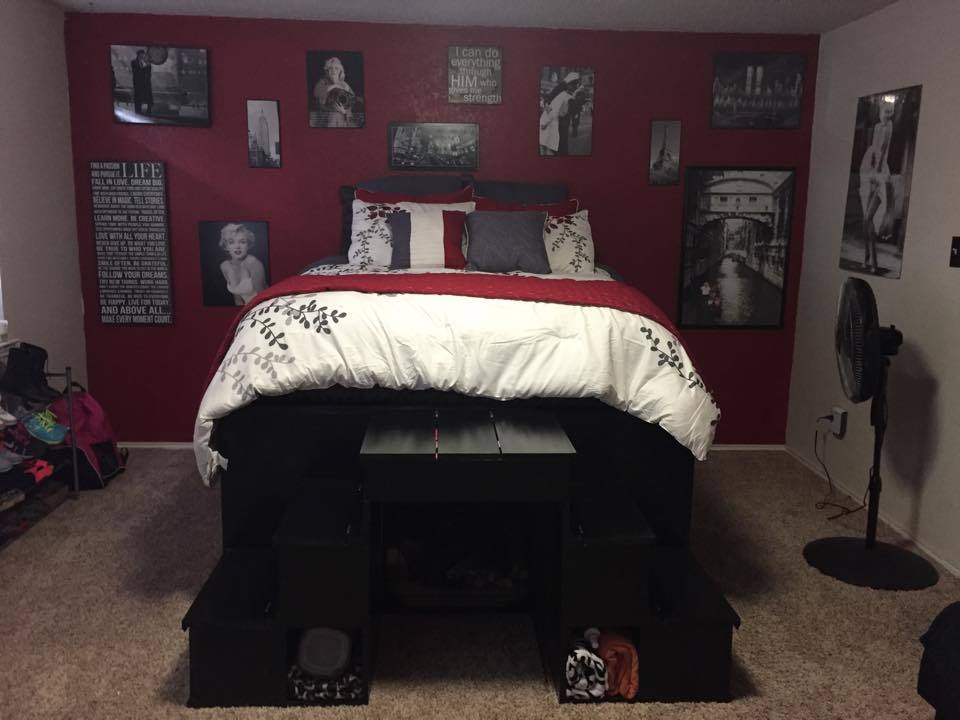
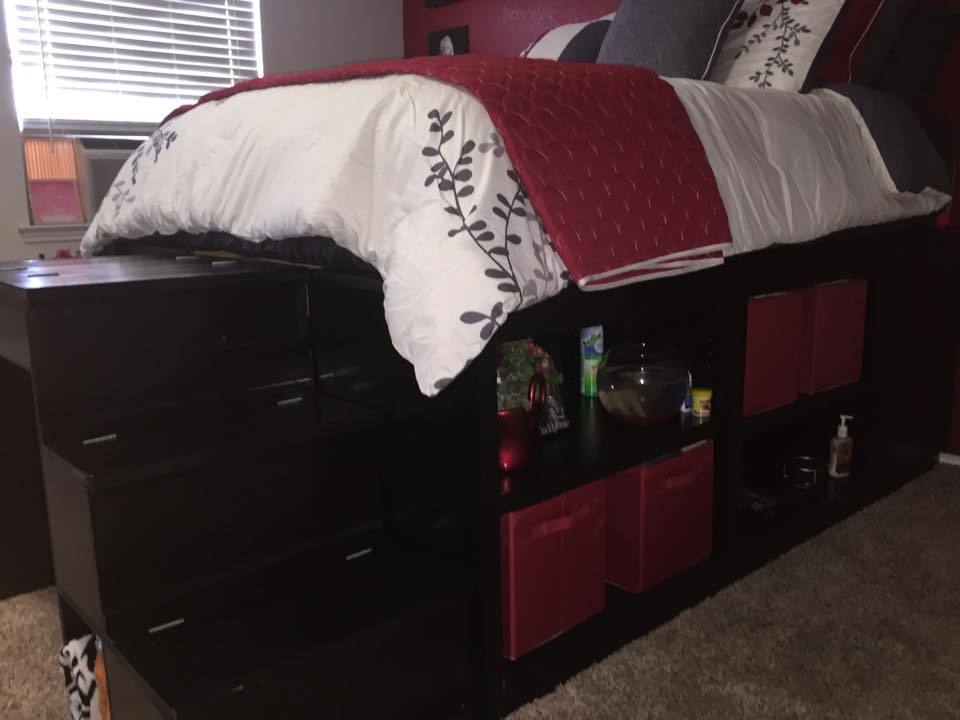
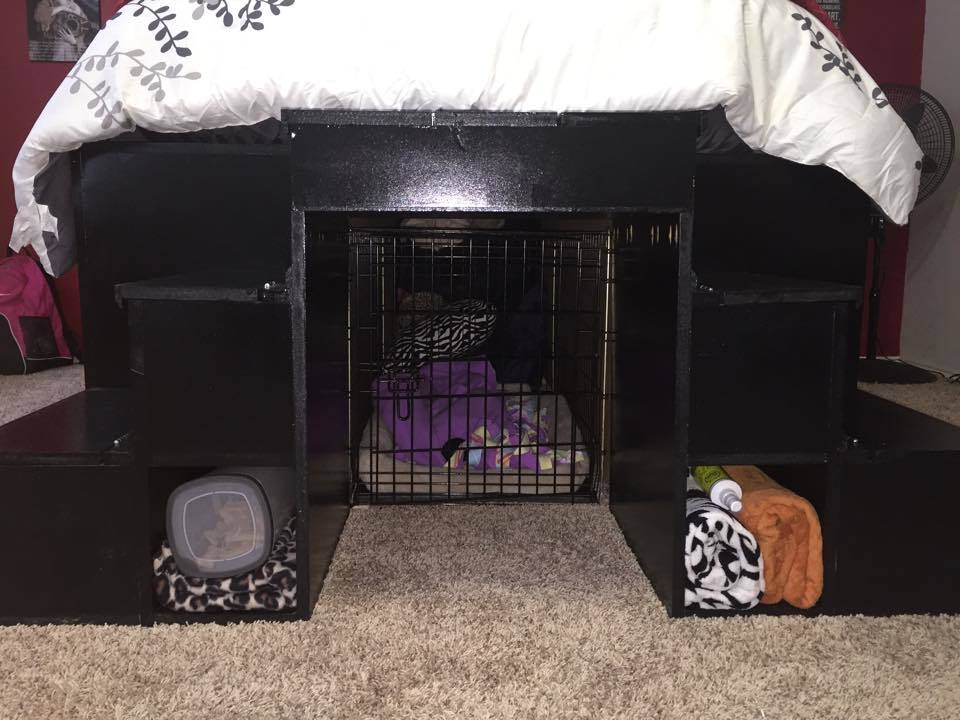
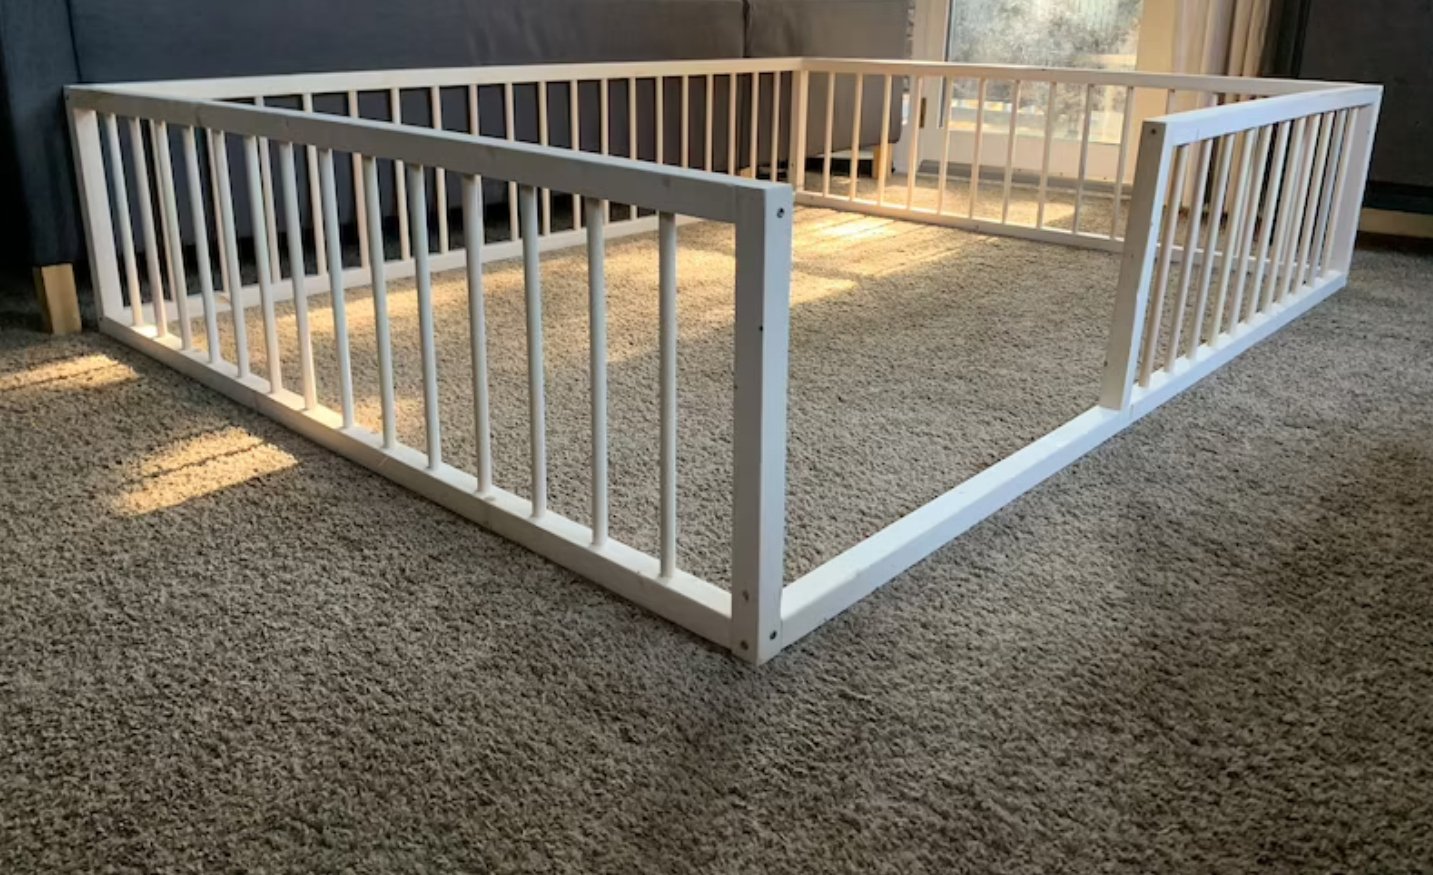
Extra Large Storage Bed with Stairs
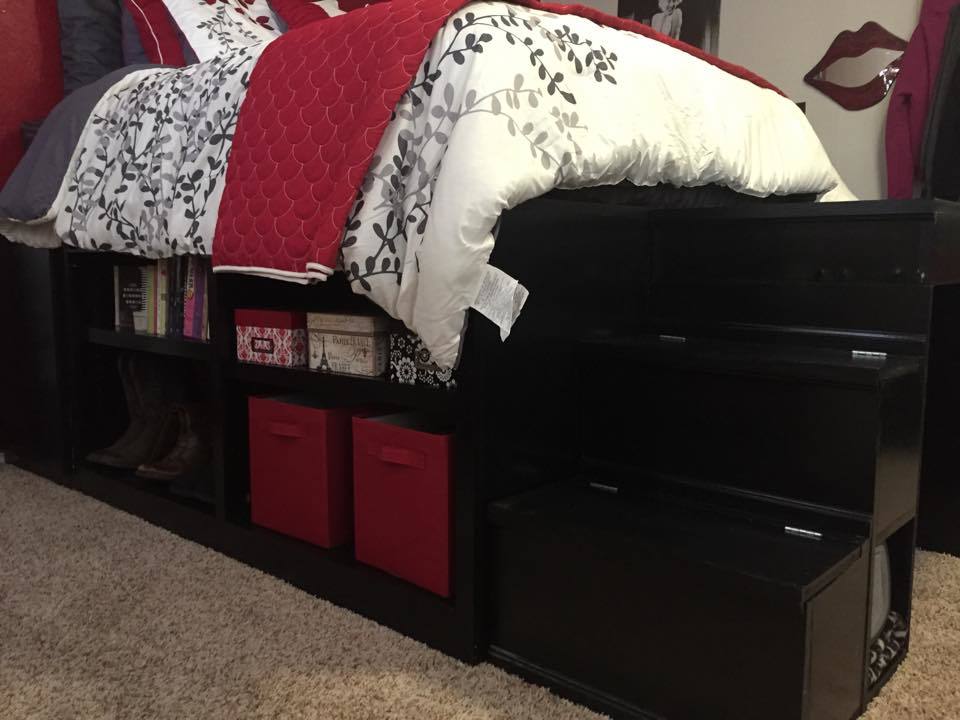
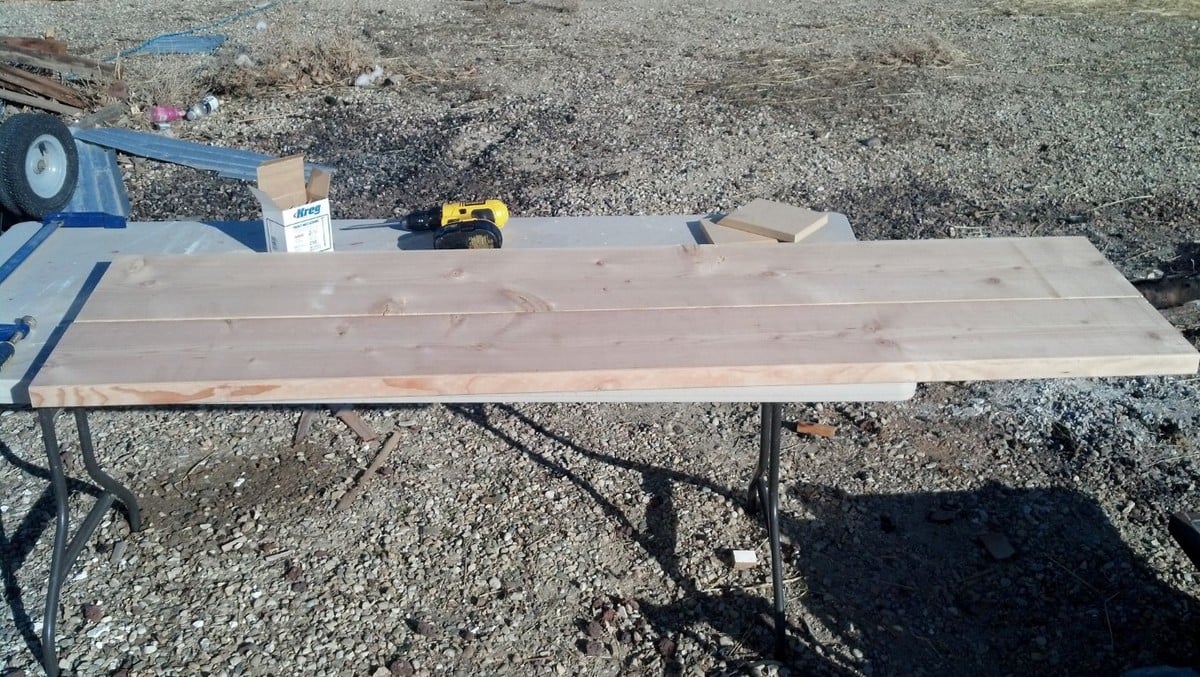
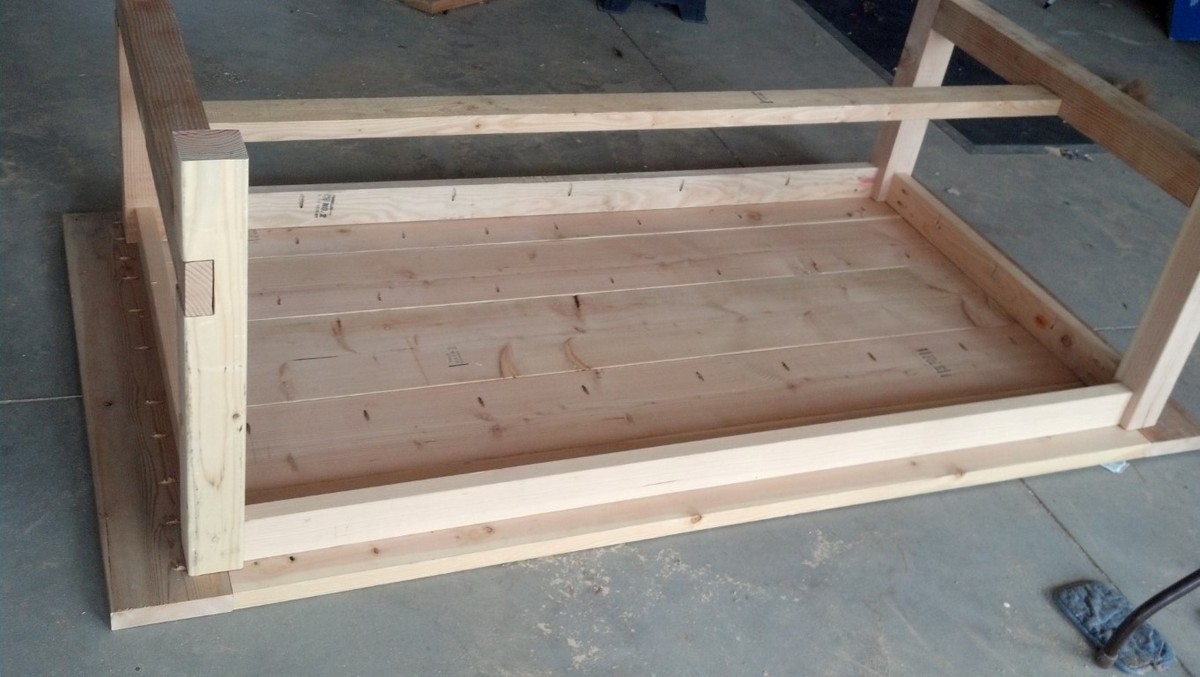
My daughter wanted a bed with lots of storage so searched on here and found the queen and king storage beds, but she wanted something taller. So, I modifed the plans for the bed and made it slightly larger than a queen storage bed, but not quite as big as the king, and almost twice the height. I then built a set of stairs (modified the plans for the stairs as well so she would have 2 sets that created a bridge for her dog's kennel to go under her bed hidden away slightly. This was by far my biggest and most challenging project to date, but we were thrilled with the way it turned out. She loves the bed and I loved the time I was able to spend with her while building (she is 20 so time like that is far and few between)

Built from Plan(s)
Estimated Cost
$500
Estimated Time Investment
Week Long Project (20 Hours or More)
Finish Used
high gloss black paint and polyacrylic
Recommended Skill Level
Intermediate


Comments
Ana White
Mon, 03/16/2015 - 12:17
She's super lucky! Beautiful
She's super lucky! Beautiful!