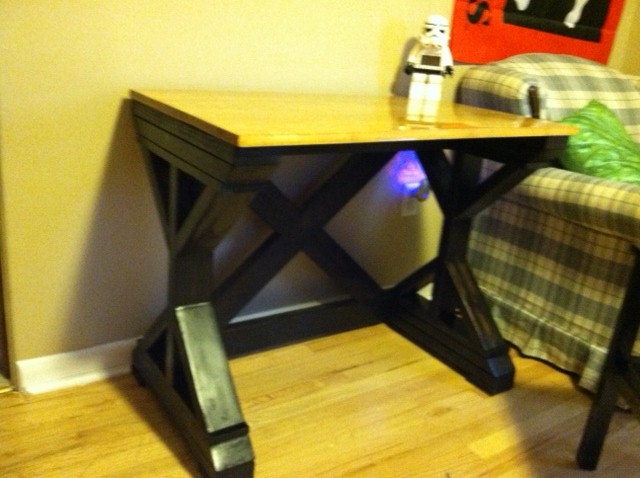
Stackable Chair Turned Desk
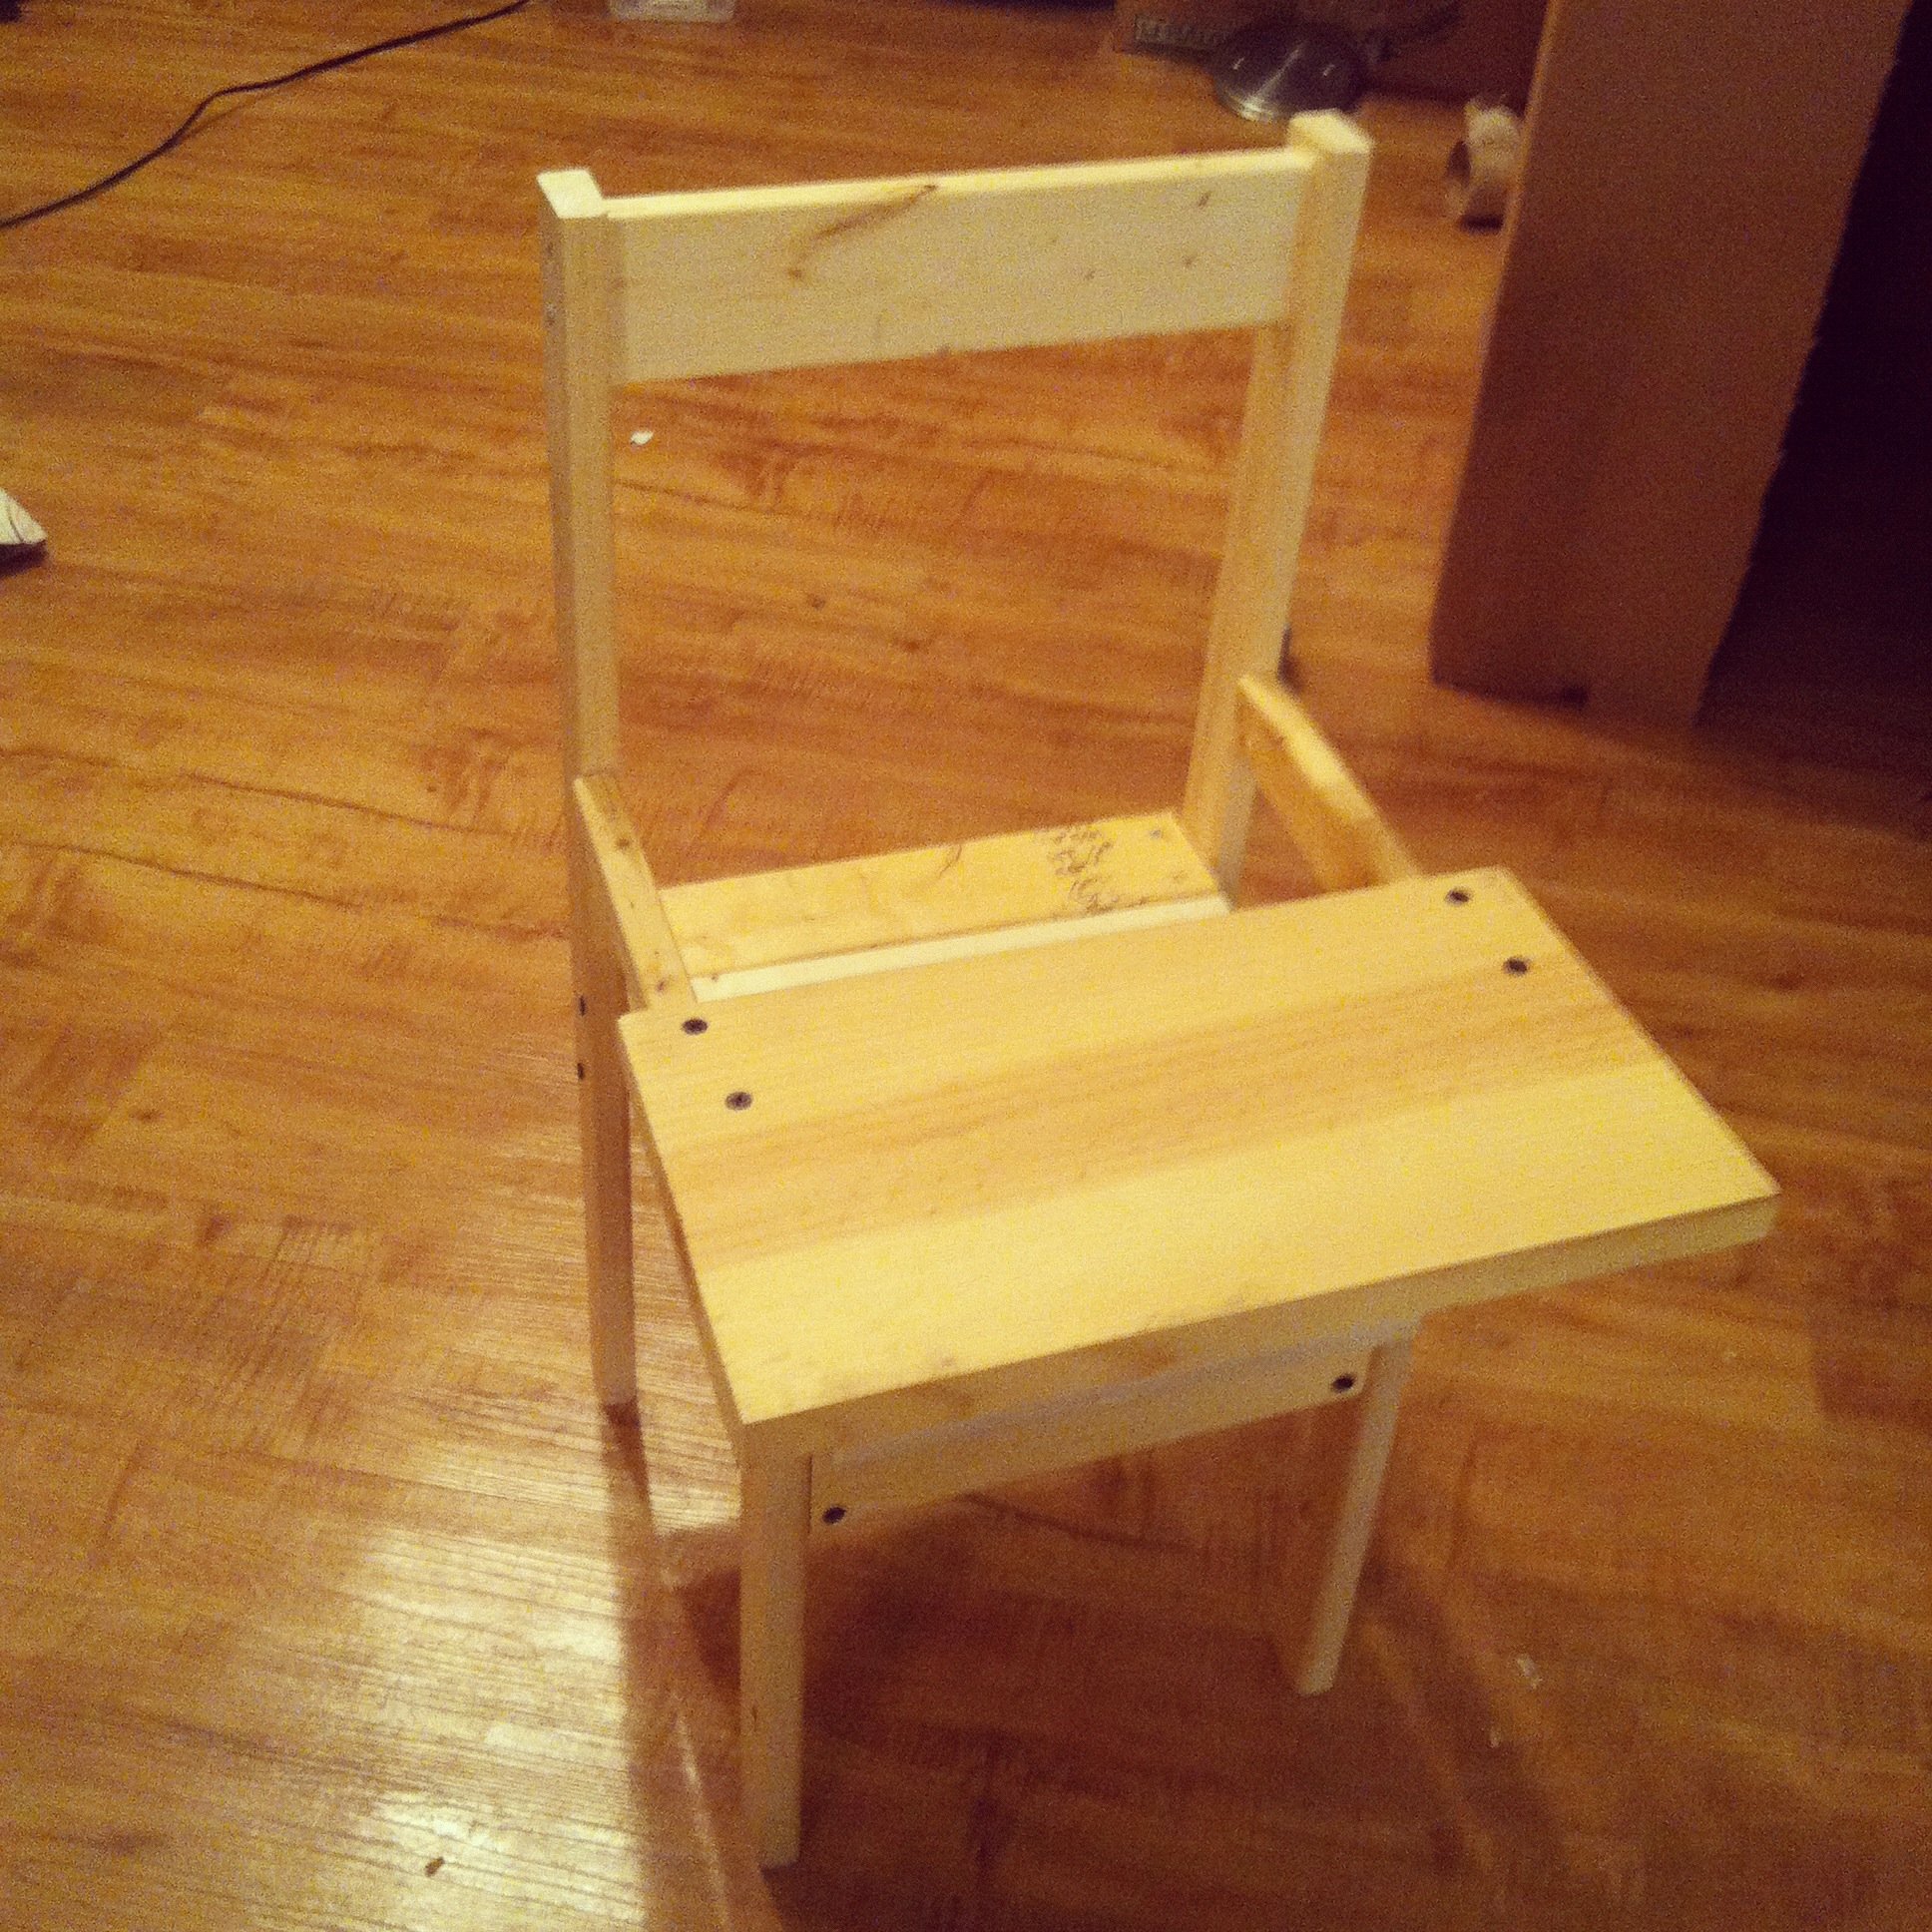
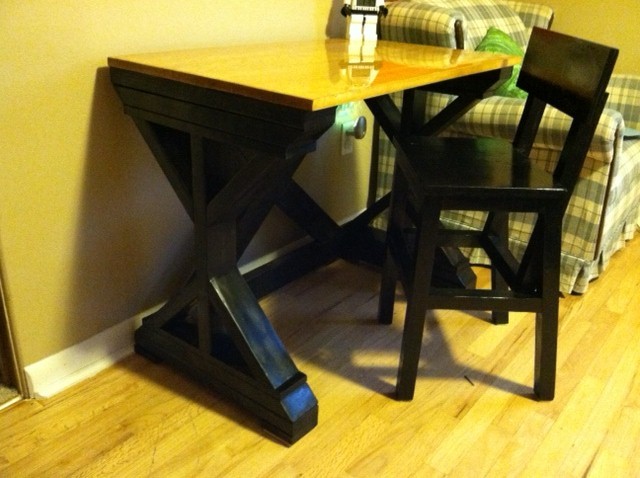
I made this for a friend whose son is turning 1. I wanted him to be able to sit in the seat without falling out, so at first I just planned on making arm rests (thus destroying the stack element, but he's an only child haha!). I had an extra piece of 1x8 laying around that turned out to be just long enough, and some hinges and a sash lock.
in the first picture, the desk is screwed on. I ended up changing it so he could use the desk longer! little legs can only squeeze into spaces for so long :)
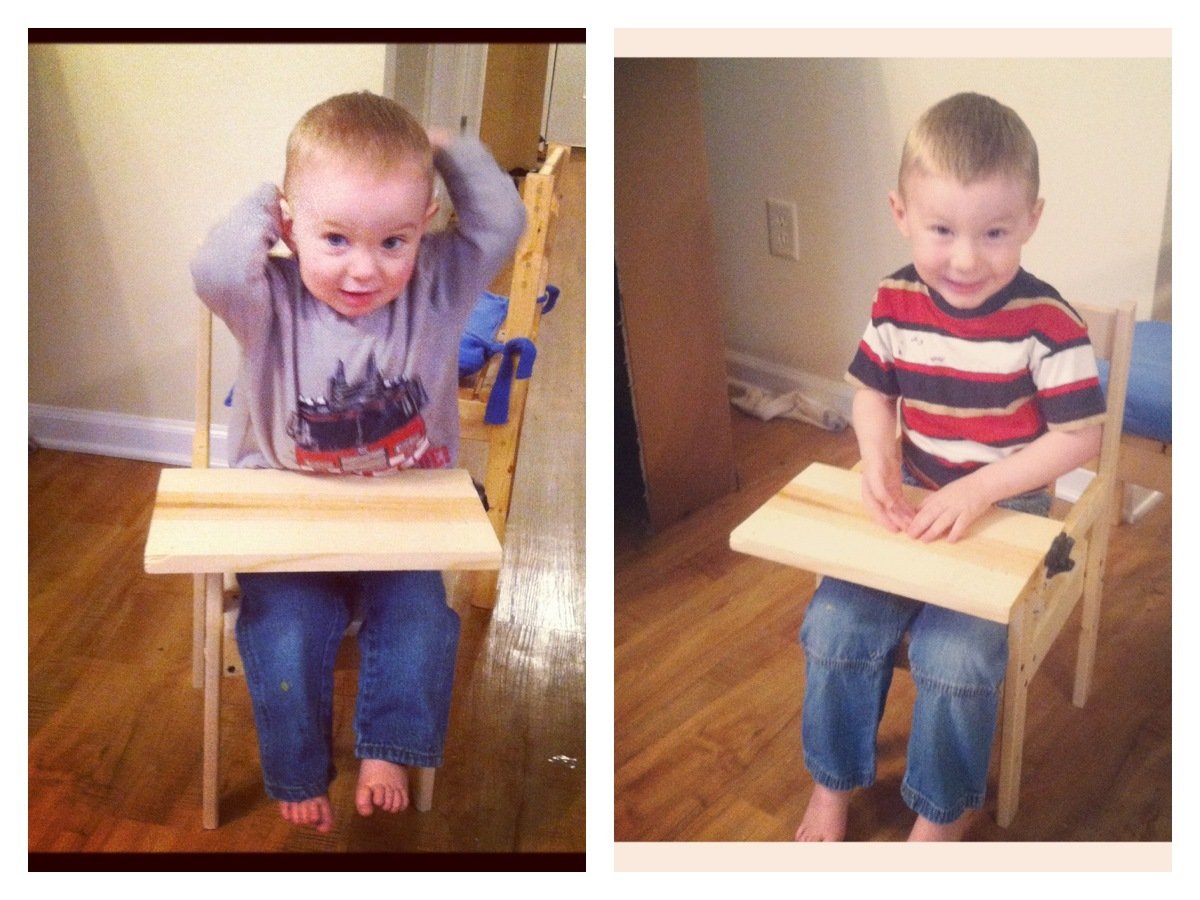
Long story short, for this project I took all of the measurements for the original stackable chair and took 2" off to make it more appropriate for his size, EXCEPT the front legs, which I actually added 5 inches to. The front legs then stuck up from the seat about 5 inches, and i attached a 10.5" 1x2 from the front leg to the back leg on each side. Hinges on one side of the 1x8 board, sash lock on the other, and voila! desk-chair!! and it fit my 15 month old AND my almost 3 year old! granted, it was a tight squeeze for the 3 year old, but he LOVES the desk and I'm planning on finding a way to convert his stackable chair into one :)


Comments
redhead_61
Mon, 11/05/2012 - 10:43
Love
I bet kids would LOVE this. Great idea, and the fact you figured out how to make it with a hinge....pretty awesome!
thebulger
Tue, 11/06/2012 - 11:07
thanks!
i brought it outside to sand yesterday and all of the kids in our row of townhomes were trying to play in it! i had 2 people ask me to make one for their kids! i hope a lot of other people can use this concept and make it even better for their kids! i feel like there have to be better hinges and lock sets than what i used, hopefully someone on here can make suggestions!