Flipped Cedar Planter
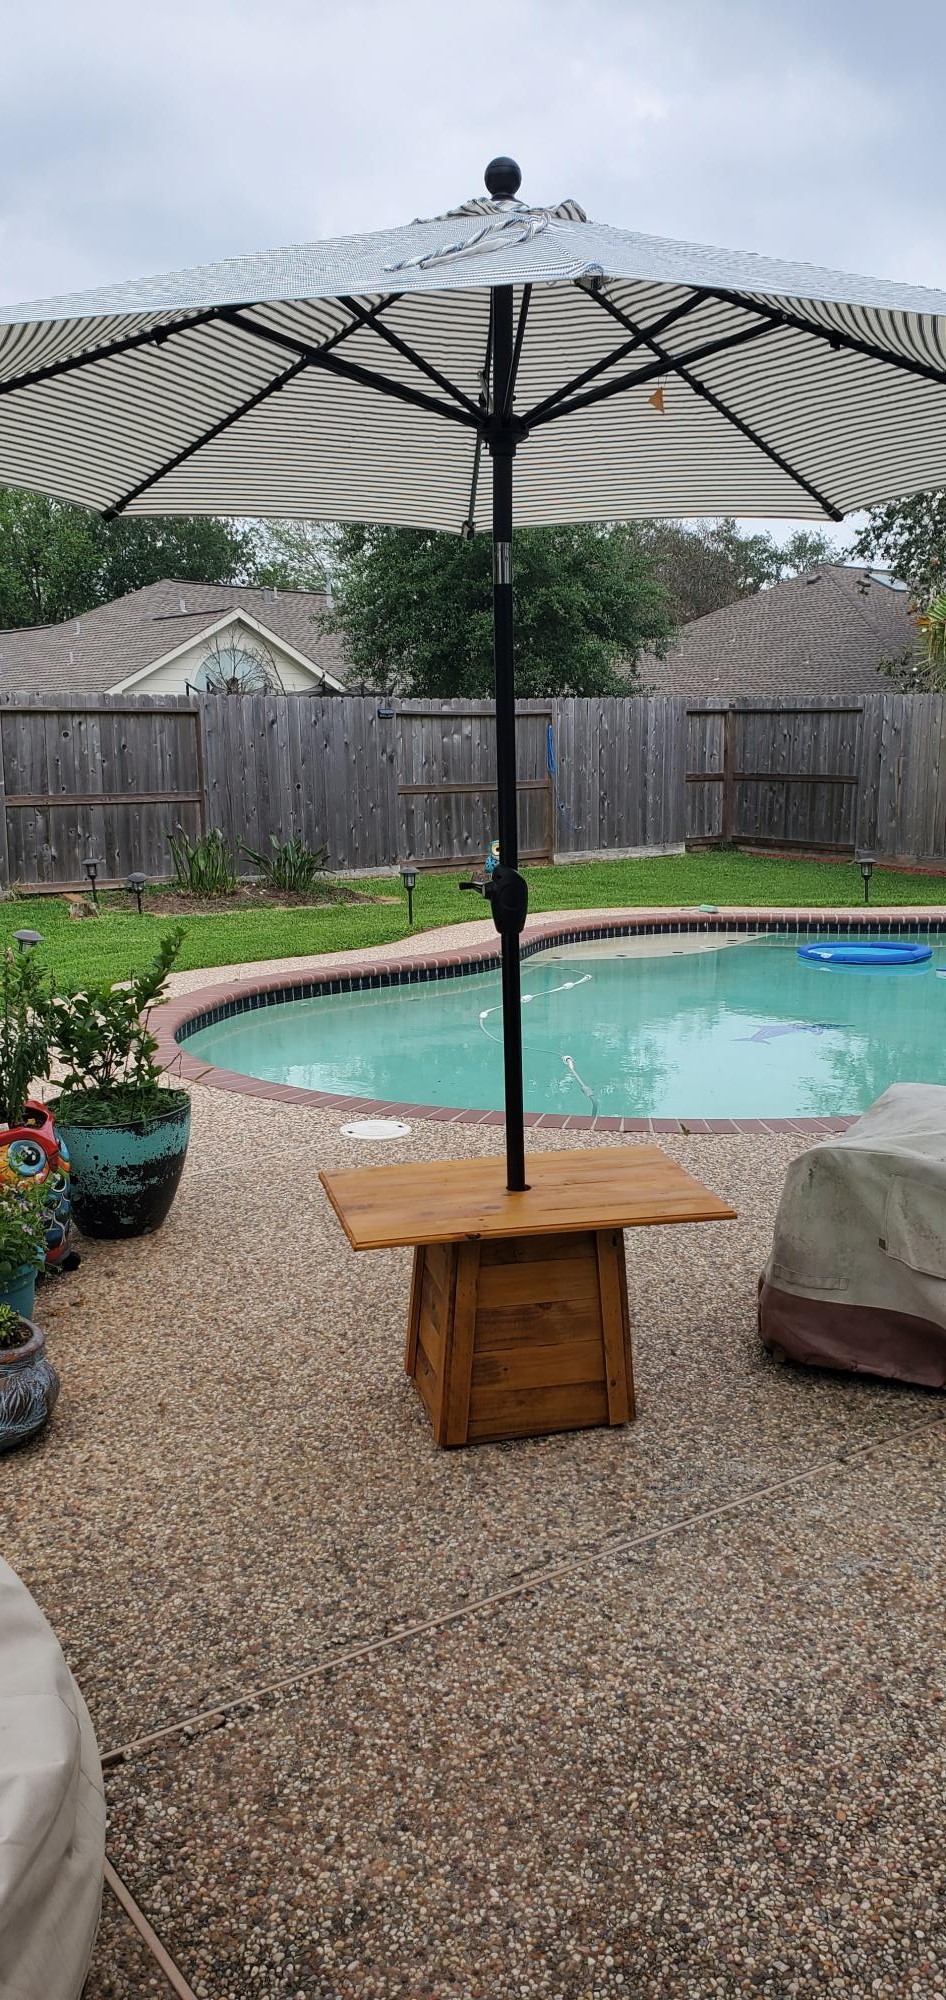
I used the Ana's Cedar Planter plans and flipped it, placed a bucket with cement inside to support umbrella and made a simple table top for drinks. Hope you like it ✌🏾
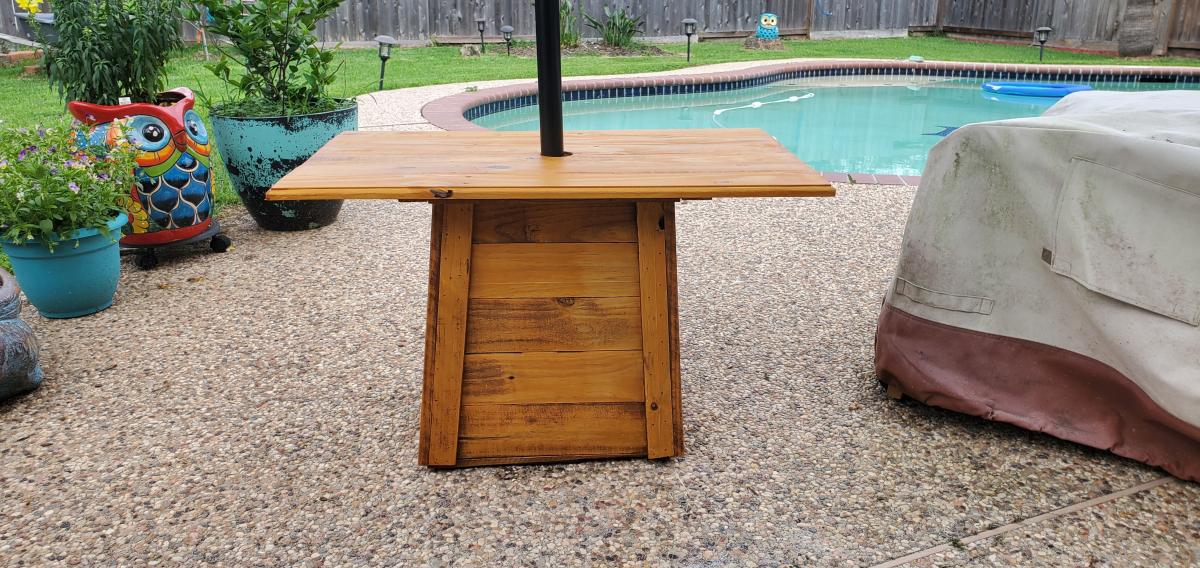

I used the Ana's Cedar Planter plans and flipped it, placed a bucket with cement inside to support umbrella and made a simple table top for drinks. Hope you like it ✌🏾

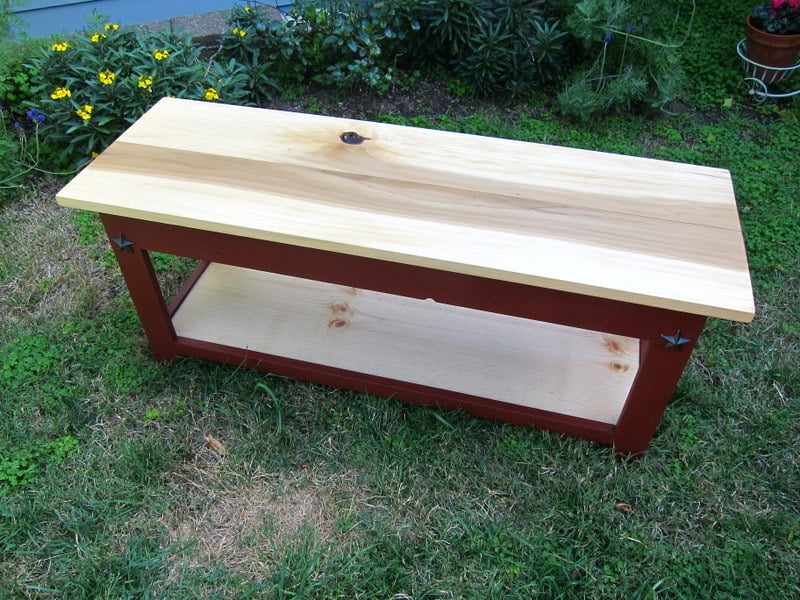
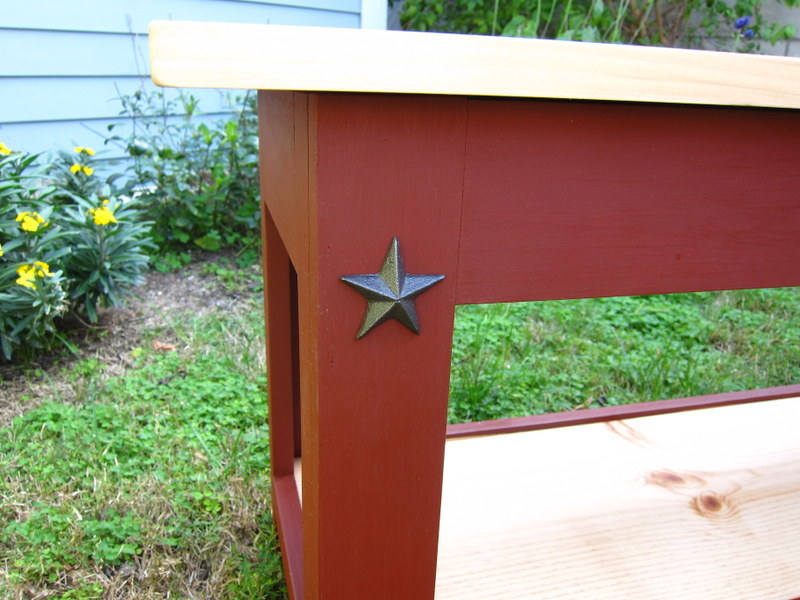
I built a modified version with the top made of two pieces of poplar joined by pocket screws. The hinges are the back outside of the bench. I finished the top with 100% tung oil and painted the structure with barn red milk paint. I finished the lower shelf with a home made poly-tung varnish blend to make it more waterproof for wet shoes. I added some metal stars I found at a flea market because I like the look of the stars -- like those on so many old houses on the east coast.
Mon, 04/22/2013 - 20:57
I love how this looks! I also like how the top is solid and the hinges don't show.
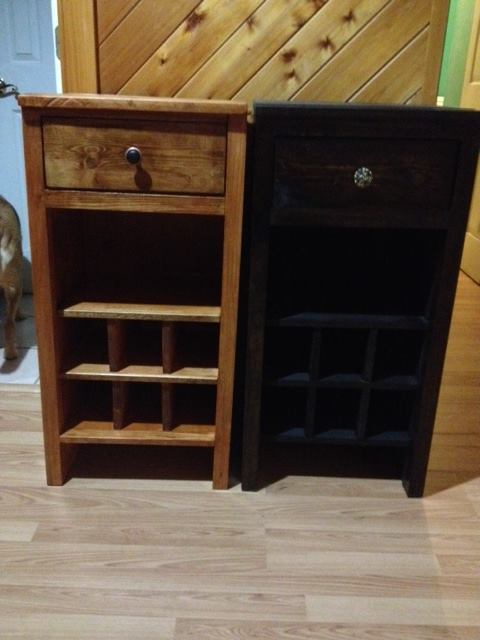
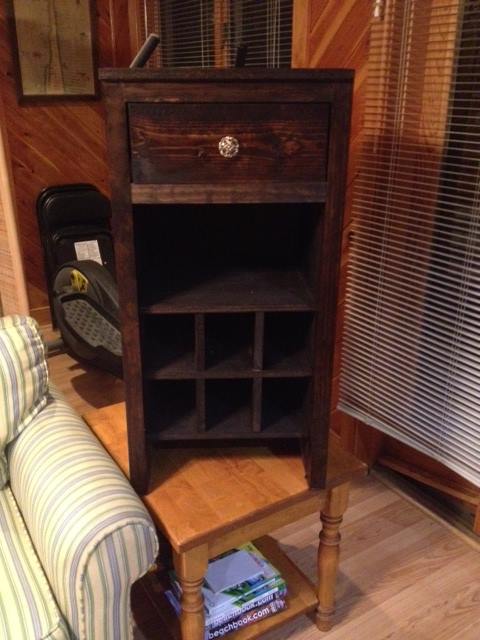
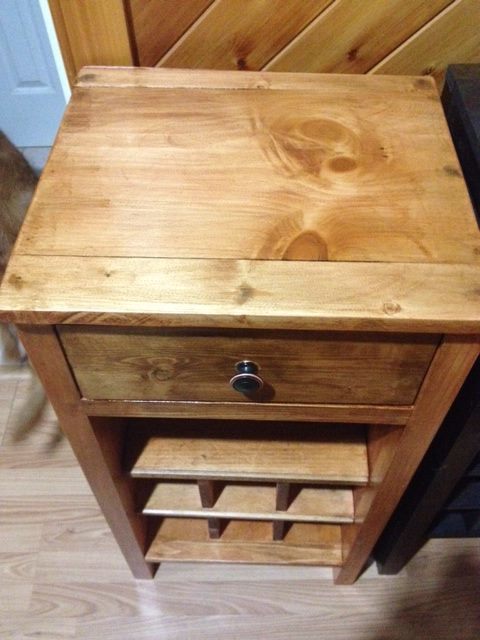
I made it to hold 6 large or small bottles. Glasses can be set on the shelf.
We used Anna's outdoor Sofa plans, which were very easy to read. For wood, we kept costs low by using pressure treated wood, and staining it with Minwax Colonial Walnut stain. We did use the lumber cutting service at Home Depot- only $15 for the cuts, and it made the project time very quick. The cushions were from Lowes, and throw pillows were purchased the previous season at Homesense. We are so happy with how it turned out. Thanks, Anna!
I added my own unique twist to this desk by building it from reclaimed pallets. I made a frame to support the desk top pieces, then sized the pallet pieces to fit on top. I also used pallets for the shelves. Full details at the blog in the link.
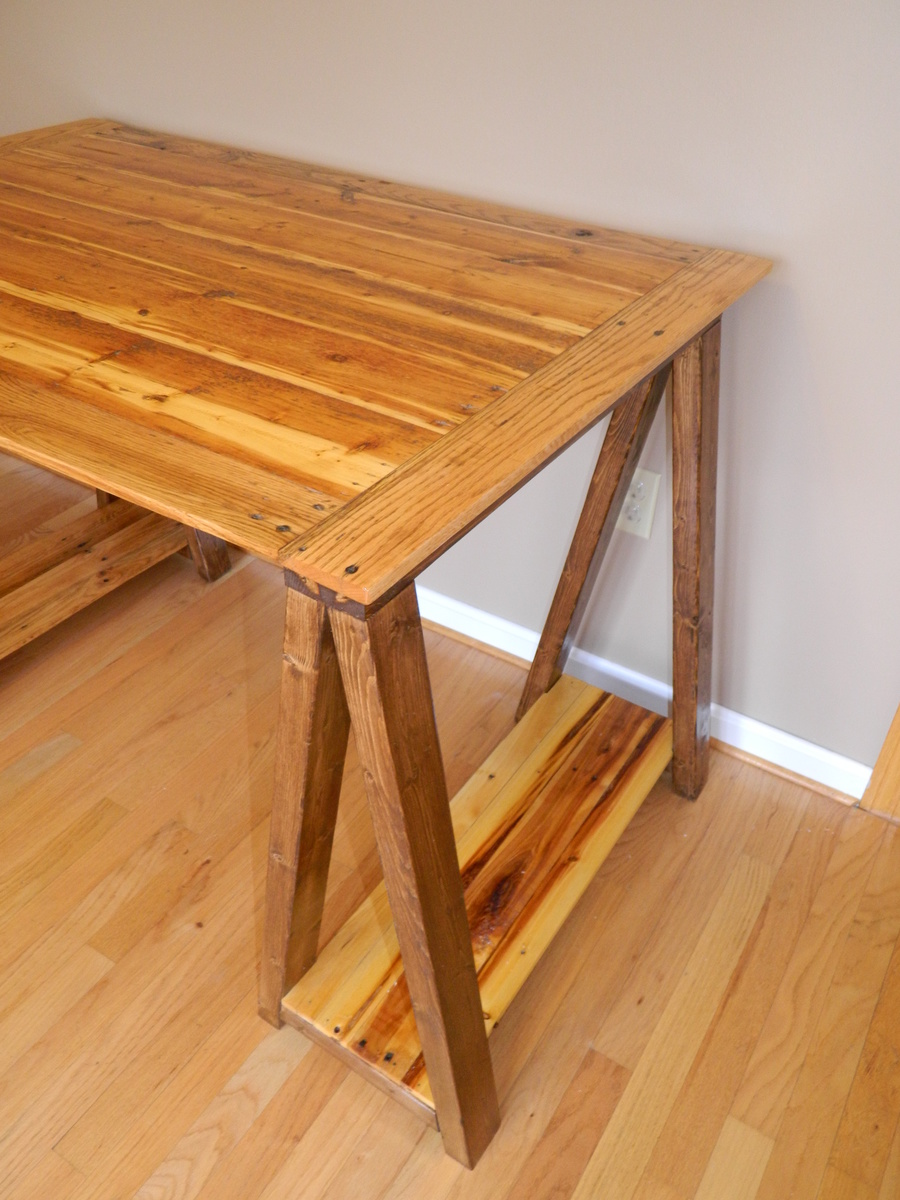
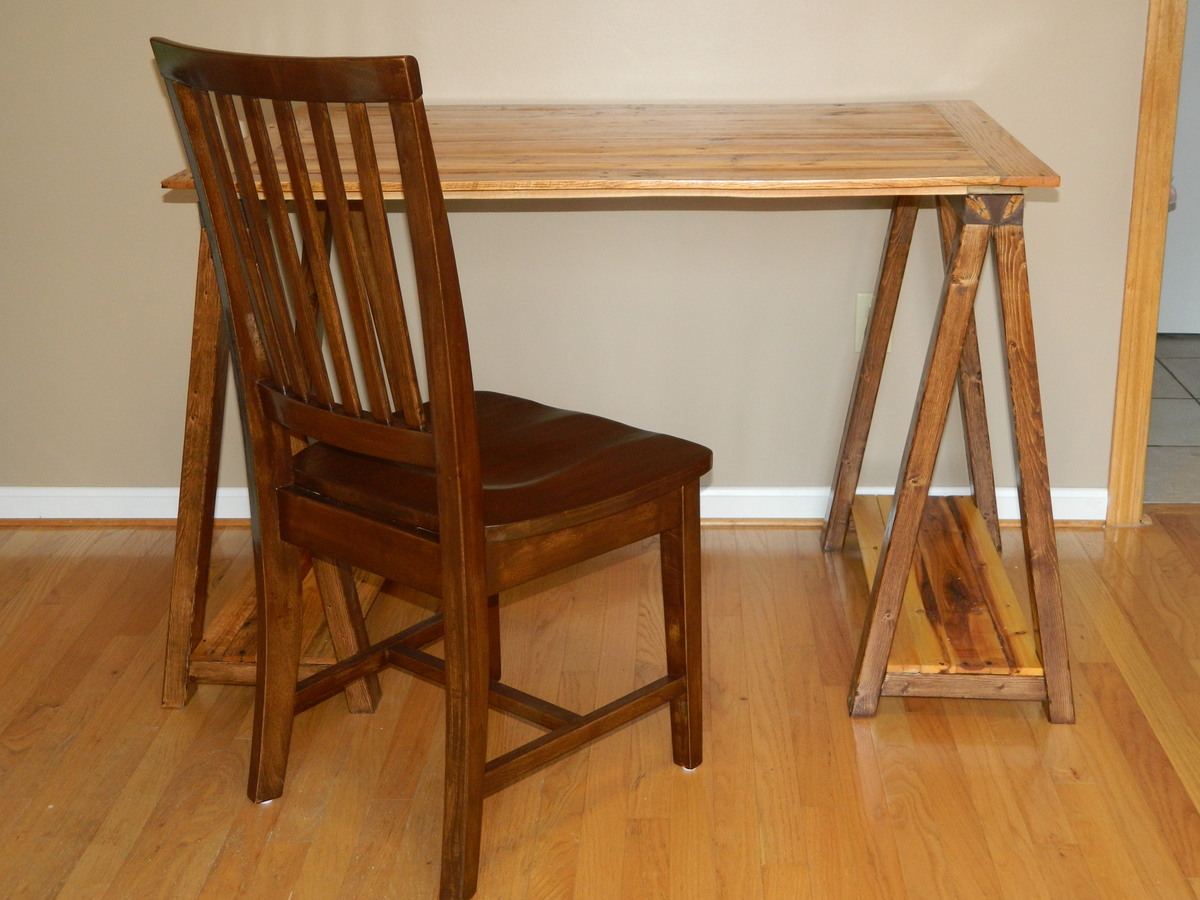
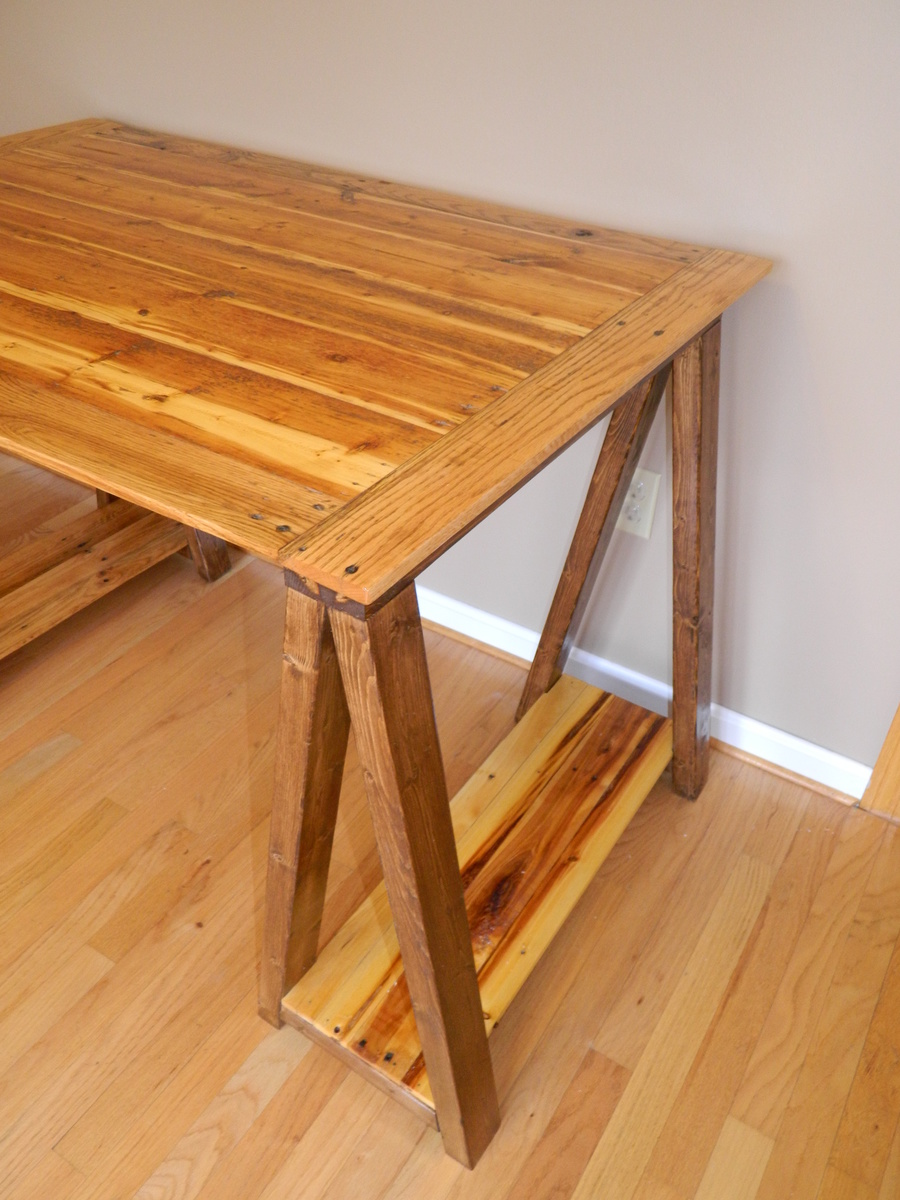
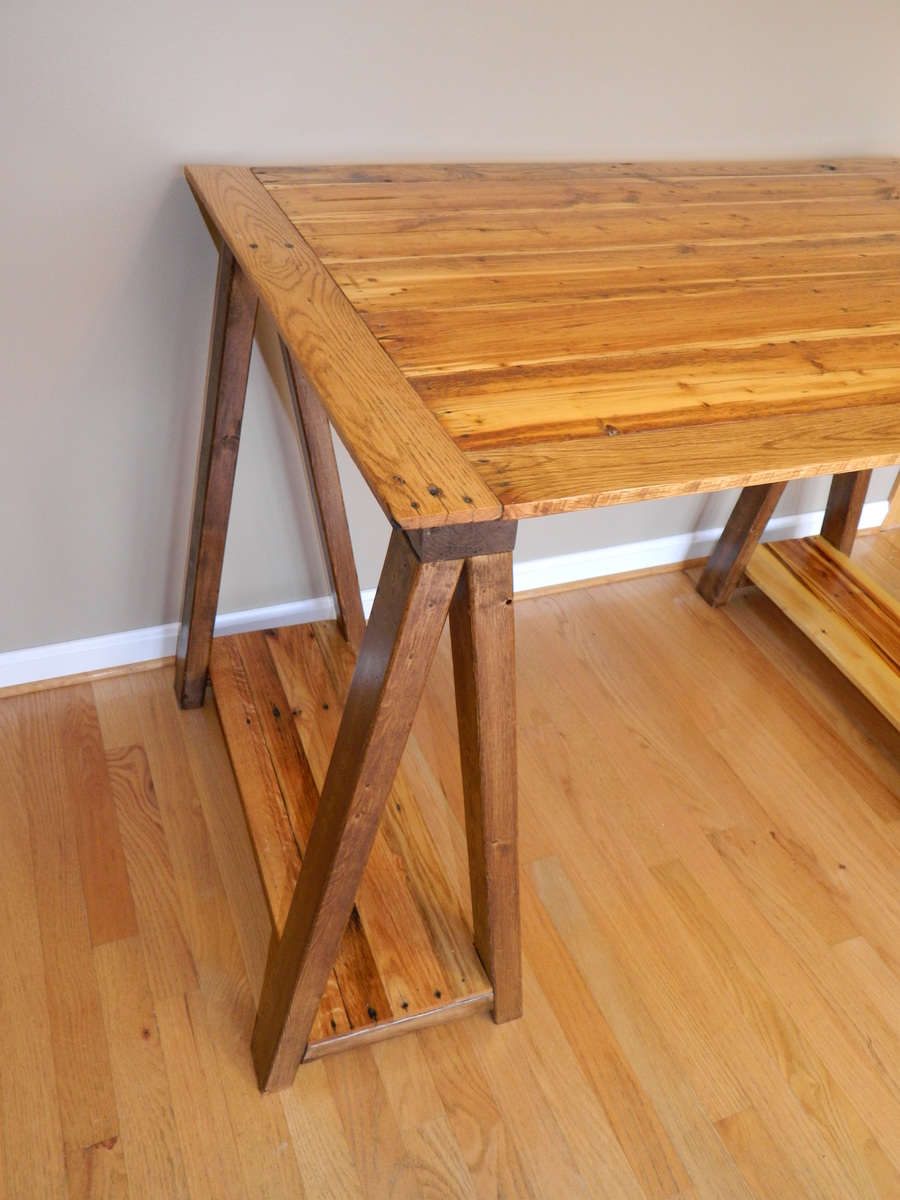
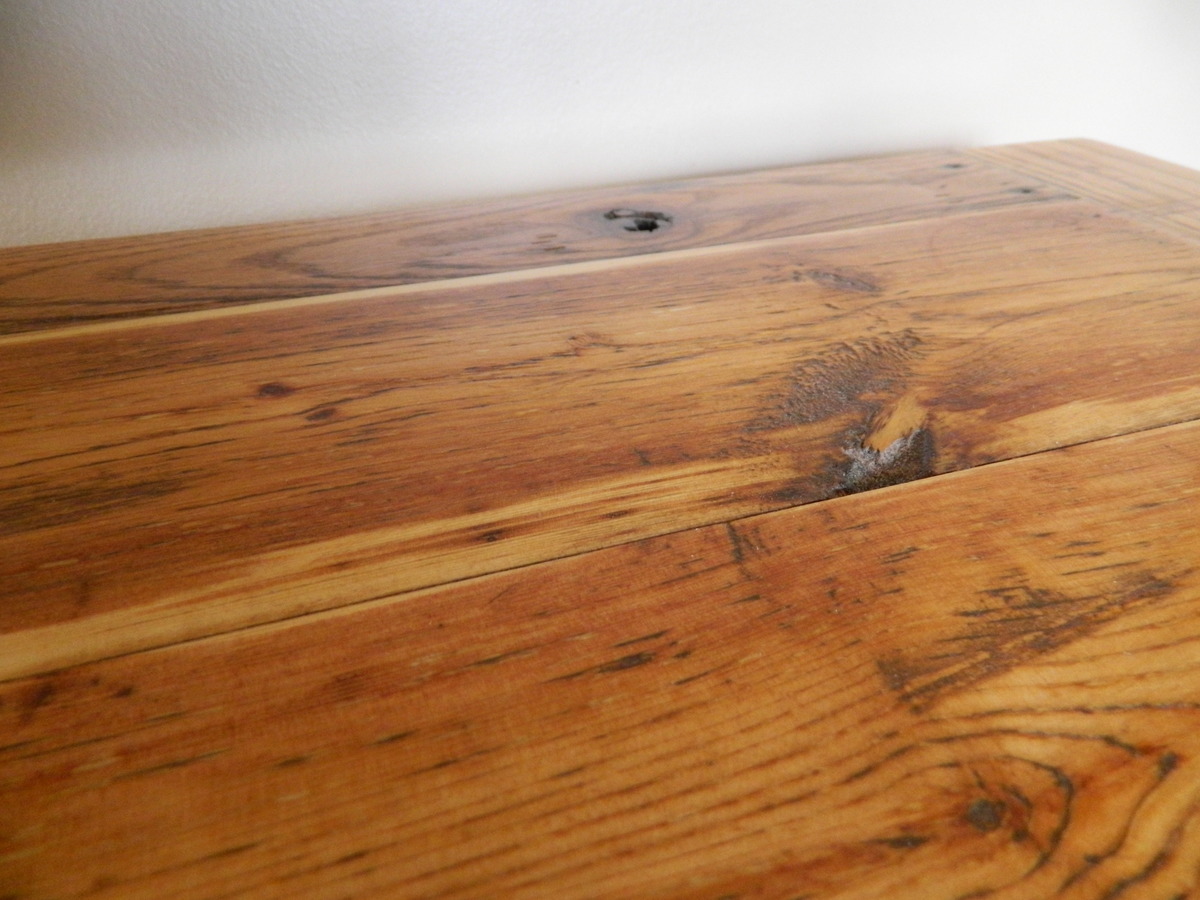

Small coffee table. Have to admit it and say messed up on this one as cut the sides wrong length and didn't realize until all glued up!!!
Ended up 3 inches wider than was supposed to be which then messed up my plans for the top.
Had to redesign the top and decided to use some 1 by 6 and 1 by 4 offcuts to fill in the middle part which was supposed to be one long 1 by 6 piece. Pretty pleased with how it turned out in the end.
Finished with Varathane Kona and three coats of Varathane Satin Poly.
Drawers were finished in Minwax Special Walnut.


Welcome to our labor of love. This is our first build and while my bf did most of the work, it was a great project for us as a couple. It was definitely work, but well worth it. We love the way it fits perfectly in our courtyard and people keep commenting on how high-end it looks. Thanks for the plan, Ana! The project took a little longer than it probably should, since it was the first project for us. You should account fort he time it will take to cut, sand and stain your pieces before assembly. There are times you will need to allow for the lumber to dry etc.
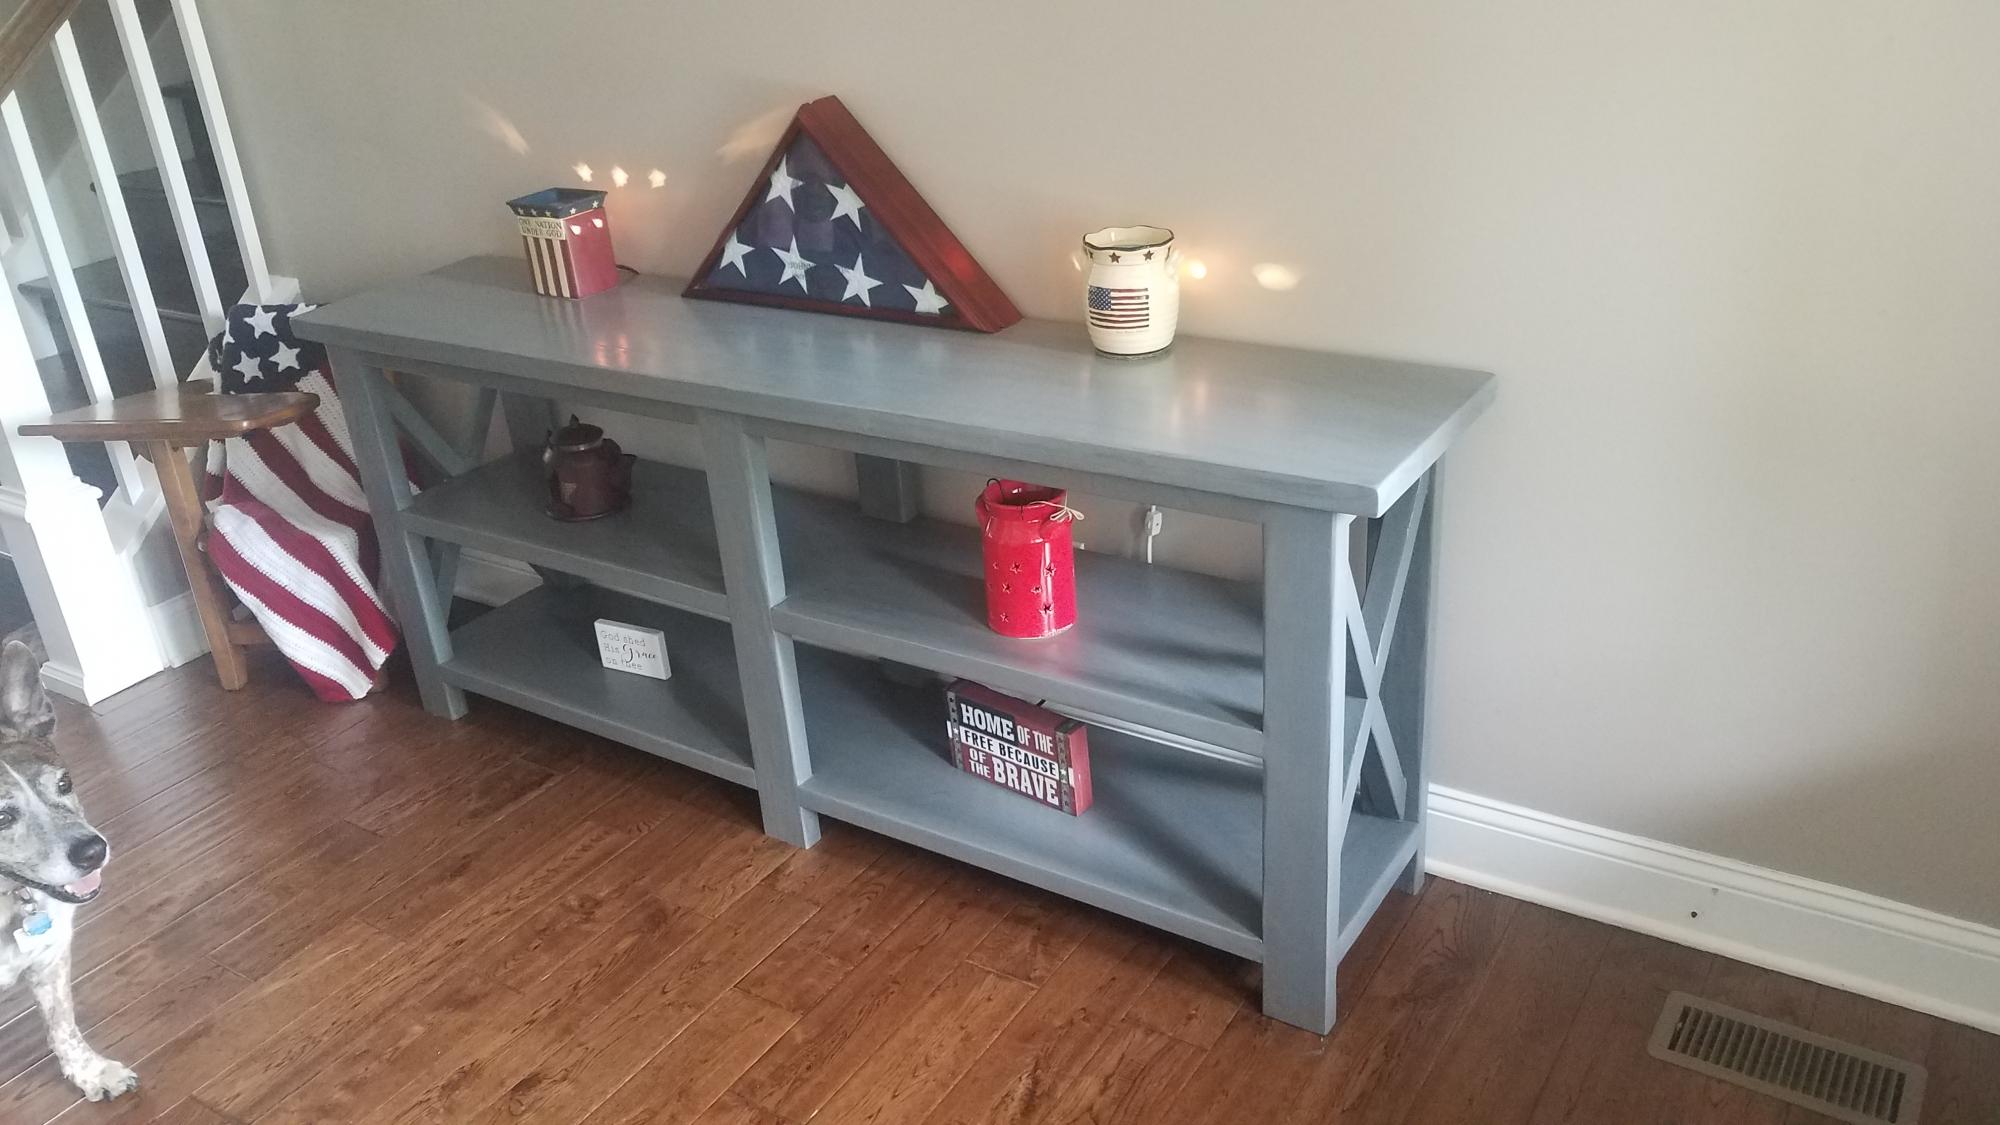
Built this using Ana's Rustic X console table plan.
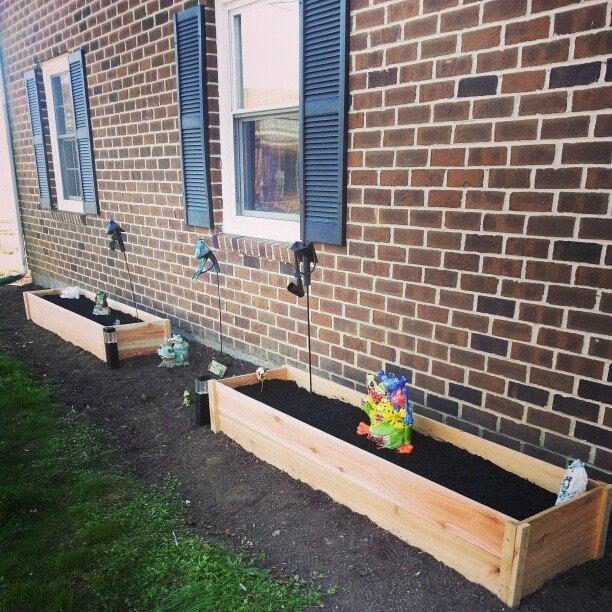
We live in a ground level 3 bedroom apartment, and I desperately wanted somewhere to plant some veggies and pretty flowers. When I found the plans for the $10 cedar garden beds we went to town! Cedar fence posts were more expensive than had been used in the plan, and we chose not to finish the tops, so lumber cost us $36 to build two. Still pretty good considering the plastic snap together ones run about $40 a piece and are smaller than the ones we built. We're really proud of them and can't wait to get some stuff planted!
Sat, 04/06/2013 - 19:28
Hi! I saw these cedar beds and was excited to make them as well, but I was unable to find any cedar plans or fence posts are our local home depot. Any suggestions on where you found your wood?
In reply to Cedar Beds by JuliaLovesTiffany
Sat, 04/06/2013 - 19:33
Hi JuliaLovesTiffany - did you look for the fence pickets in the garden section? They're not with the rest of the lumber, but usually at the back of the garden area. Here's the one I use.
Hope this helps!
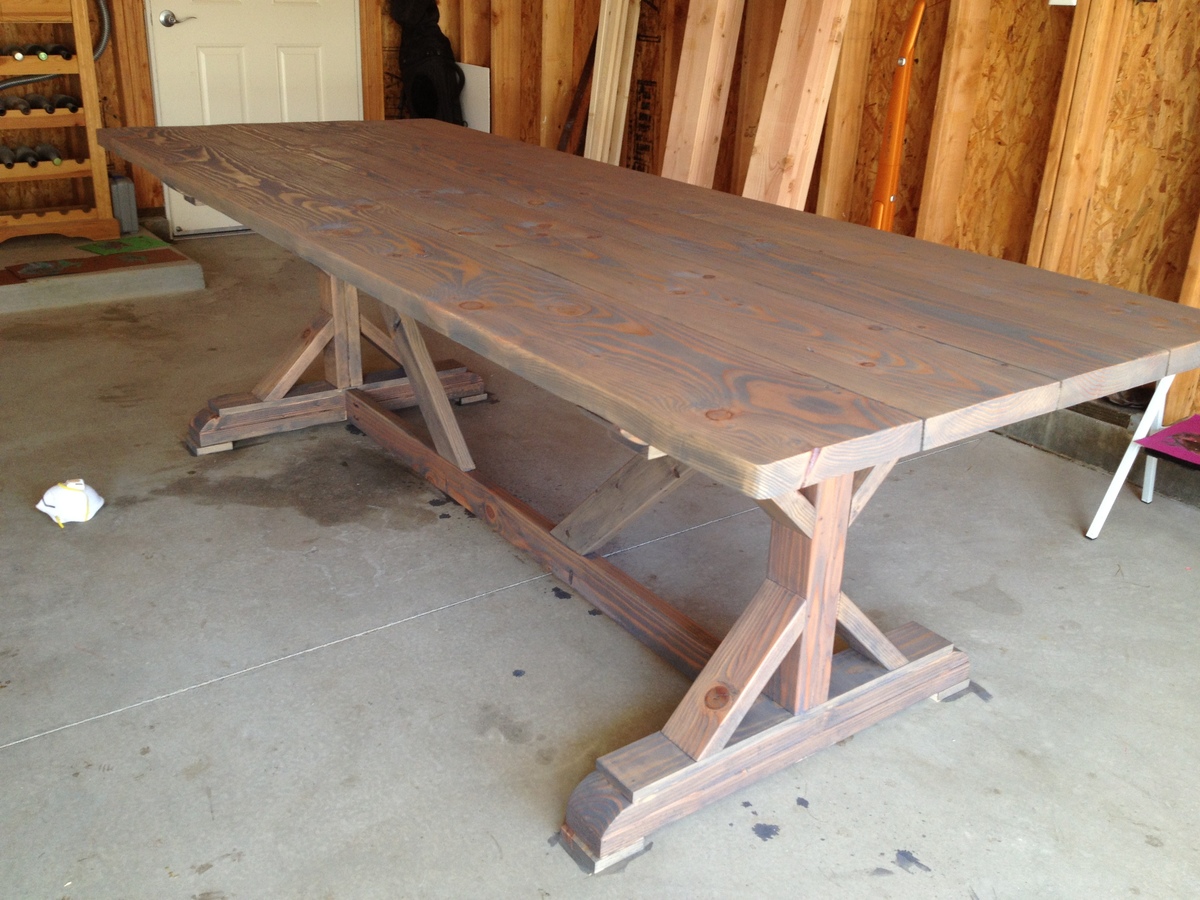
Built this table for a friend from the Ana White- Fancy X plans. It turned out amazing!
Fri, 01/10/2020 - 07:23
Love the table. Colors are great. I noticed you modified the table to to have five 2x10s instead of the plan 4. I was planning on doing the same thing. Did you have to modify the base to account for that? Specifically I'm wondering how, if at all, I need to adjust the angle of the X pieces. Thanks for your time!
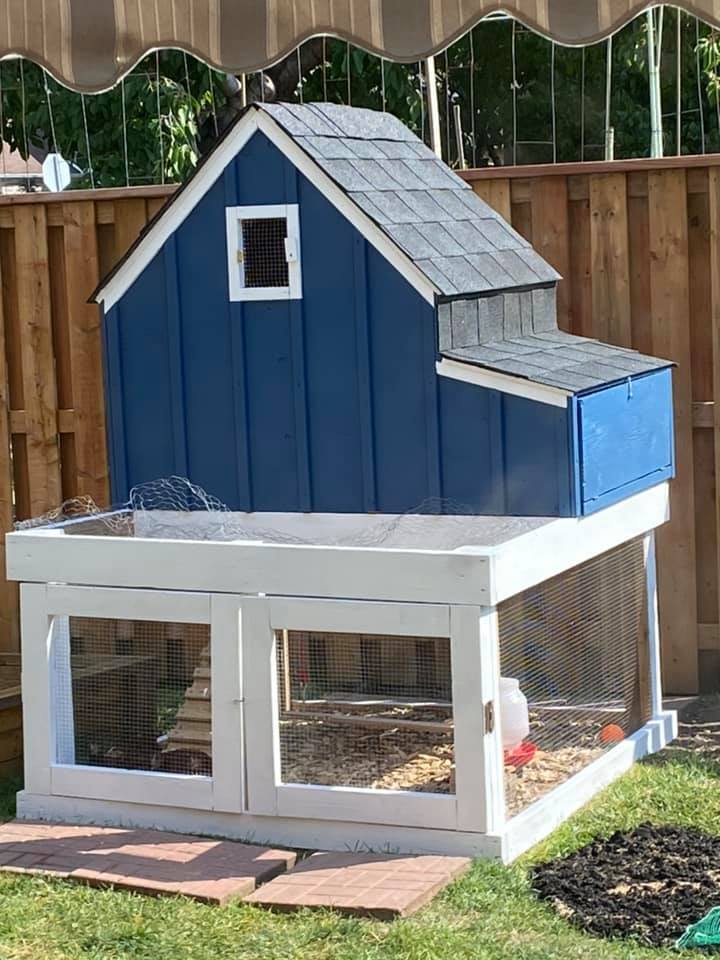
I printed off your instructions and I had all the wood in the garage already. My husband and son finished this in a day and a half. I love it! I painted it. Still not sure what I want to do instead of the planters. I like that idea but I like to have access if I need to clean it. I love all the ideas on this site.
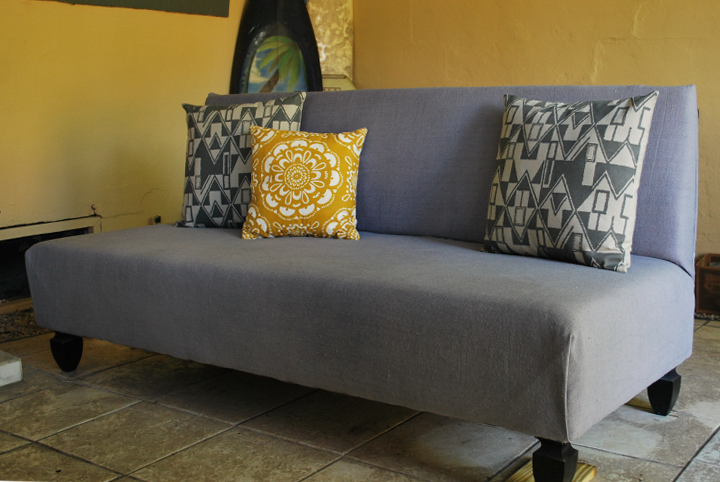
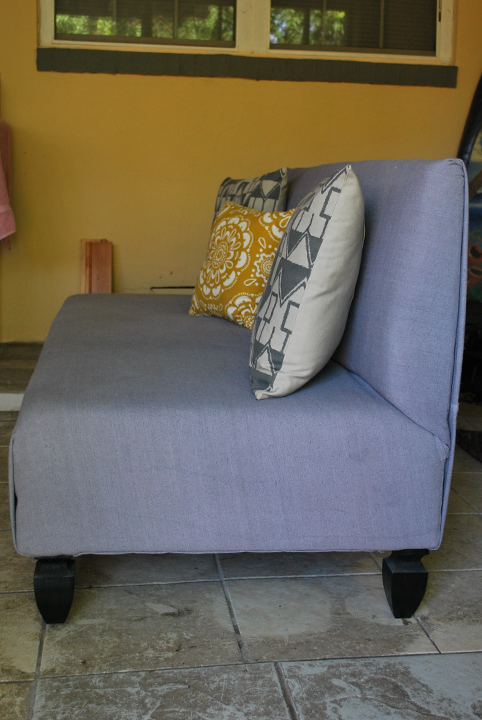
My husband and I built this modern upholstered outdoor sofa for our back porch. As it was going outdoors we used treated lumber, a painters drop cloth (dyed with Rit dye), and coated deck screws. We are so proud of the way it came out! Please see my blog for more details on the build.
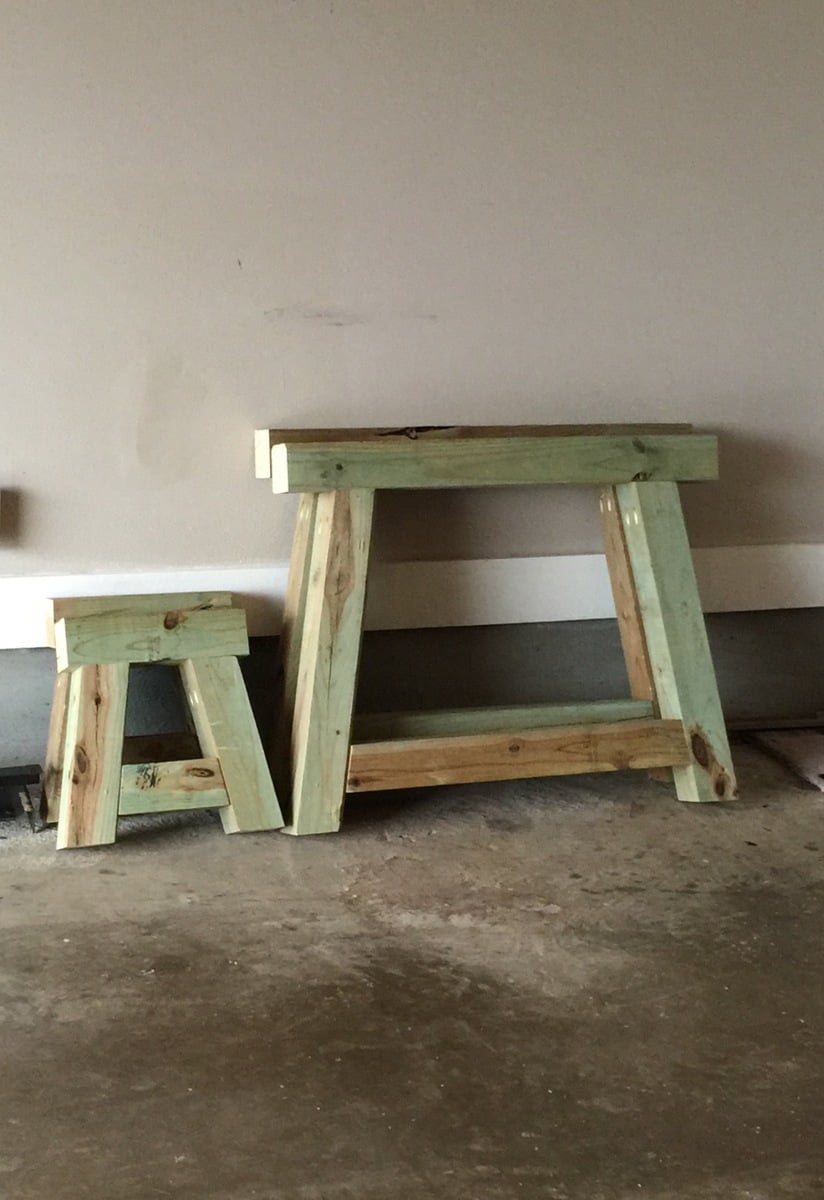
We recently moved into our new house and had an empty dining room. Instead of buying tons of furniture, I bought a compound miter saw, a drill, & a Kreg jig. I'm the heavy lifting & my wife is the cosmetics. We couldn't be happier with how the table and bench turned out. We get complements constantly on the set.
Wed, 02/25/2015 - 10:18
Everything looks great ... what grade of wood did you use? My fear is if I use the cheap stuff from Lowes or HD that it will shrink up on me. I know the Kreg Jig will work to alleviate gaps, but I didn't know if you upgraded wood to help as well.
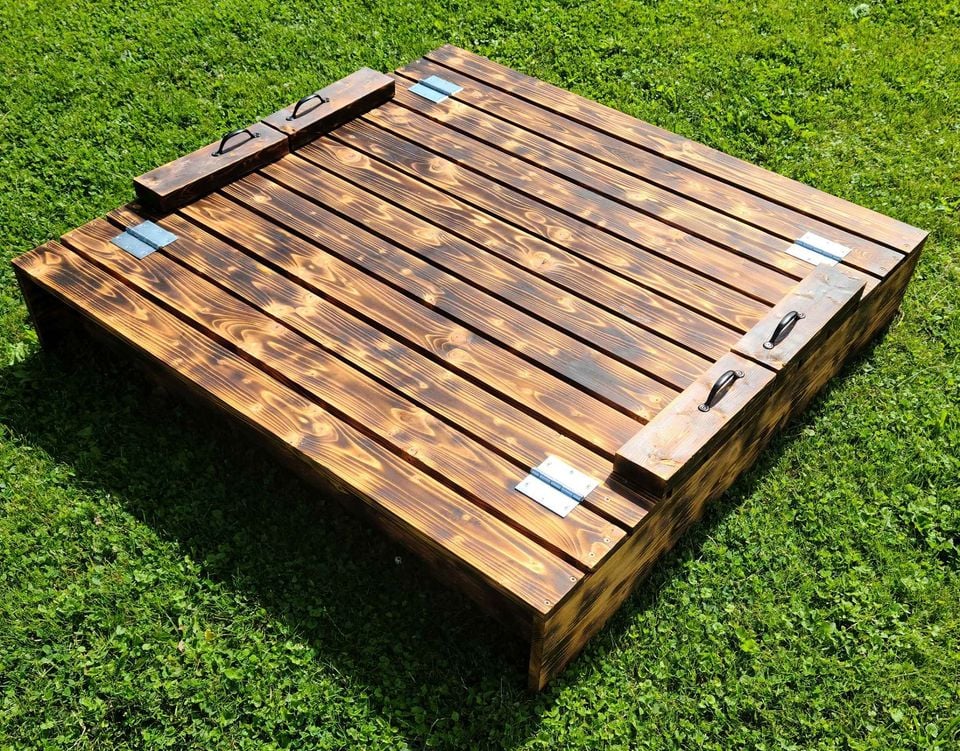
Burnt and stained with a semi transparent mahogany water sealer
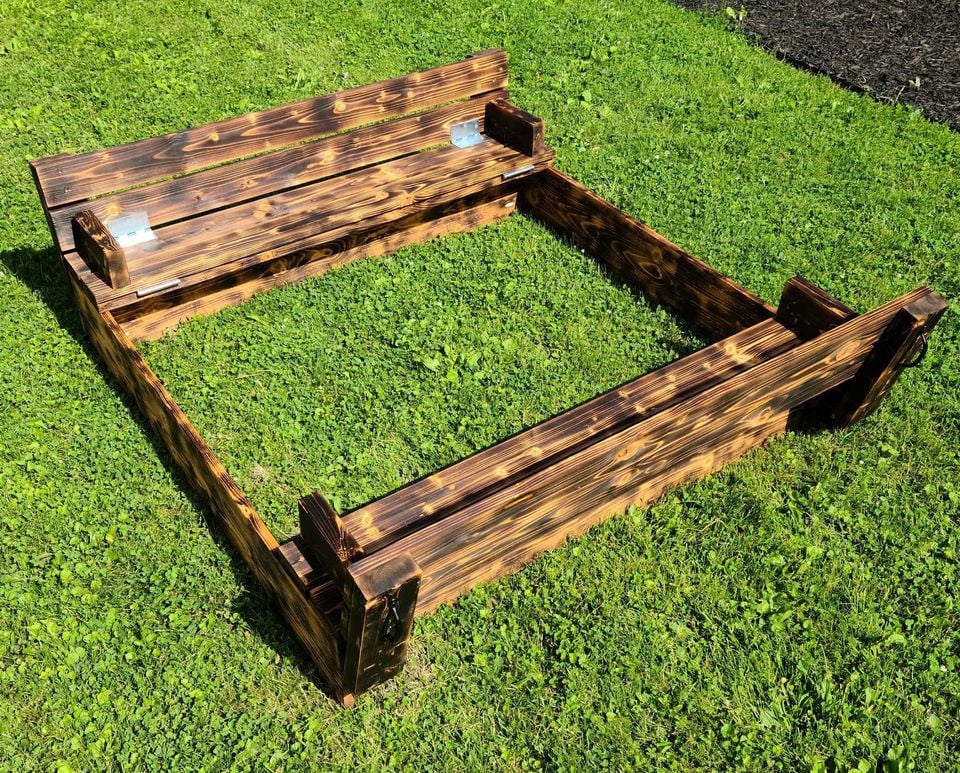
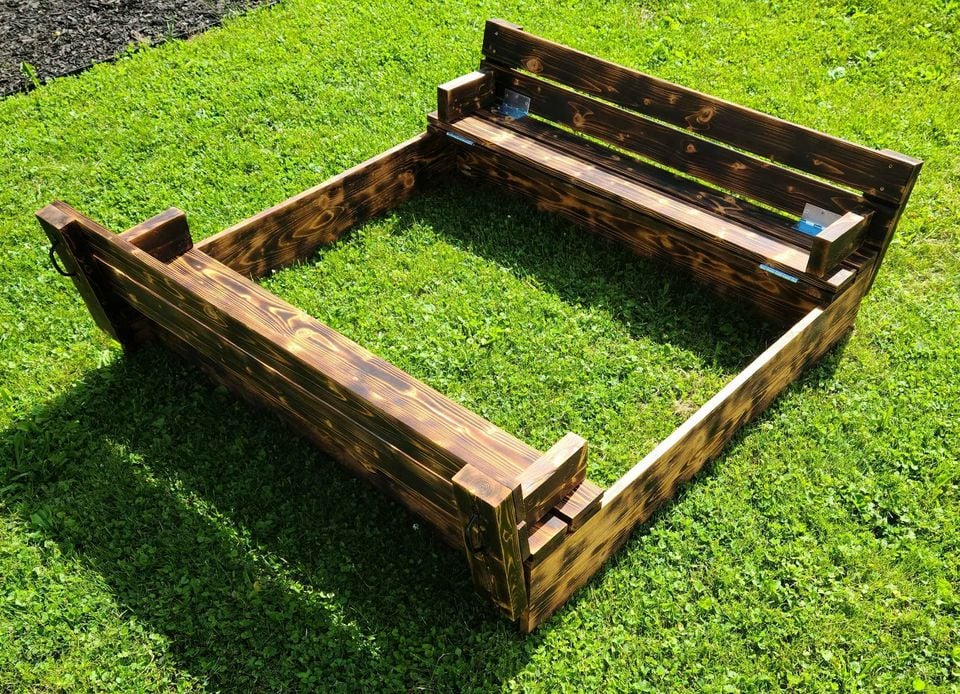
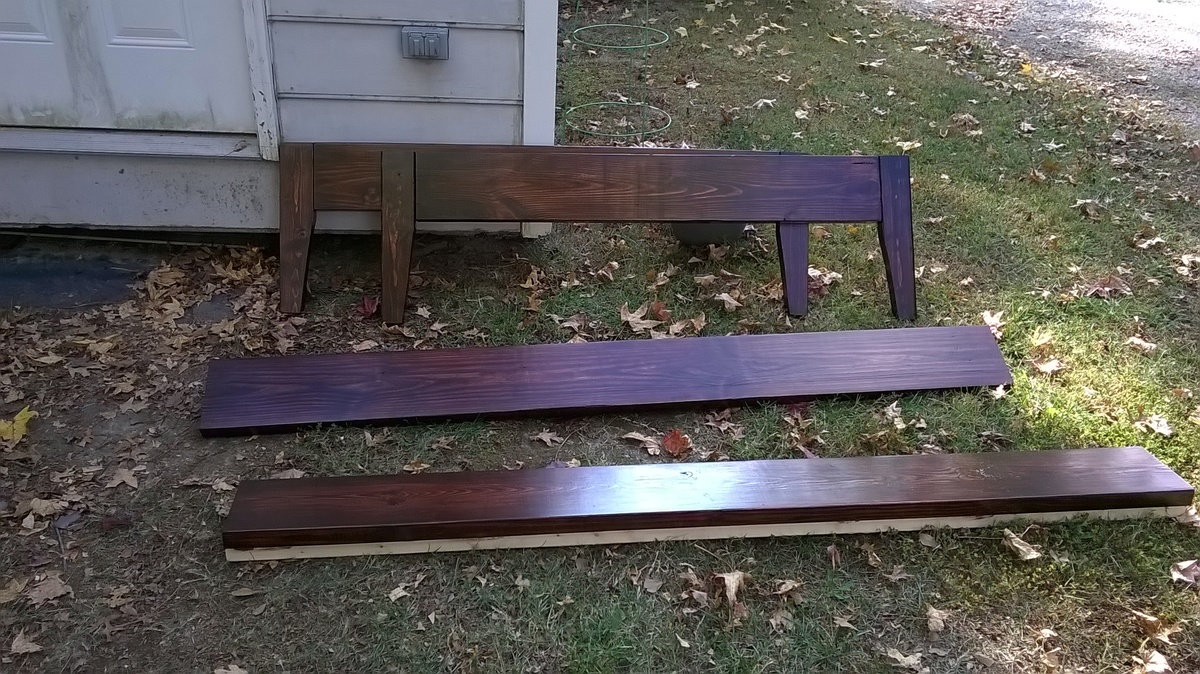
This was my first build. I modified the dimensions to fit a full sized bed and used 1x4's as the slats. Overall I am very happy with the outcome and learned a lot from the build. Of note these plans do not accommodate a box spring. This bed fits perfectly in my very small guest room and is very sturdy (and heavy!). I did not glue the corners for easier disasembly when I move.
This project took me a long time as I am a new builder. I would expect a more experienced builder could make the bed in a day.
Fri, 09/16/2016 - 14:01
hey there! I'm interested in building this in a full size. I've never built anything before; would you be able to describe the modifications you used to make this fit a full?
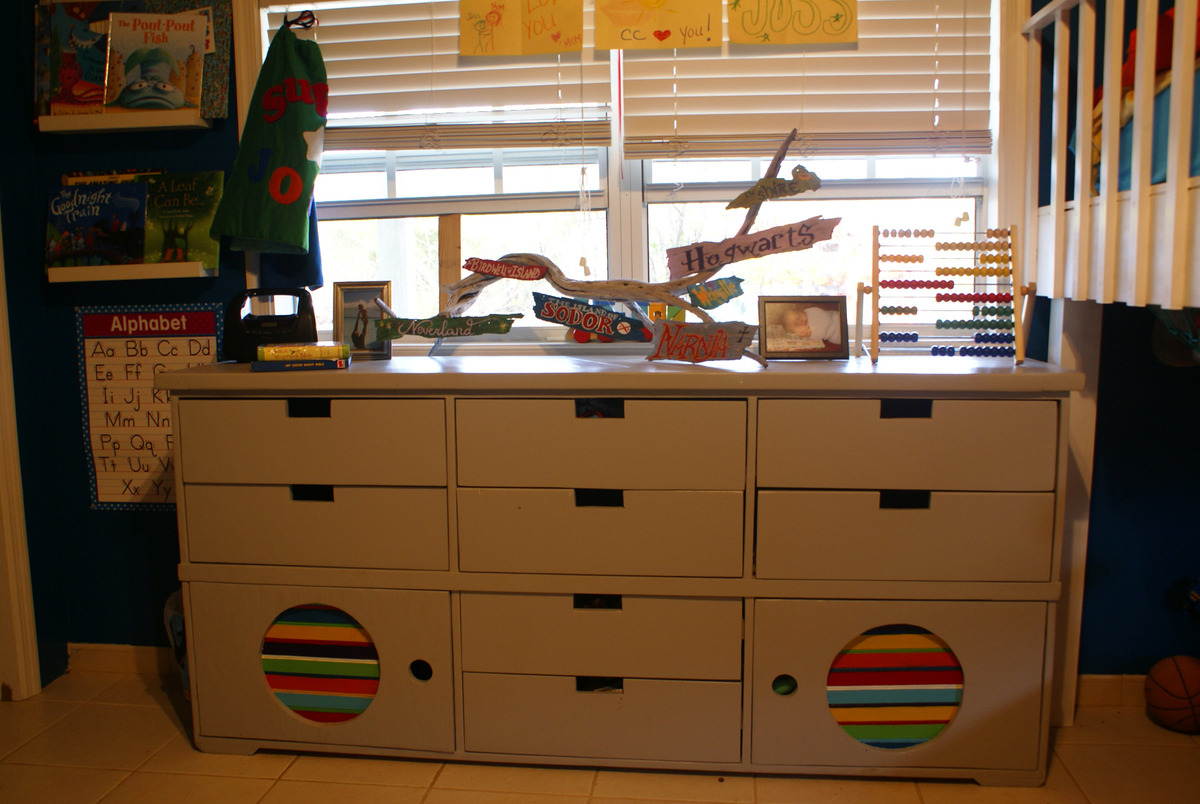
This project wasn't really a 'planned one', but just turned into something I could do fairly easily with the stuff I had on hand and some of the leg work I had already done. I did the original green bed in the Fillman Storage Bed with Drawers post. I had originally planned to do one of those beds for each of my boys in the room they share so we would have plenty of storage. We also homeschool and were in need of more room space, so we went a different route (you can see the messy picture that shows our new bed (double loft bed). WE LOVE the loft bed, but we also really love this dresser. The size is perfect and fits our needs. Thanks for checking it out. I have more specific photos showing what I did on the blog link I have on here.
Happy Building!!
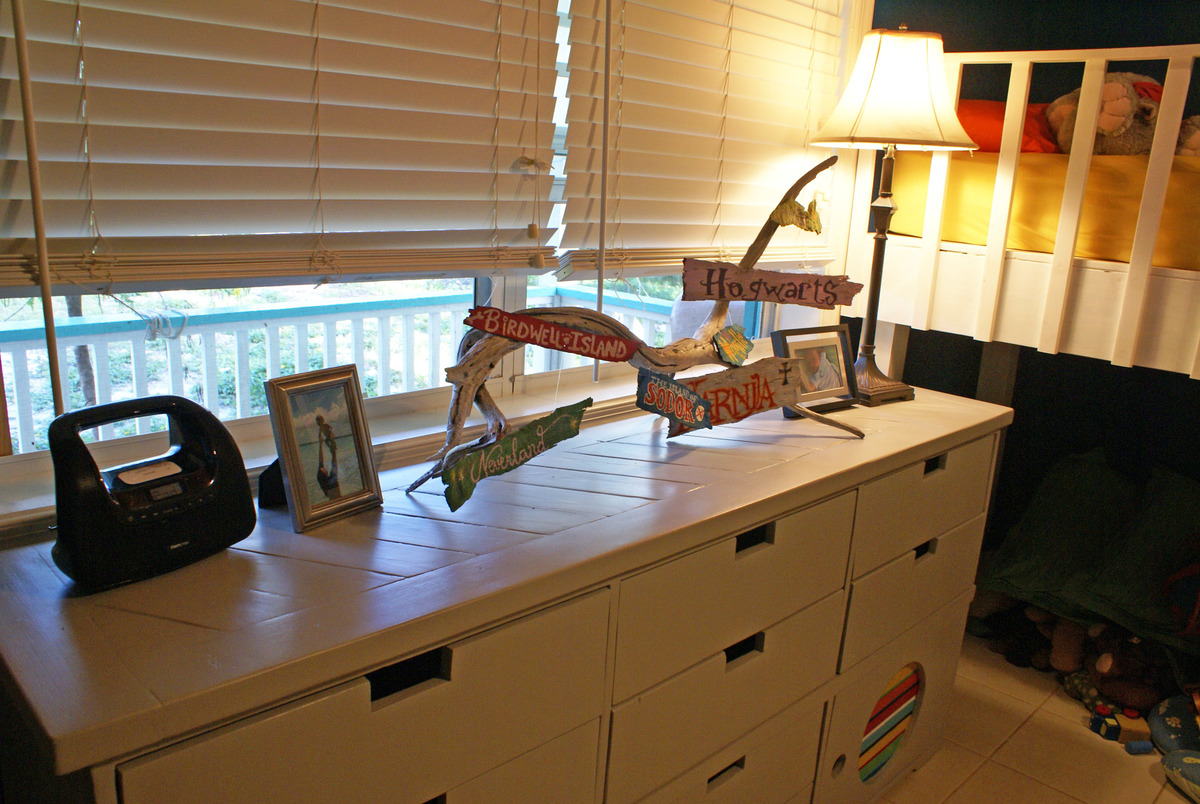
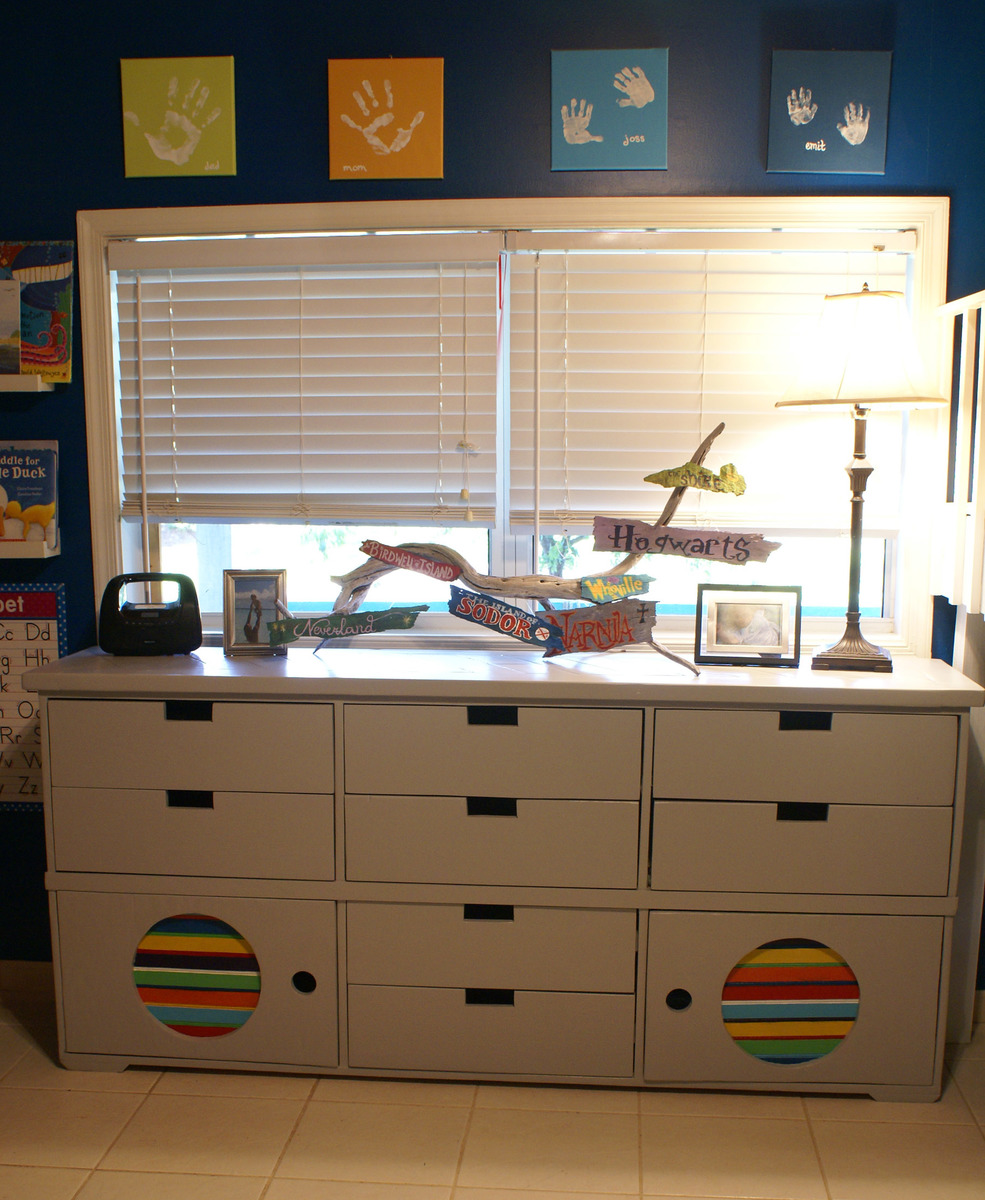
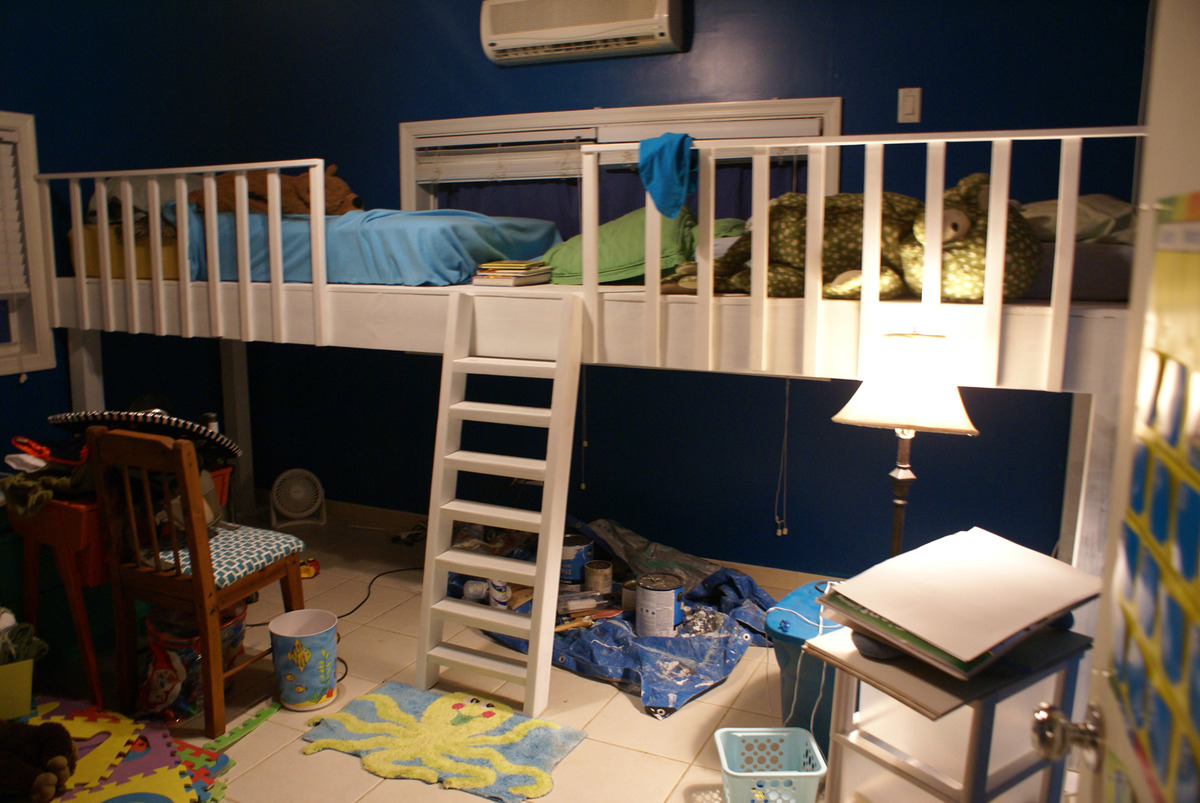

This loft was built with the ladder on the left end with a bookcase at either end and a desk with bookcase under the loft.
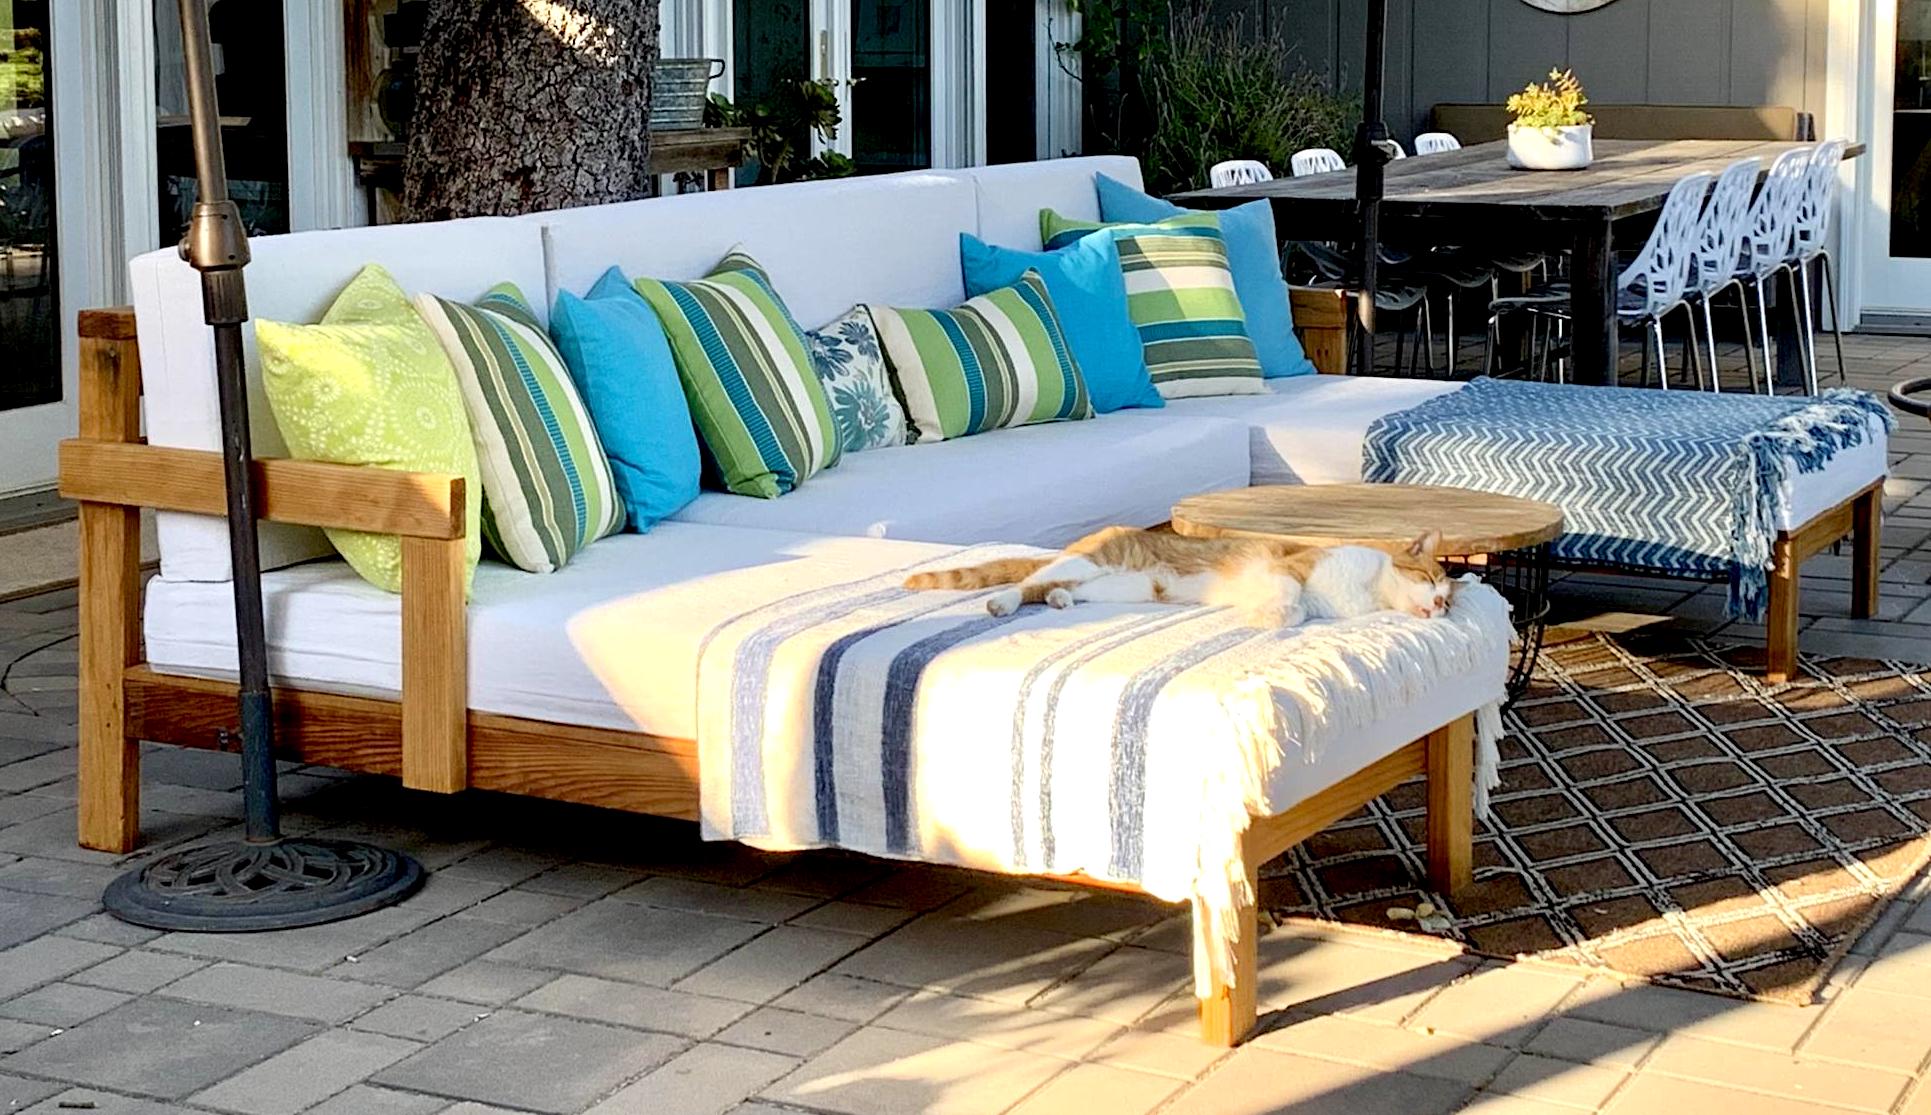
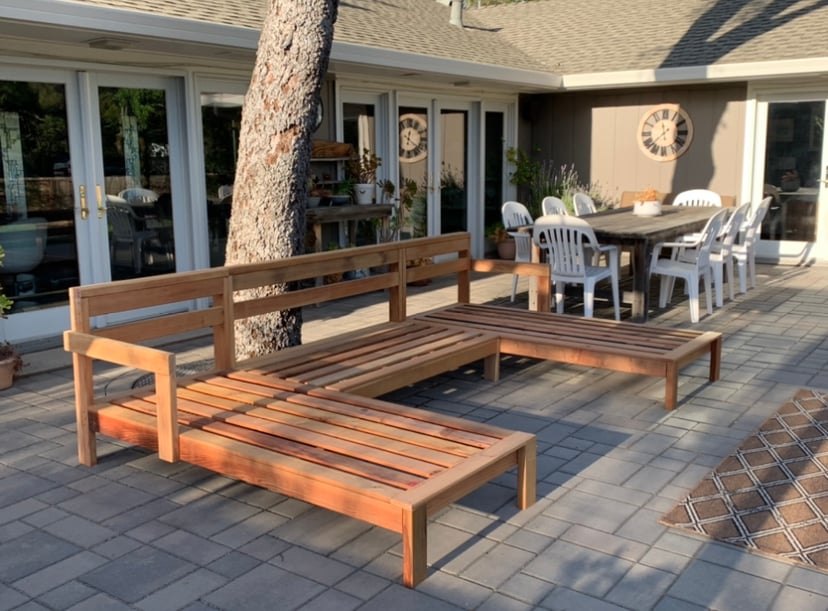
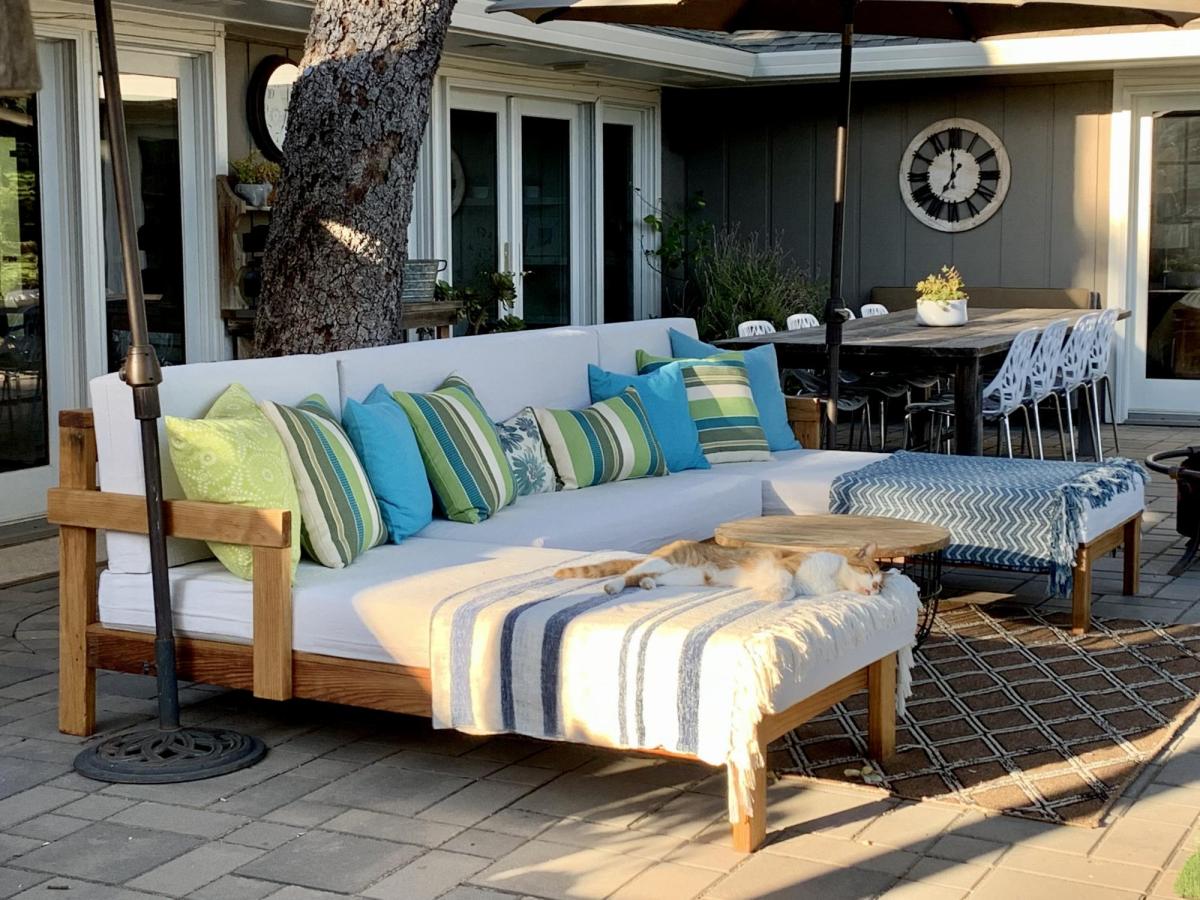
First wood project, thanks for the great plans Ana! I made the bottom cushions using 3" thick firm foam, 2" thick memory foam, and 1" thick batting (purchased in bulk and then cut to size), and covered them with outdoor fabric. The back cushions are 4" thick soft foam. I added easily removable/washable drop cloth covers on top of all the cushions. I don't have a finish on the clear redwood, but might add a clear coat to protect it. The memory foam makes this sofa very luxerious!
This project was super easy, my husband and I did this together while I was 9 months pregnant with our other 2 kids and dog running around the whole time! We made the table and 2 benches for $250 including lumber and finishing supplies. Check out my blog for details.
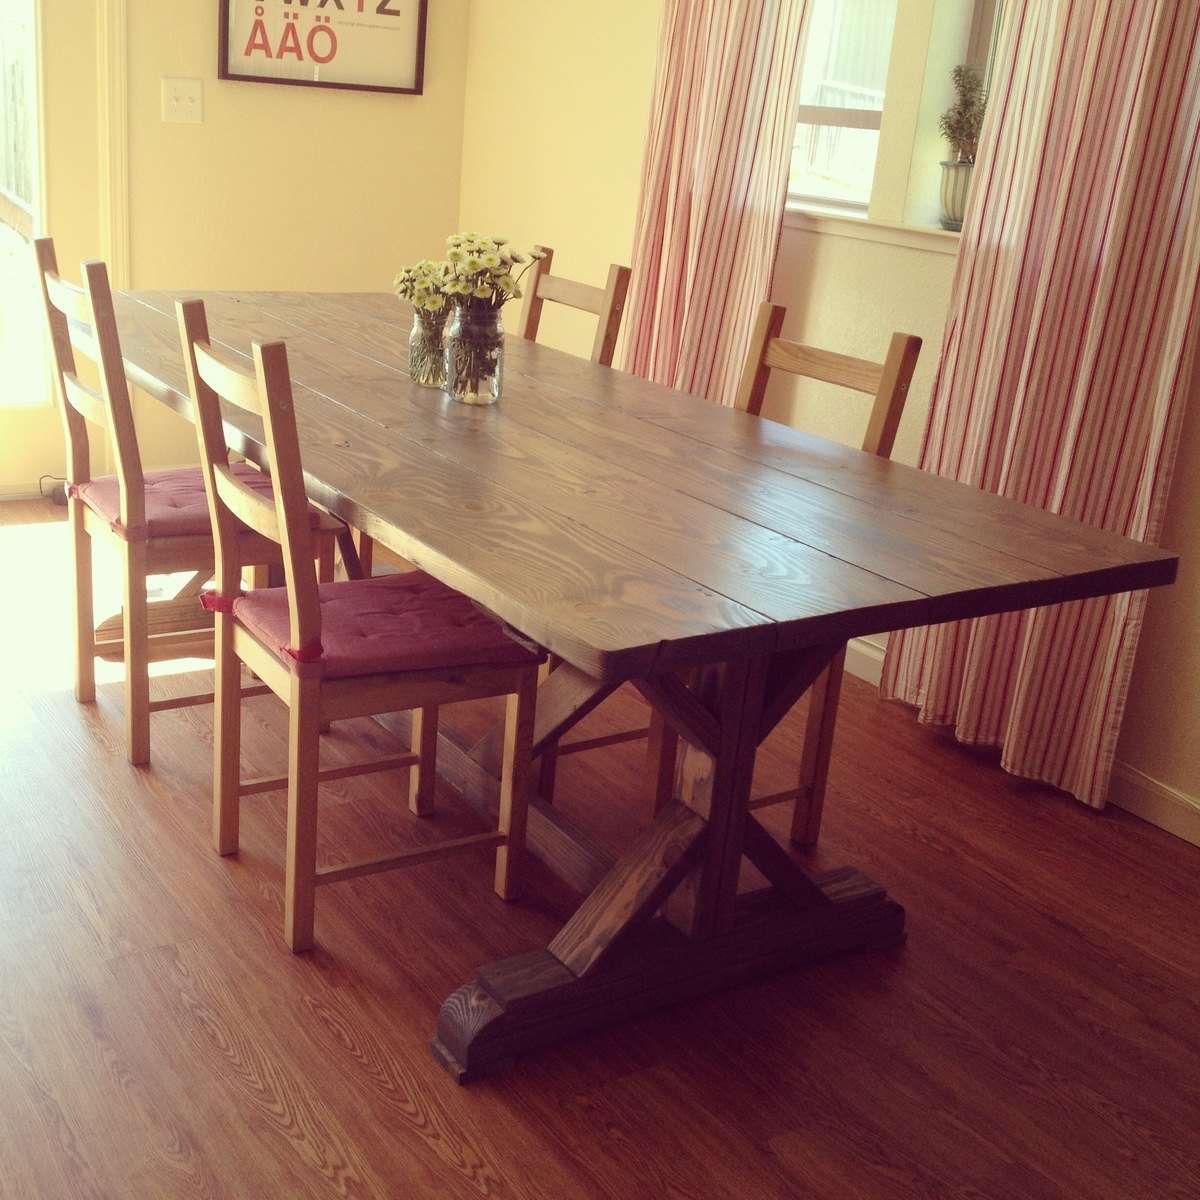
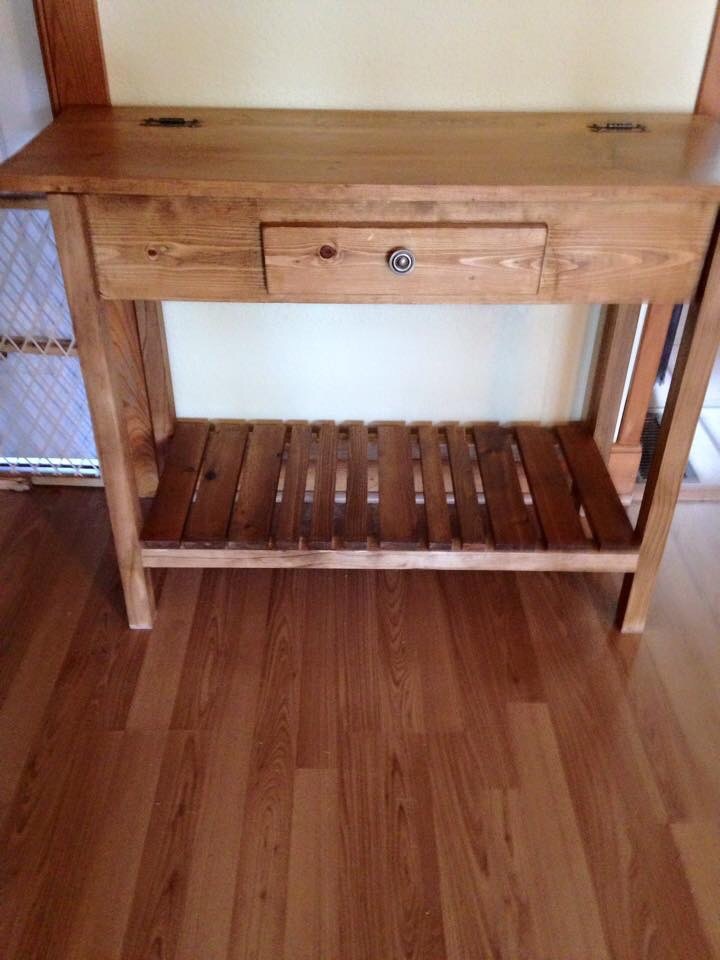
I made this smaller to fit in the space where it's going. I used 2x2 legs, and the table is 39" wide. I added the bottom shelf also. I will finish it in golden oak.
