Greenhouse
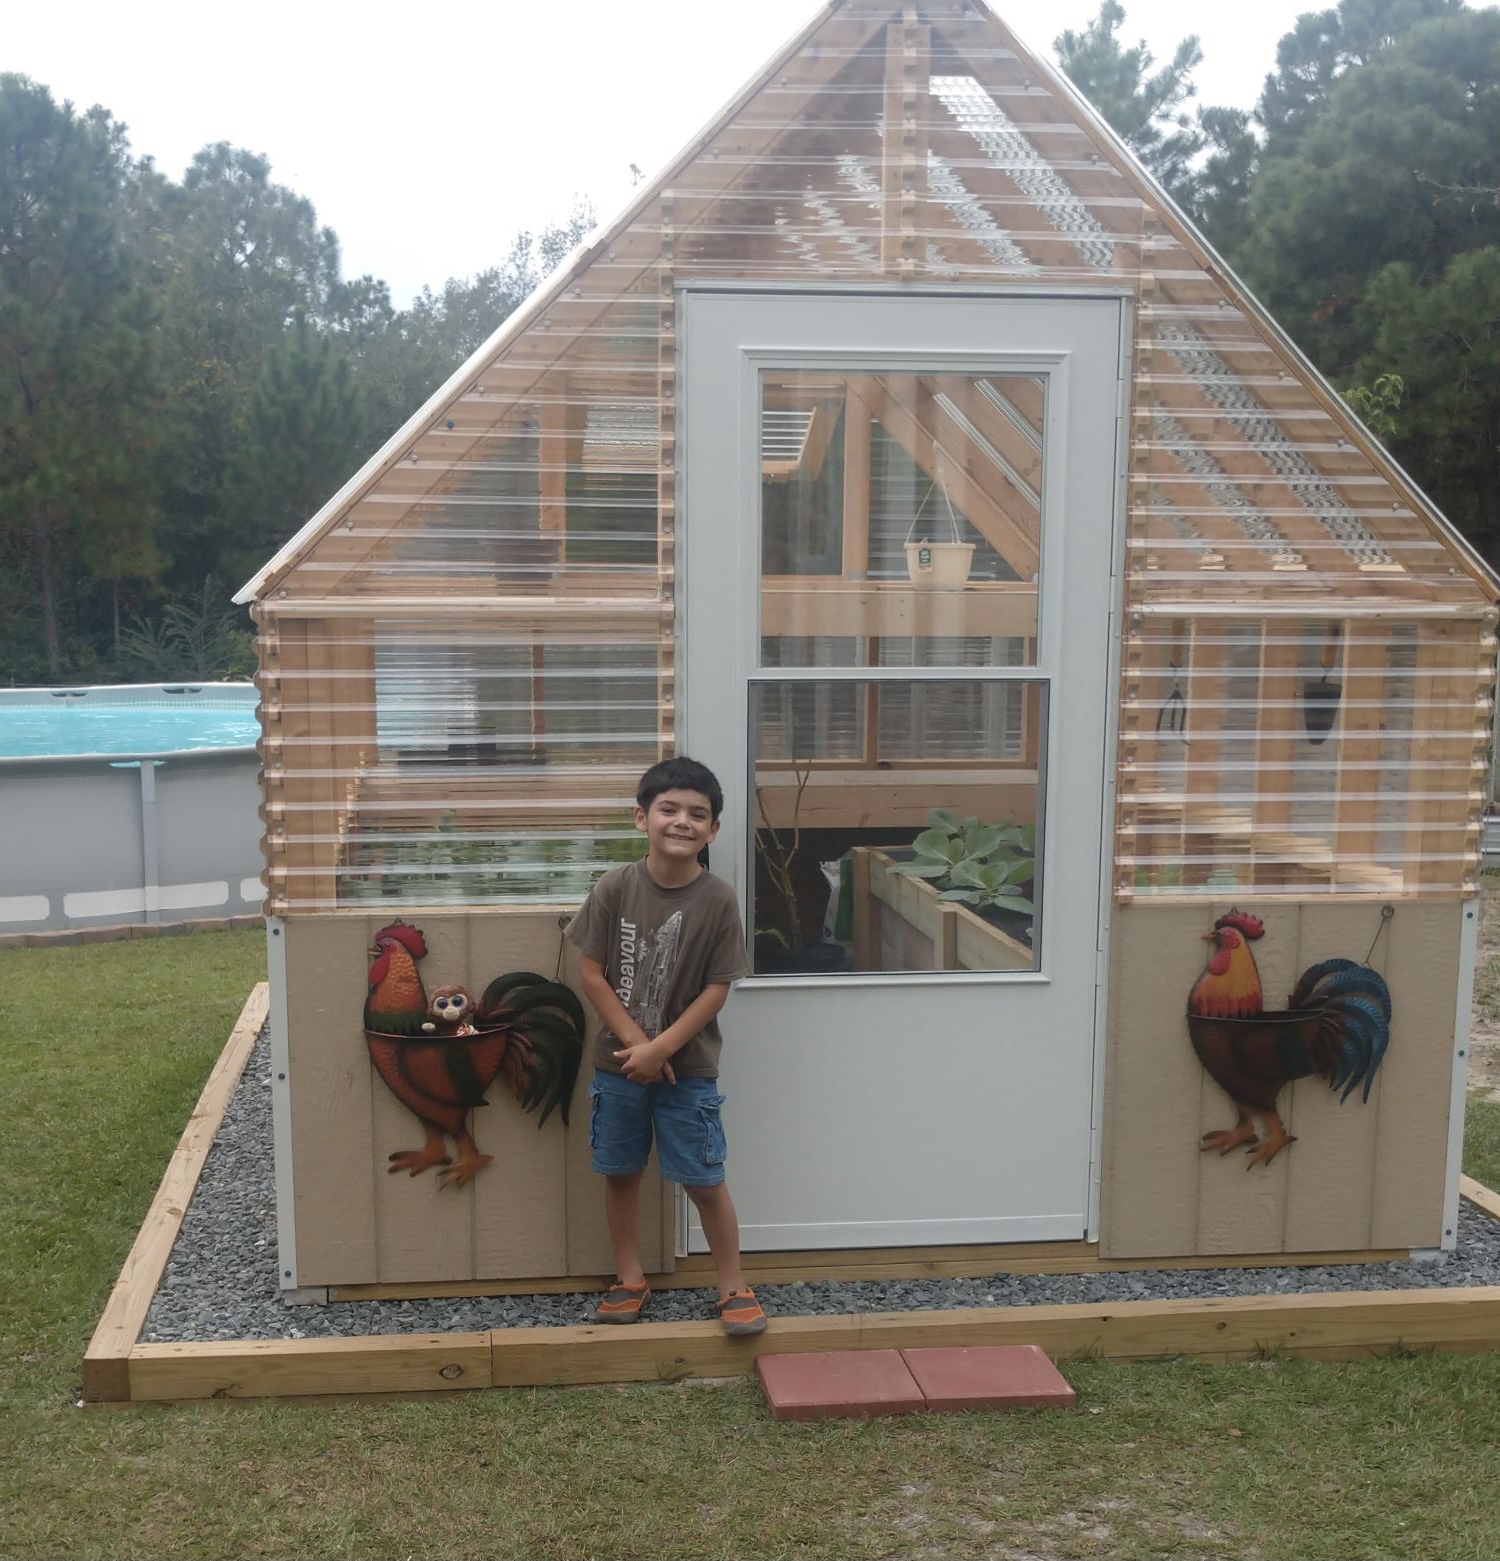
Built the greenhouse from Ana Whites plan
She did the plan really well..
Built from Plan(s)
Built the greenhouse from Ana Whites plan
She did the plan really well..

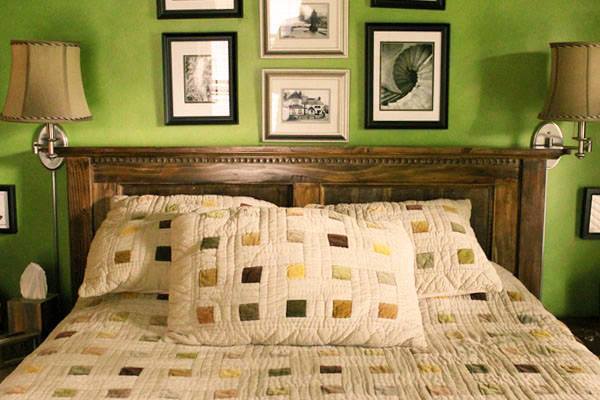
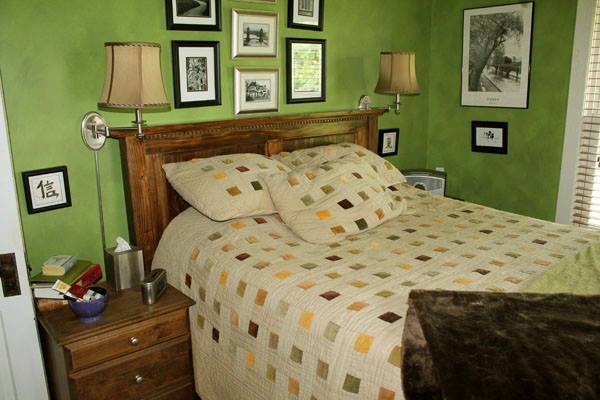
I started on the Farmhouse bed and as I got further into it I decided it needed a bit of 'extra' attention, hence the dentil moulding across the top and the panels to cover the 1x6's used for the headboard and the foot board, they are finished off with some cove moulding.
I used Spax bolts on the side supports and used a Forstner bit to drill down far enough to hide the bolts and made some wooden plugs to cover the holes. Minwax Special Walnut in the finish.
Hope you like it
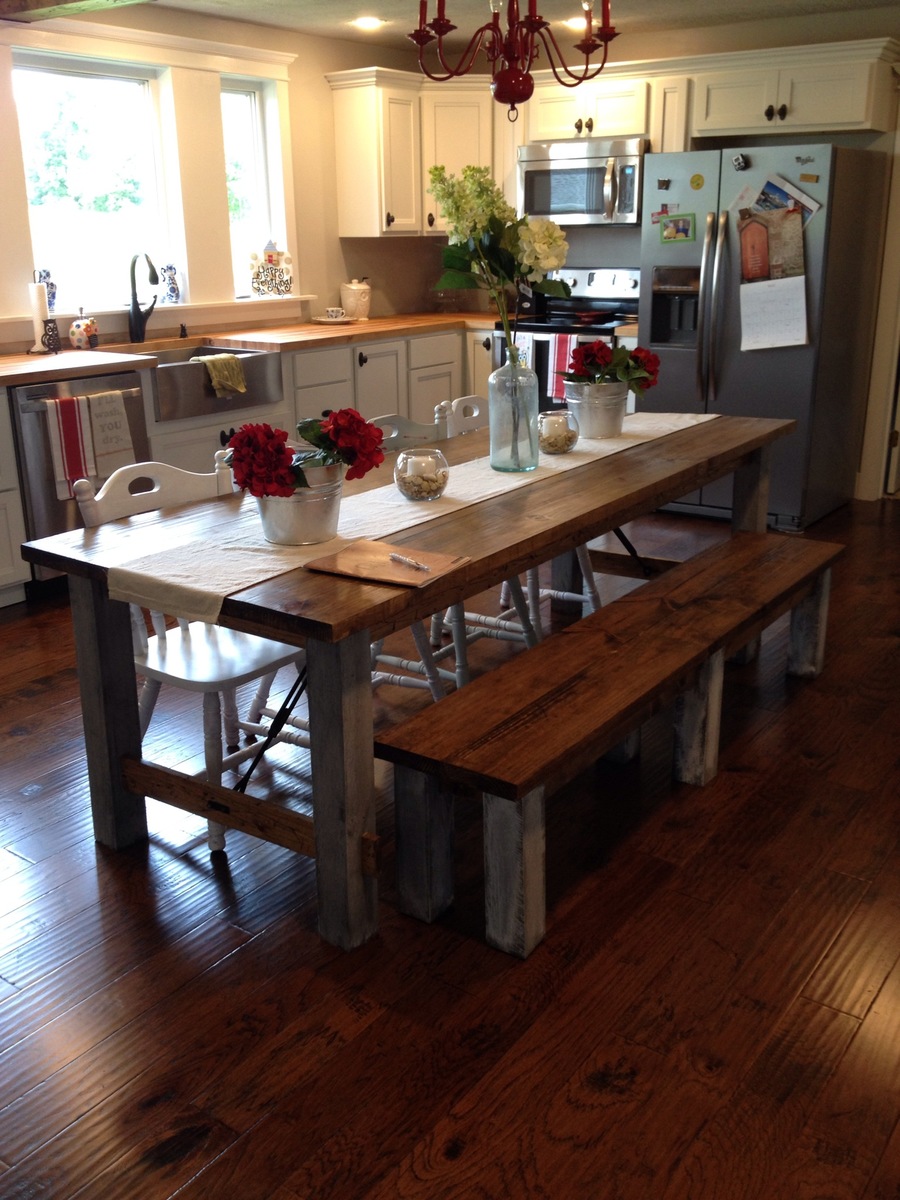
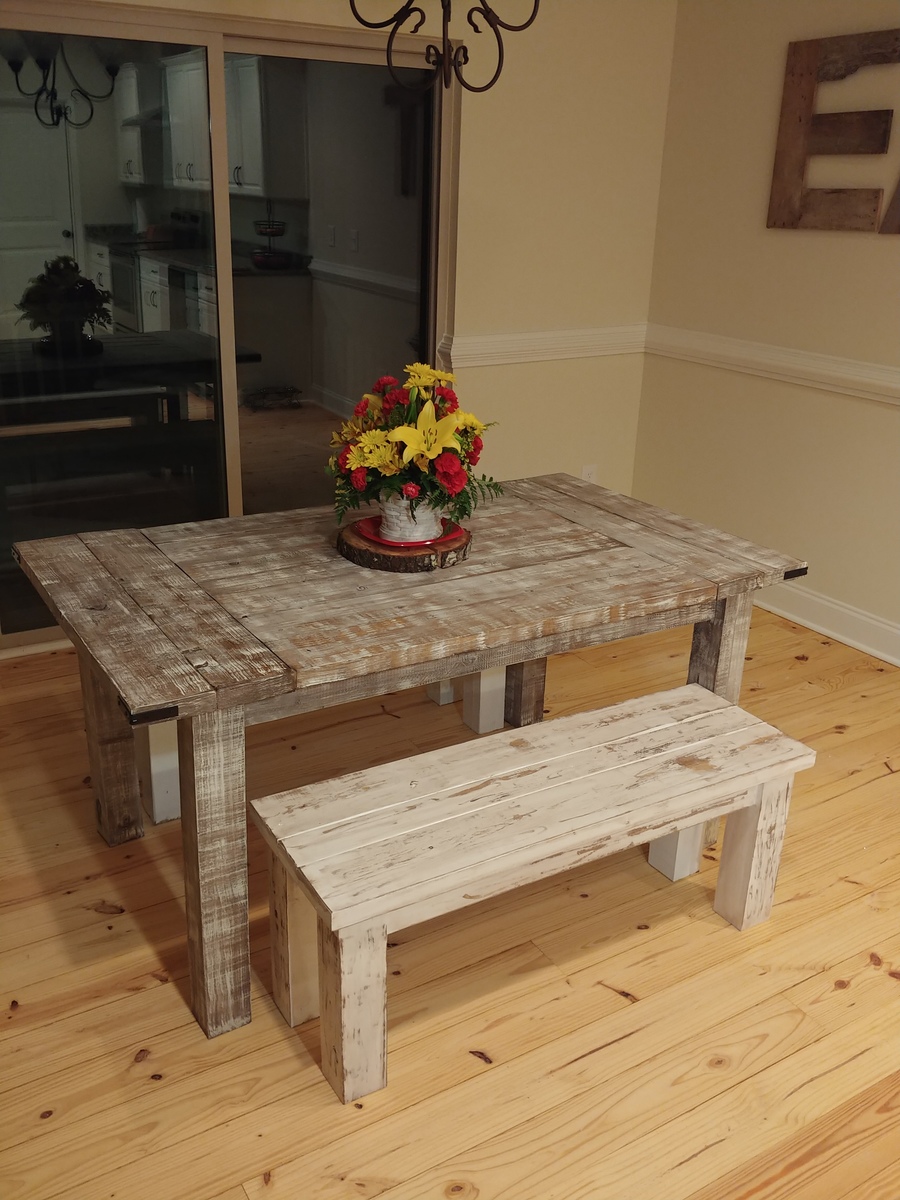
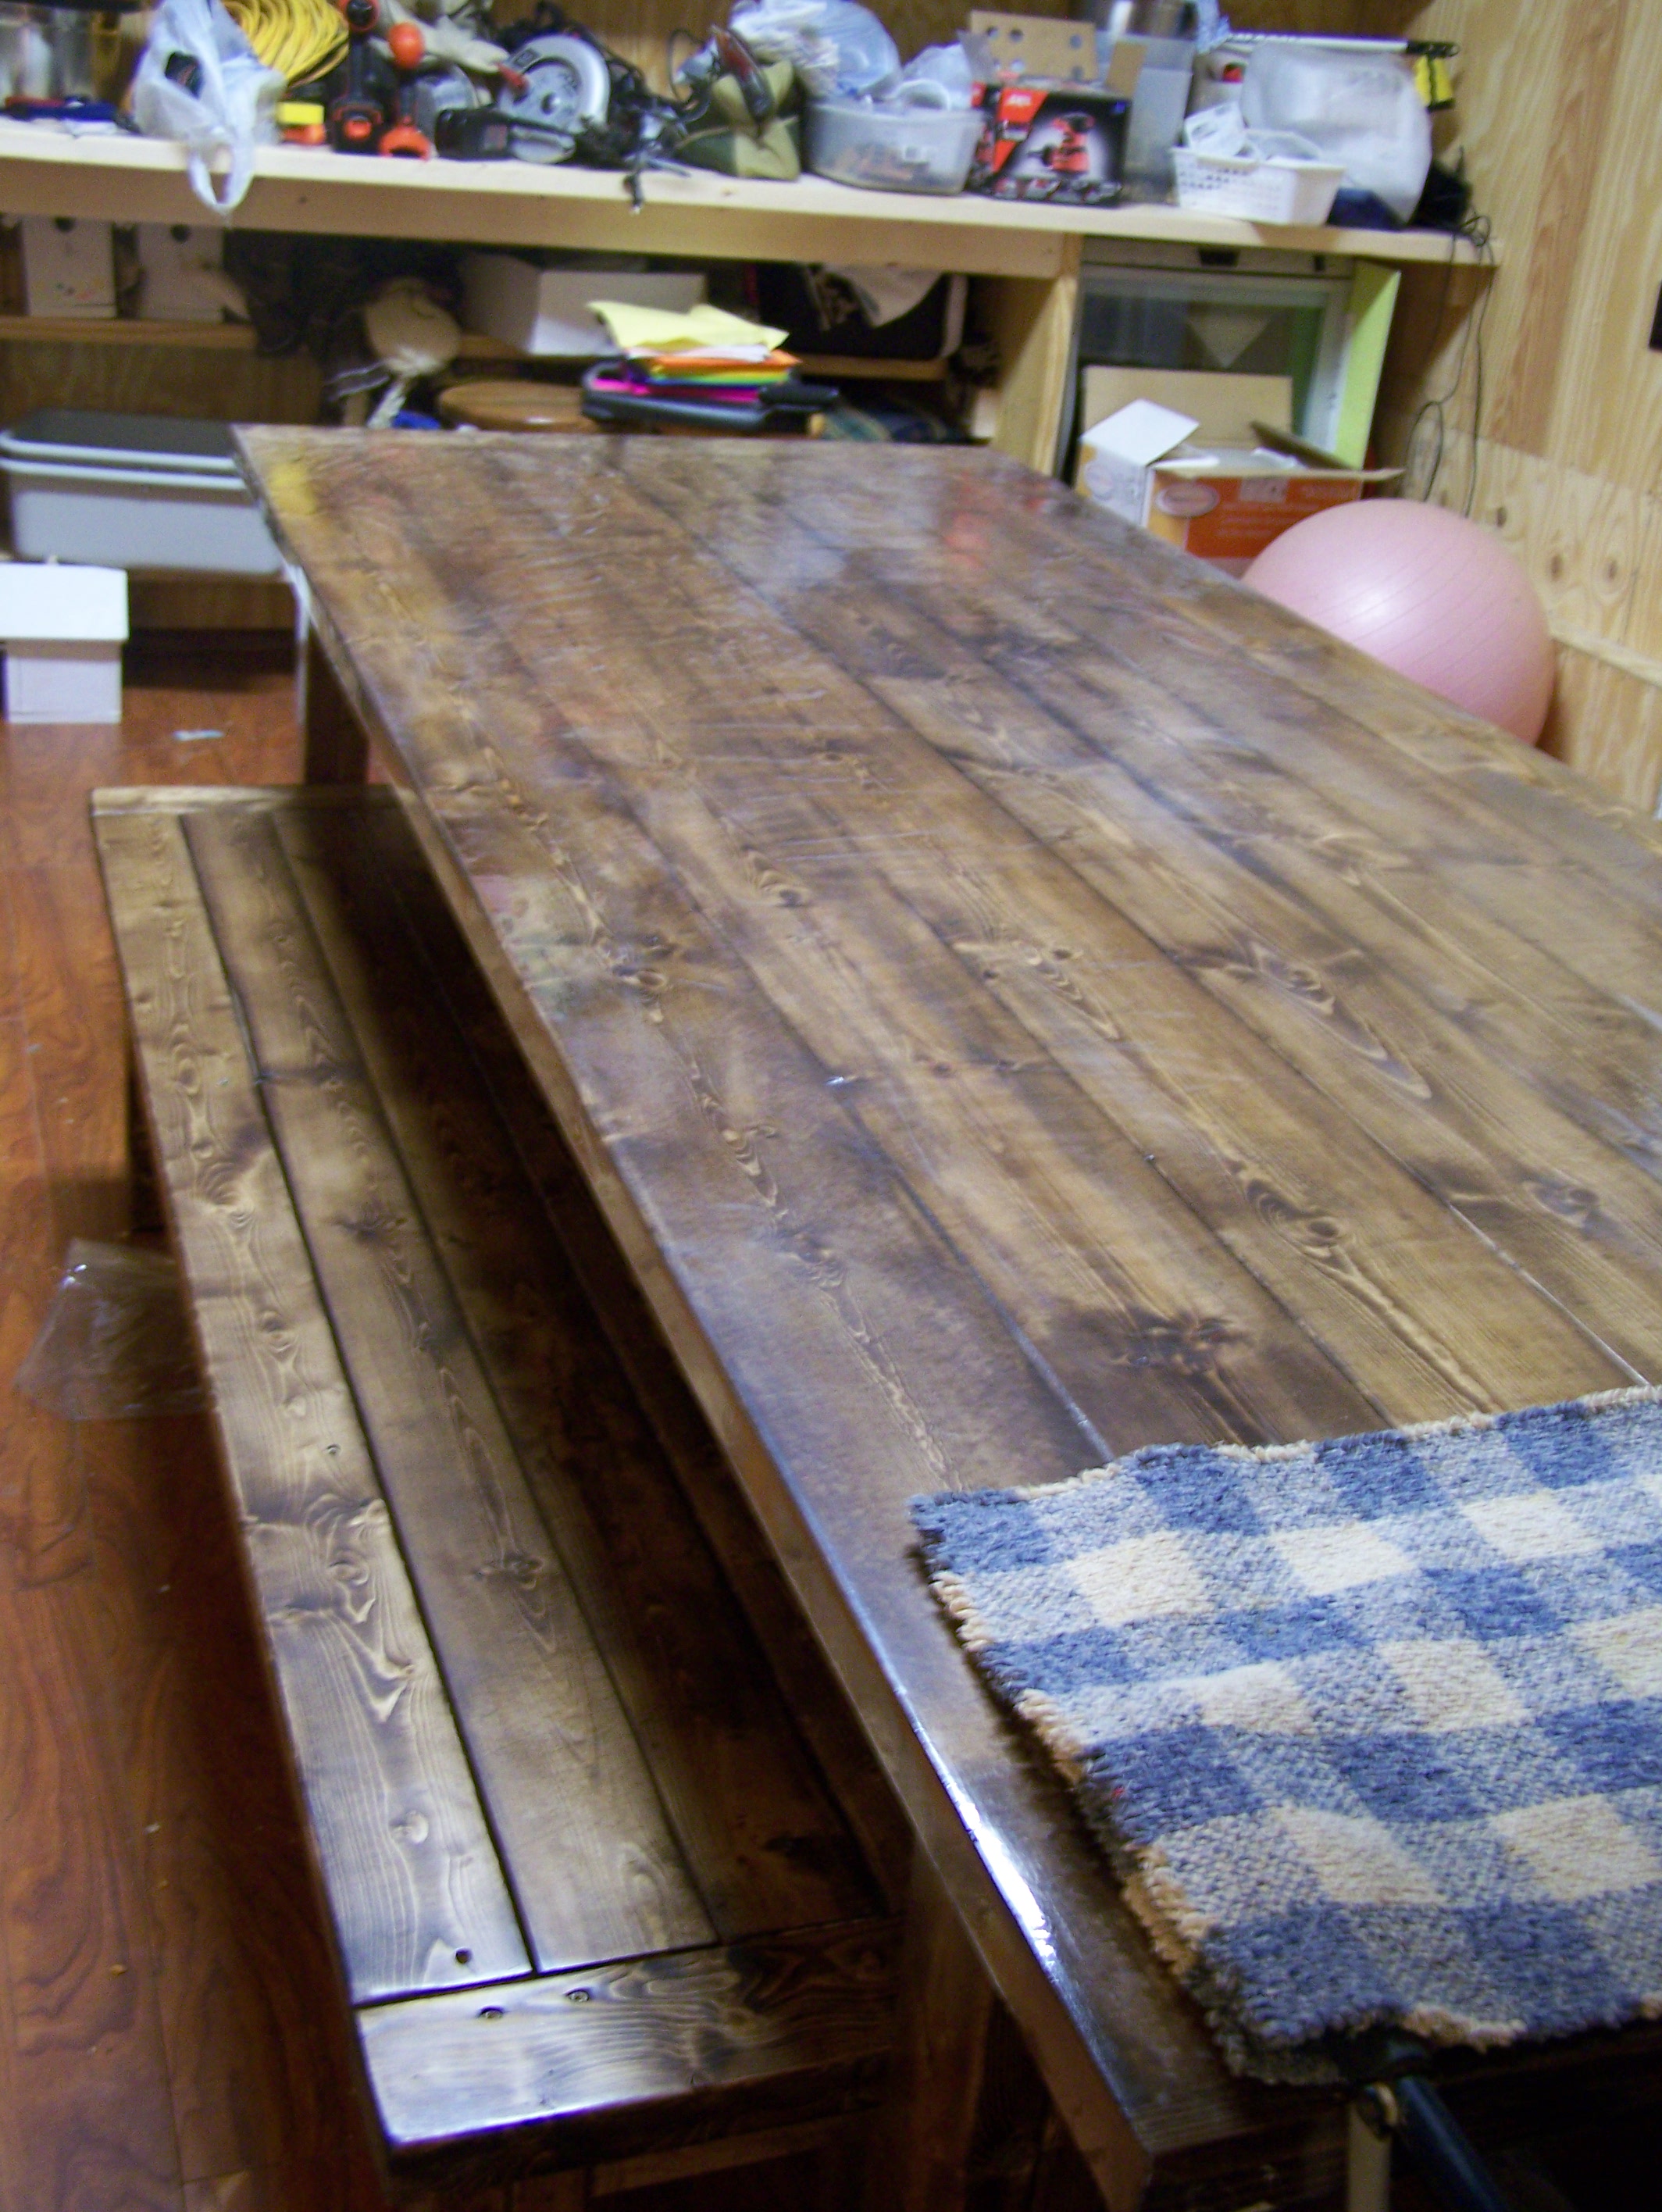
This 8ft dining table and bench was created with inspiration from Ana White (with a few modifications). It was made with all scrap wood except the table top. Full details of the table build (and kitchen remodel) can be found at www.chasingadreamblog.wordpress.com.
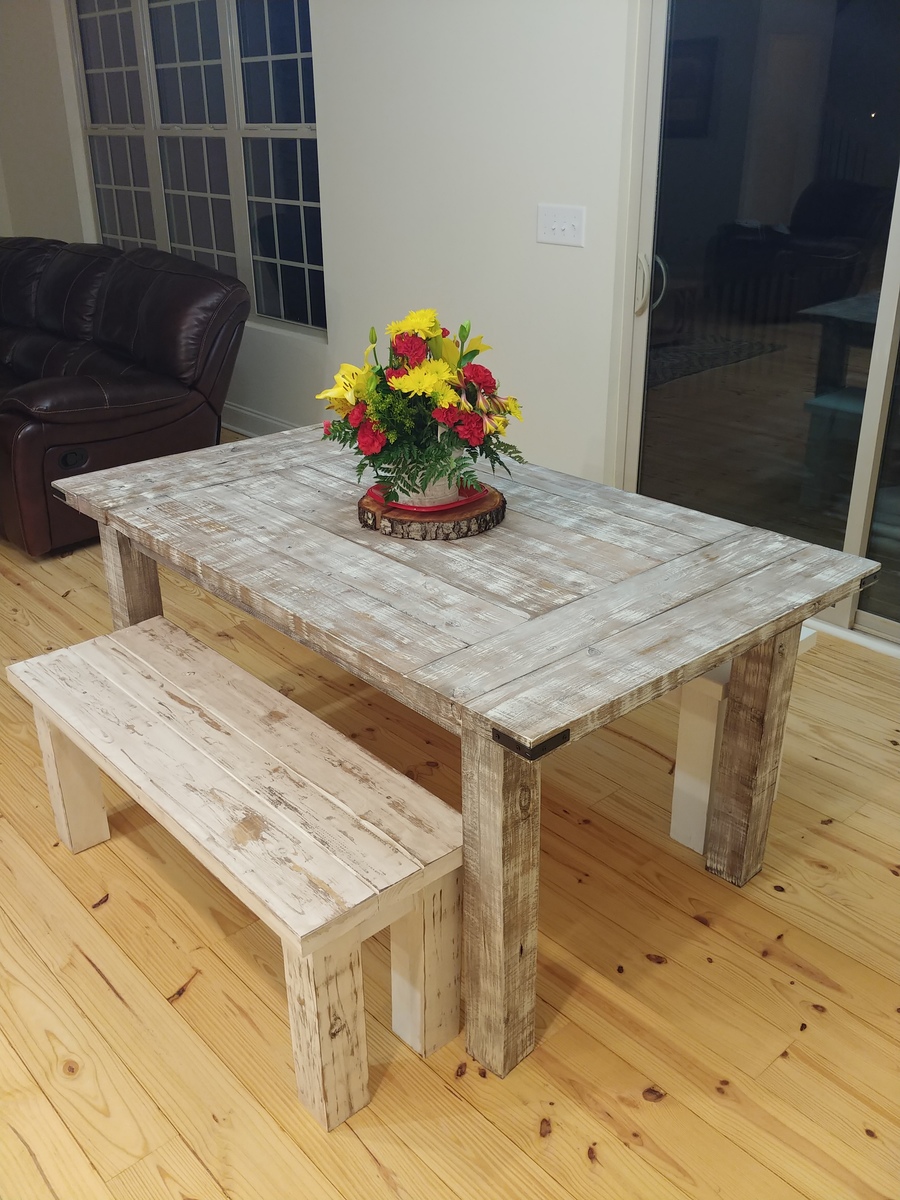
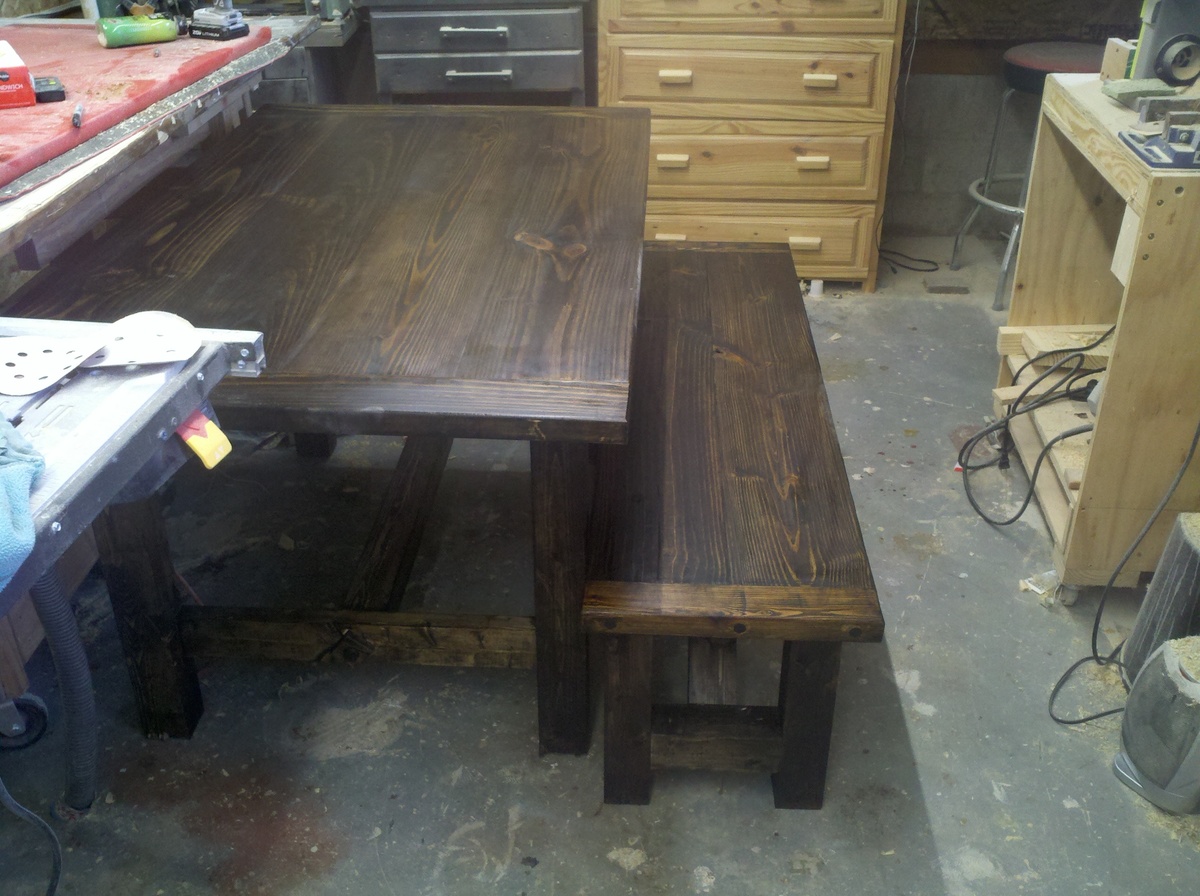
I built this table and two simple benches, inspired by the farmhouse table plans. I modified the plan slightly, in that I didn't add the center 2x4 on the bottom, or the two 2x4's between the legs. I also added a second "bread end board," and customized the corners with some "L" bracket accessories. It took me a week to build everything, then add the finish. It would have gone quicker, had I had time to do it all at the same time, but I had to make time after work to do everything. All, in all, this is probably a weekend job, at most.
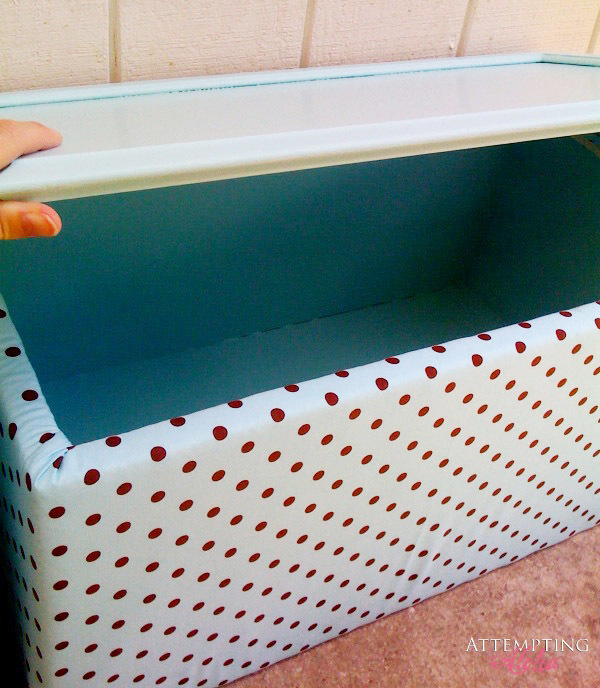
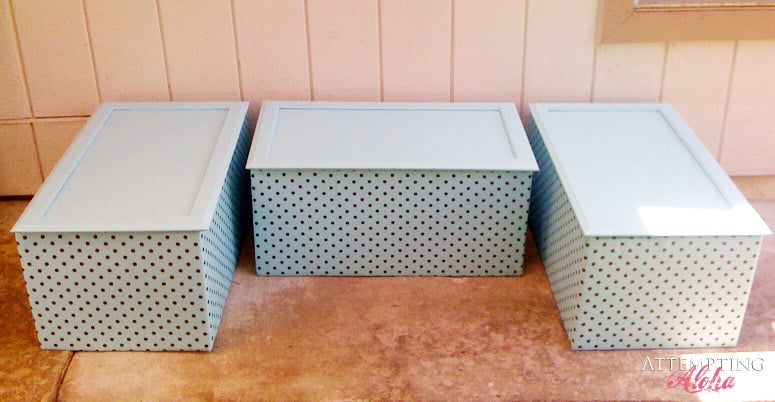
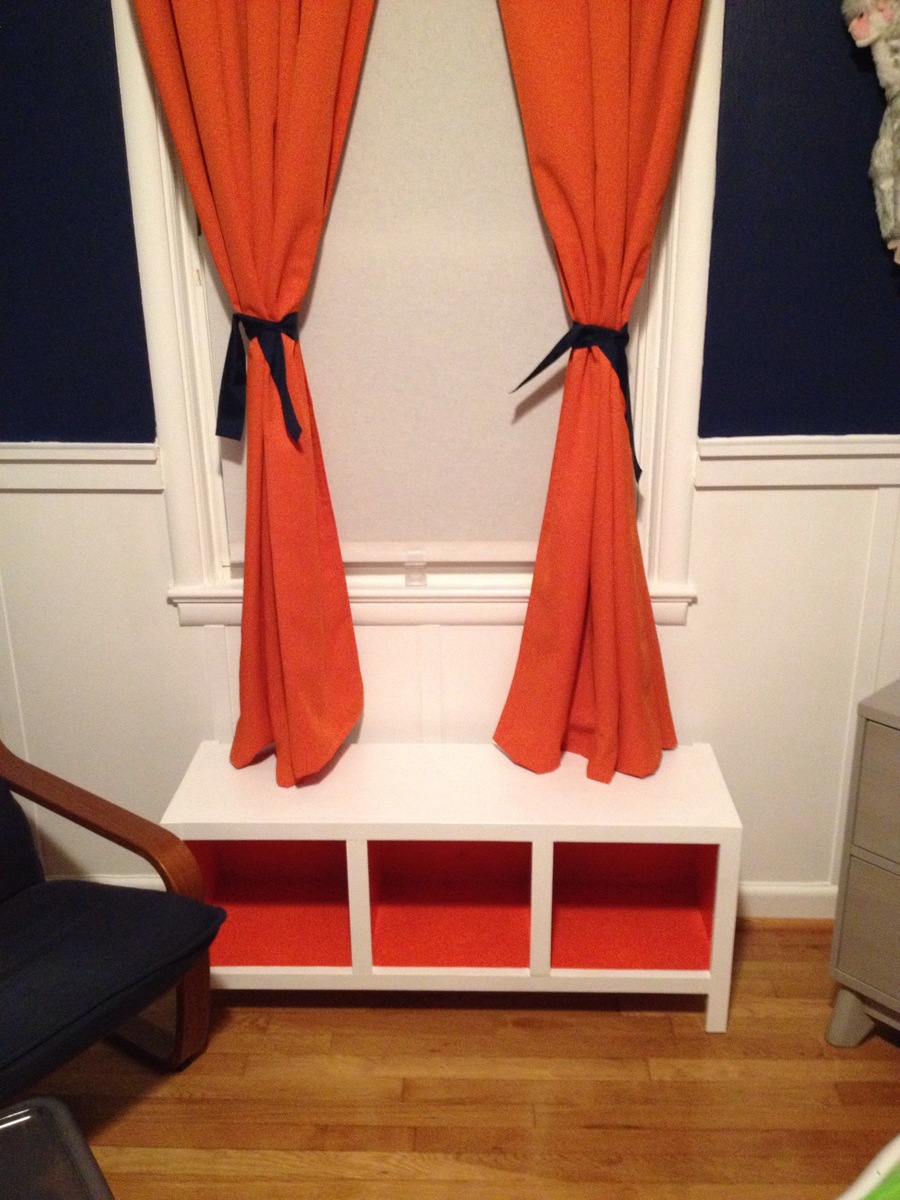
I loved Ana's upholstered toy box benches that she made and really wanted to do some of my own (three girls = muchos toys). We are remodeling our kitchen, so I decided to use our old cabinets for as much of this project as I could! Fun to keep a little bit of our home with us wherever we move (military family). :)
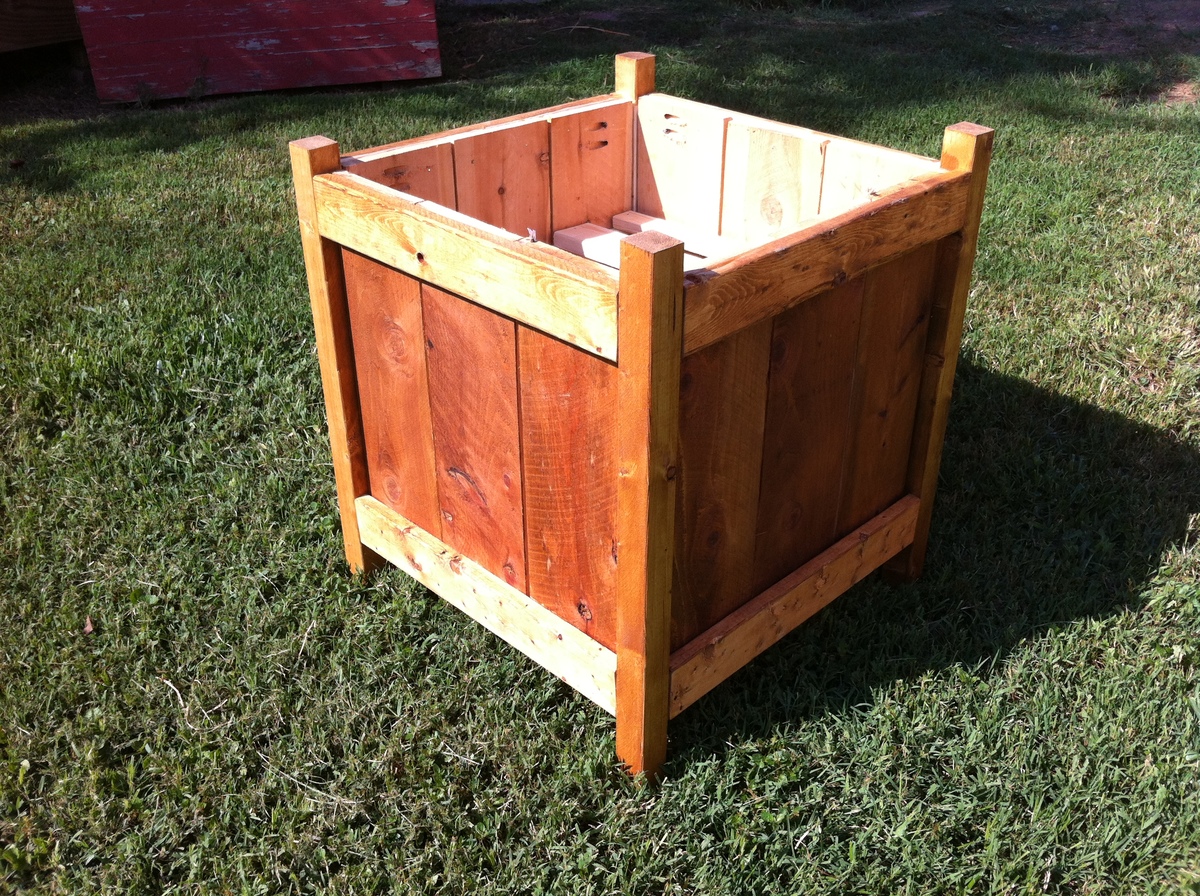
This planter was easy to make. The only thing I would have done differently is to have stained and applied the weather coating before I assembled it so that the weather coating got into the cracks better. But overall, I love how it turned out! I think it would've taken only an afternoon to do if it hadn't been so hot outside which slowed me down.
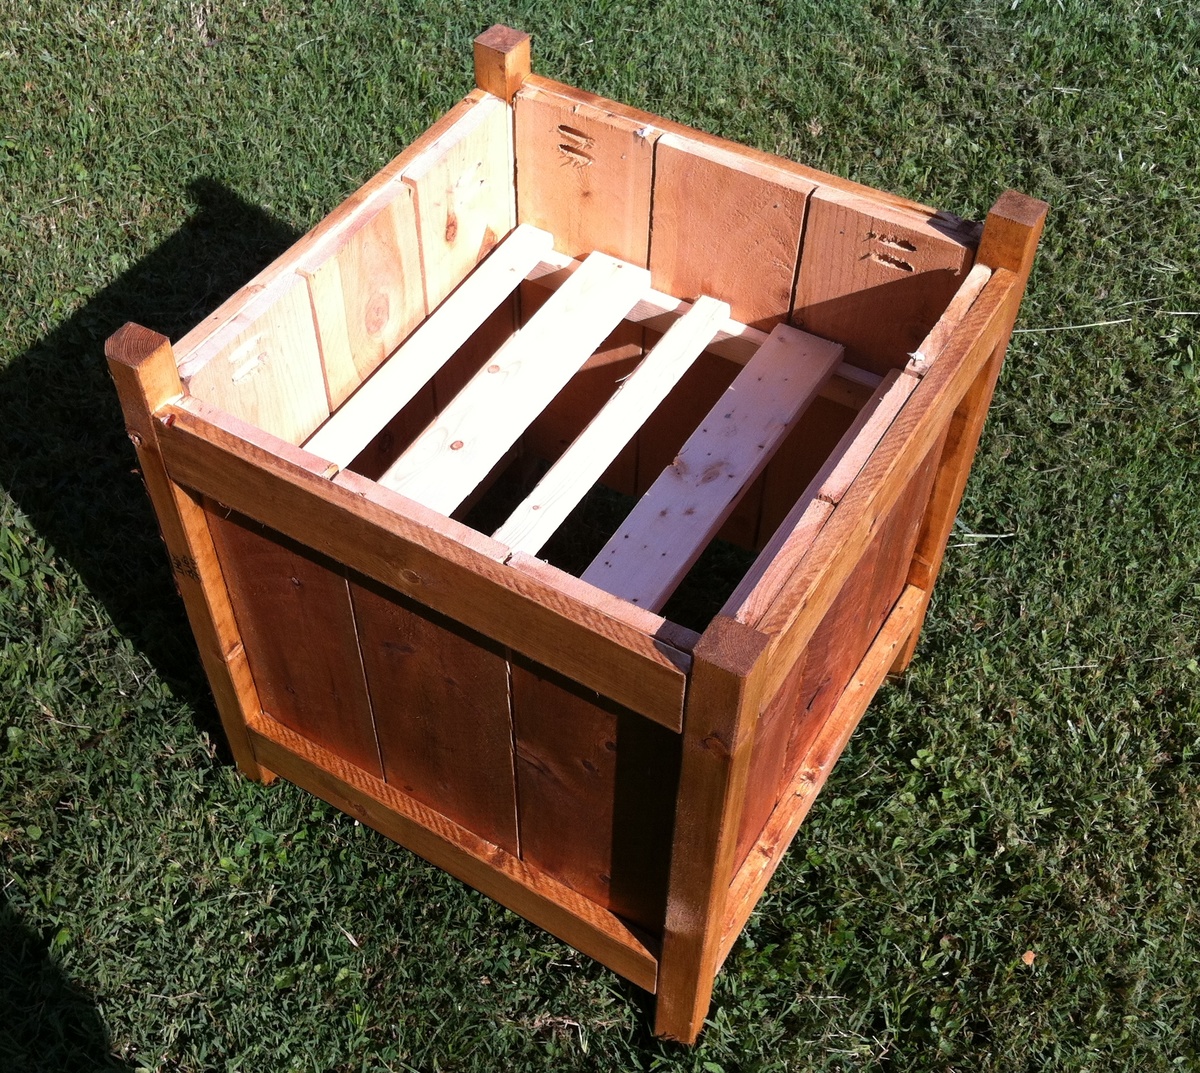
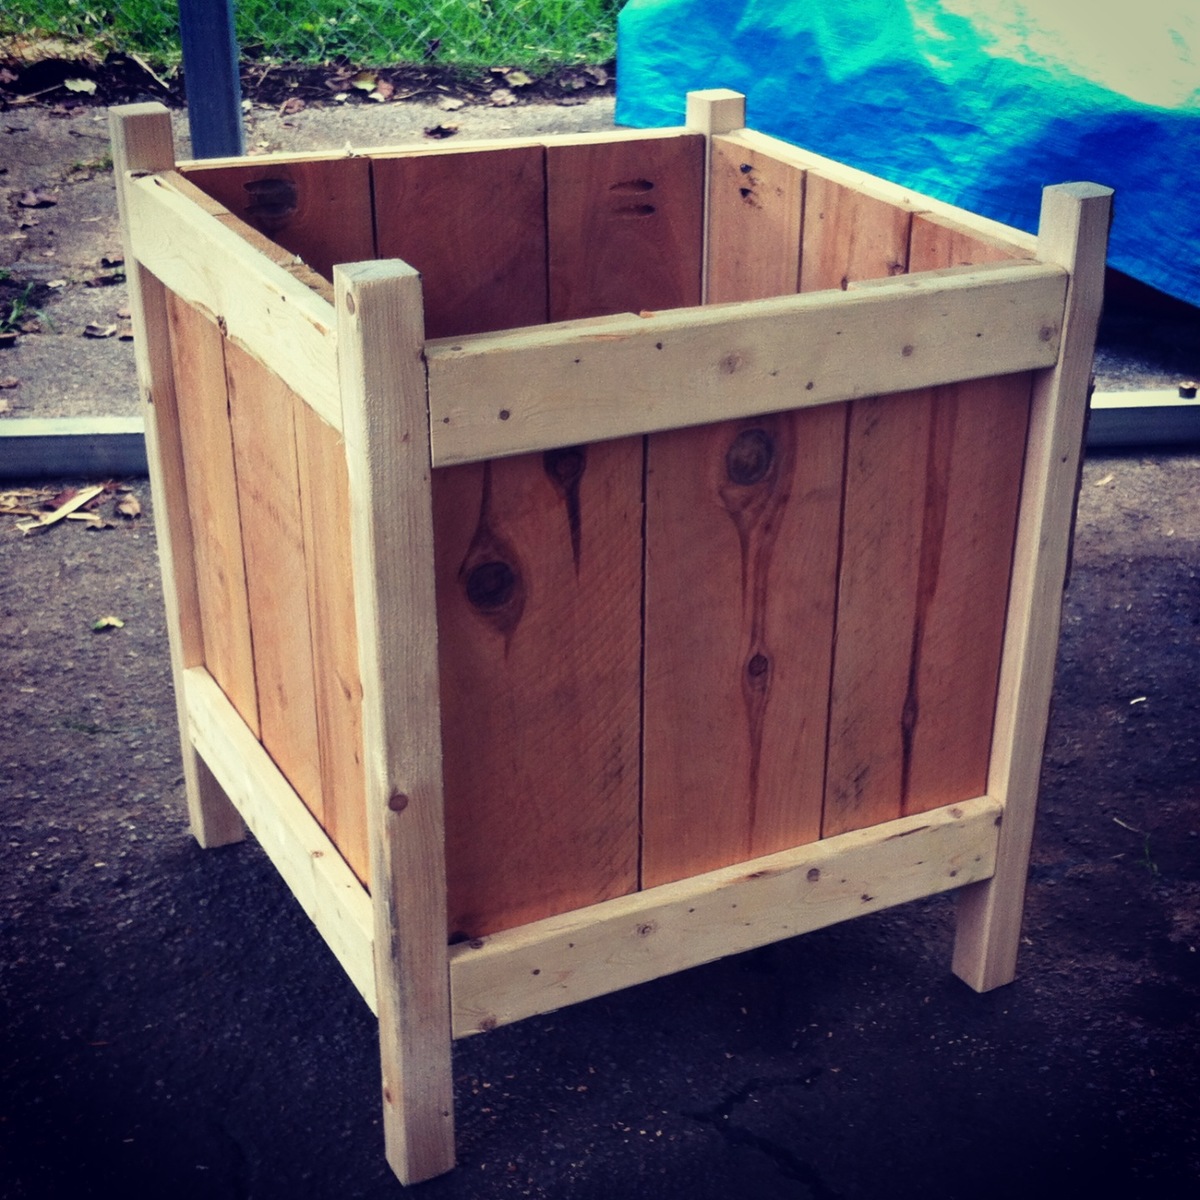
First time actually following a plan and not making it up as I go along! Turned out pretty nice :-)
This table was inspired by the pocket screw table. only I did not use pocket screws. it is constructed using loose tenon construction and dowels. Notice the middle stretcher and the wooden nut and bolt that holds it together
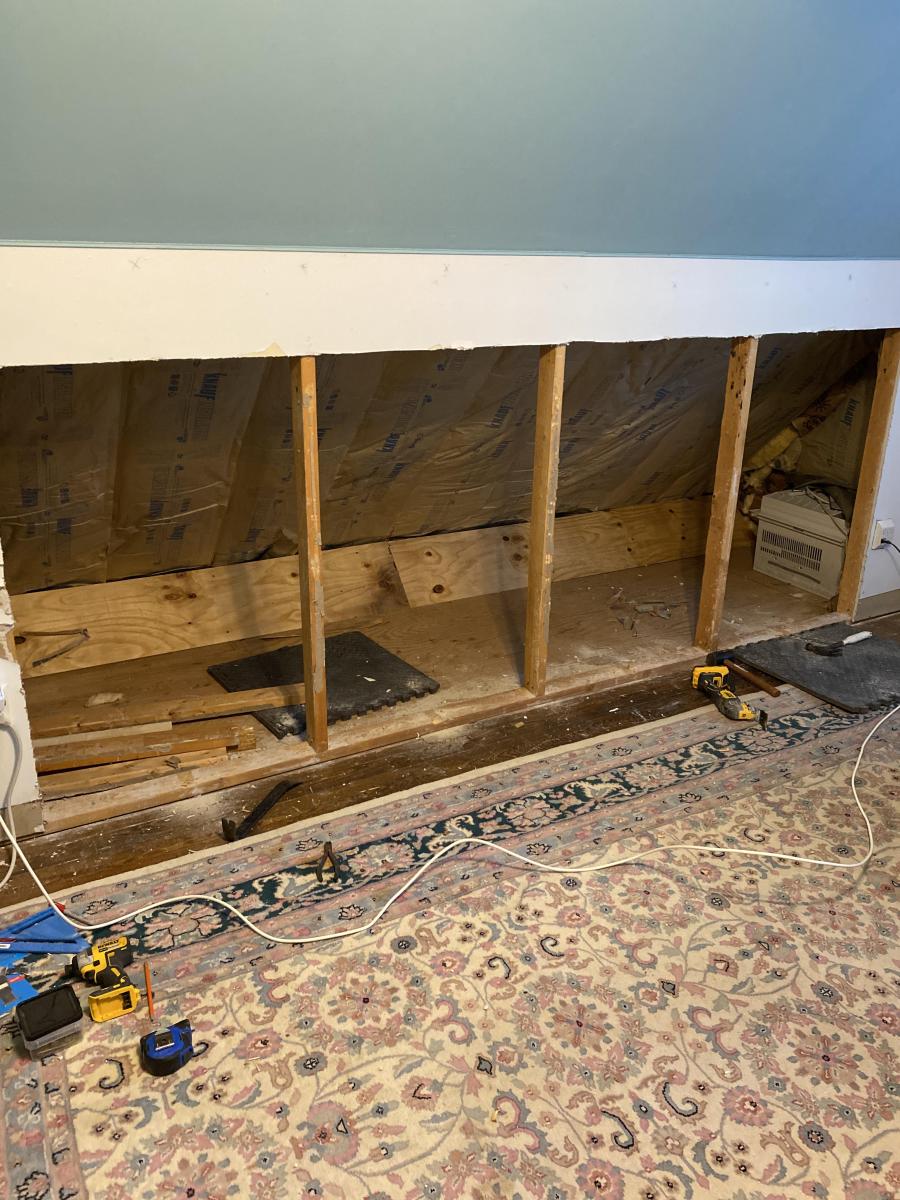
After seeing your knee wall project I decided I could modify it to work for me. first I insulated the angular wall to provide a conditioned environment. (wife wanted to store Christmas decorations. Then removed existing sheetrock, removed every other vertical 2x4 and had the opening size I wanted . Currently working on sheet rocking the interior and will then begin to work on the doors. Waiting on hinges. I think my wife likes it so far. I'll upgrade with photos when done. thanks
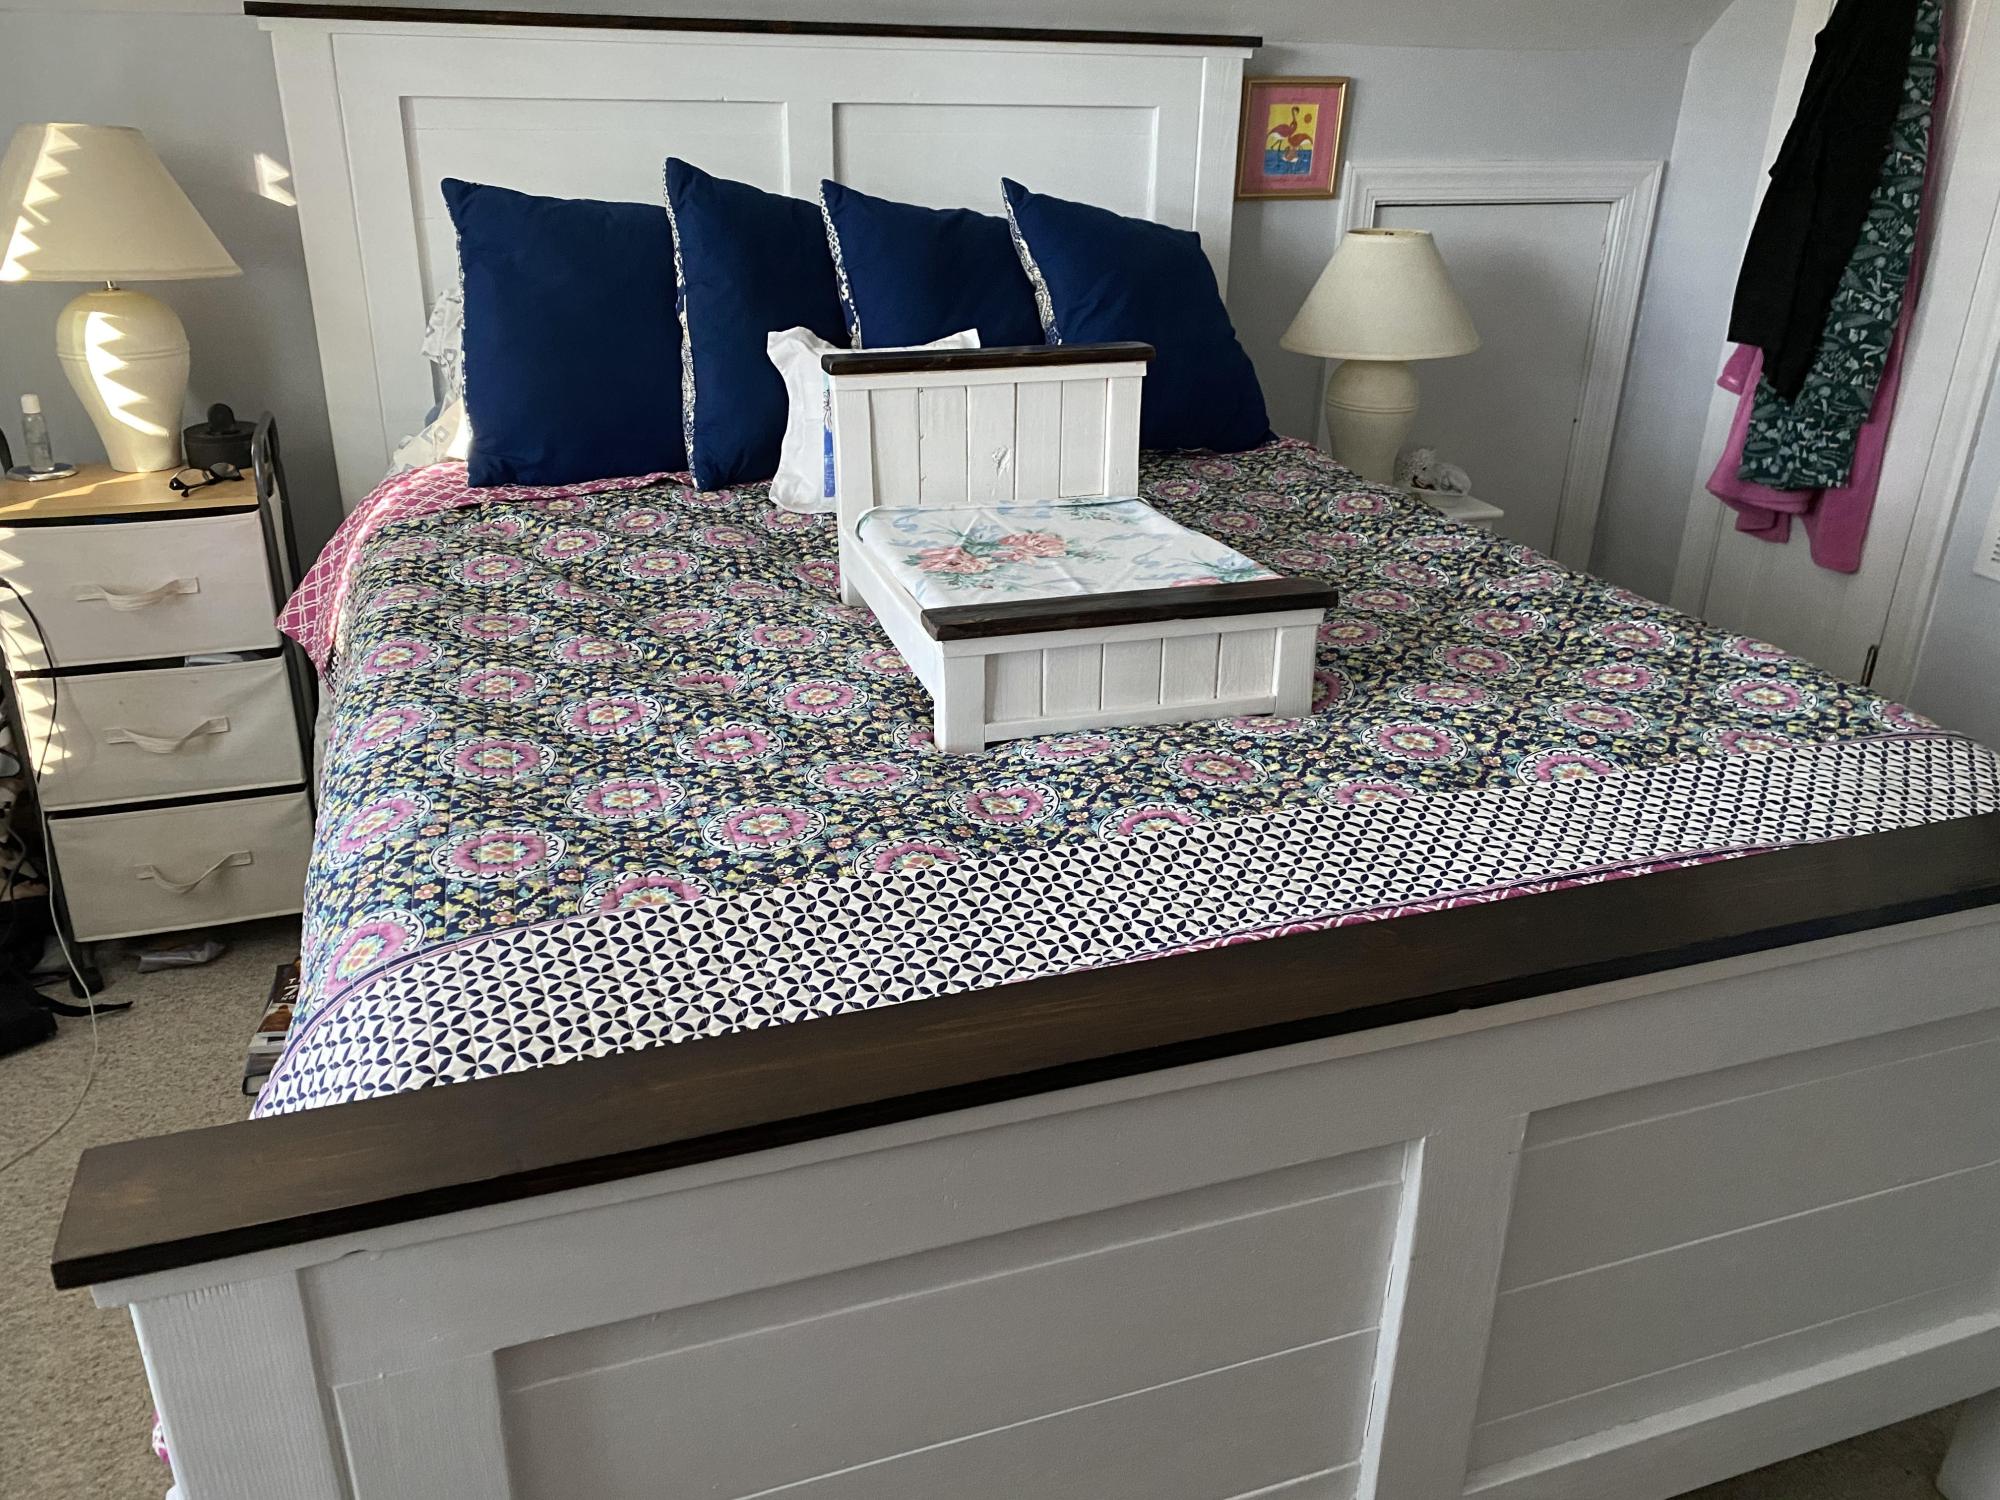
the small bed was from one of your plans (american girl bed) and then we just changed dimensions and made our master bed (Queen). That was a fun project.
Thanks for sending plans, we look forward to them.
George, Mechanicsville, Virginia
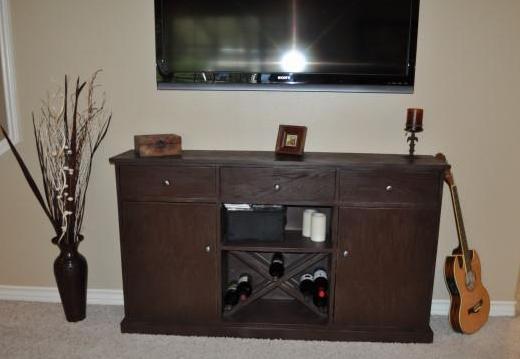
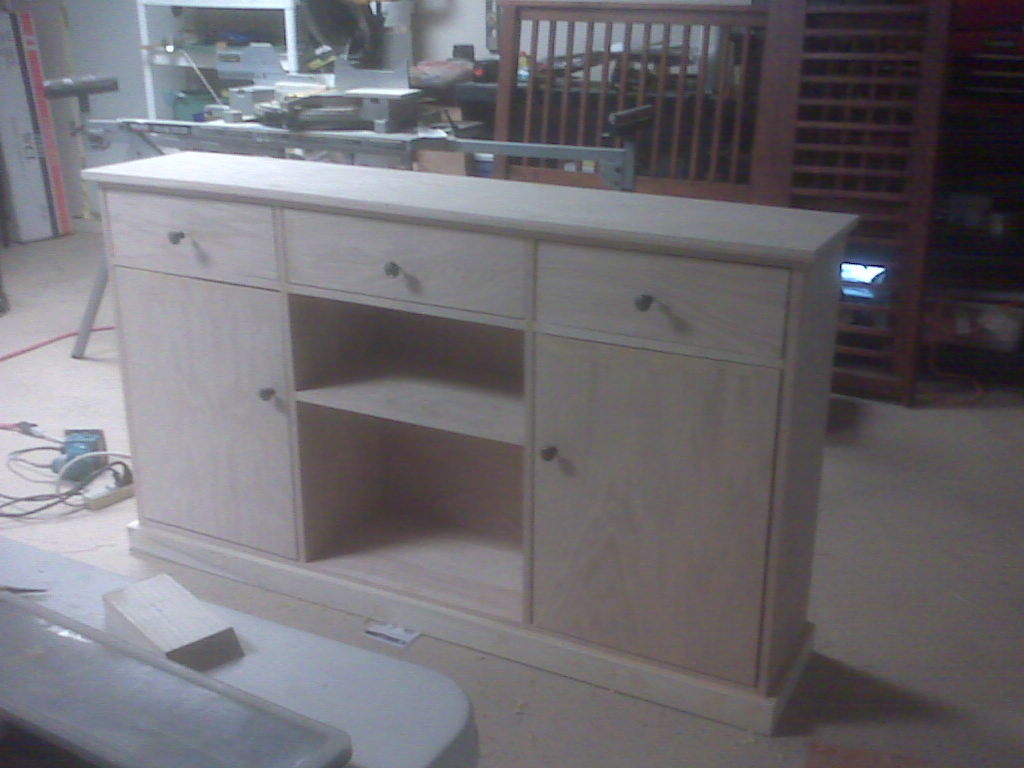
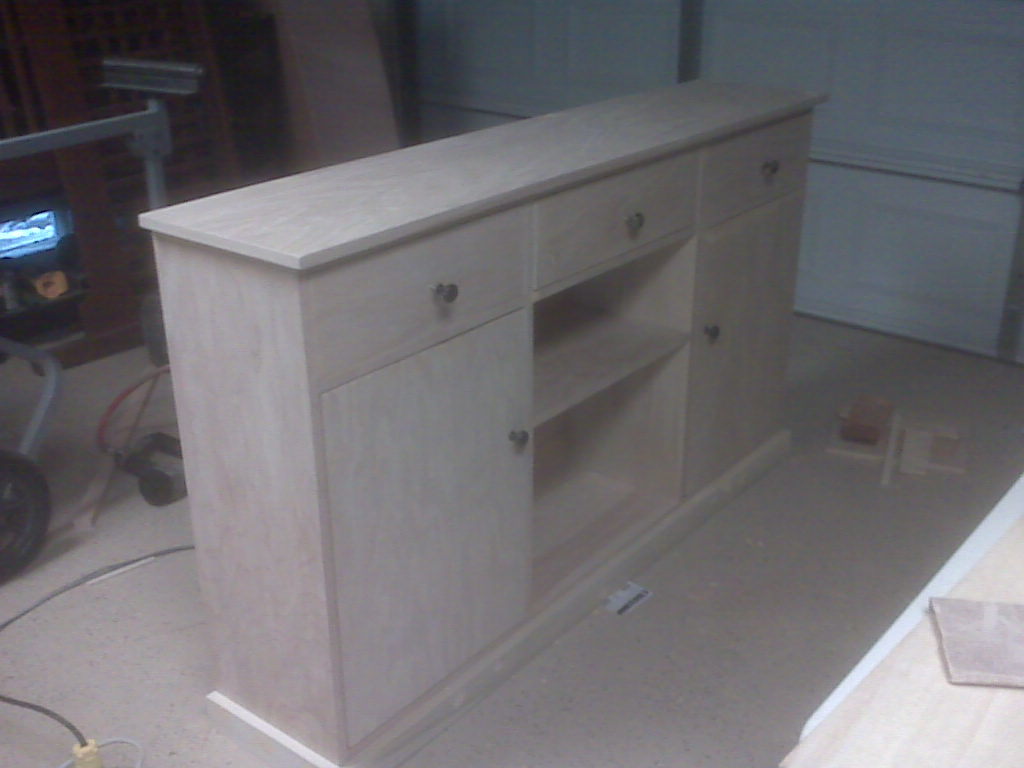
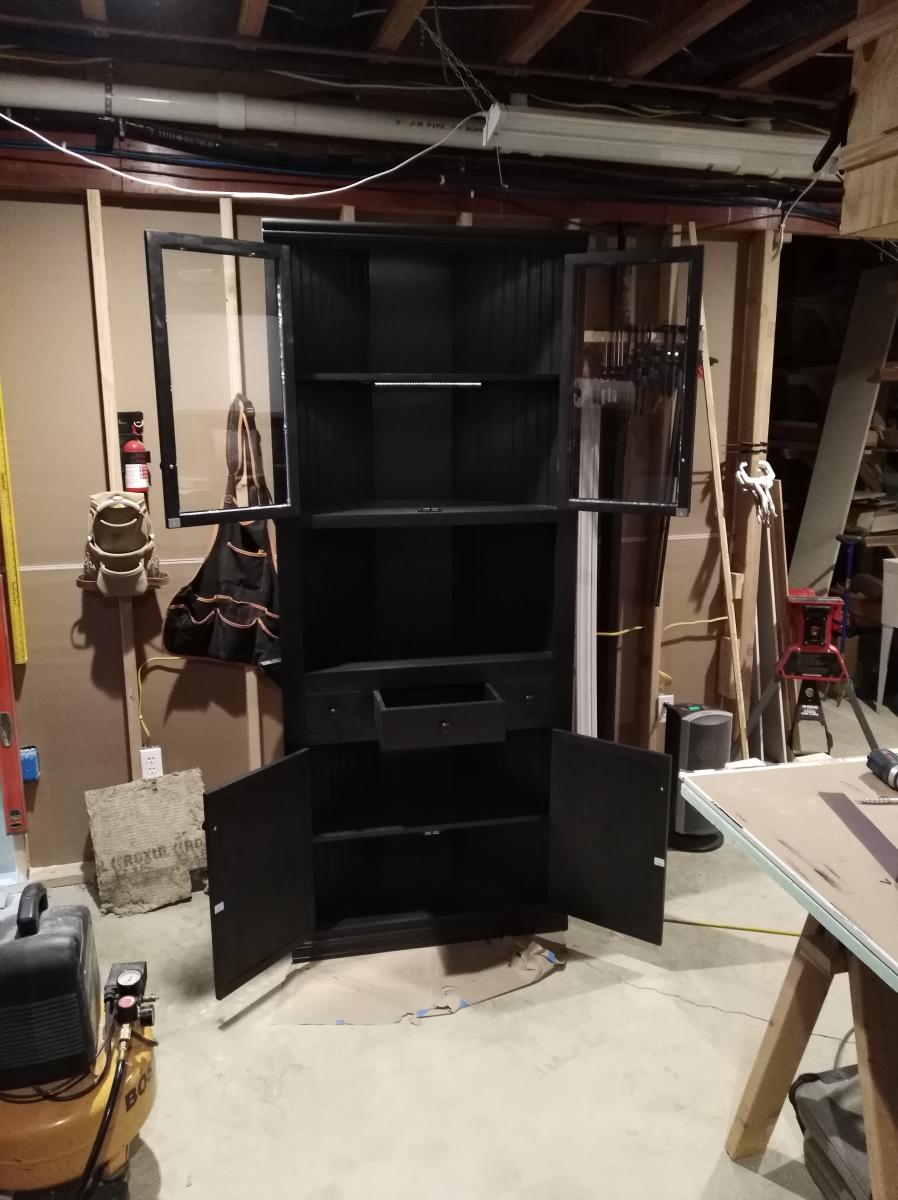
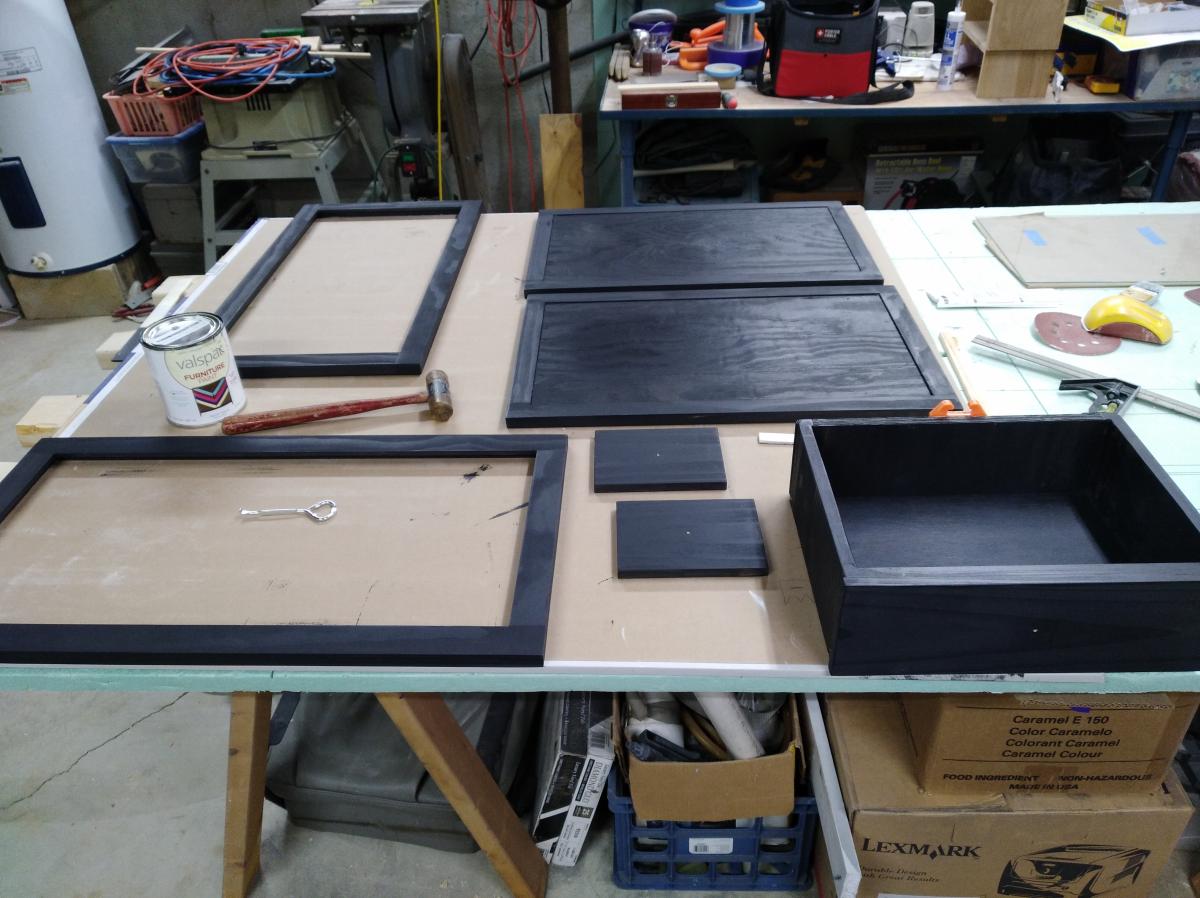
I needed a project, my daughter and son-in-law wanted a cabinet that had to be custom built to fit in their small space. It was just what I needed. Nothing simple for my 1st time, oh, no! I wanted doors and drawers. Learned a lot, and know I have a lot more to learn. The importance of getting things square is probably #1 on my list. I thought I'd start parking my car in the garage, but this was too much fun - the tools are staying!
I did this table in 8 hours and I am ready to do some other projects. The final goal is to do the all house.
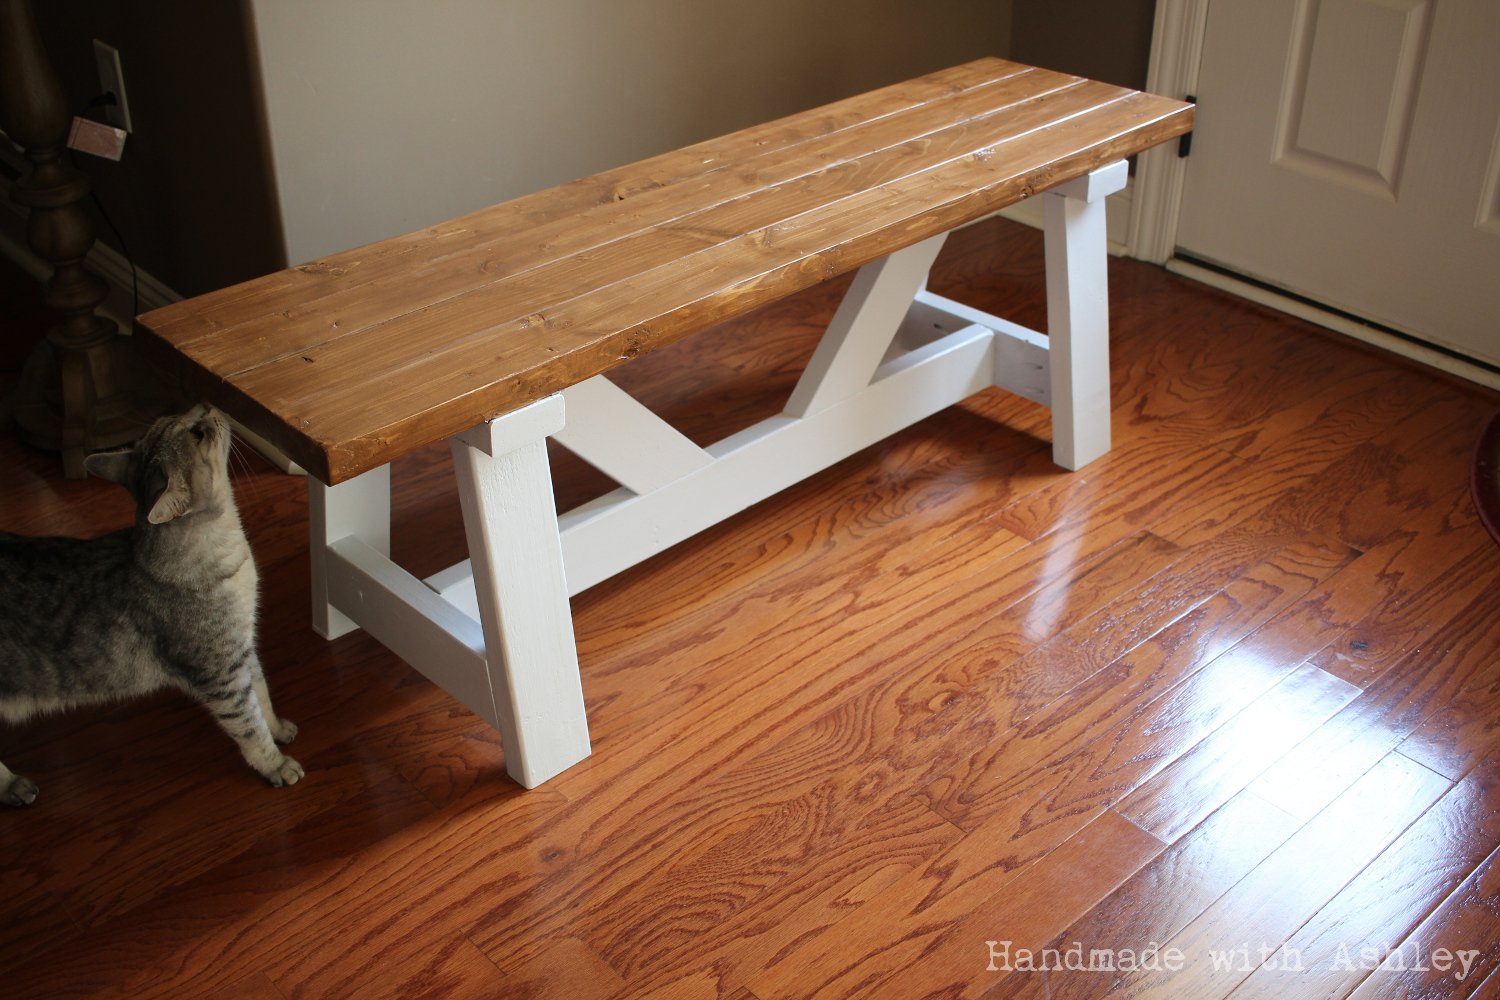
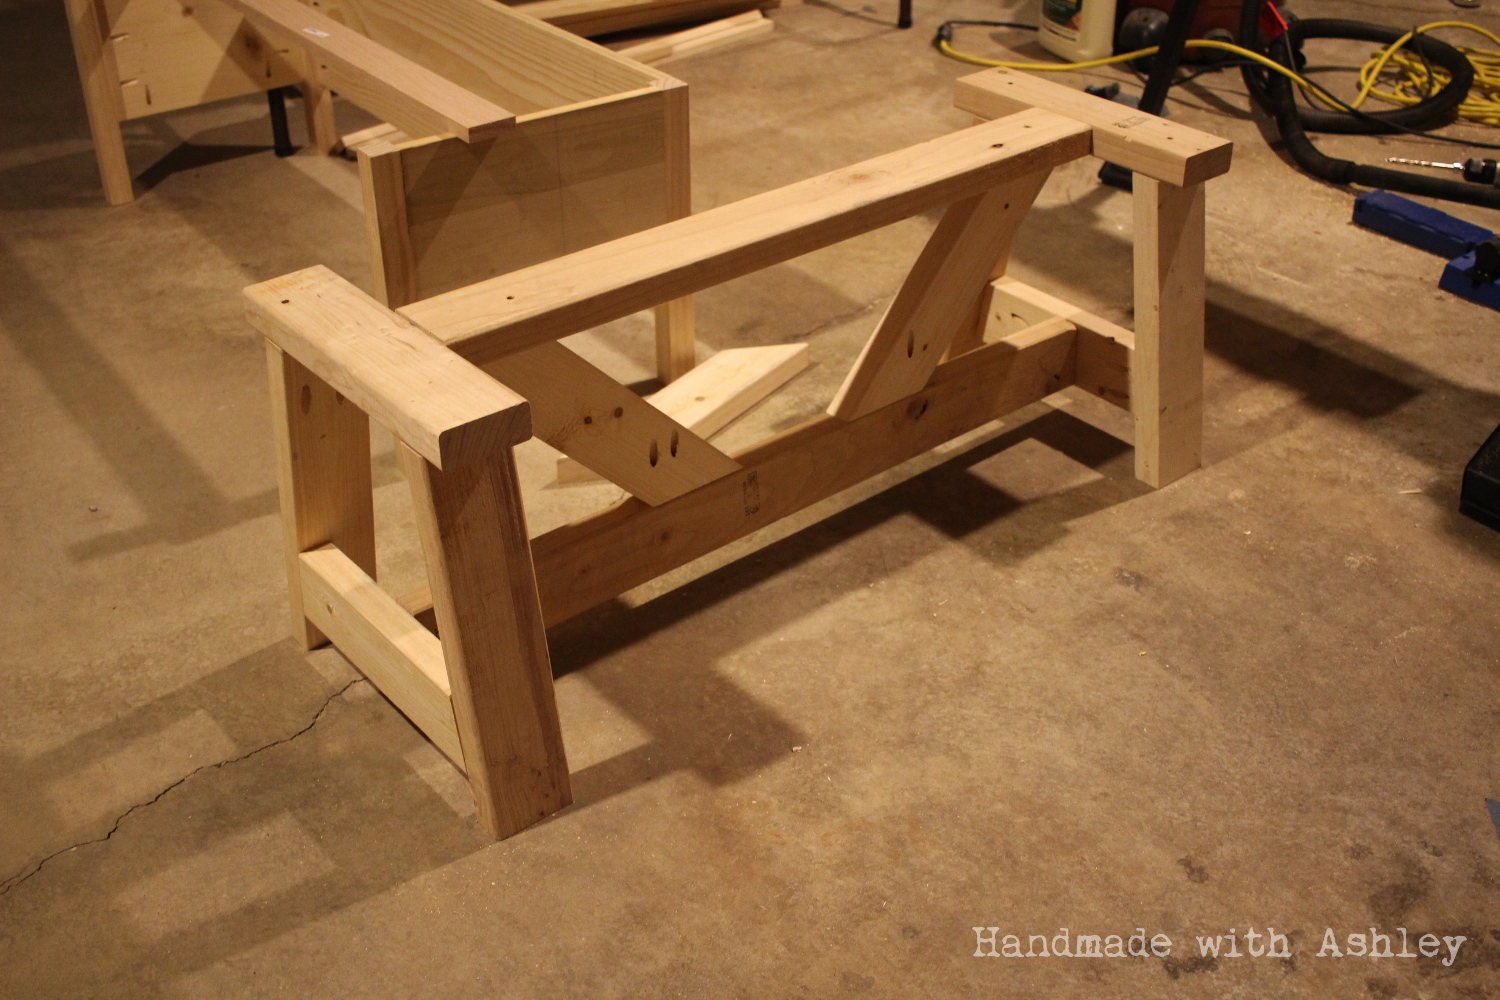
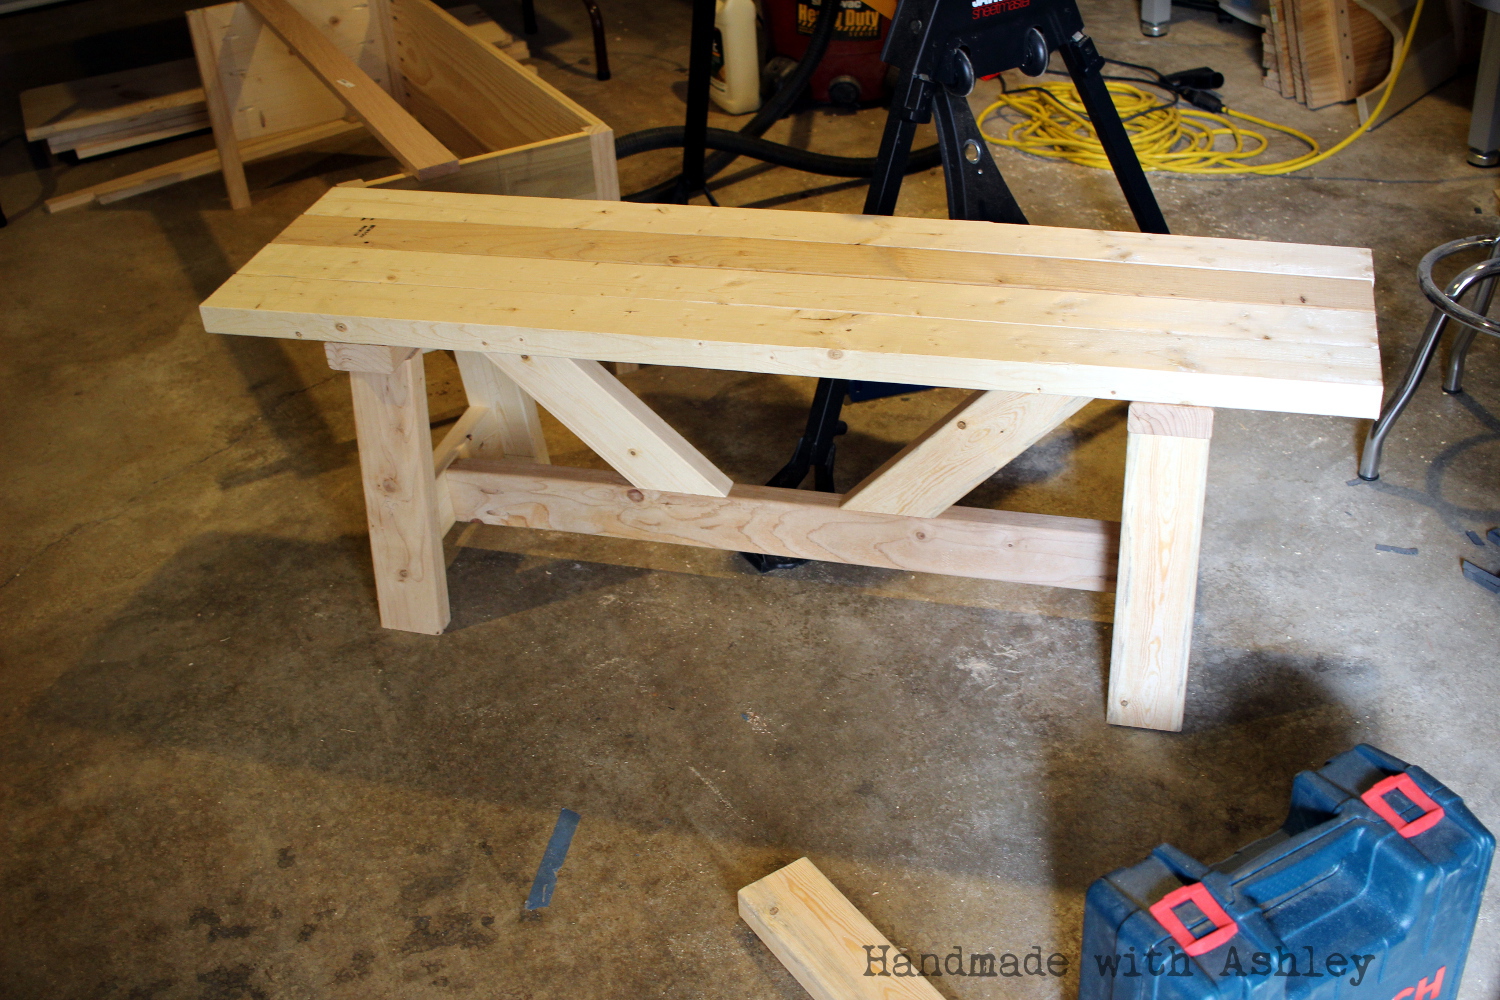
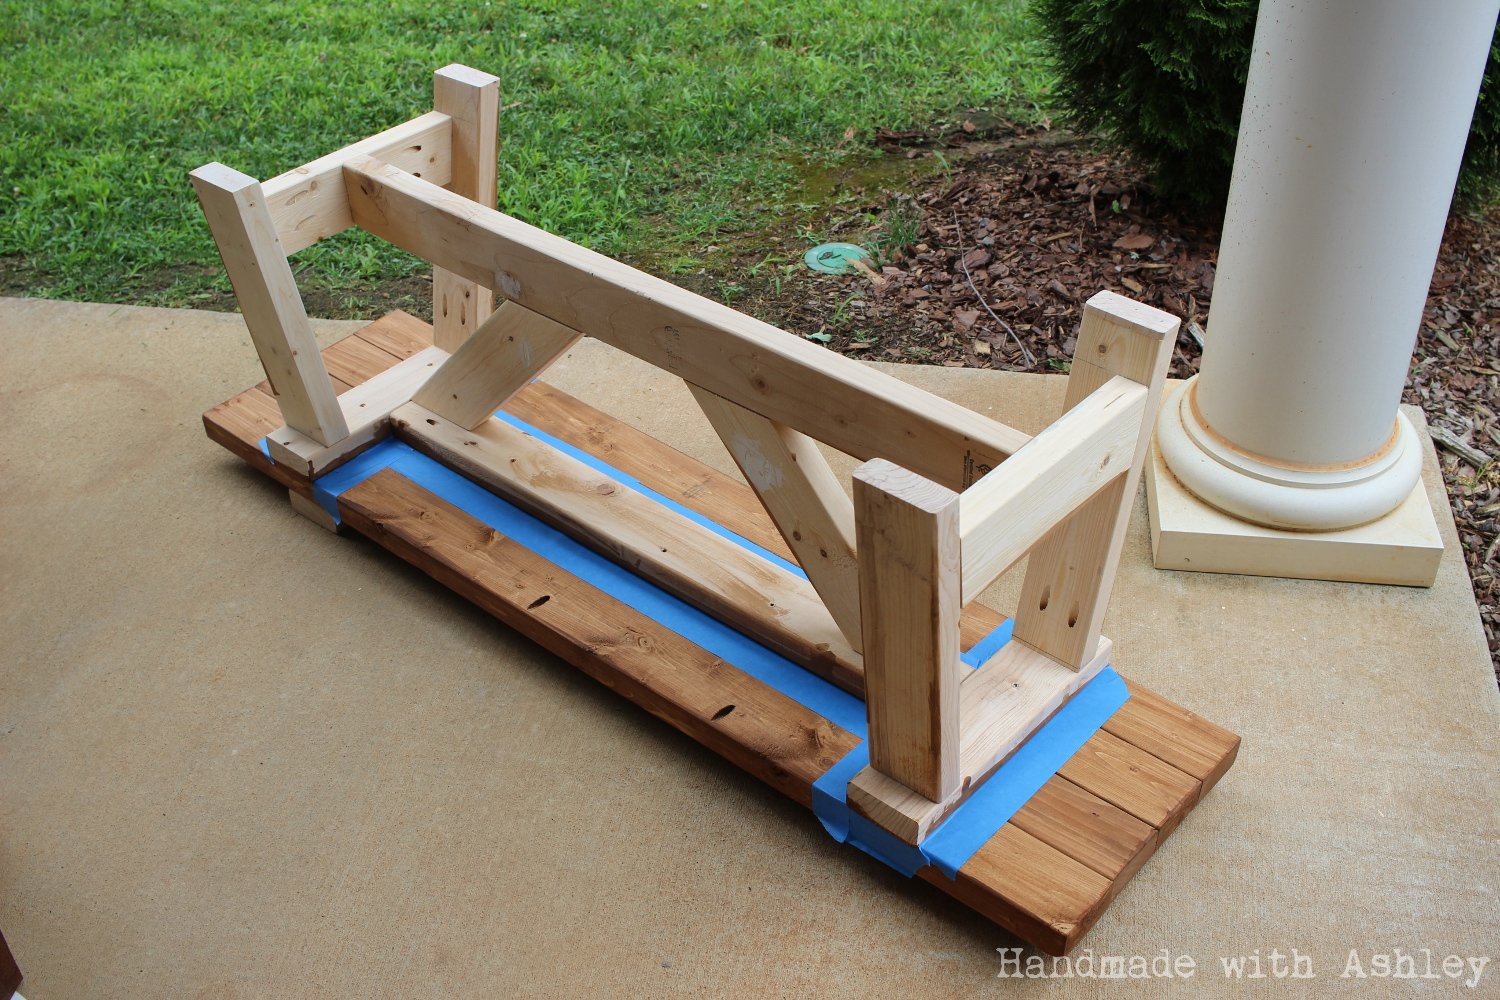
Hooray! I recently finished building a dining room bench. For this project, I used the Providence Bench plans by Ana White. I started this project in May, and two months later it is finally complete! I am really happy with how the bench turned out! It is pretty sturdy and makes for a nice addition to the dining room!
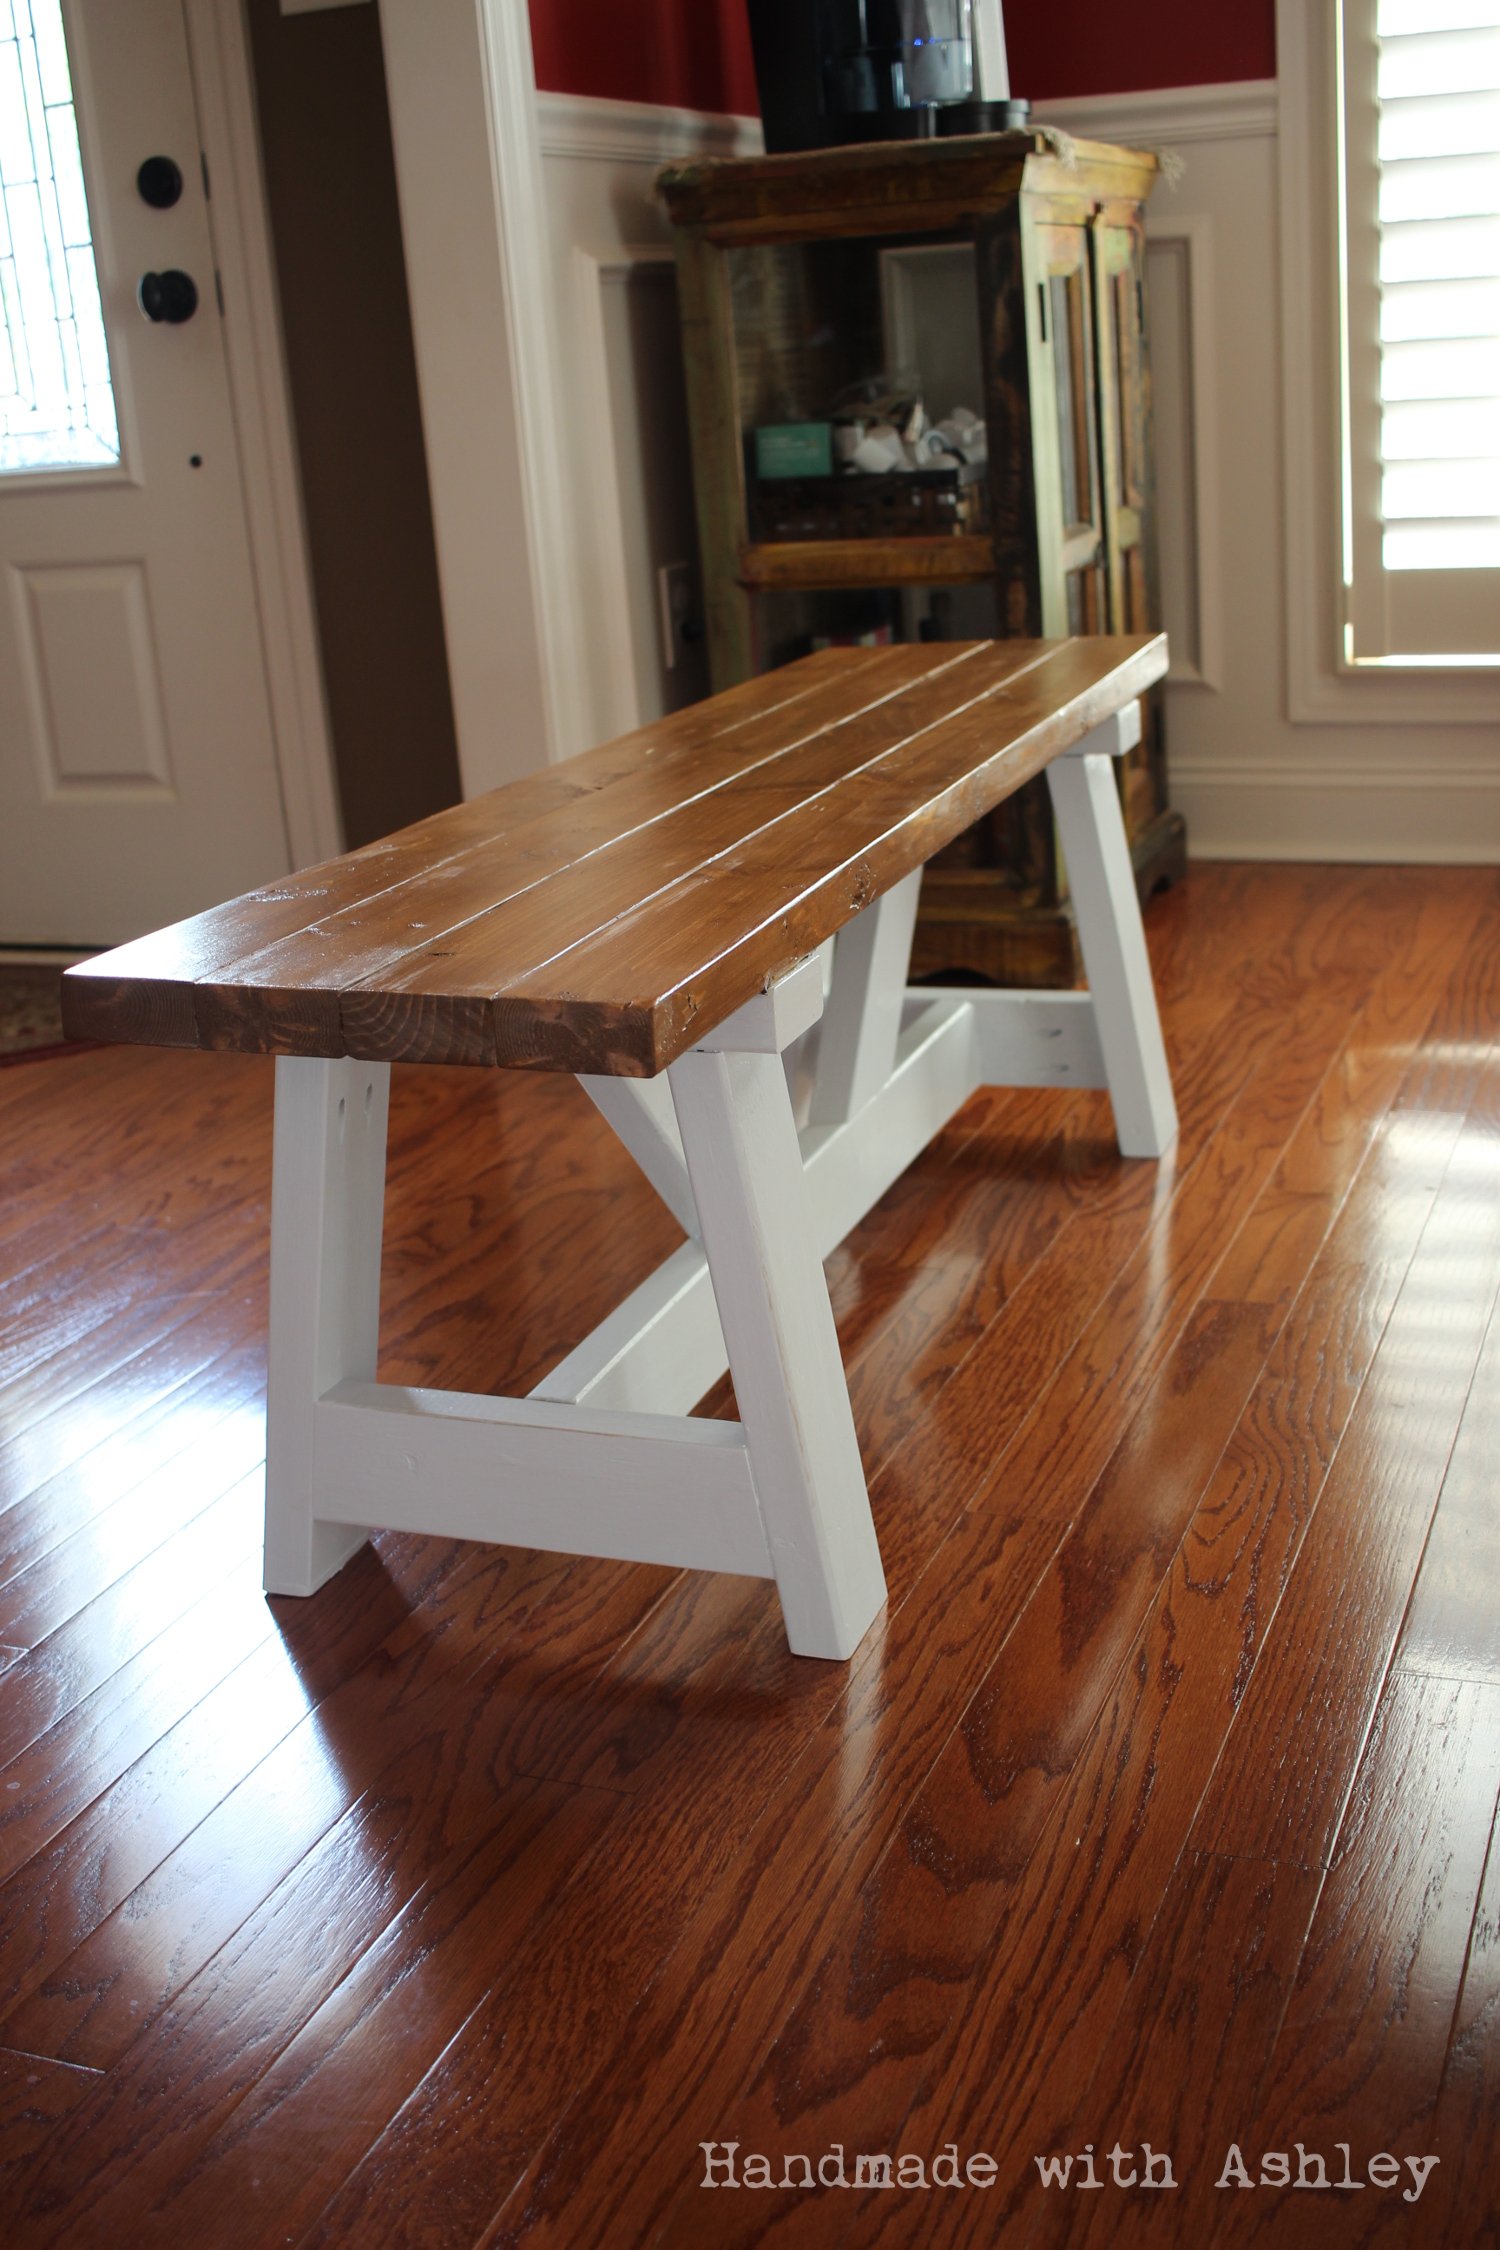
This was a really fun project. I altered the dimensions slighly to fit my space. I also used a piece of 1/4" ply for the bottom shelf instead of thicker common board. You can keep the cost way down if you rip 2x6's into 2x2's. A single 2x2 is about $10 whereas a 2x6 is $6. You get three 2x2's out of the 2x6, so you're basically getting triple for half the cost. Pick REALLY straight 2x6's though!

I have always helped my dad with projects, but this was the first one I ever did without my dad! The directions were very easy and I had no trouble at all. The table turned out beautiful. I modified it a bit by making it a little longer and using a 1x2 on the ends to cover the rough edges instead of a bread board. I also made 2 benches as we are a family of 10. I have 2 high chairs attached to the end. This table will seat 12 adults comfortably! I am so excited to finally have a big sturdy table. Thank you sooo much for this site. I have a new hobby now! ;o)
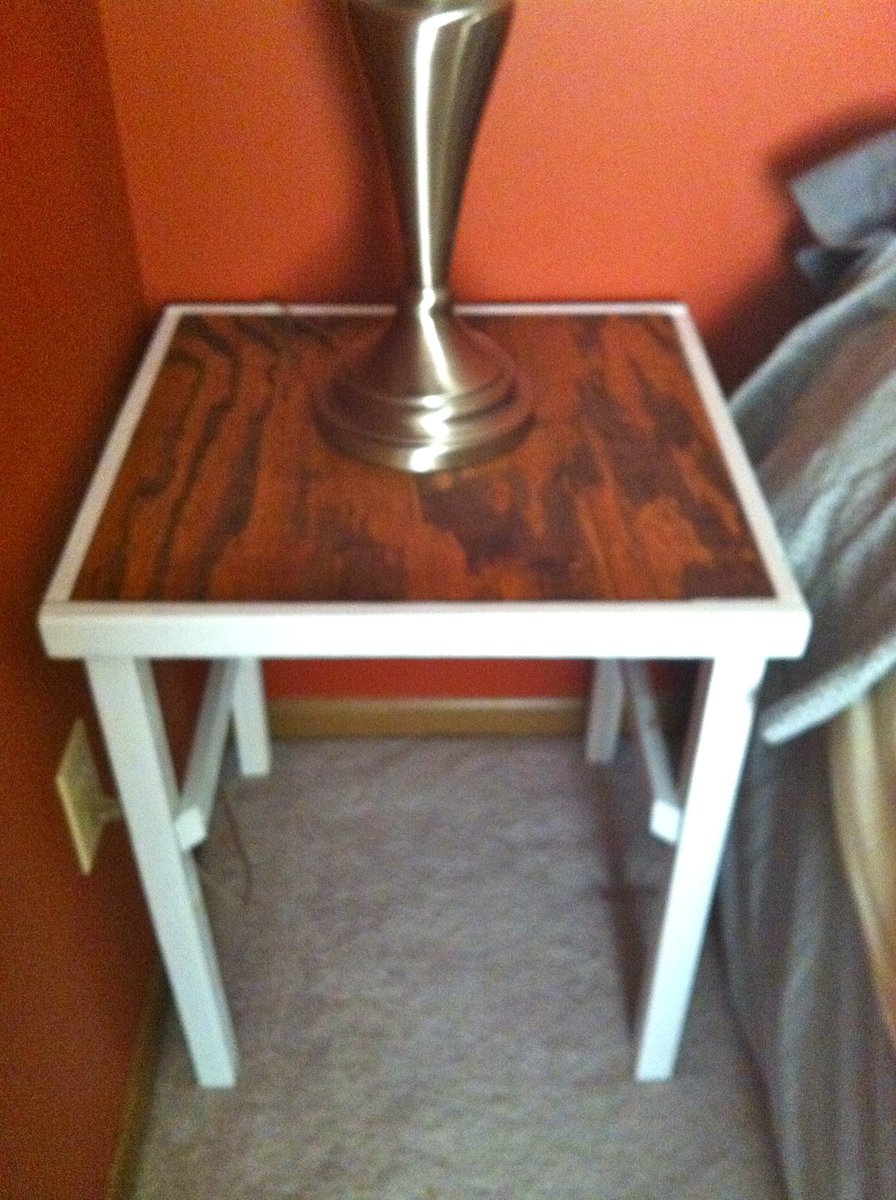
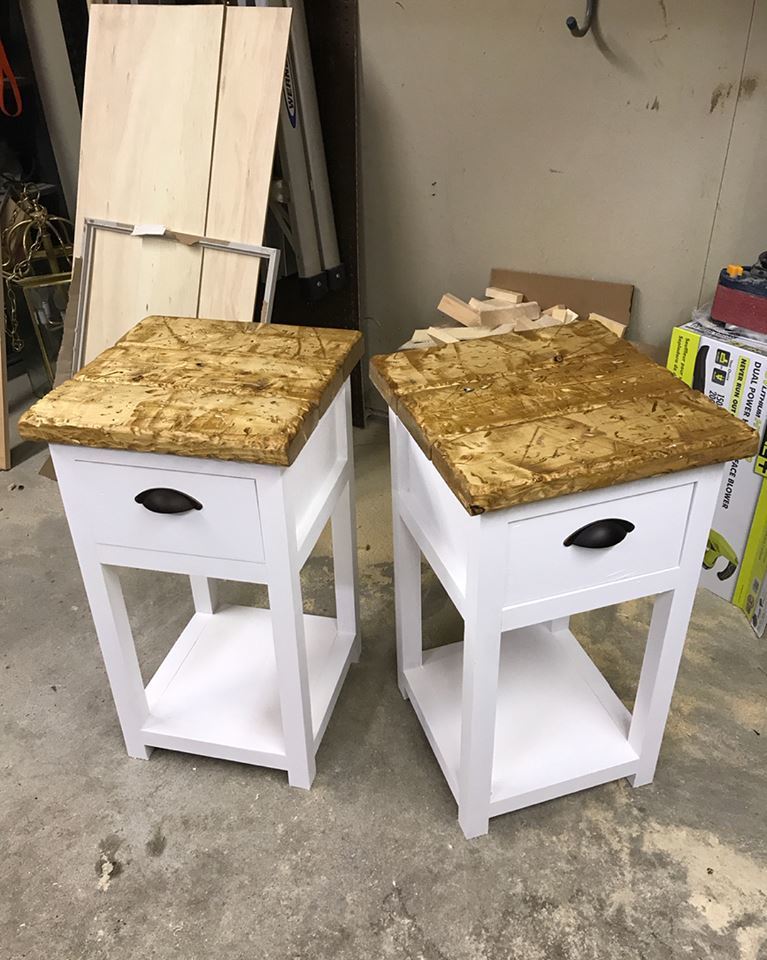
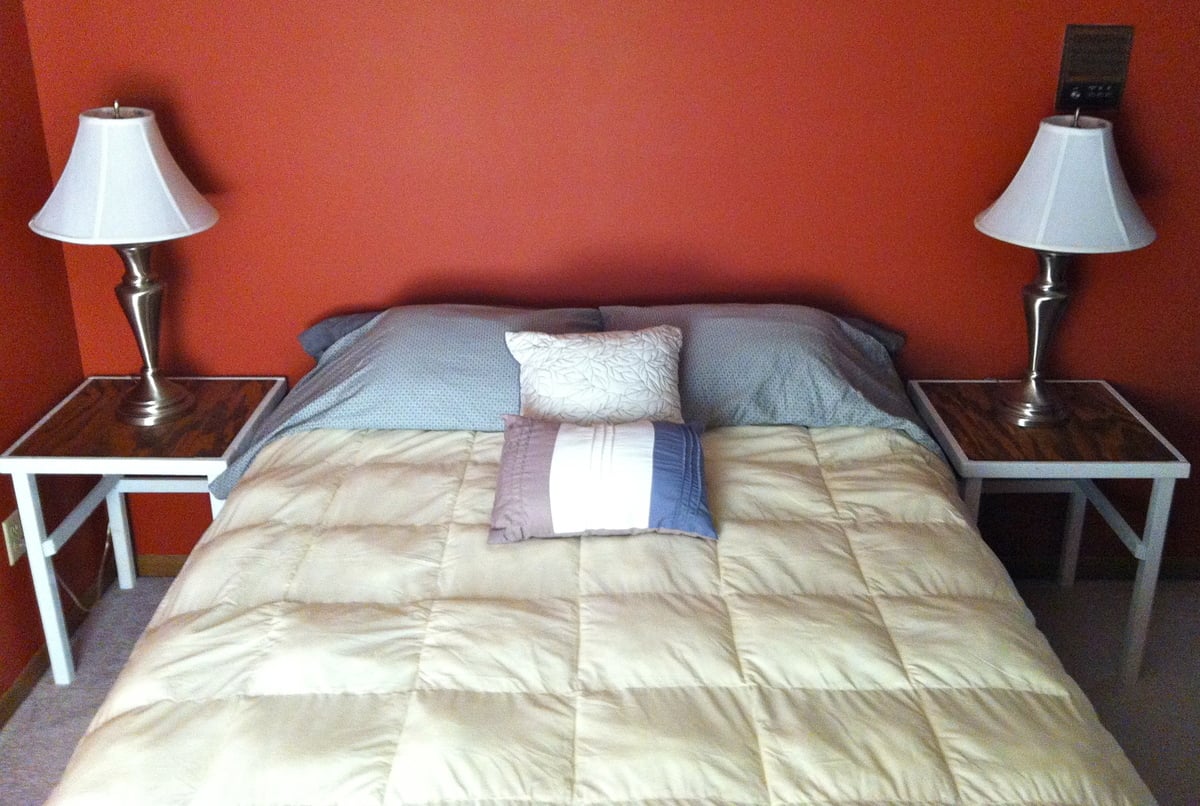
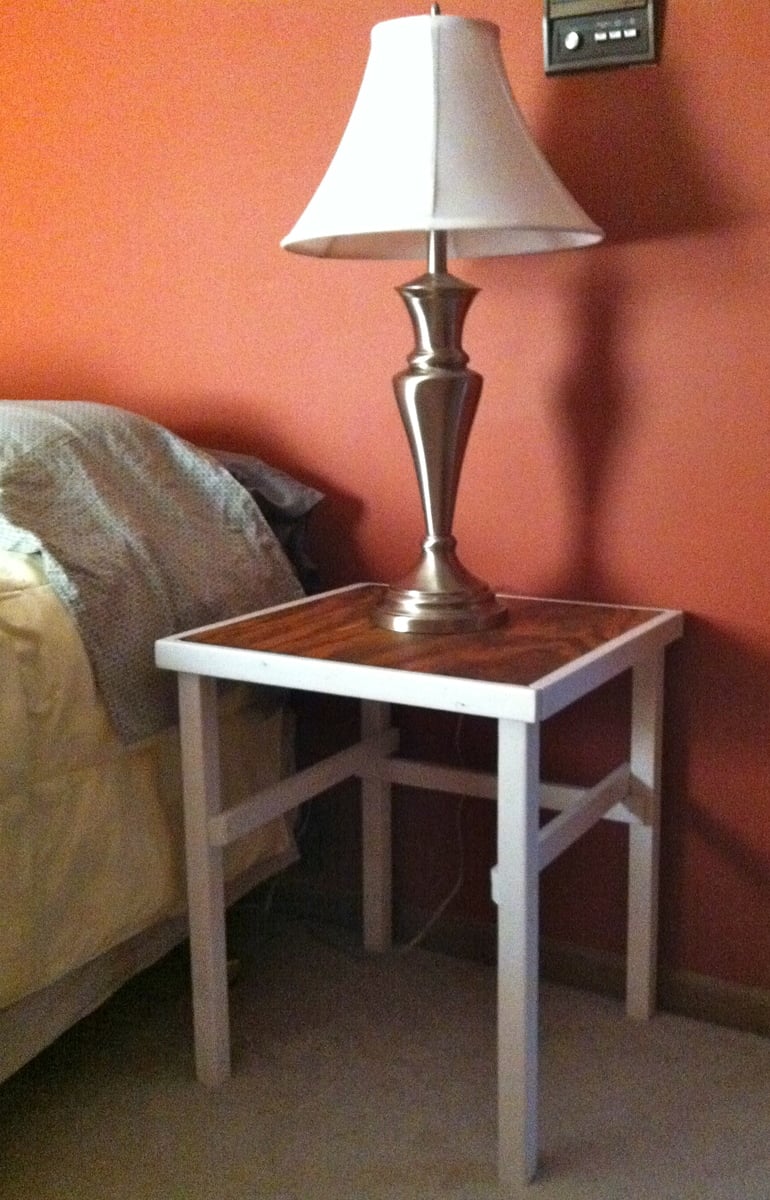
Our guest bedroom has been utterly neglected and stark. When I found a pair of lamps at Goodwill recently, I knew it was time to make bedside tables.
These were created on the fly, without even a sketch or a trip to the lumber yard, though I had to select a plan title for this post.
I took a plywood scrap, cut it in half, framed it with 1x2 furring strips, added 2x2 legs, and then used more furring strips to stabilize the legs.
They were assembled quickly, and then I faced choices about how to finish them. I ended up using Minwax Provincial for the tops, then taping them off with trash bags and spray painting the rest.
They're plain, but versatile enough for whatever I end up doing to decorate the guest room in the future. I plan to stick baskets underneath them, when I find a good deal.
Next up will be a headboard for the bed.

i'm so grateful for all of ana's projects and plans!! we recently bought a new house and have decided to make much of the furniture so that every piece will be customized to fit the space... i'd rather spend hours in the garage making the perfect piece than spending days/weeks (and money!) to find something that "could work"...
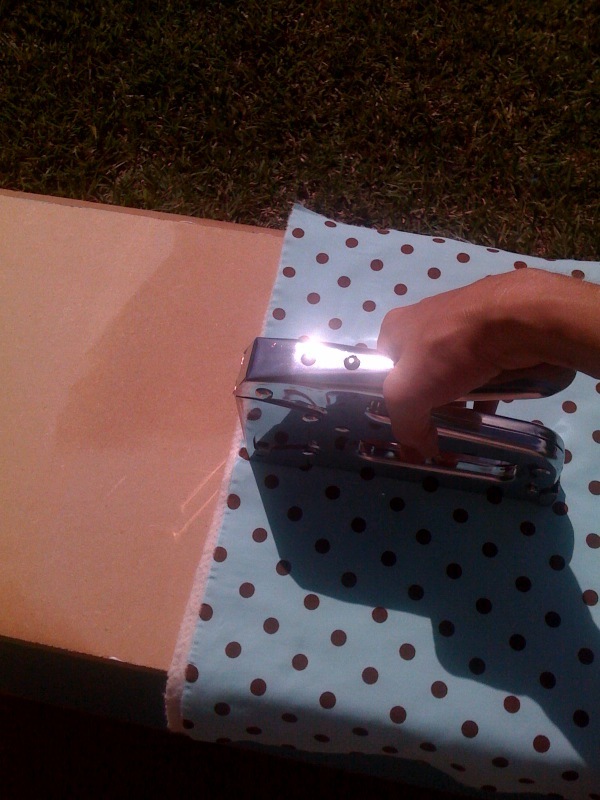
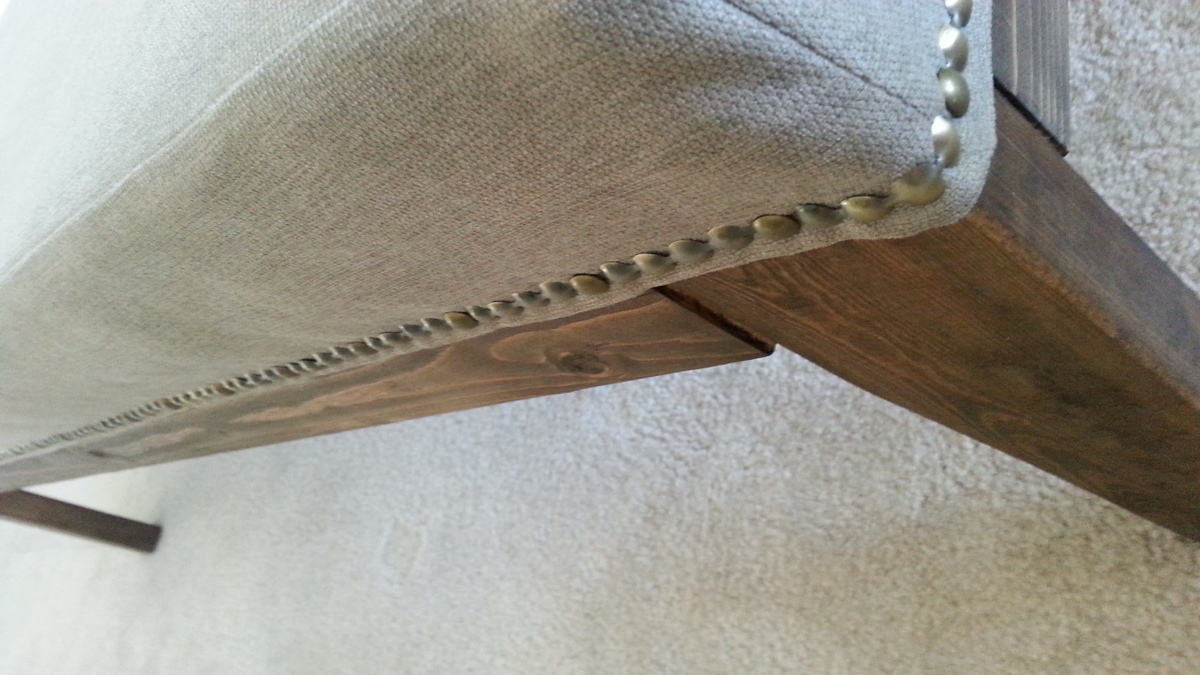
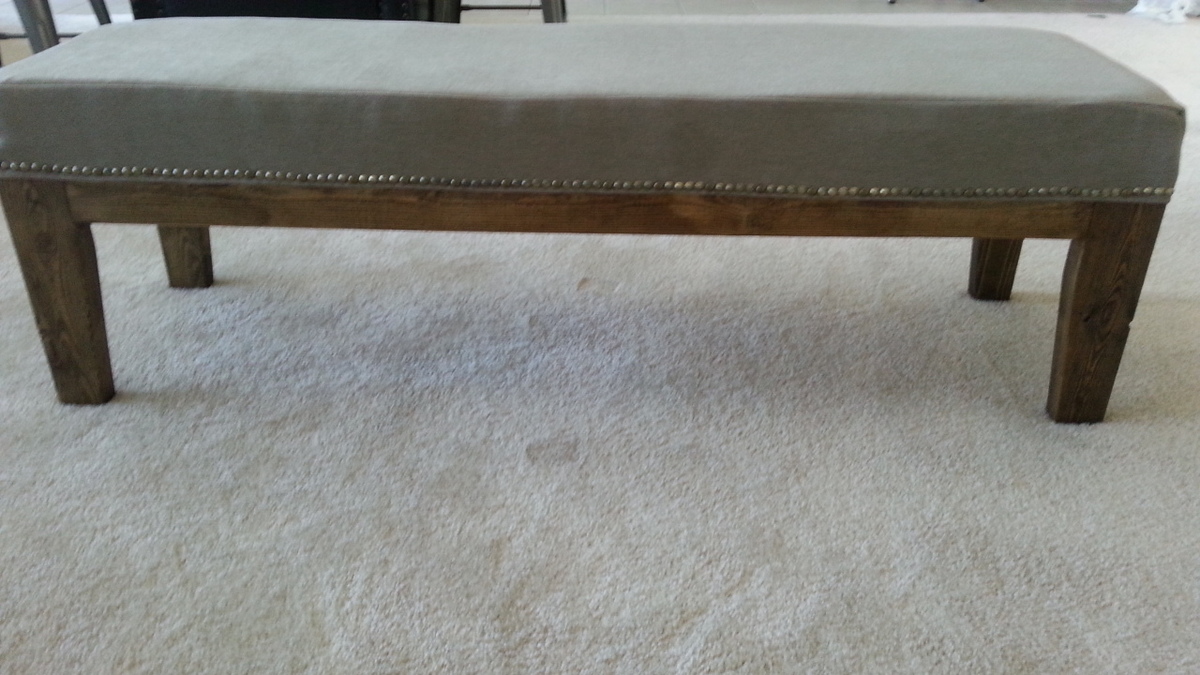
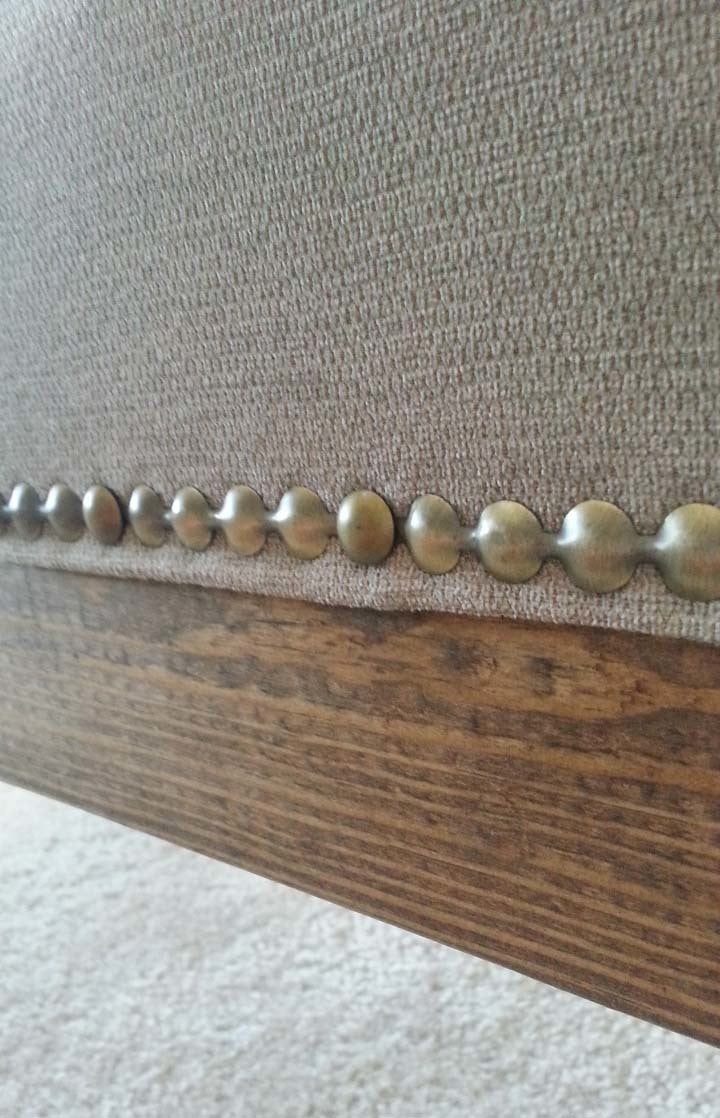
i just finished my latest project from an ana white plan, easiest upholstered bench... and it WAS easy! the hardest part, for me at least, was the sewing.... but even that was straight lines, so not too difficult... and i'm so happy with the way it turned out...
a couple things i did differently from ana's plan were attaching the cover to the bench with nail heads... i like the idea of the slip cover for cleaning purposes... but it was getting "messy" every time we sat down and stood up... it just wasn't laying nicely... so i hemmed the bottom and attached the nail heads... i absolutely love how it turned out... this was my first time using those - and it was super easy... they came on a roll and every fifth "head" has a center hole for you to tap in a real nail head... the other four are just faux nail heads... the only issue i had with the nail heads was that the color was slightly off between the real ones and the fake ones... i read reviews about them and people mentioned a lot of the nails bending, but i didn't have that problem... so, overall, i was pleased with using the nail heads to attach the fabric to the bench...
the other change i made was to the foam... the foam at the fabric store was crazy expensive... and i had heard that getting the foam from home depot was much cheaper... but i couldn't find it at my home depot, so we bought a foam mattress cover for a twin bed... it was $24.99 - which is about 1/3 of the cost of 3" foam from the fabric store! the mattress foam was only 1.5" thick, but it was wide enough that we just cut two pieces and stacked them on top of each other...
other than that, we kept the dimensions of the bench the same as the original plans... it was already the perfect size for what we wanted... and we love it!
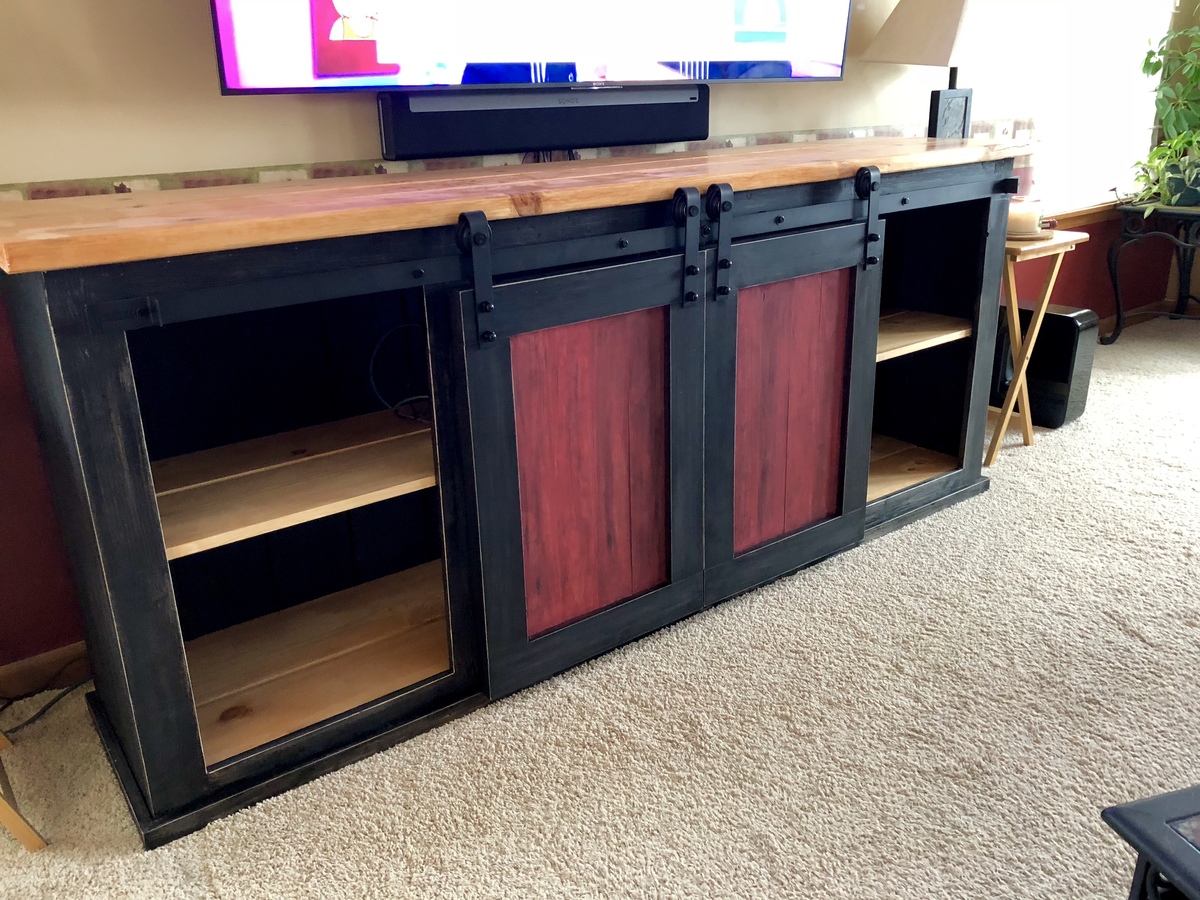
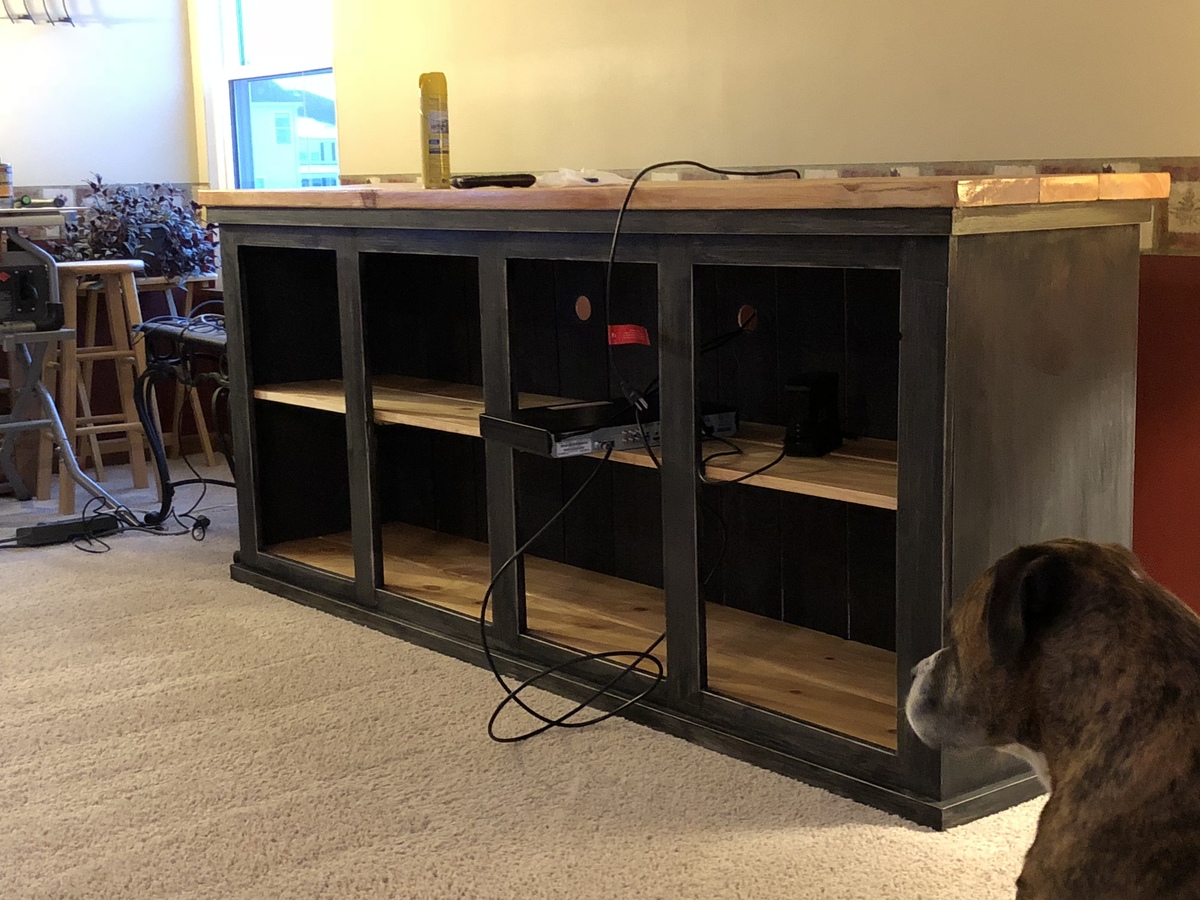
7.5' long cabinet, made with pine boards. Hardware purchased on Amazon.
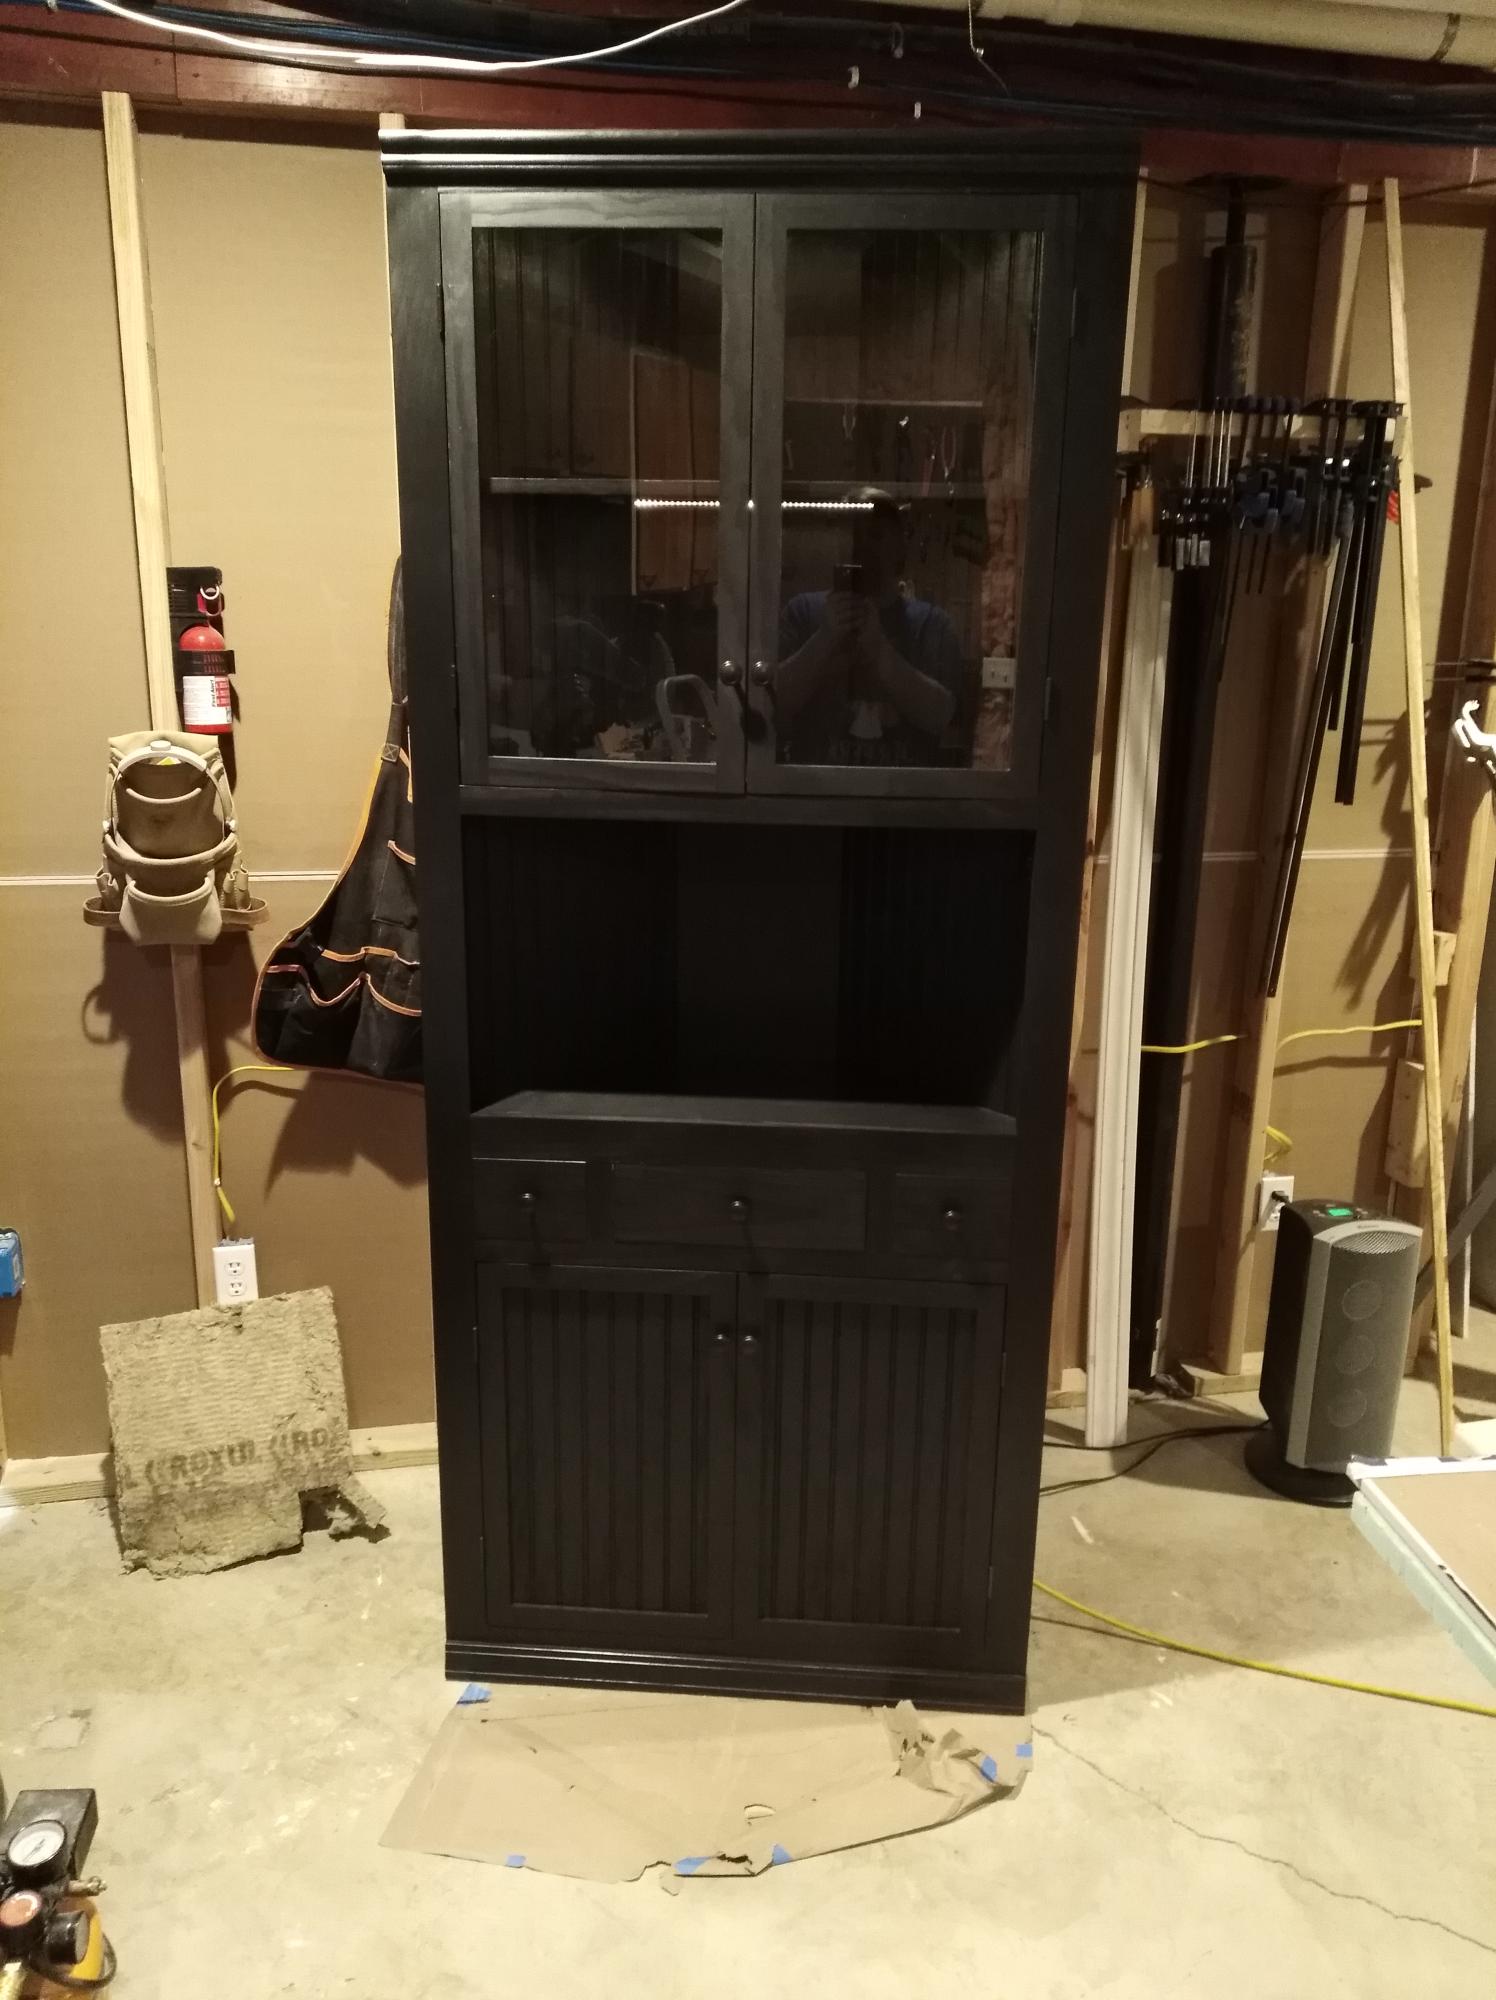
My wife worked with a lady that wanted an extra tall corner hutch. She couldn't find one that would fit her requirements that was also within her budget. Naturally I got volunteered to make it since I'm pretty handy. It stands 7 feet tall. The shelving is made from birch plywood. She wanted a drawer in the middle and glass doors on top with lighting. Personally I would have chosen a lighter color but she wanted all black.


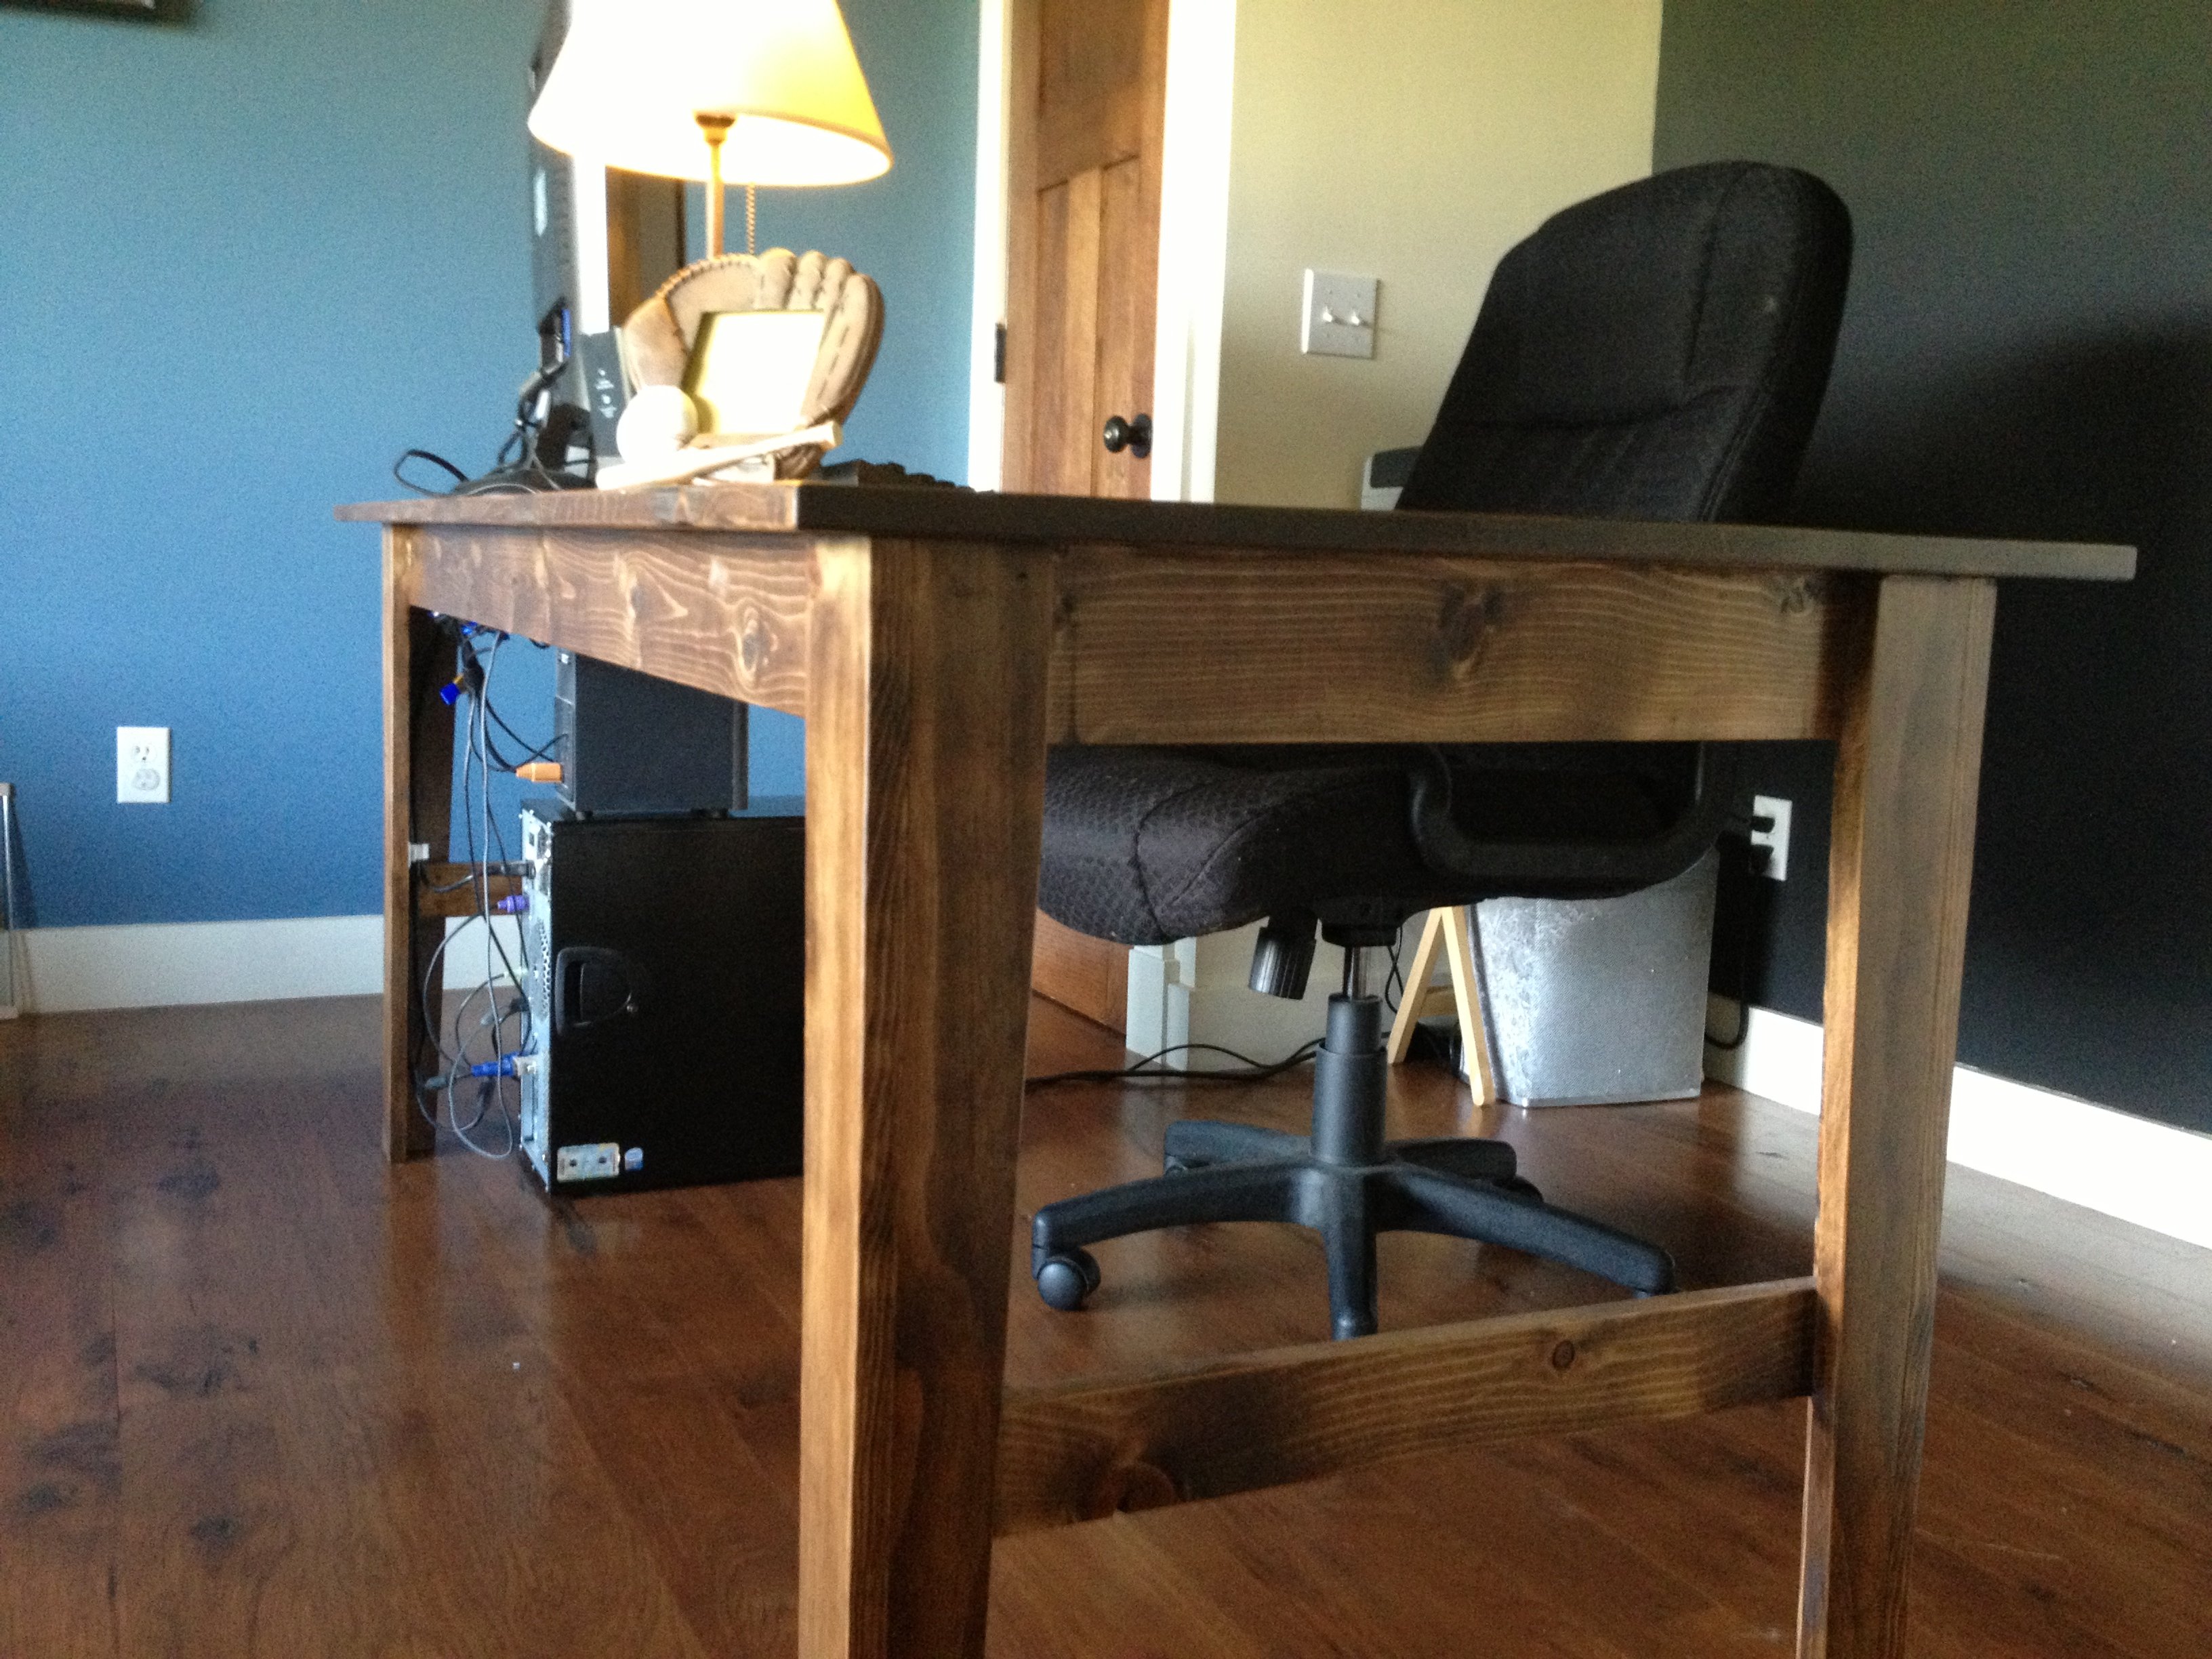
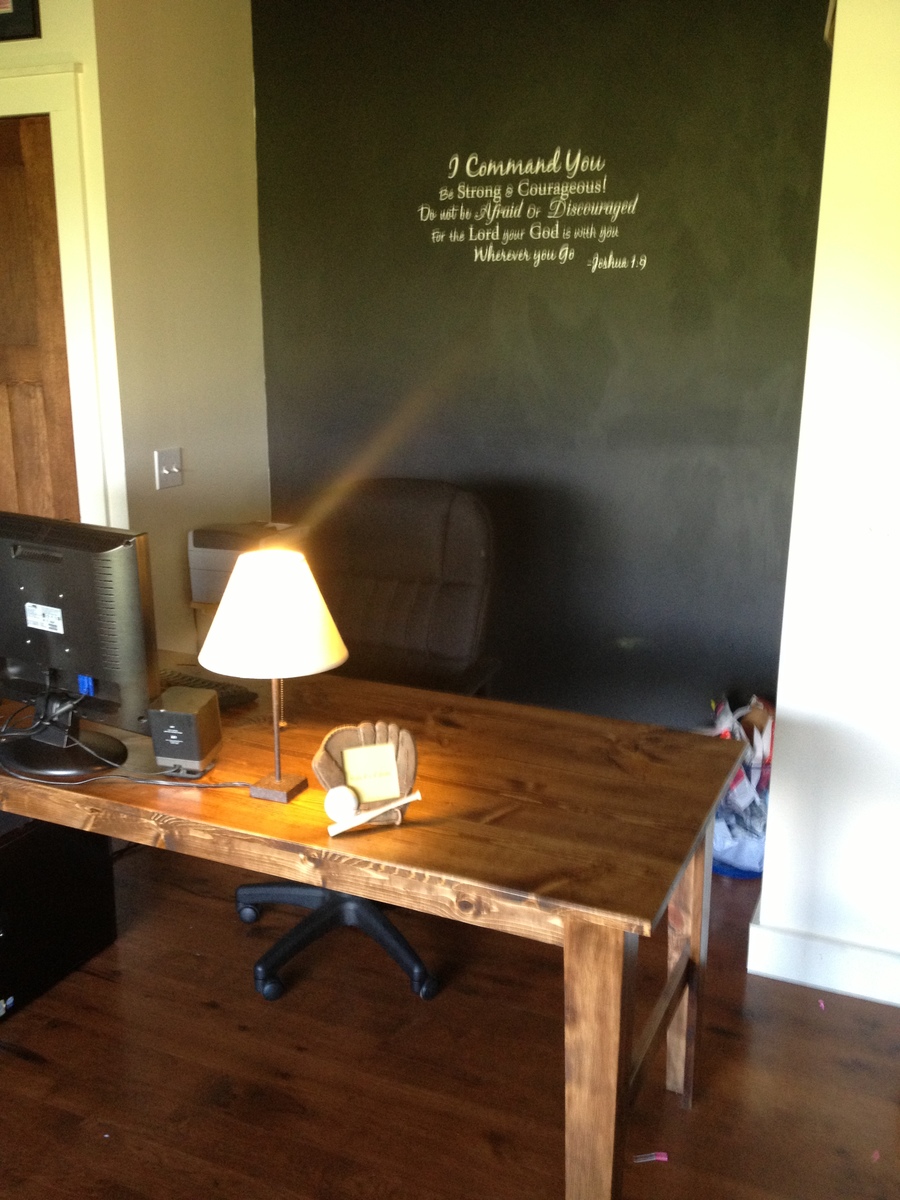
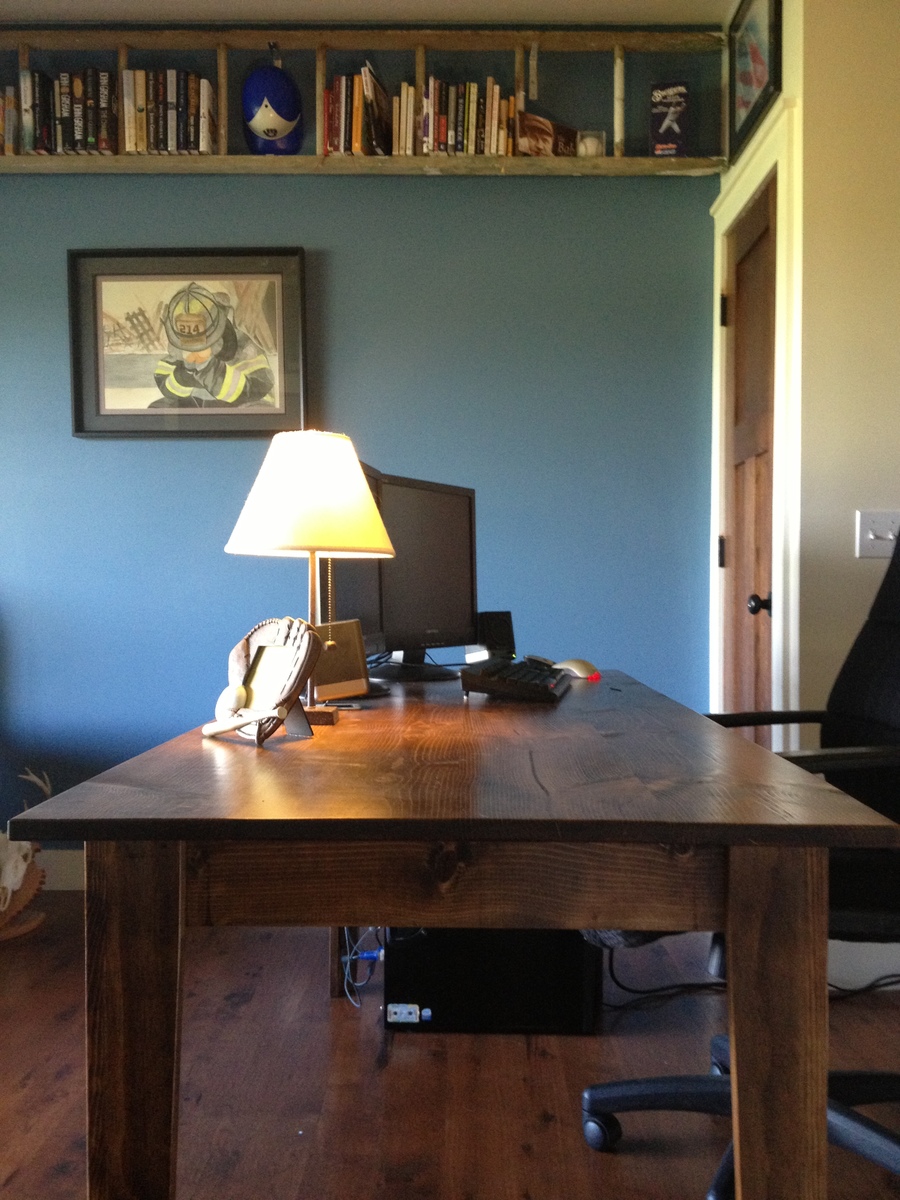
I had fun with this one. I was in a race to complete 4 major things before entertaining a group of 30 people in our home. My wife was searching Craigslist for existing pieces. I love to build things so I had to intervene. This pine desk/table was preceded by craftsman wainscoting, the hutch and buffet on this site, and a large framed mirror.
I went by the plan pretty much exactly. I made it 6 feet long. I used middle grade pine from Menard's, glue, brad nails, and screws. My finish process was min-wax wood conditioner, min-wax special walnut stain, and a per-catalyzed lacquer satin clear coat.
Total buy, build, sand, finish was around 8 hours.
I would love to build for you. To your exact specifications. Message me.
Mon, 12/30/2013 - 16:22
How did you attain such a smooth surface on the desk top? Worried about gaps between boards interfering with writing surface but yours looks great. What's your secret.

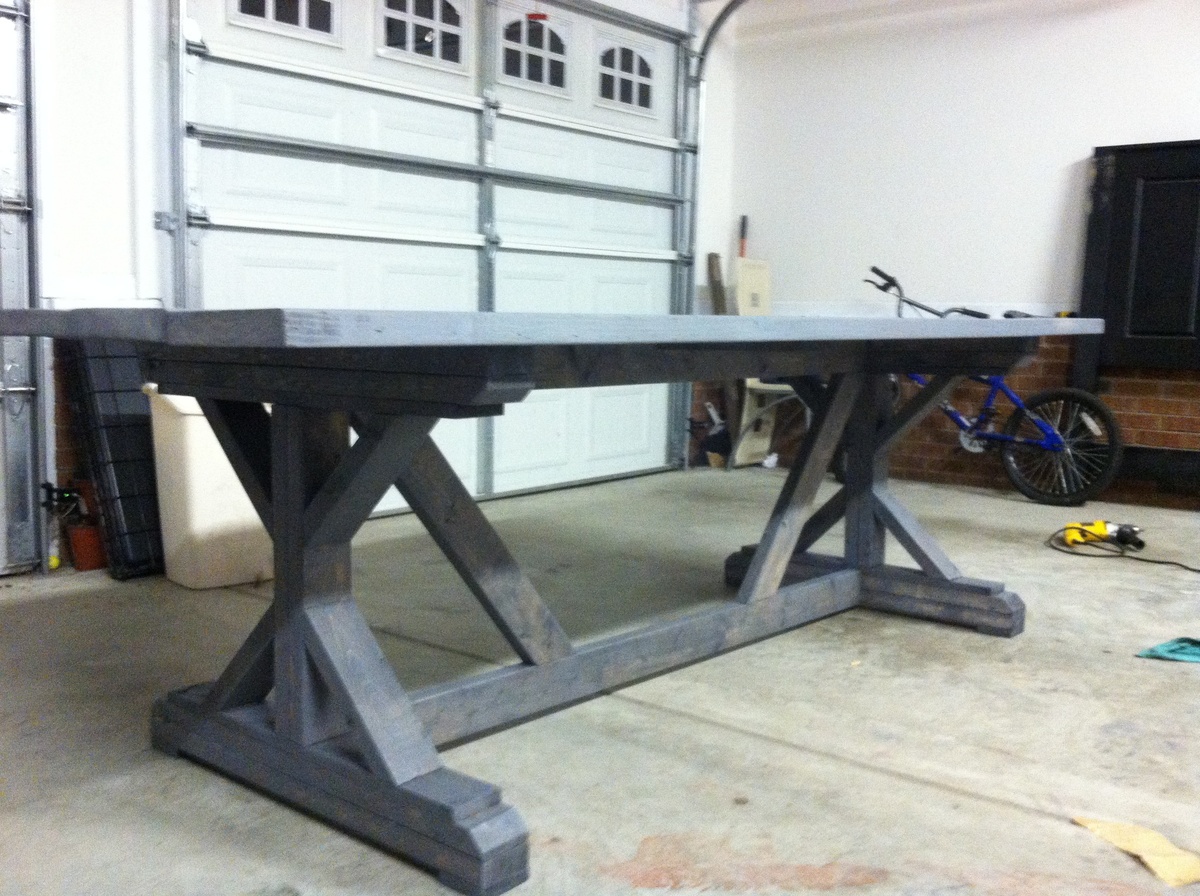
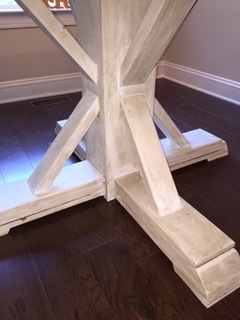
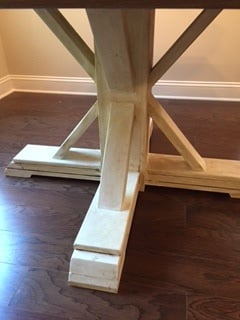
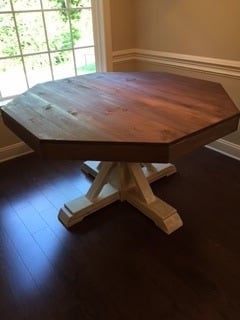
I beefed up the table top supports by double stacking 2x6's and used 2x4 around the edges. My wife painted the base with valspar chaulk paint and antique gel. The table top she stained with miniwax waterbased stain, coffee color.


Comments
Ana White Admin
Mon, 01/03/2022 - 12:26
Beautiful greenhouse!
Thank you for sharing, it looks perfect, love the happy face!