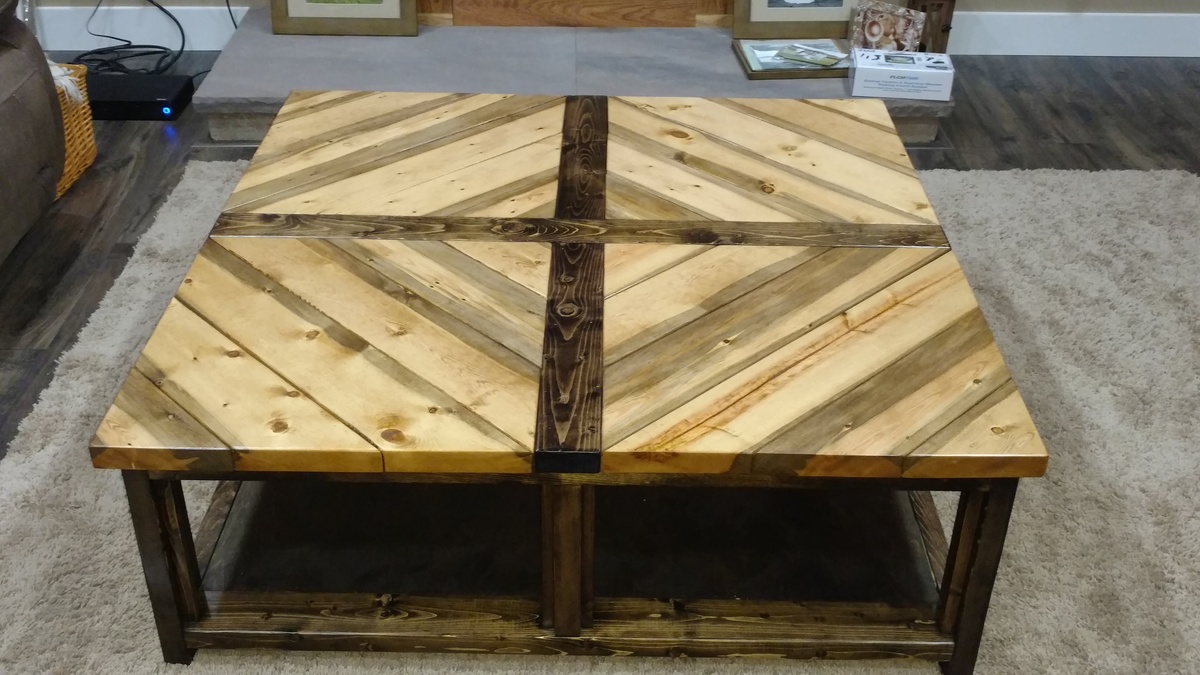
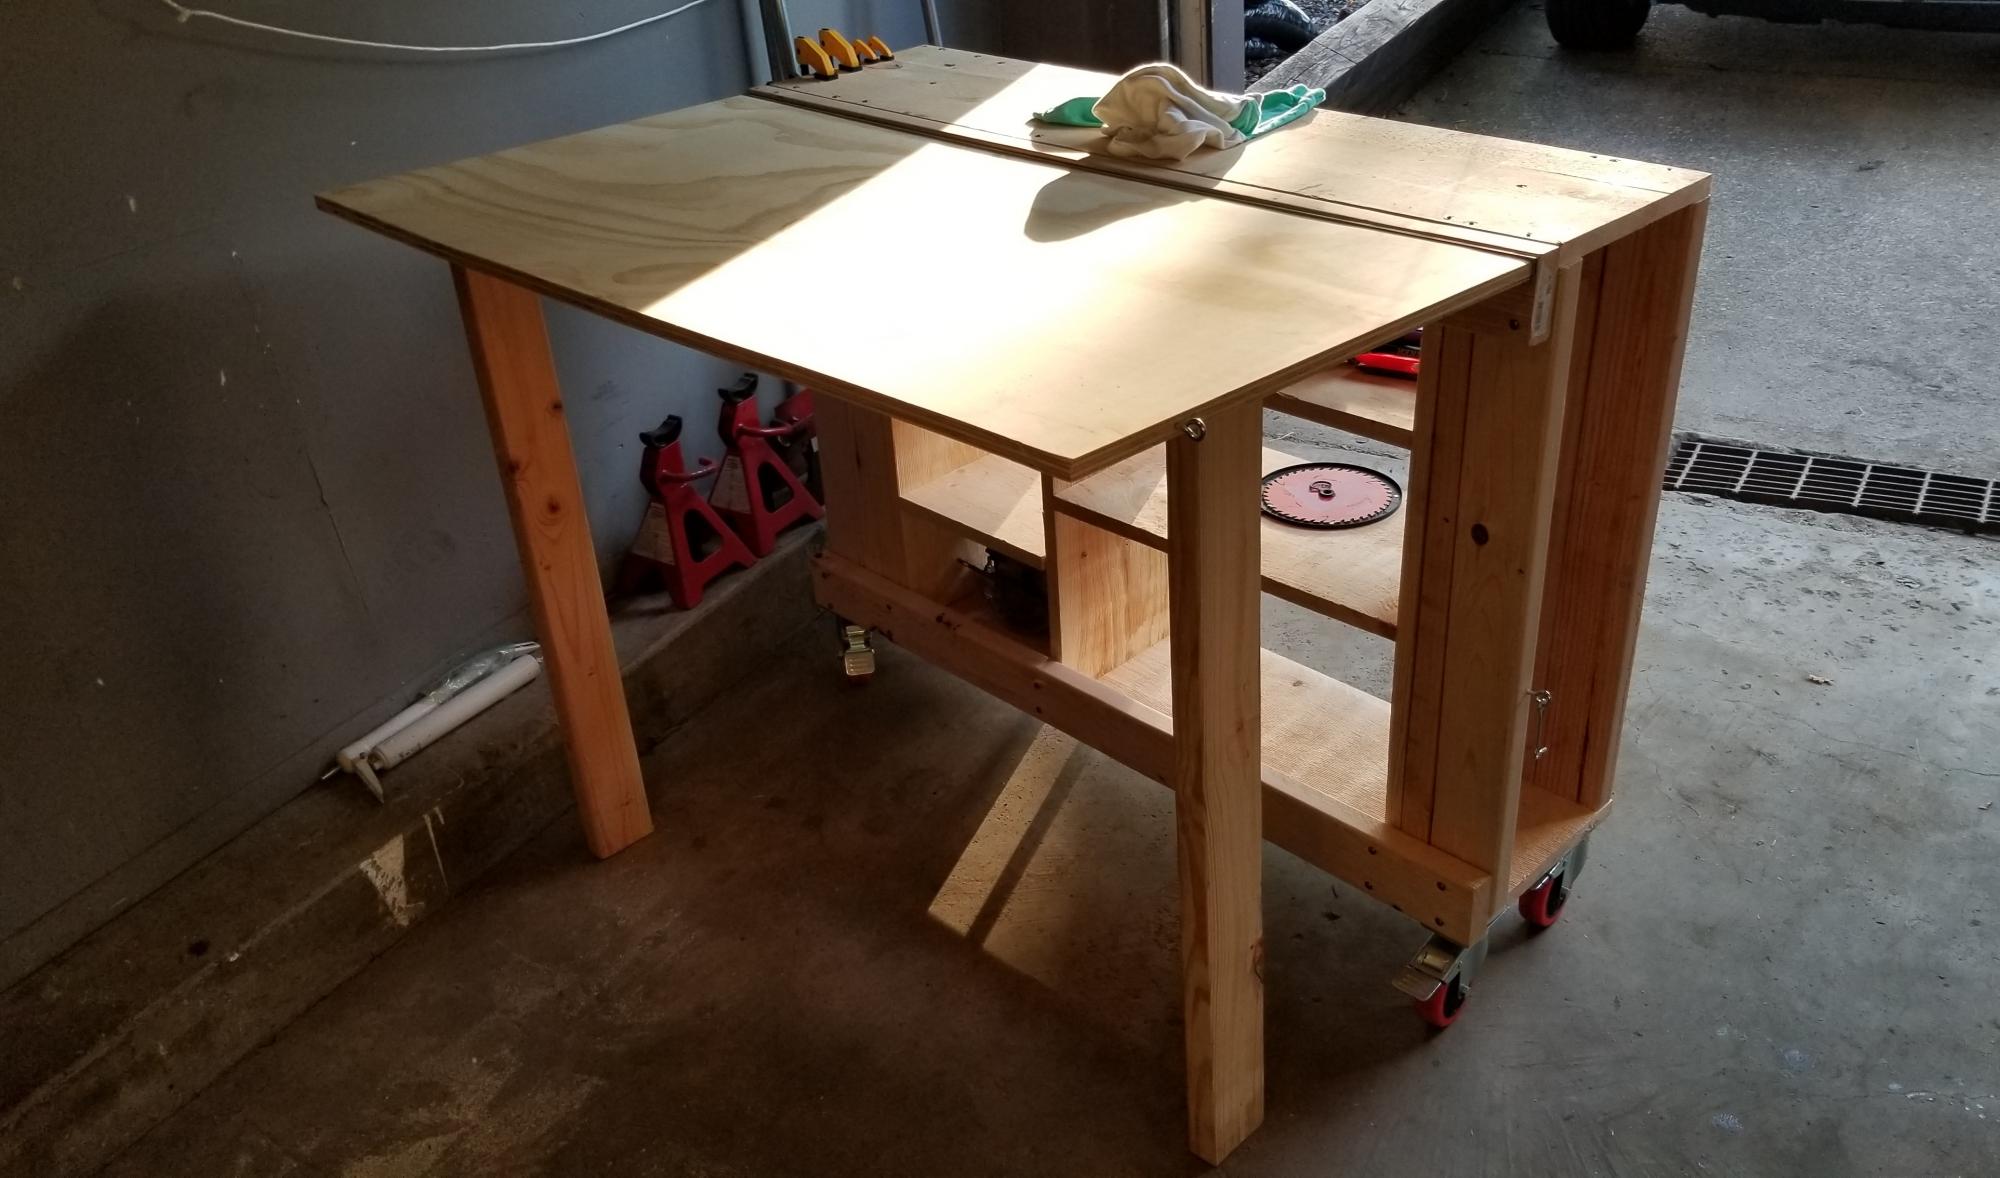
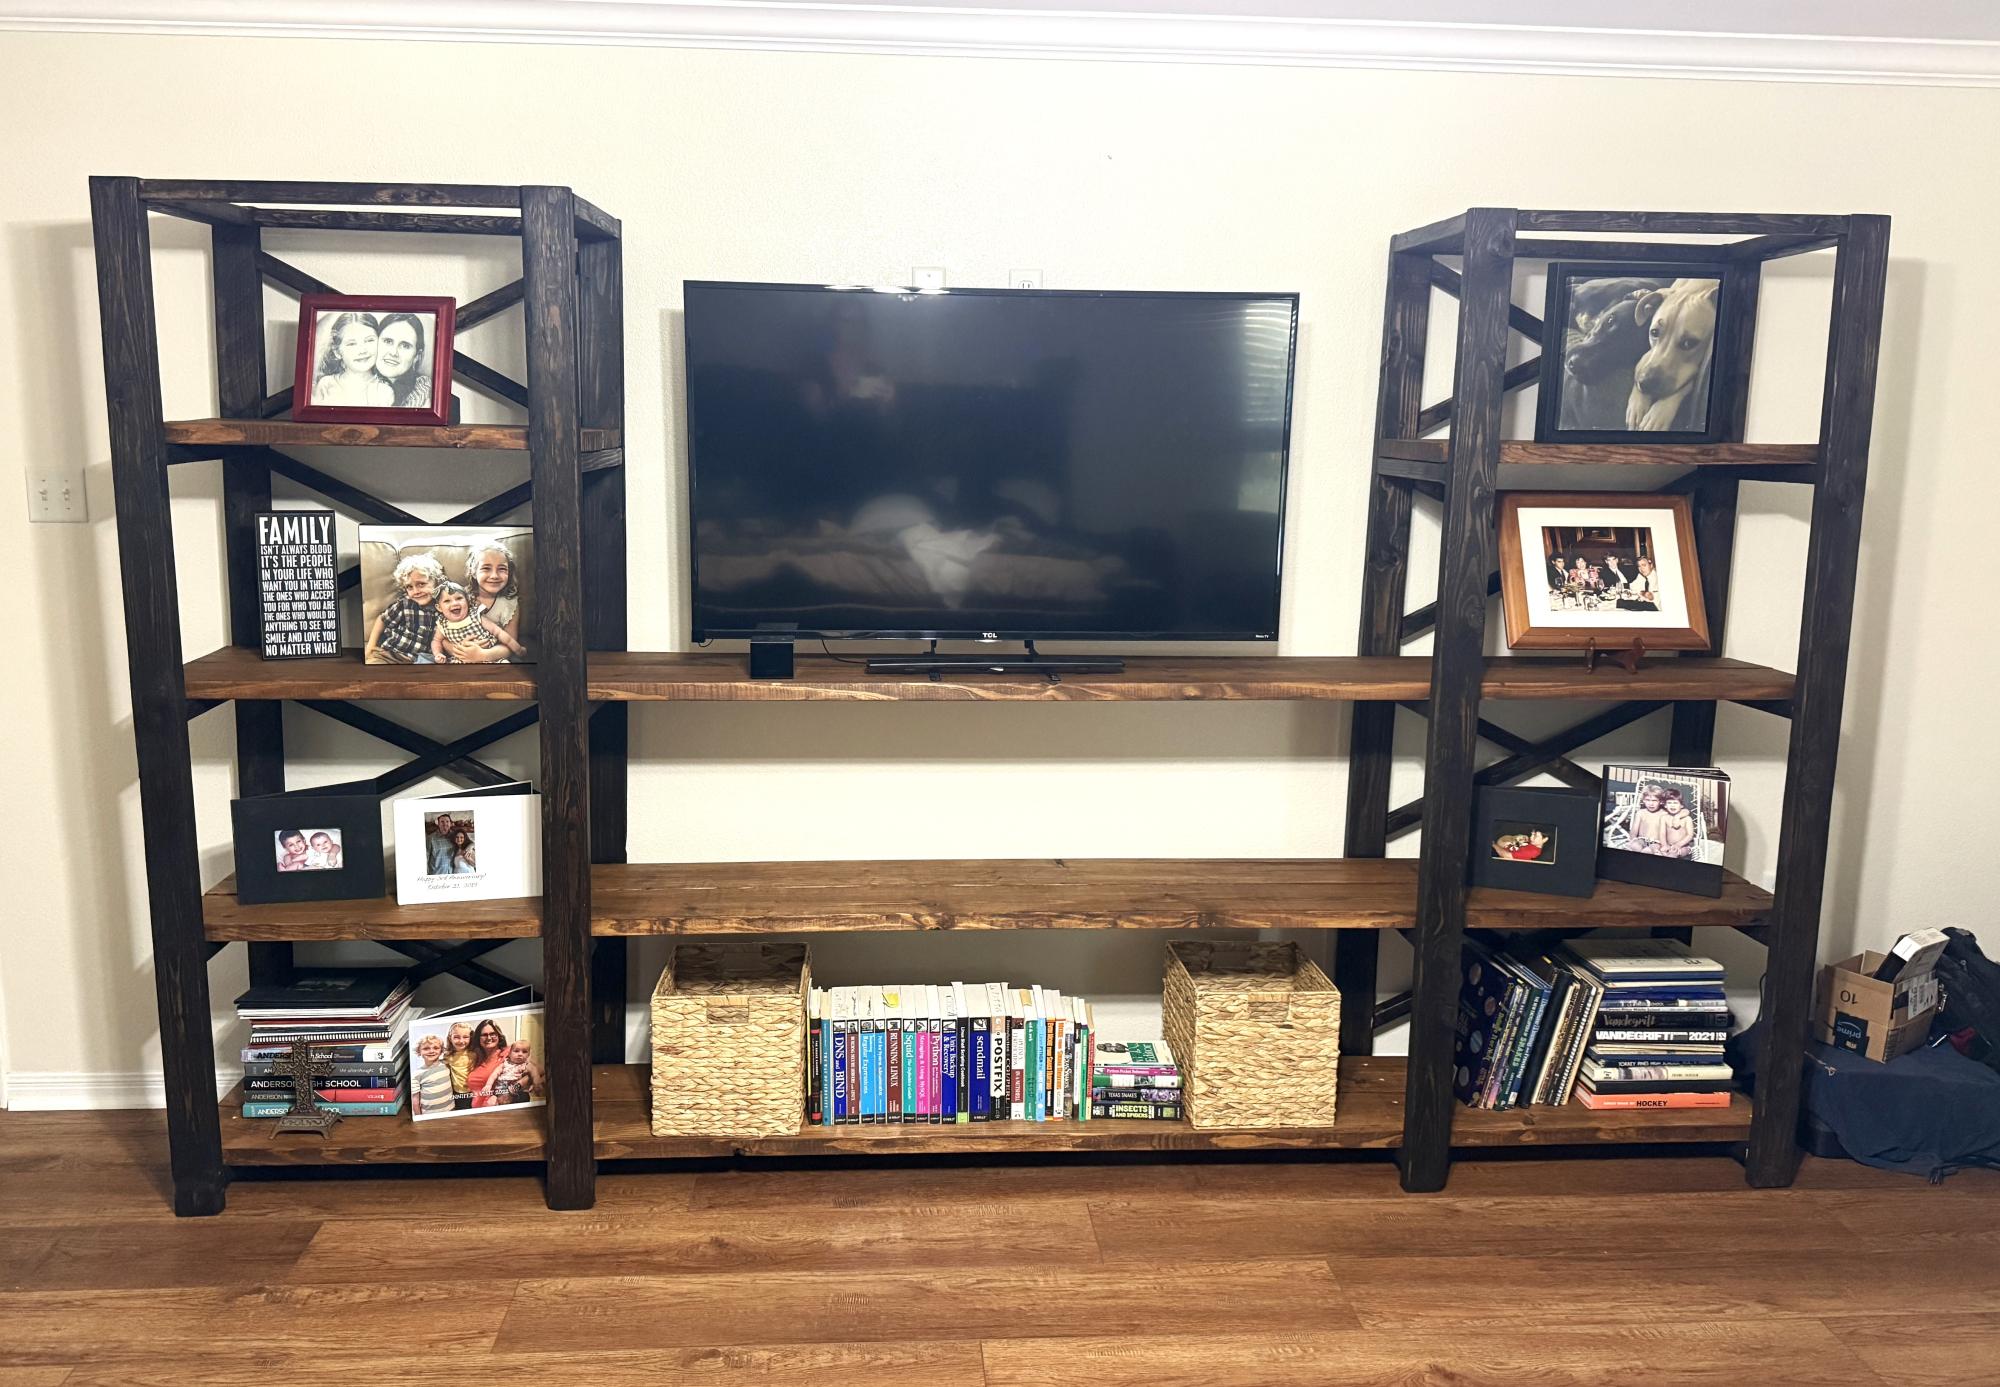
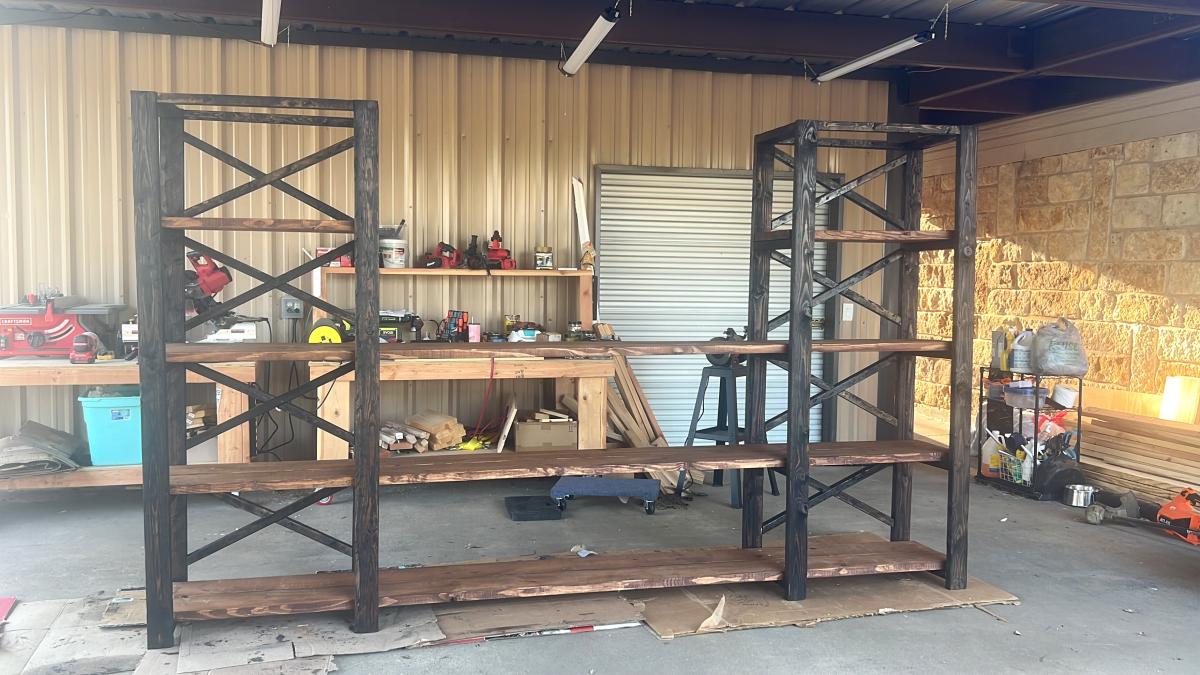
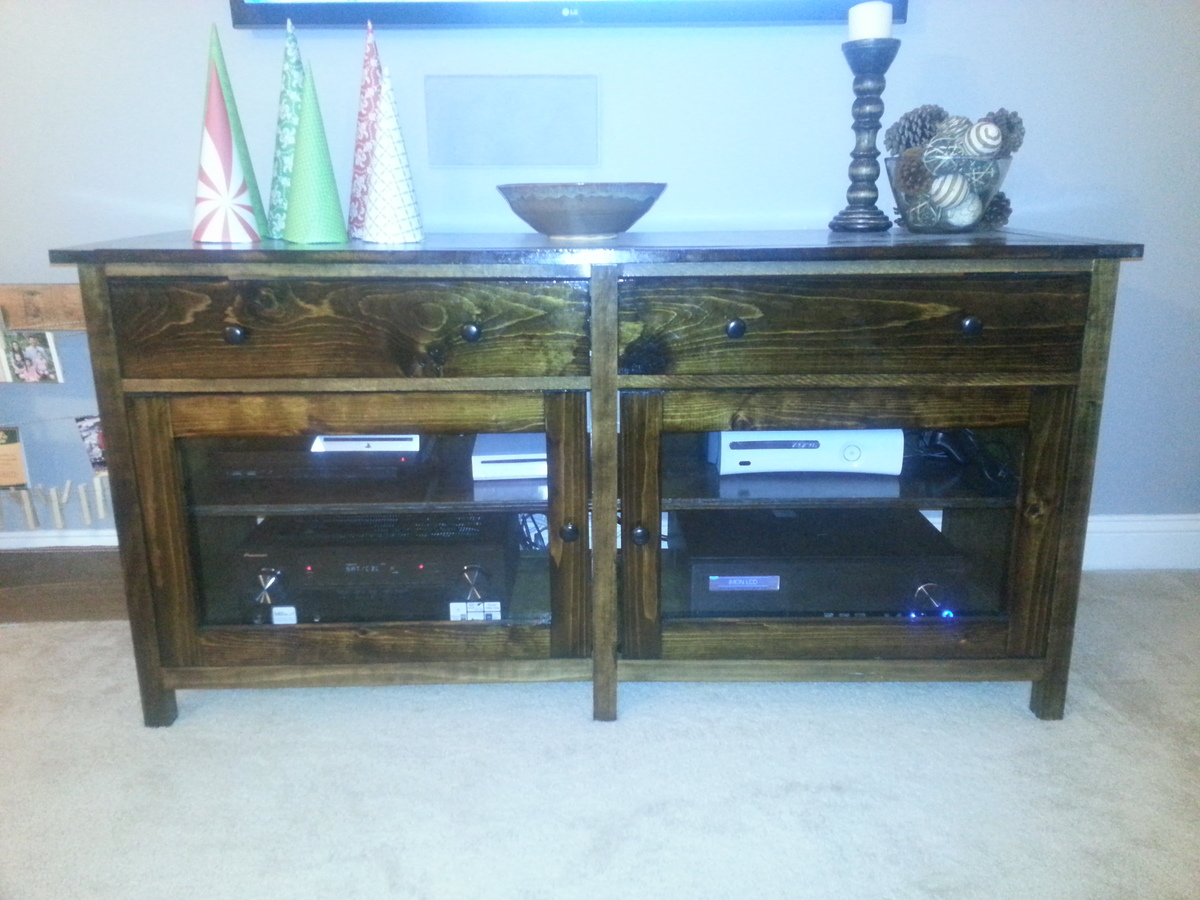
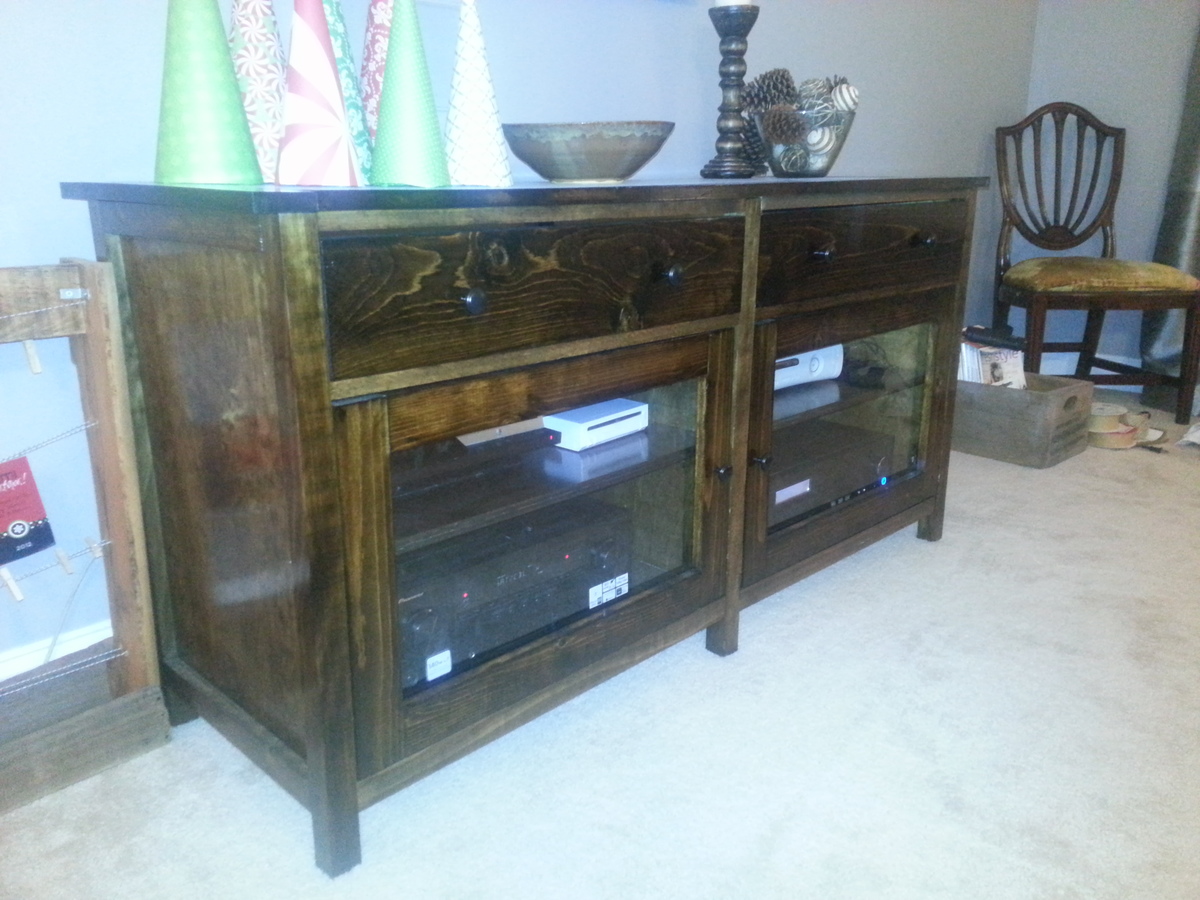
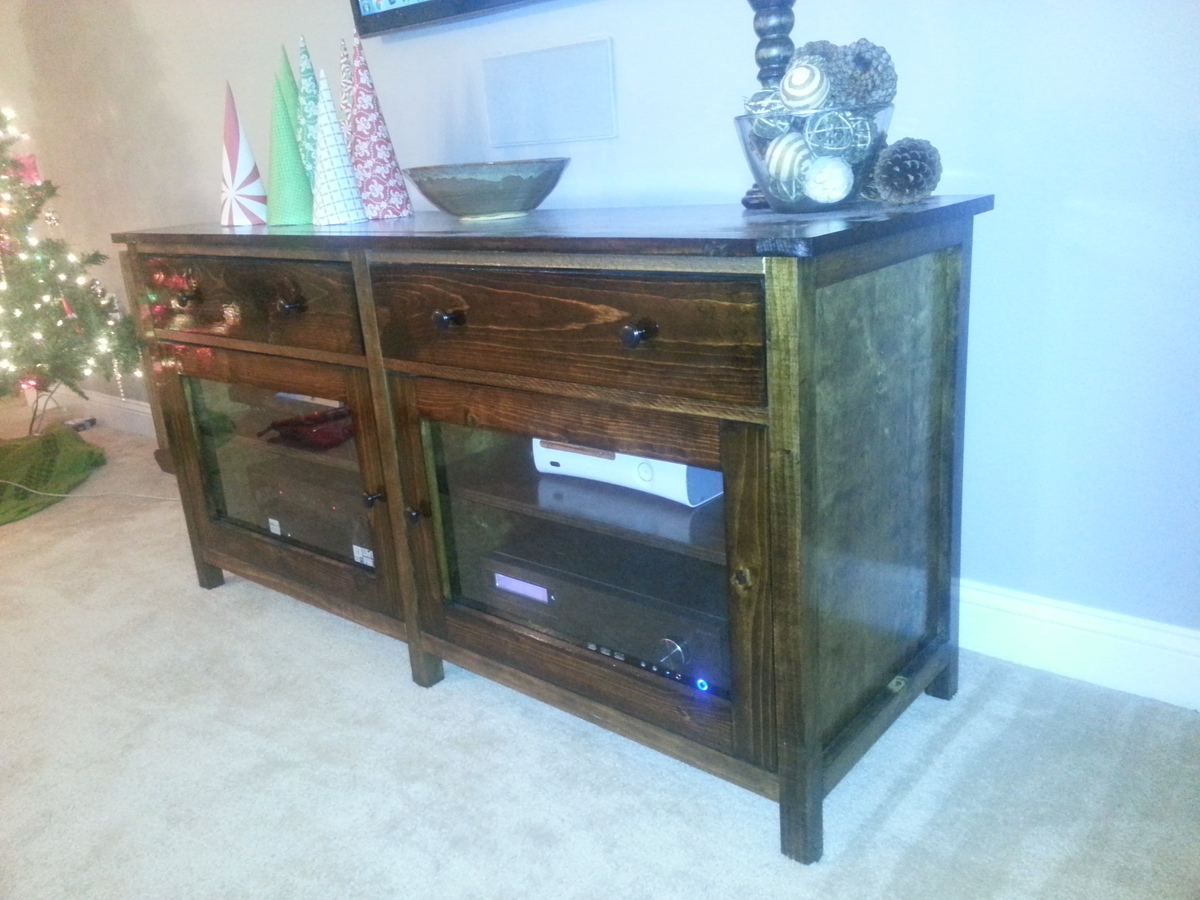
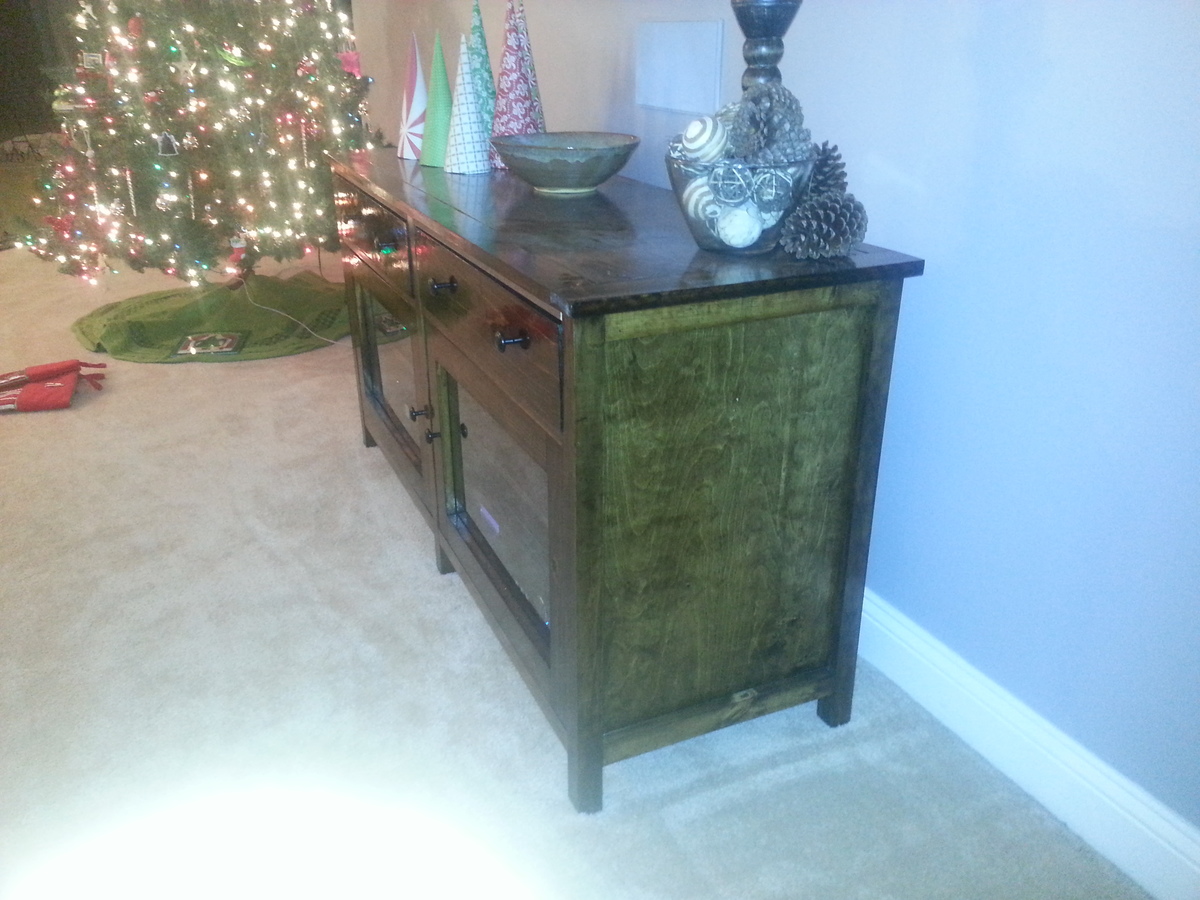
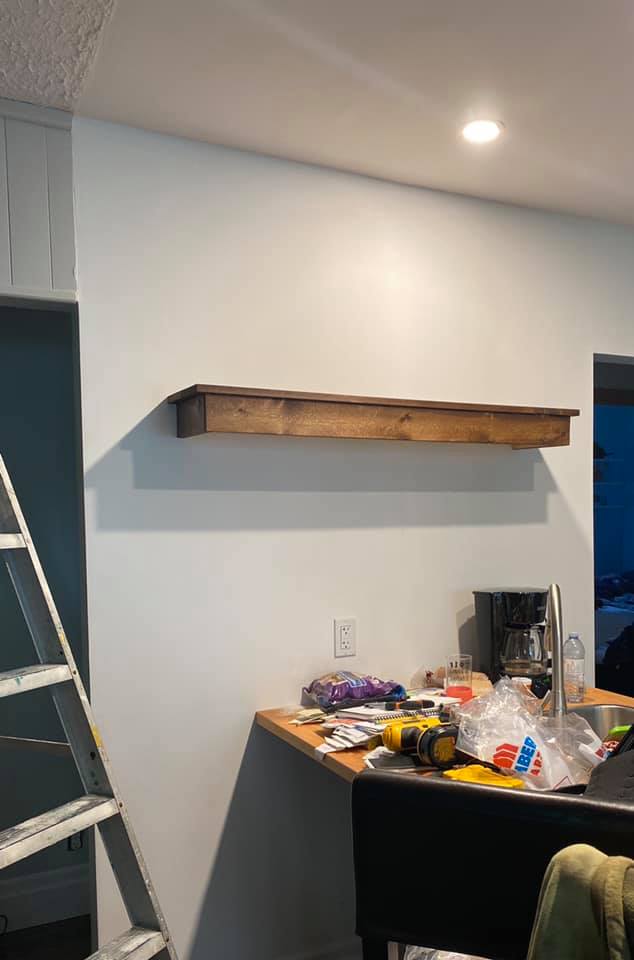
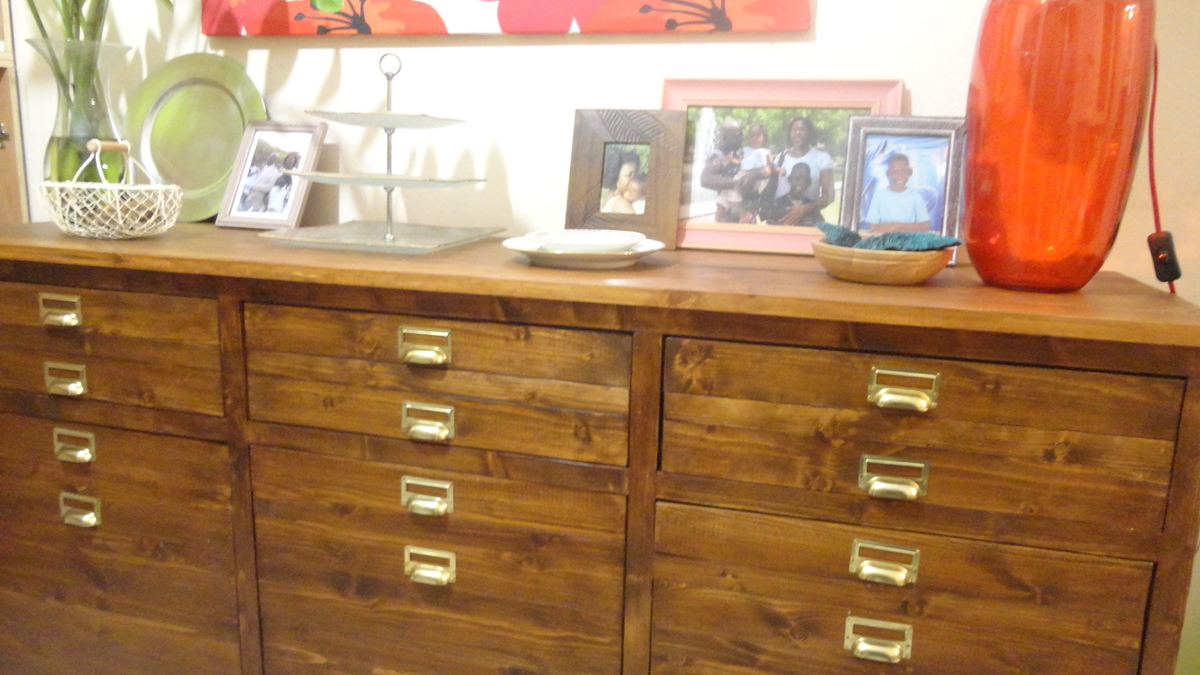
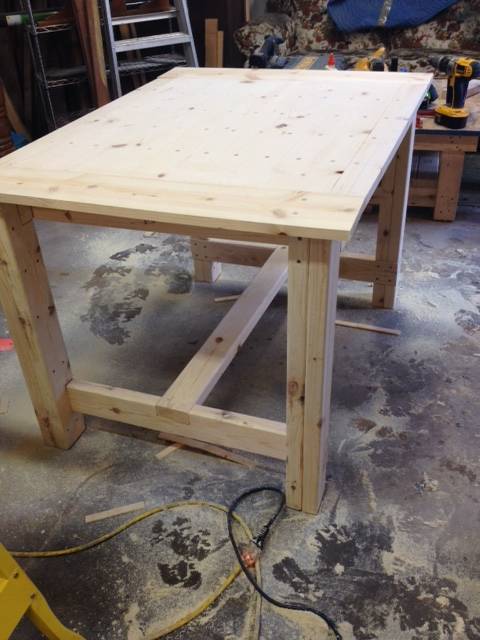
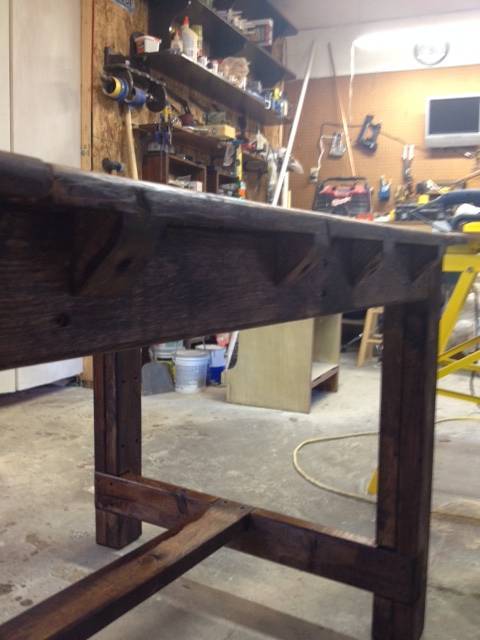
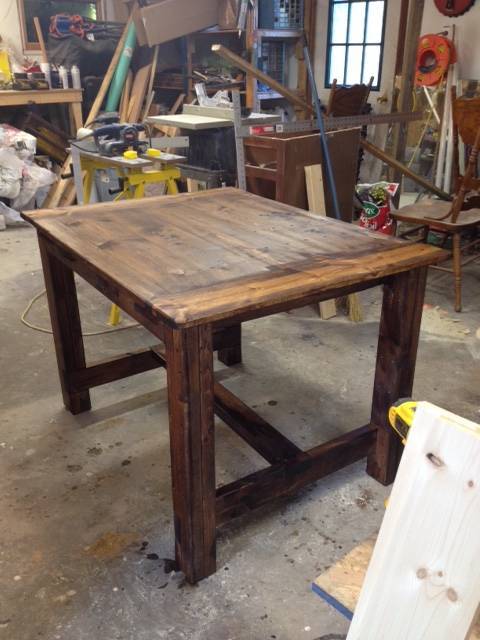
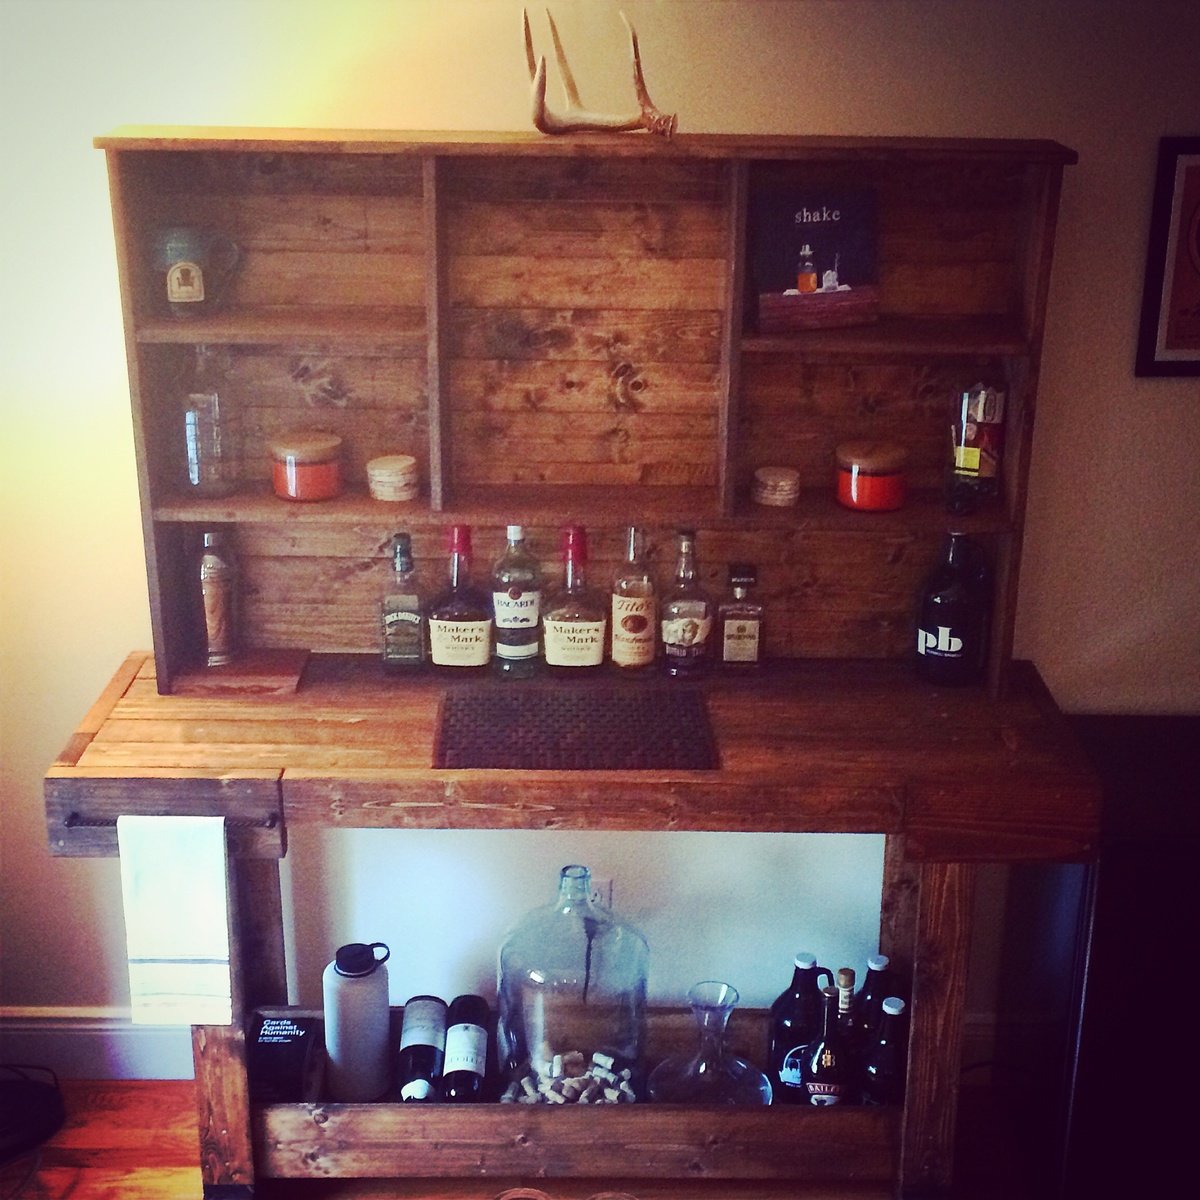
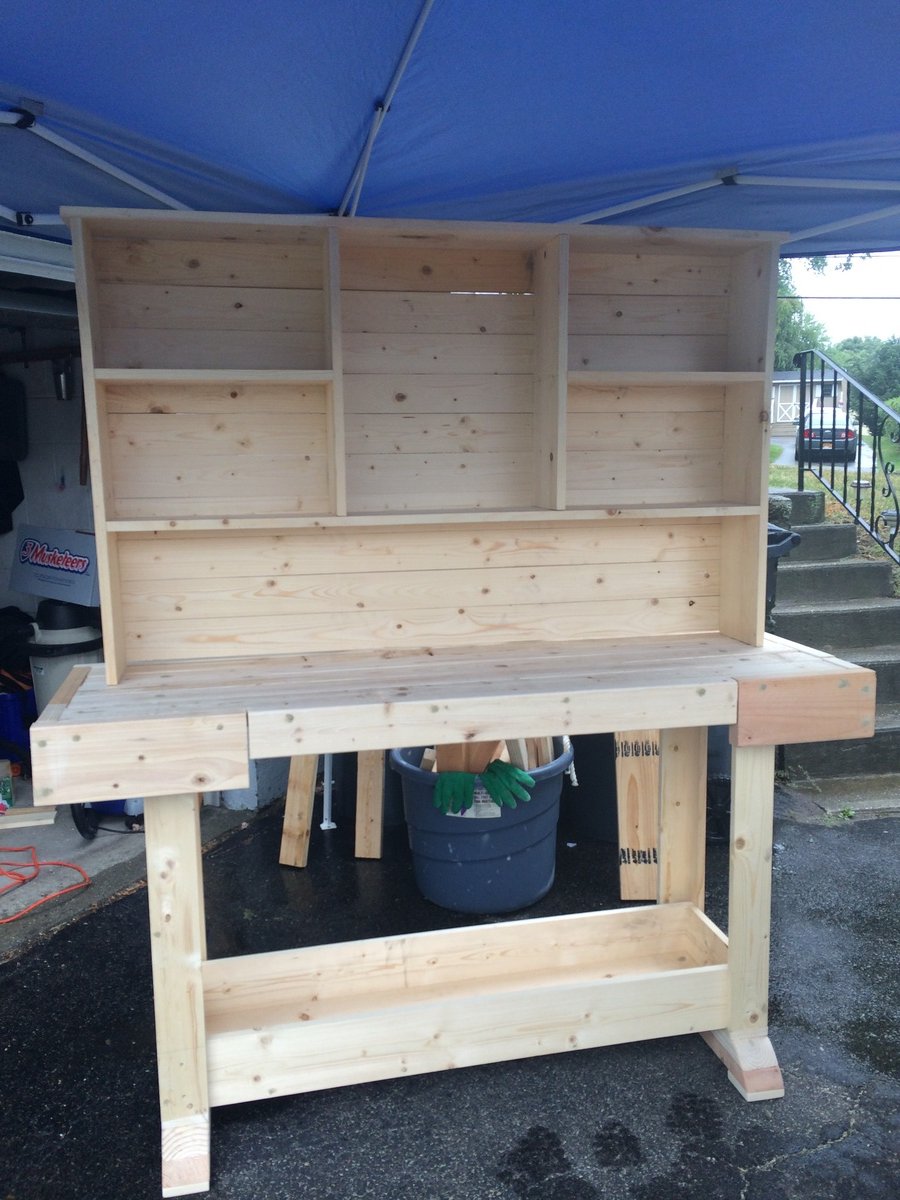
In love with our new bar! Easiest build yet!
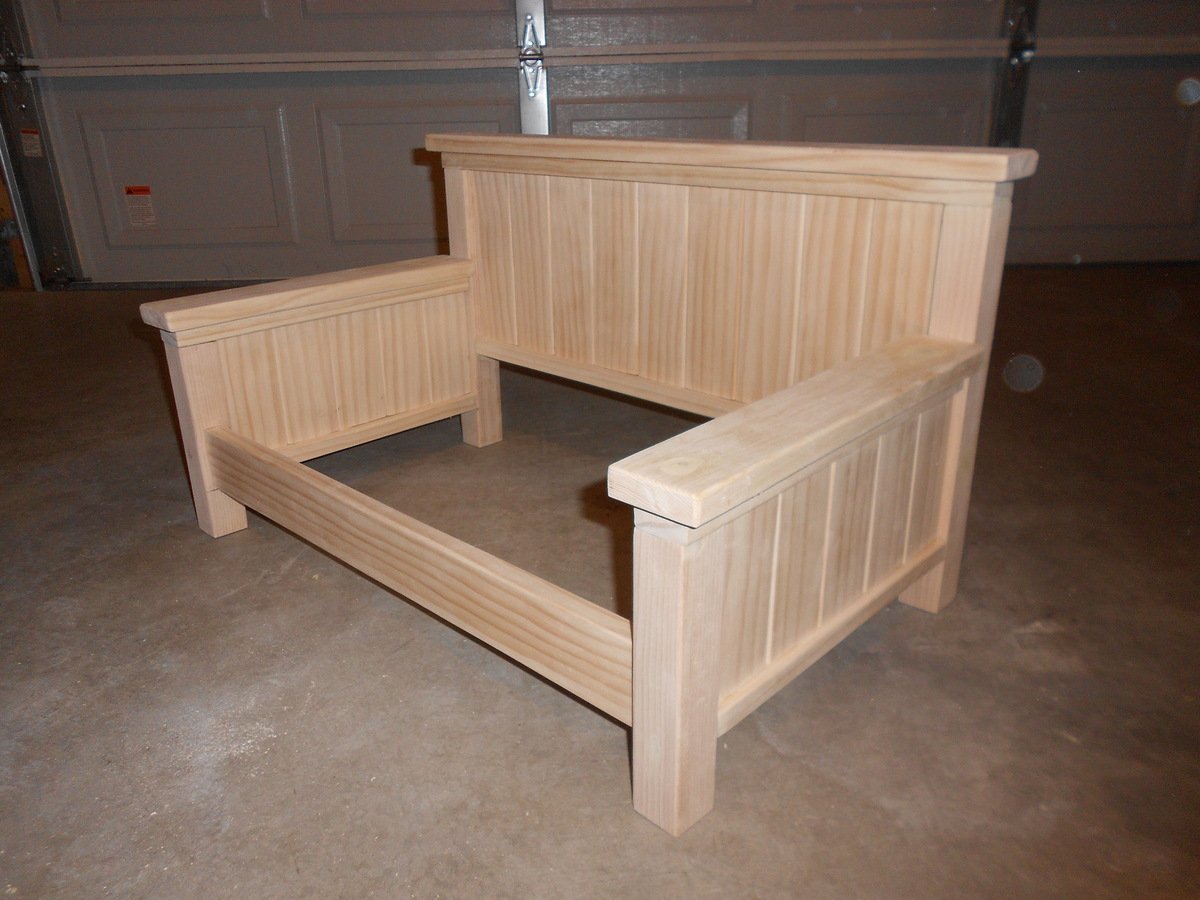
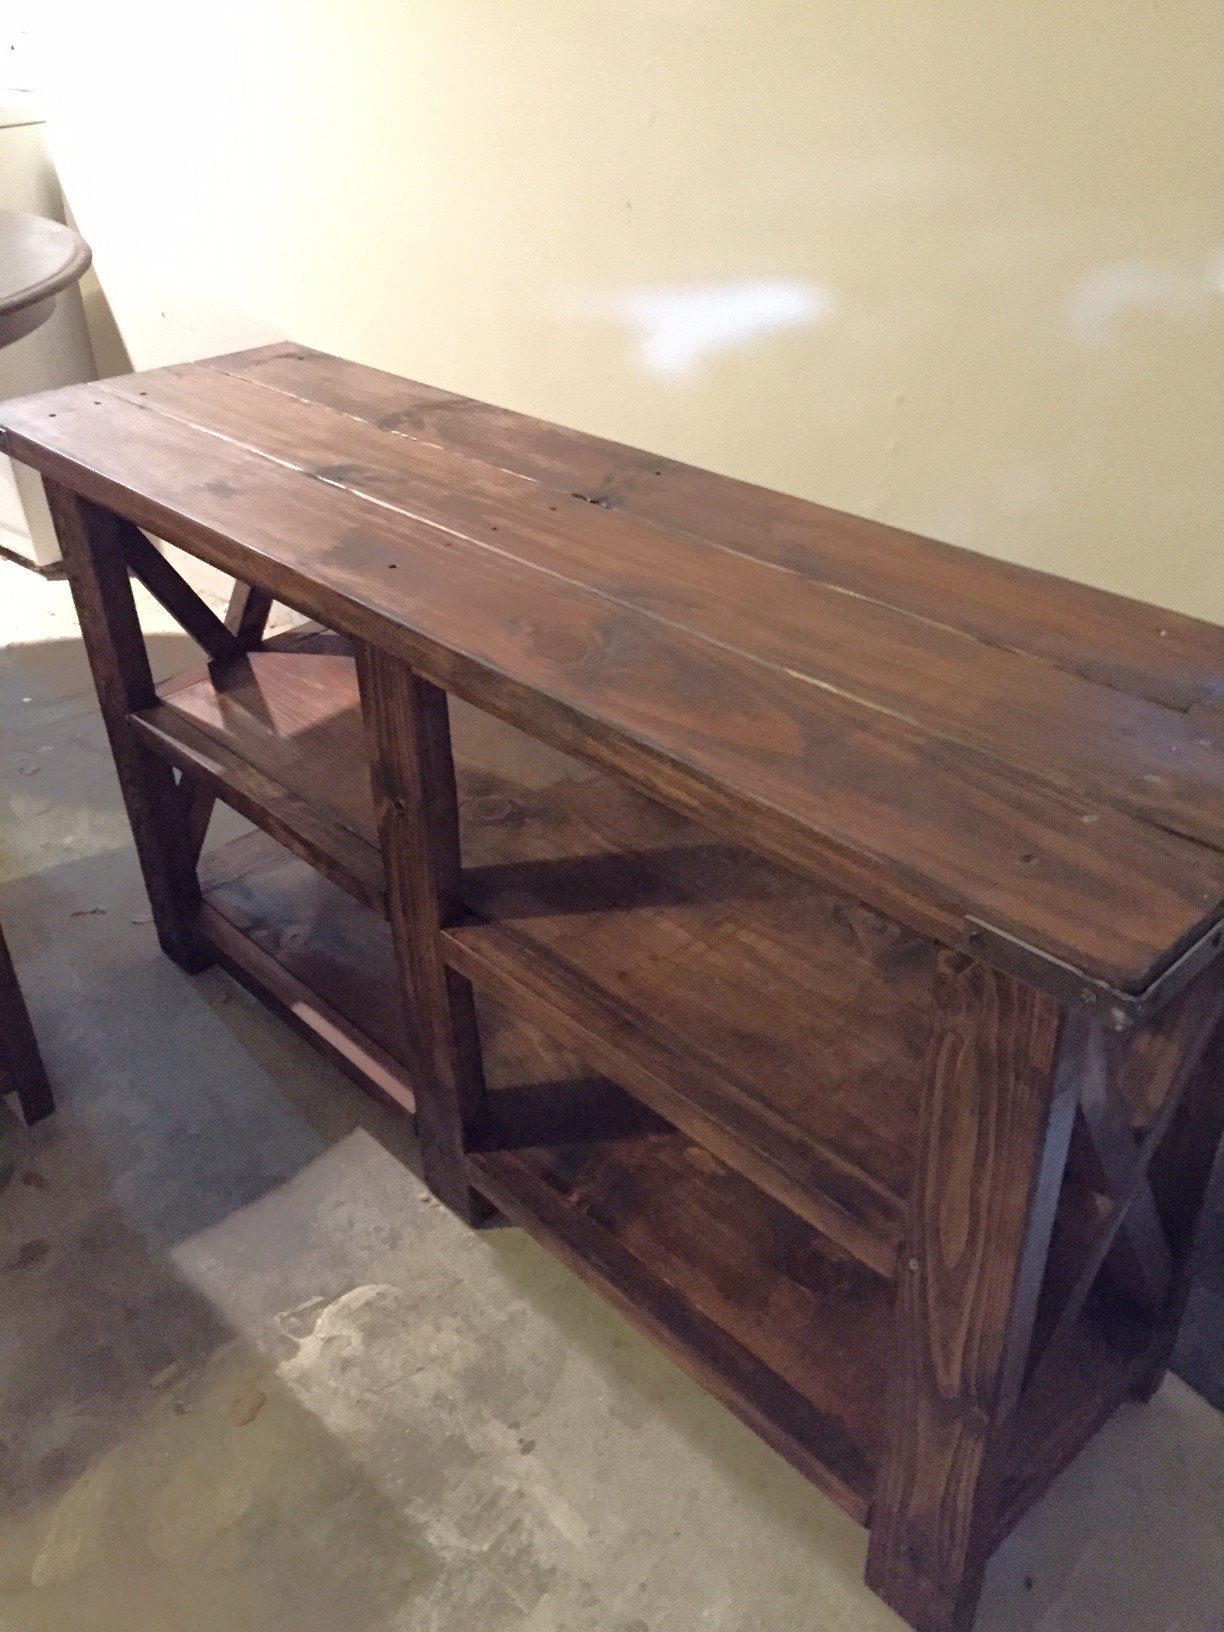
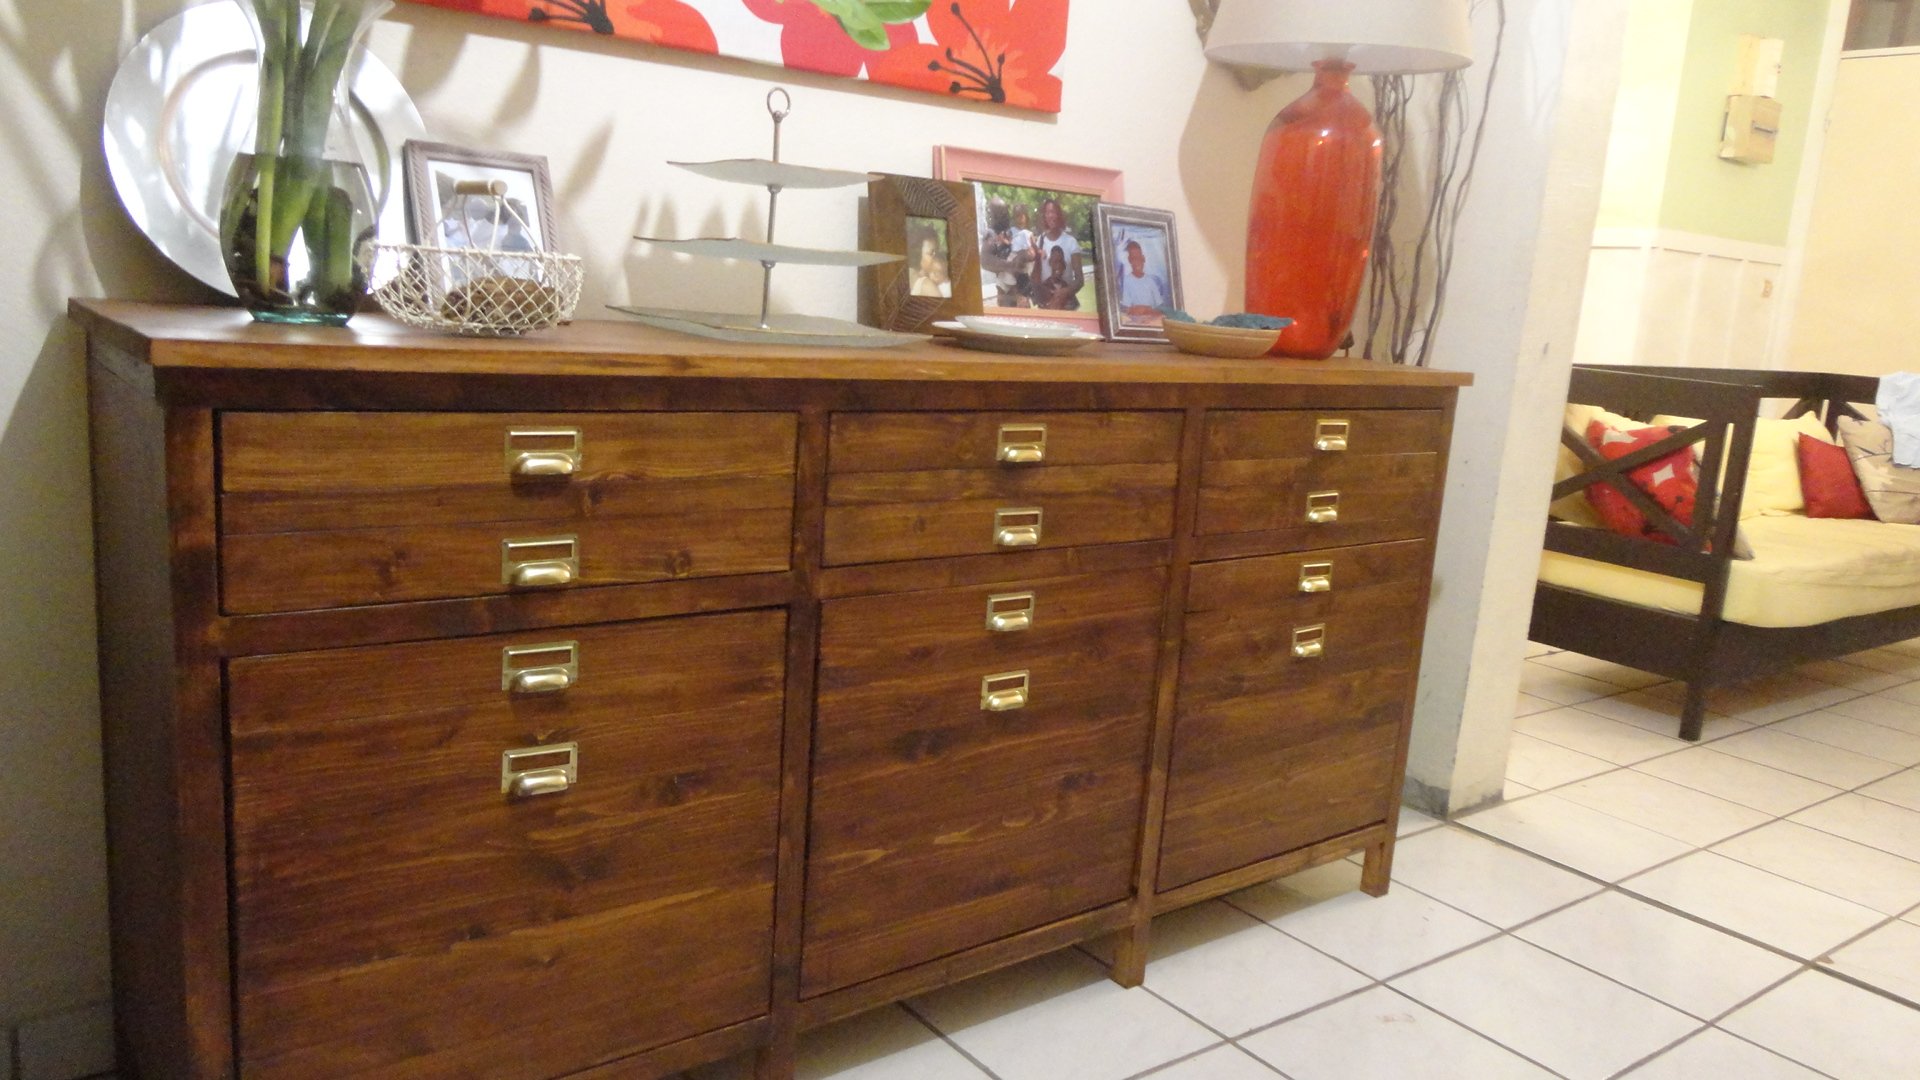
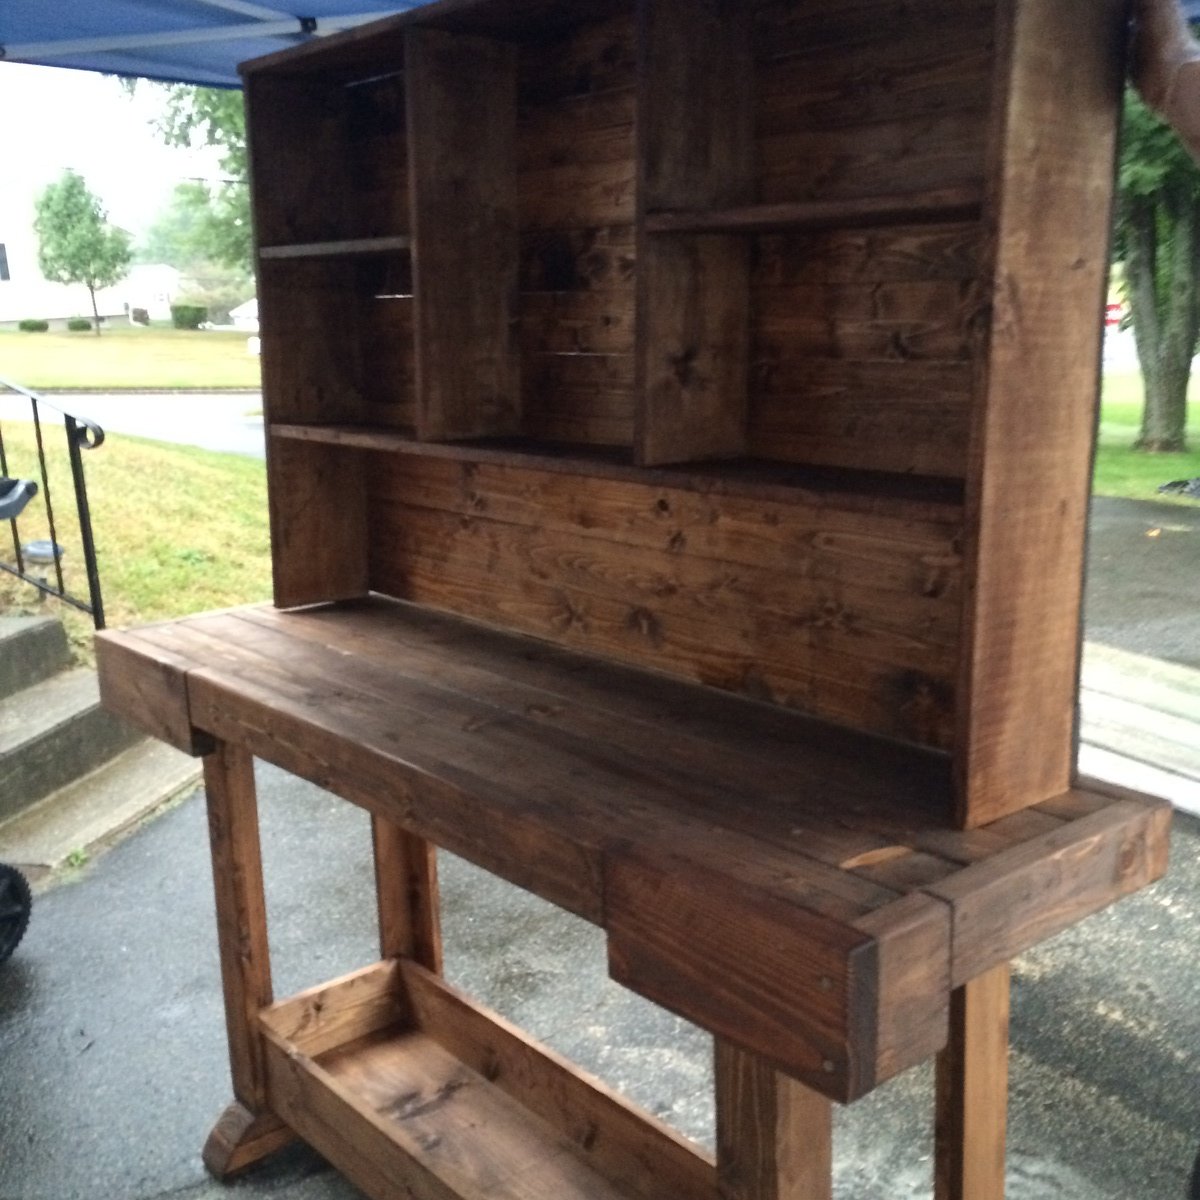
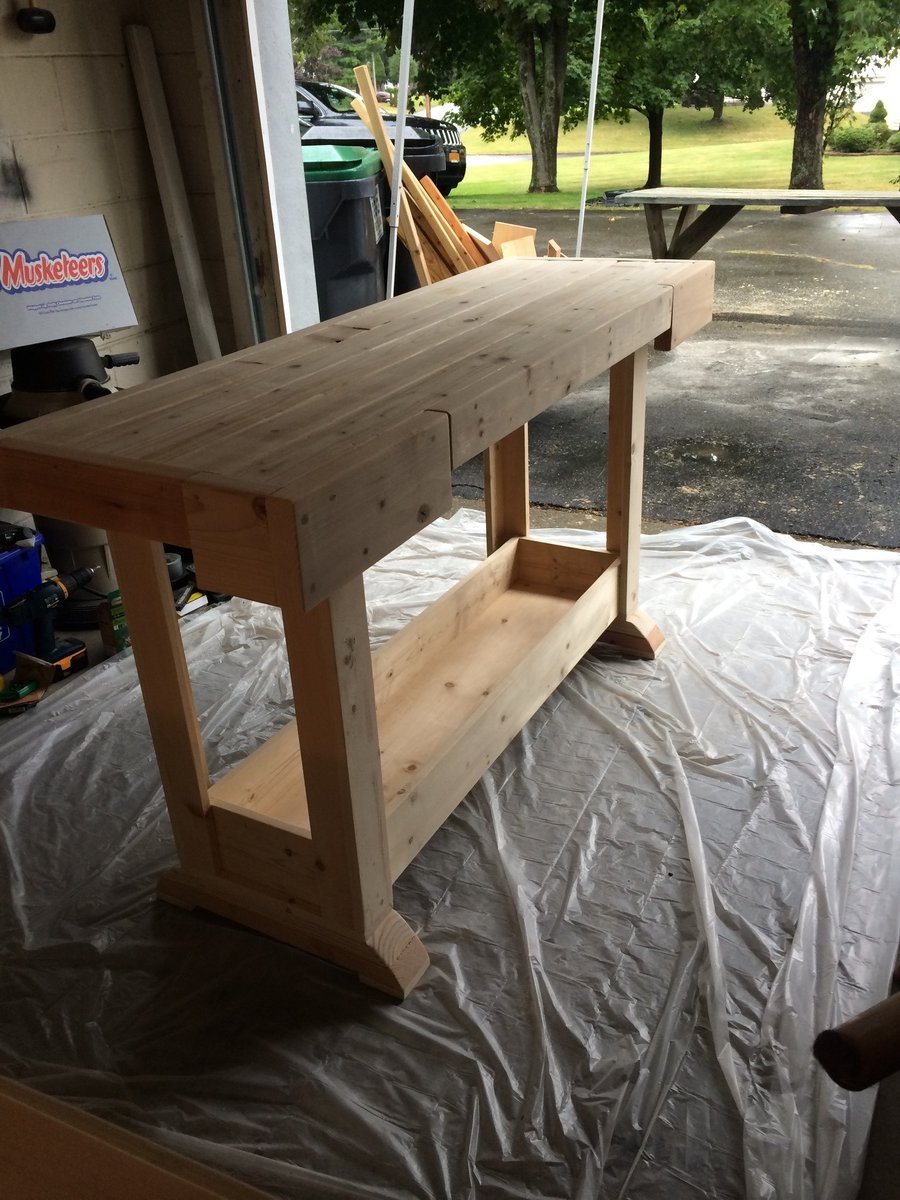
We've built a headboard, two nightstands a farmhouse table and bench all off of knockoff wood and this workbench console table and hutch was the Easiest build yet !
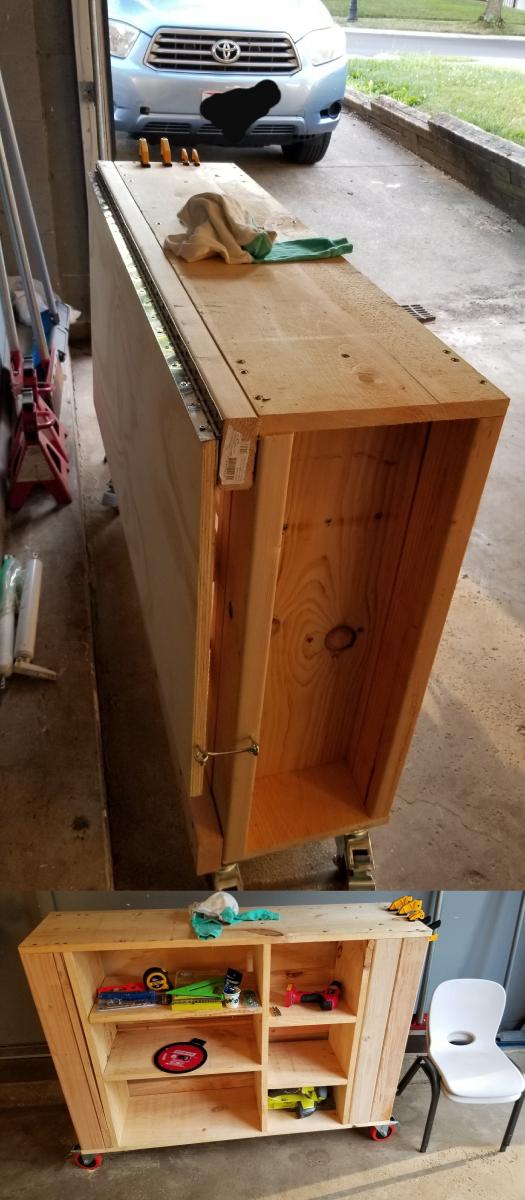
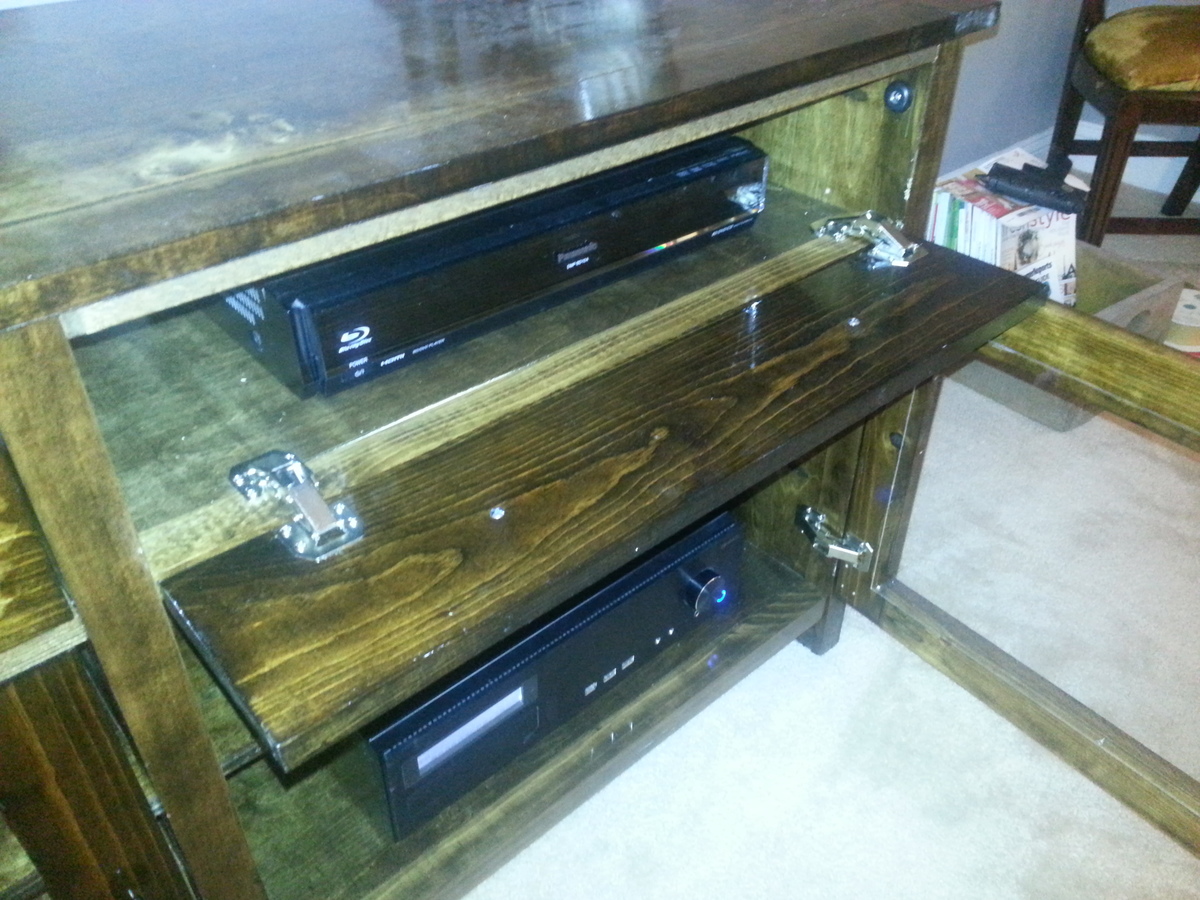
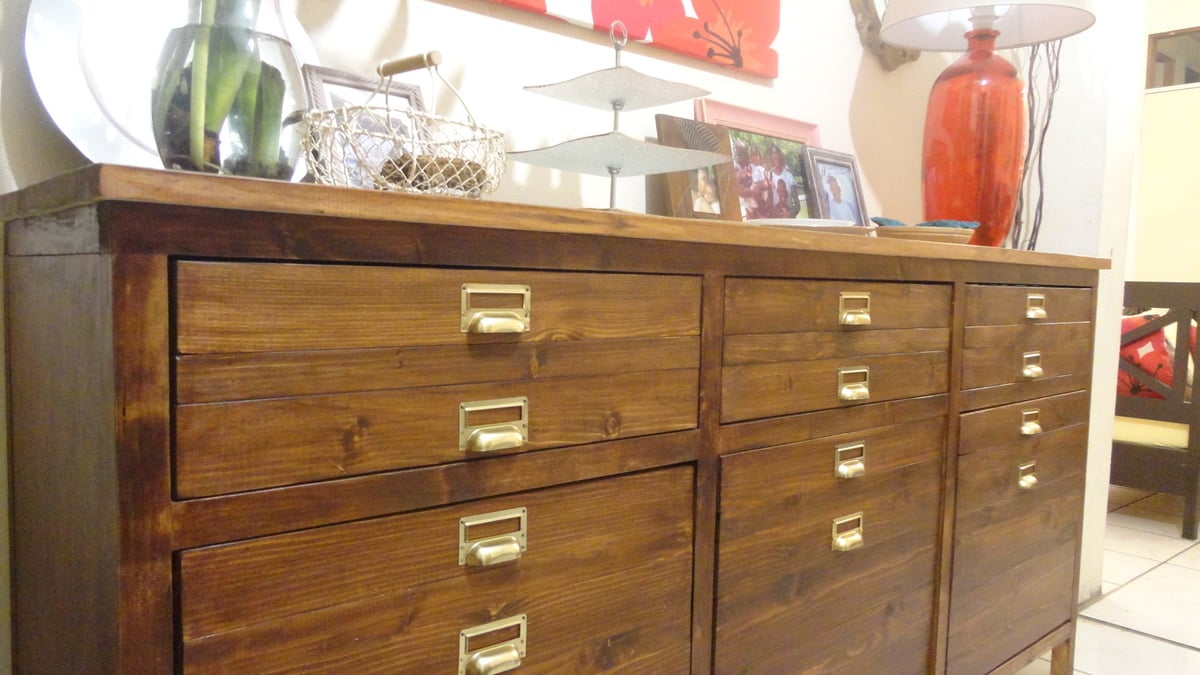
We didn't use pocket holes so instead of doing the middle center shelf of the hutch we chose to keep it open. I actually love the way this looks better than the original plan!
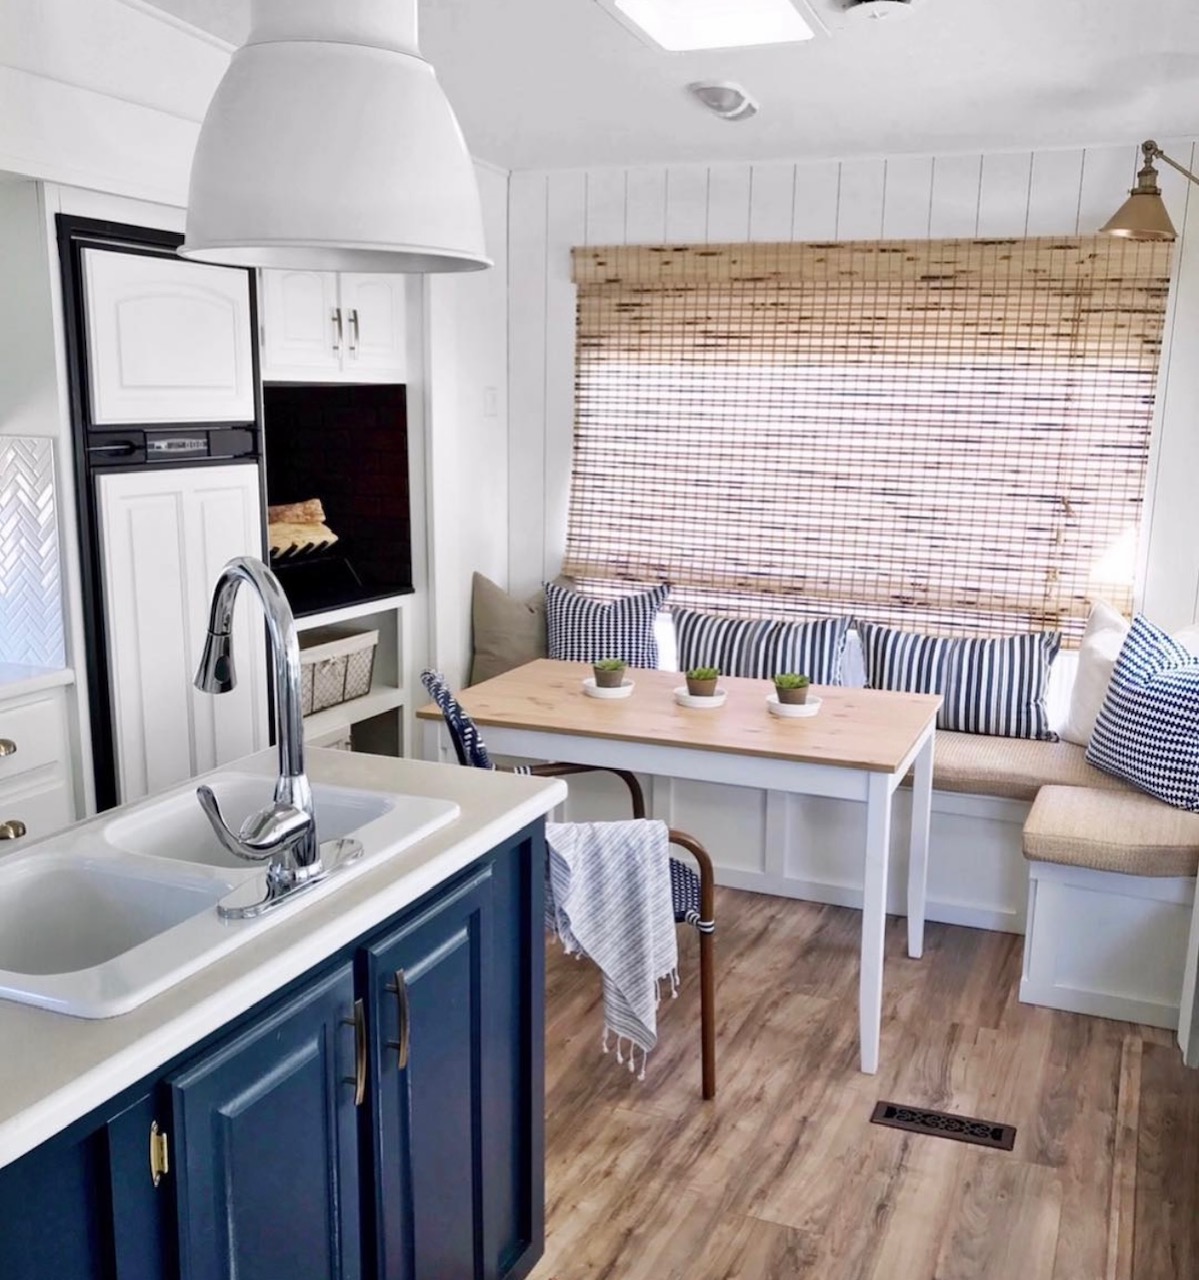
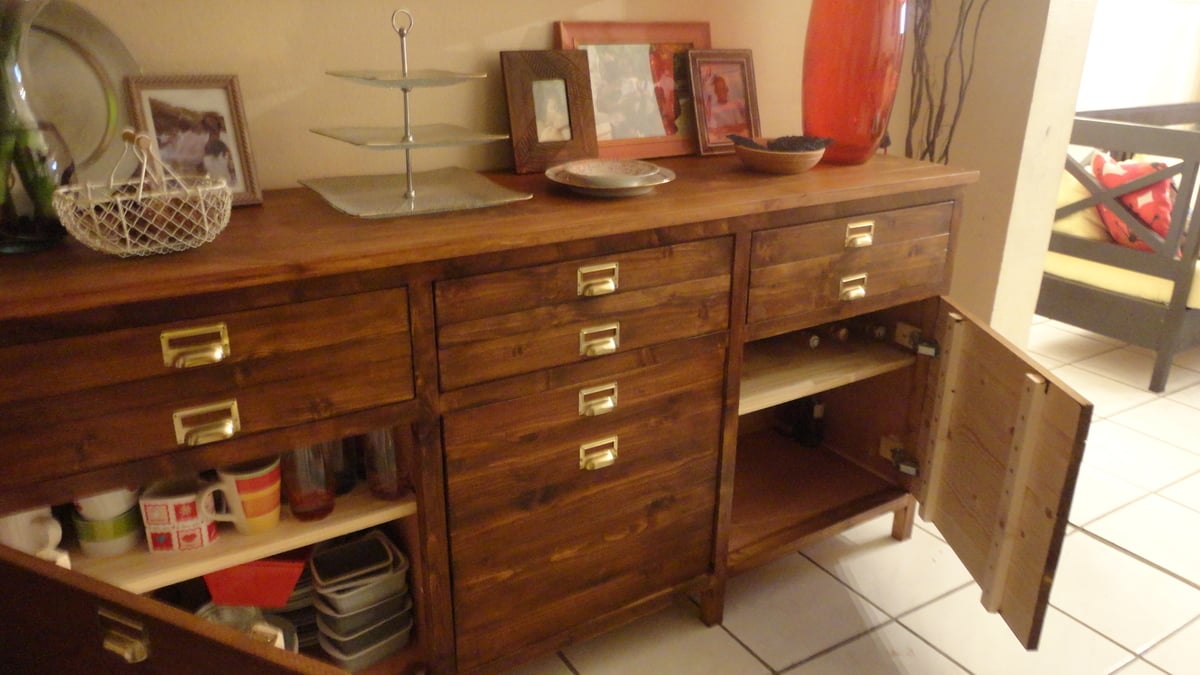
Waiting on our black bear mount bottle opener that will be attached later this week and then we can't wait to stock up our new bar. It looks great next to our farmhouse table and bench!!! Thanks for the deer antler inspiration - this gave the perfect finishing touch!
Built from Plan(s)
Estimated Cost
$110 lumber for both hutch and table
Estimated Time Investment
Day Project (6-9 Hours)
Recommended Skill Level
Beginner