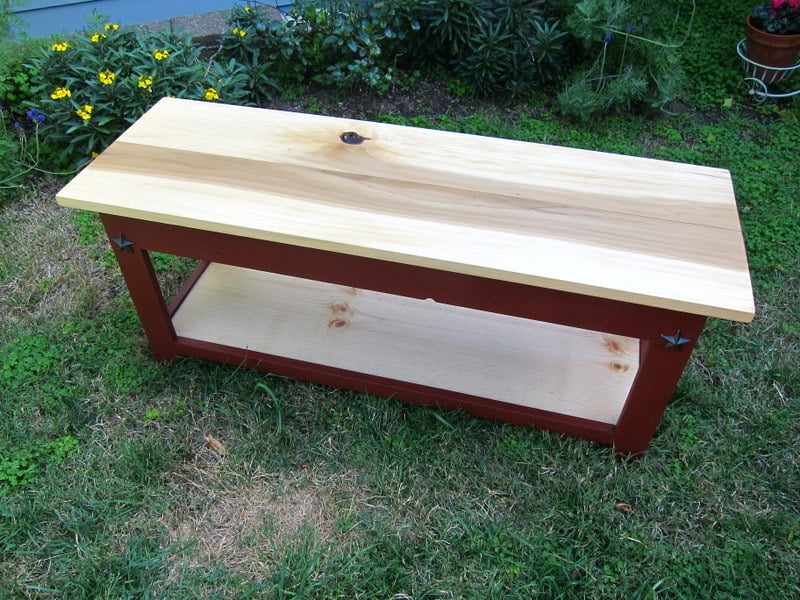
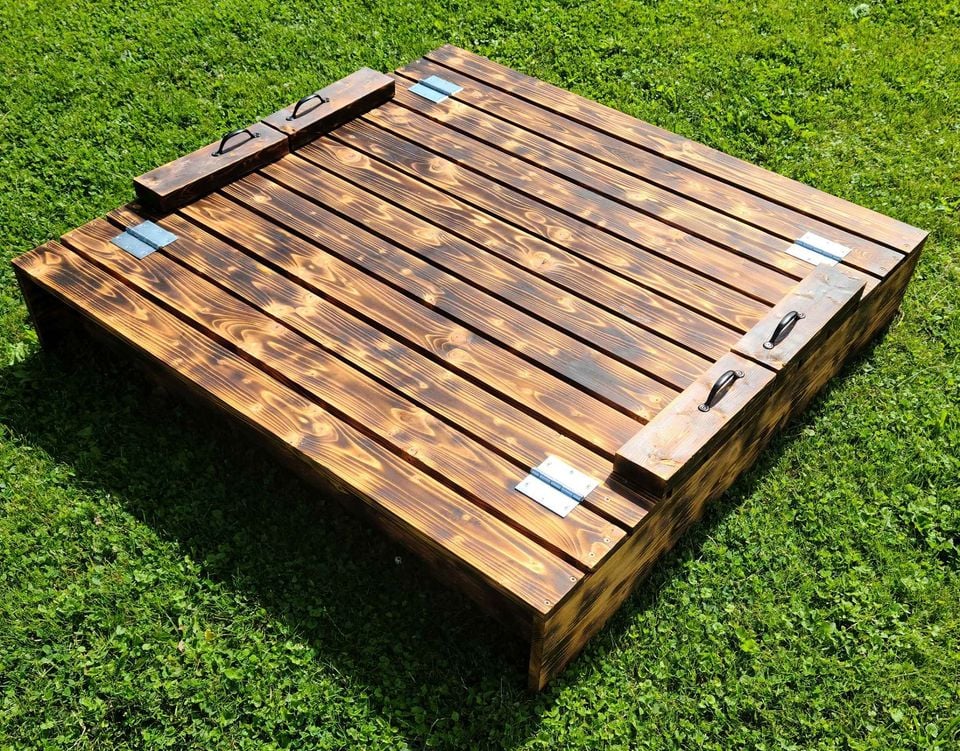
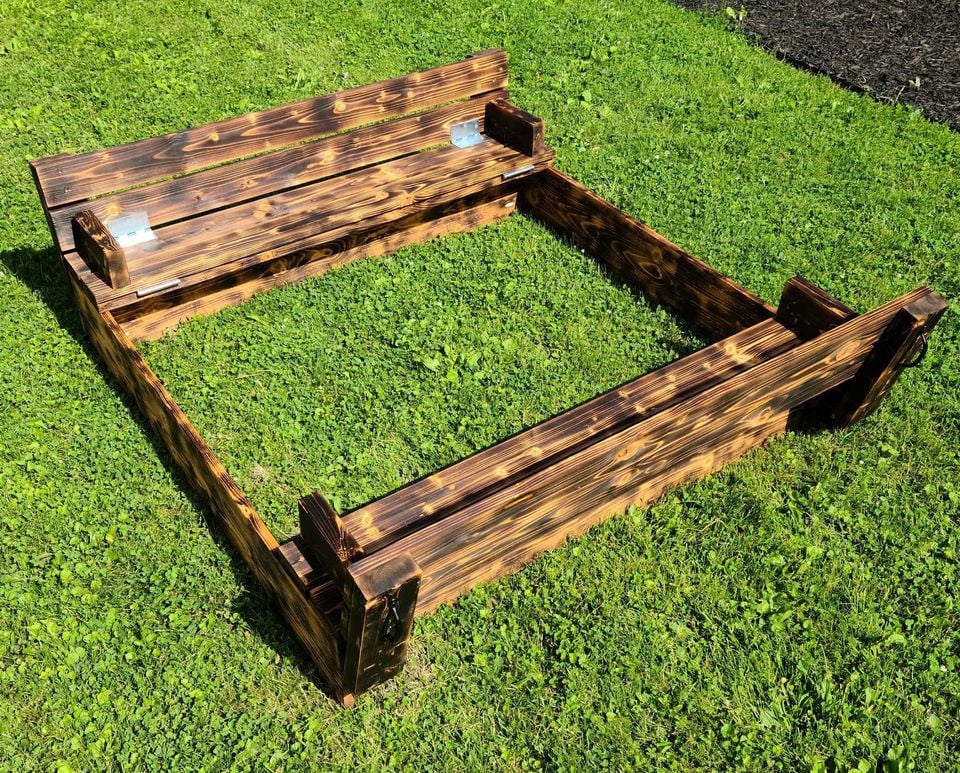
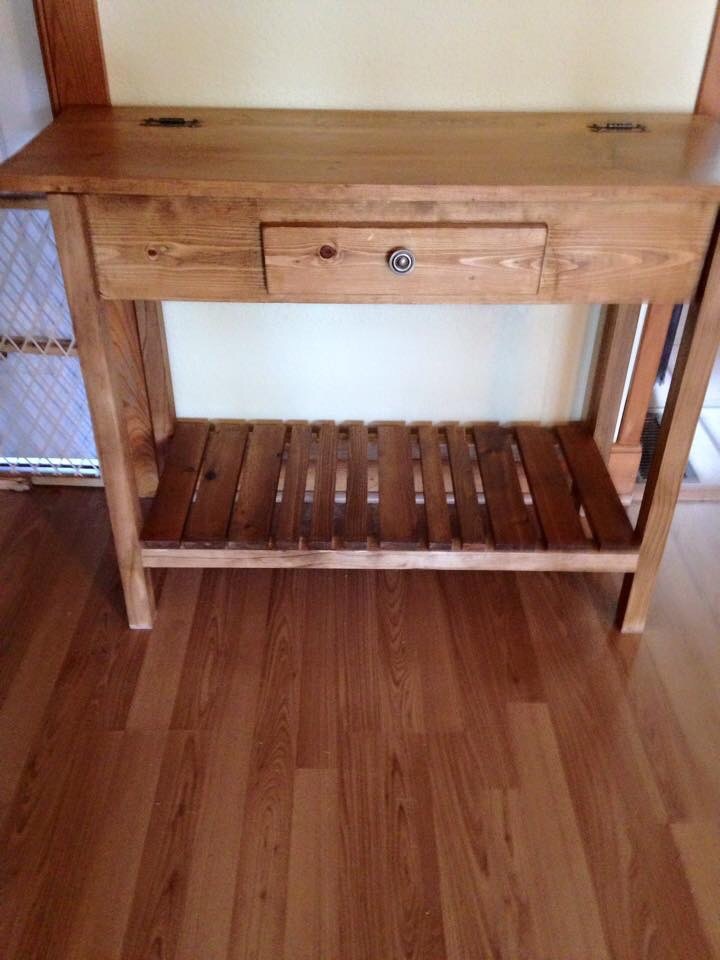
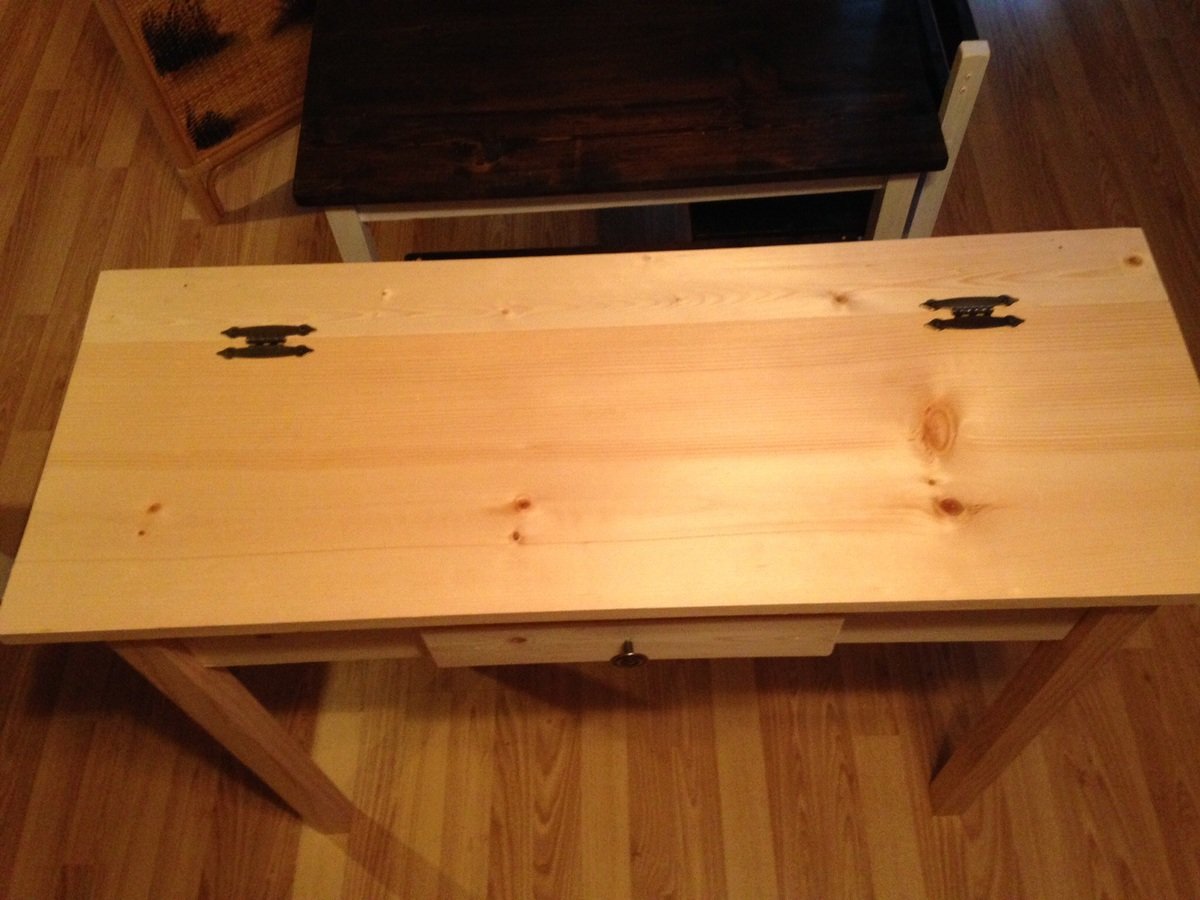
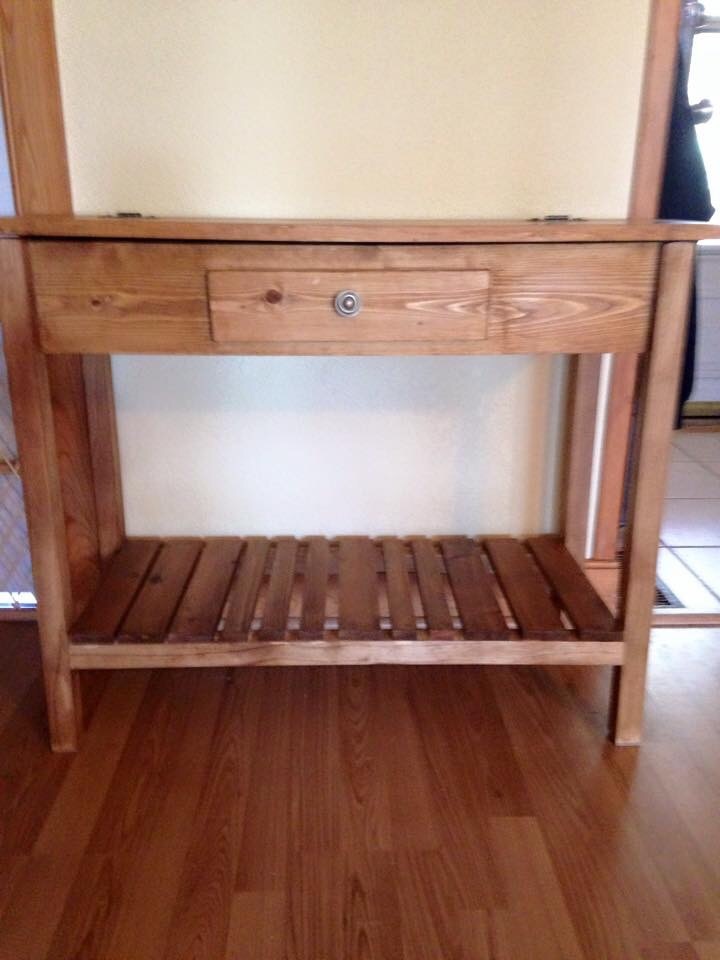
Flip Top Storage Bench
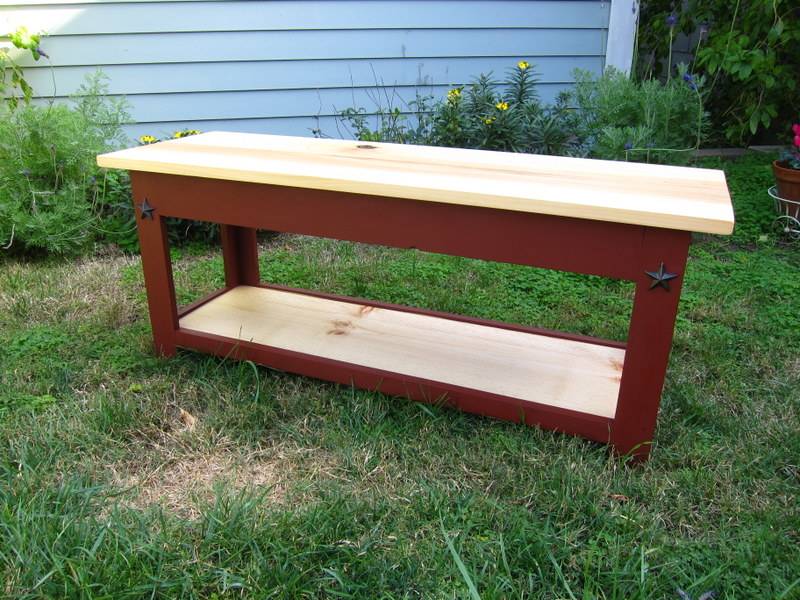
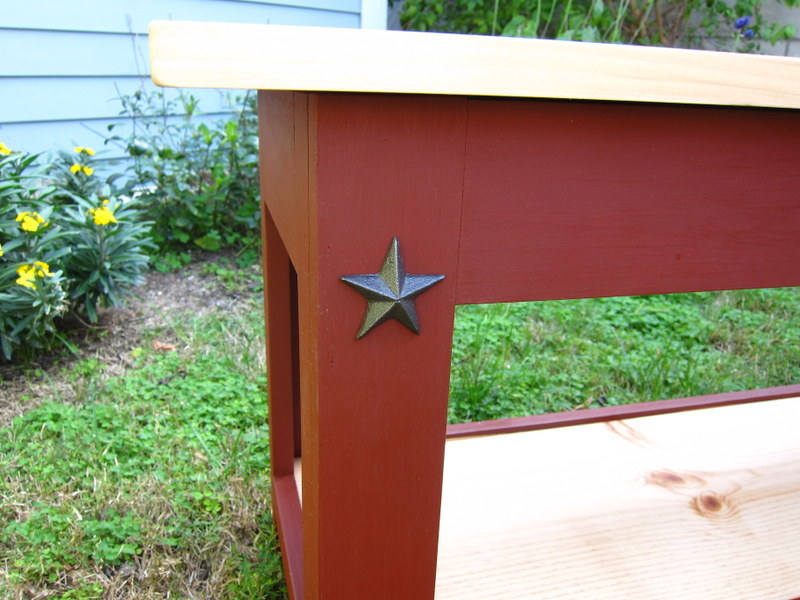
I built a modified version with the top made of two pieces of poplar joined by pocket screws. The hinges are the back outside of the bench. I finished the top with 100% tung oil and painted the structure with barn red milk paint. I finished the lower shelf with a home made poly-tung varnish blend to make it more waterproof for wet shoes. I added some metal stars I found at a flea market because I like the look of the stars -- like those on so many old houses on the east coast.
Built from Plan(s)
Estimated Cost
$50
Finish Used
Milk paint, tung oil, tung oil - poly varnish
Recommended Skill Level
Beginner


Comments
bhoppy
Mon, 04/22/2013 - 20:57
great finish!!
I love how this looks! I also like how the top is solid and the hinges don't show.