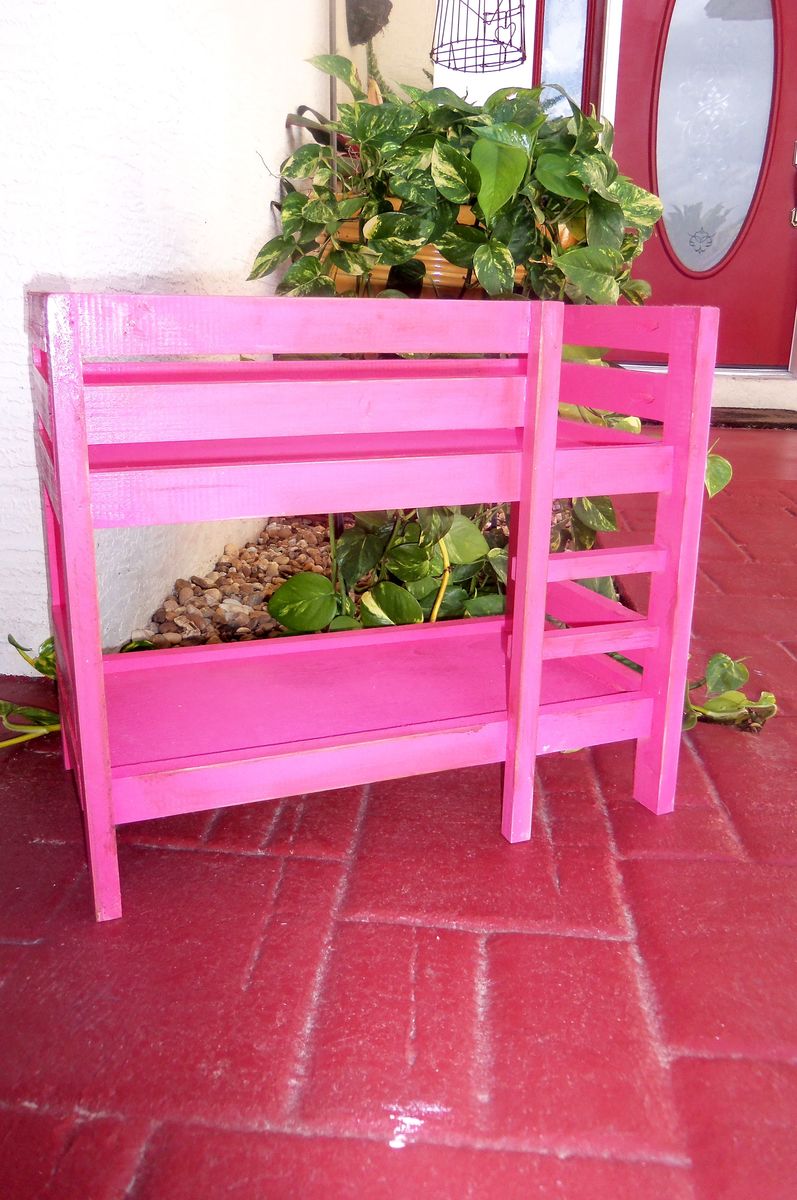
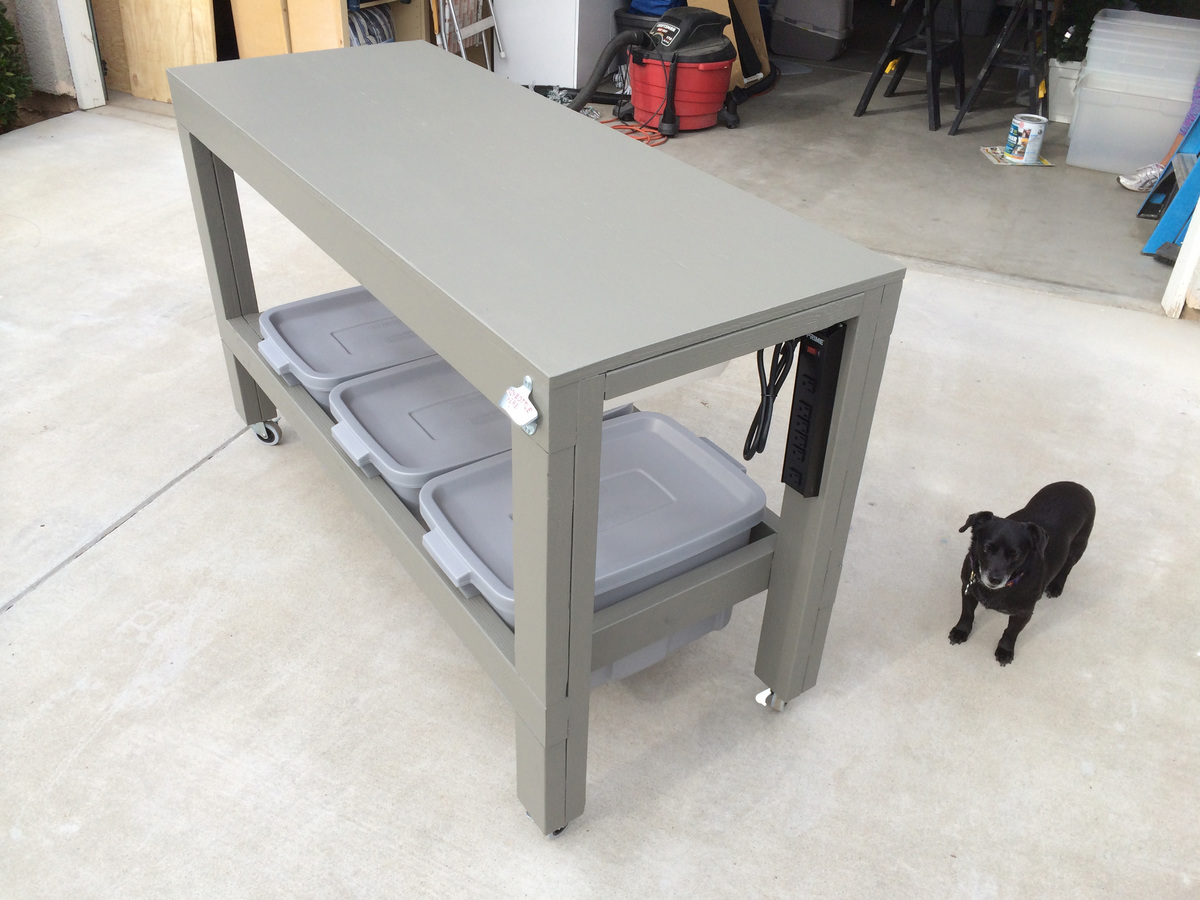
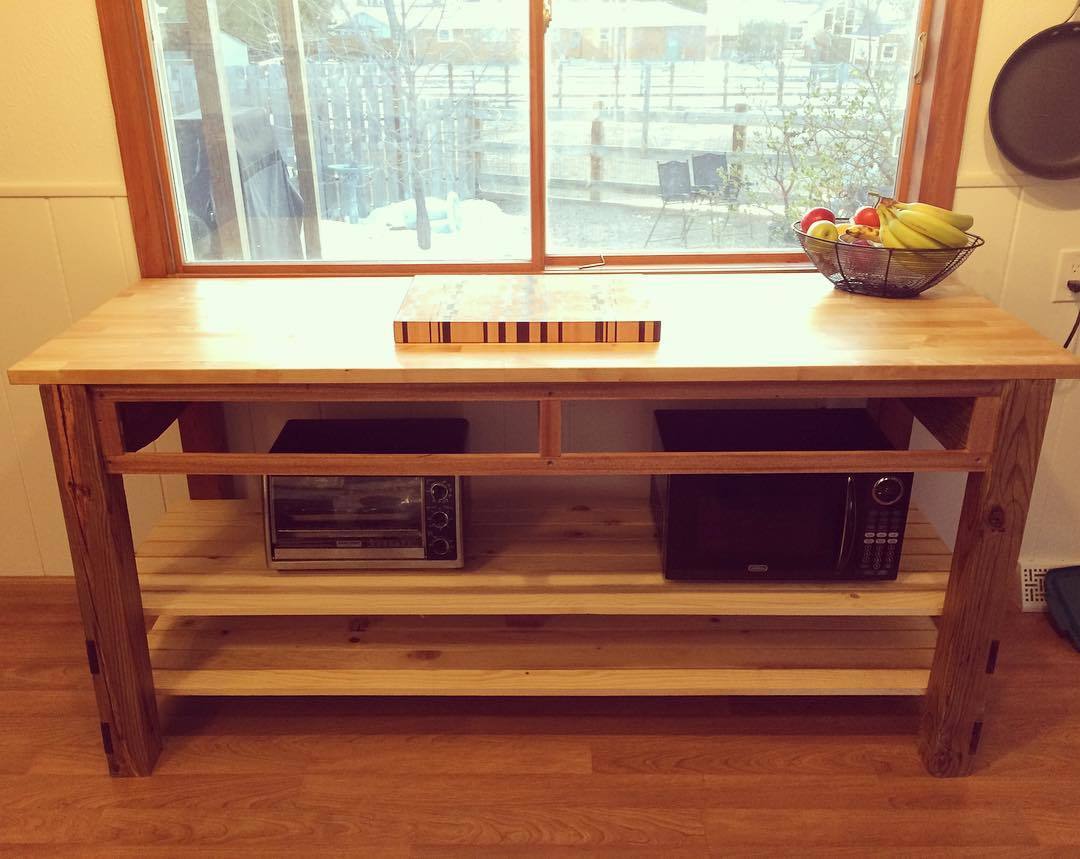
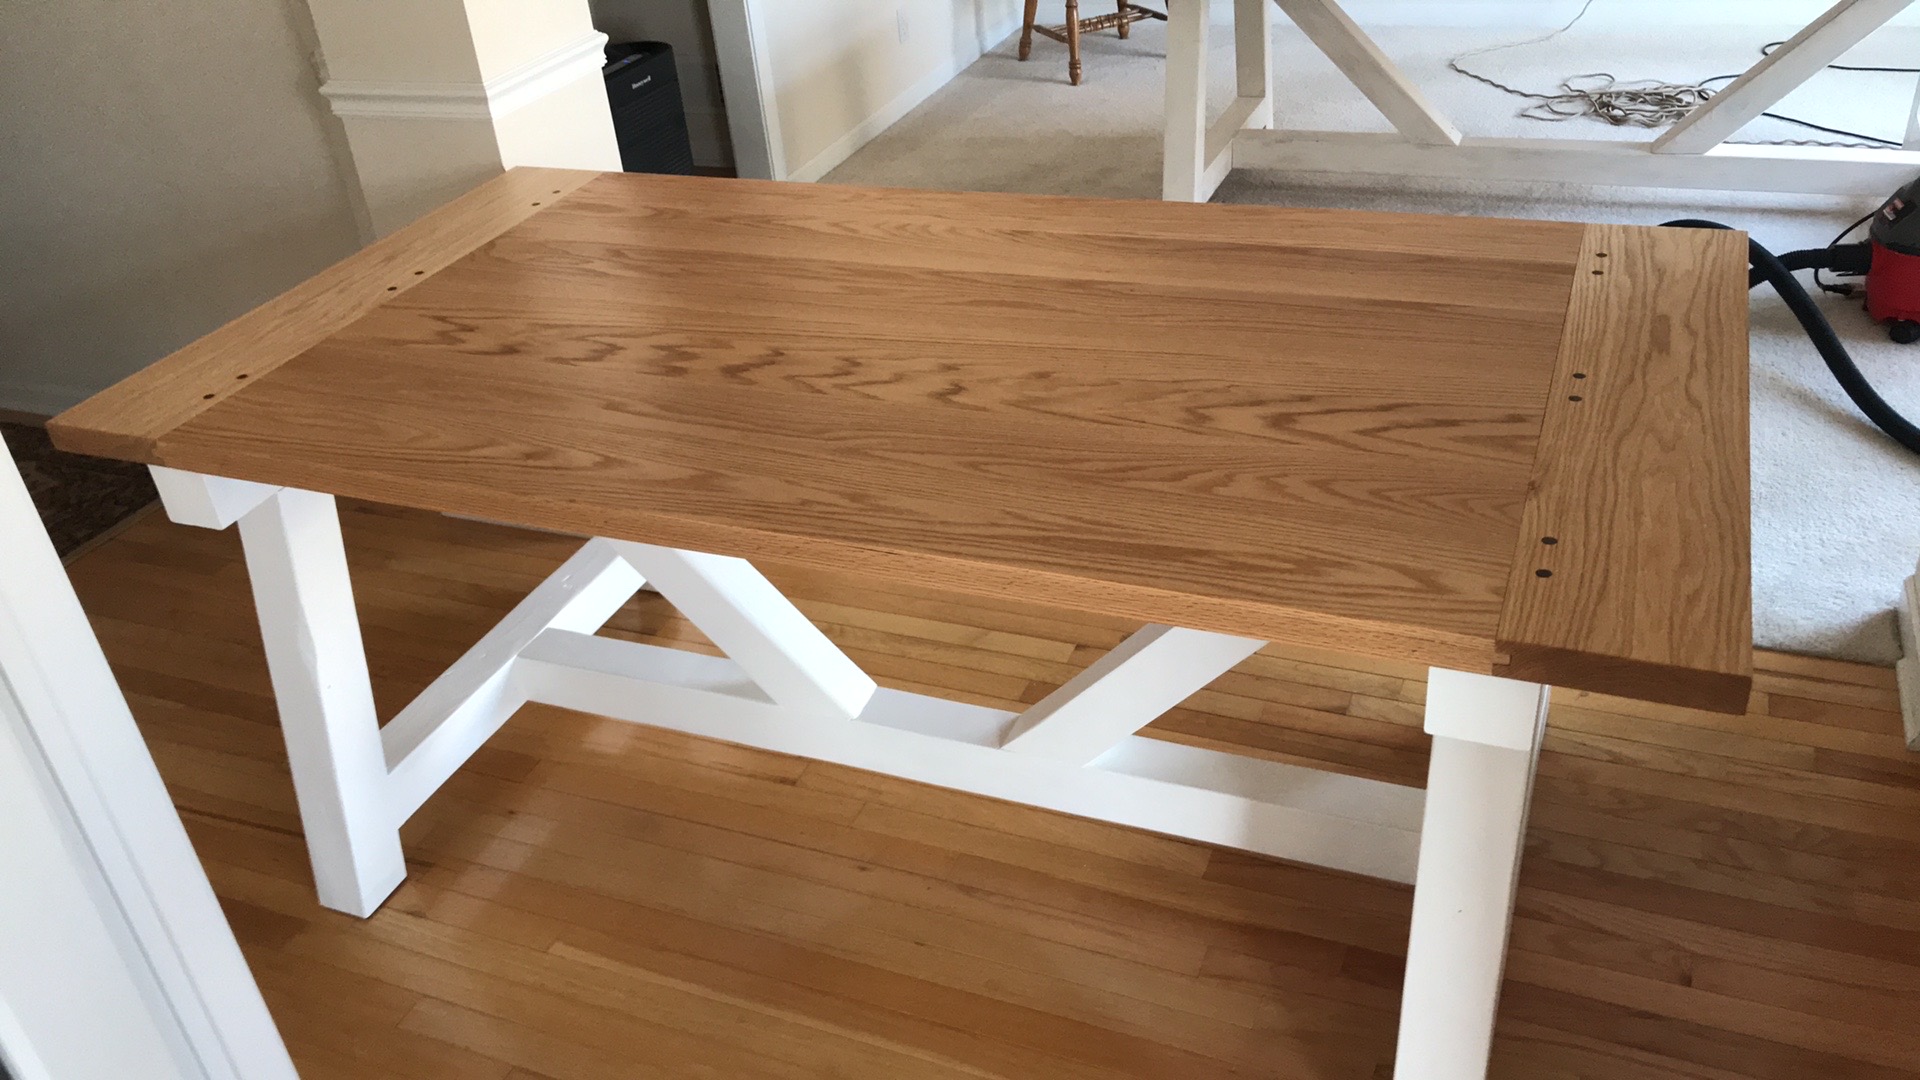
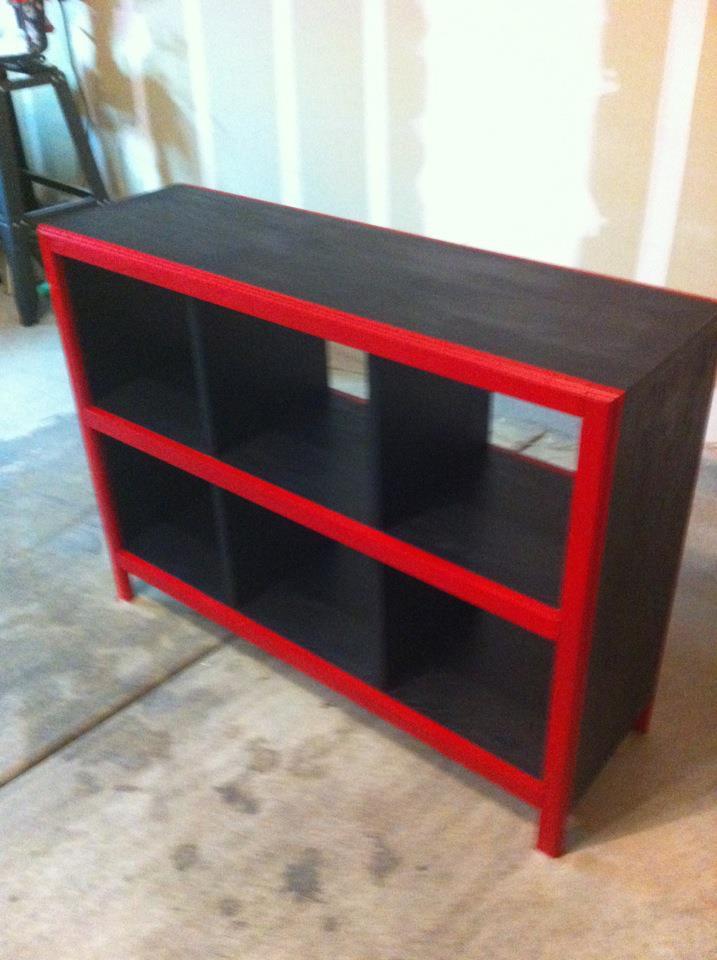
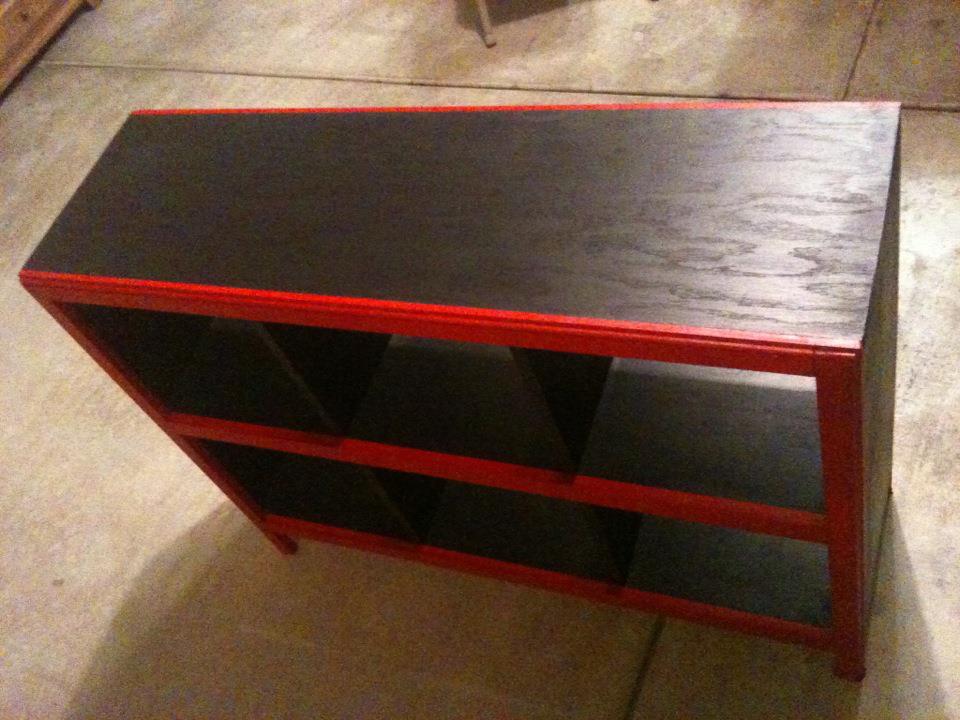
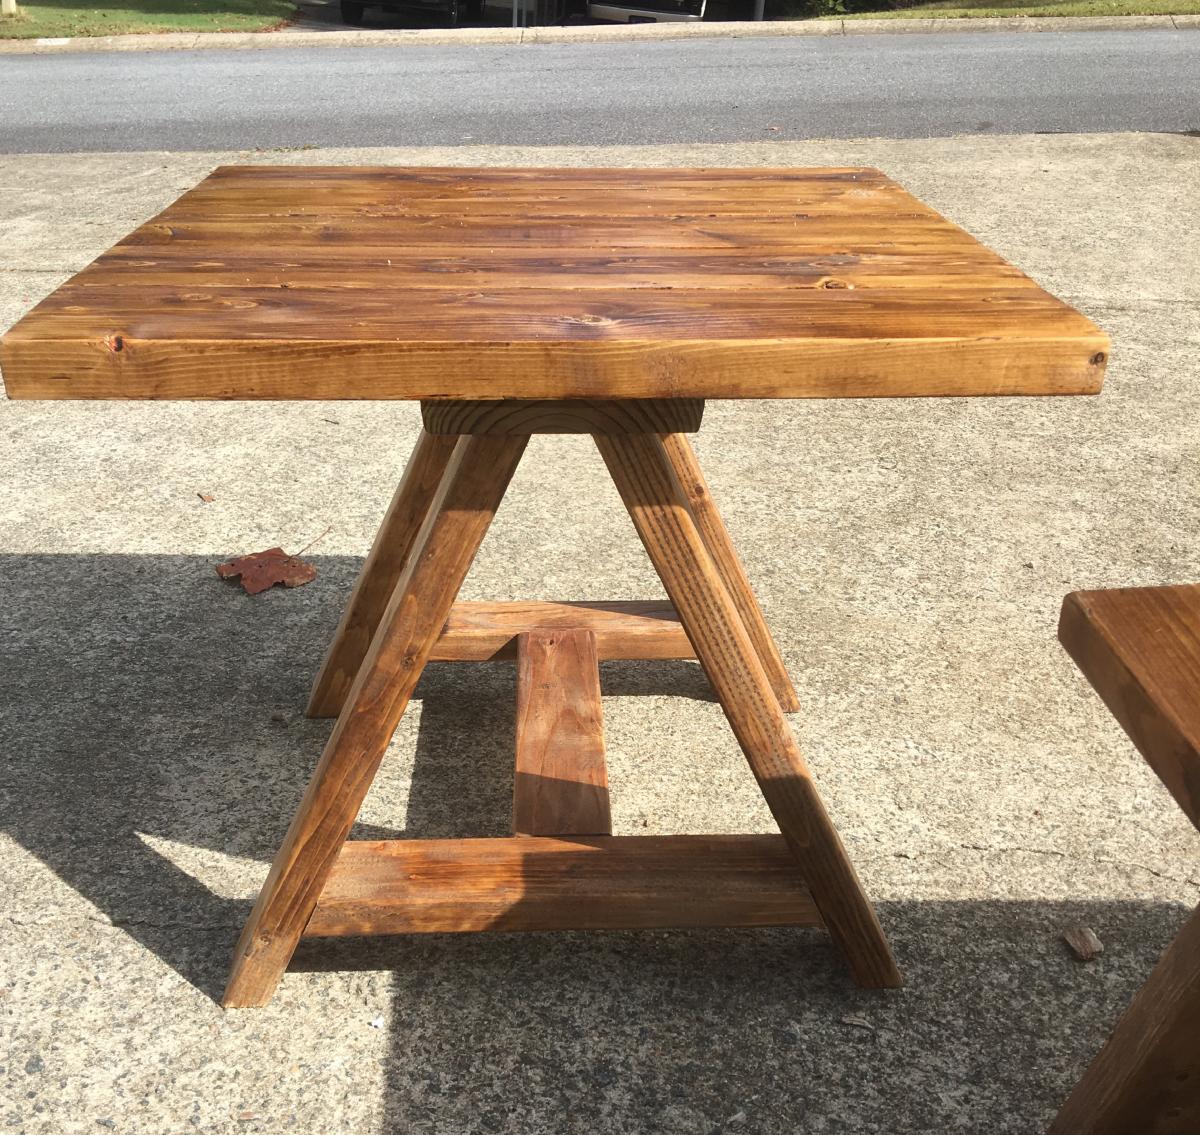
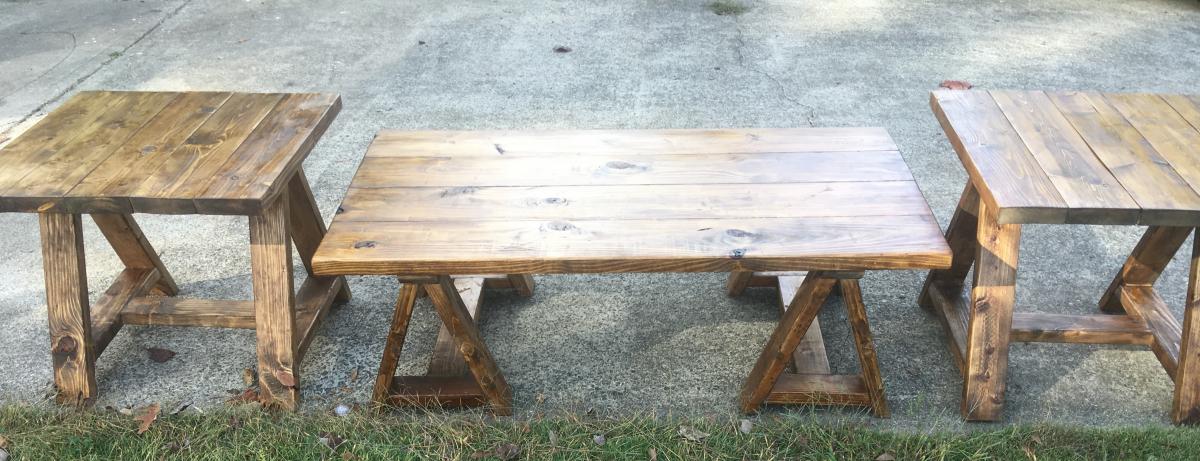
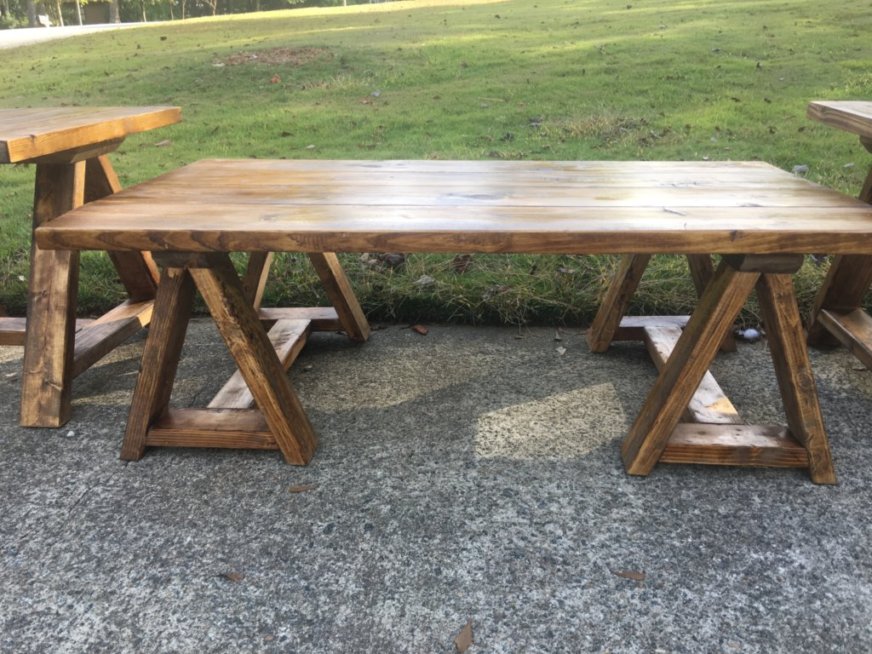
Sawhorse Coffee & Side Tables

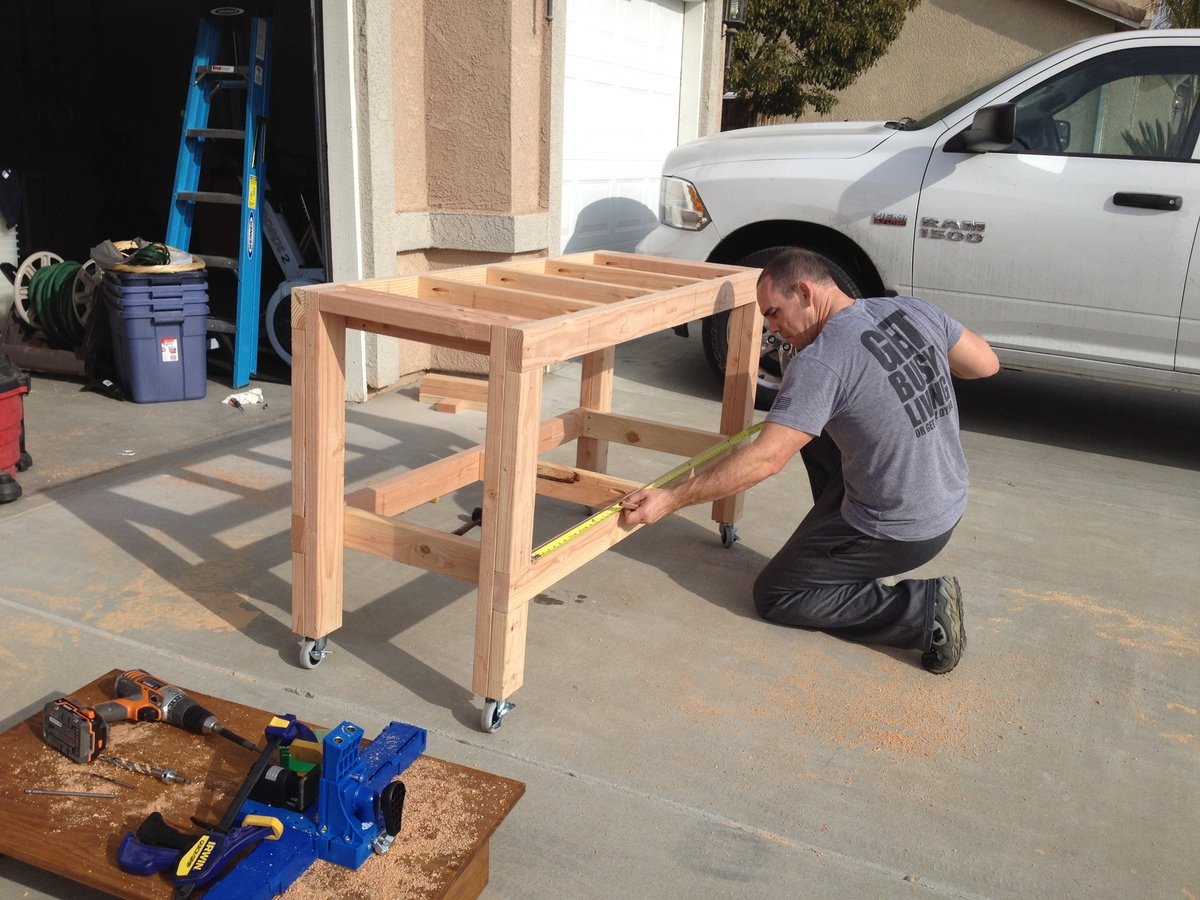
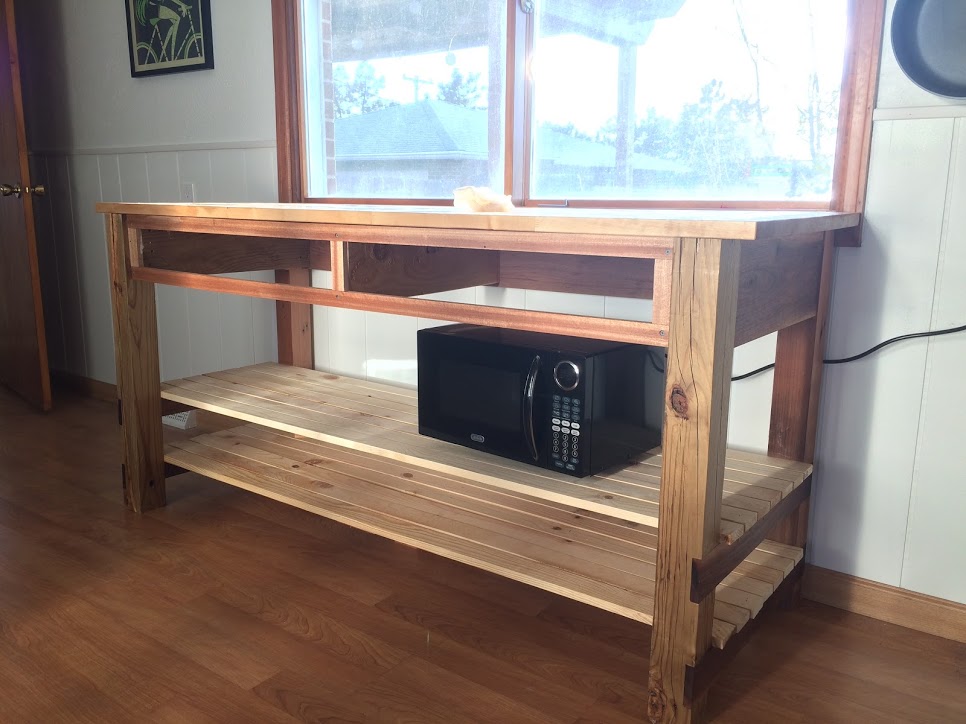
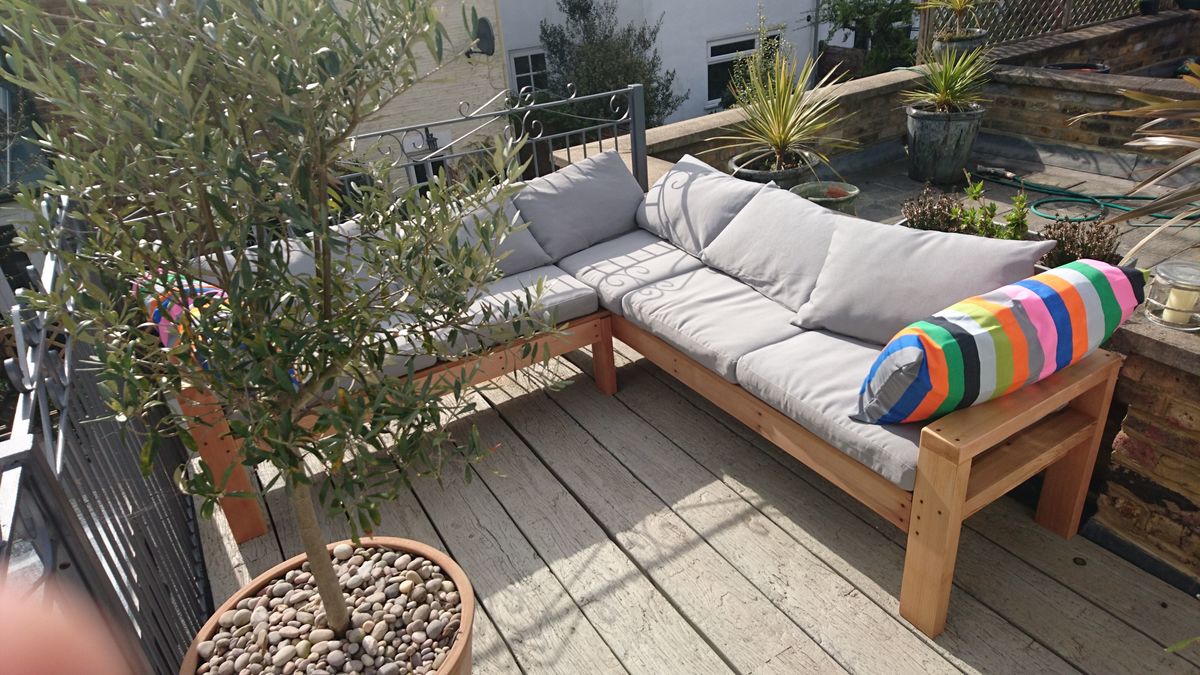
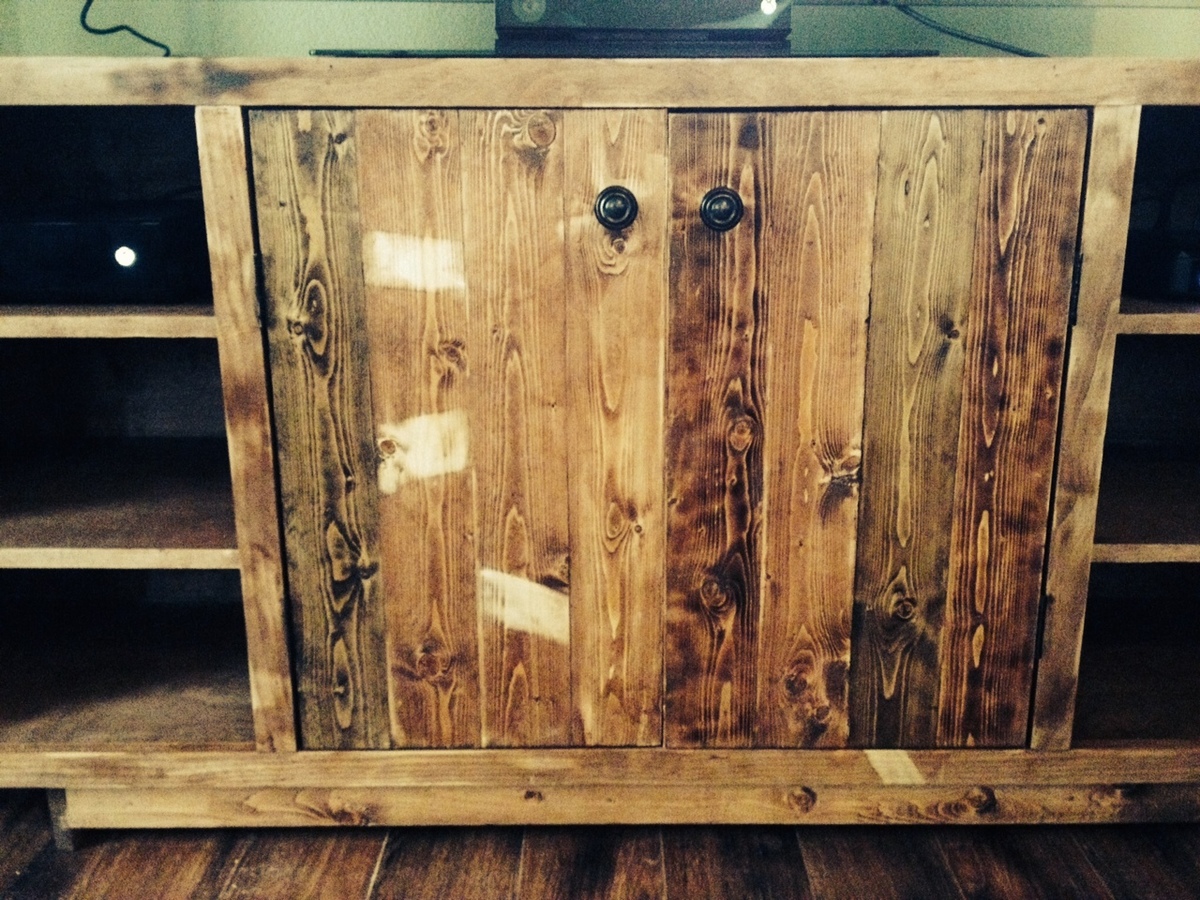
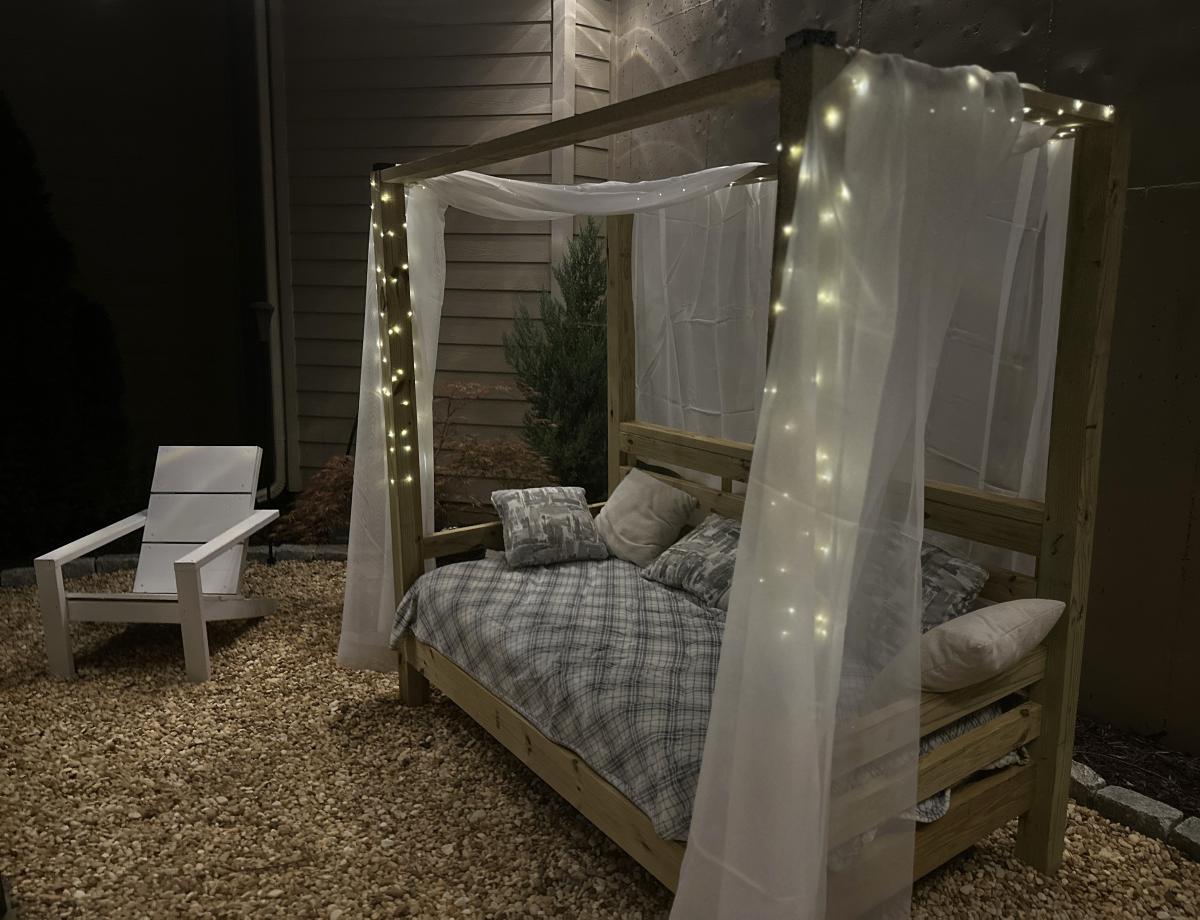
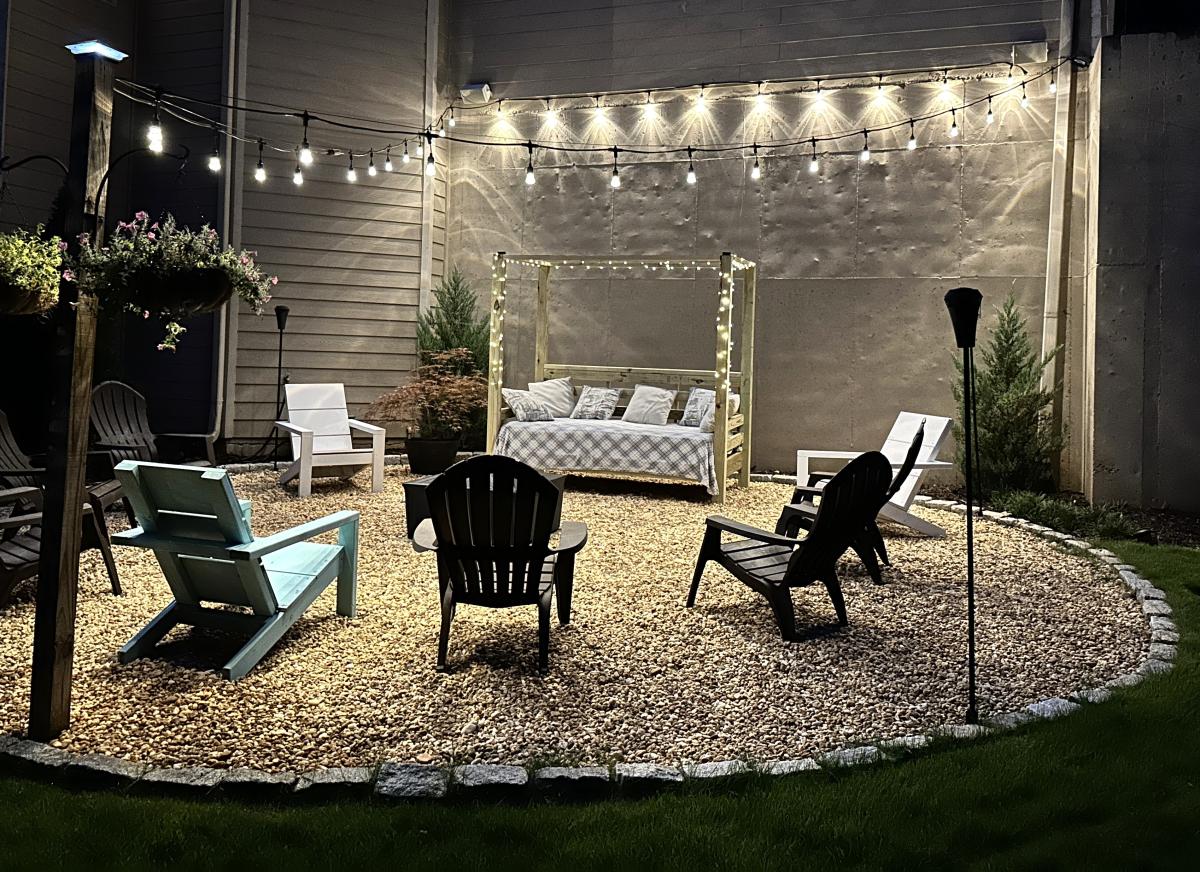
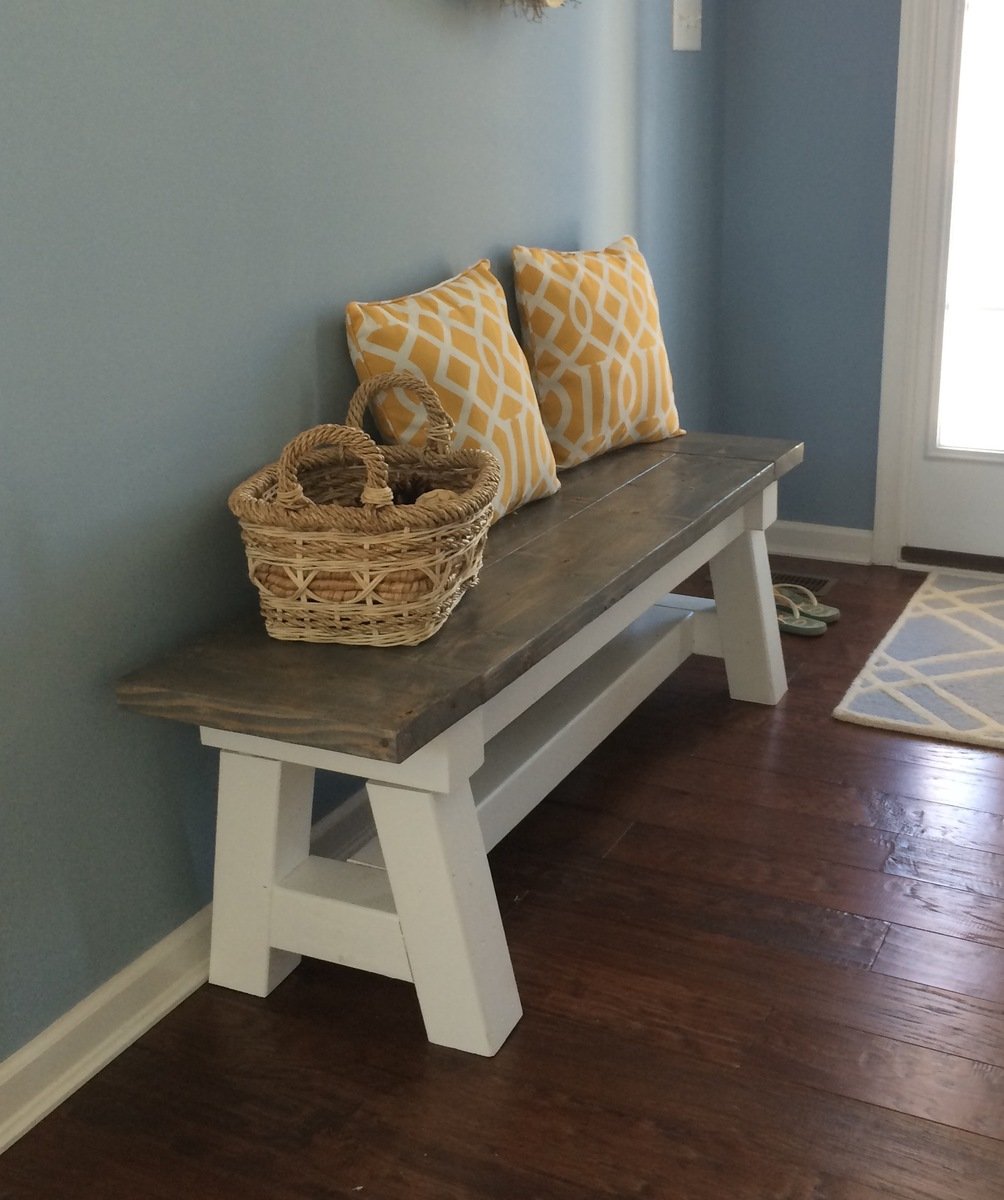
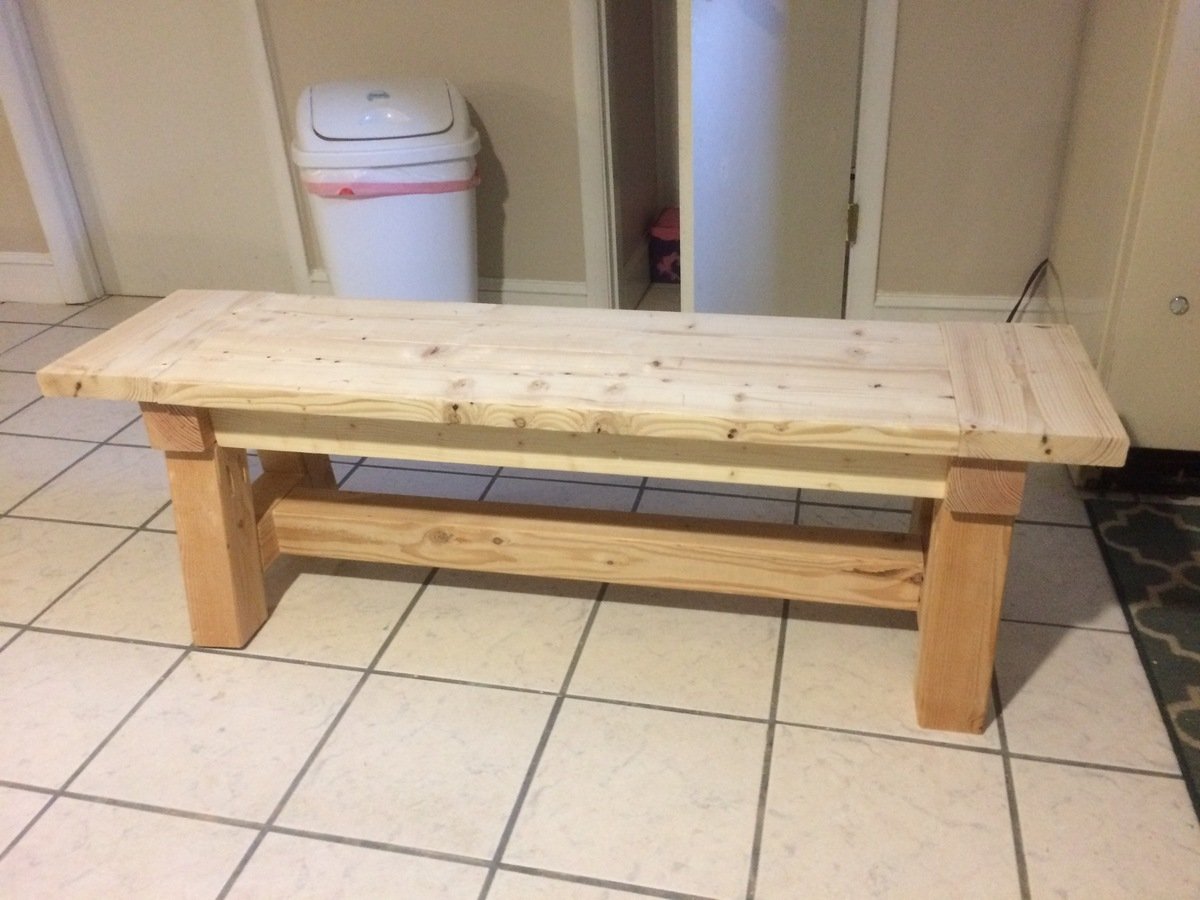
I made this as a gift for my friends son. They are expecting a new baby so I made sure every inch was sanded, and sanded and sanded. This was a fun different build. The slightly angled table legs need extra attention in order to guarantee level.
Built from Plan(s)
Estimated Cost
Around $100 for all 3 pieces
Estimated Time Investment
Weekend Project (10-20 Hours)
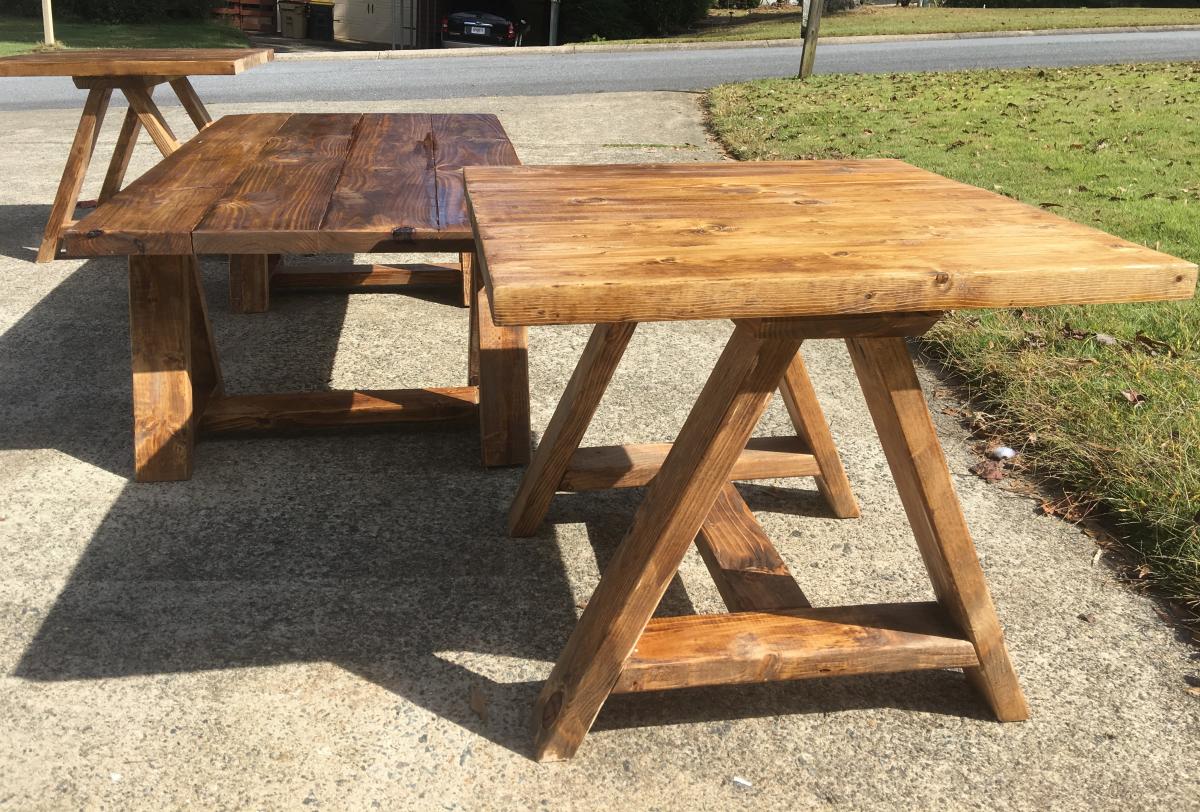
Finish Used
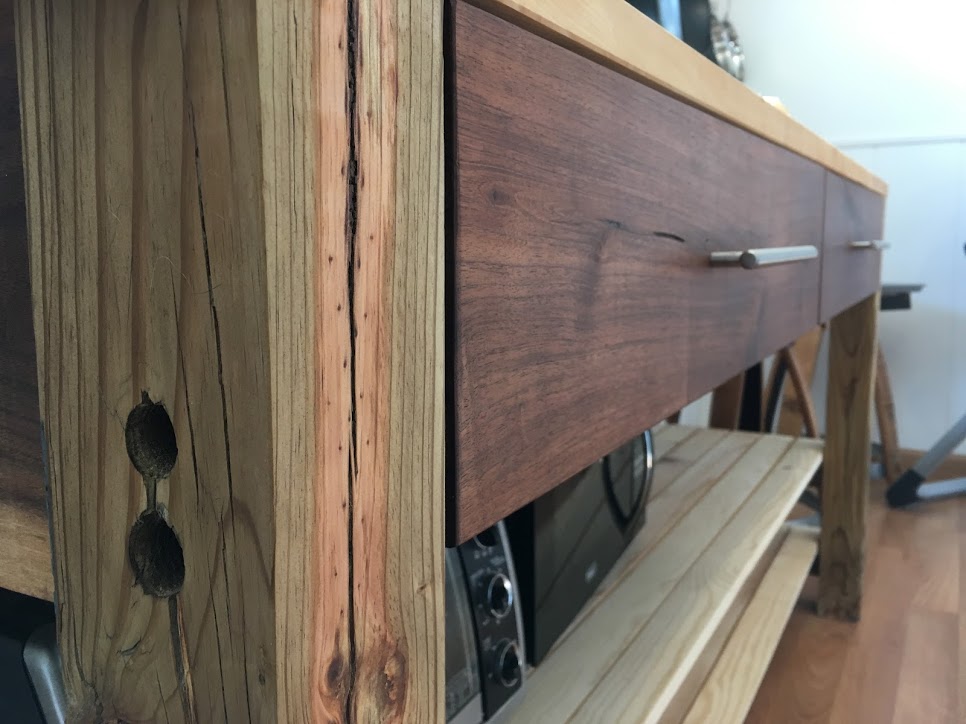
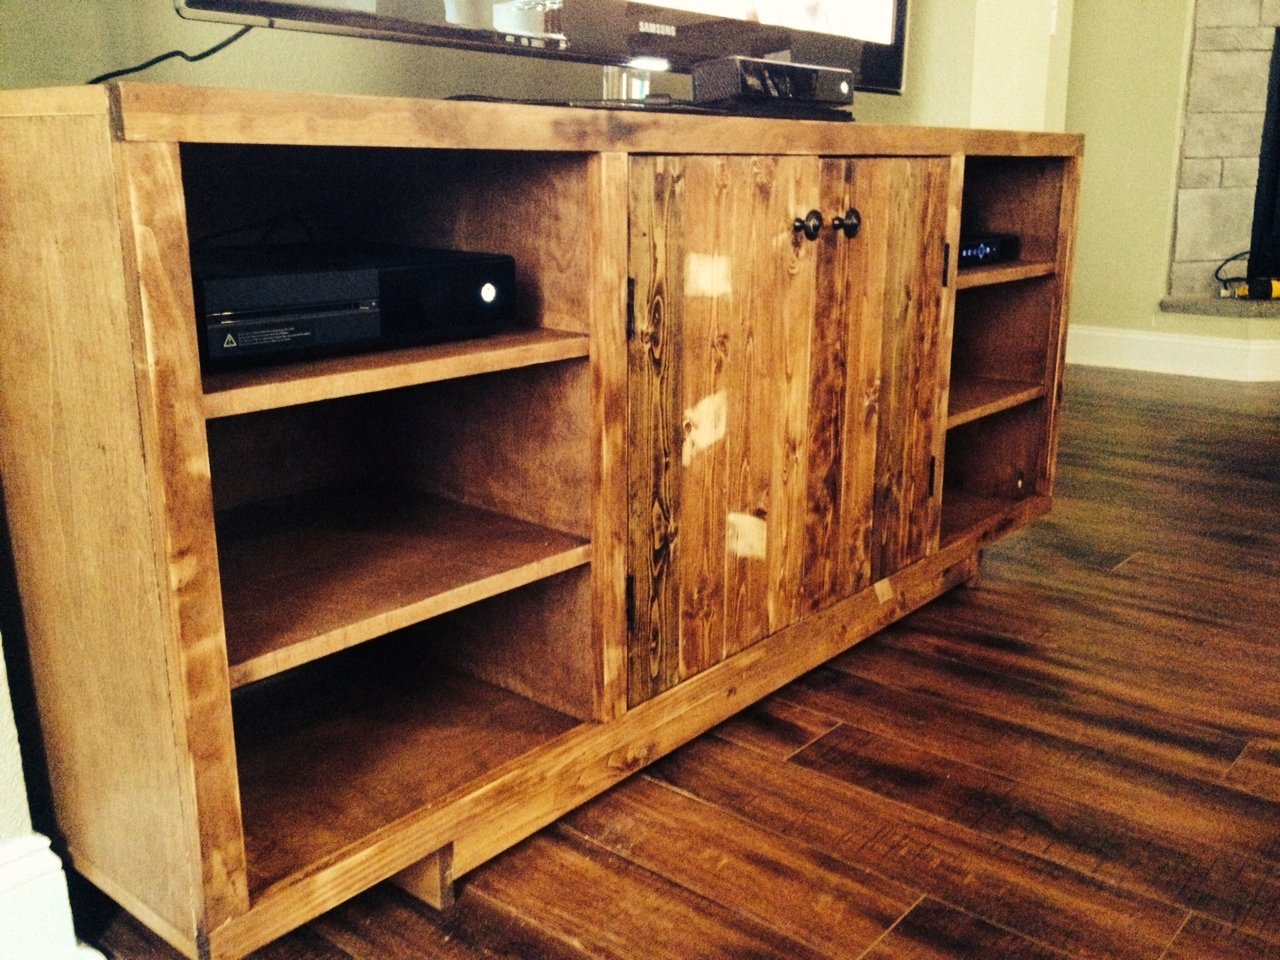
Watco Medium Walnut however it did not cover as well as I would have liked on this particular wood. sand really well before staining. I used 240 grit sandpaper and vacuum wood between applications. I ended up mixing the stain with small amount of Mix Wax Medium Stain to get better coverage.
Recommended Skill Level
Beginner