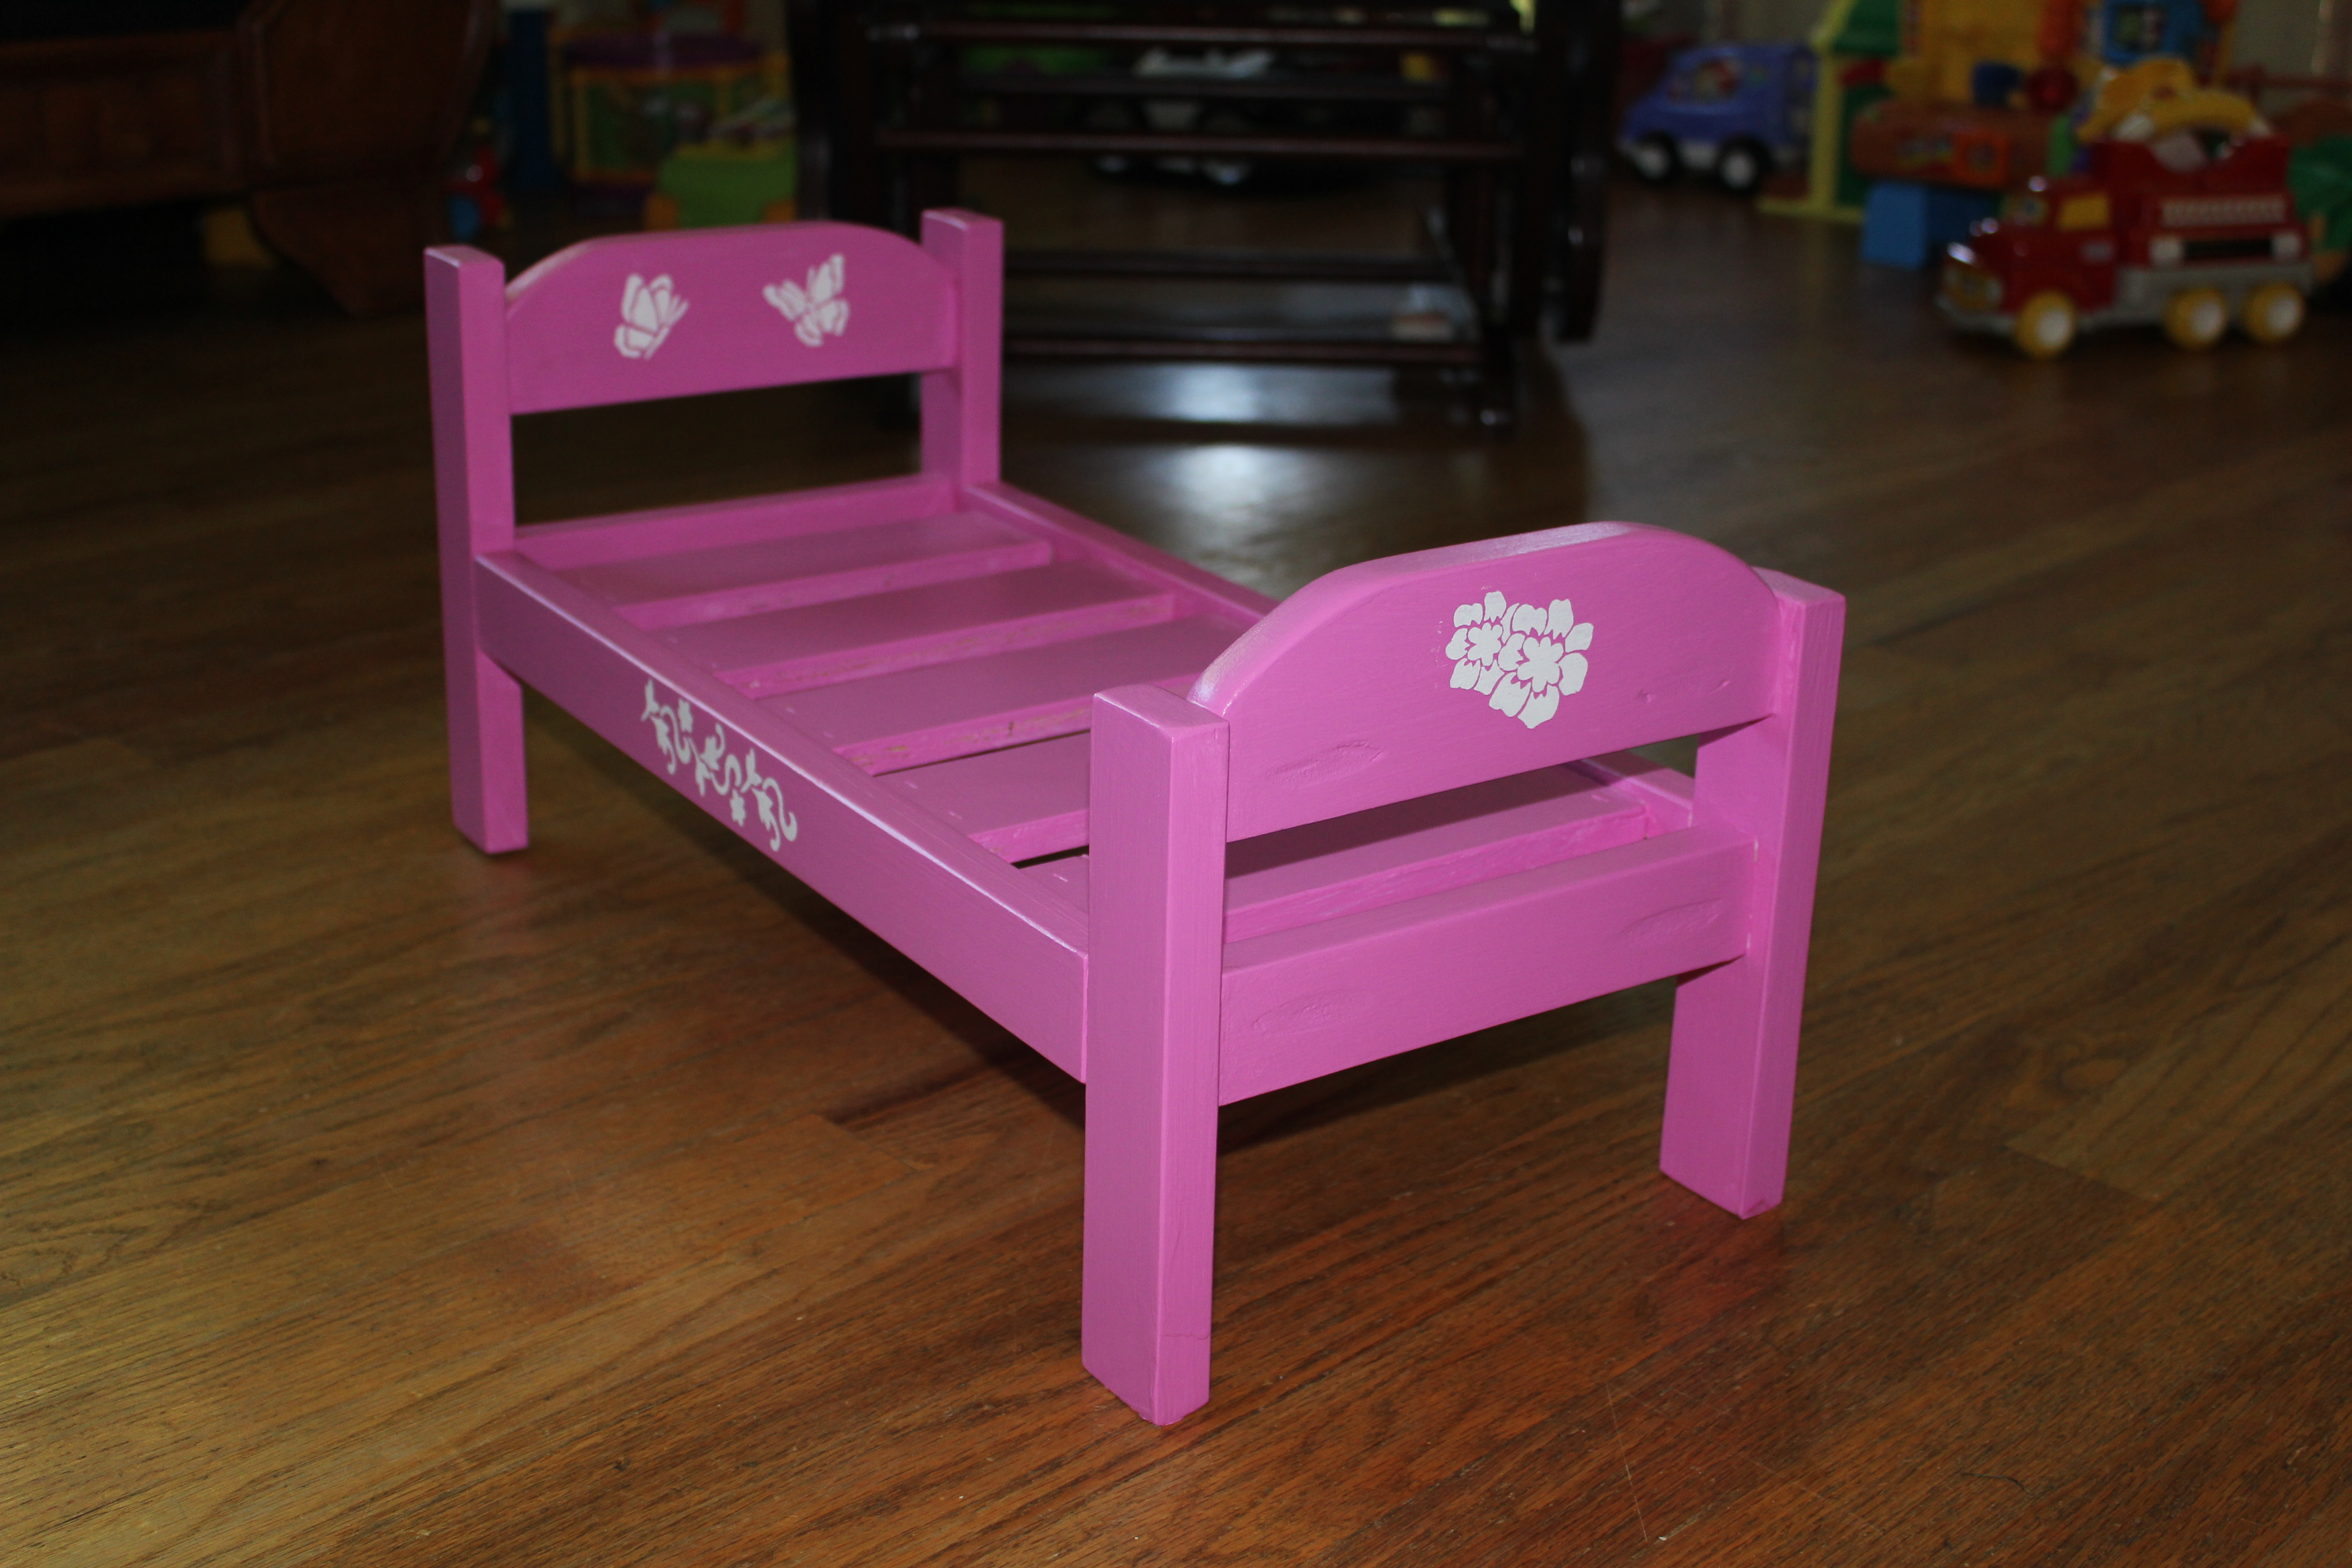
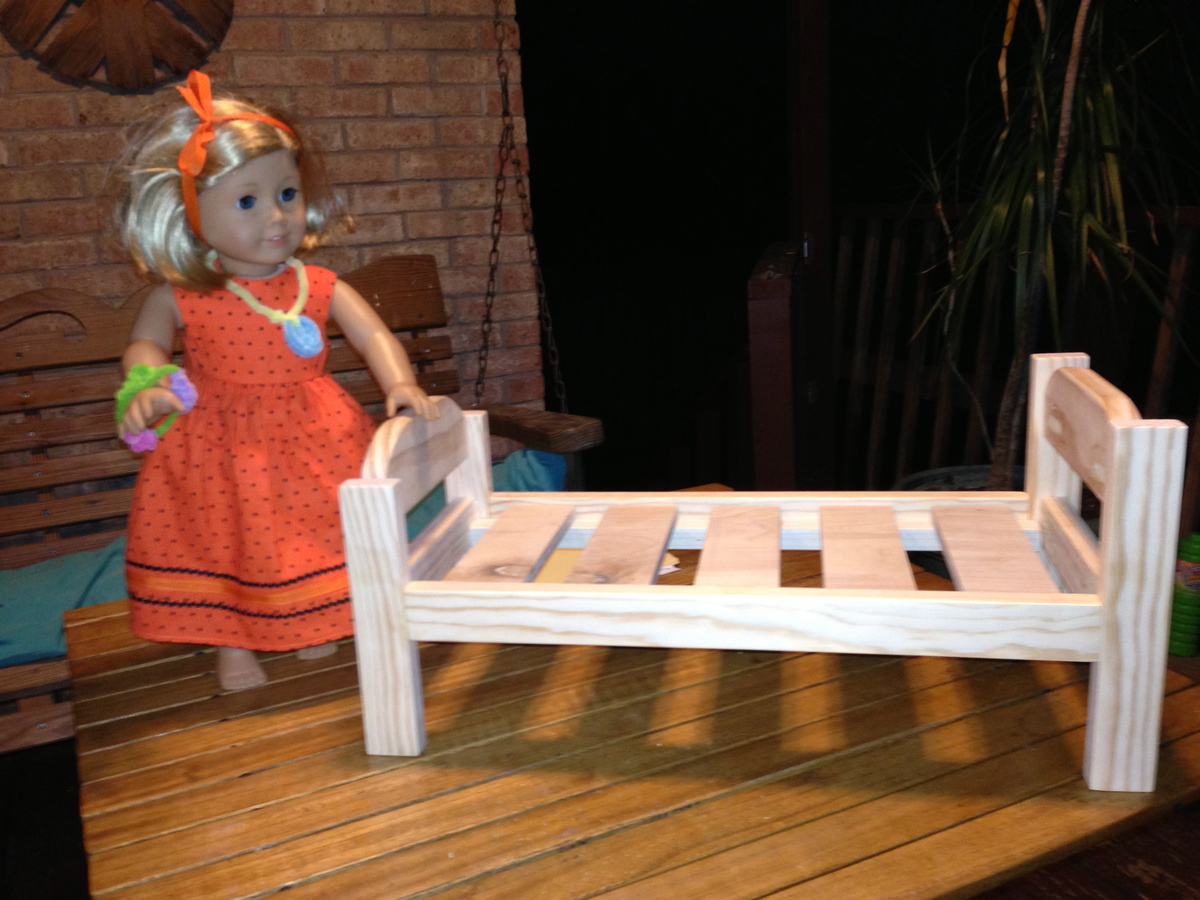
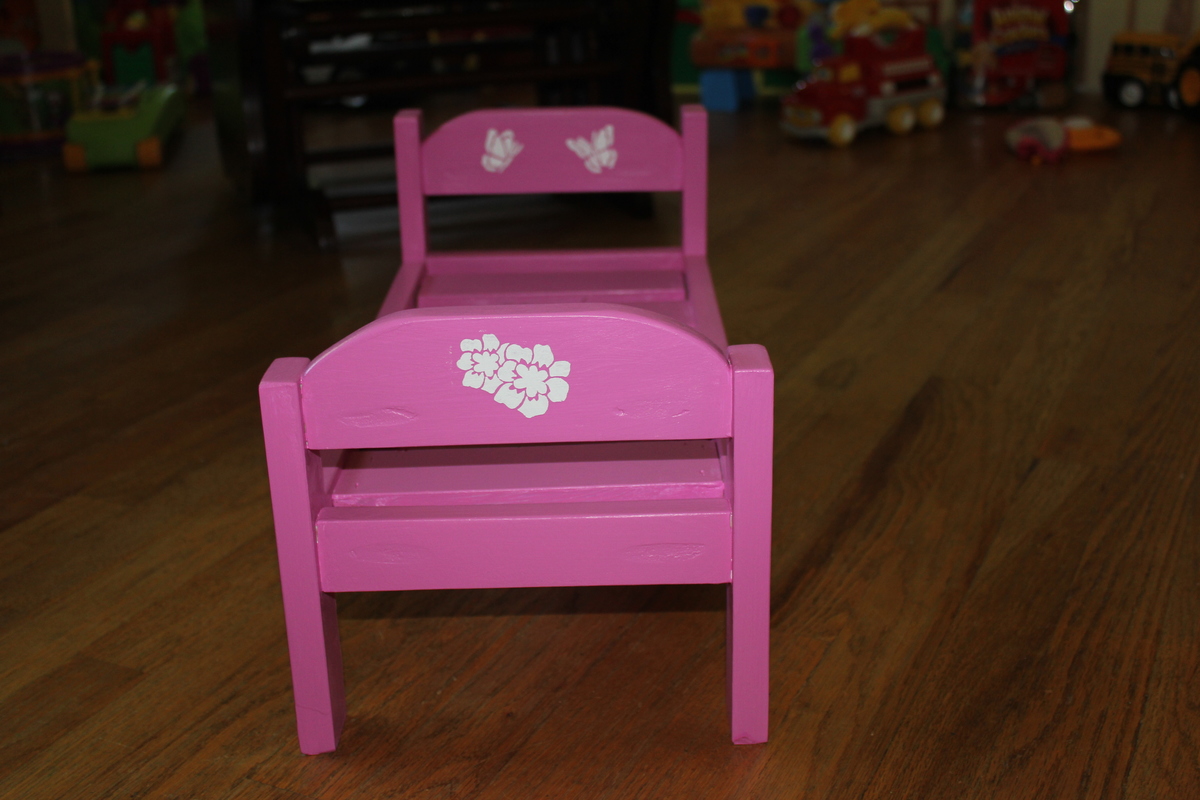
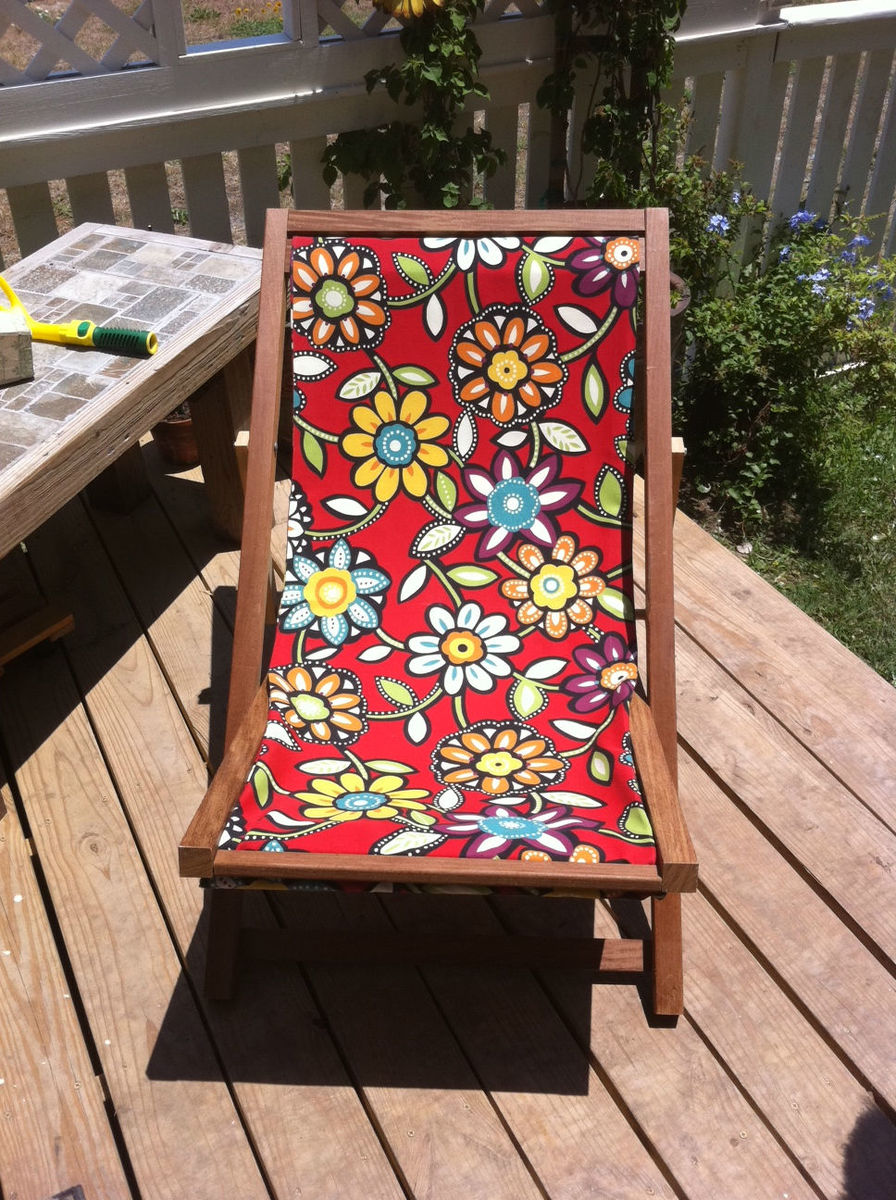
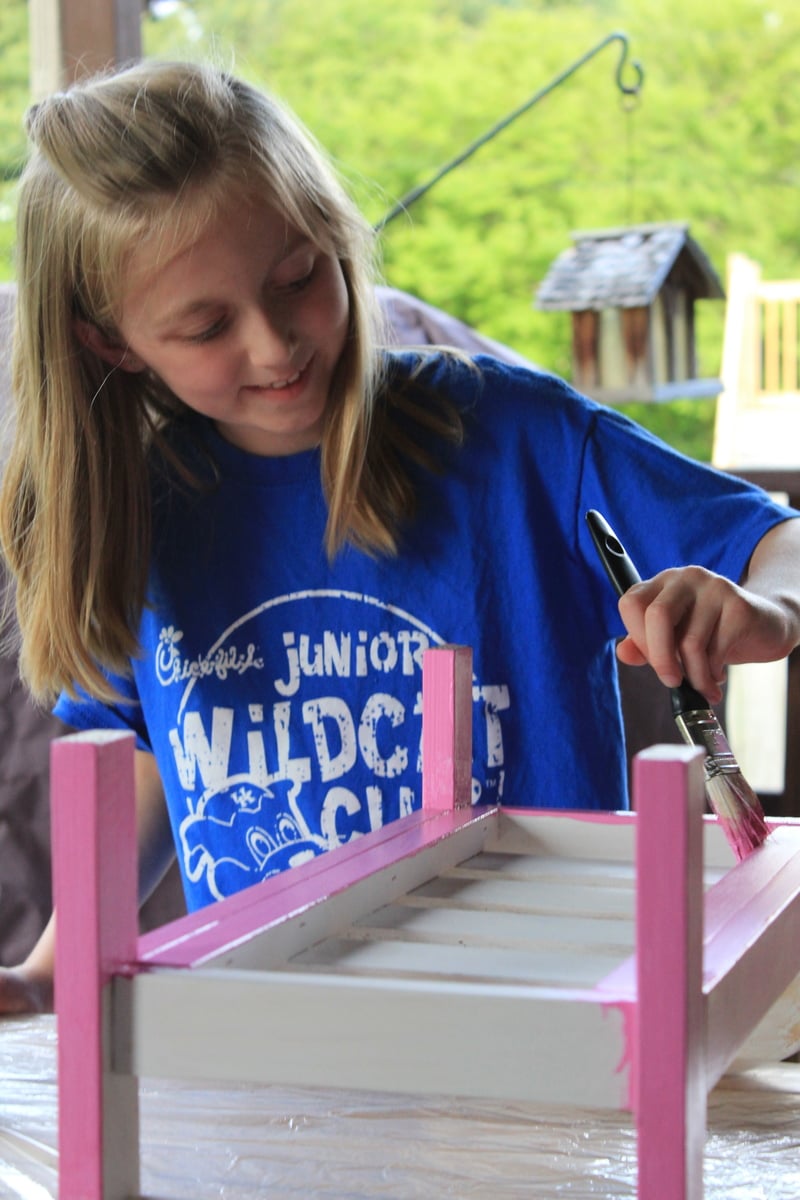
Pallet Wood Painting - South Carolina
Simple project to do with the kids.
Video:
https://www.youtube.com/watch?v=S4EDpDPf6DI
Instructions:
http://www.instructables.com/id/Pallet-Wood-Painting/
Simple project to do with the kids.
Video:
https://www.youtube.com/watch?v=S4EDpDPf6DI
Instructions:
http://www.instructables.com/id/Pallet-Wood-Painting/
I liked the look of the spacers on the bottom shelf, but decided to leave them out since I just wanted to be done with this project :) I modified the plans to only have one shelf, as well as feet on the bottom (instead of having the piece go completely to the floor). As a result of adding the feet, the bottom is framed with 1x2s instead of 1x4s. I needed to purchase 6 1x2s to do that (but only needed 3 1x4s). I attempted to miter the cuts on those pieces...wood filler came to the rescue in the end. This was a lot of fun to make!
We made a 6'ft version of the beginner plans. We initially made the table 1" higher than the plans originally called for so that there'd be more room under the apron but that turned out to be just too high to comfortably dine at, so at the end of the project I shaved off an inch on each of the legs.
Some issues we had with this table is Pine is rather easy to warp and during the staining and poly process 3 of the top boards warped too heavily for the table maintain a fat surface. I ended up buy 3 new 2x6's and doing the sanding staining process all over again. We also modded the plans so have a notch to fit the bottom cross beam in. This was our first wood working project ever it turned out really nice. We used the Dutch oil, Dark Walnut on the pine for anyone interested.
I'm giving a high estimate on both time and money due to mess ups and just being completely and utterly new at this stuff.
This was my first Ana White project! There was a learning curve so it took longer than it probably should have but over all the build went pretty fast. The finishing was the part that seemed to drag forever! I used a tea followed by vinegar/steal wool treatment to make it look rustic. Finished with a wipe on poly that looks great but smelled atrocious for weeks! Looks great and smells fine now. The bed is super heavy and sturdy, which shocked everyone. Not only did I build something, I built something really well and its all thanks to these awesome plans that made it too easy!
I've made several of Ana's pieces, but this is my first brag post.
I actually made this for one of my husband's co-workers, but now I want to make one for myself.
I don't know the actual amount of hours it took, but like any project, the sanding was the most tedious part!
This one was built with 4 2x6, and 2 2x4 boards on top, as the friend wanted it a little wider than the original plan. I modified the other dimensions accordingly.
The wheels used in the Shanty2Chic build post were too large for my 4x4 posts. The wheel plates were too wide. They measured about 3.75" and my 4x4's were only 3.5". Also, speaking of the 4x4's, I used untreated Douglas Fir, purchased from my local Lowes. I typically shop at Home Depot, but they did not carry any untreated 4x4's.
The wheels I used were the same style by Everbilt, but the next size down, the 2" wheels. However, their overall height was 3", and so the height of the table ended up being perfect anyhow!
I finished the table in Minwax English Chestnut and used the Minwax rub on satin polyurethane.
I put the time as a week long, primarily because of sanding and finishing. But, I think that if you devoted your time to it, you could do it in a weekend.
OH! Also, Ana doesn't mention it in the plans, but the Shanty Chics do... put the plywood shelf in BEFORE adding the second side. I had to remove pieces which were already glued, and it made that step a bit annoying!
Otherwise, all was well. Enjoy!
I built this coat rack a couple of years ago for our house when our little girl ripped the one we had out of the wall trying to get her coat off the hook lol. I was actually able to reuse the hooks from the cheap little coat rack that we had bought from the home store. It attached into the wall using drywall anchors so it wasn’t all that secure to begin with. I set out to make one that would look a lot nicer and have some room for storage. The design I came up with works great for storing all our coats and hats, but also the cubby storage at the top is great for storing keys and gloves and whatever else you may need to store.
I stumbled across the Cabana design and just fell in love.
Once I decided I was making in tough, I needed to customize it a bit to meet our needs.
1. Needed to be able to sleep in it (so Mosquito proof)
2. If I am sleeping in it I want
a. Privacy
b. Possible rain protection ( I like a dry bed)
3.Need to be able to have a guest
So, We made it a bit larger 9x10
Added screens all around and under floor boards, Zipper entrance in front.
Made Canvas side panels (attach with velcro)
Made front and back canvas panels/doorways.
Chose two stacking twin beds that can be snapped together for a couple or left apart for two guests.
Just for fun, we used timber framing ties (Simpson Strong) instead of the joist hangers and end caps...this gives is big beefy bolt heads and black metal straps across the beams. They do the same thing but give it a more rugged look.
My 12 year old has slept in it for two weeks already and plans to not come in until the snows come this winter!
Thanks so much for the great inspiration and general plan to get us started.
Adjusted the original plans to meet AOAO requirements. Shortened the boxes to 20” and the length to stay below balcony railing. Love this herb garden on my very tiny balcony in Hawai’i ❤️
Made by Melissa Puanani Nobriga-Petrichko.
I made this dollhouse a couple months ago from scrap wood I had in my garage. It was my third build! I used felt for carpet on the bottom level and I used a laminate scrap that was laying in our garage for the upper level to look like a hard wood floor. I used leftover paint that we had from other projects, and I didn't spend a penny on this project other than screws and glue, etc. I didn't think it would come out as nice as it did, and it provides hours of entertainment for my daughters! I'm going to be making another one of these as a Christmas gift this year! What I liked best about this project was the endless amount of creativity that could be used. I'm going to try to make handmade furniture for the next one I build!
This is the 2nd Rustic X Coffee table I built. This I built as a wedding gift for my Brother and His wife. Instead of the X posts on the ends I opted for a column design on the end. It was actually a little more time consuming but I think it looks great.
I built these modern storage benches for some friends of ours. They needed some space to store their little girls toys. They planned to use some wicker baskets they had. I took the measurements for the baskets and built the storage spaces around it.
Thanks so much for this plan. I modified it slightly by using 2x6 For the arms so I could cut out a hole for a glass or bottle. I also added an additional 2x4 underneath to keep the glass from falling through.
I spent a lot of time sanding and putting the first finishing coat on each piece prior to assembly to make final finishing easier. Extended elapsed time but I think it made actual time shorter.
One of my first "big builds.: Learned so much making this! I love it!
My husband and I made this outdoor chaise lounge using a combination of Ana's plan and another we found on the Internet. We wanted to be able to move this easily, so we added wooden wheels that we turned on our table saw. All in all, this project took us about two weekends. We are hoping the next one goes a little faster.
You can see more pictures of the build process on my blog.
Needed a patio table for this space and decided on this plan. After the build portion, the stain finish really made it complete. Now time for some summer get togethers.
This was my first venture in building furniture. My granddaughter needed a new table and chair and insisted I could make it myself since I built her a playhouse (from a kit.) That's when I googled and found Ana White's amazing site and all the easy to follow plans.
I chose the Clara Table and Childrens Storage Chair. They reminded me of school - and my granddaughter who was 3 at the time loved playing school. Plus, since her parents plan to homeschool, I thought this would be a great starter setup.
I started with the chair. I did struggle with screwing it together, so it's not perfect. But it is sturdy; the storage box helped with stability too. After struggling with the chair, I decided to buy a kreg jig like Ana suggests - and boy did that make a difference! The table went together so fast and easily, I was literally in shock. And it's so strong I can sit on it. I'm sure if I had tried building it with just screwing the regular way, it would have been wobbly.
I bought a 24"x36" tabletop instead of using the 3 boards joined together and so had to adjust the measurements of the apron pieces accordingly. I thought it would make a smoother writing surface. I originally intended to paint it all white, but the grain on the top was so gorgeous, I decided to stain it - and I stained the chair seat to match.
This project was so much fun and came out so nice, I decided to build a toddler bed from Ana's plans. You can see that project here: Toddler Bed
My daughter and my first project .. thank you for the easy plans and YouTube tutorials! Onward and upward ...
I'm a complete amateur and the instructions made it so easy!
Lori
For my first woodworking project ever, I decided to make the Rectangles Daybed. I have not handled a power tool before, except the drill. So, over all, I'm quite happy with the result.
I got odd lot fir, which was more expensive, but prettier and easier to work with. I would probably not do that if I had known I was painting it. I also decided to put in IKEA slats instead of making my own.
I put more details in my blog posts.
Sun, 09/16/2012 - 17:12
Is there any chance you are making this to sell? if so, how much? Email me at [email protected]
Table was built for my daughter, now she wants me to build the End table and Sofa table. LOL