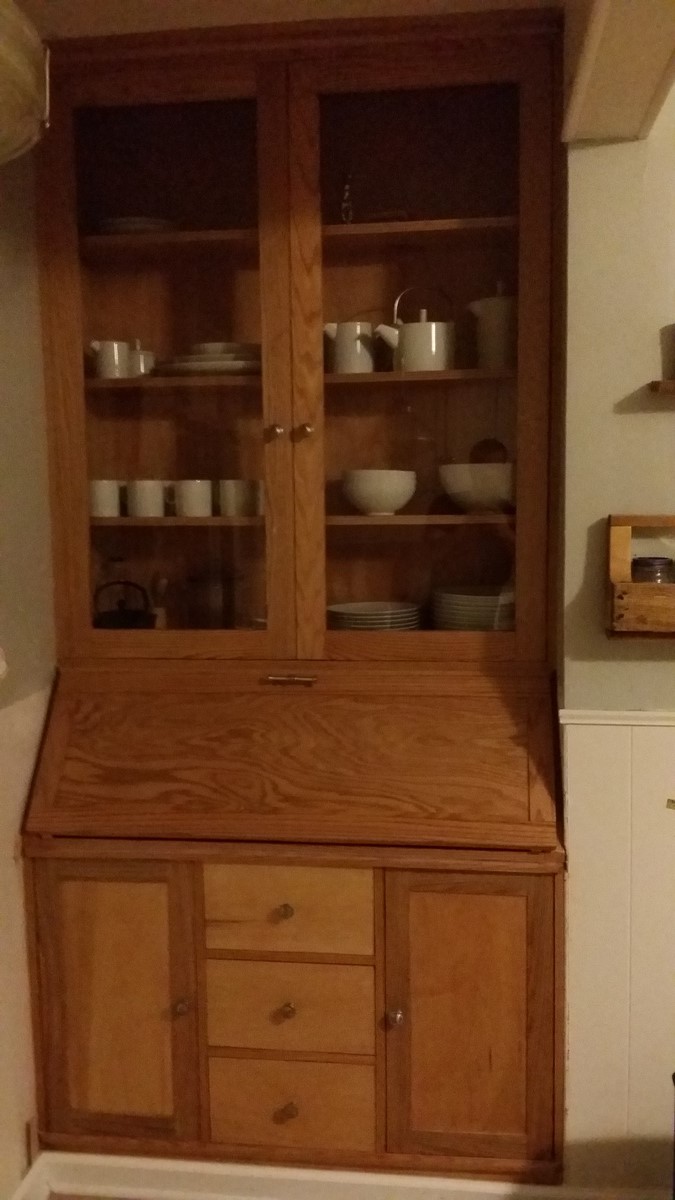
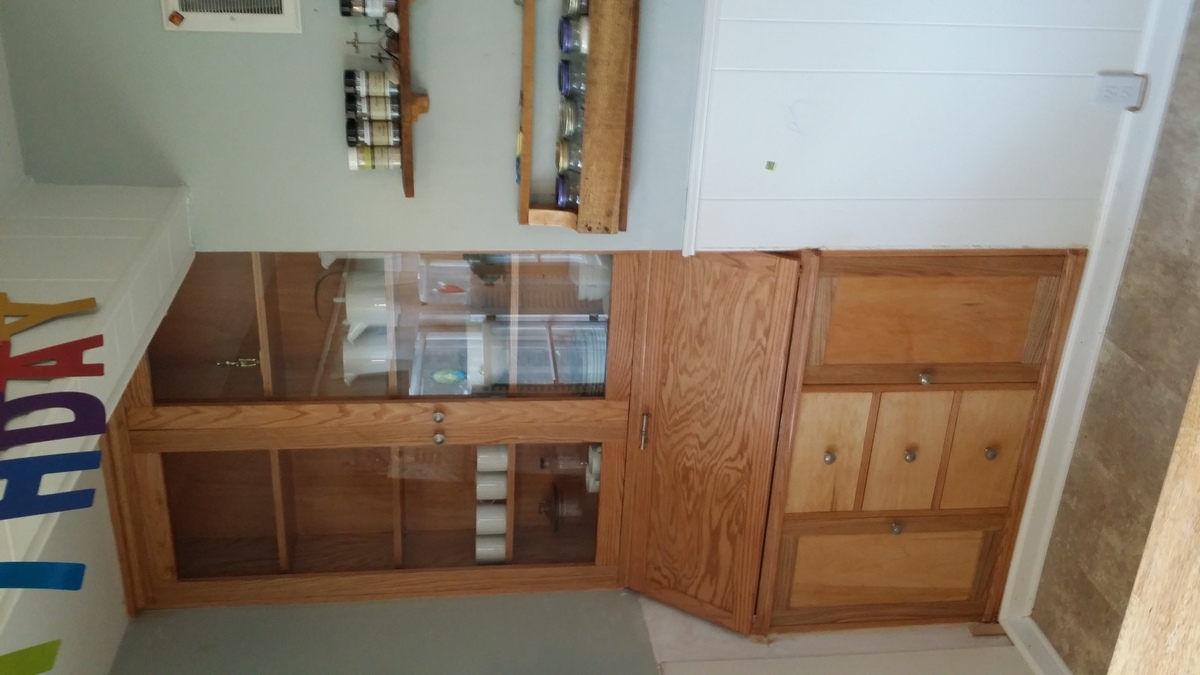
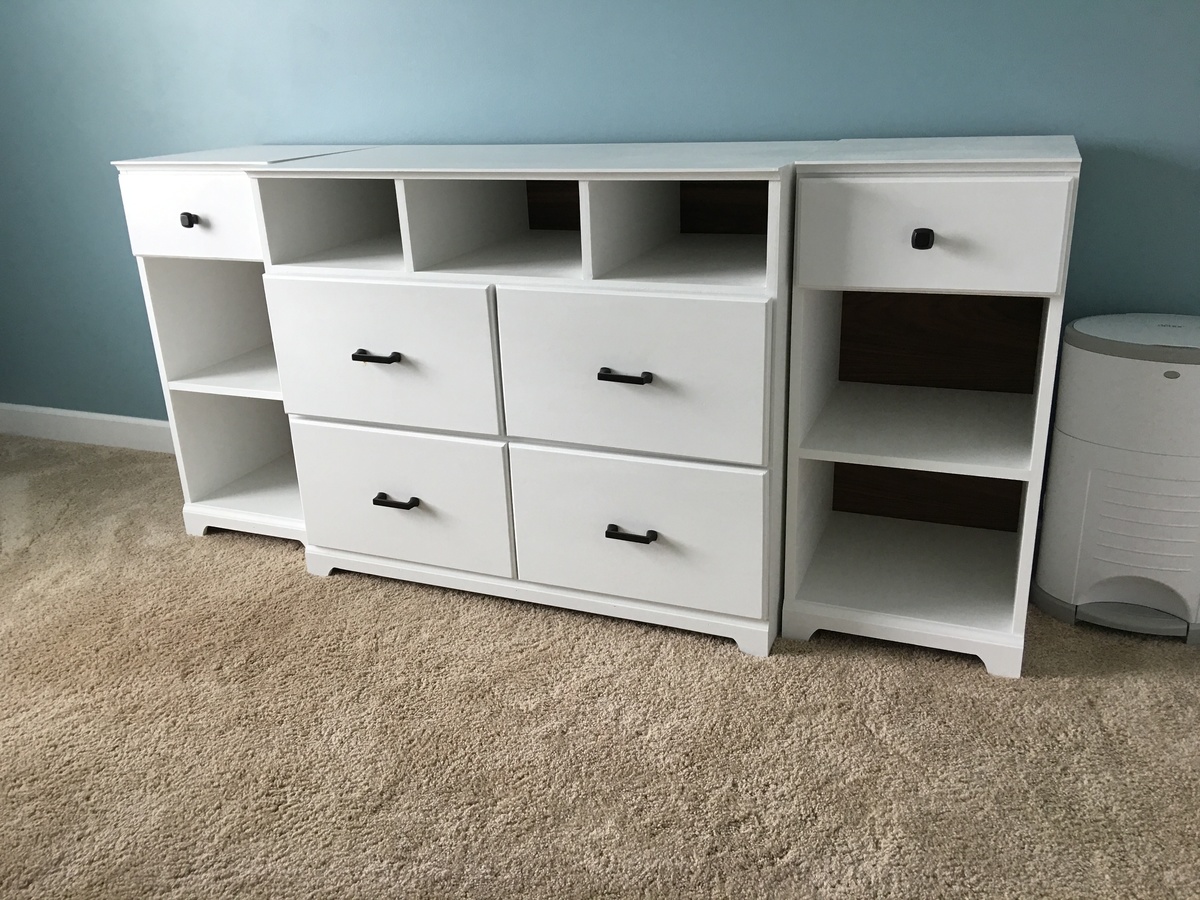
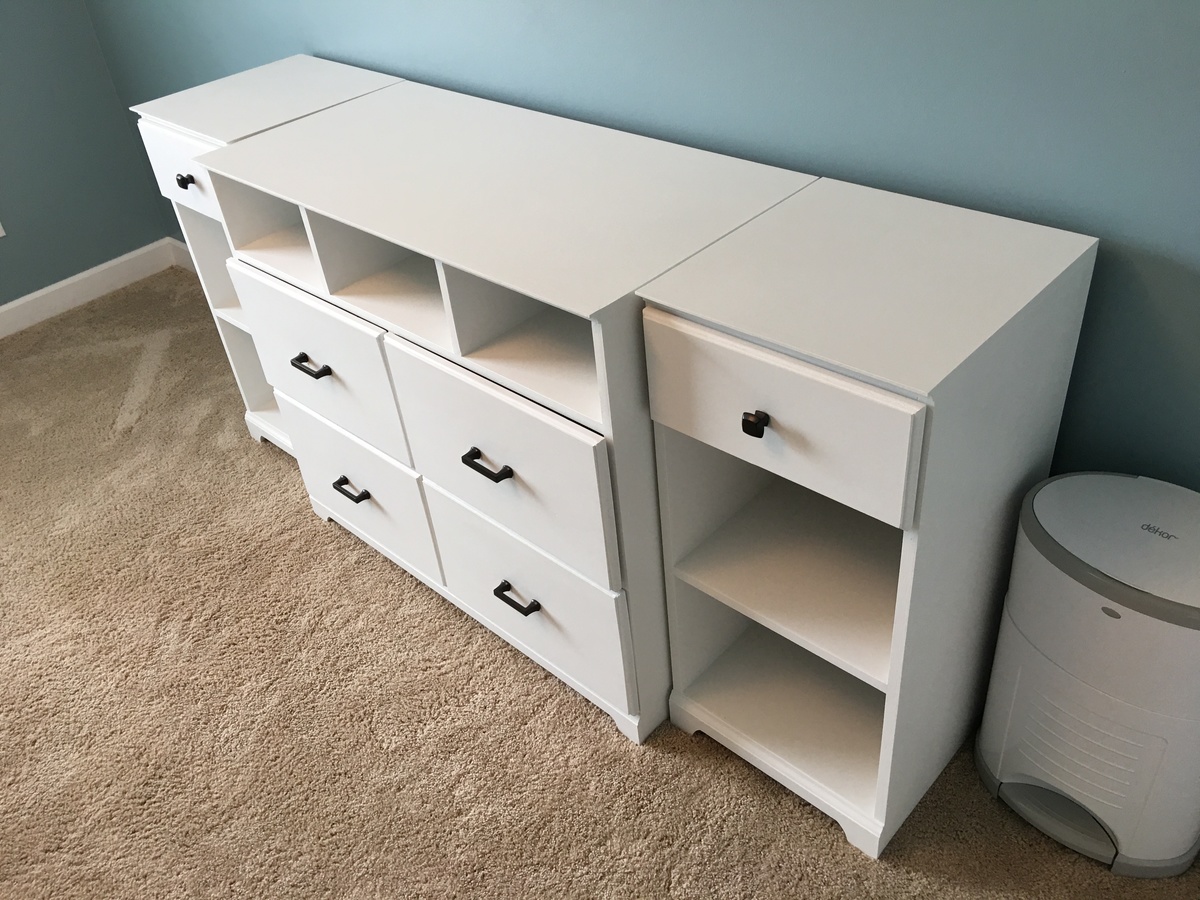
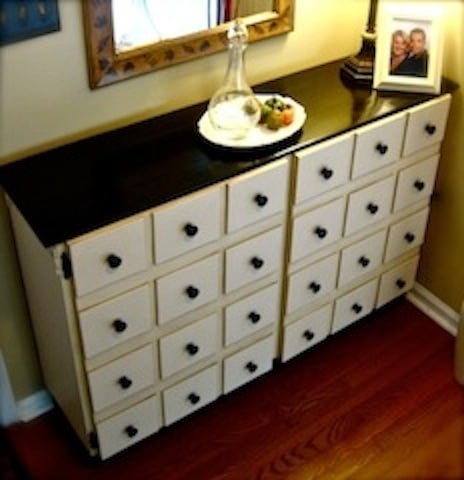
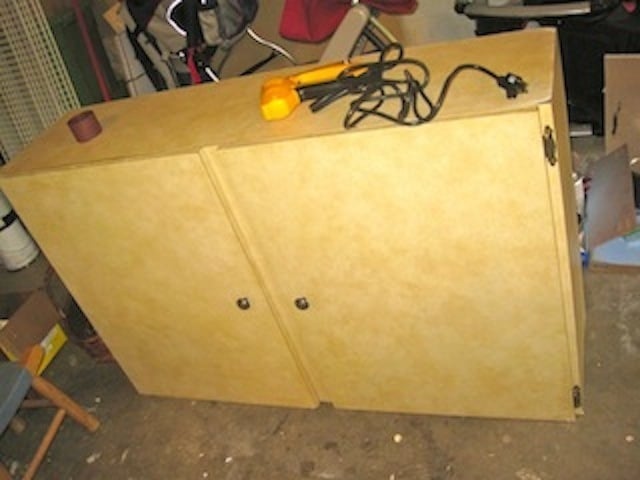
Hello, my name is Natalie Scott & this is my first Ana-White Brag Post! In the beginning, this cabinet was such a silly thing to find. I almost didn't even accept it from a neighbor, who was going to throw it out, when they offered it to me. It ended up becoming my biggest (& longest!) project yet; & the project of which I'm the most proud!
To see the complete process & transformation, go to:
http://TheVintageMagi.blogspot.com/2012/01/from-trash-to-treasure-entry…
Once I had a plan in place,
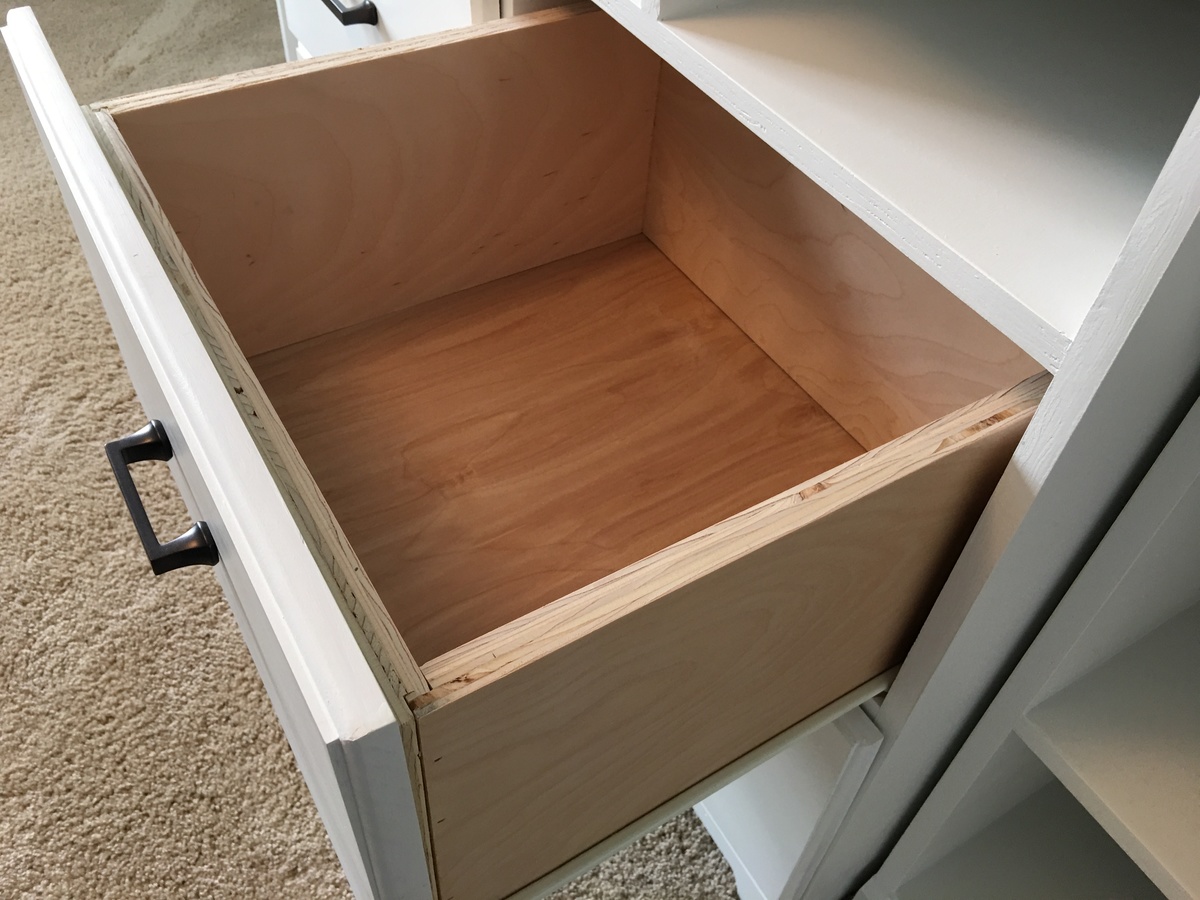
1. I went to Jo-Ann Fabrics & got a thin, plywood craft boards.They were 1/4" thick, 6" wide, & 36" long.
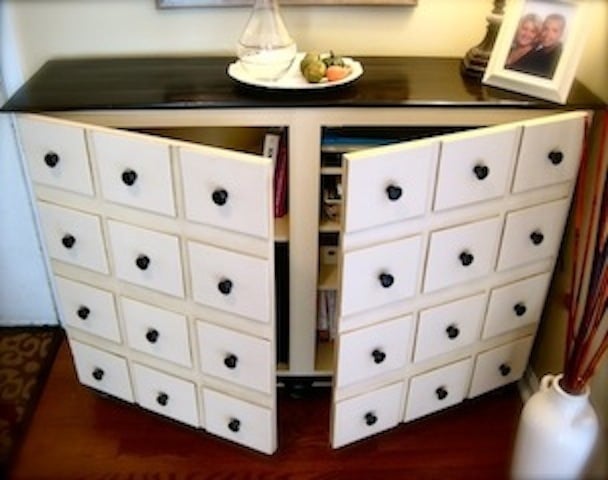
2. Of course, I already had the base for the cabinet whose dimensions were slightly different than the plans on Ana-white.com, so the math was up to me. After lots & lots & lots & LOTS of equations, I knew that the drawers would have to be 6" long & 7" wide, which is why I went with the 6" wide boards. Less cutting on my part would ensure more uniformity.
3. I started measuring in 7" at a time (& double-checking & measuring again) & cutting with a circular saw.
4. I used a blend of construction adhesive & wood glue to seal the plywood "drawers" to the cabinet doors. I didn't even need to clamp!
5. After drying, I filled in any large cracks that may have popped up with wood-filler & let that dry before sanding it down.
While the seal on the "drawers" was drying,
6. I painted the cabinet with Rust-Oleum's Ivory Silk Satin Finish spray-paint.
7. I also picked out wooden knobs at $0.94 a piece as well as 6 traditional-style furniture feet & spray-painted them with Rust-Oleum's Oil-Rubbed Bronze.
8. The feet had screws that allowed them to attach right in to "Heavy Duty Top Plates" that I were attached to the bottom of the cabinet.
All of these items were available at Home Depot.
9. Next, I sanded, primed & painted the doors.
10. After some careful measuring, I drilled pilot holes for each knob.
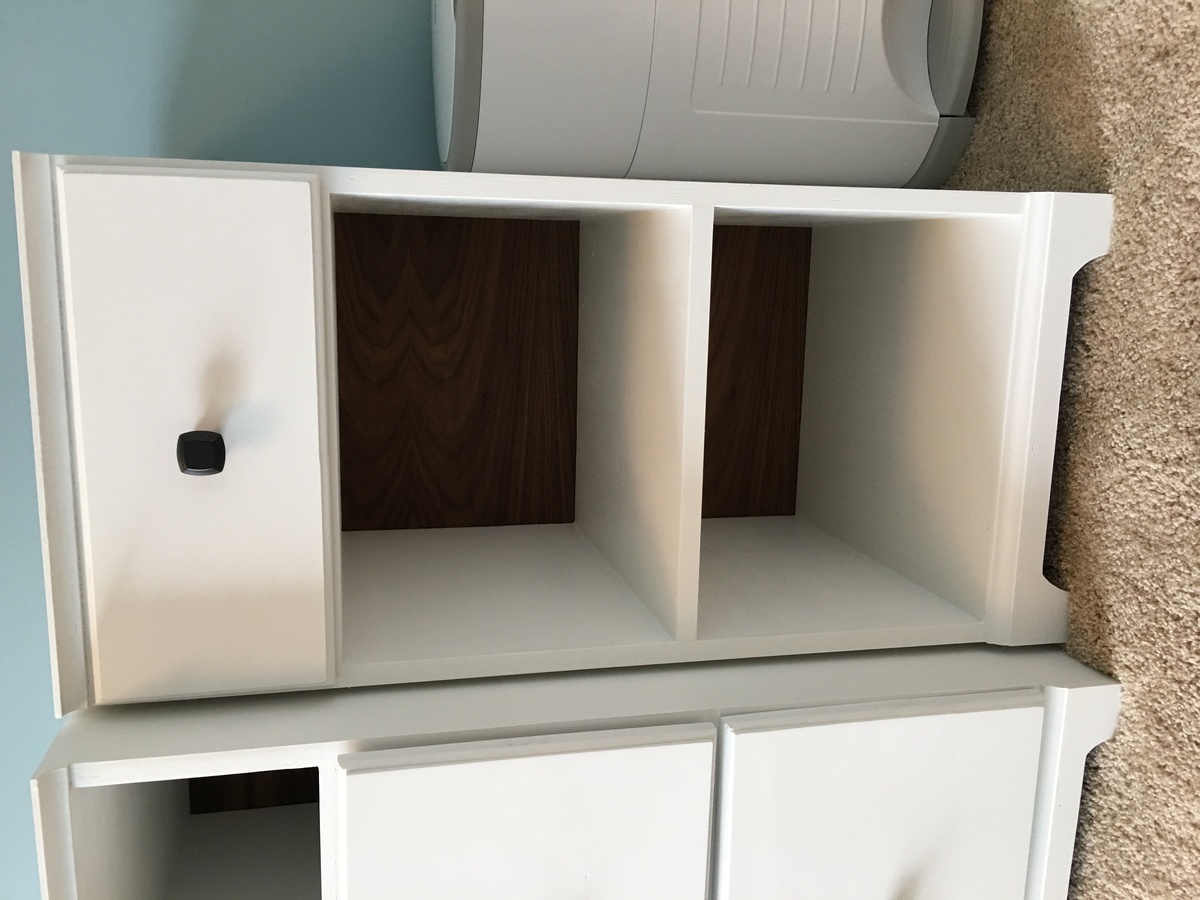
11. I added the shelves back in to the cabinet, which required more touching-up of the paint.
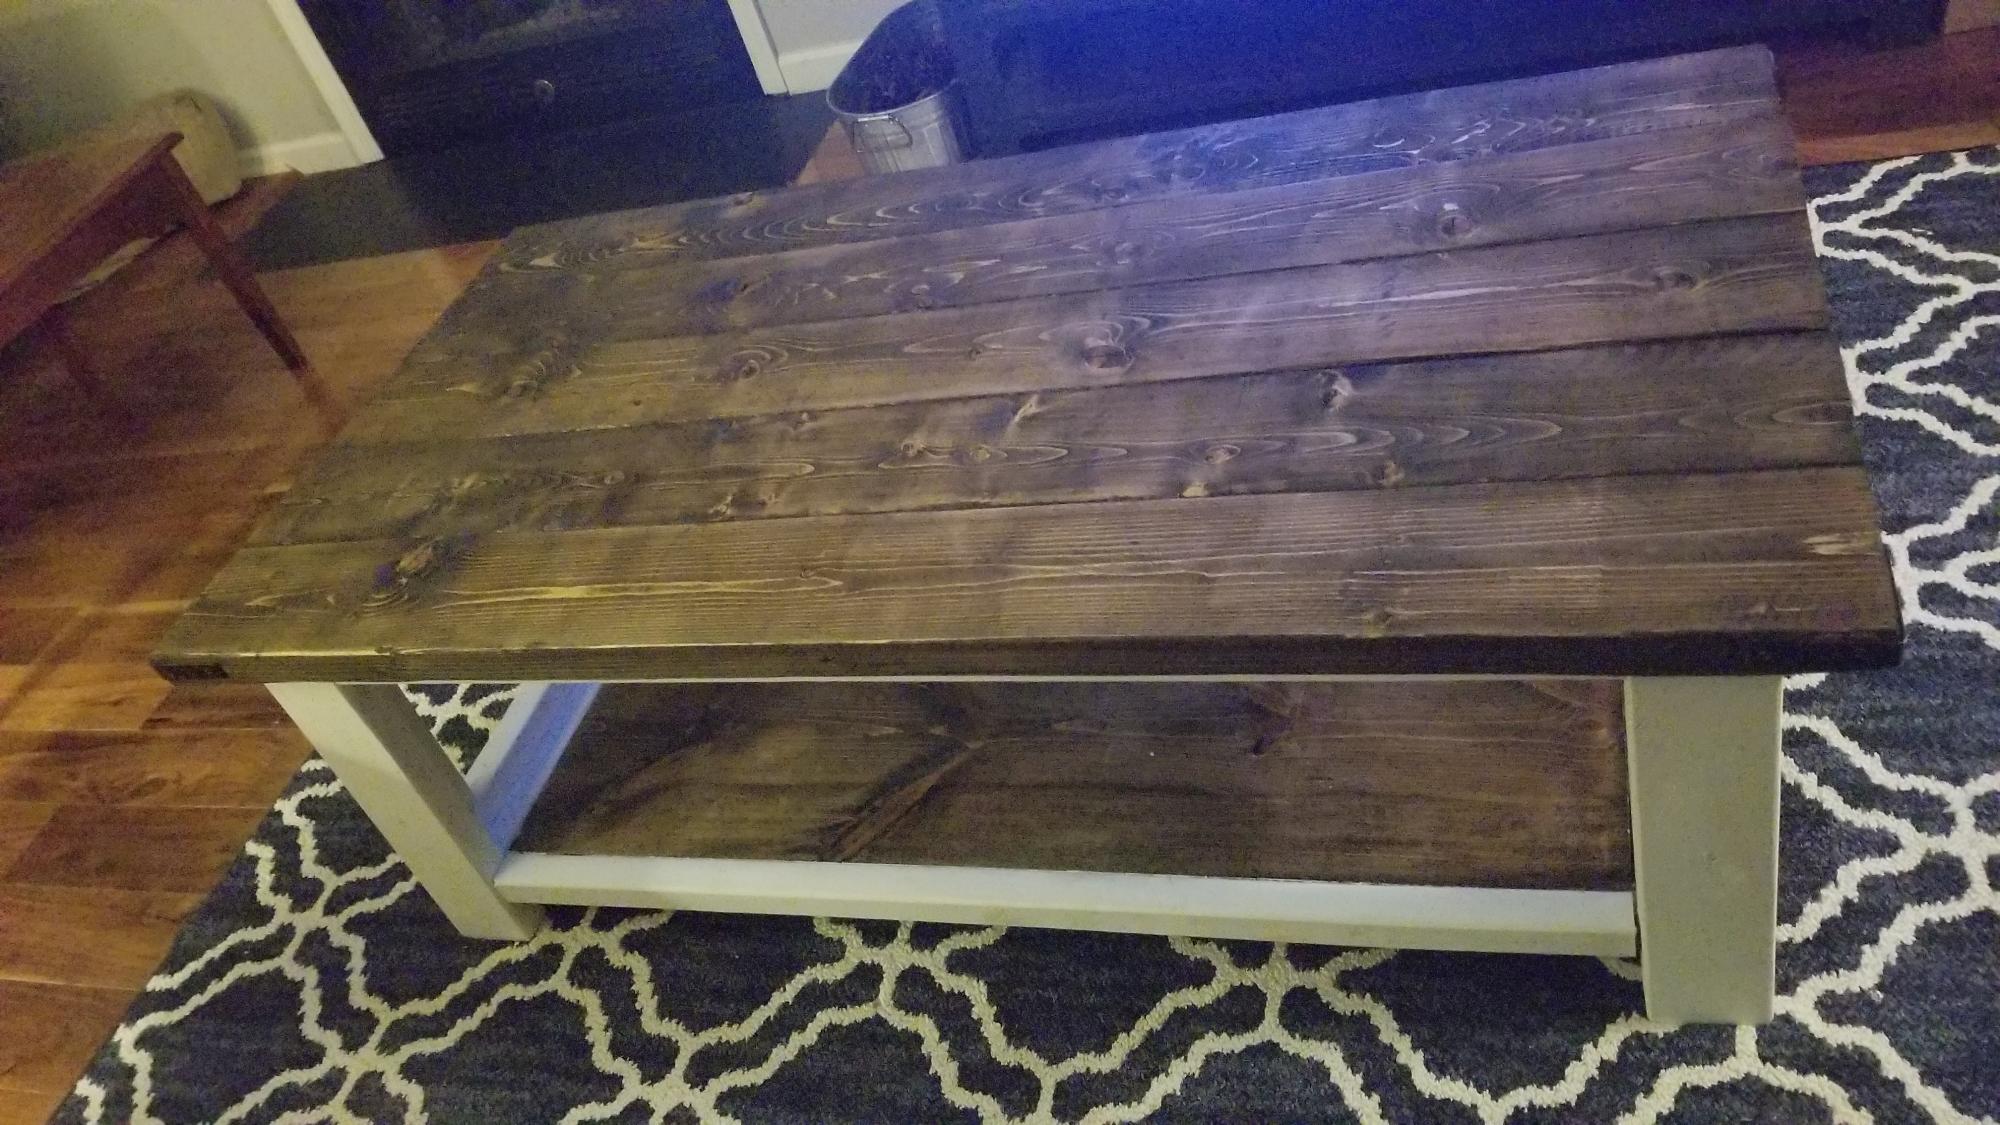
12. I had taken apart a wood pallet, measured the wood, & tried to think of a way to make it into a reclaimed wood top for the cabinet.
13. I cut the boards & made a layout, 4 rows of boards deep, on top of the cabinet, careful to remember the overhang. I added 4 little squares of wood, one in each row of planks, in flattering & uniform positions to complete the desired overhang effect.
14. I sanded the wood, rearranged it, & sanded it some more.
15. I glued the top in place, using the same mix of construction adhesive & wood glue I used before.
16. Next, I used STAINABLE wood-filler to fill in all of the cracks. Then I sanded again from 60-grit up to 200-grit,
17. & made sure by using a LEVEL that the finished surface was FLAT & EVEN.
18. Before it's final sanding, it needed to be extra secure; so I got out the finishing nails & put two nails in each board (except the little squares of wood, which only got one nail), one at each end.
19. I sanded with 220-grit sandpaper.
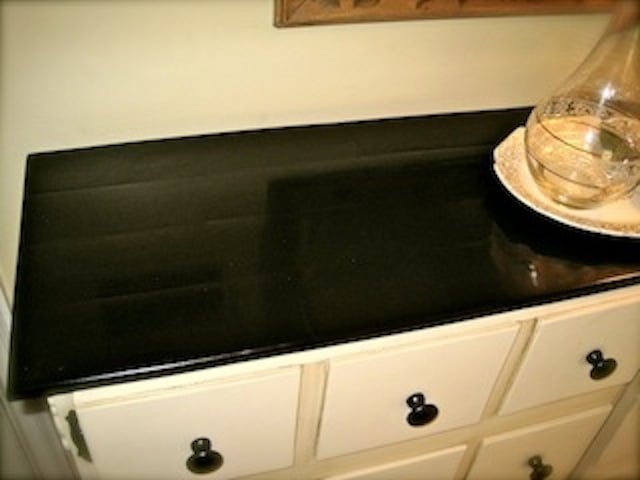
20. Getting the stain just right for the reclaimed wood top took awhile. Just when I was about to give up, paint & distress it instead, I had an idea. I took what was left (which wasn't much) of the little can of Minwax PolyShades stain in Espresso Brown & added some spoonfuls of Minwax Gel Stain in Hickory (which was MUCH easier to apply) straight into the little can. I shook the can & made a mixture of my own stain that was still a beautiful, dark color - but MUCH easier to apply. I applied 2 coats of stain, following drying-time instructions.
21. I touched up any mistakes on the cabinet with "Goof-Off."
22. I finish covered the stained top with a coat of hardening Minwax Paste Finishing Wax (applied in tiny circles just like waxing a car - "wax on, wax off!").
23. I added the decorative wood trim moldings on the side (using Gorilla brand wood glue mixed with construction adhesive again),
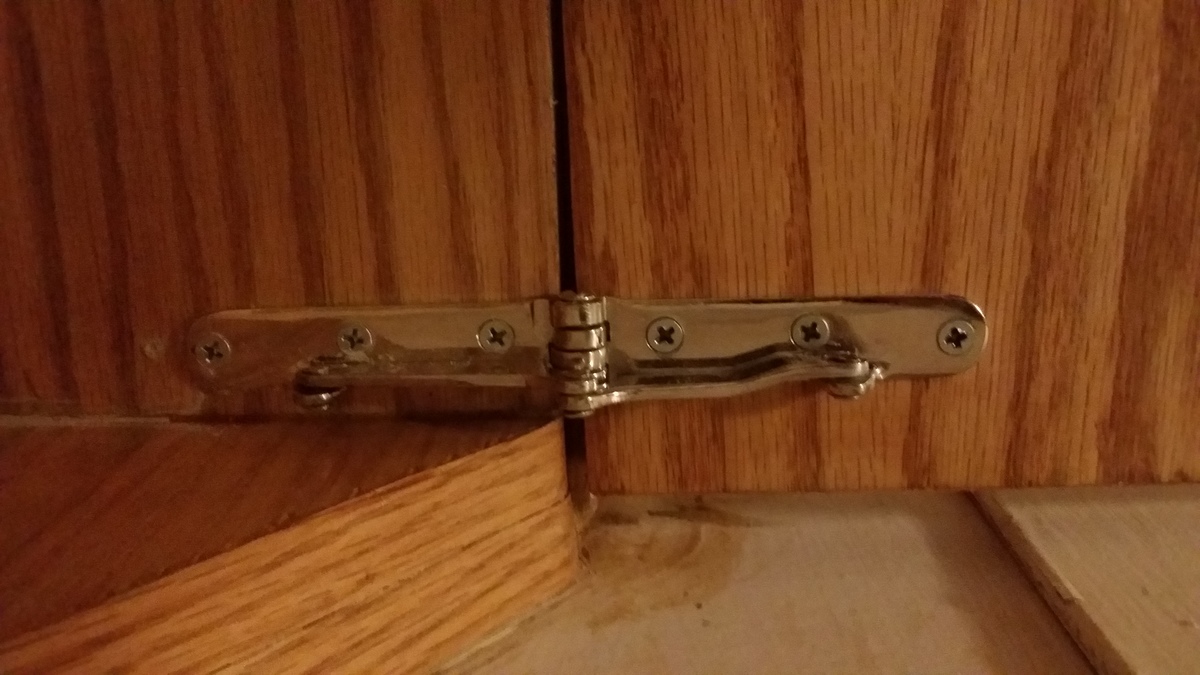
24. attached the finishing touches (like magnets to catch the cabinet doors & keep them shut),
25. & touched up all the ivory-colored paint one last time.
26. I used Rust-Oleum Transformations Decorative Glaze in Java Brown to glaze to the ivory-colored cabinet base (I did not glaze the stained wood top).
27. I coated the whole cabinet with a coat of hardening Minwax Paste Finishing Wax (the same as in step 22).
28. I attached the knobs,
29. & added these "Felt-Gard" self-leveling, heavy-duty felt pads to the bottom of the feet to protect my hardwood floors.
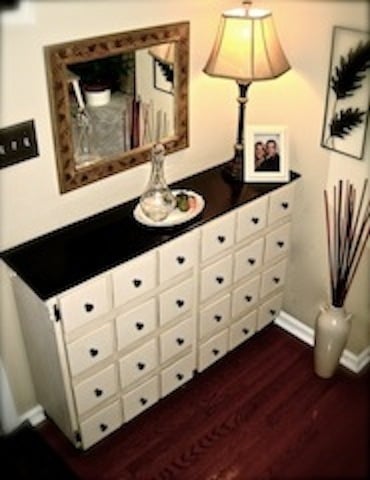
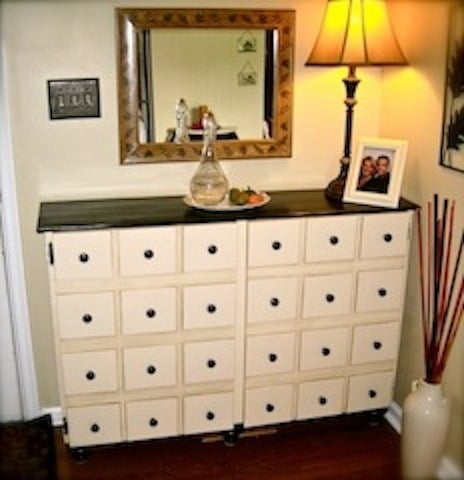
30. It went inside & was decorated, but is still not completely fit with it's final accessories. It looks great!
To see the complete process & transformation, go to:
http://TheVintageMagi.blogspot.com/2012/01/from-trash-to-treasure-entry…
Thank you for the inspiration & all the attention this project has brought my blog & business! Everyone has responded very well & I couldn't be more proud of myself & the accomplishment I feel. I mastered a lot of new tools & products on this project & am ready to start another one! Thank you, Ana-White.com!
"It was more than discovering something that I loved to do -
It was discovering someone I had always been."
~ Natalie ;-*