Community Brag Posts

Great Plan & just what I had been looking for

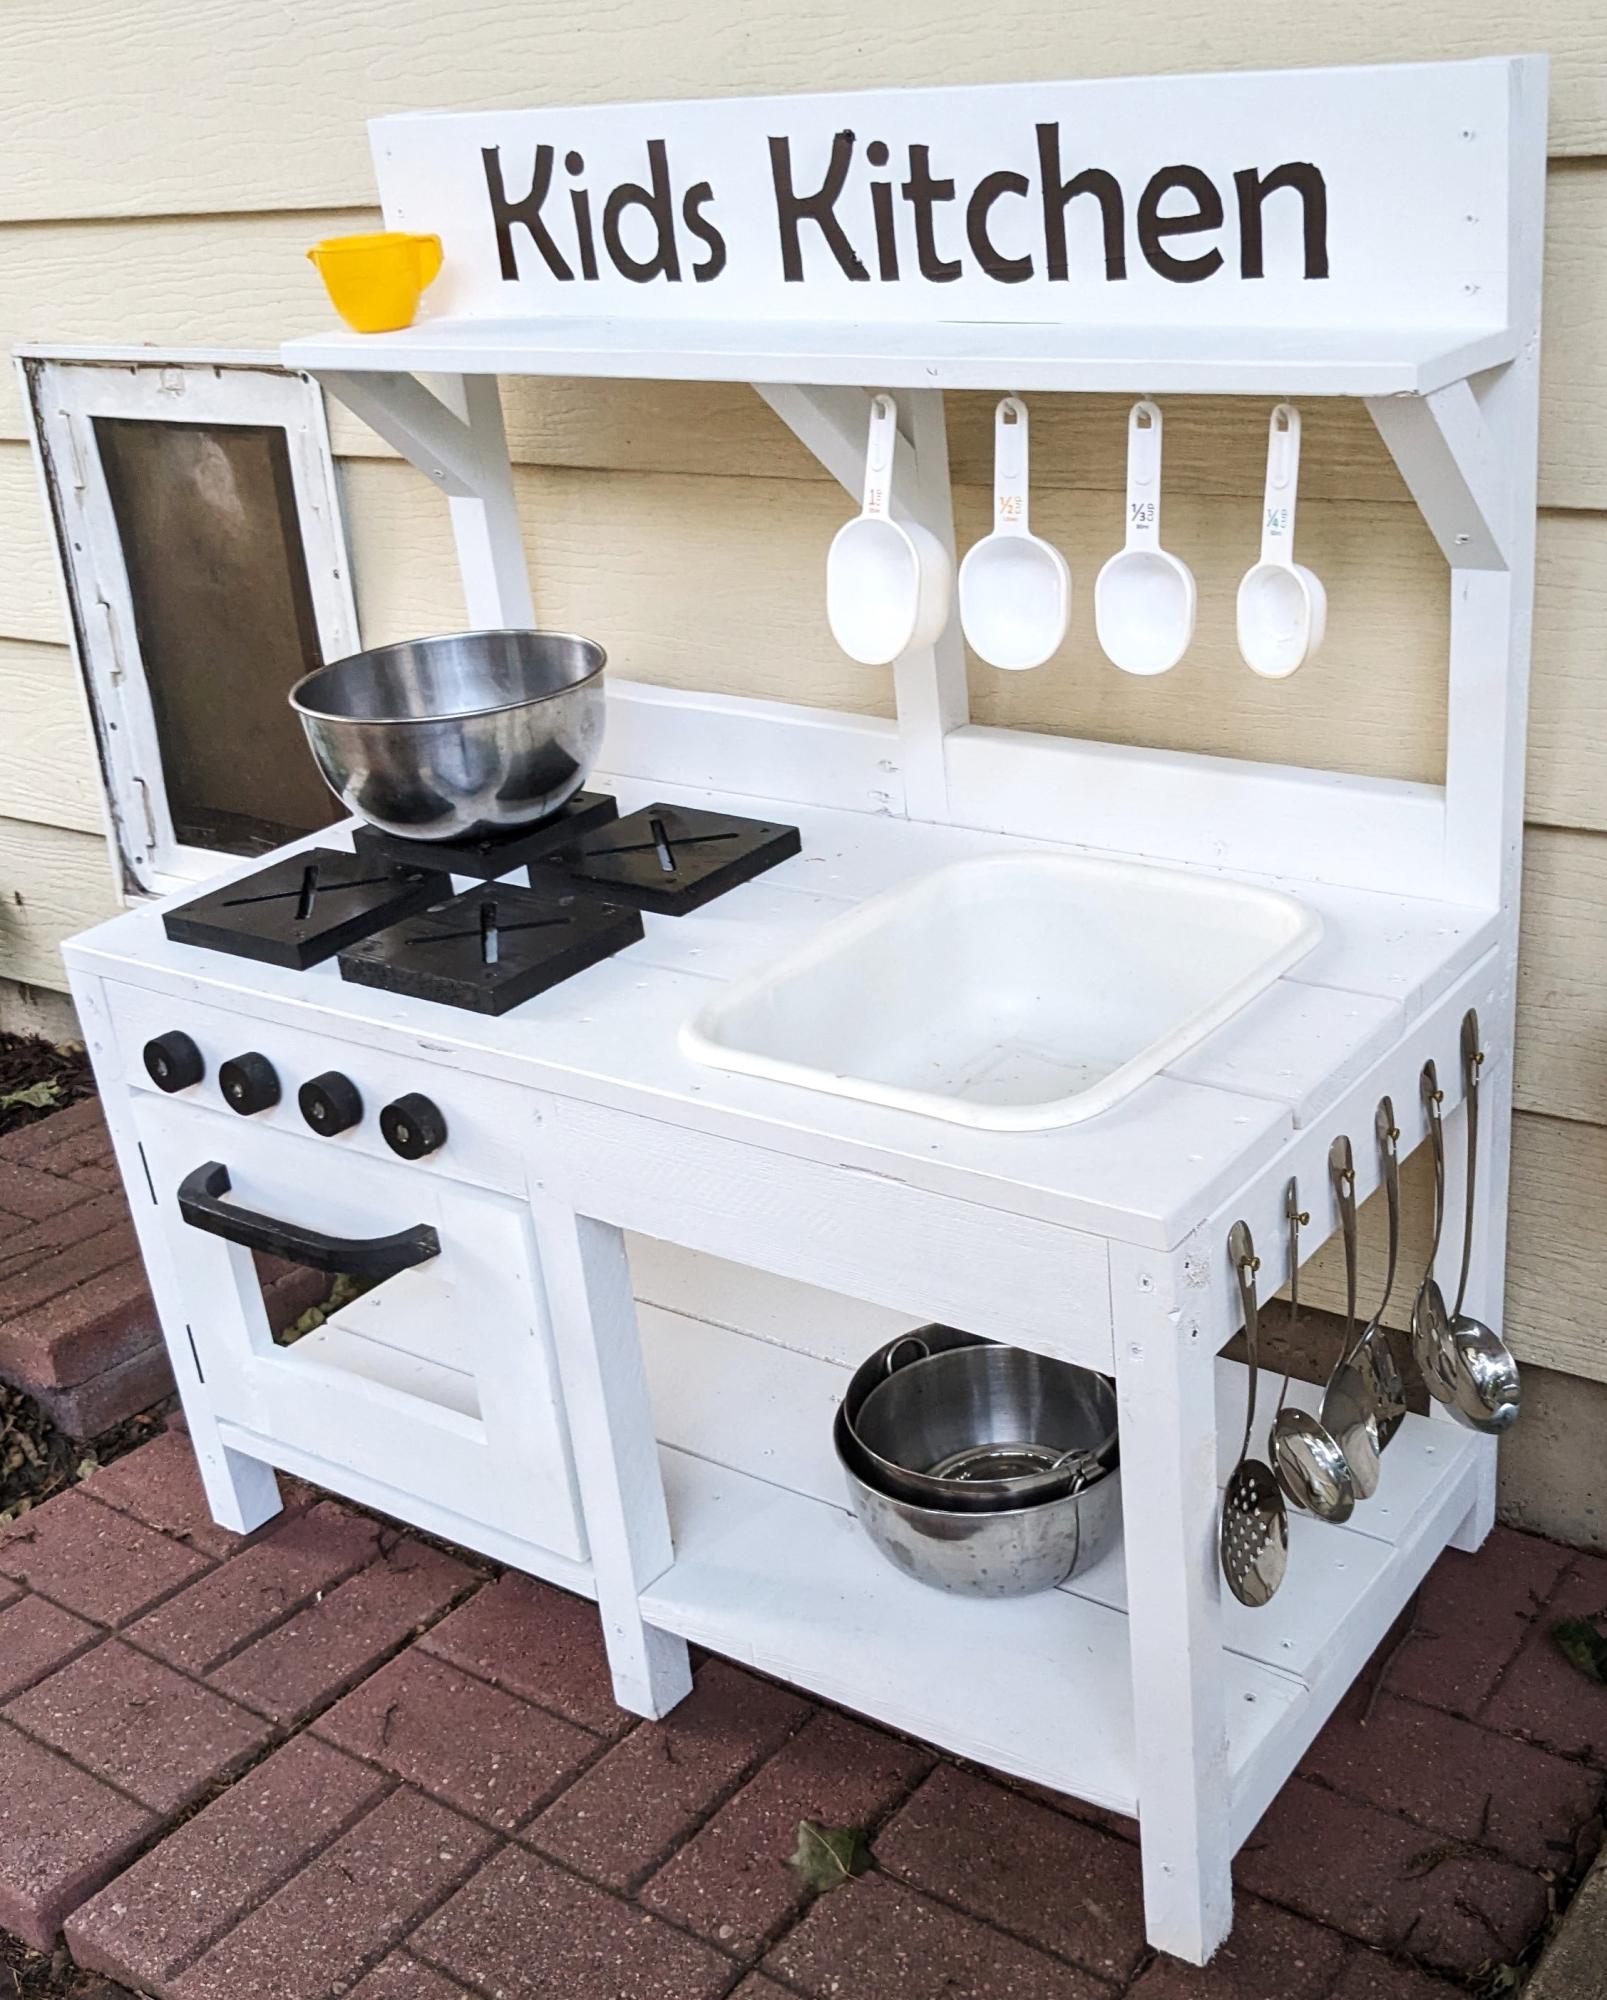
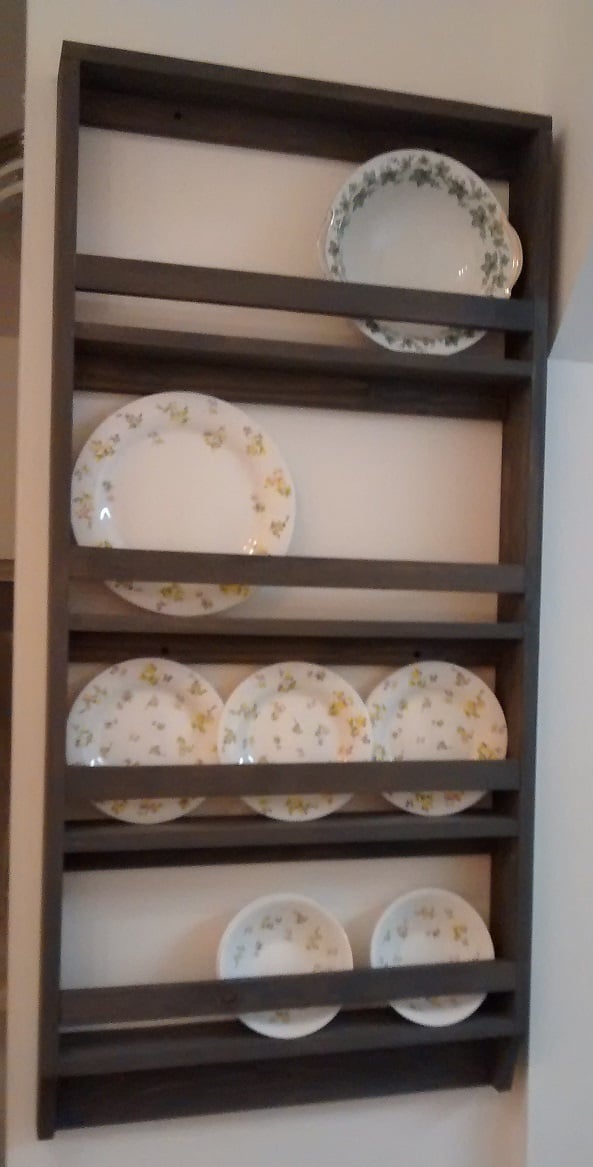
Very small kitchen with extremely limited storage. I made this taller than the plan at 48" and narrower at 23-1/2" to fit the available wall space. I added one extra shelf and left off the overhang from the top. As you can see from the photo, there isn't room for an overhang. I plan to put cup hooks under the bottom shelf.

Shelf space is 12" for the top two and 8-1/4" for the bottom ones.


Next project; a trash cabinet to sit on the floor underneath the plate rack and look like a mini Welsh Dresser  :)

Built from Plan(s)
Estimated Cost
$16 including stain, screws, nails and sandpaper. (I already had the stain and this used maybe 4oz)
Estimated Time Investment
An Hour or Two (0-2 Hours)
Finish Used
Minwax Classic Grey, no pre-conditioner, rubbed off and blended after 5 minutes.
Recommended Skill Level
Beginner

Headboard

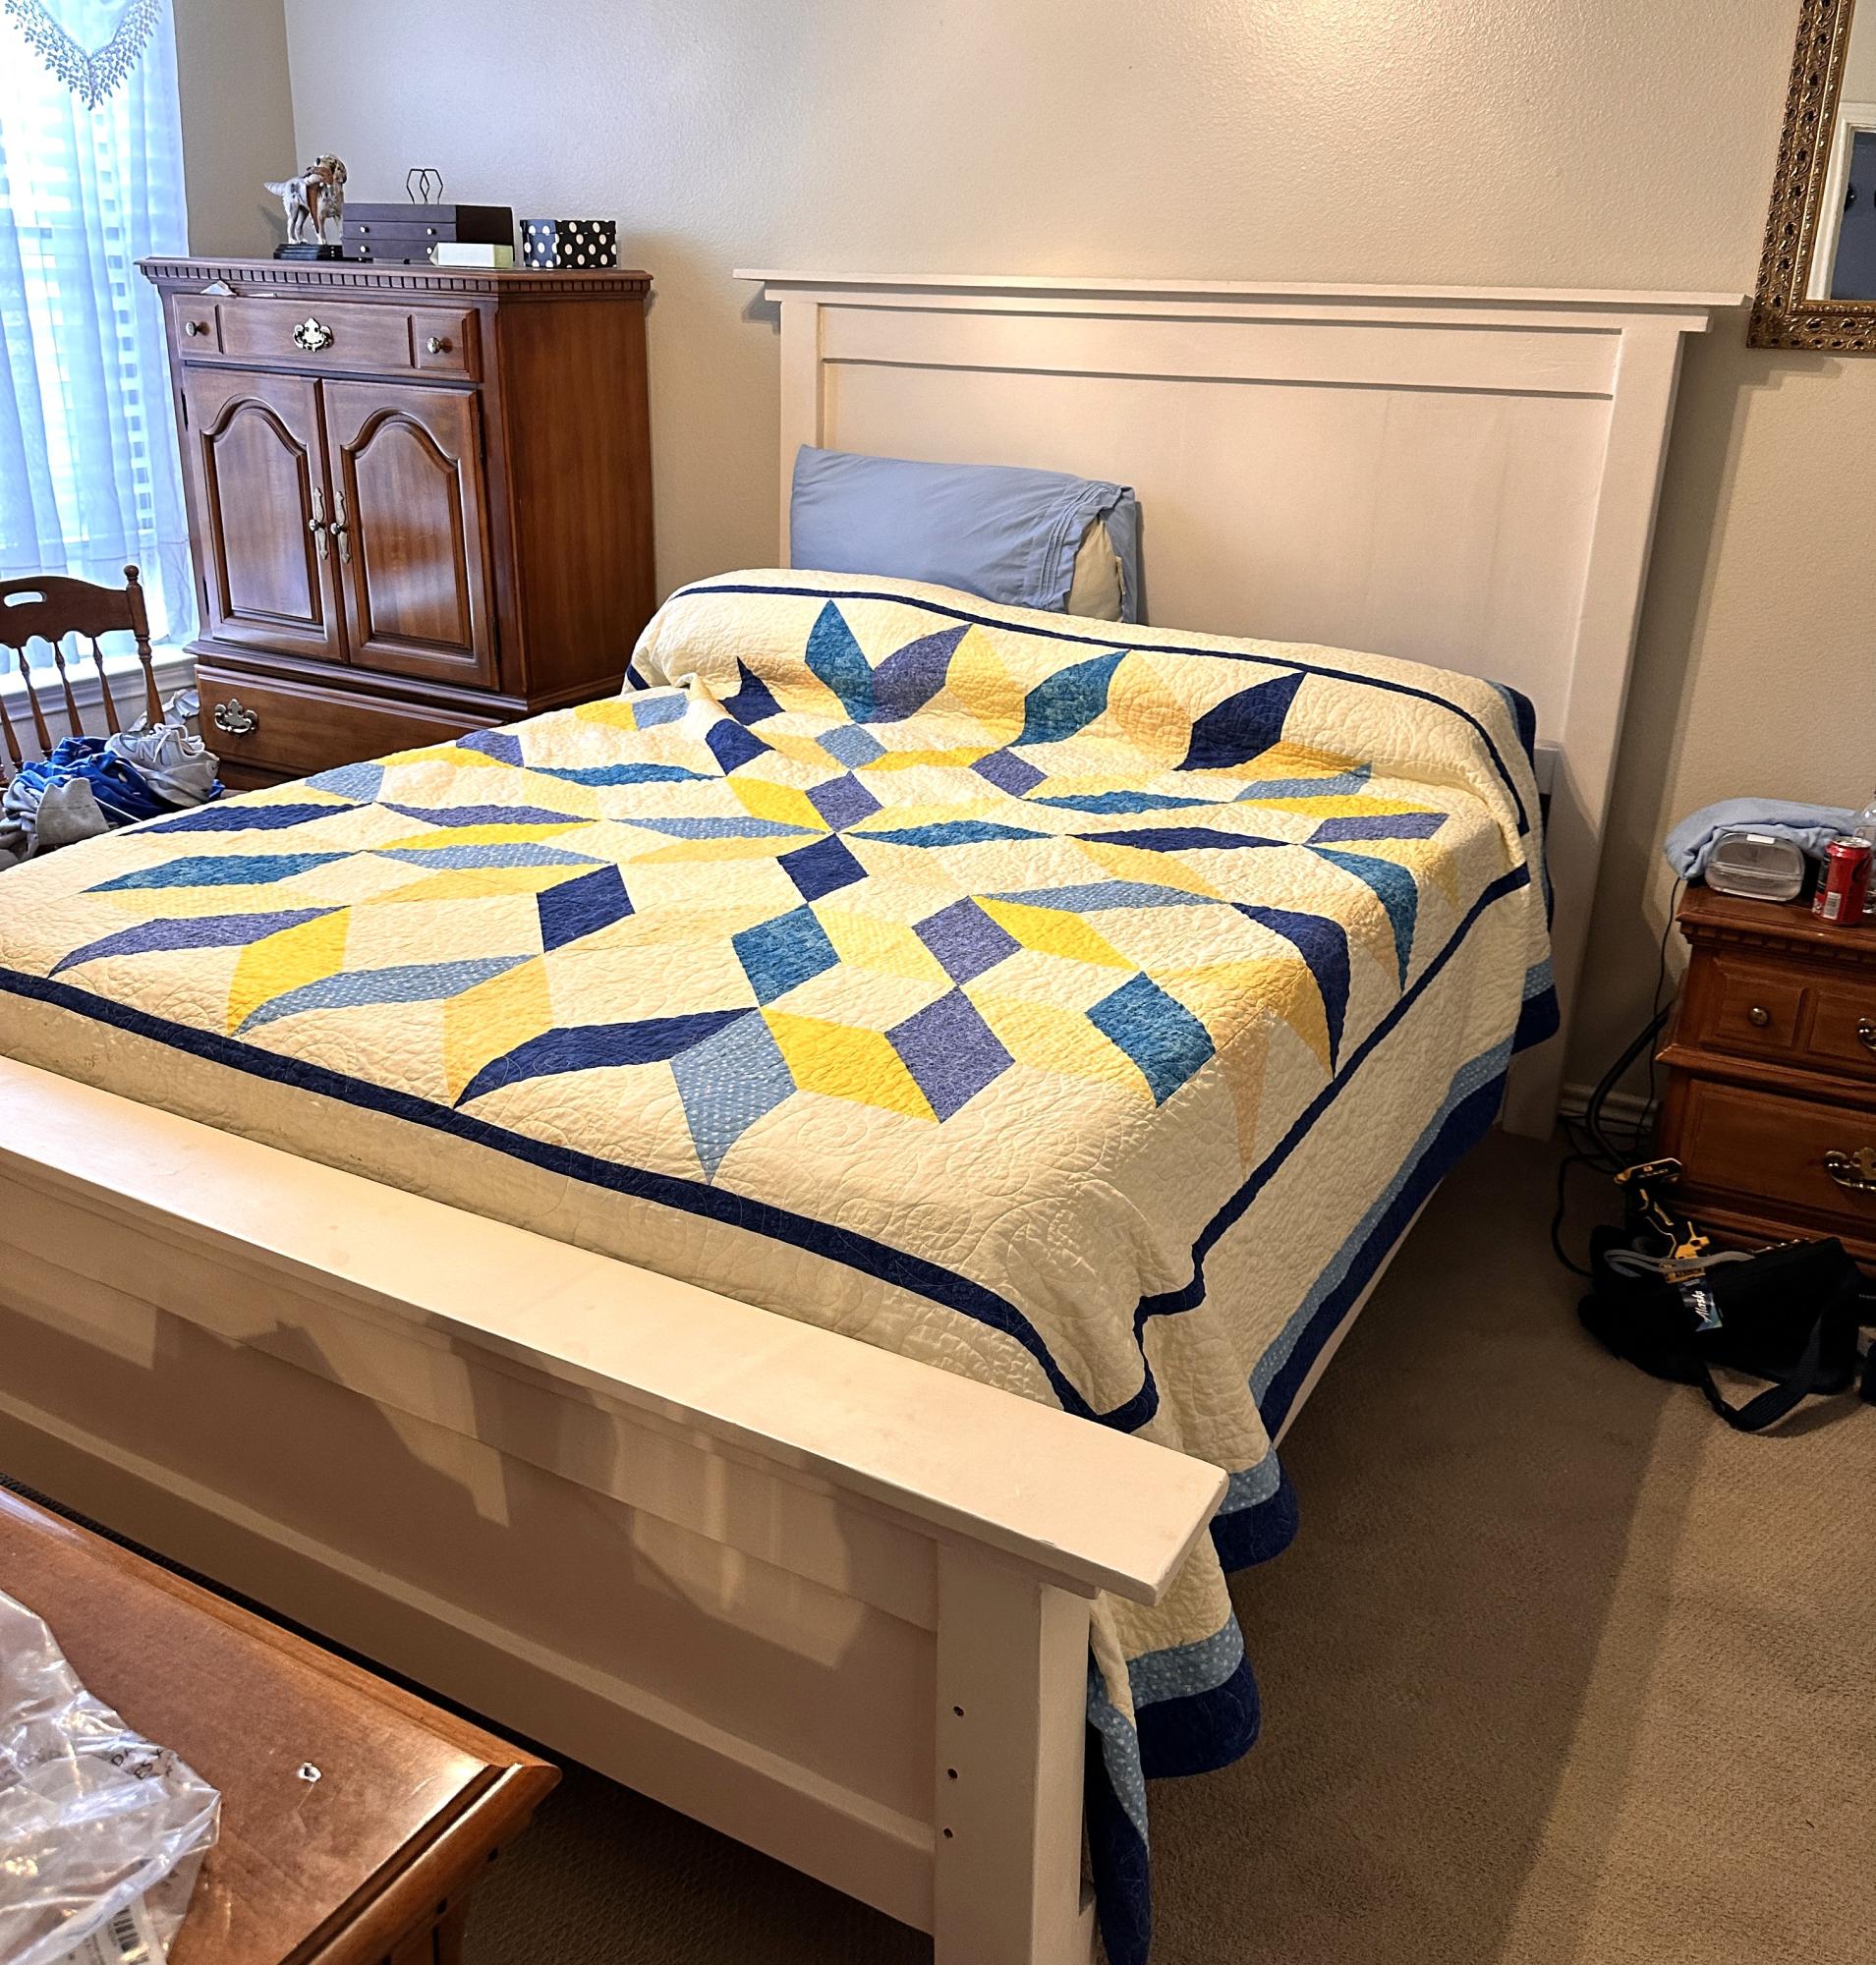
I used the Farm House Headboard plan to make this headboard. I had to mix the stain to match a dresser I already had. I used a mix of Minwax pecan, red oak, and jacobean stains for the base coat and then Minwax red chestnut for 2 additional coats. I then used 2 coats of fast drying poly to top coat with. The wood is pine stud grade. I did modify it a bit by adding an additional vertical cross member in the center and I had to add a 1" x 12" at the bottom because the style of the bed frame. I built it in an afternoon but it took several days to stain and top coat.

Estimated Cost
$100
Estimated Time Investment
Week Long Project (20 Hours or More)
Finish Used
One coat of a custom mix of Minwax pecan, red oak, and jacobean stains. Two coats of Minwax red chestnut stain. Two coats of Minwax polyurethane. I sanded between the coats of polyurethane using 320 grain sandpaper. All finishes were done with brushes. I wiped down the stain applications with cotton cloths after waiting 15 minutes.
Recommended Skill Level
Starter Project

Lego toy box

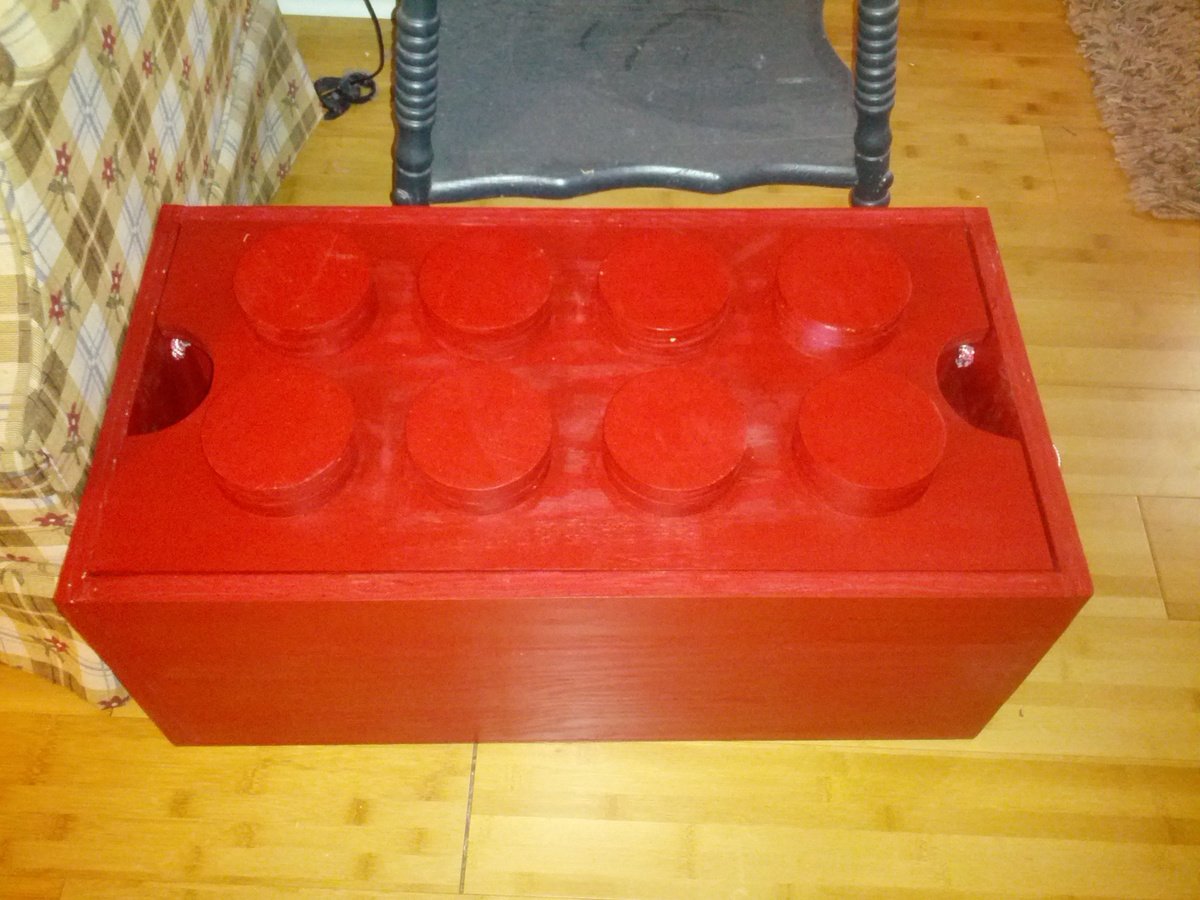
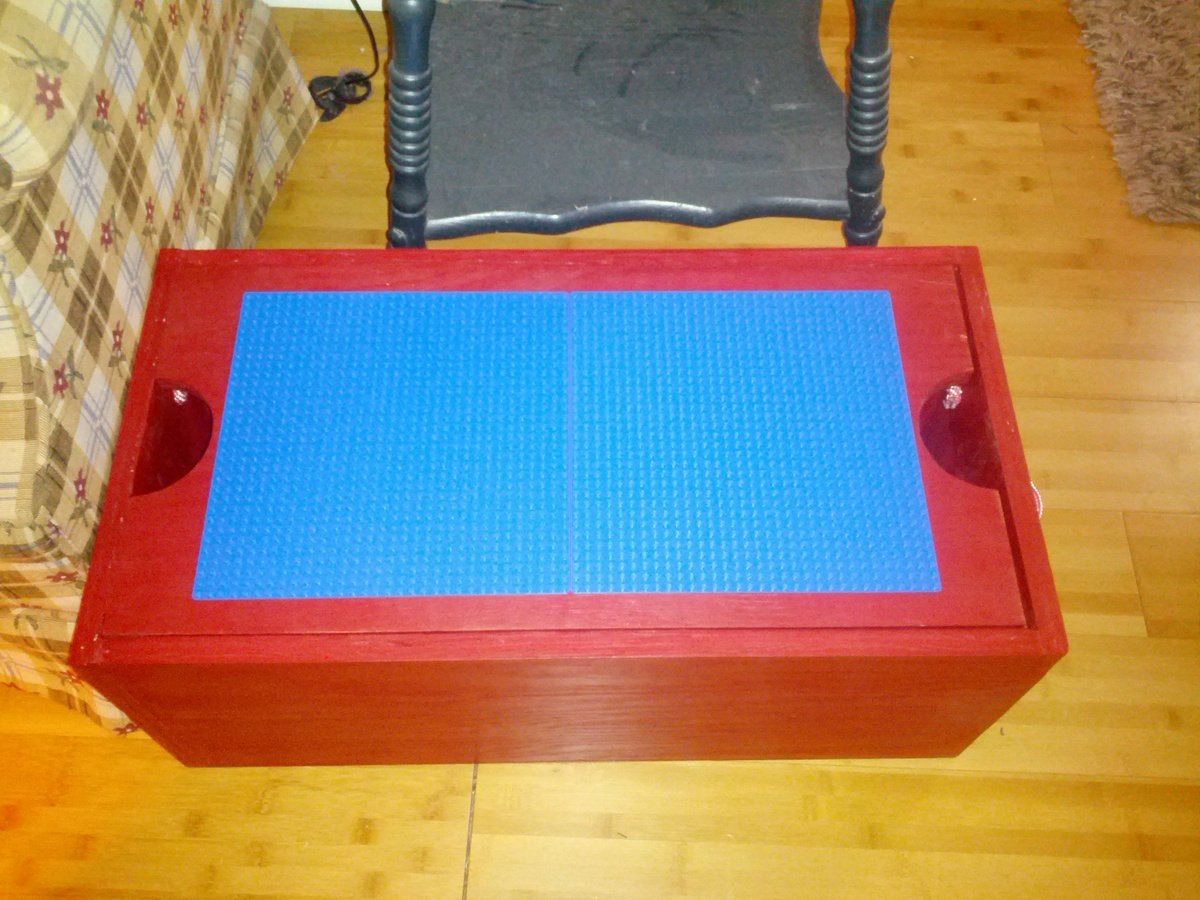
I built one for my kids and one for a nephew. I ordered the 10" x 10" Lego plates from Amazon. The sides and top are made from 3/4" plywood and the bottom is 1/4" plywood. The overall dimensions are 26 1/4" x 13 5/8" x 11 7/8" (not counting the top circles). I used a 4" hole saw to cut the circles then glued/nailed two together and used wood filler to fill the hole created in the center of the circles by the hole saw.

Other than changing the dimensions, I followed the original plans closely. The images in the original plans have 2 plates that are 15" x 15".

When cutting the circles, I clamped/screwed a scrap piece of wood under the plywood to produce much cleaner cuts.

I did paint the inside bottom white to make it easier to see the bottom and small pieces. I also drilled a pair of holes on each side to add rope handles.

Built from Plan(s)
Estimated Time Investment
Afternoon Project (3-6 Hours)
Finish Used
Valspar paint sample from Lowes
Recommended Skill Level
Beginner

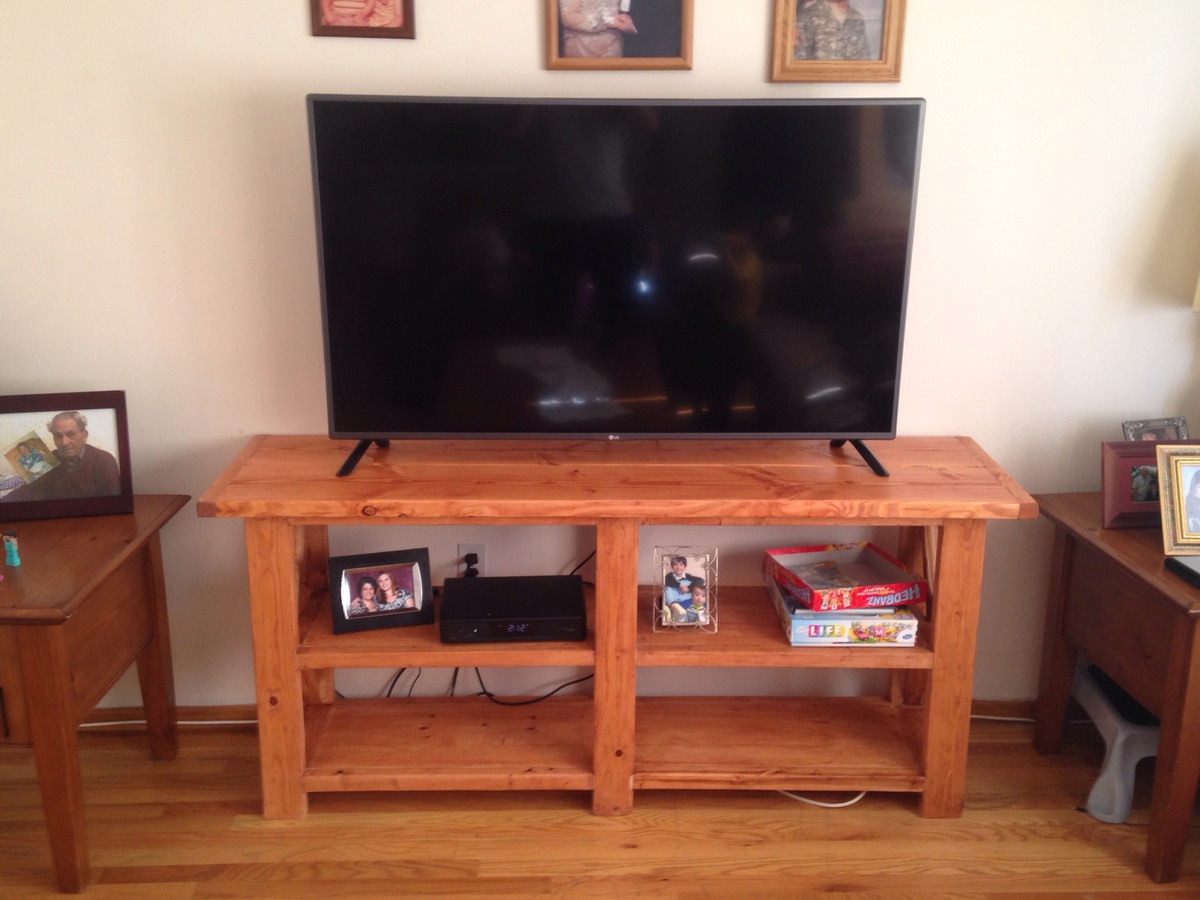
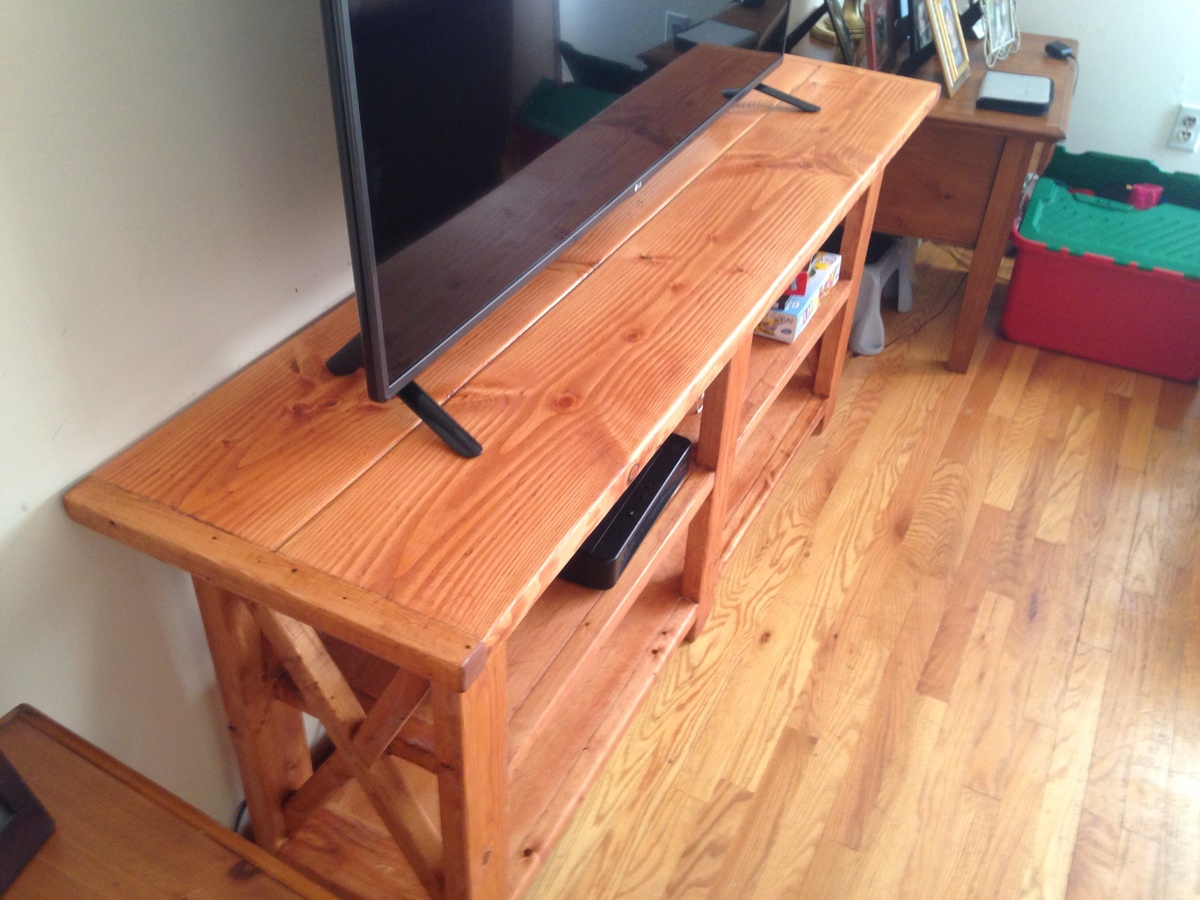
Rustic X console table Tv Stand

Submitted by Anonymous (not verified) on Tue, 03/01/2016 - 18:21

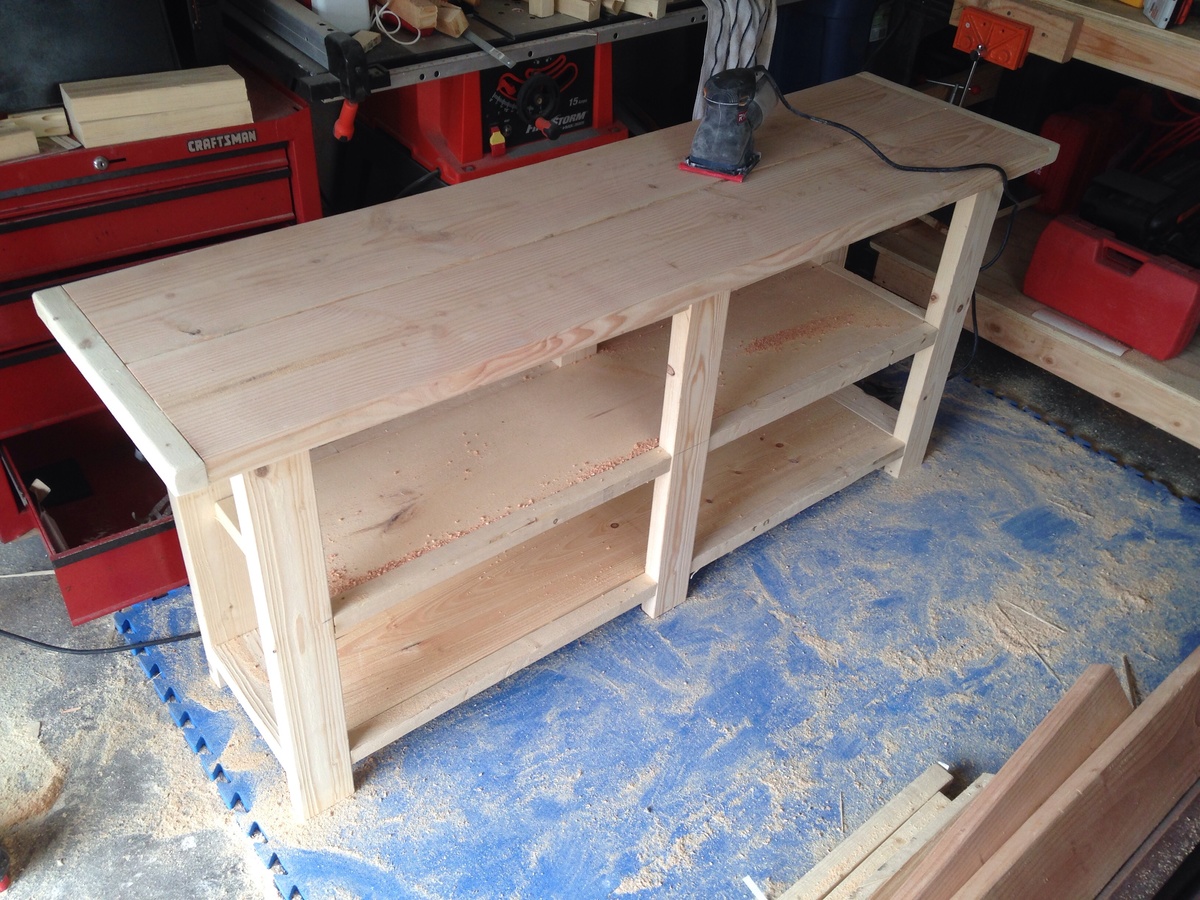
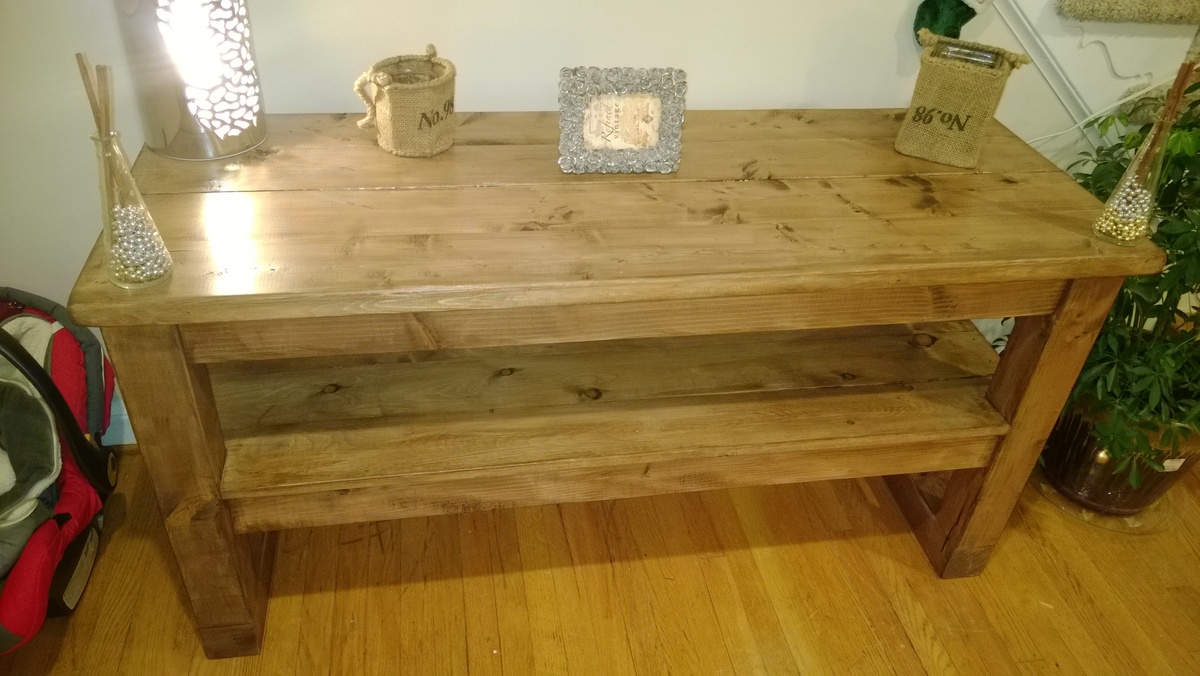
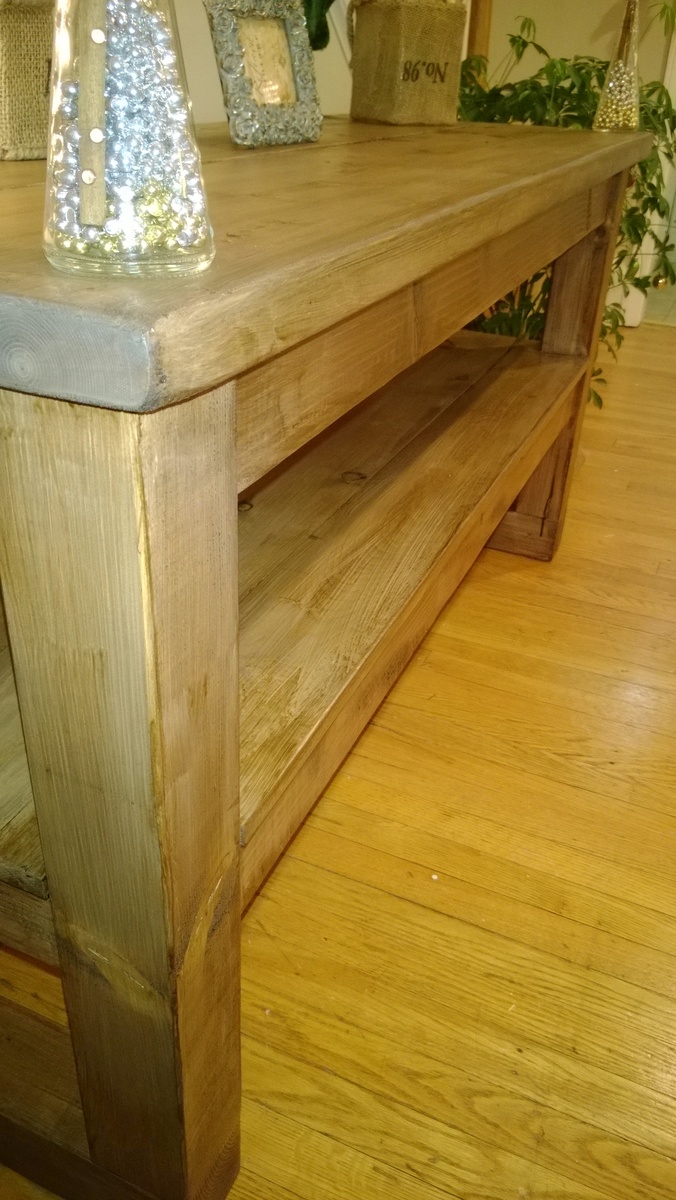
I built this for my mom after finding plans online. Since then I have been inspired by Ana and Jacob to build all furniture I ever need from this point on. No more over priced cheap store bought furniture. Thanks Ana and Family for your plans and helping me find peace in the workshop.

Built from Plan(s)
Estimated Cost
$75 with stain and screws.
Estimated Time Investment
Weekend Project (10-20 Hours)
Finish Used
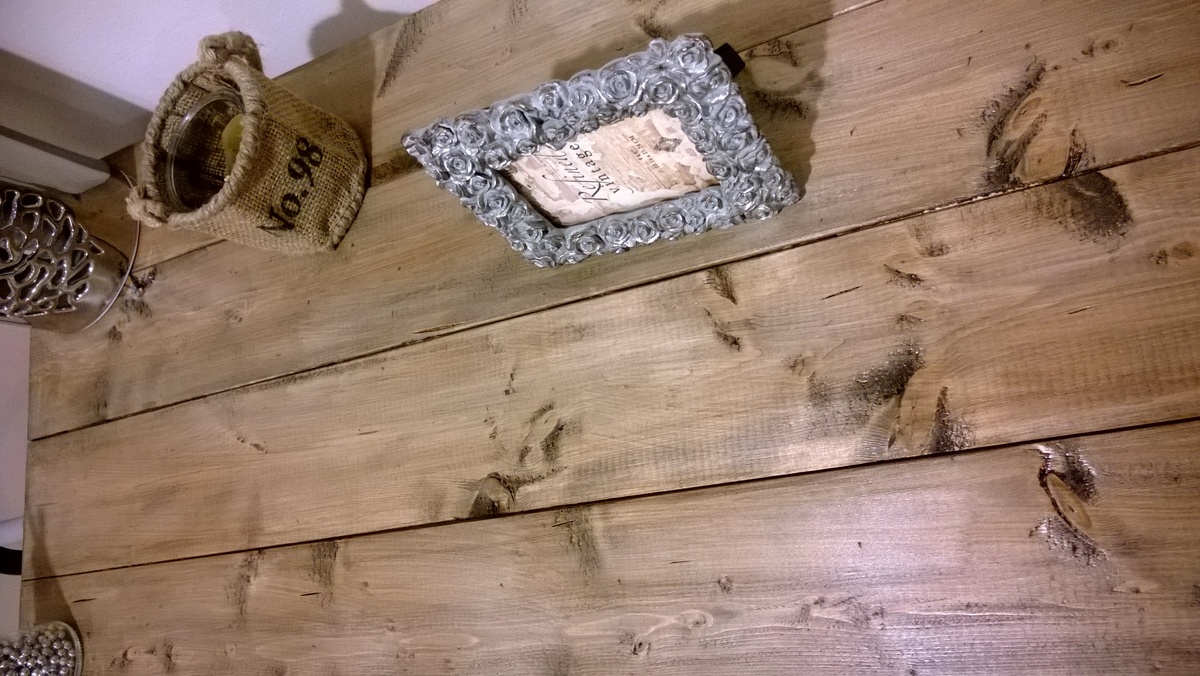
Golden Pecan from min wax and two coats of poly.
Recommended Skill Level
Beginner

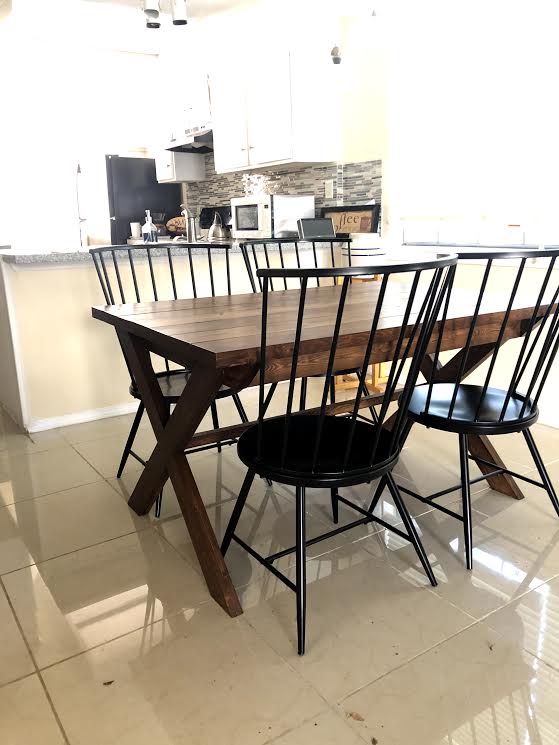
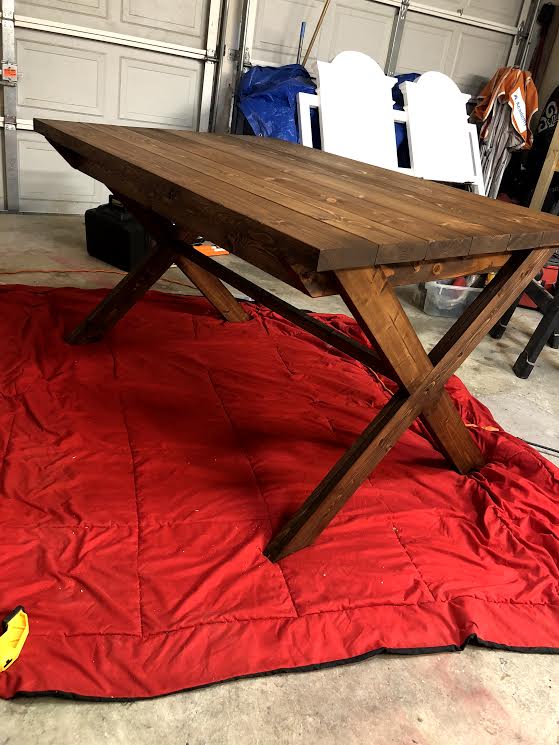
Classic X Picnic Table

Submitted by WolffA on Fri, 10/11/2019 - 08:11

Build exactly from the plans. Stained in dark walnut. 

Built from Plan(s)
Estimated Cost
120
Estimated Time Investment
Weekend Project (10-20 Hours)
Finish Used
Dark Walnut Stain
Recommended Skill Level
Beginner

Modified sturdy bench and Weatherly sofa

Submitted by lazyLiz on Tue, 02/14/2012 - 06:04

Modified the design and built from the sturdy bench and weatherly sofa plans for my patio set(will buy cushions in spring). I designed the tiled top dining table but I have yet to learn how to use the google sketch up to be able to submit plans here. However, if interested on what materials and step by step process with photos can be found on my blog link.
Tiled top table measures 42"X96" and 30inch high, seats 8 to 10.
All wood used are pressure treated pine.

Estimated Cost
Patio Set :$100-$150 (got my tiles from clearance section)
Estimated Time Investment
Week Long Project (20 Hours or More)
Finish Used
mahogany latex based exterior primer and paint in one, three coats
Recommended Skill Level
Intermediate

Comments

Our awesome new table.

Submitted by bigkampe on Tue, 12/24/2013 - 04:59

This was a fun and easy project to do. We really like how it turned out and how it compliments the room. For the bottom shelf I used four 1x6 boards instead of a single 21" wide plywood board. For that worn look, I took a drywall rasp and chewed up the corners and edges. Staining was a two part job. The first coat was called weathered gray. After it dried I lightly sanded it with 180 grit and applied a second coat of dark walnut. The gray subtly shows through the walnut. If I had it to do it over, I may have applied a coat of ebony stain to the corners and edges to make the color less even. I did very little sanding on this piece because I wanted a rough texture, but I did enough to make it sliver-free. The project cost about $80.

Estimated Time Investment
Weekend Project (10-20 Hours)
Finish Used
Varethane Weathered Gray water based with polyurethane.
Varethane Dark Walnut water based with polyurethane.
Recommended Skill Level
Beginner

Pantry

Submitted by Anonymous (not verified) on Fri, 03/04/2016 - 19:17

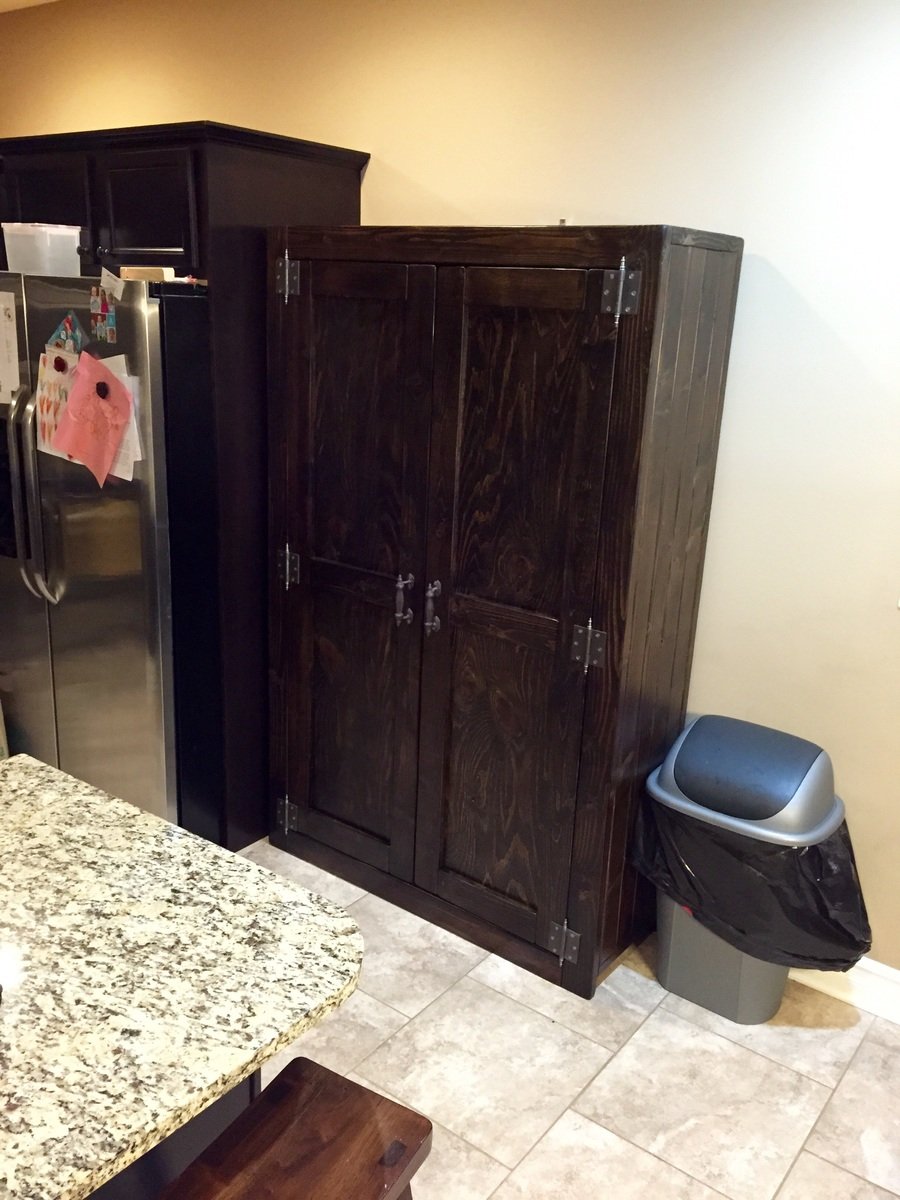
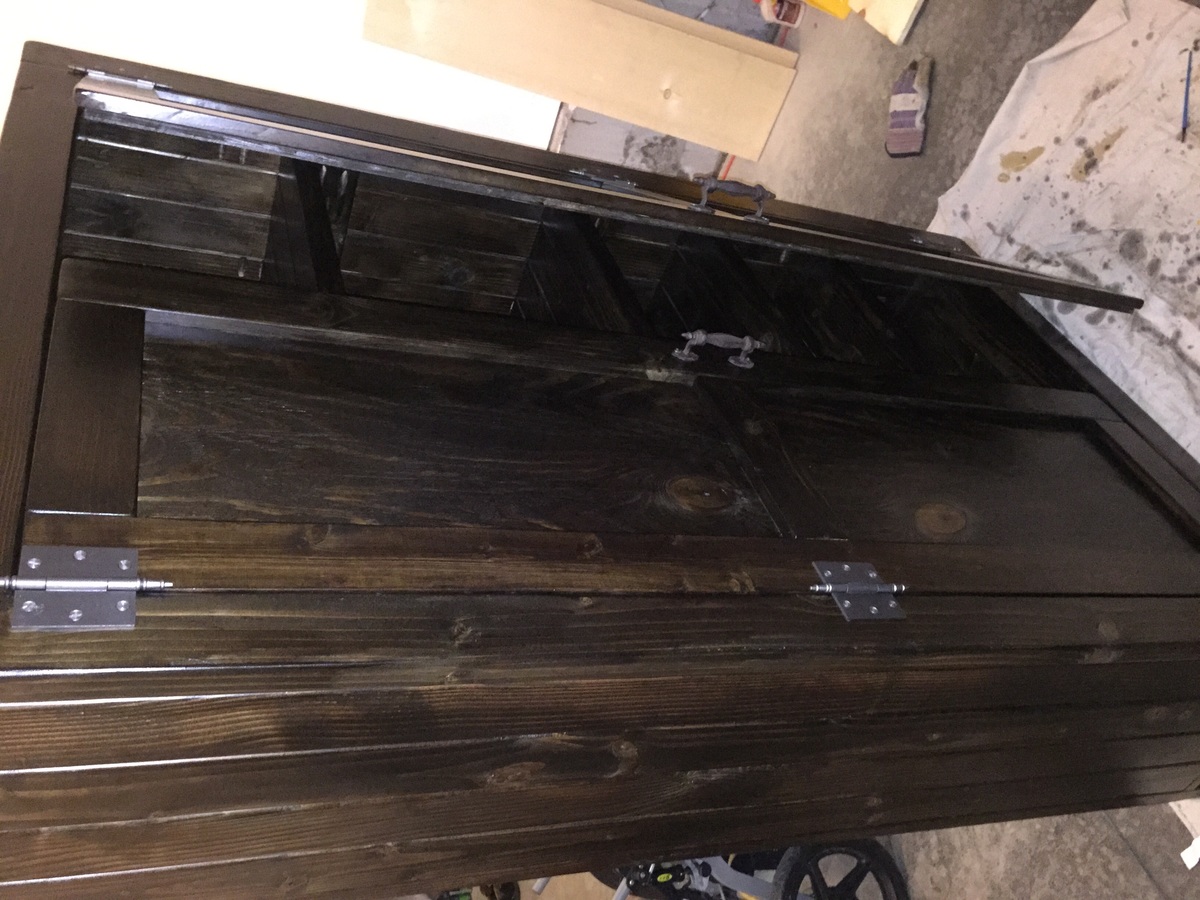
I copied my design from another brag. 48" wide, 14" deep, and 76" tall.

Estimated Cost
$200
Finish Used
Jacobean stain
Satin polyurethane
Recommended Skill Level
Intermediate

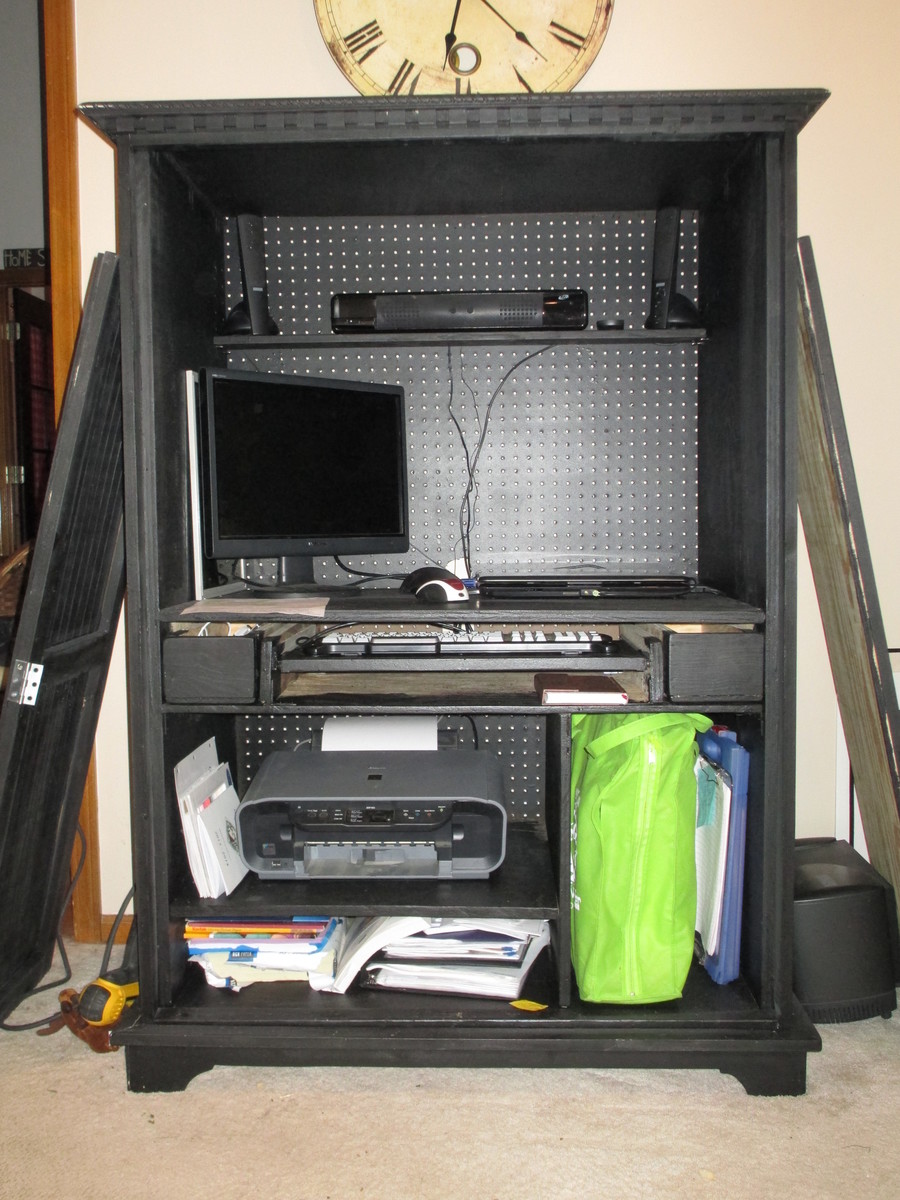
Computer Armoire aka my new office

From these plans: http://ana-white.com/2013/05/plans/toy-or-tv-armoire

For my quilting business, I needed an office for the paperwork, etc. that comes with running a business. With no spare room for an office, I built this armoire to hold my computer, business papers, and the bags that contain my quilting samples, forms, etc.

On the inside, I used pegboard for the backing so the electrical equipment would have ventilation. I also thought I might be able to hang stuff from the pegboard as well. If I had to do it again, I would set up the keyboard slide and side drawers a little differently. I used scrap wood for that part. I should have just gotten another piece of 3/4 inch plywood and fixed it right, with pocket holes. I'd intended to put drawer pulls on the drawers, but the doors hit the drawers when they close. So, I will need to cut some holes in the drawers to use as pulls.

Estimated Time Investment
Week Long Project (20 Hours or More)
Finish Used
Black Rustoleum Painter's Touch Flat Black, distressed and finished with Briwax clear and Mahogany
Recommended Skill Level
Intermediate

Workbench

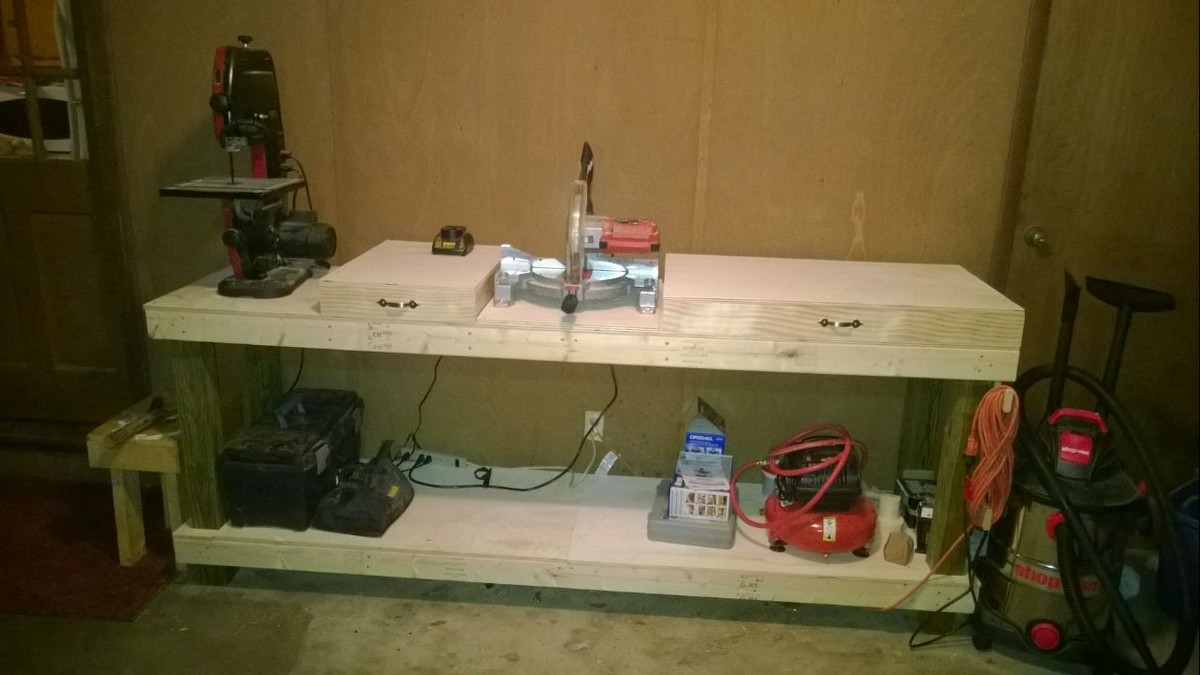
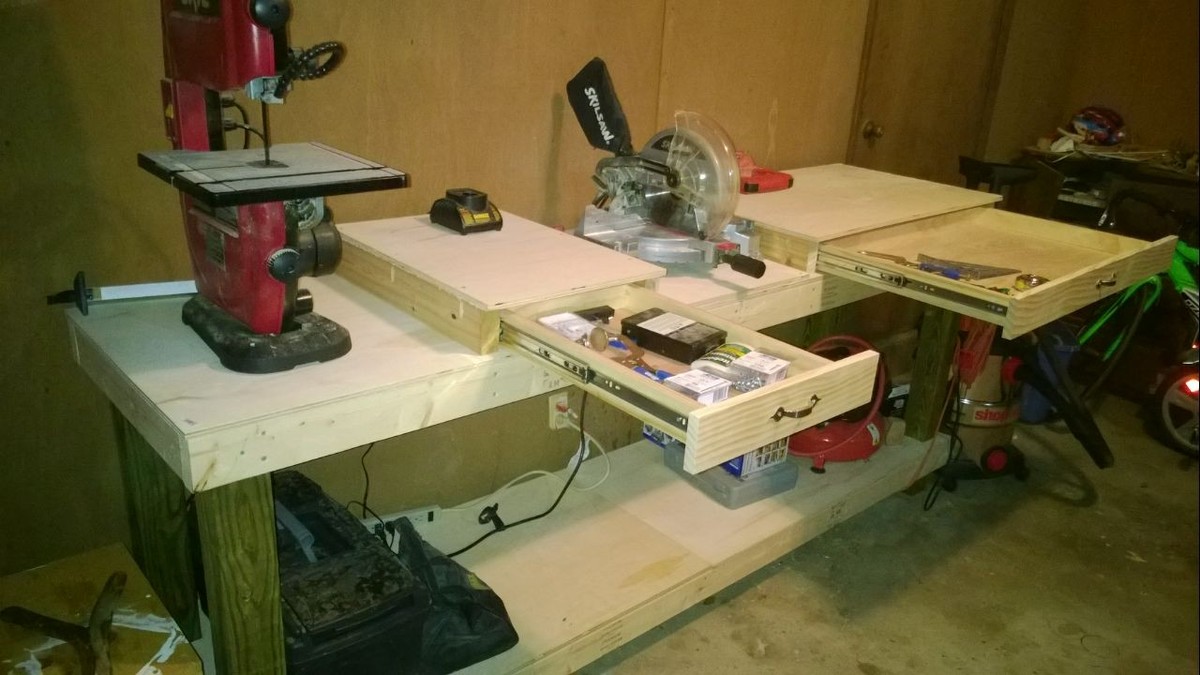
Submitted by cjlaw on Mon, 03/07/2016 - 06:44

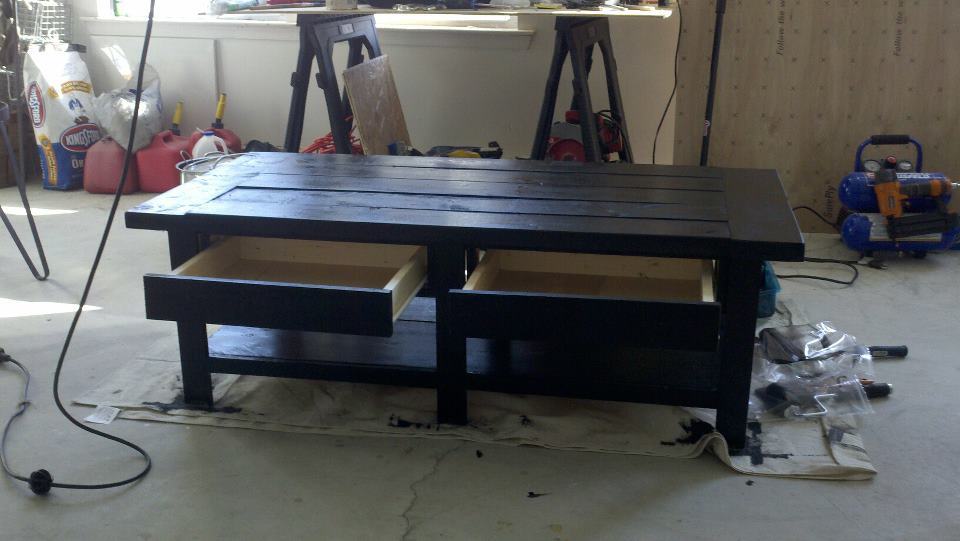
I built this to accommodate my miter saw but I also wanted a place for my band saw. I added drawers to make the table level with the miter saw and they add some extra storage space.

Estimated Time Investment
Weekend Project (10-20 Hours)
Recommended Skill Level
Intermediate

Comments

Refreshment center console with barn door

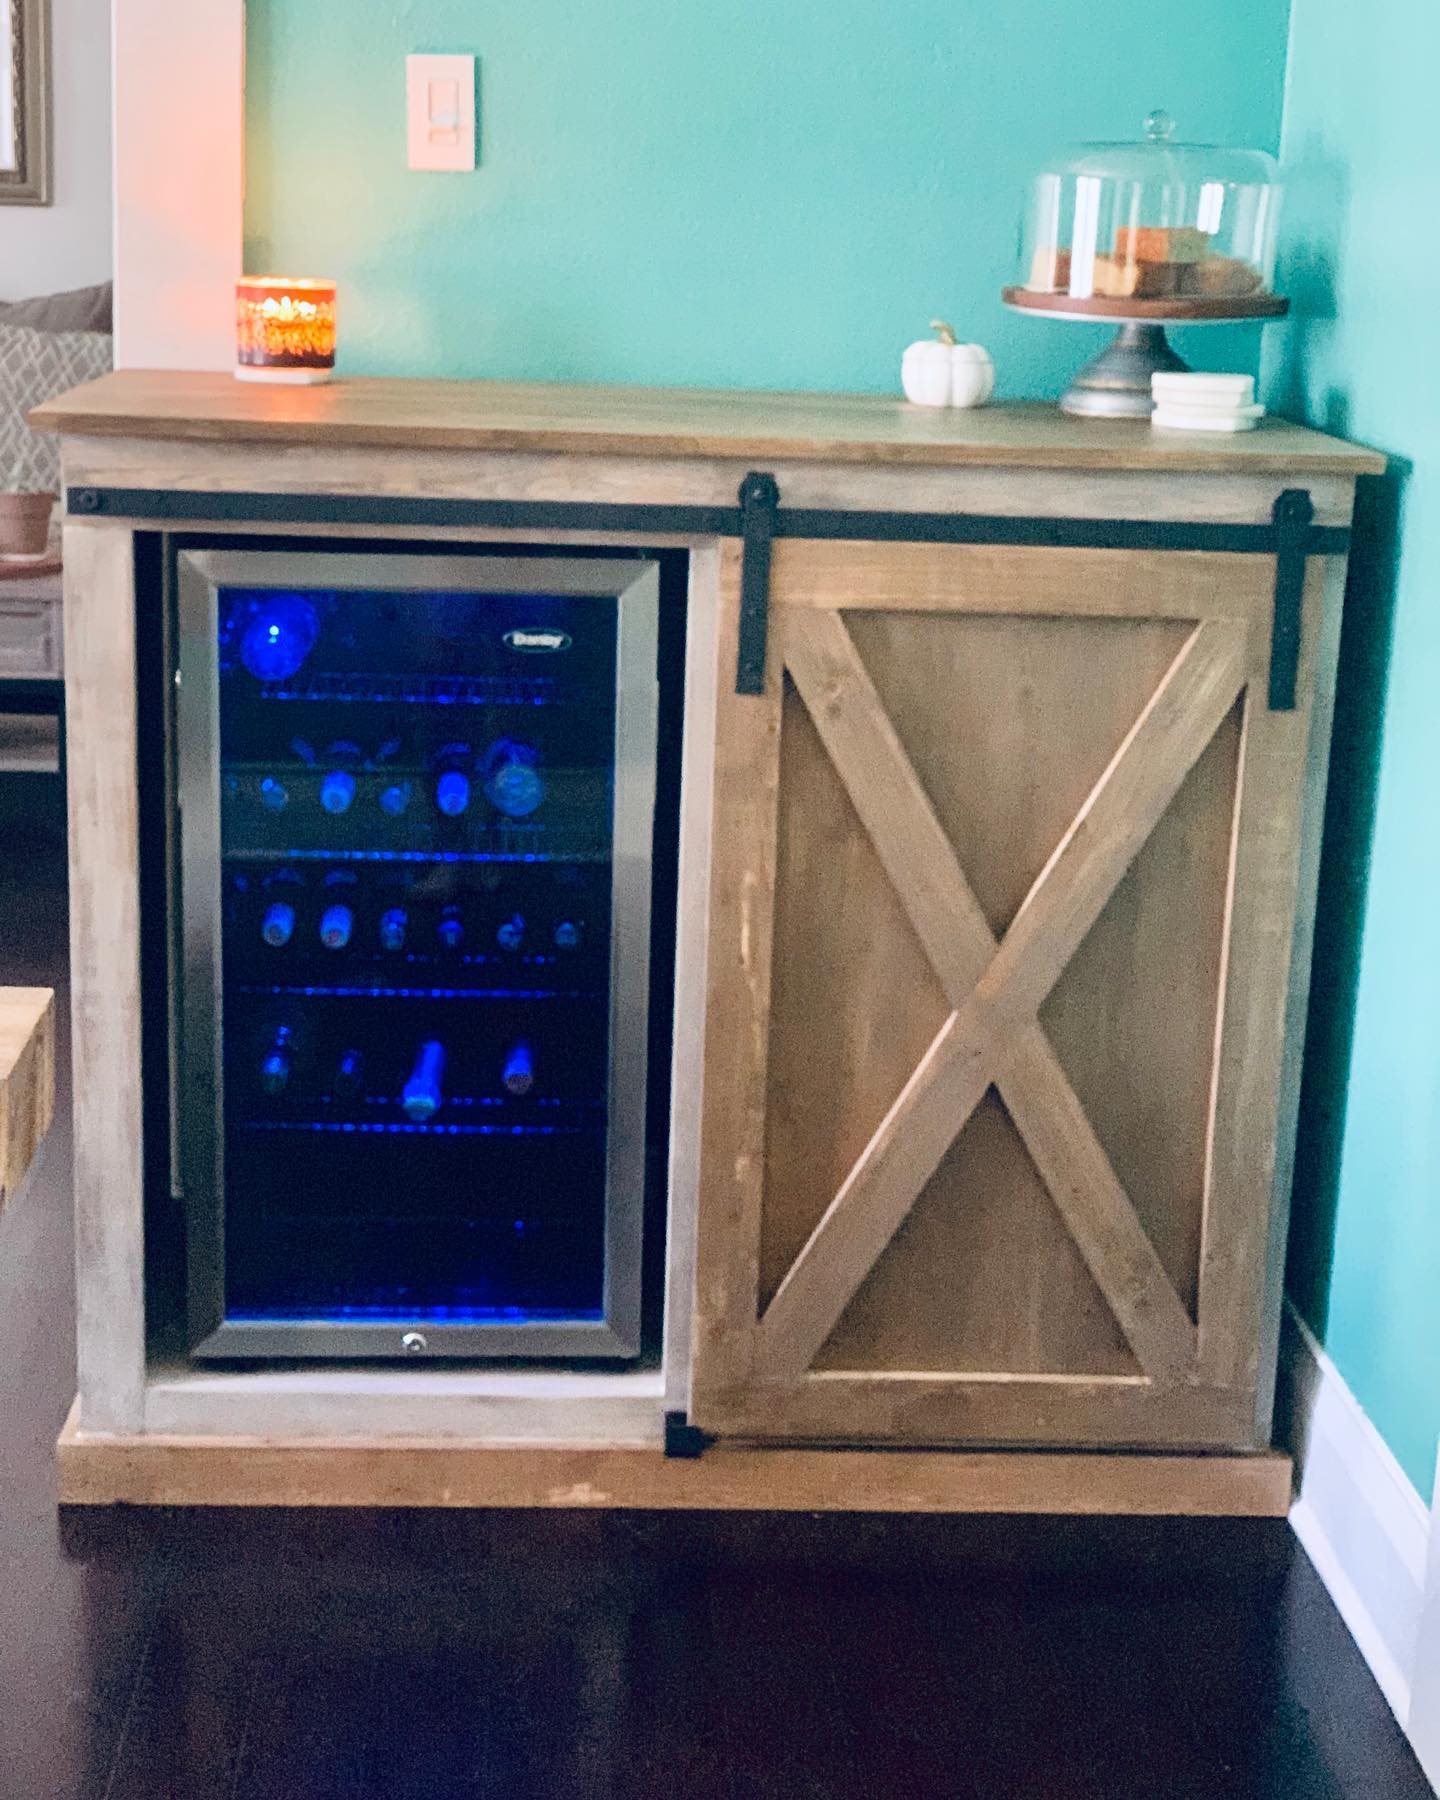
Submitted by calcowoods on Sat, 10/19/2019 - 07:10

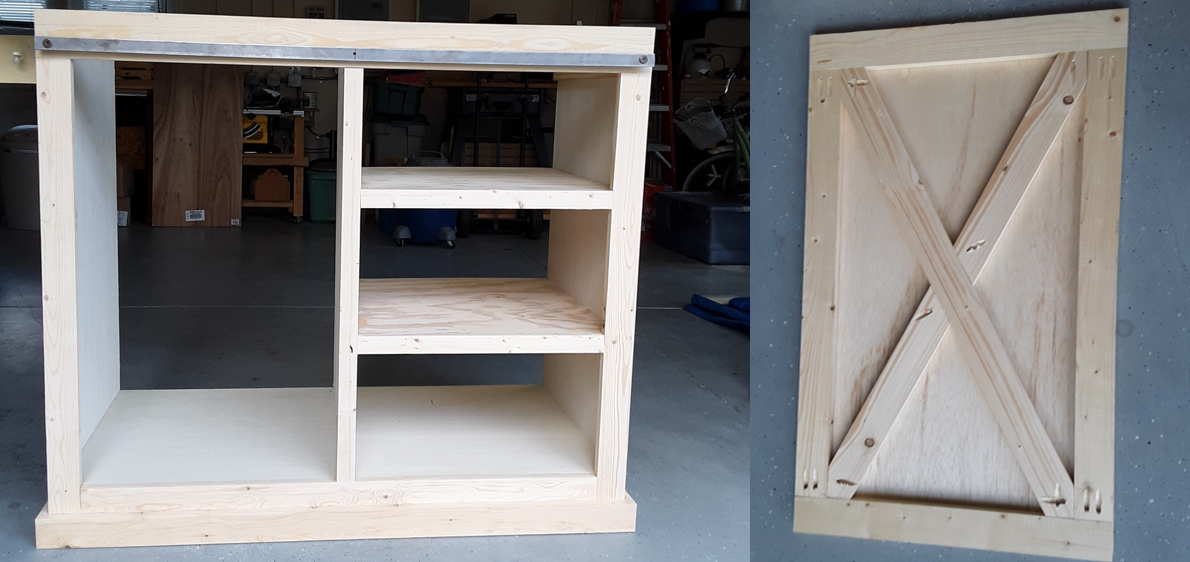
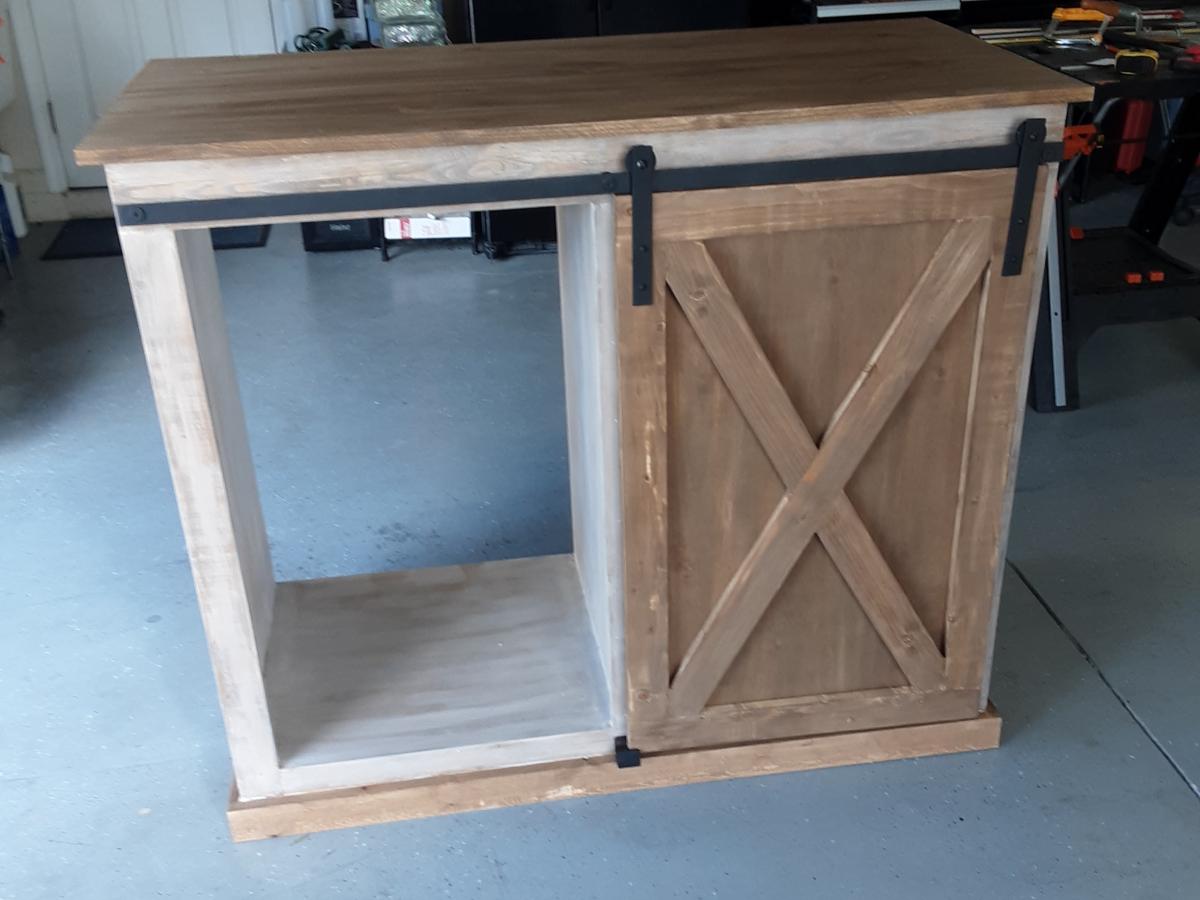
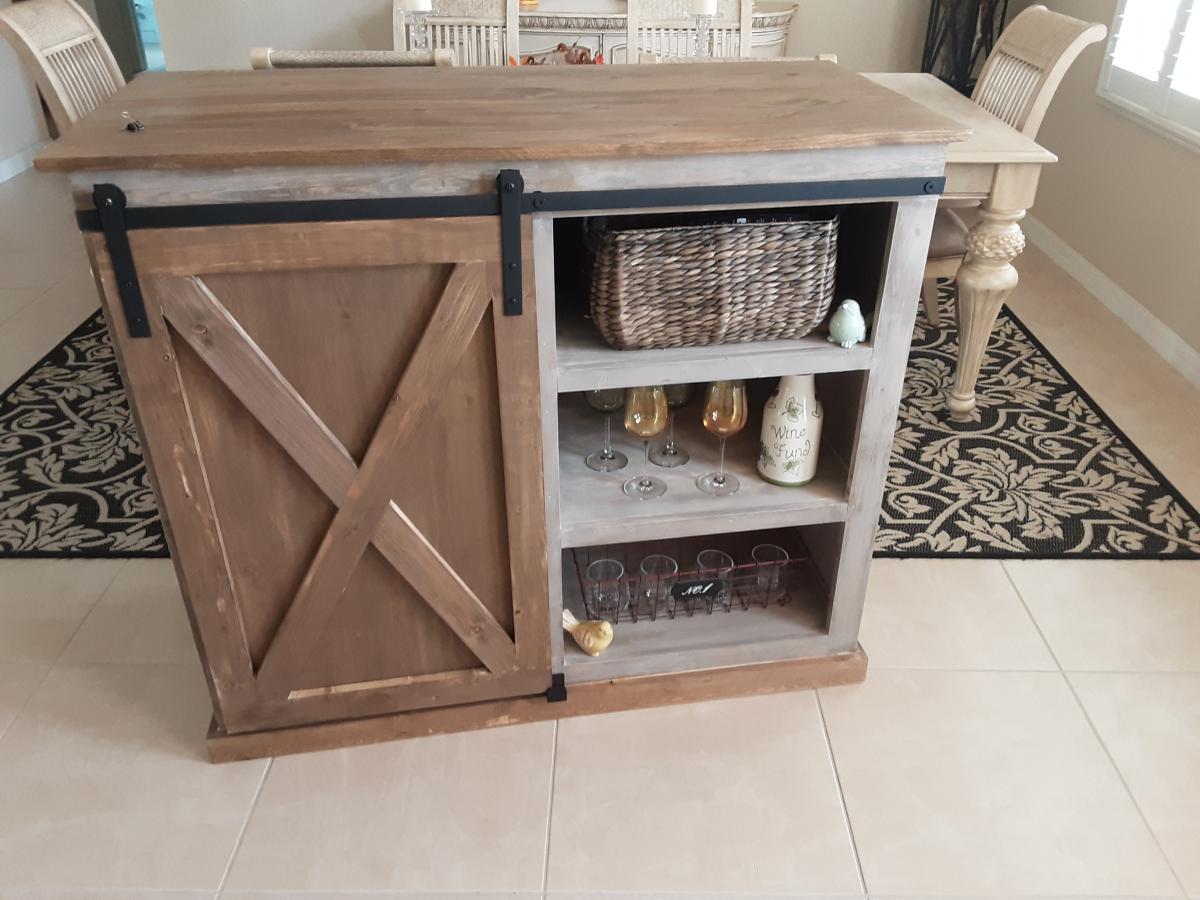
My wife and I built this Refreshment Console as a birthday present for our daughter. She had previously purchased a beverage refrigerator and wanted us to adapt it inspired by your barn door console project. Thus, we modified your plan to accommodate the height of the refrigerator. Also, she wanted three shelves with a closed back on the right side of the cabinet. Simply plan adjustments were all that was needed.

Using your plans, material list and excellent video we were able to construct the barn door rails and hangers using 1 ½ inch fender washers which sandwiched three 1-inch fender washers.  The metal bar was sized to fit the top of the cabinet and connected to the top trim board using spacers, washers and bolts.  As we decided to place a middle support for the bar, we added a t-nut into a center plywood partition so that we could use the same bolts, spacers and washers to support the rail.   

As we were following a rustic theme, we decided to add the X Braces to the barn door and used a project panel board as the top. The barn door is guided at the bottom using a simple U shaped metal bracket that we lined with felt for a smooth glide.
Estimated Cost
$100
Estimated Time Investment
Weekend Project (10-20 Hours)
Finish Used
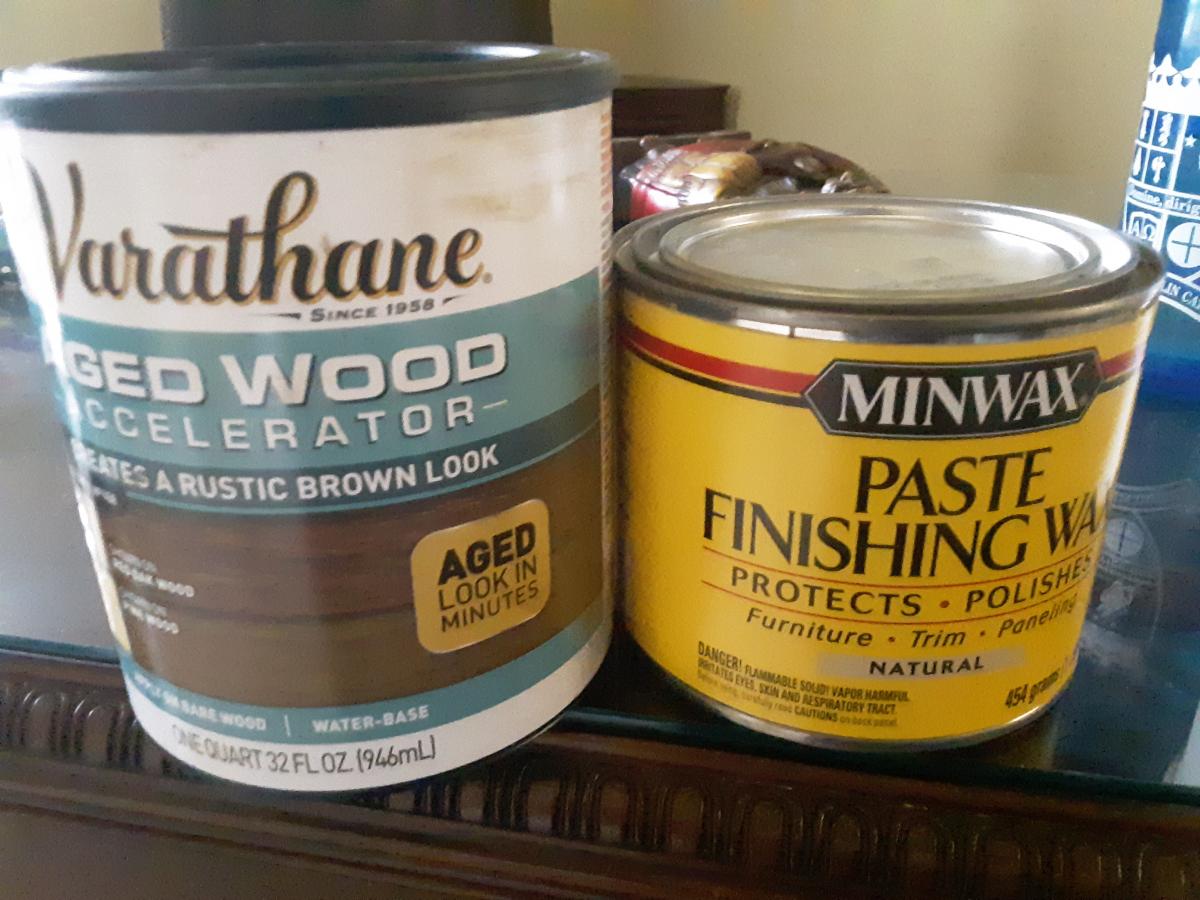
Top, barn Door and Bottom Trim treated with one coat of Varathane Aged Wood Accelerator using a rag to create a rustic brown look.
Cabinet carcass and surrounding trim painted with one coat of Behr Premium Plus Ultra Satin Finish Metropolis Grey.
Entire cabinet finished using MinWax Paste Finishing Wax Natural applied with a rag and buffed for a durable finish.
Recommended Skill Level
Intermediate

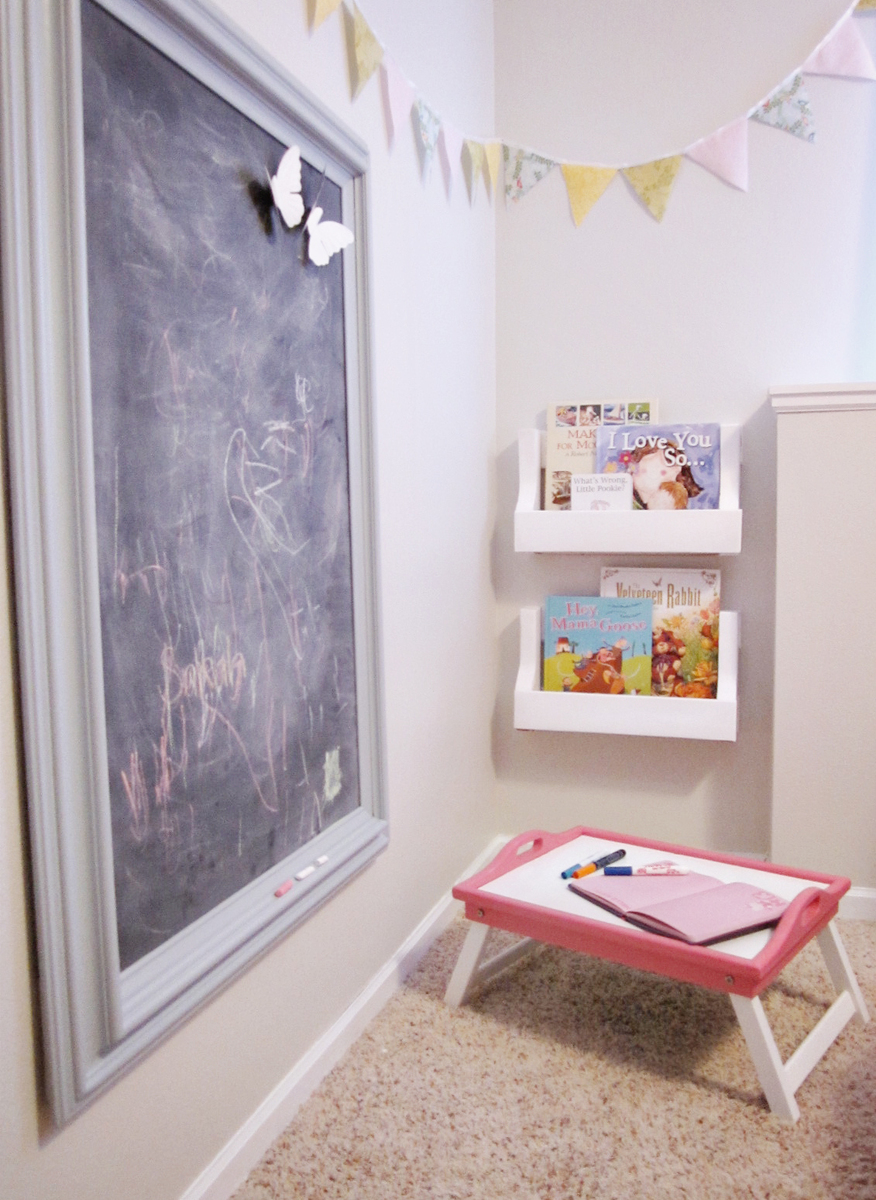
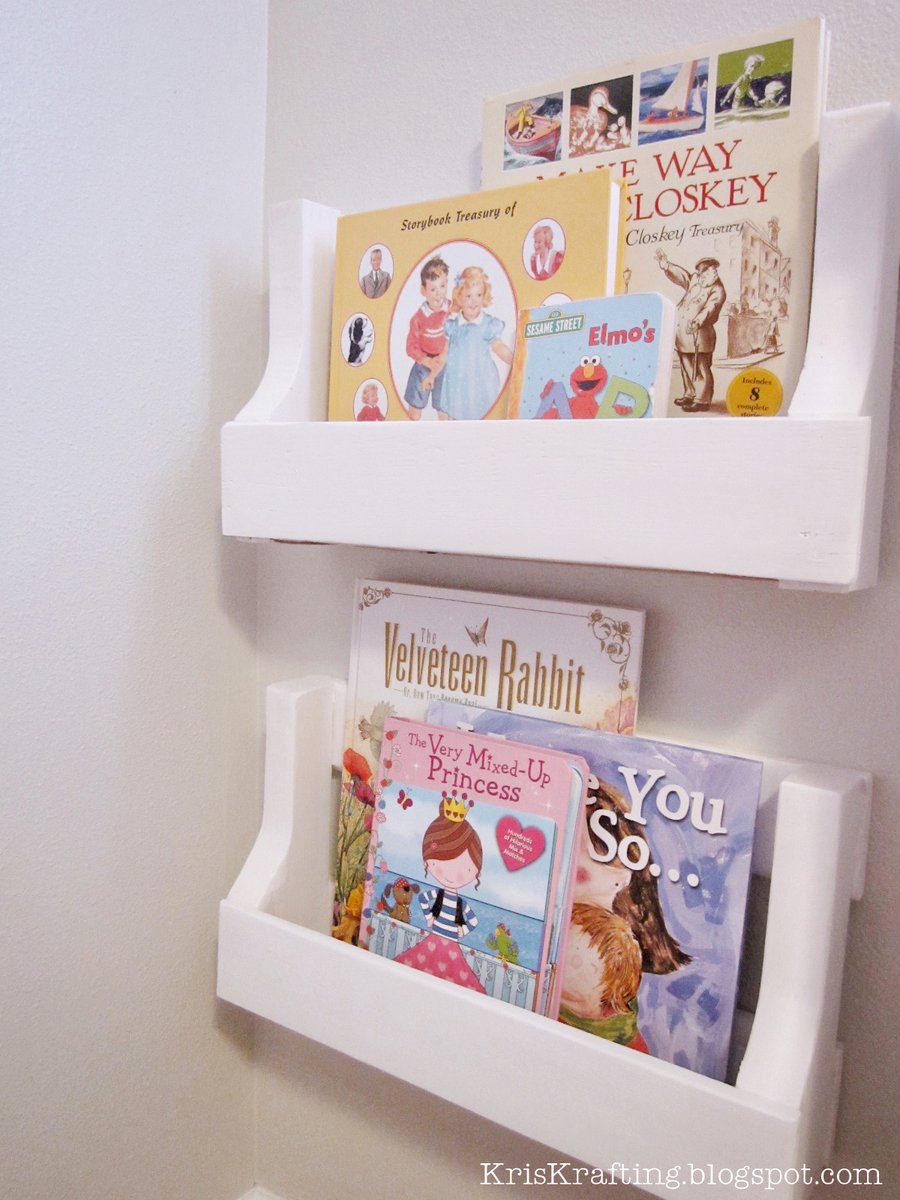
Pallet Bookshelves

Submitted by kristilmay on Fri, 02/24/2012 - 10:12

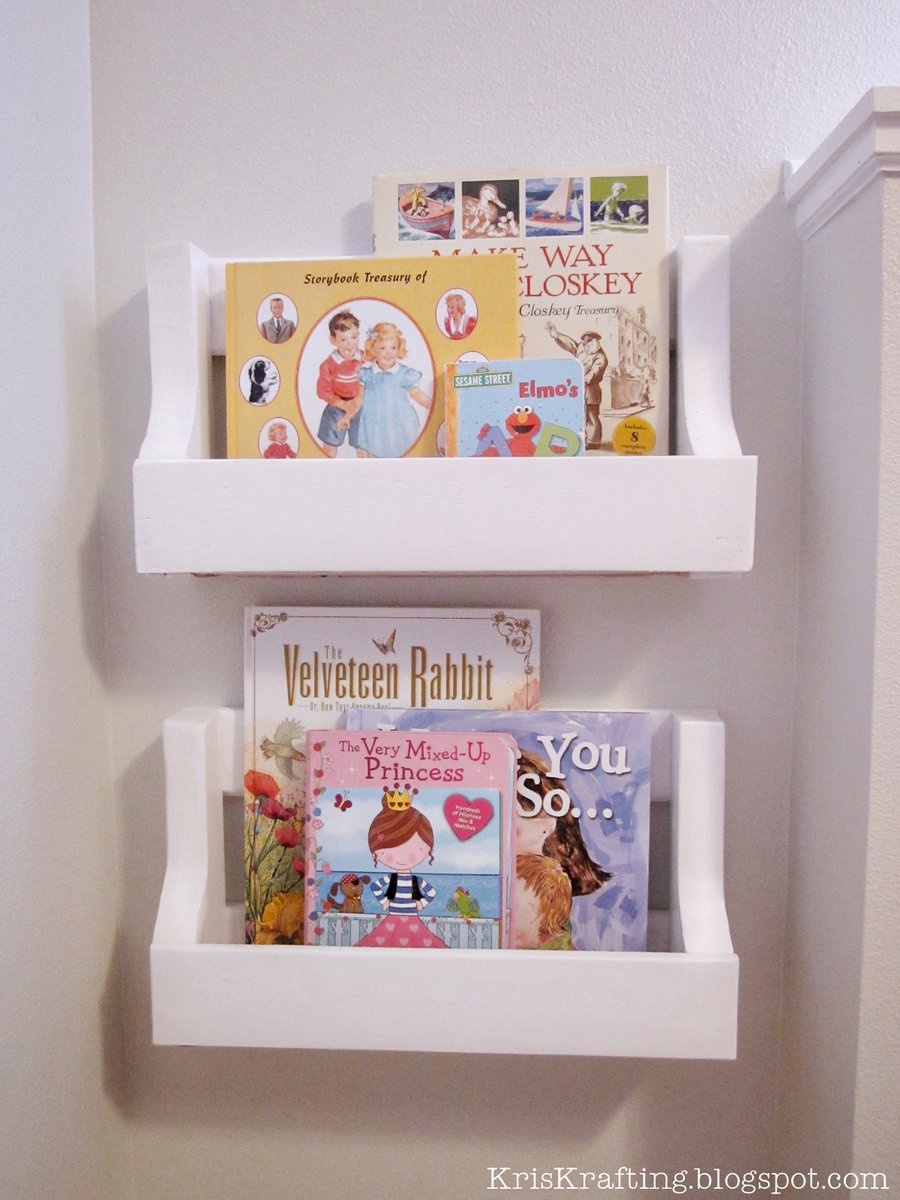
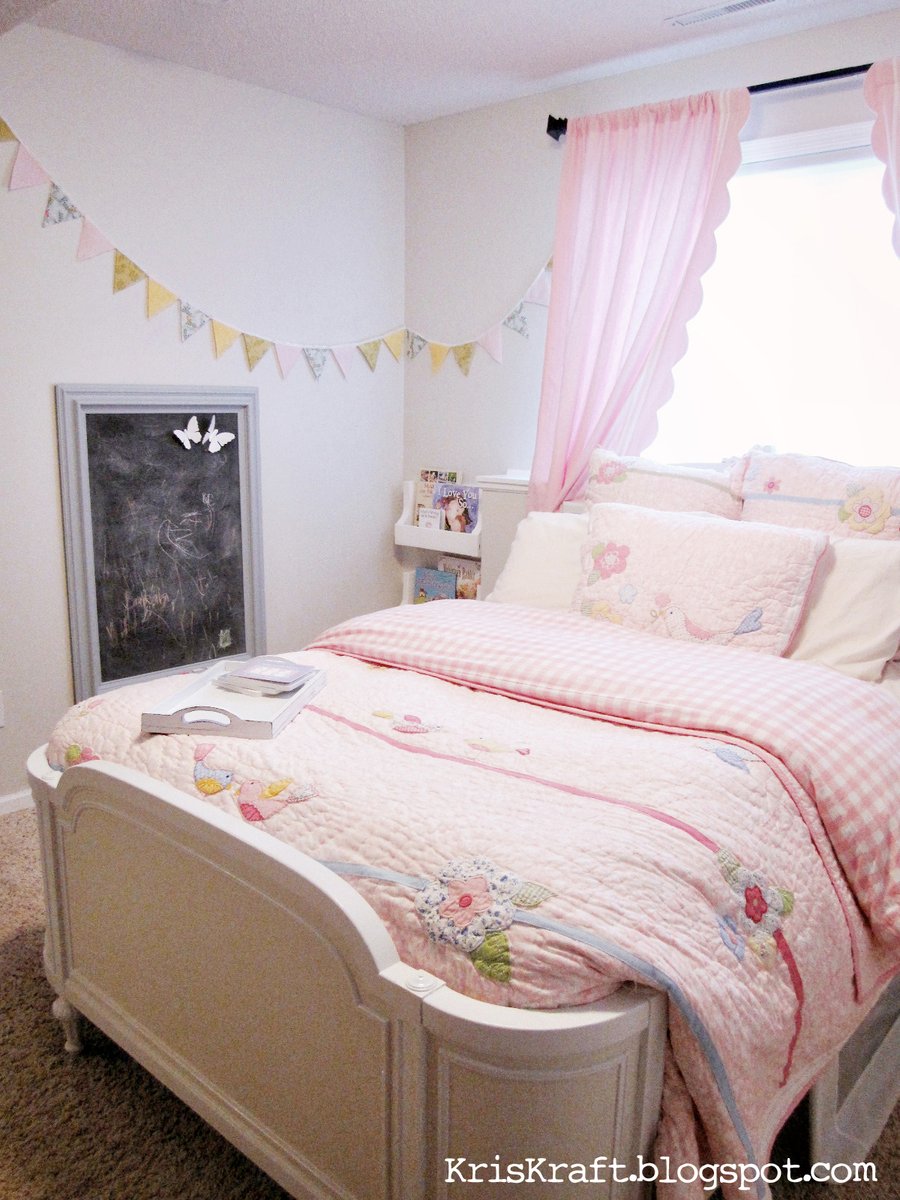
My daughter's room has a strange little cut-out section in one of its corners. We debated for a while over how to make it look like it's supposed to be there. After discussing all of our options, I remembered that we had a wood pallet in our garage. I also remembered seeing a great plan on Ana White's website for a book shelf made from a pallet, so I decided to give it a try. Fortunately cutting the pallet down in half made it the perfect size for this corner. Sarah loves books and drawing, so it makes a perfect little reading/art area. I love how it turned out, especially since it was FREE!
Estimated Cost
FREE
Estimated Time Investment
An Hour or Two (0-2 Hours)
Finish Used
White Paint
Recommended Skill Level
Starter Project

Comments

Seasonal And Holiday

Modified Kids Lounge Bench

Submitted by mdg on Sat, 12/28/2013 - 22:07

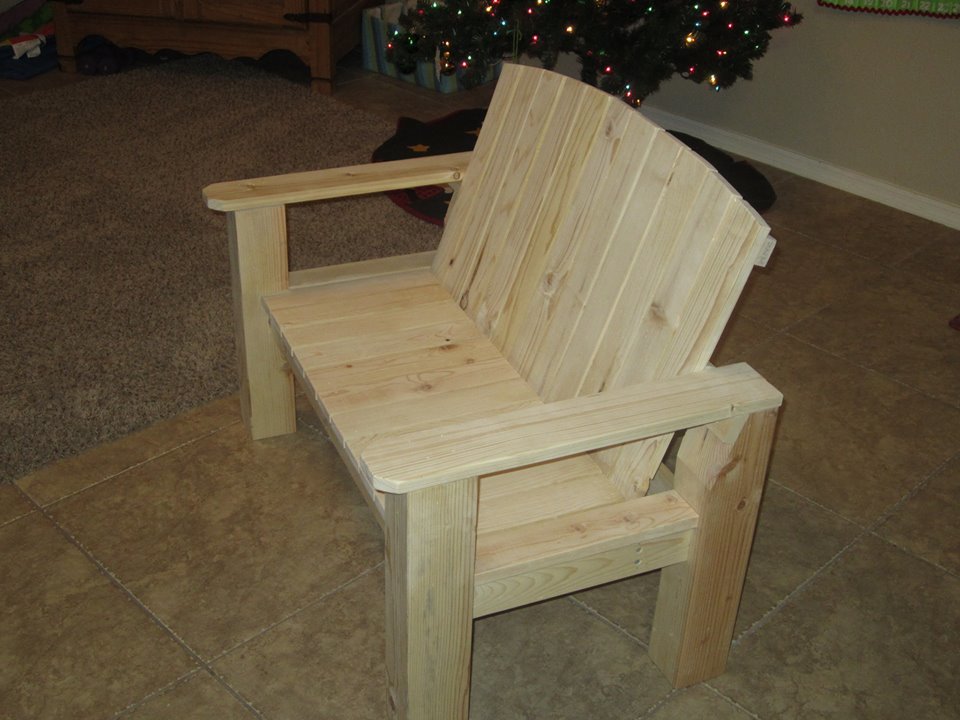
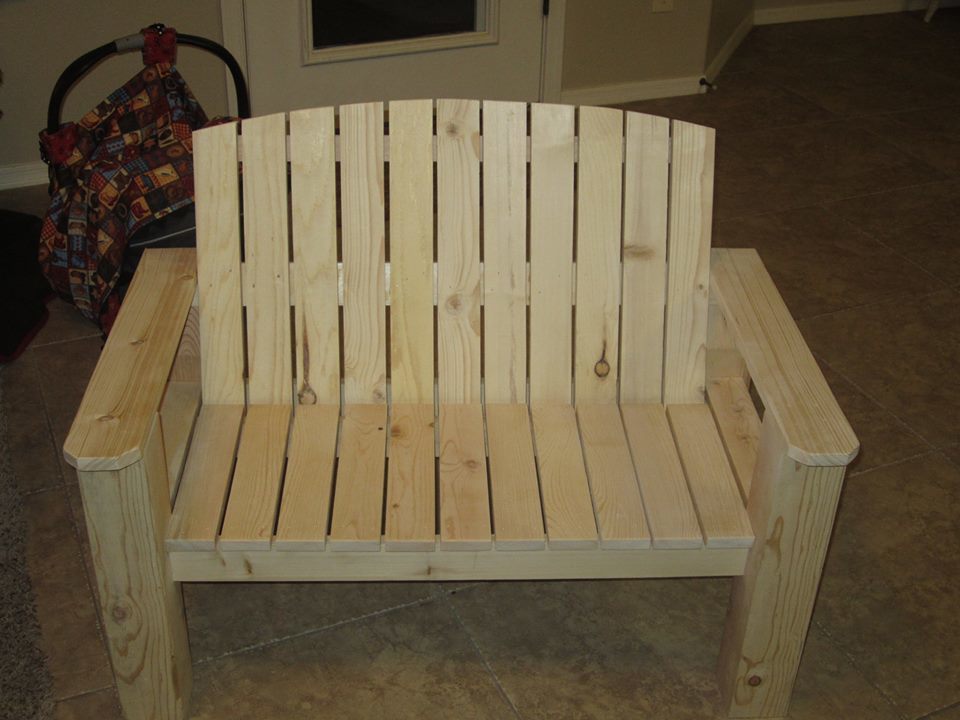
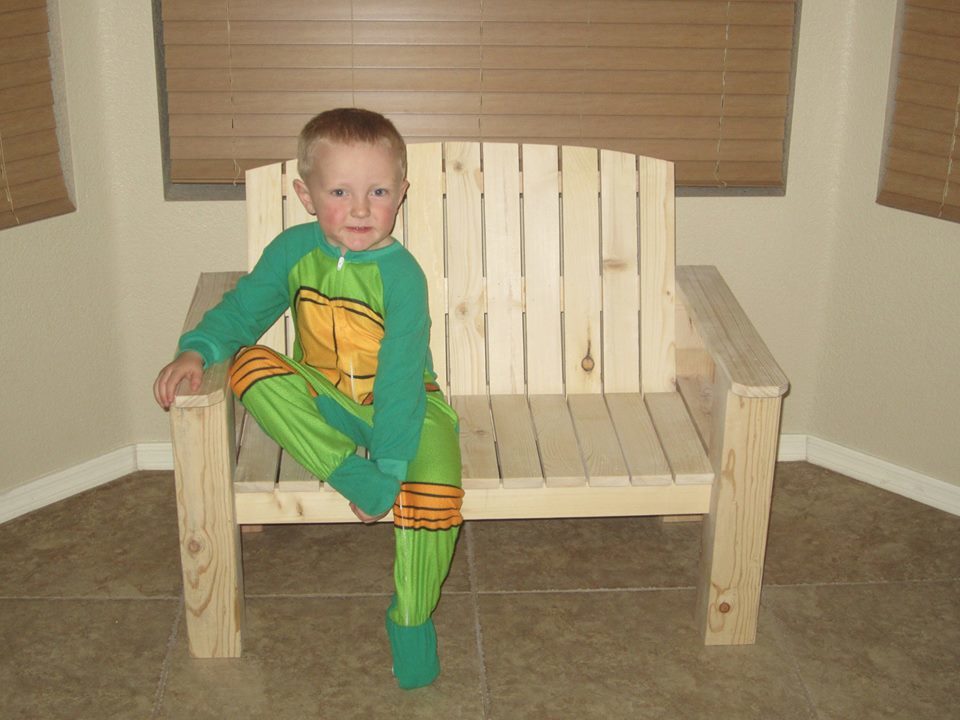
In getting my boys (ages 8, 5, and 3) started in woodworking, I decided to try this bench. We had a ton of fun building it together.

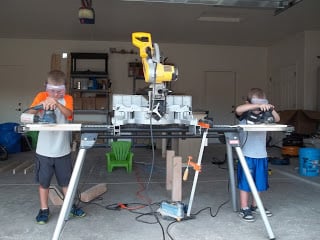
As you can see, I beefed it up a lot - using 4x4's for legs and recessing the frame into the legs themselves. The boys did all of the sanding and assembling and 80-90% of the cutting. I was just there as training wheels. It took much longer to build with the 4 of us than if I had done it myself. I estimate I could have done this in 3-4 hours. Group effort made it about 20-22 hours.

My 5 year old was the one who campaigned for the arched backrest. I think that they did a great job, and just wanted to share.

Estimated Cost
$33
Estimated Time Investment
Weekend Project (10-20 Hours)
Finish Used
None yet, plan to paint
Recommended Skill Level
Beginner

New Kitchen Cabinet

Had a blast building this project. from printing the plan to first coatings of stain was roughly 10 -14 hours including 2 trips to HomeDepot. I opted to use the PineShop Laminated Pine Shelving / Project Wood It has a really great look when done, and as Im in Canada some prices where a little higher than i had hoped. when purchasing the laminated pine panels, i got 3 panels at 48 inch long by 16 wide (for the top bottom and shelf and 2 panels at 36 inch long by 16 inch wide for the sides. these are actually 16 inch wide so if you need to make them narrower run them through your table saw or have the home depot team trim them to the width you prefer or buy the narrower 12 inch panel . Again it was a blast to build, between the kreg screws needed and the panels and lumber and 1/4 plywood back panel and 3 centre mount drawer slides this project came in at $245 Canadian the Stain i used i have plenty of on hand, but if you don't have any on hand add $10 or $20 to your price

Estimated Cost
$200 - $300
Estimated Time Investment
Weekend Project (10-20 Hours)
Finish Used
Stain on hand
Recommended Skill Level
Intermediate

Farmhouse table

Submitted by Jorge Gari on Tue, 10/22/2019 - 15:15

I just finished this table for our new house at the beach; I did a small modification  at the moment of fixing the breadboards;  besides the pocket holes I also used dowels for extra strength. If someone sits on the front of the table it could be a problem.

Another detail I included,is a simple way to clamp the diagonal pieces, much more firmly than with tape.

I am quite happy with the results, I will now finish the table with lacquer.

Estimated Time Investment
Week Long Project (20 Hours or More)
Finish Used
Lacquer

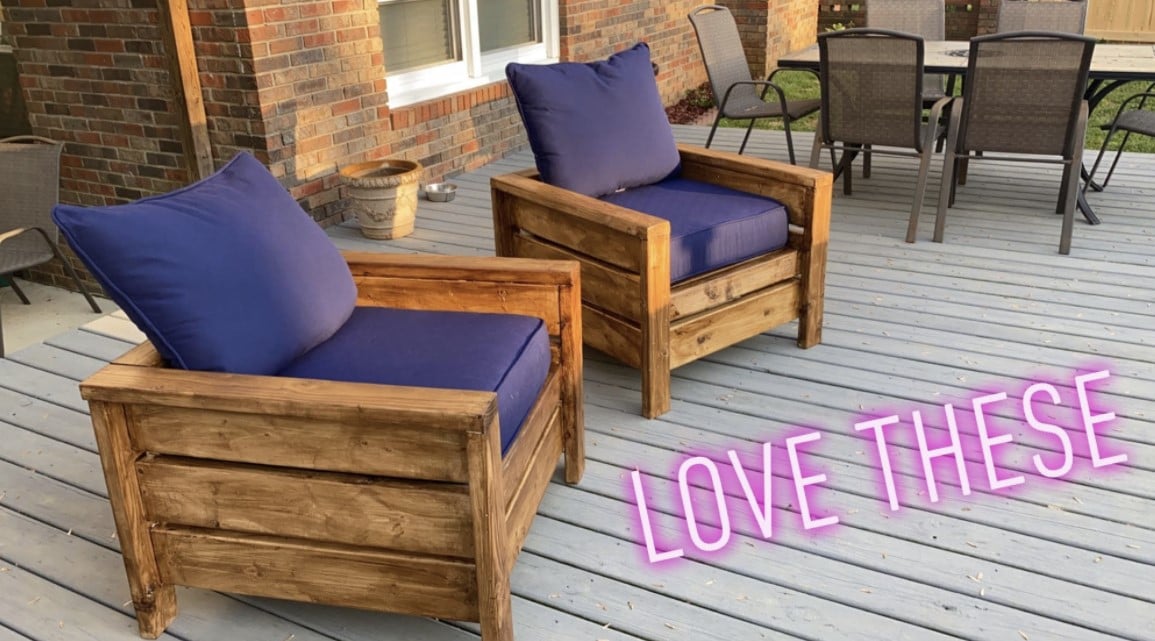
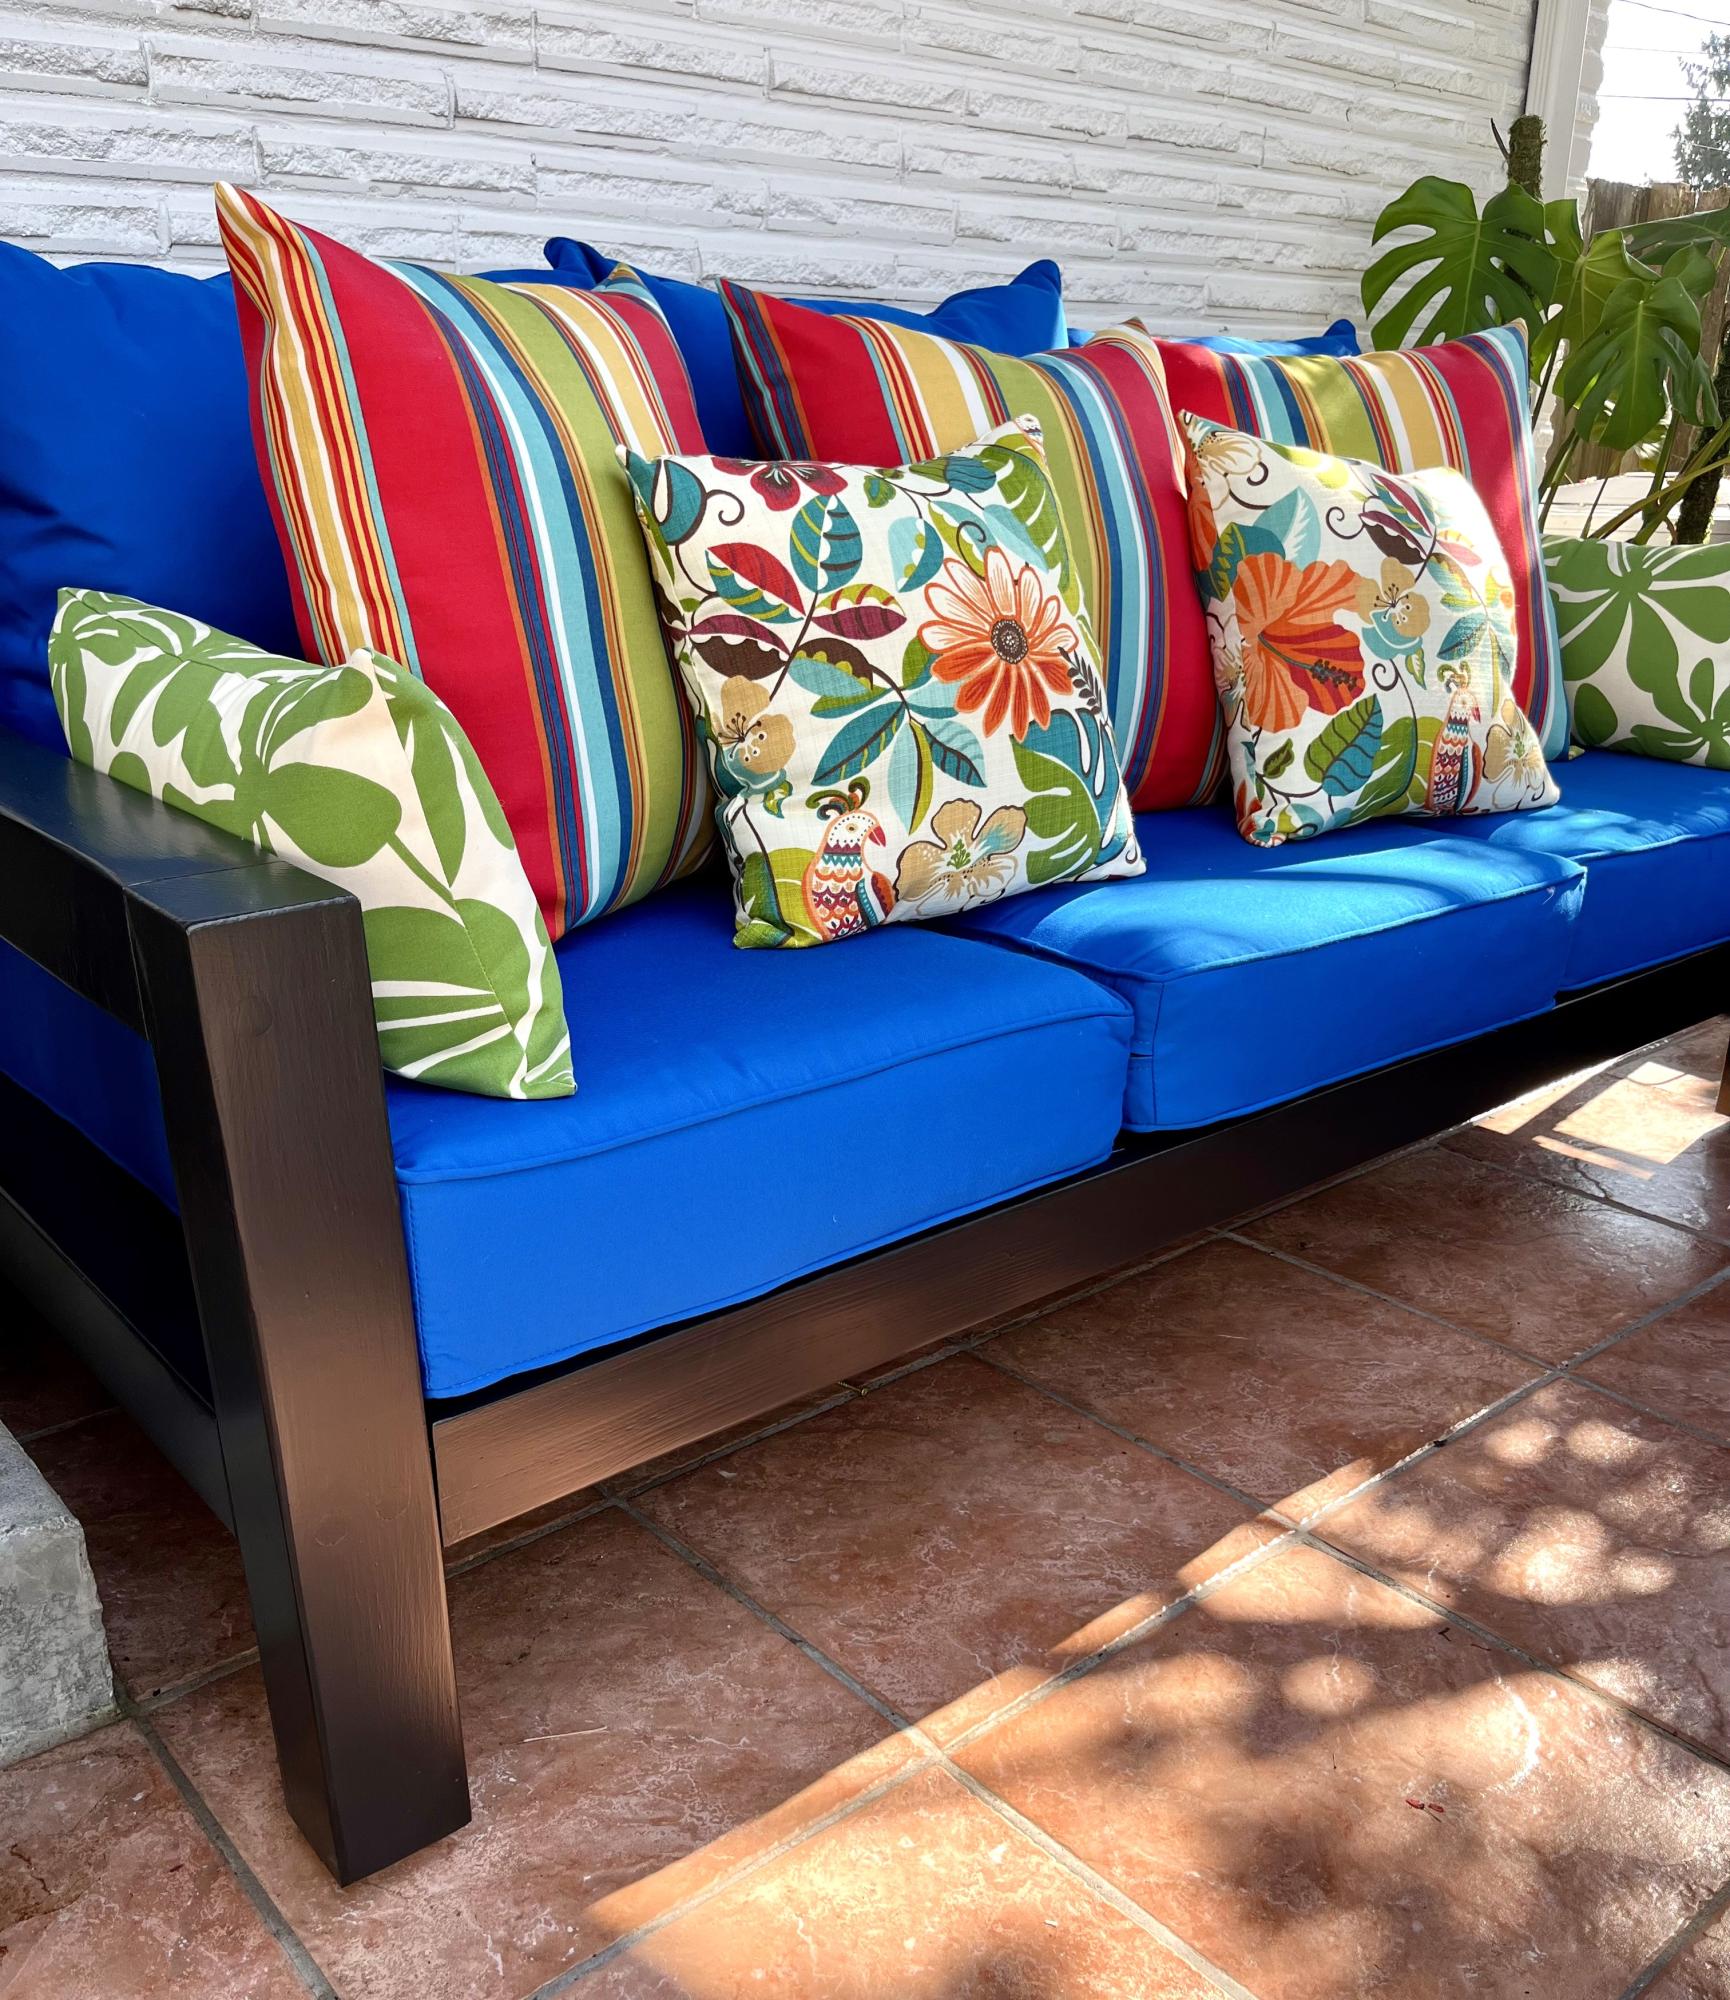
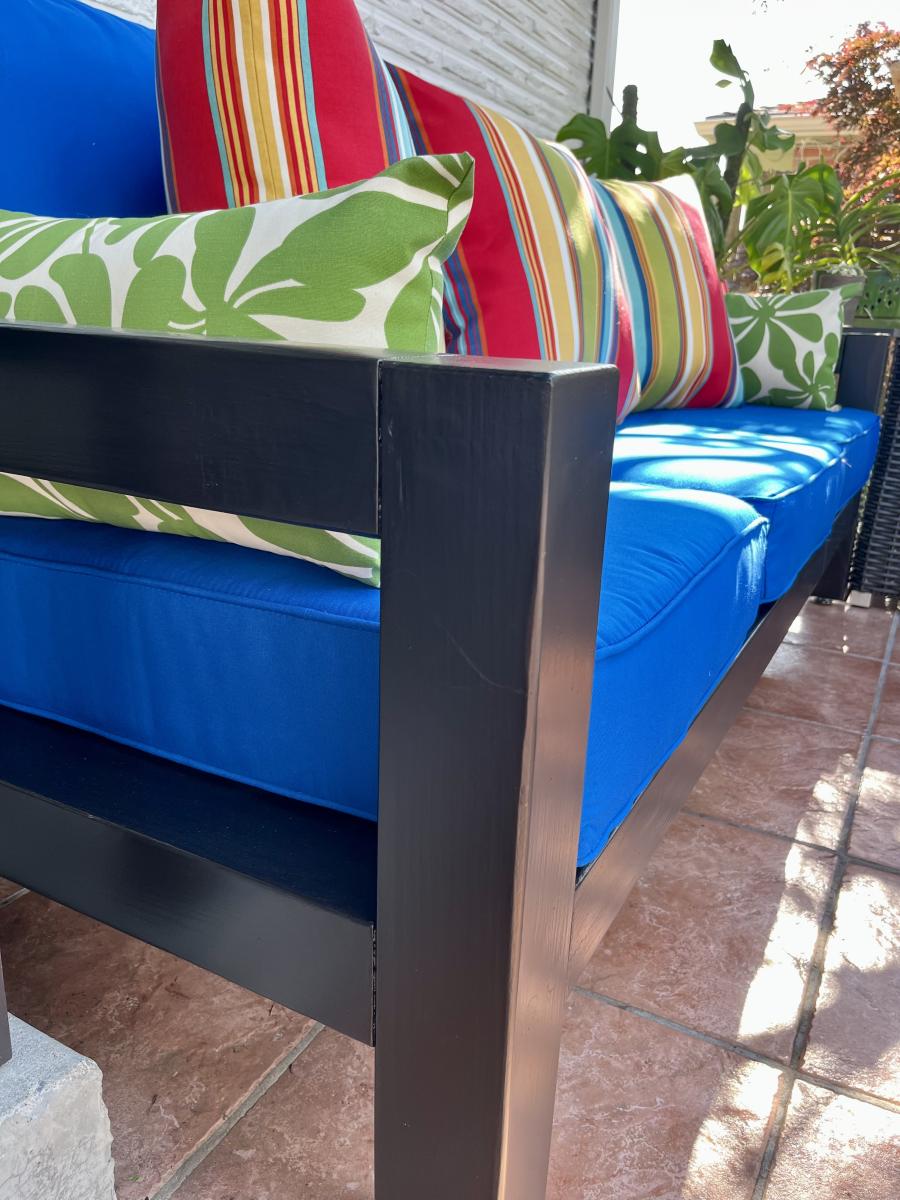
I Built an Outdoor Sofa Set!

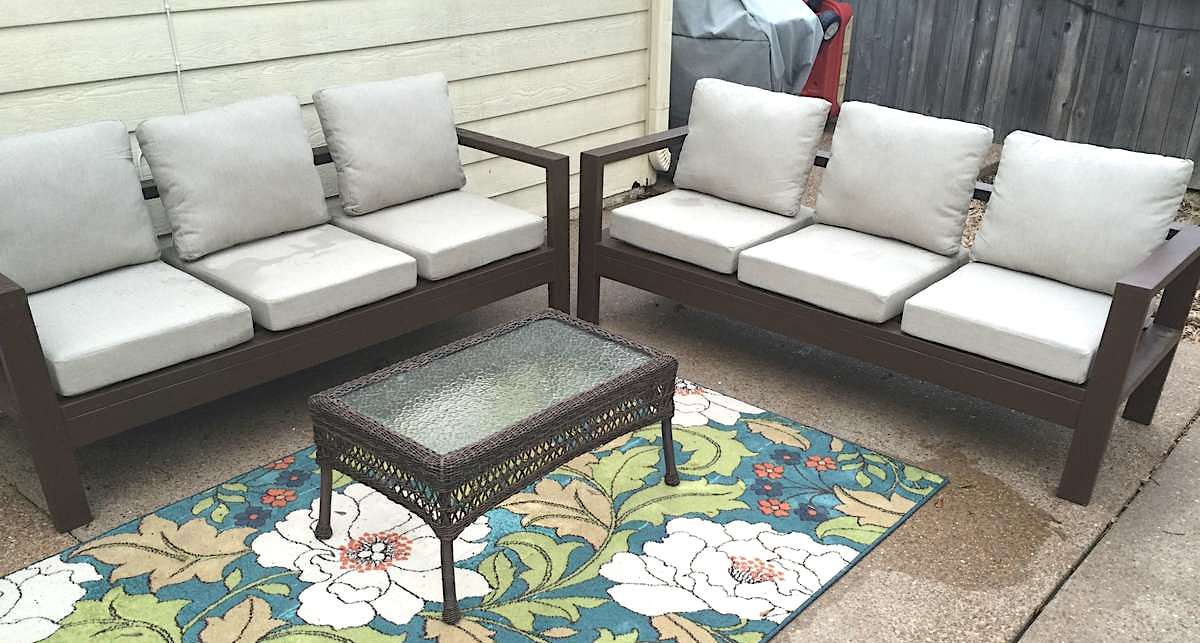
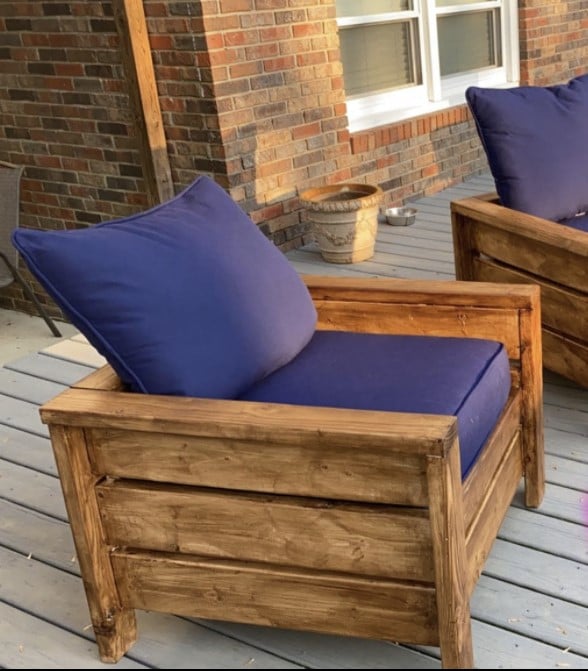
I have been wanting outdoor seating by my pool forever but couldn't afford anything I liked. When I came across Ana White's plans for the outdoor sectional I knew I had to build two. They are just what I was wanting and cost under $200. It took my brother & I one afternoon to buy the supplies and put it all together. Since this furniture is outdoors 24/7, I had to caulk the seams & paint the whole thing. That process took two days. The biggest expense was of course the cushions from Home Depot that Ana White recommends for this sectional. I have to admit, they are well worth every penny. They look amazing! Can't wait to spruce them up with some throw pillows.

Built from Plan(s)
Back