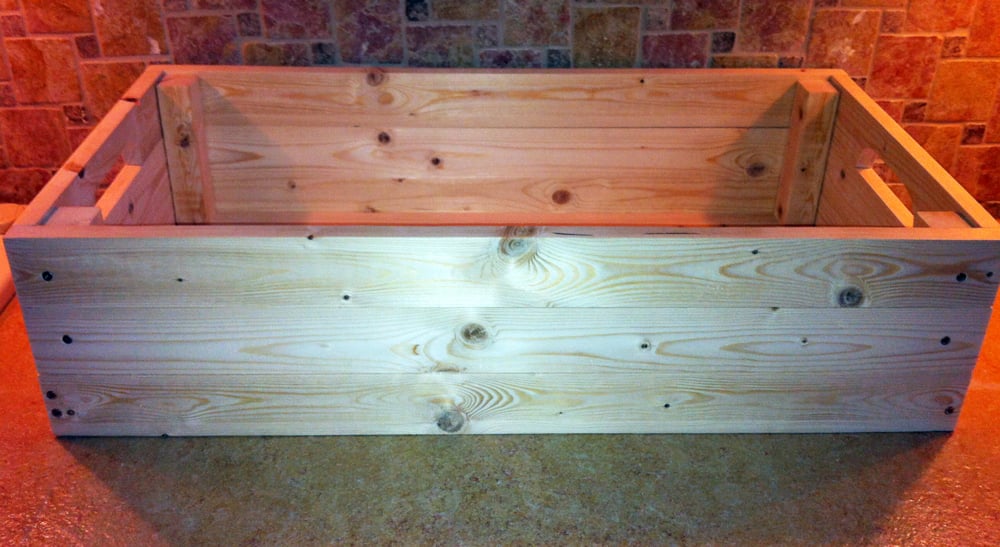
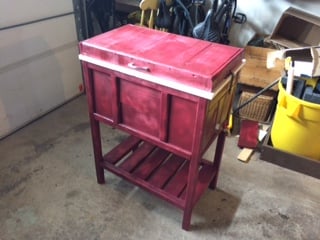
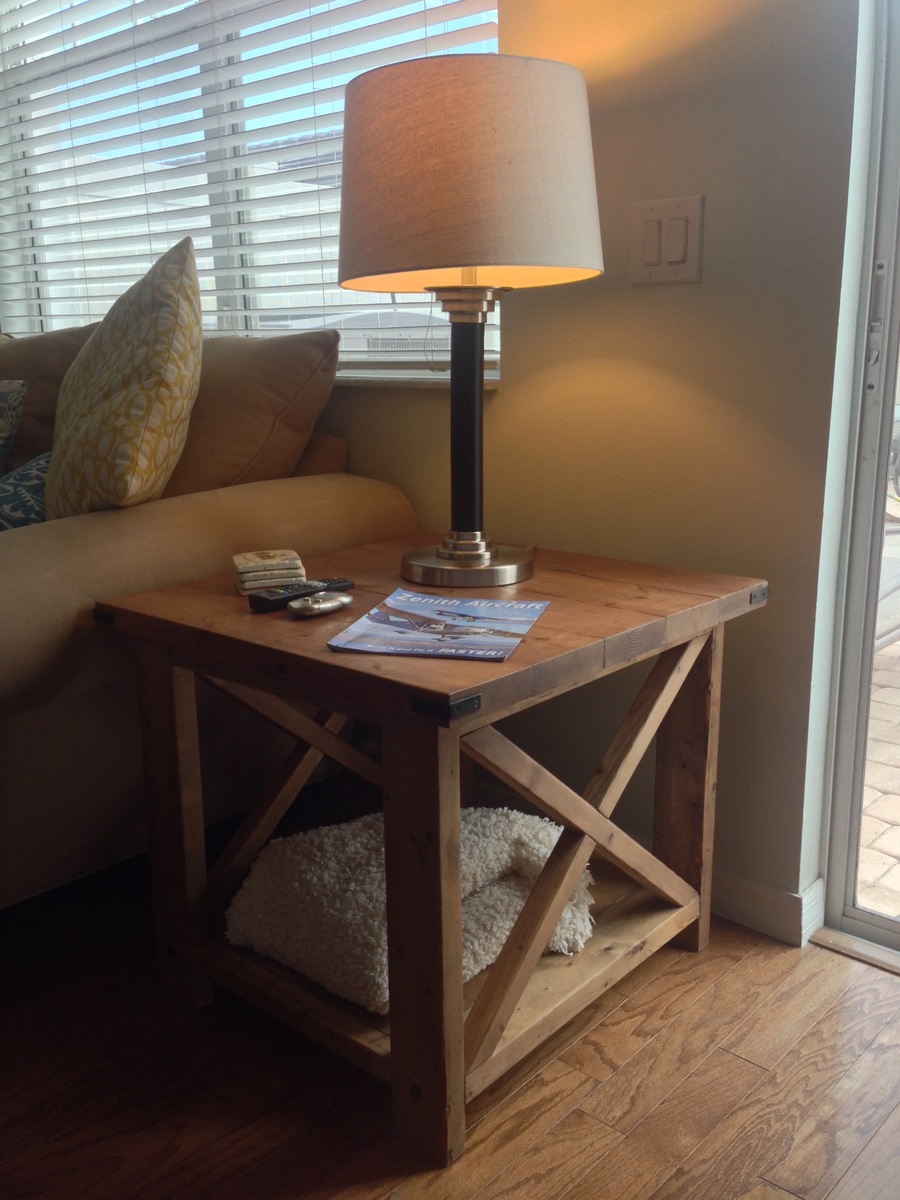
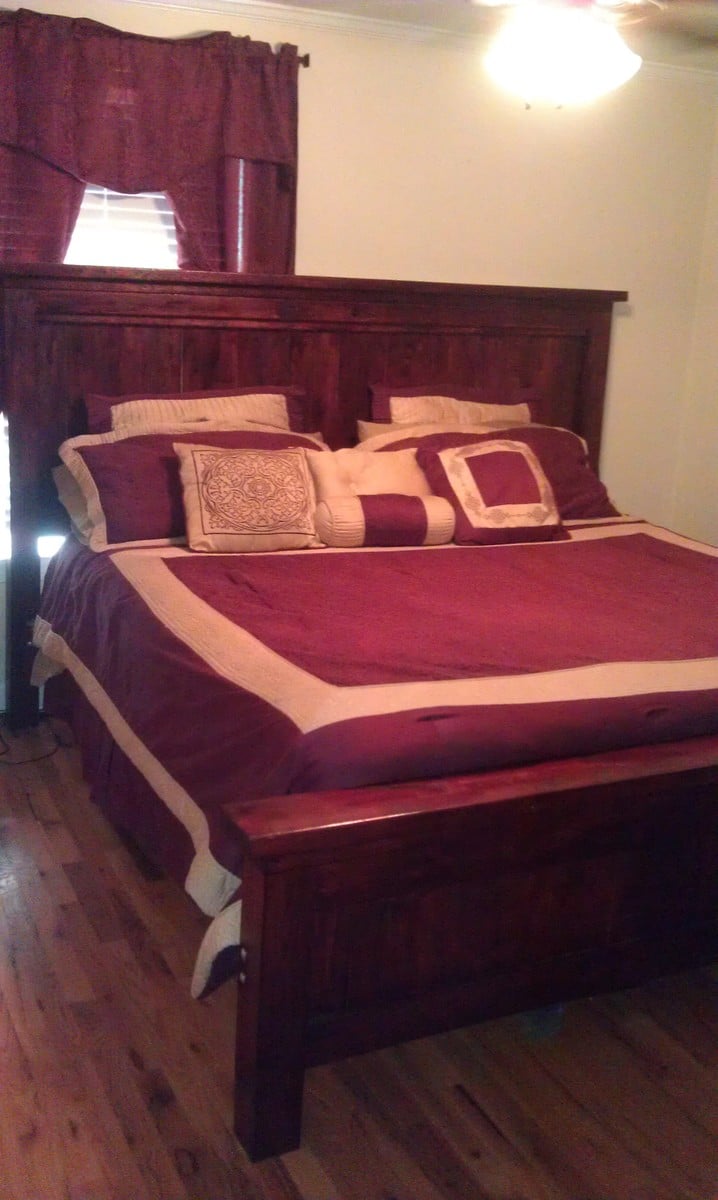
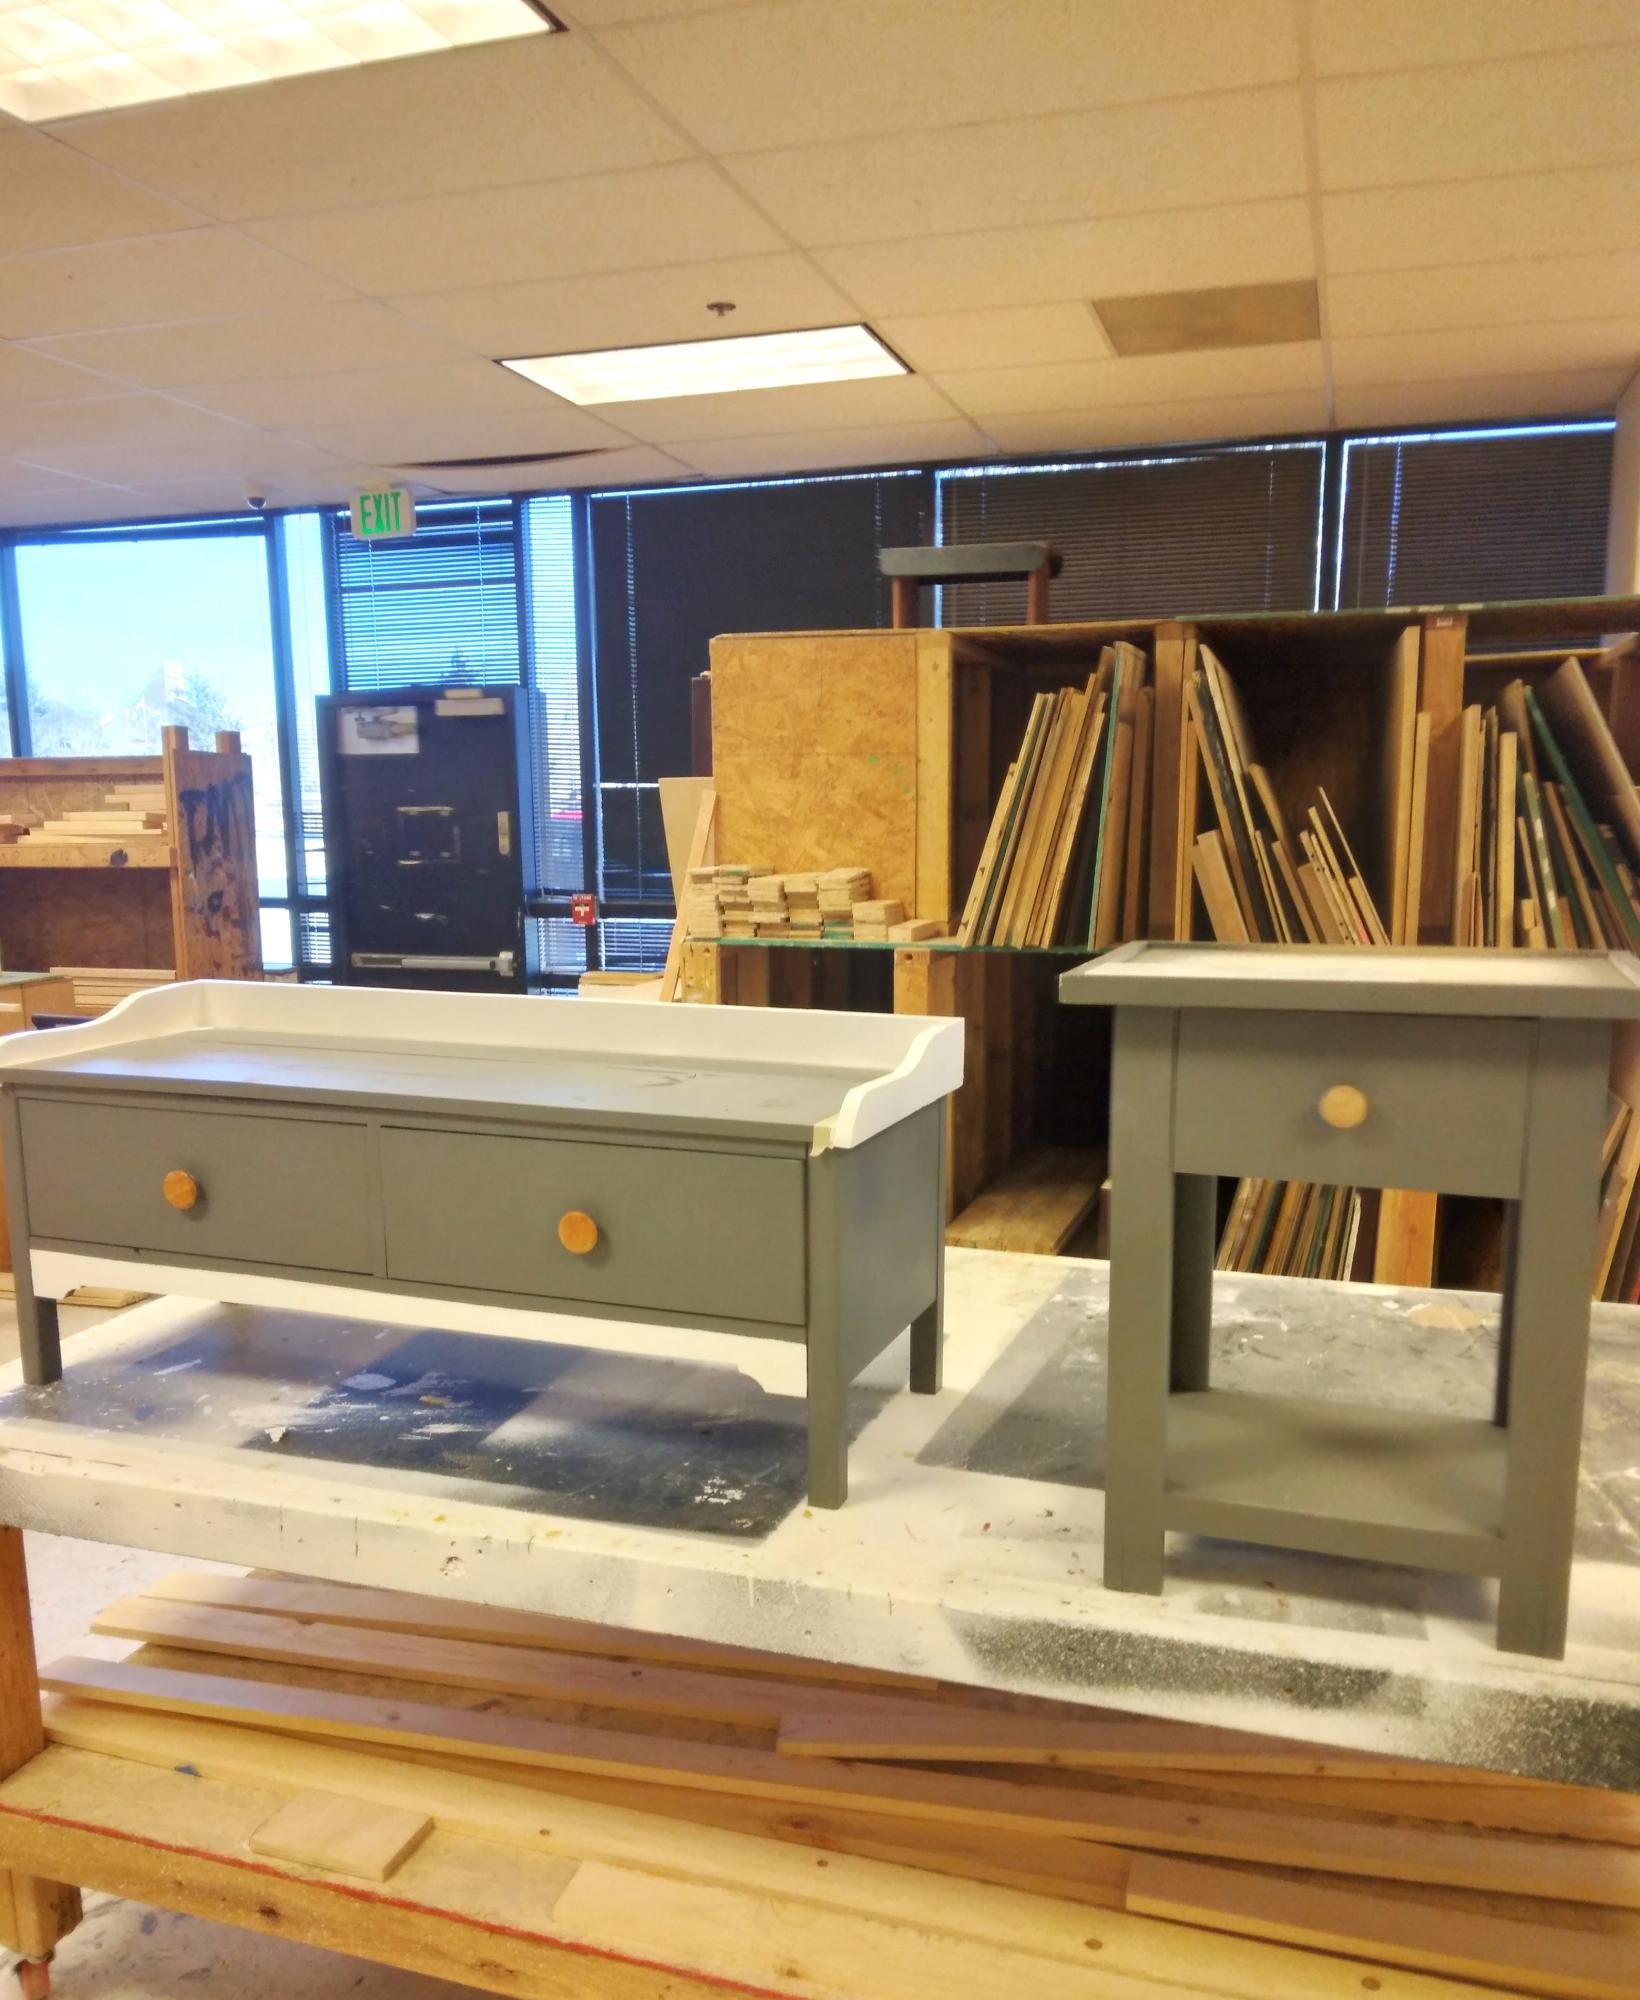
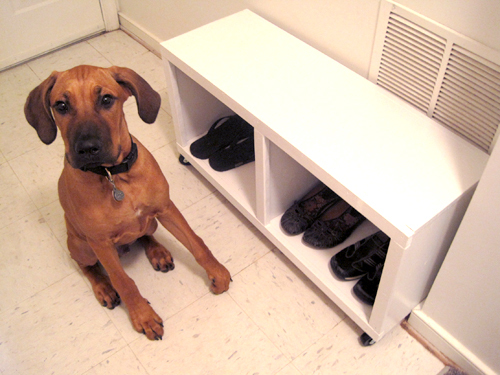
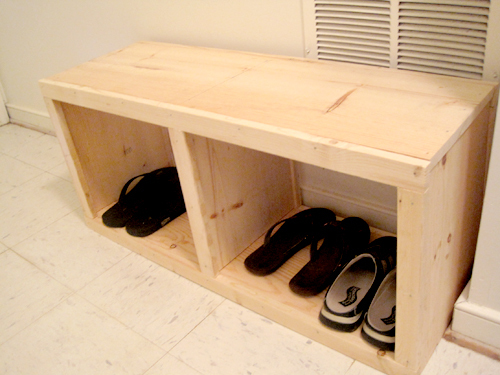
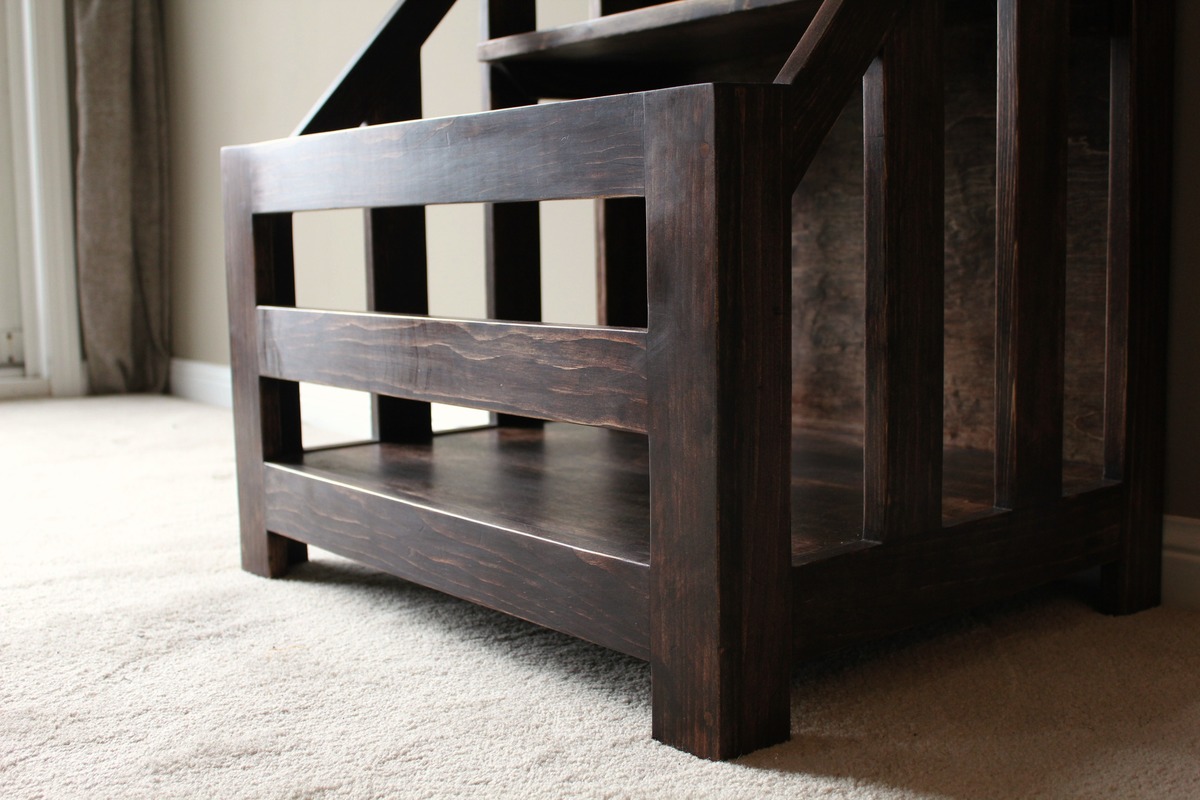
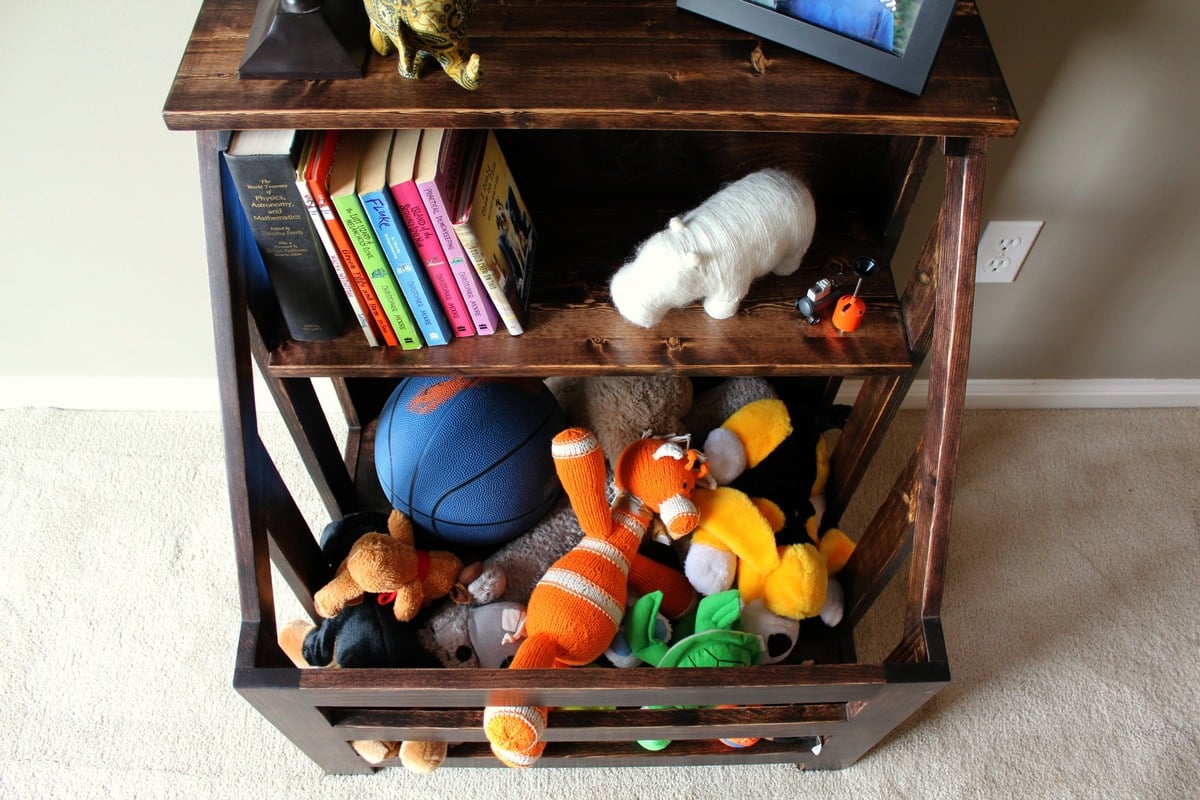
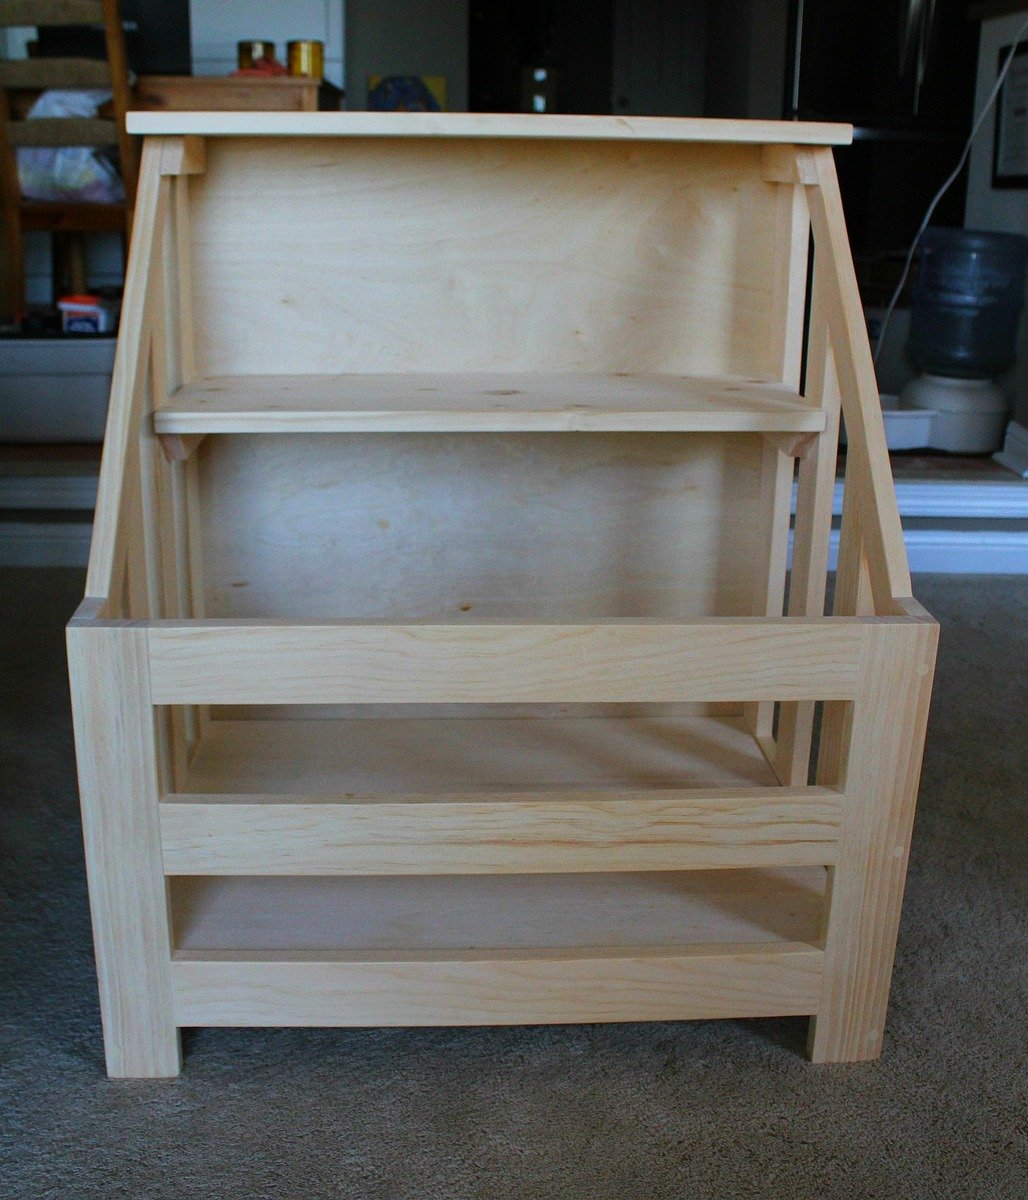
Big Crate Shoe Box (A Test in Bri-wax)
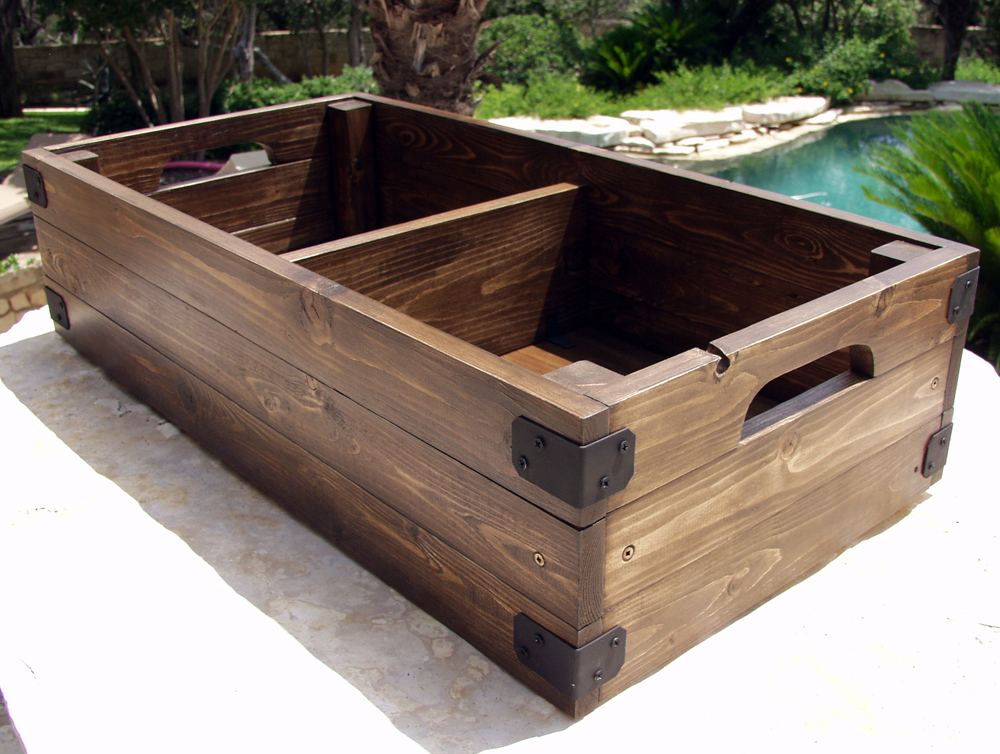
I needed a large box to use at the base of my stairs for shoe storage, so this is it! I made 2 compartments, and put handles on the side for easy moving. Being solid wood, this thing is heavy and a lot larger than it looks.
I wanted to do Bri-wax as a test on a smaller project before possibly messing up a larger one. Bri-wax advised me to wait a week to let the stain 'cure' prior to using the product. The stain was beautiful prior to using Bri-wax, but didn't look nearly as good when the wax took off some of the stain and kind of changed the color. I love the look of the Bri-wax finish, but probably won't be using it again (unless the finish has been cured for a long time). Bri-wax also told me not to use it over varnish or poly, as it would damage that surface. I would be interested in hearing from you guys who have used it successfully on top of other finishes.


Comments
stacynabby
Fri, 07/13/2012 - 14:40
Finish
I LOVE the finish on this! It's stunning!
American Herit…
Sat, 07/14/2012 - 21:00
Briwax over poly
Hello Joni,
I've used Briwax over a clear, satin poly finish without any damage, though typically, I apply a 100% Briwax finish on the majority of my pieces as I prefer the natural finish and find it's complimentary to the reclaimed wood I use.
Simply a personal preference.
Looking at your other projects want to commend you on your table too. Nice color distinction and accents. Very nice!
Mike