Community Brag Posts

Lady-built Workbench

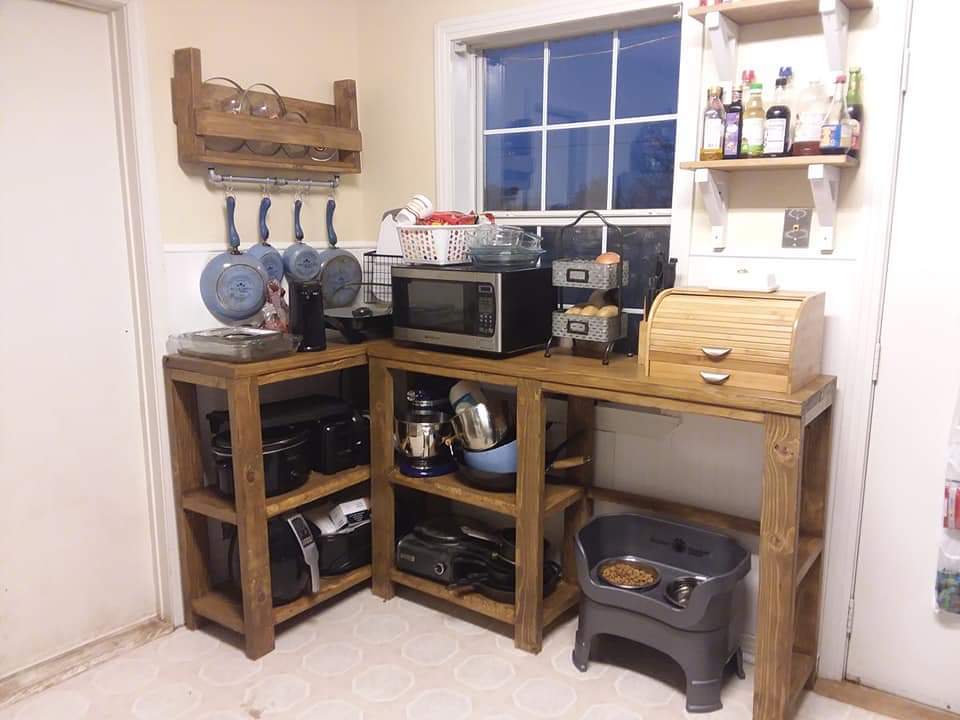
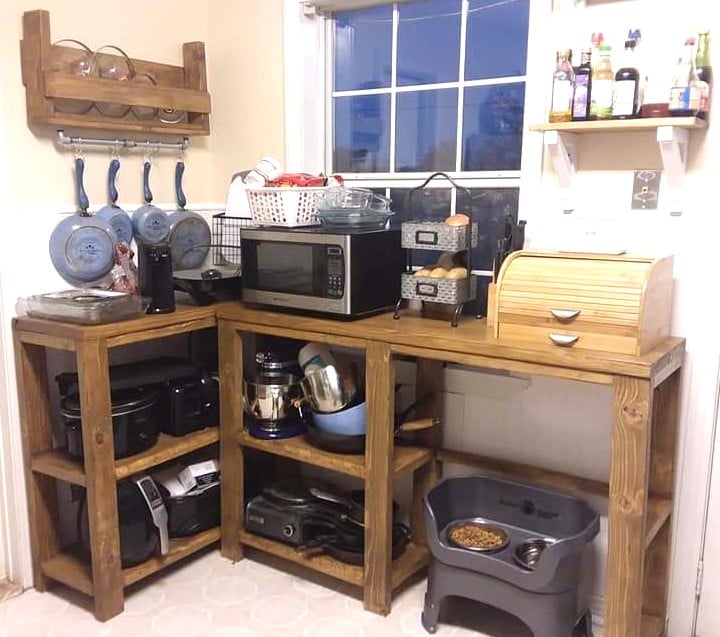
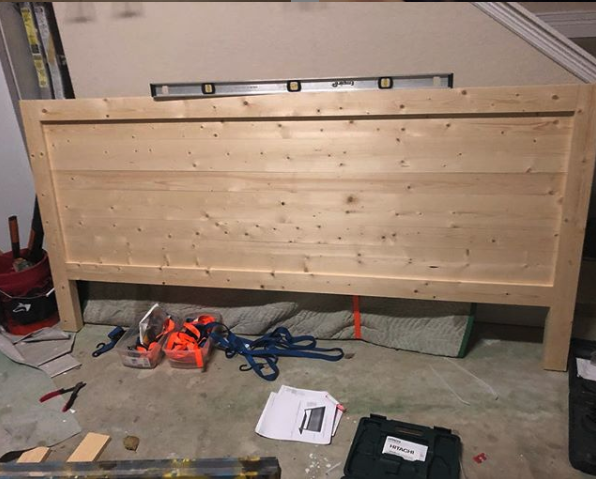
After a winter of working on my concrete basement floor (and up in Canada, that's not any type of awesome), I decided it was high time to build a workbench.

I found a great plan on here (see plan link below) and then made one quick adjustment.

Adding a side table gave me somewhere to put my saw, as I don't have anywhere else for it to go, and buying a stand for it would only take up that much more room in my basement.

It was a relatively easy build, and is a great huge space to refinish wood windows on, build cabinets on, etc.

Leave me a comment, I'd love to hear your thoughts!
Built from Plan(s)
Estimated Cost
$100
Estimated Time Investment
Afternoon Project (3-6 Hours)
Finish Used
minwax stain, and my local hardware store brand of poly finish (4 coats) - only on the worktops, as after all... it is a workbench :)
Recommended Skill Level
Beginner

Kitchen island; Ana-white design

Submitted by Anonymous (not verified) on Sat, 08/13/2016 - 11:42

I am so happy to be able to submit a brag post. Besides shelves and flower beds this is The first piece of furniture I make besides  some mistakes and frustrations in the learning process it went relatively smooth! I am super happy to have made my first piece of furniture on my own :). Thanks for the great plans and for everyone who made helpful suggestions in the comment section. I also recommend  using another 2x2 piece above the drawer railing to

hold it in place so it doesn't tip out. Thanks again! 

Built from Plan(s)
Estimated Cost
200
Estimated Time Investment
Week Long Project (20 Hours or More)
Recommended Skill Level
Intermediate

Comments

Chaise success!

Submitted by Anonymous (not verified) on Wed, 05/27/2020 - 07:19

This is my first project, I’m soooo happy with how it turned out!

Estimated Cost
$90
Estimated Time Investment
Day Project (6-9 Hours)
Finish Used
Walnut stain + acrylic top coat
Recommended Skill Level
Beginner

Comments

Doll Adirondack Chair

Fun project!

Built from Plan(s)
Estimated Time Investment
An Hour or Two (0-2 Hours)
Finish Used
Paint and Cricut Vinyl
Recommended Skill Level
Beginner

Comments

Kendra Storage Console (aka Bookshelf Toybox)

Submitted by bdel on Wed, 05/14/2014 - 11:34

We built this bookshelf/toybox for our cousin's daughter - as a 1st birthday present. Overall, the project only took a weekend (including staining and waxing), and the cuts and assembly are pretty straight forward.

We wanted it to be larger than the one in the plans, so it took some time to figure out the dimensions before we started cutting. There was a bit of, "What do you think of this height?" and, "Is this too wide?"

My husband and I have built quite a few projects together so this one was fairly low on the difficulty scale. As long as you are comfortable with a mitre saw, you can do it. The kreg jig made it easier to drill pocket holes, but even with only different-sized drill bits and a steady hand you can make them.

This is one of my favourite builds - maybe because it was a gift for the sweetest little girl. Plus others have shown interest in it, so I might just have to start a side business!

More details on what we did can be found at:
http://turtlesandtails.blogspot.ca/2014/05/child-sized-bookshelf-toybox…

Built from Plan(s)
Estimated Cost
$100 (CDN)
Estimated Time Investment
Weekend Project (10-20 Hours)
Finish Used
Minwax Dark Walnut Stain,
Minwax Red Mahogany Stain,
Minwax Furniture Wax,
Steel wool after waxing and buffing gives an even smoother finish
Recommended Skill Level
Beginner

Comments

Jon Barnes

Wed, 09/10/2014 - 08:13

I was thinking the same thing when I saw the original design.  I like it but the dementions are quite a bit smaller than I want to make for the toy box gift that I want.  I am doing the same thing.  It will be a 1st birthday present for a little girl  I am thinking of making it 36 wide and at least 36 high and 24 deep.  What would the dementions be and how much would that change the side angle cuts? 

Leaning bathroom Shelf

Submitted by Anonymous (not verified) on Tue, 08/16/2016 - 14:32

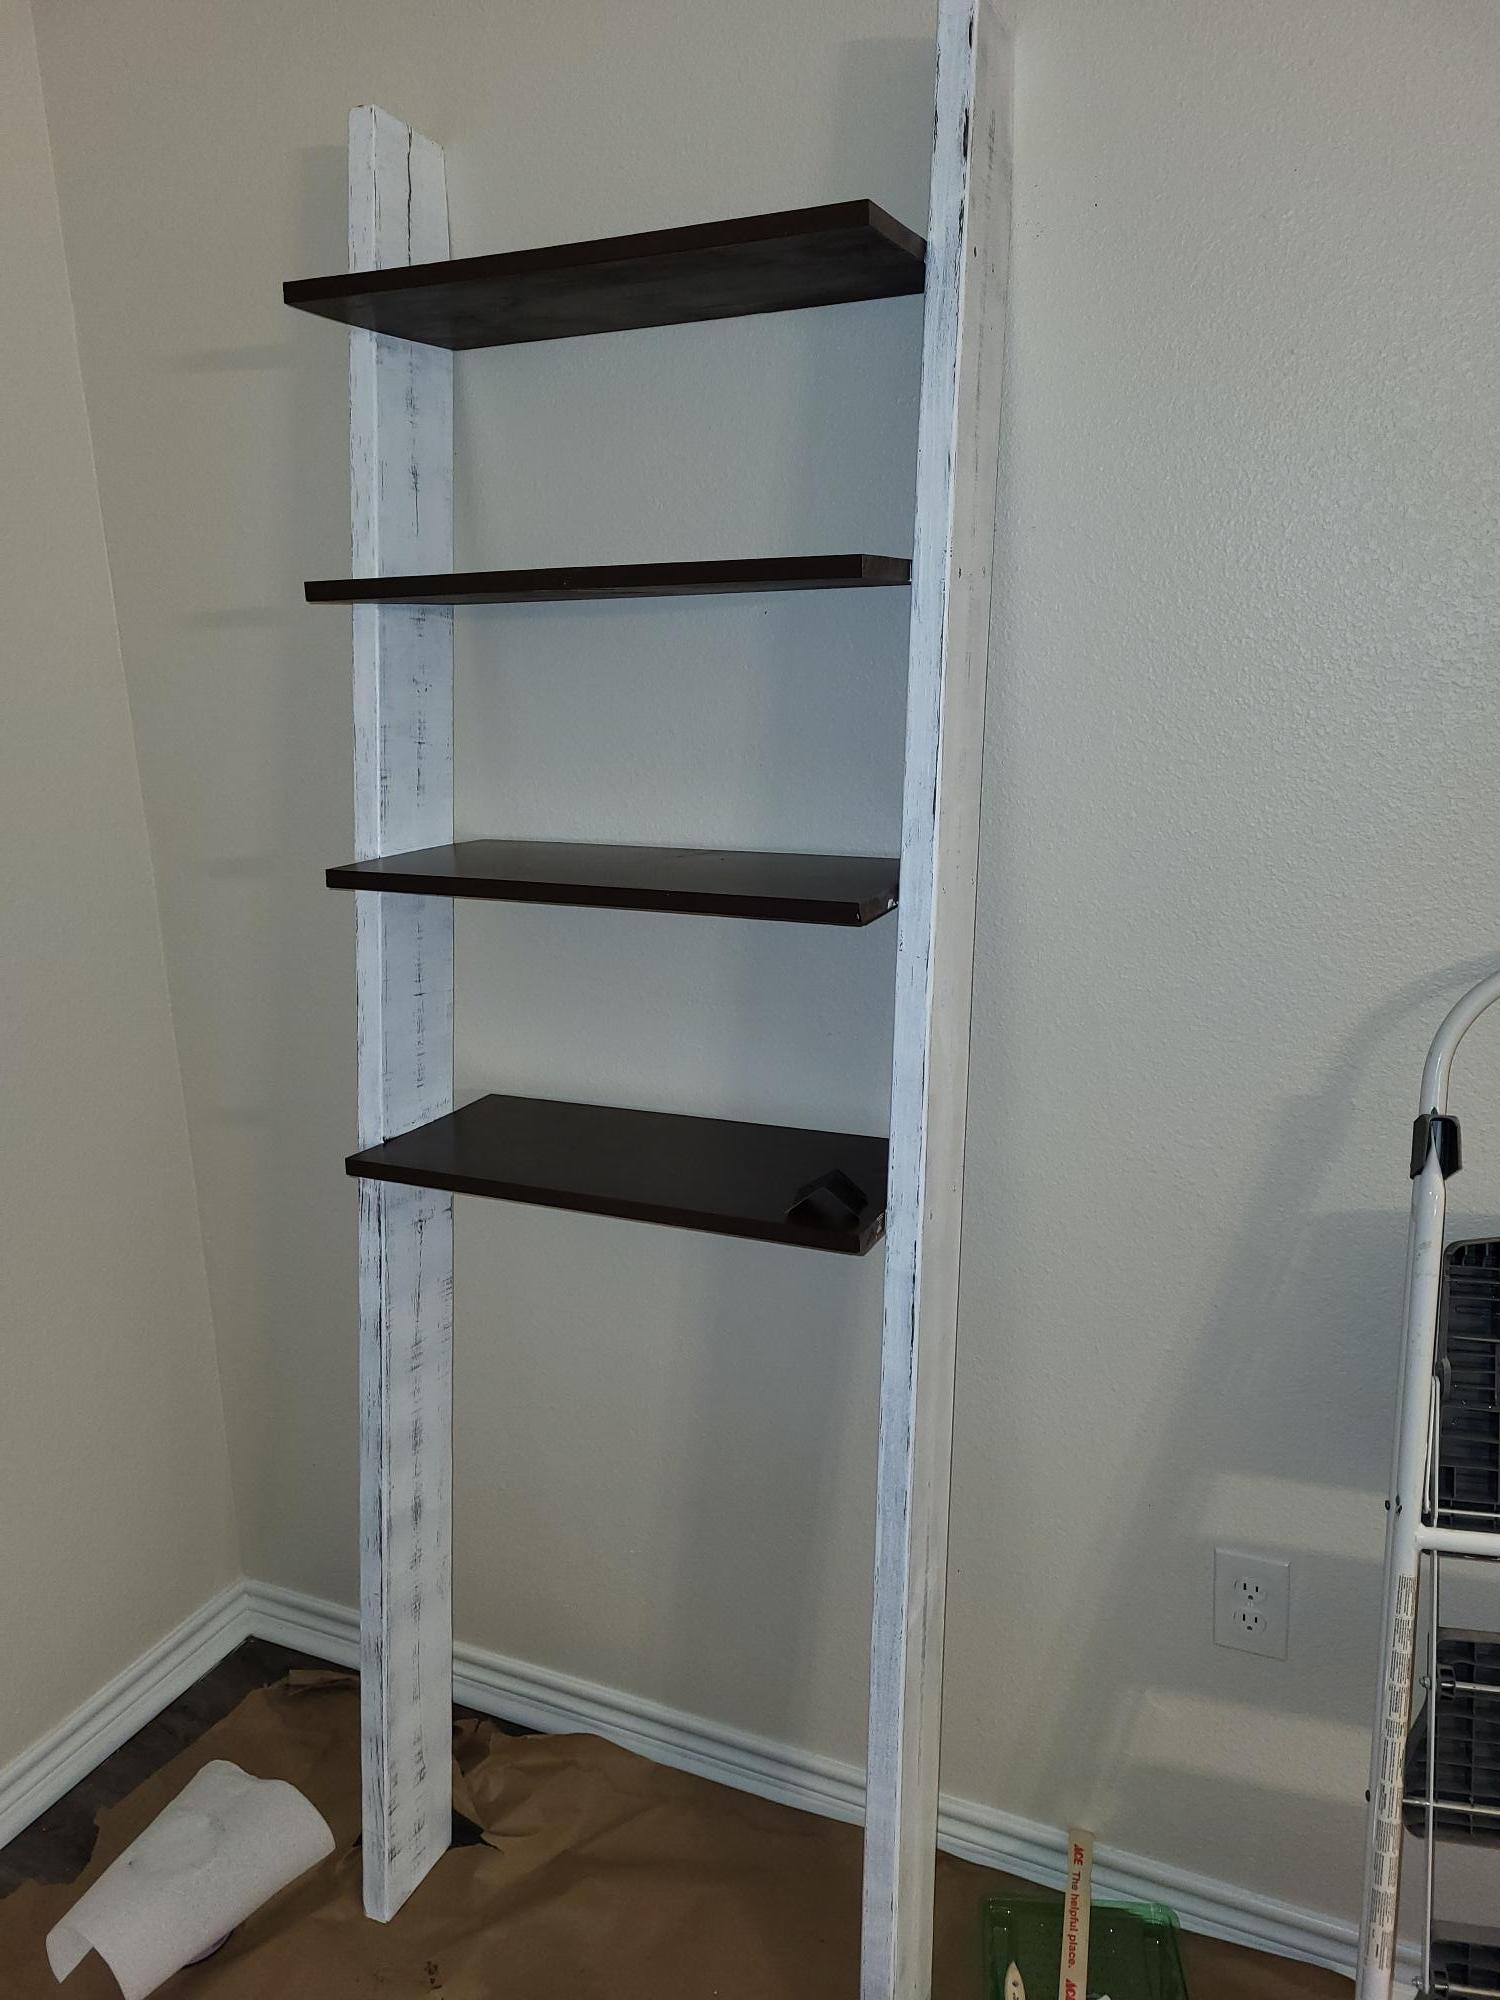
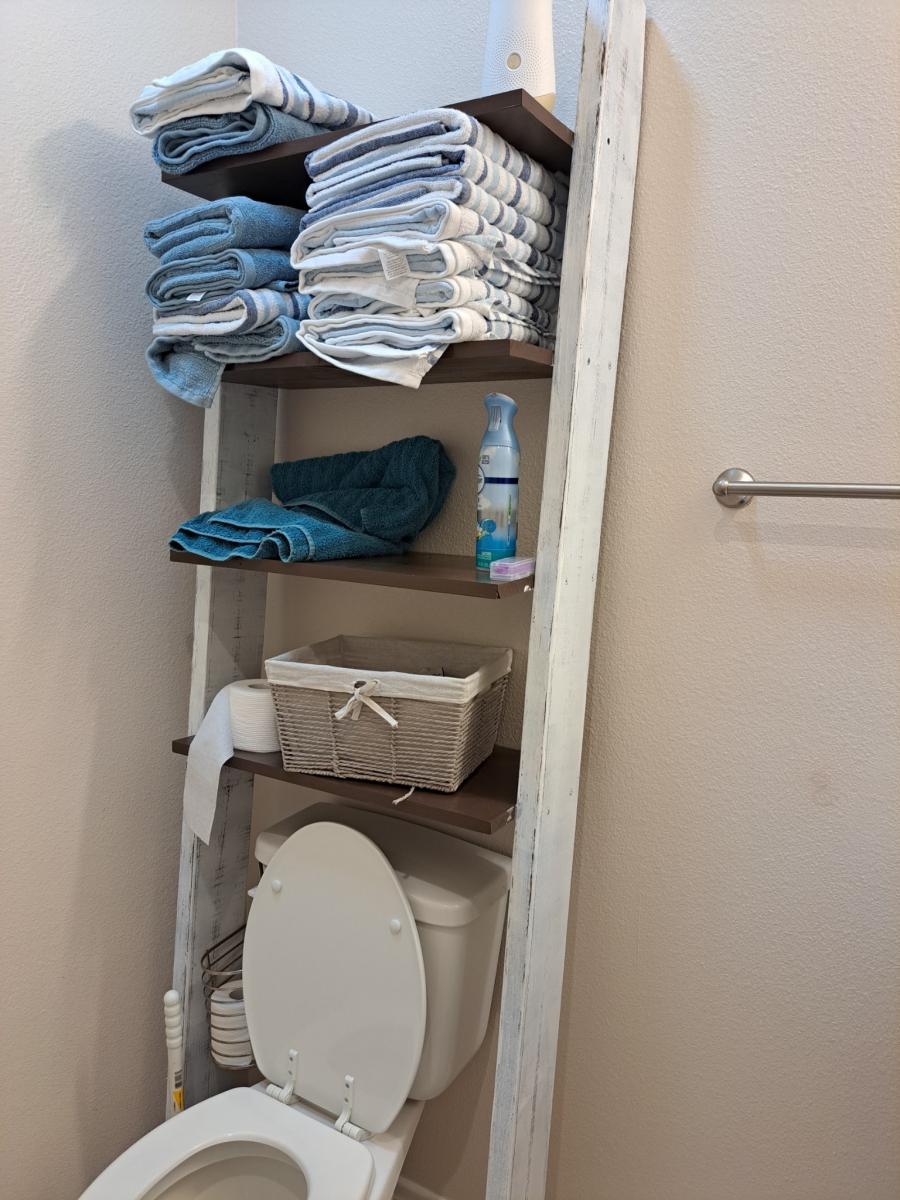
I had fun building this Leaning Bathroom shelf you posted from RyobiNation! I had been looking for the right bathroom storage for awhile. I have a small bathroom and not much really did it for me until I found the link to the plans on your Facebook feed. The moment I saw it I knew I had to build it for my bathroom so thank you so much for posting it! 

Estimated Cost
$30
Estimated Time Investment
Afternoon Project (3-6 Hours)
Finish Used
Rust-Oleum Traditional Cherry: I just made sure my wood was sanded and smooth and just applied the stain. Not much to my finish.
Recommended Skill Level
Beginner

Kids Tree Fort

Submitted by Anonymous (not verified) on Sun, 05/31/2020 - 09:27

Built a fort for the boys with two climbing walls, a spot for their toys, and added some hammock swings

Estimated Cost
~$600
Estimated Time Investment
Week Long Project (20 Hours or More)
Finish Used
No stain, left natural
Recommended Skill Level
Advanced

Farmhouse Night Stand

Submitted by searcyb on Tue, 07/24/2012 - 20:28

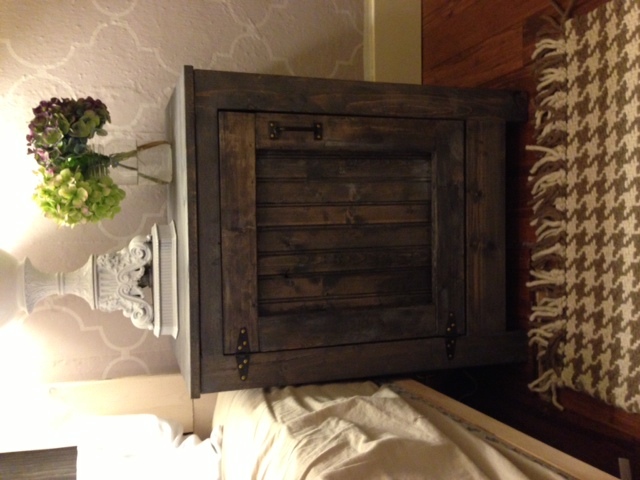
My Wife asked me to look into a night stand for her. I am so so so thankful that I was able to come across Ana's site. I showed the site to her and she asked me to build this night stand as opposed to going out and buying her some expensive poorly built nightstand. Thank you Ana for this wonderful site and the inspiration that some of us need to "get started."

One thing that I didn't think about when I started this project:
The cut list is a suggestion of what you will need to cut. I only ran into one major issue and that was with the inset bottom of my pull out drawer. I cut my drawer sides to the dimensions on the cut list (not paying attention to the note from Ana) and had to adjust my cuts for the drawer. I ended up ripping down the remainder of the 1x12 and paired it with the 1x6 that I had left over. Using the Kreg Jig I now had a perfect fit for my drawer.

I would have liked to have had a darker stain (more of an espresso) and that is my fault for not buying different stains and testing them on my wood choices. As far as my wood choices I used 1x6 and 1x12 "white board" 1x2 and 2x2 precut pine and bought a scrap piece of 1/4in plywood for the backer.

The Kreg Jig made this project very easy to complete as well as my counter sink drill bit. Although not impossible to complete without these two tools it is remarkable easier to complete.

Built from Plan(s)
Estimated Cost
125
Estimated Time Investment
Weekend Project (10-20 Hours)
Finish Used
Minwax Bombay Mahogany and Polyurethane
Recommended Skill Level
Beginner

Thanks for the plans, this is exactly what I was looking for.. So I made two.

Submitted by dshudson on Mon, 05/19/2014 - 03:38

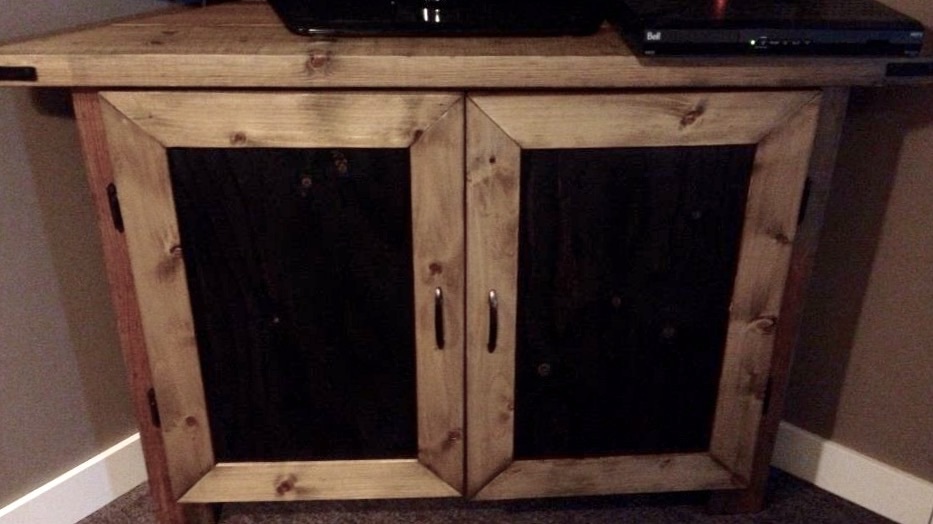
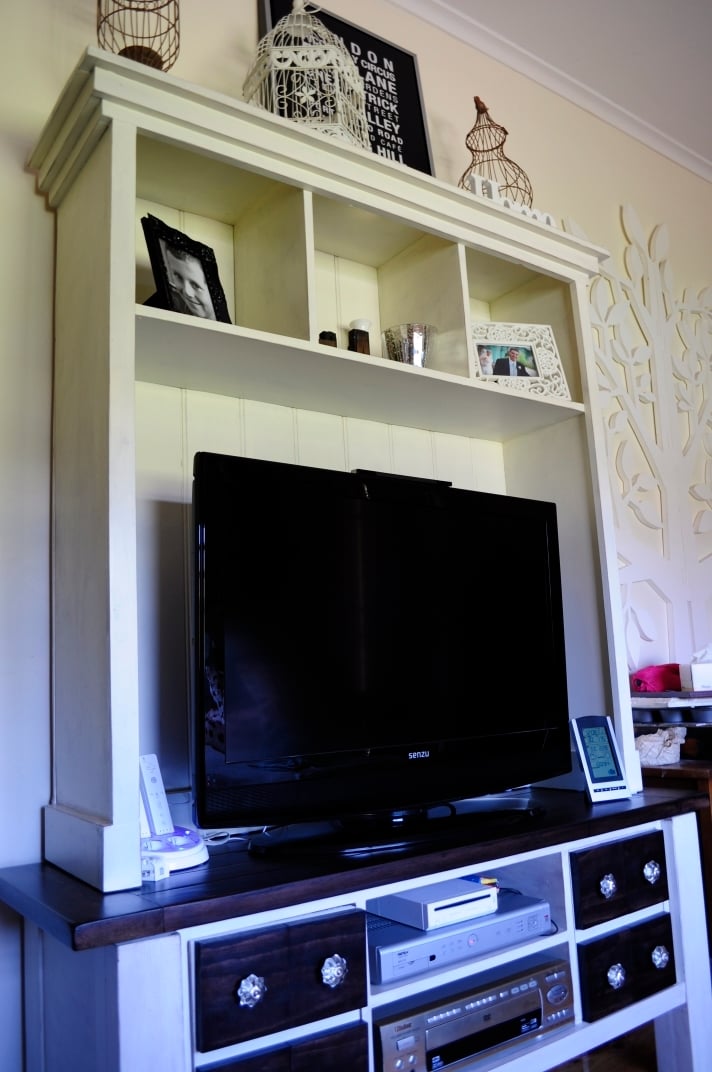
I did this project over the weekend. I love it. Makes the family room pop. I needed something to hide my cable box and this worked perfectly. I made two, one in each corner. I too purchased the creg jig and now that I know how to use it, I will be doing more diy projects. Thanks.

Estimated Time Investment
Weekend Project (10-20 Hours)
Recommended Skill Level
Starter Project

Comments

MSGRet

Mon, 05/19/2014 - 06:05

Excellent job, looks great. Where did you get the plans from? My wife bought one from a unfitted furniture store last year and stained it but it looks nothing like what you build. I would like to build one myself if I can get the plans.

MSGRet

Mon, 05/19/2014 - 07:56

Thanks guys, just what I was looking for but couldn't find it earlier. Thanks for your help.

2x10 Step Stool

Submitted by msyoung22 on Fri, 08/19/2016 - 14:14

With some left over scrap 2x10 wood I made this stool for my children.

The total heigh of the stool is 9" (7 1\2" for the feet, 1 1\2" for the top, and 1\2" for the design on top made from scrap pallat wood)

The top is 1 1\2" x 9 1\4" x 16" (because of the thickness of the wood I would recommend cutting the top to 18" instead of 16")

The legs are cut with a 5 degree angle

I made the design on the top by ripping some reclaimed pallet wood into 1" strips and then cutting each into 2" pieces

Estimated Cost
$20
Estimated Time Investment
Weekend Project (10-20 Hours)
Finish Used
Minwax: gray
Minwax: pickled oak
Minwax: weathered oak
Minwax: polycrylic protective finish
Recommended Skill Level
Starter Project

Refinished kitchen table and chairs

Submitted by tthackston on Tue, 06/02/2020 - 06:45

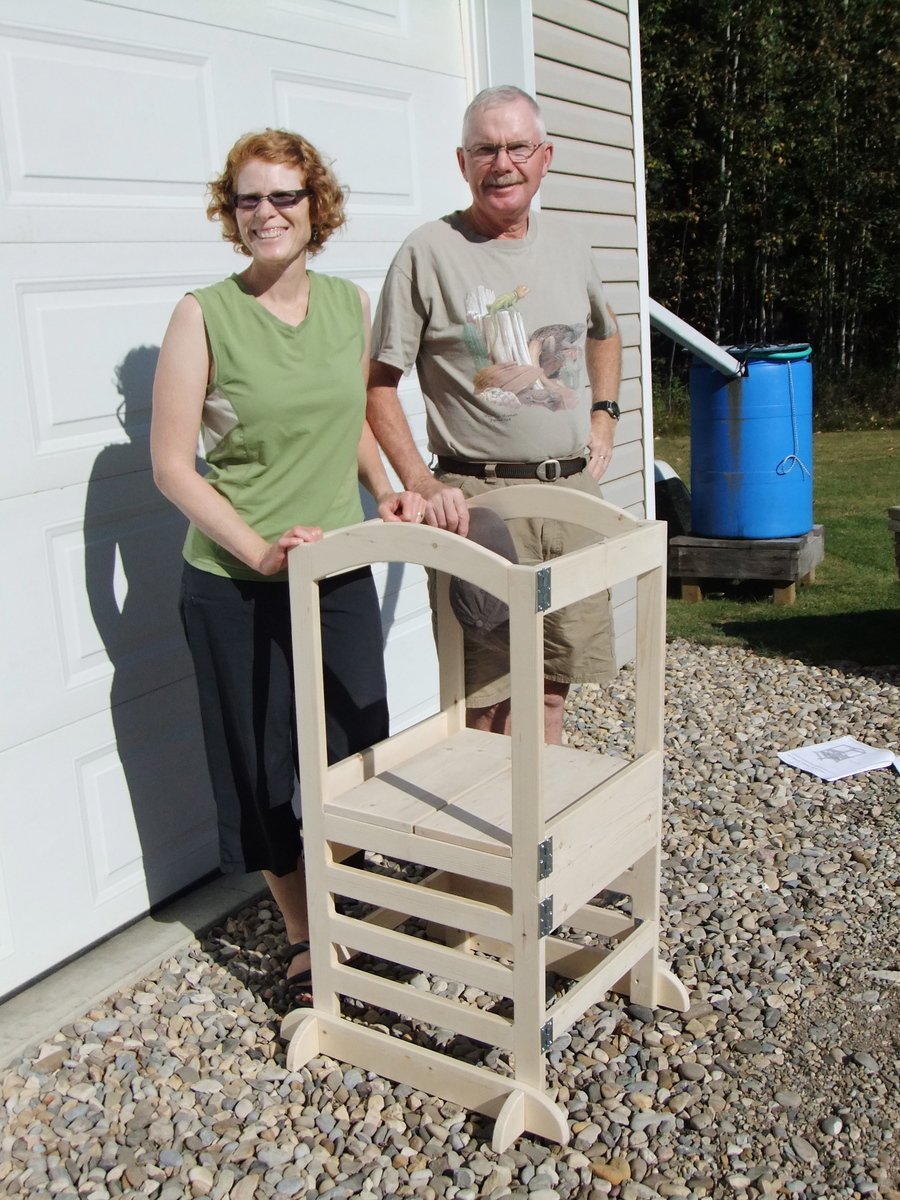
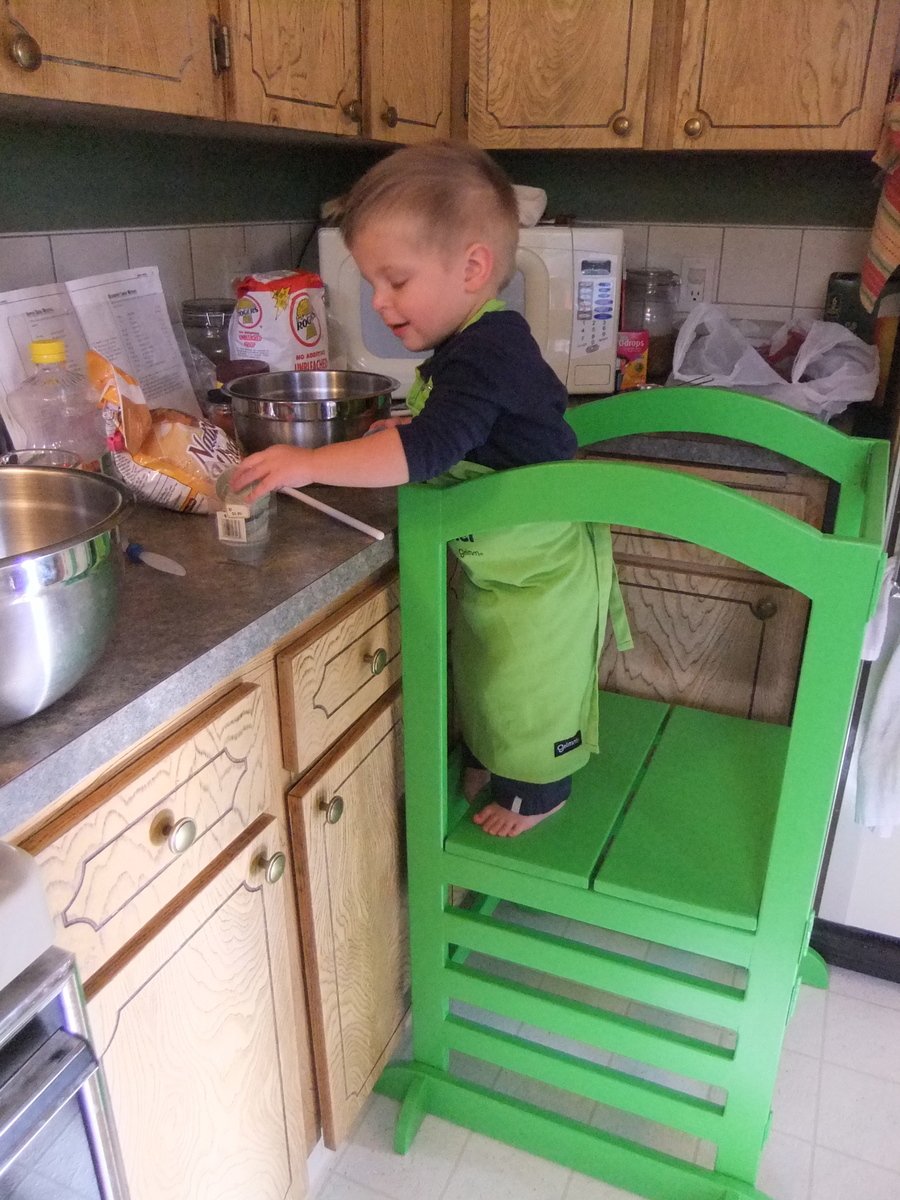
My kitchen table needed something, so instead of buying new, I sanded and used a dark stain on the table top and chair seats. It looks like whole new table! This wasn’t from a plan, but used skills I learned building from Ana’s plans! Off to build the Little Helper tower now!

Estimated Cost
Less than $50
Estimated Time Investment
Weekend Project (10-20 Hours)
Finish Used
Dark walnut stain
Recommended Skill Level
Beginner

Trash with Lift-up Storage

Submitted by Anonymous (not verified) on Mon, 02/26/2024 - 10:31

Replacing a trash bin for a friend whose cats could not get into. At the last minute I thought a little hiding area on top would give them some storage for bags and things. Had to go one size down on the Rubbermaid to allow for clearance when tilting open. They love it, the cats hate it.

Back To School Podium

I recently landed my first teaching position, and unfortunately my predecessor left quite a blank canvas for my classroom. I will be teaching math and definitely needed a lectern to hold my book as reference for examples during instructional time. However, I was completely unable to fork over $200 for a lectern...so of course I turned to Ana White! I saw the Podium Plan that another had submitted, and used it as a guide with some changes:

1) My dimensions are 15" wide by 21" long by 43" tall (I'm shorter than your average bear).

2) Used the table saw set at 45 degrees to create mitered joint edges with my plywood

3) Inset the shelves into the frame for added stability using a router.

4) Added casters to the base for maneuverability

5) Added an easily-removable laptop shelf for the side for easy hook-up to the Promethean Board in the classroom.

6) Decoupaging my name to the front for some visual interest...(and of course to claim ownership...:) )

My room is painted yellow, and all of my accessories are teal, lime green, and brown. This is gonna look GREAT in there, and best of all, it's attractive AND functional!

Built from Plan(s)
Estimated Cost
$40.00
Estimated Time Investment
Afternoon Project (3-6 Hours)
Finish Used
Paint and Spray-On Poly
Recommended Skill Level
Beginner

Comments

birdsandsoap

Sat, 07/28/2012 - 22:23

I don't remember having ANY teachers with anything this cool and personal in their classroom (except maybe woodshop, har-de-har-har). All the other teachers will be jealous!

20 Second Tidy Up

This was a fun simple project. I added some fabric to the bottom of the trundle. If you have questions when building please let me know. Thank you for viewing.

Estimated Time Investment
Weekend Project (10-20 Hours)
Finish Used
Ipswich Pine - Minwax
Dark Walnut - Minwax
Recommended Skill Level
Beginner

Elsa Loft Bed

Submitted by Anonymous (not verified) on Sun, 08/21/2016 - 16:22

Wow! This took much longer than 2 hours and cost around 200 but it was worth it! My 3 year old LOVES it. We added a safety rail to the foot end. 

Estimated Cost
200
Estimated Time Investment
Weekend Project (10-20 Hours)
Finish Used
Splurged on a "one coat" pain from Home Depot. It's amazing.
Recommended Skill Level
Beginner

Double Outdoor Chair

Submitted by Anonymous (not verified) on Sat, 03/02/2024 - 11:16

I make these double benches with storage in the middle… very sturdy and comfortable…. Will last a long time….

Stewart Larocque

Simple Outdoor Bench

Submitted by coolove on Sat, 05/24/2014 - 21:24

I wanted to make something for my mom so she could have a place to grow her herbs this year on the balcony for easier access instead of planting in the backyard. The project was stretched over a few days. Cutting on day one, sanding on day two, painting on day three and drilling and putting it together on day four.

With the exception of the legs, the entire bench was put together using the Kreg Jig mini. I added extra 1x4s to the legs. Though, next time I will change to either 2x4s or 4x4s for extra stability when sitting. I really love how it turned out. I almost don't want to put it outside.

Built from Plan(s)
Estimated Cost
$30 for wood
Estimated Time Investment
Weekend Project (10-20 Hours)
Finish Used
Varathane Dark Walnut and Cabot Semi-gloss Spar Varnish. The finish had been sitting in my garage unmixed for a few months. It came out a lighter color then I expected but I love the outcome.
Recommended Skill Level
Beginner

Comments

lbadger

Wed, 11/25/2015 - 16:28

I love how your bench came out! I am looking at doing something similar - two in sectional arrangement to use as project/work space seating and convert to spillover sleeping area (the table will lower to bench height). I have a question about stability.Even with the additioanl 1x4 are you finding this bench not very stable?

thanks!

Much needed for our bathroom!

Submitted by Anonymous (not verified) on Thu, 08/25/2016 - 09:48

I am a really beginning builder (read: this is about my fifth project ever), but it is perfect for our tiny, narrow bathroom. I finished it with Golden Oak stain I already had on hand, and I enjoyed the process. Thanks so much for sharing the plans!

Estimated Cost
$30
Estimated Time Investment
Day Project (6-9 Hours)
Finish Used
Golden Oak Stain and Poly
Recommended Skill Level
Beginner

Almost finished

Submitted by jfloyd on Sat, 06/06/2020 - 19:24

Fairly simple, especially if you have a miter station. So many repeating cuts. I think I cut the entire couch in 20 minutes. I believe we’re in this for about $250; including screws, and cushions, and paint. Very inexpensive compared to purchasing. So, I routed the arms with a 45 and added a 2x2 rail to keep the cushions from moving out the back. I will be turning it into a sectional soon. Also painting it red... Stay tuned.

Built from Plan(s)
Estimated Cost
$250
Estimated Time Investment
Afternoon Project (3-6 Hours)
Finish Used
Will be Behr exterior paint in crimson.
Recommended Skill Level
Beginner
Back