Big Kid Picnic Table
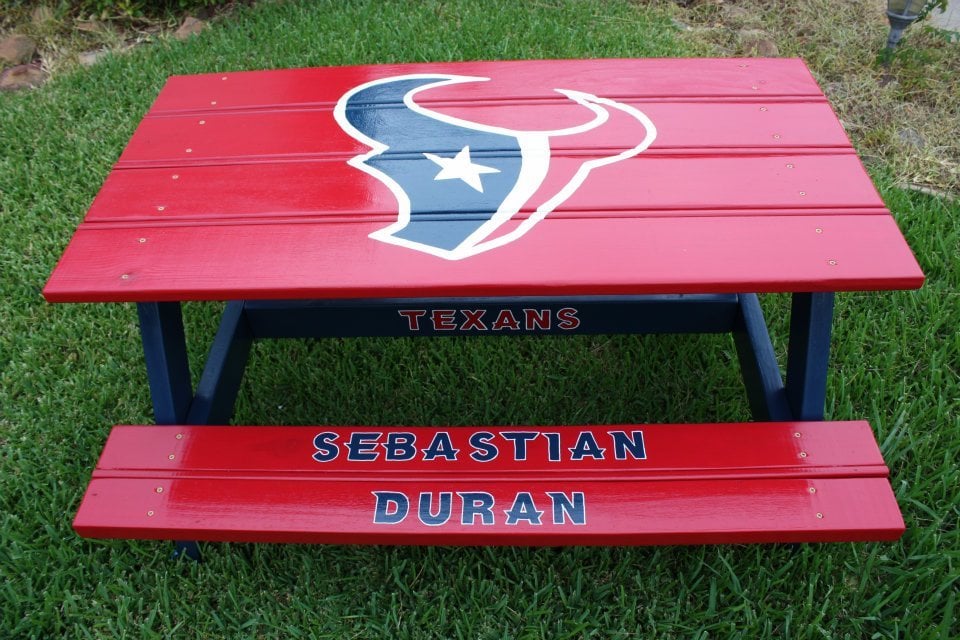
We have made several of these tables, but we have made an adjustment to where there are no gaps in the seats or the table tops!
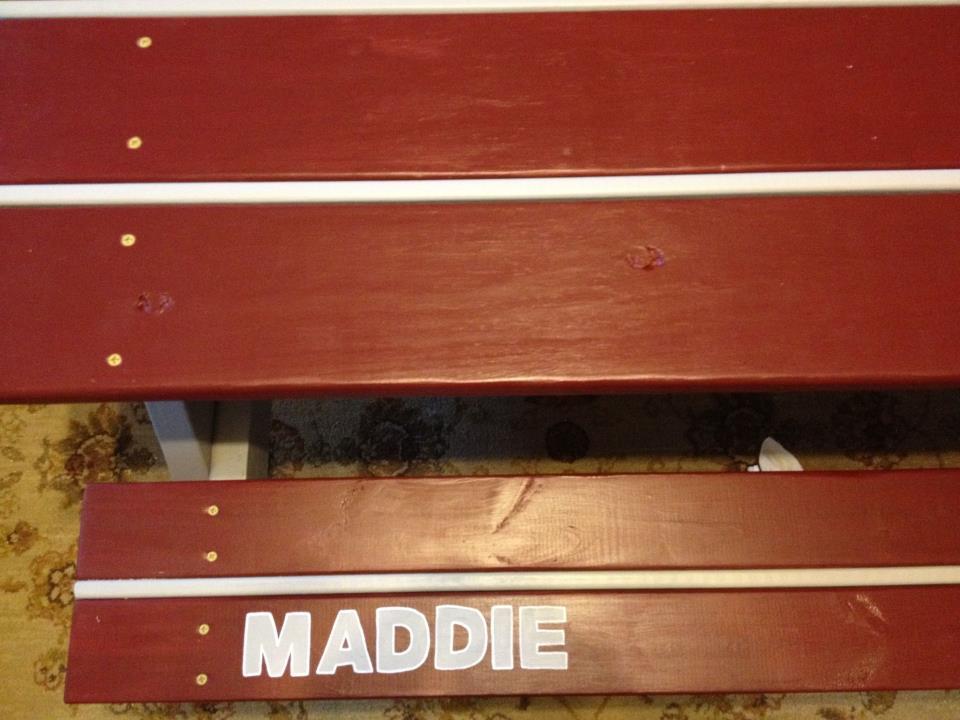

We have made several of these tables, but we have made an adjustment to where there are no gaps in the seats or the table tops!

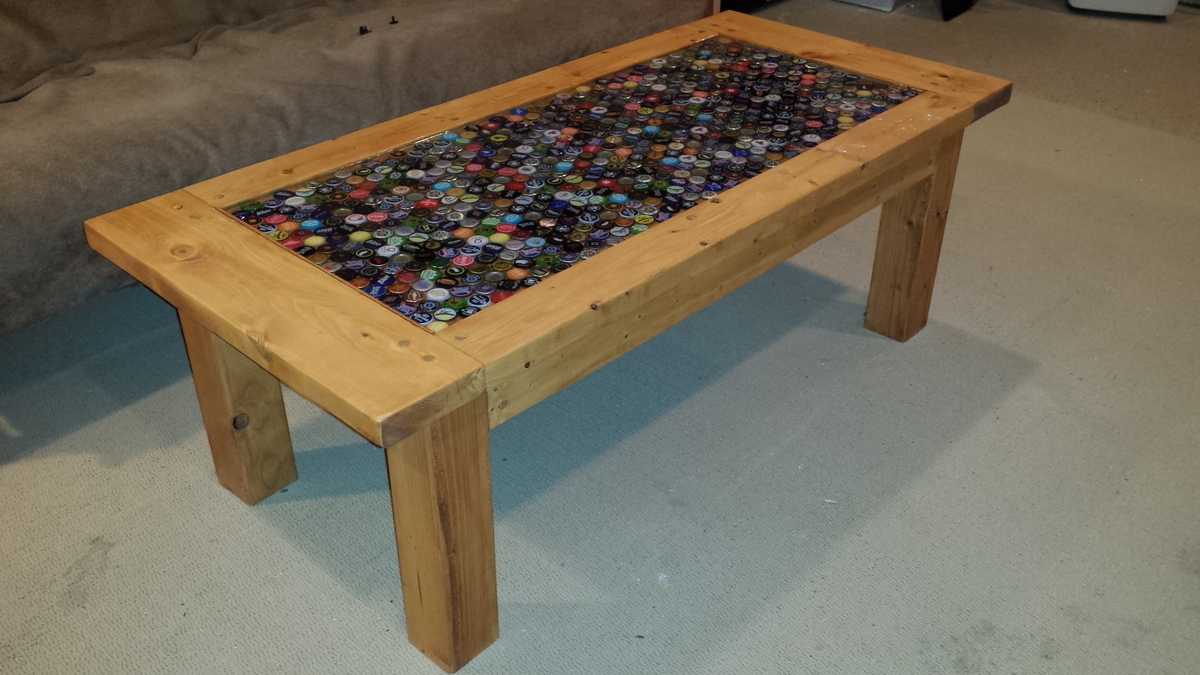
Modified the plans to incorporate 645 bottle tops instead of the center boards. Sealed the whole thing with a 2 part bar top epoxy.
Had to clean out my storage area to make room for my new woodworking shop, so a new shed was in order. Since my neighborhood does not allow large sheds i thought this would be the perfect fit for the small area right outside of the shop. I had to adjust the plan to make it narrow but longer. Used pressure treated fence pickets for the siding..
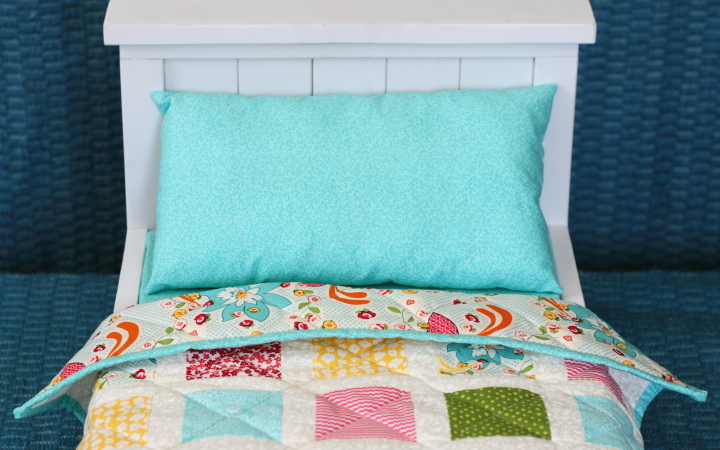
When I saw Ana's plans for this doll bed I knew it would be a perfect gift for a little seven year old girl in my life this past Christmas. I love how it turned out and she was thrilled with the gift.
For more details about how I made the bed, bedding and quilt check out my blog at http://homeandawaywithlisa.com/blog/2013/1/3/doll-bed-with-bedding-patc…
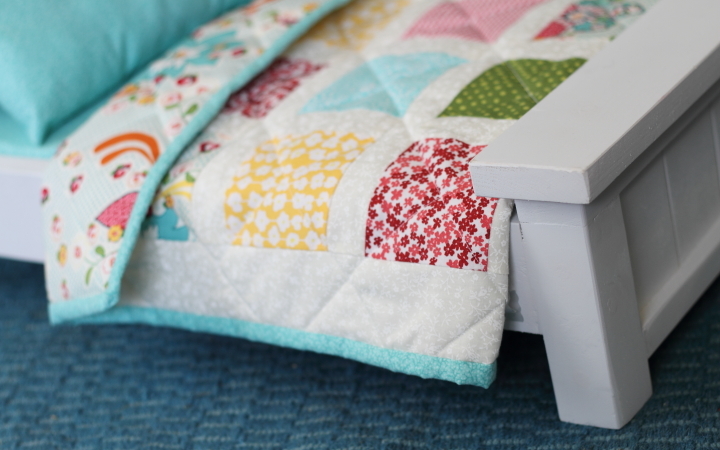
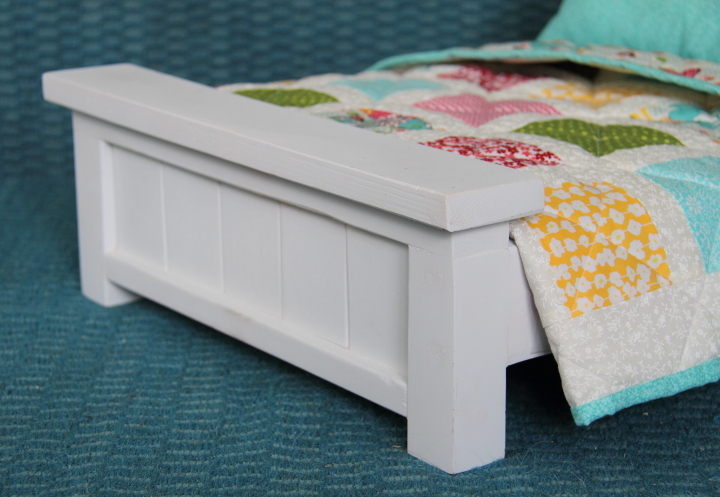
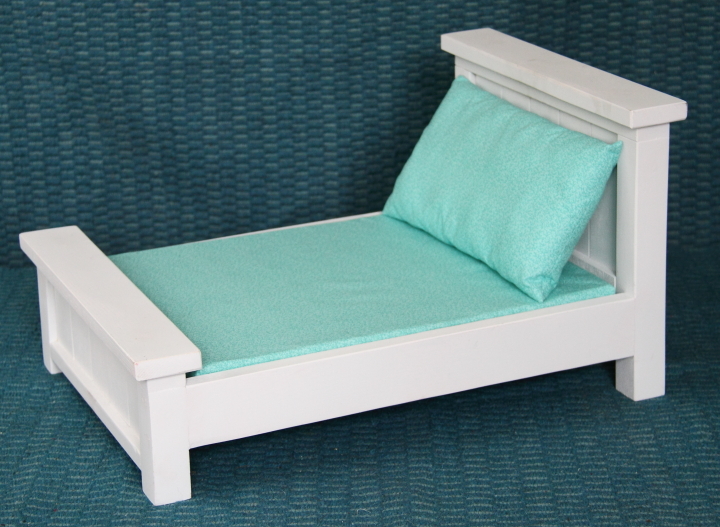
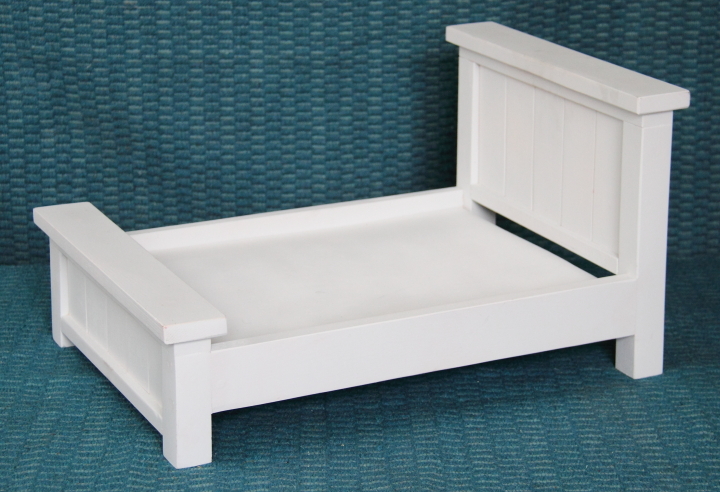

One of my first projects ... farmhouse bed for our Mount St. Helens cabin. Added a few tree cutouts to the headboard to keep with a similar theme throughout the cabin. Turned out pretty good.
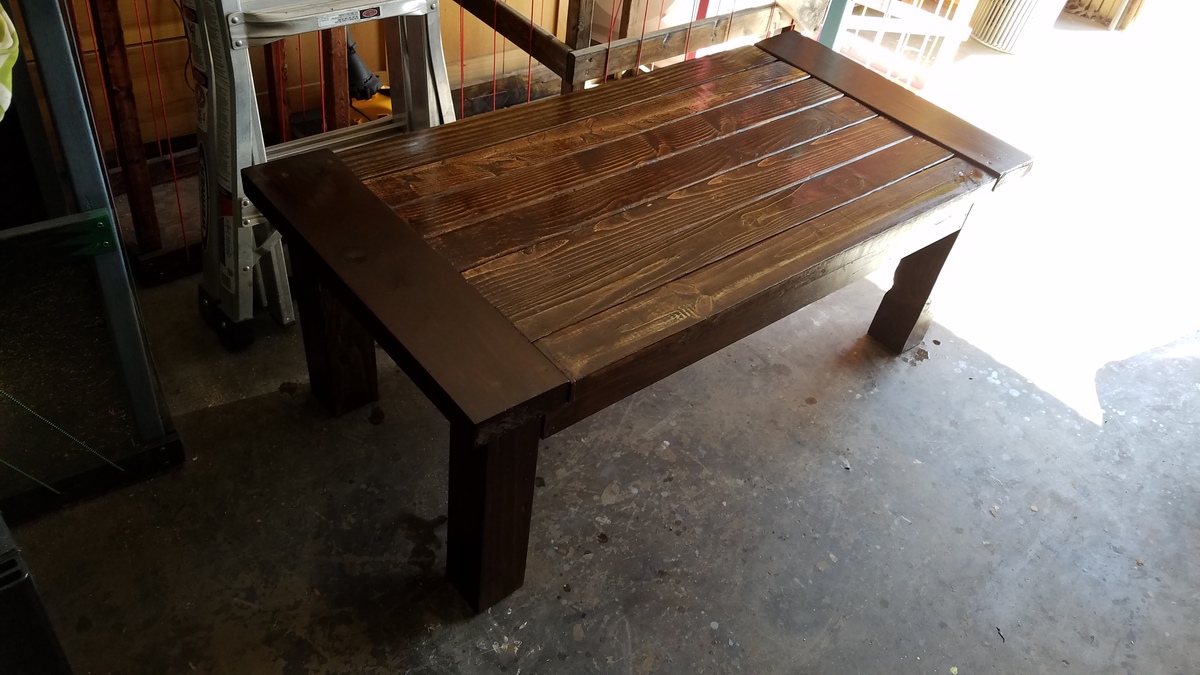
Very fast and easy to complete
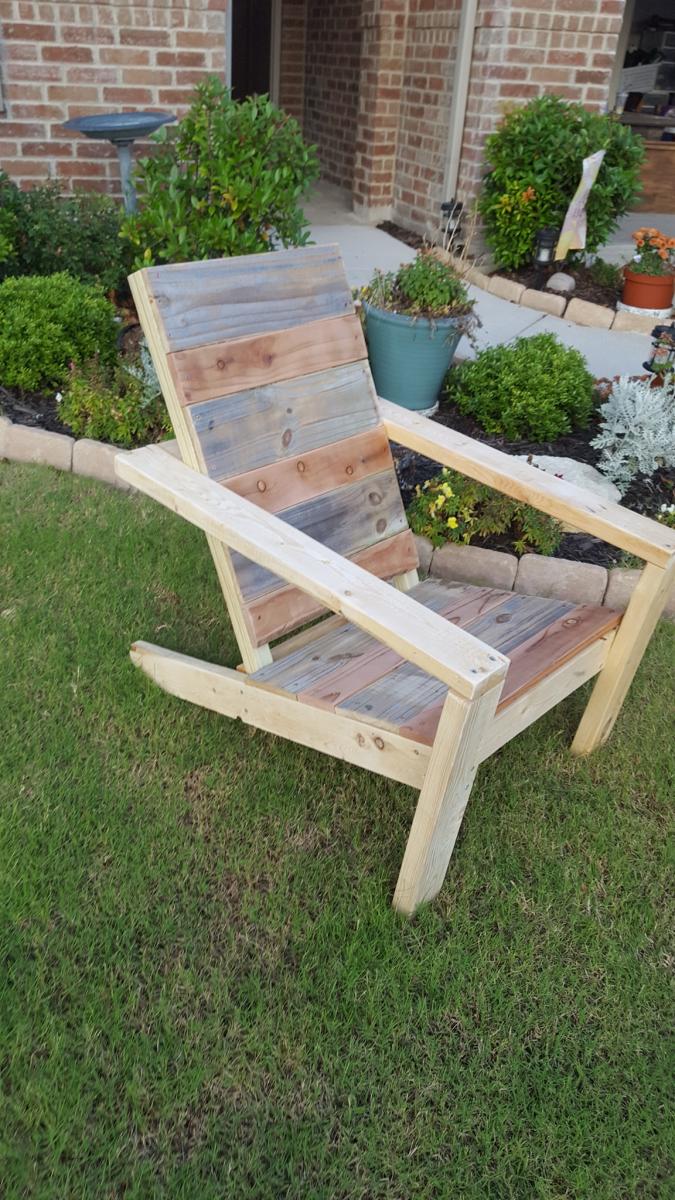
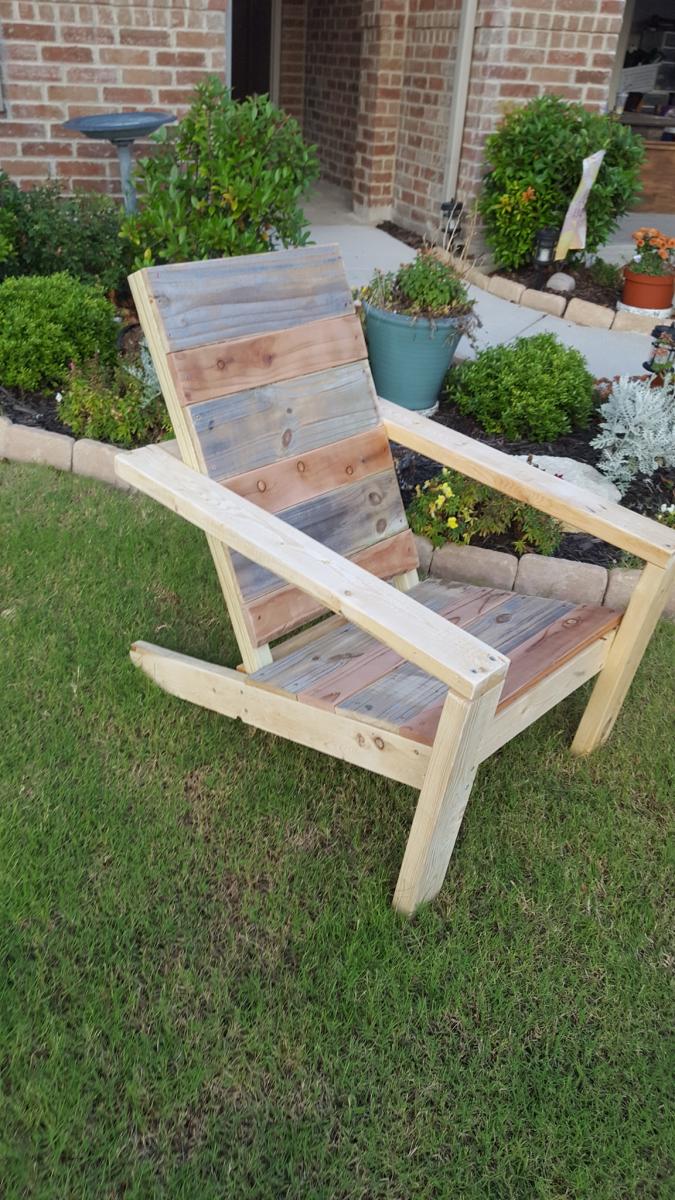
I love these chairs. I have made about 10 of them. I have several orders for 16 more. I use old fence planks for the seat and back. I also changed the back supports to 35 in. My husband is 6ft and he wanted to be able to rest his head back when he sits. Cutting the legs is the hardest part. I also changed the arms to jig holes so the Screws would not show.
I followed the directions for the apron pretty much to the "T" but I did end up using double fold biased tape which made doing the trim a bit easier (it's just what I had on hand). It took me less than 2 hours, (kid interruptions included). Easy project and great work apron!
Sat, 01/05/2013 - 08:53
Very cute. I wonder if you could get a new style started with these aprons. wear them to the store, put you keys, cell phone, and wallet in it when you dont have any pockets. I would try that. This one is very cute.
Mon, 10/21/2013 - 21:14
Emily, that's the first thing I thought when I started making this apron. I was thinking it can be the "fanny pack" of 2013! I invented the piano key purse apron! I invented it! (Zoolander)
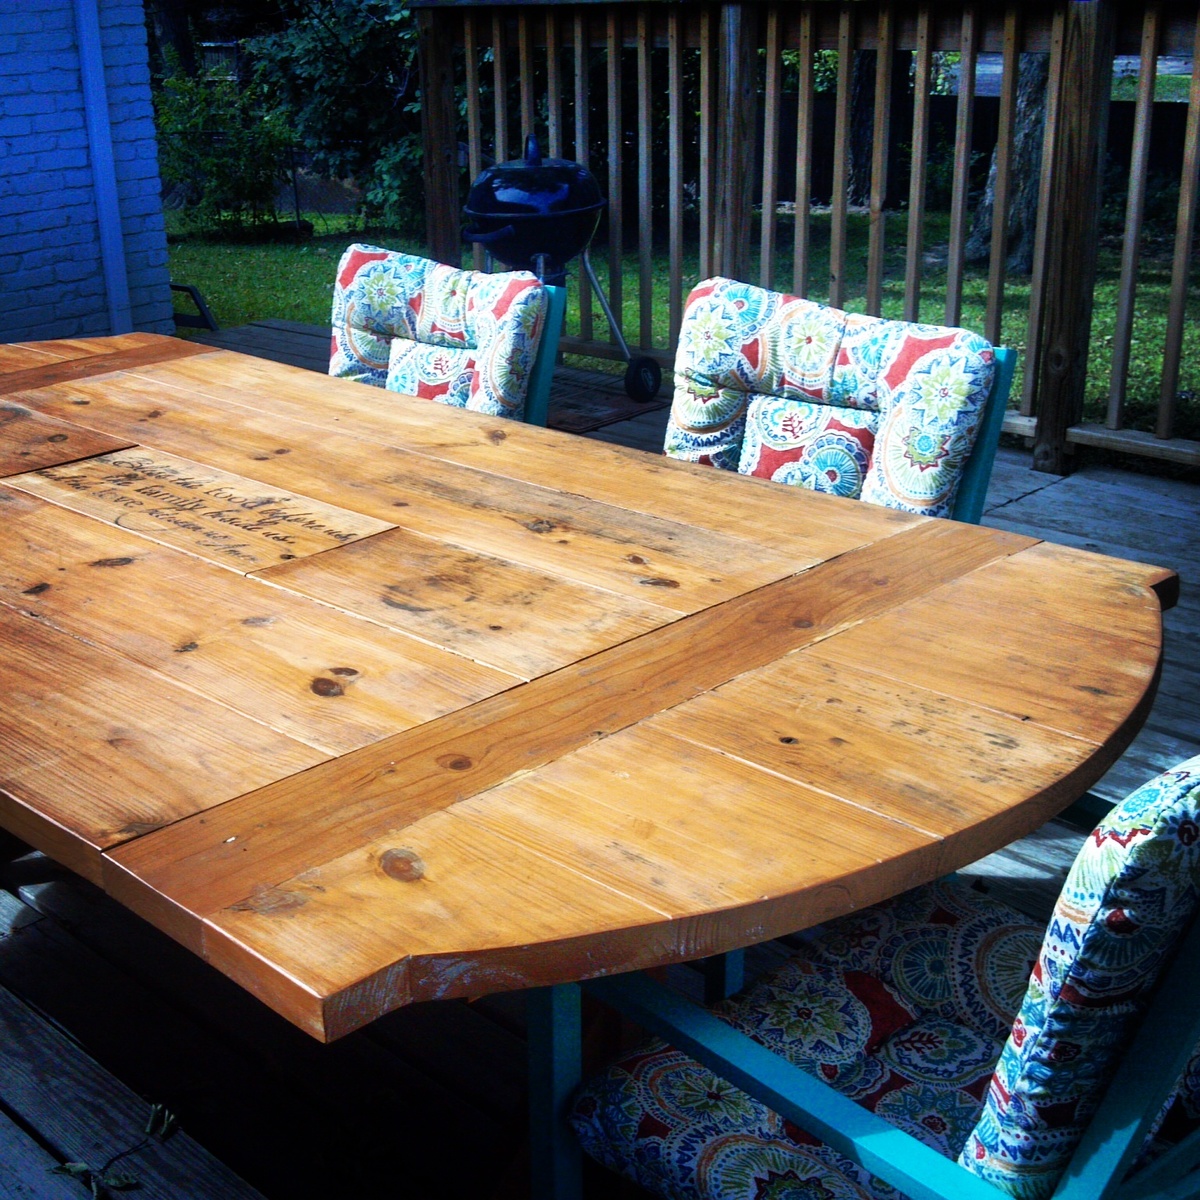
For this table I combined few designs that I liked to give me a large (8'x4') outdoor dining table with a big cooler in the center.
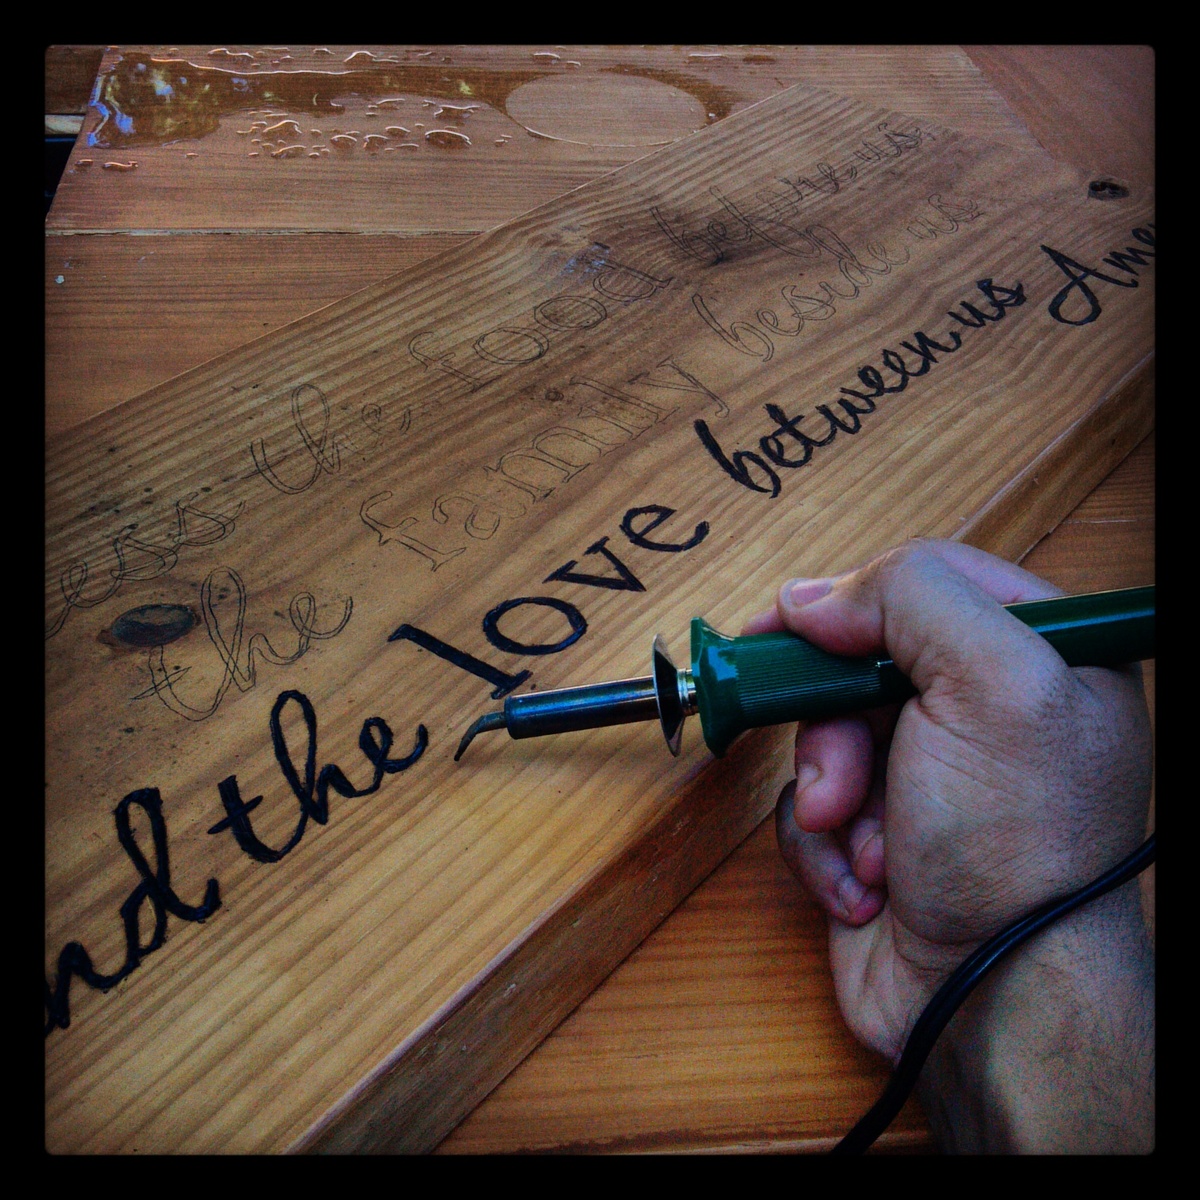
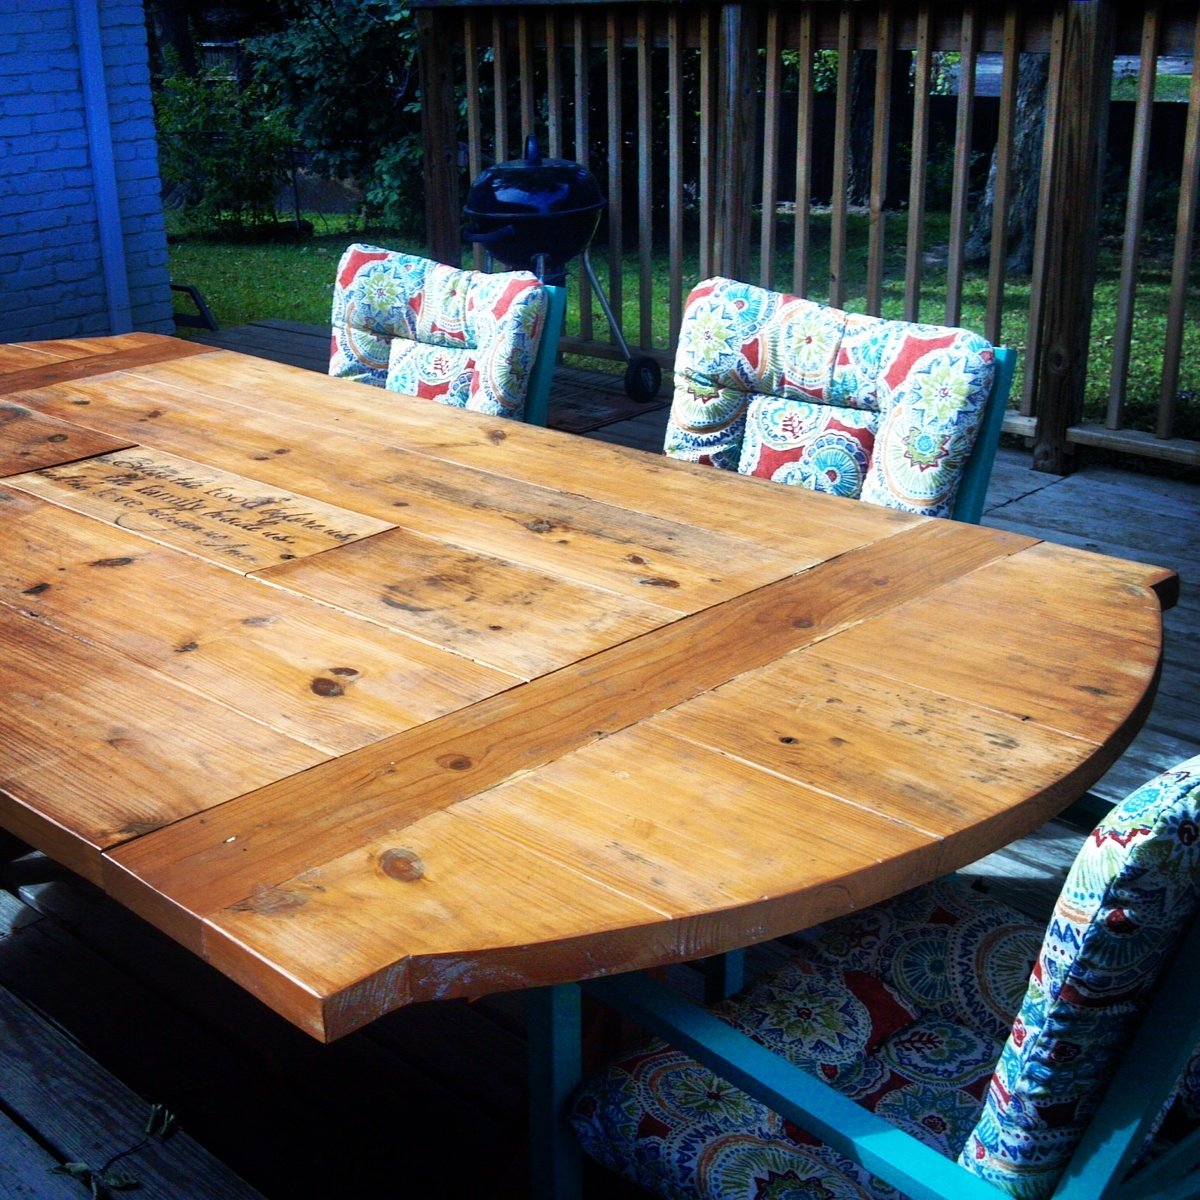
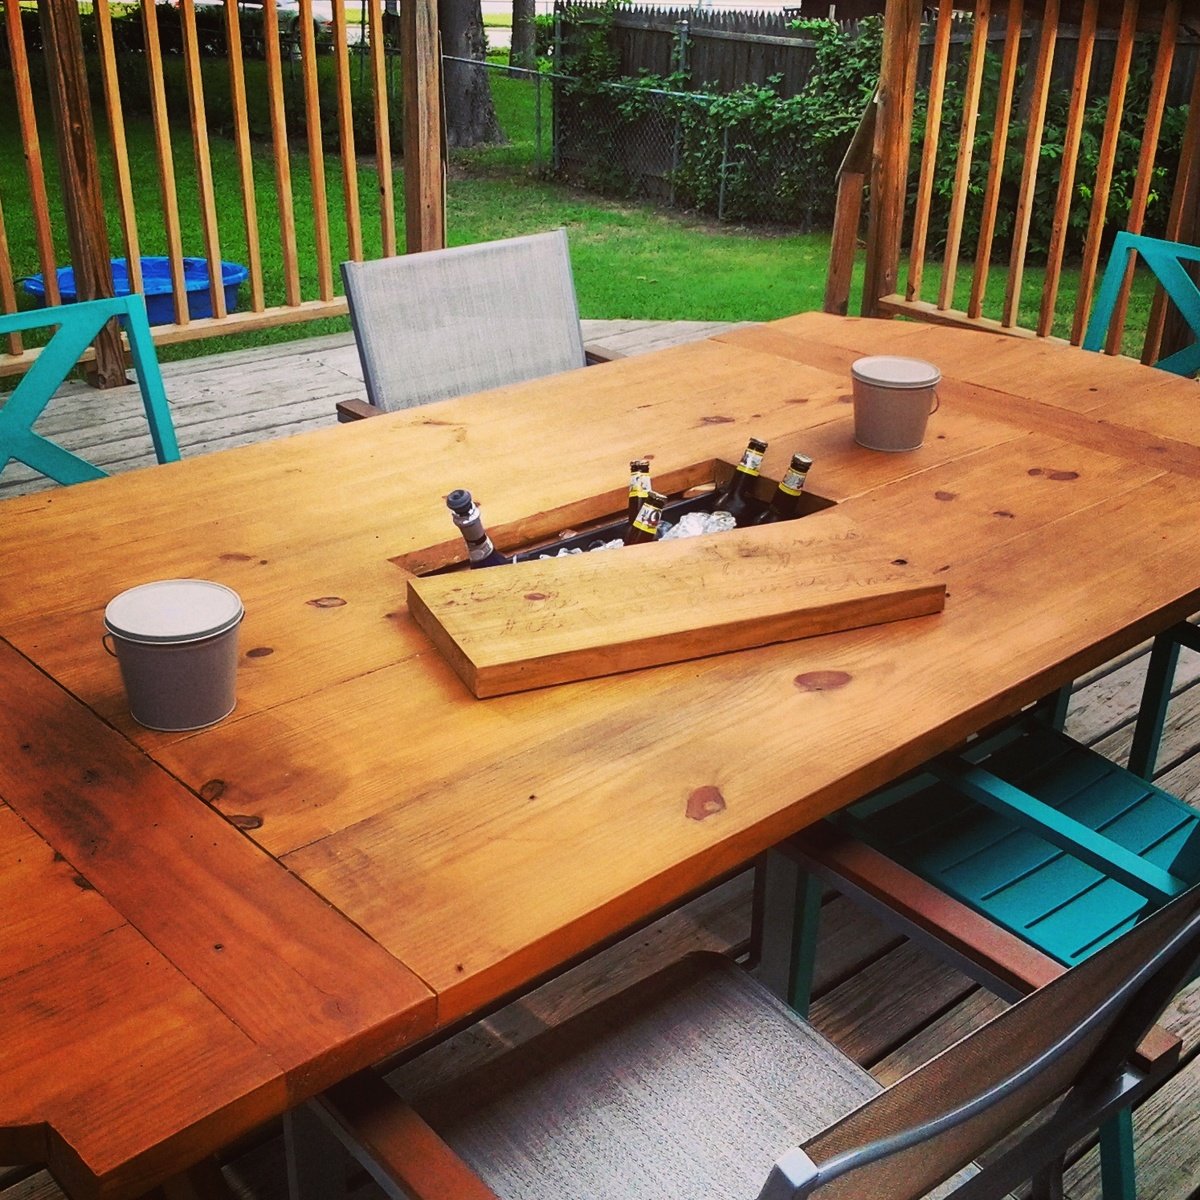

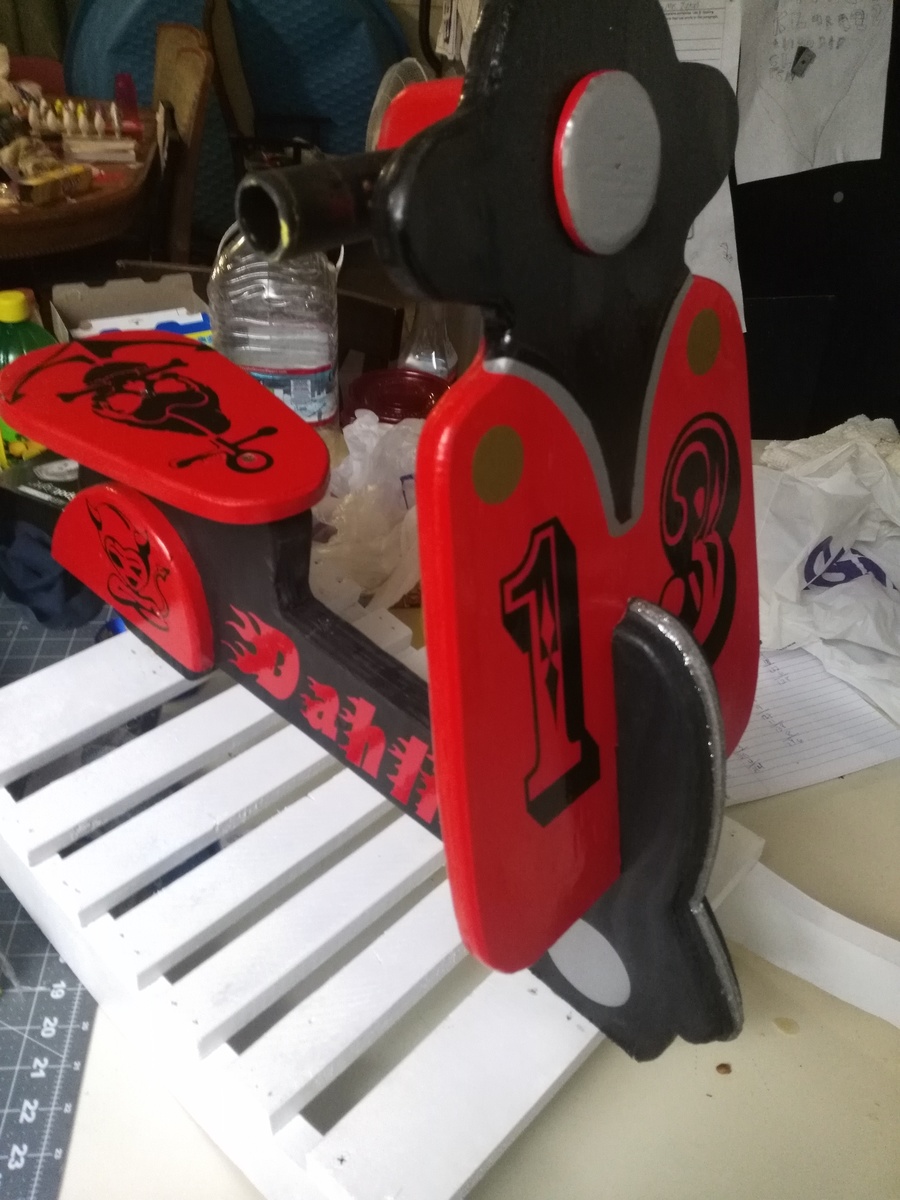
Really fun and easy to build. Thank you for the inspiration and plans.
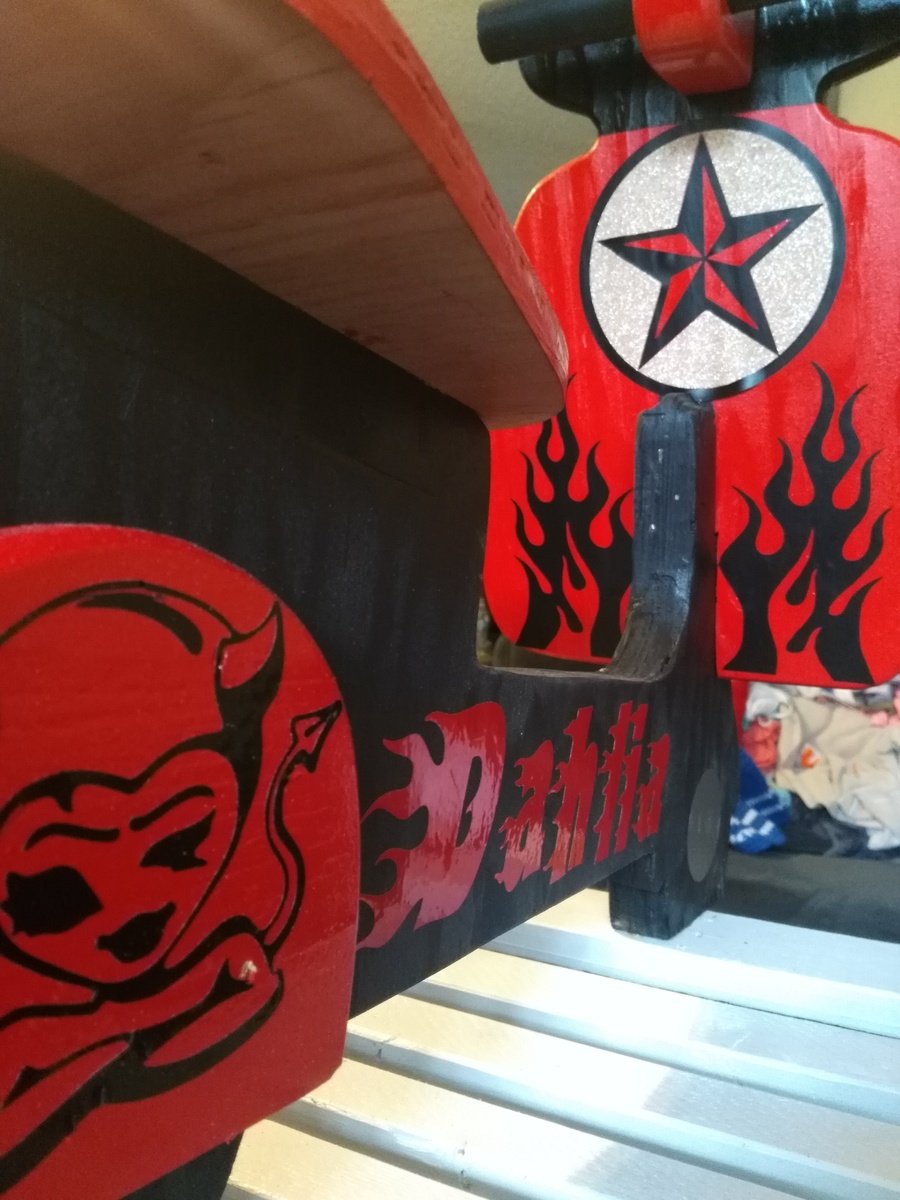

My wife decided she needed a piece of furniture to contain the kids craft supplies. I found the ‘Ana White’ page with the Barn Door Bookcase design. We already make custom art pieces and I challenged my wife that we could make this bookcase with our own custom twist of art. Piece turned out great and we are both very pleased. Thank you for the plans! #AccindentallyArtisticDesigns
Sun, 11/01/2020 - 10:17
To integrate your art with the cabinet is truly magnificent! Thank you for sharing:)
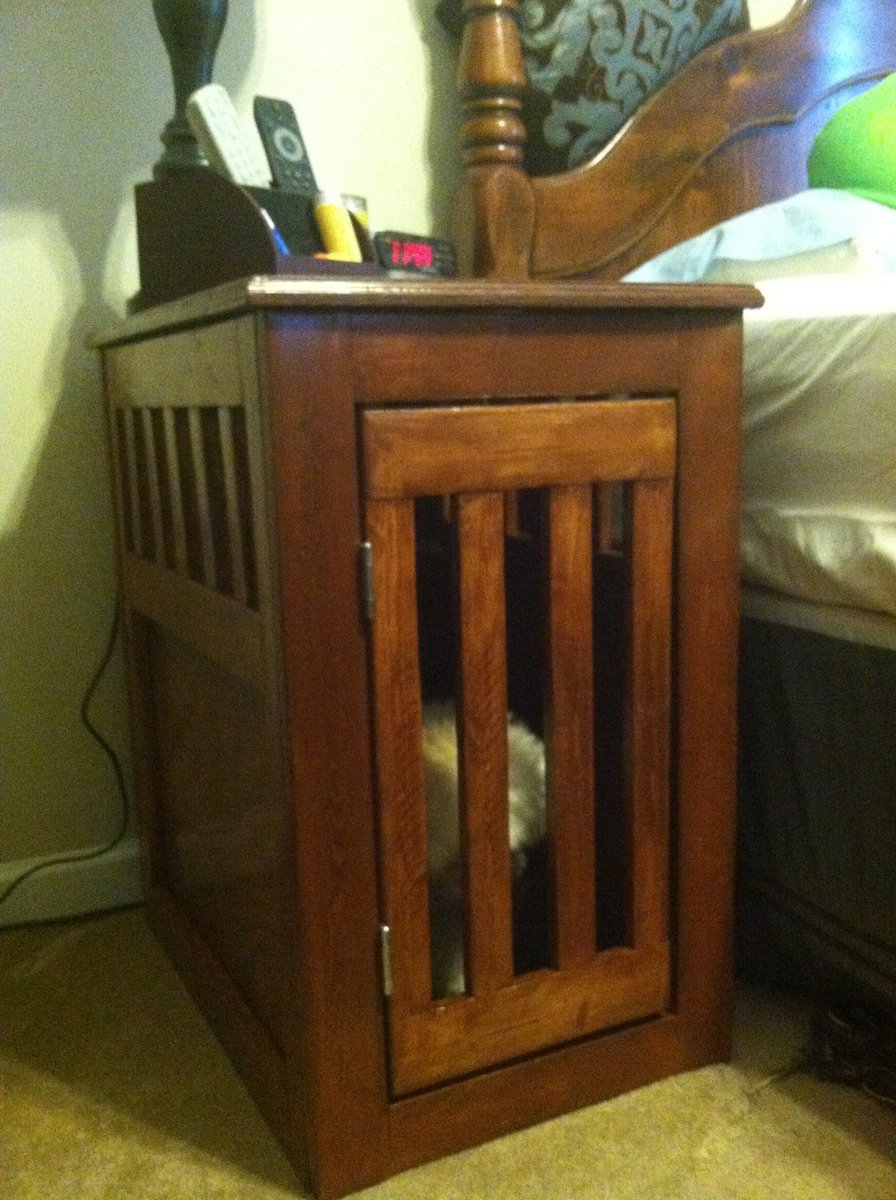
I shopped for these types of crates long ago, but resigned not to buy one because the professionally built ones were way too expensive ($400-$600!). So I was so happy when I saw these plans via Pinterest and got to work! I modified the dimensions to make the shortest side of Ana's original plans to be the longest side of my crate. Which ended up to be the exact width and depth of my Maltipoo's wire crate. This was my first building project ever (not counting high school shop class over 10 years ago). It definitely took longer than I expected and if I could do it all over again I learned a few lessons that I will implement when I make a large crate for my Golden Retriever, but overall the directions were easily followed and we had fun experimenting with things that work and things that don't.
1) Pick good wood-- even for the 1x3 and 1x2 pieces we just went to a big box hardware store and thought we could use just anything, but quickly found out that it was warped and cracked easily when we tried to start assembly.
2) Pre-drilling is essential- especially for the thin cuts of wood which were already soft and prone to cracking. When we predrilled we were able to avoid these headaches.
3) Invest in a good wood for the top- Since we were using as a night stand, we decided we would like to use a nice wood for the top of the crate since that is ,mostly what we would see and come in contact with everyday. We found some beautiful Birch wood on sale (plus they gave us an additional discount for a footprint--which was easily sanded off) and it was really worth it. It has some nice texture and grain patterns which really came out when we stained. Worth it!
3) I wish I would have added a drawer- Since I am using this as a night stand, and my dog is so tiny, she does not need all that head room. I could have easily extended the open slats further down the sides and installed a drawer in the upper space for bedside storage. My Golden will need all the headspace in her crate so this is something we still wont try with our next build, but I wish I would have thought of it for this one.
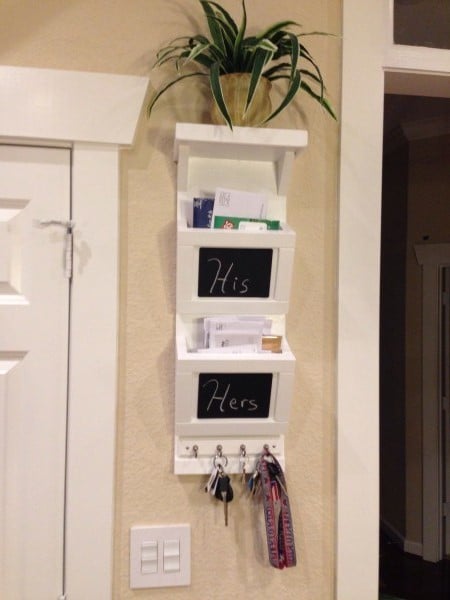
Built in a few hours and cleaned up seams with caulk. Finished it off with standard trim paint.

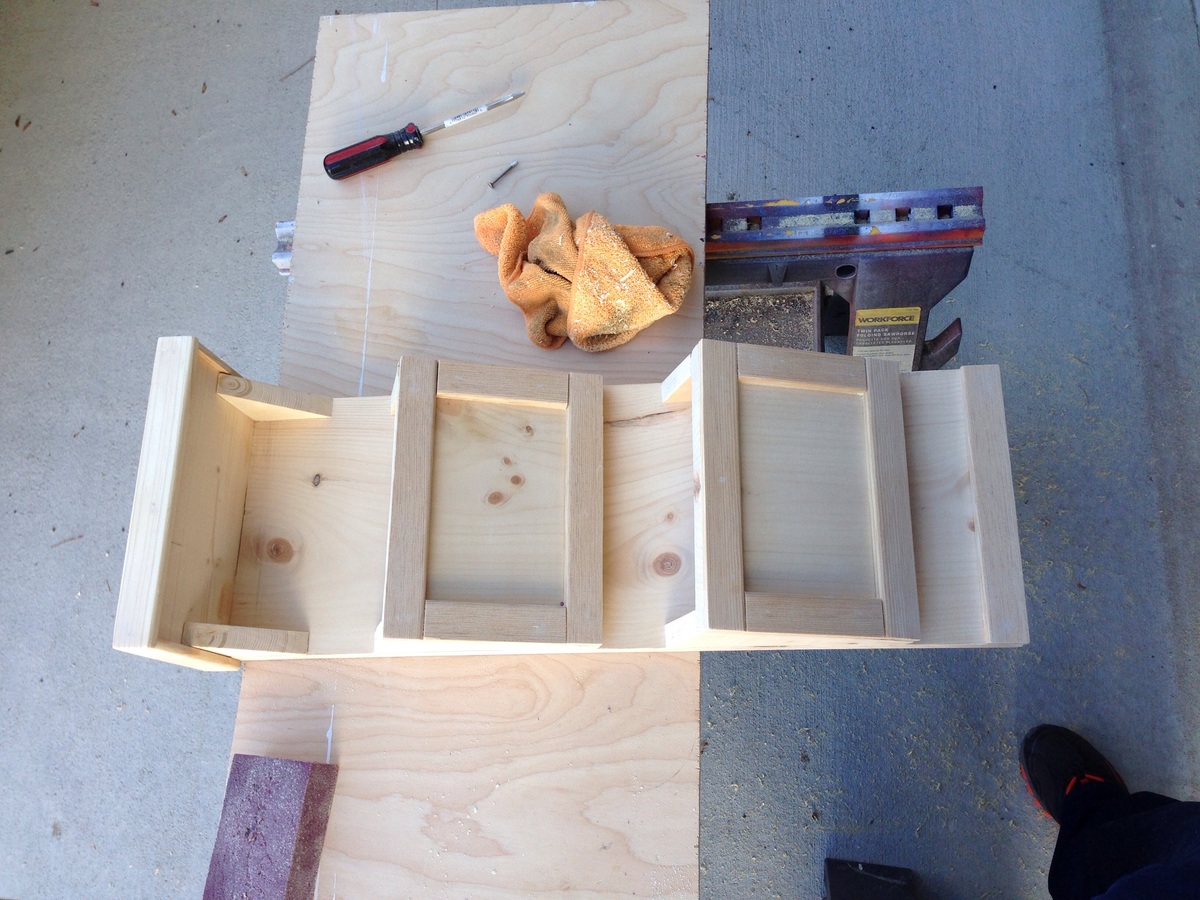
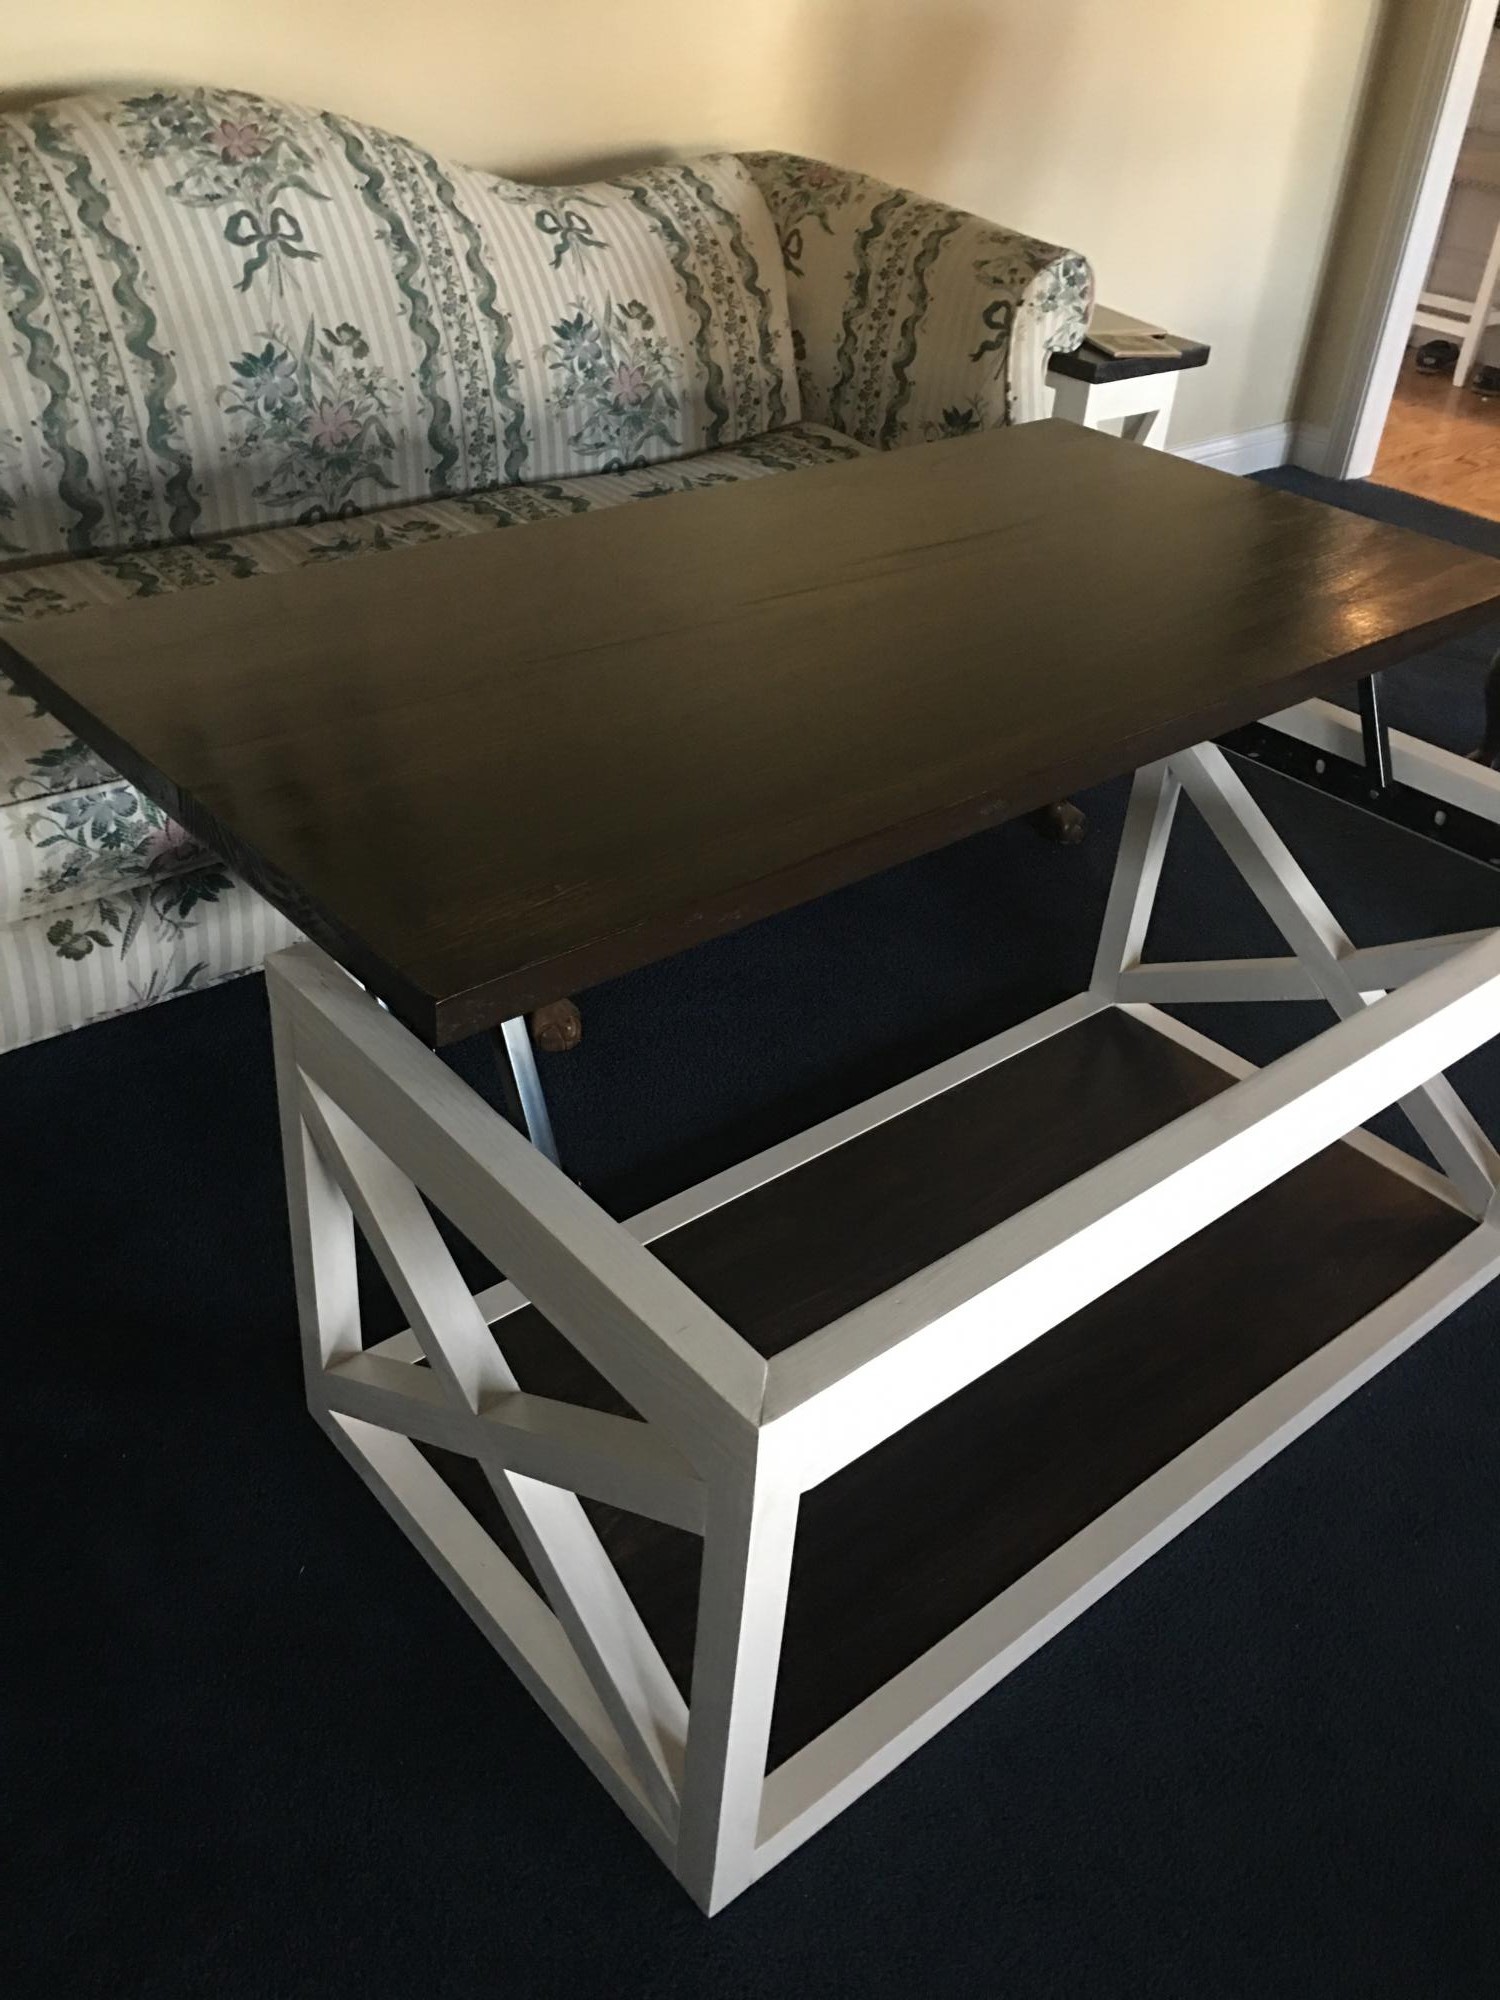
Sticking with the same color scheme as the Console Table. The brackets are a bit of a pain to attach
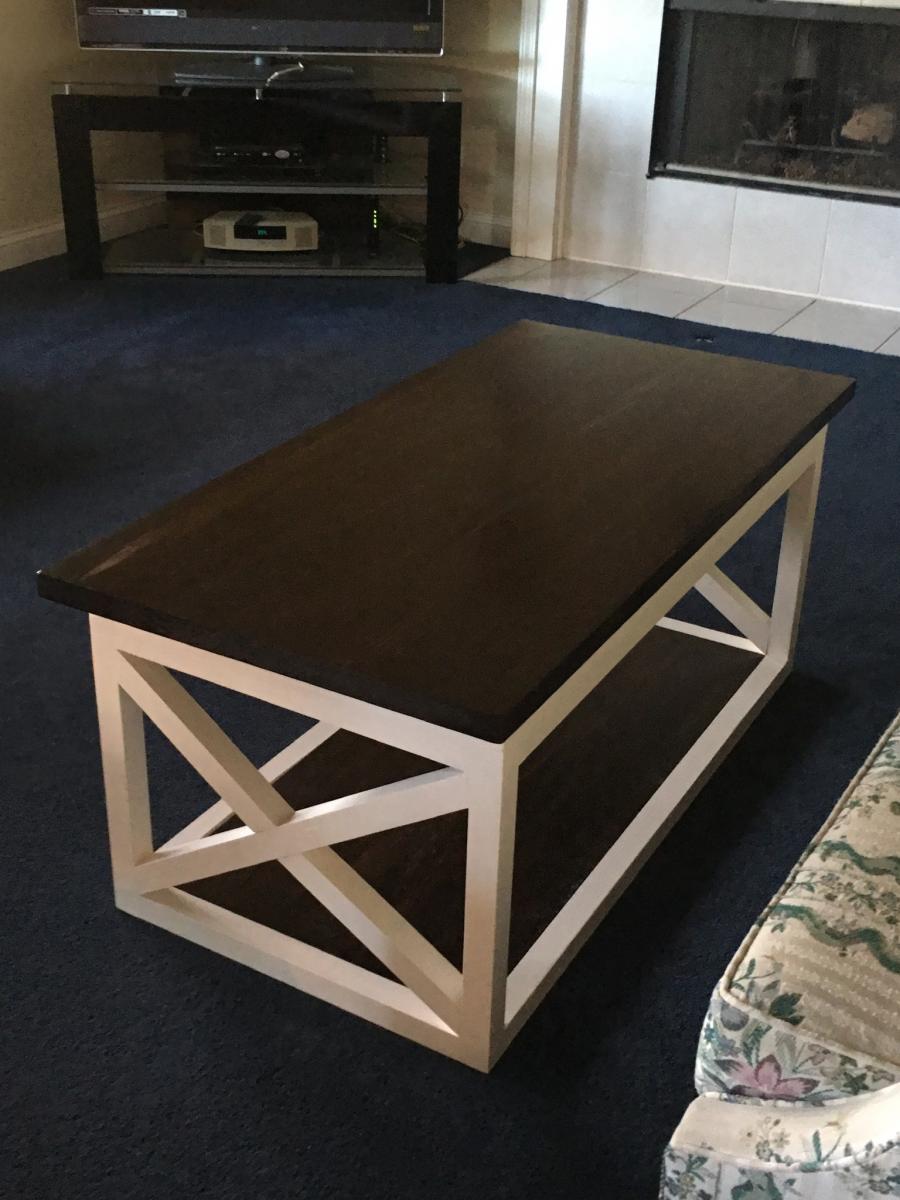
I decided to modify the one piece kitchen plans for just a stove and sink as I wanted something a bit smaller. I added a shelf (or rack!) to the oven and "tiled" the backsplash with scrapbook paper and Mod Podge. The burners are wooden plaques from Hobby Lobby that I painted with chalkboard paint and on the side outside of the kitchen (not pictured) is a chalkboard and towel rack. The Kreg Jig was incredibly nice to have for this project but I did add L-brackets to the outside shelves in case a lot of weight (i.e.. a 30 lb toddler) was placed on them.
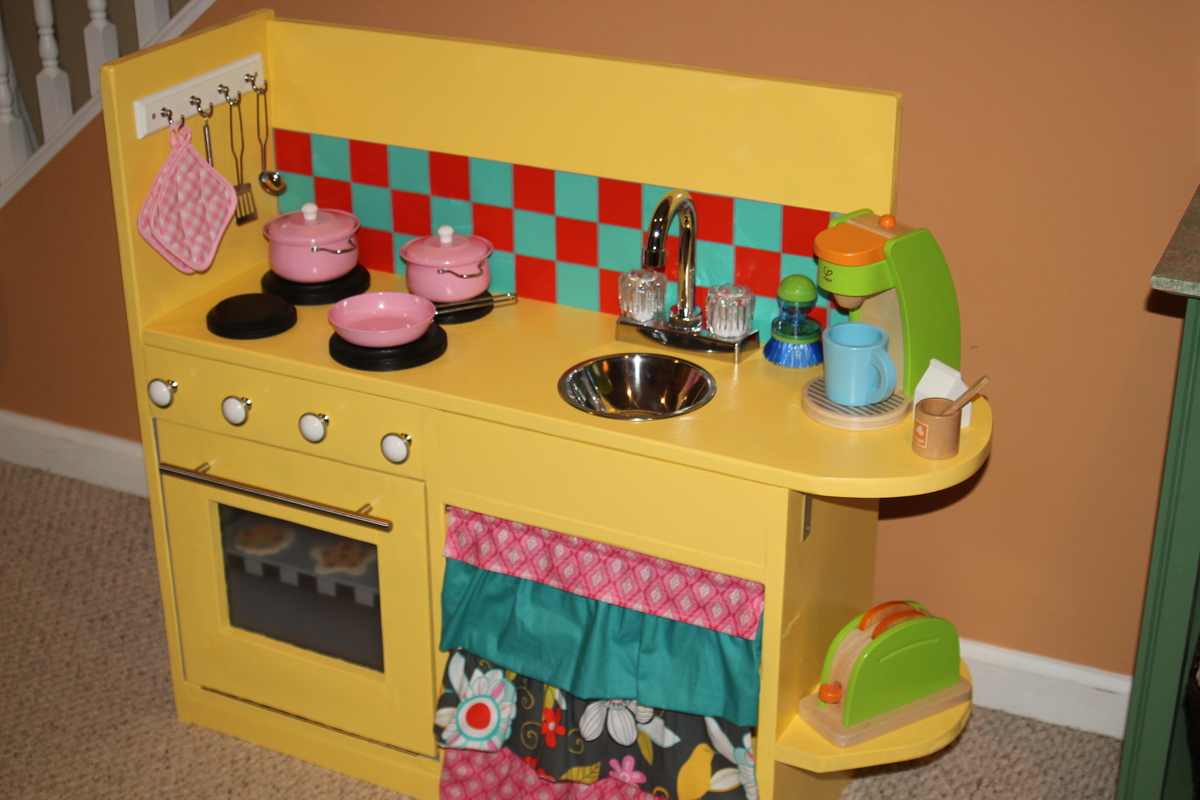
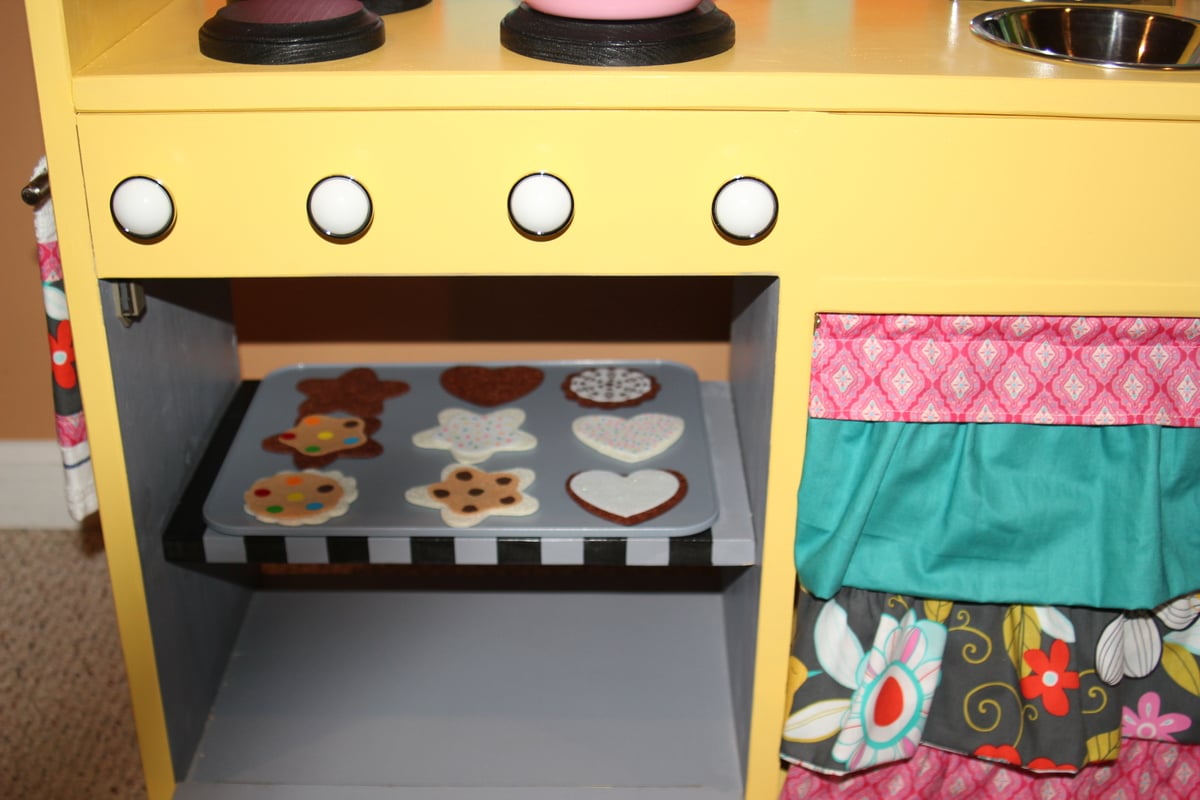
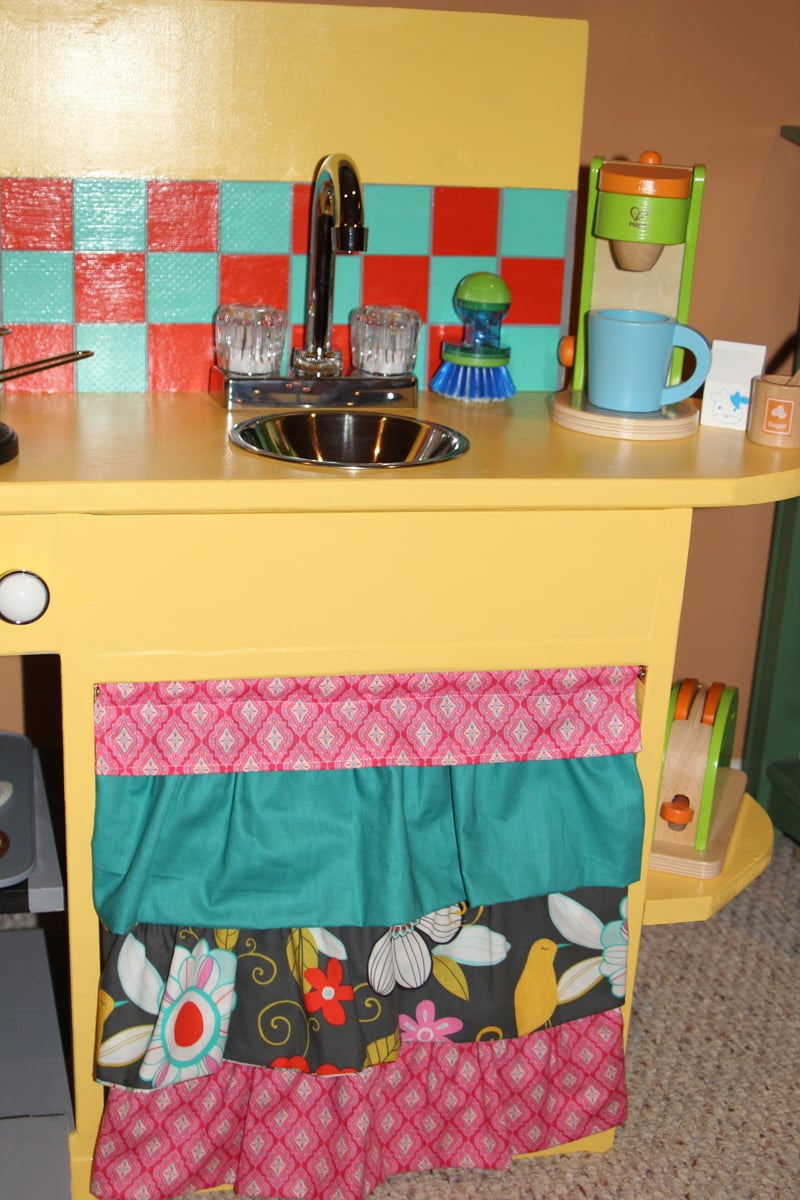
Thu, 01/10/2013 - 14:09
I wish we had room in our house for this! It is so cute & i know my lil miss would love it!!
I started building built-in bookshelves based loosely on the LACK copy-cat plans Ana posted. I started getting to work on them and realized I needed a way to handle the 8' and 12' boards I have to cut down to make the parts. Back to the home store I went! This was an extremely easy project to put together. I used one sheet of cabinet grade plywood ($30) and had it cut down at the store on their giant saw and three furring strips (as described in the plans, about $1.50 each).
My cuts were:
Assembly at home was really fast. It took me 90 minutes, it would have been probably under an hour if I had the table already! I didn't like the folding brackets at the store, so I went with fixed cheap ones for now. I'll swap them later. You'll notice the saw sits a little lower than the side tables. I'm going to mount the saw to the table and I'll fine tune with that.
Back to the bookshelves!
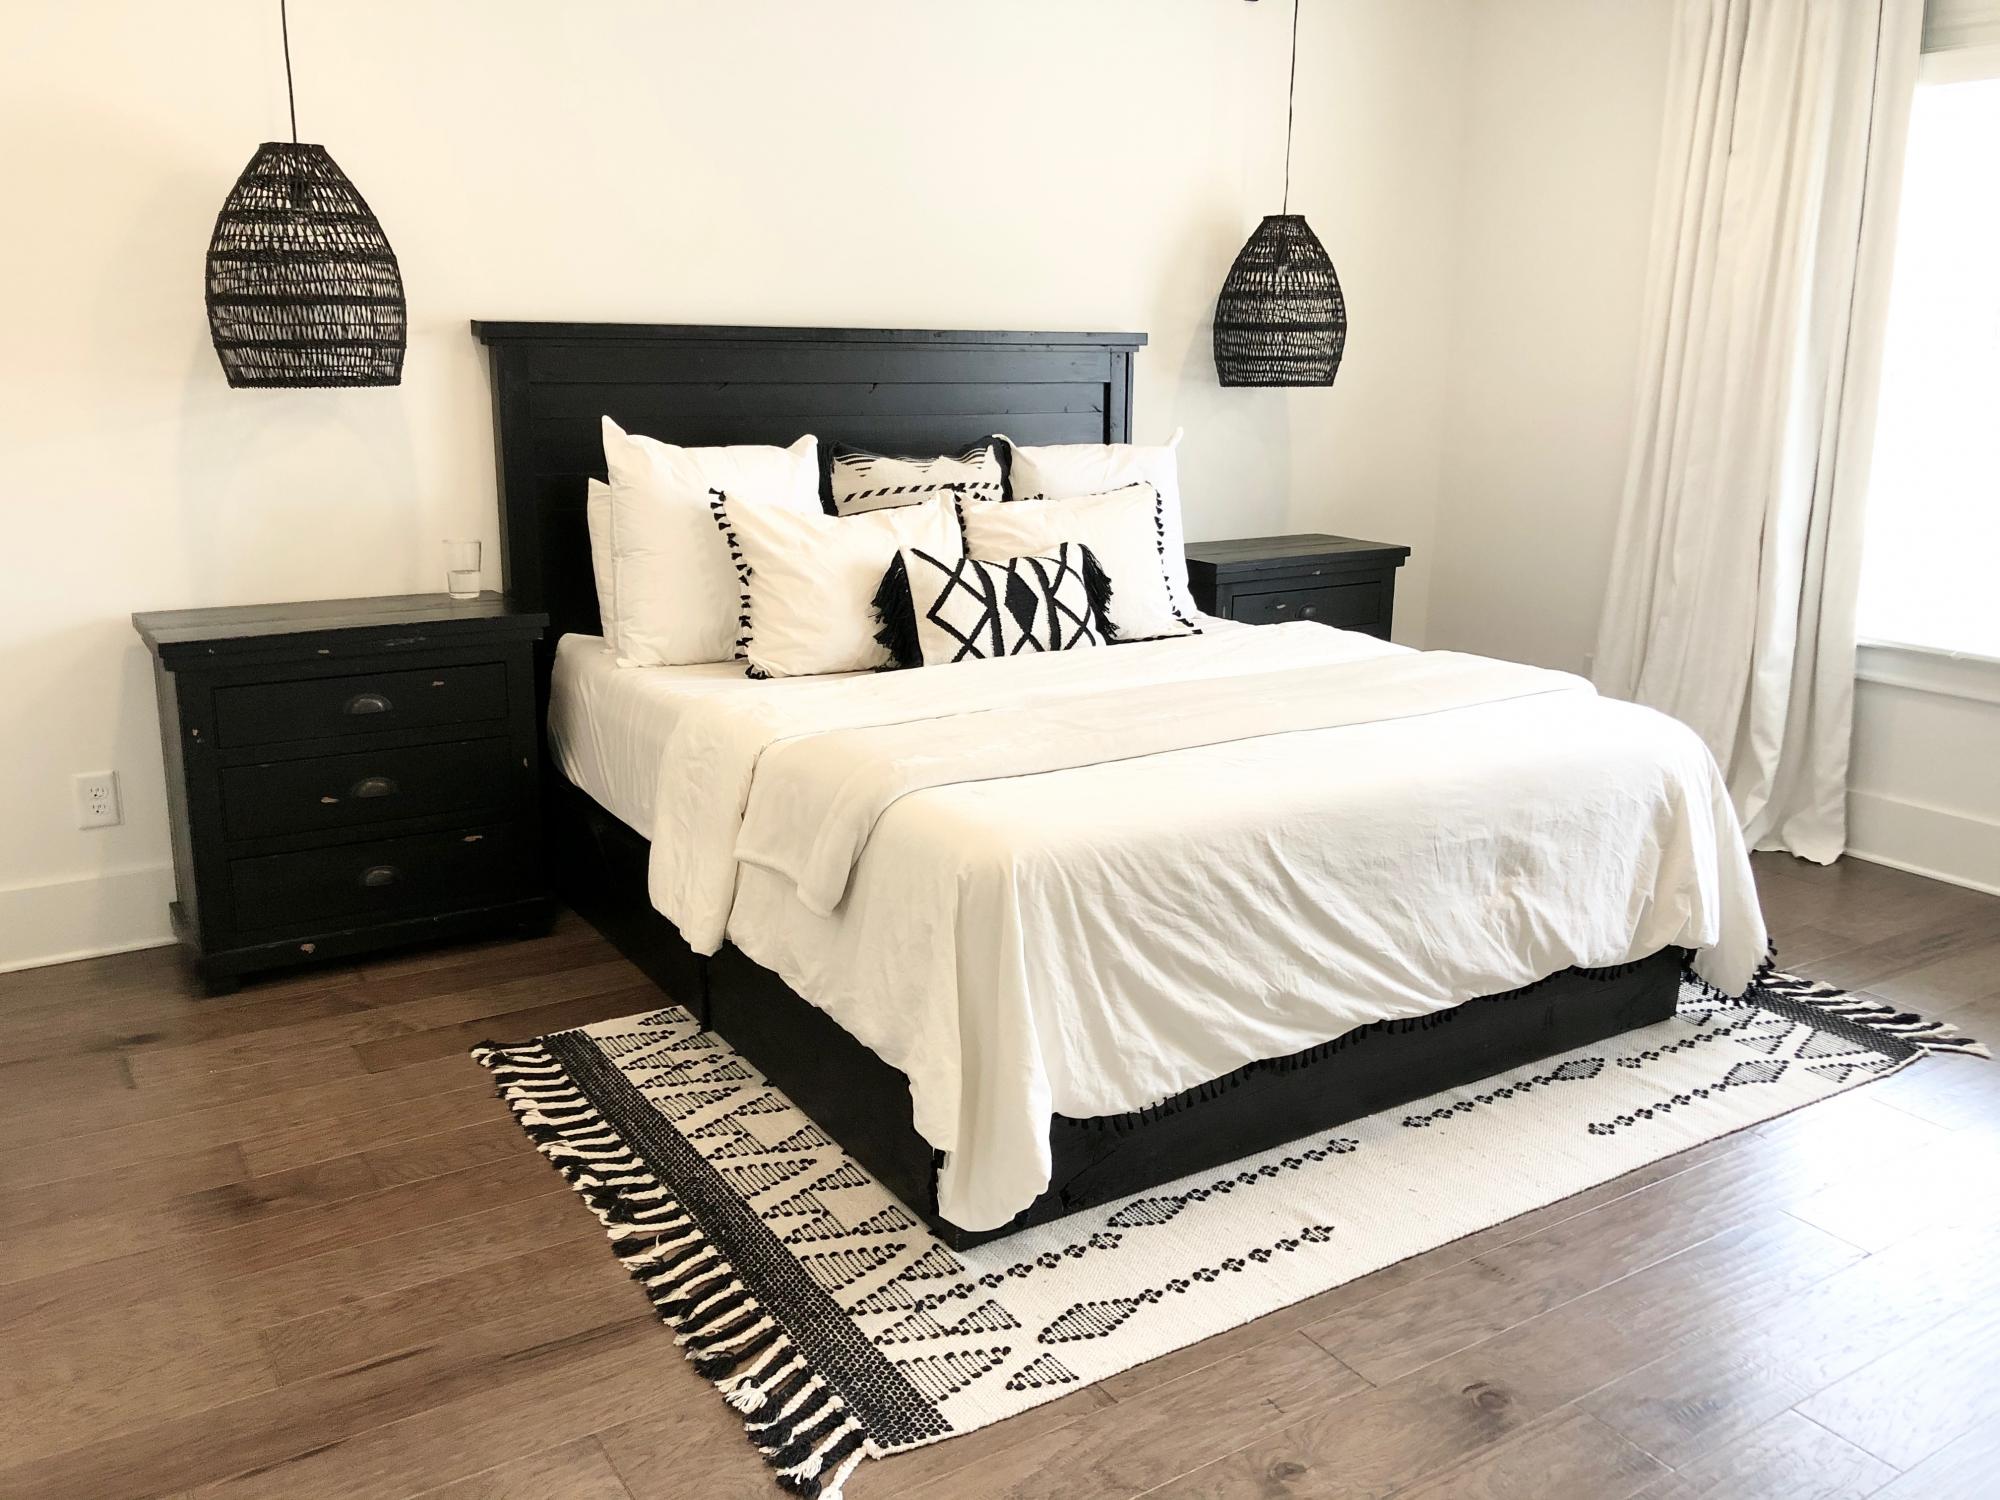
We slightly modified this headboard to fit a California King. We needed something to match the style of our nightstands. This turned out perfect!
Sat, 11/07/2020 - 14:27
Great job, love the finish and the whole look of the space!
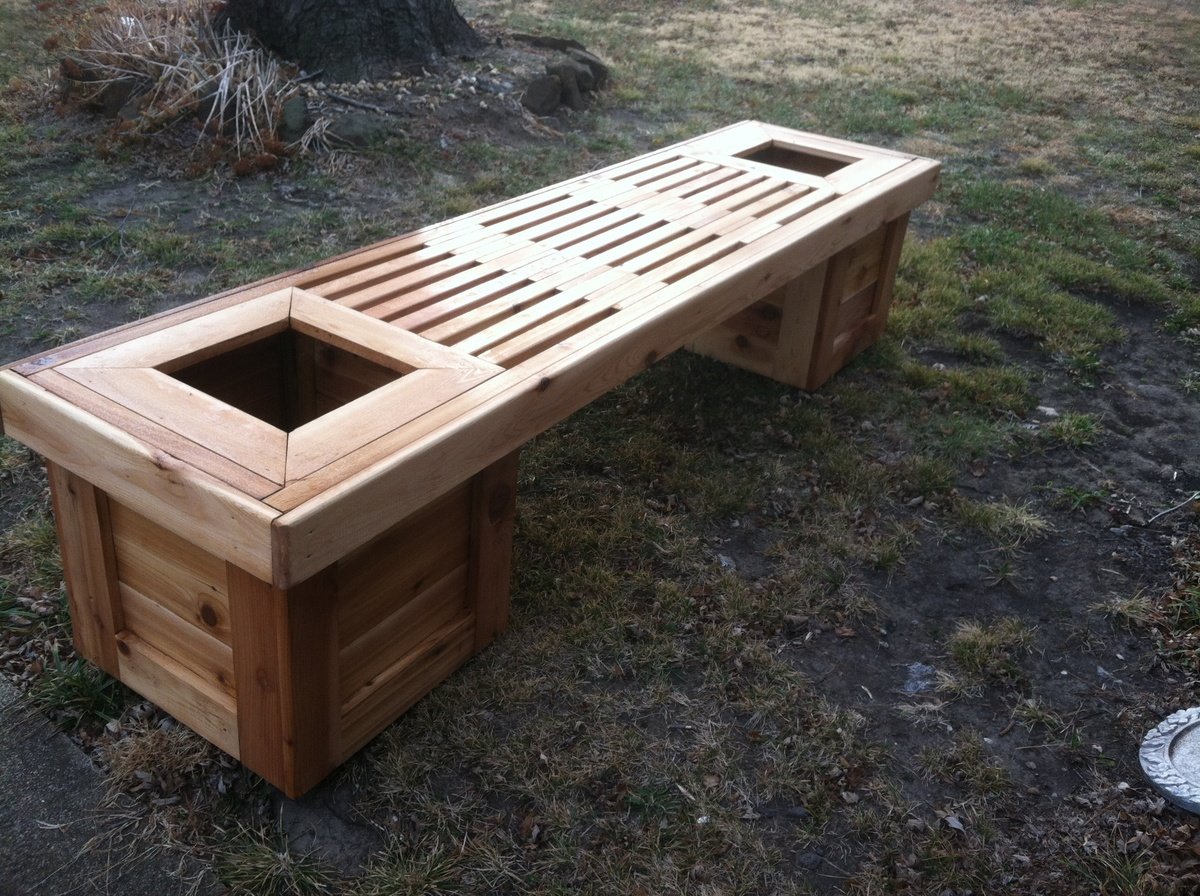
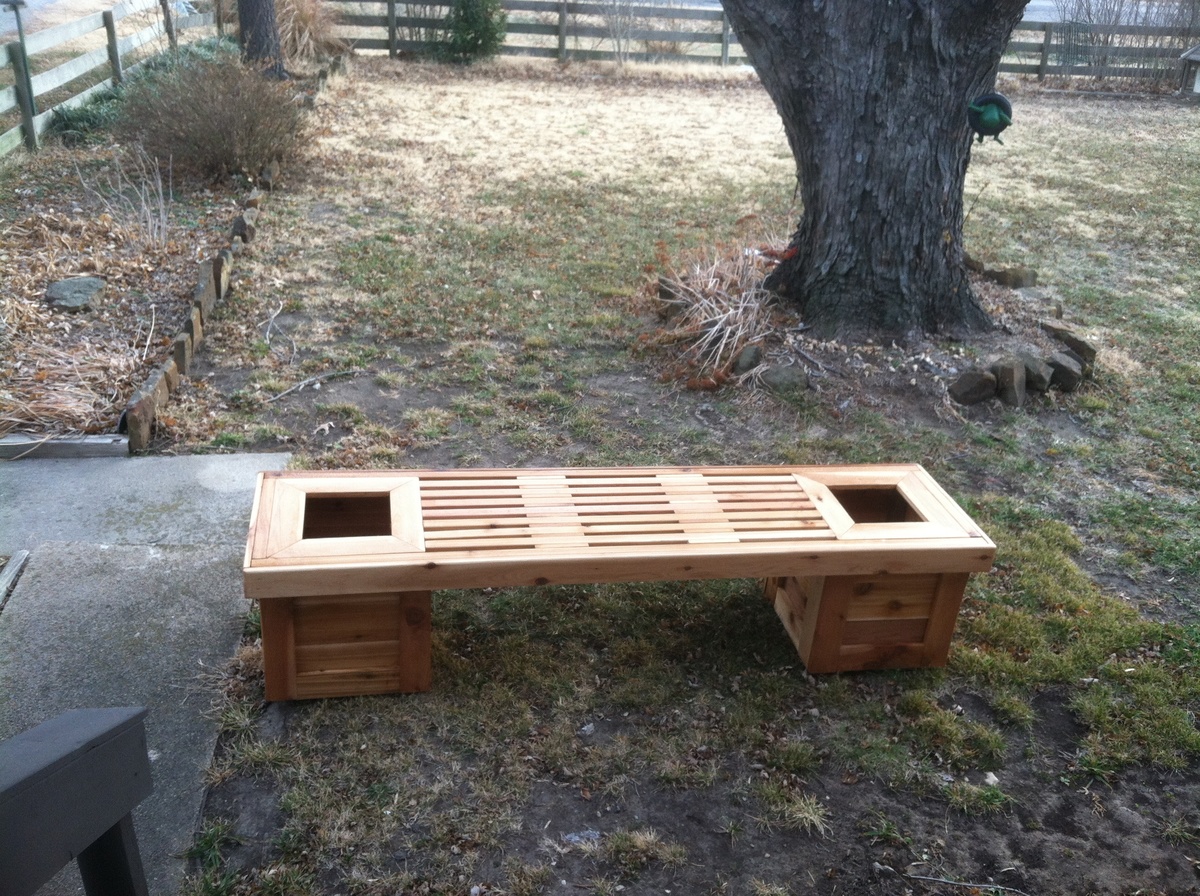
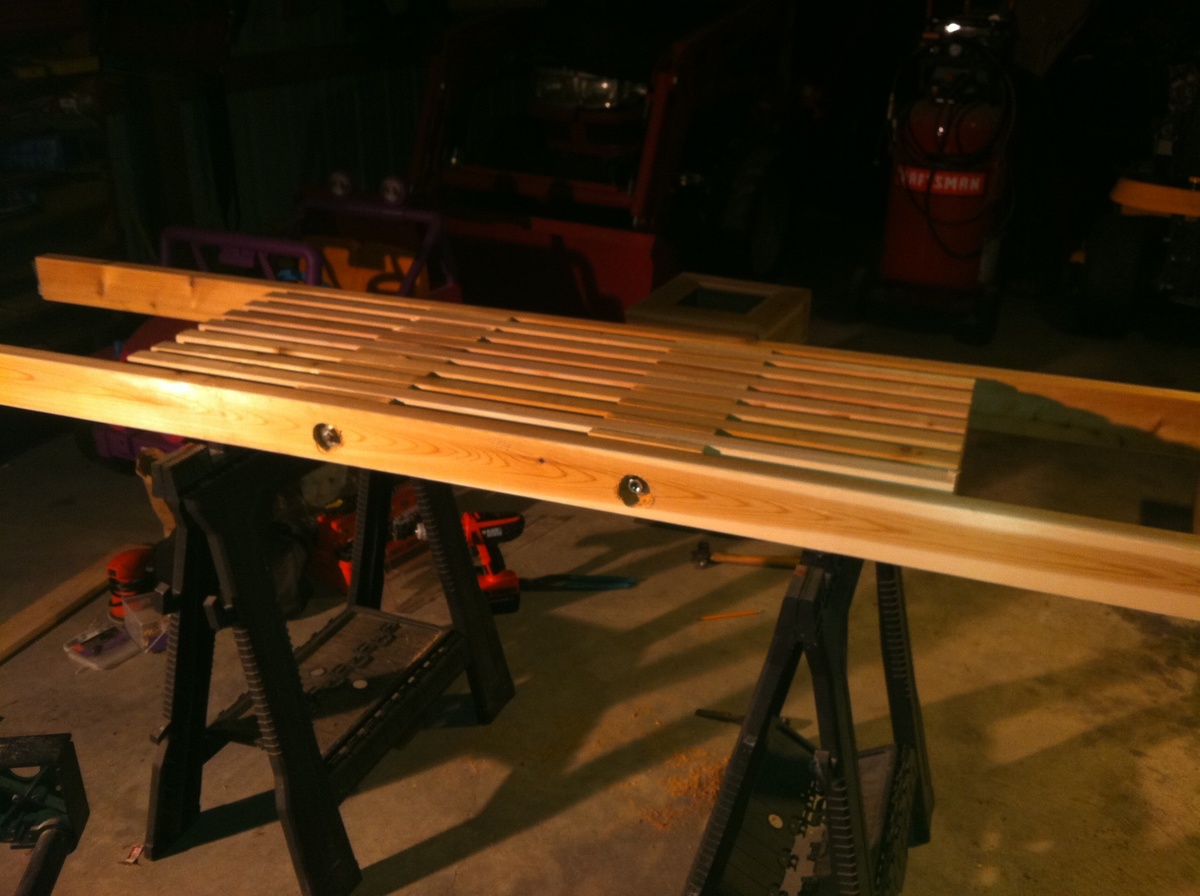
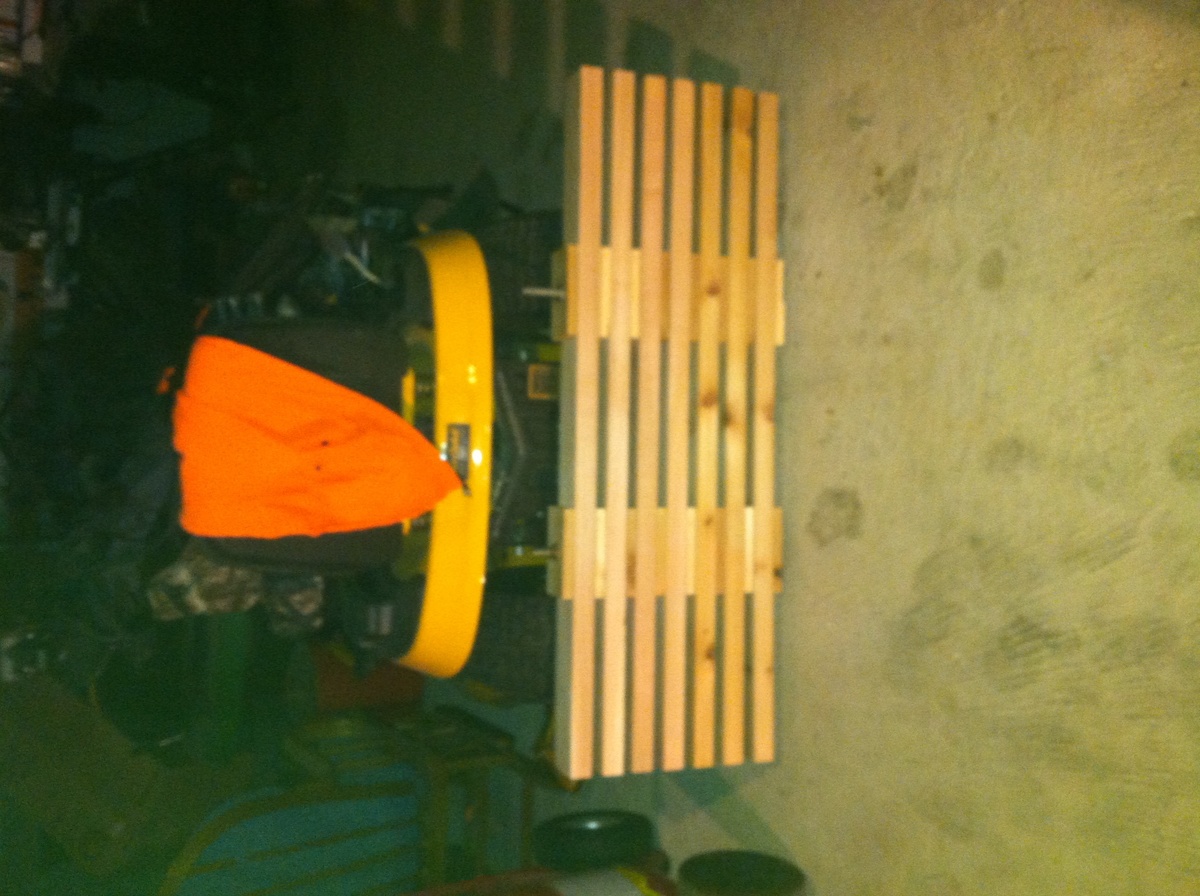
I built this bench for a Christmas present. She loves to work in her garden and I thought this would be the perfect touch. The plans were easy to follow. I made a few minor adjustments to fit the lumber I had on hand. The center bench is only 4 foot wide so I could conserve on the amount of 2x4 I had to buy. I thought the bench turned out great!
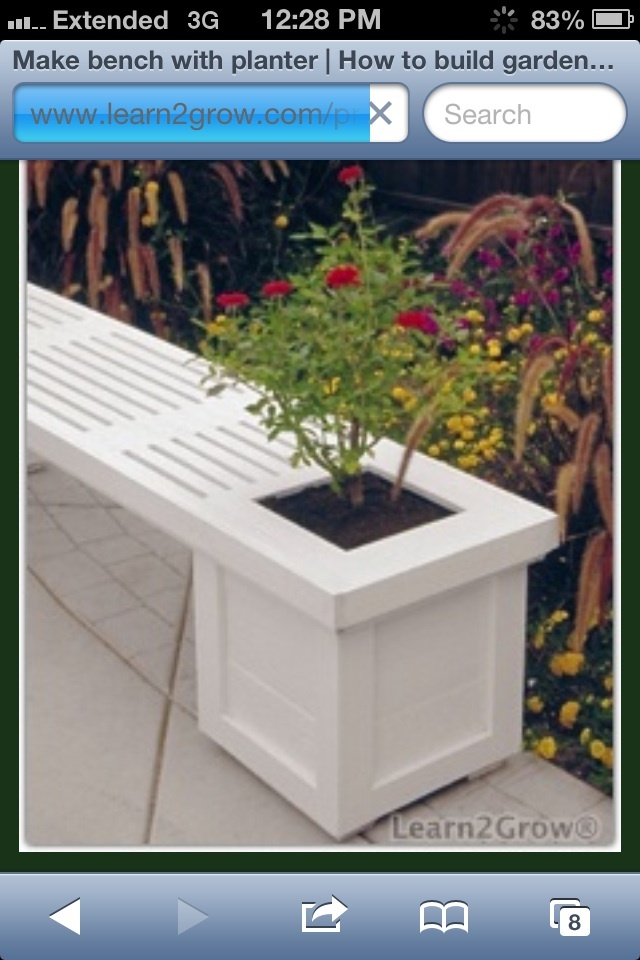
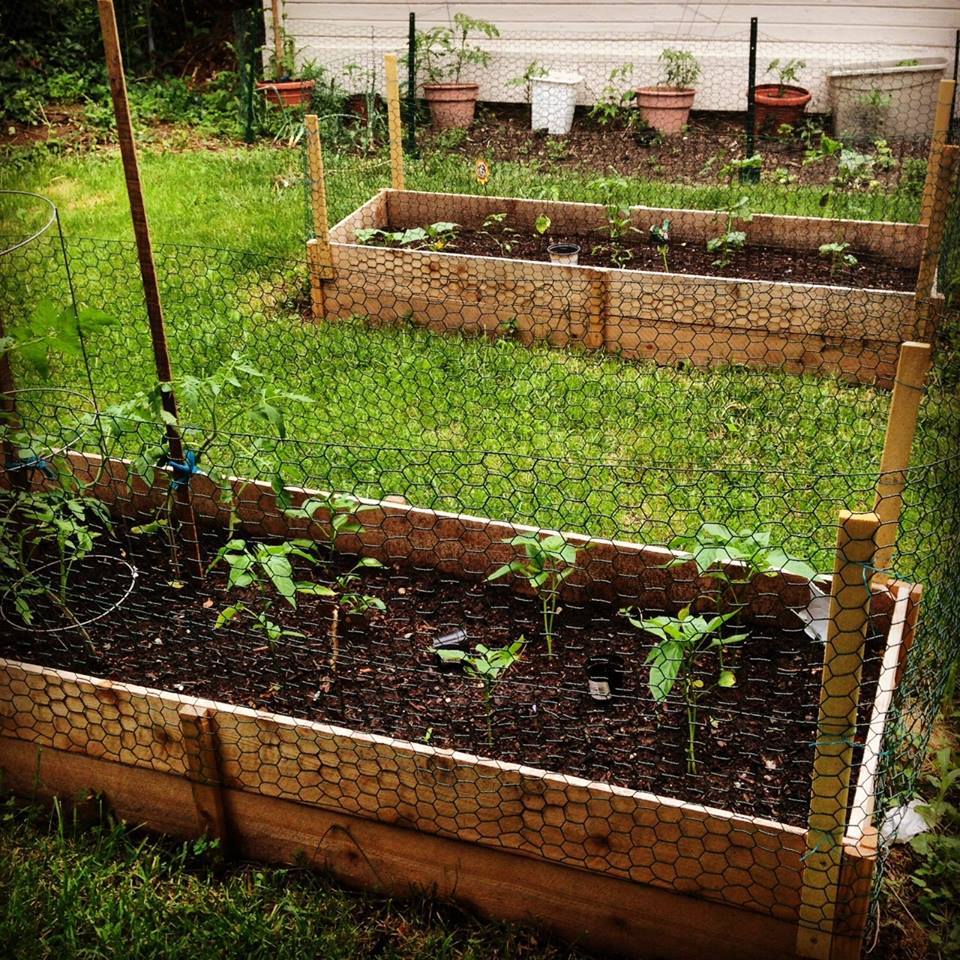
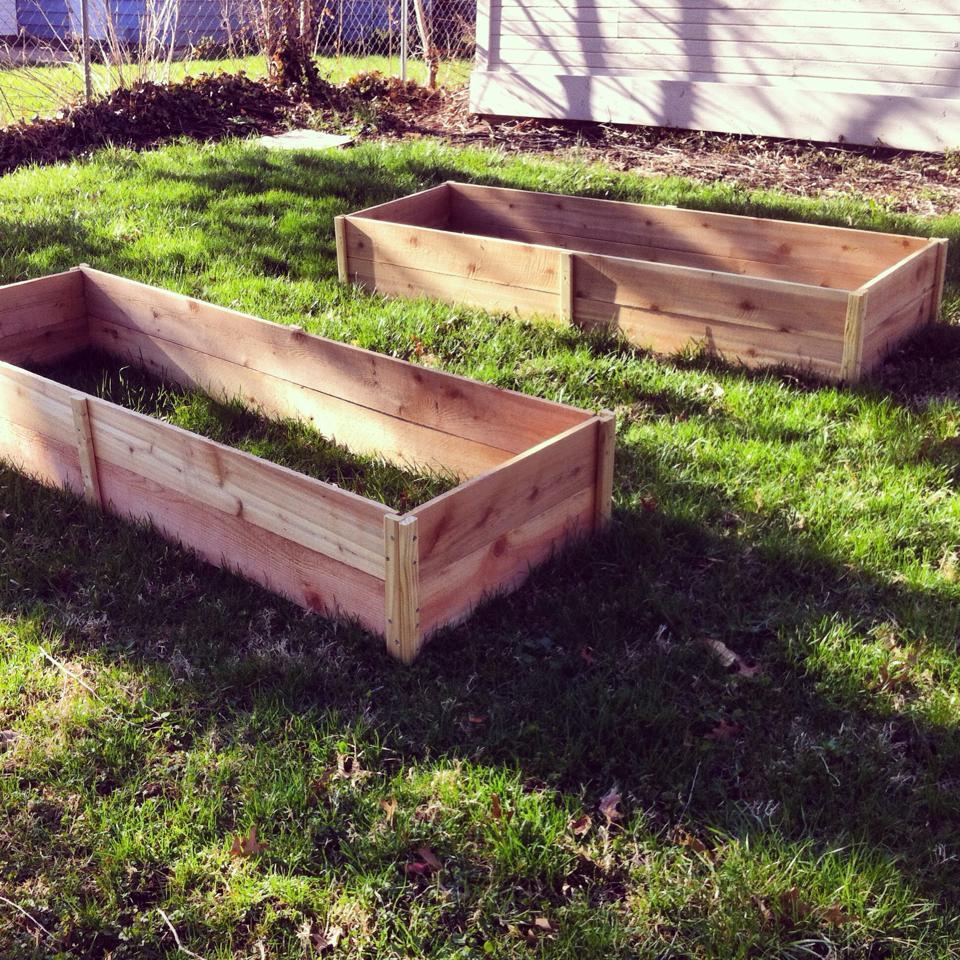
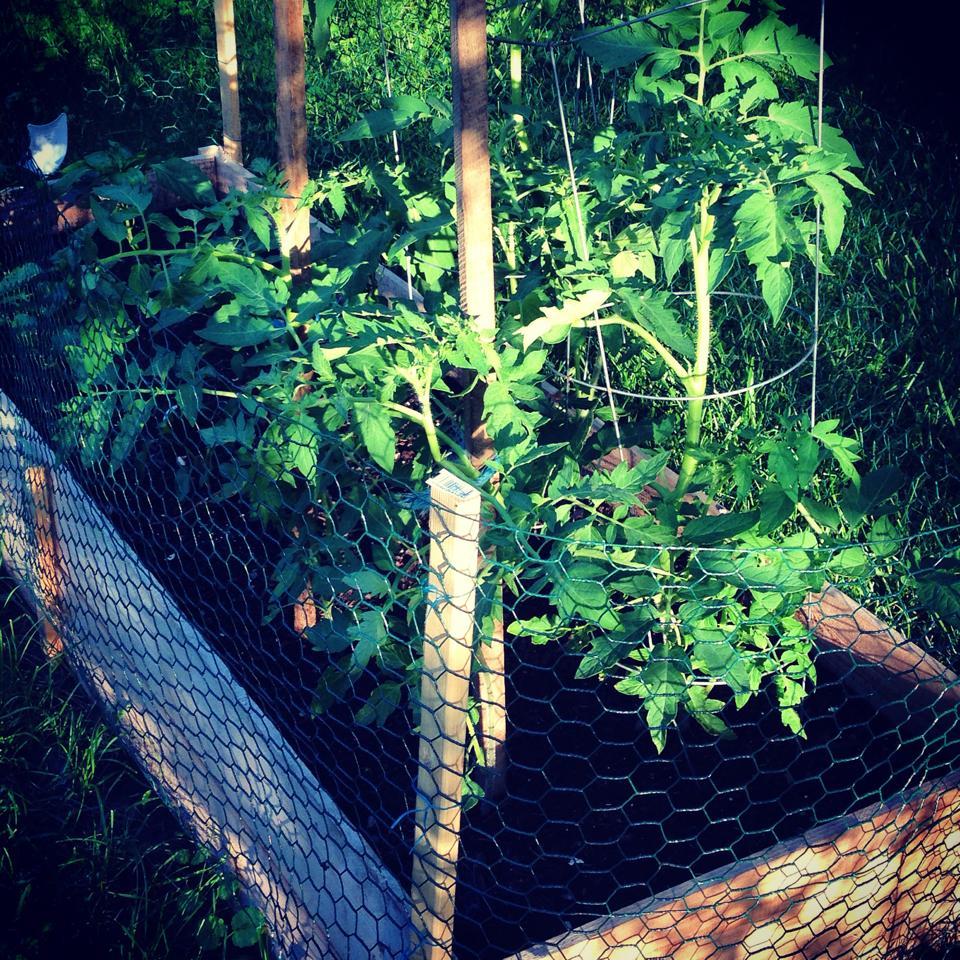
These planters were really easy to make, and held up well all through the spring and summer. This was my first garden, and I was excited to try raised planters. I added some reinforcement to the middle just to keep everything together, and they were really sturdy! Thanks Ana!
