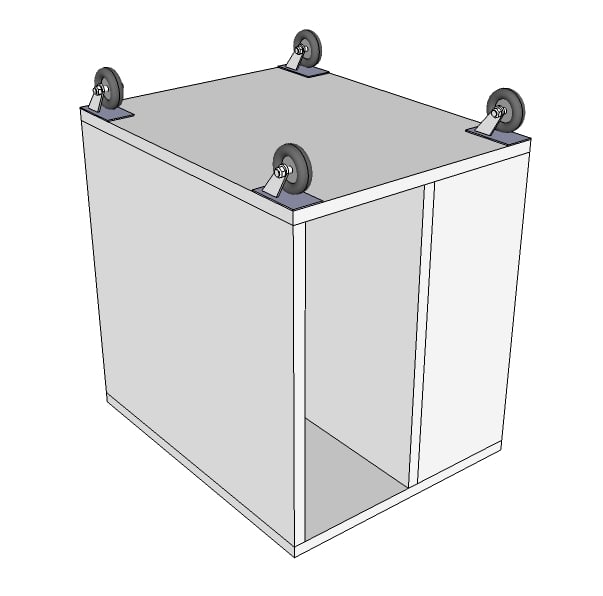
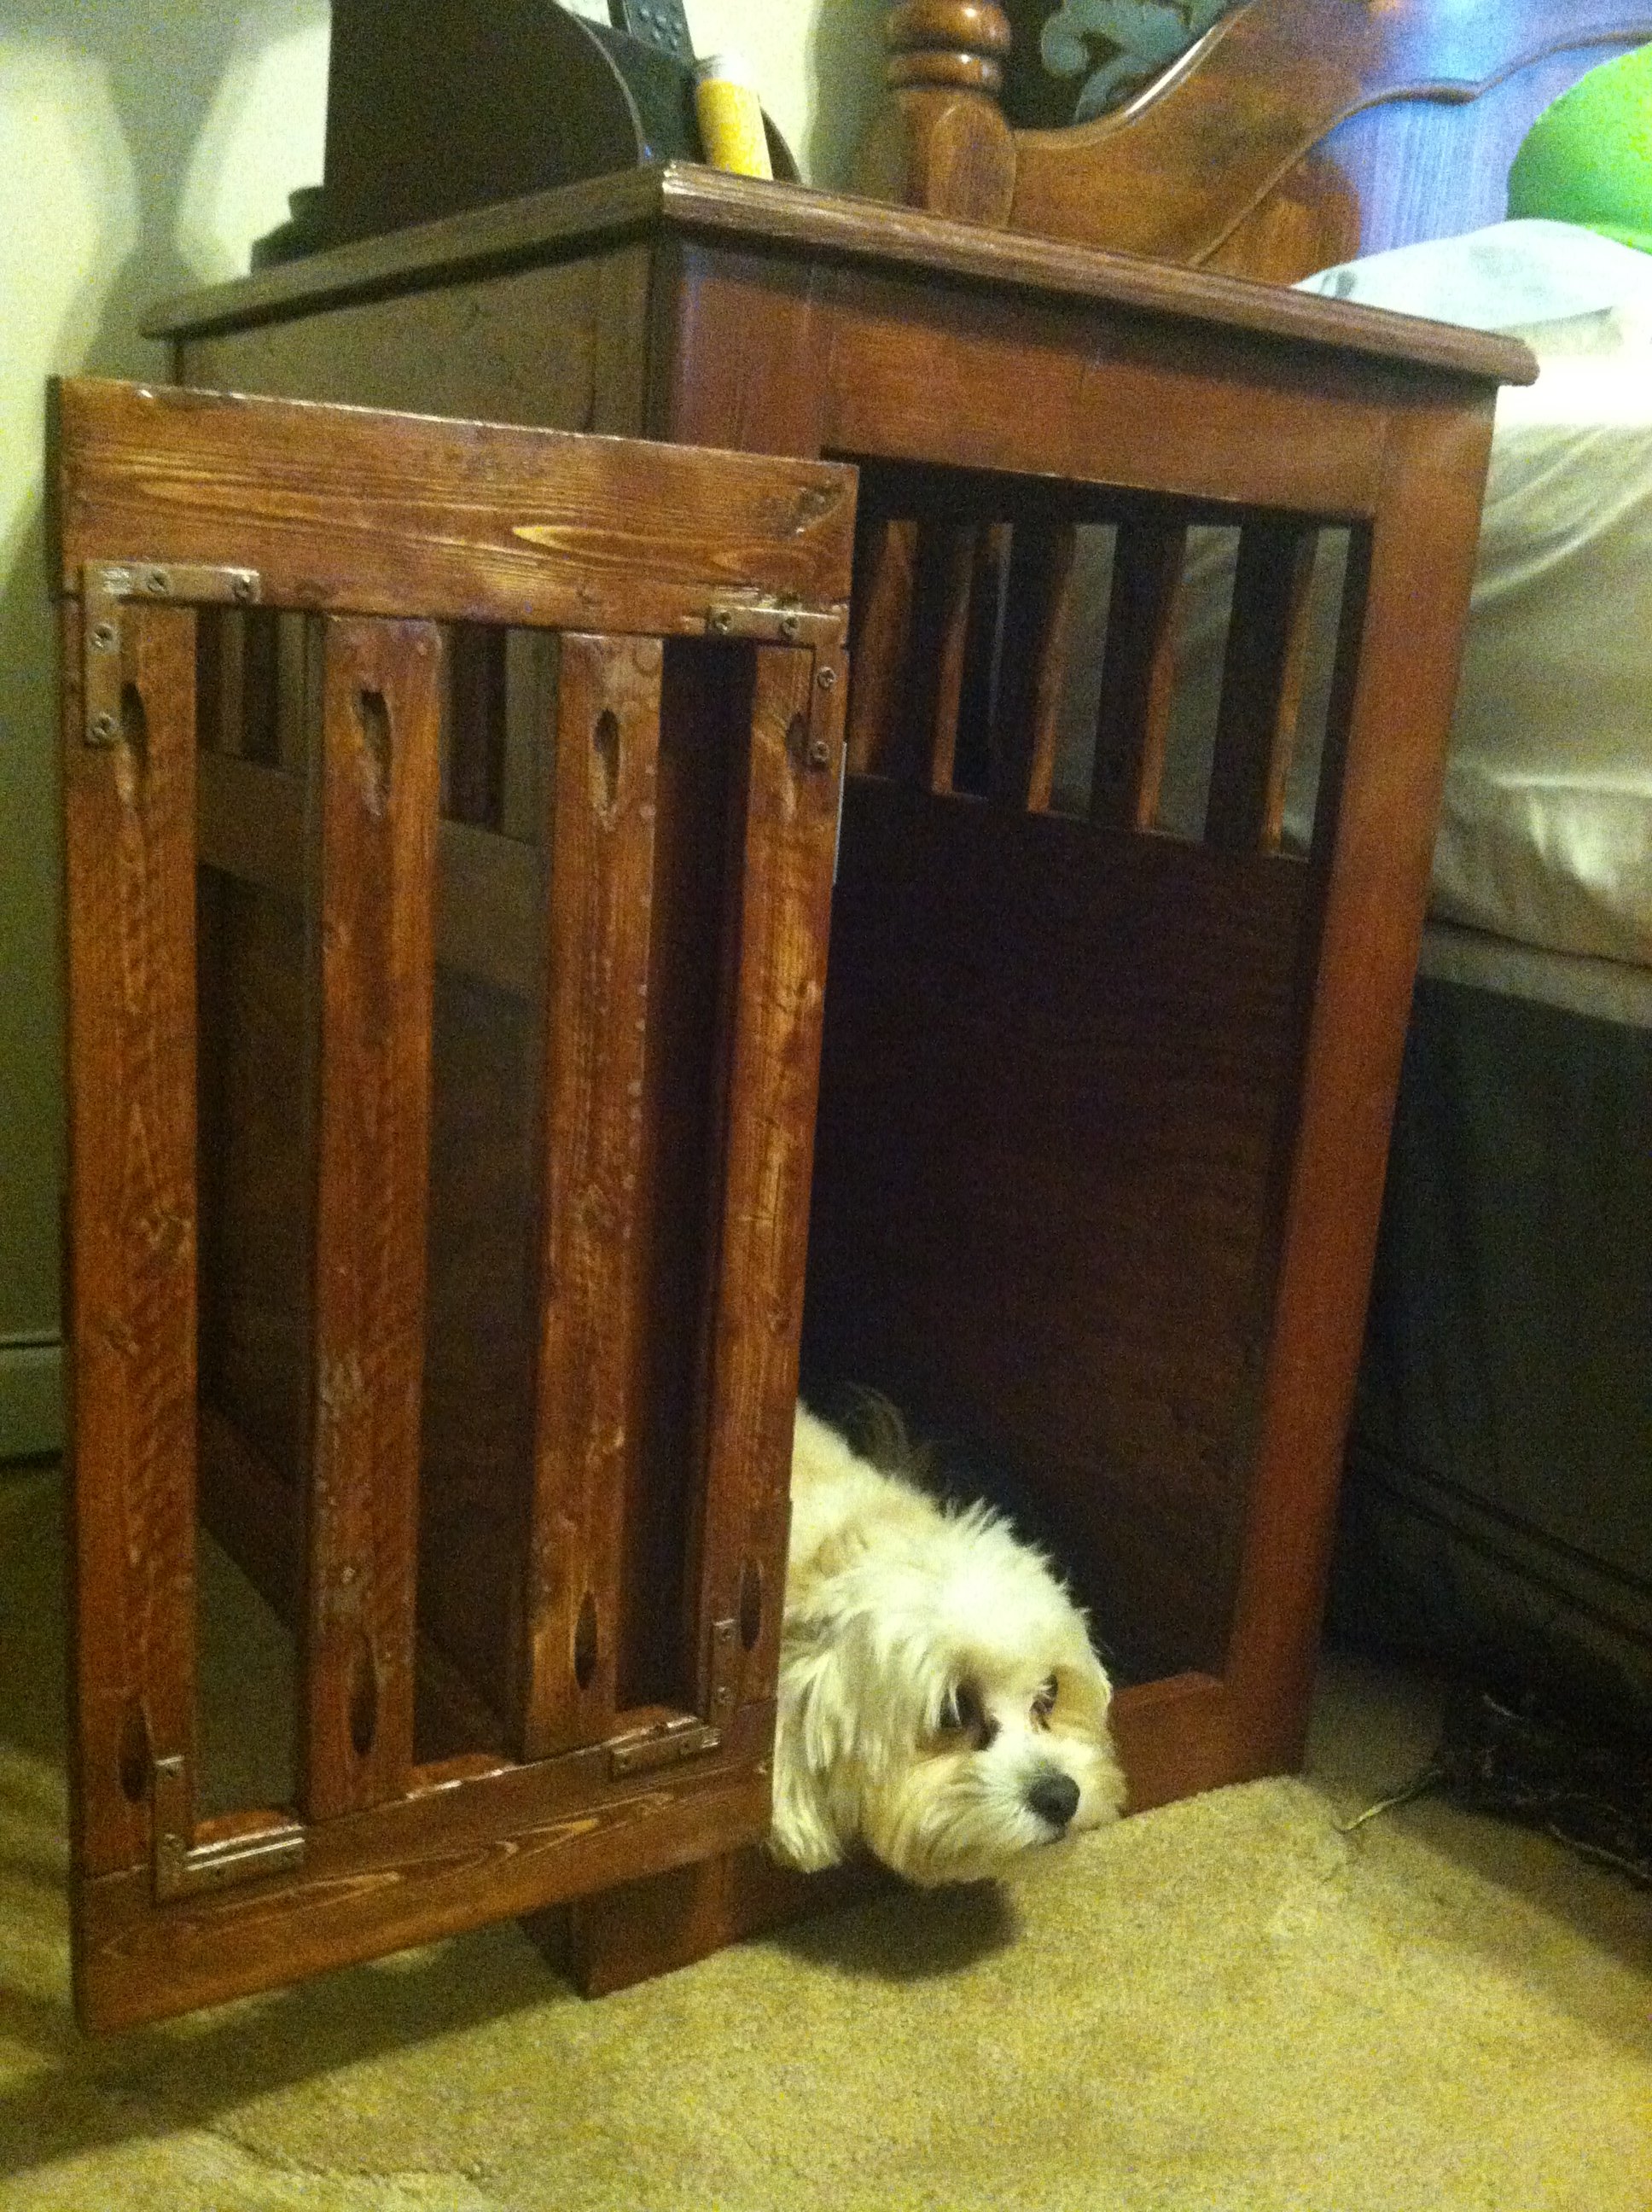
I shopped for these types of crates long ago, but resigned not to buy one because the professionally built ones were way too expensive ($400-$600!). So I was so happy when I saw these plans via Pinterest and got to work! I modified the dimensions to make the shortest side of Ana's original plans to be the longest side of my crate. Which ended up to be the exact width and depth of my Maltipoo's wire crate. This was my first building project ever (not counting high school shop class over 10 years ago). It definitely took longer than I expected and if I could do it all over again I learned a few lessons that I will implement when I make a large crate for my Golden Retriever, but overall the directions were easily followed and we had fun experimenting with things that work and things that don't.
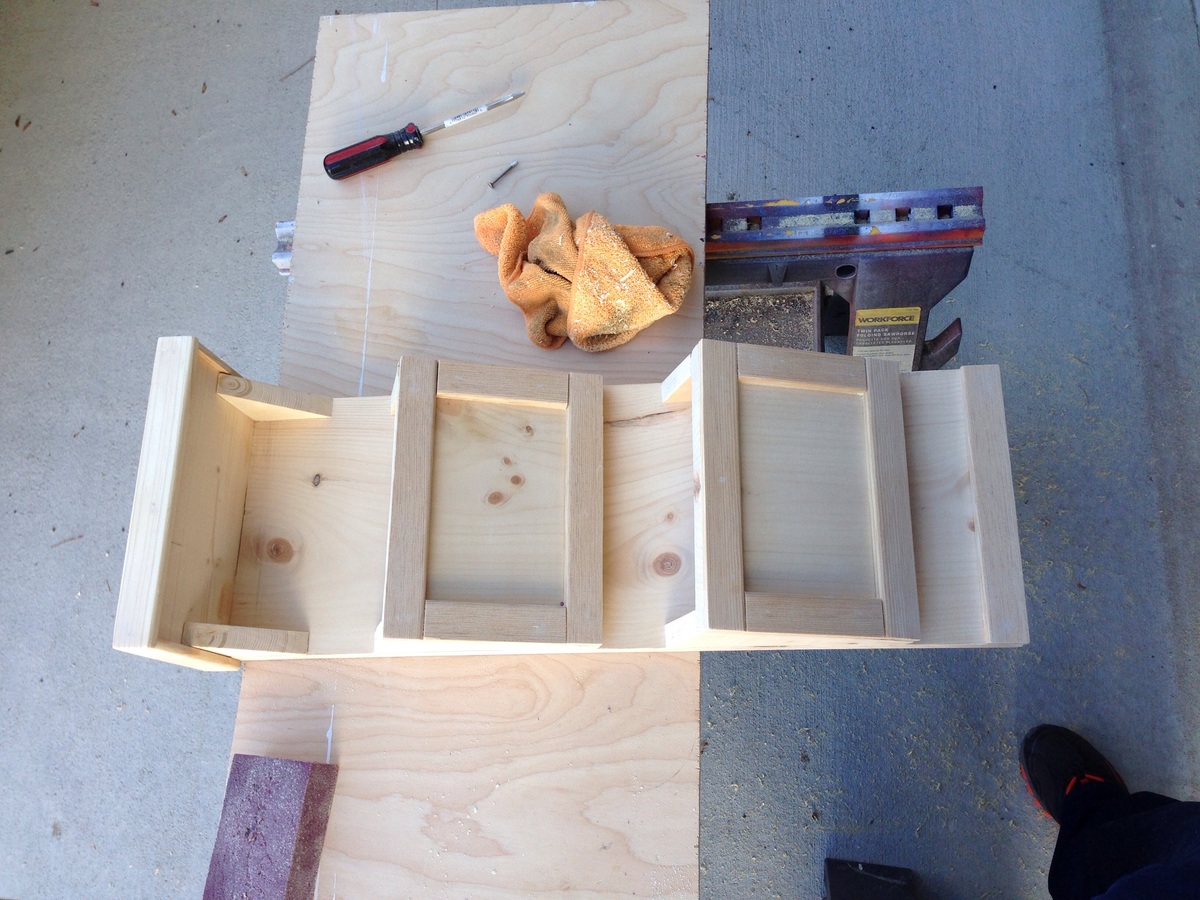
1) Pick good wood-- even for the 1x3 and 1x2 pieces we just went to a big box hardware store and thought we could use just anything, but quickly found out that it was warped and cracked easily when we tried to start assembly.
2) Pre-drilling is essential- especially for the thin cuts of wood which were already soft and prone to cracking. When we predrilled we were able to avoid these headaches.
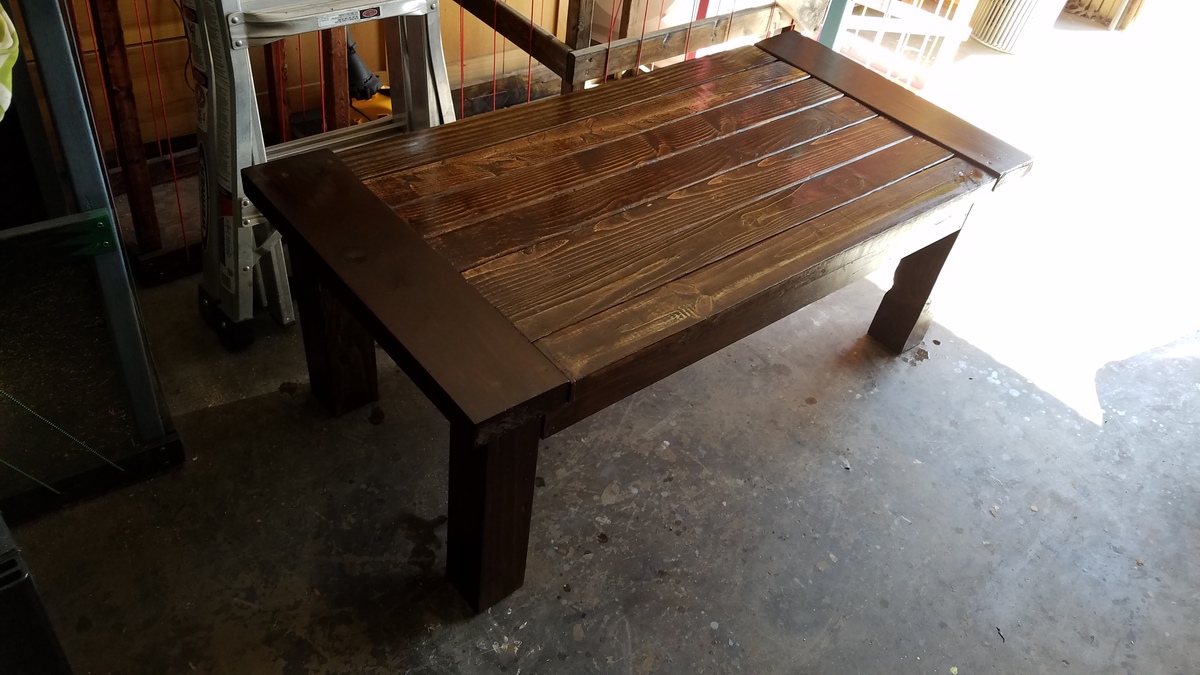
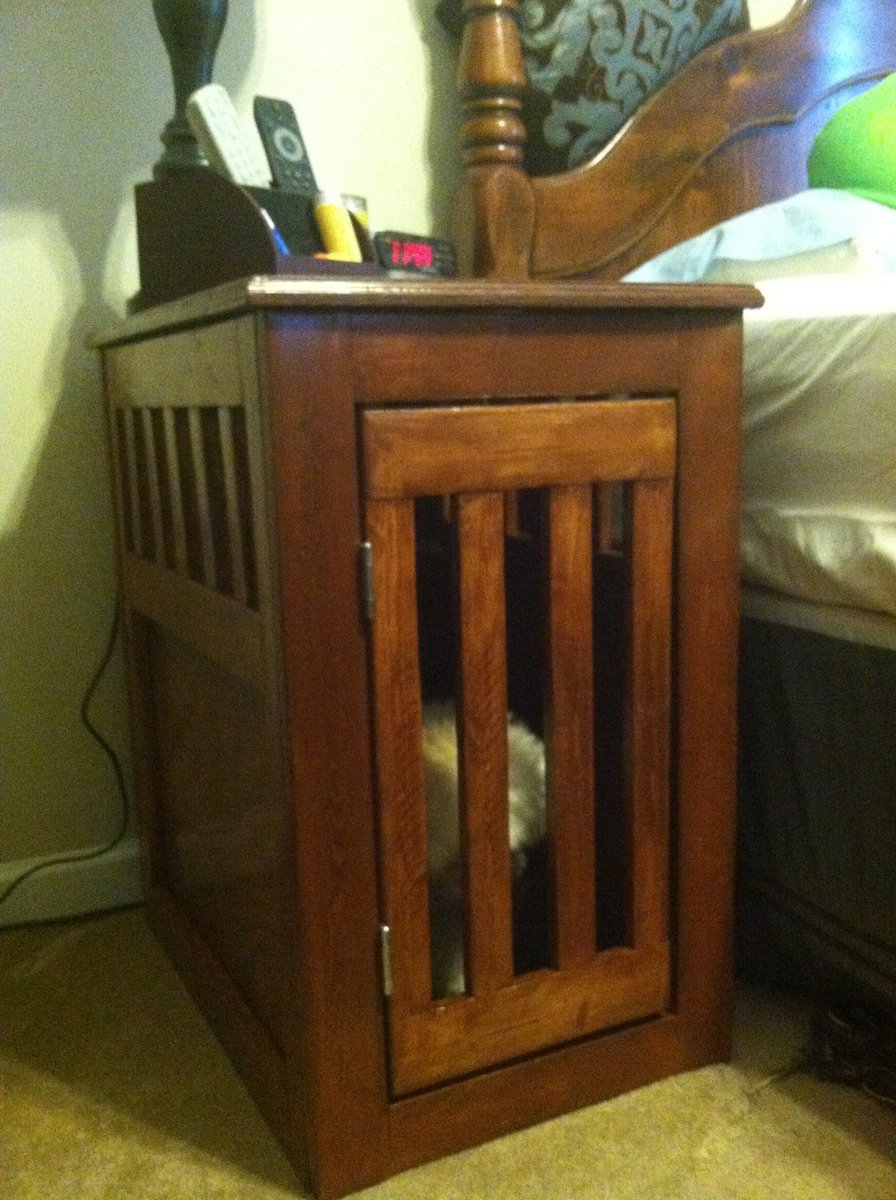
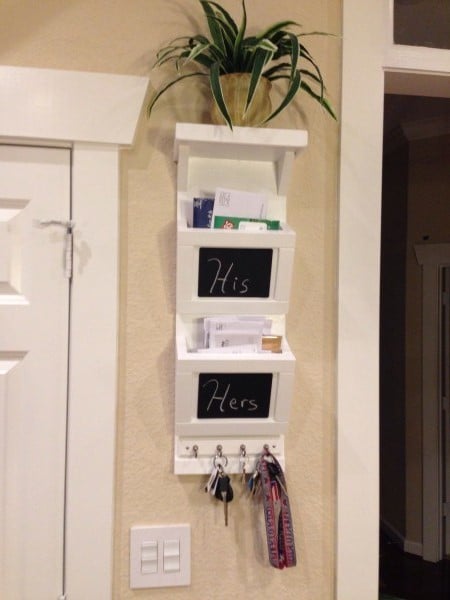
3) Invest in a good wood for the top- Since we were using as a night stand, we decided we would like to use a nice wood for the top of the crate since that is ,mostly what we would see and come in contact with everyday. We found some beautiful Birch wood on sale (plus they gave us an additional discount for a footprint--which was easily sanded off) and it was really worth it. It has some nice texture and grain patterns which really came out when we stained. Worth it!
3) I wish I would have added a drawer- Since I am using this as a night stand, and my dog is so tiny, she does not need all that head room. I could have easily extended the open slats further down the sides and installed a drawer in the upper space for bedside storage. My Golden will need all the headspace in her crate so this is something we still wont try with our next build, but I wish I would have thought of it for this one.