Gallery Shelves: Wall of Awesome
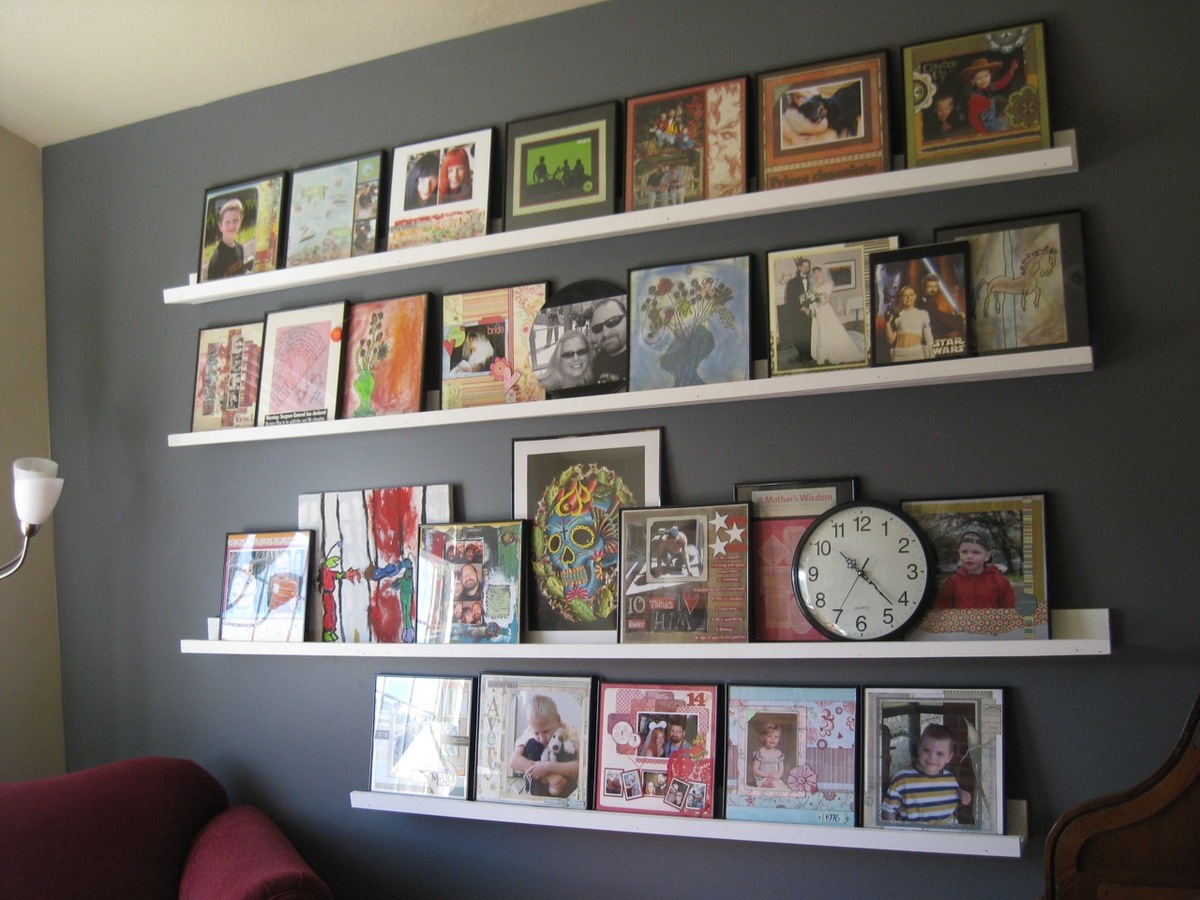
The Gallery Shelves were just the thing to refresh our front room.
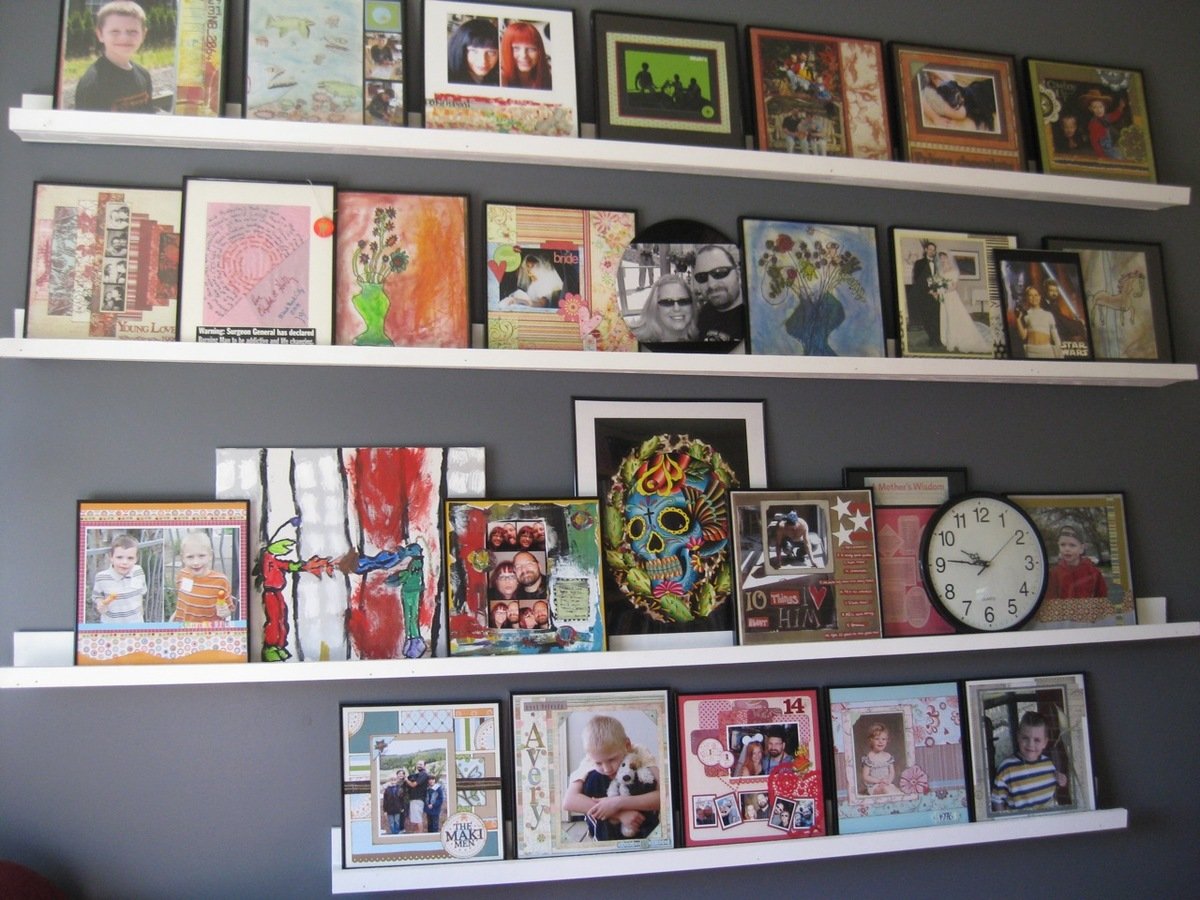
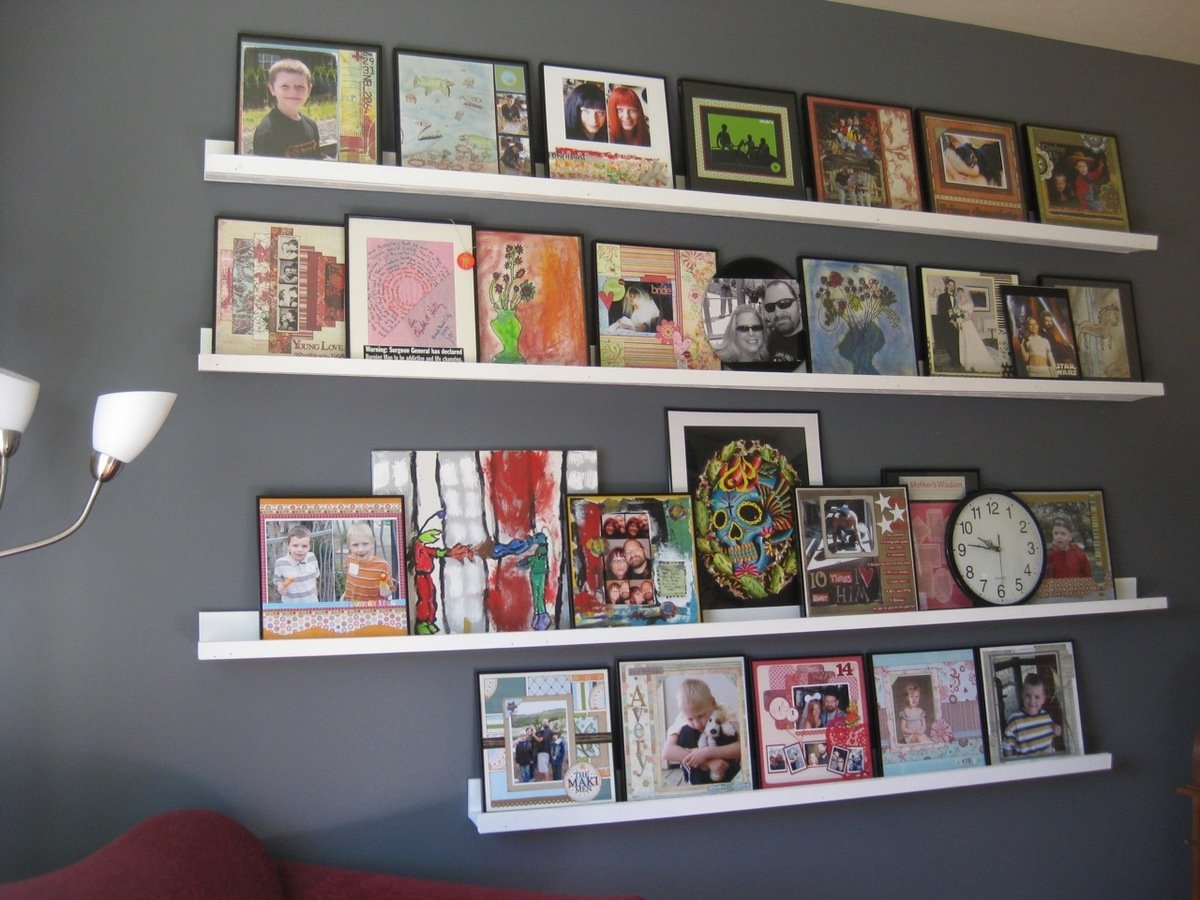
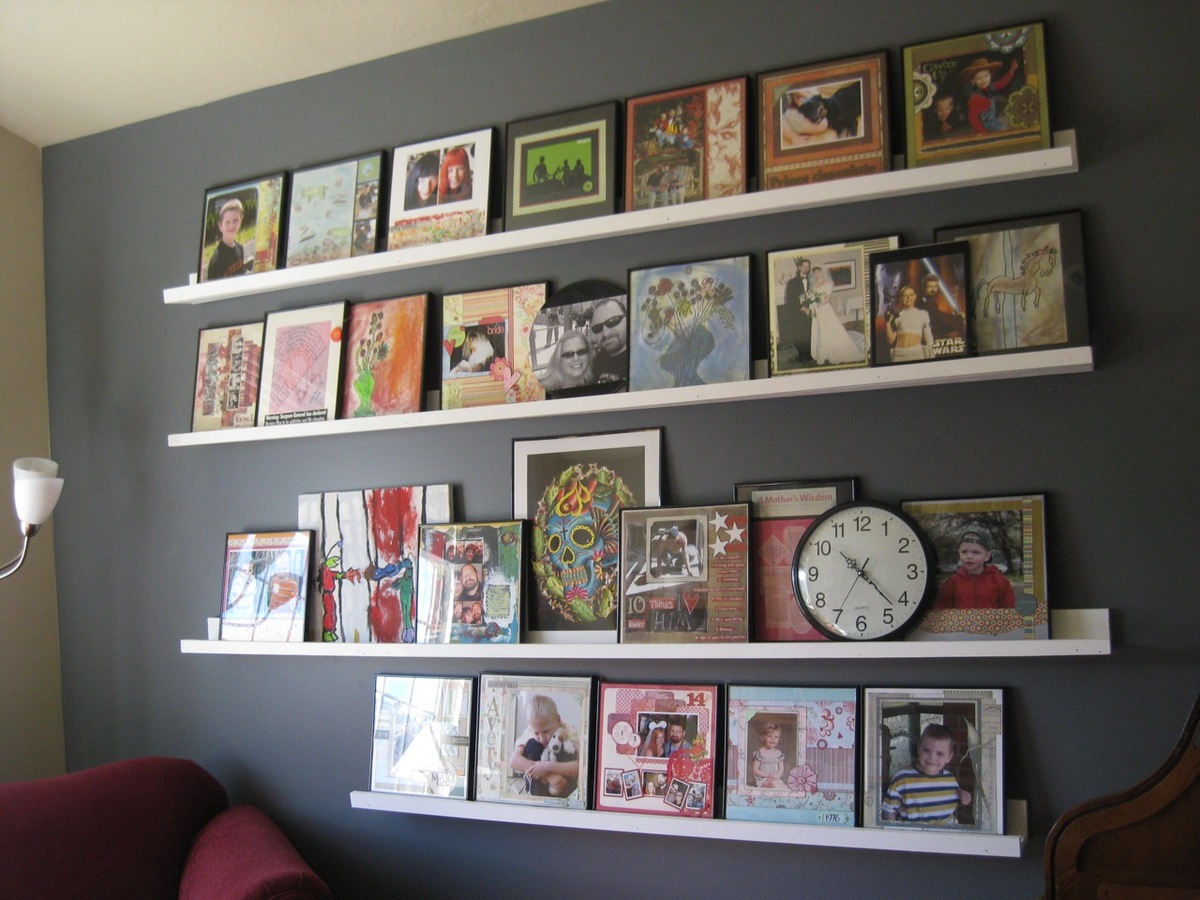

The Gallery Shelves were just the thing to refresh our front room.


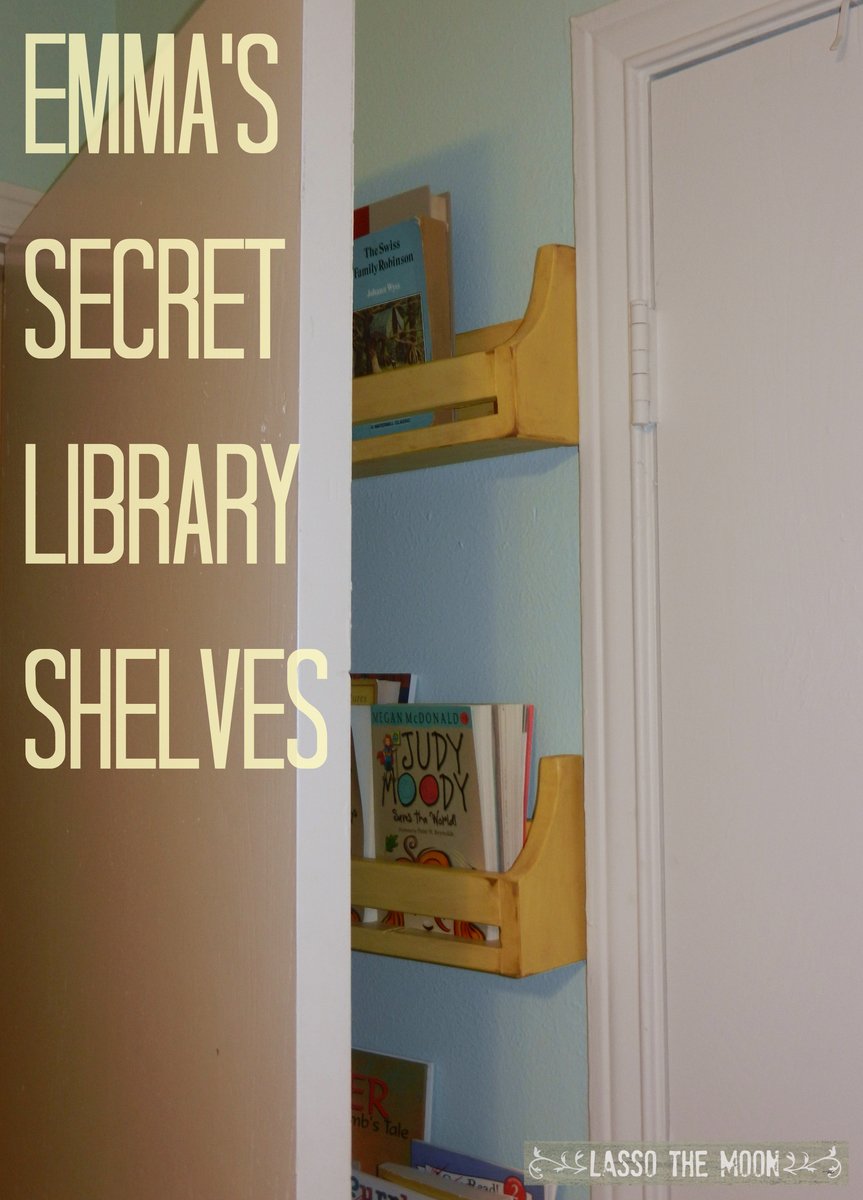
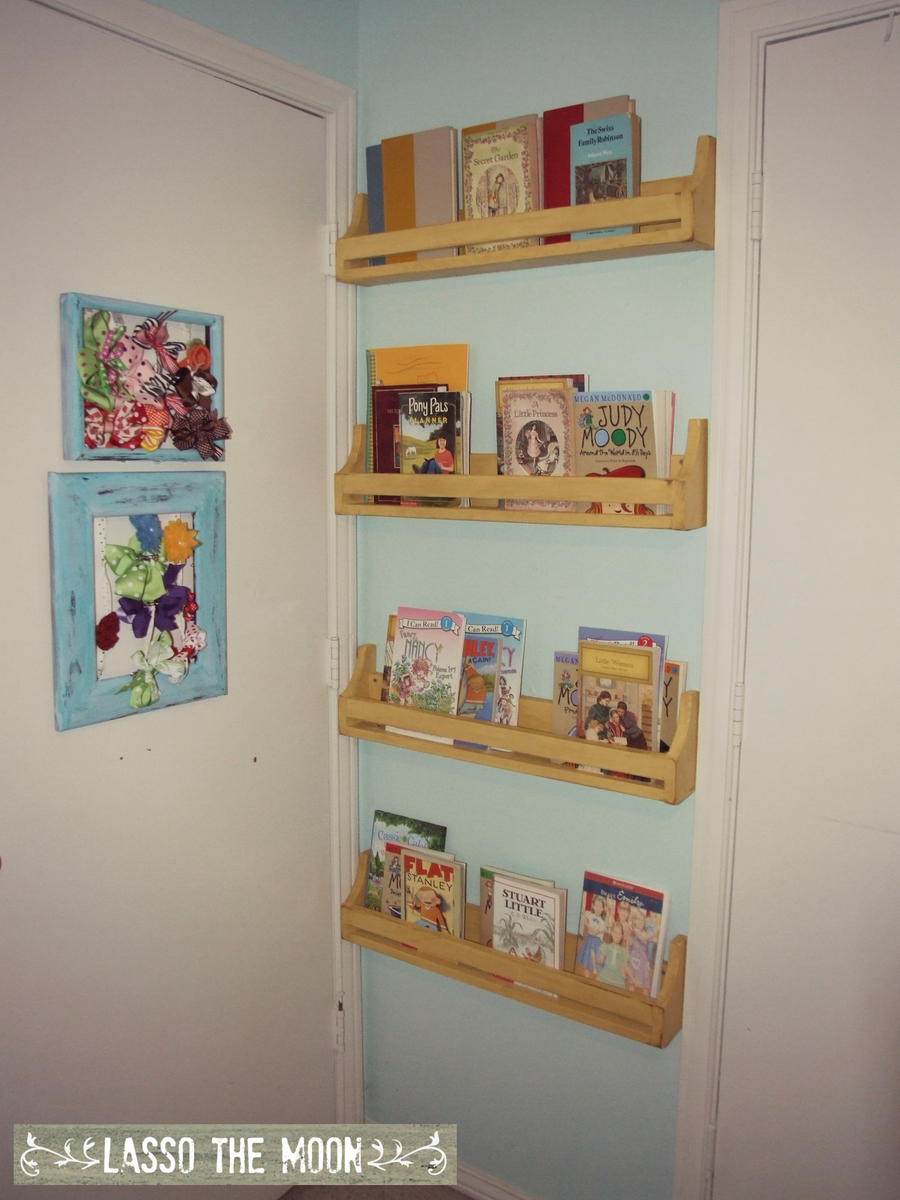
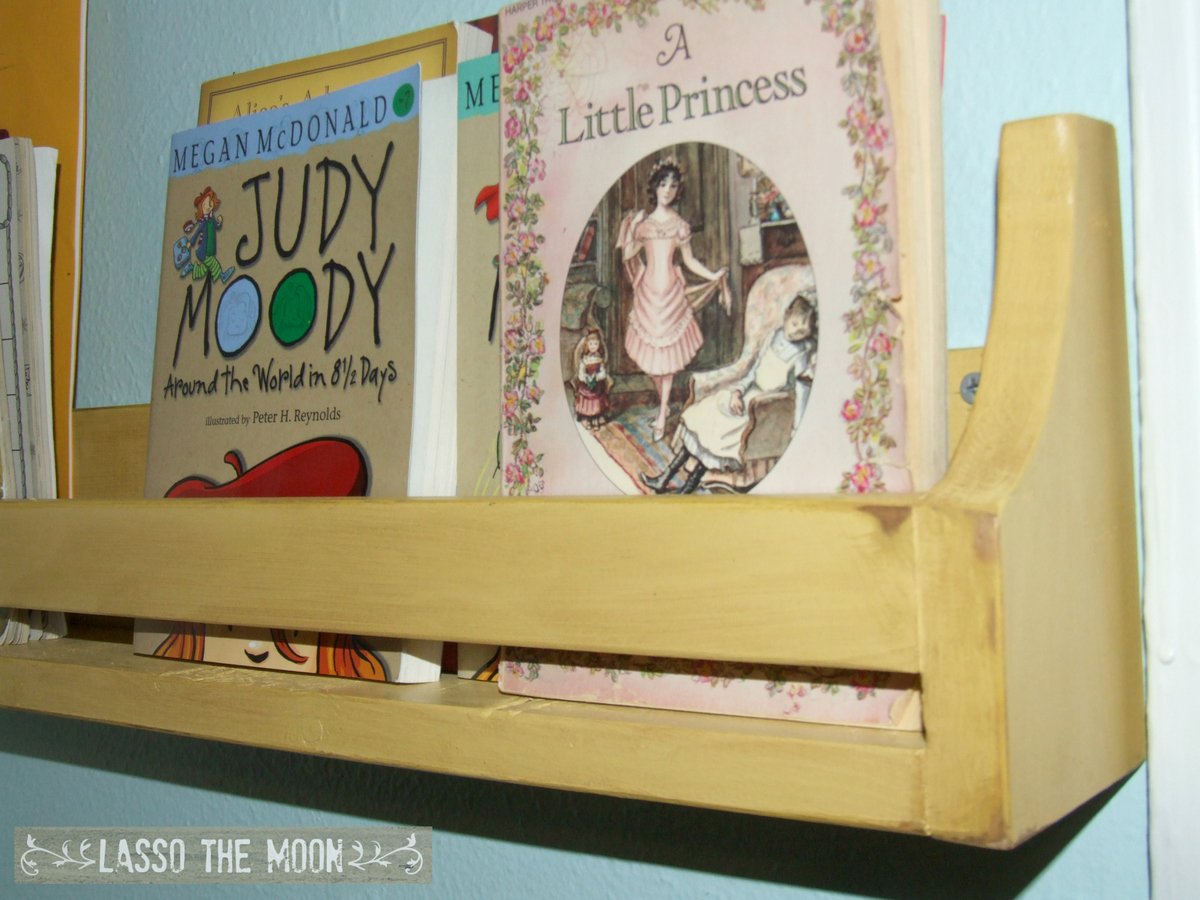
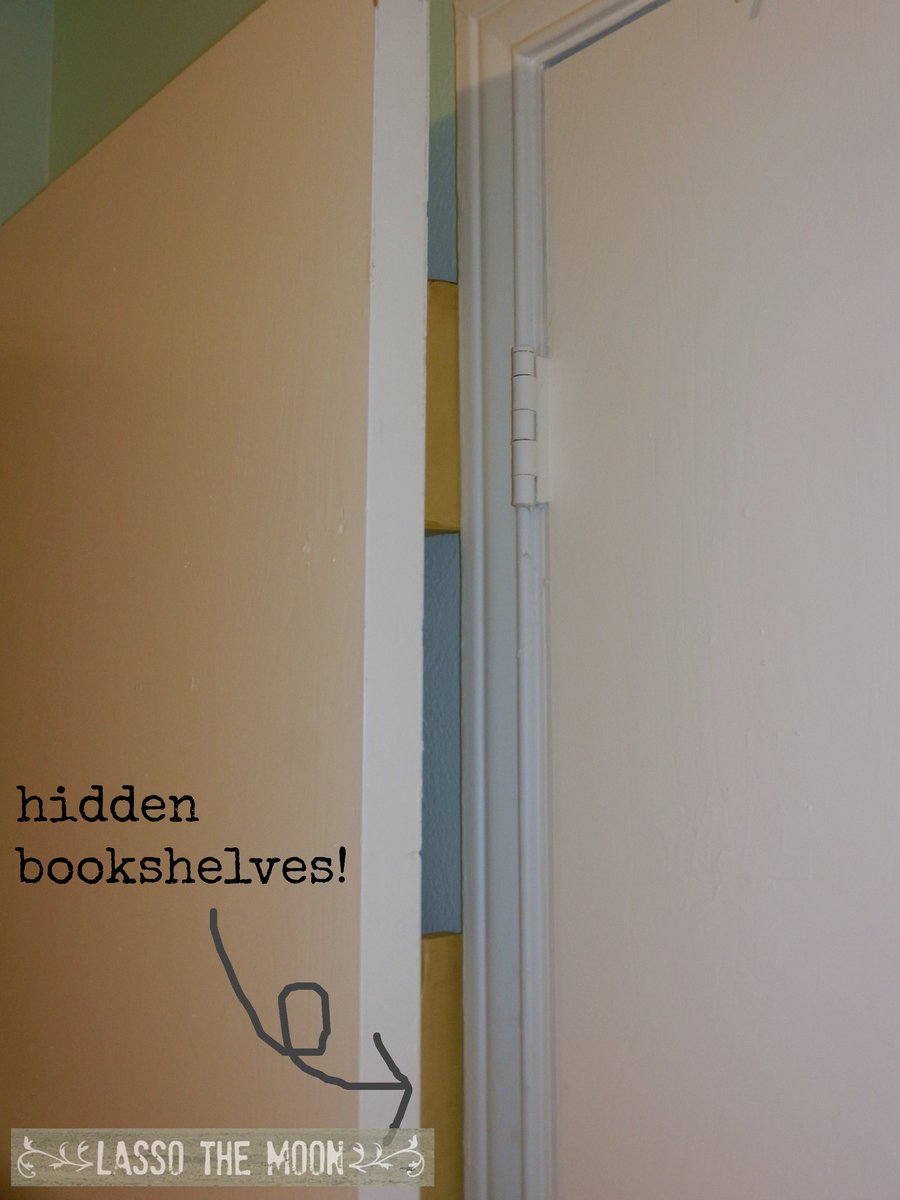
These shelves were absolutely perfect for hiding behind my daughter's bedroom door. Space is tight in her little room, and that 27-inch stretch of wall was not being utilized.
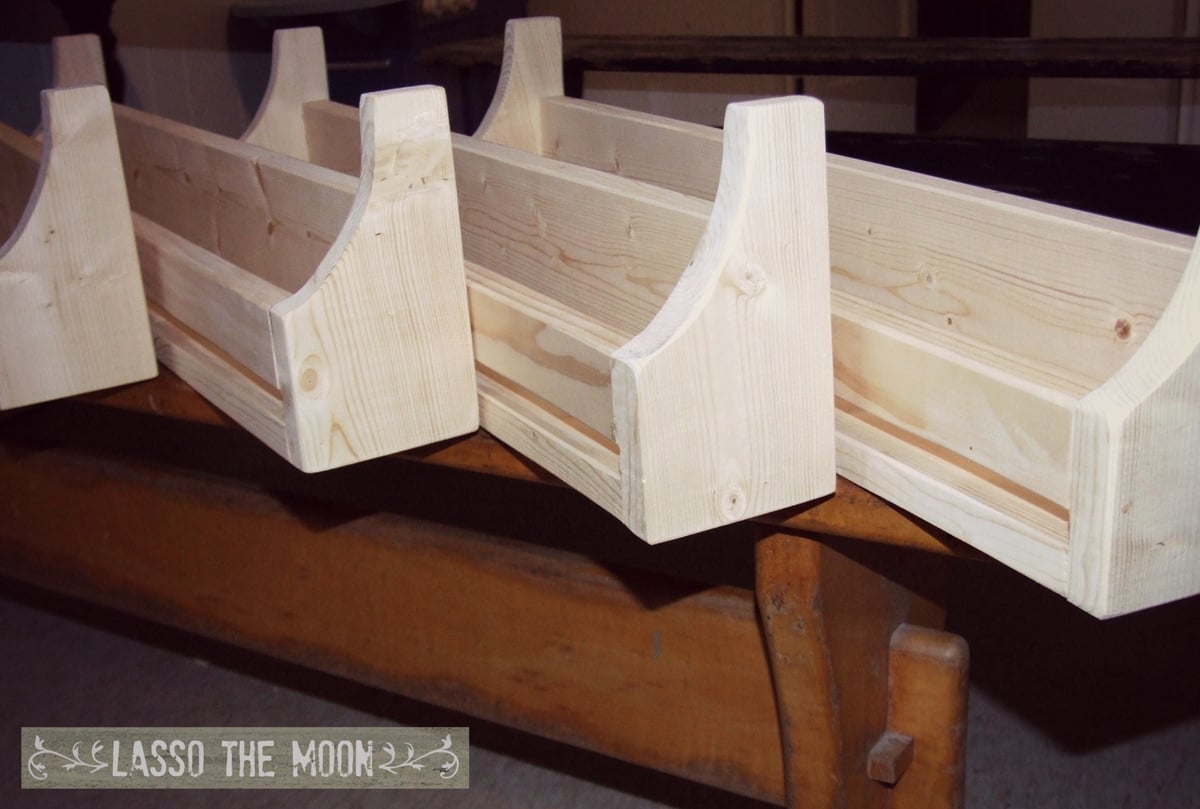
These shelves were so simple and took no time at all. I think total cutting and assembly time was about an hour for all four.
I put them together using pocket holes, so the order of assembly was a bit different than the original plan. I screwed the sides to the bottom, then added the front beam, and attached the back last, using pocket holes and filling them with spackle.
I can't wait to find more nooks and crannies to build creative storage from plans on this site.
THANKS!
Anna
More pics and details on the blog post:
http://lassothemoon.typepad.com/lasso_the_moon/2013/07/emmas-secret-lib…
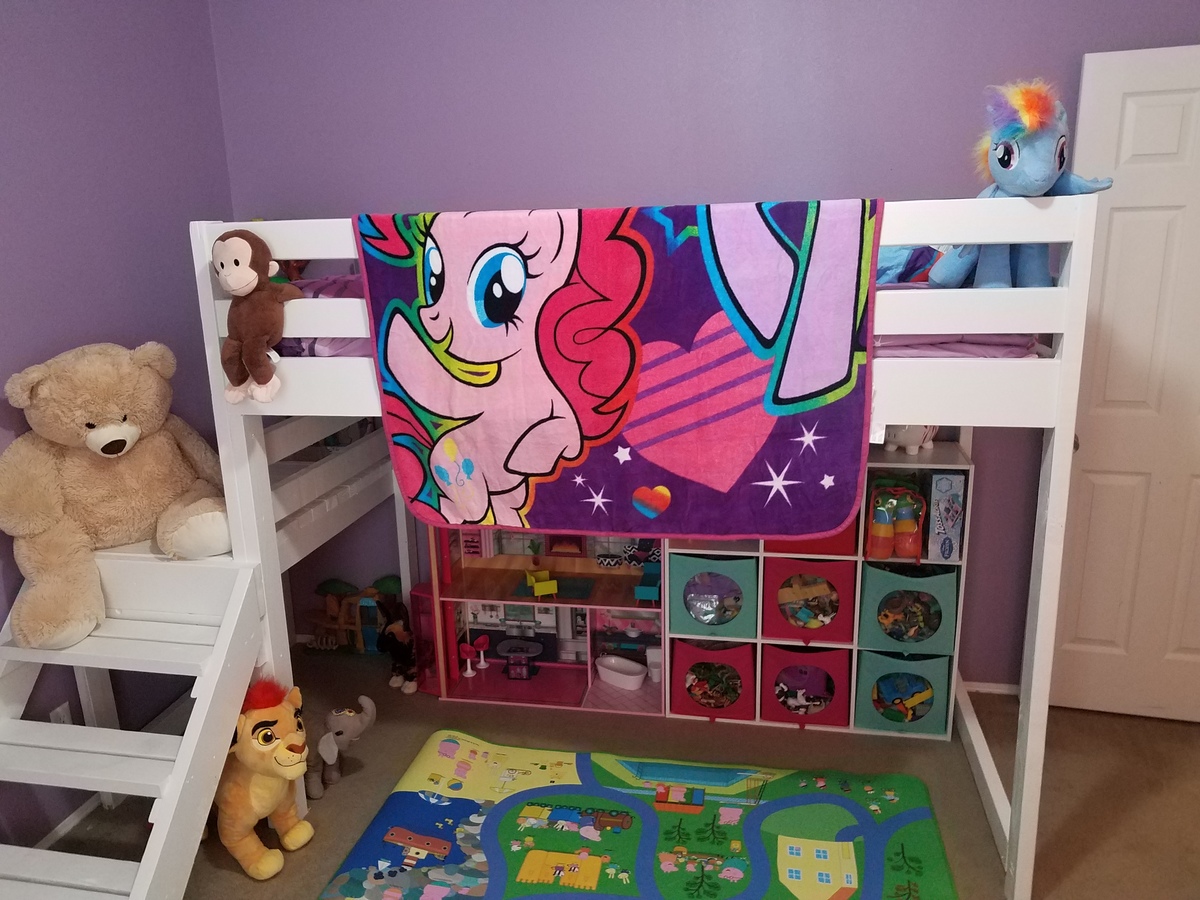
I've built a few bookshelves and cubbies before, but nothing on this scale. I built this in my basement this past December as a Christmas present for my three-year-old son. The plans were easy to follow. I believe I spent about $150 on lumber. The bed is very sturdy. My kids love it! Now the the other kids want their own special daddy-made bed :)
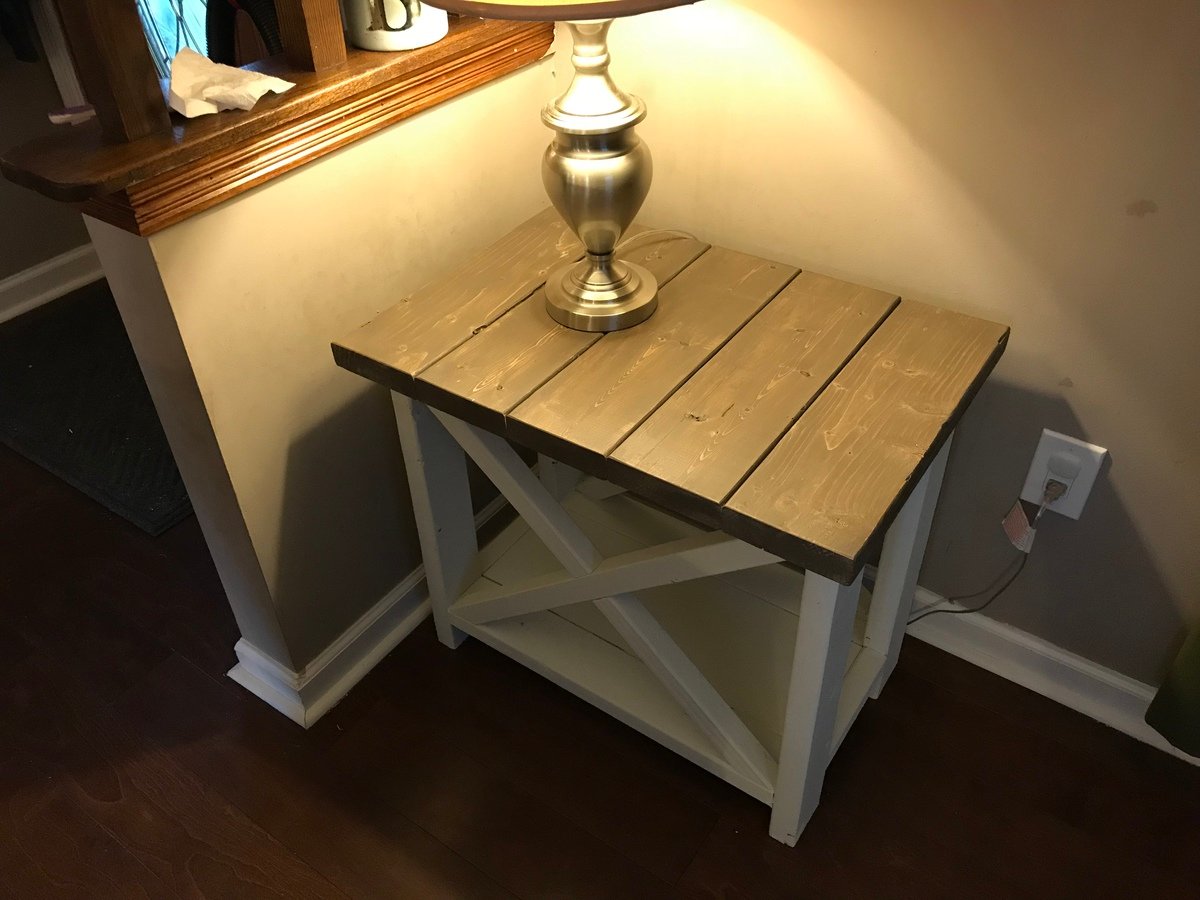
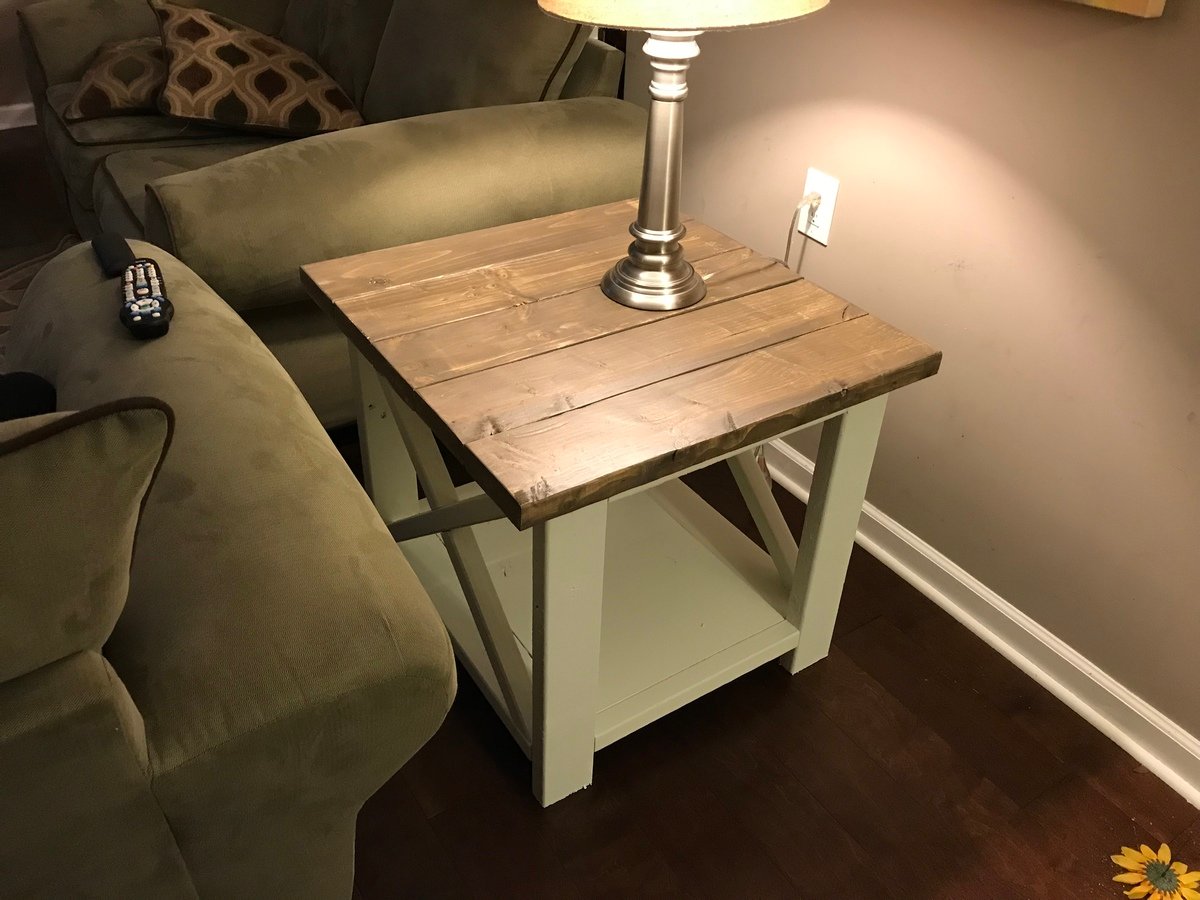
I changed the size of one of the tables to fit the space. Otherwise they are built from the plans. Turned out very nice.
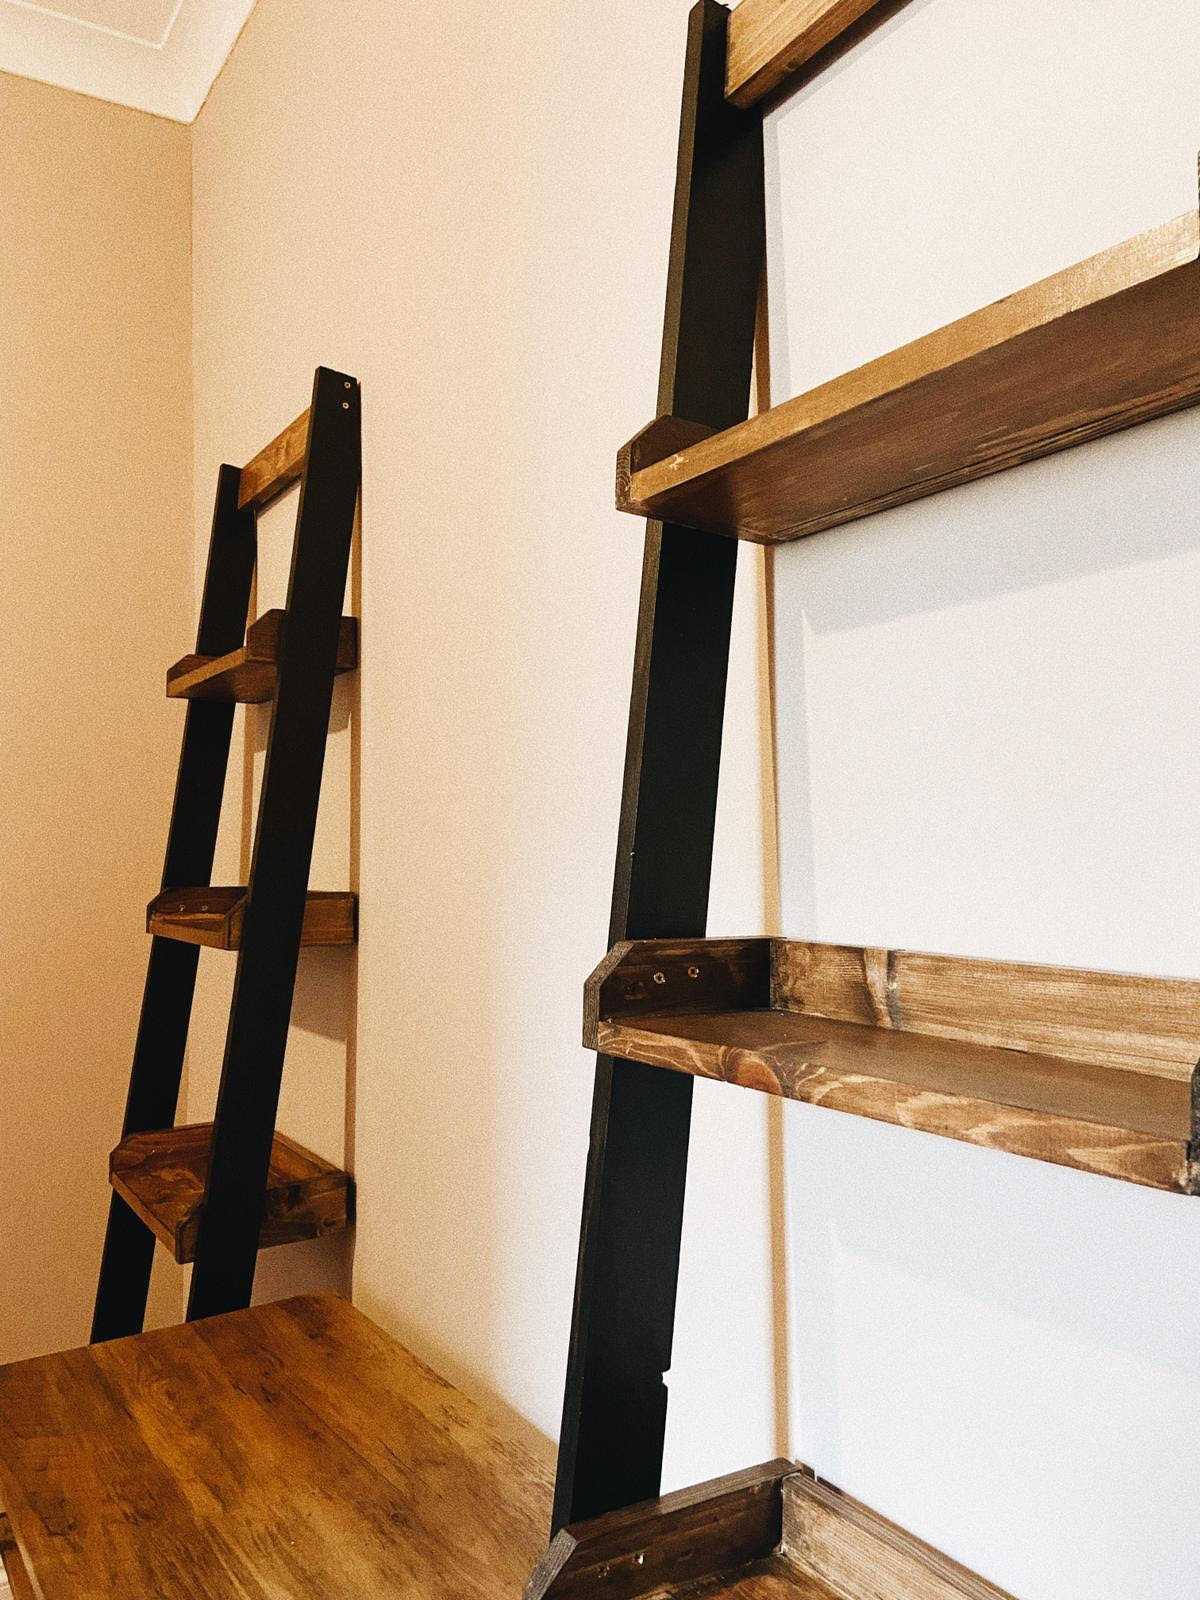
Build a leaning wall shelf easily with Ana White's free plans!
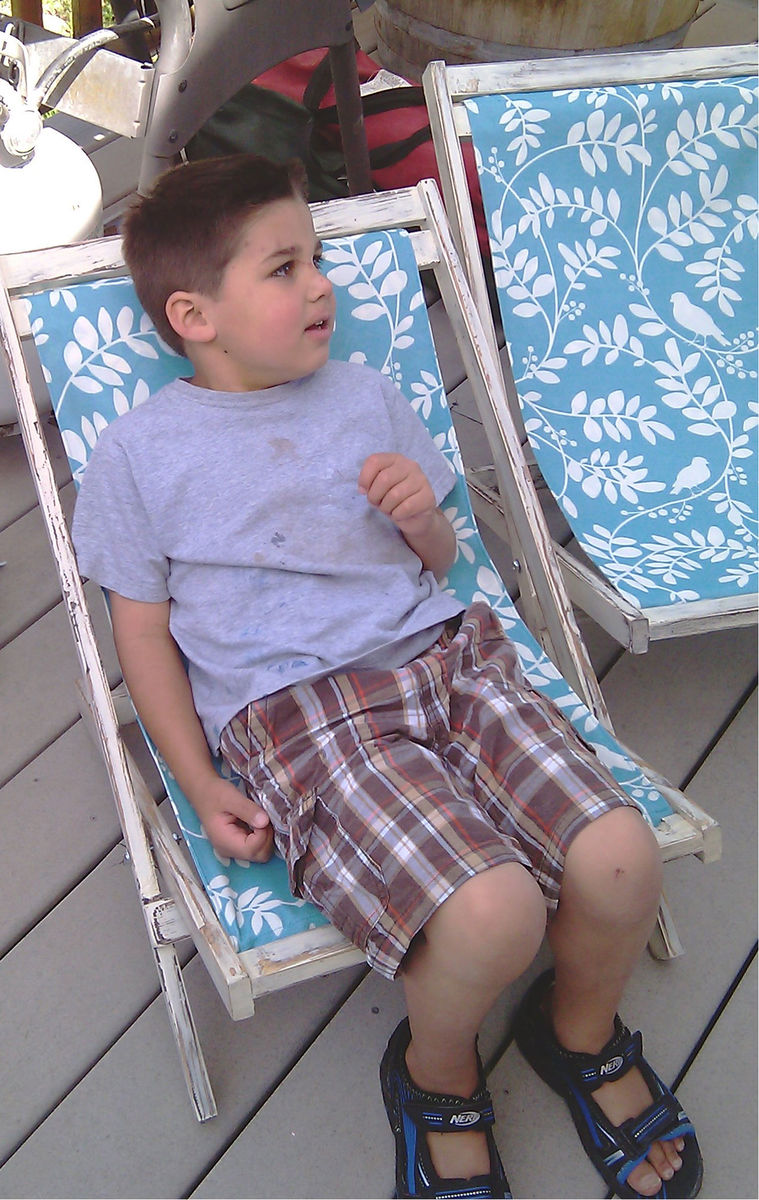
These were so simple, and SO FUN to build! These were done all while having a schools out party, and an evening outdoor movie with kids running wild! I really liked building them, and can't handle how cute they are! I used pocketholes and also brads and glue. Pretty sturdy, but I think I will use harder wood for them next time. We went to a cabin over Memorial Day, and we ended up leaving them for the owner because we thought they were so cute on her deck! My finish was super easy and fast because I wanted them finished so I stained, and dry painted then set them in the front to dry out in the sun, sealed with poly and TADA, DECK CHAIRS!!
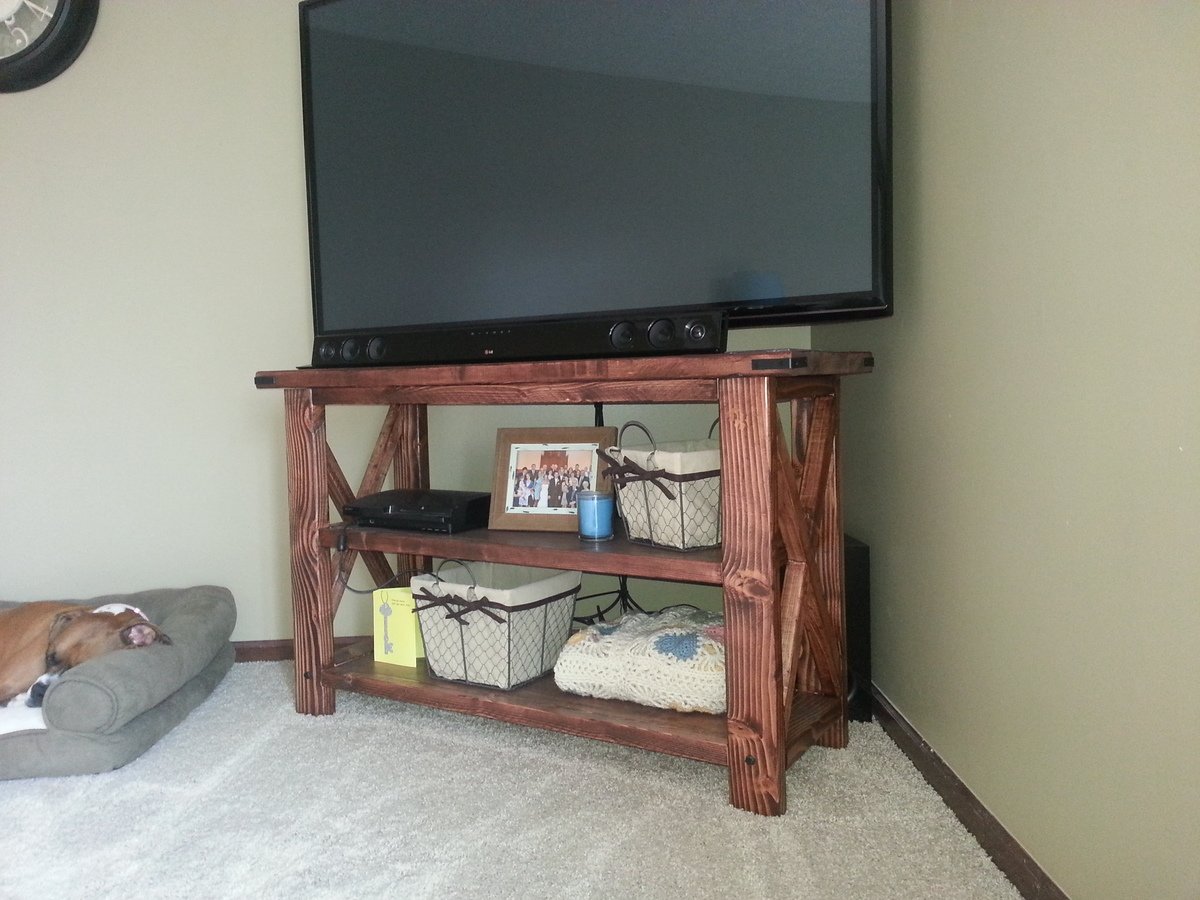
For this project we needed a piece quite a bit smaller than the original plan called for. We ended up keeping it simple by only altering the width. We kept the height and depth the same in order for the x's to keep their angles. So we shortened the width and only did one shelf section instead of two! Vwala...our first project-complete!
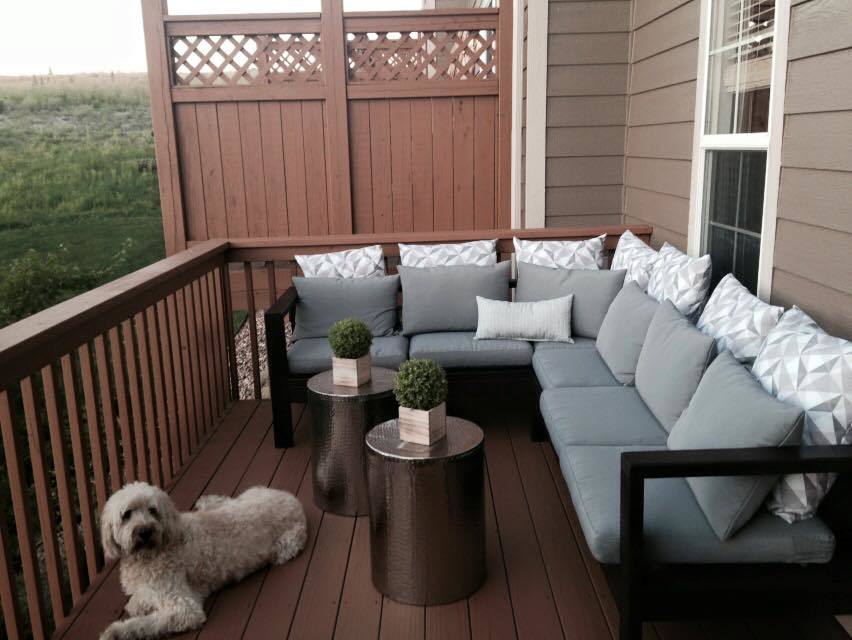
This project took a day to build and about four days to stain with a day of drying in between each coat. Great plans! I love my new couches!
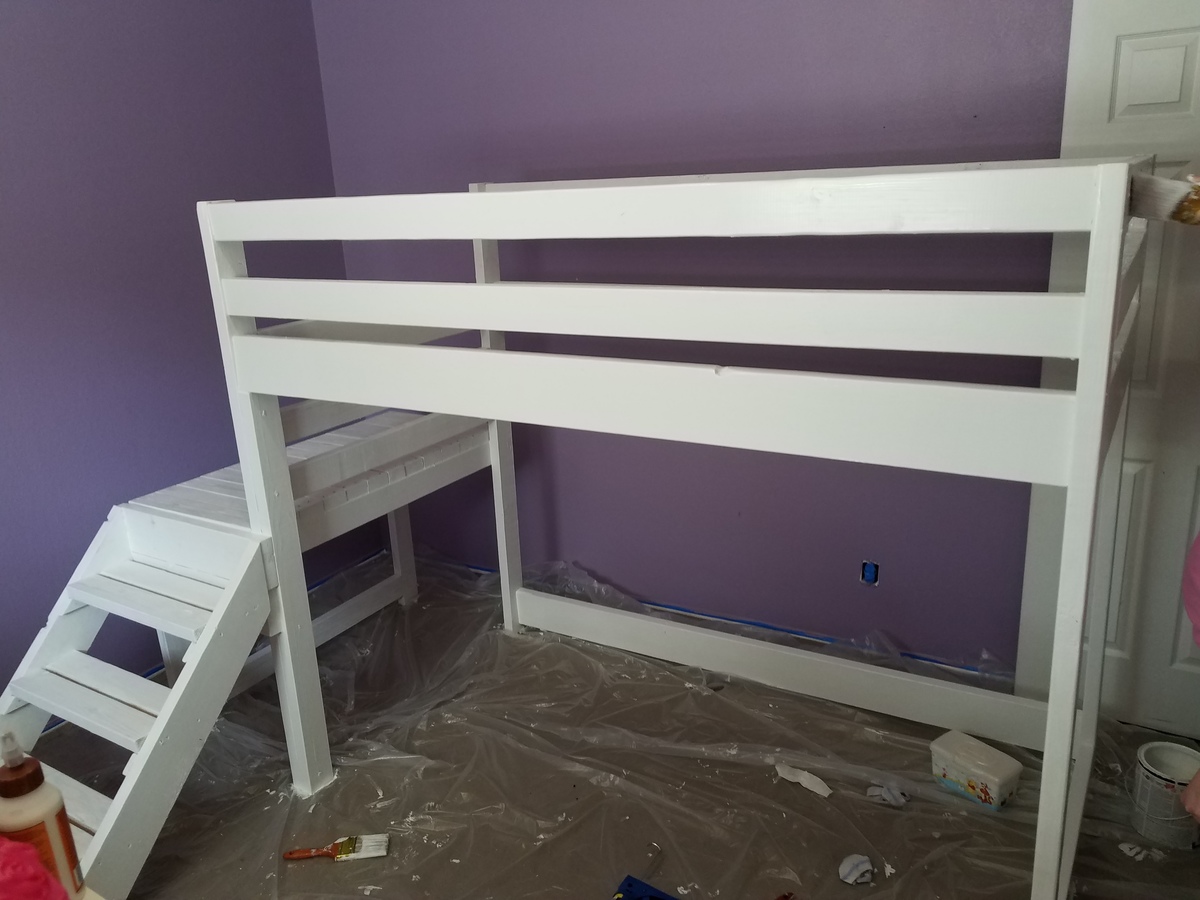
I really enjoyed making this.. I used Anas plan for this. I changed a lil bit.. but it was easier than i thought... My 1st time using kreg jig so it took me a little longer to build.. I did mess up a few times which is why i changed things lol. My Daughter loves it! Wife wanted it white.. i also made a chalk board and put it at te head of bed
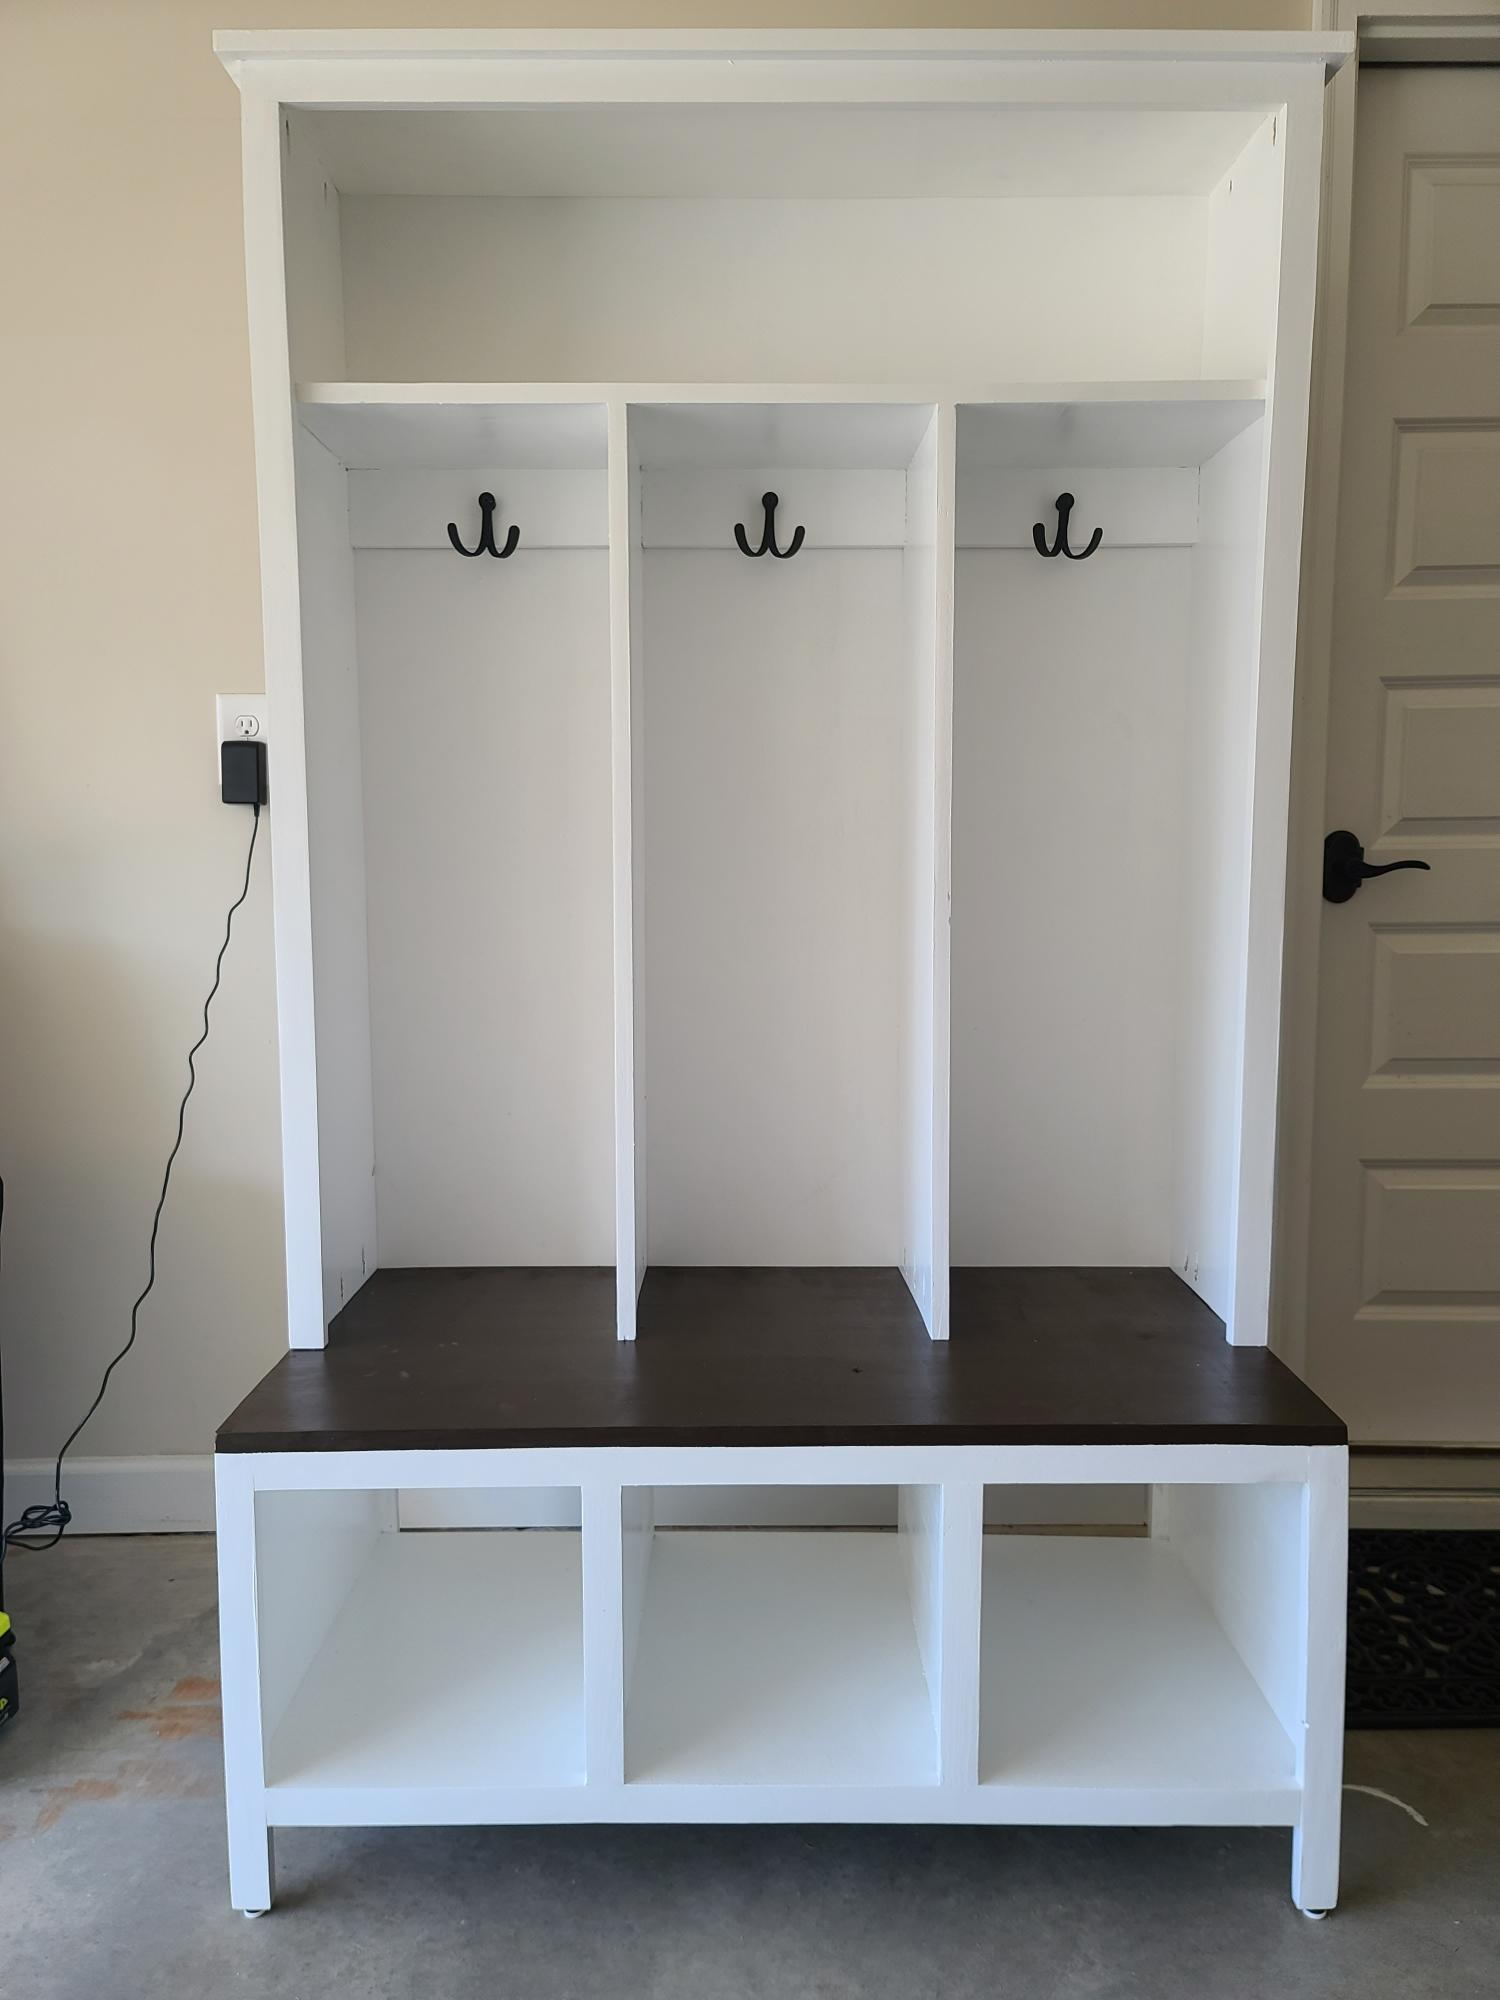
I had previously posted a work in process version, this is the completed project. Very happy with the results of combining the Easy Three Cube Bench and Small Locker Cabinet plans. If I had to change anything, I might widen the dividers to get a little more width, but this suits what we were trying to accomplish.
Learned something on this project, I hate painting! In the future when I know I am going to paint the completed project, I'm going to paint as much as I can before assembling.
I have been wanting a toy box for my kids, for a while...problem is... I didn't print the plan, still love it though!!!!
Sun, 06/30/2013 - 08:43
Wow, that was very fast to make that! I made one similar out of Northern Red Oak and it took me about 80 hours. I spent more than two hours just driving and selecting my wood. Very nice!
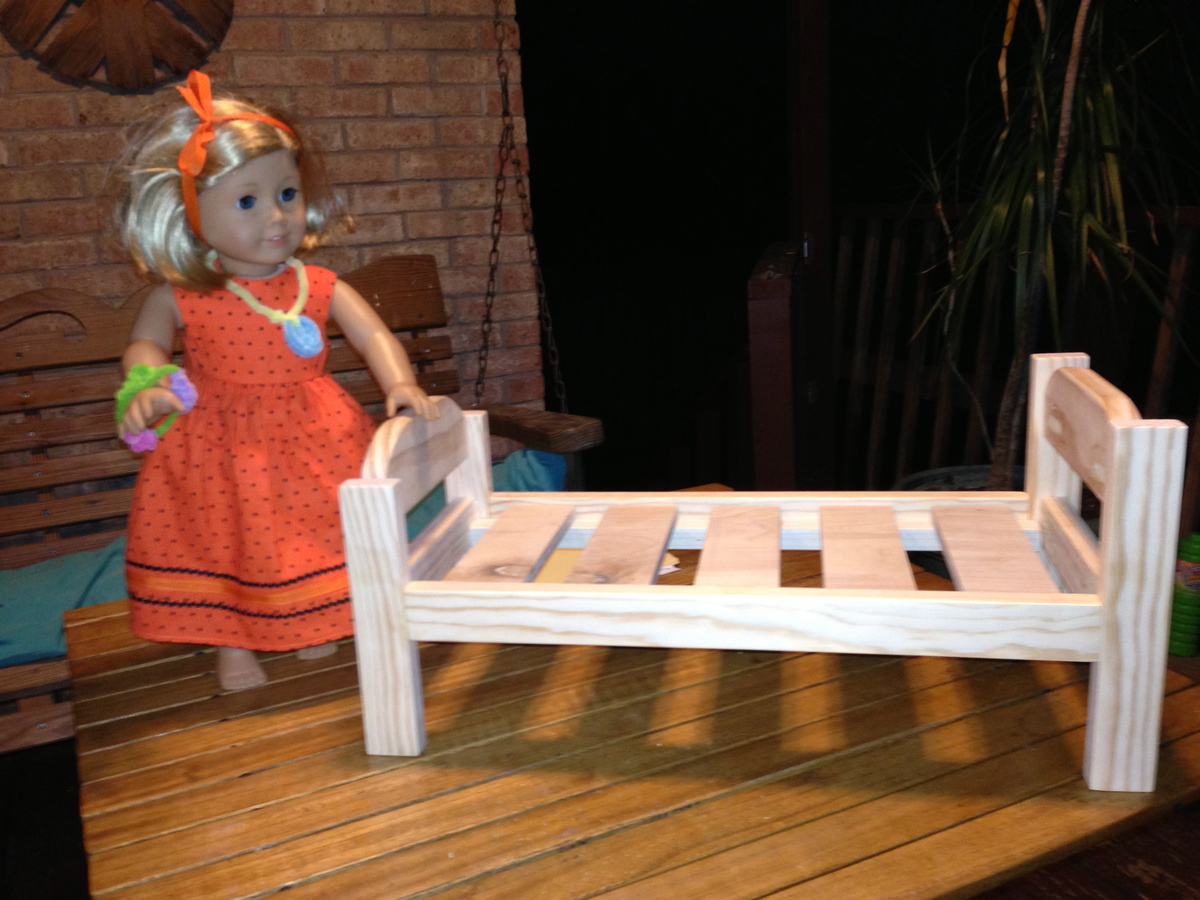
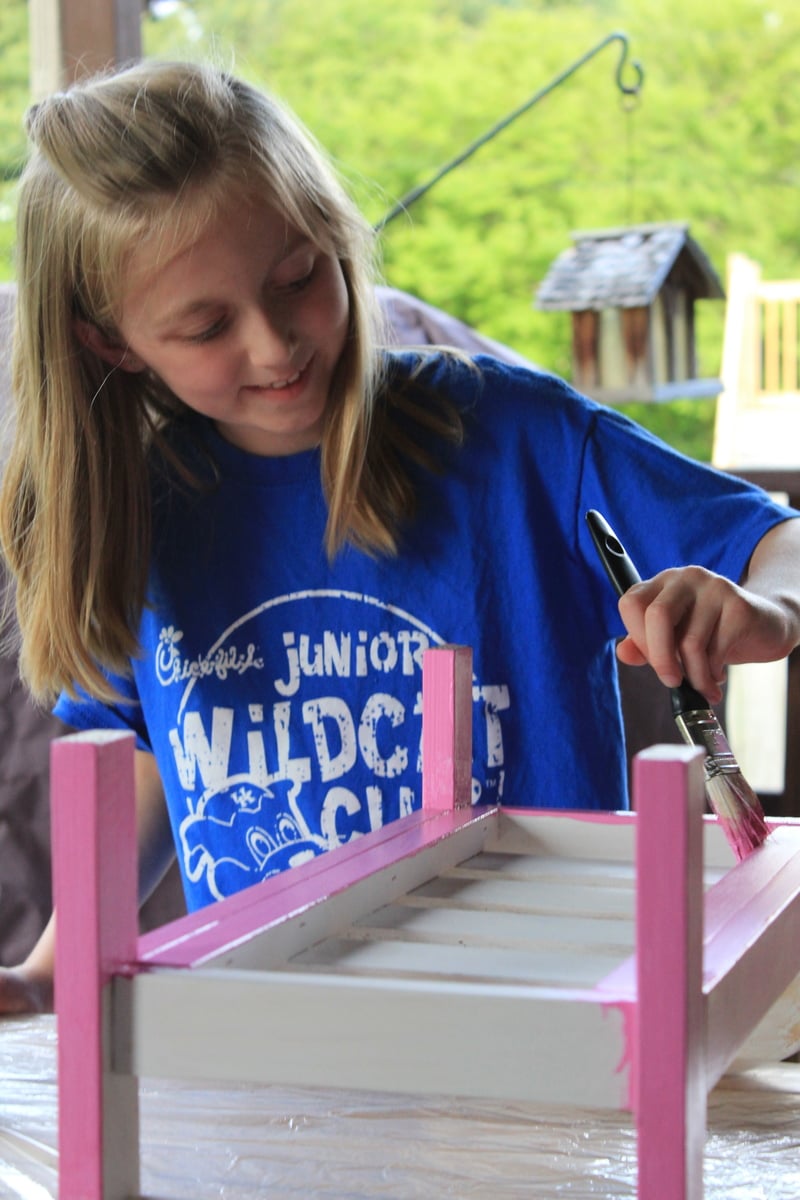
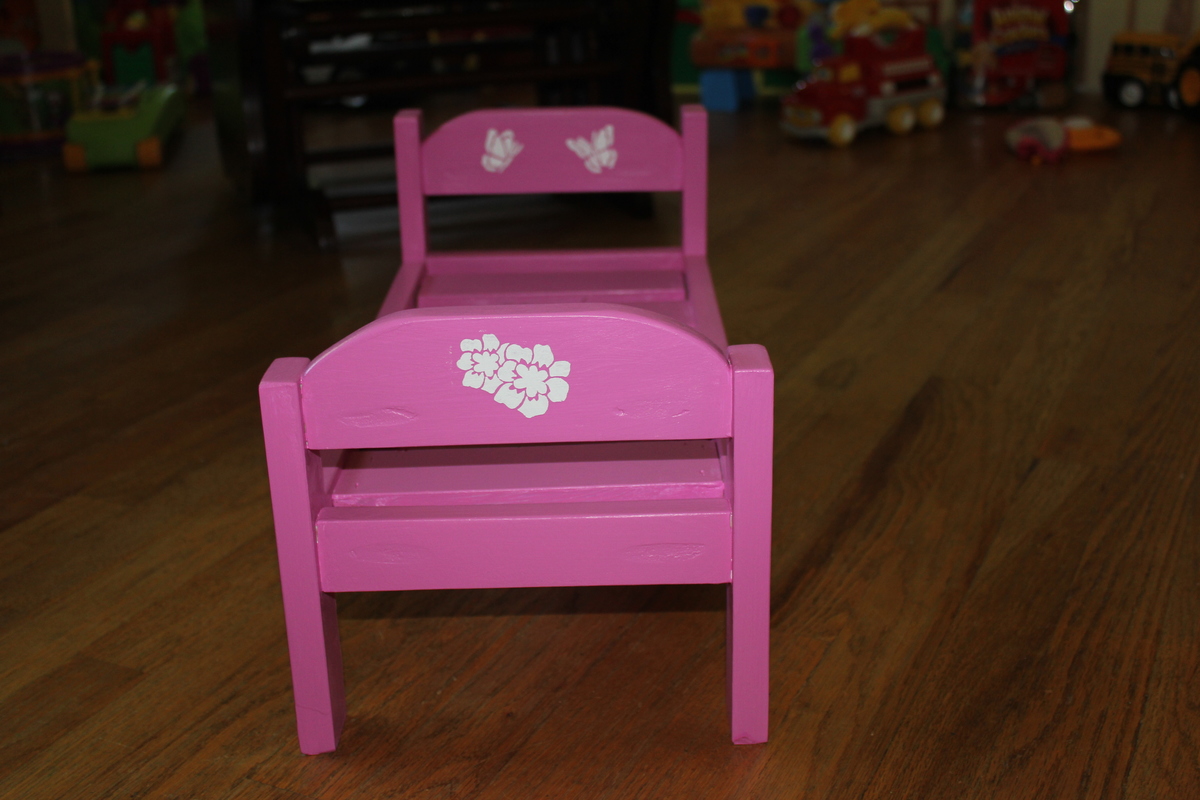
My daughter and I made this bed together for her cousin. She helped me every step of the way with the exception of the cutting. It was her first time sanding, drilling and painting (well at least painting furniture). I also let her pick out the paint color which she put a tremendous amount of thought into.
I truly enjoyed my time making this project and especially since it allowed my daughter and I to work together to make someone else very happy.
Her cousin seemed to love the bed, and my daughter definitely loved working on it and bringing it out to her.
Thank you so much for the plans and making this experience so easy!
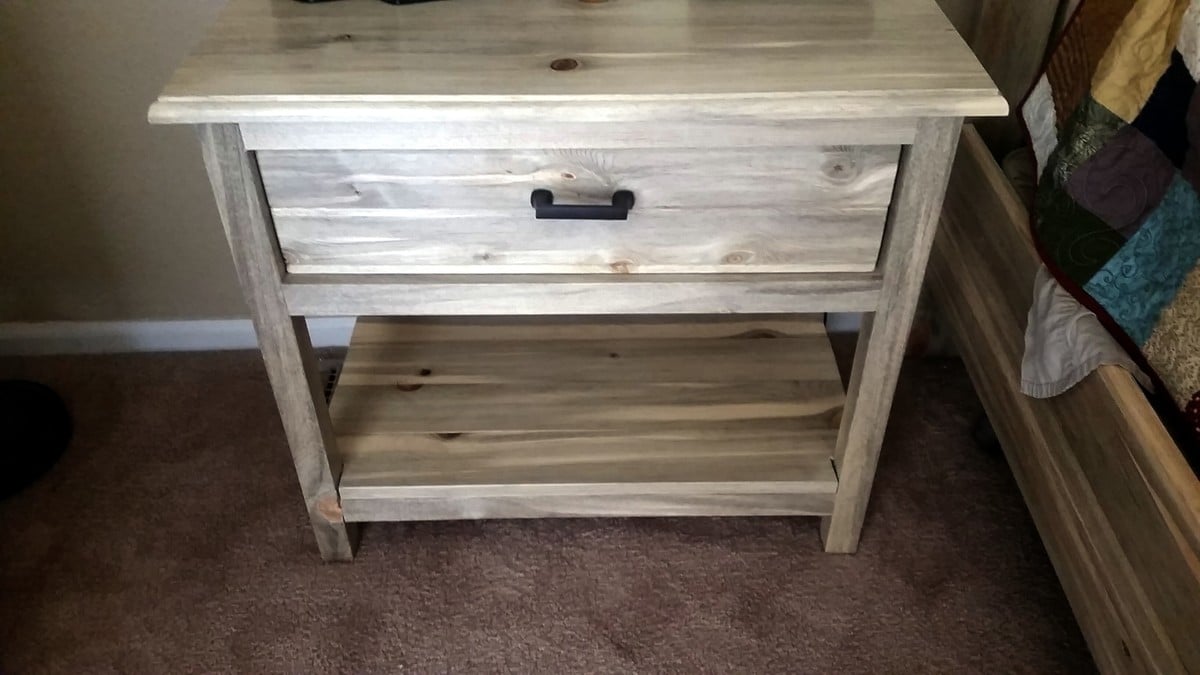
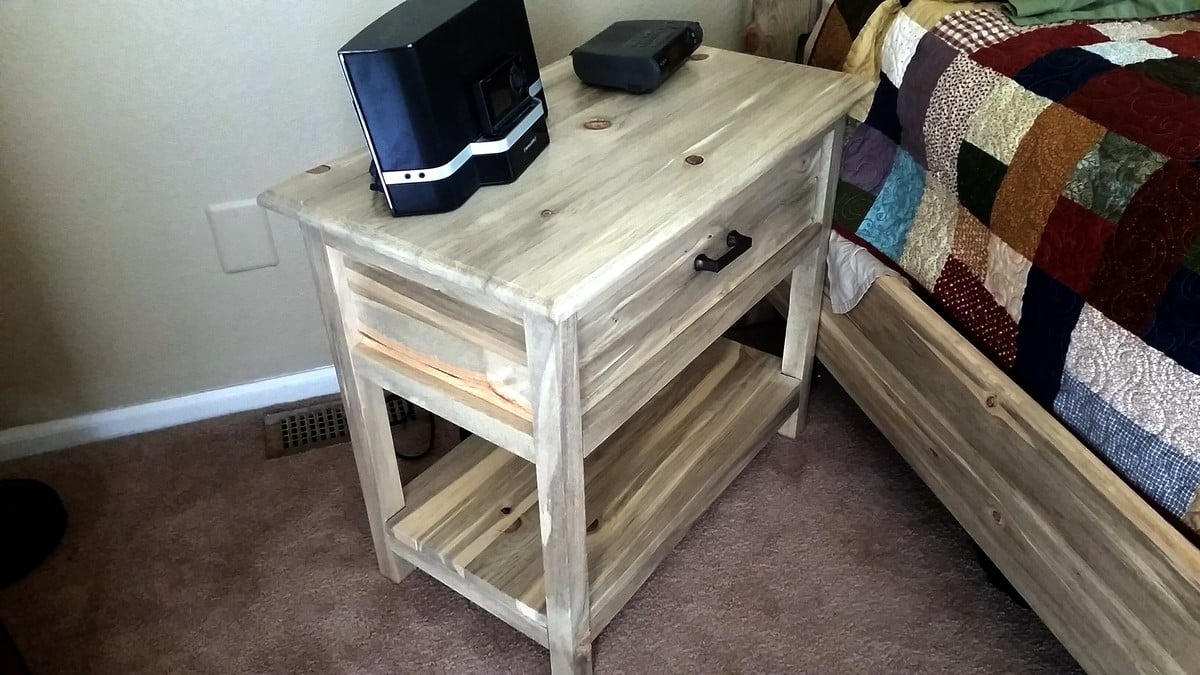
This is our take on the Farmhouse Bedside Table made from beautiful beetle kill wood. :D
Thu, 03/31/2016 - 07:51
I love the beetle kill pine, that is what I picked up last night from HomeDepot to make mine with. Great Job!
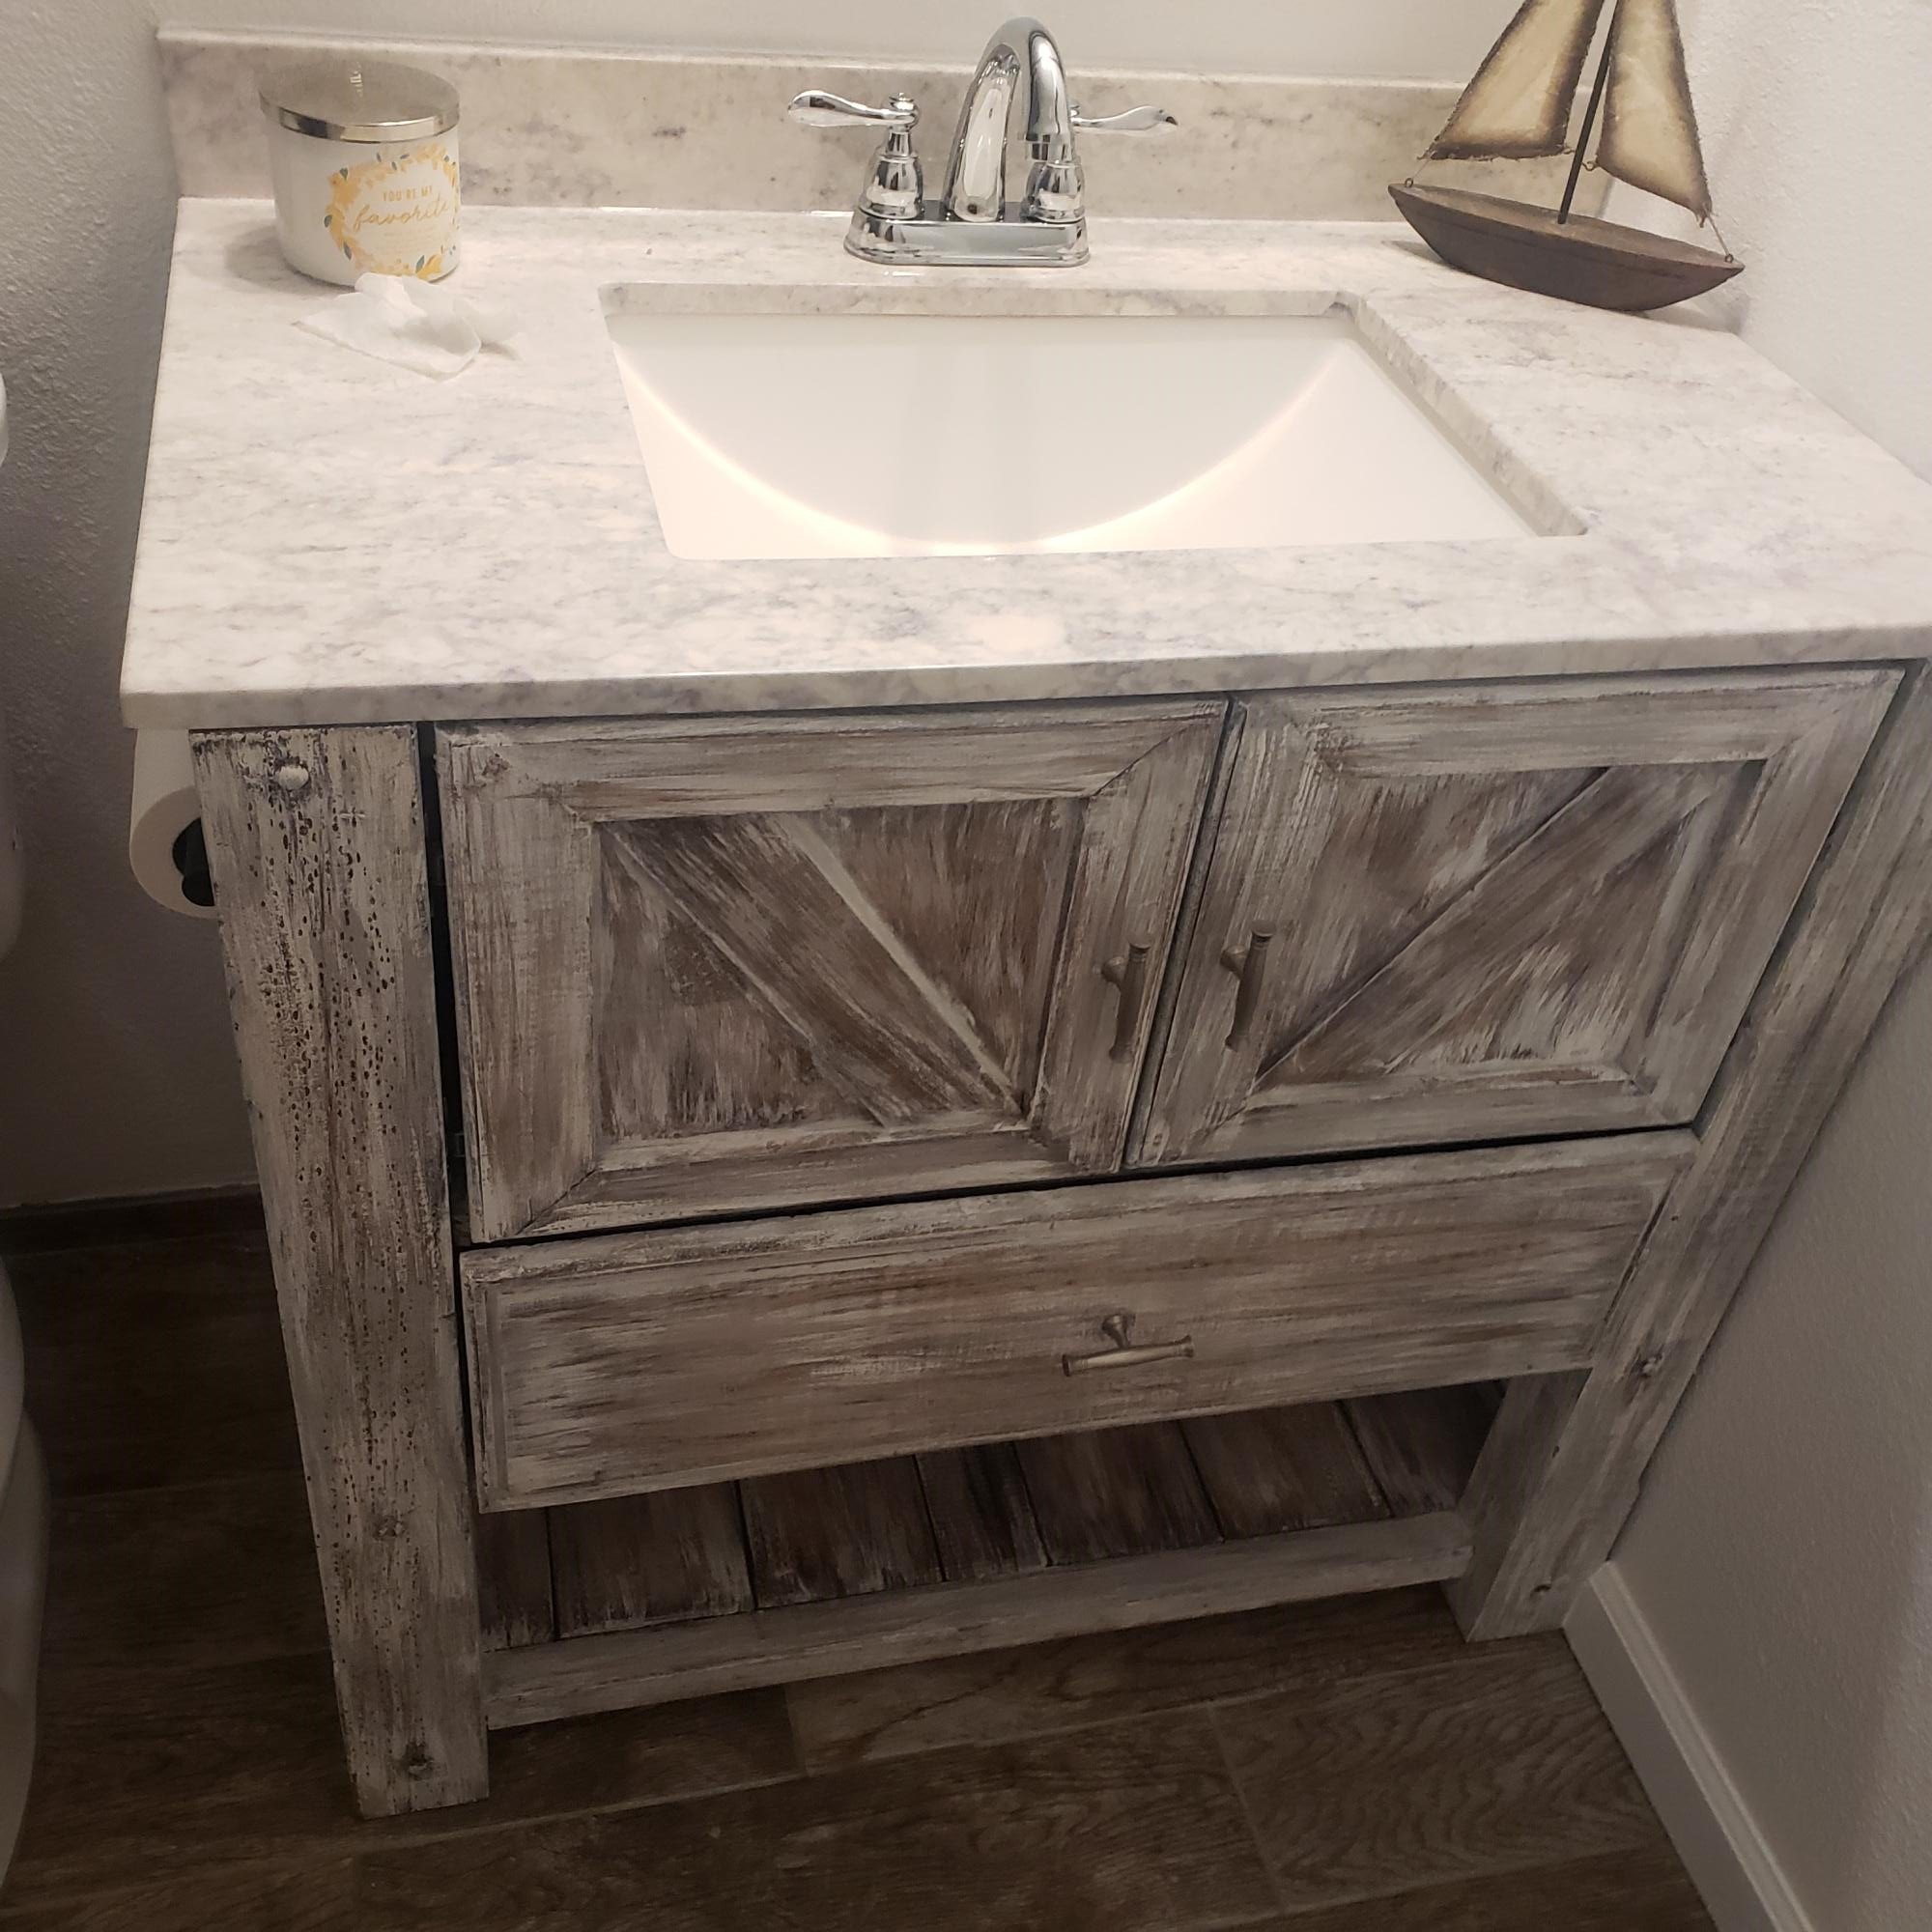
All created from her designs. Thanks for all your tips!


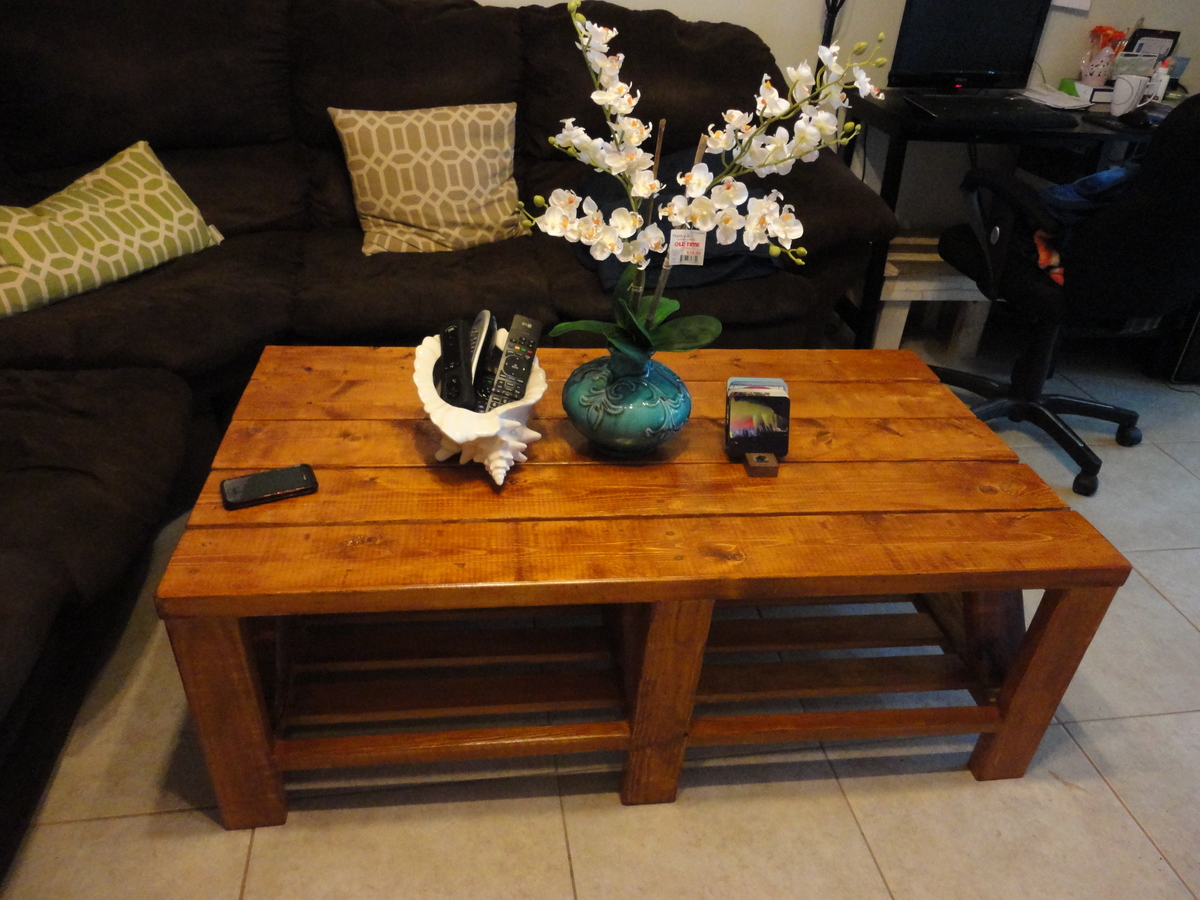
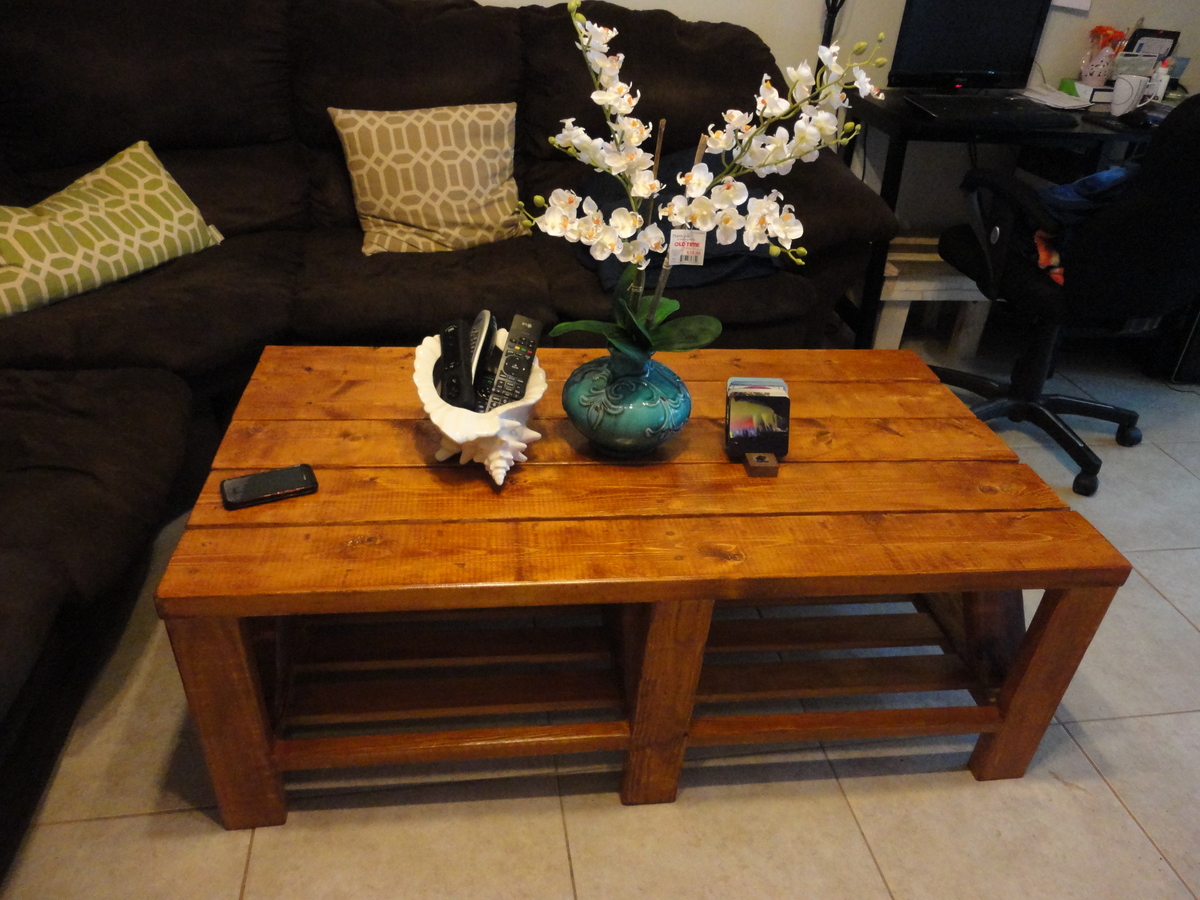
I wanna replace the wobbly coffee table that we just bought a couple years ago. I hate factory made furnitures because they don't last long plus they are so expensive and poorly made. For a military wife that just graduated, saving money is a big deal for me. Hubby don't have any clue that I wanted to buy a rustic sturdy coffee table. I ask my friend to give me a lift to go to the store since I don't have my own car. And bought stuff that I needed after I researched and came across this website. Hubby came home with a finished product and he was so happy with it. Its very sturdy and now he requested to have a kitchen table with a matching hutch or china cabinet. Thank you Ana for giving us plans that can help us save money and high-end looking furnitures! God bless you and your family.
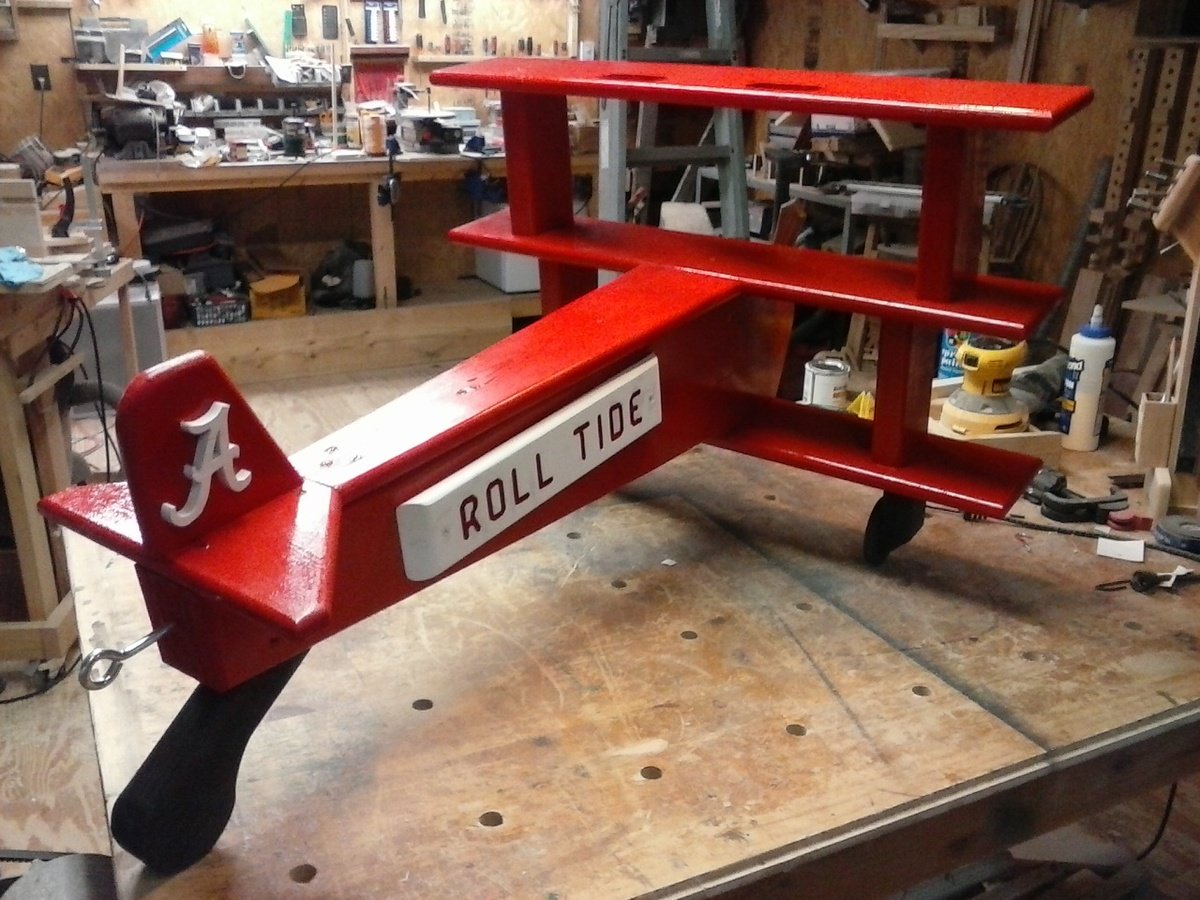
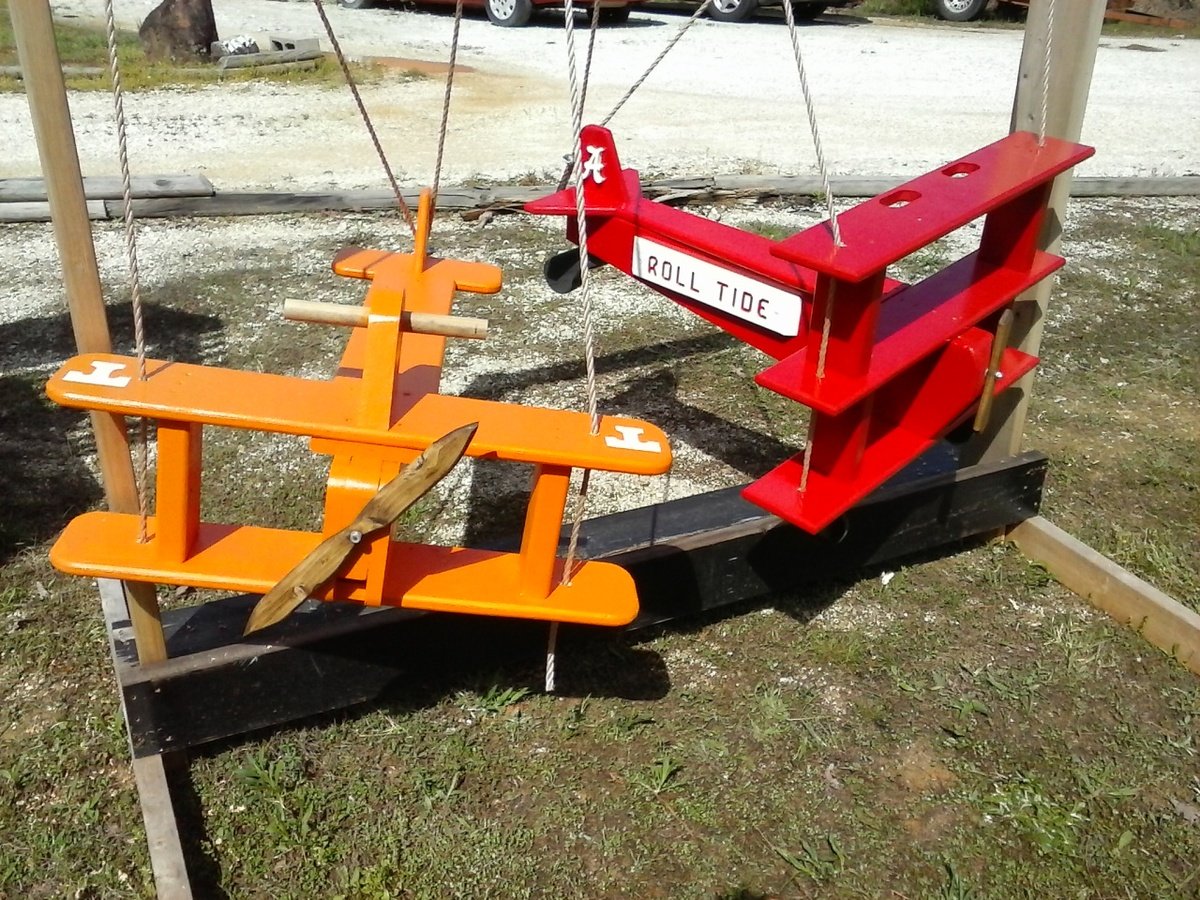
Built in an afternoon. I built them from a picture on Ana White website and modified a bit with both planes. Roll Tide was routed into a piece of wood and glued to the sides of the plane. The "A" was cut out on the band saw and finished on the scroll saw. The "T" on the orange plane was painted on The tri plane is the favorite. Roll Tide !
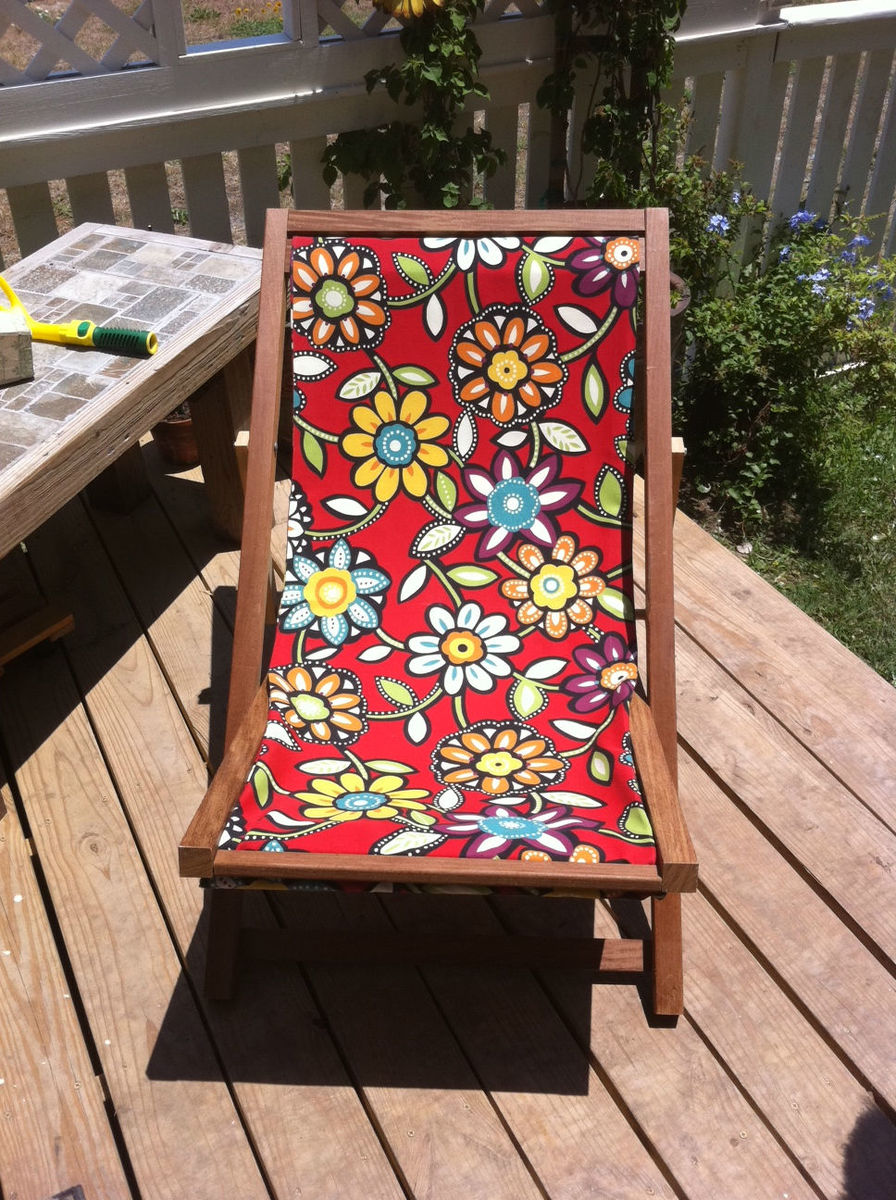
This chair is the best. We went to a specialty lumber store and picked up some Ipe wood. It was fairly expensive (about $100 for the wood alone) but well worth it! Looks awesome and is really comfortable. We also tested it out and it is very sturdy, however, we did use 2x2 for the frame. We plan on making at least one more matching one soon. Thanks for all the plans!!!
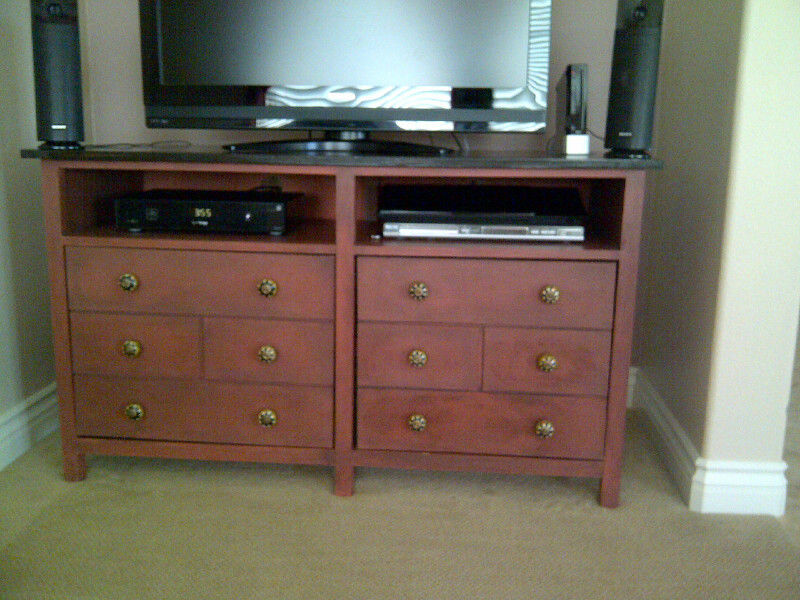
The plans were totally wonderful!
This was the first major build since building the clara table and chair. So I am pretty much a novice. Toughest part was keeping things square. Even though it is far from perfect, we just totally love it.
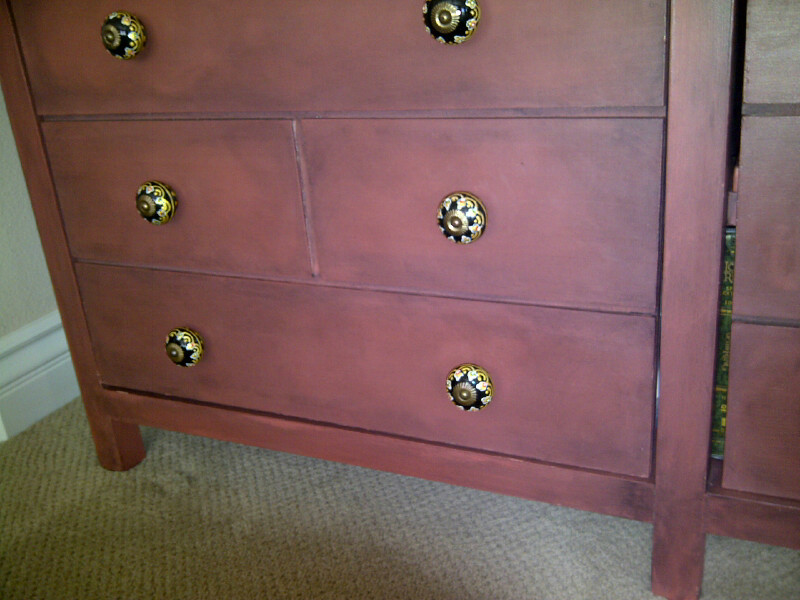
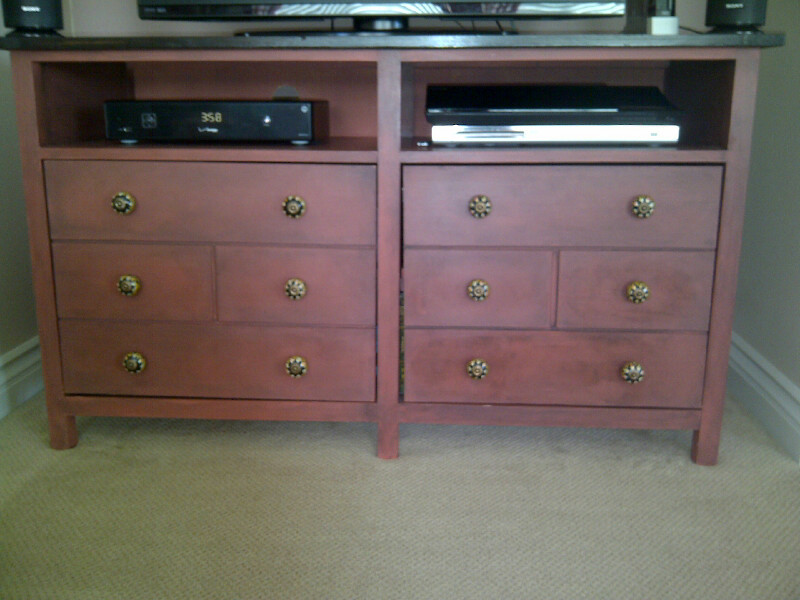
I left the top shelf open for media requiring remotes and changed the doors to look like apothecary doors.
I ended up having to make the doors twice because the first time I used 3/4" plywood with 1/2" strips for the faux doors. The door was so thick - I couldn't find hinges anywhere that would work. So I redid the doors with 1/2" plywood and 1/4" strips. Used the same hinges Ana suggests.
Sun, 07/28/2013 - 17:03
Looks awesome, love the finish and the apothecary doors!