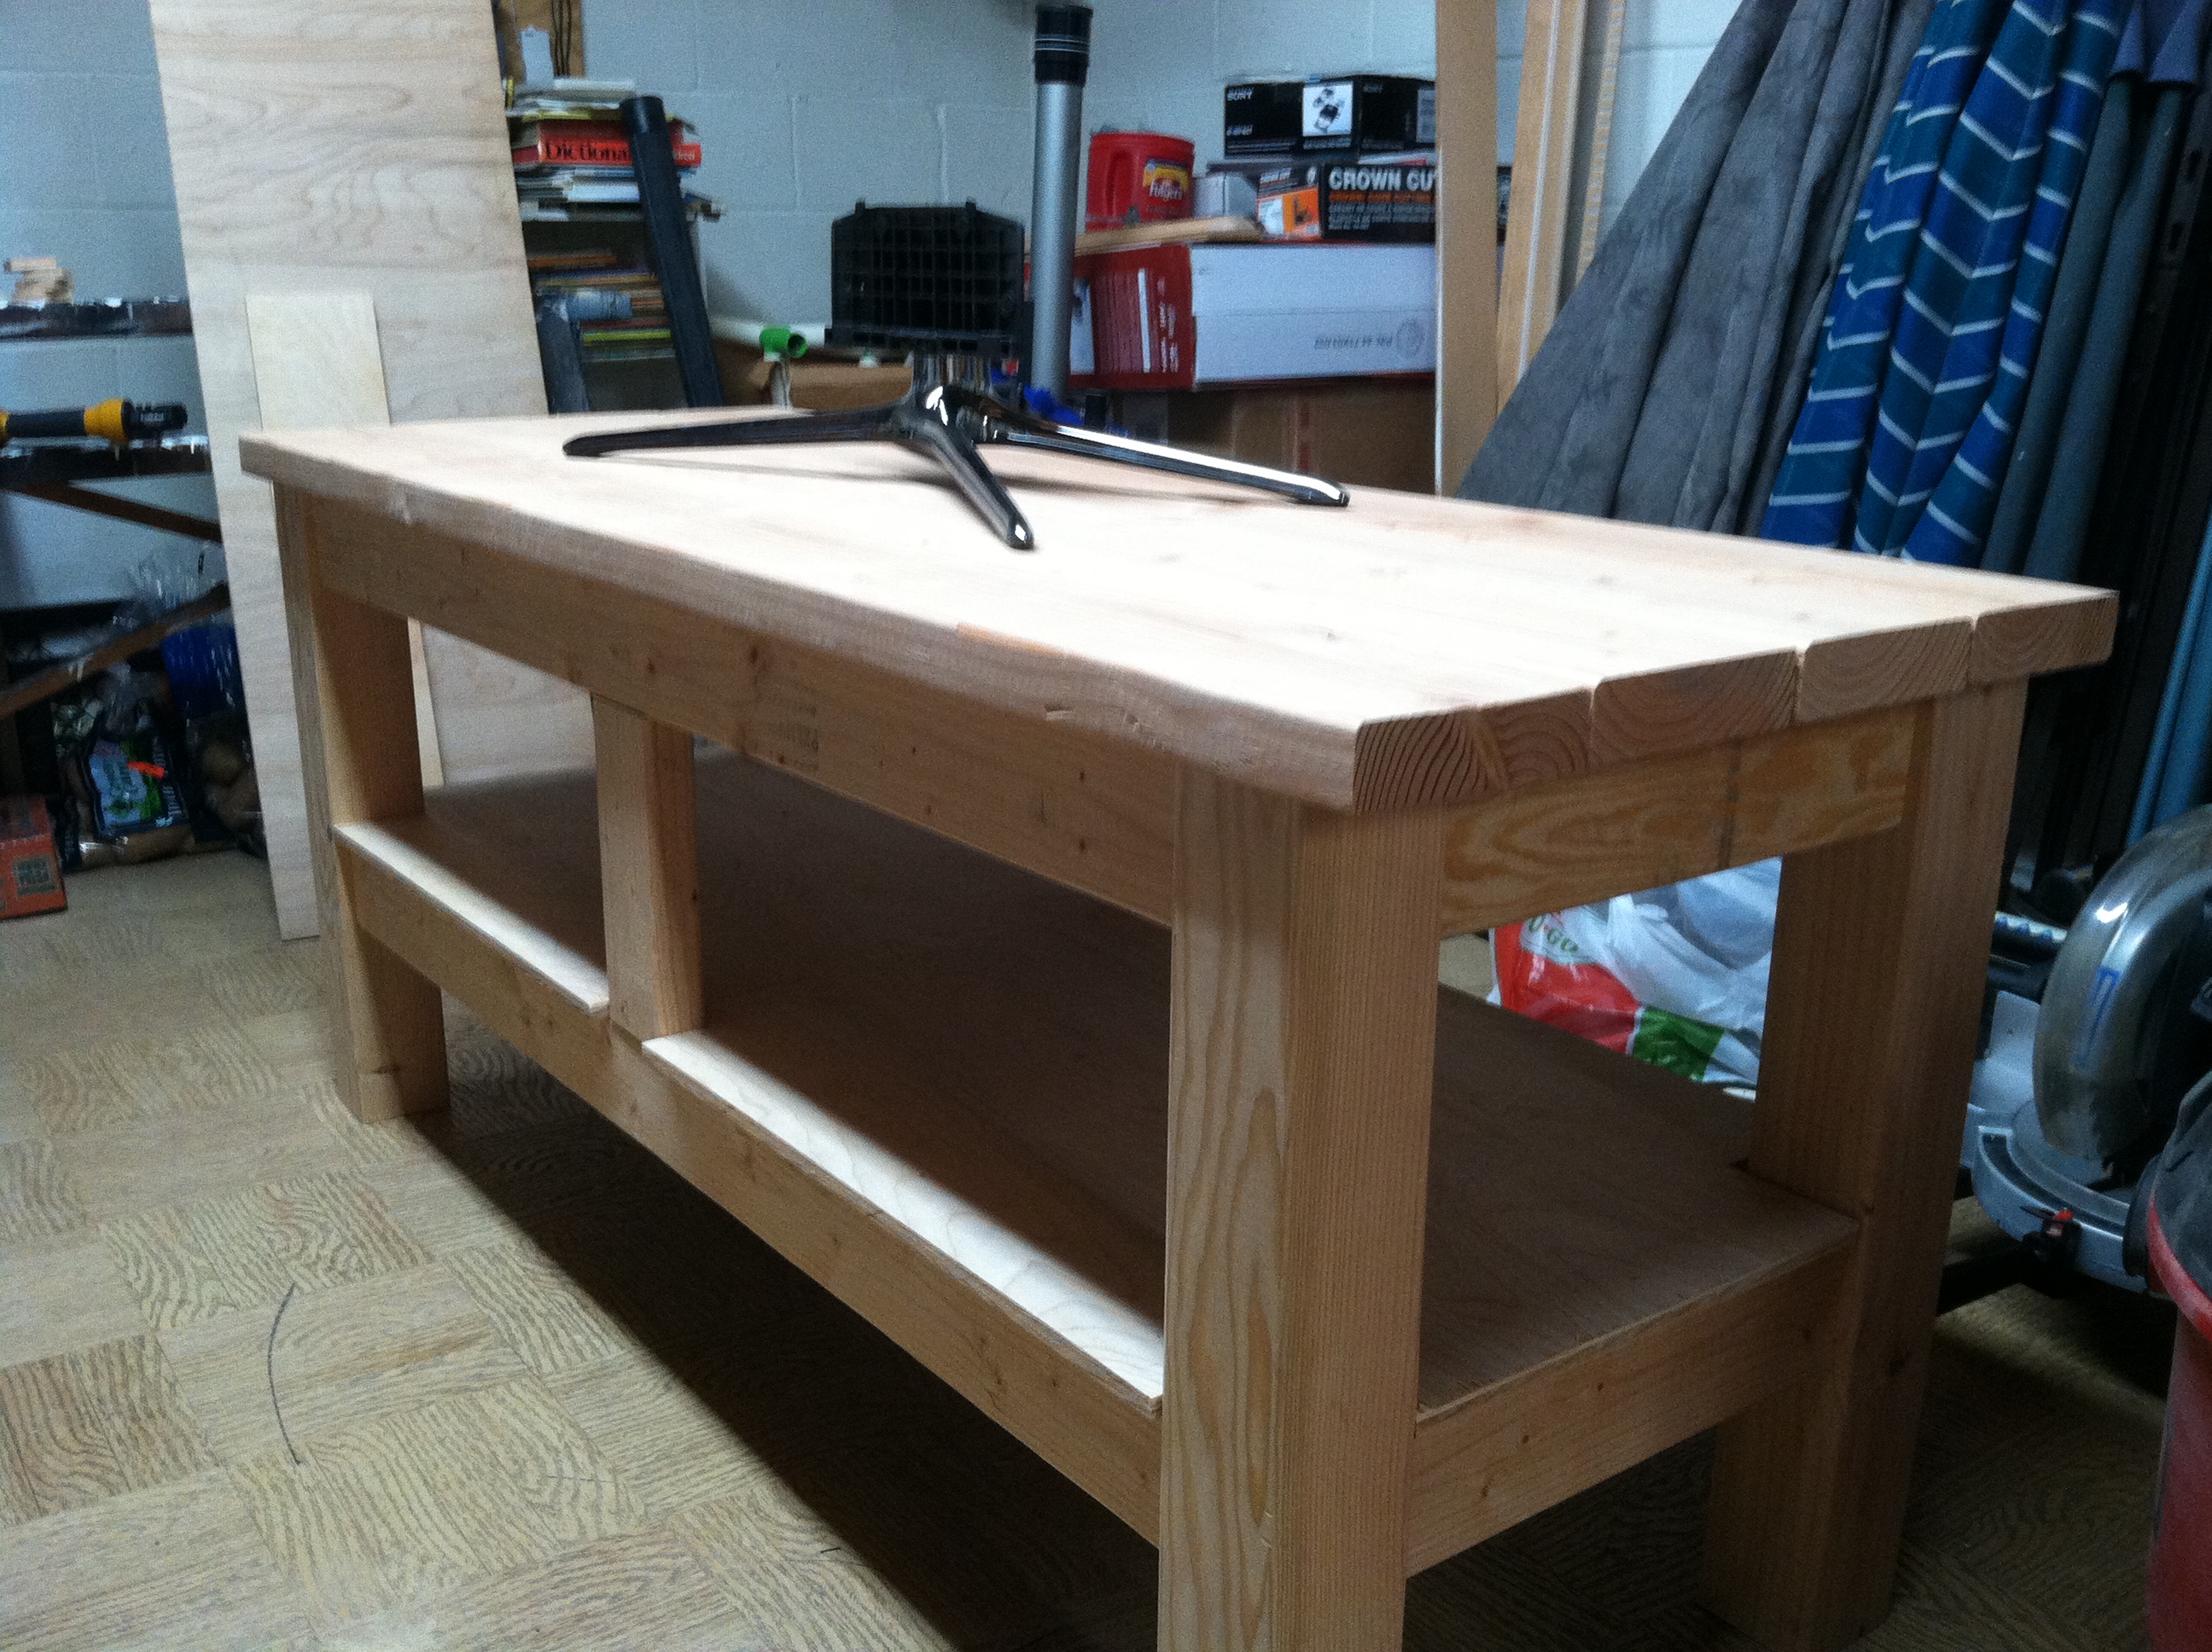
Outdoor Truss and Beam Table

I made my first project from your website this week. Here's a picture of the finished work. Thanks for supplying your plans. They are really helpful. - Doug Davis
Built from Plan(s)
I made my first project from your website this week. Here's a picture of the finished work. Thanks for supplying your plans. They are really helpful. - Doug Davis
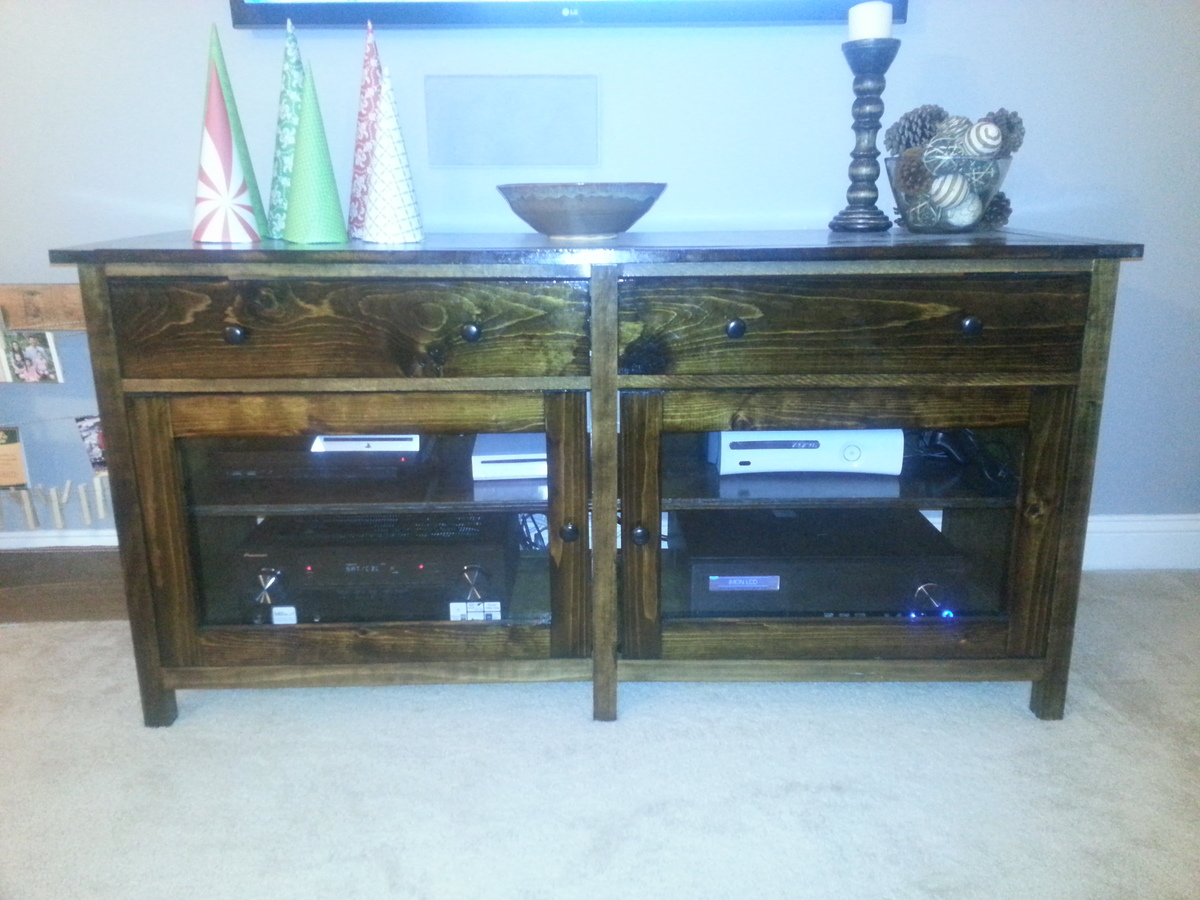
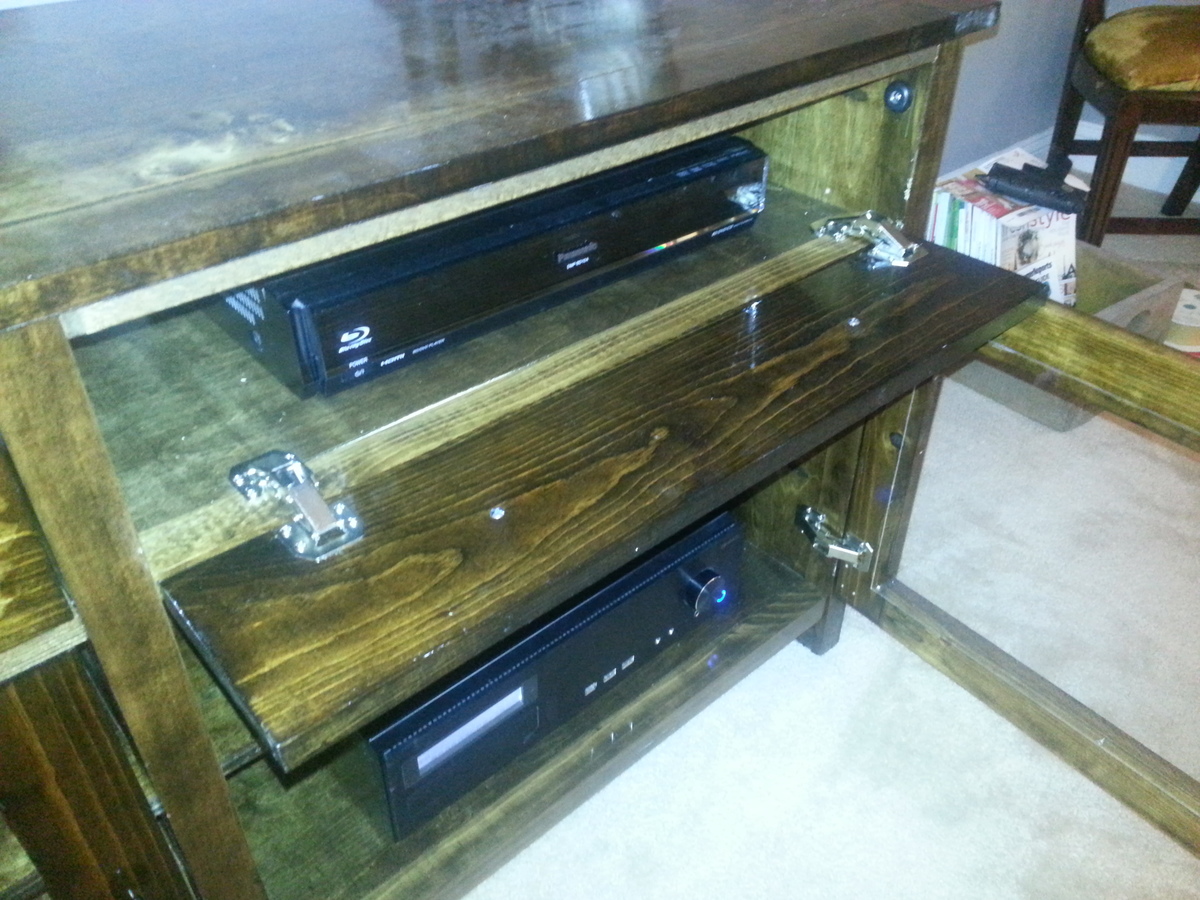
My wife and I wanted a nice TV stand for our new living room. Like always, we did not want to spend tons of money and I thought about building something anyways. My wife found the Benchwright series at Pottery Barn and loved it, but for almost $1,000 that was not in our budget. Of course I came straight here and found these plans! I had a great time building this. The measuring and cutting took only an afternoon, and the staining took a long time as this was my first real staining project. I also wanted to get nice glossy coats of clear coat, which took time.Overall we are thrilled with how it turned out! The biggest headache was the euro hinges. I followed the directions that came with them and they did not turn out right at all. It was trial and error to finally get this placed correctly.
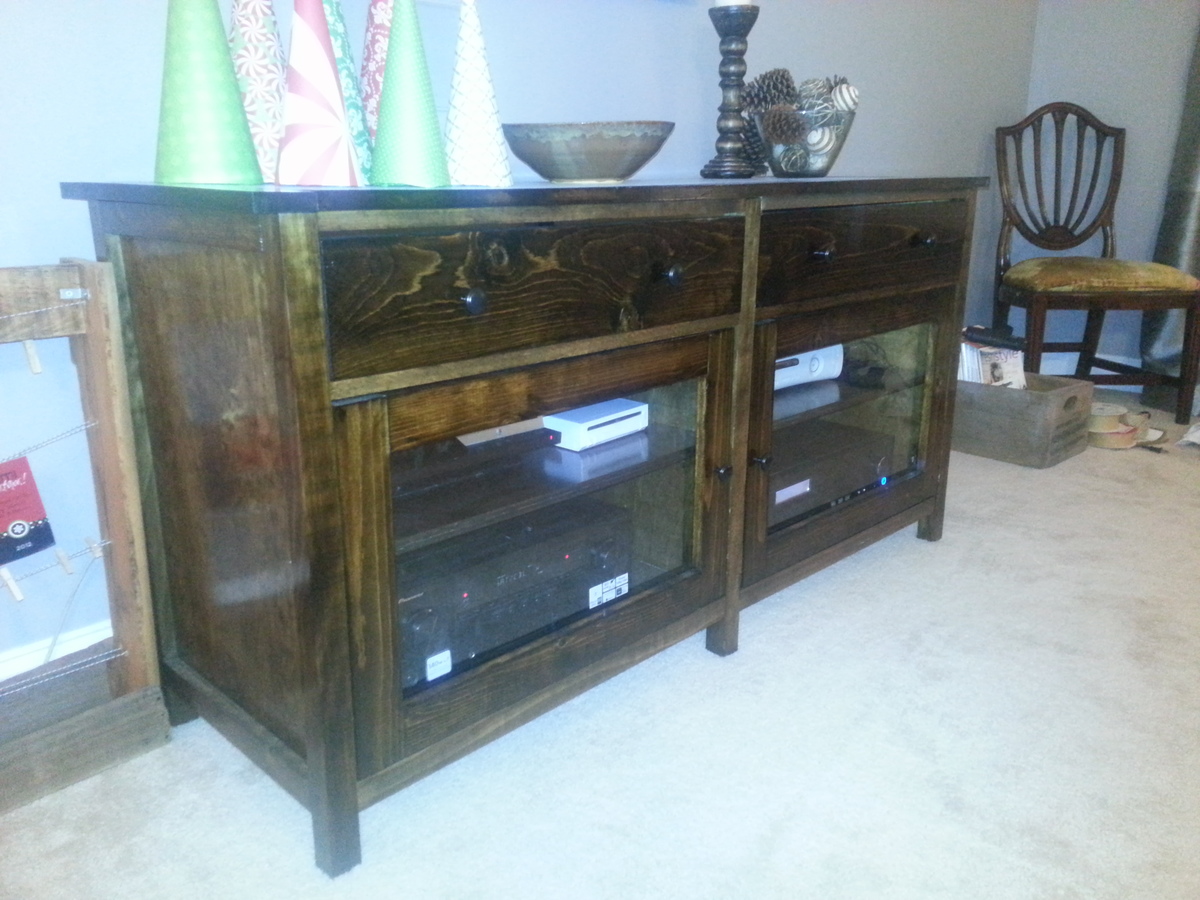
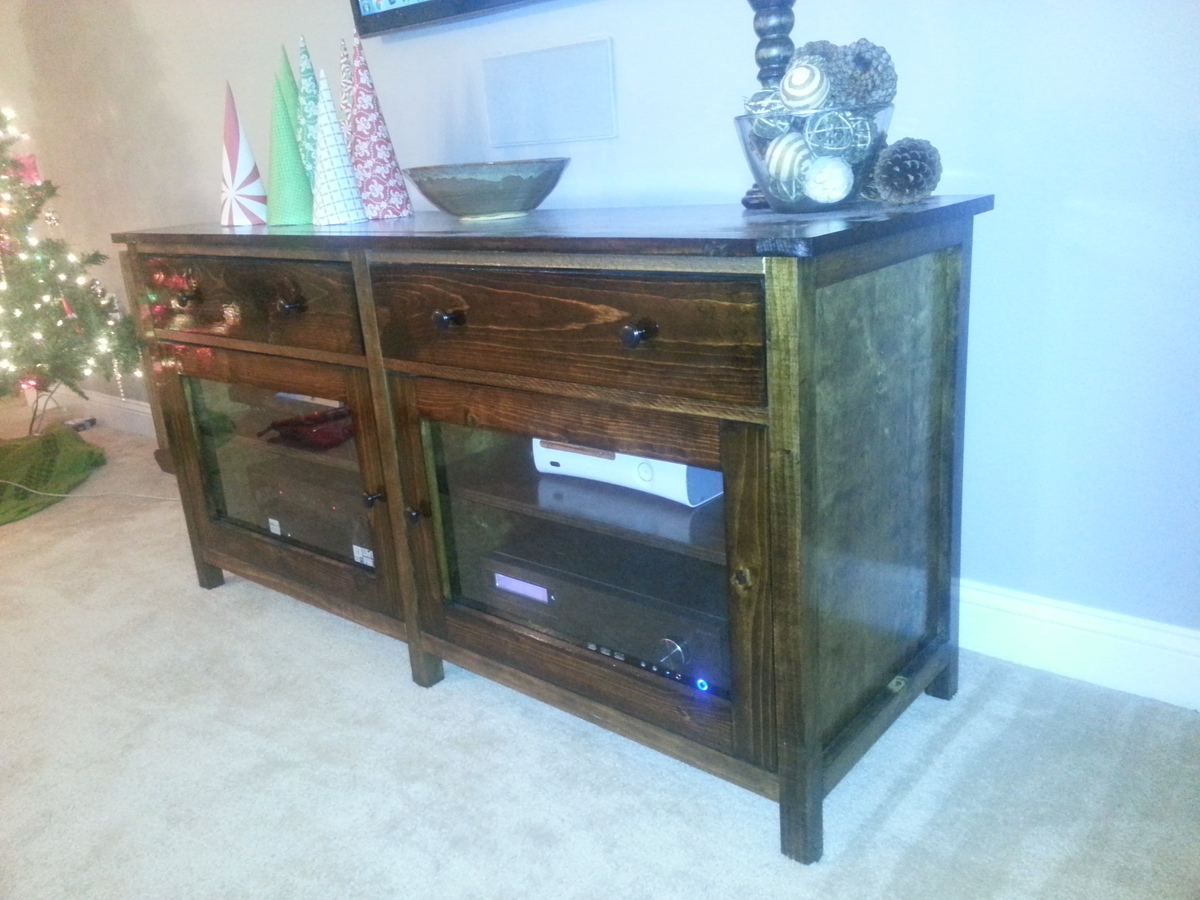
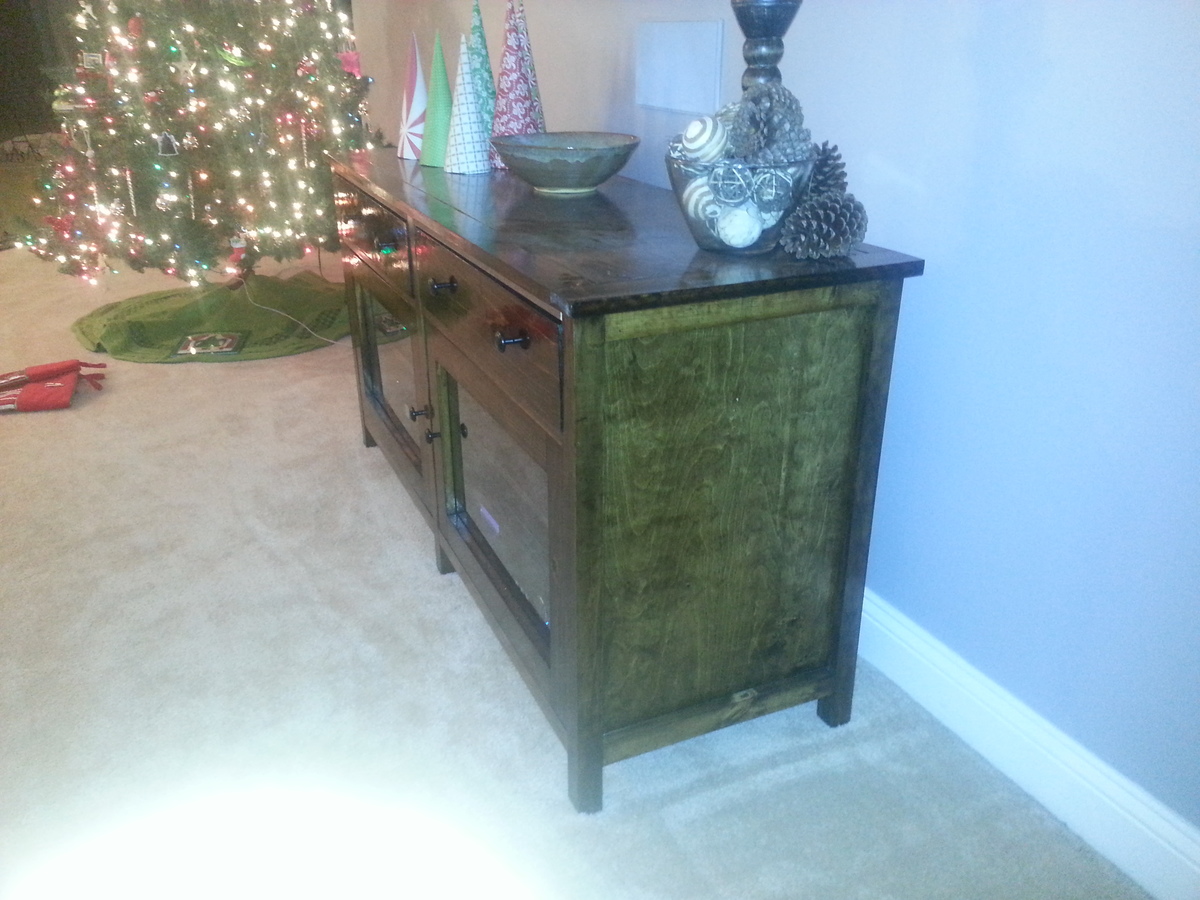
Thanks again to Ana for the instructions. It turned out great!
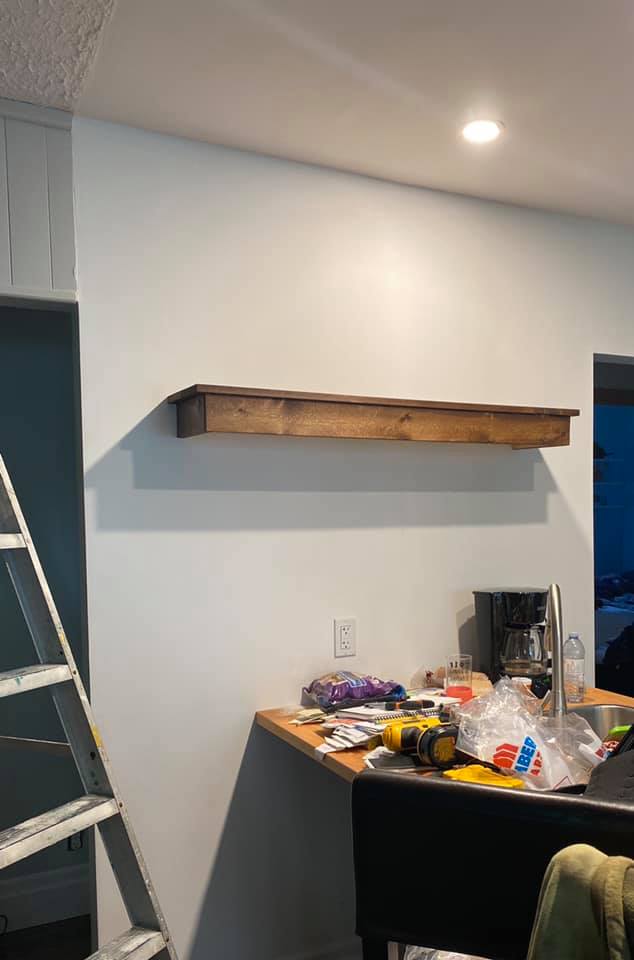
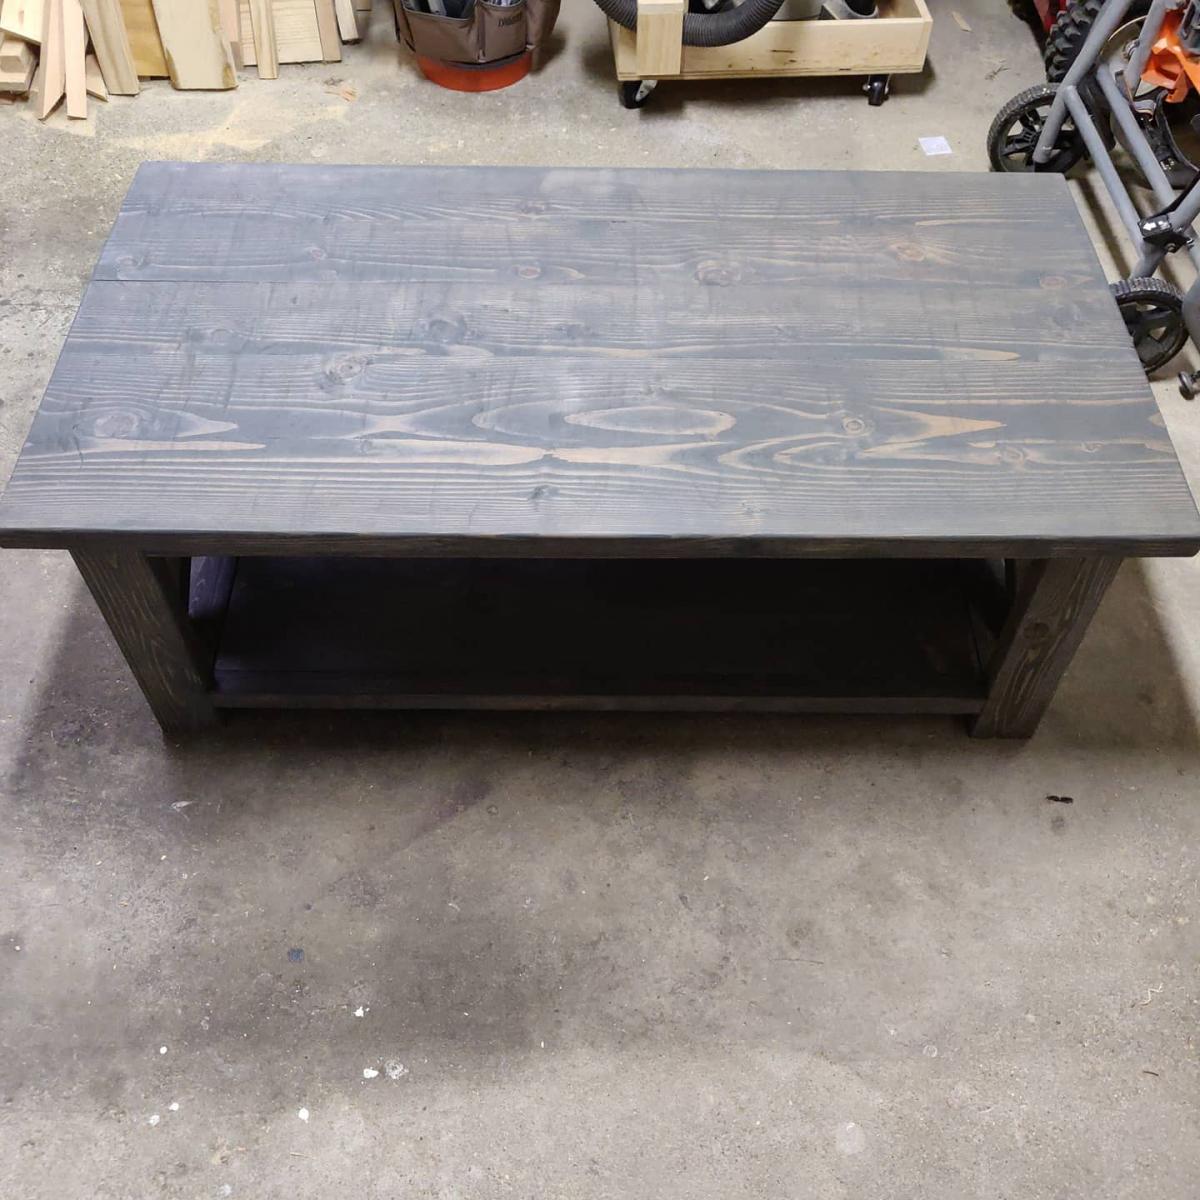
Use a combination of ideas for this floating shelf. Overhung the top to give it a lip. Finish is Minwax Provincial.
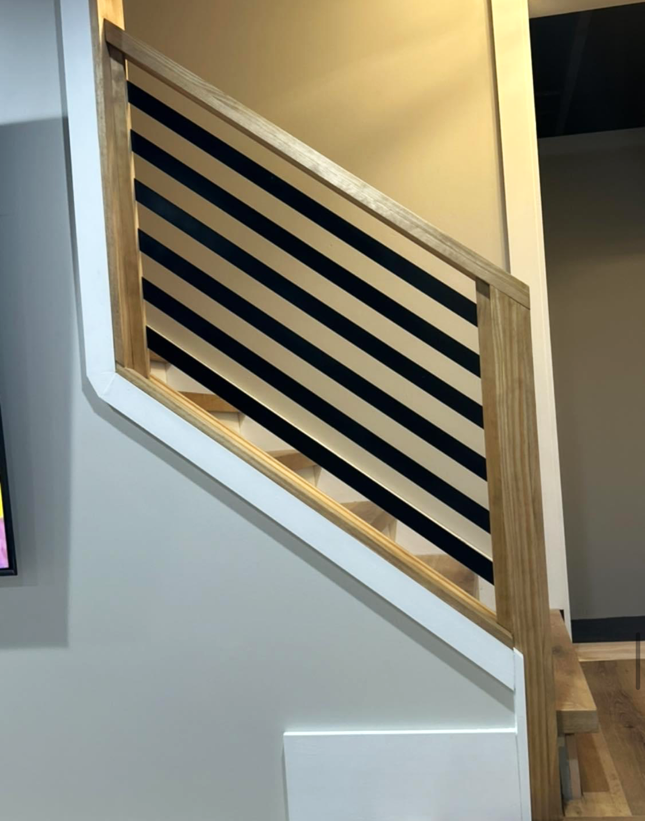
My railing inspired by Ana White’s. Thanks for the inspiration, Ana. - Ross Fasano
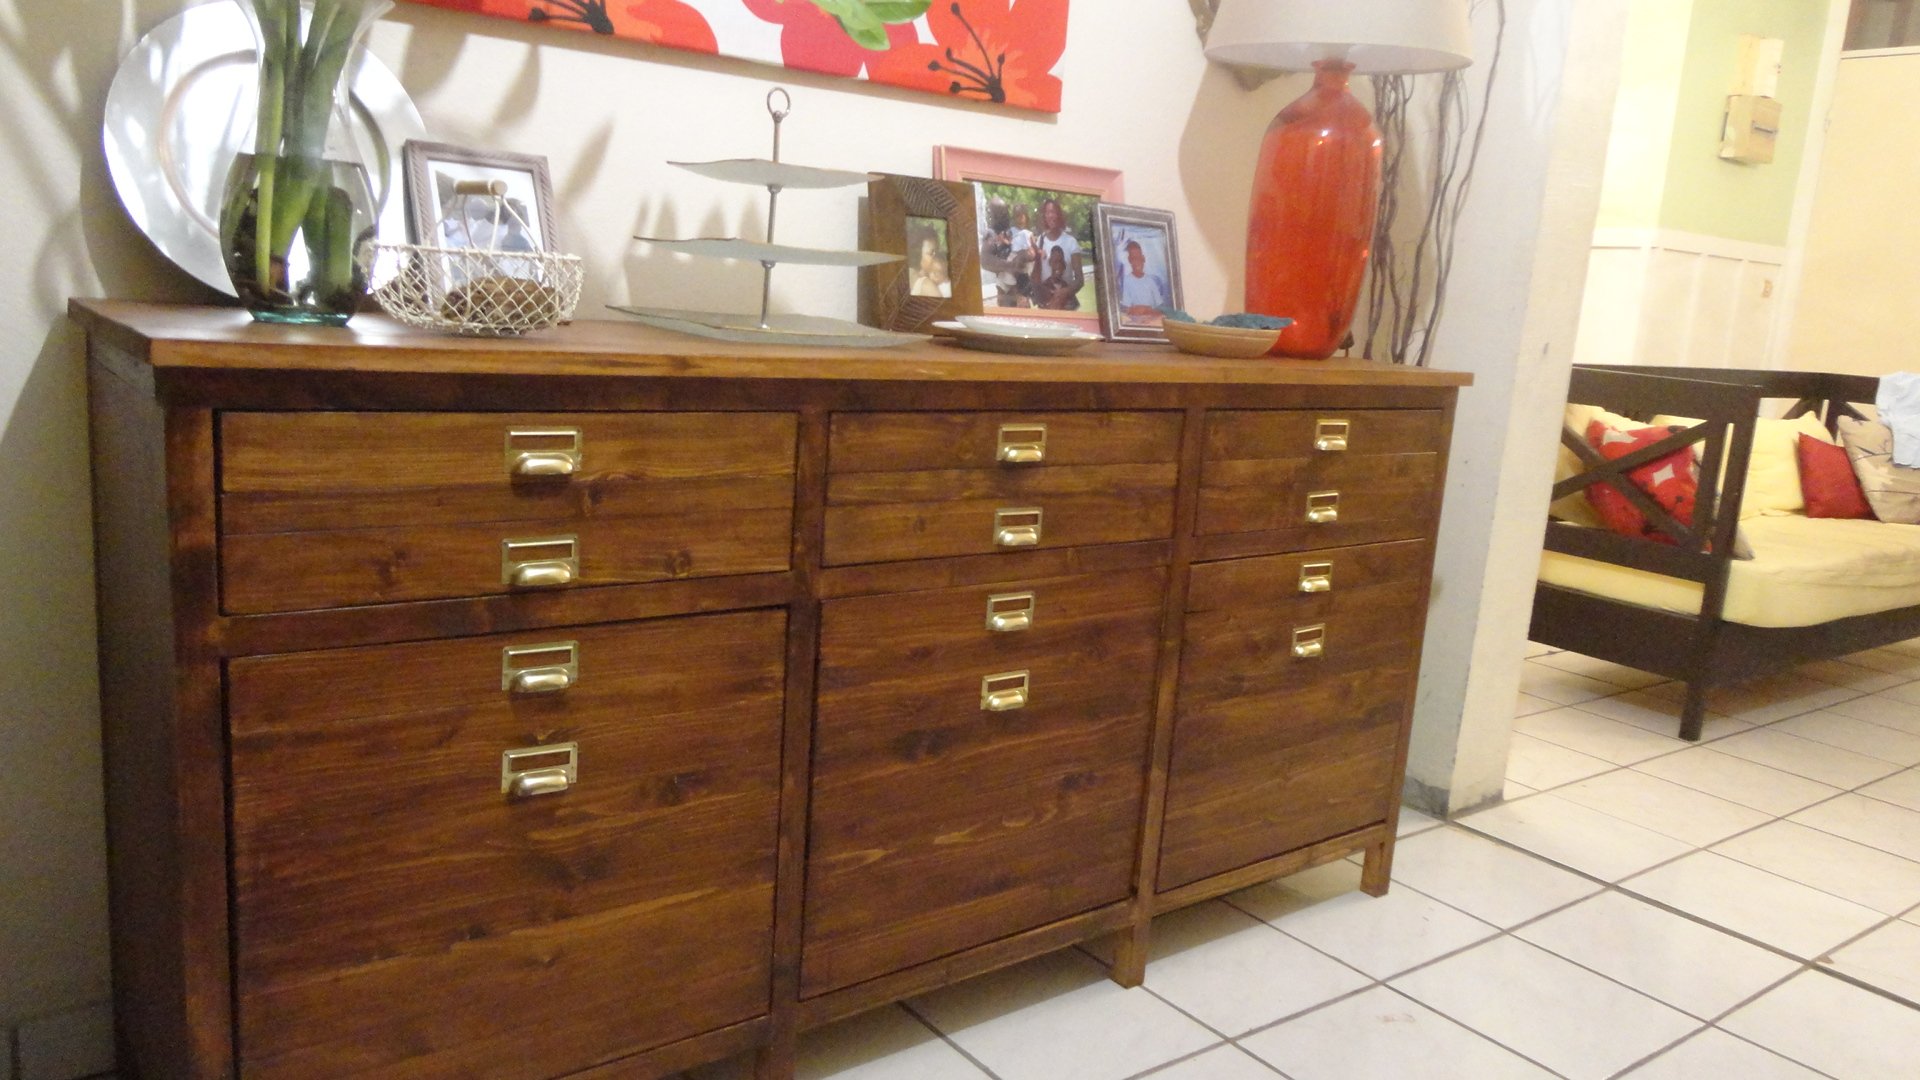
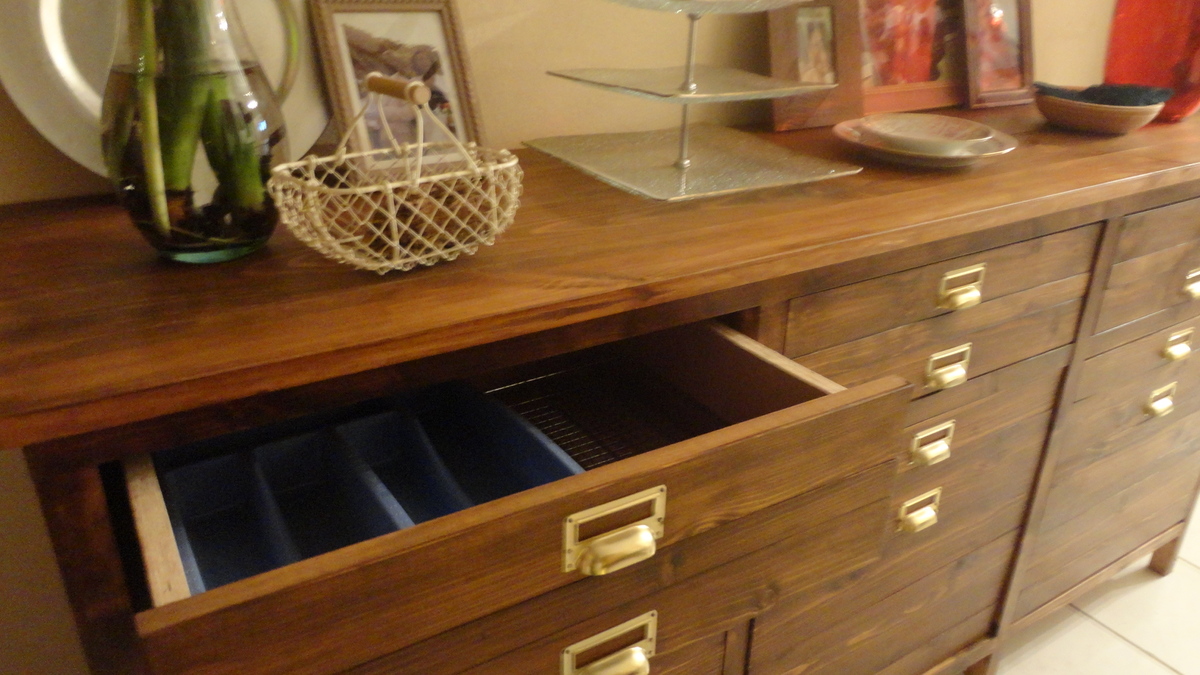
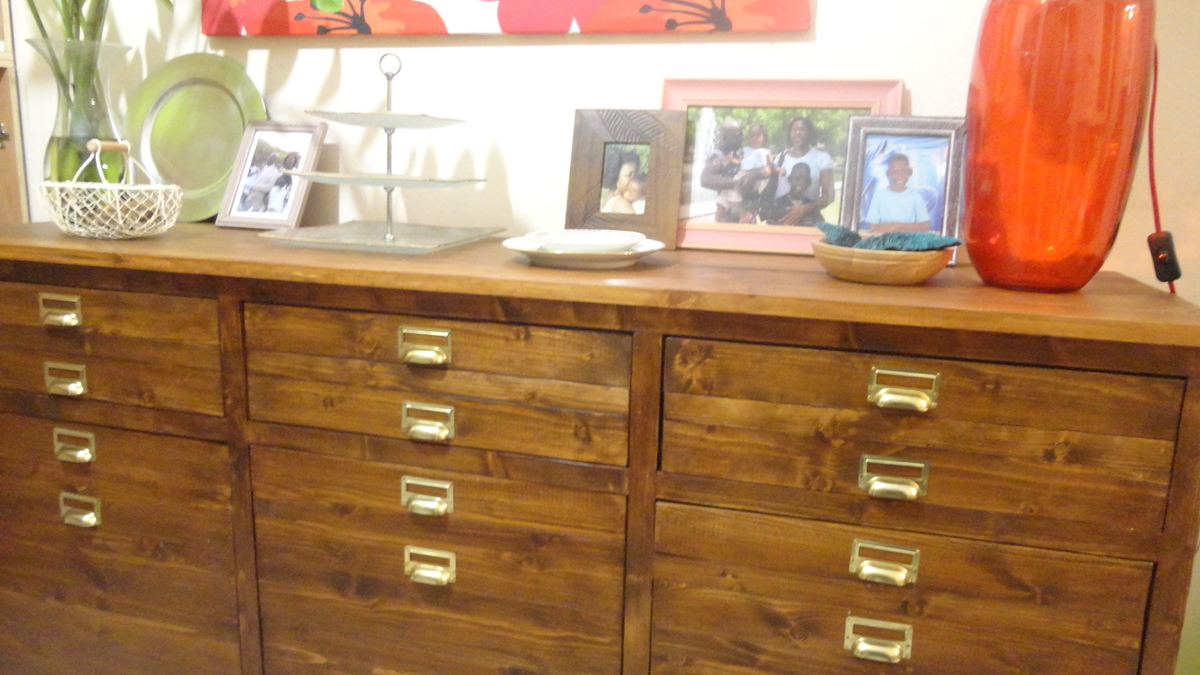
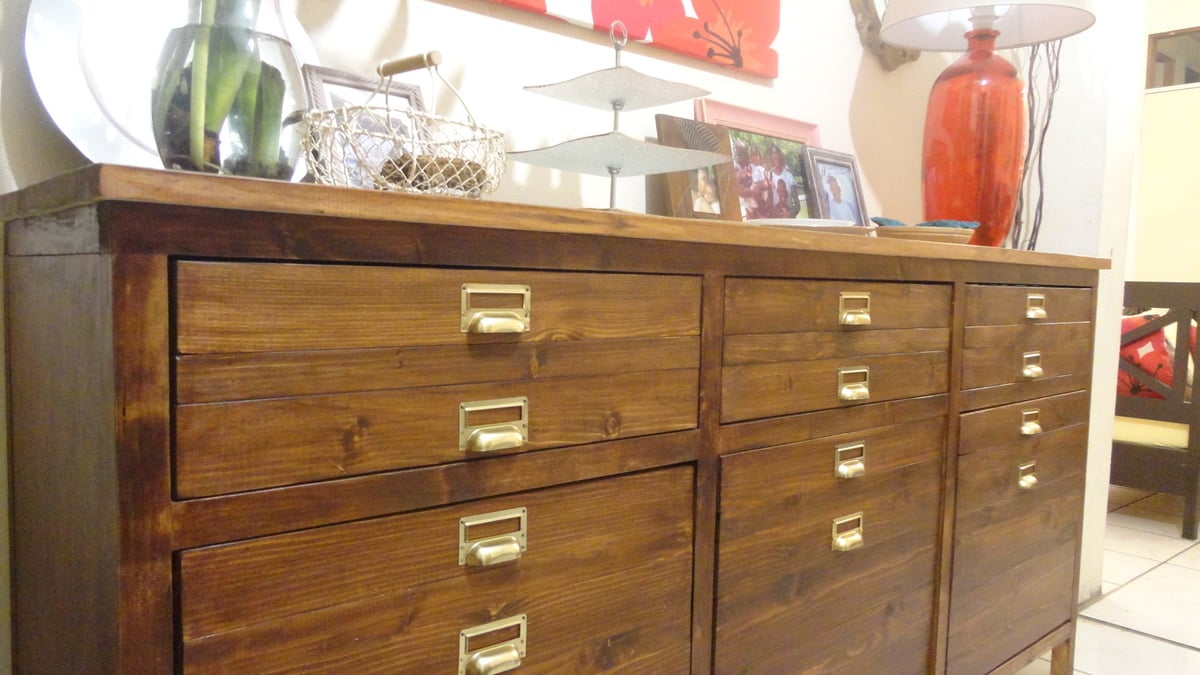
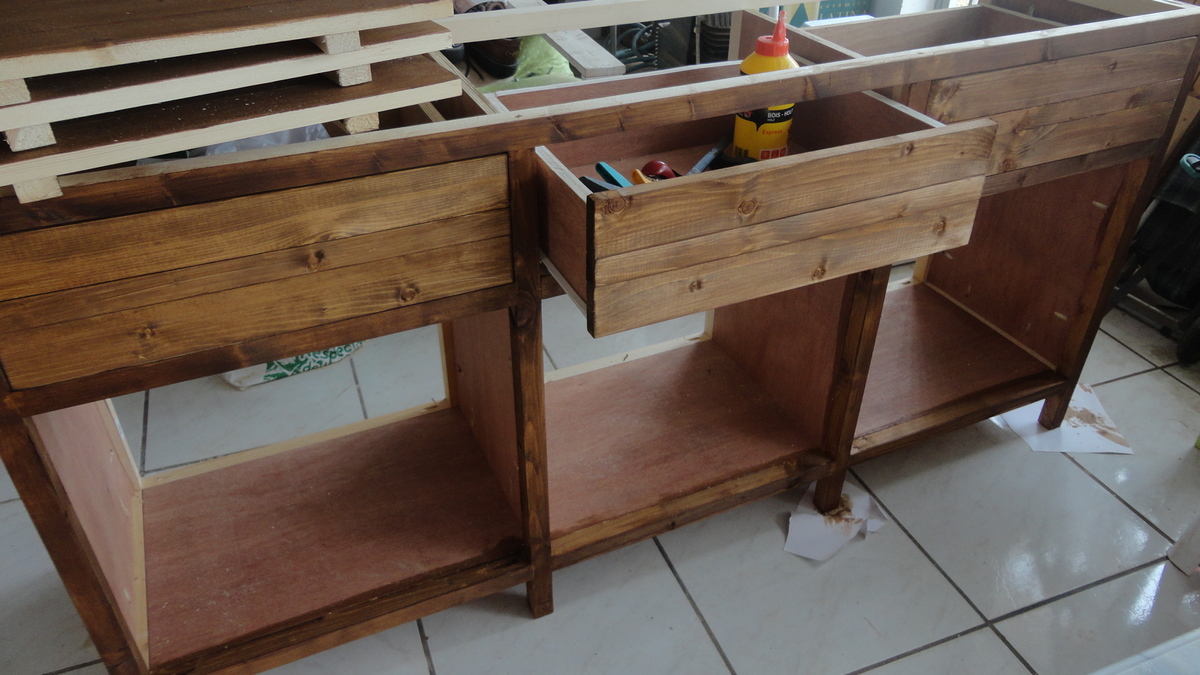
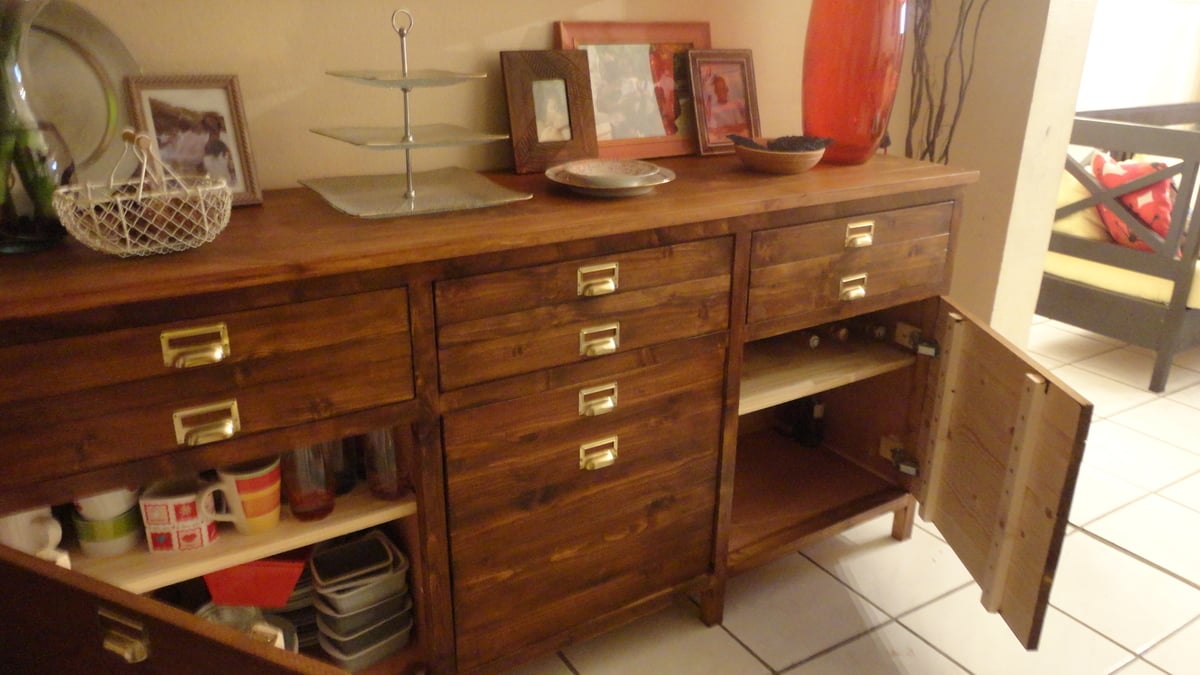
I built this console because I love it. I built the other printers console and when I saw this one, I decided to build it too. My house is not so big but I found a place for this console in the entryway.
It took me three weeks to achieve it. I was affraid drawers but now, I know I can do it. Thanks Ana and all of you because you inspire me!
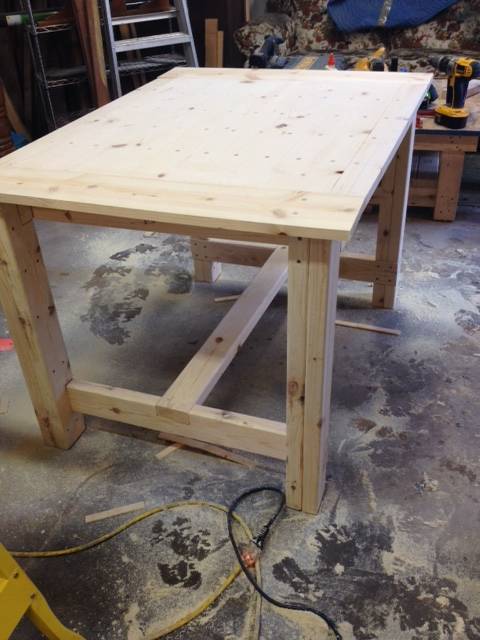
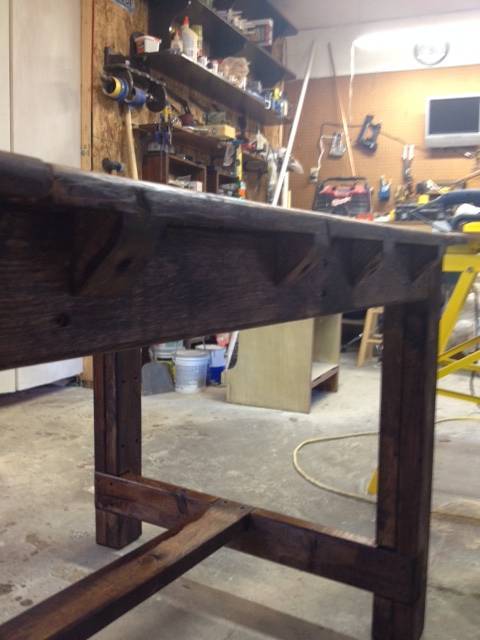
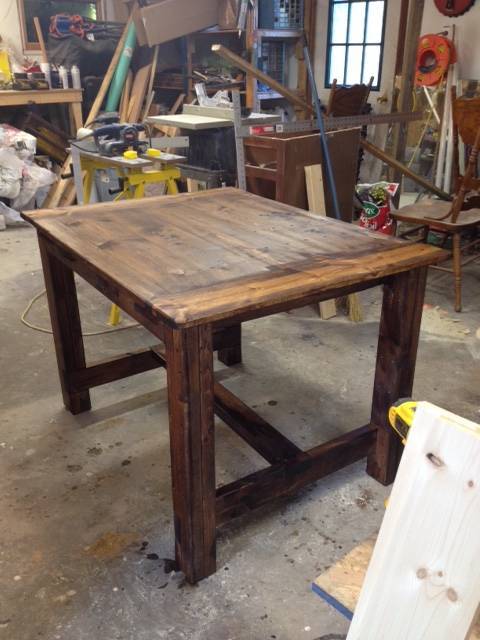
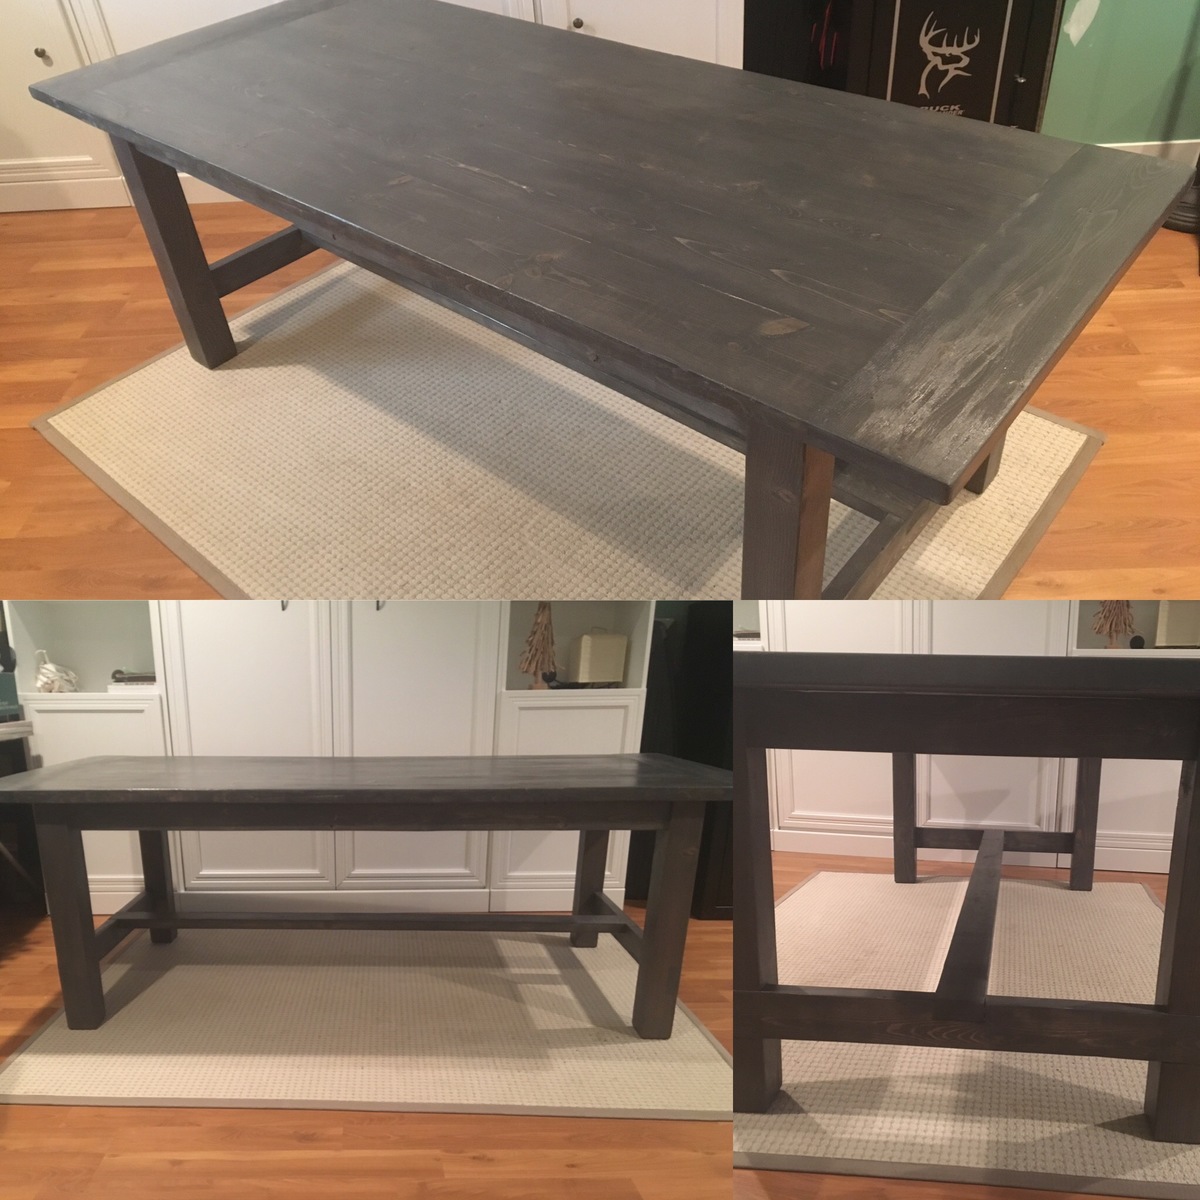
made this farmhouse table 30in tall 4ft long and 26in wide,
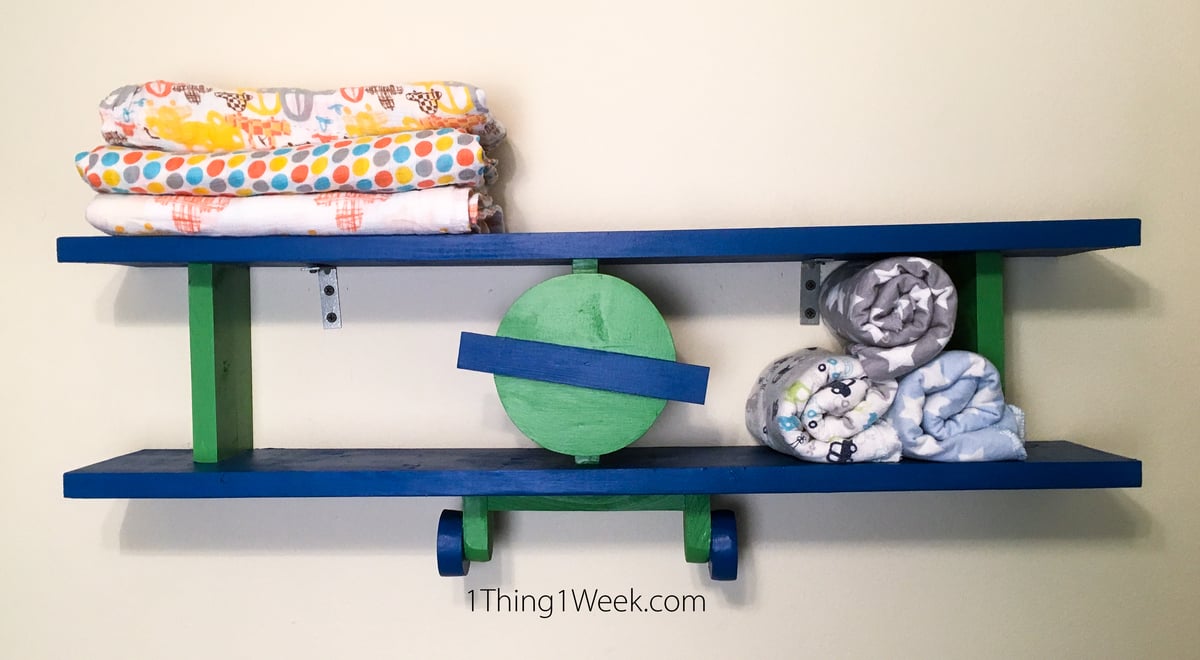
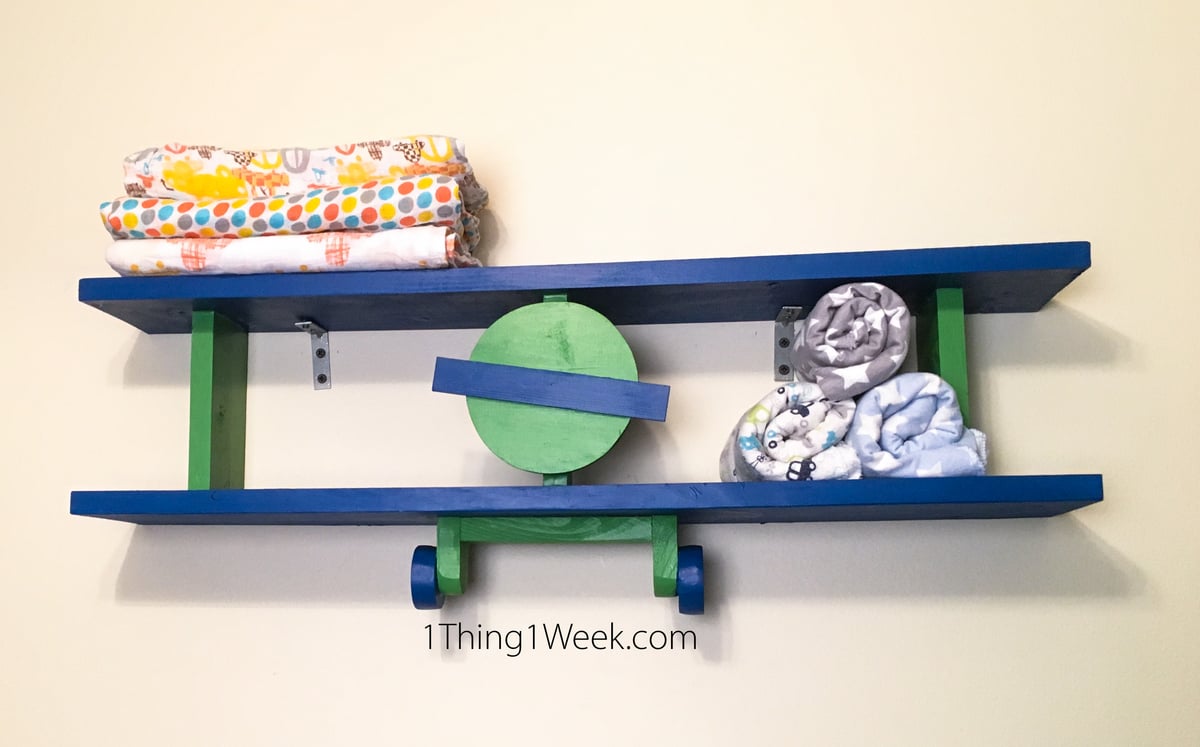
I wrote a blog entry about this project that you can find at:
https://1thing1week.com/2017/01/09/airplane-shelf-for-a-nursery/
This shelf is great for beginners, easy to assemble and very inexpensive! I had a blast making it. I made it for my expected son's airplane themed nursery.
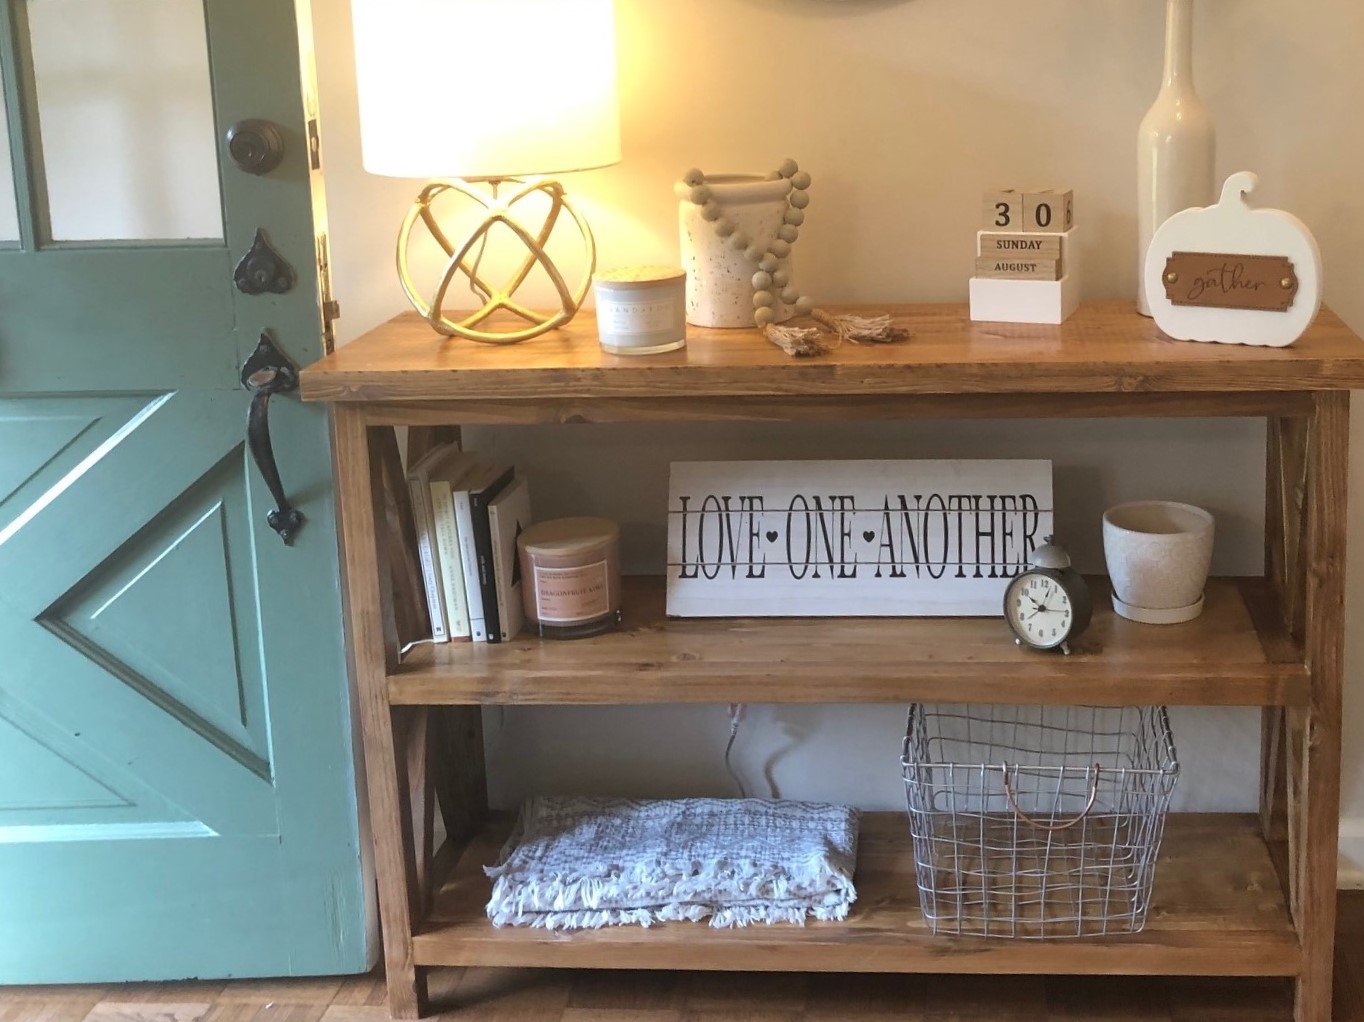
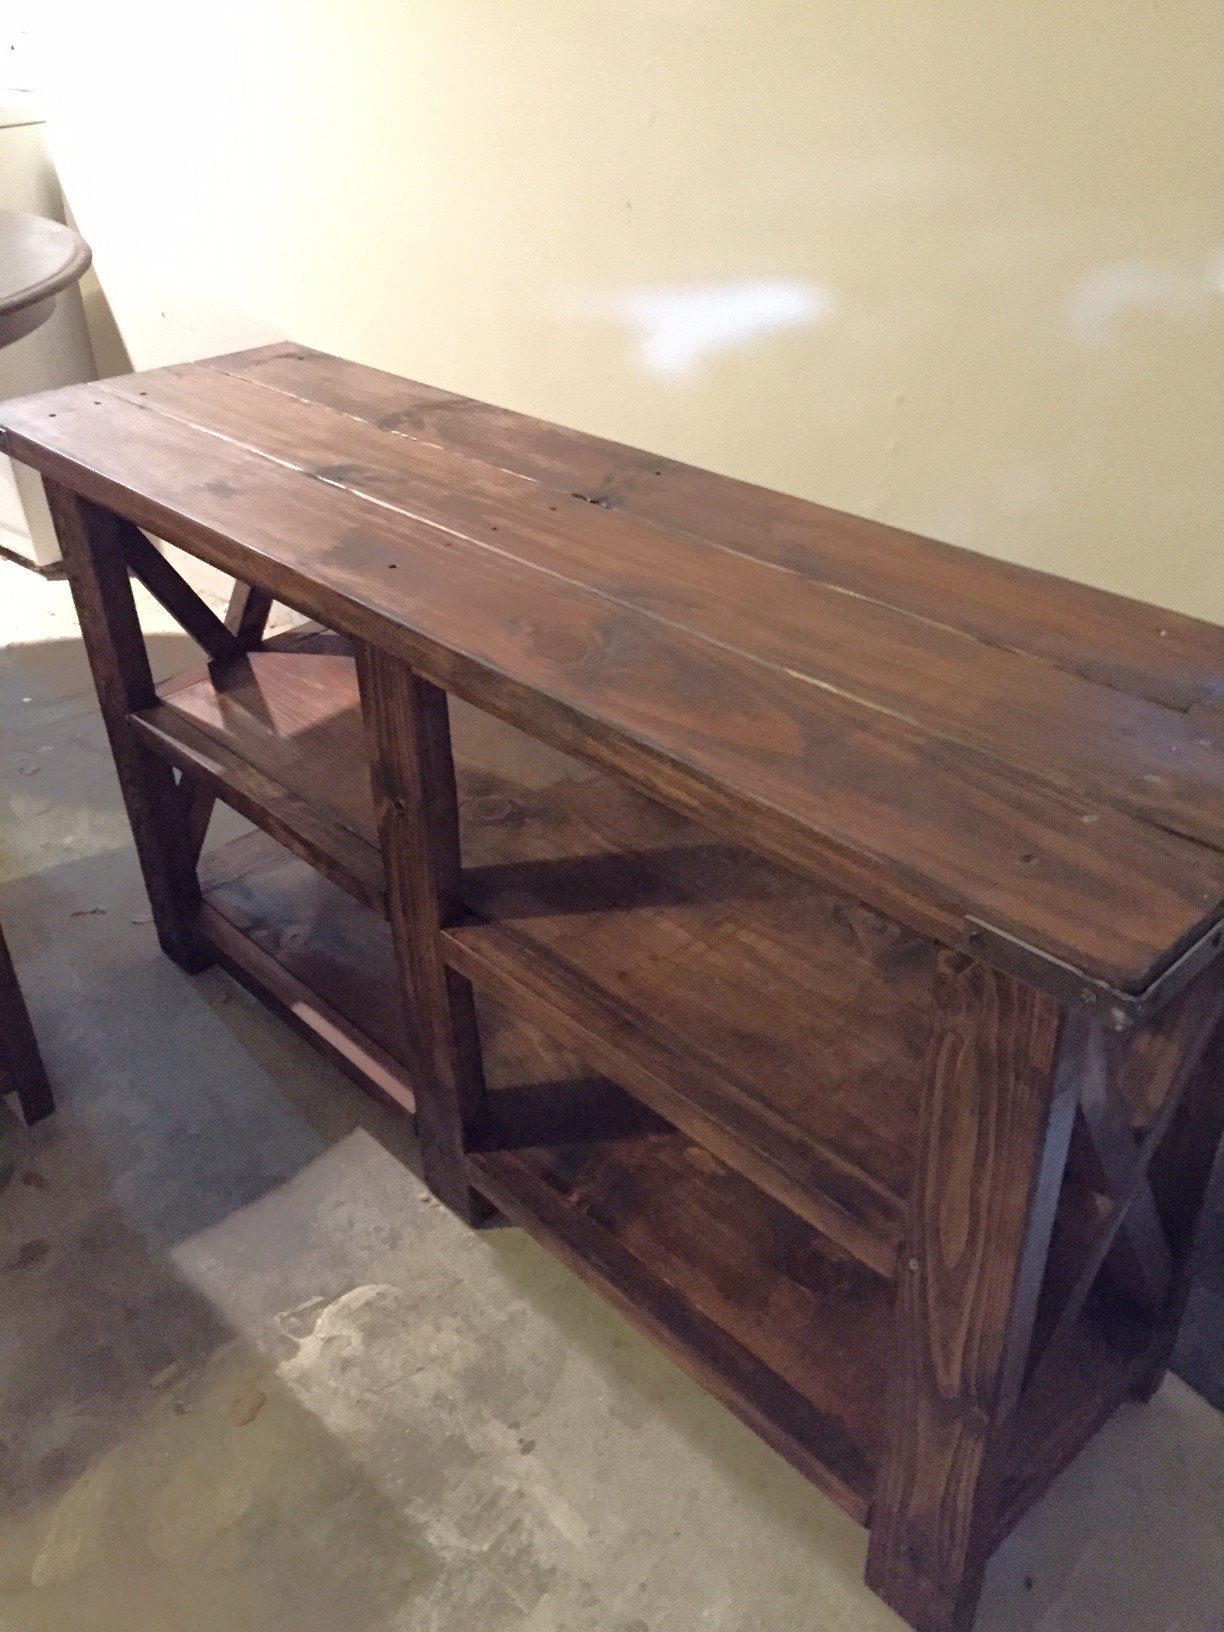
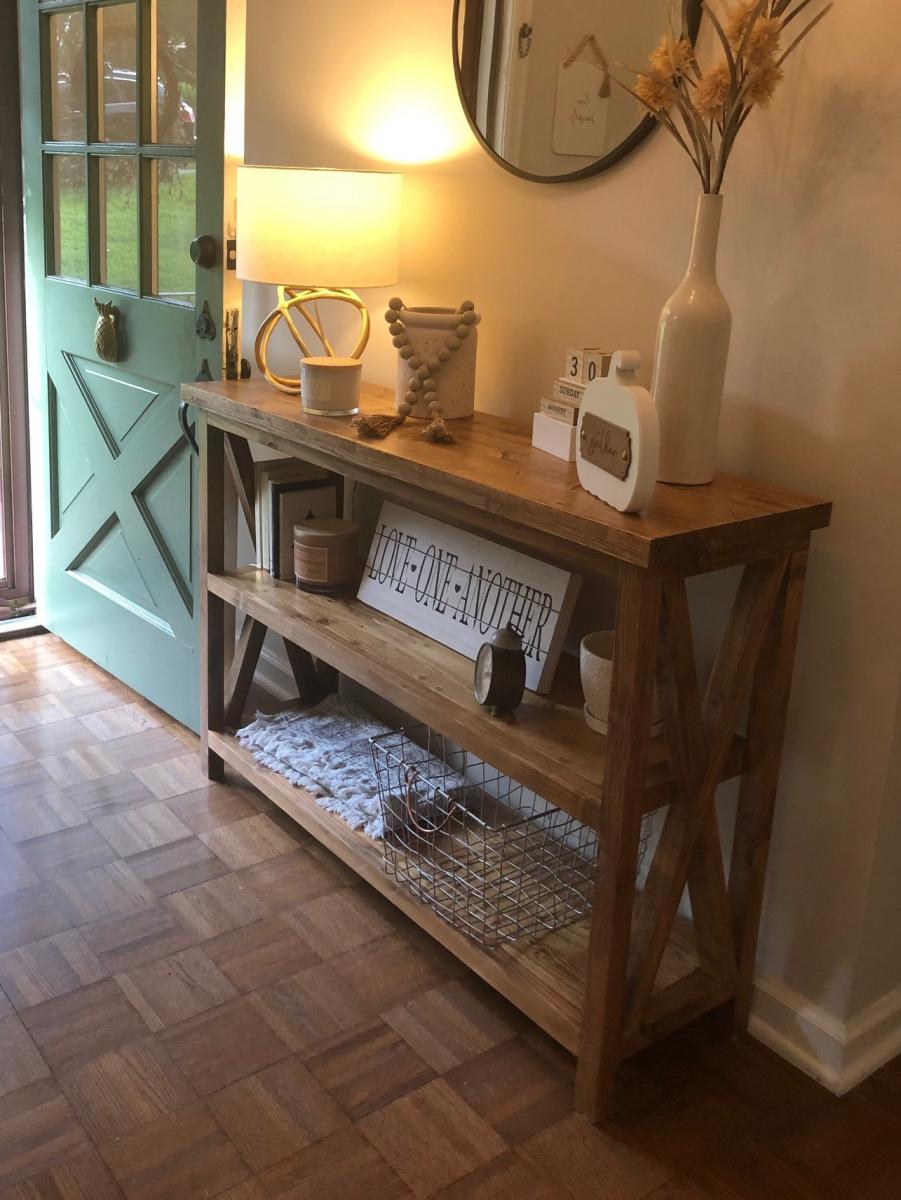
My daughter wanted a console table for her entry. I found this plan and adjusted slightly for depth (decreased to 14 inches) and length (decreased to 48 inches). This of course requires recalculating the angles for the x's. For the top, and shelves I found edge-glued panels at Lowe's and cut to size. The top is two of them laminated together. She was happy with the birthday present ... thanks for the great plans Ana!
Fri, 09/25/2020 - 14:49
Nothing says I love you, like building a custom piece for a loved one! Thanks for sharing:)
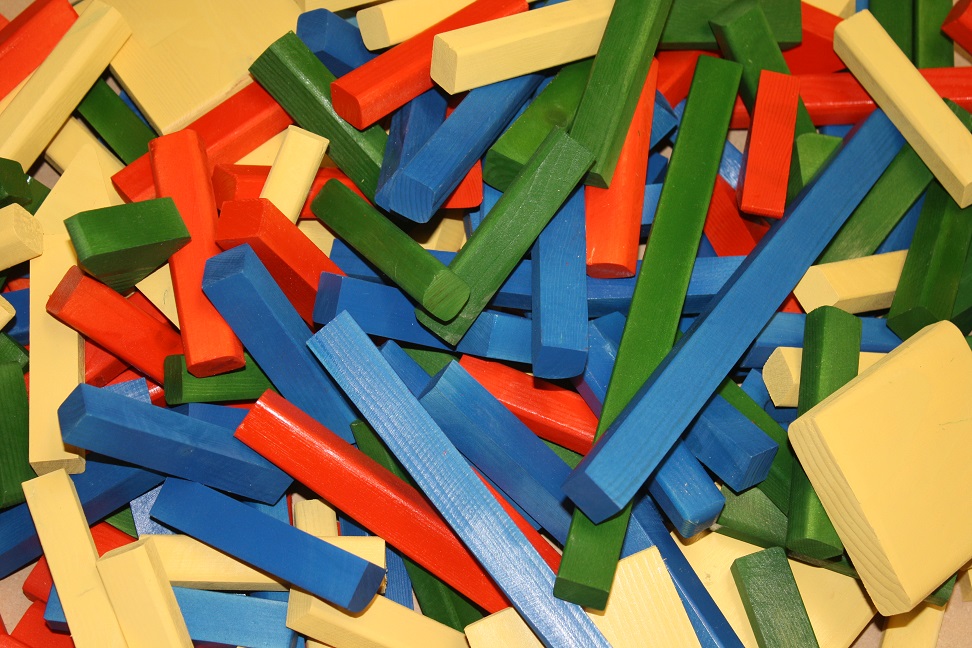
I finished two projects and had tons of leftover wood. Pieces too small to use in projects or jigs, so I sanded down the various shapes, threw out those pieces with too many knots, gouges, large splinters, and painted them for the kids to use as building blocks. Best thing was I knew what the blocks were made from rather than questioning the materials used by commercial companies (e.g. NO LEAD PAINT!) which cost about $1 per block. I made 200 blocks for less than $40 and about 14 hours of labor.
Sun, 12/23/2012 - 09:28
Wonderful idea but next time I'd use thinly diluted koolaid to "paint" with. Then there are no worries about the kids chewing on paint.
Smells good too....
Will have to do this for my grandkids!!!

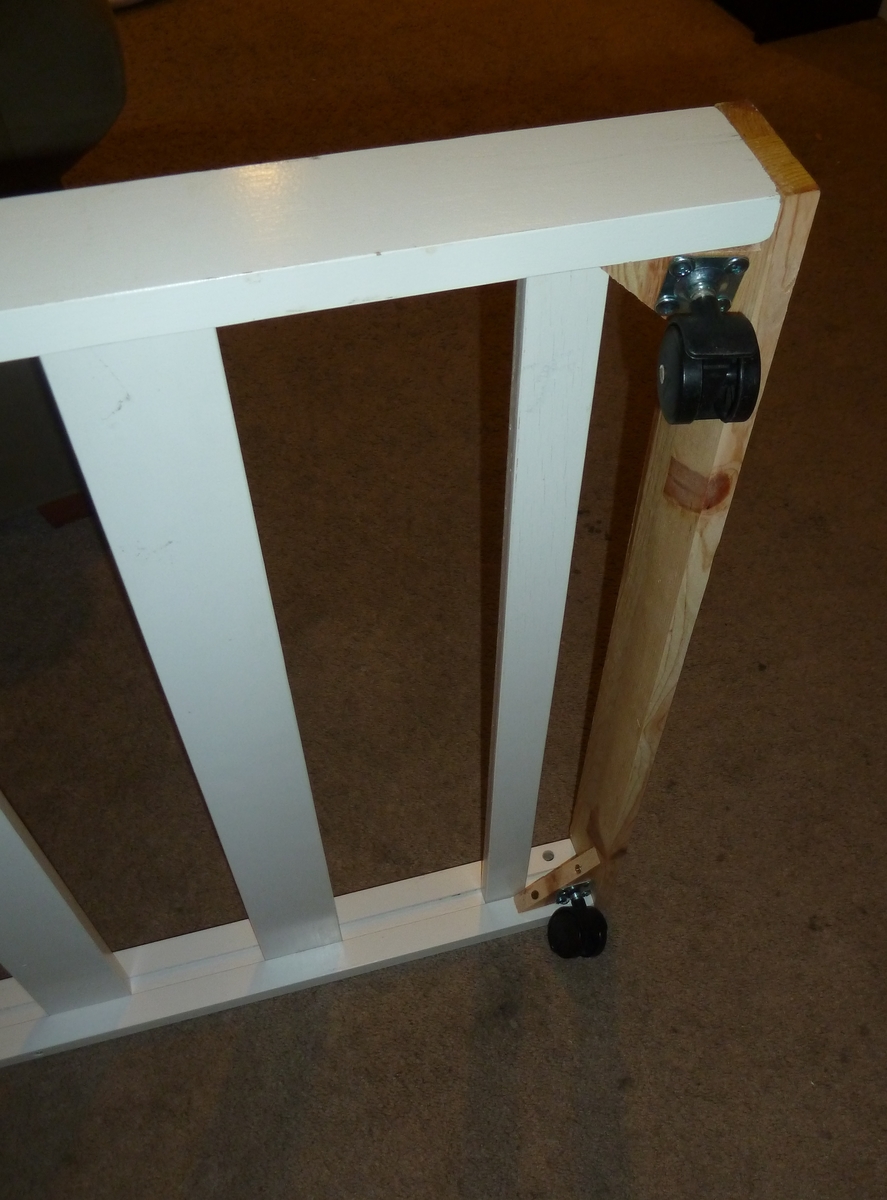
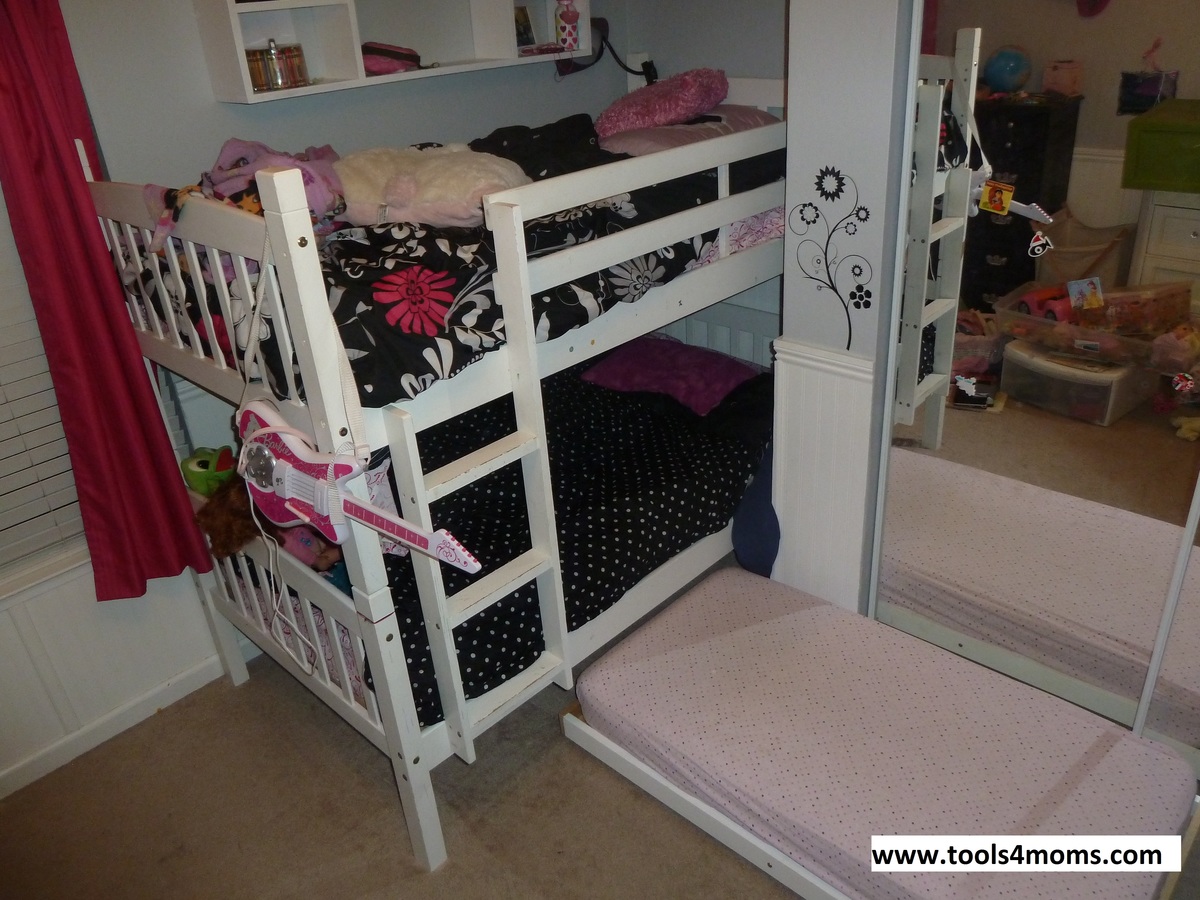
I used and existing toddler bed frame and repurposed it as a trundle bed so we could add a 3rd bed into our kids small bedroom. You can easily make the bed frame too.
Check out my blog post with steps on how to turn a toddler bed into a trundle. Great space saver and it's much easier to pull out from under the bed on the carpet (and easier than a full size trundle).


I was eager to start this project and was super stoked with how it turned out. Can't wait for more inspiration to continue building beautiful furniture. Thanks

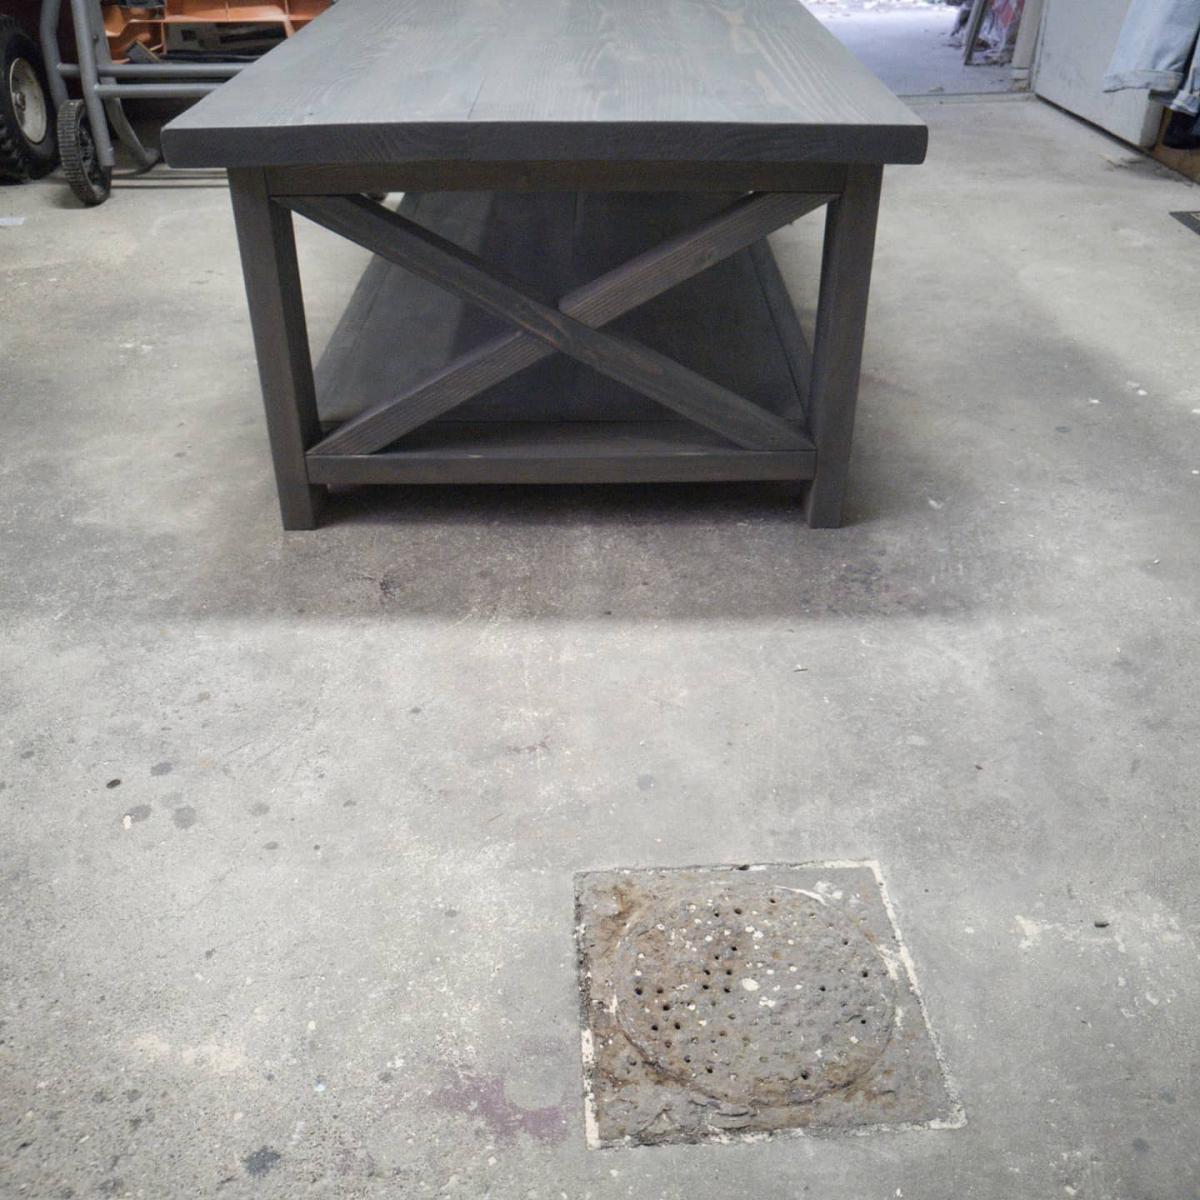
This completes our living room Rustic X collection. Made the top slightly longer (52.5") and dado'd the exes. I also used 2x12 boards and cut them down so the top is completely flush.
Tue, 09/29/2020 - 17:08
I'm sure it feels good to complete the collection! Thanks for sharing:)
Made this for my mom for a Christmas gift. I had to modify the height for space requirements. Used white semi gloss that I already had in the basement, and distressed the edges with golden oak stain. Quick and simple job.

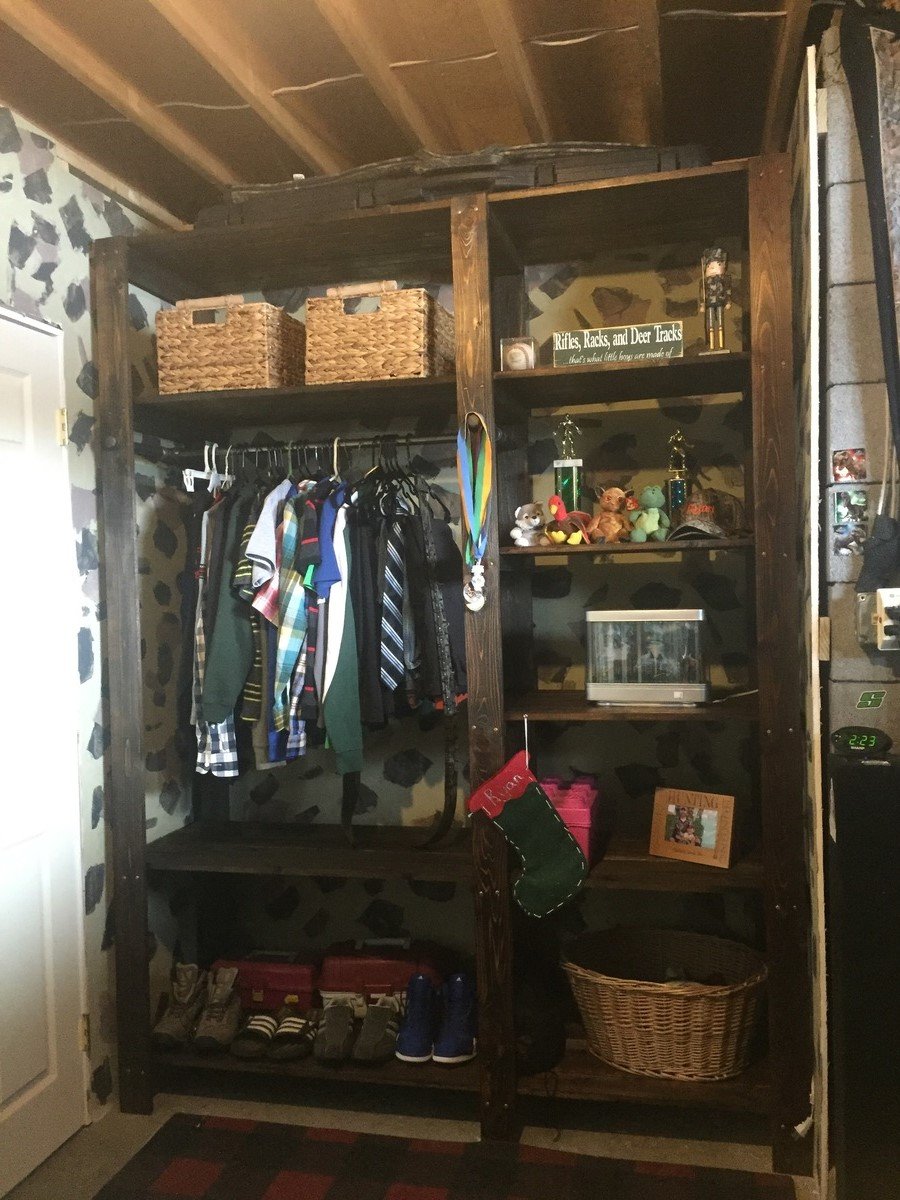
Emerson with extra trim and fancy feet. Also added a closet dowel and overhang. Built at 36 weeks for our baby Collin.


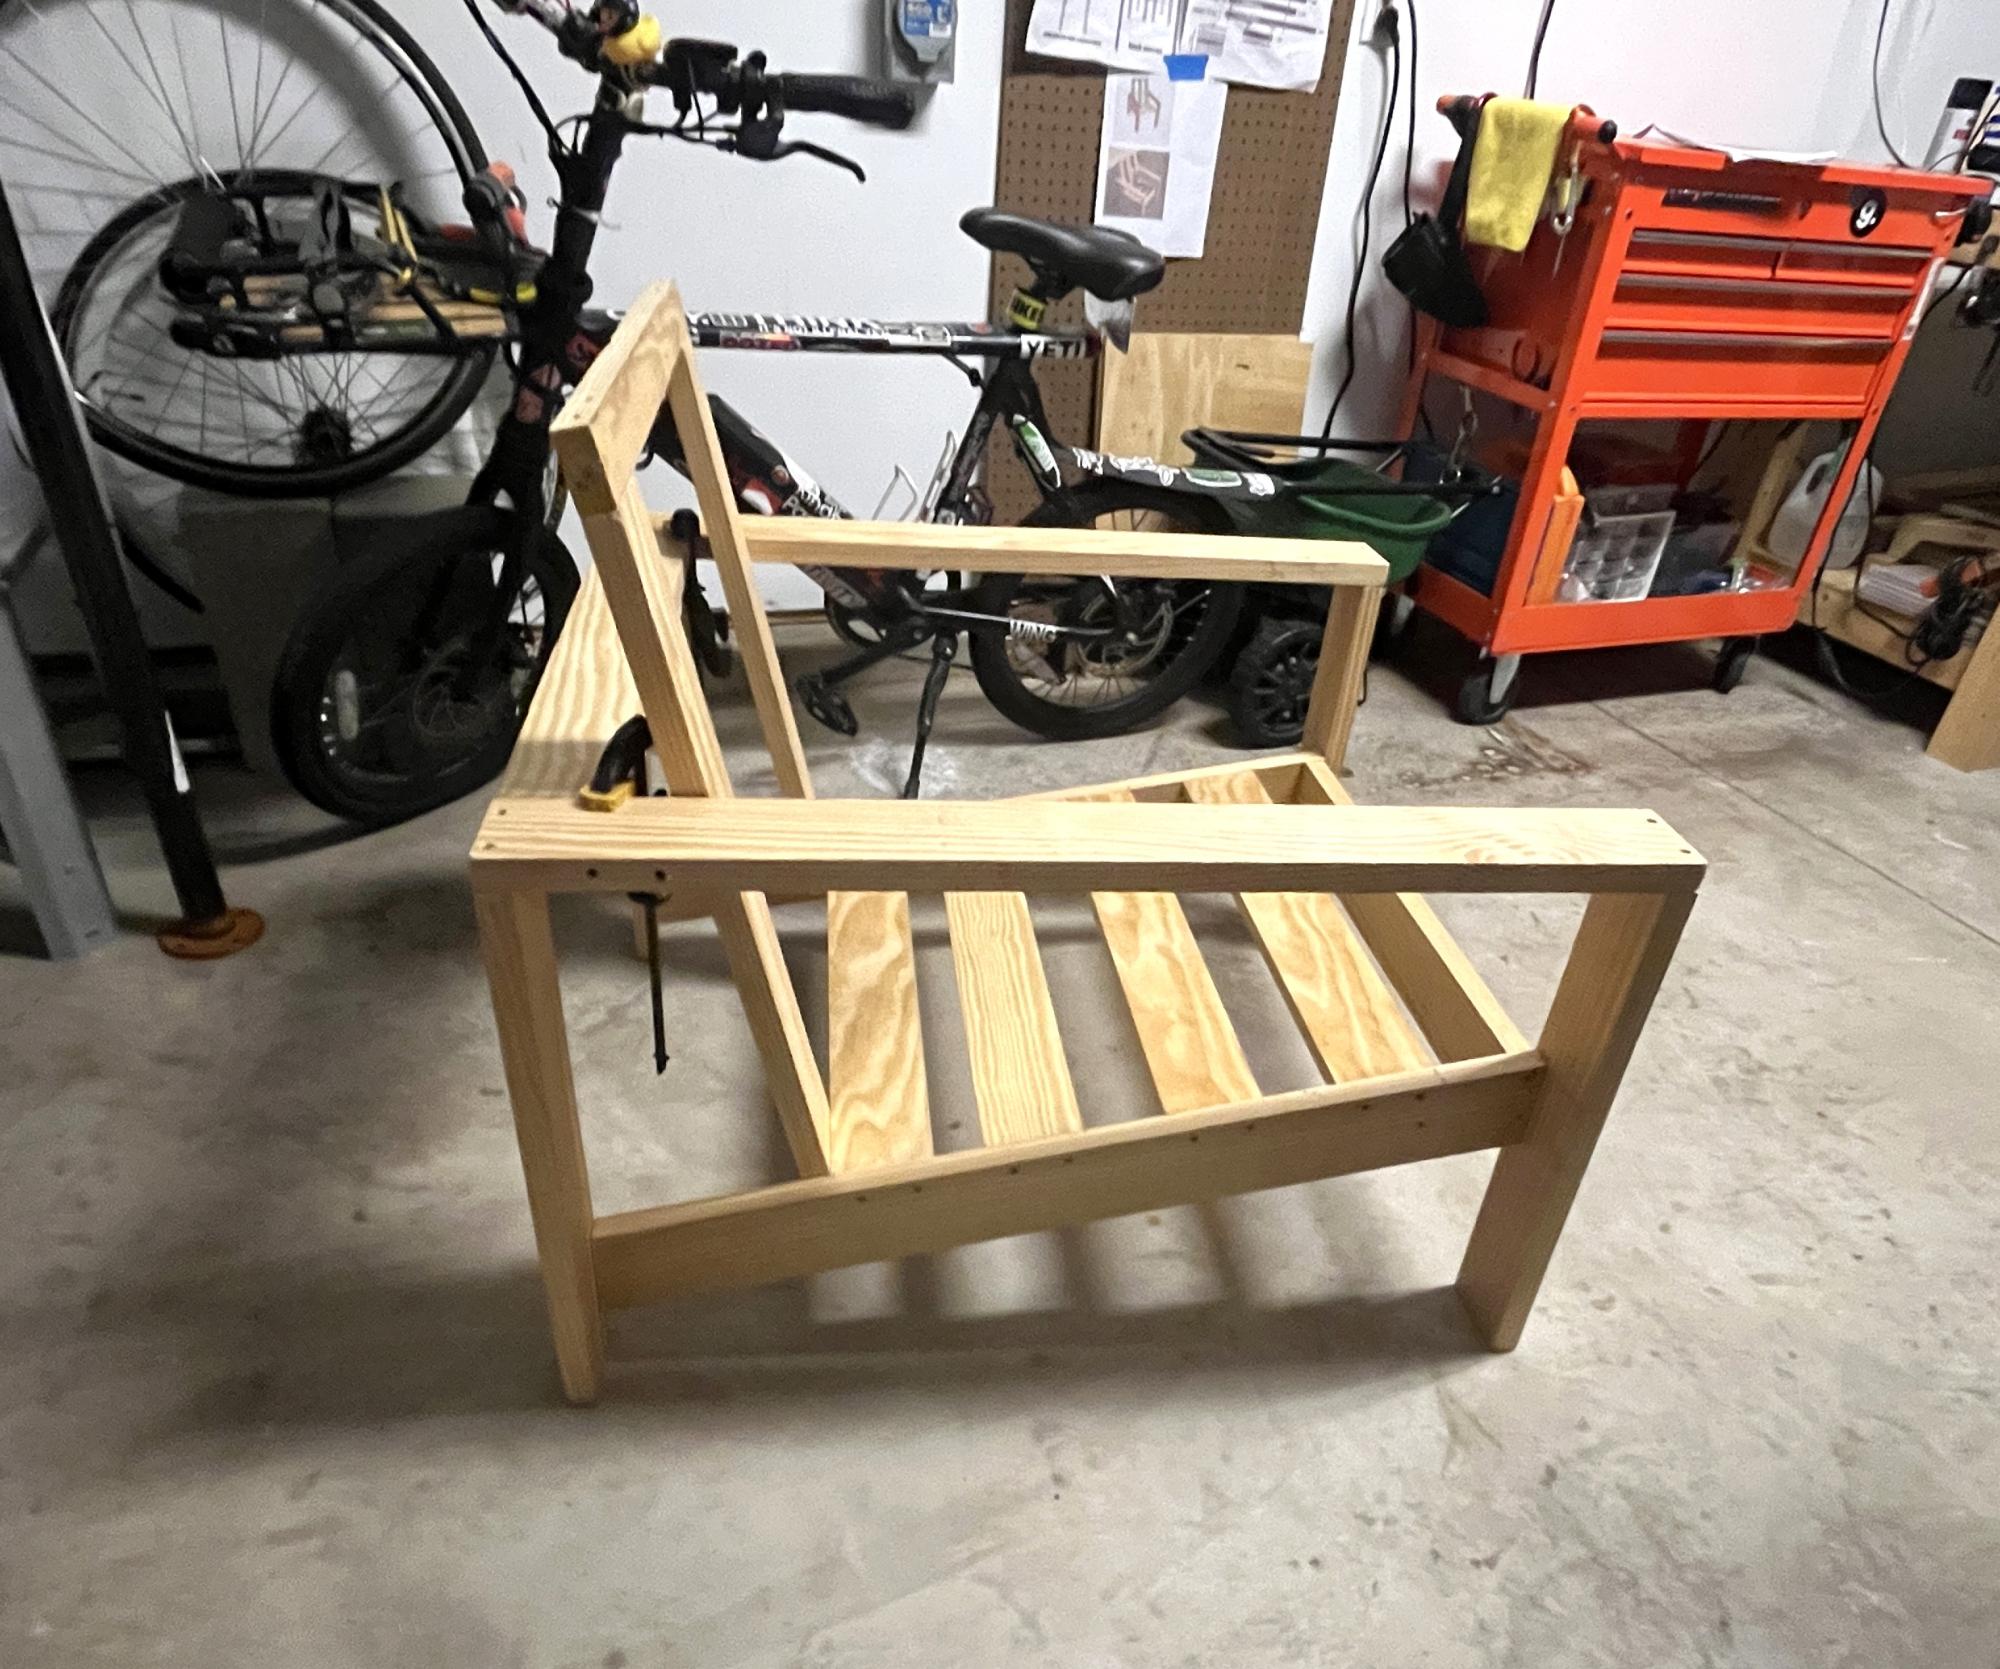
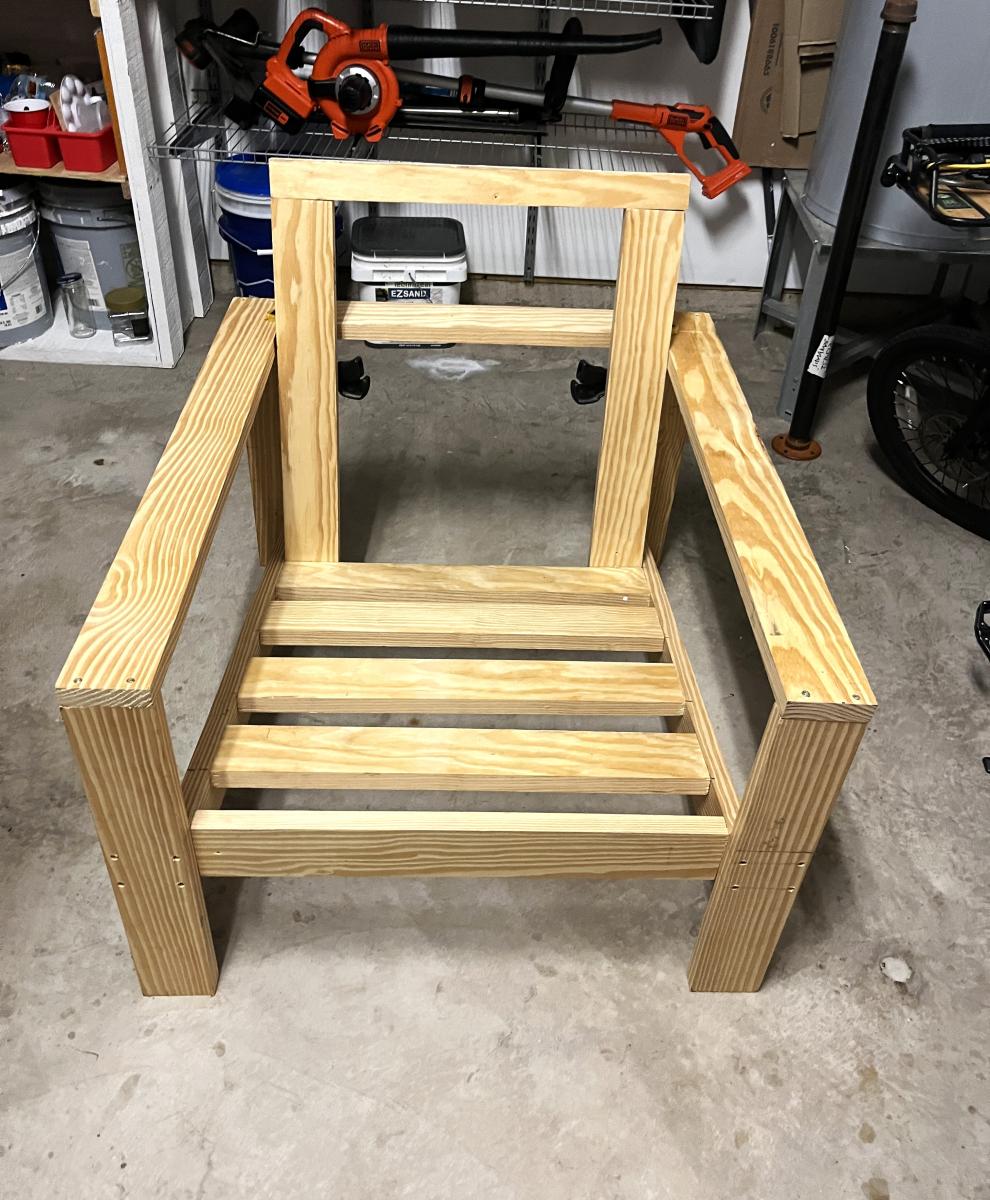
My first Chair!! - Angela
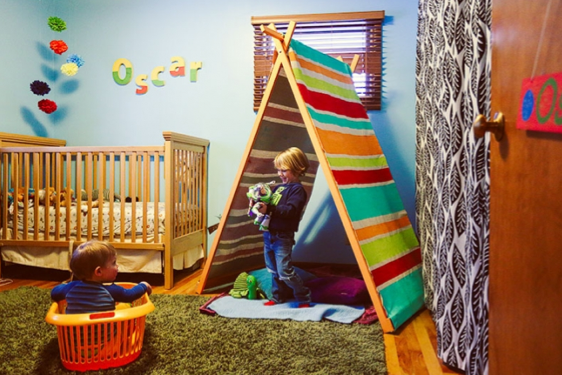
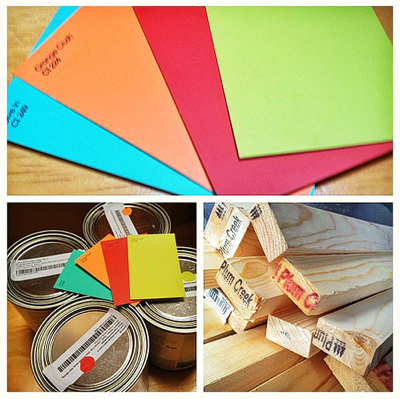
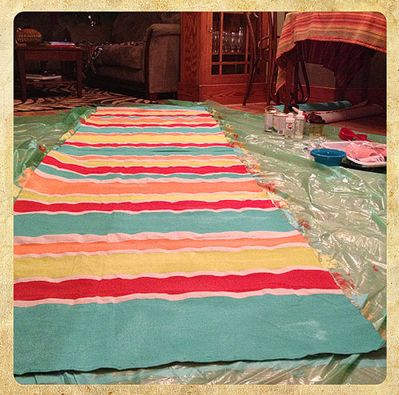
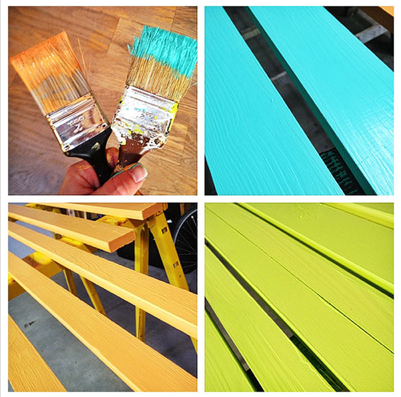
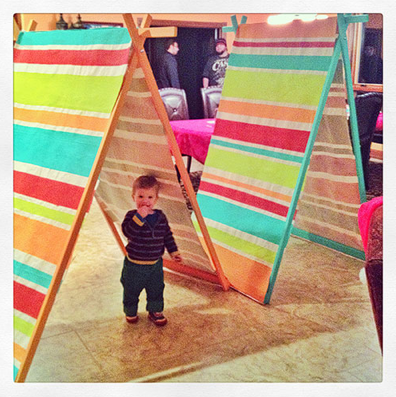
I followed the plans for the Kids Tent / Reading Nook but used a 9'x12' painter's drop cloth canvas instead of curtain panels. (I made 3 tents so I cut this into thirds...)
To make it even more fun, I painted stripes on the canvas by mixing regular latex paint (Valspar in Orange Crush, Twist of Lime, Dive In, and Cheery on Top) 2-to-1 with a textile medium.
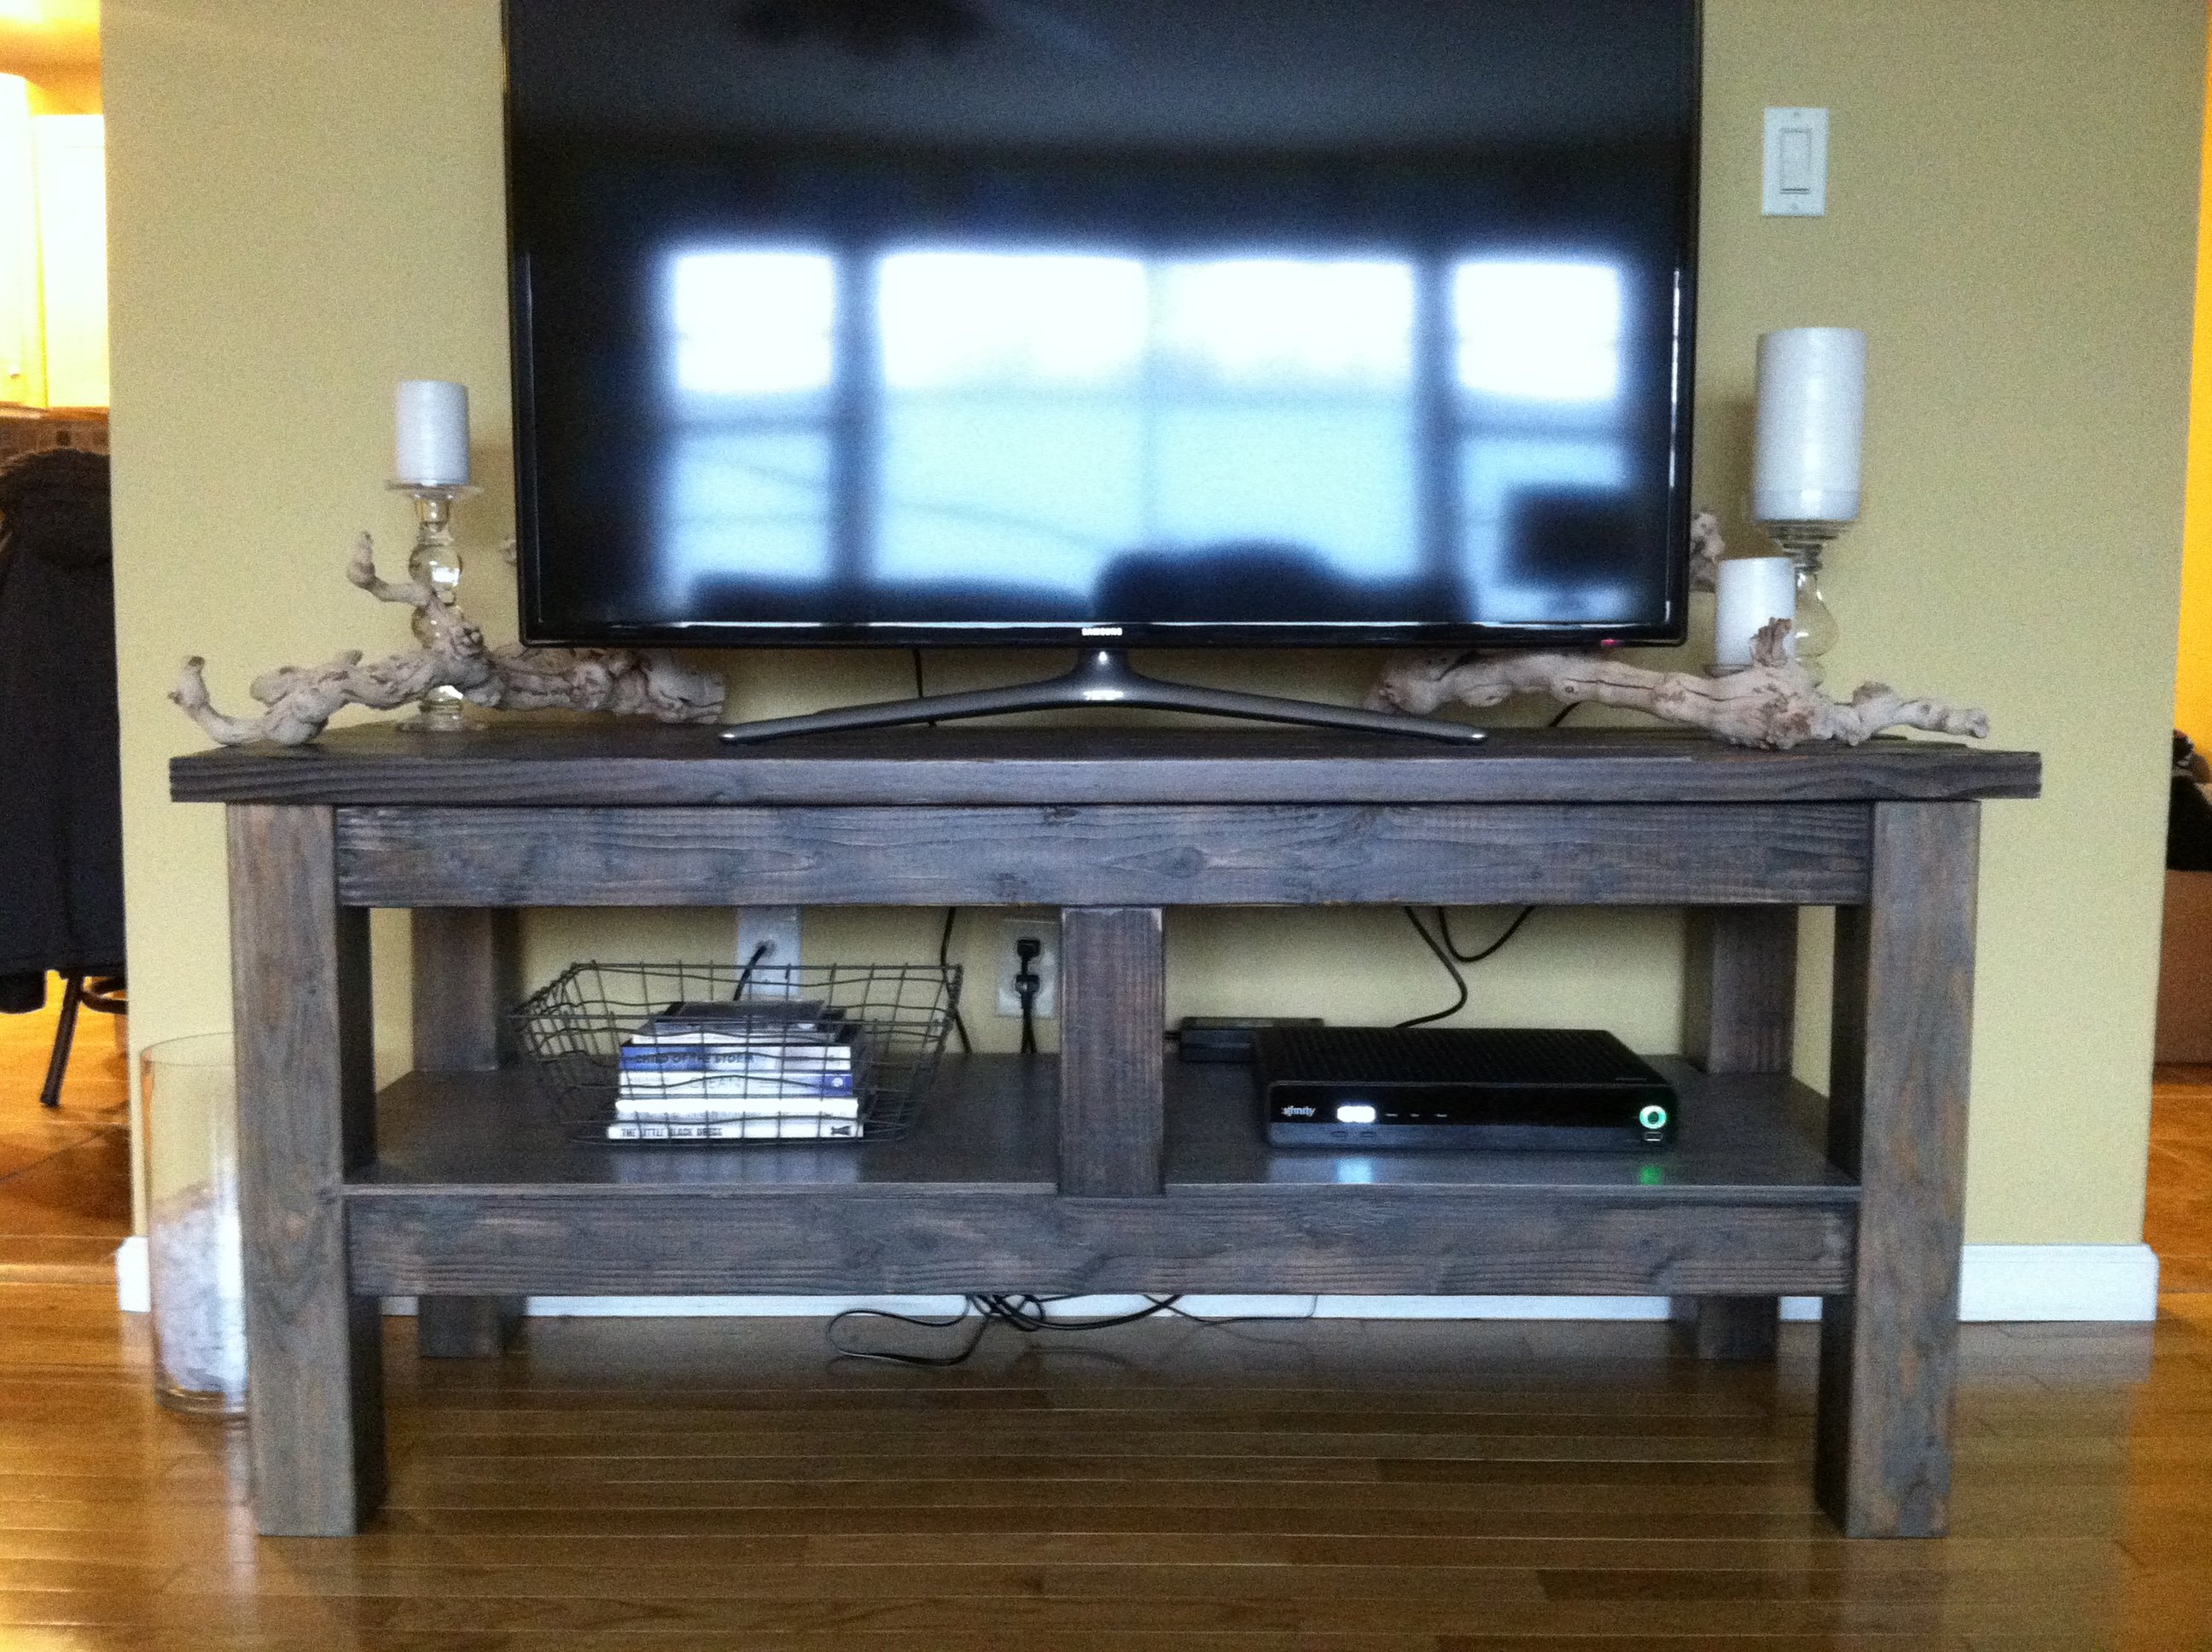
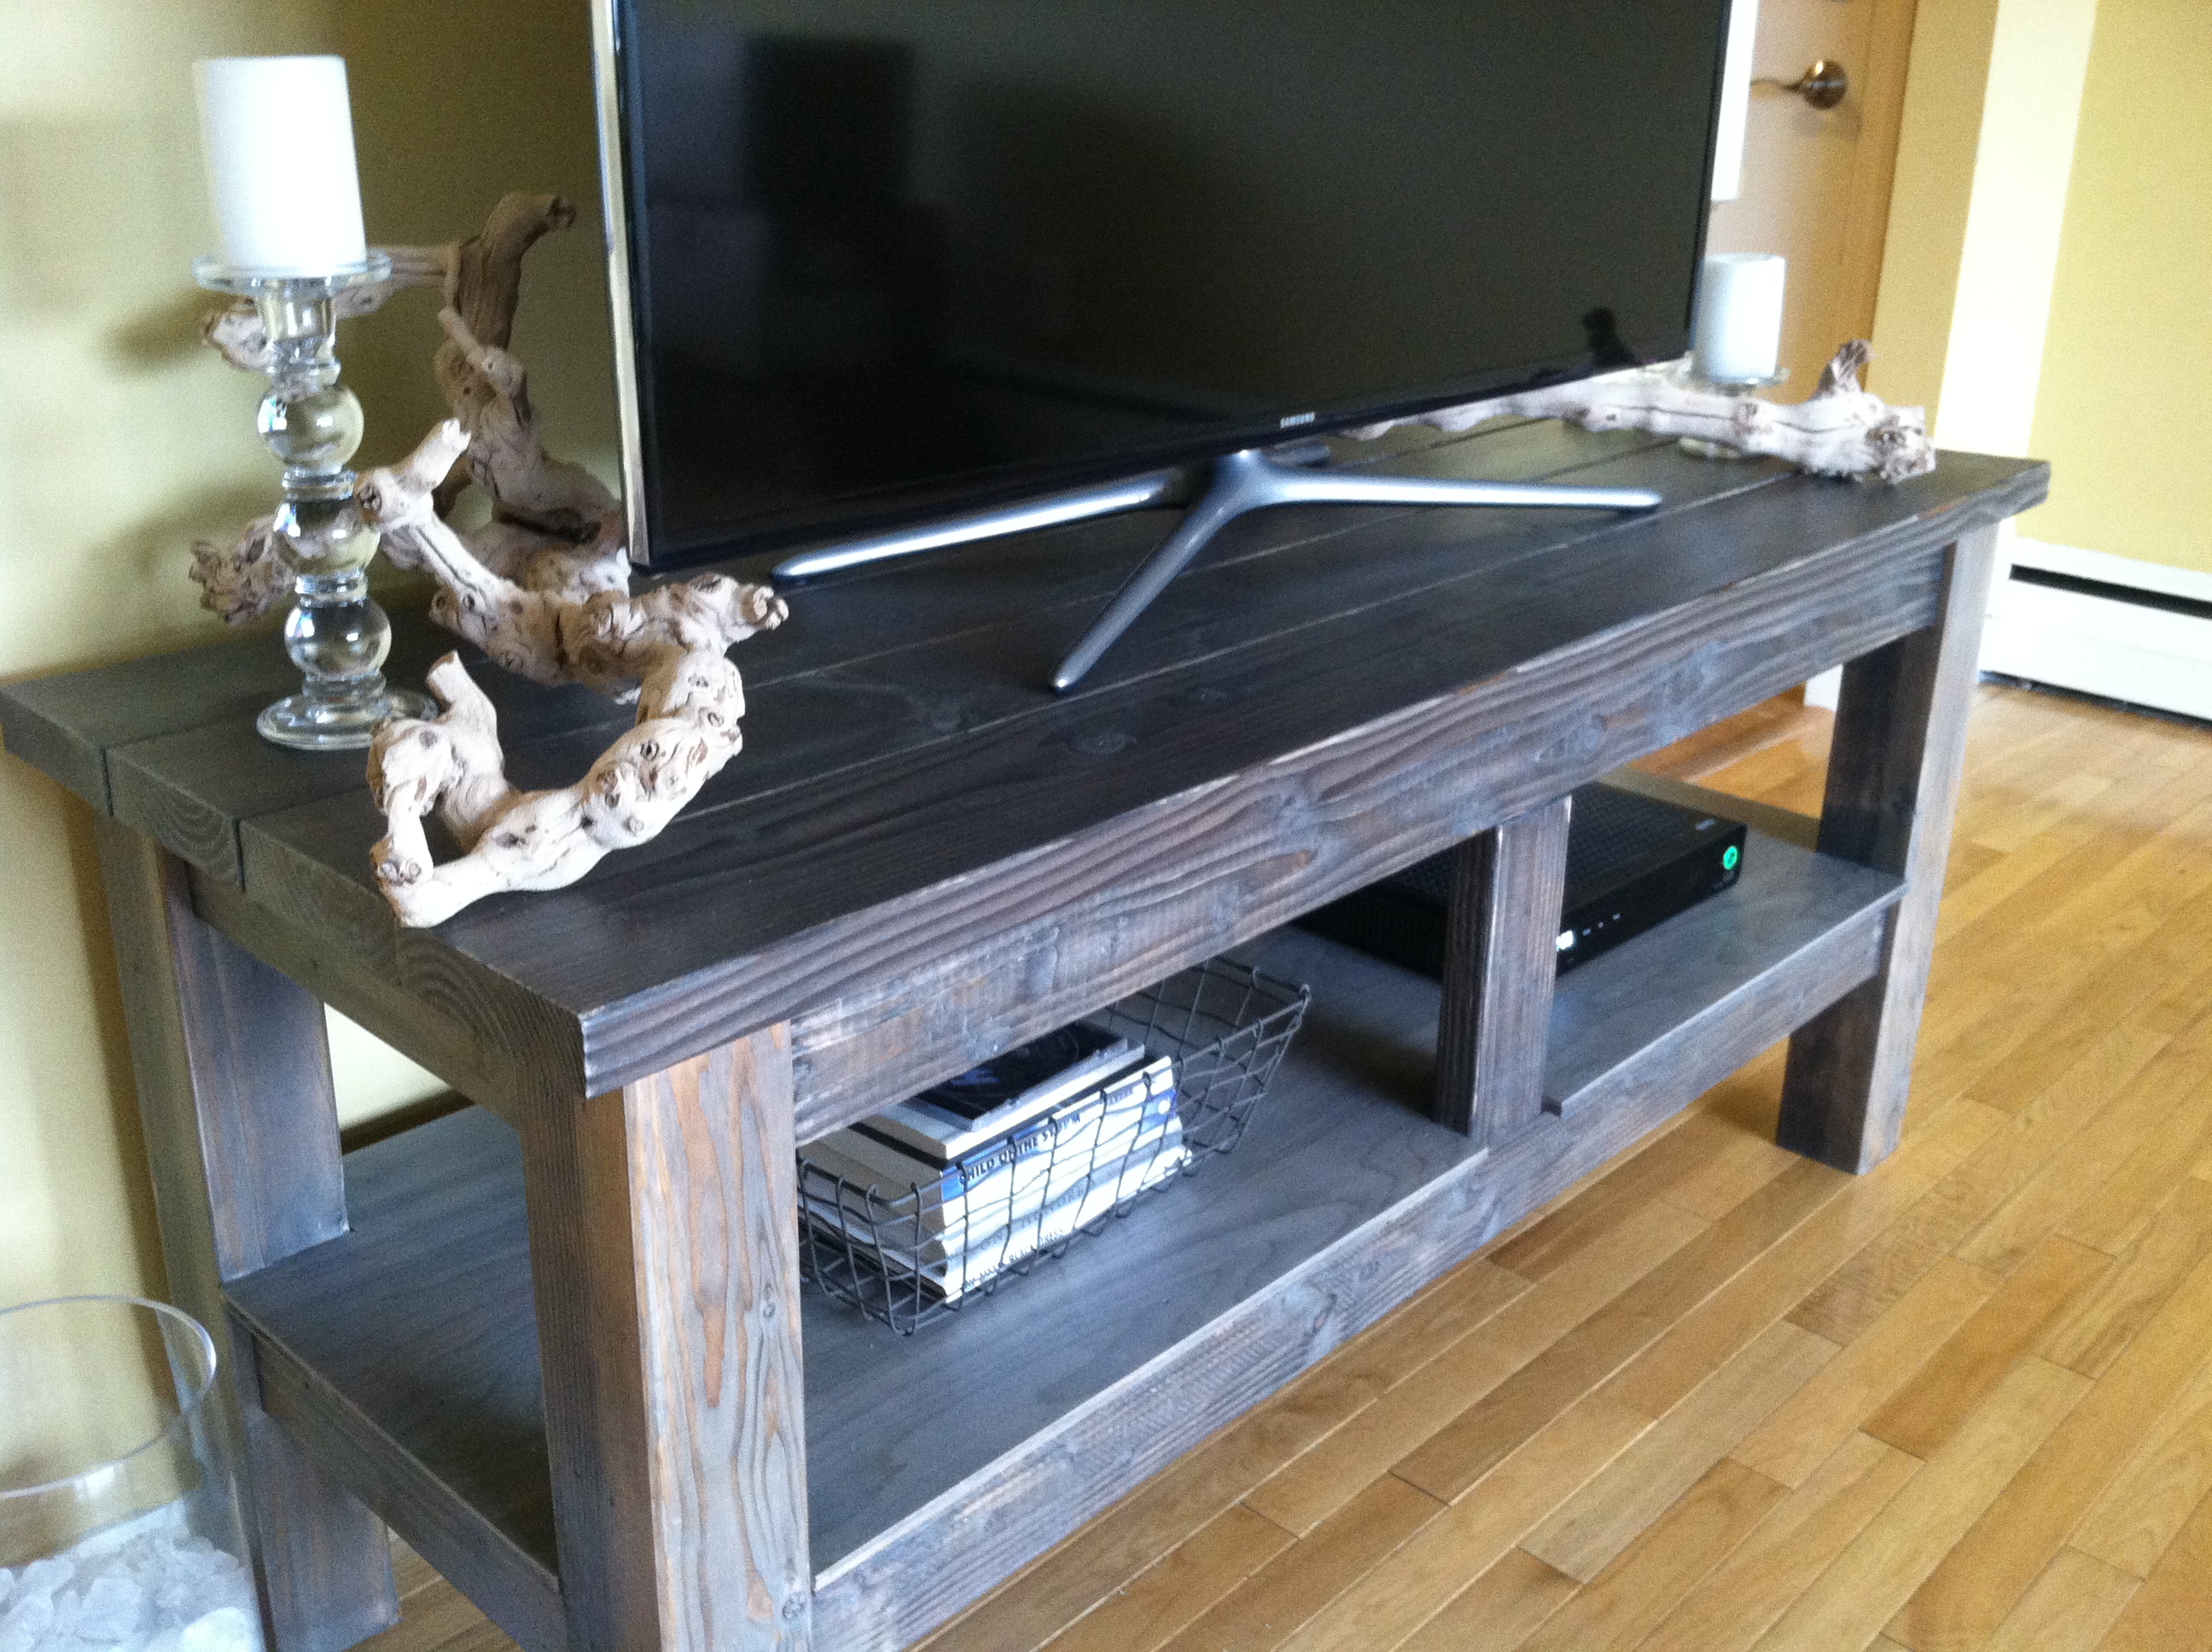
This was a easy build and lots of fun to build! I pretty much followed the plans for this piece. The only thing I didn't add were the wheels on the bottom of the legs. Because I was using this mainly as a TV stand, I wanted it to not be moved. In the future if the TV goes up on the wall, I'll add the legs. Thanks for the plans!
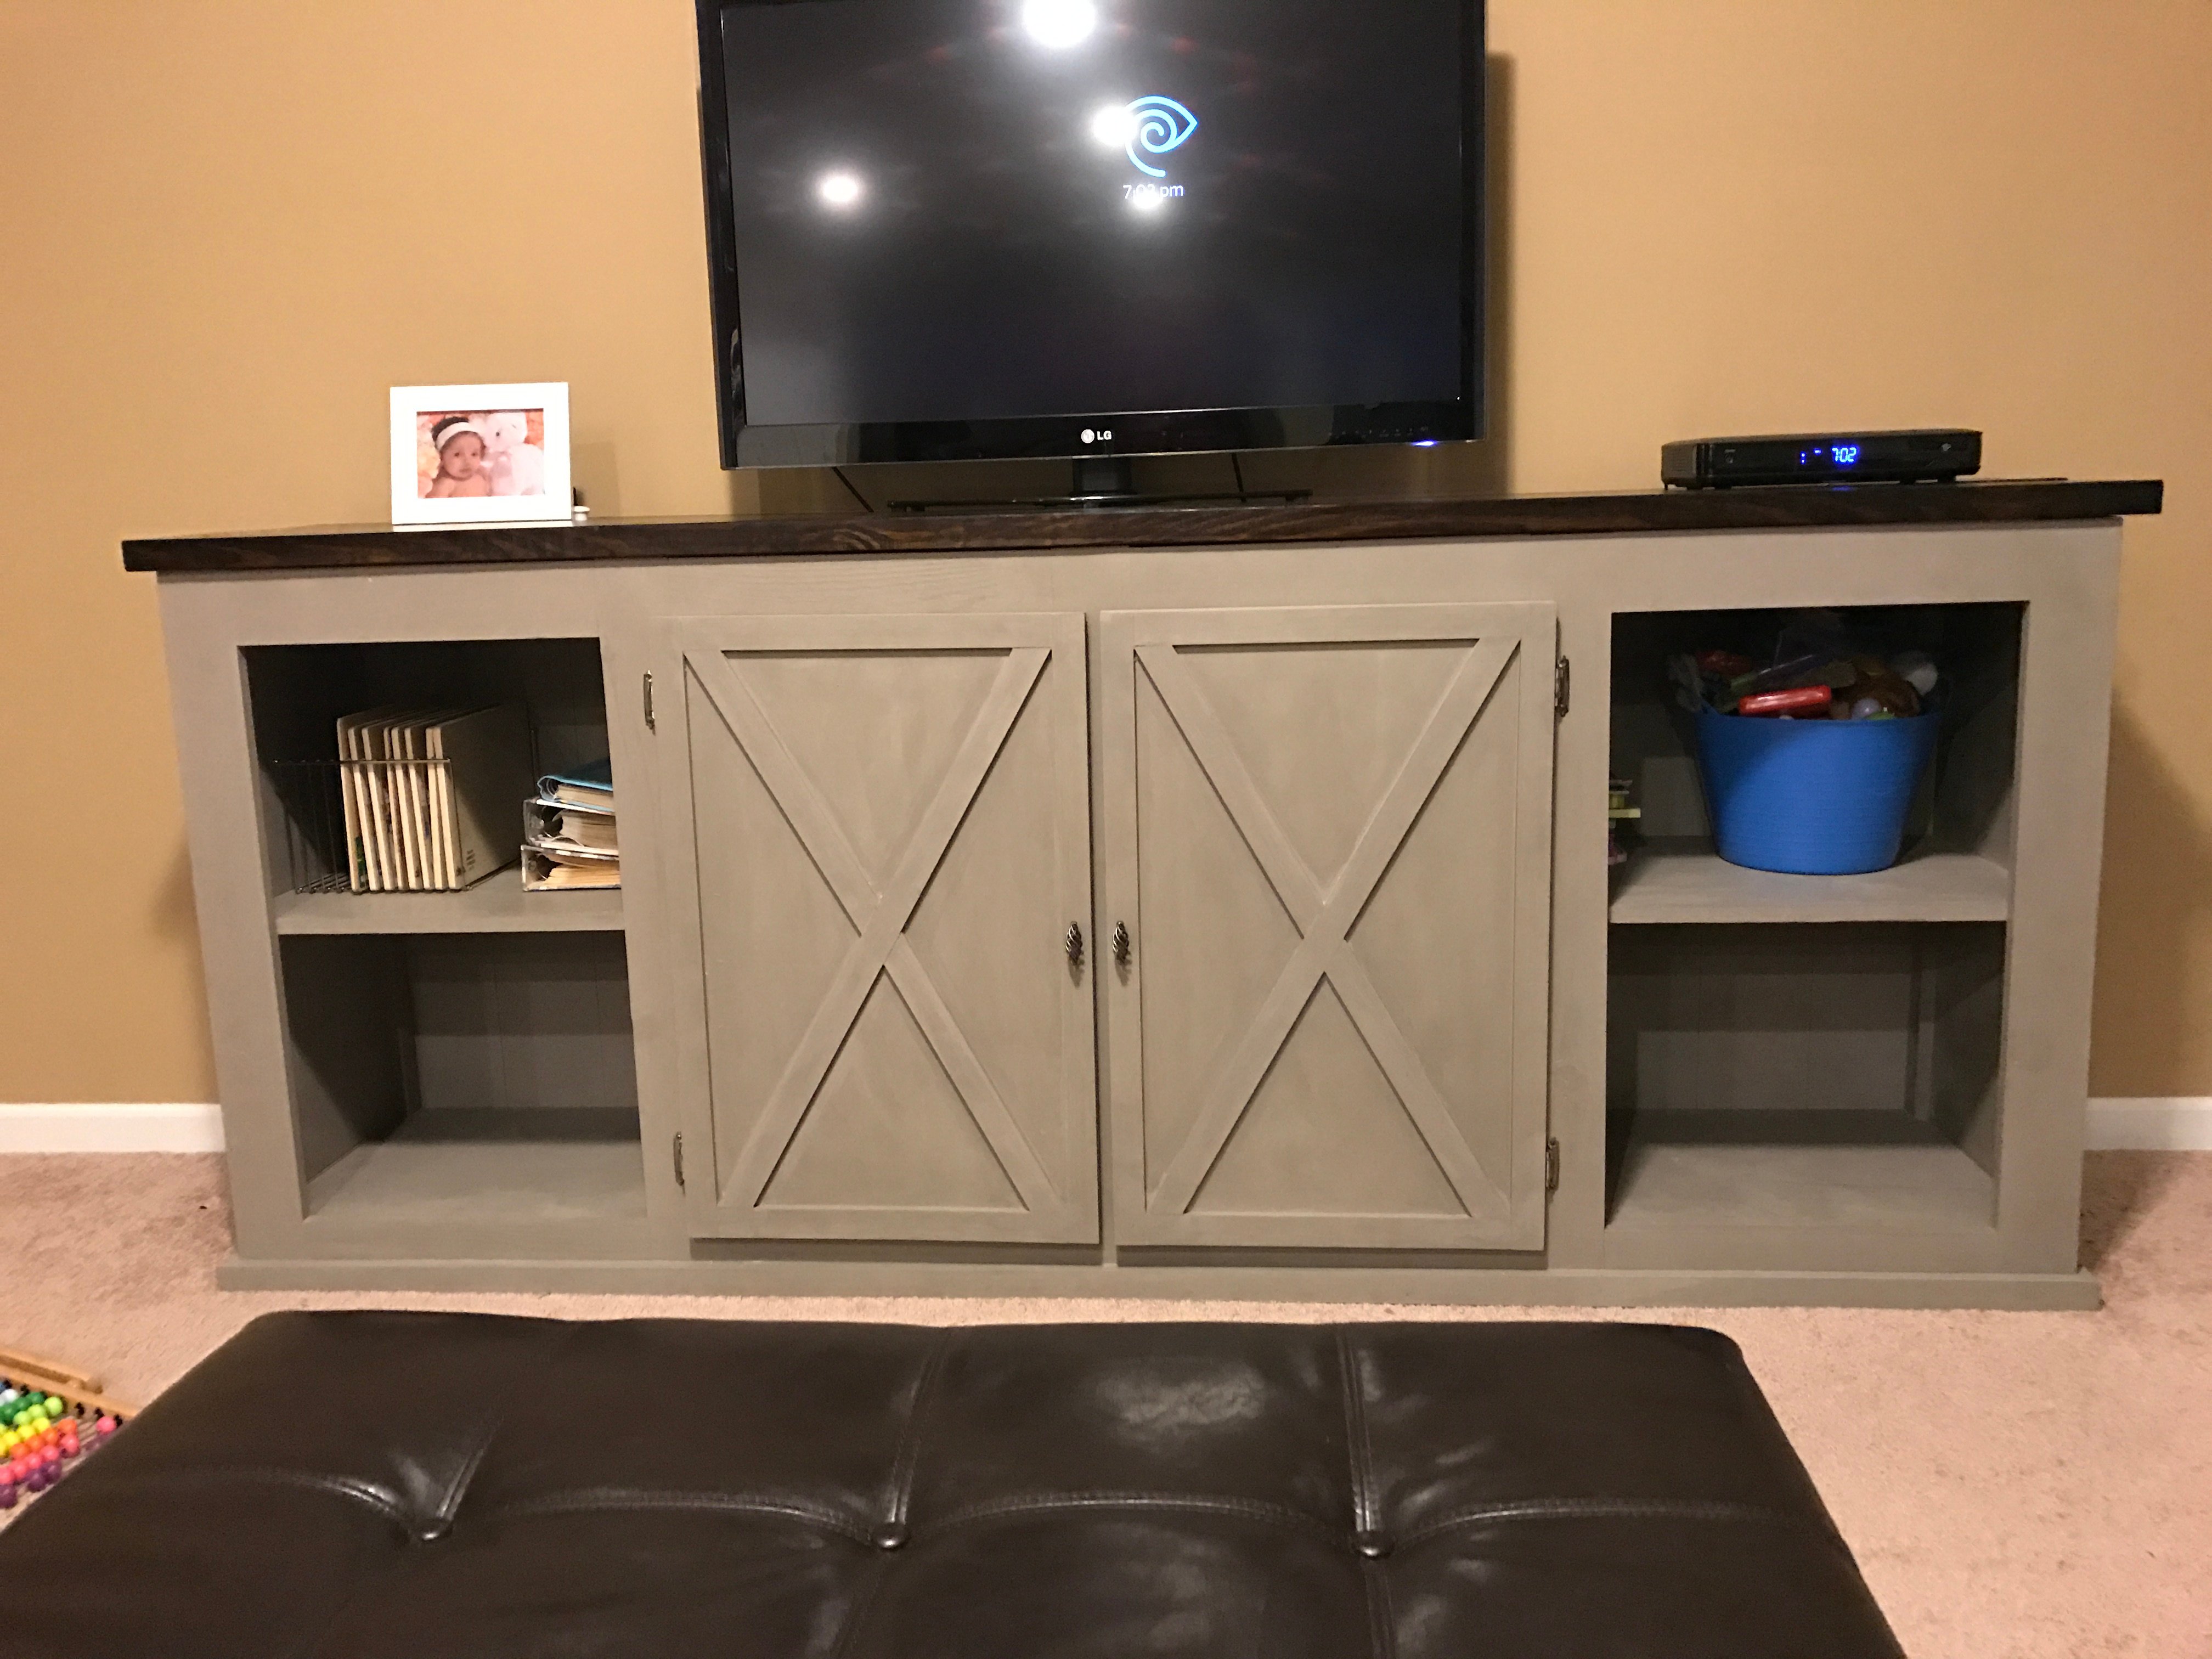
This was my first project. It was fairly easy and has sparked a new interest in building my own furniture going forward. I decided to have my doors hinged instead of sliding, but overall had a lot of fun and love the results!! It turned out great!! Thanks Ana!!
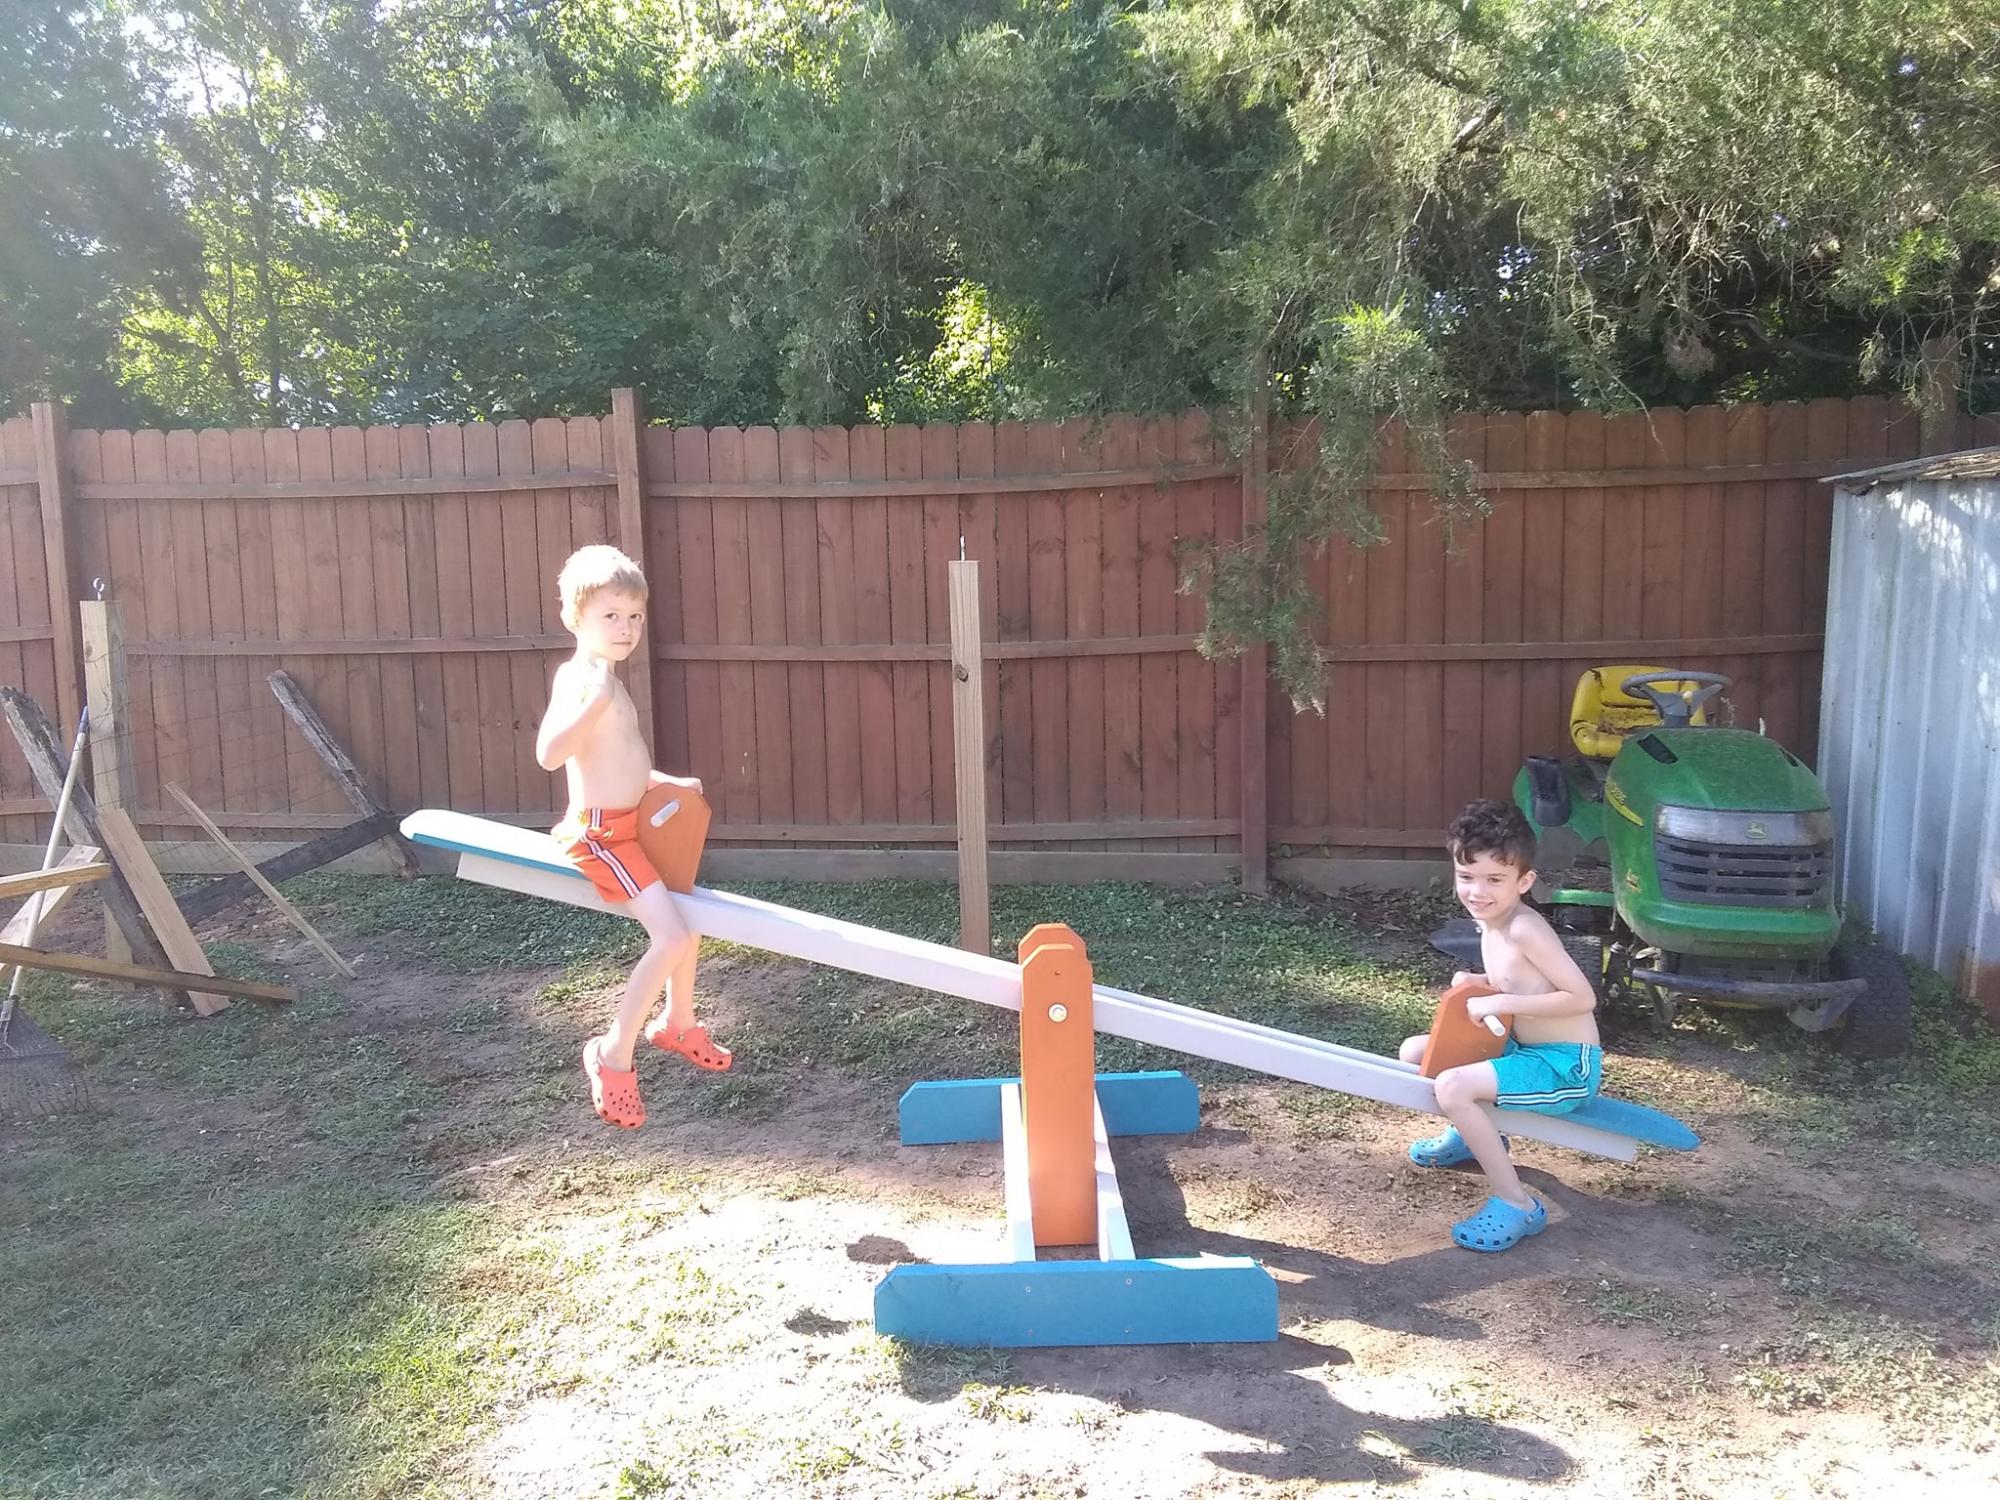
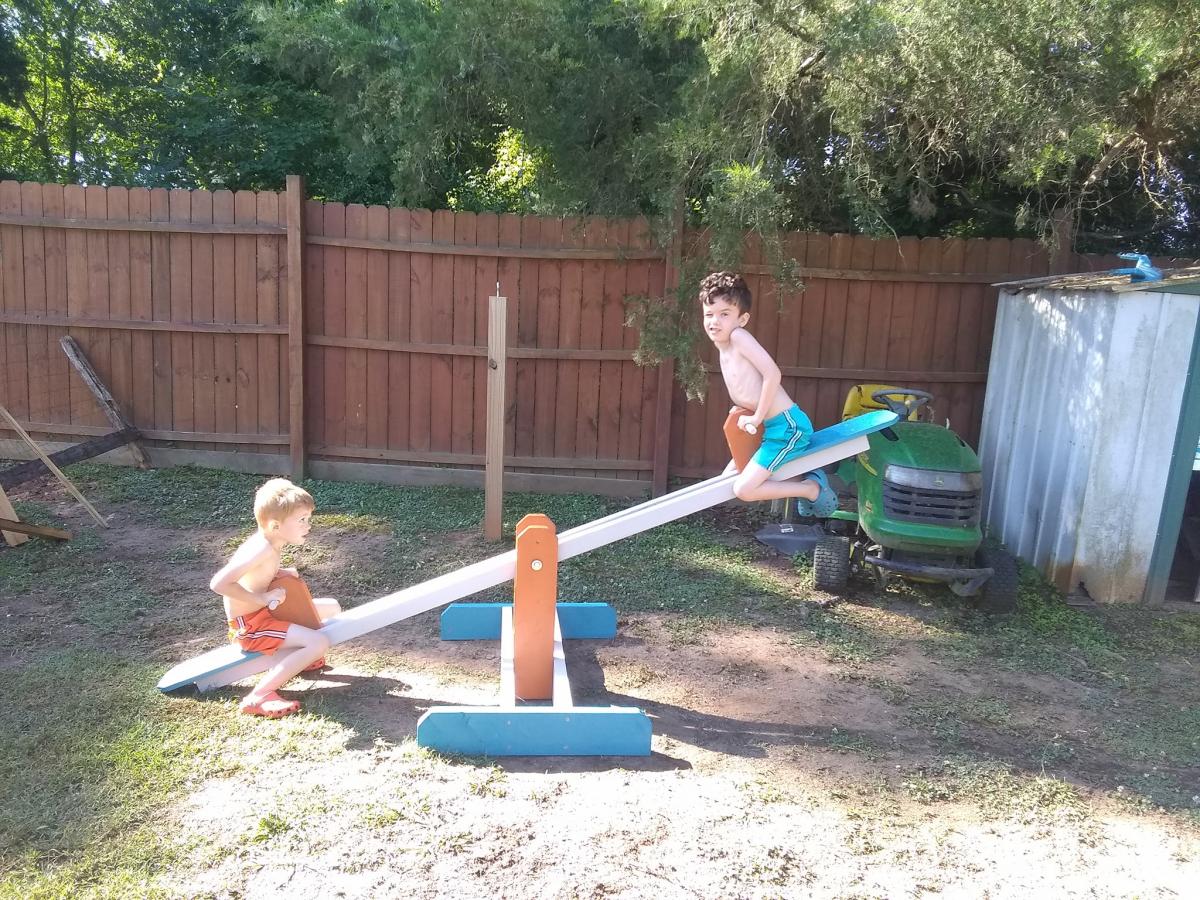
My husband and I made the boys a seesaw a few months ago. We had been spending a lot of time working on our chicken coop and I snuck around to make something for the boys as a surprise. They named it Blue Blade and it has been a fun new addition to their playground. It was straightforward to make. I used 2x3s instead of 2x4s since they were so much cheaper, and it worked really well. I love how it has the extra hole so we can make it taller as they grow.