2 Bunk Shared Bedroom
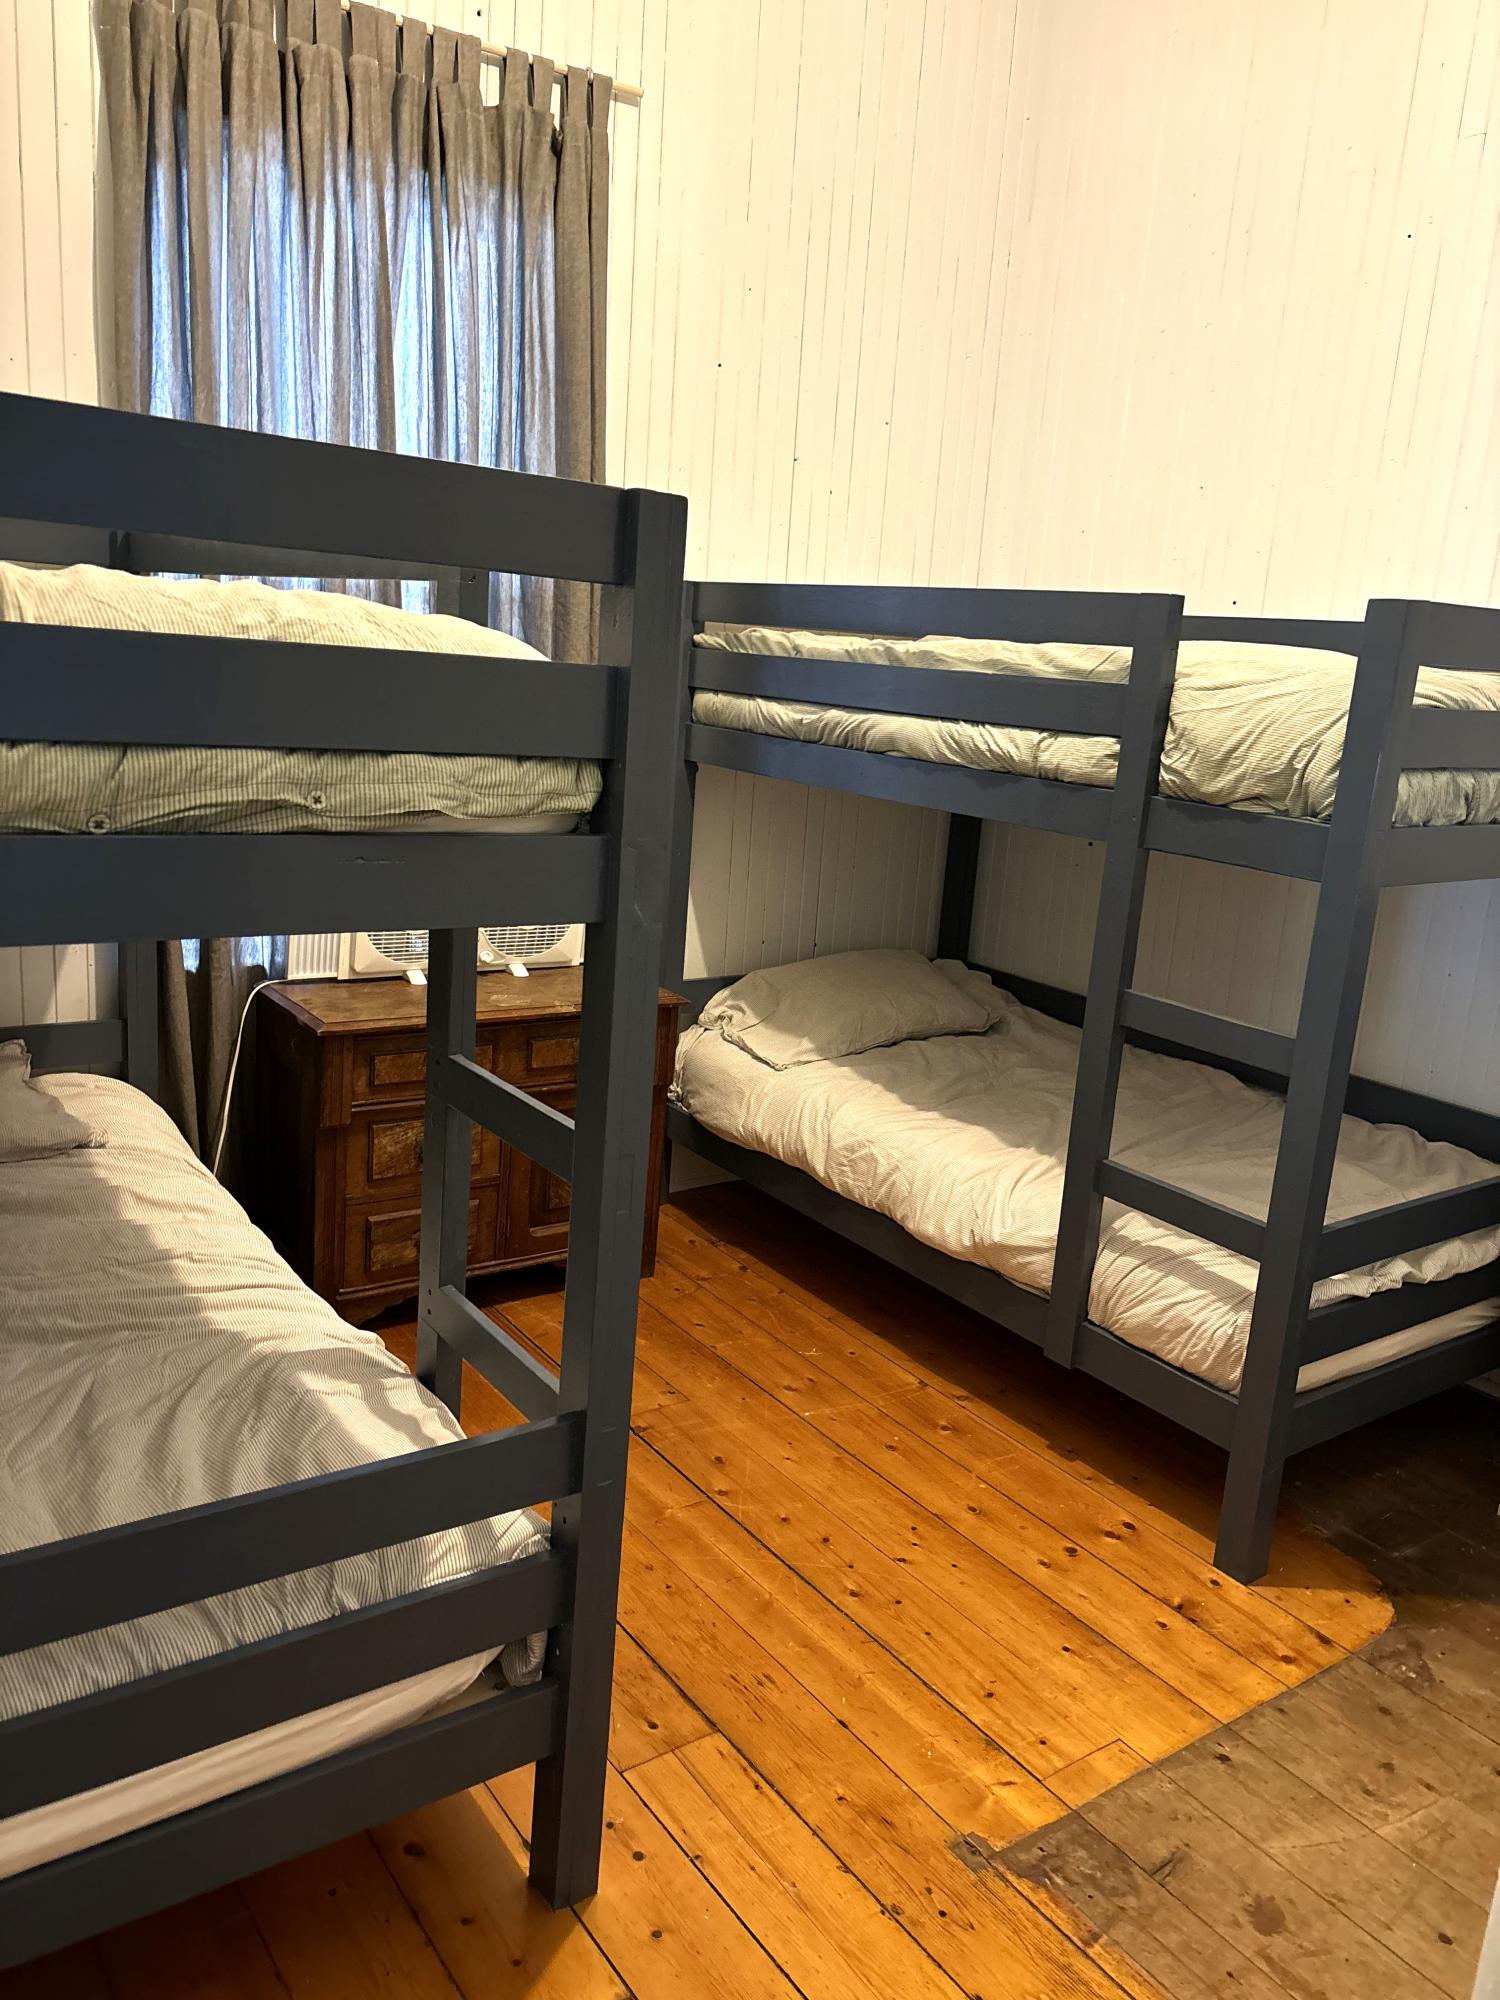
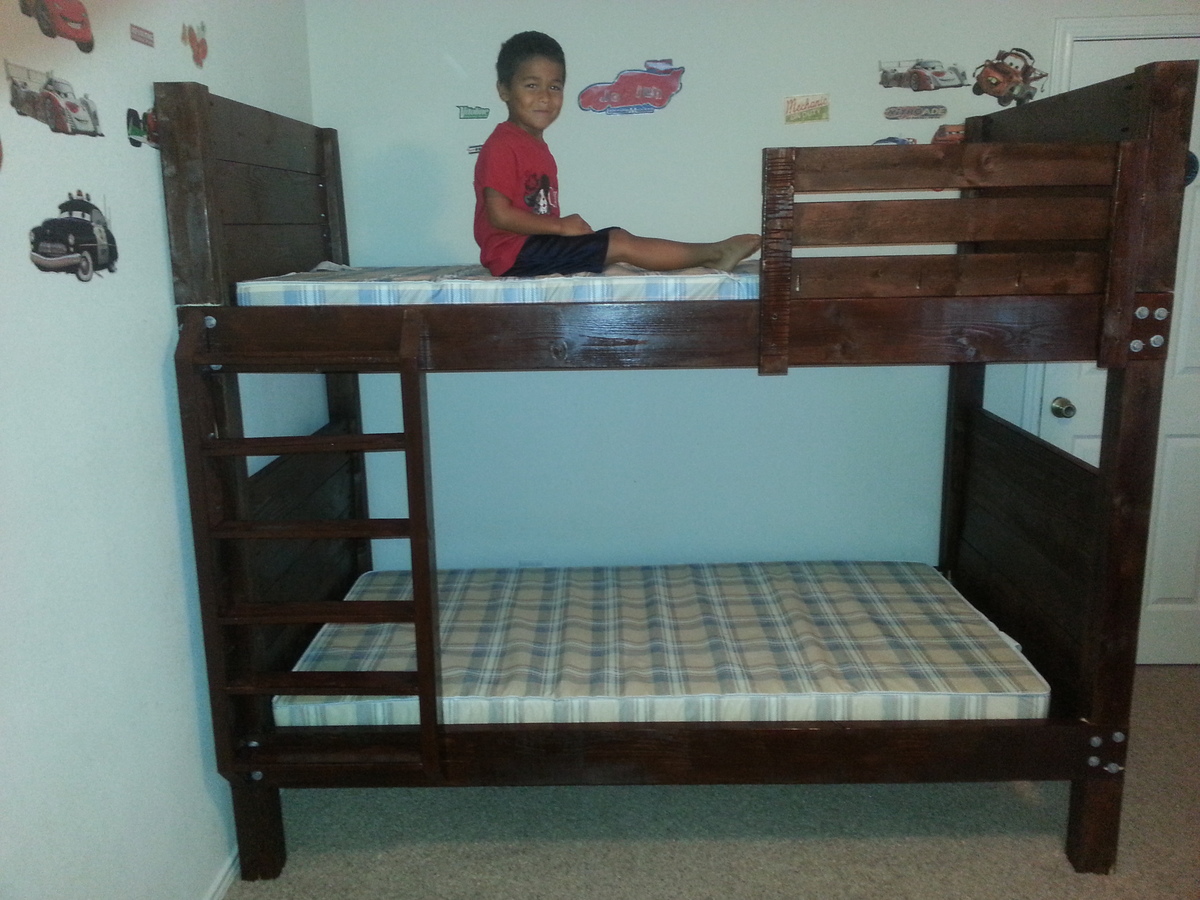
Old bunk beds were only ¾ width and dark brown. So the room was dingy. Really like how these turned out. I painted the underside of the top bunk white to keep it lighter. Thanks for the plans!
Karen

Old bunk beds were only ¾ width and dark brown. So the room was dingy. Really like how these turned out. I painted the underside of the top bunk white to keep it lighter. Thanks for the plans!
Karen
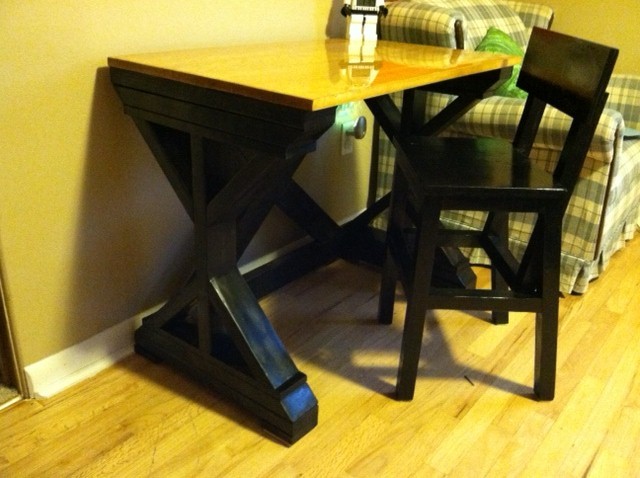
this is a much smaller version of the $55 Fancy "x" Desk. We did not have the space for the larger version and my son liked that one best, so this is as close as I could come. I also made him the Higher Chair. He is six and very tall with it, but a standard height table and chair still make him sit low enough that writing and working on projects can be troublesome. He loves this, and we had fun working on it together.
Mon, 11/12/2012 - 12:31
Sorry for the yellow and blurry photo, had to take with my phone!
Fri, 11/16/2012 - 14:10
I have this in my to do list and like you I want a shorter version. I was wonder how long you built yours?
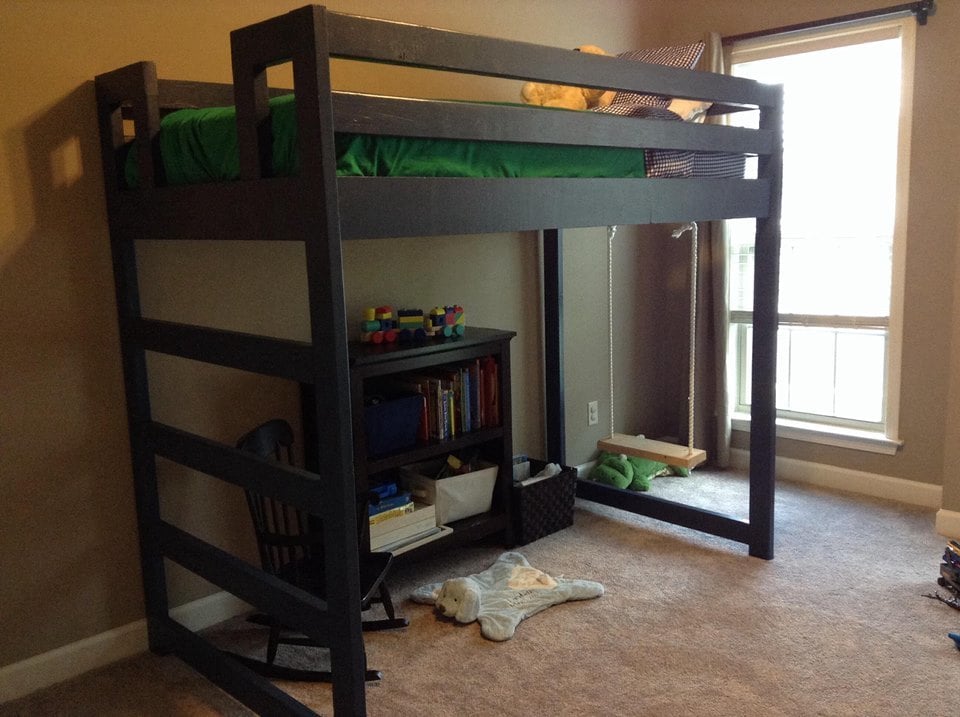
My little boy asked for a "big boy bed with a ladder", and we wanted to make good use of space in his room, so I built this loft bed. I continued the 2x4's down one side instead of adding stairs, and raised the height of the bed a bit. I added space in the middle of the ladder section for him to have room to climb in safely. I also added a rope swing on the bottom, where he now spends much of his days looking out his window.
Awesome plans for the farmhouse table. Very easy to follow and the pictures were very helpful. It took longer due to my schedule but the top took about four day to poly. The bench is also from Ana White.
Very easy fun build. I laid out the fence boards and marked the 5 degree angle but cut them with a miter saw as I was not confident to use the hand saw. Also numbered each section to easily put the sections back together. Miter saw was set to 5 degree angle also. I initially built with 7 boards and then took off two of them as it was really tall.
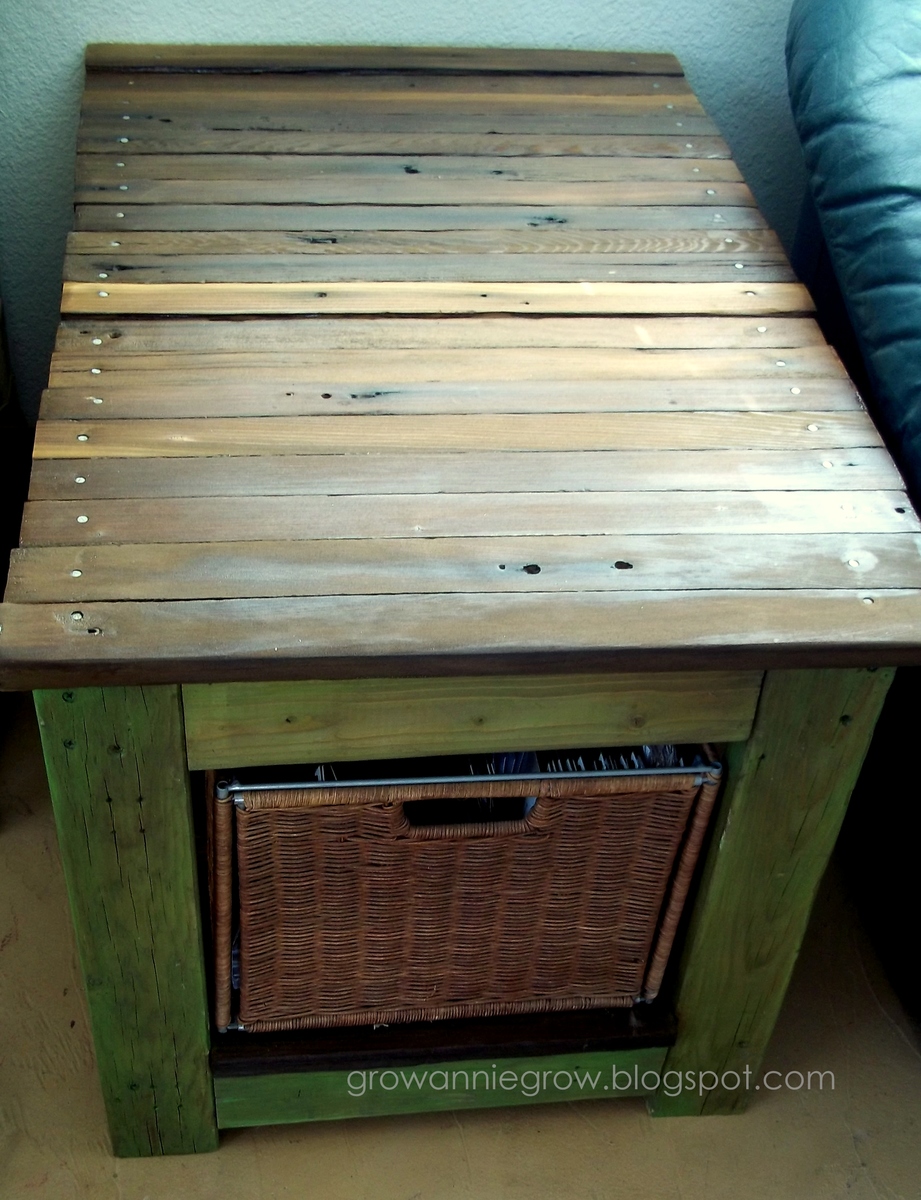
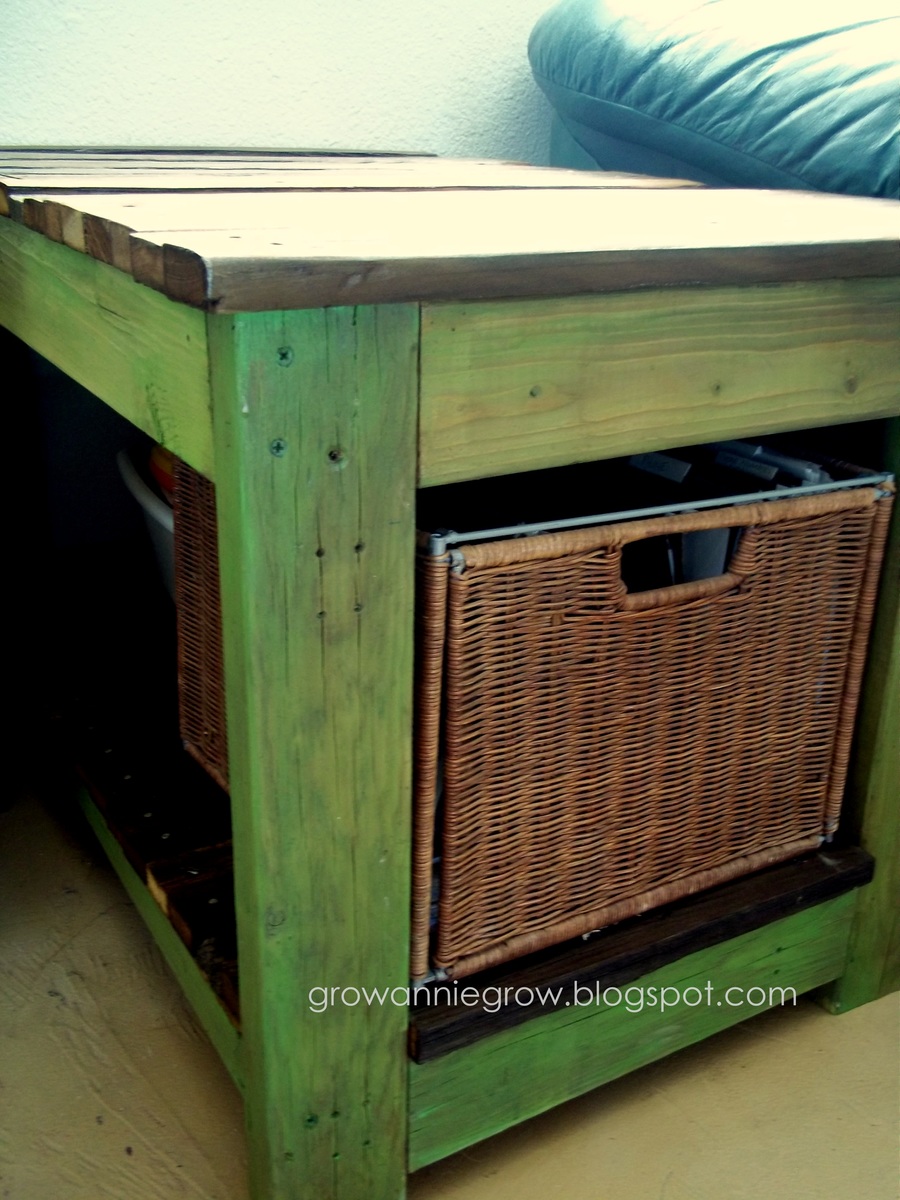
I wanted a table that would double as a file cabinet of sorts - so I made this end table with an opening big enough for my file box and the right height for my couch.
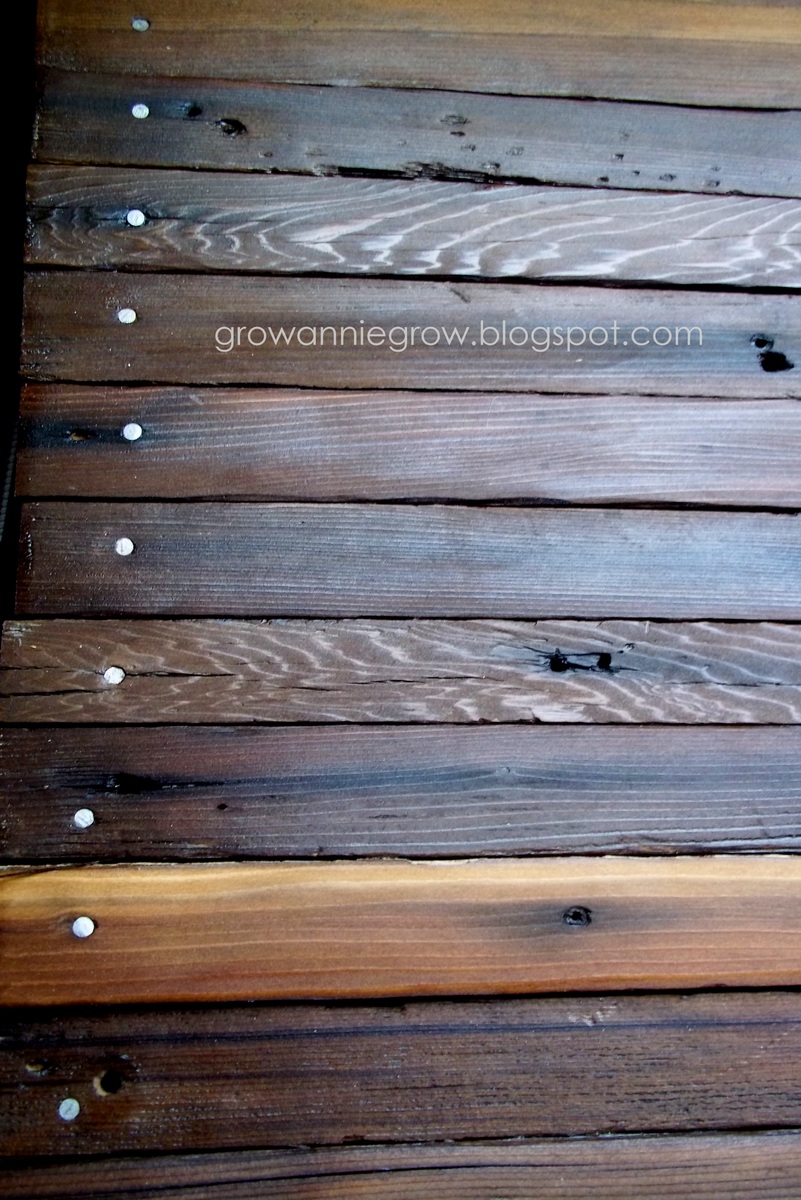
The top of the table and the lower shelf and made from pickets from a picket fence that was taken down and the rest was from leftover 2 x 4 s from other projects around our fixer-upper.
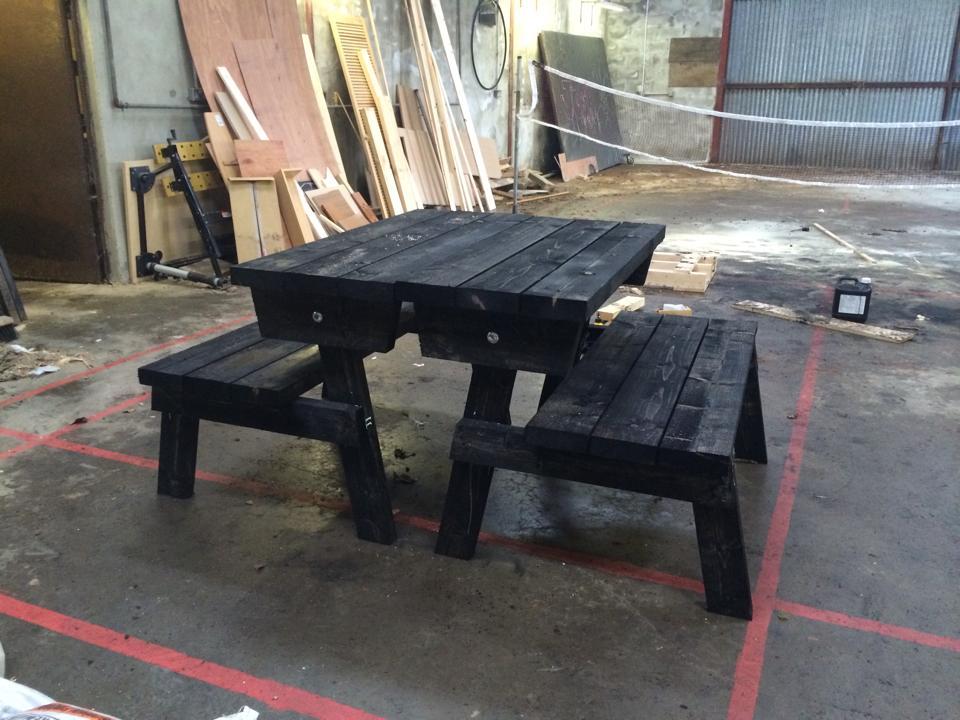
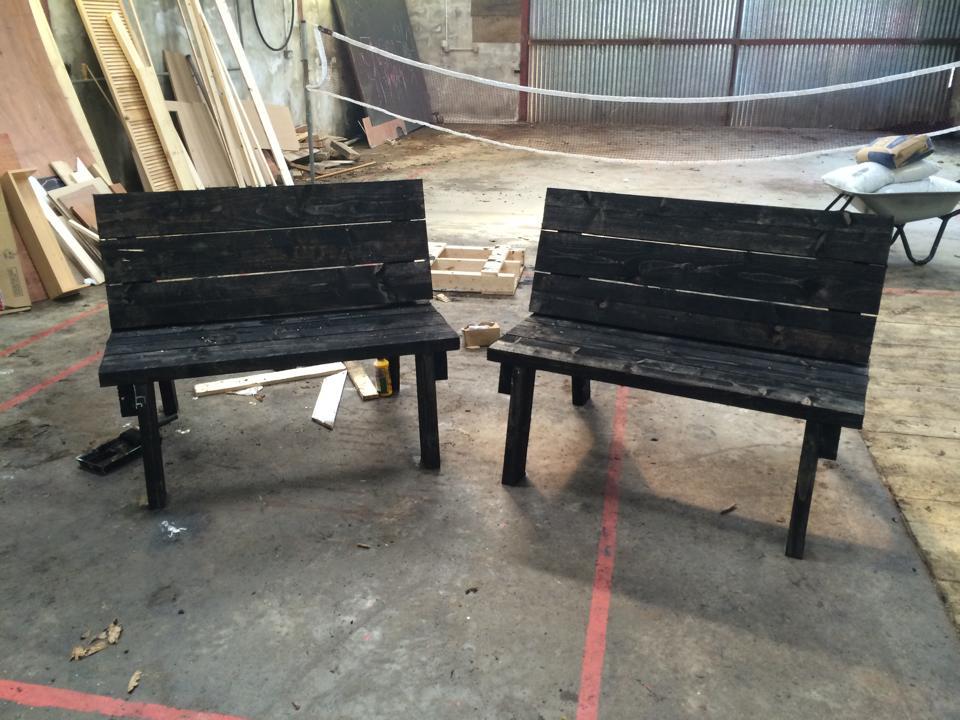
Picnic Table that Converts to Benches
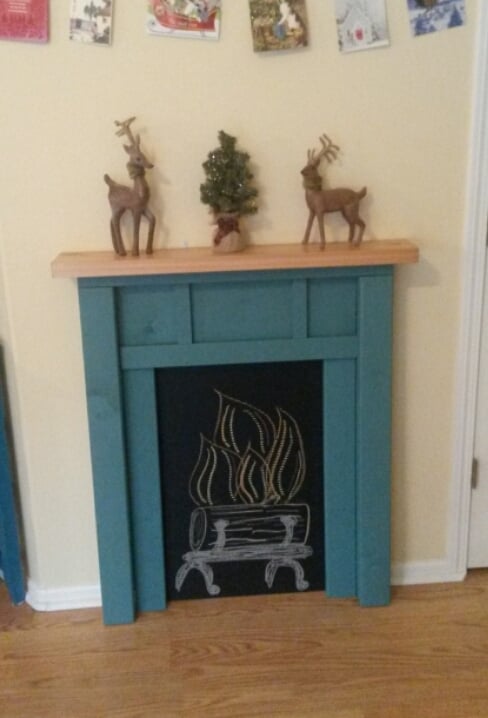
After living in a house with a fireplace for 7 years, we recently moved to a house without one. When unpacking the Christmas box, our boys asked where we would hang our stockings this year and that got me thinking about how much I'd like a mantle for the holidays. After searching online, I found Ana's plan (of course she has one!) and scaled it down to fit the one small open wall in our living room. I didn't trust myself to cut an even arch, so I used an idea from another brag post and added architectural elements with leftover 1x2 & 1x3 to a 1x10 (which was a better size for our scaled down version) Lastly, I knew I wanted a chalkboard backing, but having no scrap plywood, I covered a large piece of cardboard with chalkboard contact paper and tacked it on the back before installing. Super happy with how it turned out and look forward to using it for many years to come!
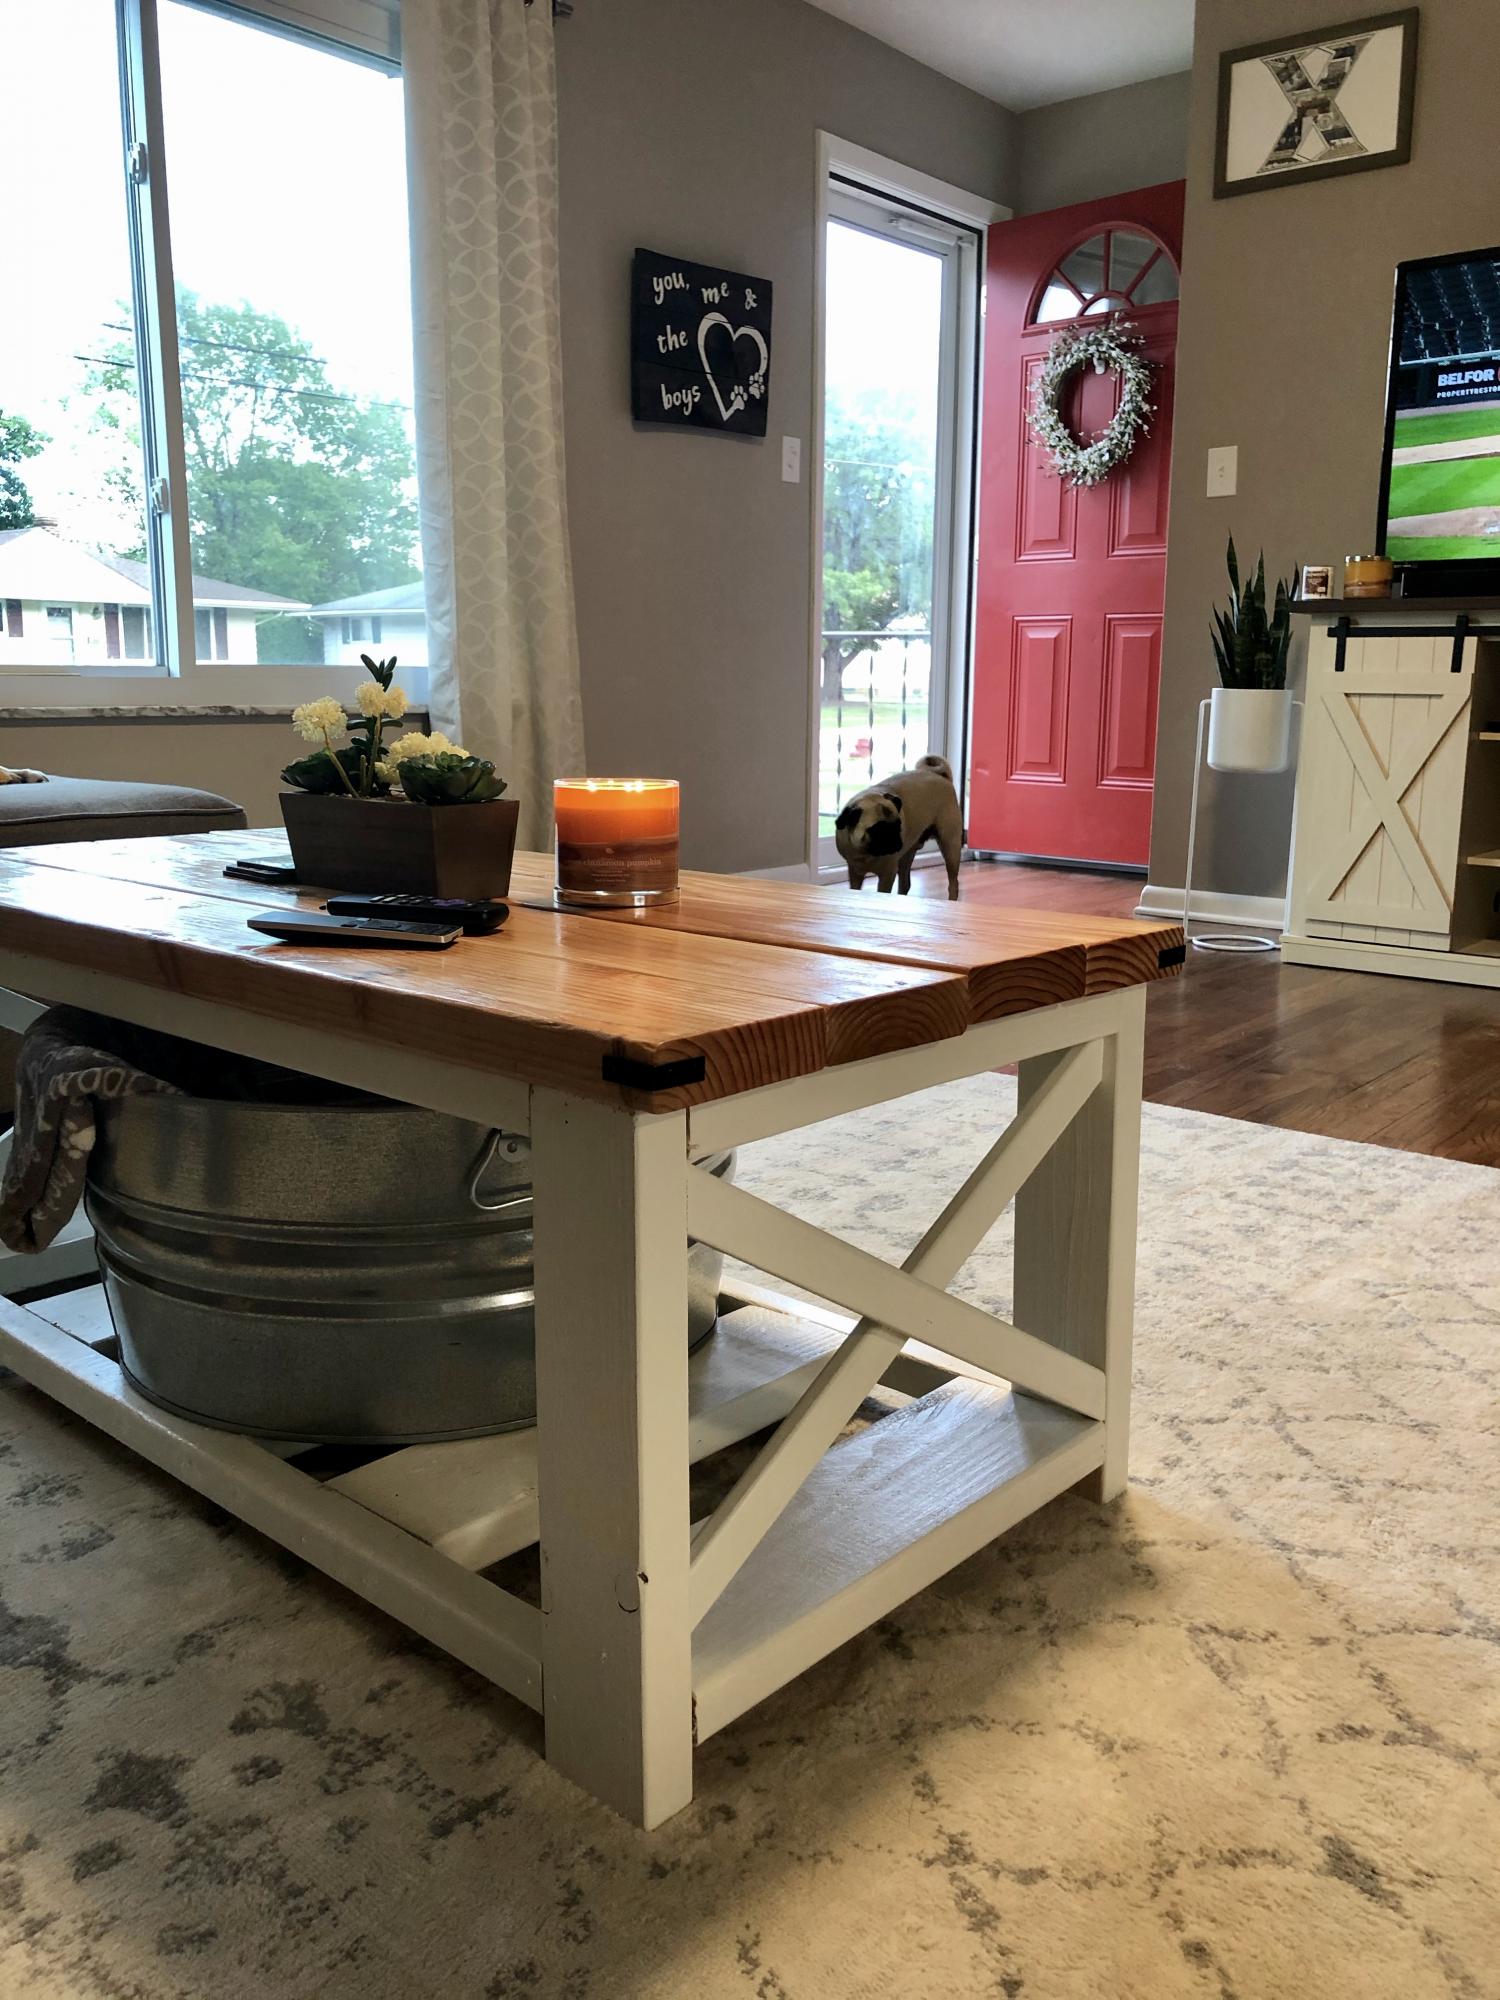
Farmhouse coffee table with an oak stain. It turned out well!
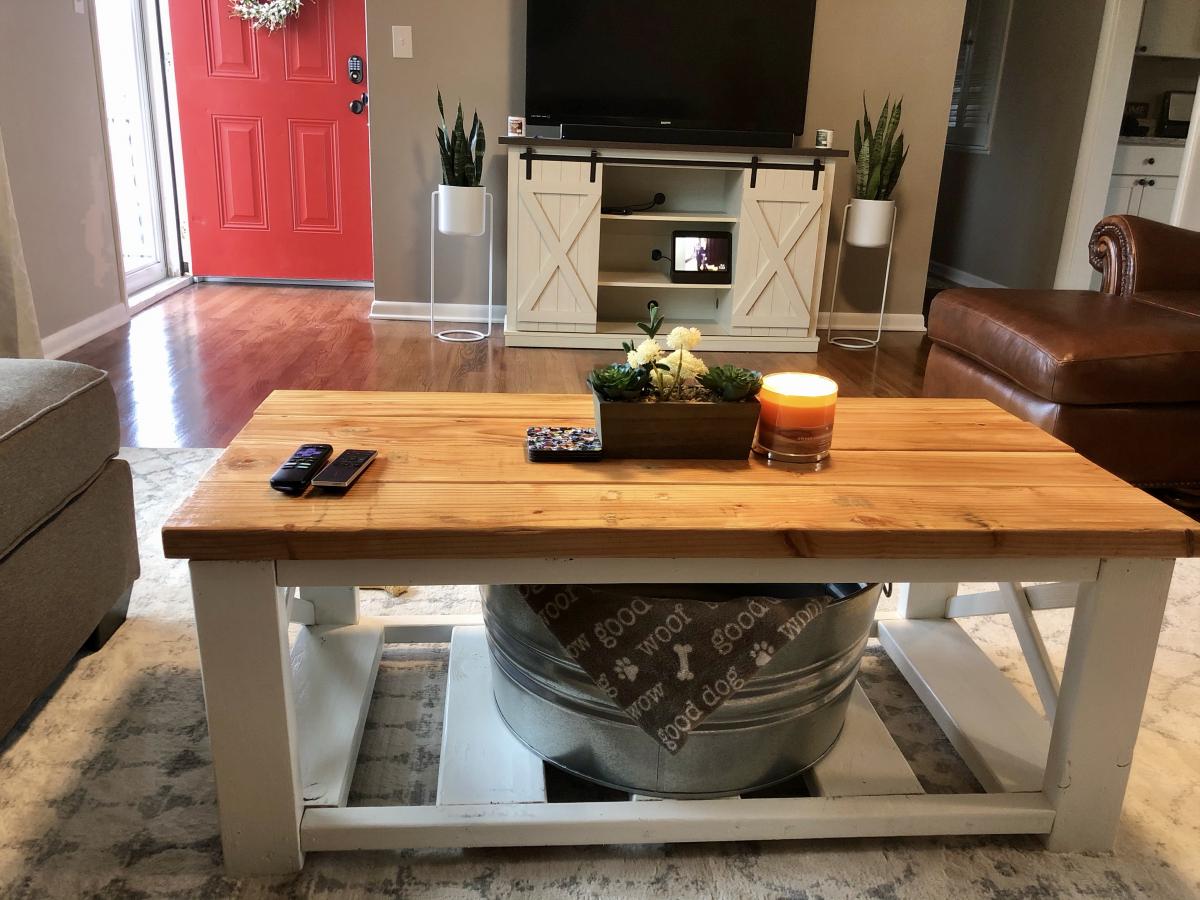
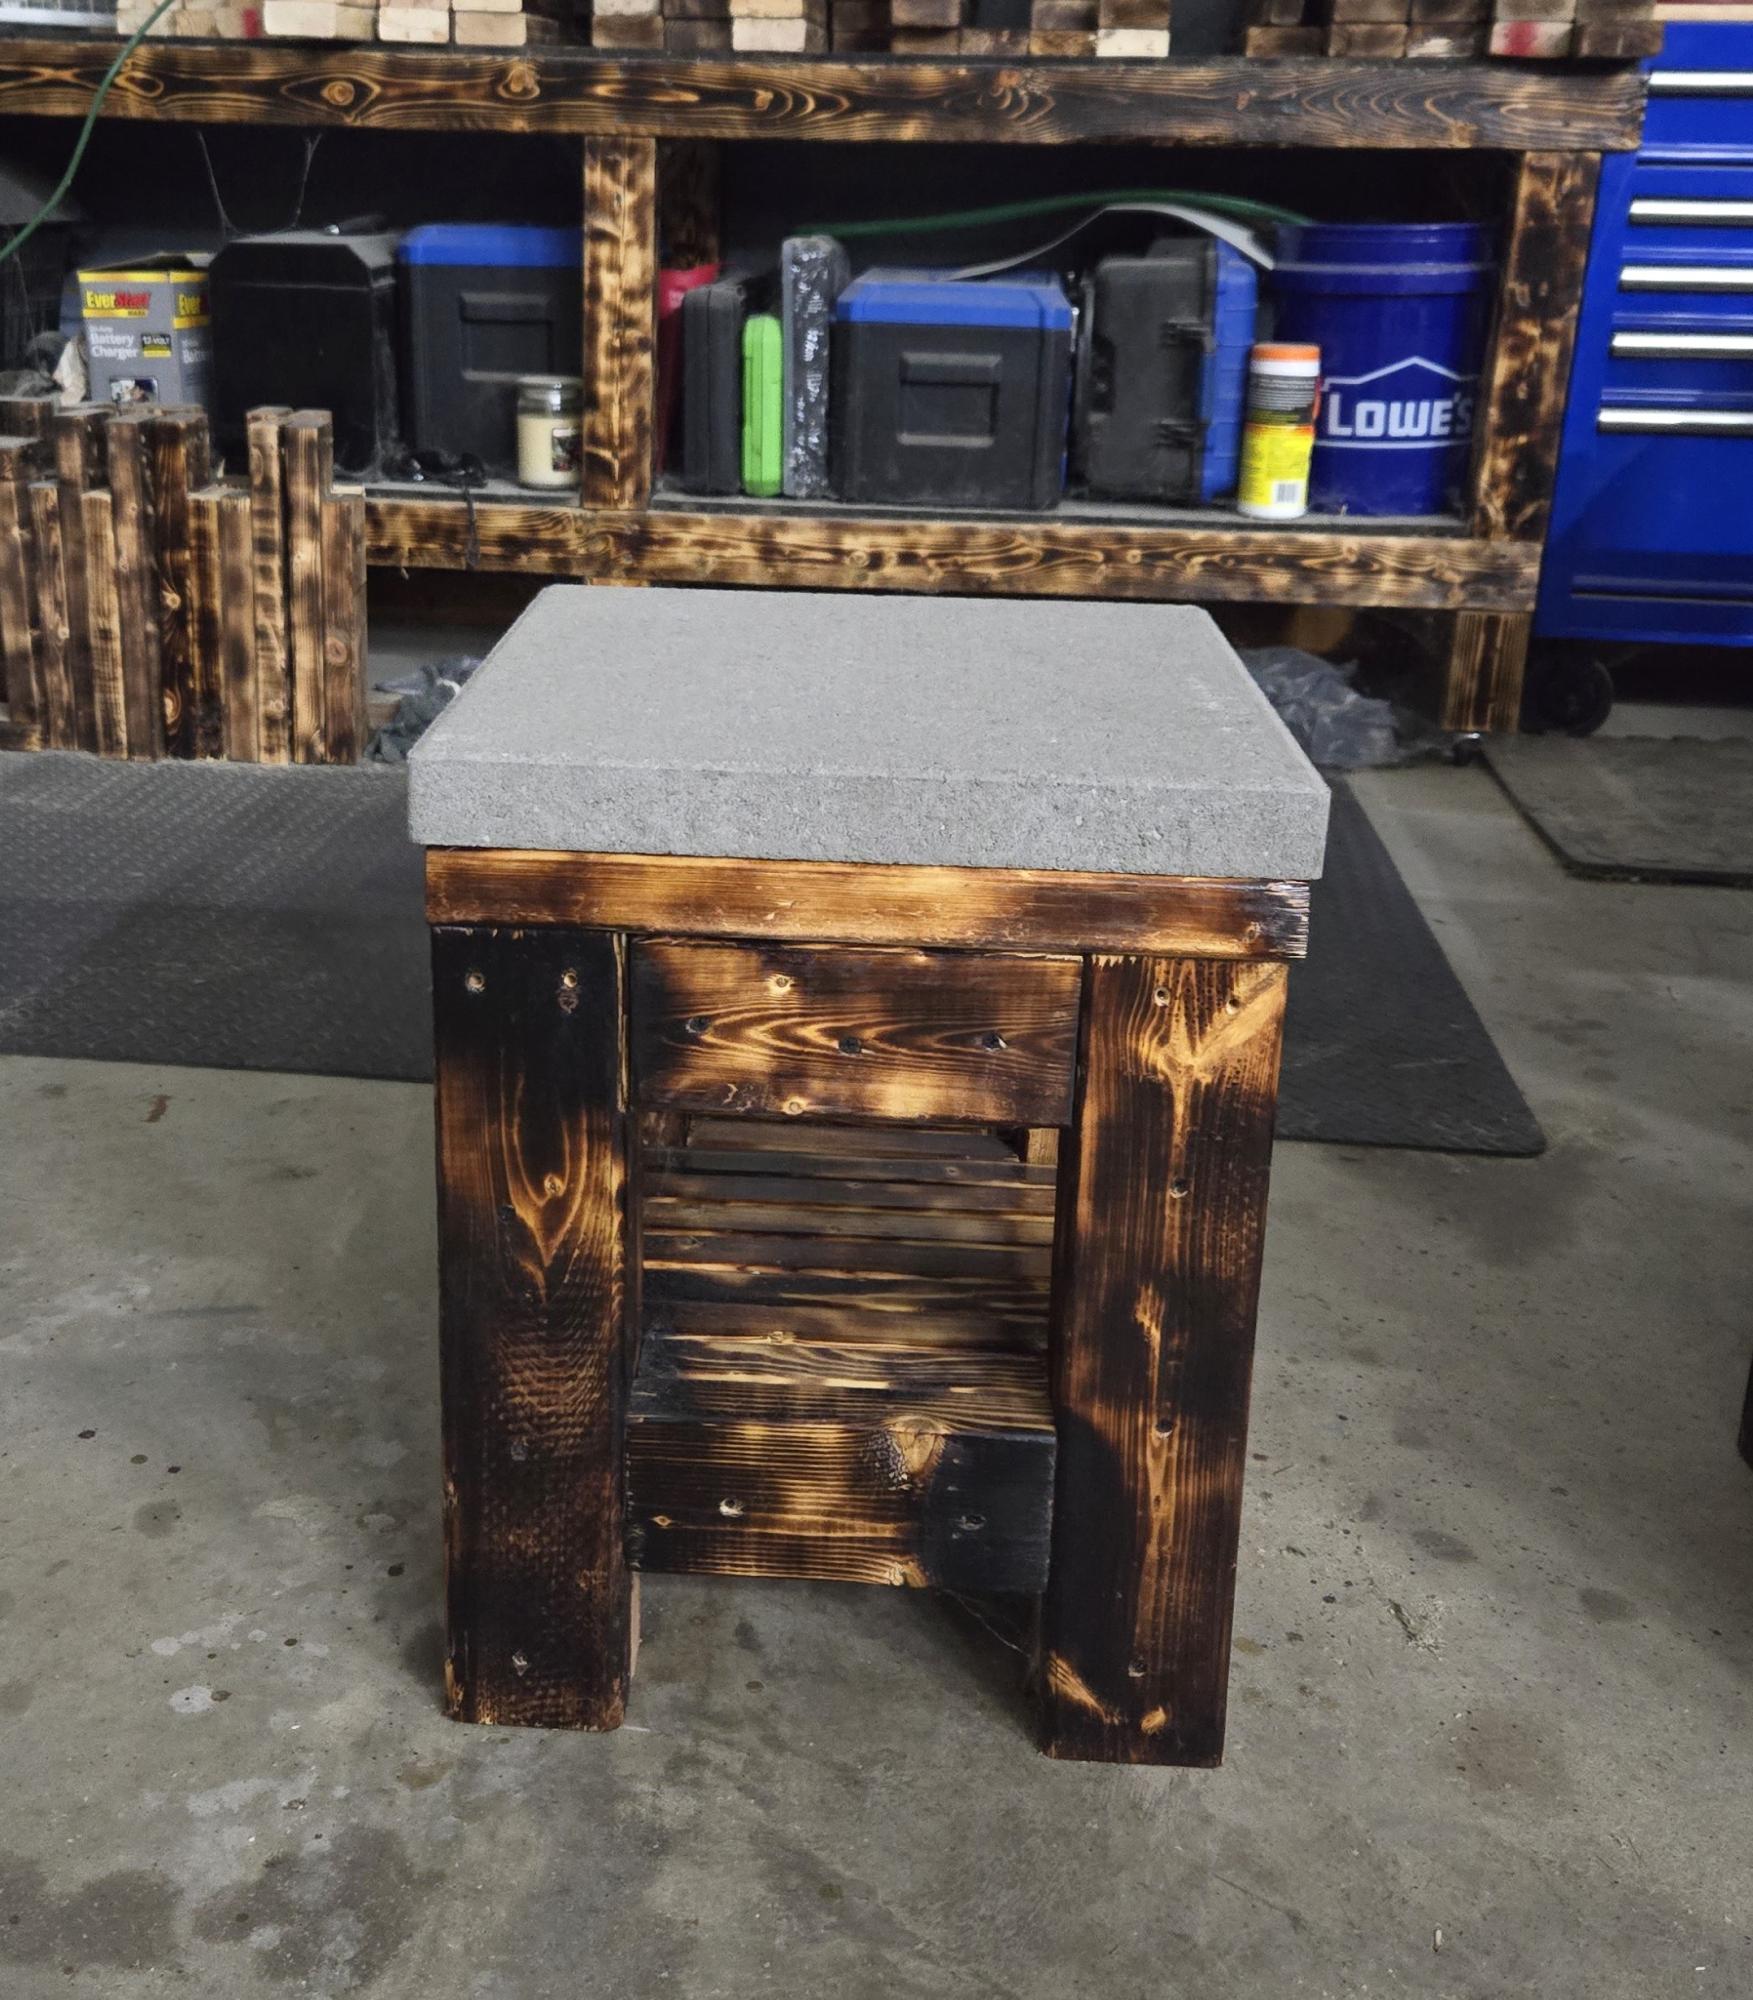
Outdoor coffee table...2 side tables and 2 side tables with cement tops.
Bob Heck
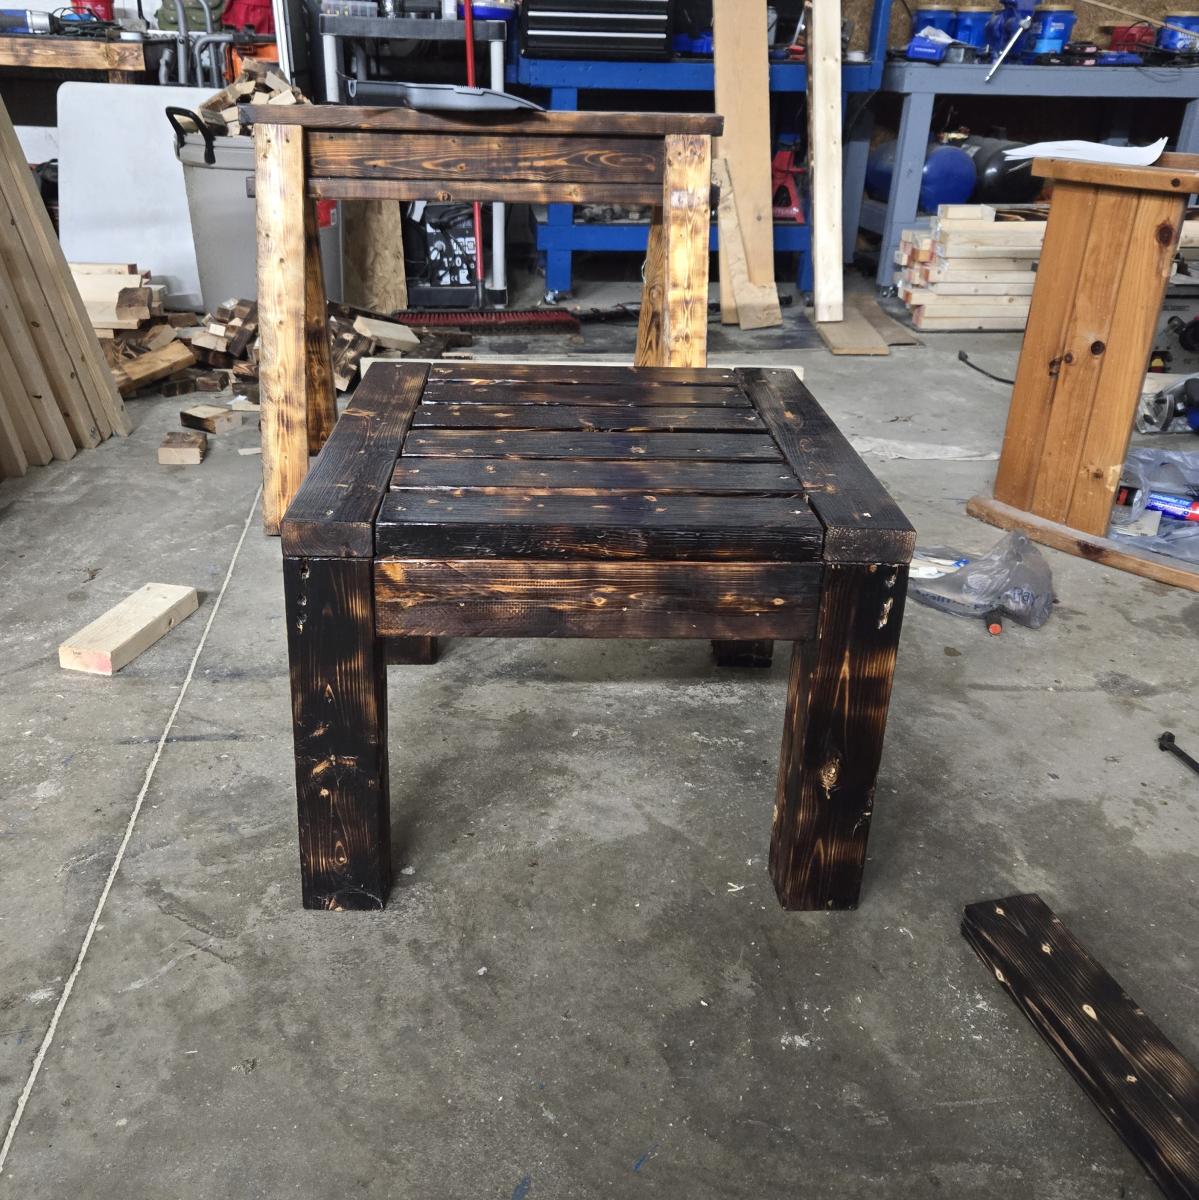
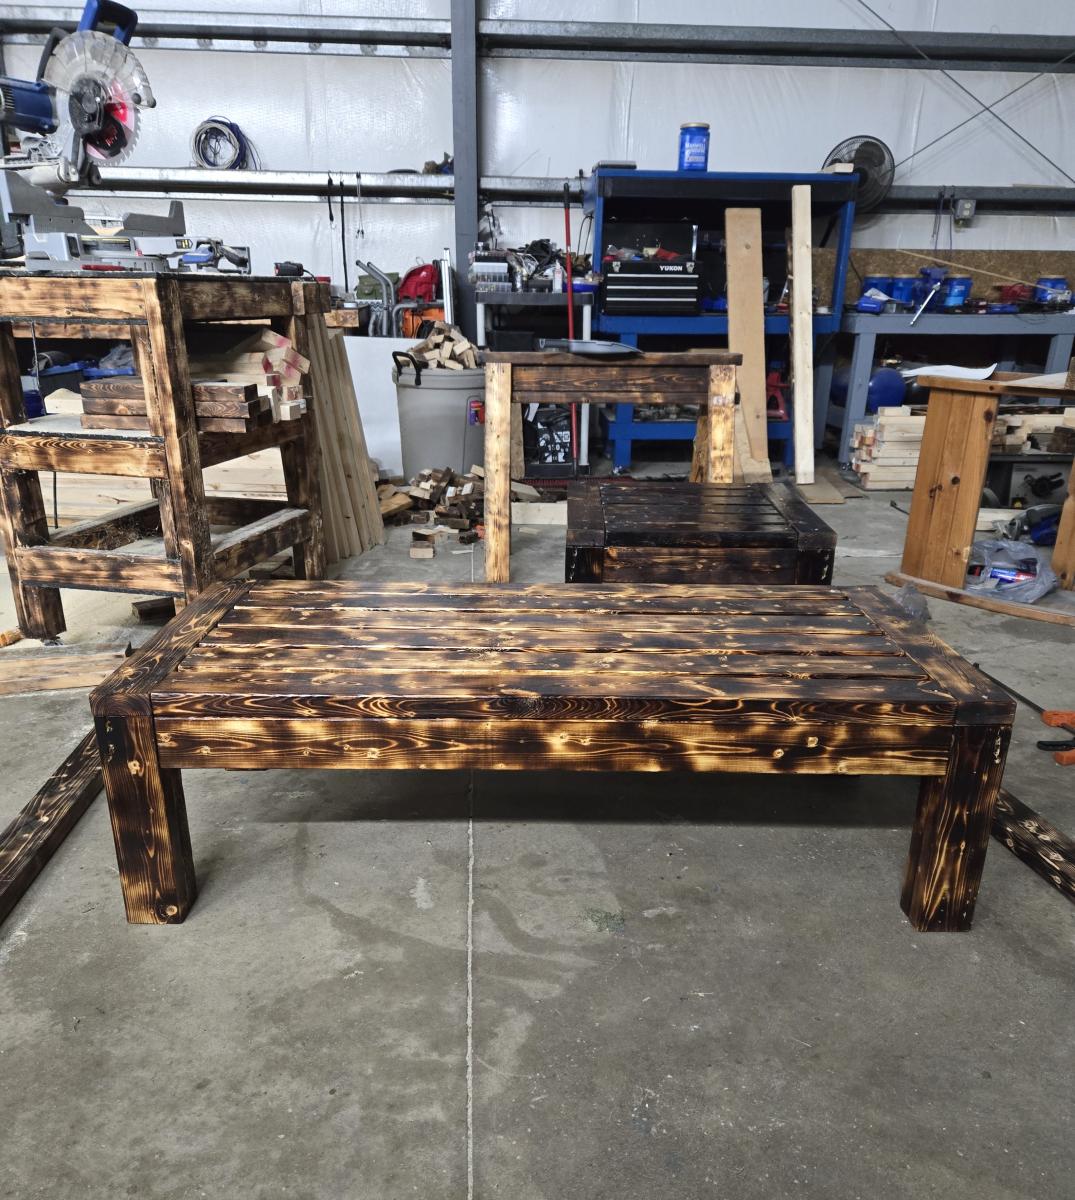
I made some slight udjustments on the ladder and rail. Other than that i folllowed the plans and flew through this project. My mother in laws boys love it.
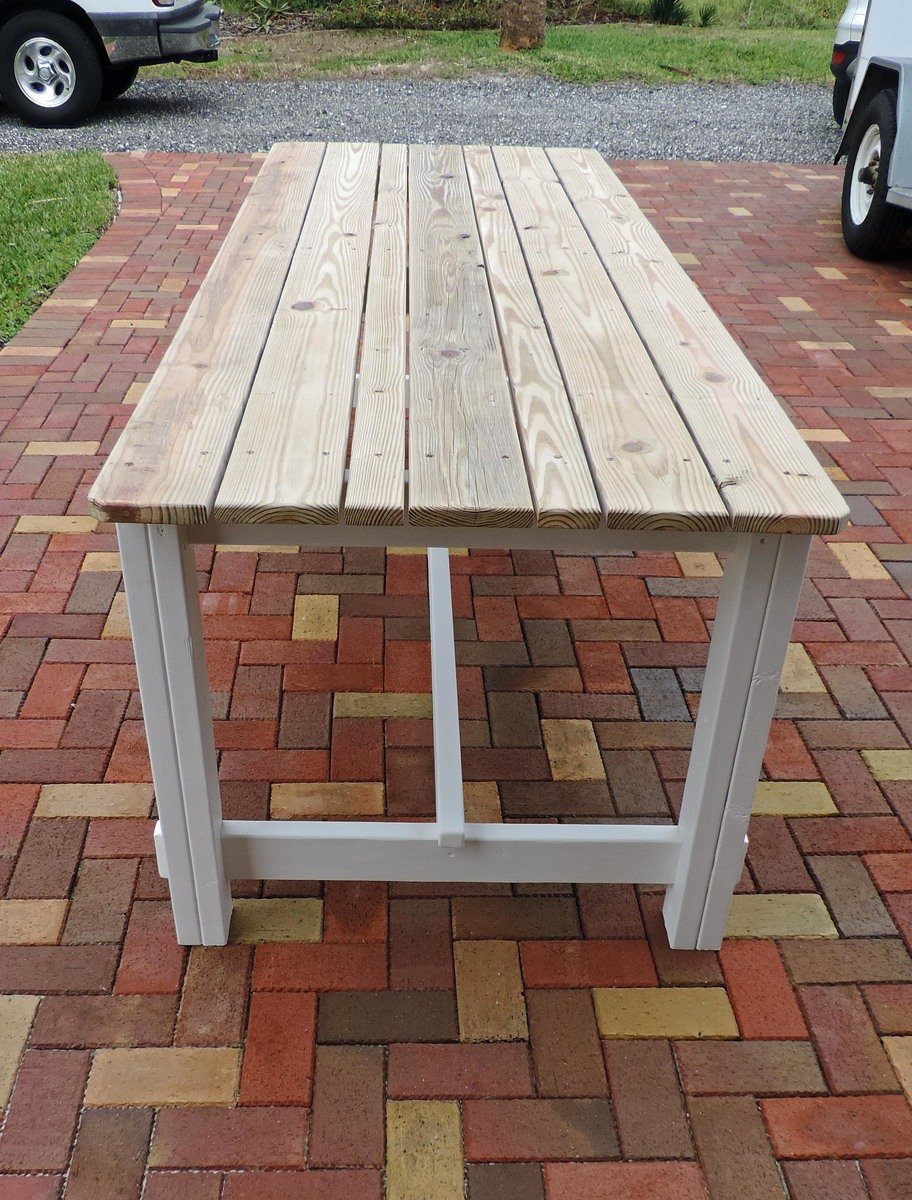
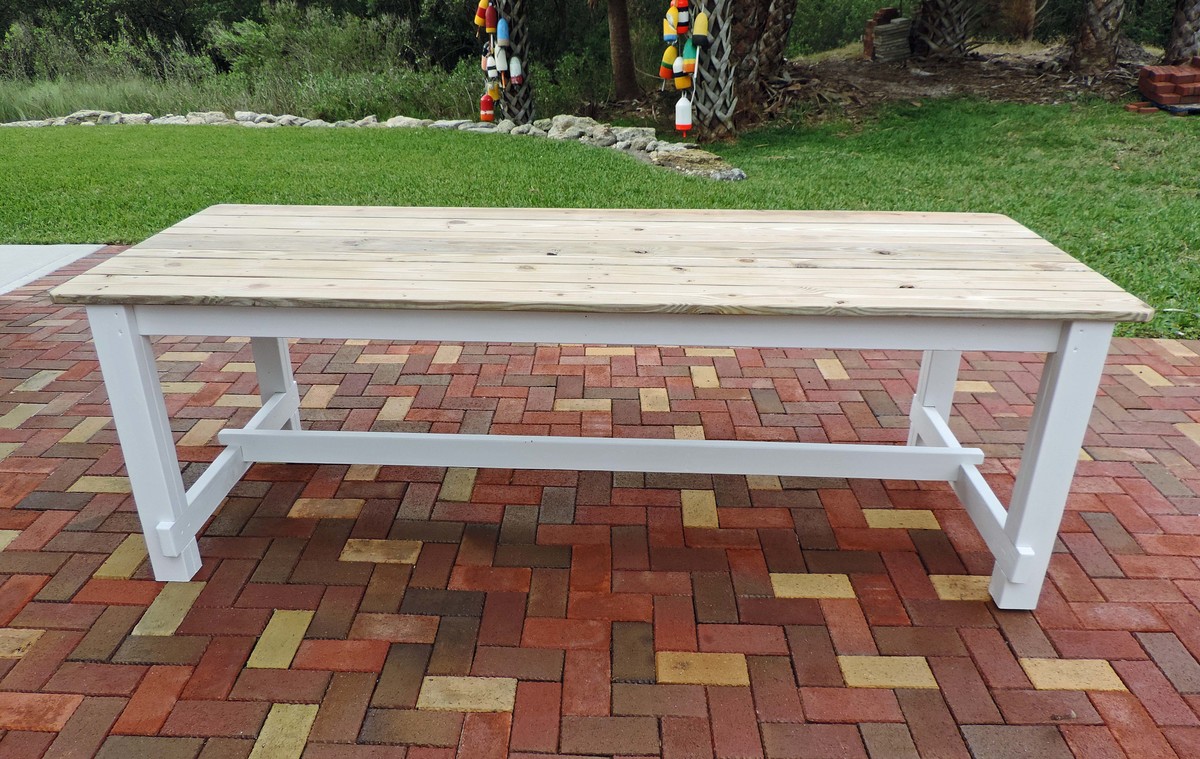
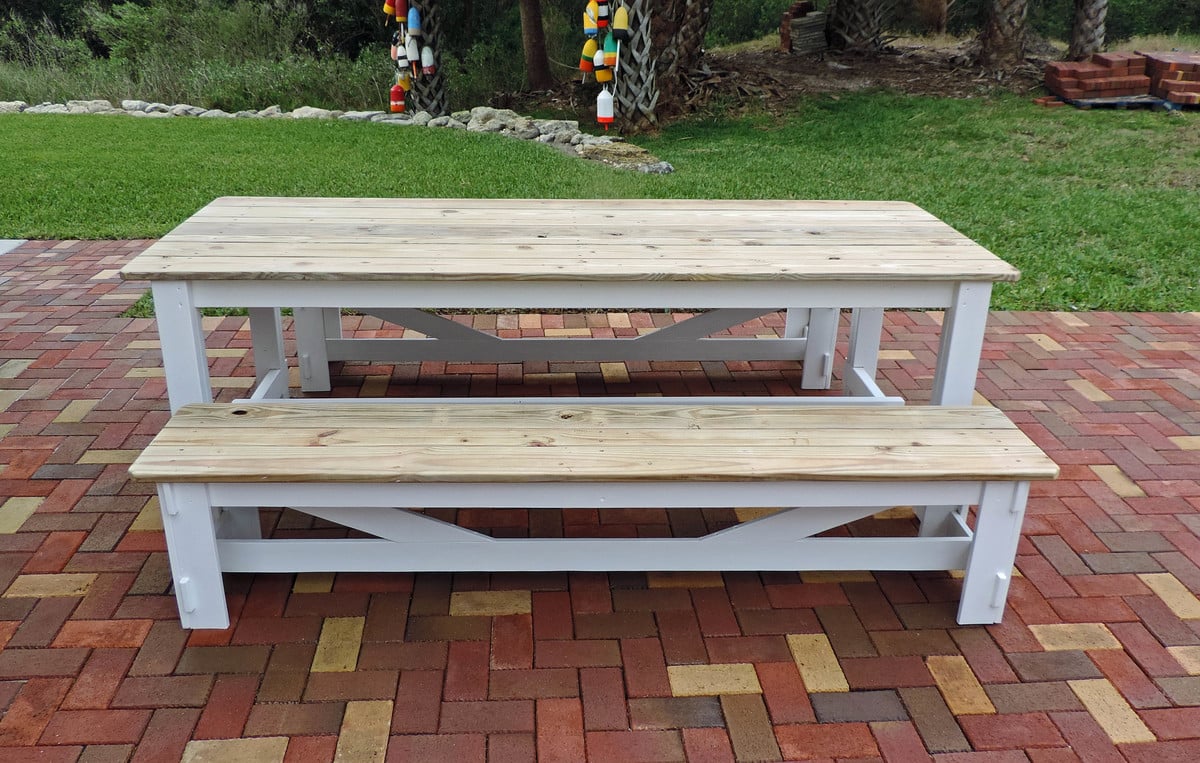
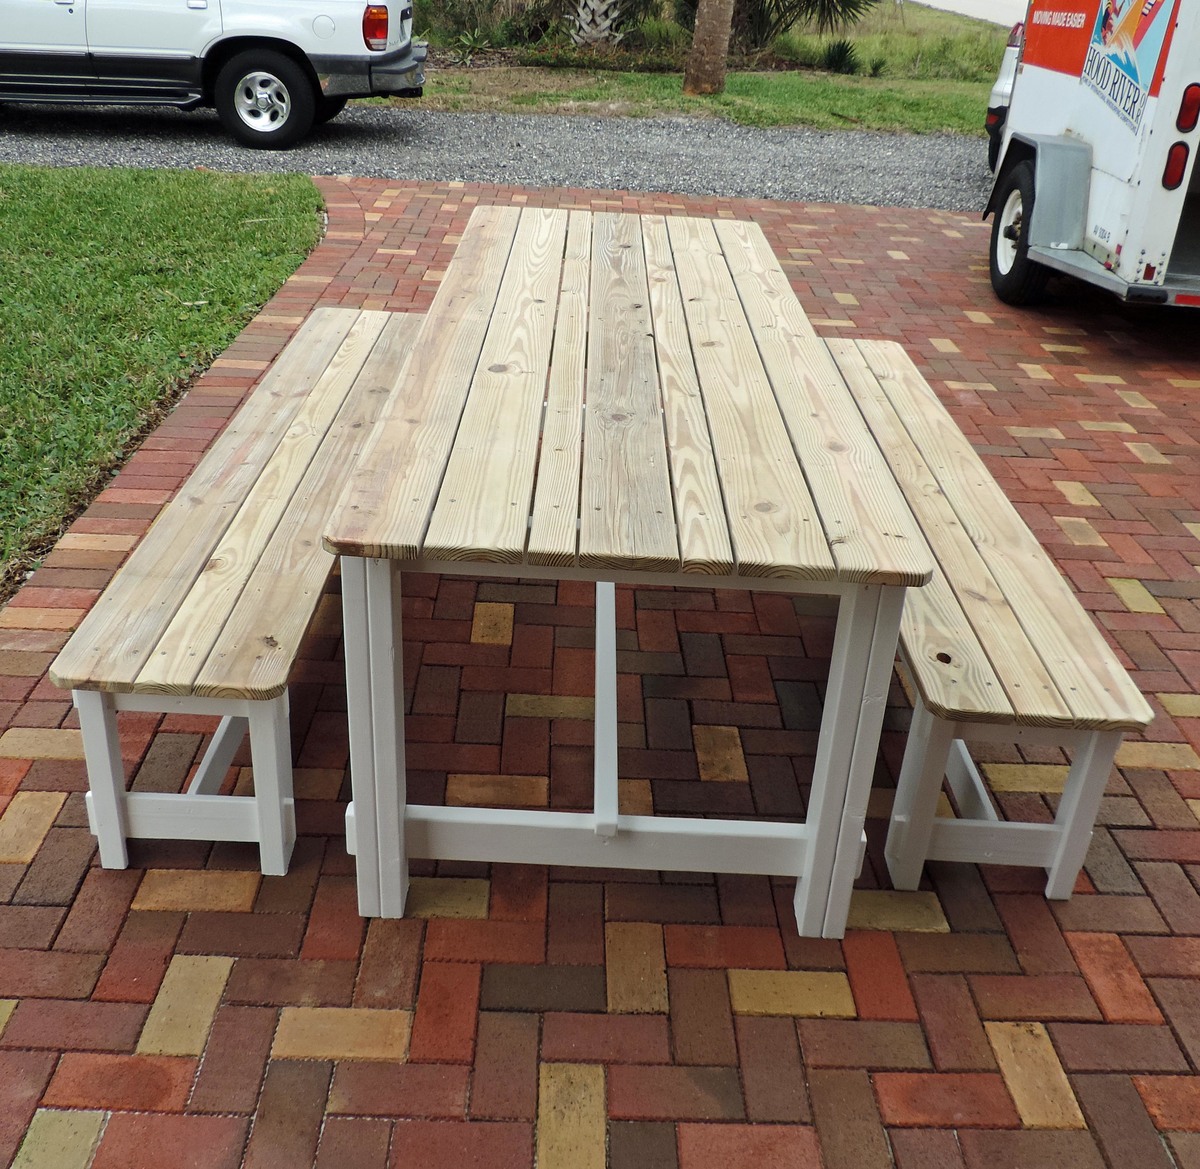
Modified the plan to be suitable for outdoor use. Built for a daughter who did not want the look of a traditional picnic table. Use the X bench plans on this site for the benches. Top is recycle 5/4 decking lumber.
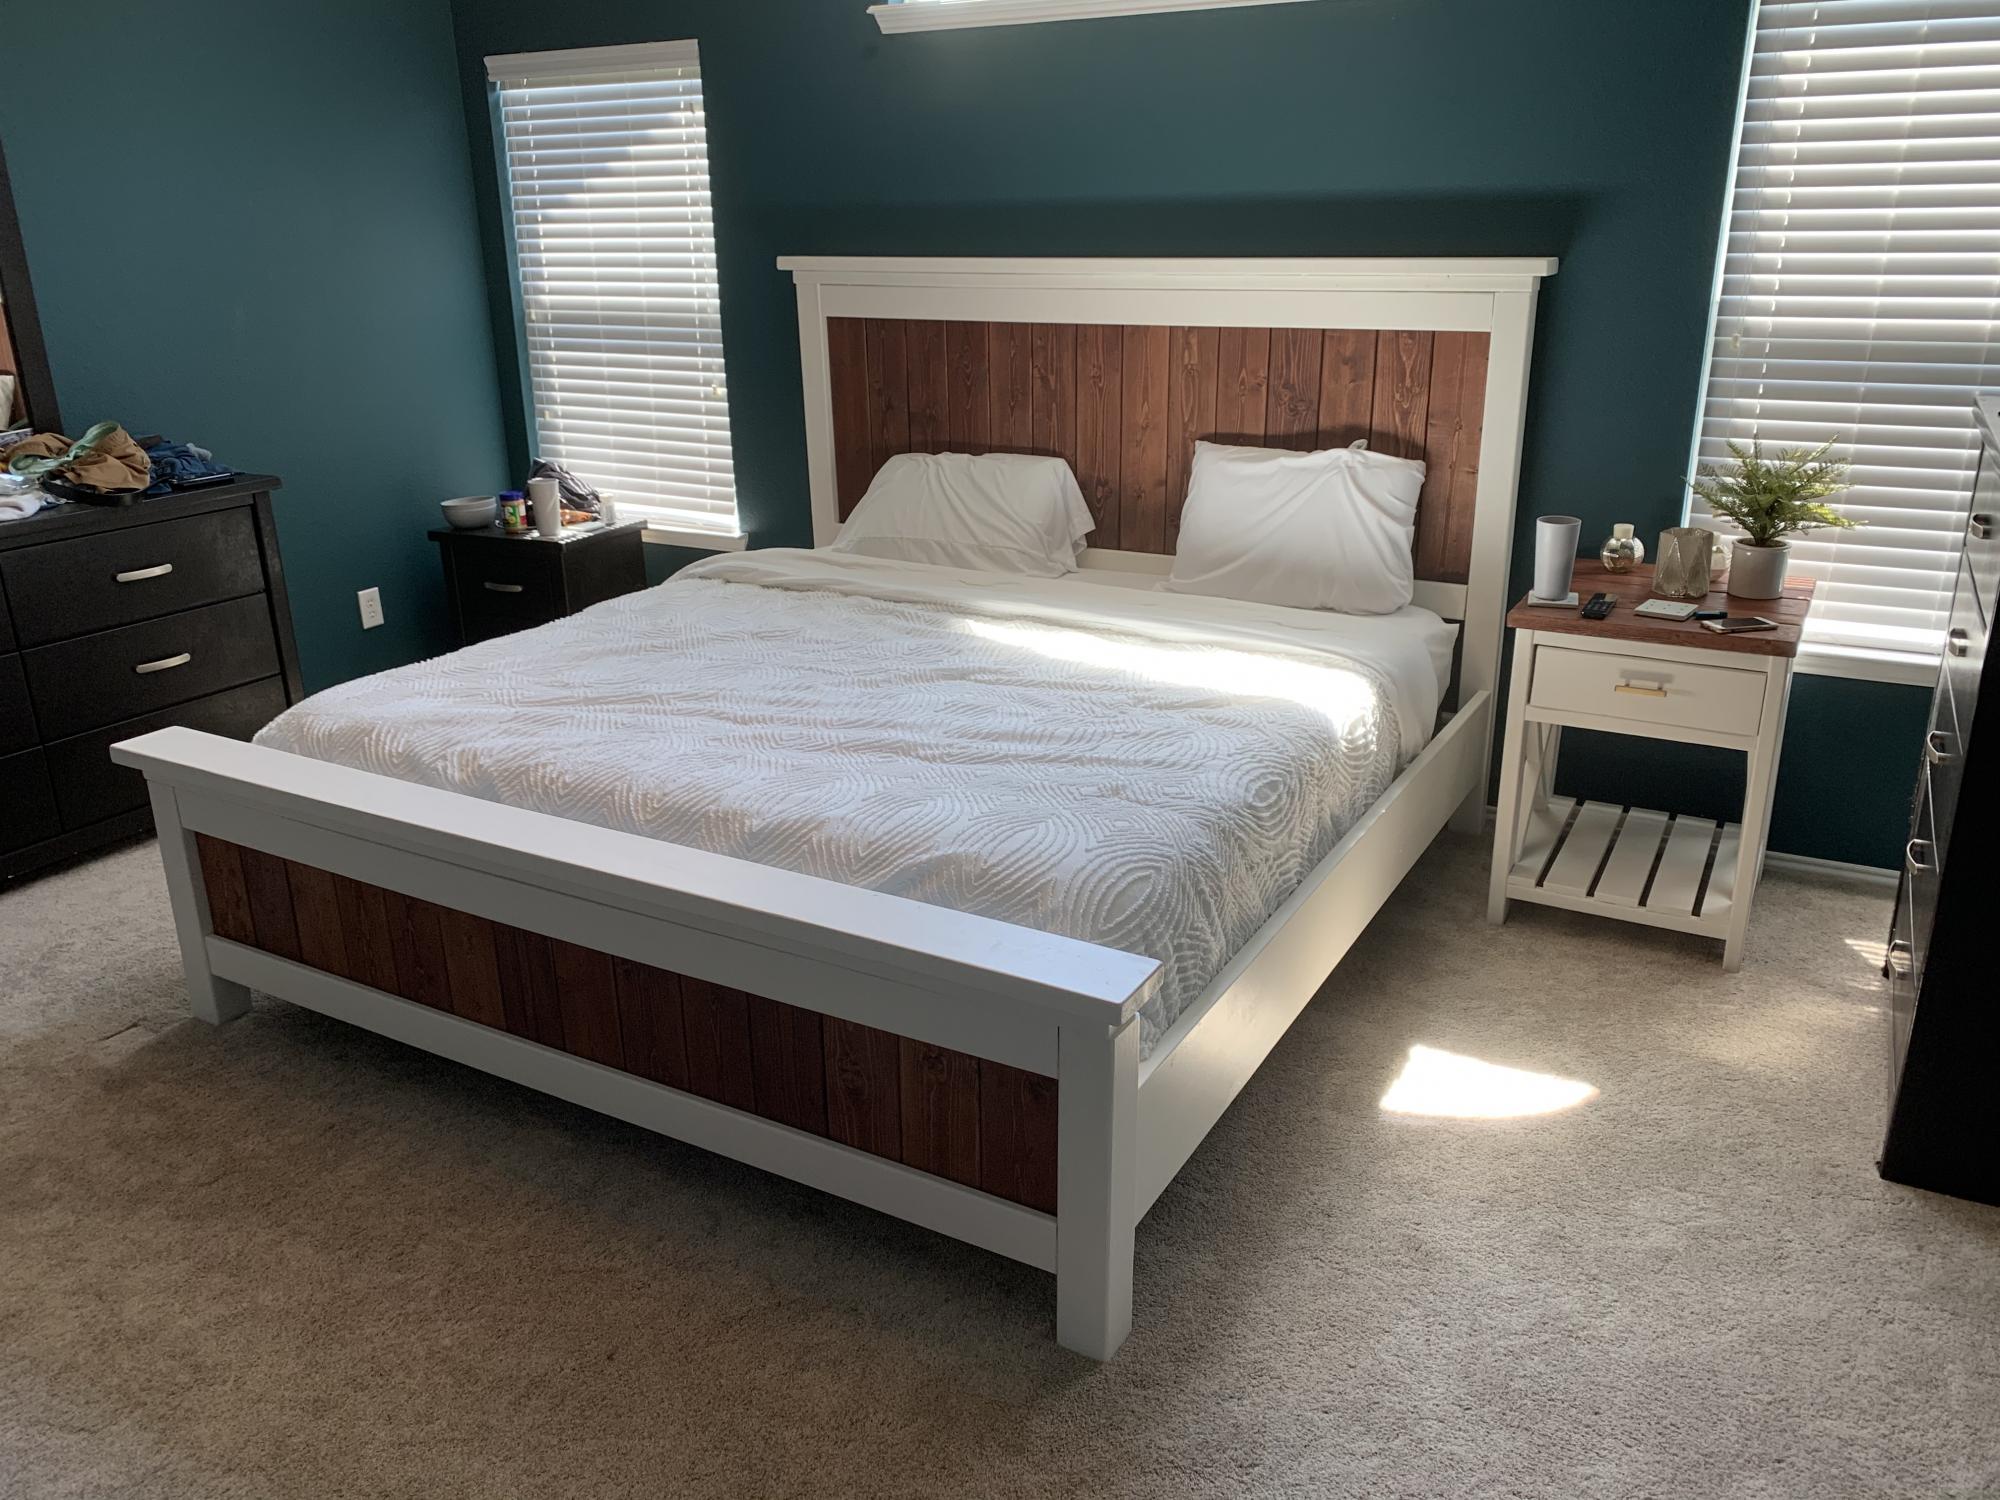
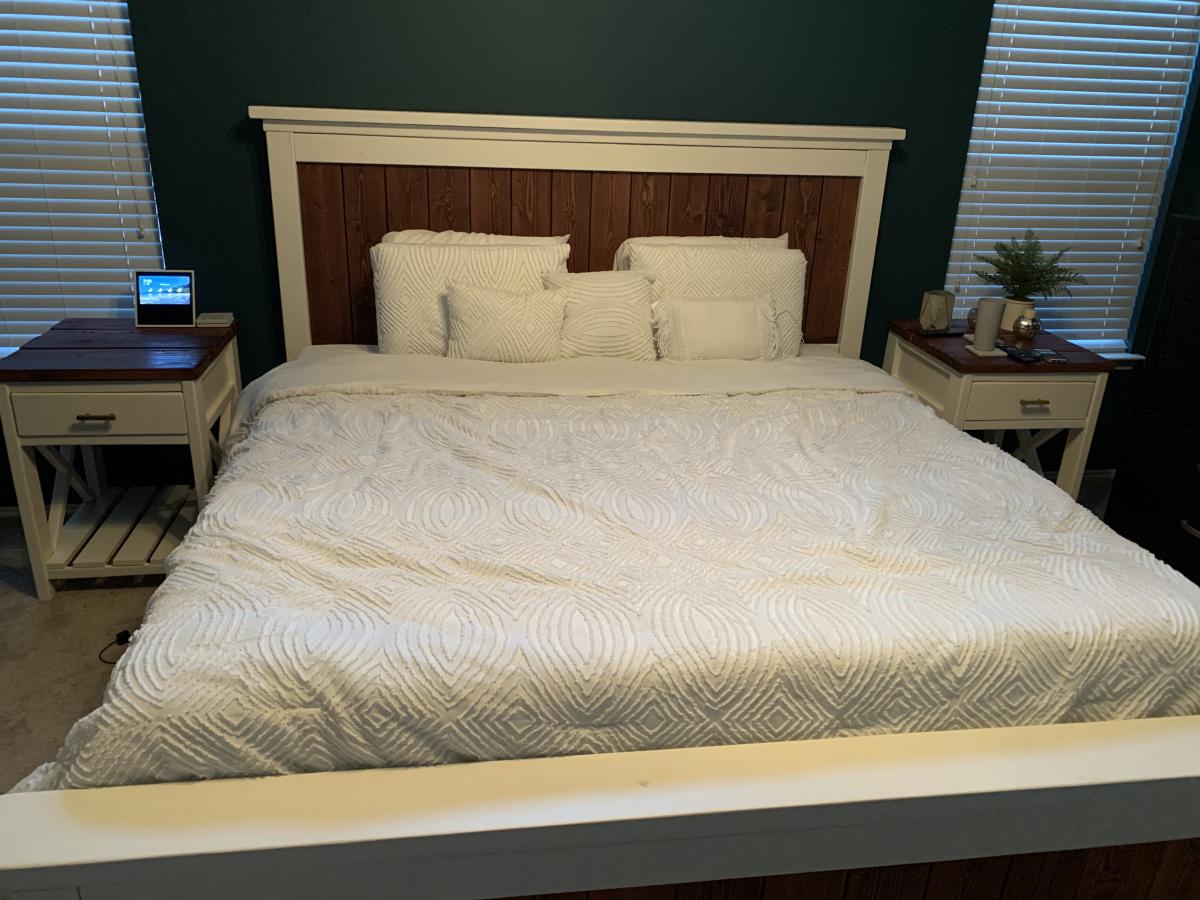
The bed frame was actually pretty easy. I had an adjustable bed frame so I actually need to make the connecting pieces a little bigger so the frame could go up and down. It’s actually extremely sturdy so I’m happy with it. Anyone can build the bed frame.
The bedside table was way harder. The 1x2s were super frustrating and the drawers were annoying. I’m about to finish a second one and I wasn’t nearly as particular about the measurements and I think it looks just as good and I got way less frustrated. This was tougher than the frame for sure.
Cost and time are including the stain. I built the white furniture, plan on eventually building stuff to replace all the black furniture.
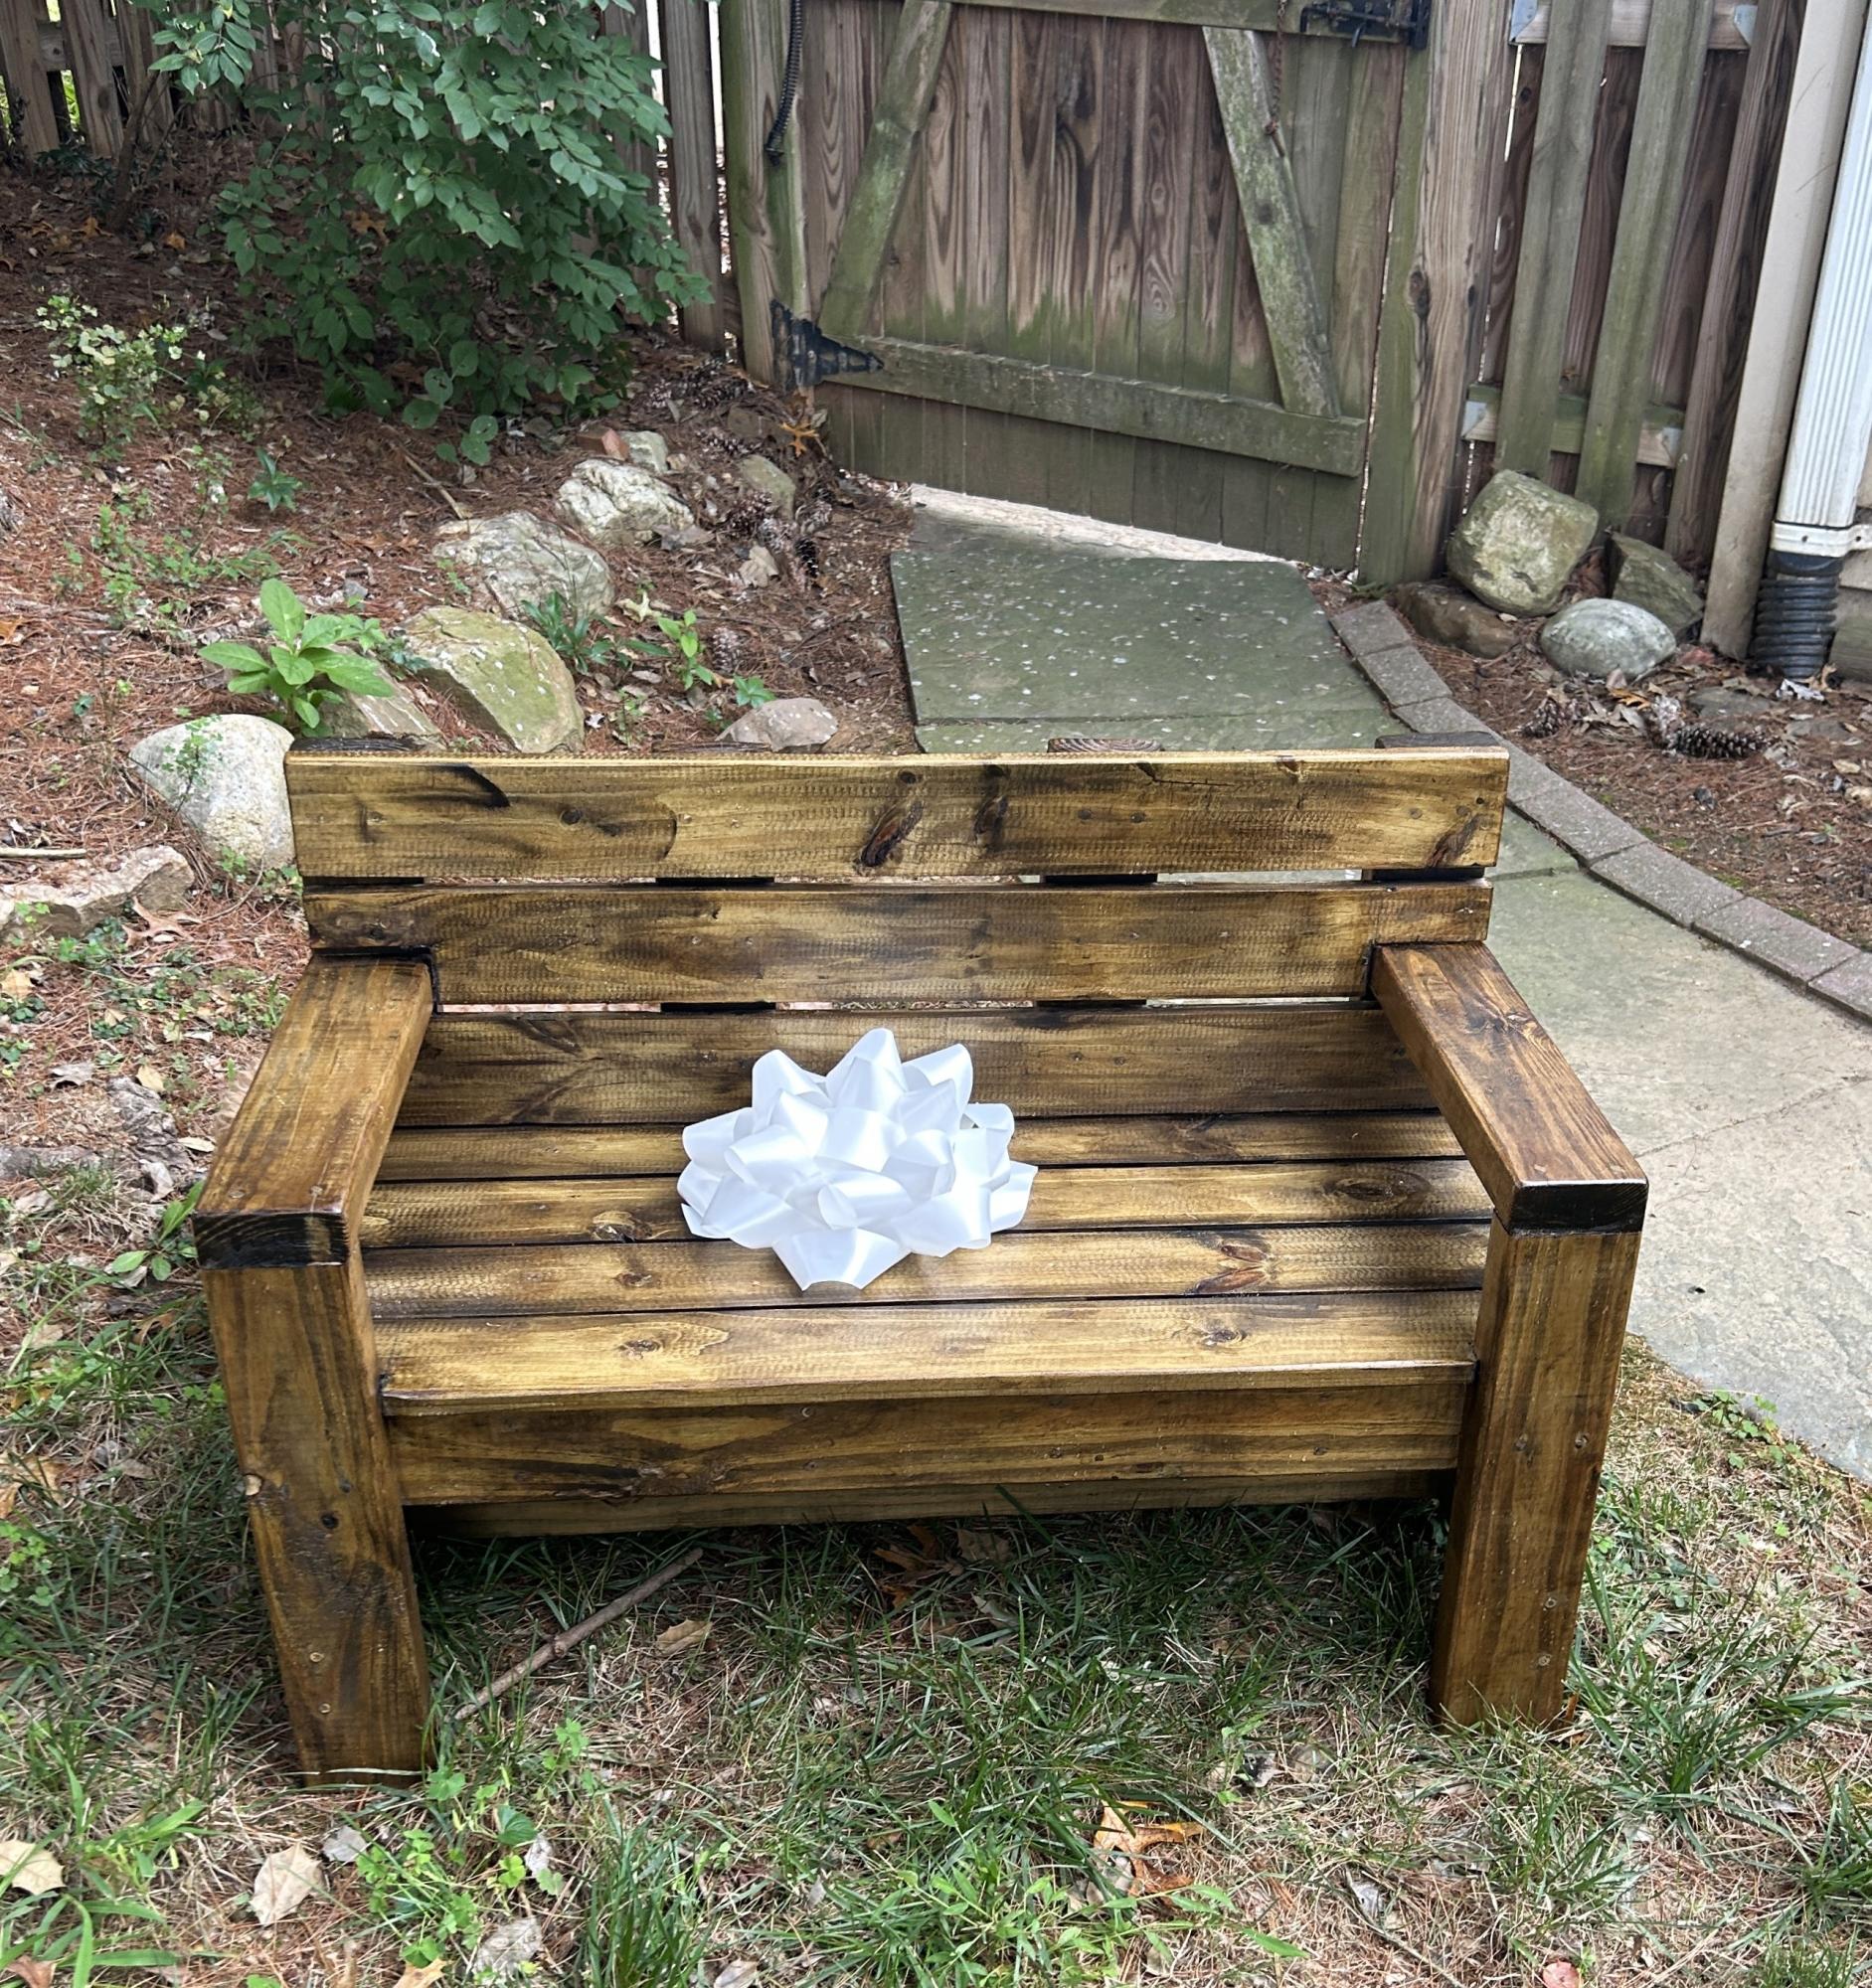
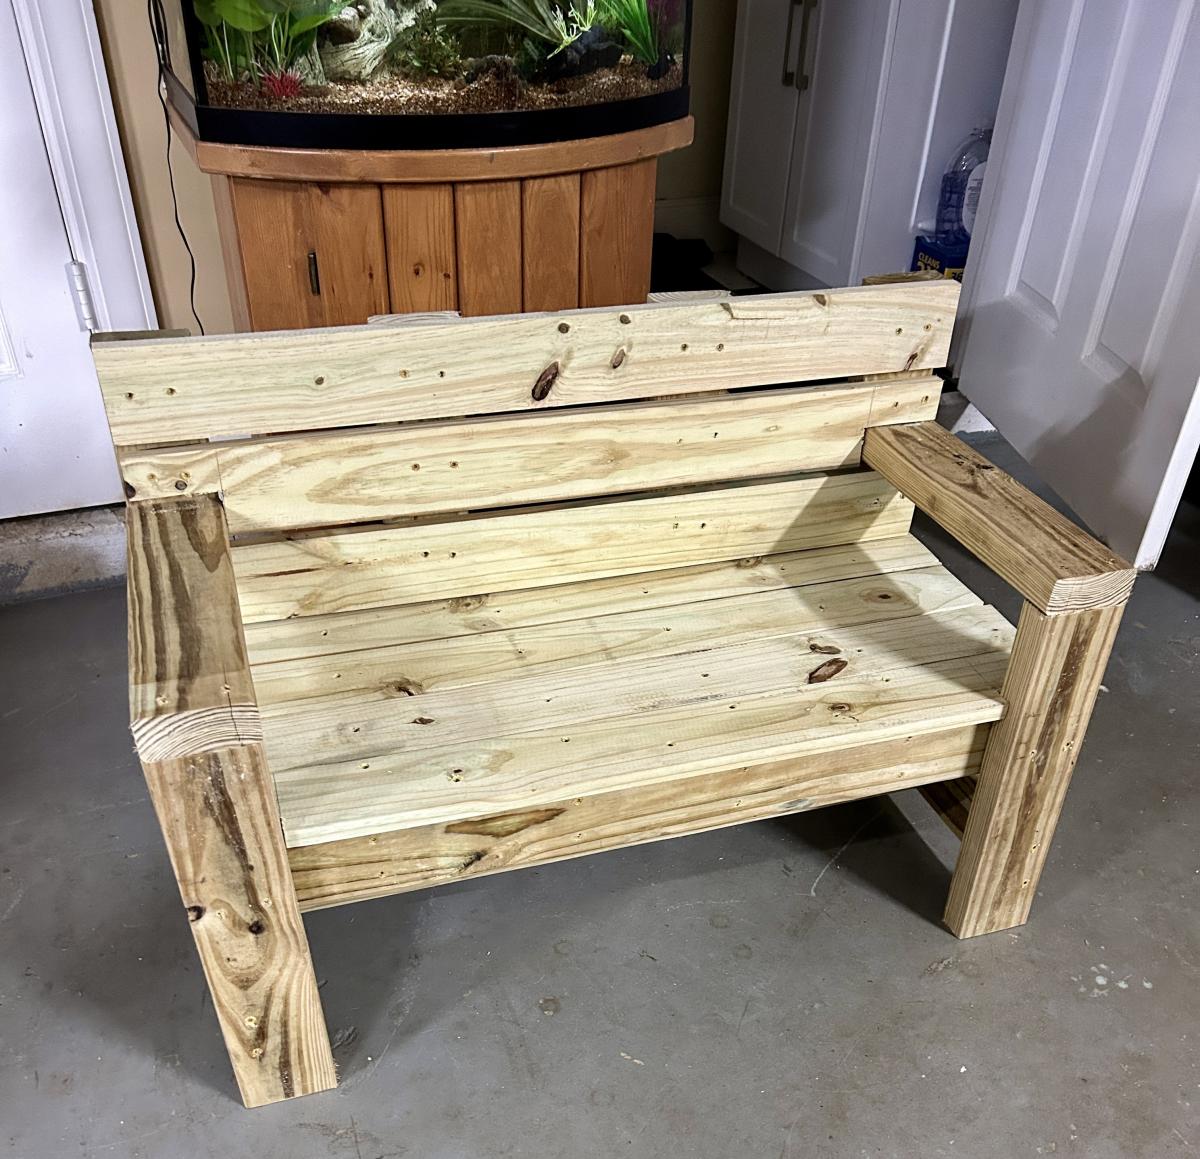
I loved the style of this bench but wanted to make it kid/toddler sized for my best friend’s daughter. I LOVE how it came out!! Final dimensions were 36 in long, 17 in deep, and 24 in tall. I followed the plans but adjusted the measurements. Thanks so much for this plan!! - Jess
The cost was very low as I had recently purchased a pick-up truck load of maple (around 1300 bdft) at a local Northeastern Woodworkers Association auction for $1/bdft. This was the first furniture type item I had done and I was tickled to death with the results. The design was based on a number of "Big Box" examples of disposable furniture that looked very nice but would never last. I added the mahogany trim because I like the contrast (and I have a ton of it in the shop) and the sort of copper color it exhibits.
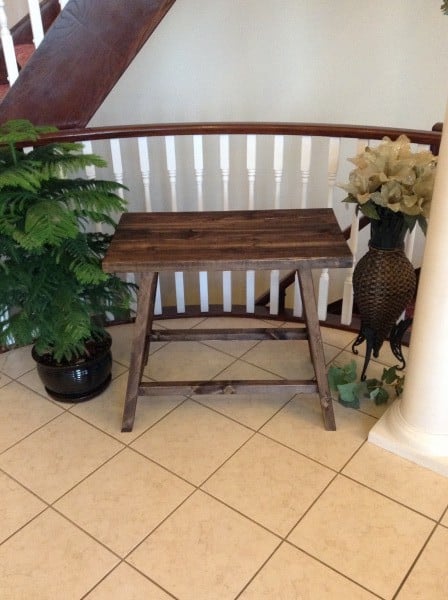
Took about five hours to make and $25, looks very nice and have been asked to make more by others who have seen it.
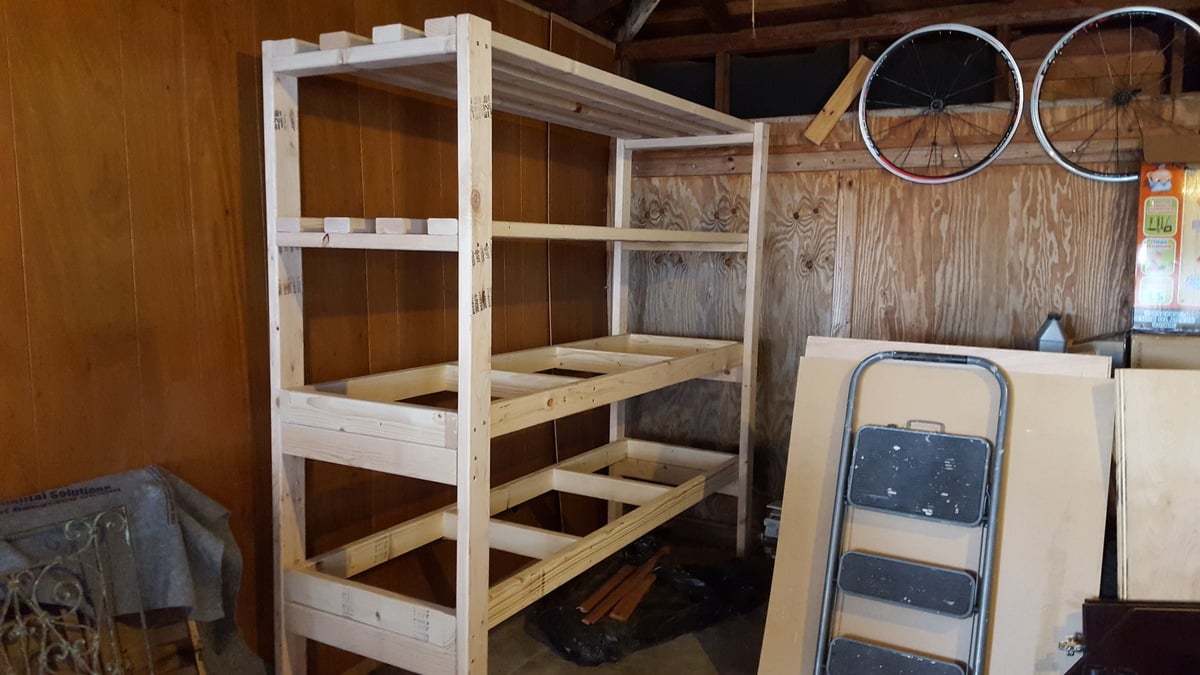
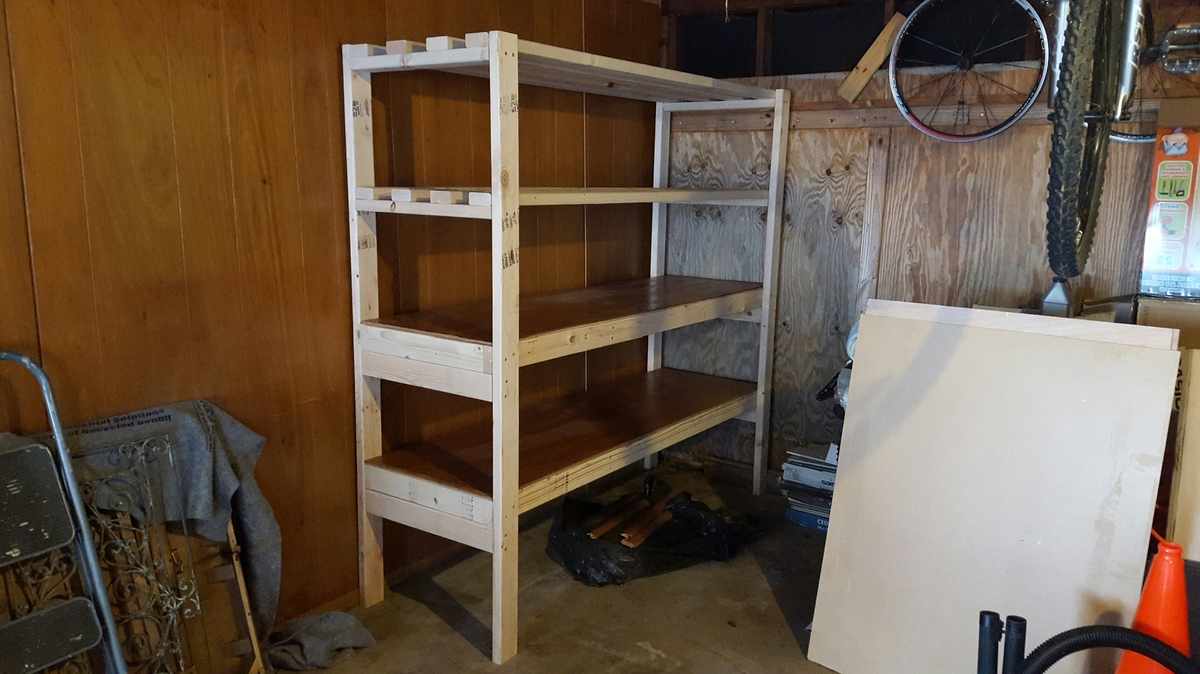
Slightly modified bottom shelves to be heavy duty. Used salvaged 60yr old mahogany paneling for shelves surface.
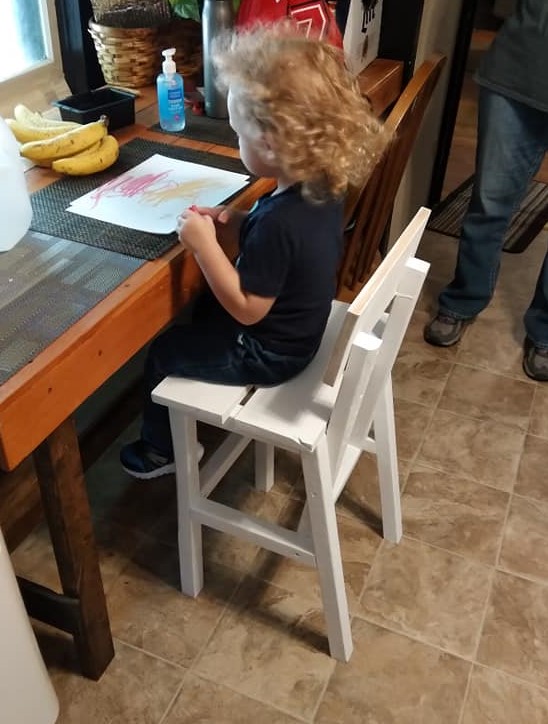
Made this chair in two days - very hot TX days, so only worked a few hours outside each day. paint was dry as they arrived for a Sunday visit. The Mom is going to paint, decorate it at their home. The white is a mold primer paint, that should hold up nicely. I did add an extra cross piece at the back, after the back rest was attached. The seat seemed to need more attachment points. I also used two 1x6 boards for the seat, flush at the back with a slight overhang at the front and cut the seat to 17" with an overhang to the sides. this gave the seat a small gap for a grip to assist with the climb up. Grandson is 2.5 yrs old. He was excited to have a big boy chair.
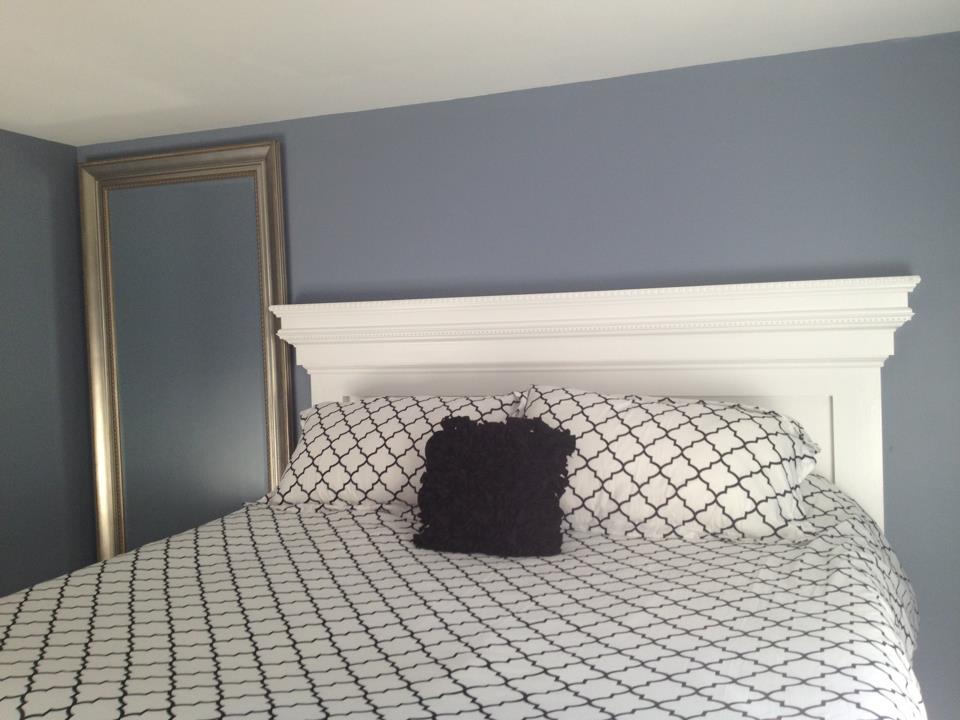
I knew I needed to have this bed the second I saw it. Living in a condo I didn't have the space or the patience to try this project on my own so I hired Brown's Hill Construction and Remodeling (Maine) to create it for me. I feel like I'm sleeping in a hotel every night! Love. Thank's Ana!
Sat, 10/25/2014 - 12:41
Was just wondering if you could share wat paint colour you used on your walls? I love it!
This was my first woodworking project! Thank you Ana for the easy to follow plans. Making this end table has given me the confidence for my next project - bathroom vanity unit, which is almost completed.
Wed, 09/10/2014 - 14:12
Congrats on an awesome build! You did an absolutely beautiful job! LOVE the finishes you used! :) JoanneS