Community Brag Posts

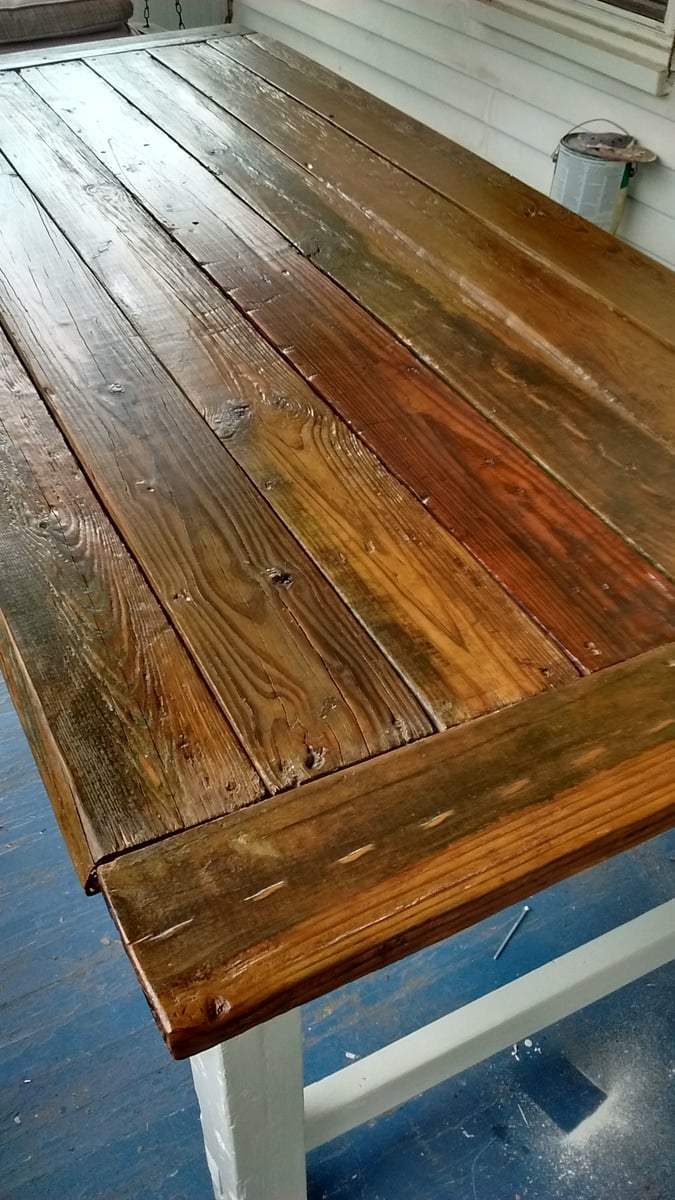
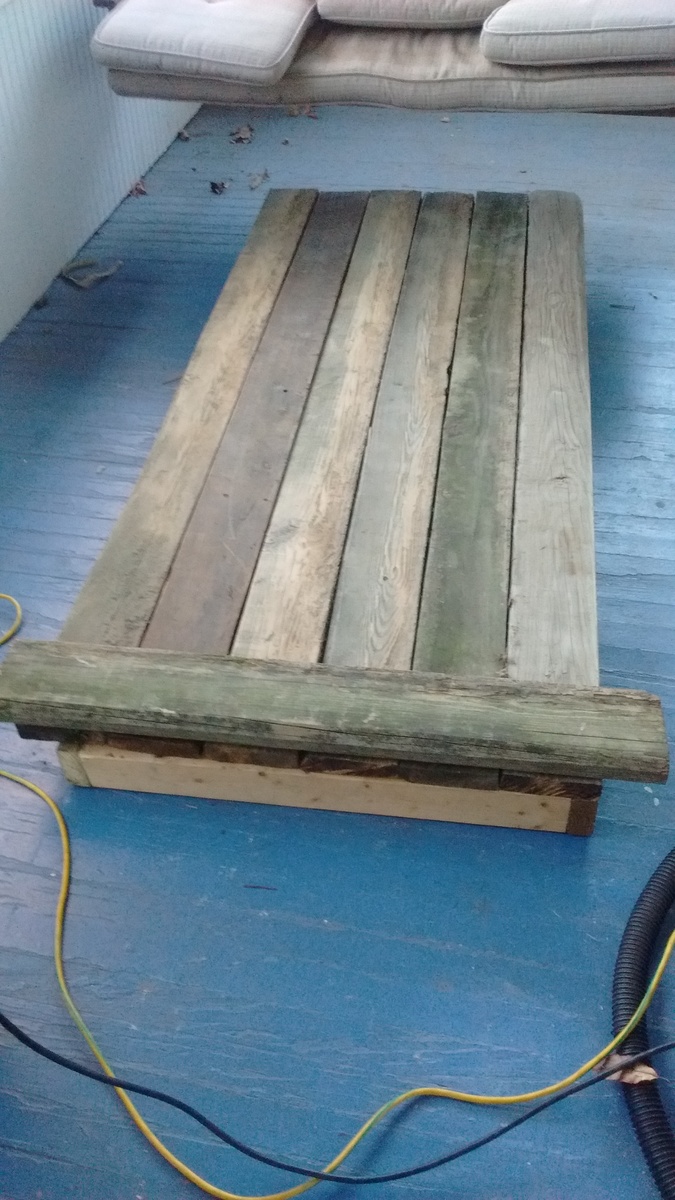
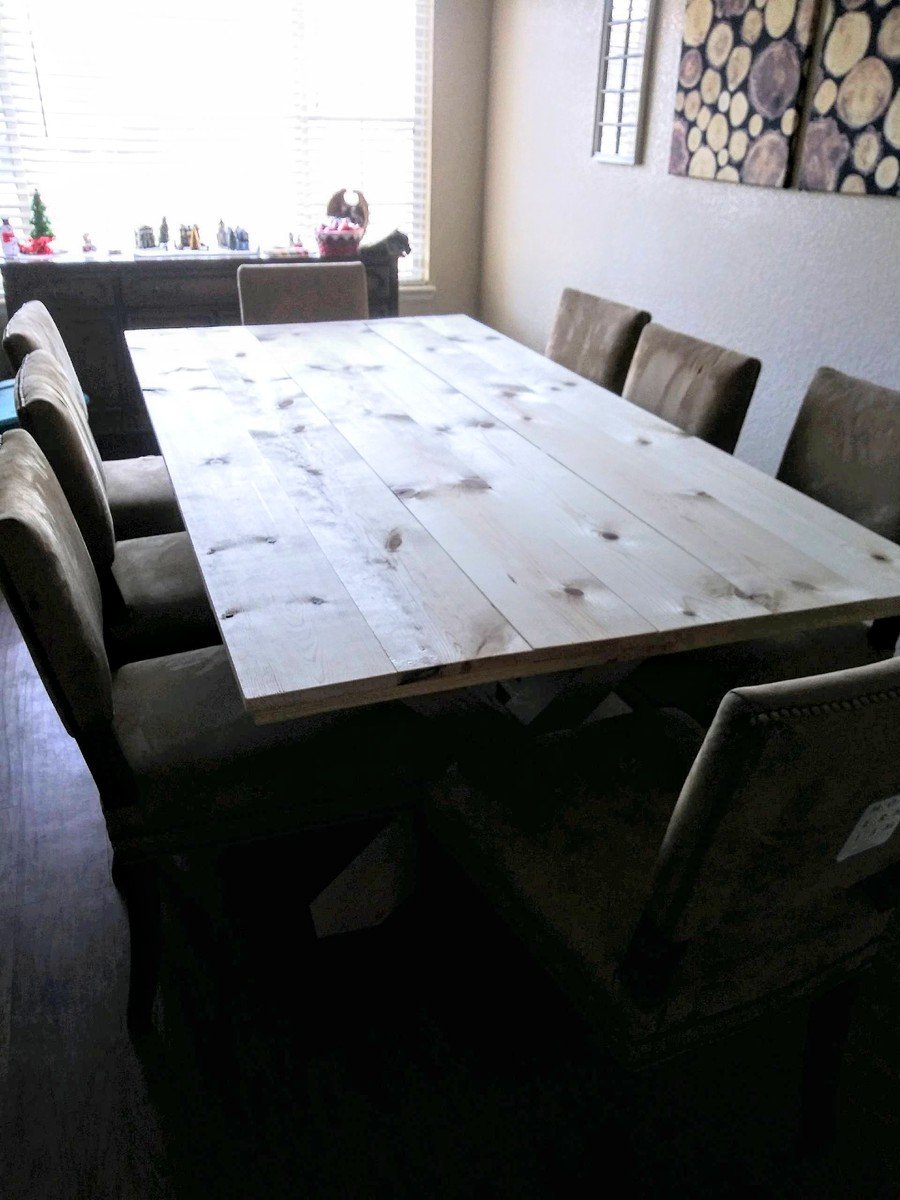
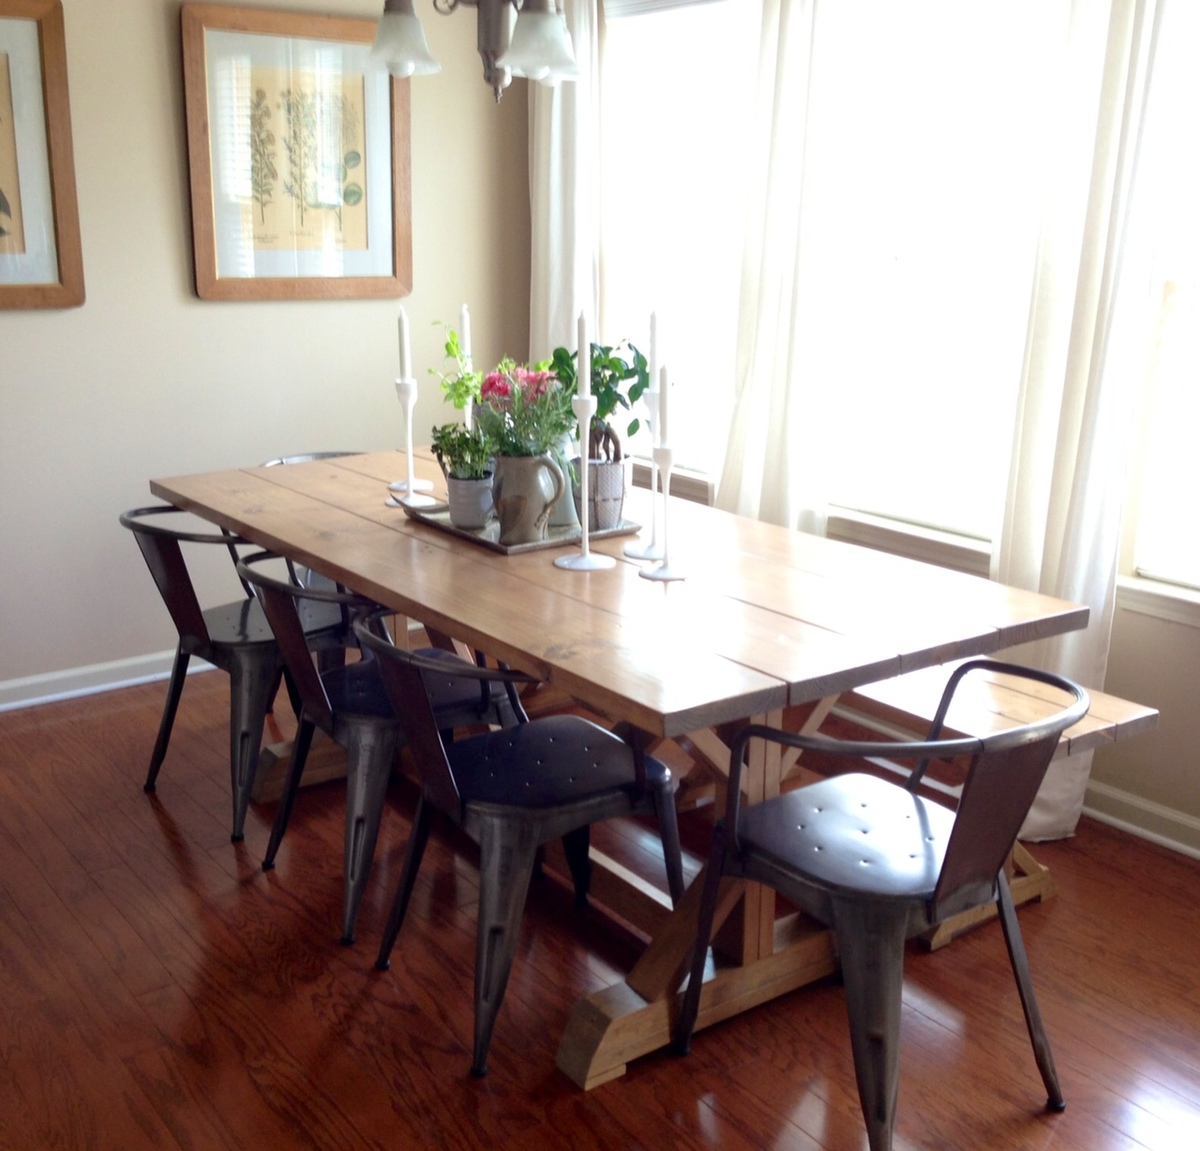
Reclaimed beauty

Submitted by mkrgolf on Fri, 10/23/2015 - 07:13

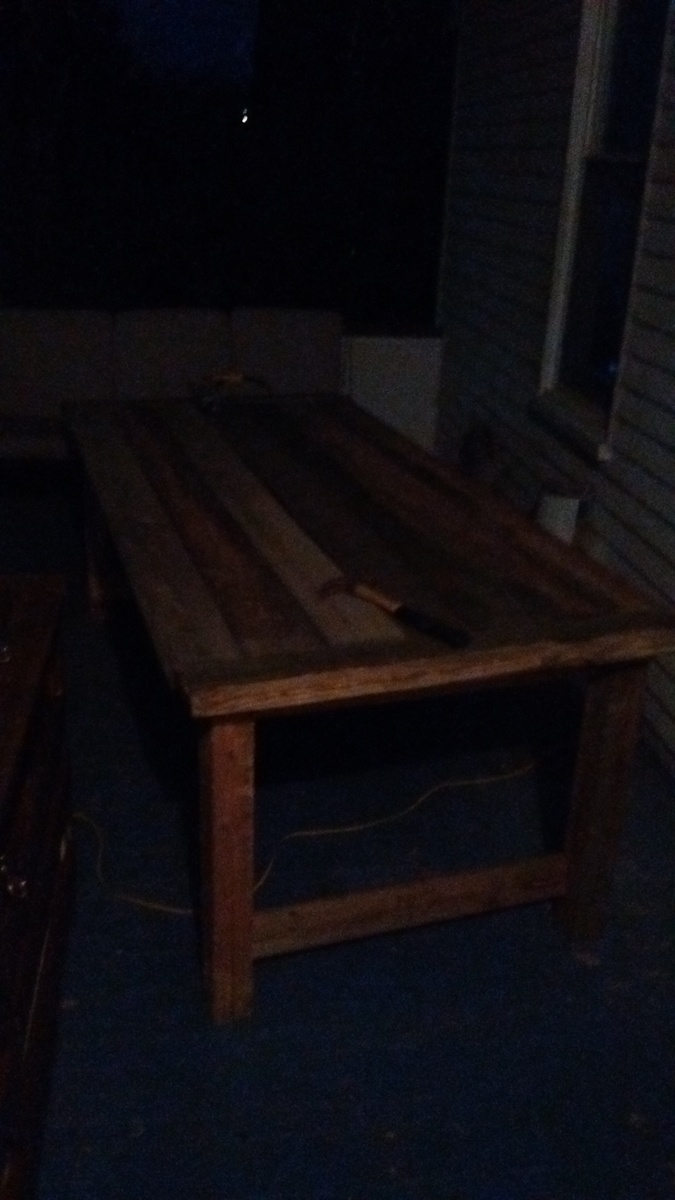
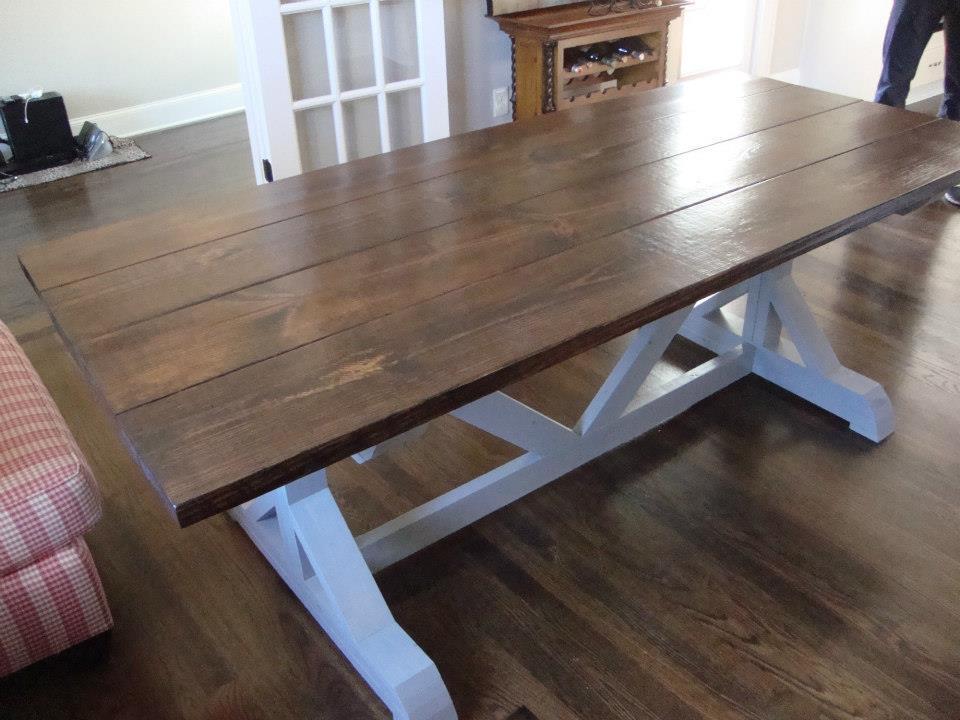
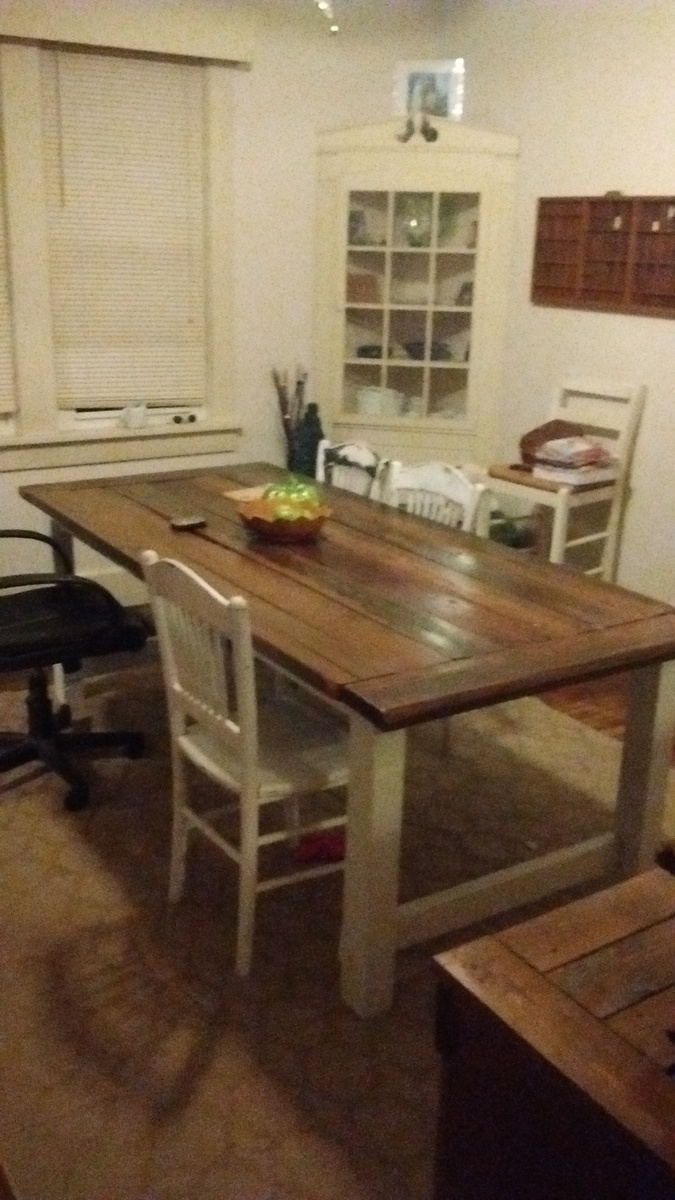
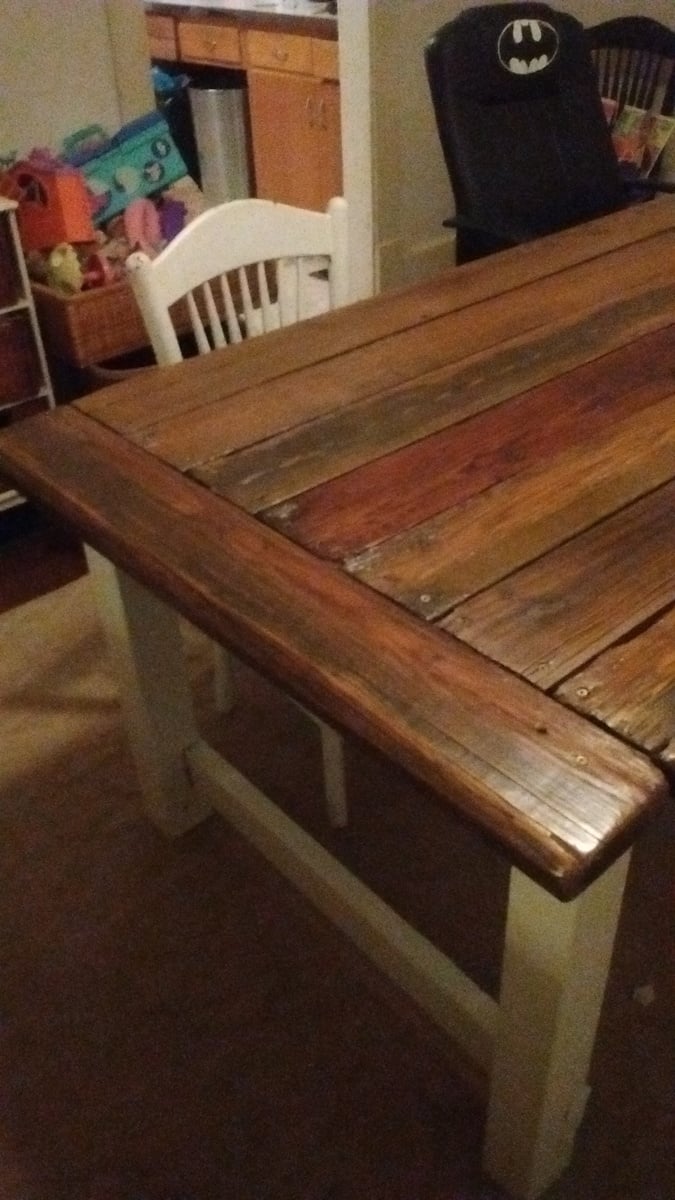
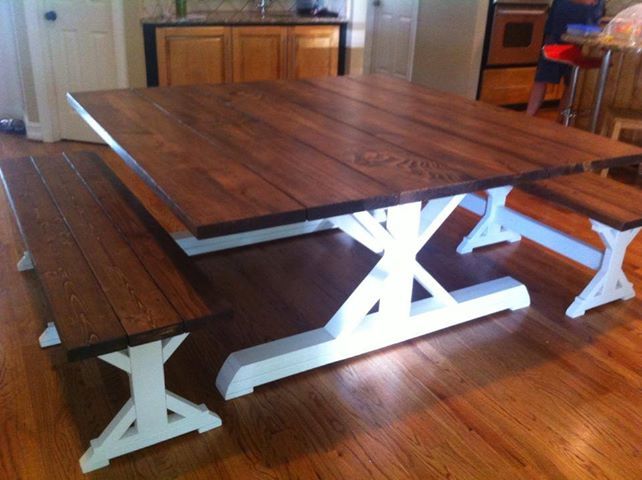
I started the project on a Monday and moved the table into the house on Thursday afternoon. All wood used was reclaimed. I shortened the length of the table by 9 inches due to the length of the reclaimed boards. The dimensions are 87 x 38.5 x 30. I used a colonial maple stain brushed on then rubbed in with a cloth. Then I applied several coats of Polycrylic clear satin. The stain was $1.50 from the Habitat store and the poly was found in the house we recently moved into. I spent about $15 on wood screws.


Estimated Cost
$20
Estimated Time Investment
Weekend Project (10-20 Hours)
Finish Used
Colonial maple and Polycrylic clear satin.
Recommended Skill Level
Beginner

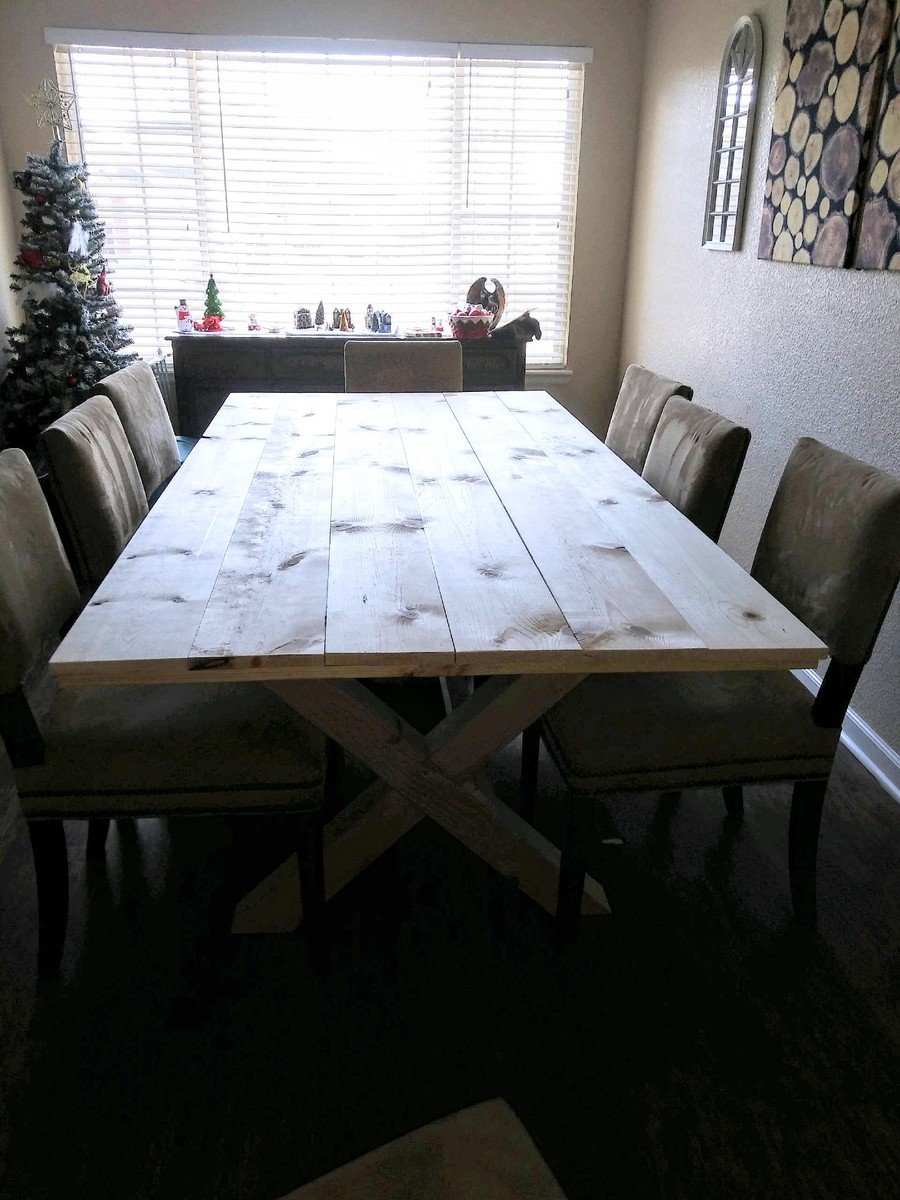
X leg Dining Table

Submitted by Usmcmills on Wed, 11/28/2018 - 06:56

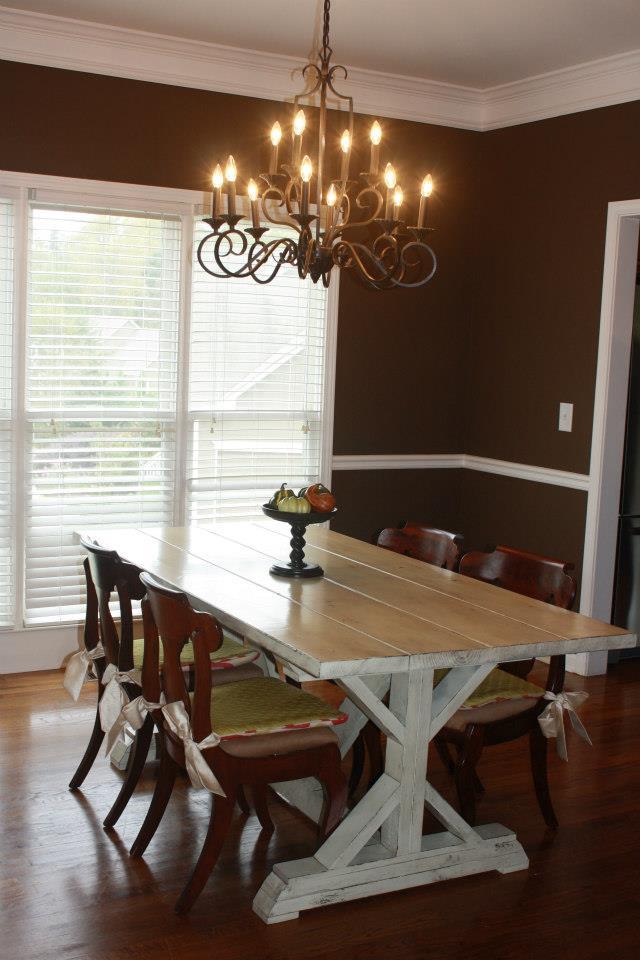
Used ideas from multiple builds on here. Turned out great for Thanksgiving. Only thing ill add is a beam between legs for added stability but its pretty strong now.

Estimated Time Investment
Weekend Project (10-20 Hours)
Recommended Skill Level
Intermediate

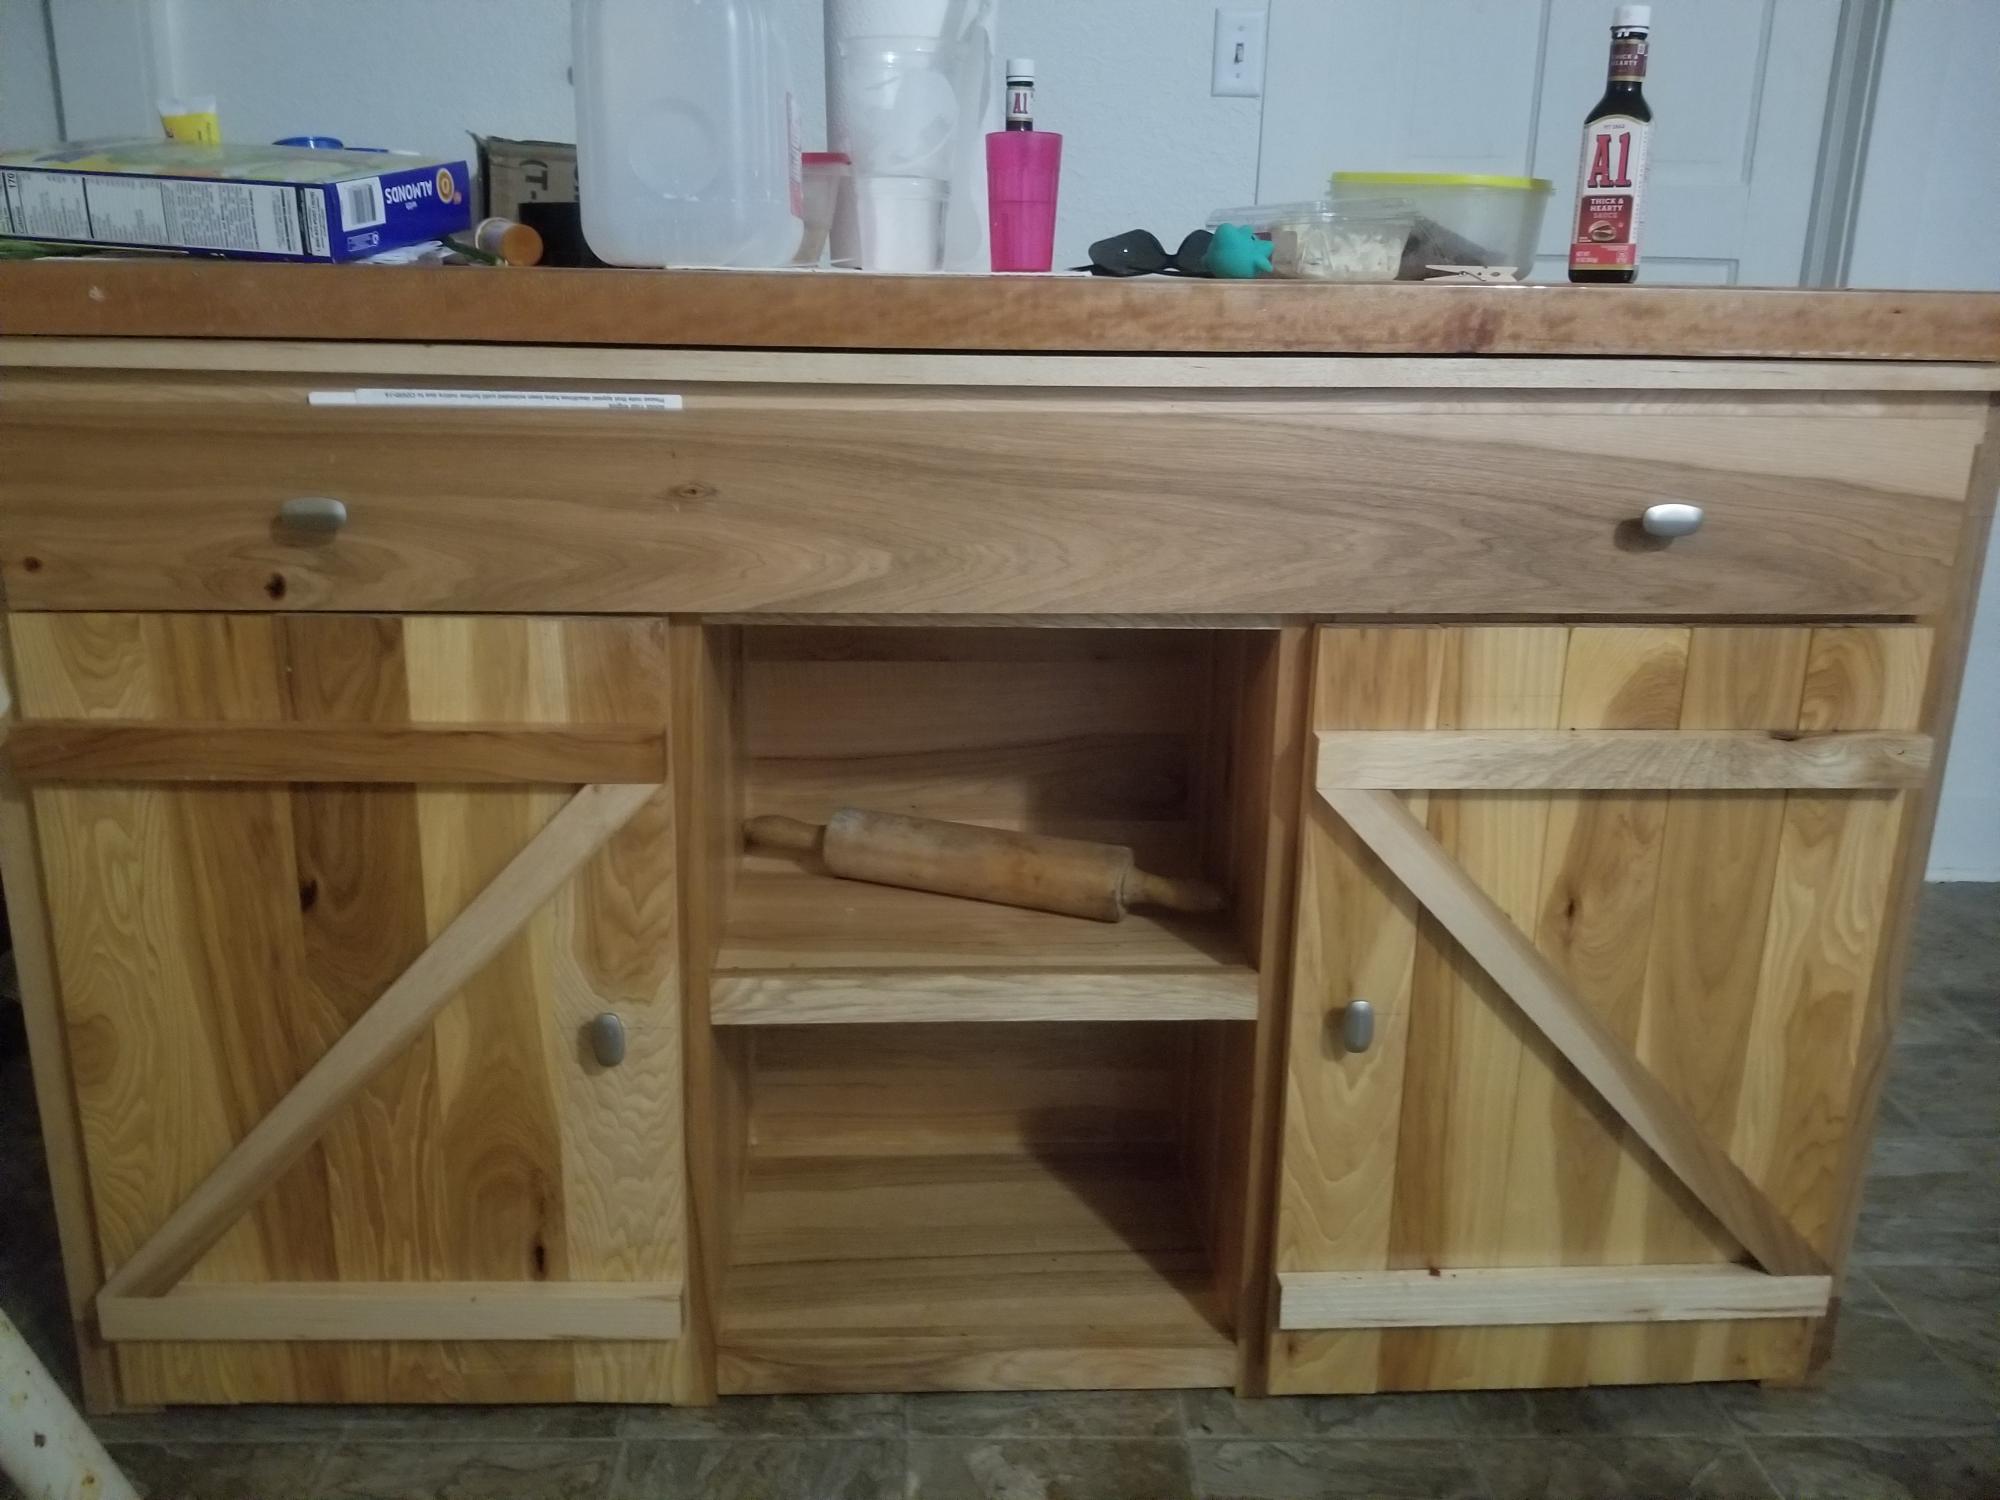
Farmhouse kitchen island

Submitted by Anonymous (not verified) on Tue, 08/16/2022 - 19:19

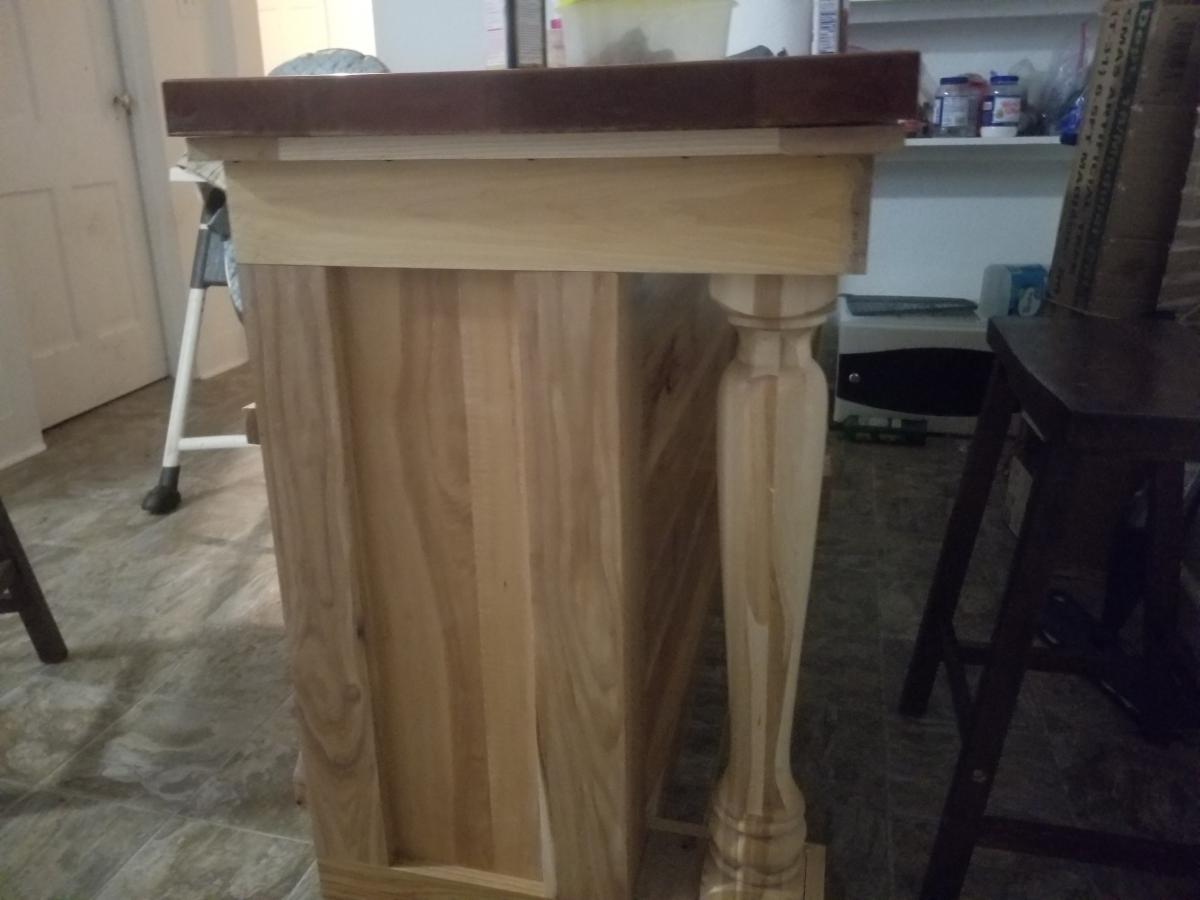
The kitchen island I built from your plans for my wife. I used hickory and for the top I used rustic cherry.

Comments

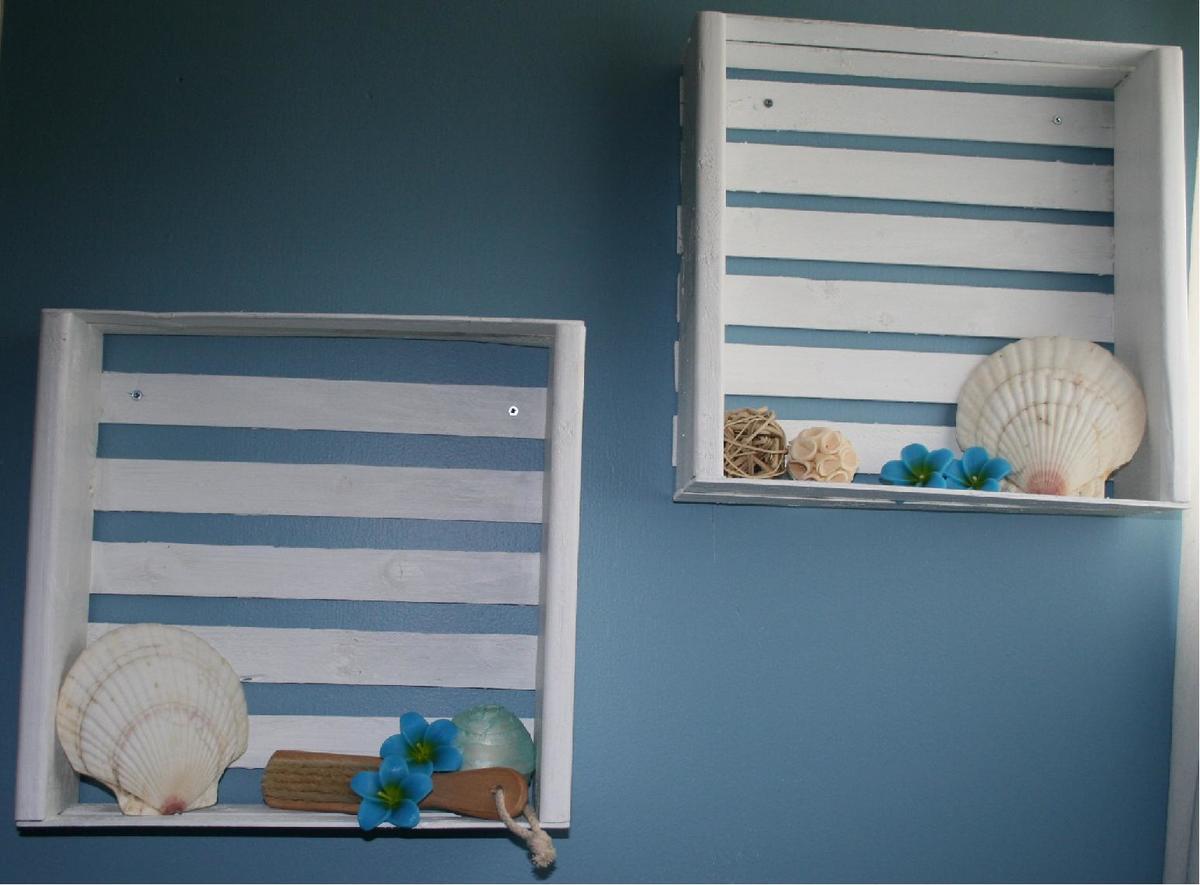
Little Crates

Submitted by lizseburn on Wed, 08/10/2011 - 10:48

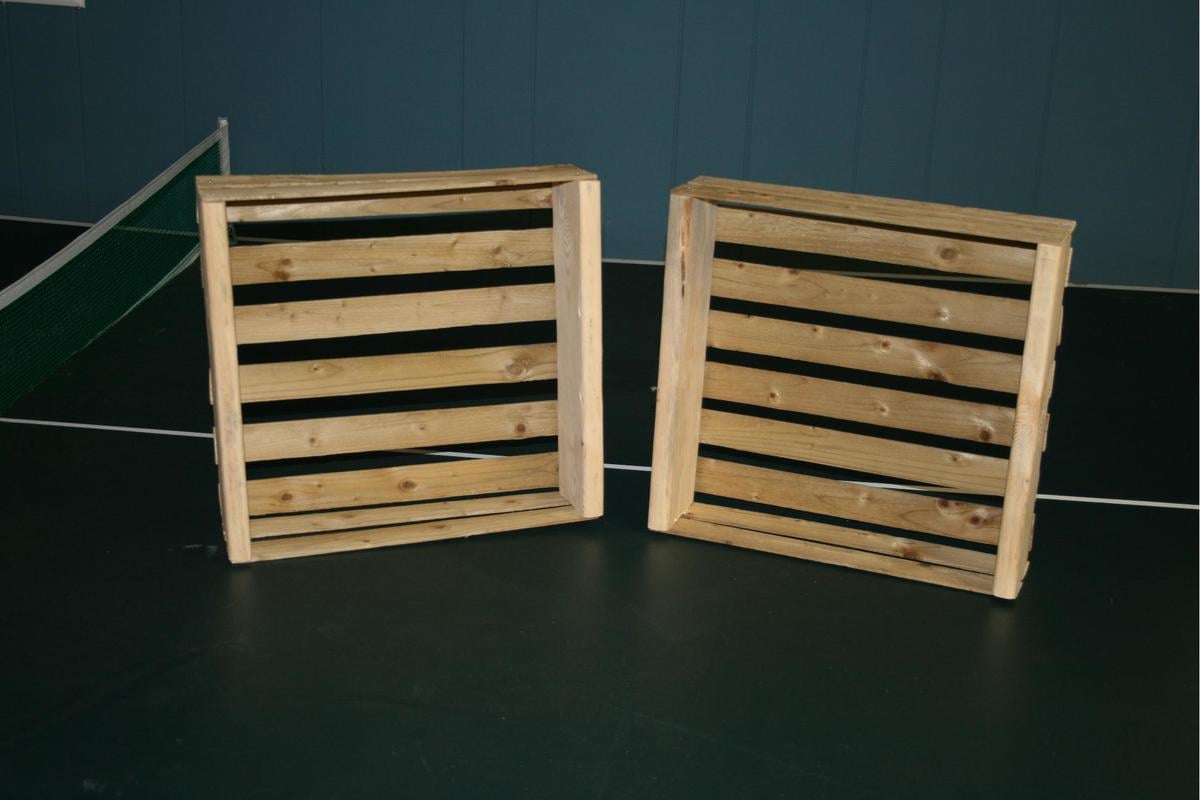
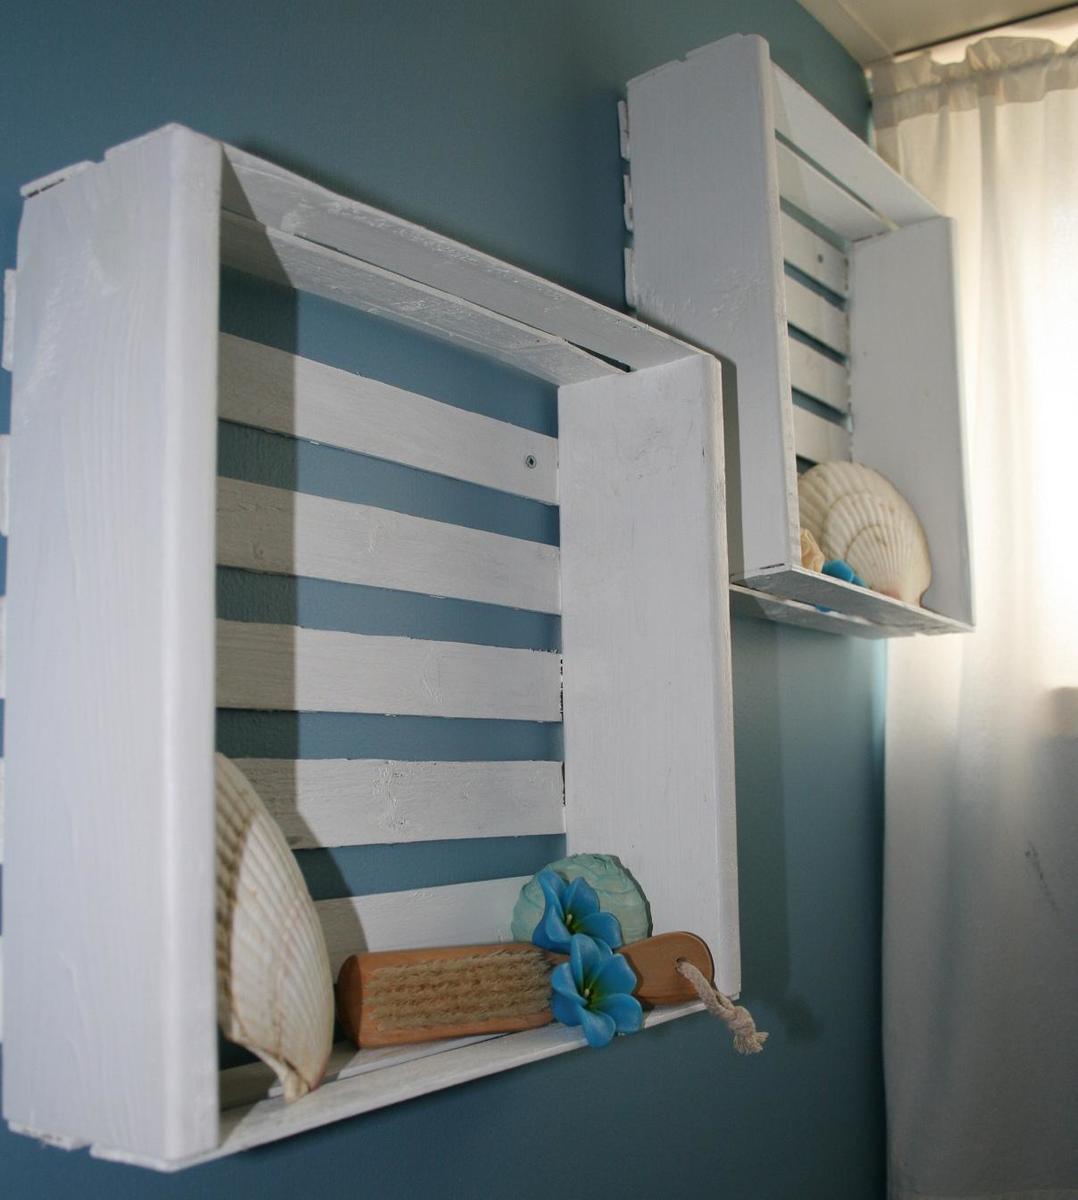
My first project where I made the whole thing by myself! My friend and I each loved this idea and so together we each made our own version! It was just what I needed for some bathroom beautifying in a small space!!

Built from Plan(s)
Estimated Cost
$8 to $12
Estimated Time Investment
An Hour or Two (0-2 Hours)
Recommended Skill Level
Starter Project

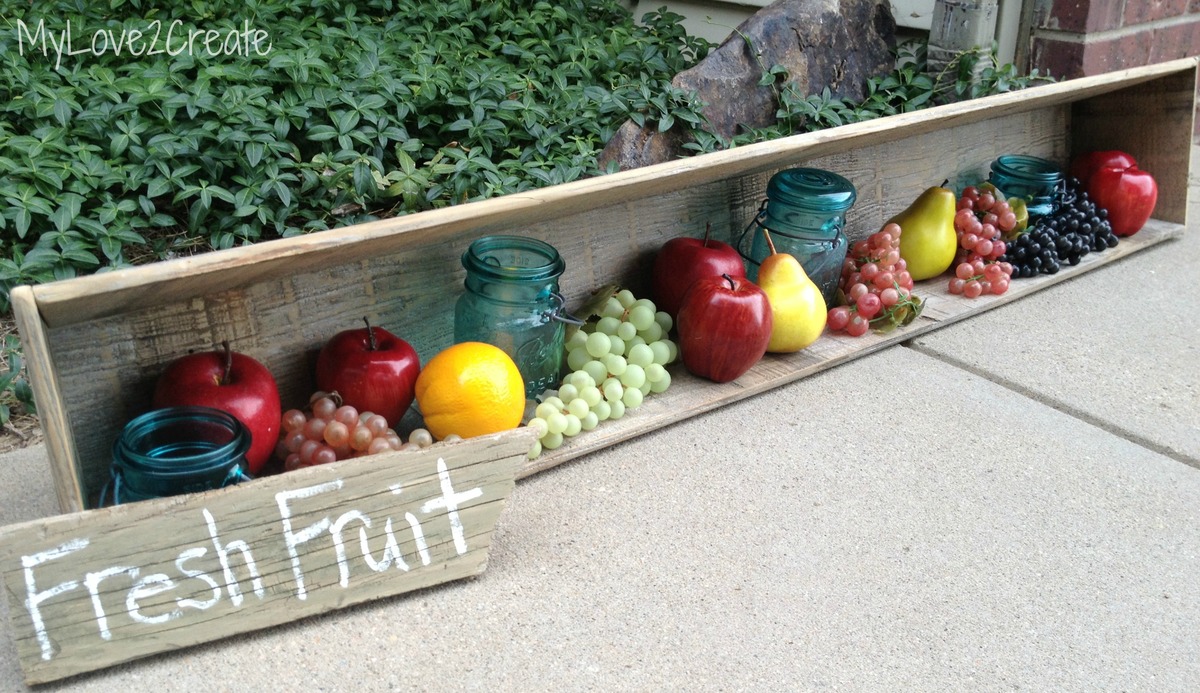
A Long tapered crate

Submitted by dmcarwin on Tue, 09/03/2013 - 07:52

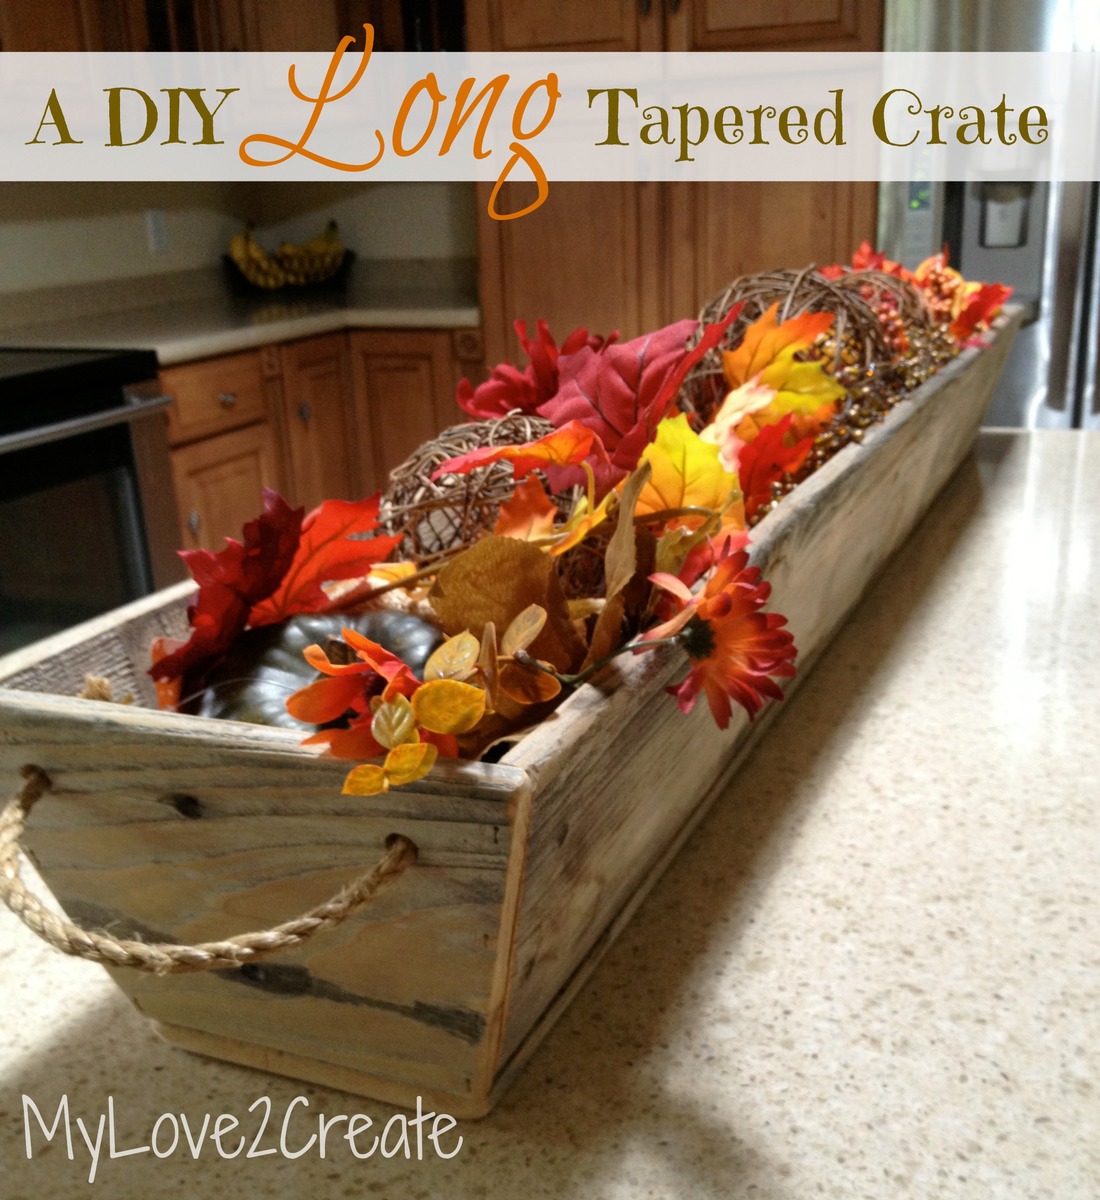
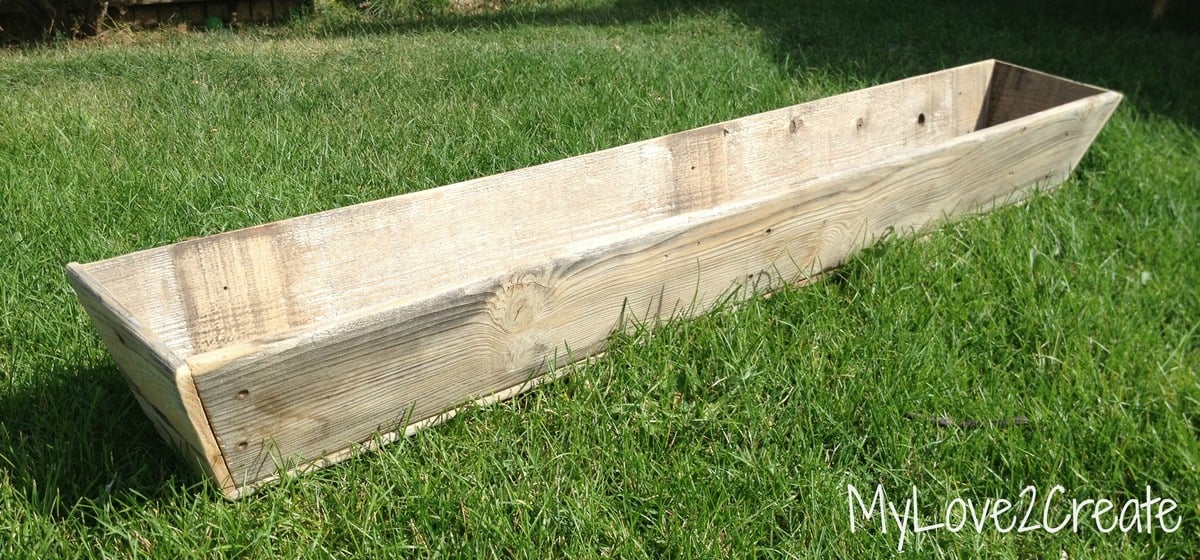
I love Ana's tapered crate! I decided to add some length to the sides and make it really long! It is super cute and makes a big statement, for only a small amount of work! Sa-weet!

Estimated Cost
Free, or under $5 if you by the wood new
Estimated Time Investment
An Hour or Two (0-2 Hours)
Recommended Skill Level
Beginner

Comments

Granite Top Kitchen Island

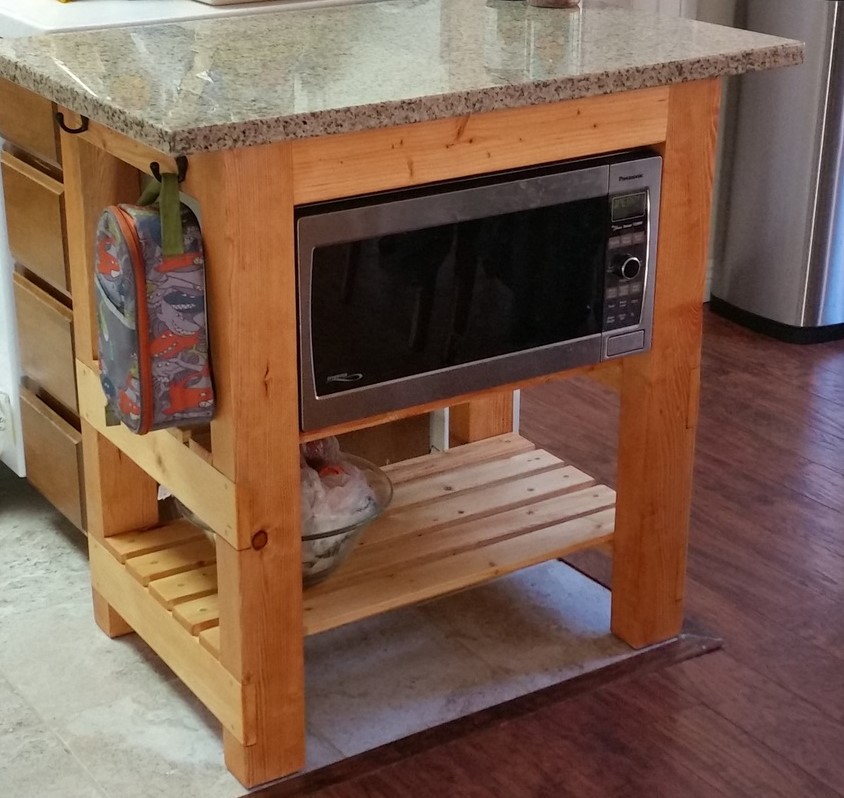
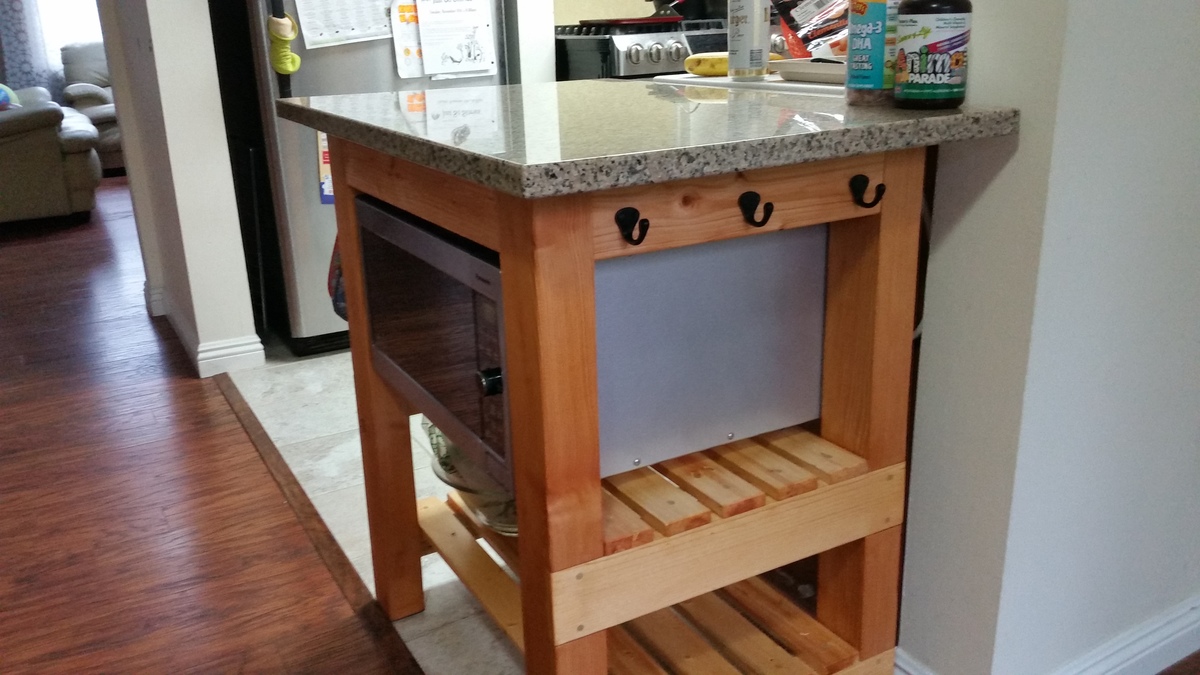
Dued to my small kitchen, I used 3x4's instead of 4x4's for the legs. I did away with the drawers, and went with two shelves instead. I lower the first shelf to fit my microwave. This freed up my counter space, which was nice. I stopped by a local stone yard, and picked up a thickest piece of granite they had, and had them cut it 36" x 24". I used Minwax Polyshade White Oak for the stain, and picked up some cast iron hooks from Amazon. All together it came out fairly nice. The only regrets is the wood filler I used wasn't so great, and it didn't stain well.

Built from Plan(s)
Estimated Cost
$130 granite slab, $30 for lumber, $8 wood stain and $14 cast iron hooks = $182
Estimated Time Investment
Weekend Project (10-20 Hours)
Finish Used
Minwax Polyshade White Oak
Recommended Skill Level
Beginner

DIY Children's Adirondack Chair

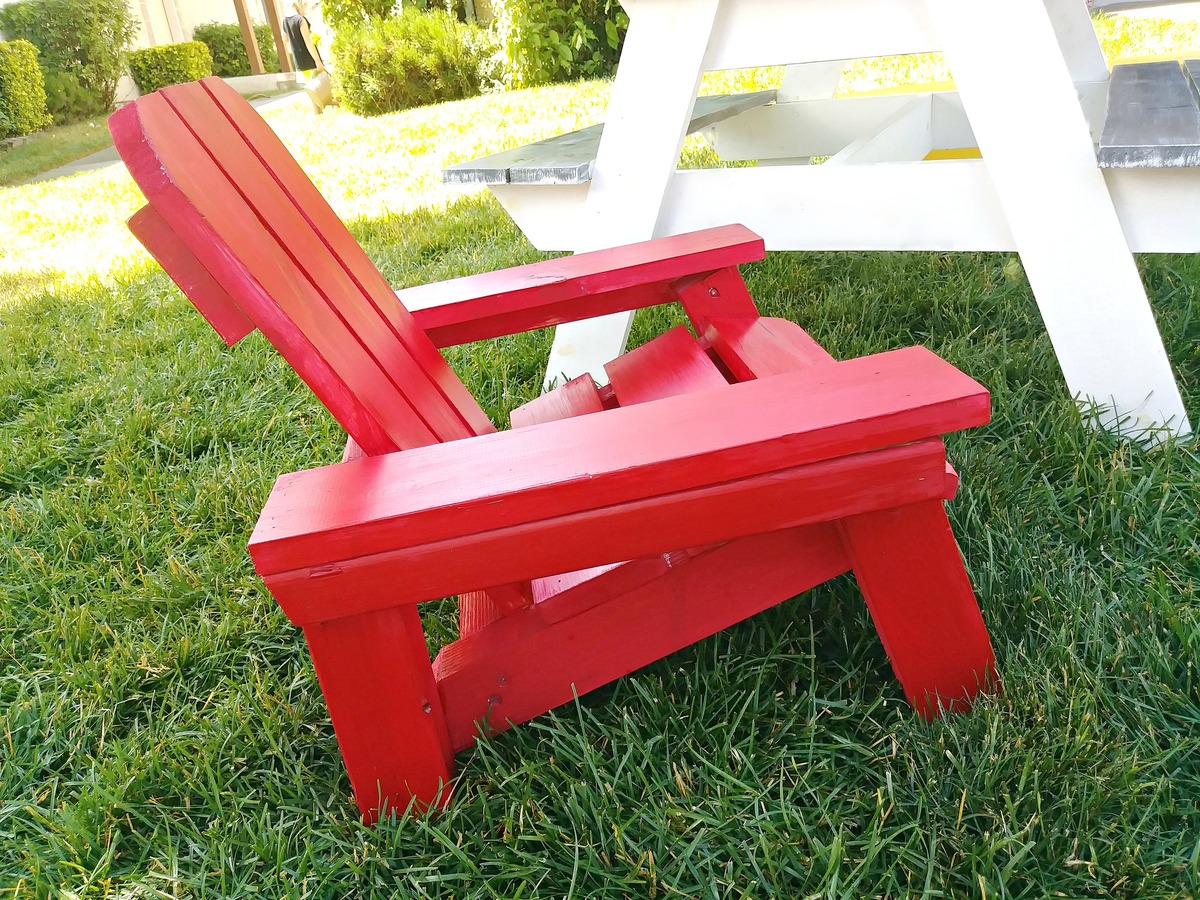
I needed a birthday gift for one of our sweet neighbor friends, so I dug through my scrap wood stash and decided a small adirondack chair would be the perfect little project!

Thanks to Ana for the plans!


Built from Plan(s)
Estimated Cost
I used scrap wood so this project was a freebie!
Estimated Time Investment
Afternoon Project (3-6 Hours)
Finish Used
Red paint
Recommended Skill Level
Beginner

Indoor Dog Kennel

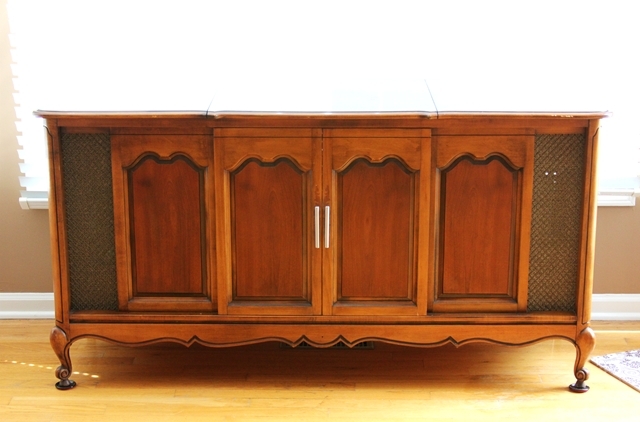
I love my dogs, but their wire kennels were an eyesore. Removing them completely was not an option, but I was tired of looking at them. I went back to my first-ever rehab project, and took it one step further to create a one-of-a-kind castle for my pups.
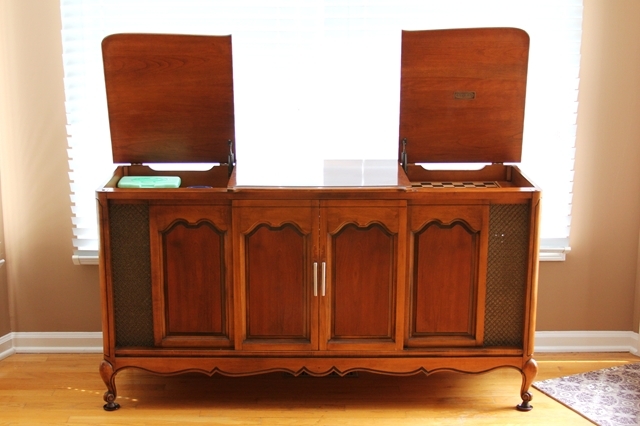
The original piece of furniture was an old console-style TV cabinet. Sliding doors on the front revealed the TV, and two lids on top contained the tuner and a turn-table.

Armed with screwdrivers, hammers and a dremmel, all components were removed form the cabinet, leaving just the shell. (PLEASE be sure you remove all sharp, potentially dangerous, screws, staples and what-not’s from the inside of the cabinets, to avoid injuring your pet! The dremmel allowed me to cut off and grind down stubborn screws.)

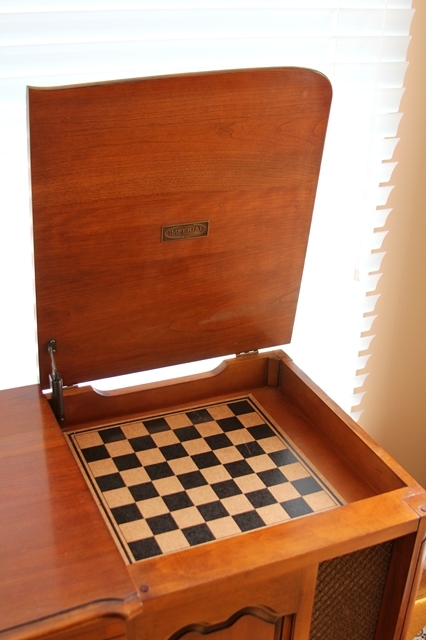
To cover the holes in the top cabinets, I used old checker boards. The cubbies are now a great place to store dog treats and leashes.

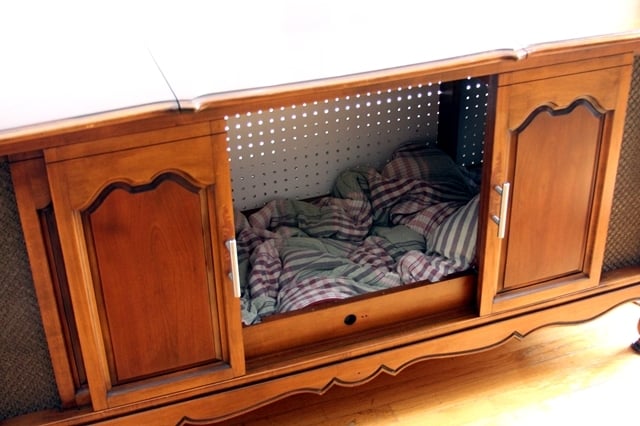
OPTIONAL: The back panel of the cabinet I used had holes from the TV components. I elected to replace the back board with a new sheet of peg board. (The peg board allows for much-needed ventilation.) In order to get the size perfect, I traced the old back onto the new and marked the original screw holes.

I vacuumed the inside to remove all construction debris and polished the exterior with Pledge. Then, I inserted an old comforter into the kennel, and stood back as my two pups launched themselves into their new abode.

The doors can stay open during the day for them to enter at their own will, and close for bedtime. And my eyes no longer hurt.
Estimated Cost
Cost of Cabinet (will vary)
Estimated Time Investment
Afternoon Project (3-6 Hours)
Finish Used
I did not elect to change the finish, but it could be painted to match any decor if you want.
Recommended Skill Level
Beginner

Comments

Barbara Cash

Thu, 08/11/2011 - 18:41

This was such a great idea. I love the old console. I love to build but I love it so much more when I can use old wood or repurpose parts of old furniture and industrial pieces. I feel creative. The checker boards are great. Do you have a blog?
Beffus (not verified)

Wed, 08/24/2011 - 09:33

I wish I thought of this or saw it long ago! I have 2 huge ugly crates in my living room...I am now on the hunt for 2 much better looking living spaces for my "other babies"! Love love this idea so much looks beautiful!

Two-toned farmhouse bed

Submitted by JW on Thu, 09/05/2013 - 05:41

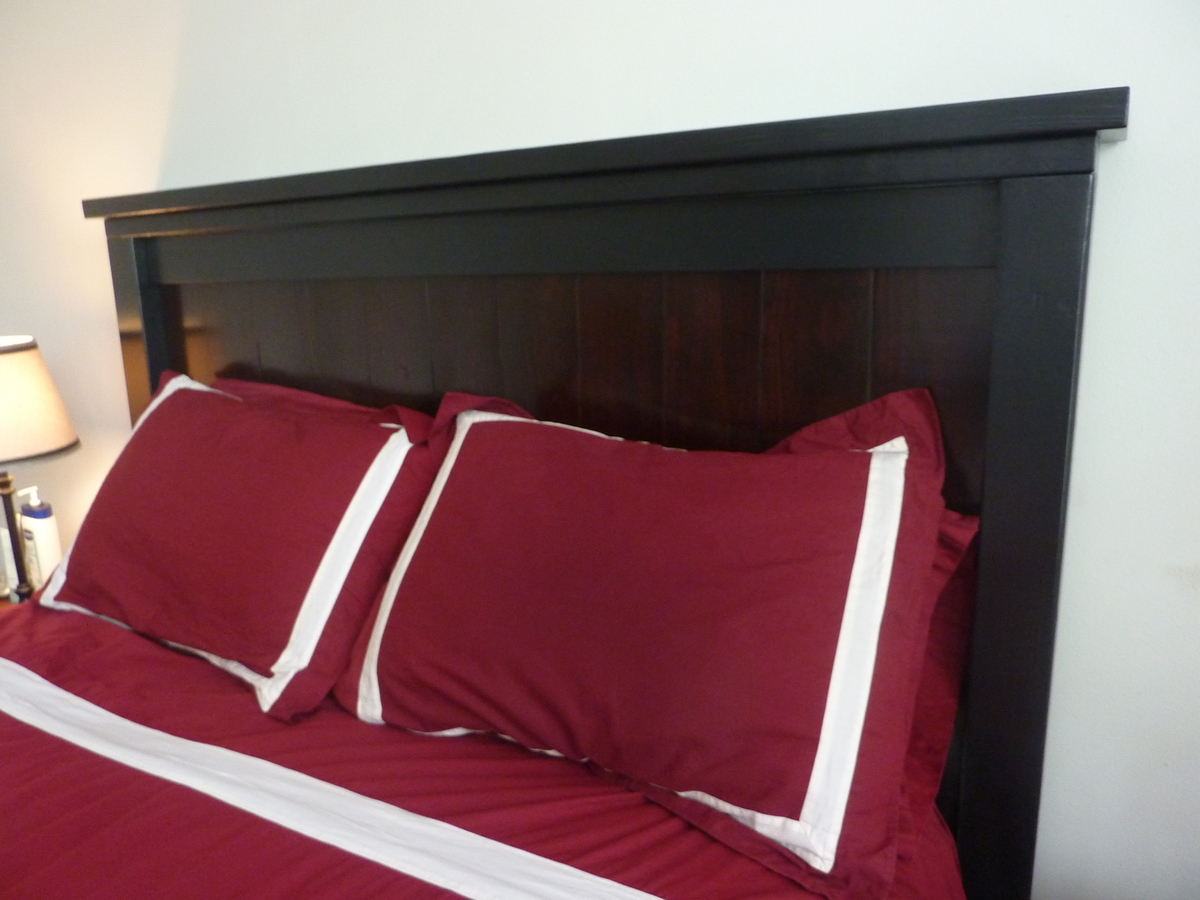
He likes natural wood, I like painted furniture. Solution: two-toned bed! Vertical slats are stained in Minwax Red Oak (took 3 times to get that dark color!), surround is painted black. I thought we'd never find a workable compromise!

I changed up the dimensions a bit to fit my preferences:
1. I like a taller headboard and footboard (dog can't rub against the end of the bed anymore - wahoo!).
2. Also wanted the bed to be just a bit higher above the ground so I wouldn't have to buy new under-bed storage boxes.
3. Used 1x6s instead of 1x8s for the vertical slats because they fit the width just perfectly - no trimming needed.
4. Added about 2" to the length so I'd have plenty of room for tucking the duvet at the end of the bed. I hate when the covers get stuck and I can't pull them up easily!
5. I routed out a groove in the posts to slide the side rails in because it seemed more secure than screws alone. Could've done it without, though.
6. We used dowels and wood glue on the 2x6 tops of the headboard and footboard pieces. I think it made a big difference in the overall appearance. We don't have a doweler, but the hubby made a guide with a spare 2x4 to keep our dowels lined up correctly. It worked pretty well.

Next time I would use pocket screws. I've acquired a jig since this piece was completed. It would definitely have saved me some time in the finishing process.

I really wish I could have talked the hubby into letting me distress the finish just a bit. The thing is, it's inevitable around here (my kids are like crazy apes sometimes!). So I really wanted it to at least look intentional. Oh well, I guess we'll get there soon enough even without it!

Built from Plan(s)
Estimated Cost
$300 (be bought the select pine for the vertical slats; wouldn't been a lot cheaper if we'd used all regular lumber)
Estimated Time Investment
Weekend Project (10-20 Hours)
Finish Used
Minwax Wood Finish stain in Red Oak - It took 3 coats to get the right color.

Valspar flat paint in the only good shade of black that I could find. This stuff was terrible - I would NOT use this again! Unfortunately, there were only about 4 shades of black paint available in all of Lowe's, and the others were all too purple in tone.

2 coats of Minwax fast-drying polyurethane.
Recommended Skill Level
Beginner

Comments

GScotti

Thu, 09/05/2013 - 09:07

I like the foot board height. I noticed it in the Arched Headboard version of the Farmhouse bed a while back but could not find dimensions. I also like the idea of having more space under the sides to fit my storage bins. Could you tell me what the cut length was for the 2x6s on the foot board? I like the finish too! Bed looks great.

JW

Thu, 09/05/2013 - 10:27

GScott -

Thanks!

I changed several things on the footboard, as follows:
Slats = 22"
Post = 26.5"
Total height of footboard = 29.5"

I made the slats on the headboard a bit longer too, but didn't change the actual height of the headboard. I just wanted the wood to extend down behind my mattress a bit so I wouldn't have a little corner of wall showing behind it.

As for more space under the sides - I just screwed the siderails in just a bit higher than the plan called for.

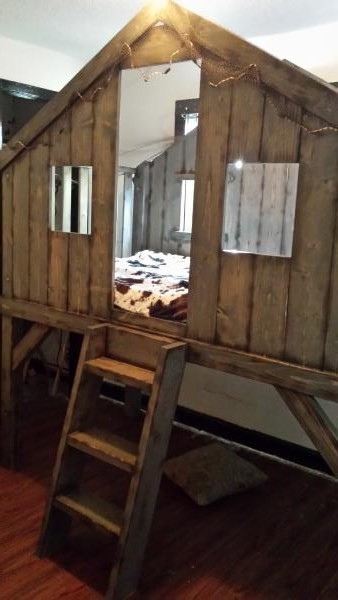
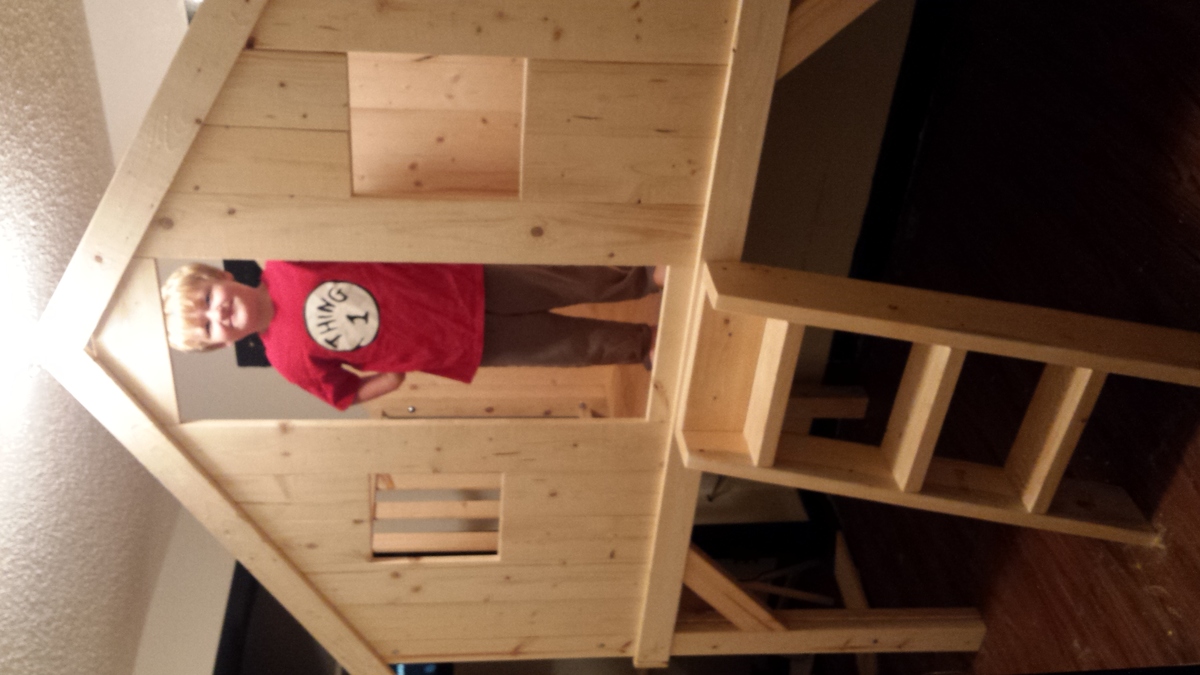
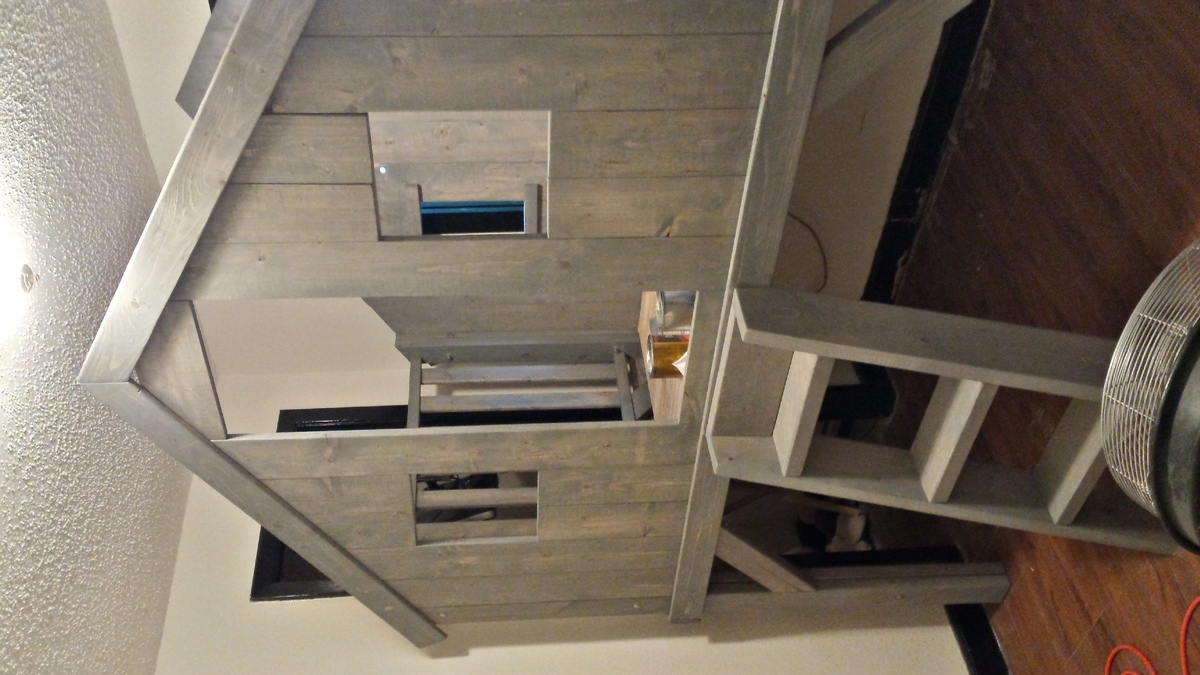
Club house bunk

Built for our 4 ur old son.. We all love it and had fun together!

Estimated Time Investment
Weekend Project (10-20 Hours)
Finish Used
Weathered Minwax
Recommended Skill Level
Intermediate

Comments

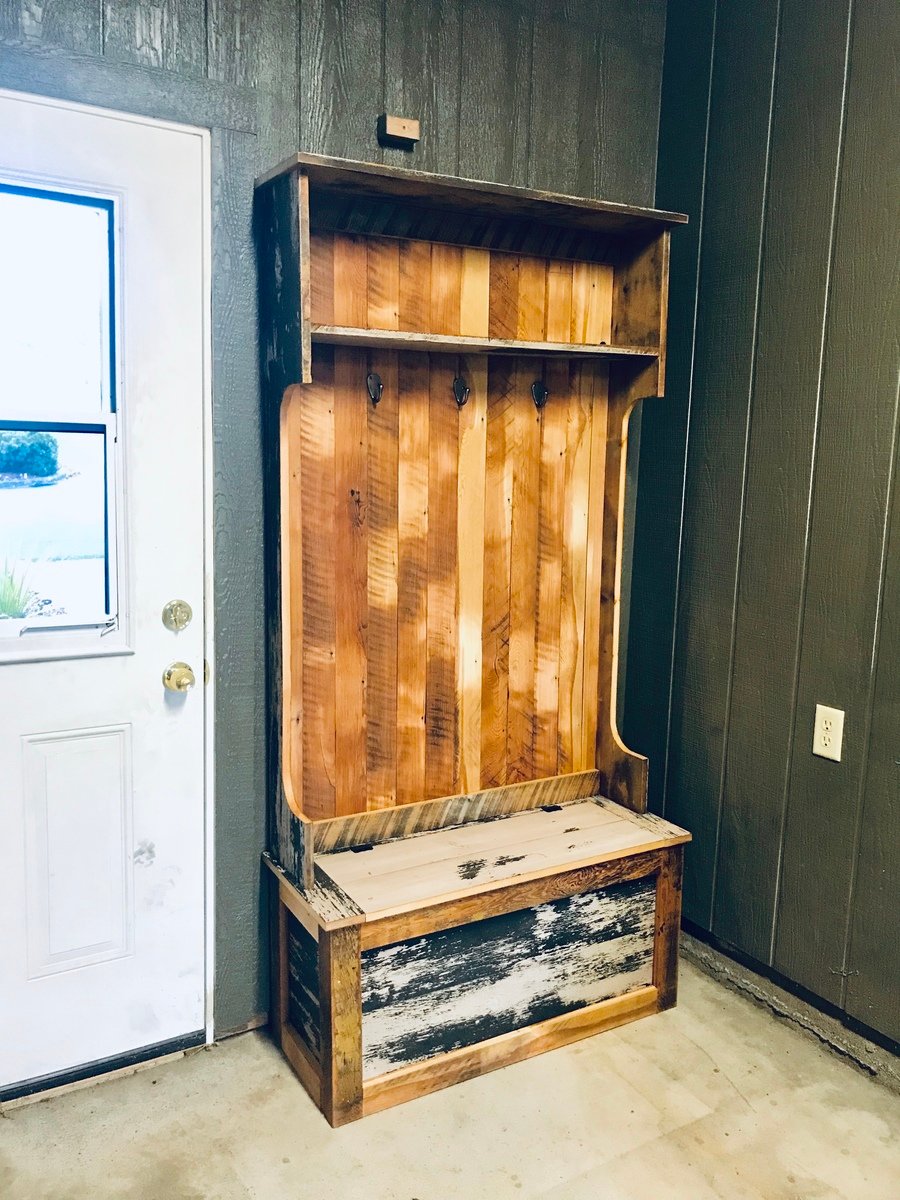
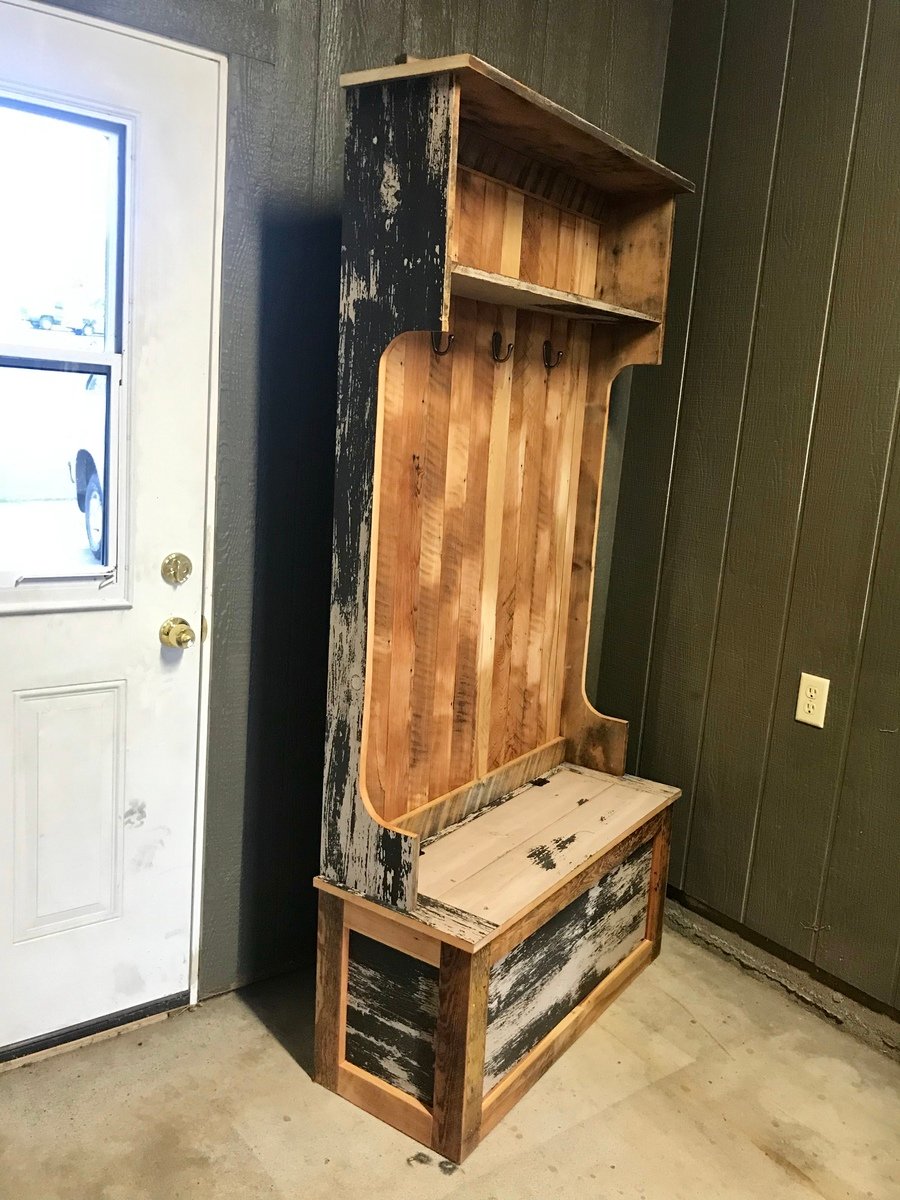
Idaho History Halltree

Submitted by Anonymous (not verified) on Thu, 12/27/2018 - 15:48

A piece of Palouse/Moscow/North Idaho History!


Hand-crafted by father and son from reclaimed materials native to the region, this is a one-of-kind piece of furniture of both substance and significance.  The stock was sourced from the railroad depot that stood on the University of Idaho campus in Moscow for well over 100 years.  The crops, forest products, and people of the Palouse passed through its doors and across its floors from the early days of westward expansion and settlement.  Marked for demolition in 2017, the depot yielded lumber that had been harvested from old growth forests native to our region since time immemorial.  The trees that produced the lumber-turned-dept-turned-halltree stood tall, proud, and mature at the time of the signing of the Declaration of Independence.


The halltree’s back panel and trim are crafted from the depot’s tongue and groove flooring, and still bear the marks of their original milling.  The remainder of the piece is constructed from the ceiling planks.  Twice painted during the course of the depot’s sentinel watch over the commerce and culture of our region, the cream surface coat is yielding to the forest green base layer, giving the finish a depth and patina that testify to its age.  The history of the Palouse literally passed over, under, and between every square inch of wood in this halltree!  It now stands ready to serve a family for generations to come while reminding them of our pioneer past.


Dimensions:  39” x 15-1/2” x 78-1/2”

Estimated Cost
$40 for screws, finish nails, glue, hinges, and coat hooks. I sourced the lumber for free.
Estimated Time Investment
Weekend Project (10-20 Hours)
Finish Used
The back panel and trim were red fir tongue and groove flooring that was heavily scarred from a century of foot traffic in a railroad depot. It had to be surface planed to allow the color of the wood beneath to show through, but not so deep as to completely remove the milling marks and oxidation. The rest of the boards were pulled from the ceiling and show layers of white and green paint in varying states of disrepair. I applied Danish oil to fresh cut bare edges, then sprayed satin finish water-based polyurethane over the entire piece.
Recommended Skill Level
Intermediate

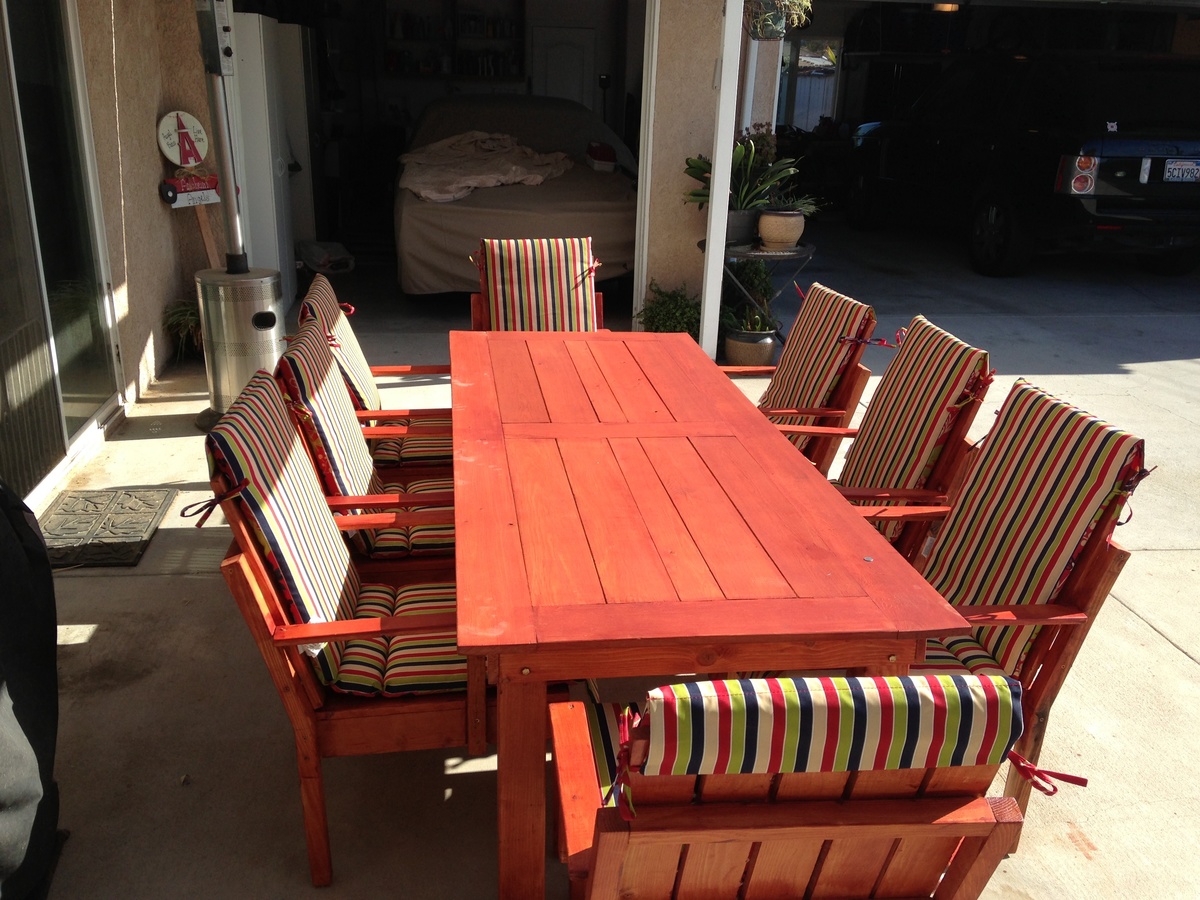
DIY stackable chairs (added arms) and table

I added arms to the stackable chairs. This table and 8 chairs set came out great and I was able to build everything (including the chair cushions found on clearance) for under $350.00 thanks to this website!

Estimated Time Investment
Weekend Project (10-20 Hours)
Recommended Skill Level
Beginner

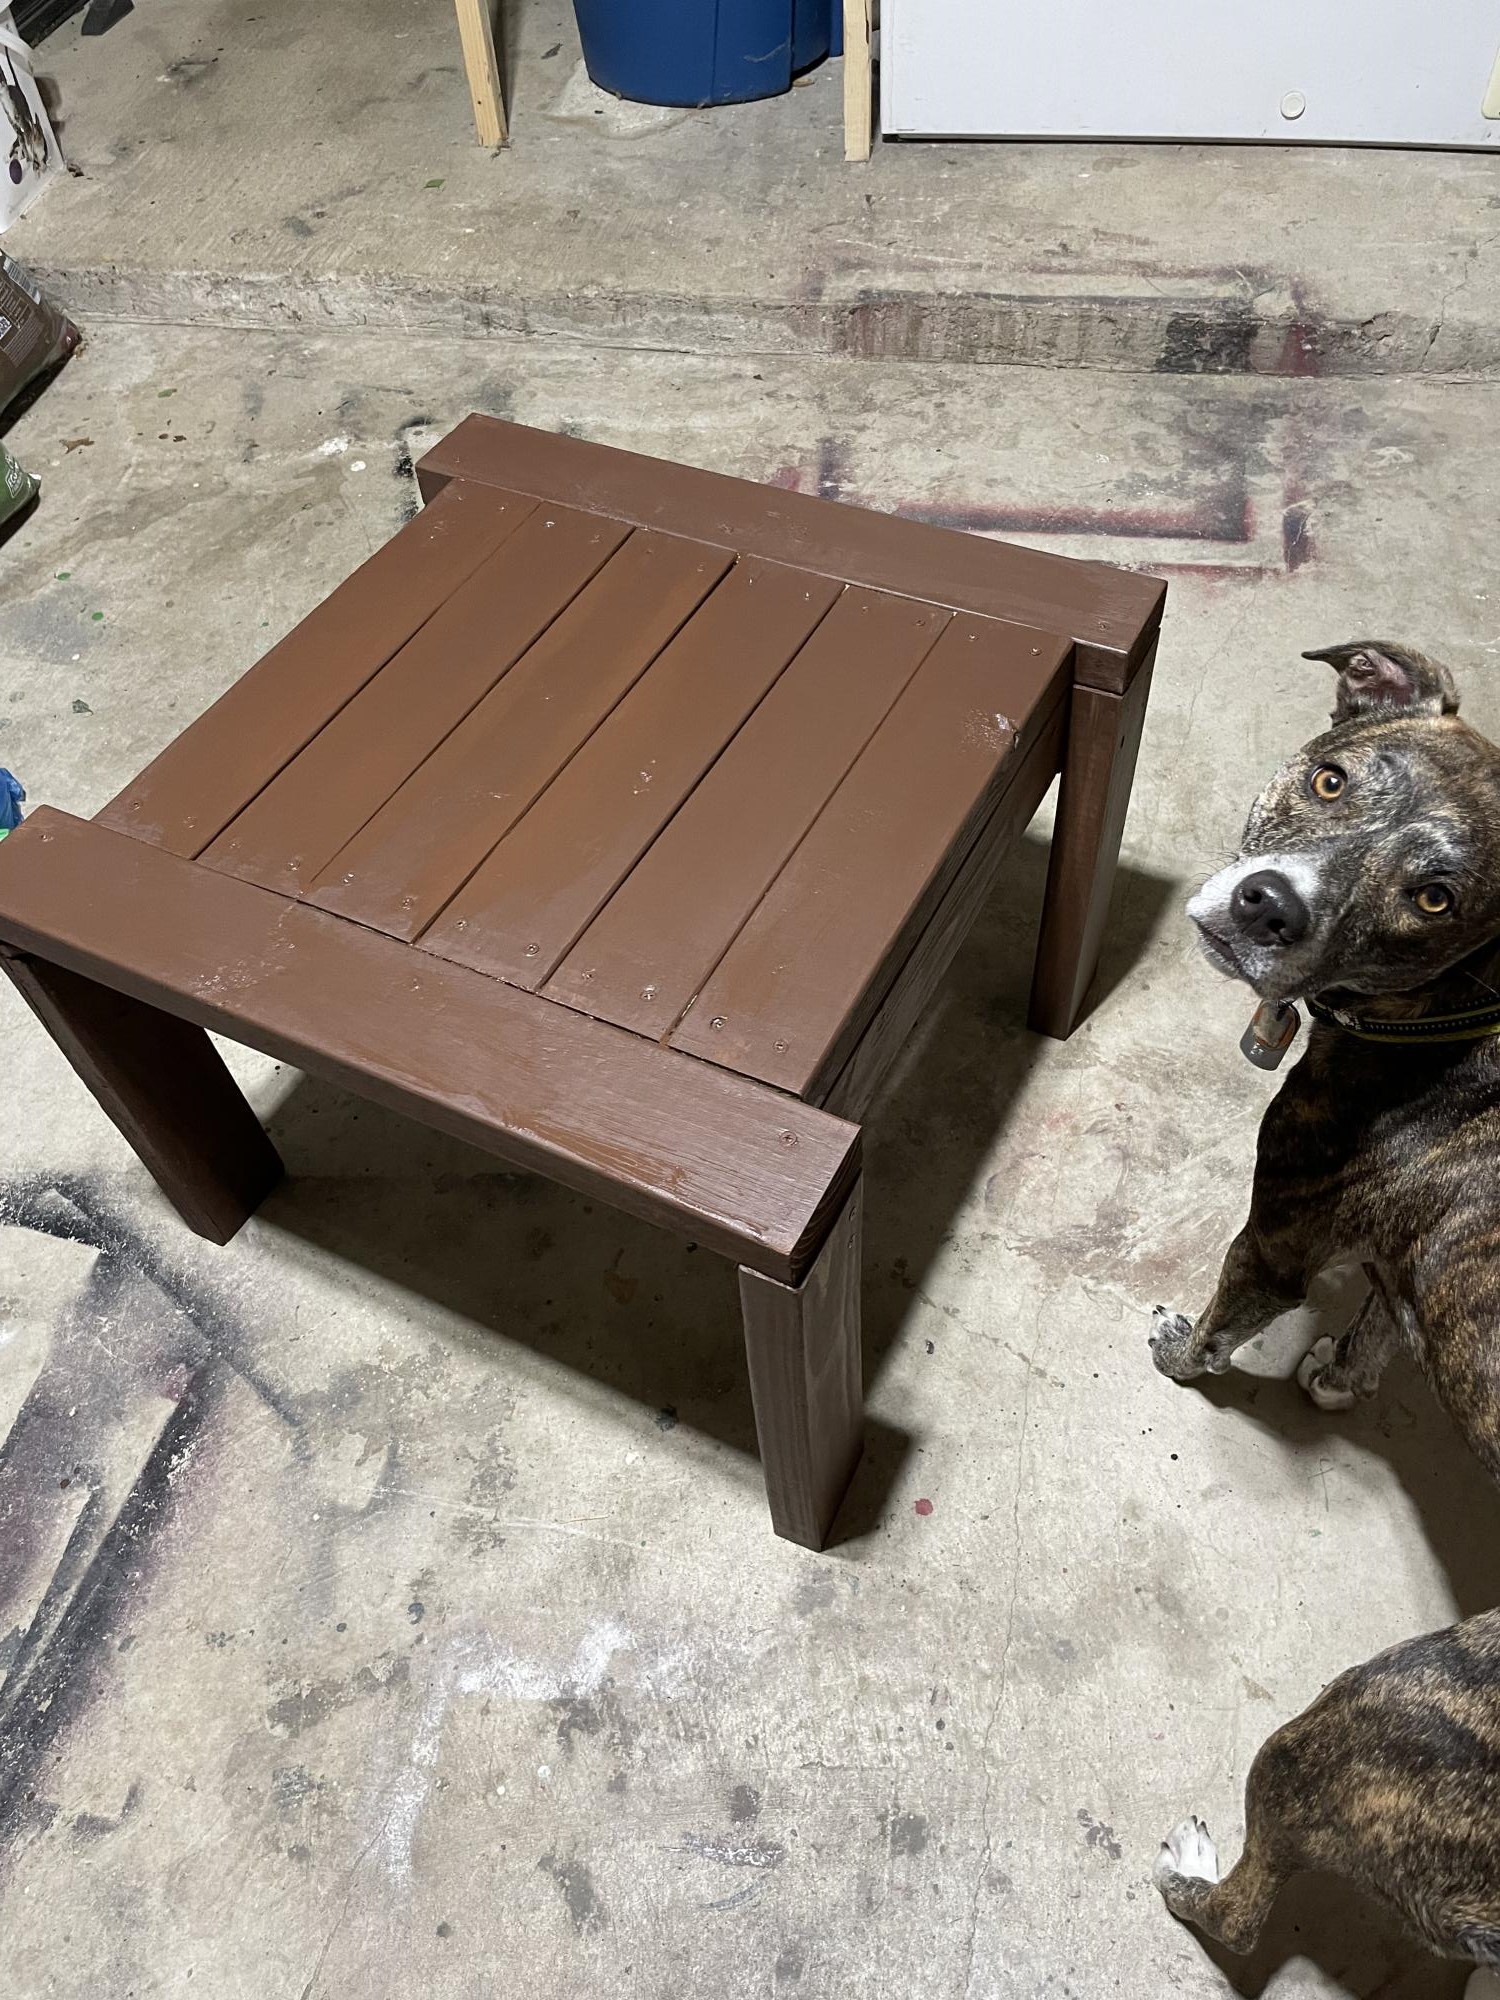
2x4 outdoor table

Submitted by AJofTX on Wed, 09/14/2022 - 06:51

Built the 2x4 outdoor out of scrap and discount Home Depot wood. The stain was $.50 from the oops paint rack at Home Depot.

Comments

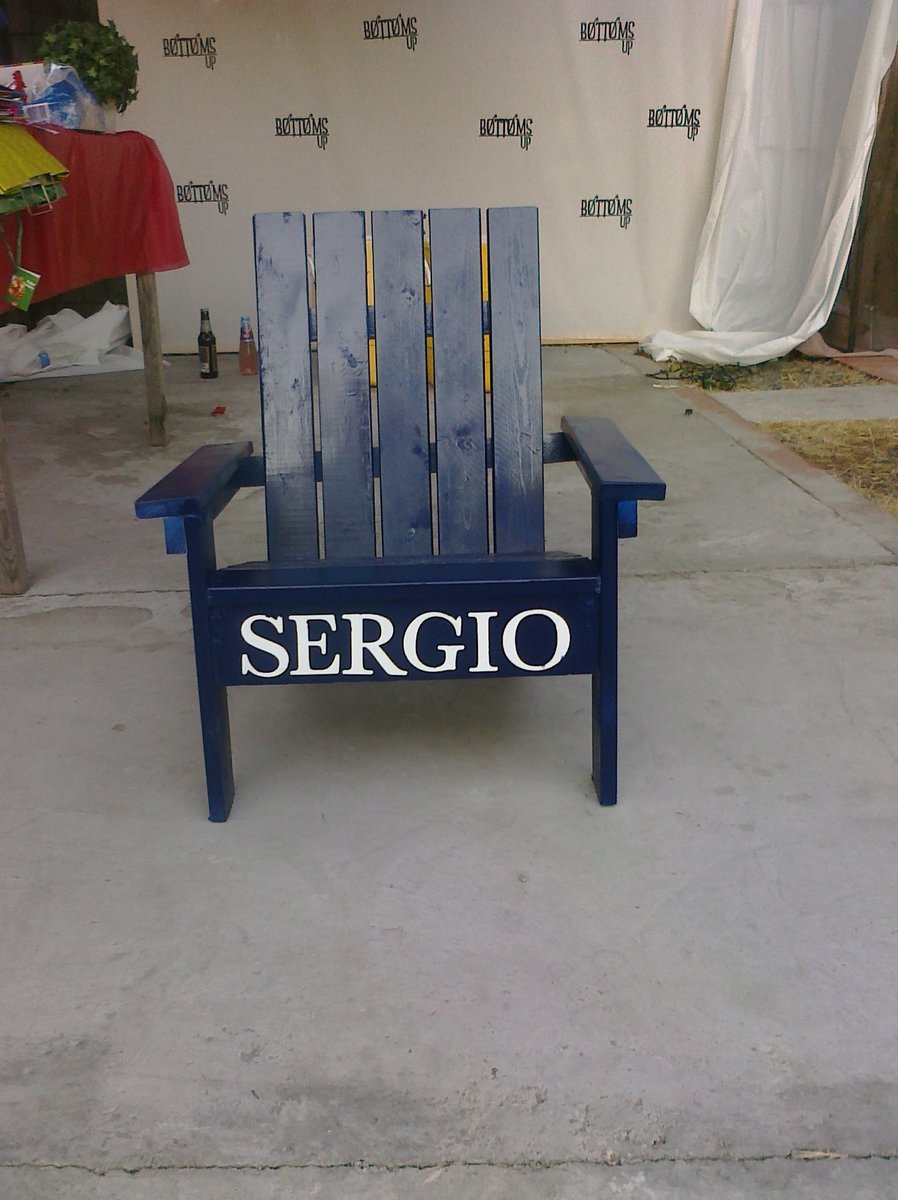
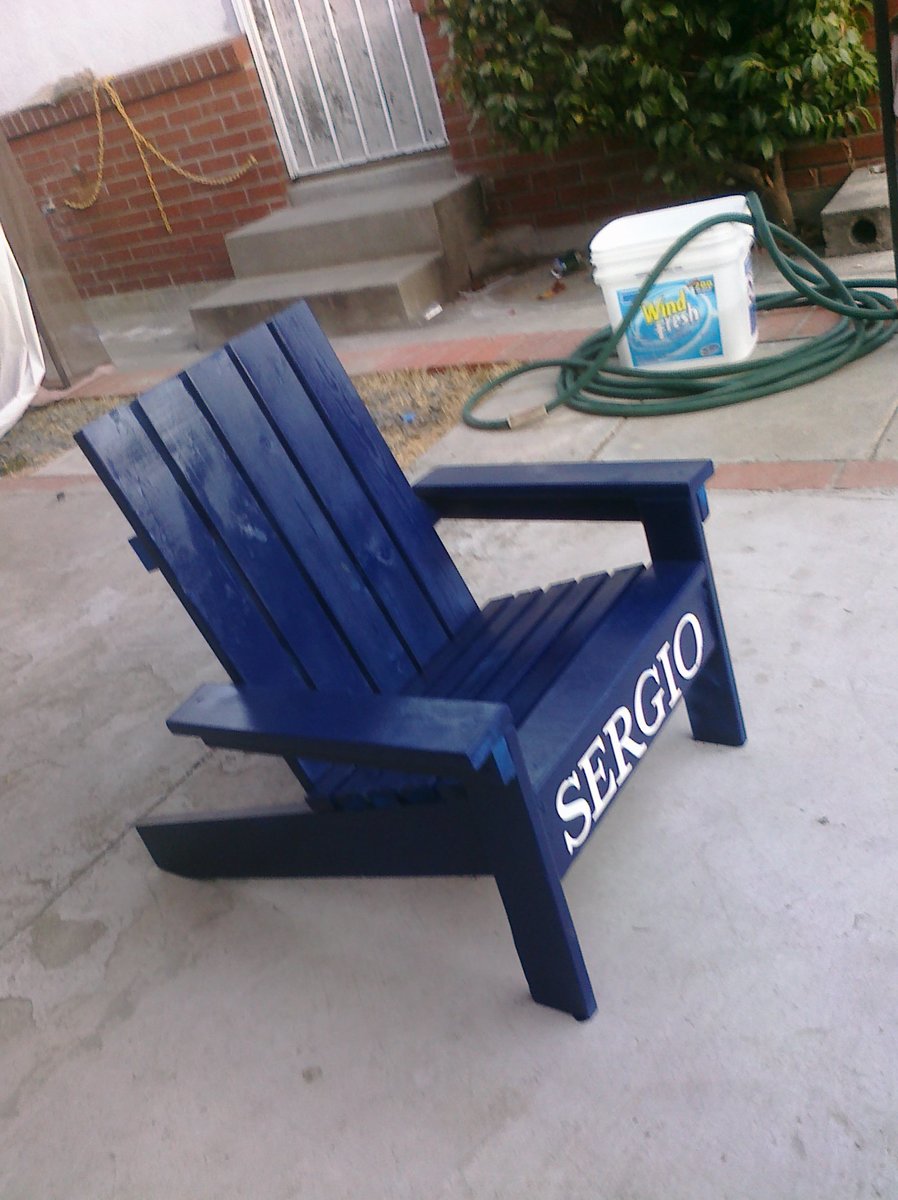
Adirondack Chair

Submitted by Marisol on Tue, 08/16/2011 - 14:09

I made this chair for my 3 year old son's Birthday, he loves it. Really easy build.

Estimated Cost
$10-$15
Estimated Time Investment
An Hour or Two (0-2 Hours)
Finish Used
Primed and used Navy Blue spray paint- letters were done with my Cricut machine on vinyl and then placed on chair, spray painted, then peeled off.
Recommended Skill Level
Starter Project

Comments

In reply to by Francoise

Marisol

Wed, 08/17/2011 - 15:03

I love the navy blue and white combination, I am trying to use it more around the house...just waiting for my son to be tired of his toy story theme room to re-do it. :)

Our 67.5 square trestle table and matching benches

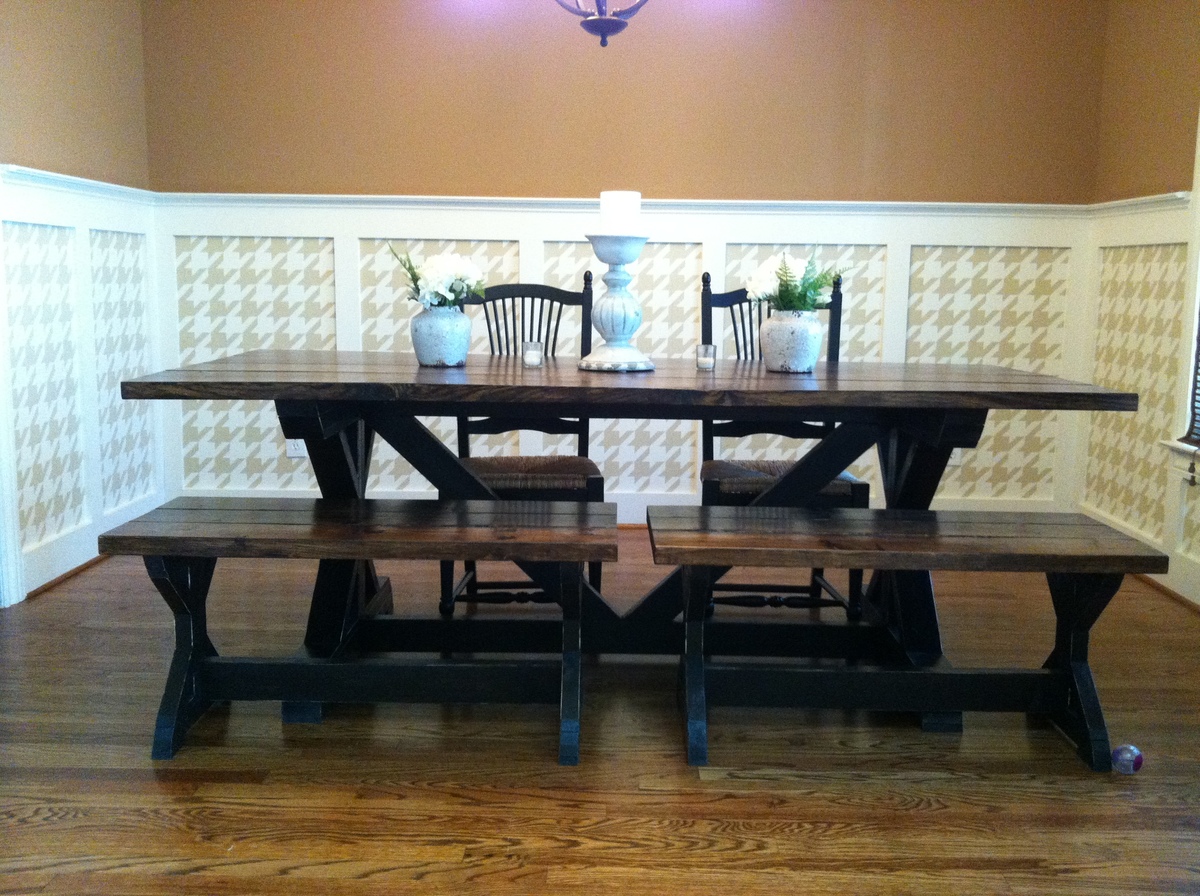
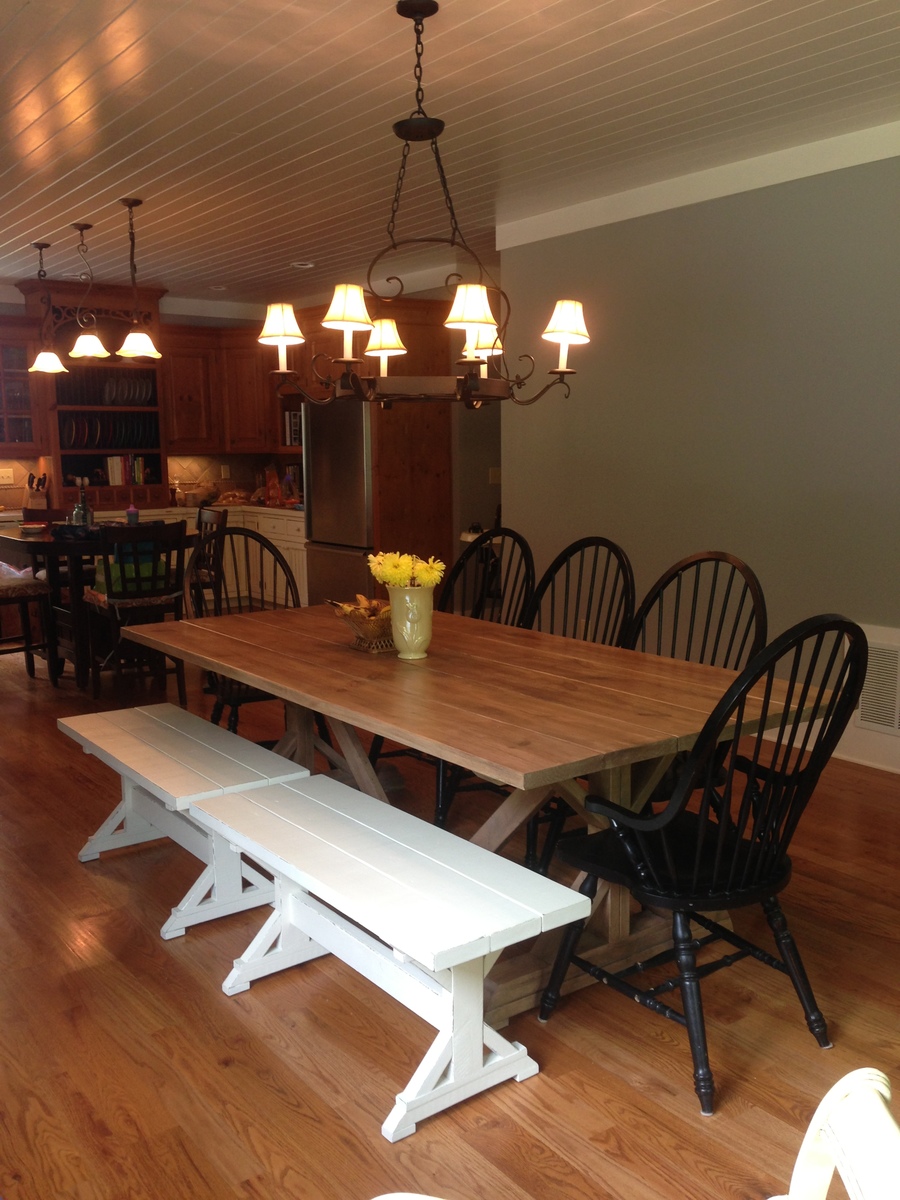
The square table project obviously modified the original plans a bit. We always use 4" brackets to further stabilize and level our tops. This table we used L brackets on the insides at the top of the trestles. The final finish was Minwax Special Walnut for the tops and an antique white that we color matched for our client. Oh and SEVERAL coats of poly to seal her and make her pretty!

This table was table number 22 that we have built from the plans provided here. We have modified widths, lengths and heights many times over! Come find us on Facebook book or follow us on Pinterest. Just put a /youreunique after and you are there. I would be happy to give tips on our finishes if you email me or send me a PM. Thanks for looking and have a blessed day!

Estimated Time Investment
Afternoon Project (3-6 Hours)
Finish Used
The final finish was Minwax Special Walnut for the tops and an antique white that we color matched for our client. Oh and SEVERAL coats of poly to seal her and make her pretty!
Recommended Skill Level
Advanced

Tilt out garbage cabinet

Submitted by Anonymous (not verified) on Tue, 01/01/2019 - 16:06

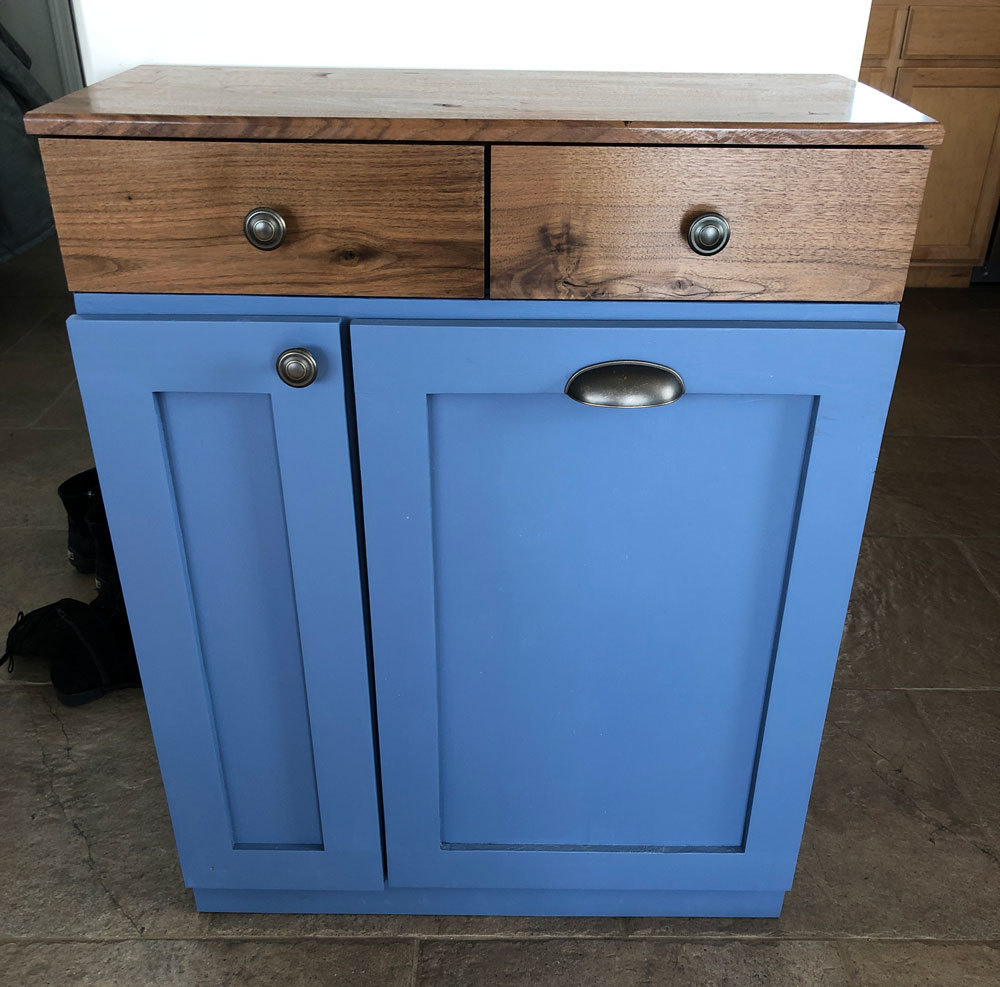
Pine box with walnut top and drawer faces. Behr paint on the box and tung oil finish on the walnut. 

Estimated Cost
$70
Estimated Time Investment
Weekend Project (10-20 Hours)
Finish Used
Behr paint and Fromers Tung Oil
Recommended Skill Level
Beginner

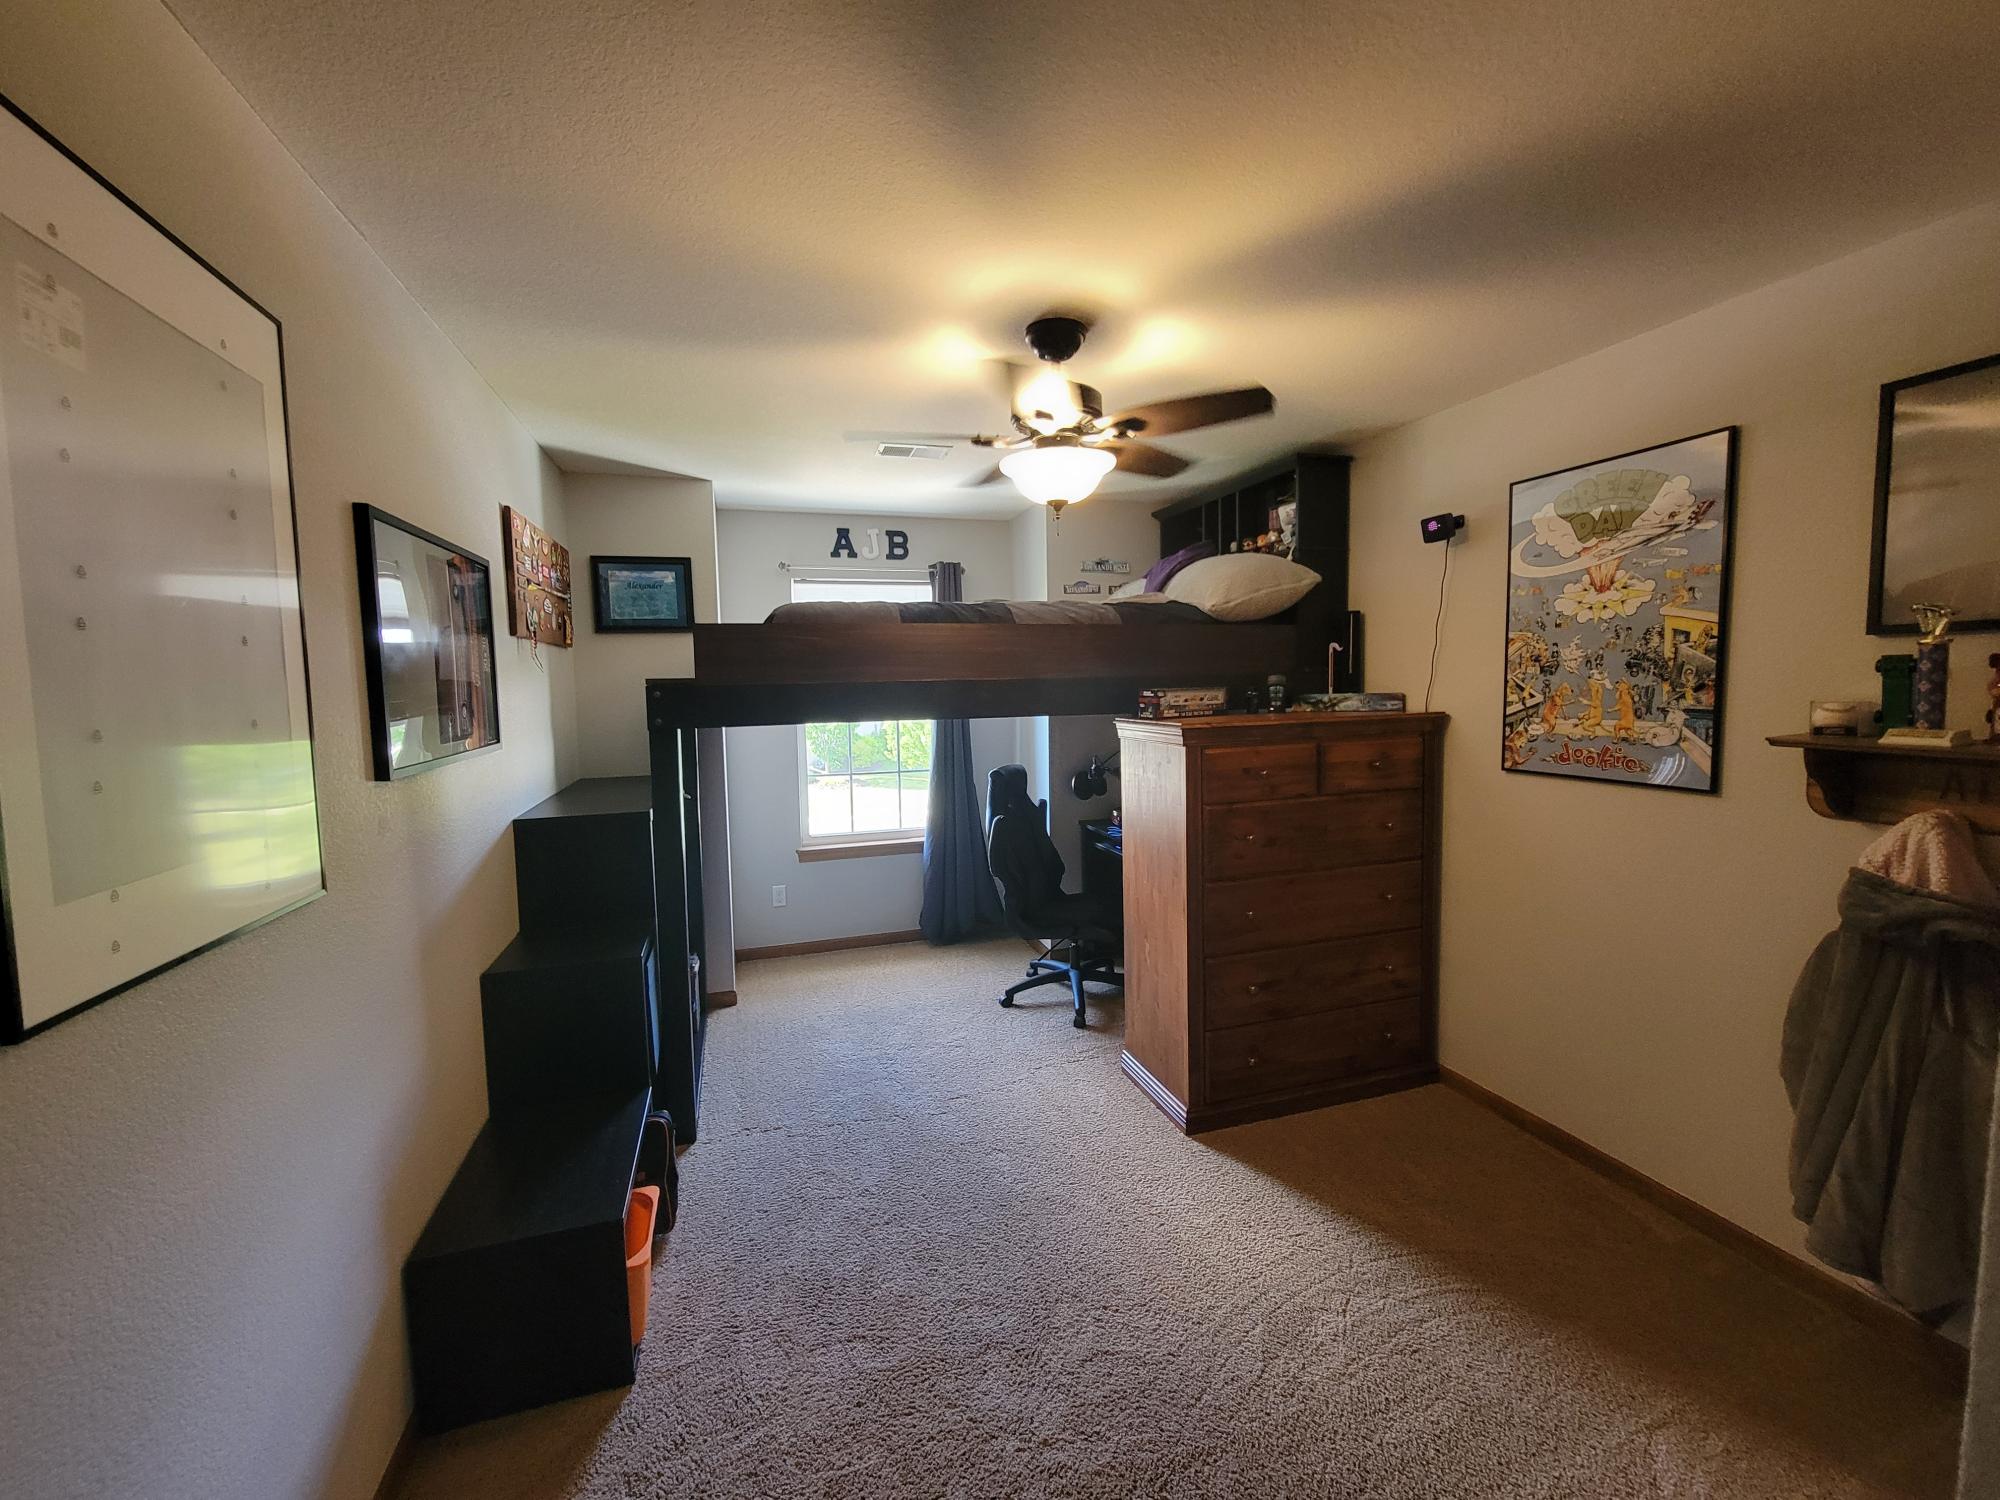
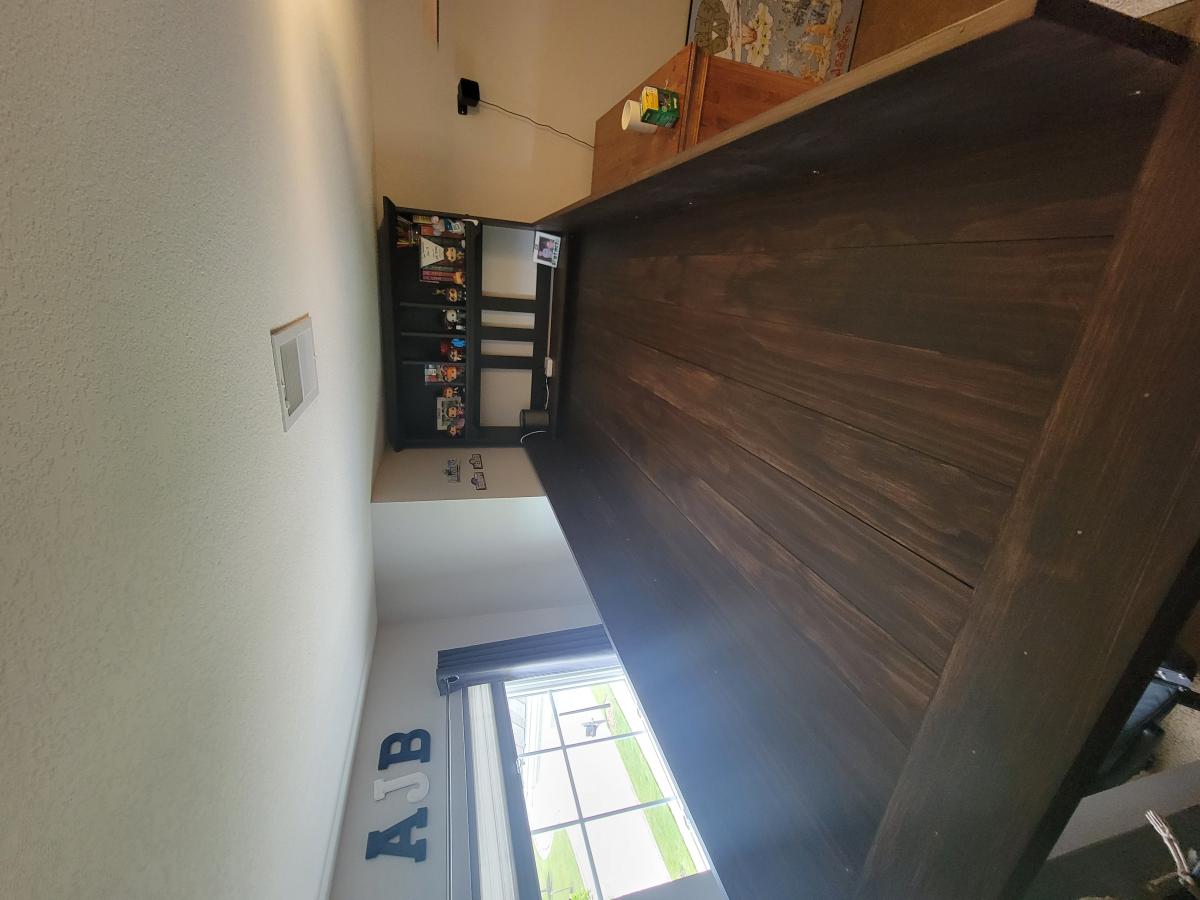
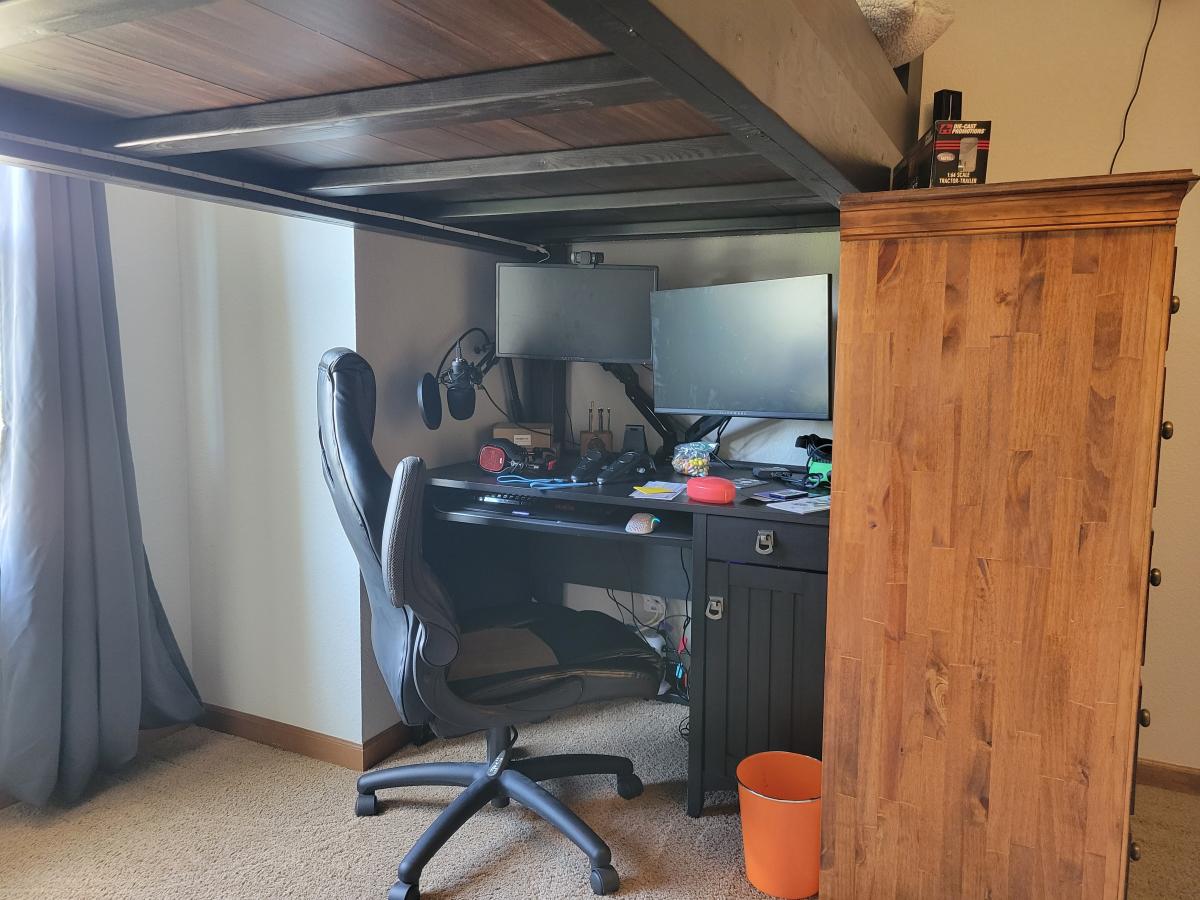
Loft Bed for Teenager

Submitted by Anonymous (not verified) on Tue, 09/27/2022 - 19:58

Designed a loft bed for teenage son. We used iKea shelving cubes for stairs/storage. The boards(flooring) are pine boards stained a dark brown. The other wood is painted black. The "headboard" is actually the bookcase shelf from his desk.

Comments

Benchright Farmhouse Table

We really liked the plans for this table, but it was too narrow for our taste. My husband altered the plans so that the table is 36" wide. The solid oak boards on the table top are reclaimed from the old barn out back.

Estimated Cost
$90
Estimated Time Investment
Week Long Project (20 Hours or More)
Finish Used
He raised the wood grain, and applied three coats of Minwax provincial, sanded in between coats, and five coats of polycrylic clear coat to protect it.
Recommended Skill Level
Intermediate

Comments

Guest (not verified)

Thu, 08/25/2011 - 20:20

Thank you Ana for making the plans available and easy to follow. My honey-do list gets longer. You do such great work.

Guest (not verified)

Thu, 08/25/2011 - 20:19

The top is oak from an old barn we have on our property. The stain is named Provincial from Minwax. The rest of the boards are whiteboards from Lowes.

kareylynn

Sun, 12/04/2011 - 07:14

Gorgeous table!!! I love the finish, and I know you must be so proud of your work. I love the pic that shows the bones of your table in progress. It shows the craftsmanship that you put into this piece. Great job!

cassiopeia_816

Tue, 02/14/2012 - 04:55

You have the correct stain on the website, I used 3 coats on the table top to get it darker and let the stain soak in longer before wipping off the extra. On the chairs only 2 coats were applied. What I did was sand in between all the coats, even though the stain directions say its not needed, I just wanted to try and the results I liked. As always try on a spare piece of wood first. I hope this info. helps, thanks for looking and asking.

Guest (not verified)

Wed, 02/22/2012 - 10:30

Great! Thank you for the reply. I am going to start on this project in a few weeks and your input is very valuable. I'll give it a go and let you know how it goes.

Thanks again!

Guest (not verified)

Wed, 03/07/2012 - 19:39

I love the table, but I'm suprised that no one said anything about the chairs. Do you have the plans for the chairs you made? I built the table but would love to have chairs that matched! Thank You

Guest (not verified)

Tue, 03/13/2012 - 14:21

I'm in LOVE with your table!!! Did your husband follow Ana's directions for the legs? They look like they are at a slight angle. Does your husband have the plans for this? Thank you so much!!

Guest (not verified)

Tue, 03/13/2012 - 14:26

Hi, I LOVE your table - it came out so beautiful! Just wondering, did you change the plans other than the with of the top? The legs look like they are at a slight angle and I love that!

cassiopeia_816

Sat, 03/31/2012 - 15:47

I followed Ana's plan to build the legs, they are at a slight angle. The chairs are based on the Modern Angle Chair. They are posted as another project. I did add the three cross supports on the bottom. When I saw my wife sit down and lean back a little bit I could see the back legs moving to much in the wrong direction. I basically used a 1x2, and I tried to measure about the middle or what looked good and screwed them in. It added more strength to the legs and made the chair much sturdier. I hope this info., helps. Sorry it took awhile to reply back.

jsh2001

Thu, 01/31/2013 - 04:40

This table is stunning, great work. Everytime we think we know which type of table we want to build we go and see another that looks even better.

Dresser For Little Girl's Room

Submitted by sraper2 on Thu, 09/12/2013 - 10:45

I built this dresser for a little girl. It was my first time doing drawers and I was a little intimidated but it wasn't bad at all! I'm going to be building one for my sons room too. Thanks for the great plans!!

Estimated Time Investment
Day Project (6-9 Hours)
Recommended Skill Level
Intermediate

Elijah's Washer & Dryer Pedestal

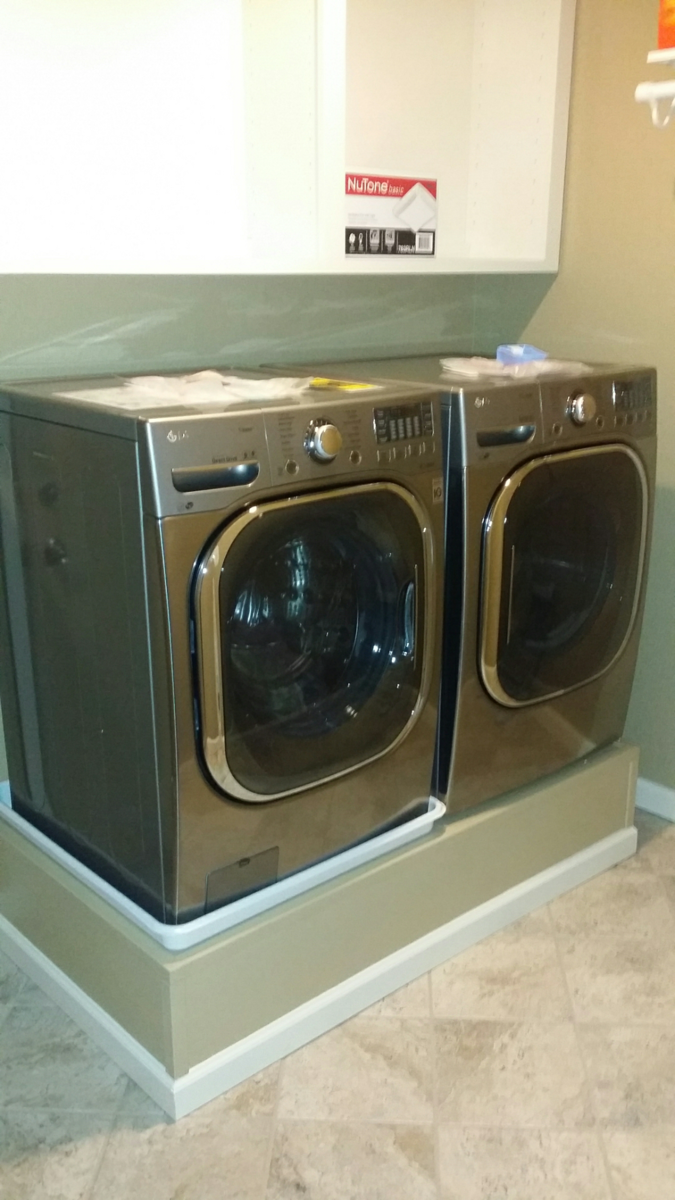
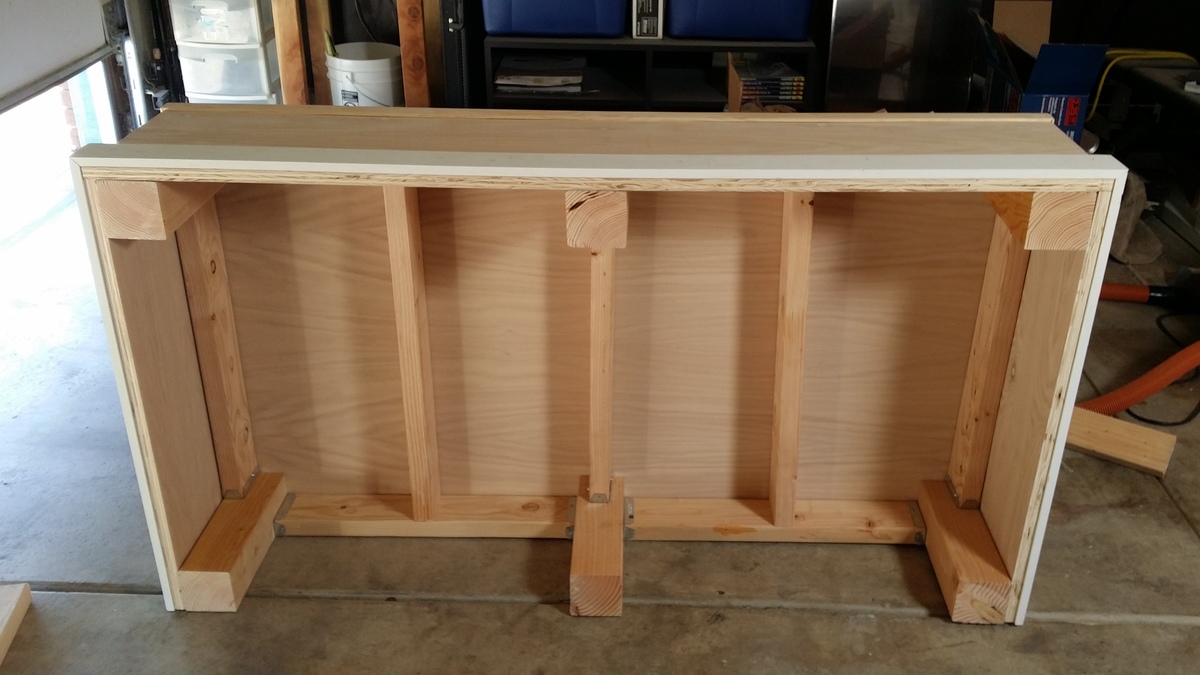
I got this Idea from Sausha's washer dryer pedestal post.  Before then i didnt know people even built pedestals for their washer and dryer.  Just purchased new front load washer and dryer and they wanted 250 bucks extra for each pedestal.  That is 500 bucks and is absolutely rediculous.  So i opted out of those and thought to myself maybe I can build something instead.  So I began my search online and stumbled across this post which seems to be the most popular pedestal build on the web.  I think sausha's build is fantastic and absolutely beautiful though I went another way with mine.

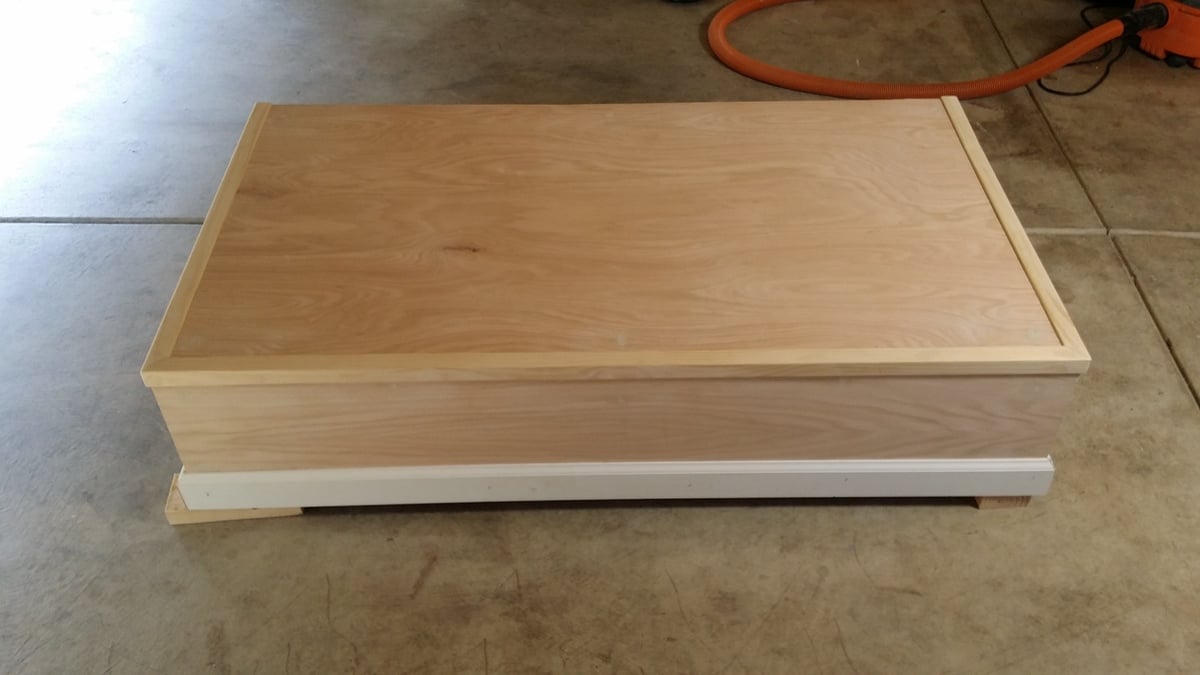
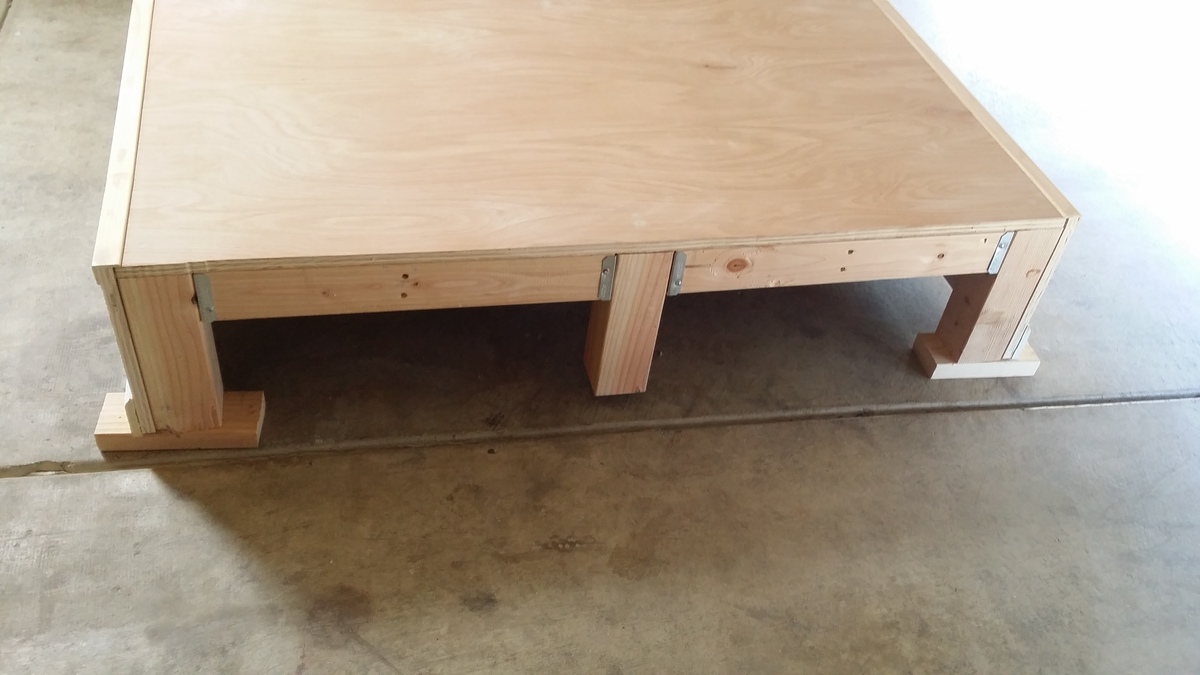
I tend to like to overbuild things.  Especially in this case, seeing as the washer weighs a beastly 200 pounds by itself.  I figured with clothes and water it would be about 235 pounds just for the washer.  I noticed that with the aluminum drawer pedestals that you can purchse with the washer and dryer the support is only where the legs from the washer and dryer will sit.  That was all I needed to get on my way.  Purchased some regular old douglas fir 2x4's, 4x4's, and a 4'x8' sheet of 3/4 inch plywood.  I opted to use fence post brackets to tie everything together because I didnt feel like driller pocket holes in each 2x4 when you were not going to see them once its all said and done.  The fence brackets are not structural so they lack ridgidity untill you tie everything together with the legs, slats, and top.  Cut the top from the 3/4 plywood sheet and used the left over plywood to cover the front and the sides.  I left the back open as it is not seen anyway. 

Total size of the pedestal is 56" wide x 31" deep x 12 3/4 inches tall, but you can build it as wide, deep or as tall as you need it.  When i was done putting it together.  I tested it by jumping up and down on it and I weigh 230 pounds.  So this thing is quite strong.  I finished it up by covering the edges where the plywood meet with Edge moulding and the bottom with baseboard to match my laundry room.  I used Behr premium plus ultra paint on most of it and, behr alkyd paint for the baseboards.  Gave the top a couple coats of General Finishes High Performance Polyurethane.  Which isnt neccessary but I opted to do so because of the weight of the washer and dryer and the General Finishes High performance dries harder than most other polys that I have used.  I only used it on the top though. 

Taking into account that I used the paint and baseboards left over from renovating my laundry room.  This project cost about 150 bucks.  200 if you have to purchase the paint and moulding.  Quite easy to do and though I made the cutes I needed with my table saw.  This can be done with a circular saw and a drill.  No exotic tools are needed.  Will post finished pictures when my washing machine and dryer are delivered on friday and they are sitting on top of the pedestal. 

Estimated Cost
150 give or take a few bucks.
Estimated Time Investment
Day Project (6-9 Hours)
Finish Used
Paint
Polyurethane
Recommended Skill Level
Beginner