Cedar herb stand
Awesome project
Built from Plan(s)
Awesome project
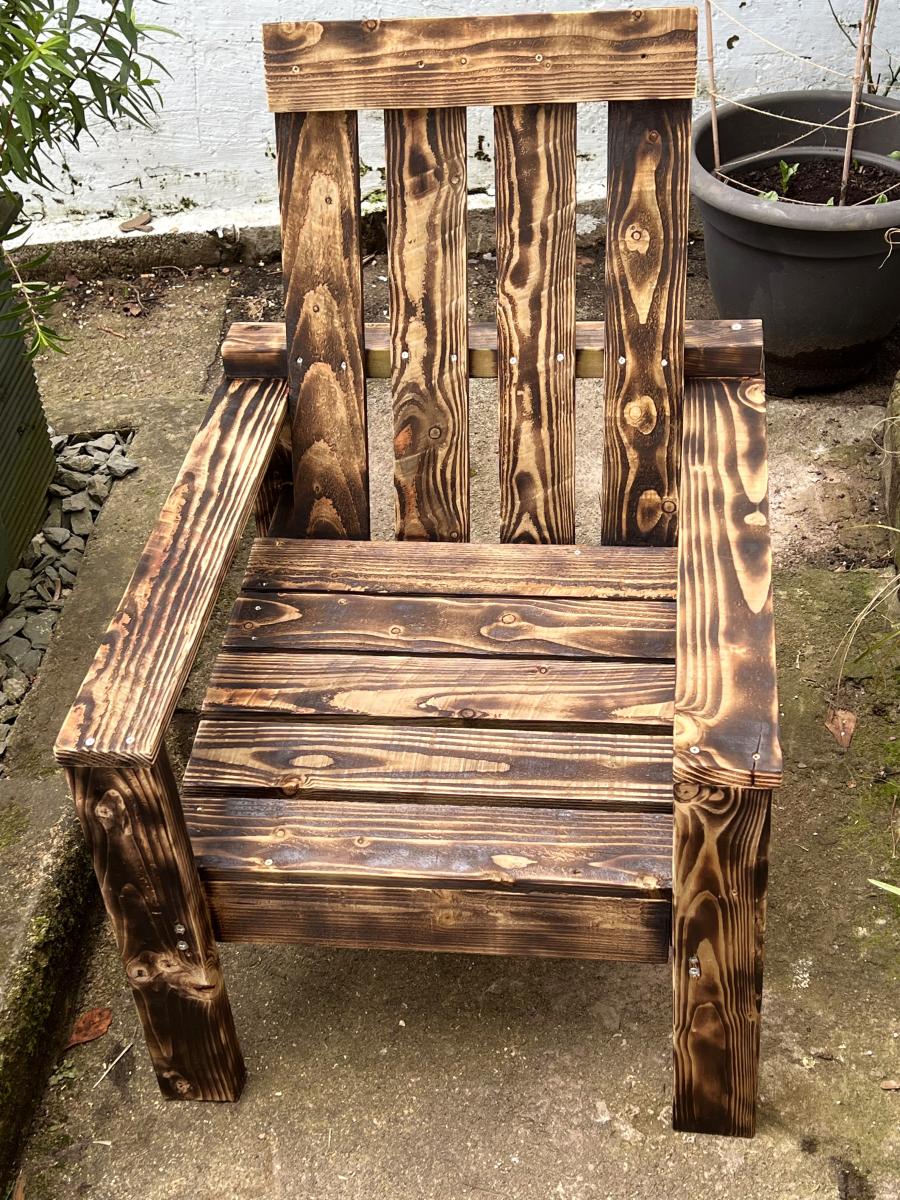
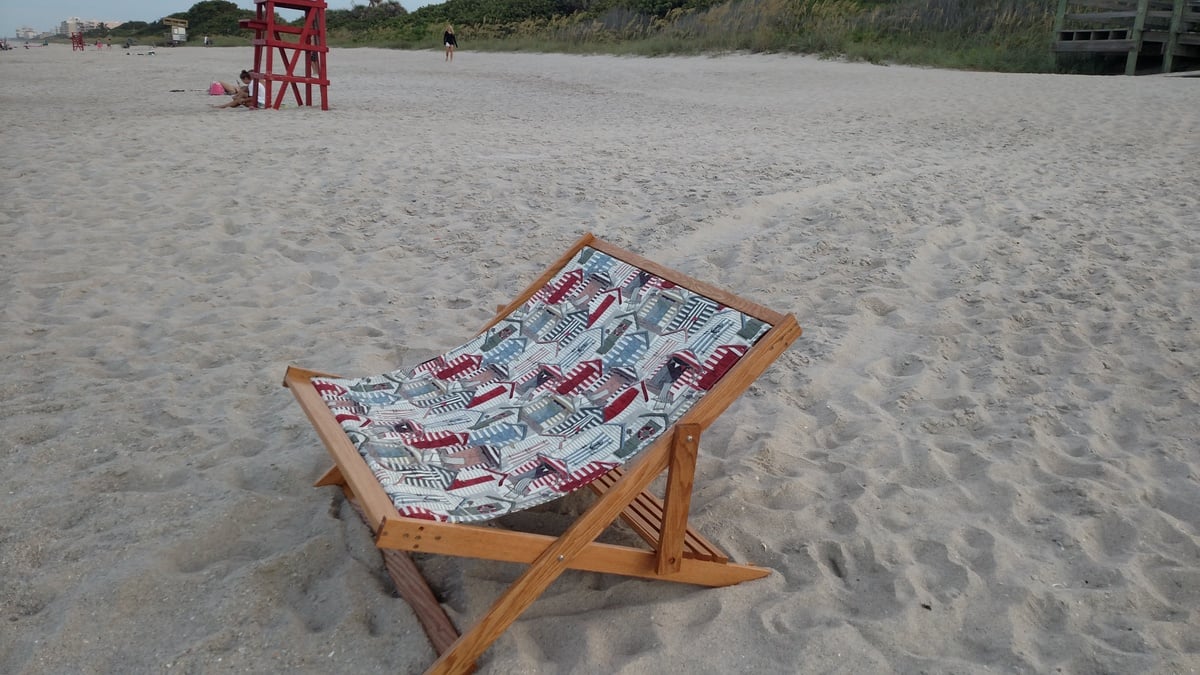
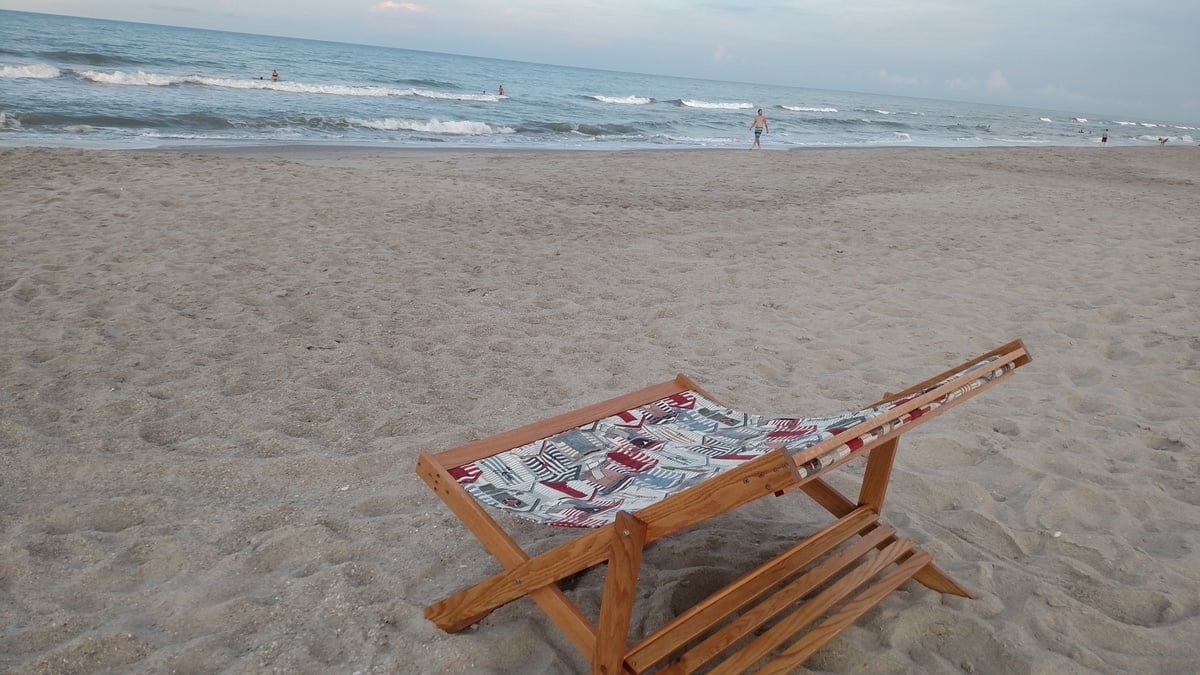
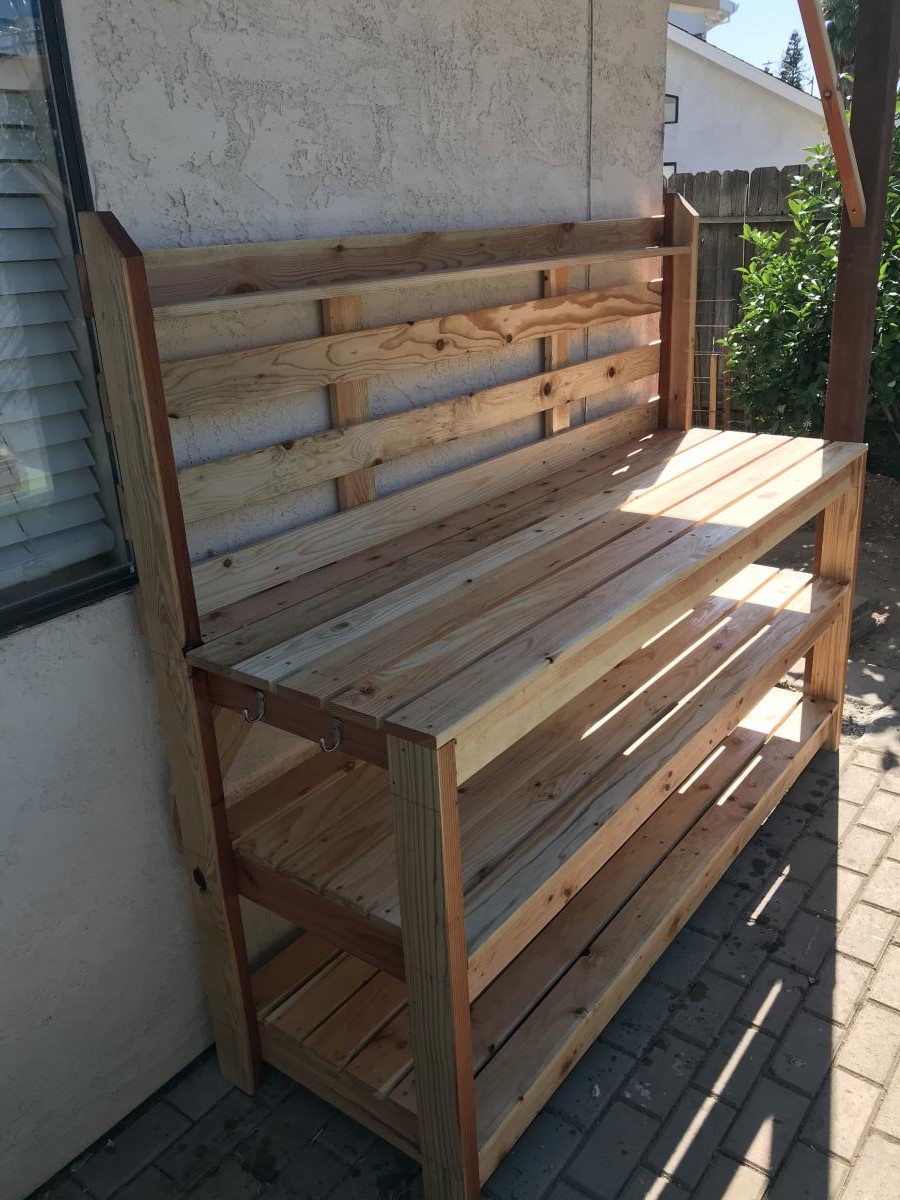
Made to the basic design for the outside patio chair. With a few modifications due to utilizing all the scrap wood from the greenhouse.
Welshsmoker
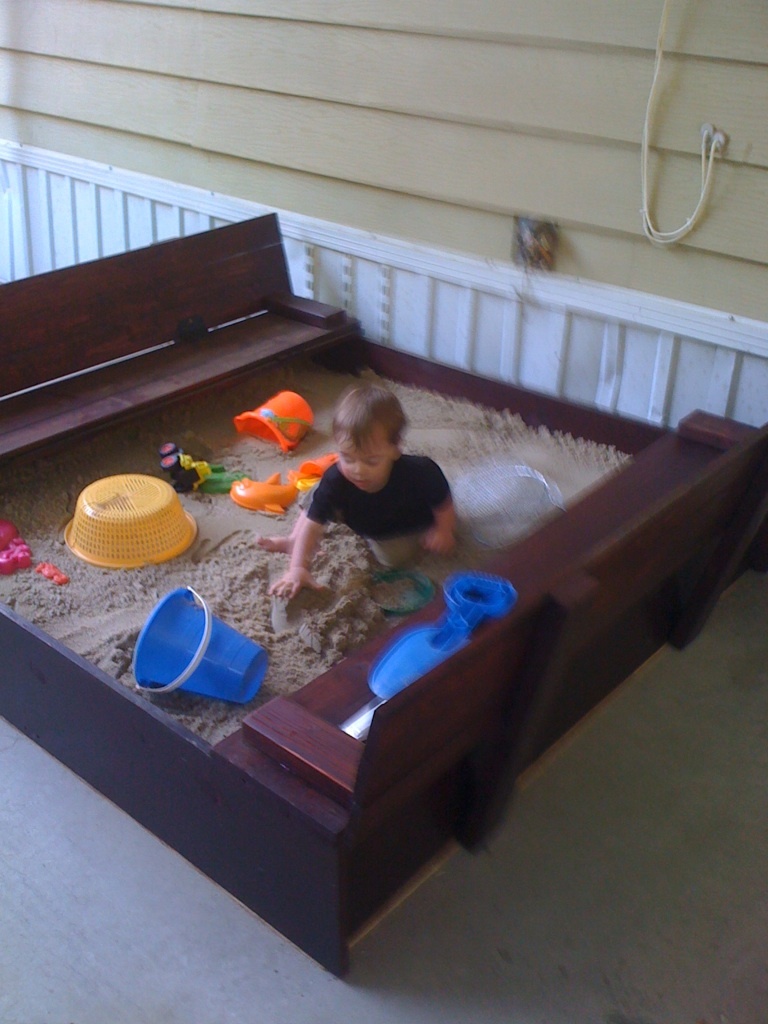
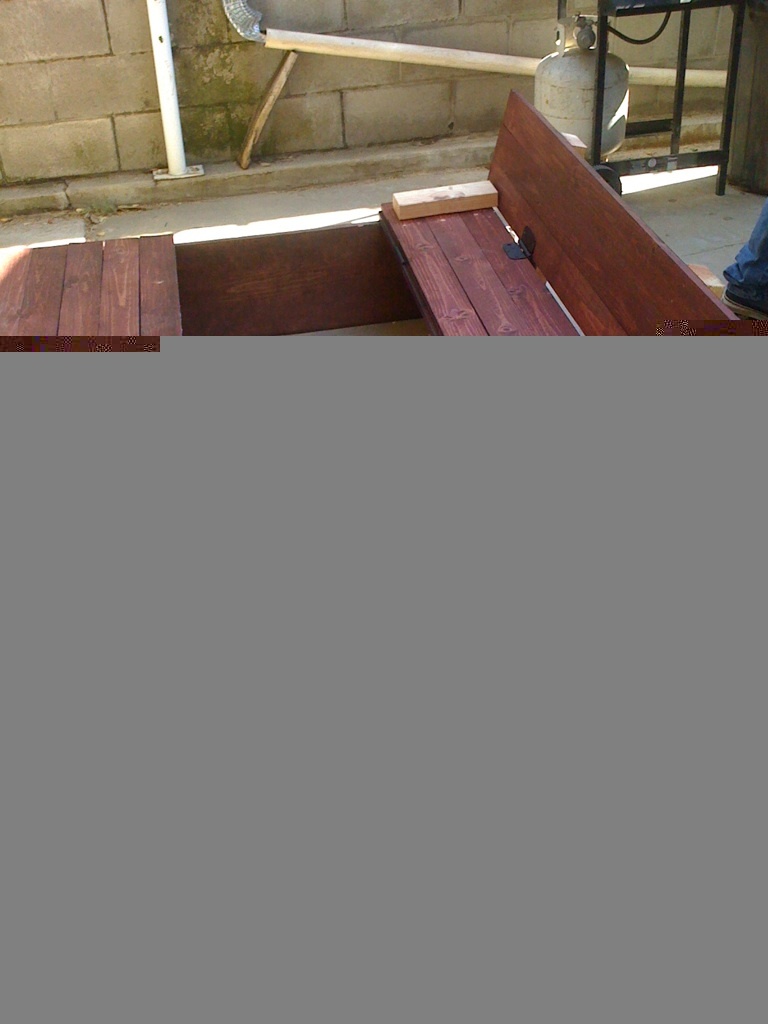
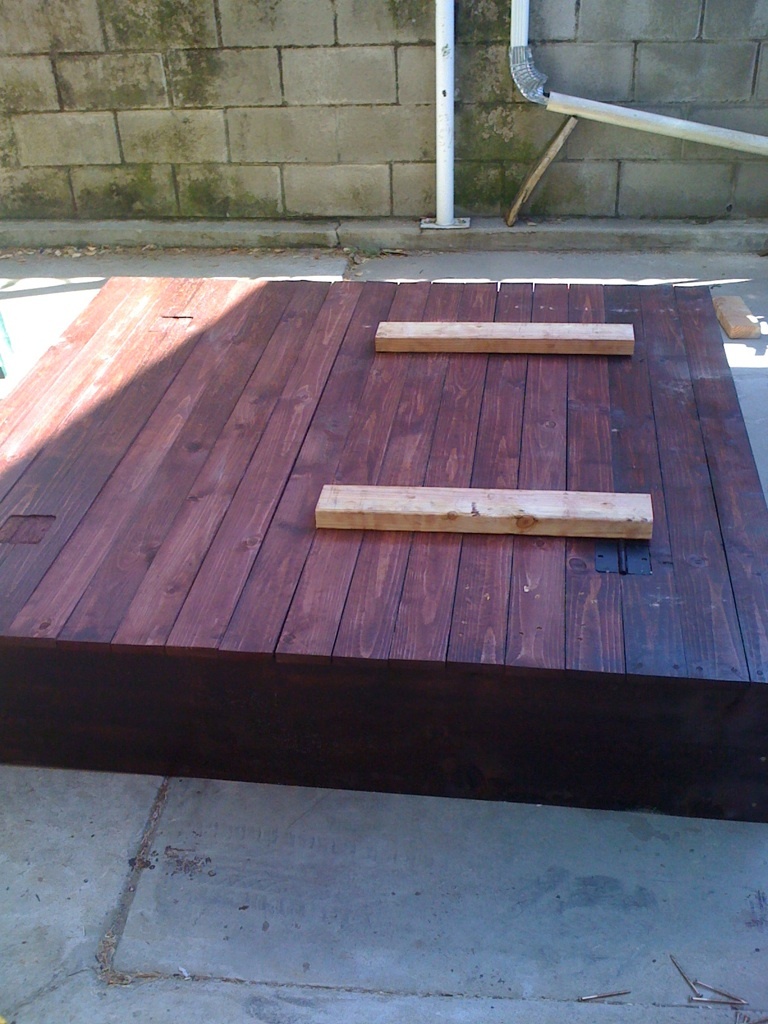
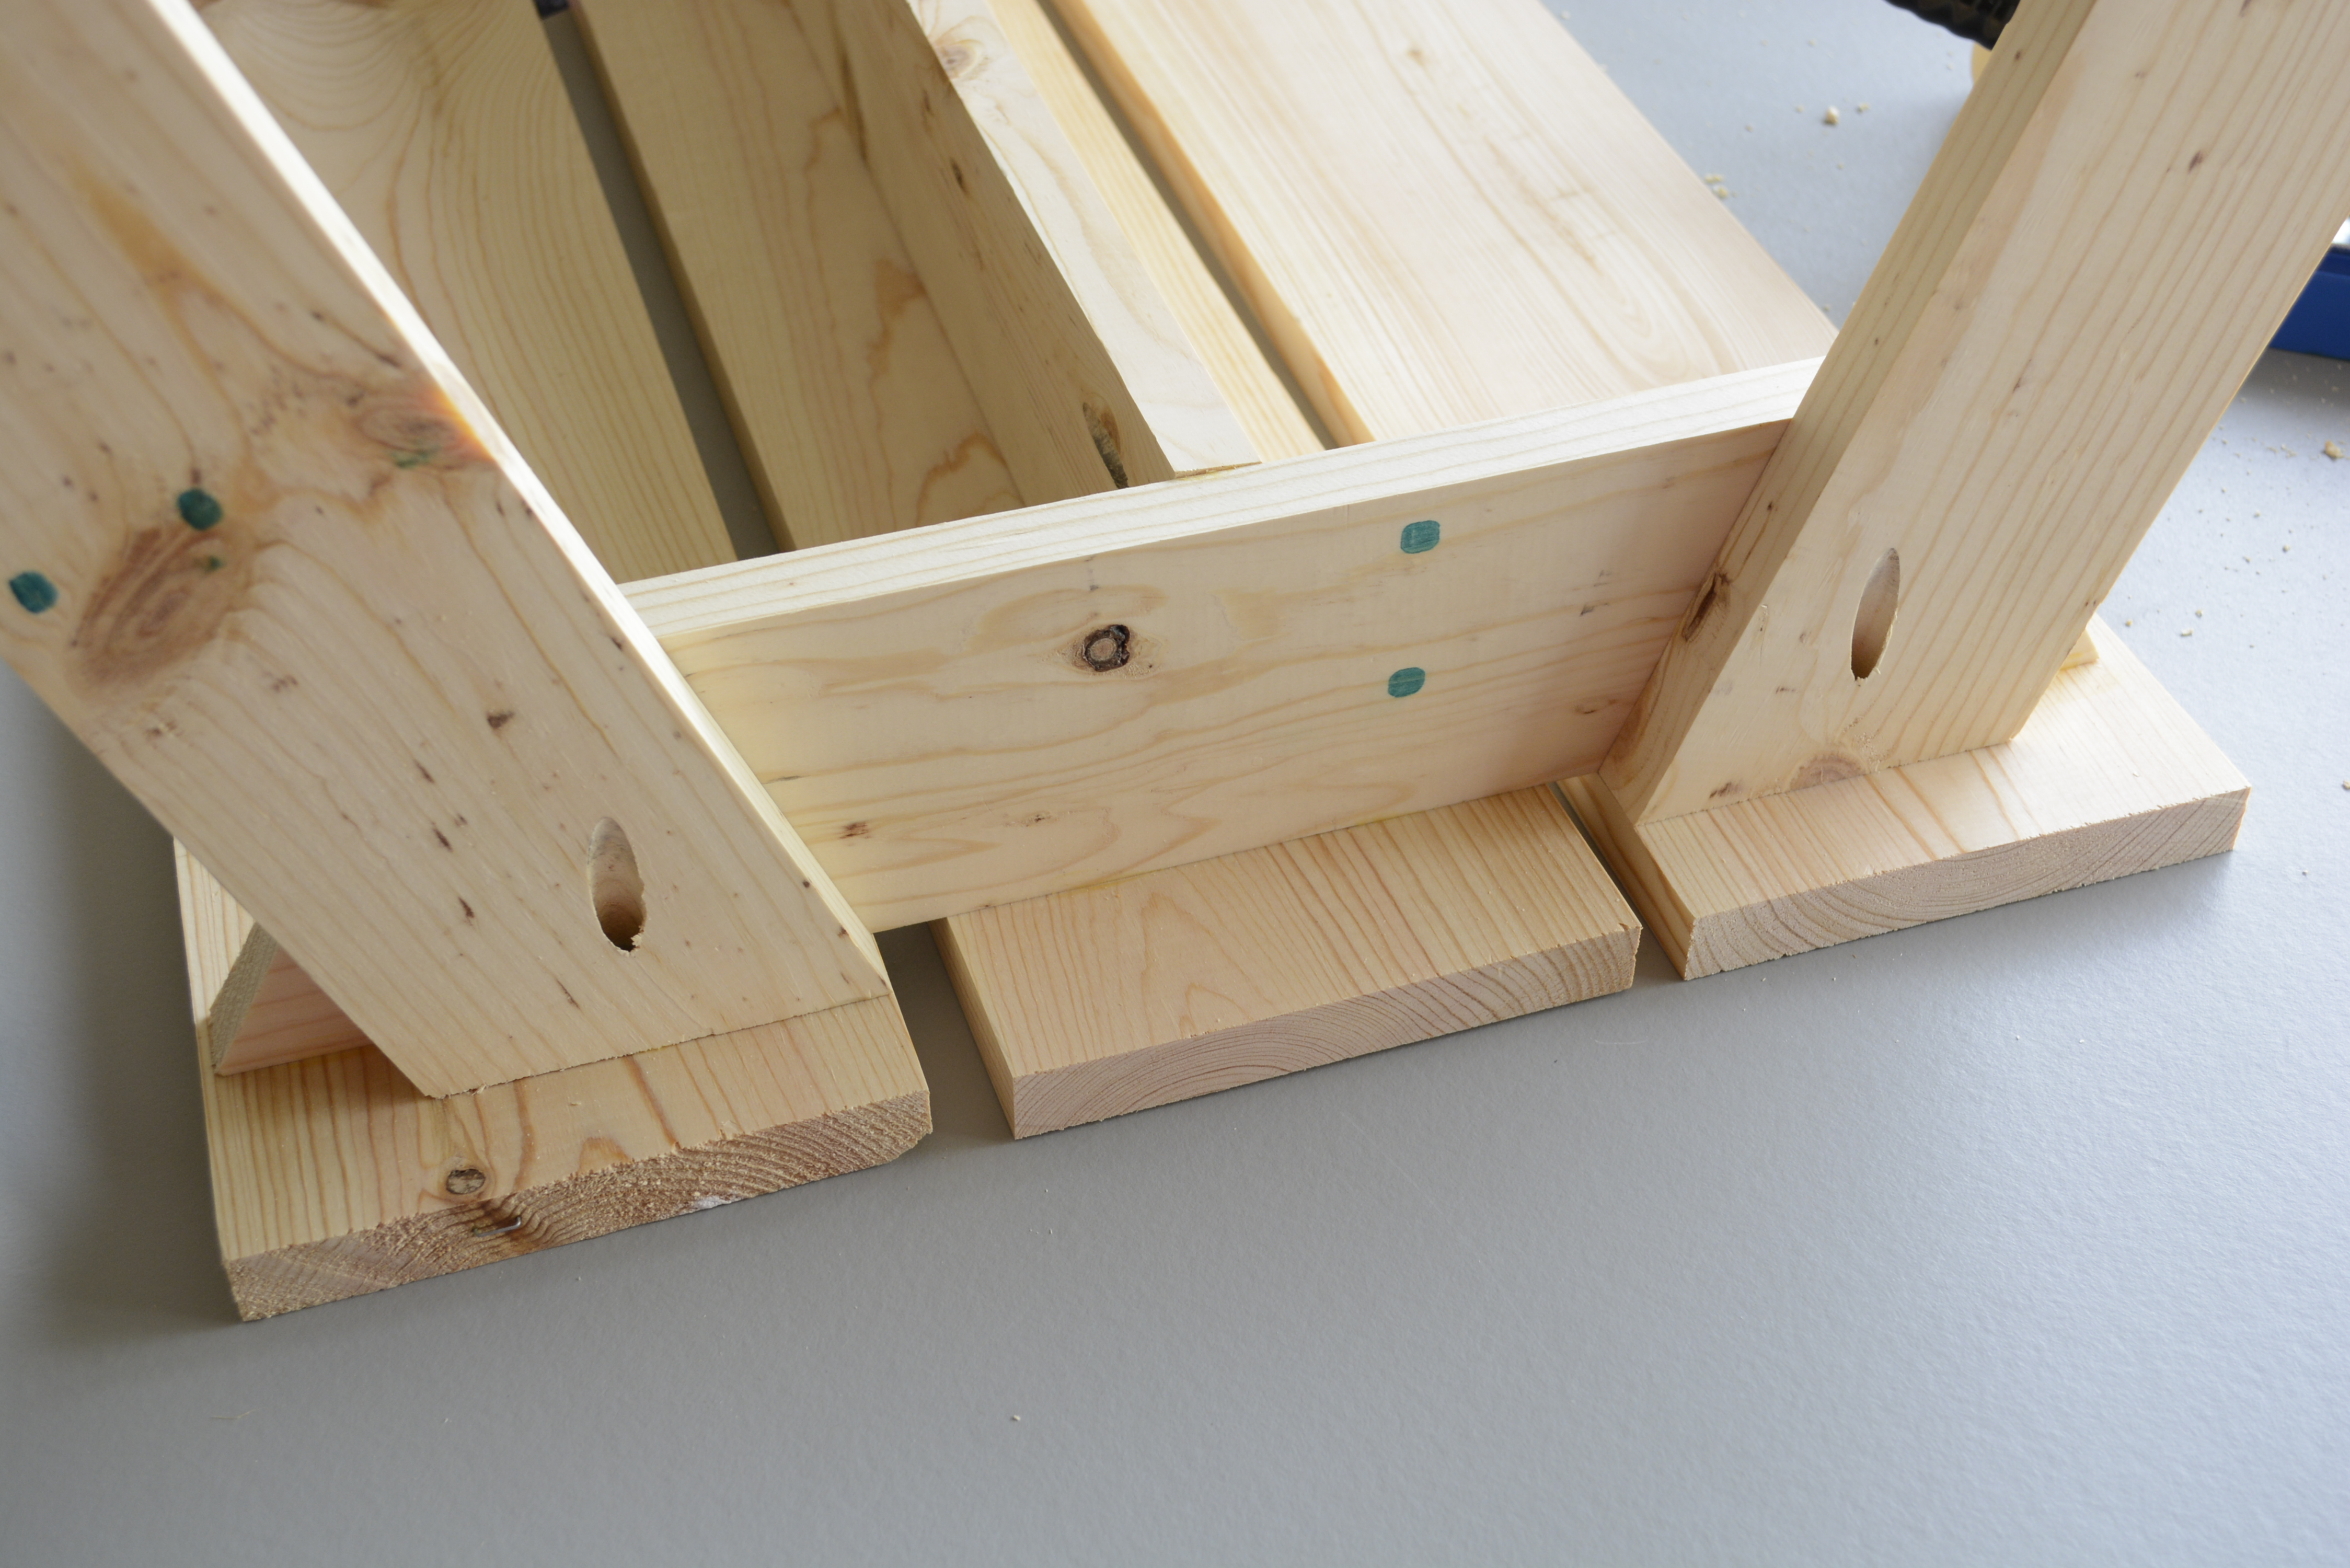
This sandbox is based off one on this website. We made ours 5ft x 5ft x 1ft and instead of spacing the boards out 1/2' we put them right next to each other and routered out the space for the hinges :) It looks amazing and such fun!
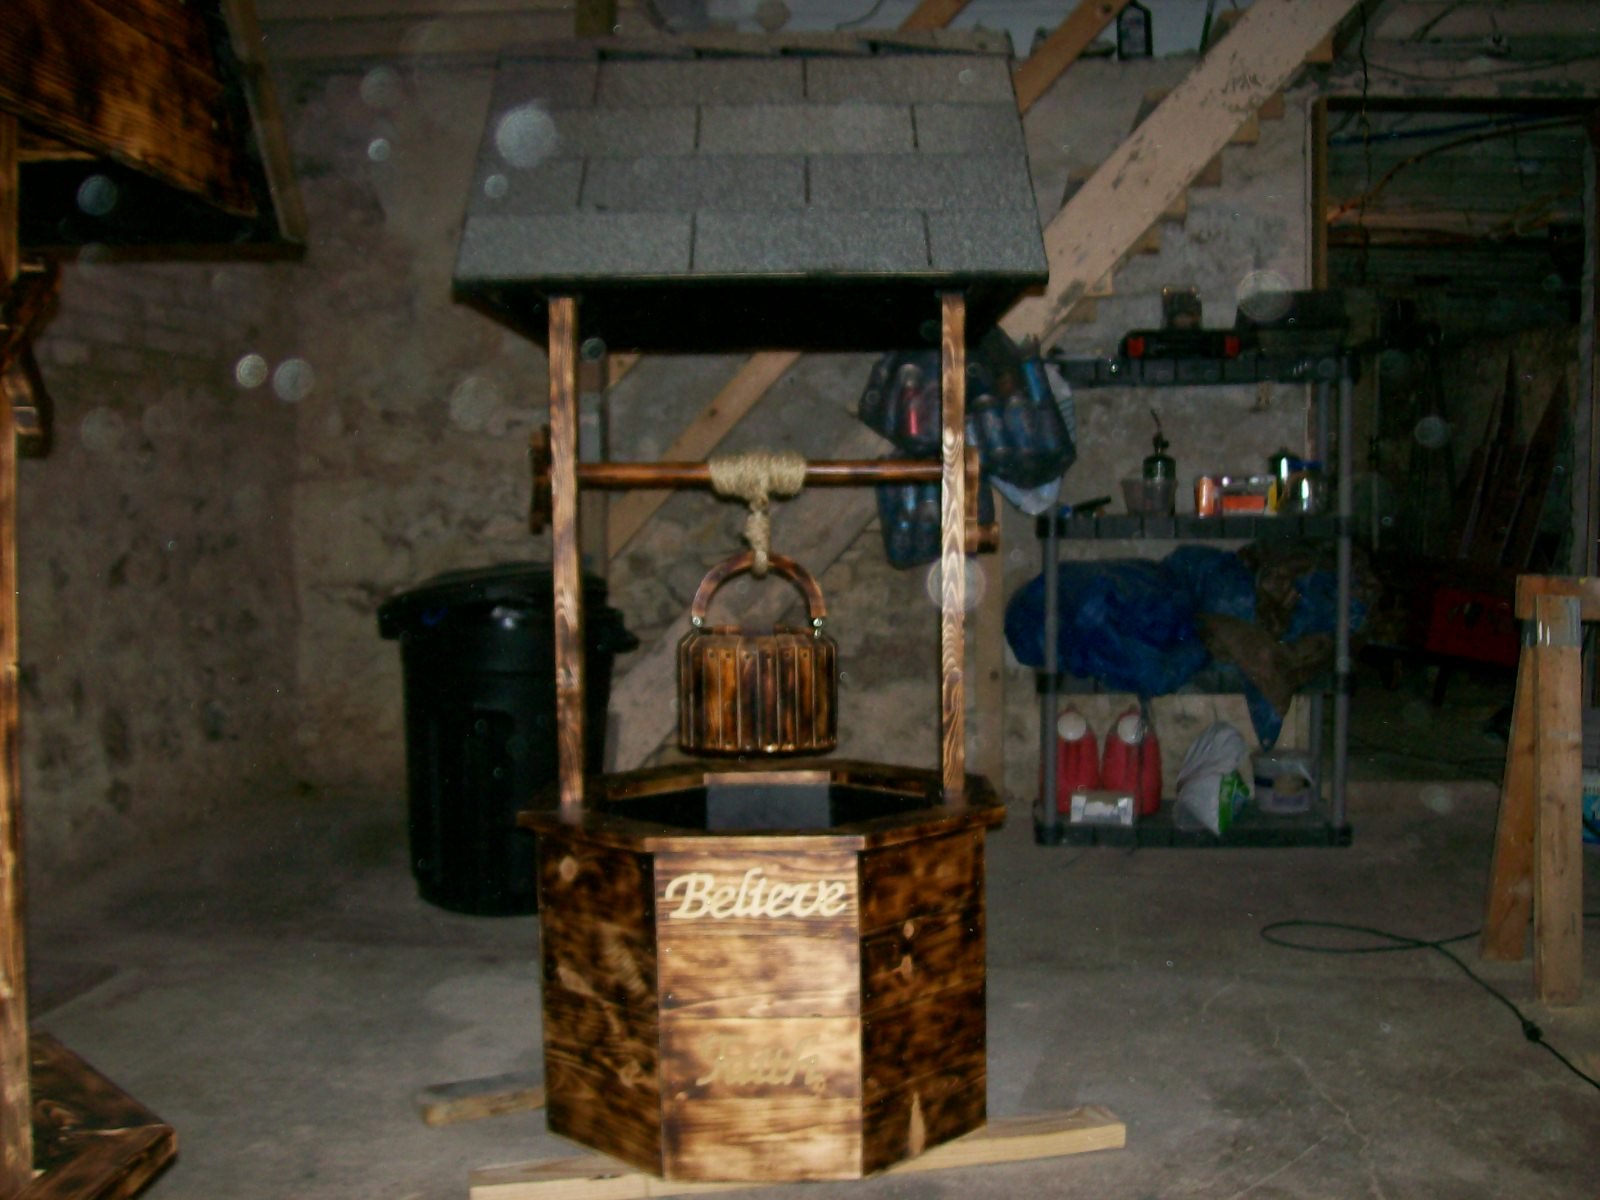
Started these wishing wells as only having fun and for family it seems now that it is going to be a little more than I thought now taking orders from family friends


In reply to Wishing wells by Jason48
Tue, 11/19/2019 - 07:33
I love the wishing wells, but I can;t find a plan. My mom has wanted one of these forever! She now has stage 4 squamous cell carcinoma Stage 4 and I would love to build her one before it is too late.
Fri, 04/04/2014 - 08:49
Good or bad? I can't imagine anyone would say anything bad! This is awesome! Looks great!
In reply to Good or bad? I can't imagine by stacynabby
Tue, 04/15/2014 - 07:23
Thank you for the compliment
Fri, 04/03/2020 - 17:24
Can I ask where you got this plan from.Would love to make one.
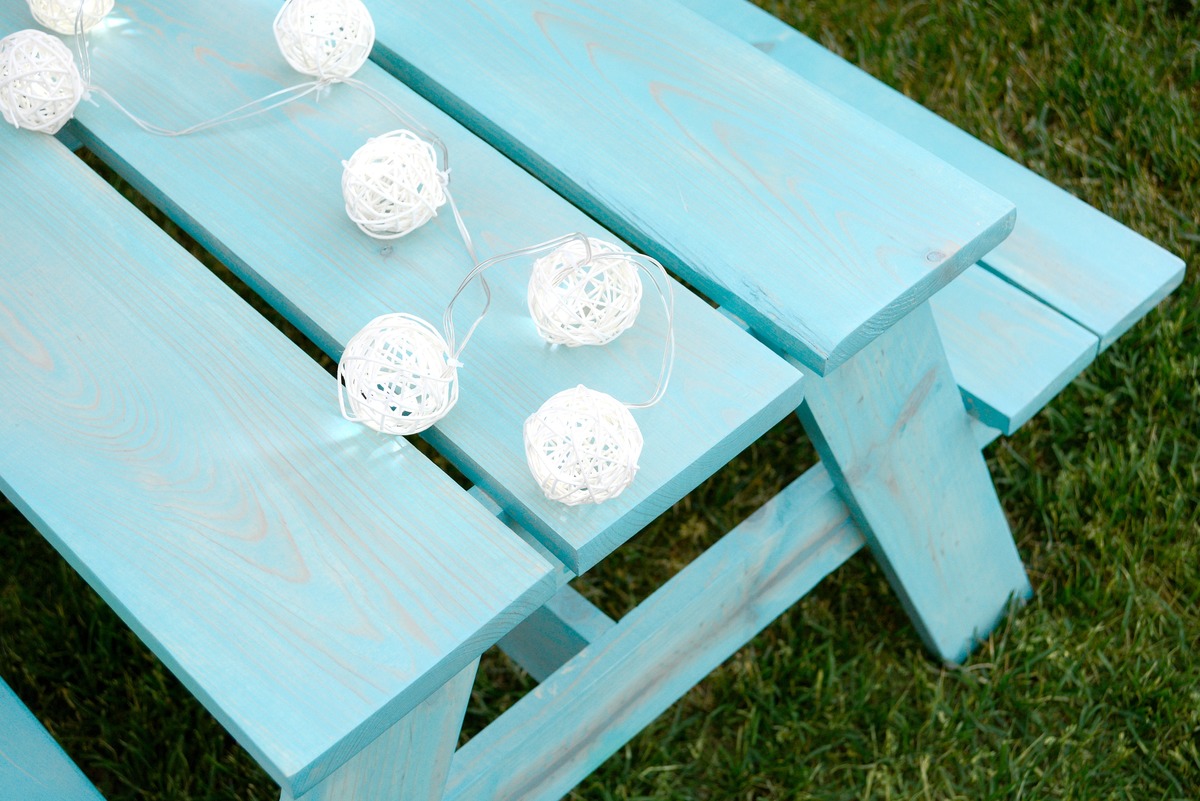
Made this over a weekend. It did take a week to apply the final finish to protect it.

This was my first building project and I needed help with the assembly. Also, I used an oil based polyurethane that changed the beautiful blue color to a dingy yellow. So after it was assembled, I sanded it down, giving it a rustic look, and sprayed two coats of Rust-oleum over the entire bench. We also added an extra shelf.
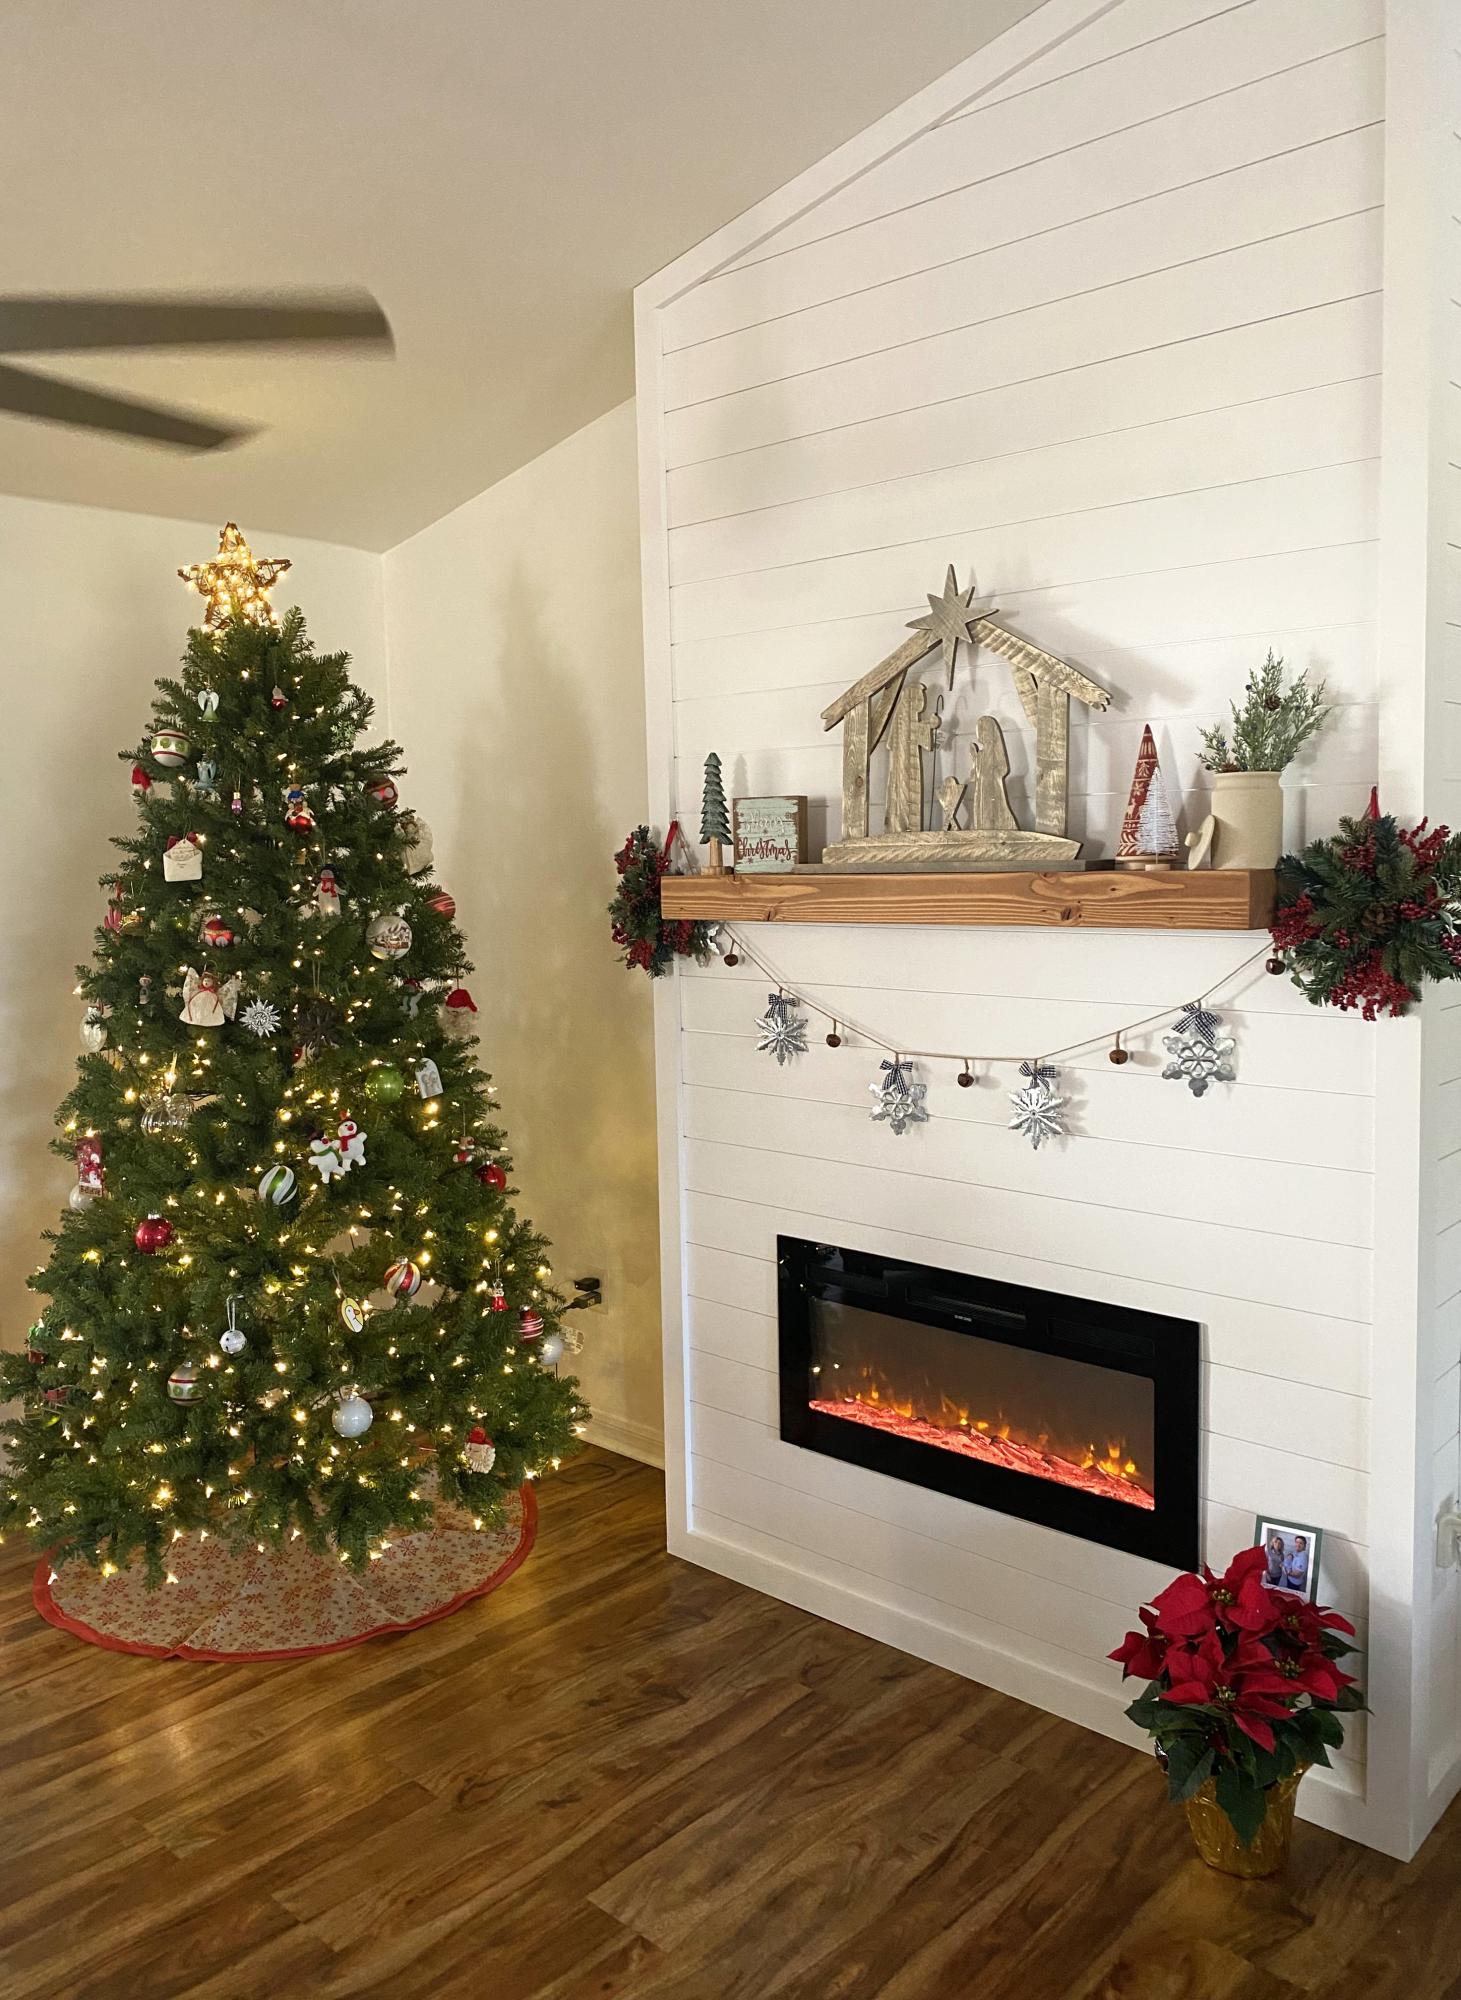
My wife wanted a fire place in our new home. Ana’s plans were perfect. Challenged a bit by the vaulted ceiling, but with Ana’s plans, it was very doable. My wife loves her Christmas gift.
Angel
This kids mini dining table is a pretty easy build, especially if you have a Kreg Jig. I love that it is so pretty at a great price. It fits in well with our home too, which is awesome. The final product measures 30"x48", so it is big enough if your little one decides to have some friends over for dinner. One of my goals when building was I wanted multiple kids to be able to paint, color, glue, cut, or eat at it without getting in each others way. I think it won't be a problem! The whole project only takes a few hours. It was my first project with the Kreg Jig that has been sitting in my garage since Christmas. I was scared to use it. I can't believe I waited so long! That thing is amazing!
Thanks Ana for all of the encouragement and inspiration. I truly enjoy building furniture. It is so exciting thinking about my next project. I can't wait to use your plans to build storage for our entire play room!
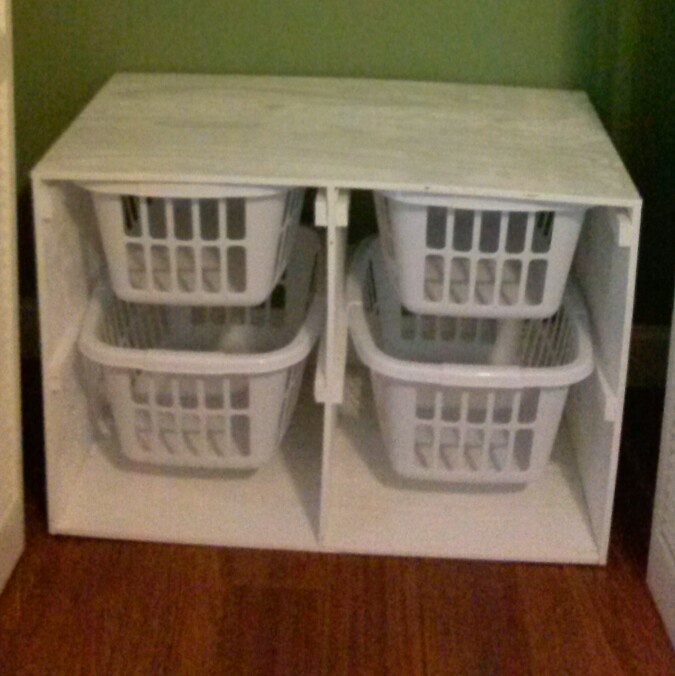
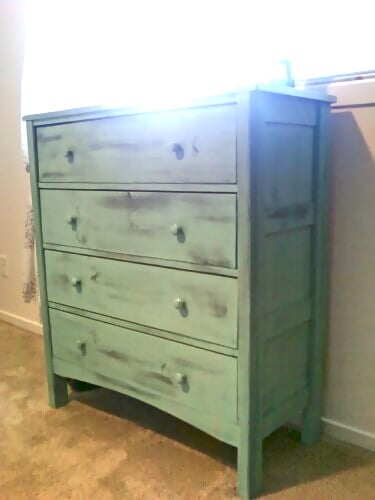
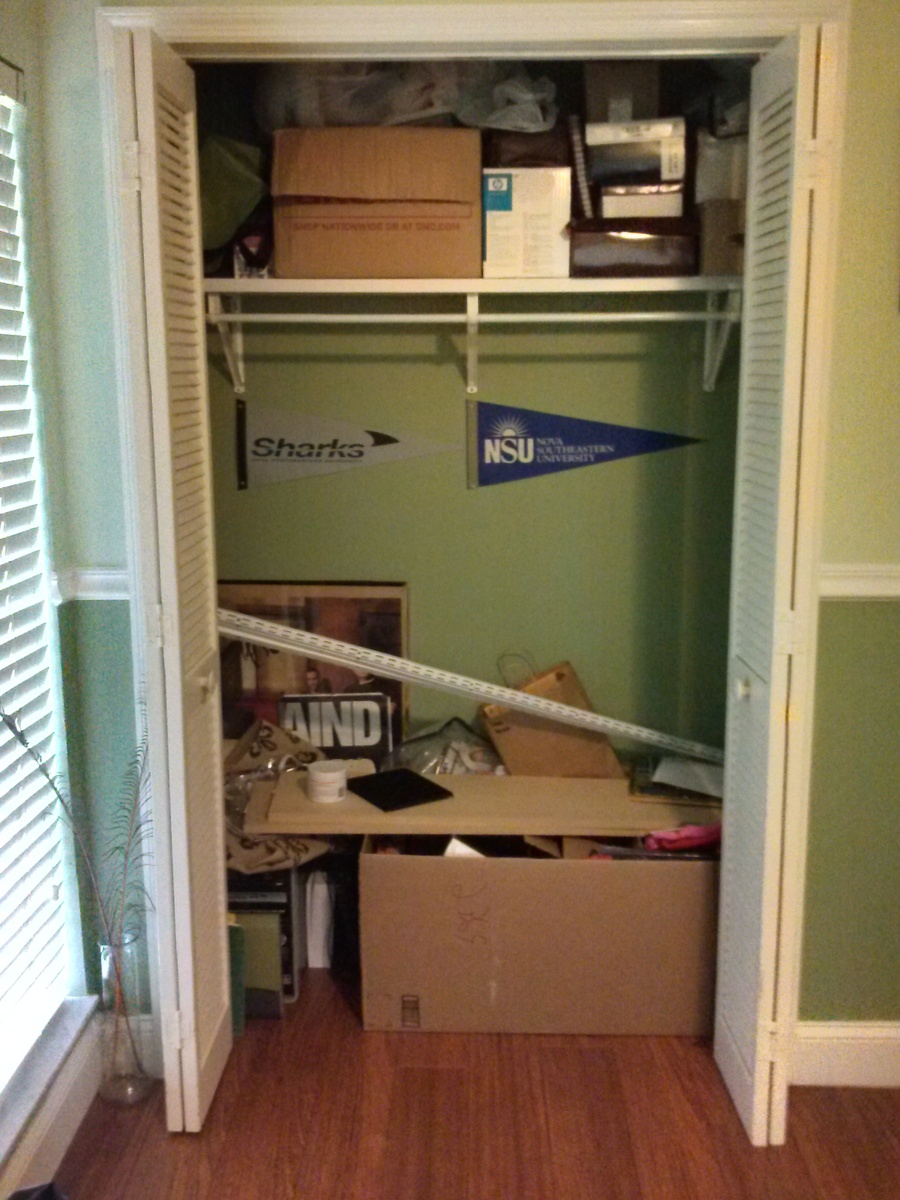
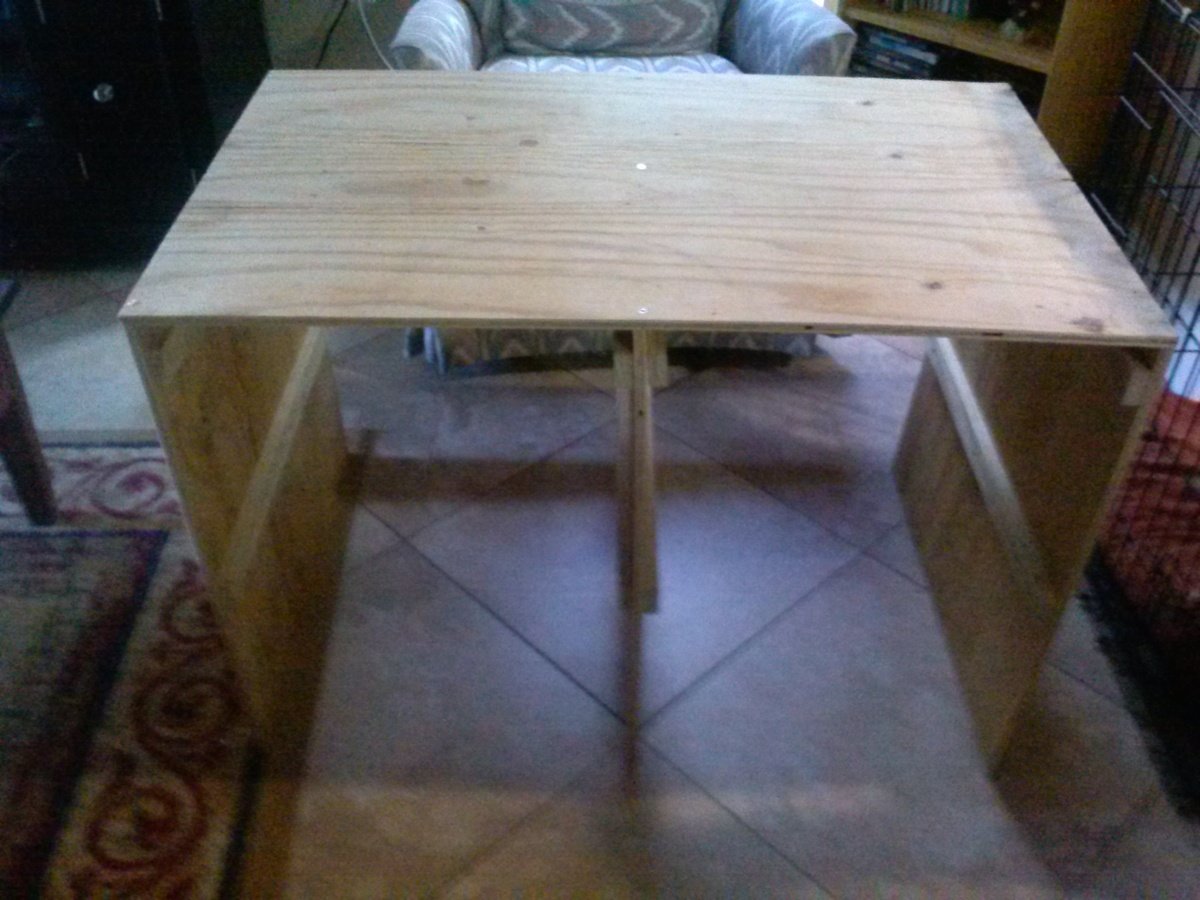
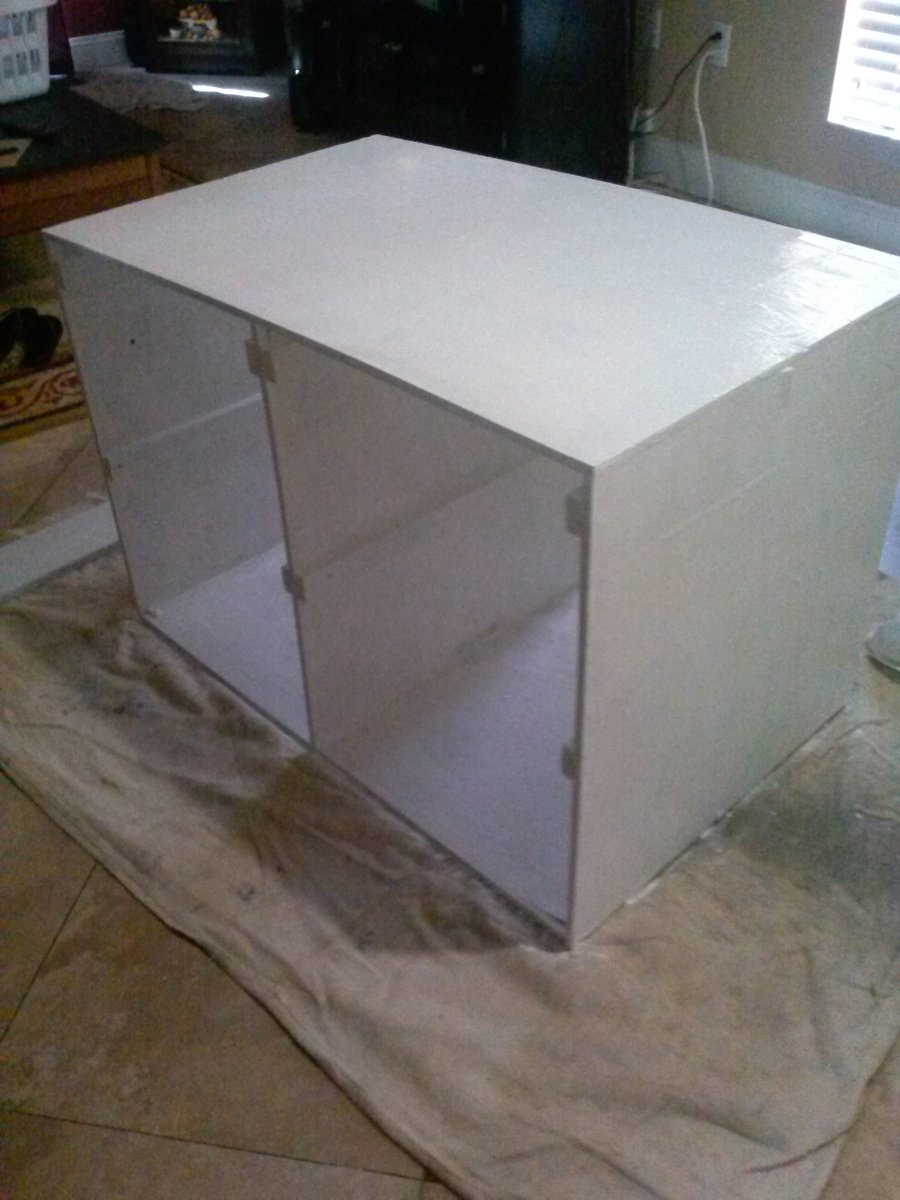
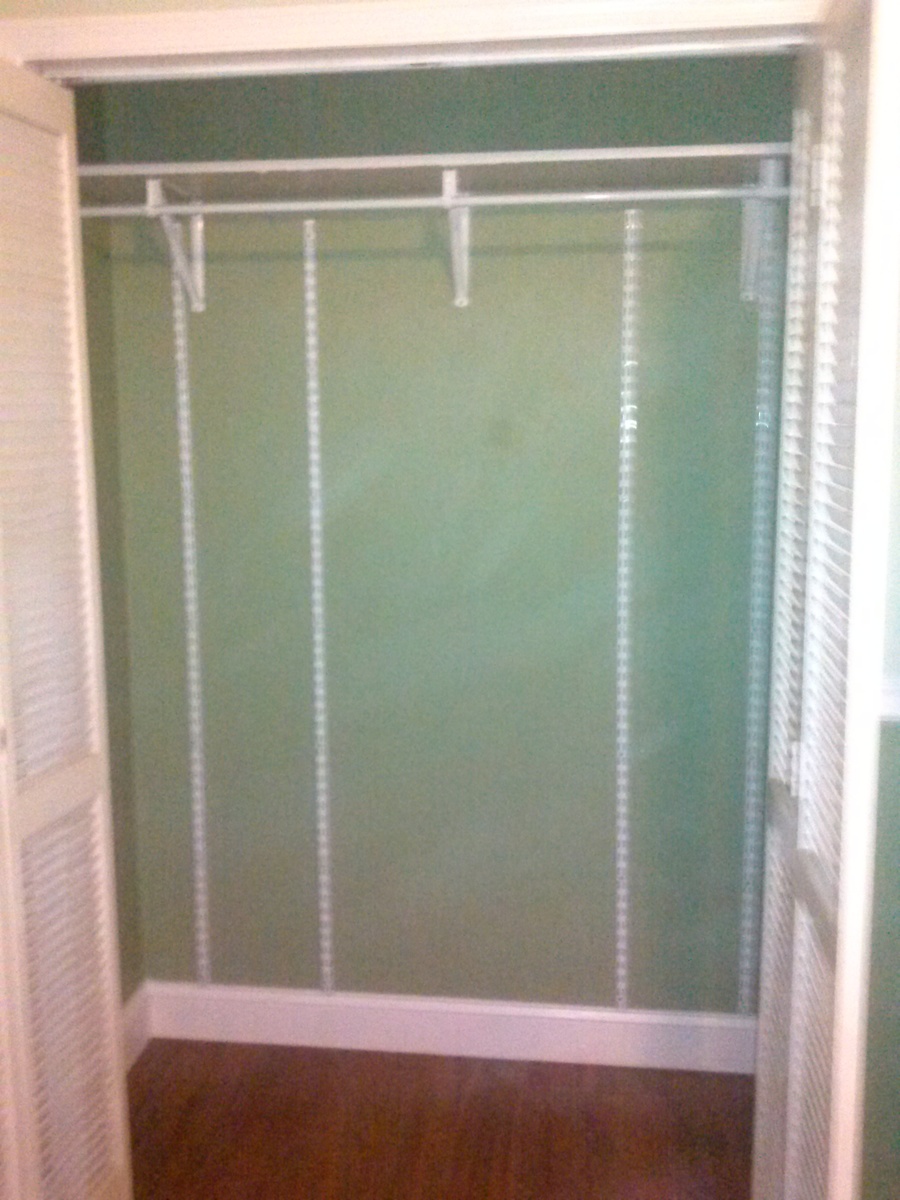
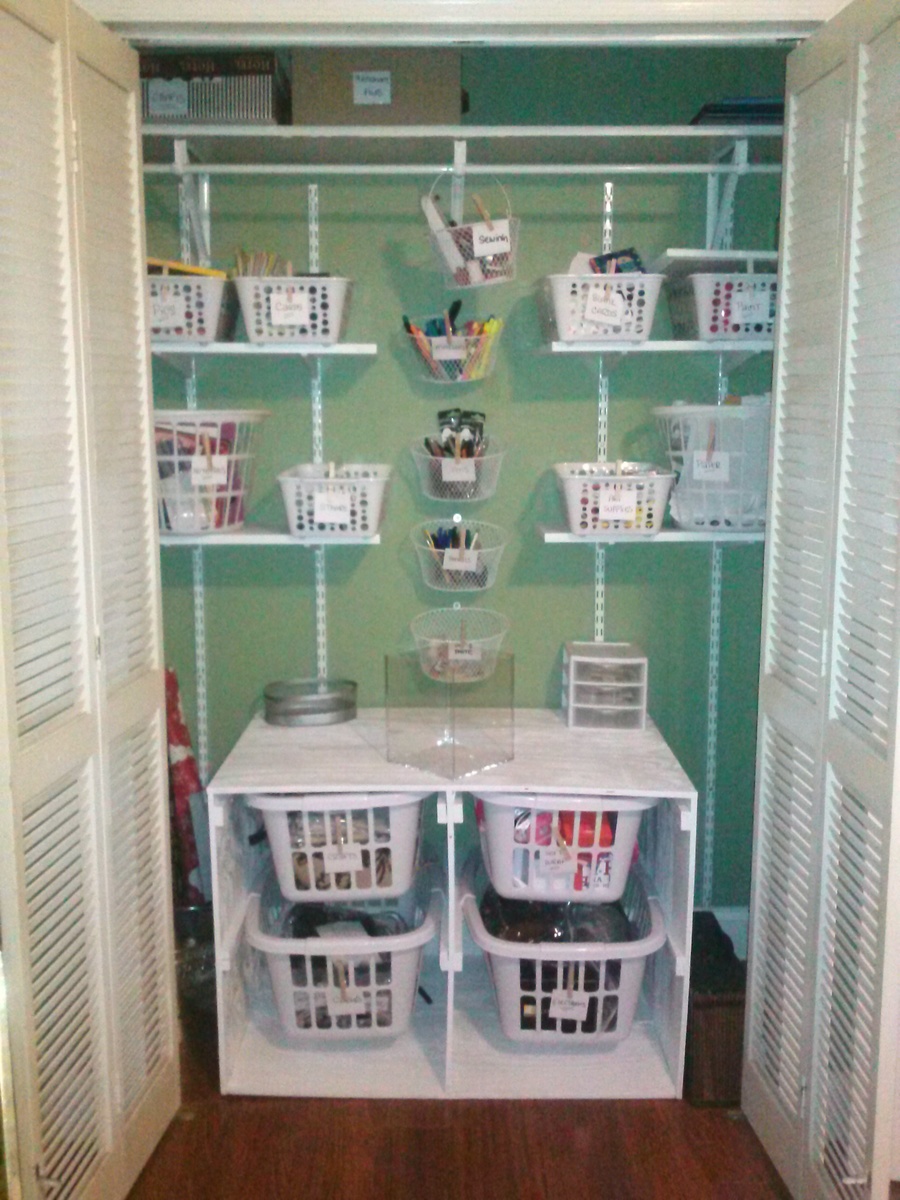
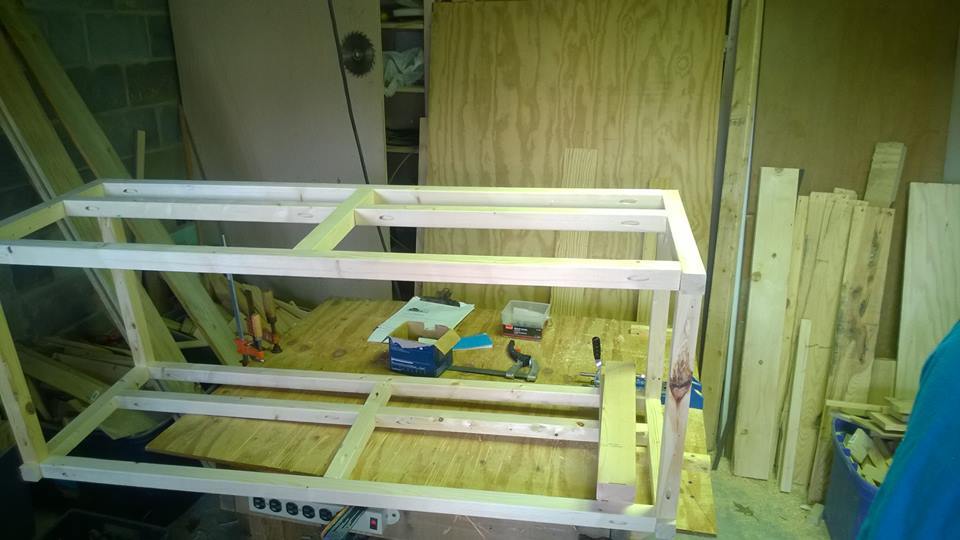
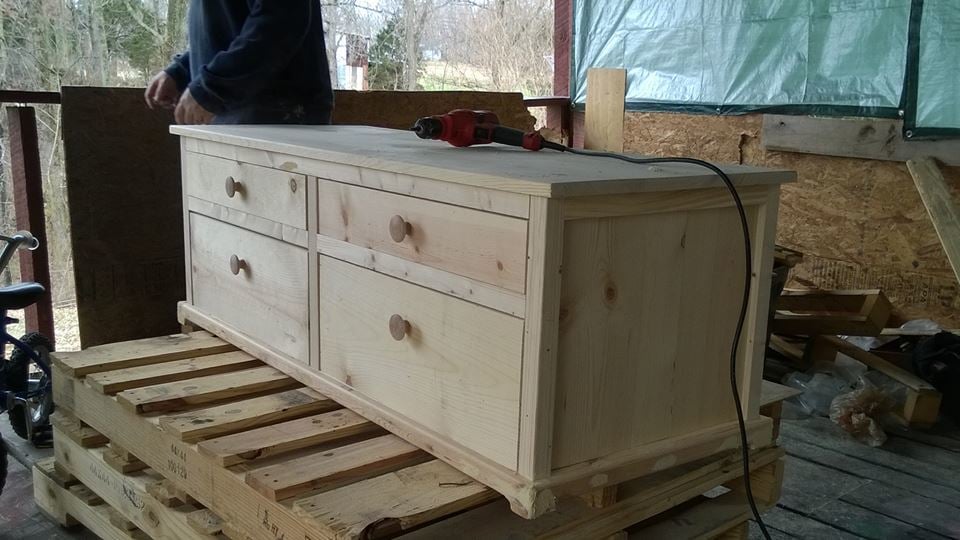
I altered this plan to make a short and wide version of the dresser. It is also one whole piece as shown in the picture. I am remodeling my office closet and plan to use it for storing bulky items like cables, gift boxes, etc. I must say for my first project, I think it came out pretty good.
I then moved the existing shelf in the closet up, added shelf bracket rails, and spackled & painted the wall. I added a few shelves, dollar store bins and then labeled everything. I also screwed some small metal baskets with removable handles to the wall, I think it turned out terrific.
Thanks for the inspiration, Ana!
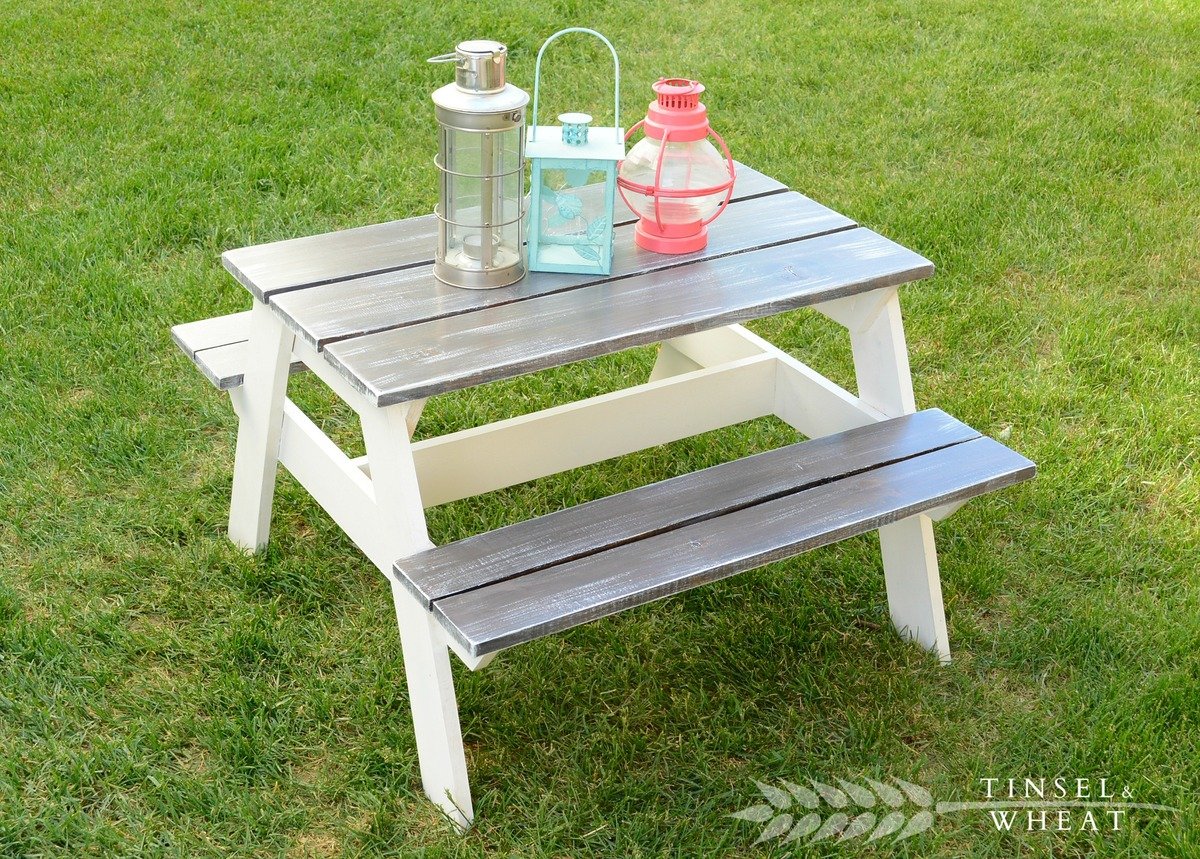
My first truly functional build! I love how it turned out, but even more importantly my kids are loving it - we are literally using it for every possible meal and snack right now. Perfect summer project, and bonus - we get to keep all the eating messes outside!

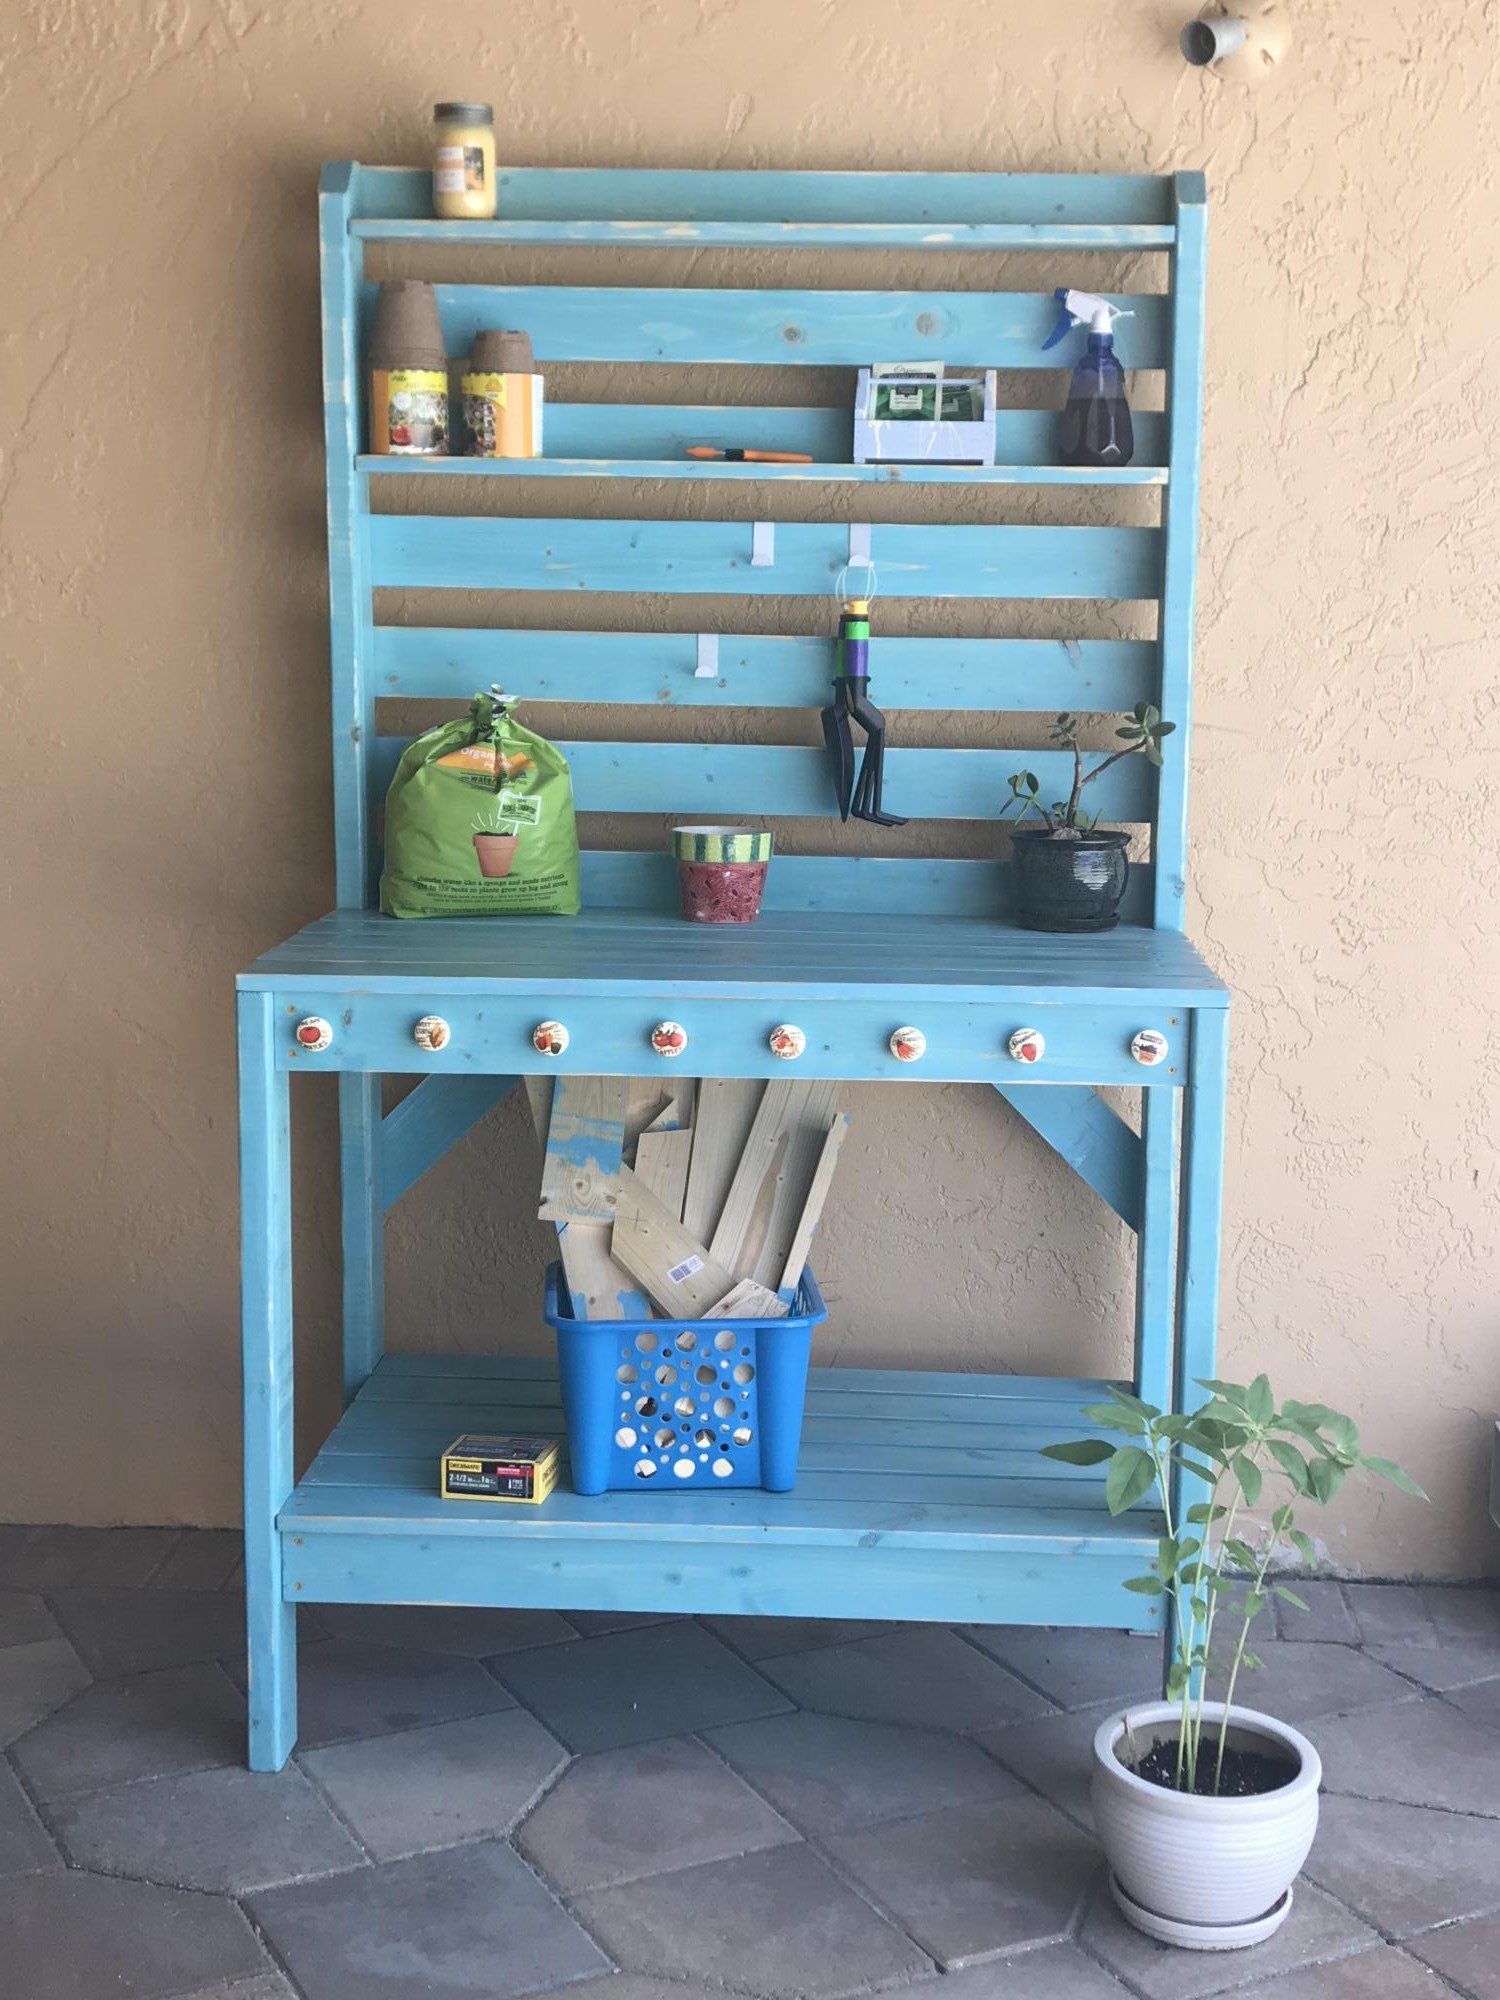
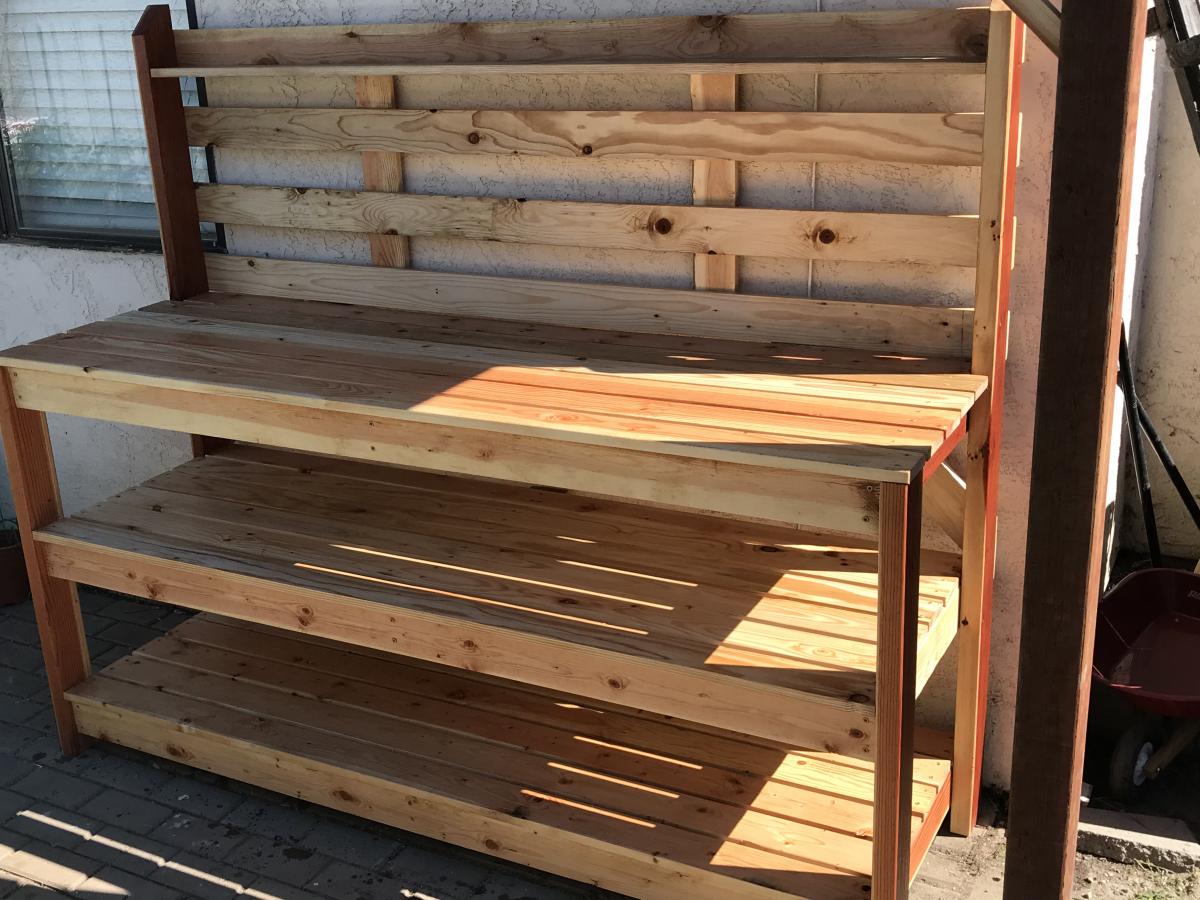
I built the simple 2x4 potting table out redwood in 6’ length.

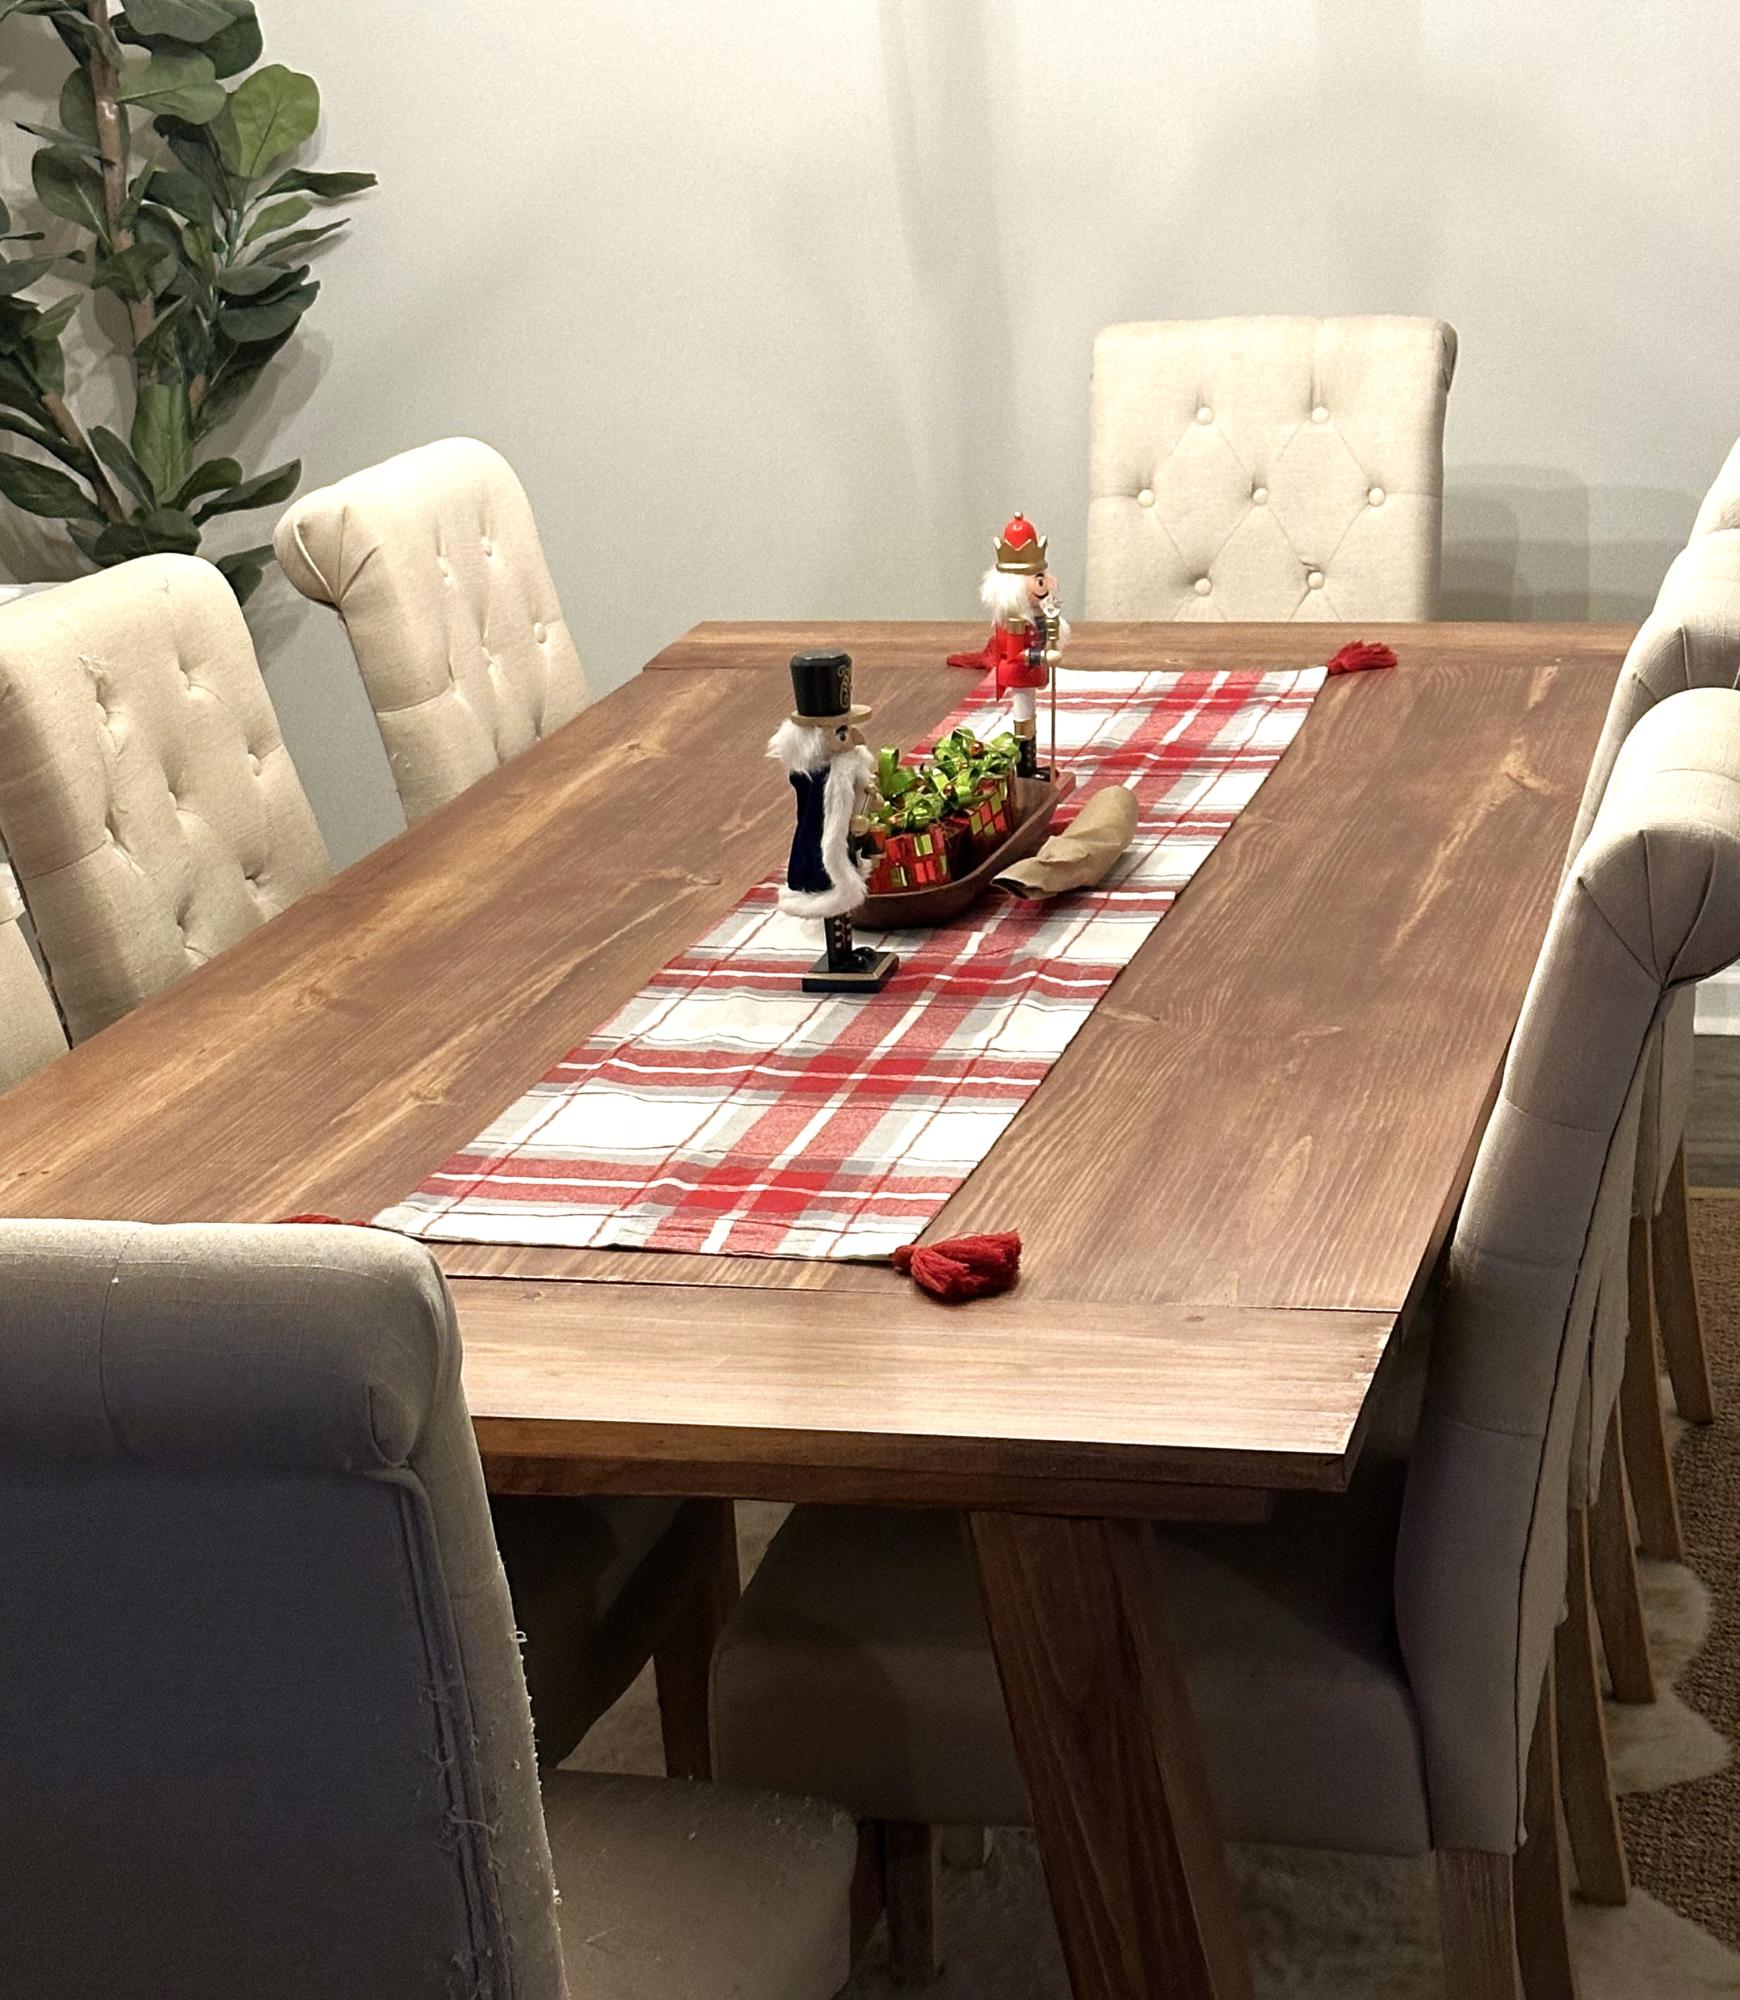
Holiday Table by Ryan B
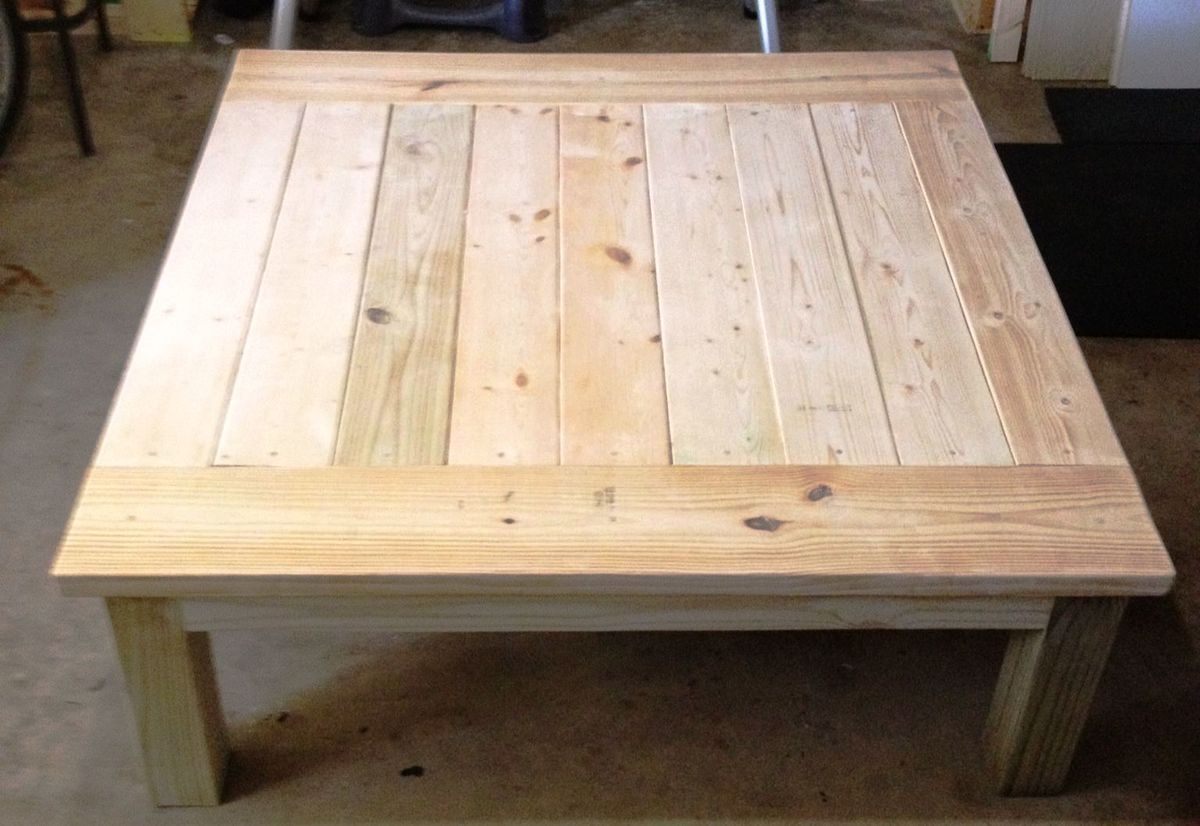
I made this out of discout lumber. Each board was only .51 so that made it pretty cheap but a bit challenging (I had to cut the boards to fit and also cut off the twisted ends without cutting too much off). There is still a bit of uneveness in some of the boards, I think it adds to the character of the table. I changed up the plan a bit and made this from 2x6's and the ends with 2x8's. final size is 49 1/2 x 49 1/2.
A friend wanted this so I'm not sure what she is going to finish it with but will post pics as soon as I get them. I may make another one for myself :)
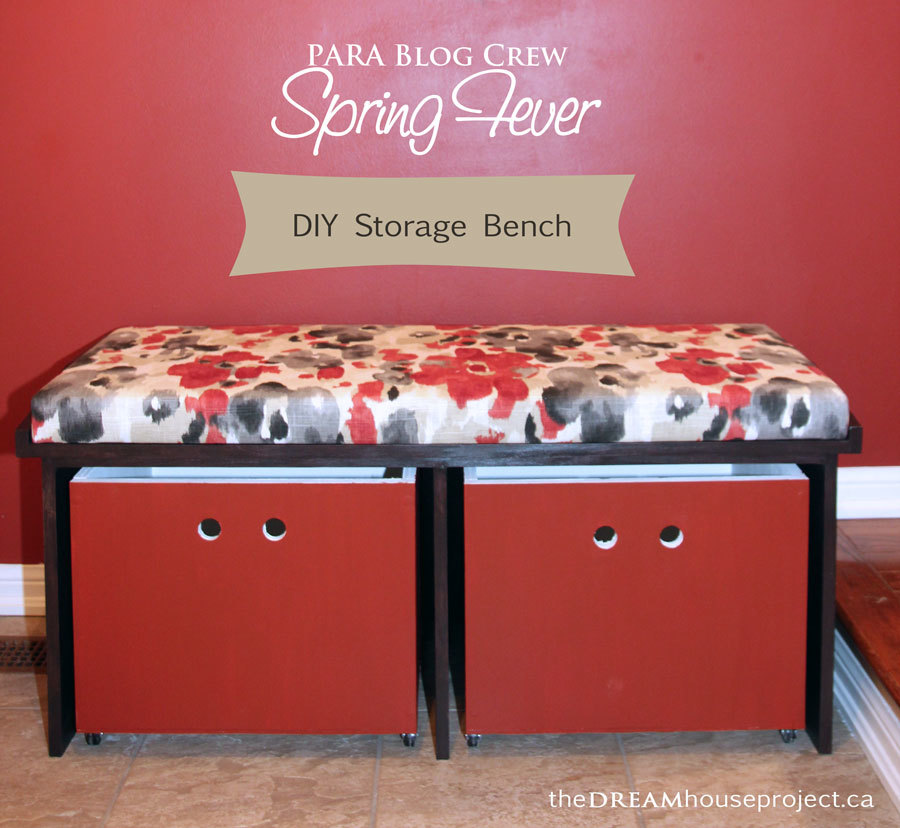
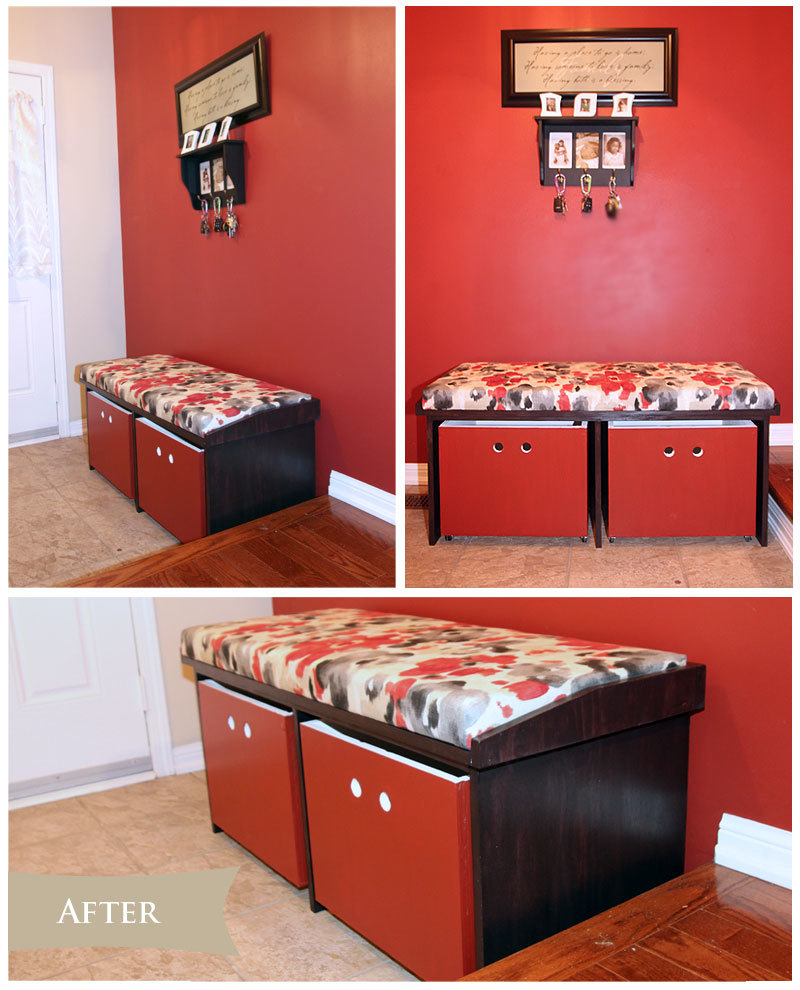
The entryway in my mom’s house was the perfect candidate for a spring update. Home to a broken, non-functioning storage bench and constantly cluttered with shoes, we decided it was time for an upgrade. It took us a weekend, some PARA paint & stain, a little fabric and lots of elbow grease, but we were able to take the entry way from boring to beautiful.

I loved this table but I knew I wasn't going to get the X right so I skipped em ;-) wish I knew before I had to shorten all the dimensions what a pain putting those 2x4 supports in would be!!! Used 1x10 for shelves and was quite a process trying to secure those!
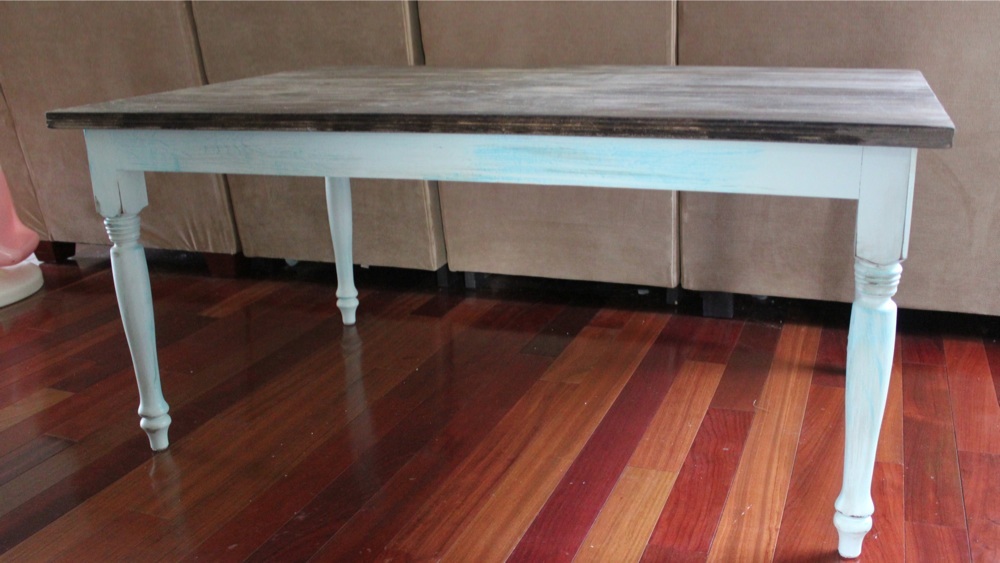
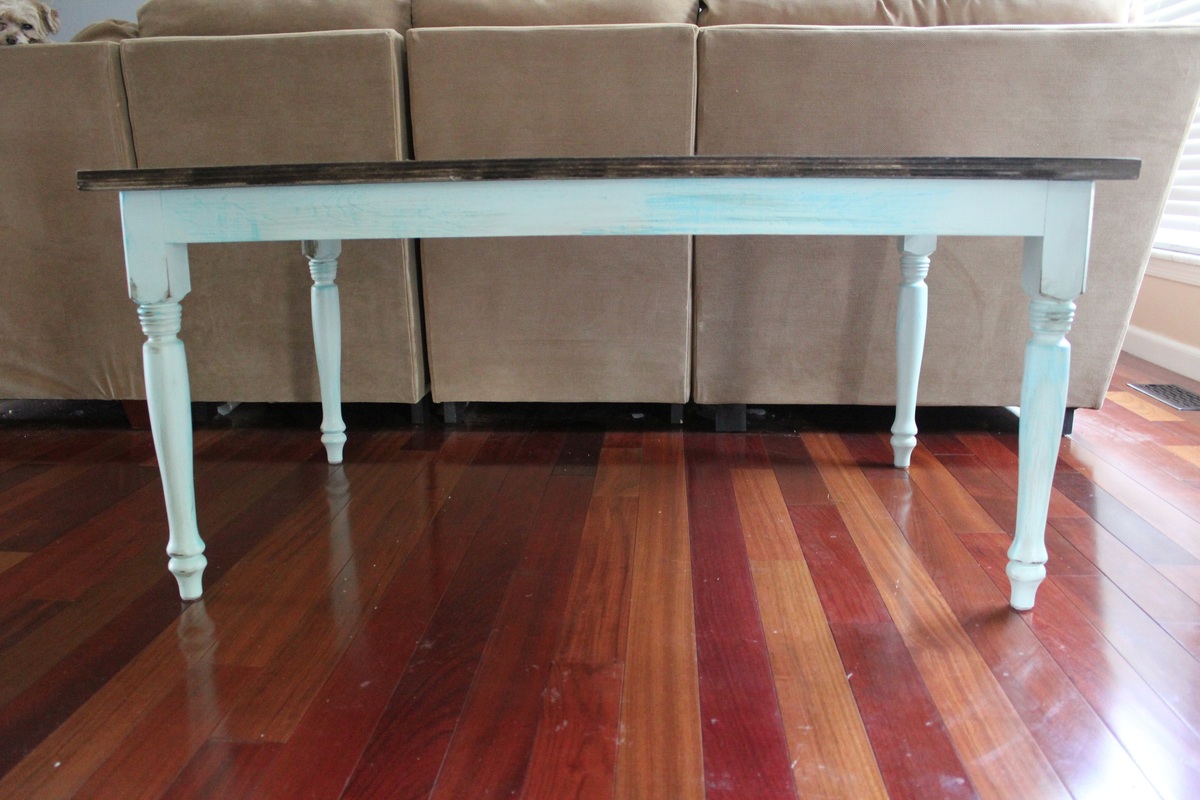
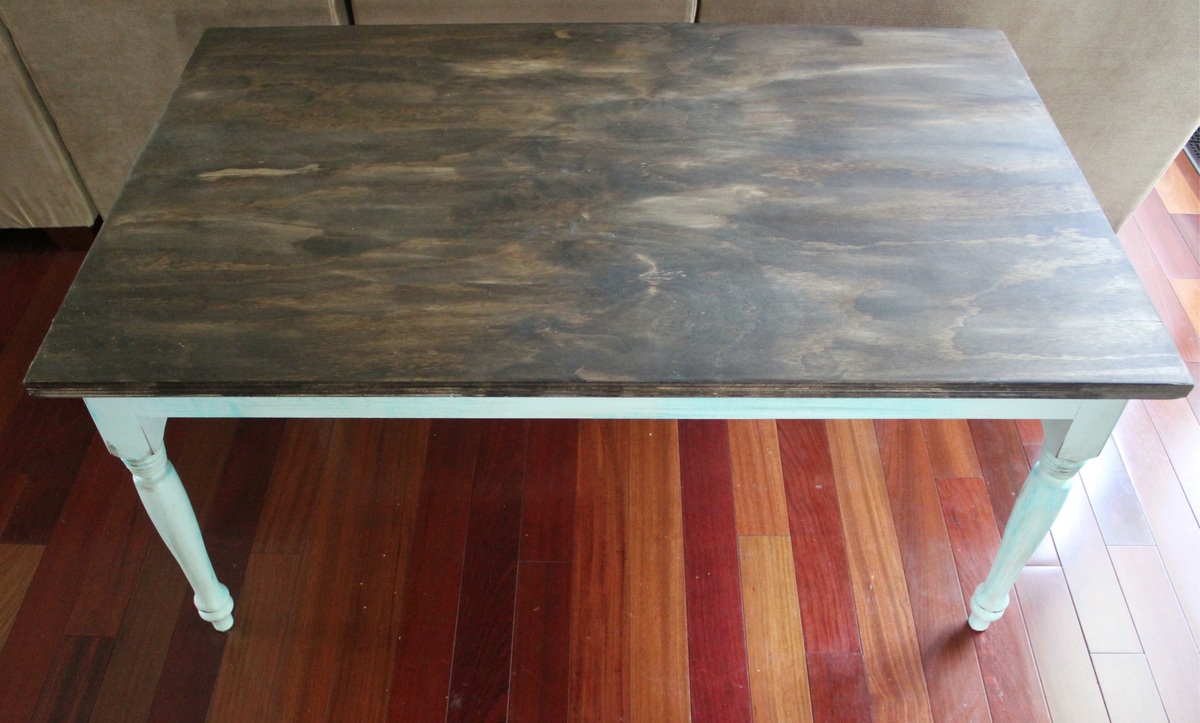
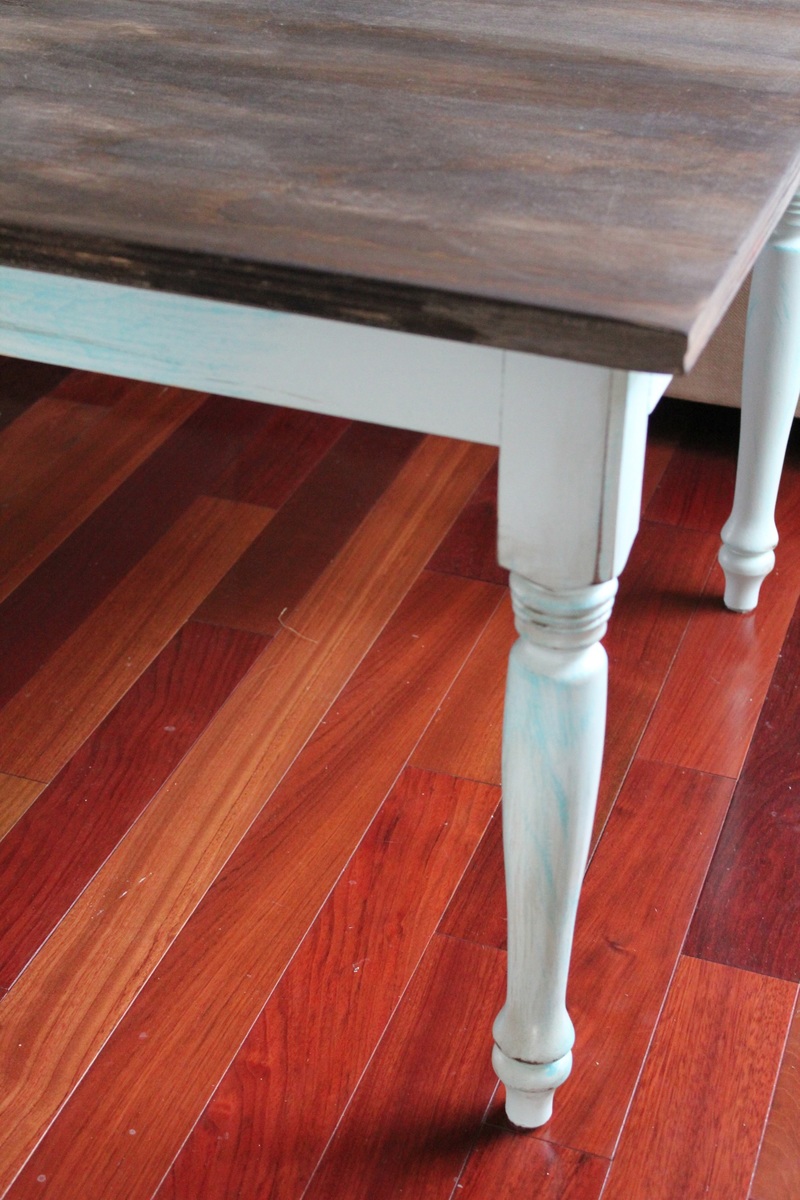
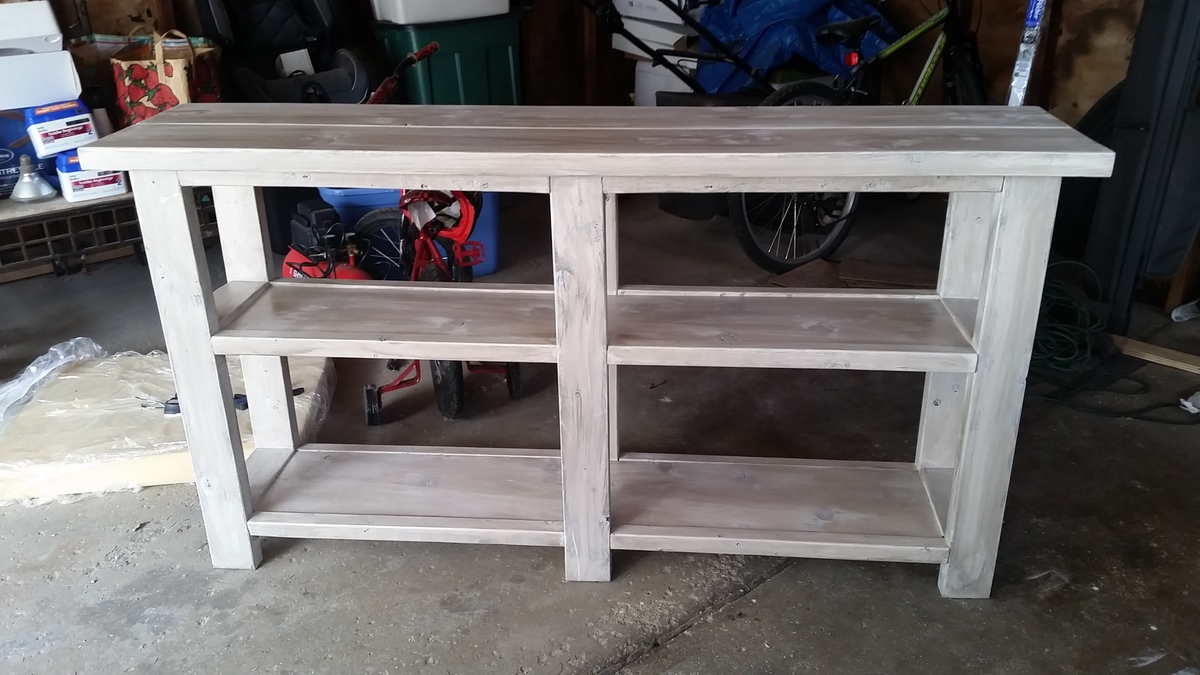
I used a watered down white latex paint all over then 1 coat of weathered oak stain
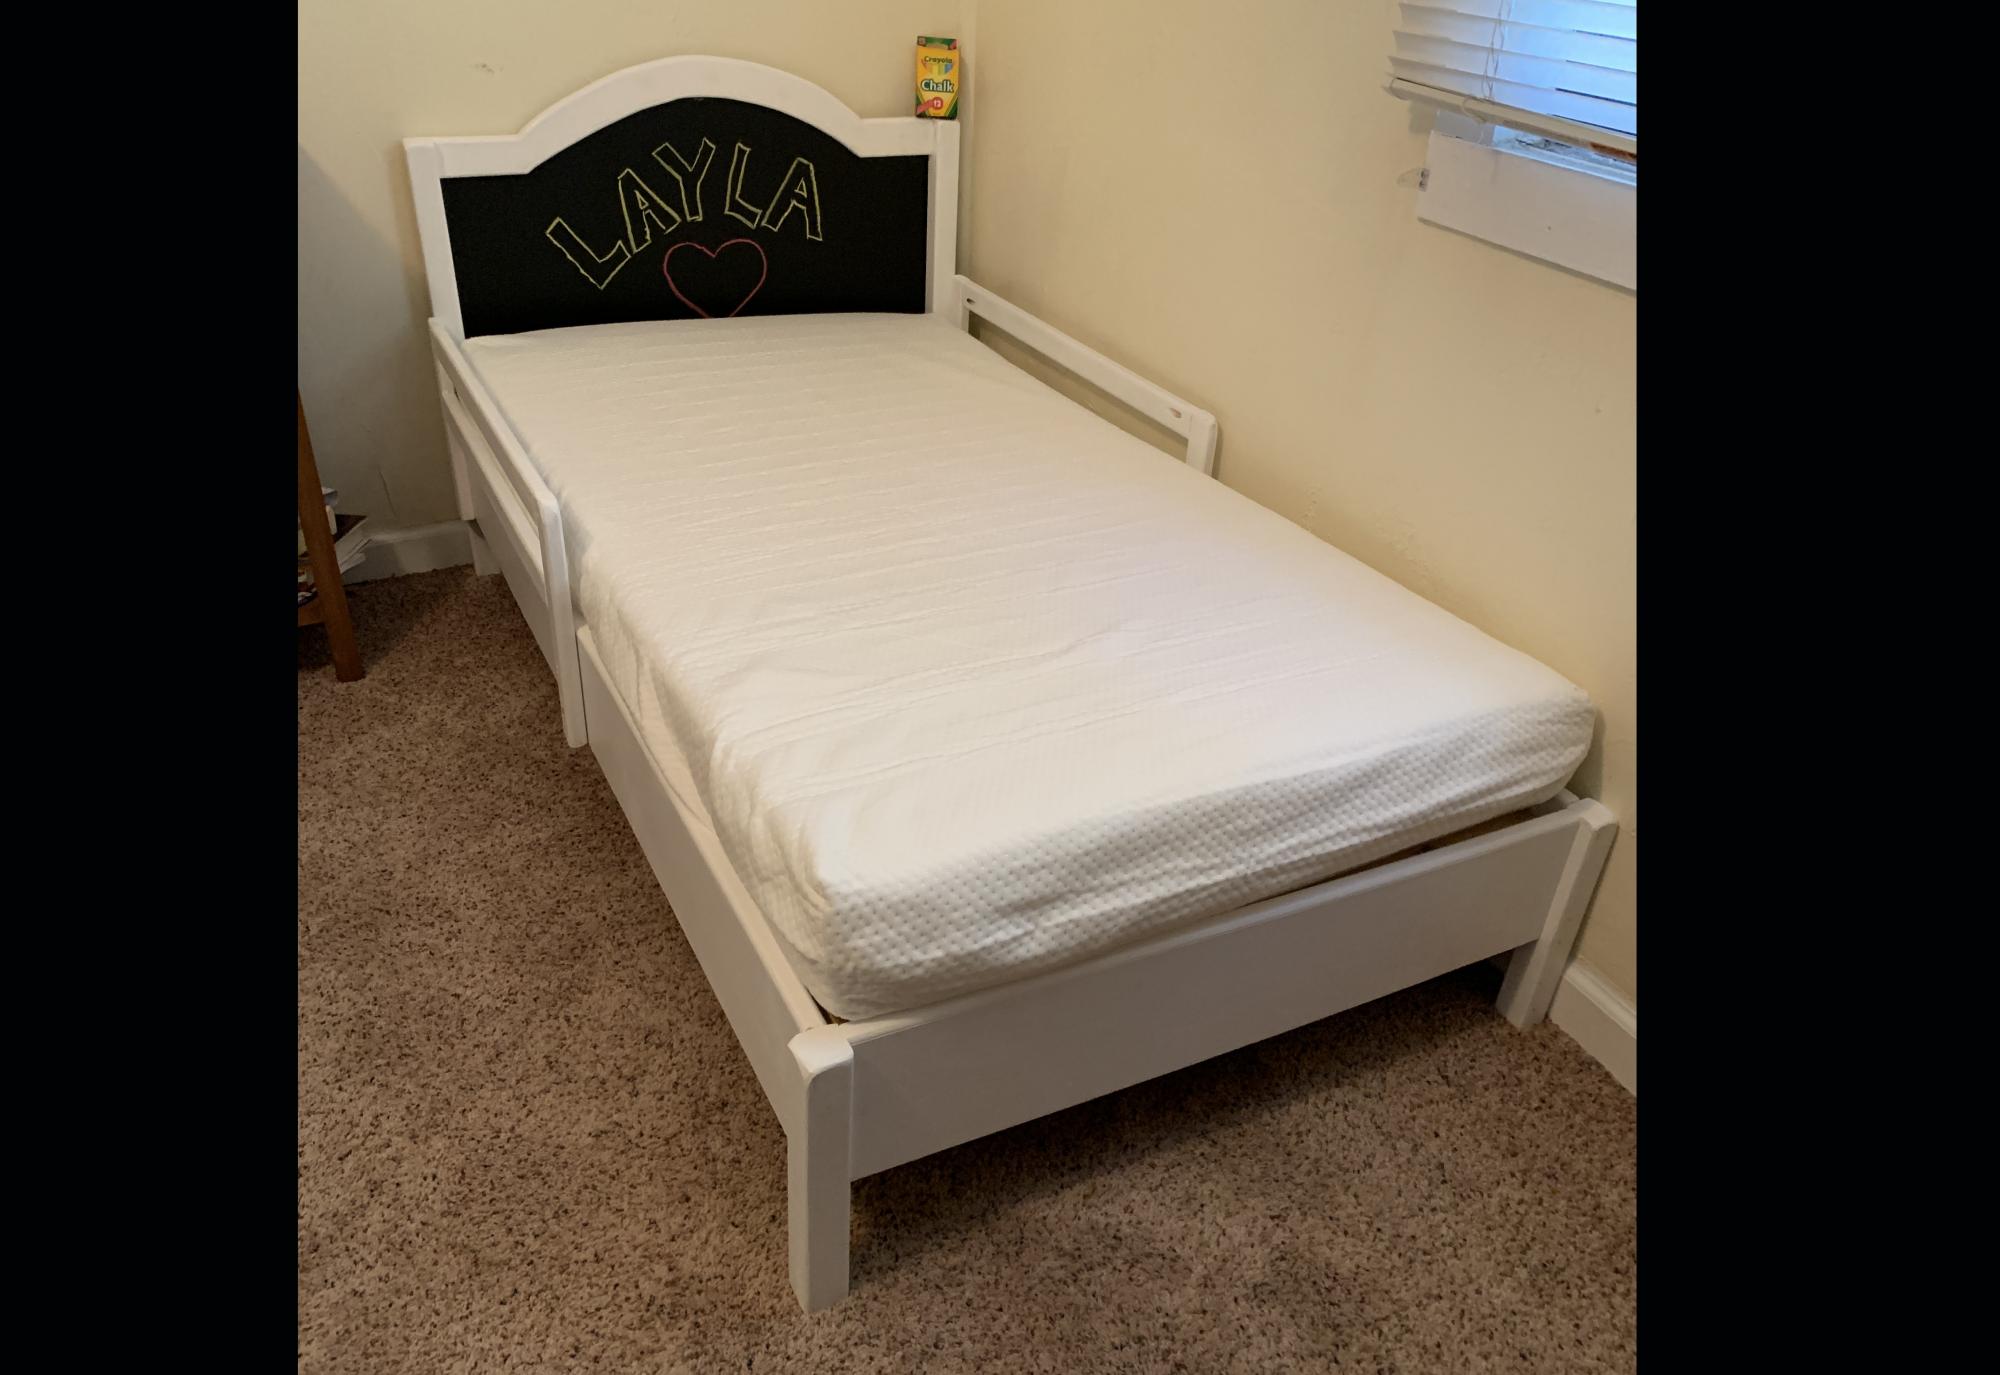
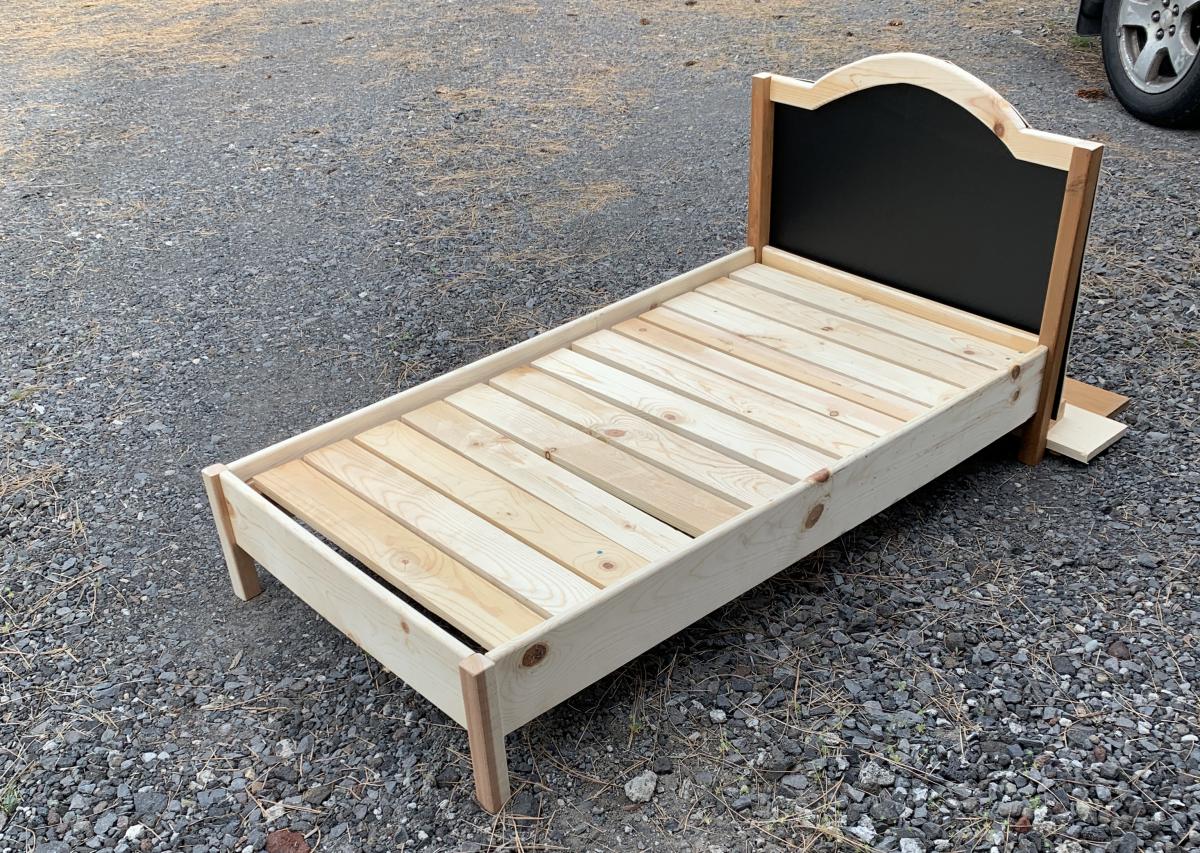
I made the Traditional Wood Toddler Bed in a weekend and it turned out great! I did add a twist though: A chalkboard replaces the wainscot!
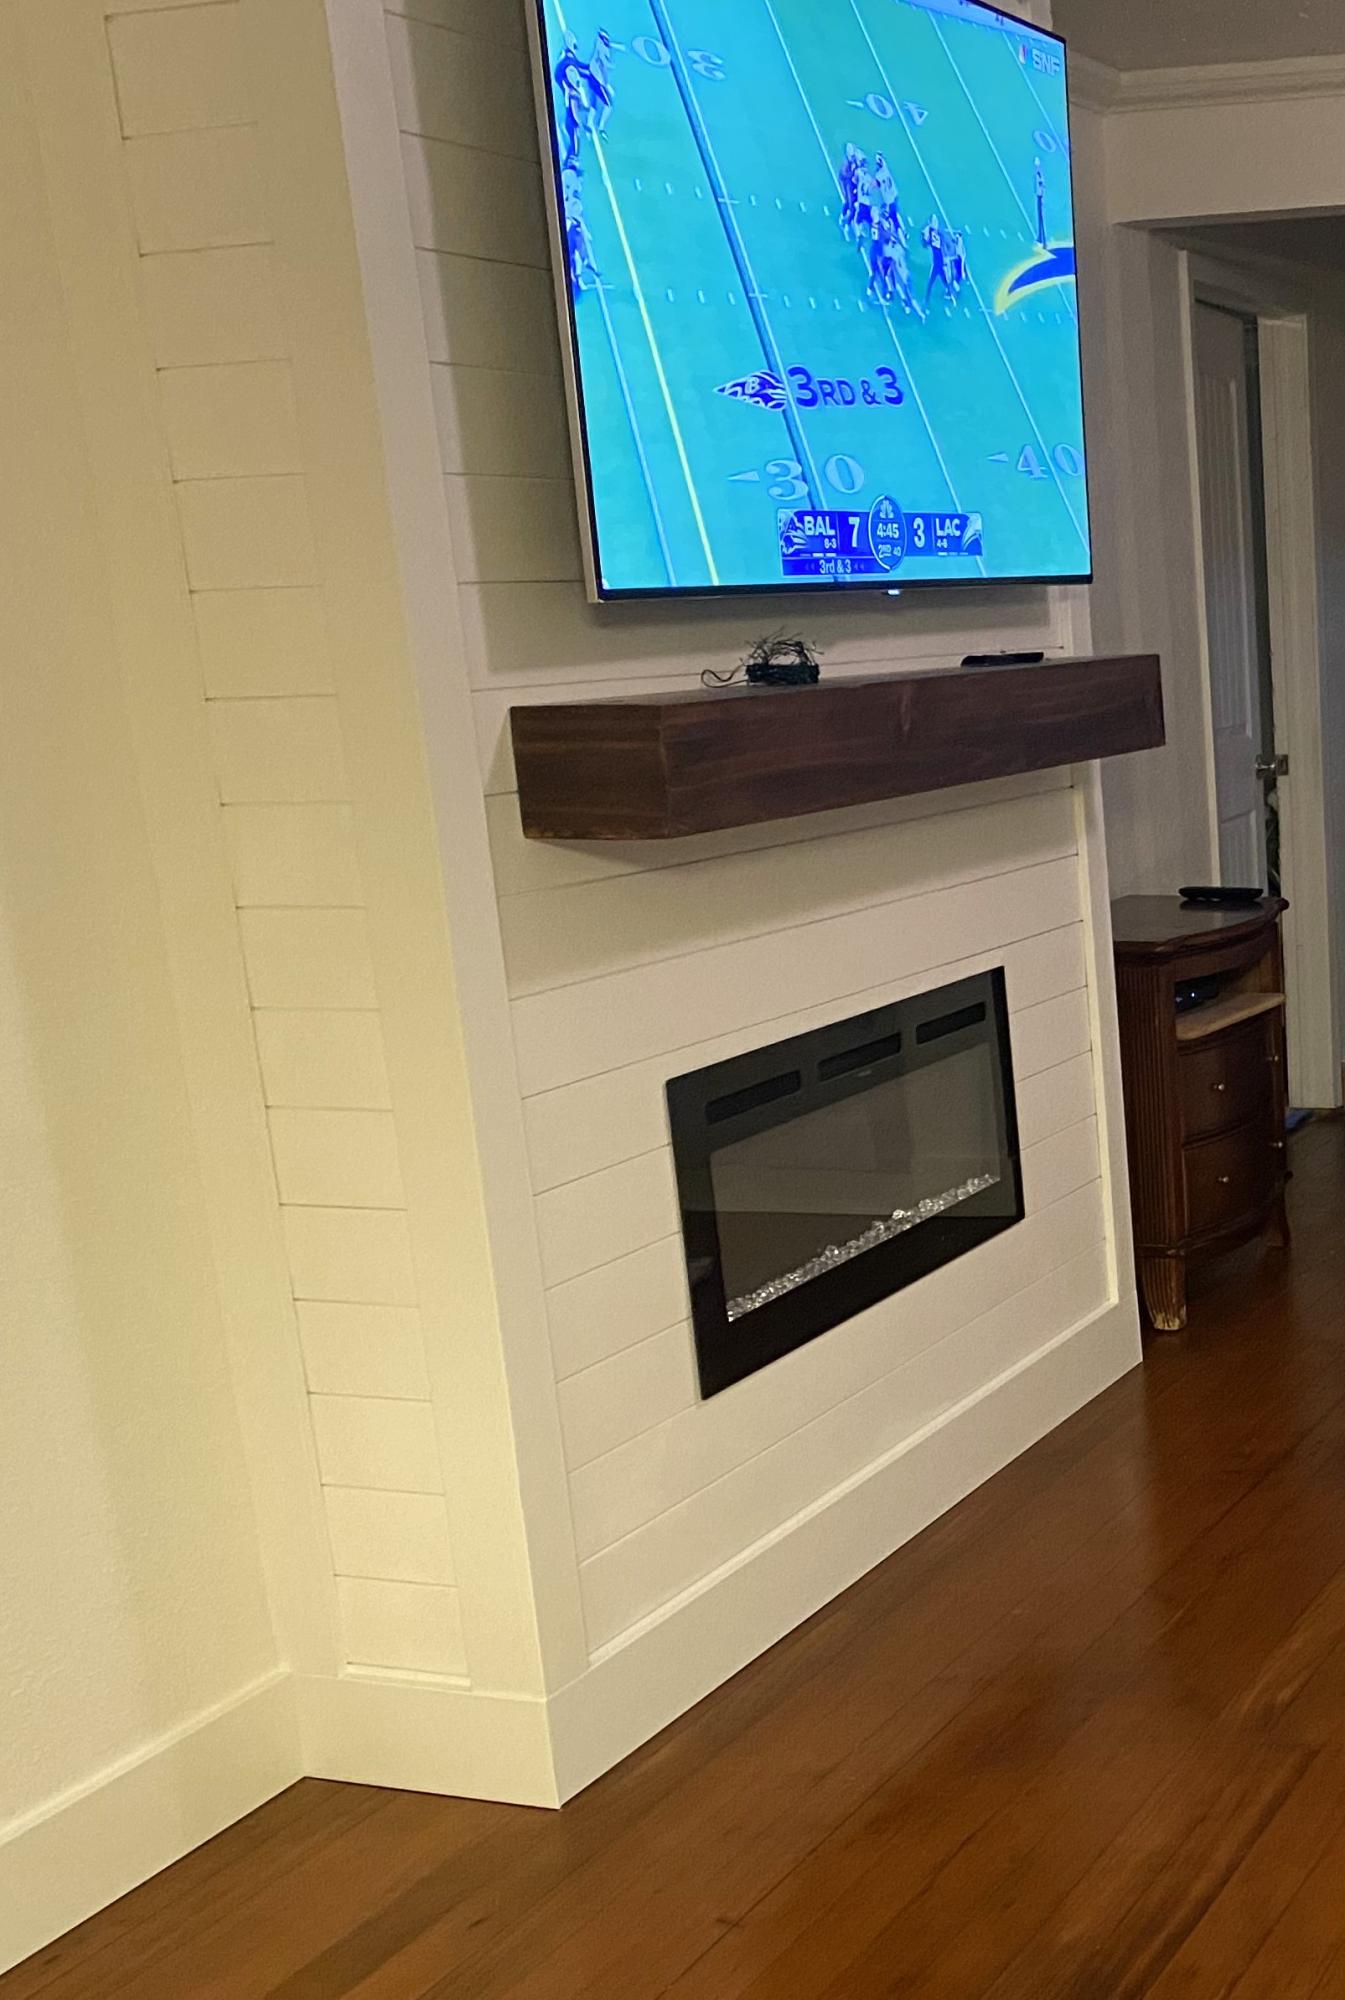
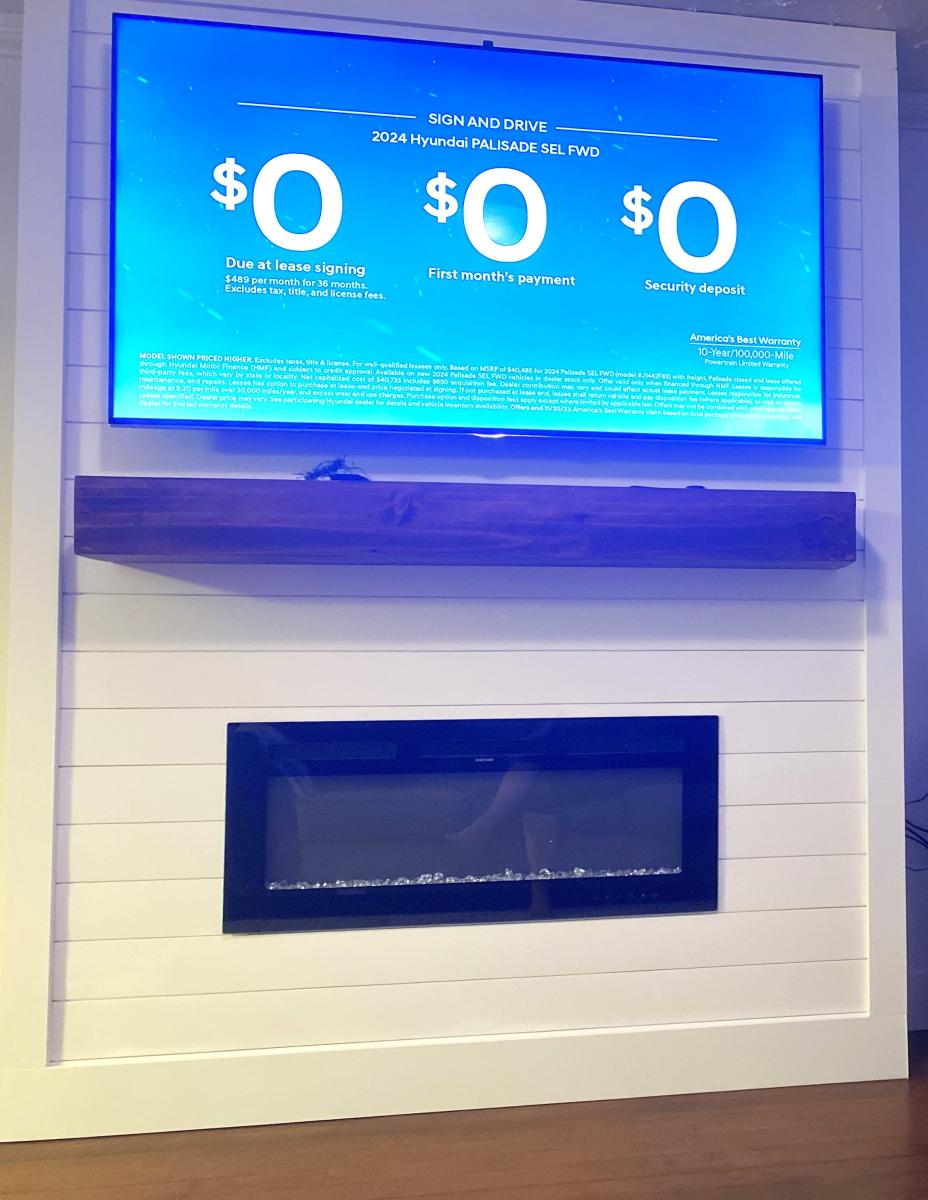
Added this easy to do built in fireplace to a plain, ugly wall. Now it’s just….WOW! Thanks Ana for the idea and inspiration. DIYers 🤘

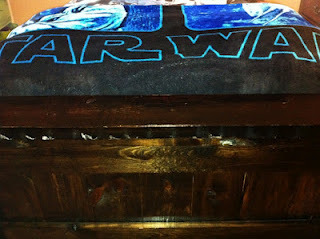
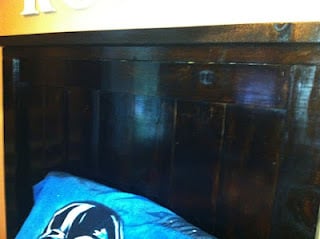
This was for a boys room so we wanted something sturdy, and oh man does this plan fit the bill.
Was easy to assemble, most of the project time went to sanding and staining to get the dark wood finish.
Finished in a poly gloss.

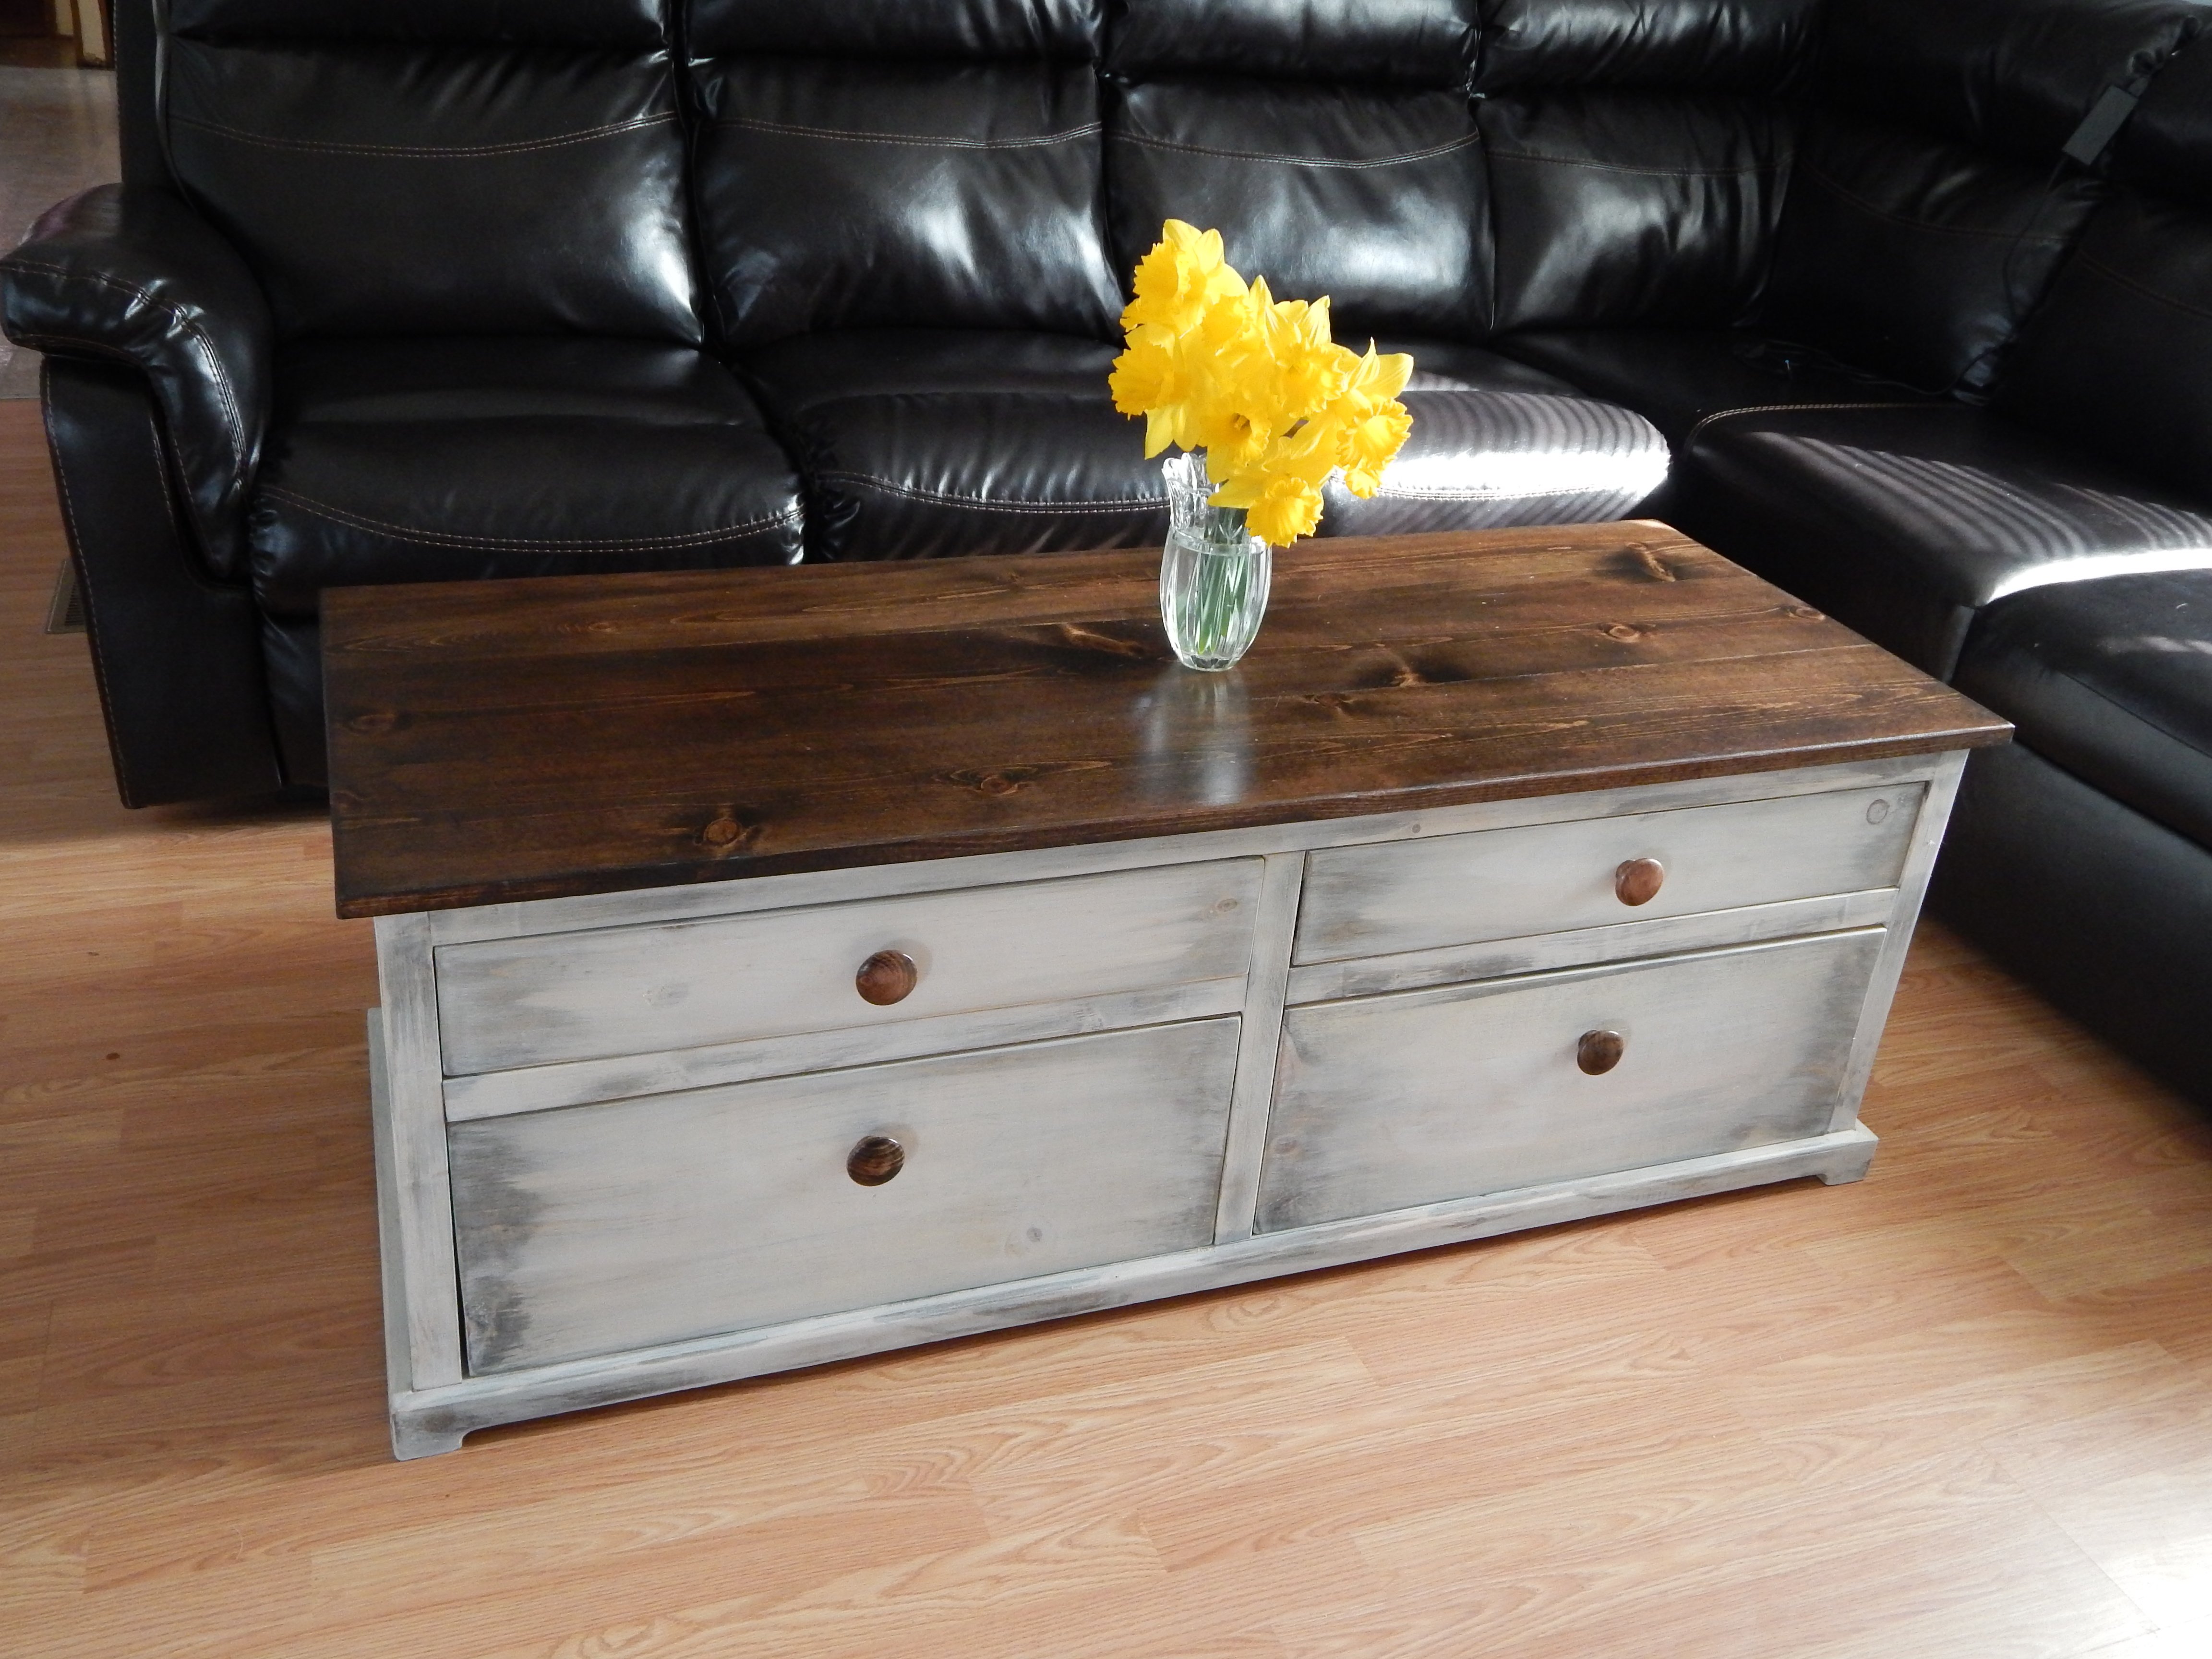
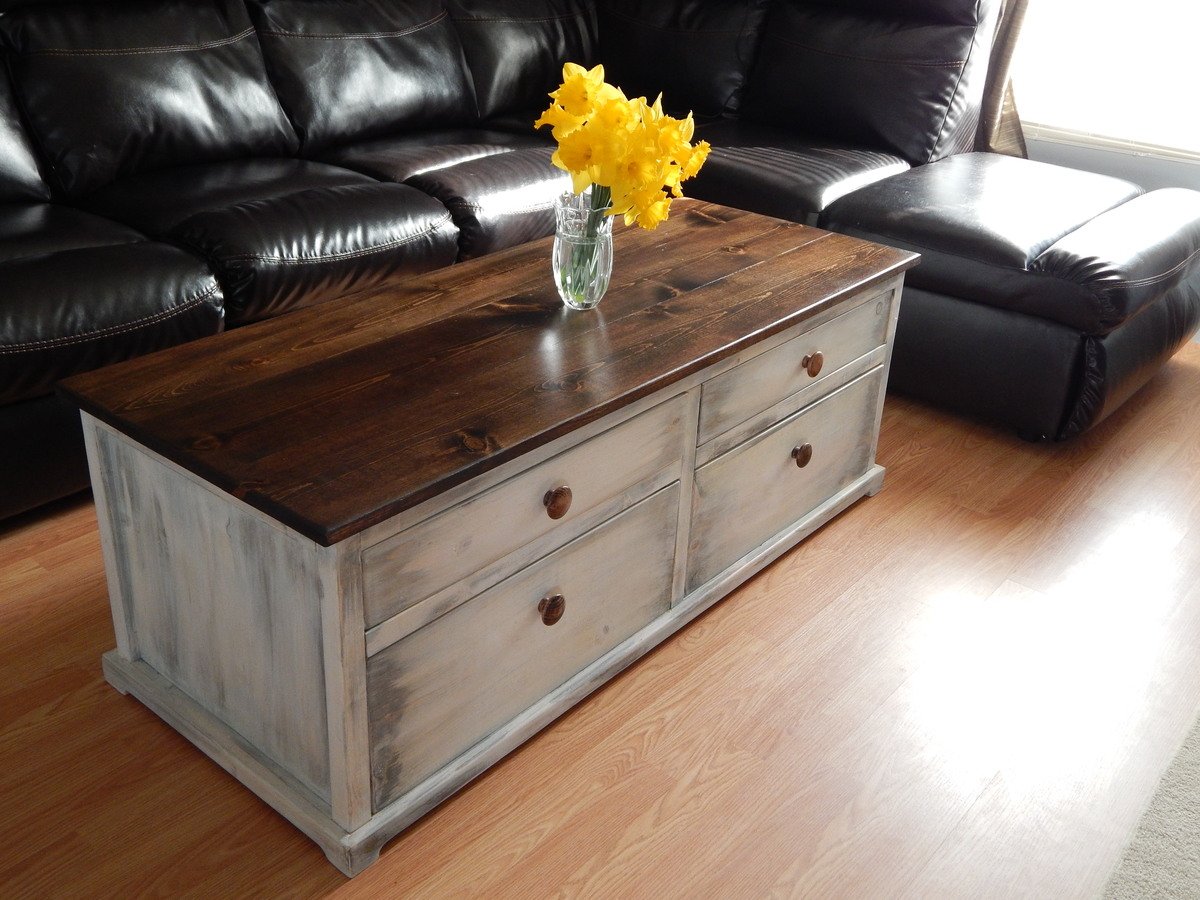
My wife saw the Harper Style coffee table by Pottery barn and loved it so as a gift to her i set out to recreate this table in a white wash look that is not available and after a week of creating plans and a weekend of work here it is with fully functional drawers that are accessible from both sides


Fri, 04/11/2014 - 17:14
Plans can be made available upon request, just haven't had time to clean them up a bit
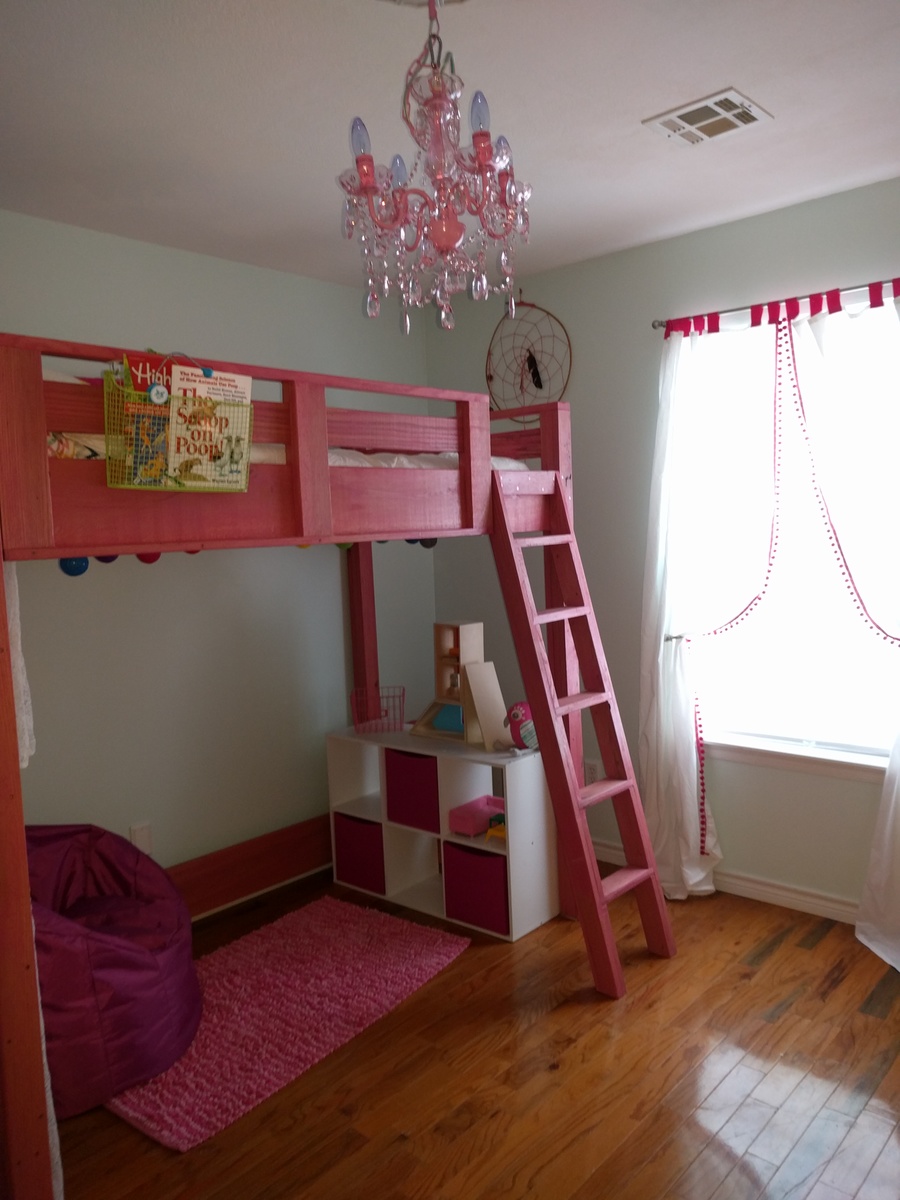
My husband built this bed with hand planed white oak. Such a wonderful addition to her big girl room.
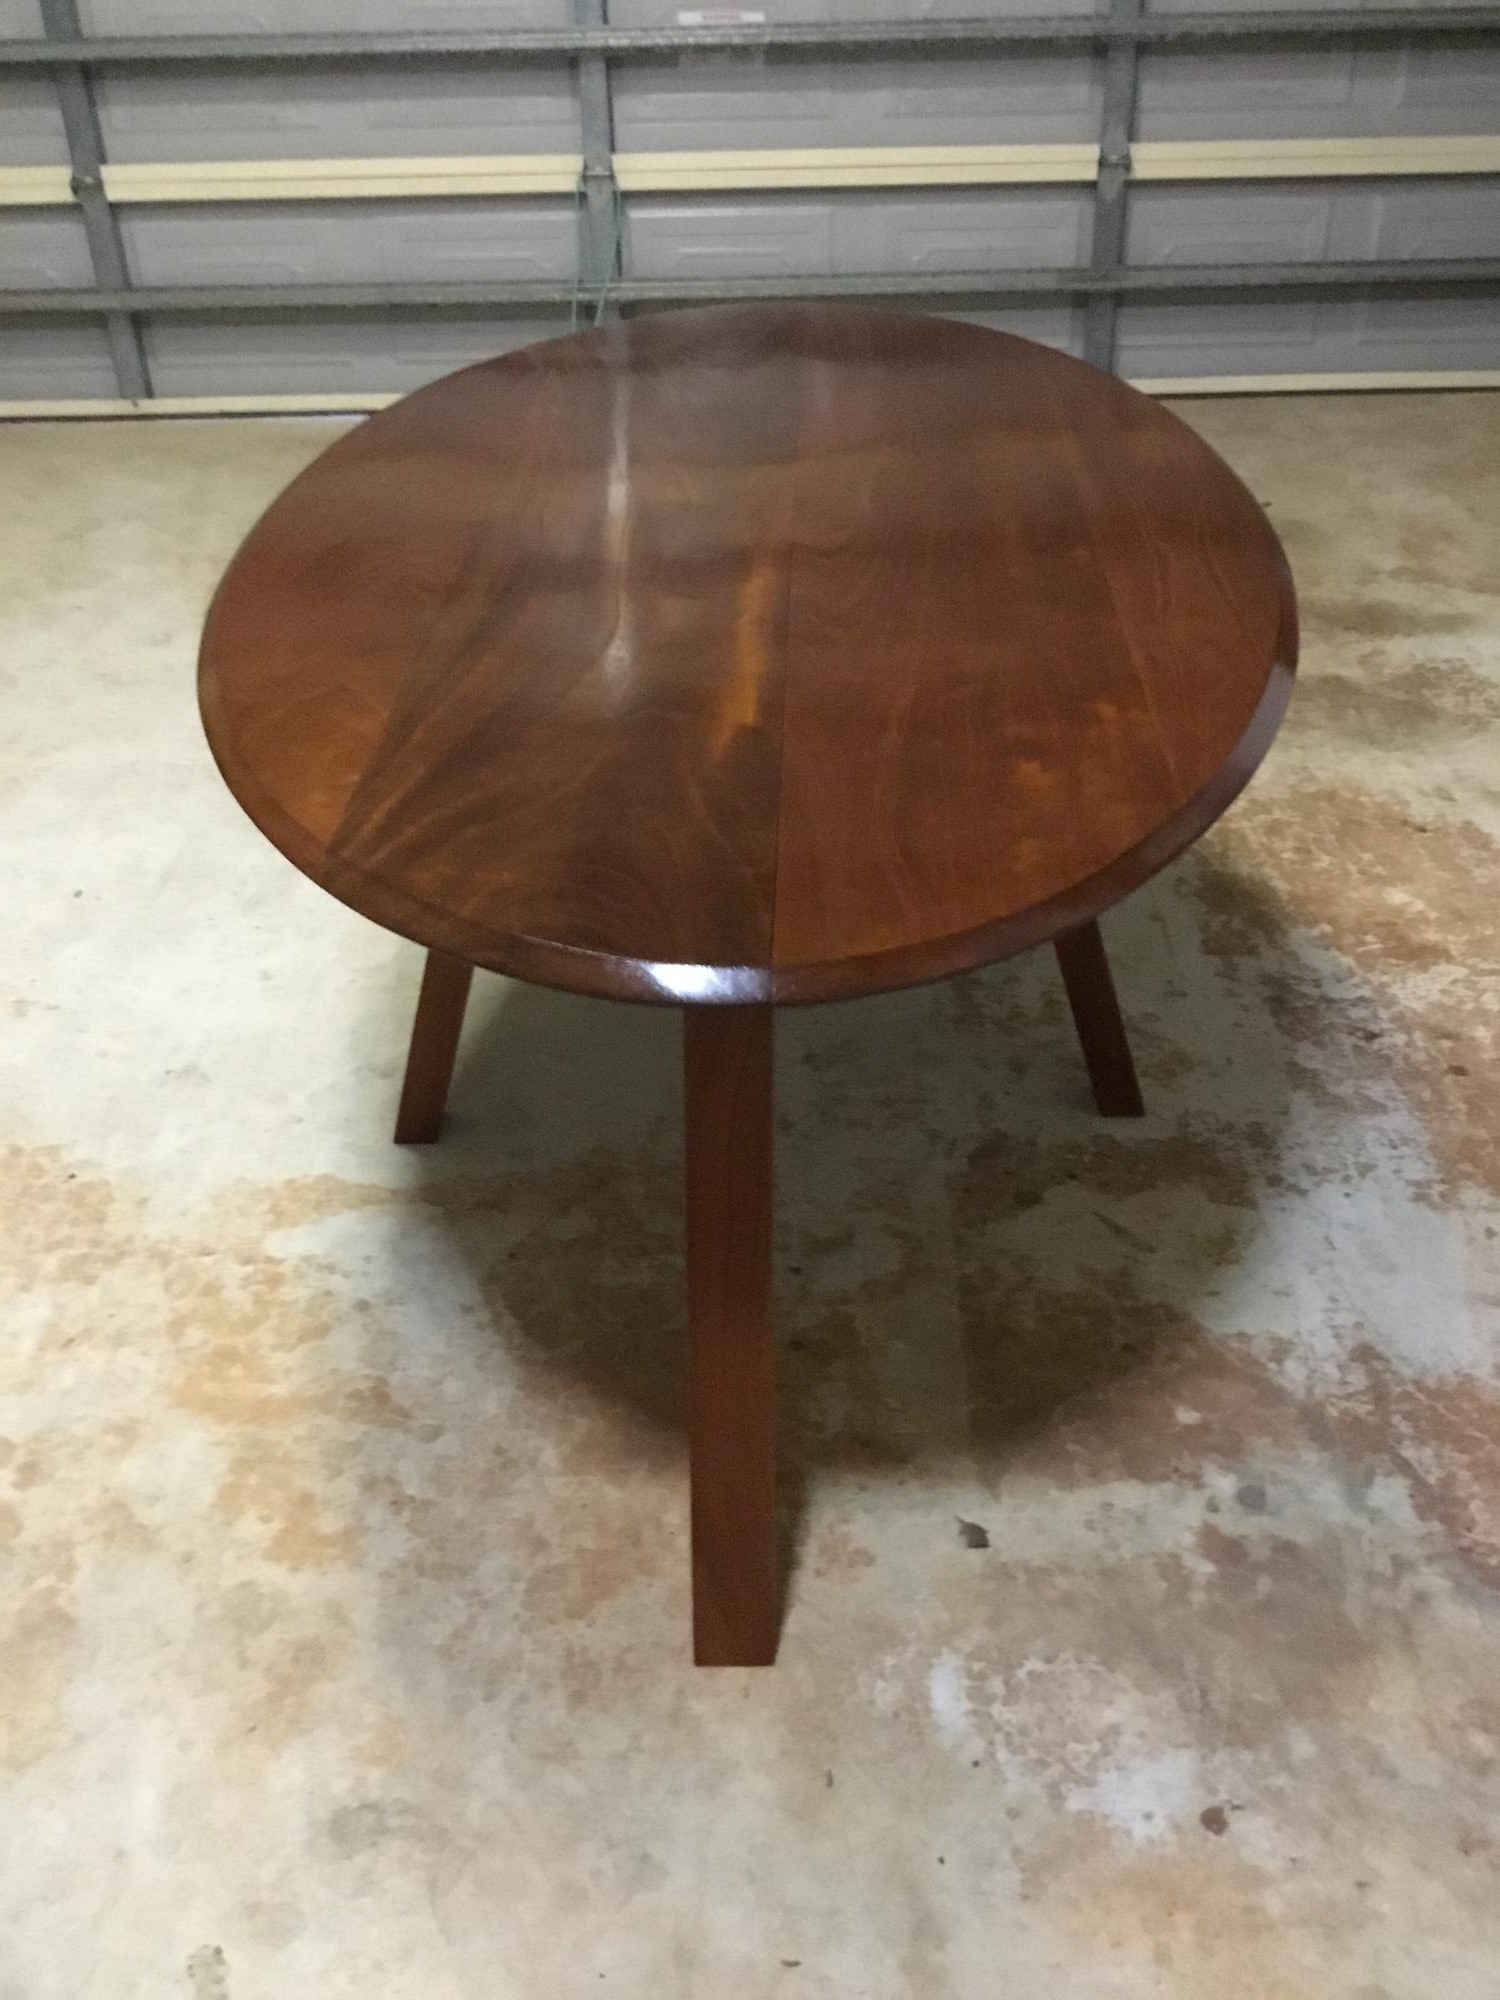
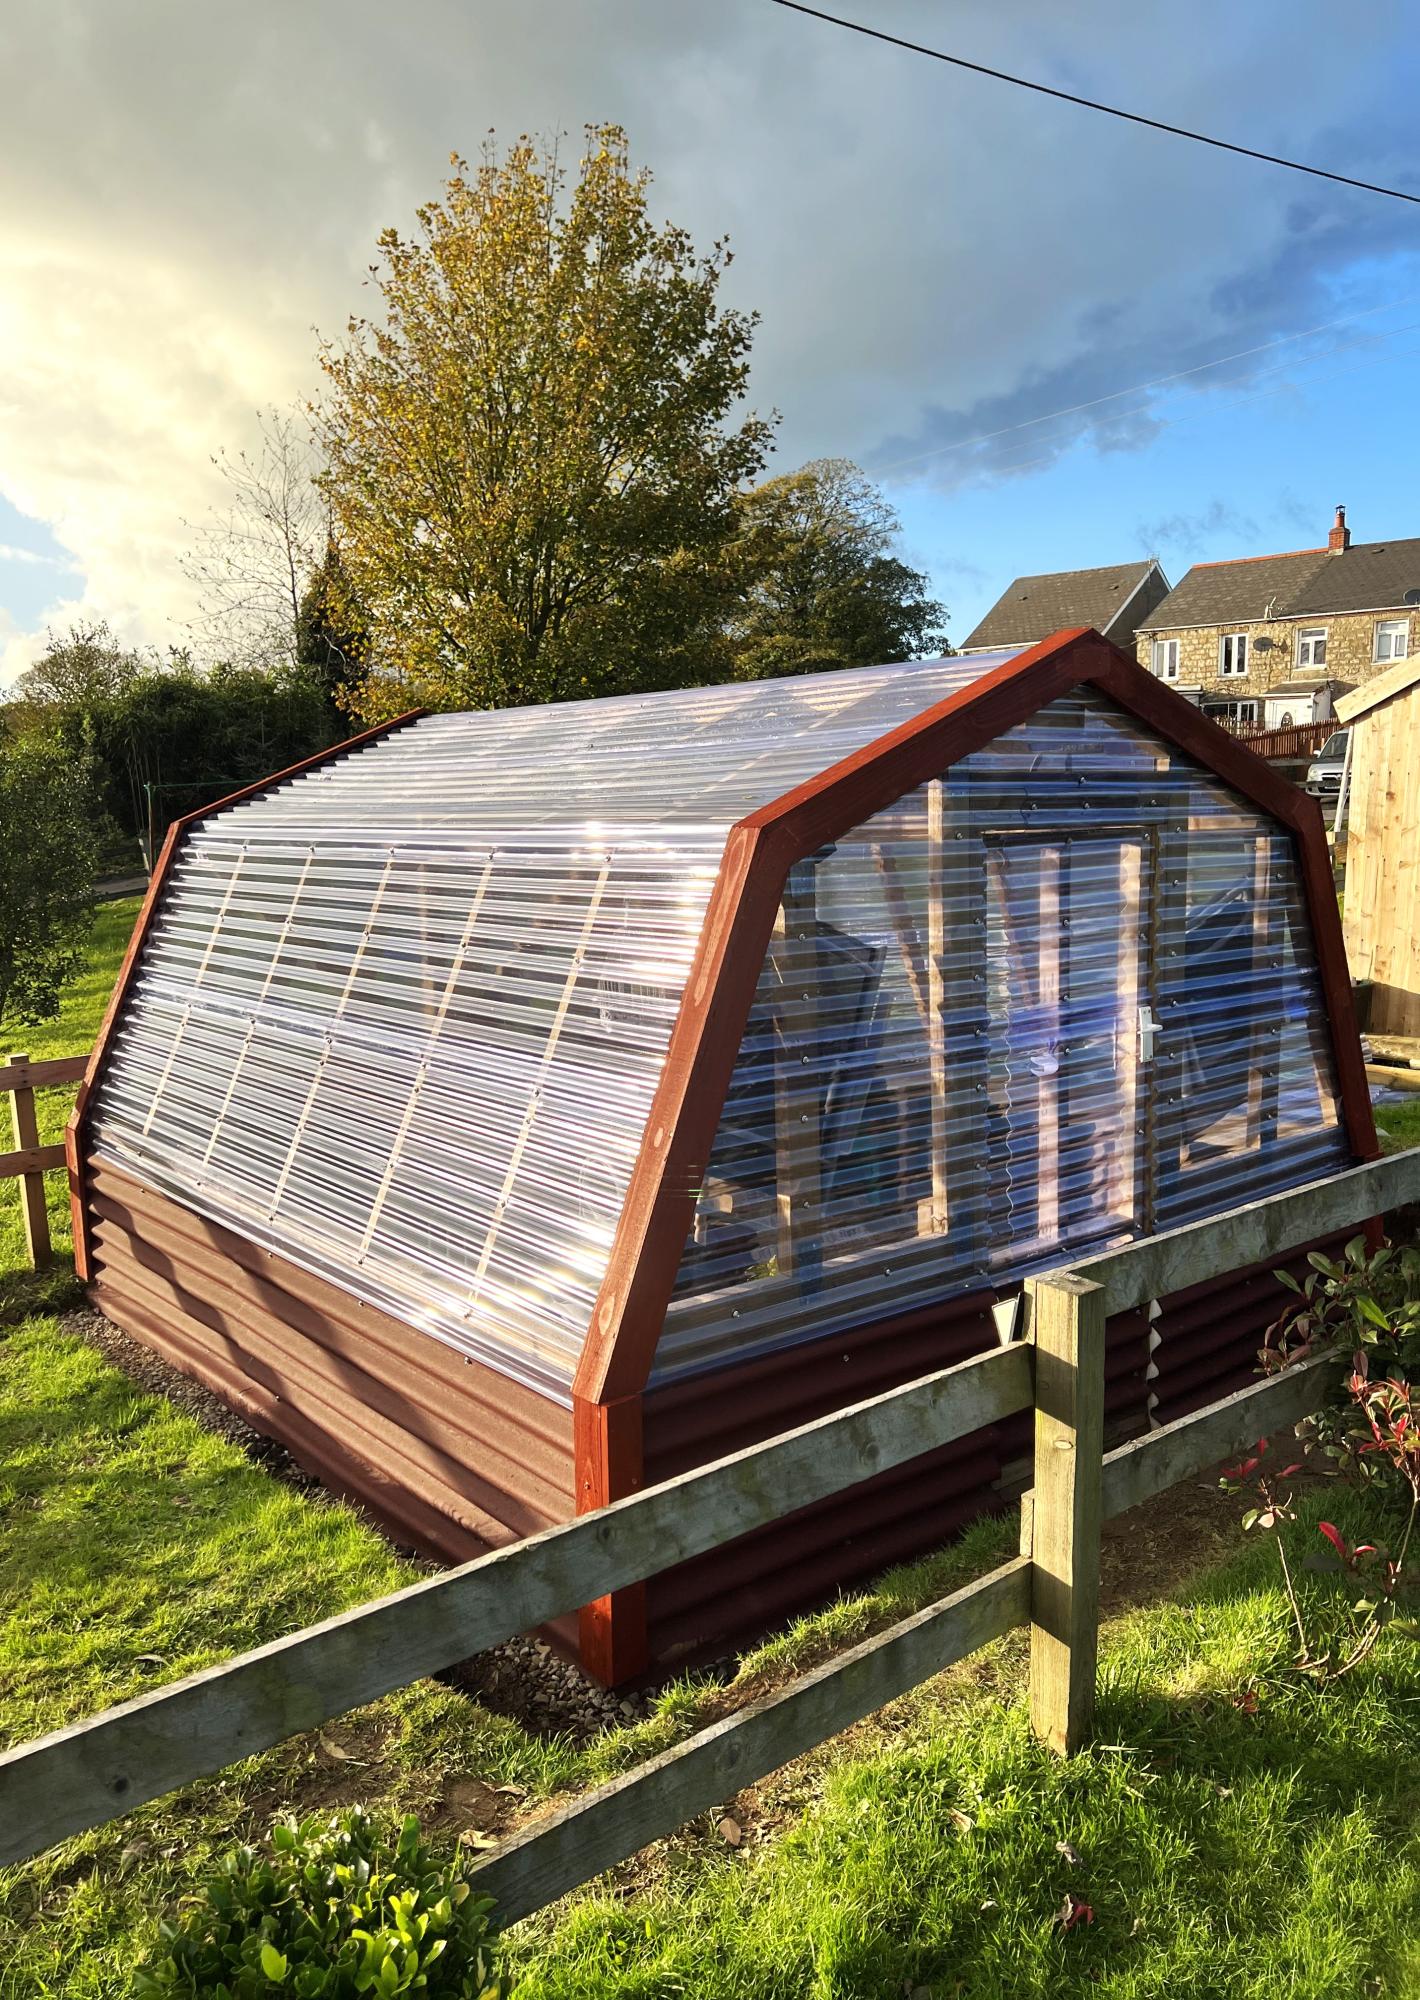
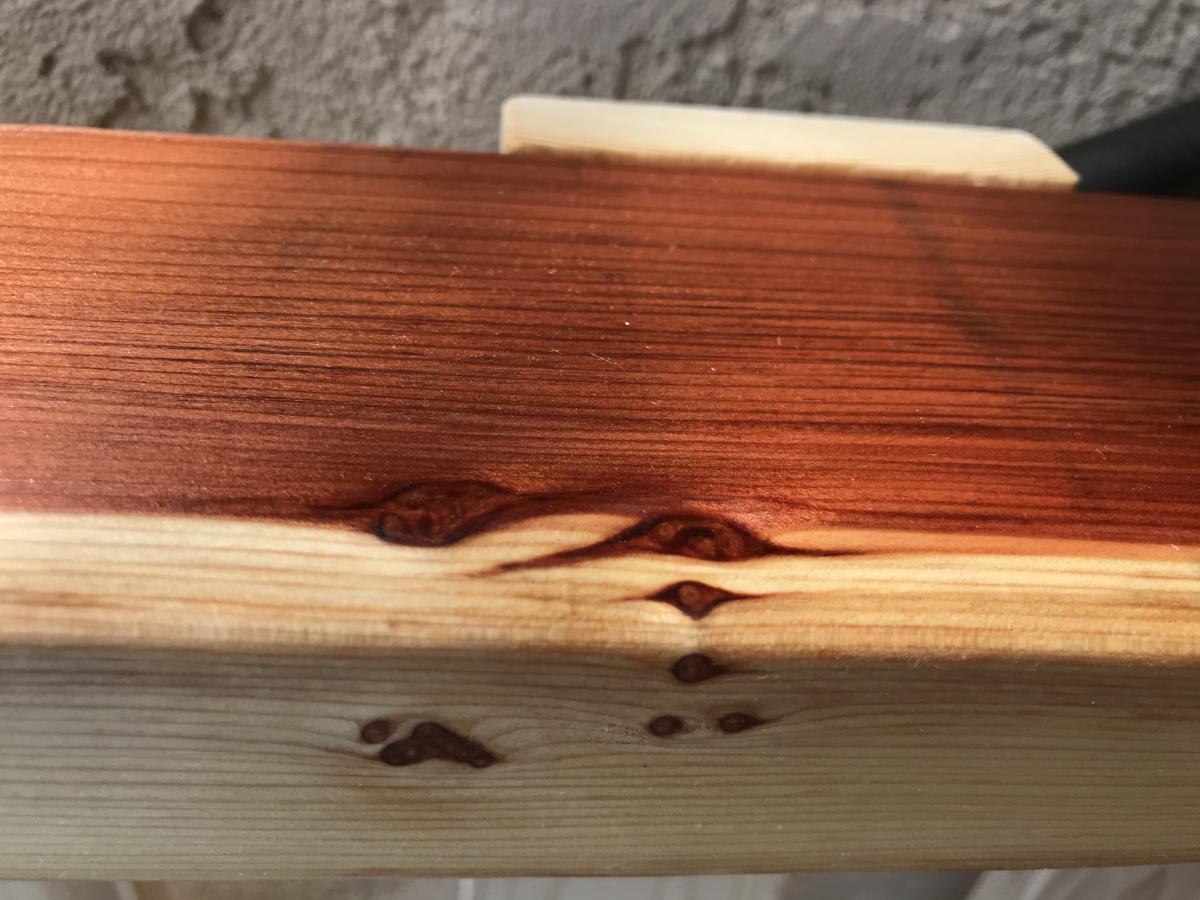
Hi Ana, this is not your design but one I just made up. The timber is Queensland red cedar and about 30 years old, I was given a tree and had it cut up. Came out great
Regards
Karl Penna, Queensland, Australia