Community Brag Posts

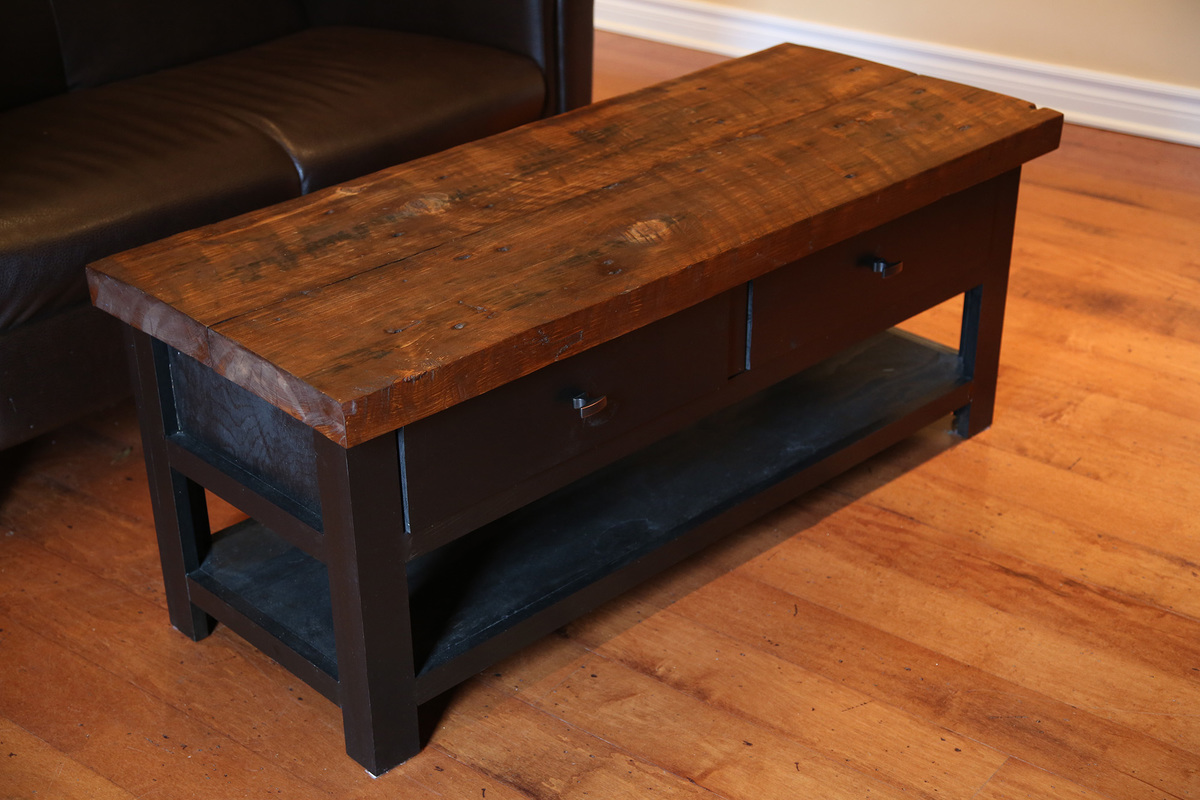
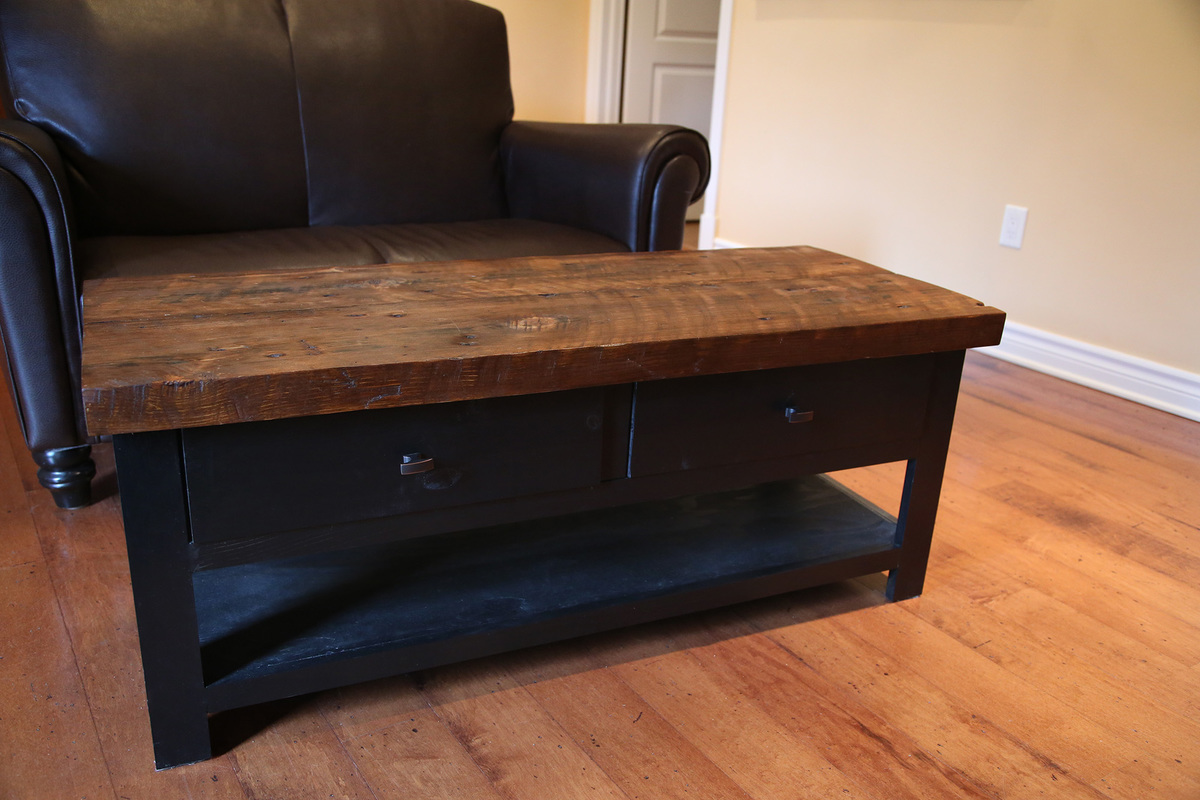
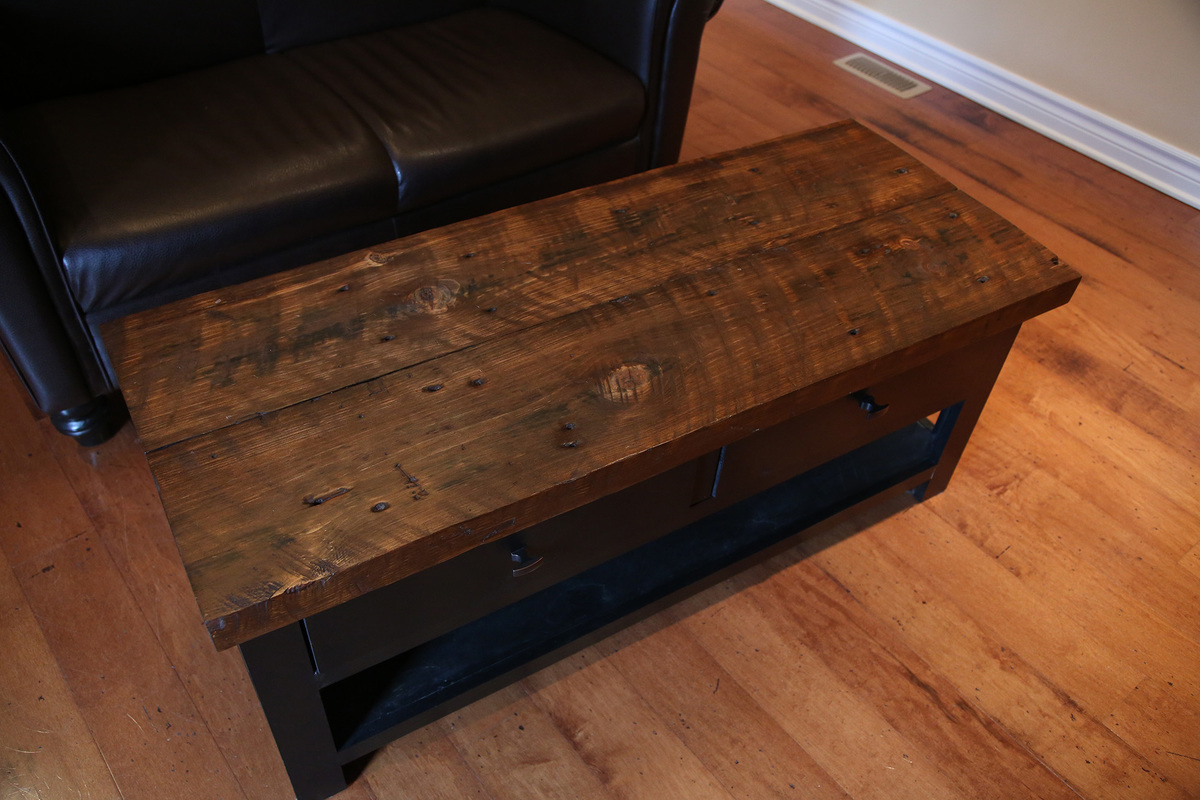
Coffee Table

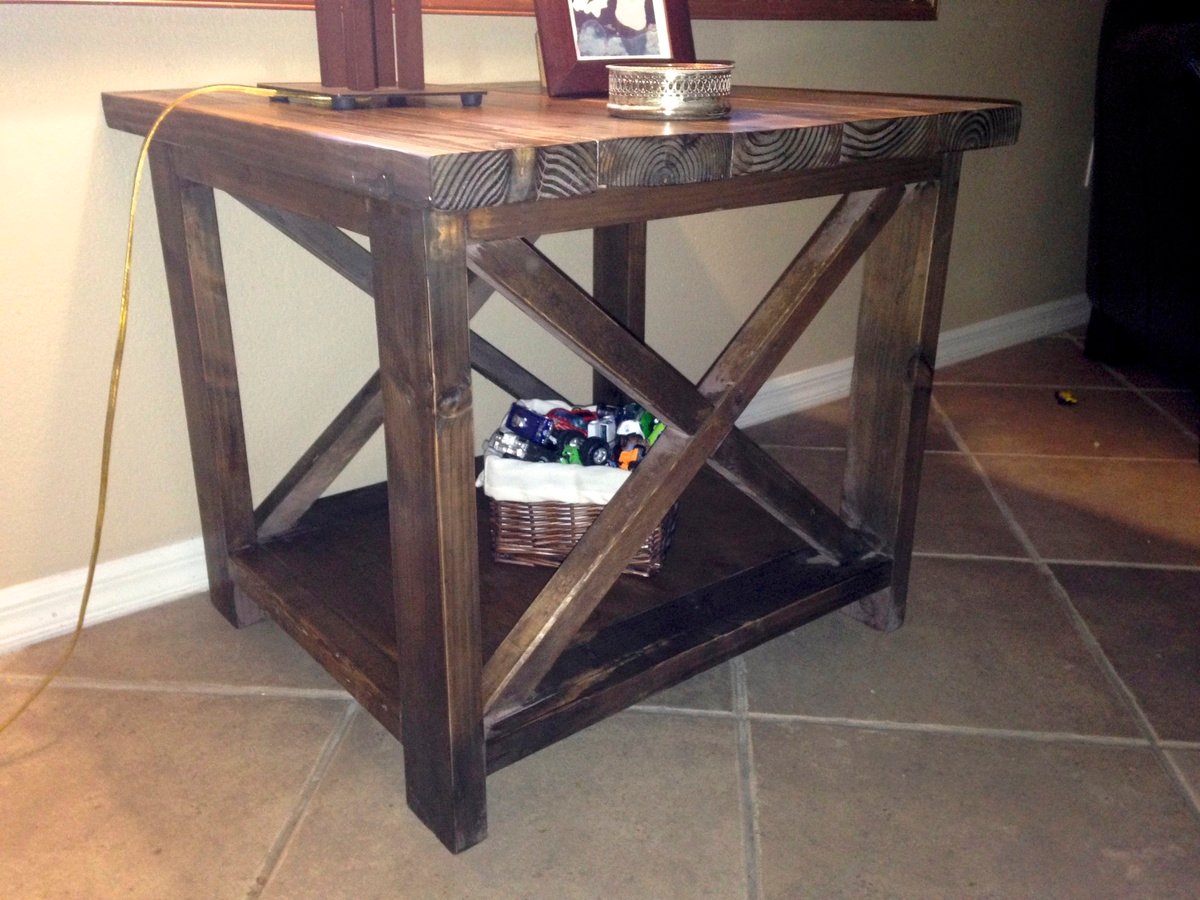
I tweaked the console plans to work best for my space, and to work with the reclaimed barn threshing floor boards that I used for the top.

I love how it turned out and it works wonderfully in my space.

Estimated Cost
60
Estimated Time Investment
Weekend Project (10-20 Hours)
Finish Used
I painted the bottom with a melamine paint.
The top was stained with a walnut gel stain, and finished with a wipe on poly.
Recommended Skill Level
Beginner

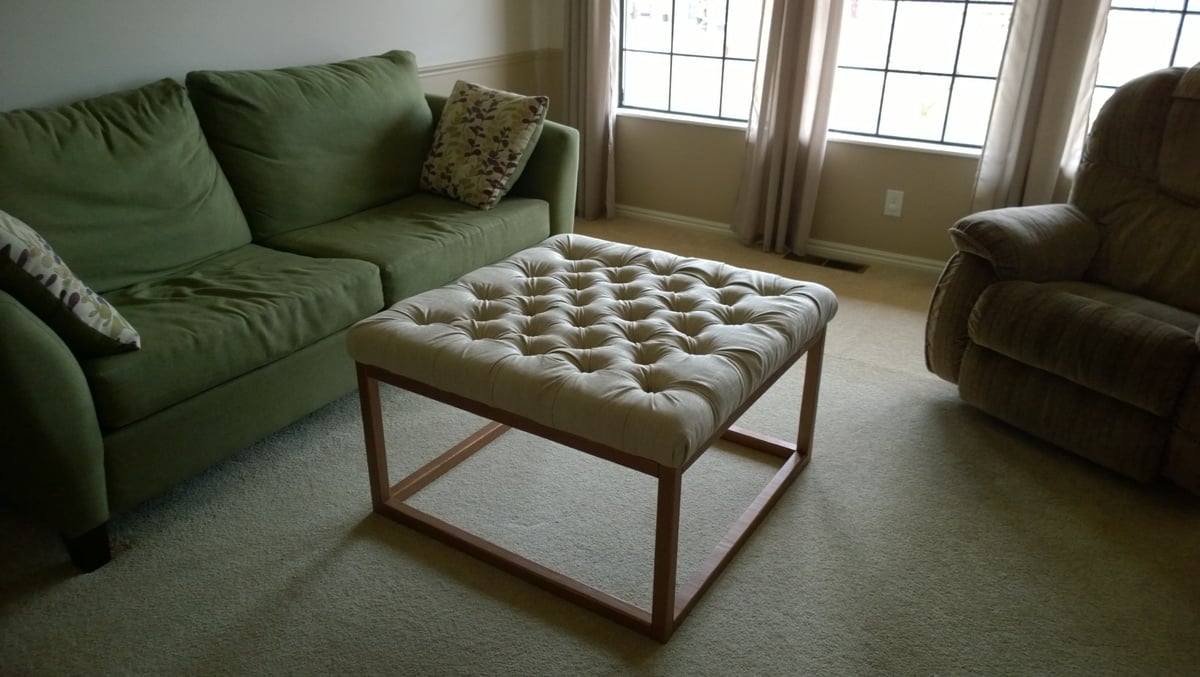
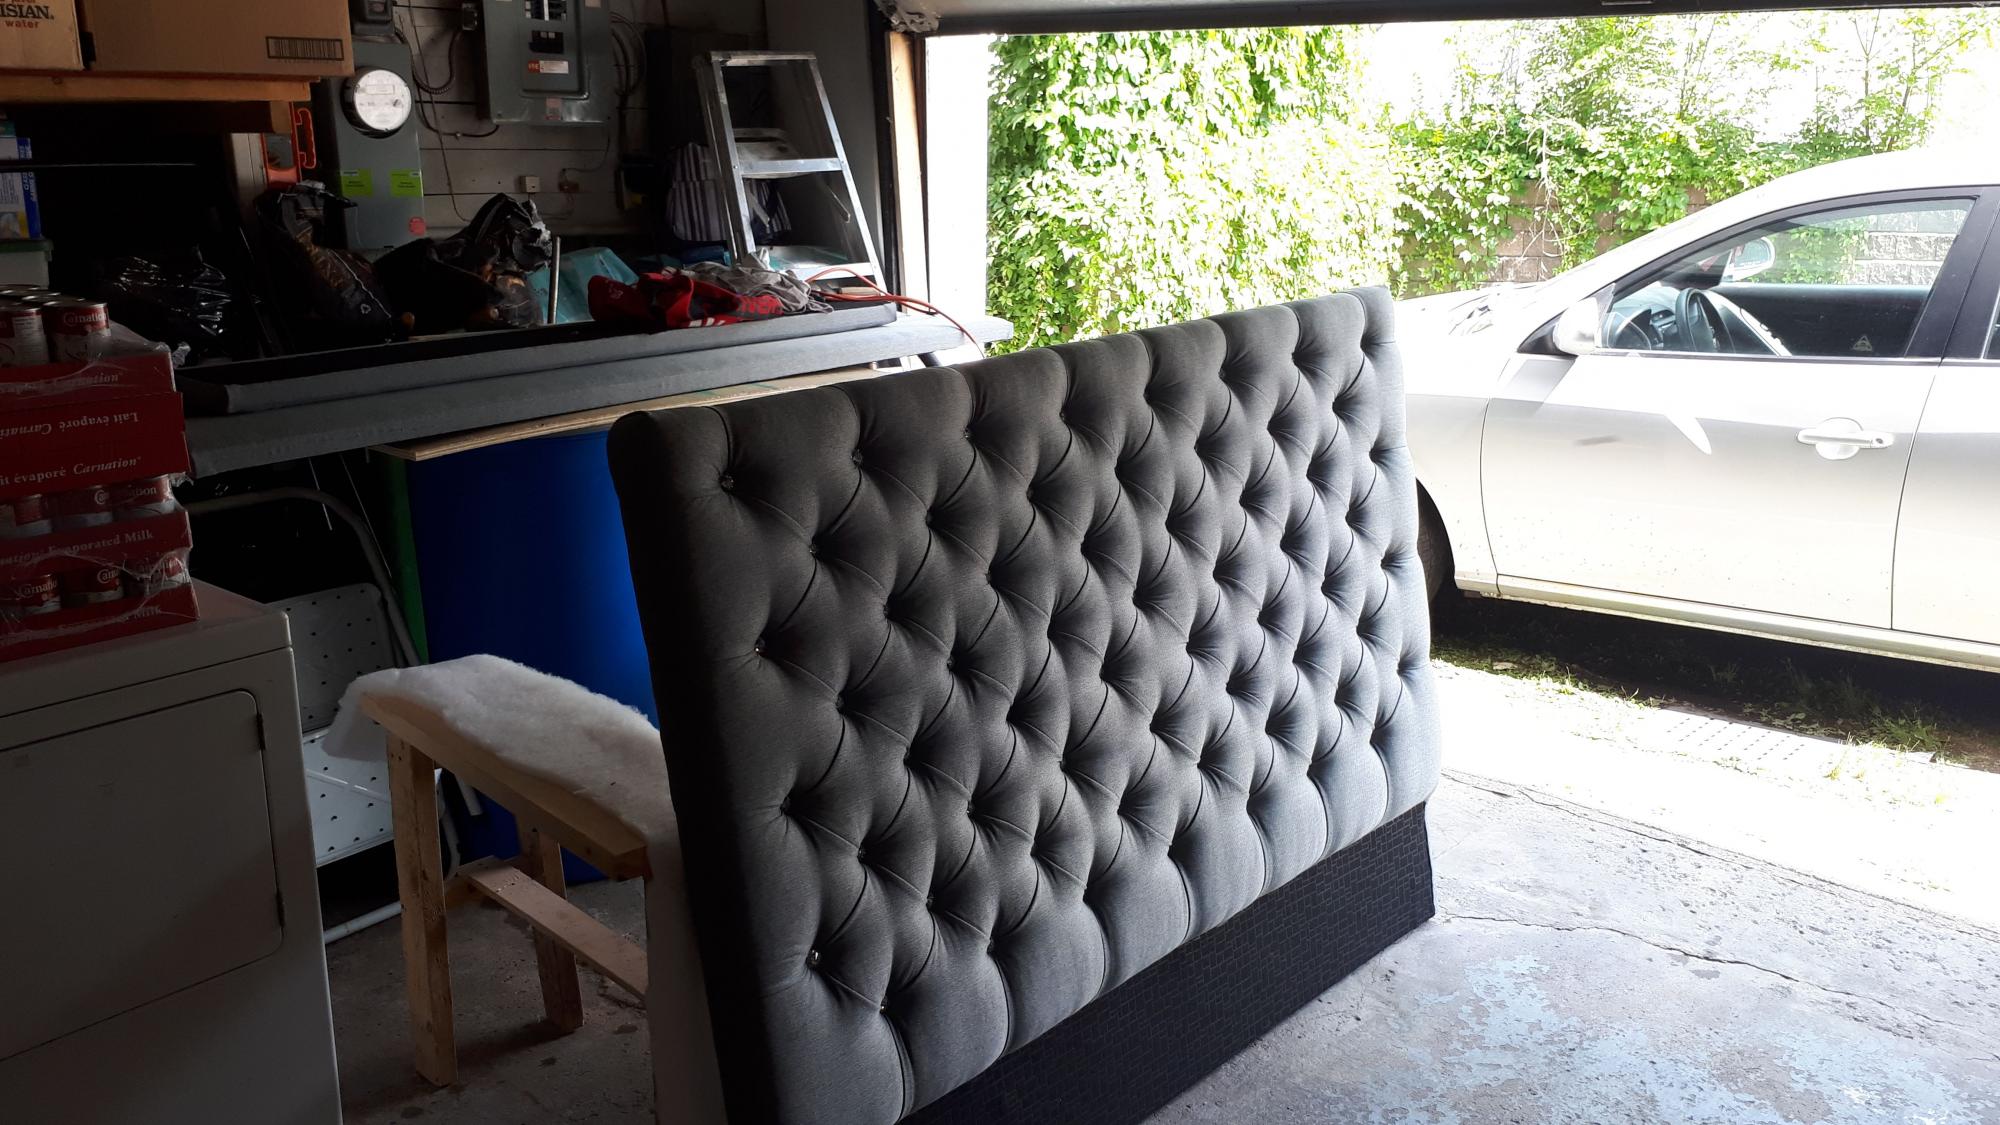
Upholstered Coffee Table/Ottoman

Submitted by Anonymous (not verified) on Wed, 01/27/2016 - 10:15

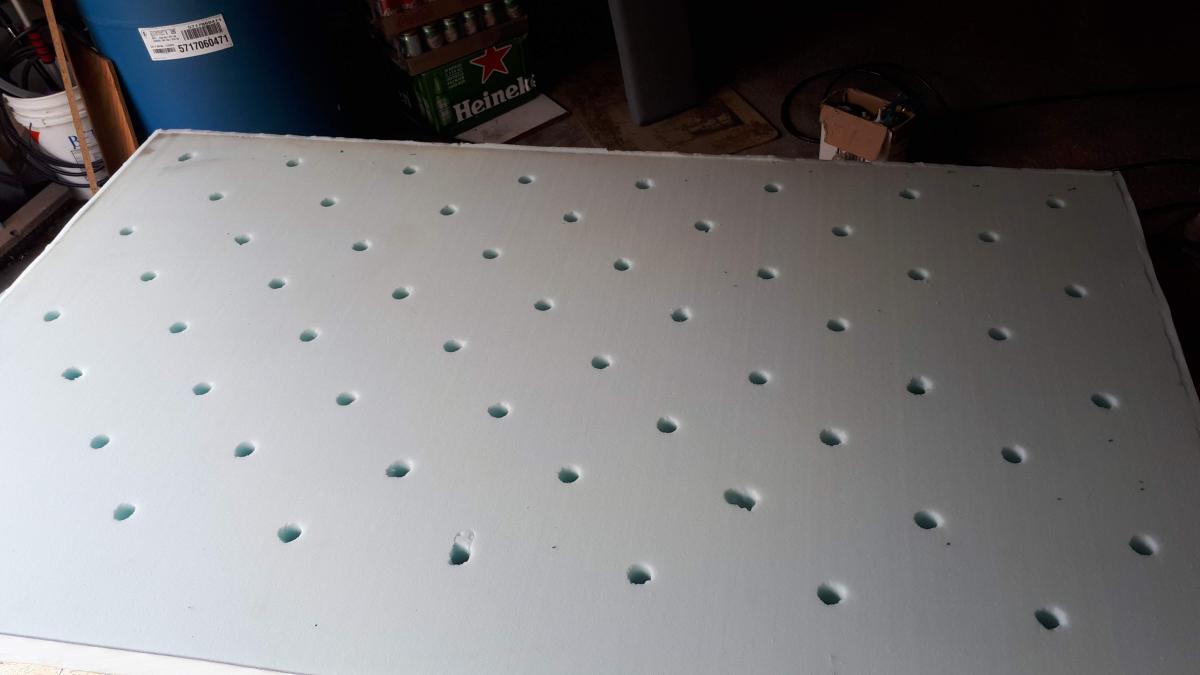
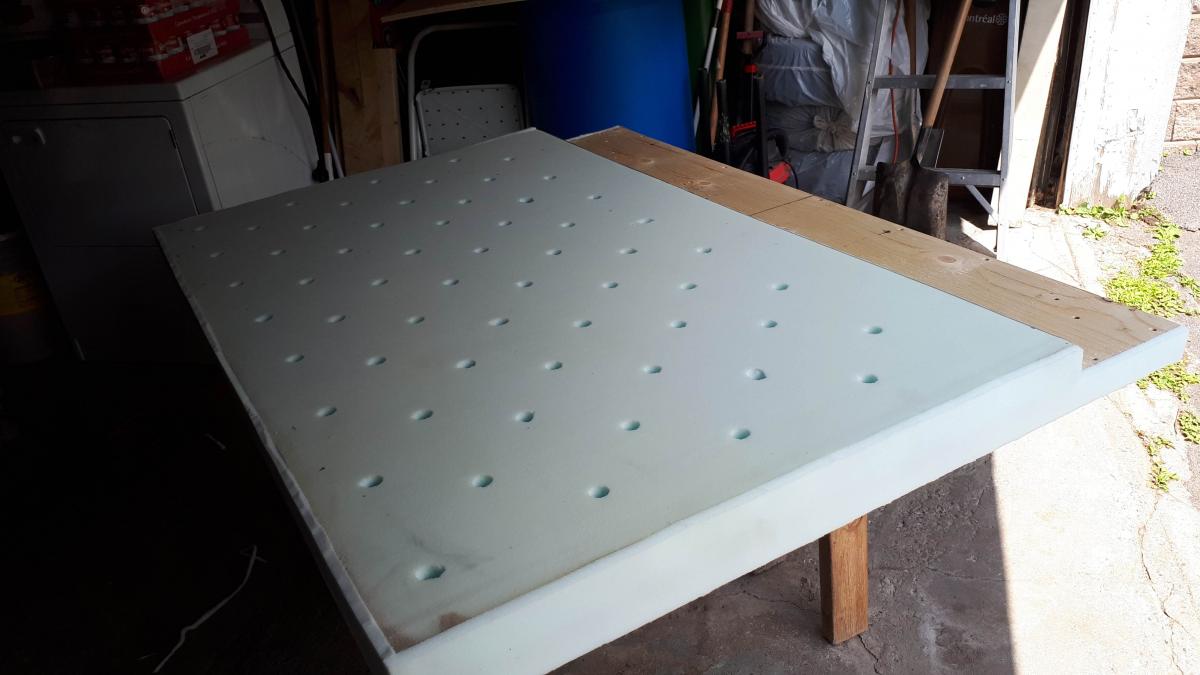
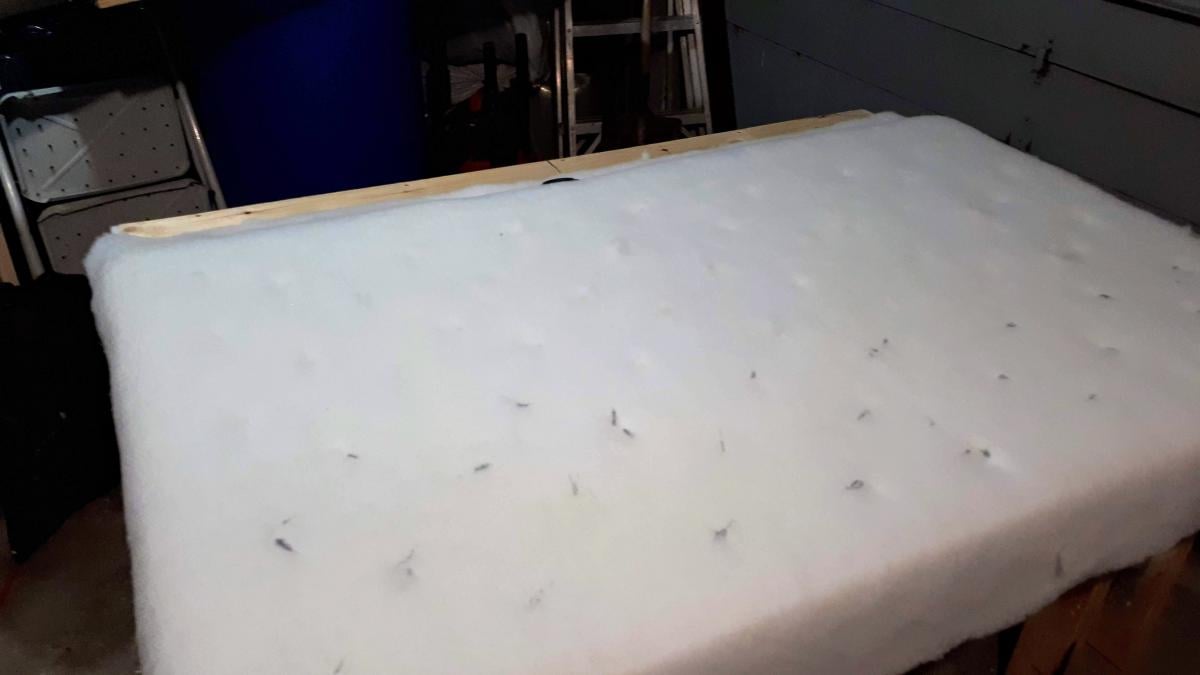
I built the plans exactly as given (minus the top of course) but in hindsight I would have reduced the height by three inches to accommodate for the three inch height of the upholstery foam. I am still very happy with it!

Built from Plan(s)
Estimated Cost
$100 approx.
Finish Used
For the base, I painted them with Rustoleum's Hammered in copper. (The quart, NOT the spray paint) I did two coats. When applying, go quickly and don't over brush the paint. I did spray on a light clear matte finish to tone down the shiny finish of the paint.
Recommended Skill Level
Beginner

Comments

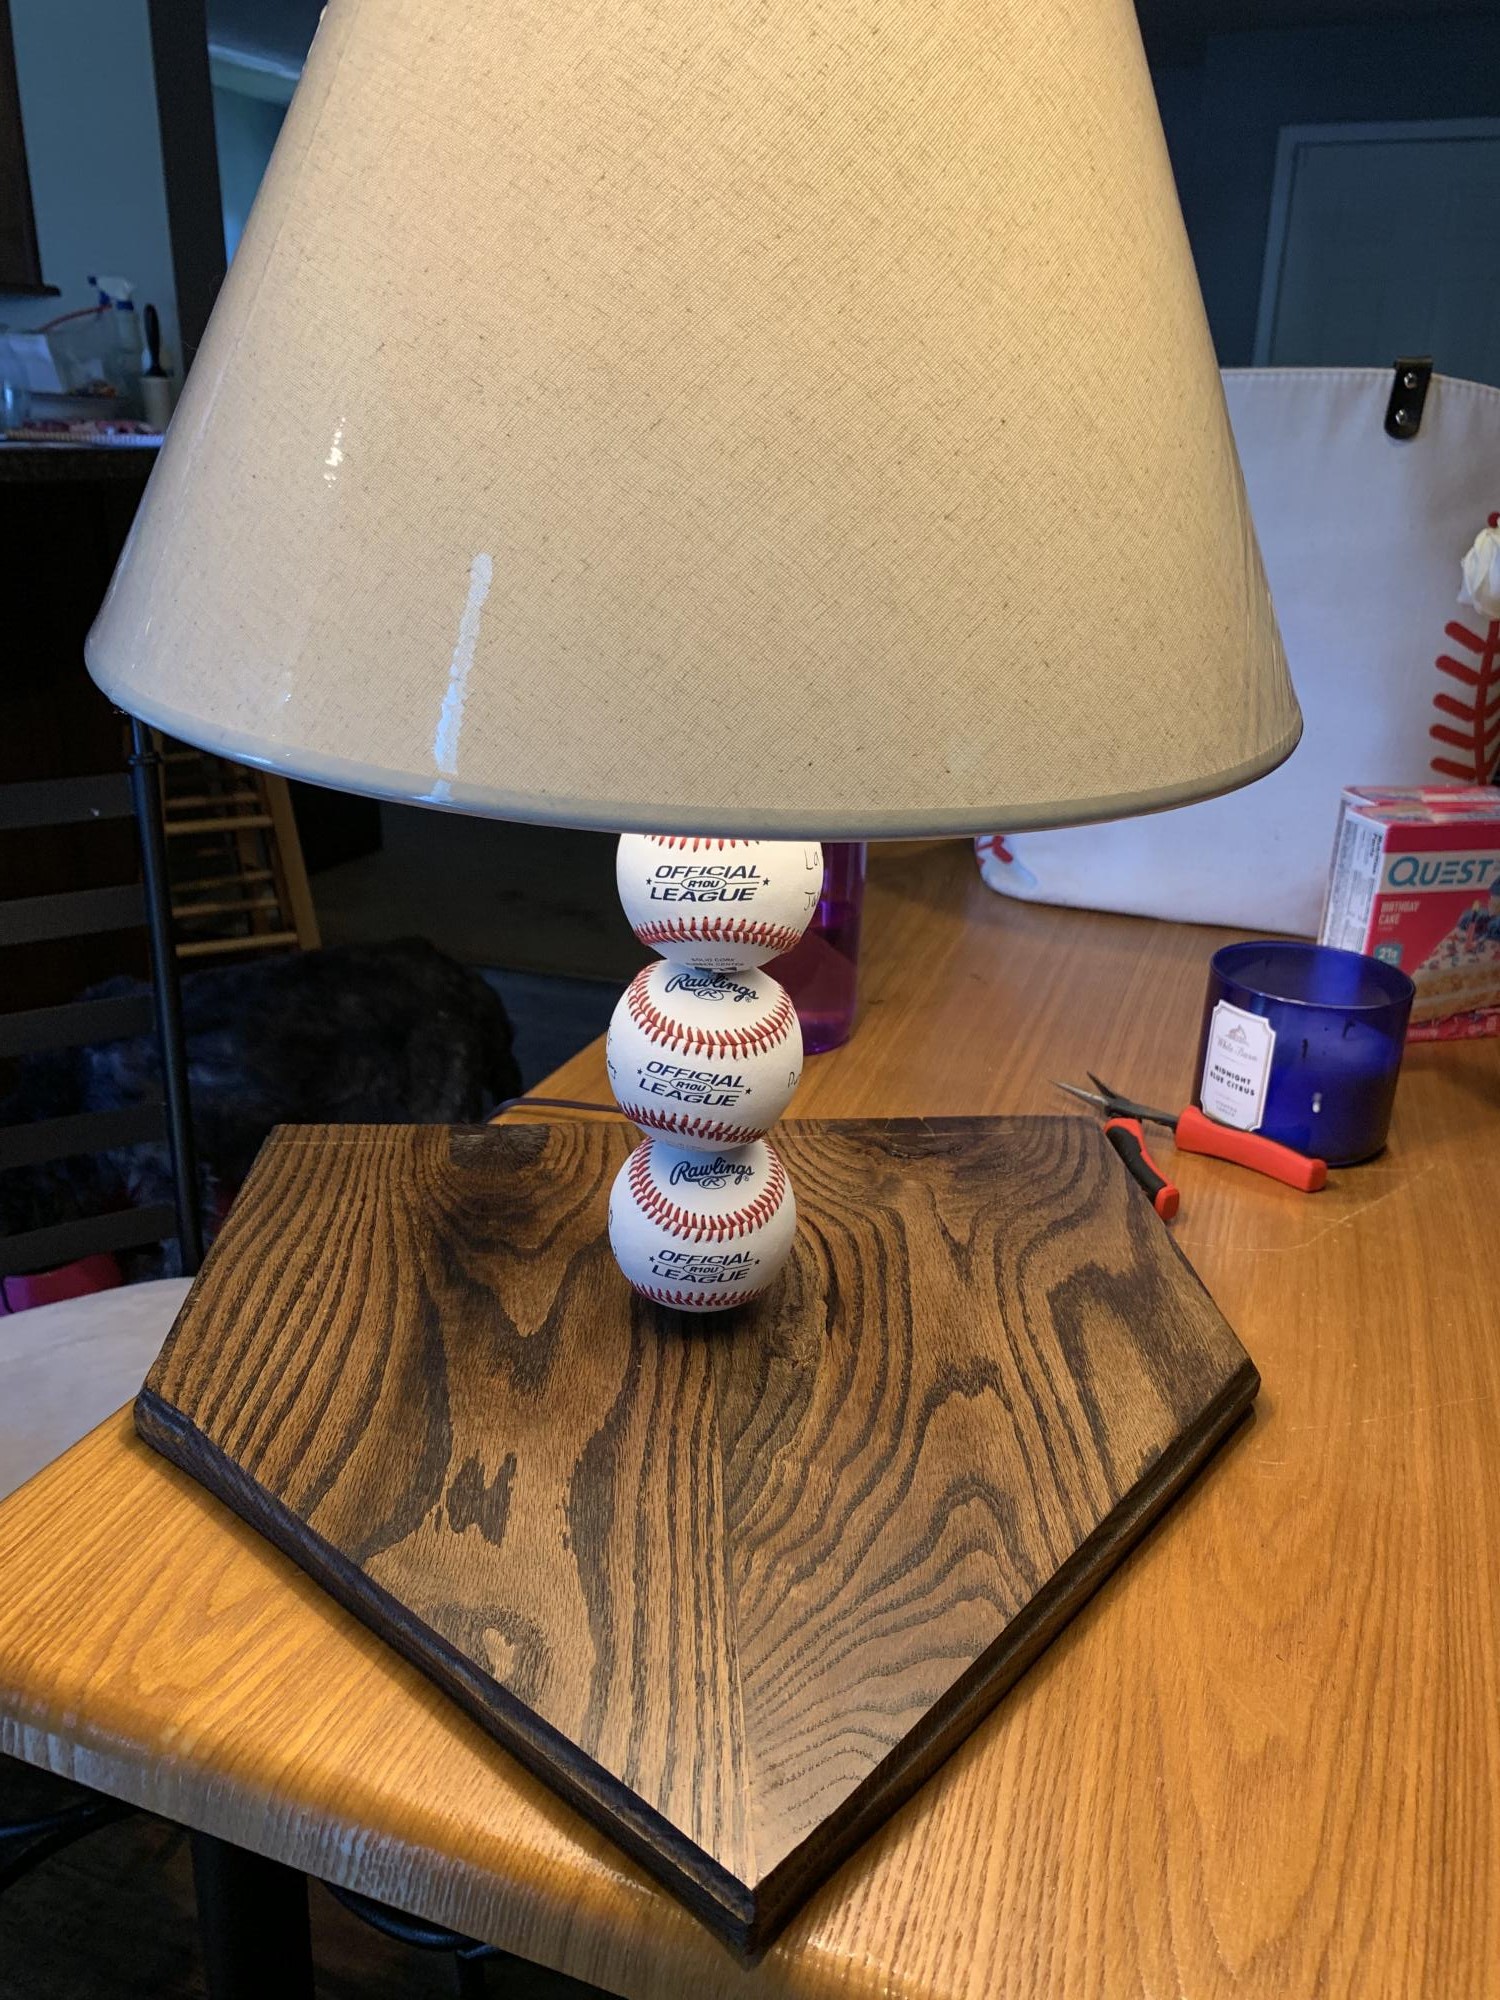
Baseball Lamp

Just finished baseball season and made this light for our coach with finishing touches of all players signing the balls. 

Estimated Cost
50
Estimated Time Investment
Afternoon Project (3-6 Hours)
Finish Used
Deep Red
Recommended Skill Level
Starter Project

Comments

Sonny's Play Mud Kitchen

Darling Mud Kitchen by Sarah Jean Gammon

"I had this idea of making Sonny a mud-kitchen, a kids play kitchen for the yard. I mentioned it to Brent and he laughed saying he had enough projects on his list. This was not something he was going to build. Sooo I built this all by my self...or as Sonny would say, “me do this my own self”. It cost ~30 bucks in lumber and a trip to the thrift store for some second hand pots and pans. 3 hours later, a little paint, a little stain and voila... Sonny Side Up Mud Kitchen! Thanks for the plans Ana."

Built from Plan(s)

Play Kitchen - my first build :)

Submitted by laurakc181 on Mon, 12/26/2011 - 06:10

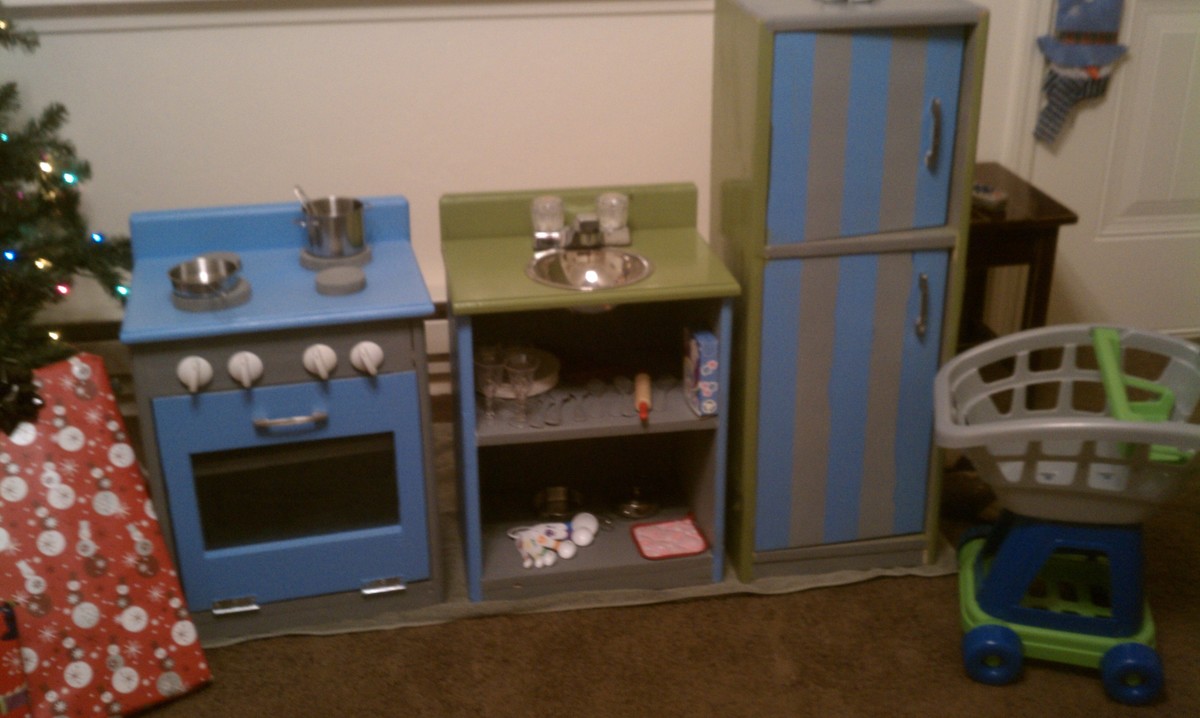
Well, this was my first ever wood build. I have made plenty of sewing projects and many other things, but haven't ever done a wood build.....and I have to say - I'm ADDICTED! I can not wait to do my next wood build. Actually, already making plans to take the beach hut bed and modify it to be a bunk bed for my two girls!
Modifications I made to the kitchen center are as follows:
Fridge: I installed magnetic clips inside the door area so it would stay closed and not go in to far when she closed it. I used basic exterior hinges due to the ackwardness of the size of the boards and placement, but it actually looked better. I installed hooks on the left side for her apron and hot pads and hooks on the right side for her cooking utensils to hang up.
Stove: I made the knobs to the stove able to turn and pull out a little to imitate an actual knob on a stove so she feels as though she is able to turn on the stove and cook. I made the top have four electric burners on the sides and a gas grill plate in the middle....she loves this for her "burgers" lol. I found some cookie cooling racks at dollar tree and they sit perfectly on the shelves inside the stove. I also mounted a tap light on the inside of the stove so it has an "oven light" in it.
Sink: I painted a ceiling medallion to match the set colors and have that as her decorative sink border...the actual sink is a purple tupperware bowl. The faucet is actually a sink mounted soap dispenser I purchased. It has a bottle that attaches under the sink that I can fill with water so that when she is playing she can pump the faucet and actually get water! I made sure to use kitchen and bath grade silicone sealant on the sink and used paint that is ok in a kitchen/bath area.

I painted her set Disney Tink Pink lol.....her favorite color! She is loving this set and I am so thankful I found this site so I could make it!
Estimated Cost
Out of Pocket: $25; Gift Cards: $200
Estimated Time Investment
Weekend Project (10-20 Hours)
Finish Used
I primed it and then used a high gloss finish (so it was easily cleaned when it gets dirty) in Disney Tink Pink.
Recommended Skill Level
Beginner

Comments

JoanneS

Sun, 01/01/2012 - 09:47

Congrats on your first build! You did a super job! So cute. Love the creative elements like the turning knobs, grill and the 'running' water. Your sink bowl and trim colors are a great touch too. :)

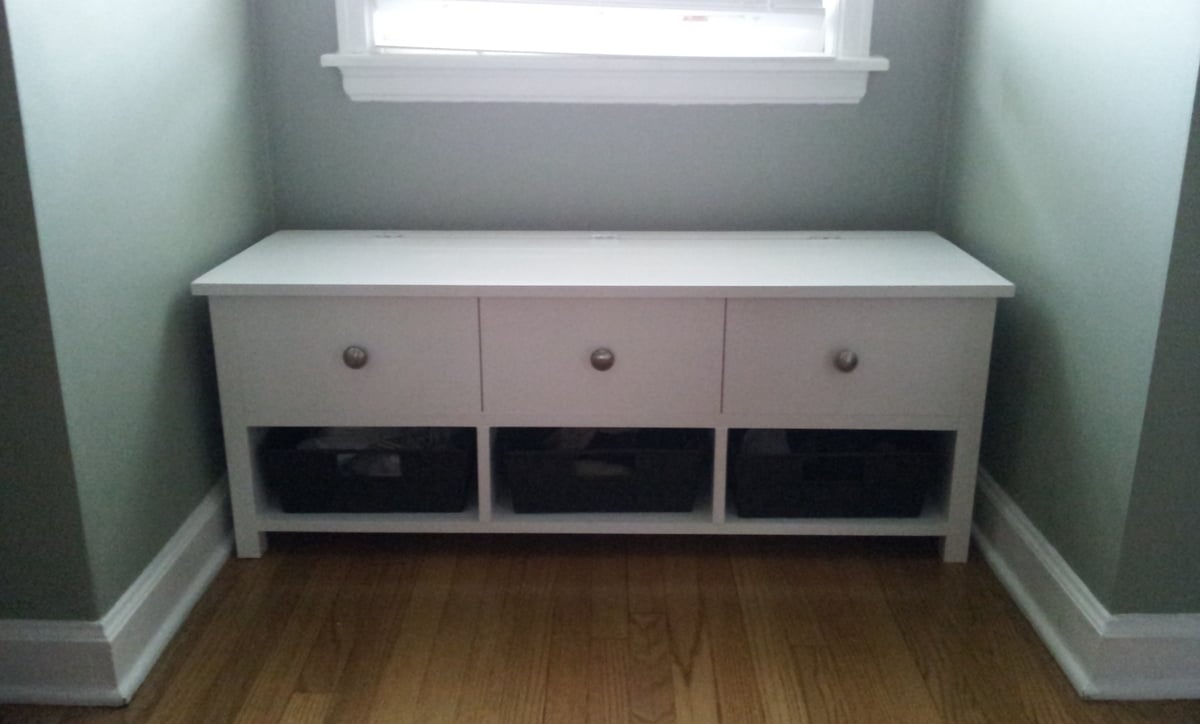
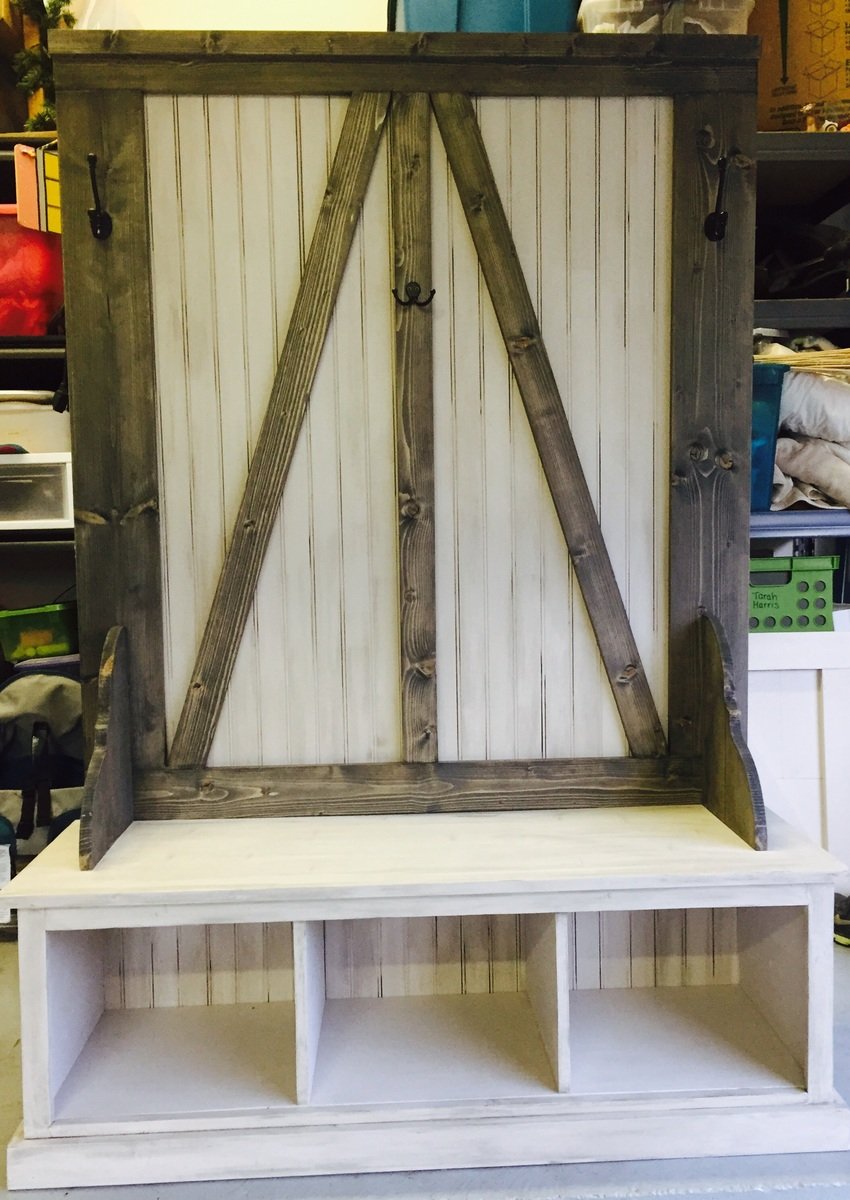
Storage Bench

I followed the plans and everything went really well. Th bench was built to match a Farmhouse Bed and nightstand that I built. I added fake drawers and knobs to make it match the nightstand. The top of the bench is made from boards screwed together rather than plywood, to add a little character.

Estimated Time Investment
Afternoon Project (3-6 Hours)
Finish Used
White paint with a clear acrylic on top.
Recommended Skill Level
Intermediate

Comments

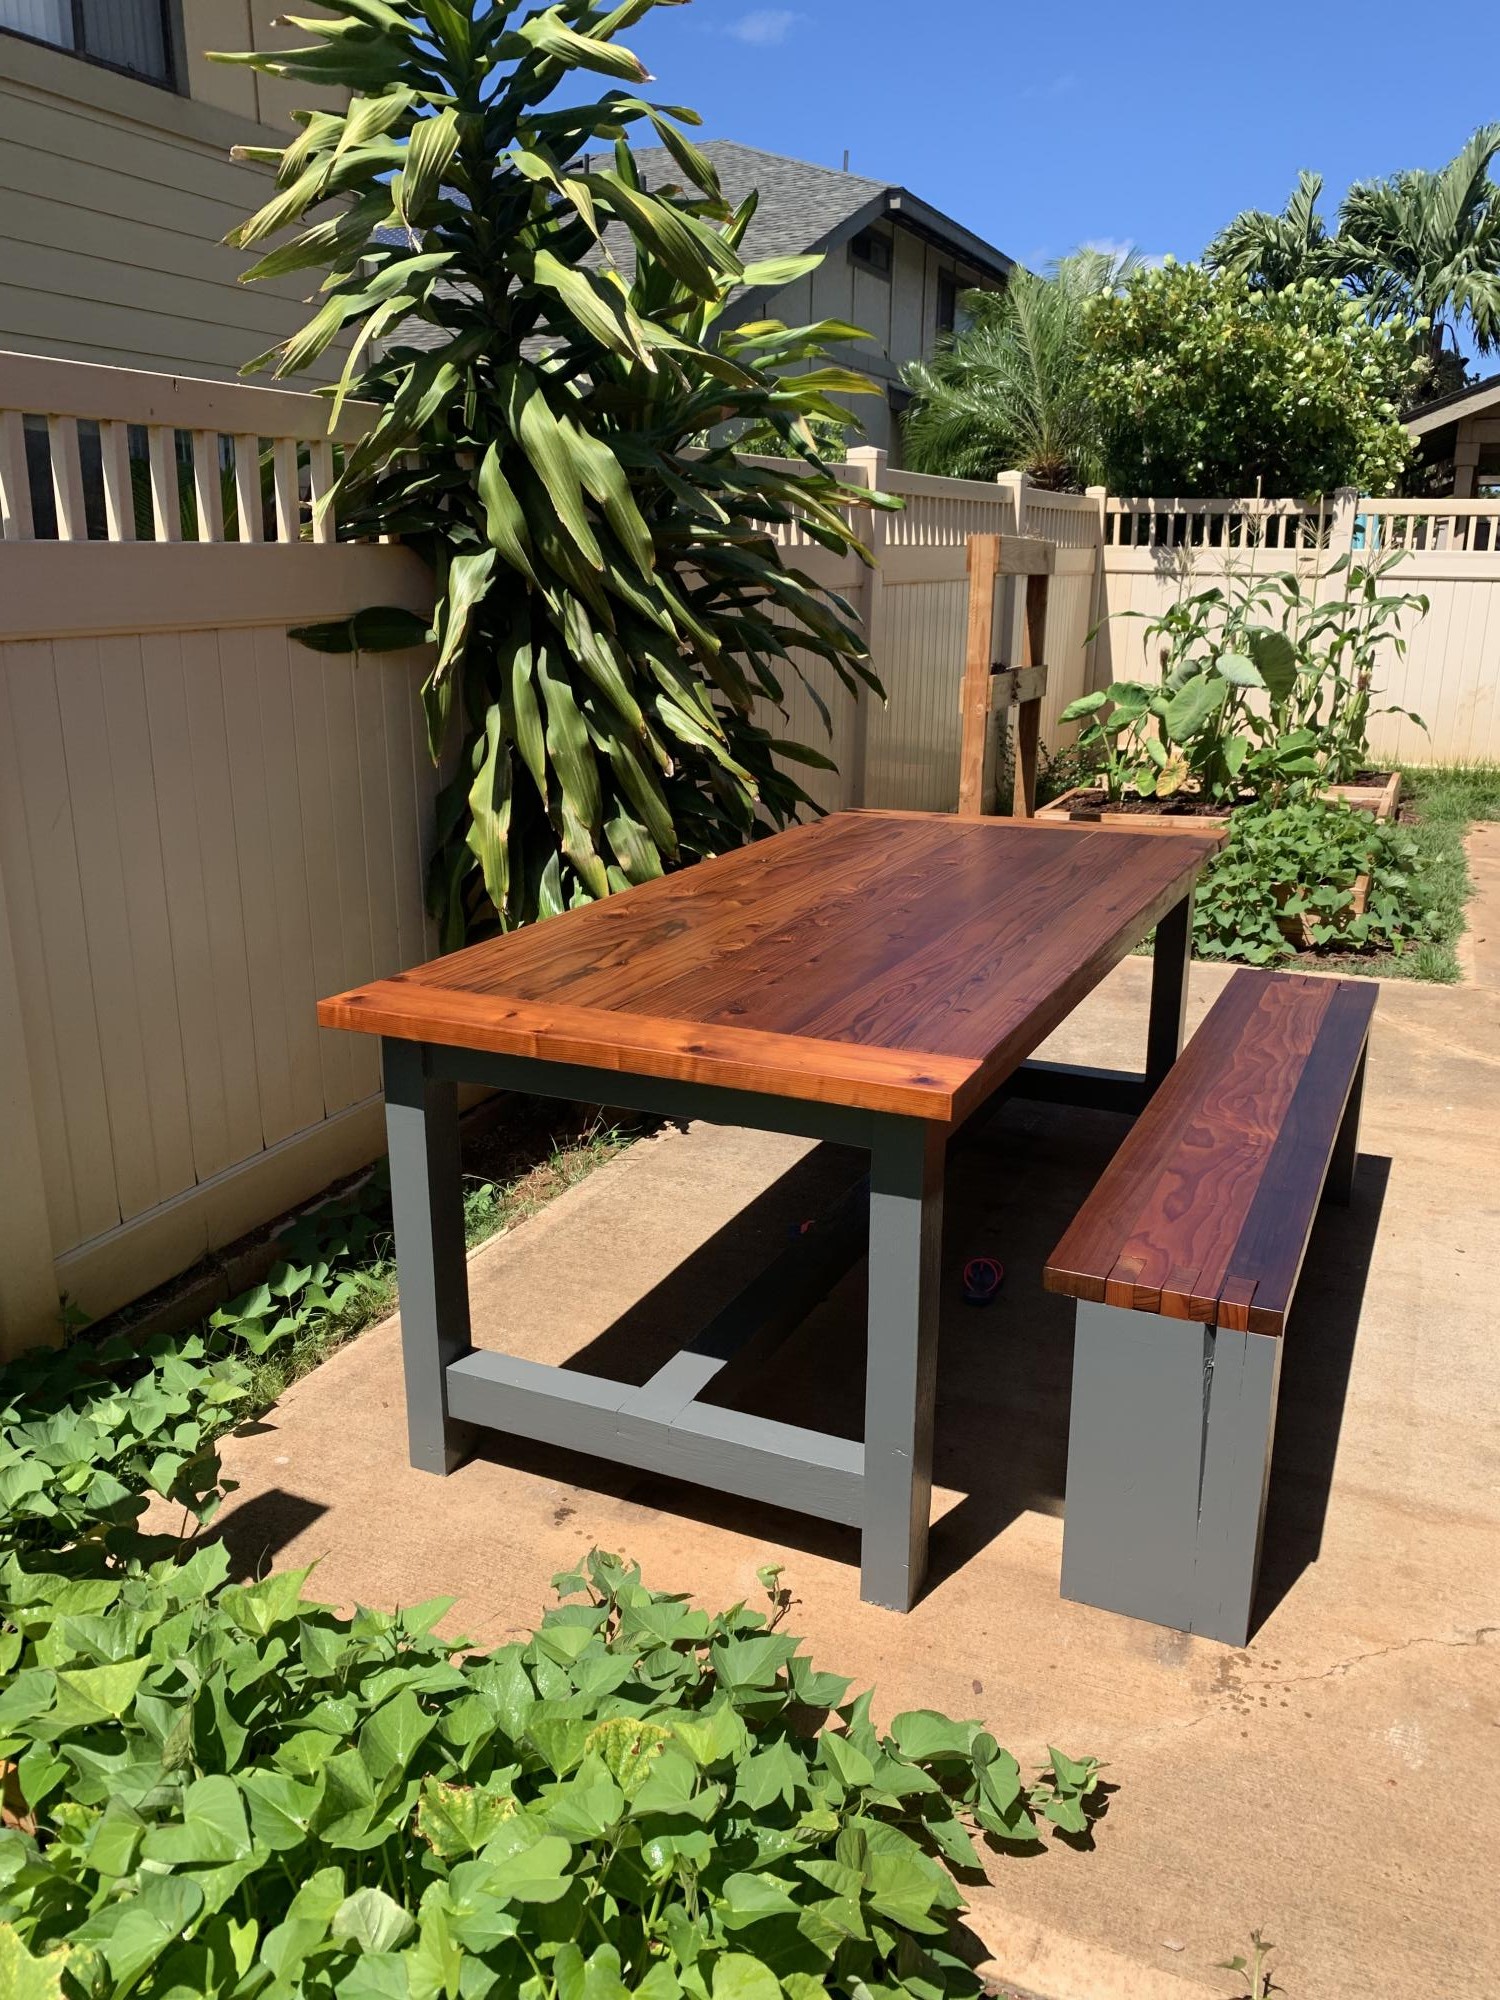
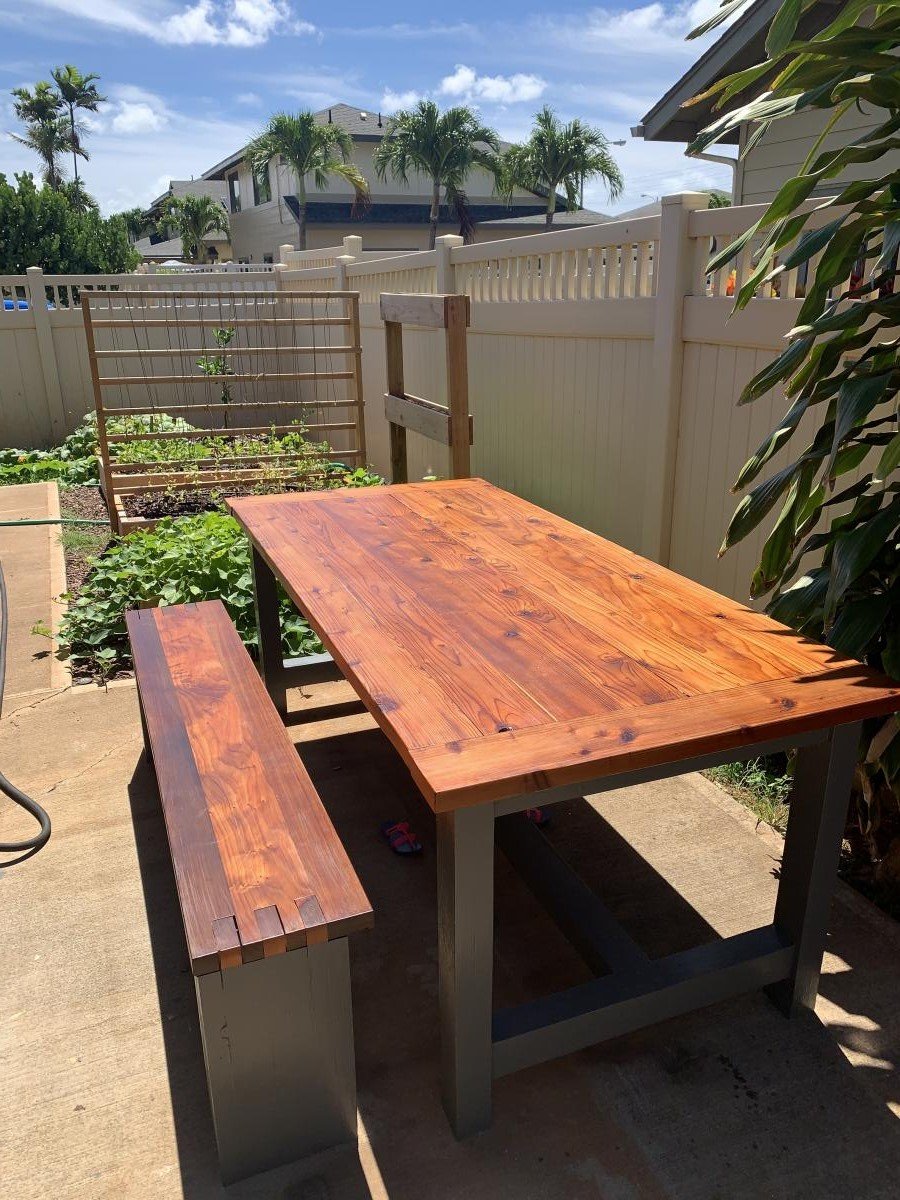
Redwood Farmhouse Table and Bench

Submitted by nkukona on Mon, 07/22/2019 - 05:35

Farmhouse Table and Bench. Made from all redwood. Table is all new wood, and half the bench was from reclaimed redwood. Used Danish Oil and Spar Urethane to finish the tops, and paint to finish the legs.   

Estimated Cost
Not sure, but redwood cost a lot more than pine. Maybe $400 or so.
Estimated Time Investment
Week Long Project (20 Hours or More)
Recommended Skill Level
Beginner

Comments

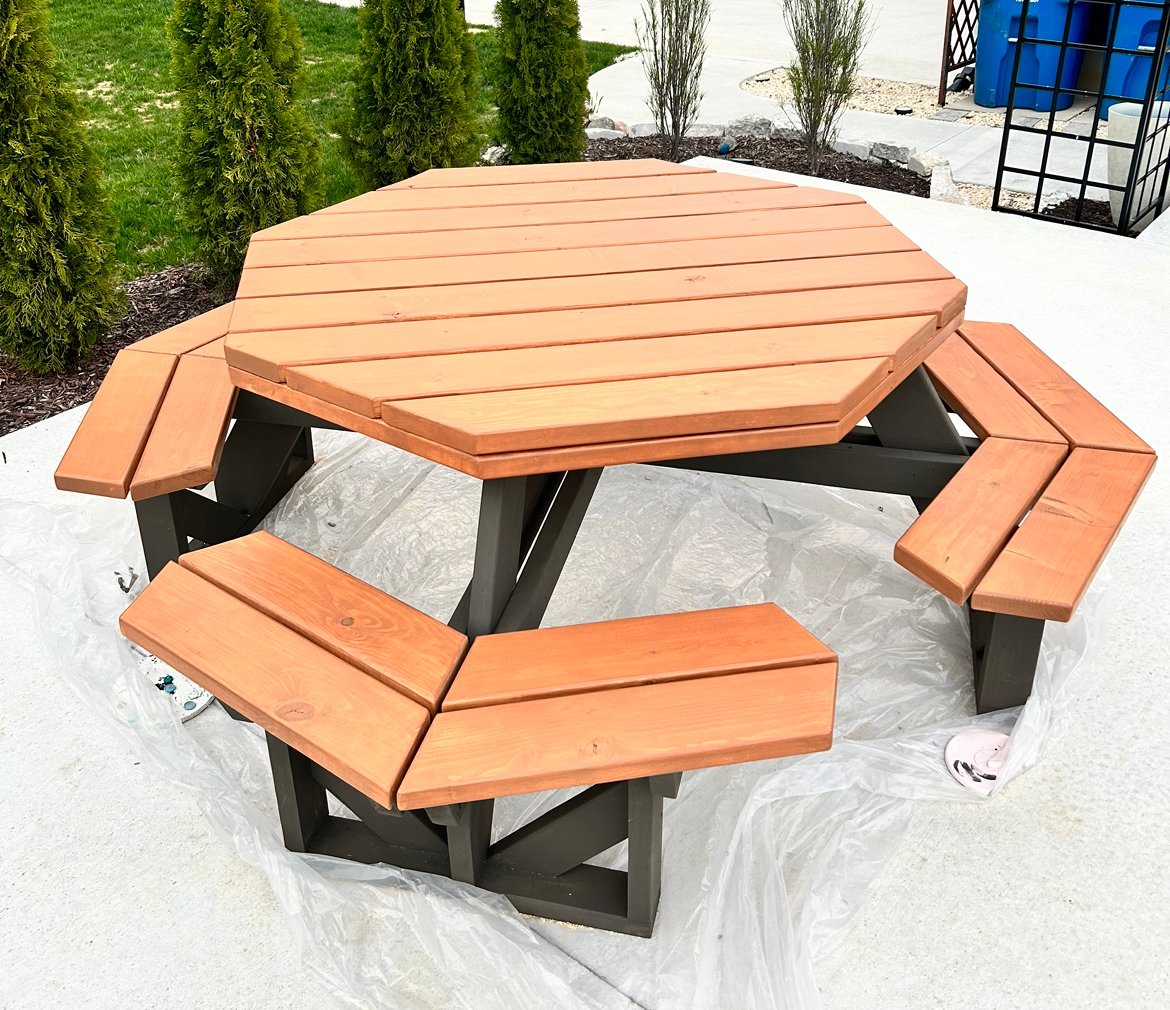
Octagonal Picnic Table

Submitted by Anonymous (not verified) on Tue, 04/25/2023 - 08:16

Great plans and easy to follow!

Comments

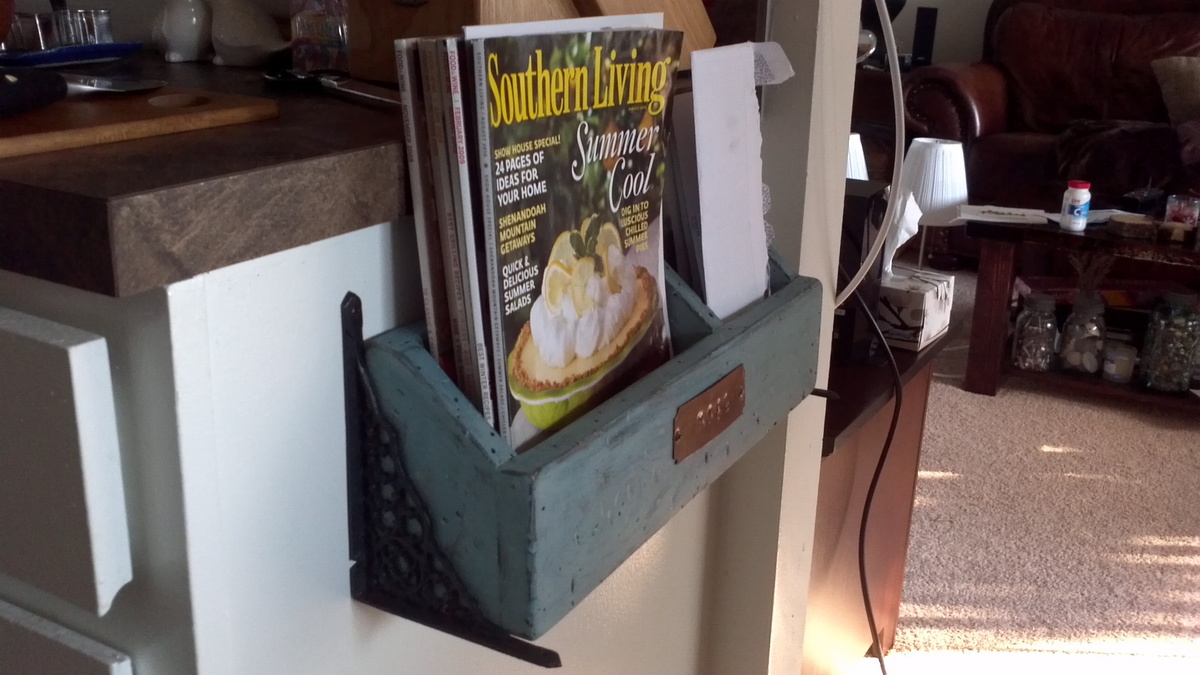
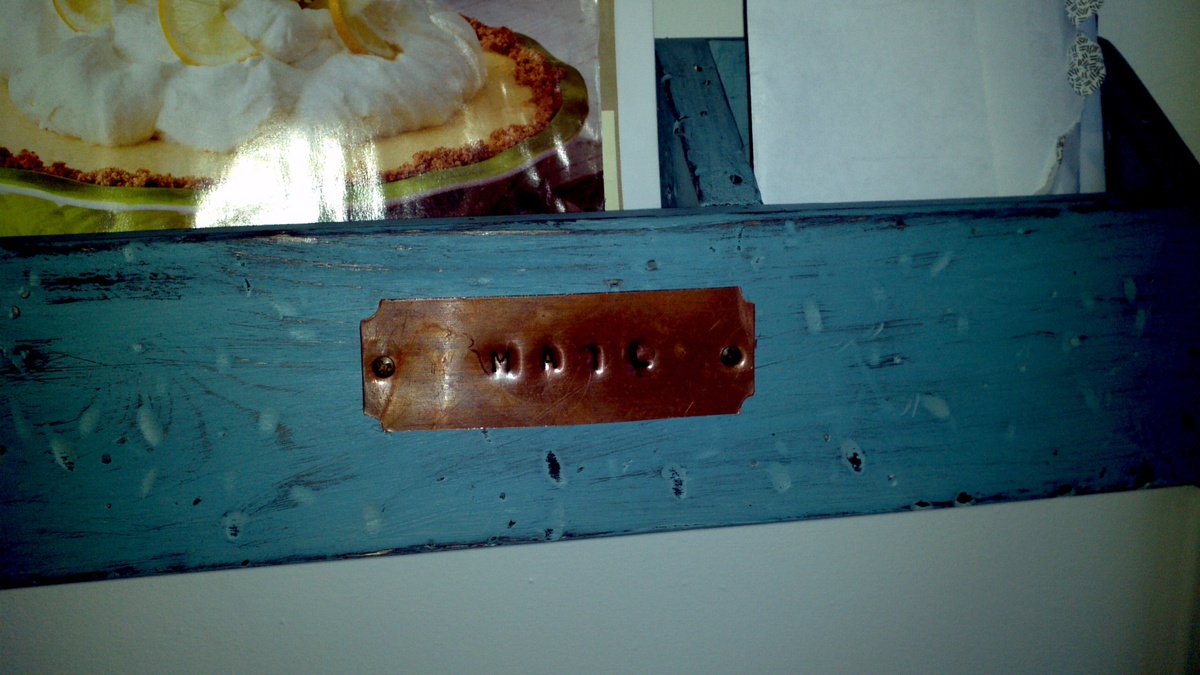
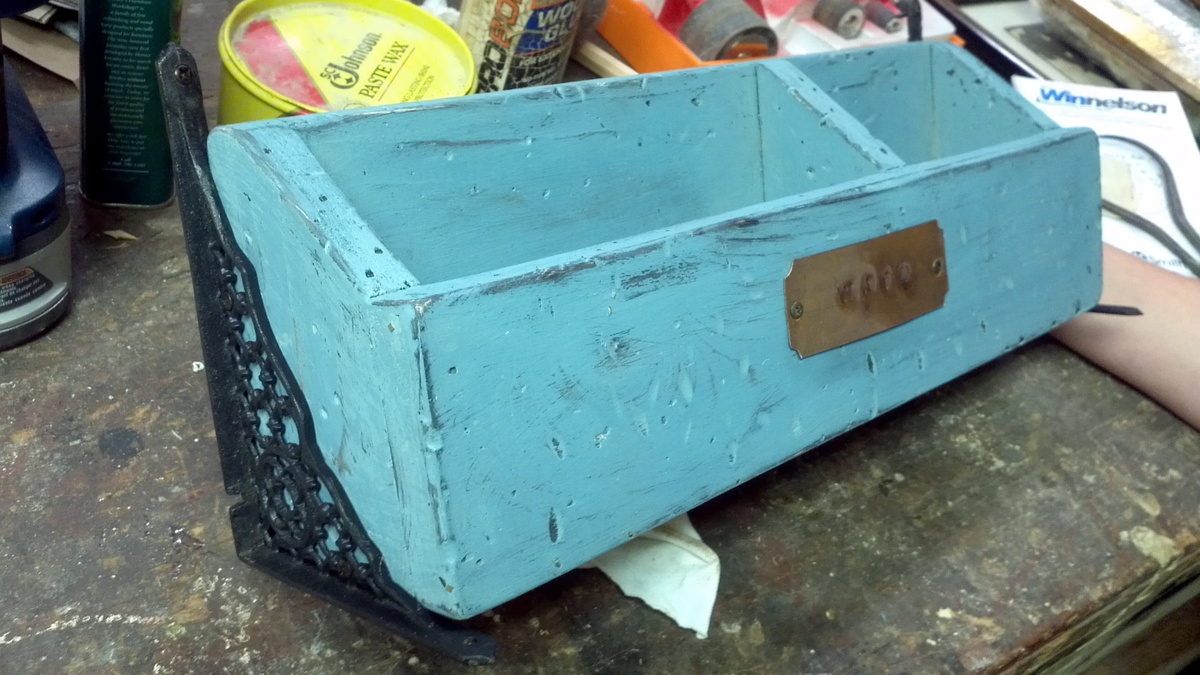
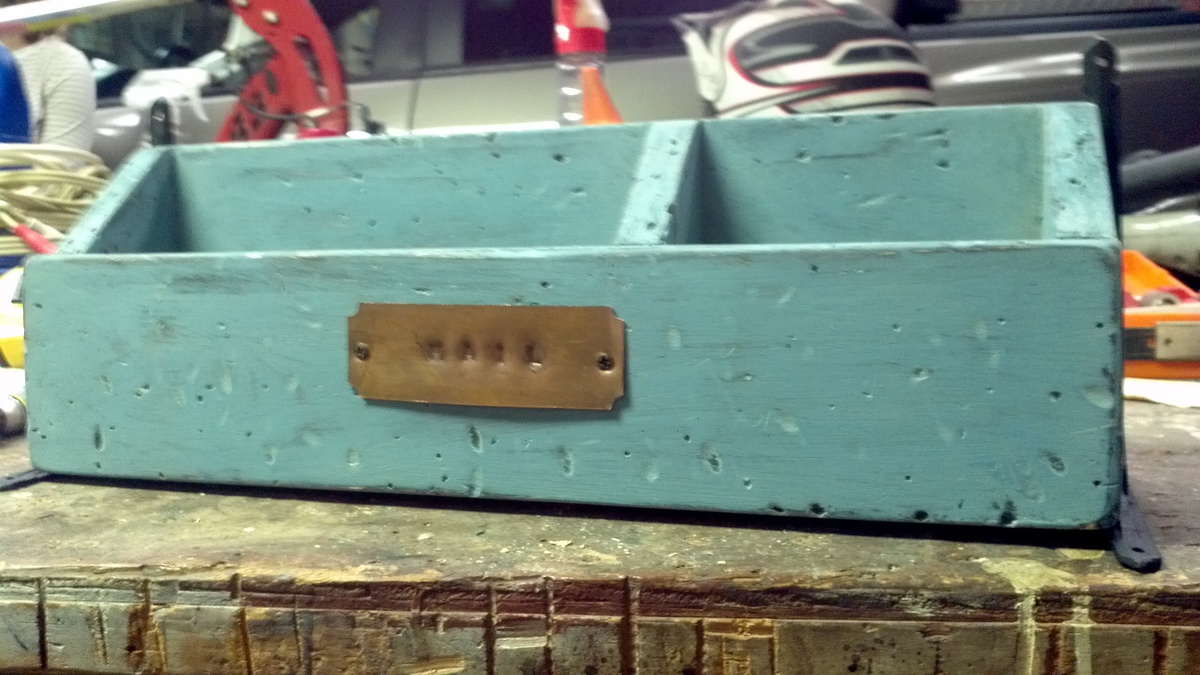
Distressed Mail Organizer

Submitted by trev88 on Wed, 12/28/2011 - 07:15

I found a picture of a mail organizer (URL below) on Ana's website and my wife really wanted one similar to it. So we took that idea, added some antique accessories to the side and name plate on the front.

Estimated Time Investment
Afternoon Project (3-6 Hours)
Finish Used
Black matte spray paint then latex paint over. Sanded paint back for the black spray paint to show through. This gives the rustic look.
Recommended Skill Level
Beginner

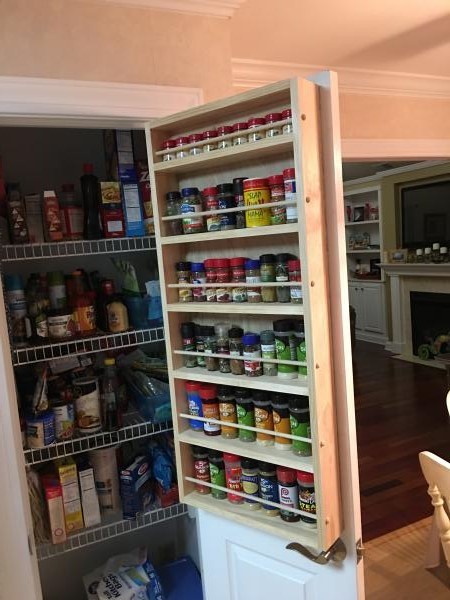
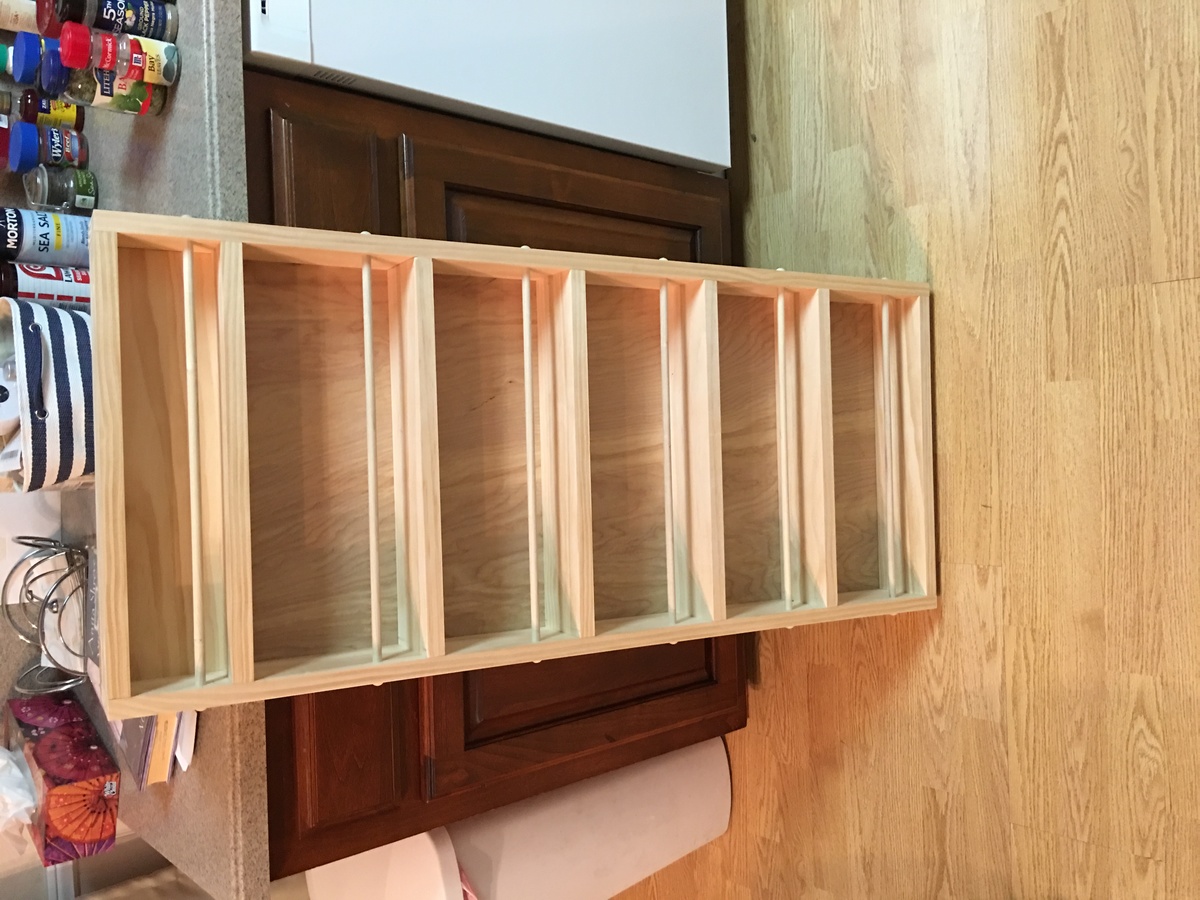
Door Spice Rack

Submitted by Anonymous (not verified) on Wed, 02/03/2016 - 07:39

I found the plans for this spice rack several months ago but did not have the time to build it. The spice rack was very easy to build with the provided plans and with the use of the Kreg Pocket Hole jig. My wife loves it. Thankssmiley

Estimated Cost
$40
Estimated Time Investment
Afternoon Project (3-6 Hours)
Finish Used
None
Recommended Skill Level
Beginner

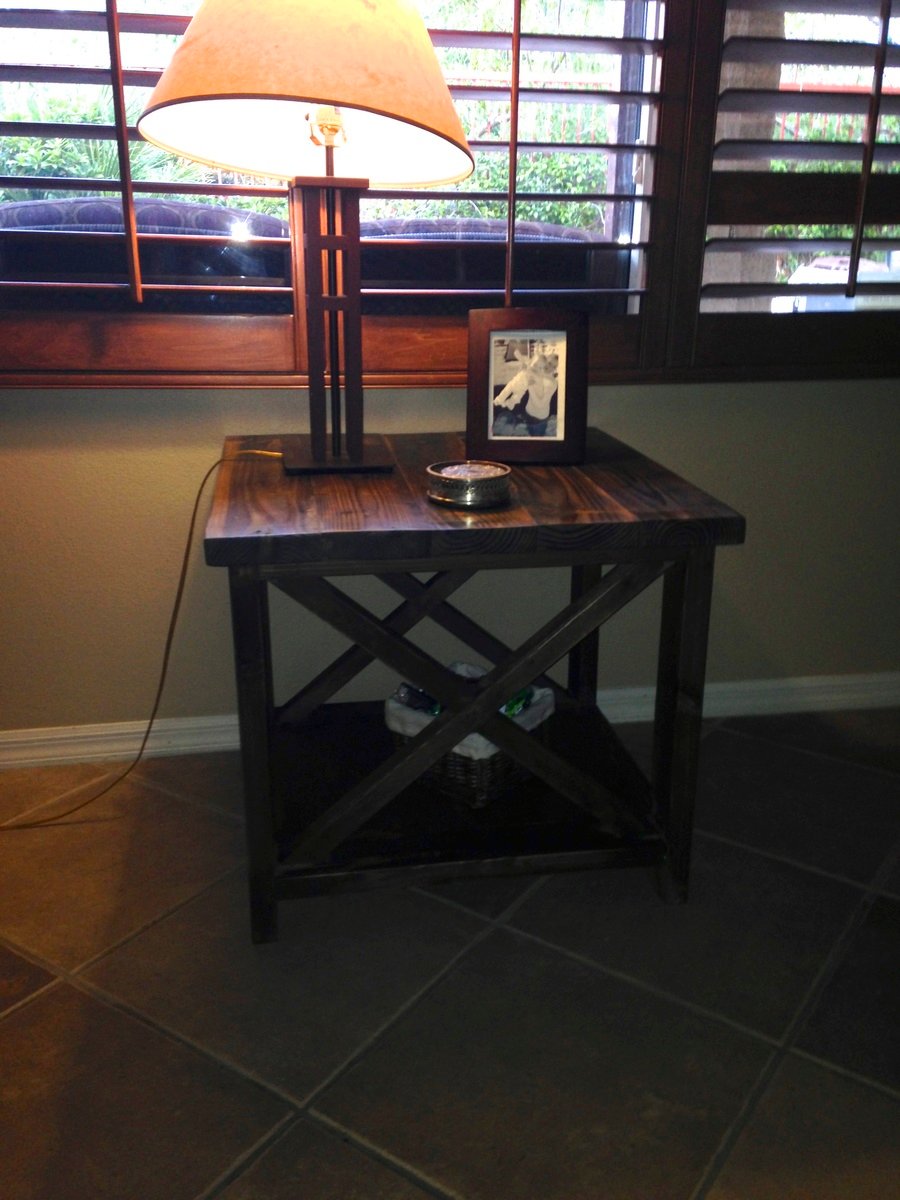
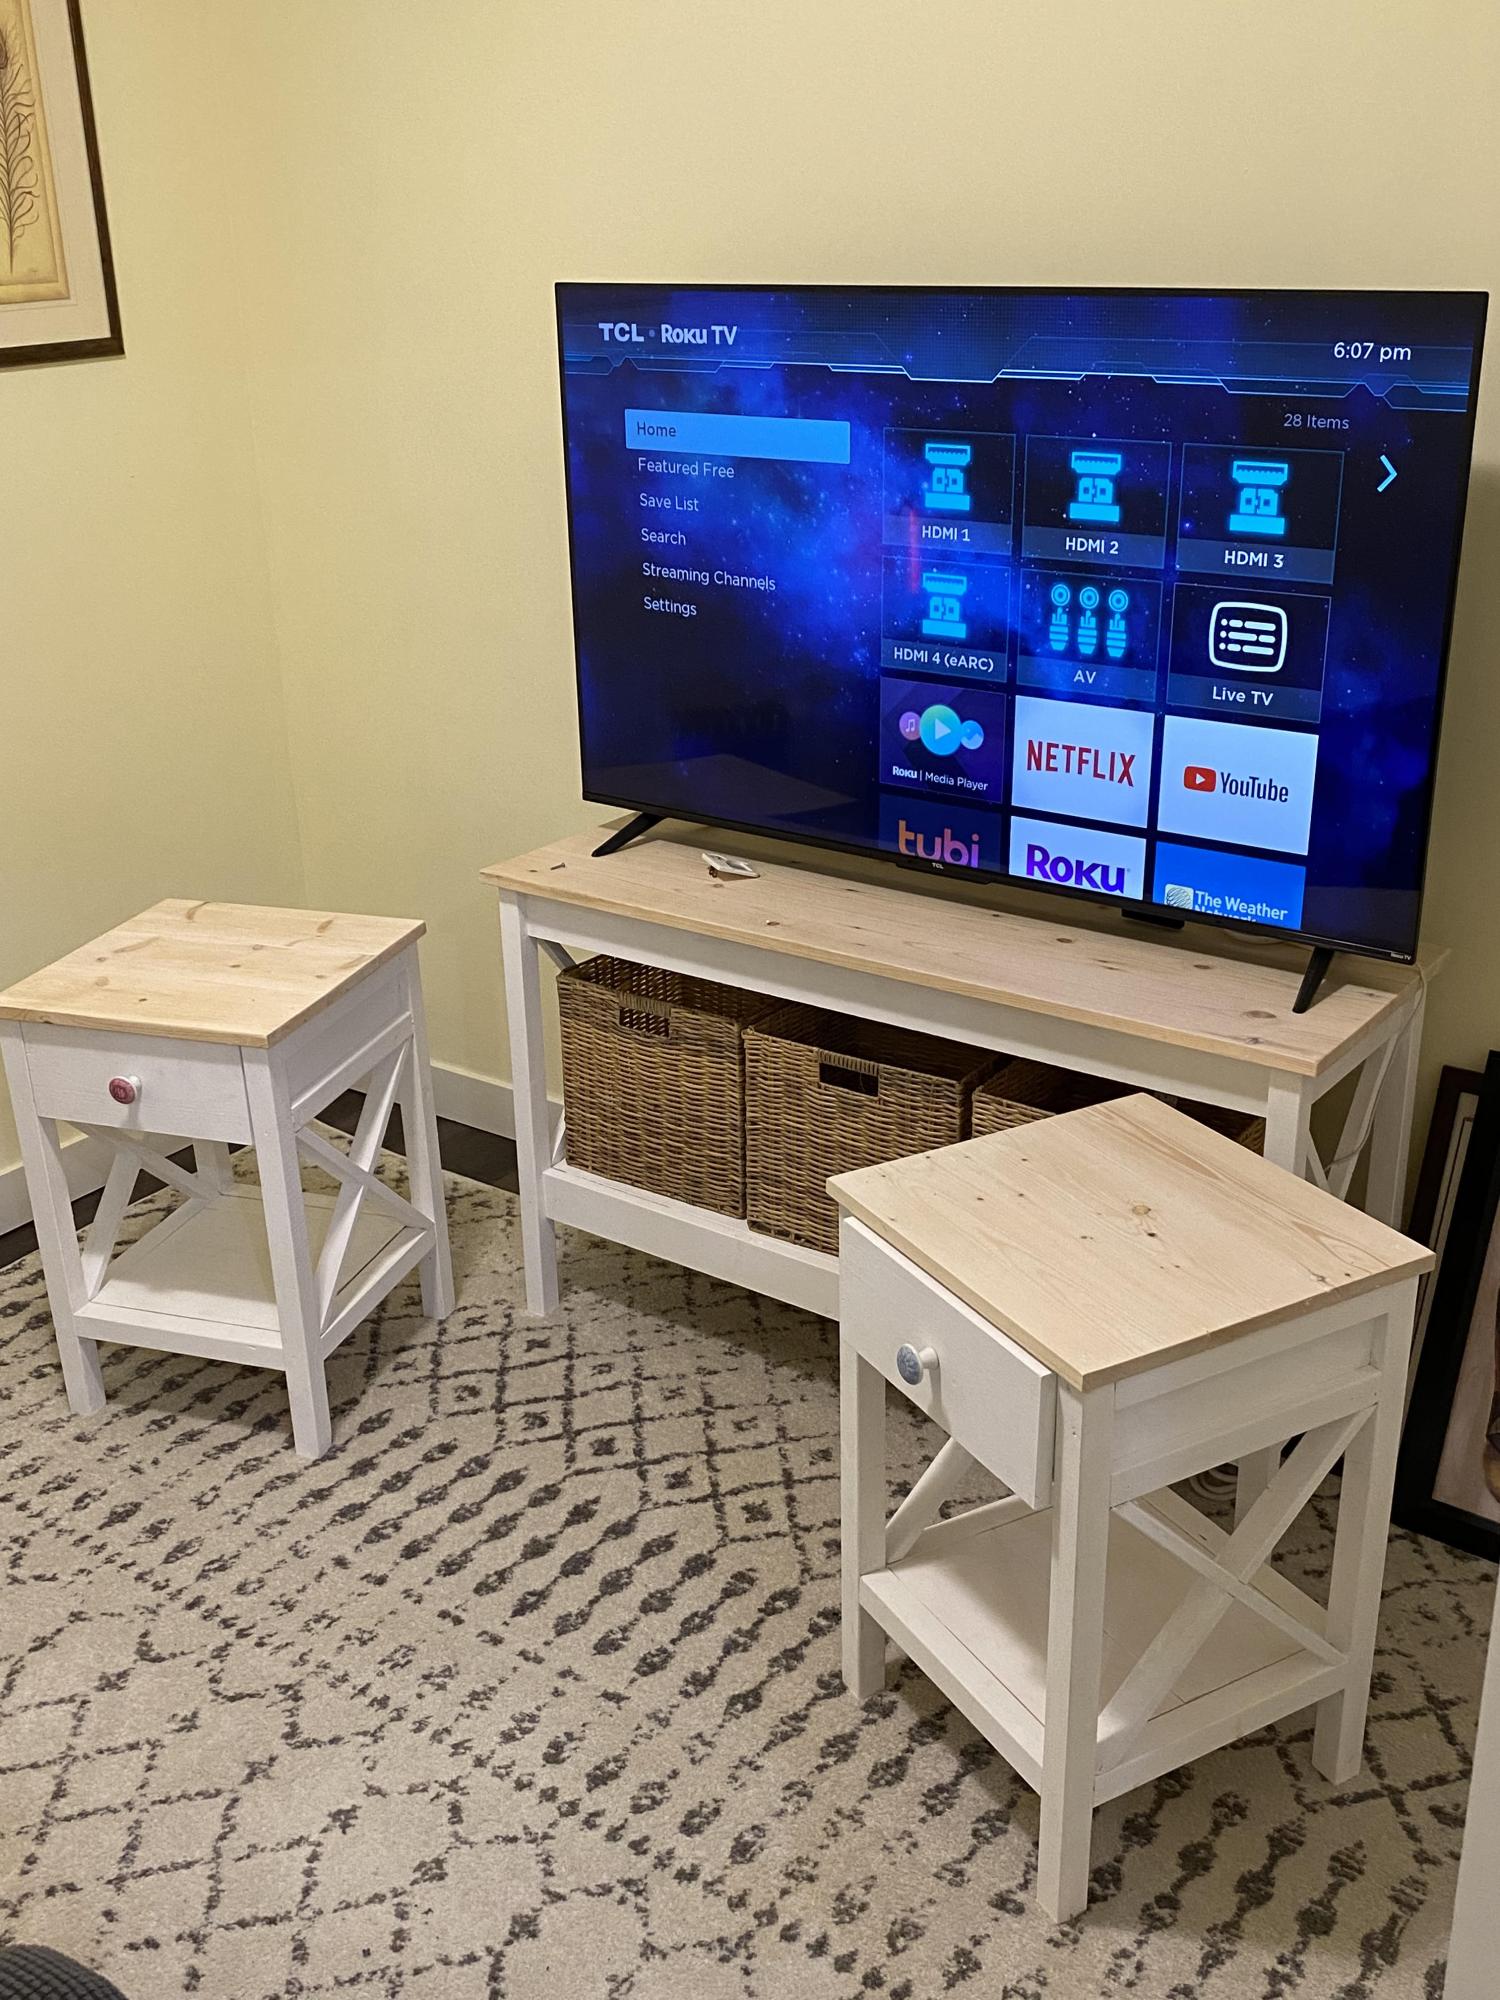
tv stand and side tables (night tables)

Submitted by Anonymous (not verified) on Sun, 04/30/2023 - 12:45

I needed some furniture for a summer tv room ( cooler downstairs) I was making. These sidetables and tv stand are loosely based off Ana's work.

Comments

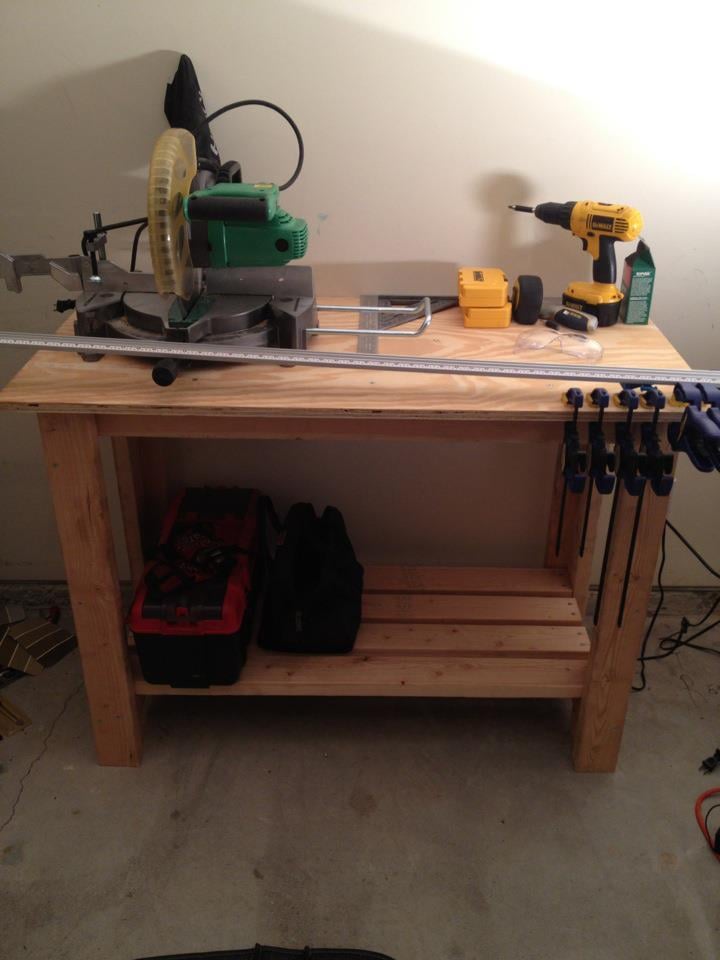
Simple Work Bench

Submitted by 1zach4 on Sun, 01/01/2012 - 20:09

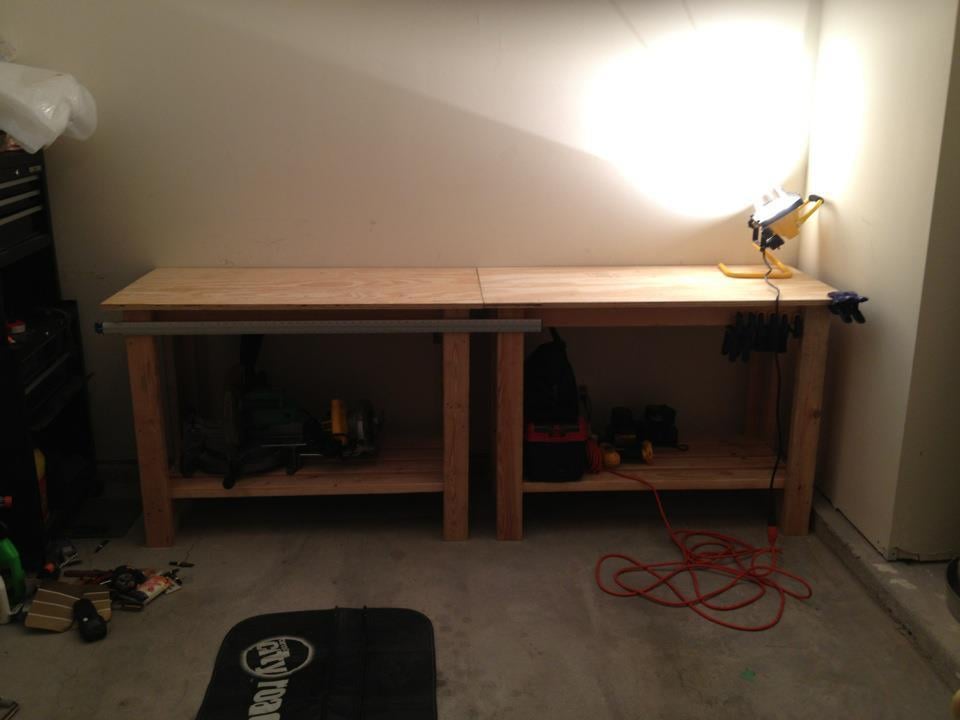
Simple workbench using 2x4's and a 3/4" 24"x48" top and 2.5" screws.

Added an extra board to the bottom for more storage space. Actually built 2 of these to have a longer work station for the miter saw and to assist in ripping larger boards with my circular saw since I do not have space in my garage for a table saw.

Built from Plan(s)
Estimated Cost
$40 per bench
Estimated Time Investment
Afternoon Project (3-6 Hours)
Recommended Skill Level
Beginner

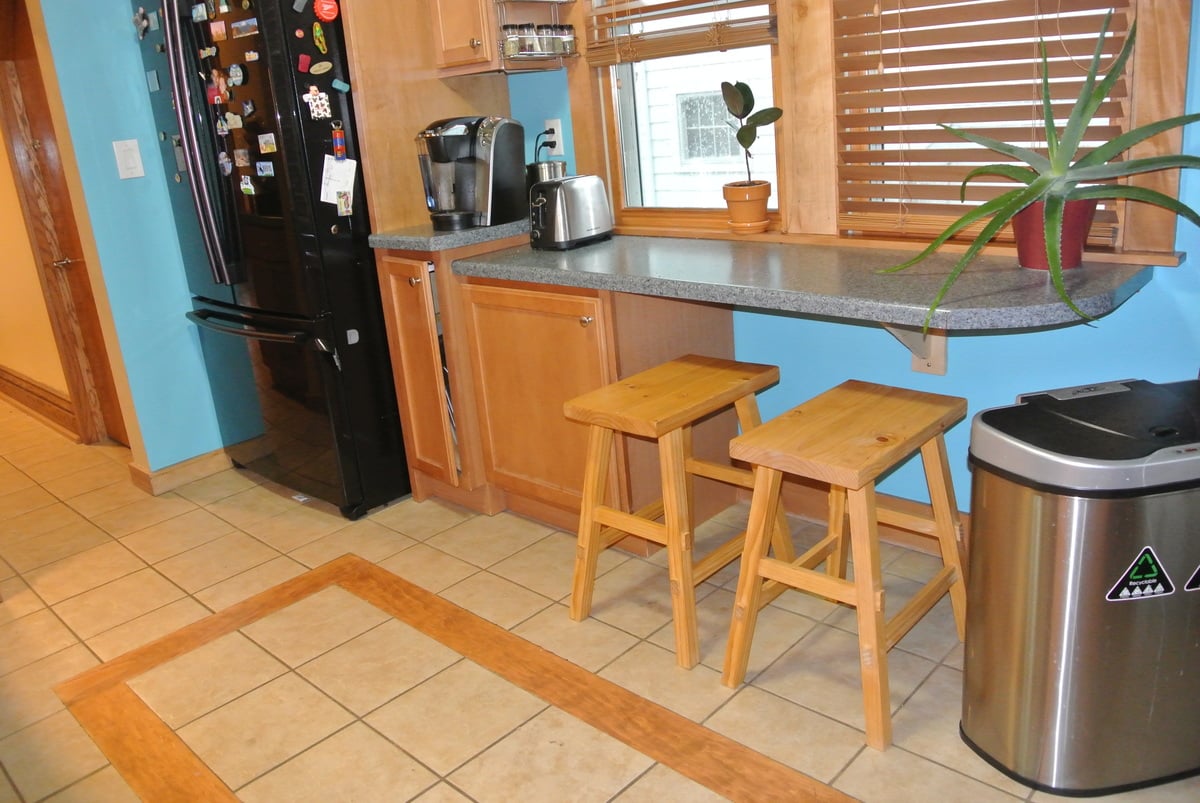
Cayden Stool

Submitted by hechoenwi on Tue, 11/19/2013 - 15:06

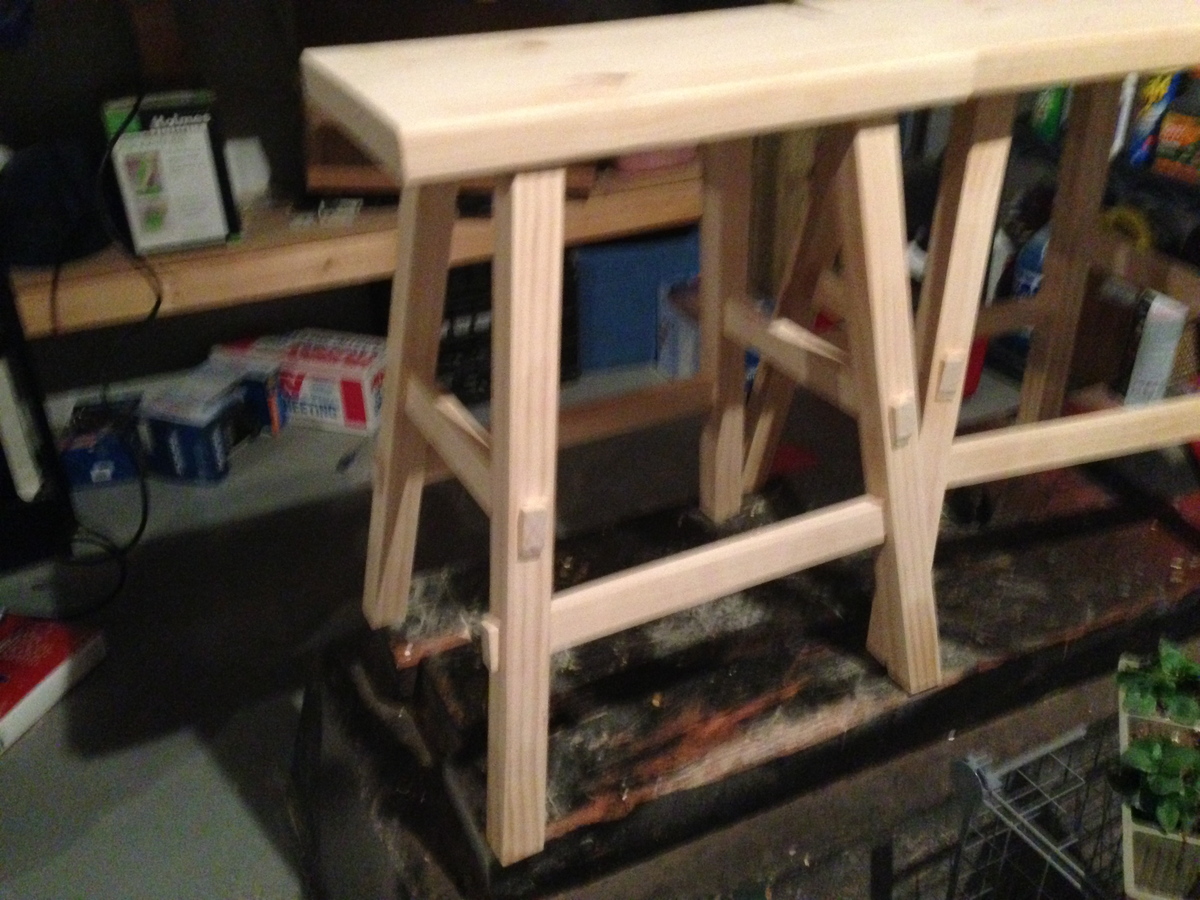
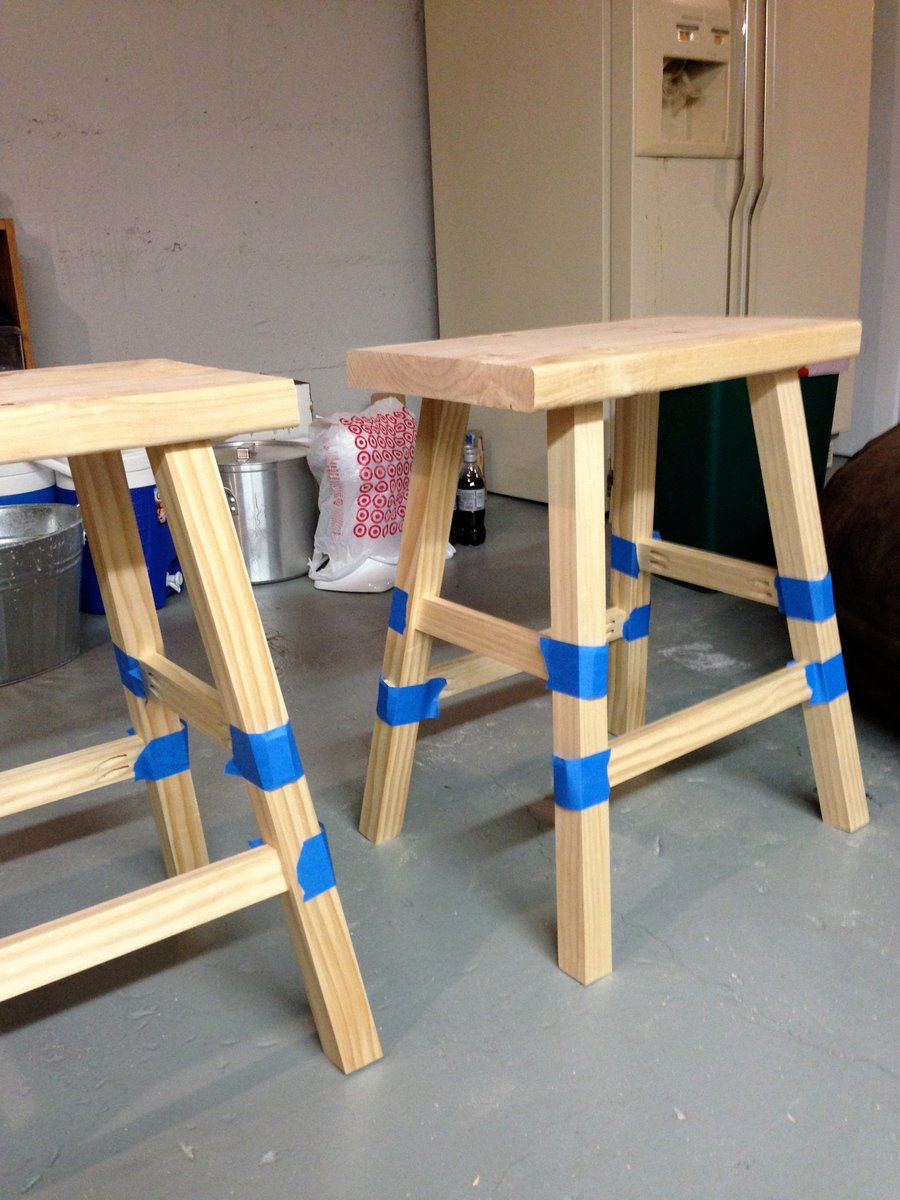
This was my very first project. I wanted to jump right in and start with a Storage Farm House bed but my husband was convinced that I would start a project and just leave it hanging and insisted that I start with something smaller. He was sooo impressed with these stools! I originally had planned to upholster the top as in the plan but we preferred the look with out it! The plans were very easy to follow.

Estimated Cost
$80 for two chairs
Estimated Time Investment
Day Project (6-9 Hours)
Finish Used
Ipswich Pine - Minwax
Recommended Skill Level
Beginner

Farmhouse Table

Submitted by upsidedown on Fri, 02/05/2016 - 07:21

This version of the Farmhouse Table was made with fir and finished with Varathane Early American stain. It is by far my favorite item in the house! Love it!
Estimated Cost
$250
Estimated Time Investment
Weekend Project (10-20 Hours)
Finish Used
I stained the table with Varathane Early American, and then finished it up with 3 coats of Minwax Polycrylic (gloss).
Recommended Skill Level
Intermediate

Comments

Shaunnyp

Sat, 02/06/2016 - 08:25

I absolutely love this table.  I have a small kitchen and would like to build it counter height (36 inches...including the casters) measuring 30x54 inches. This will allow me to move the table as needed to get it out of the way or move closer to my stove and use as additional prep space as needed. Any recommendations or suggestions to make a safe, sturdy, movable table would be greatly appreciated.  Also any warnings if you see any potential pitfalls I should be concerned with. Thanks in advance.

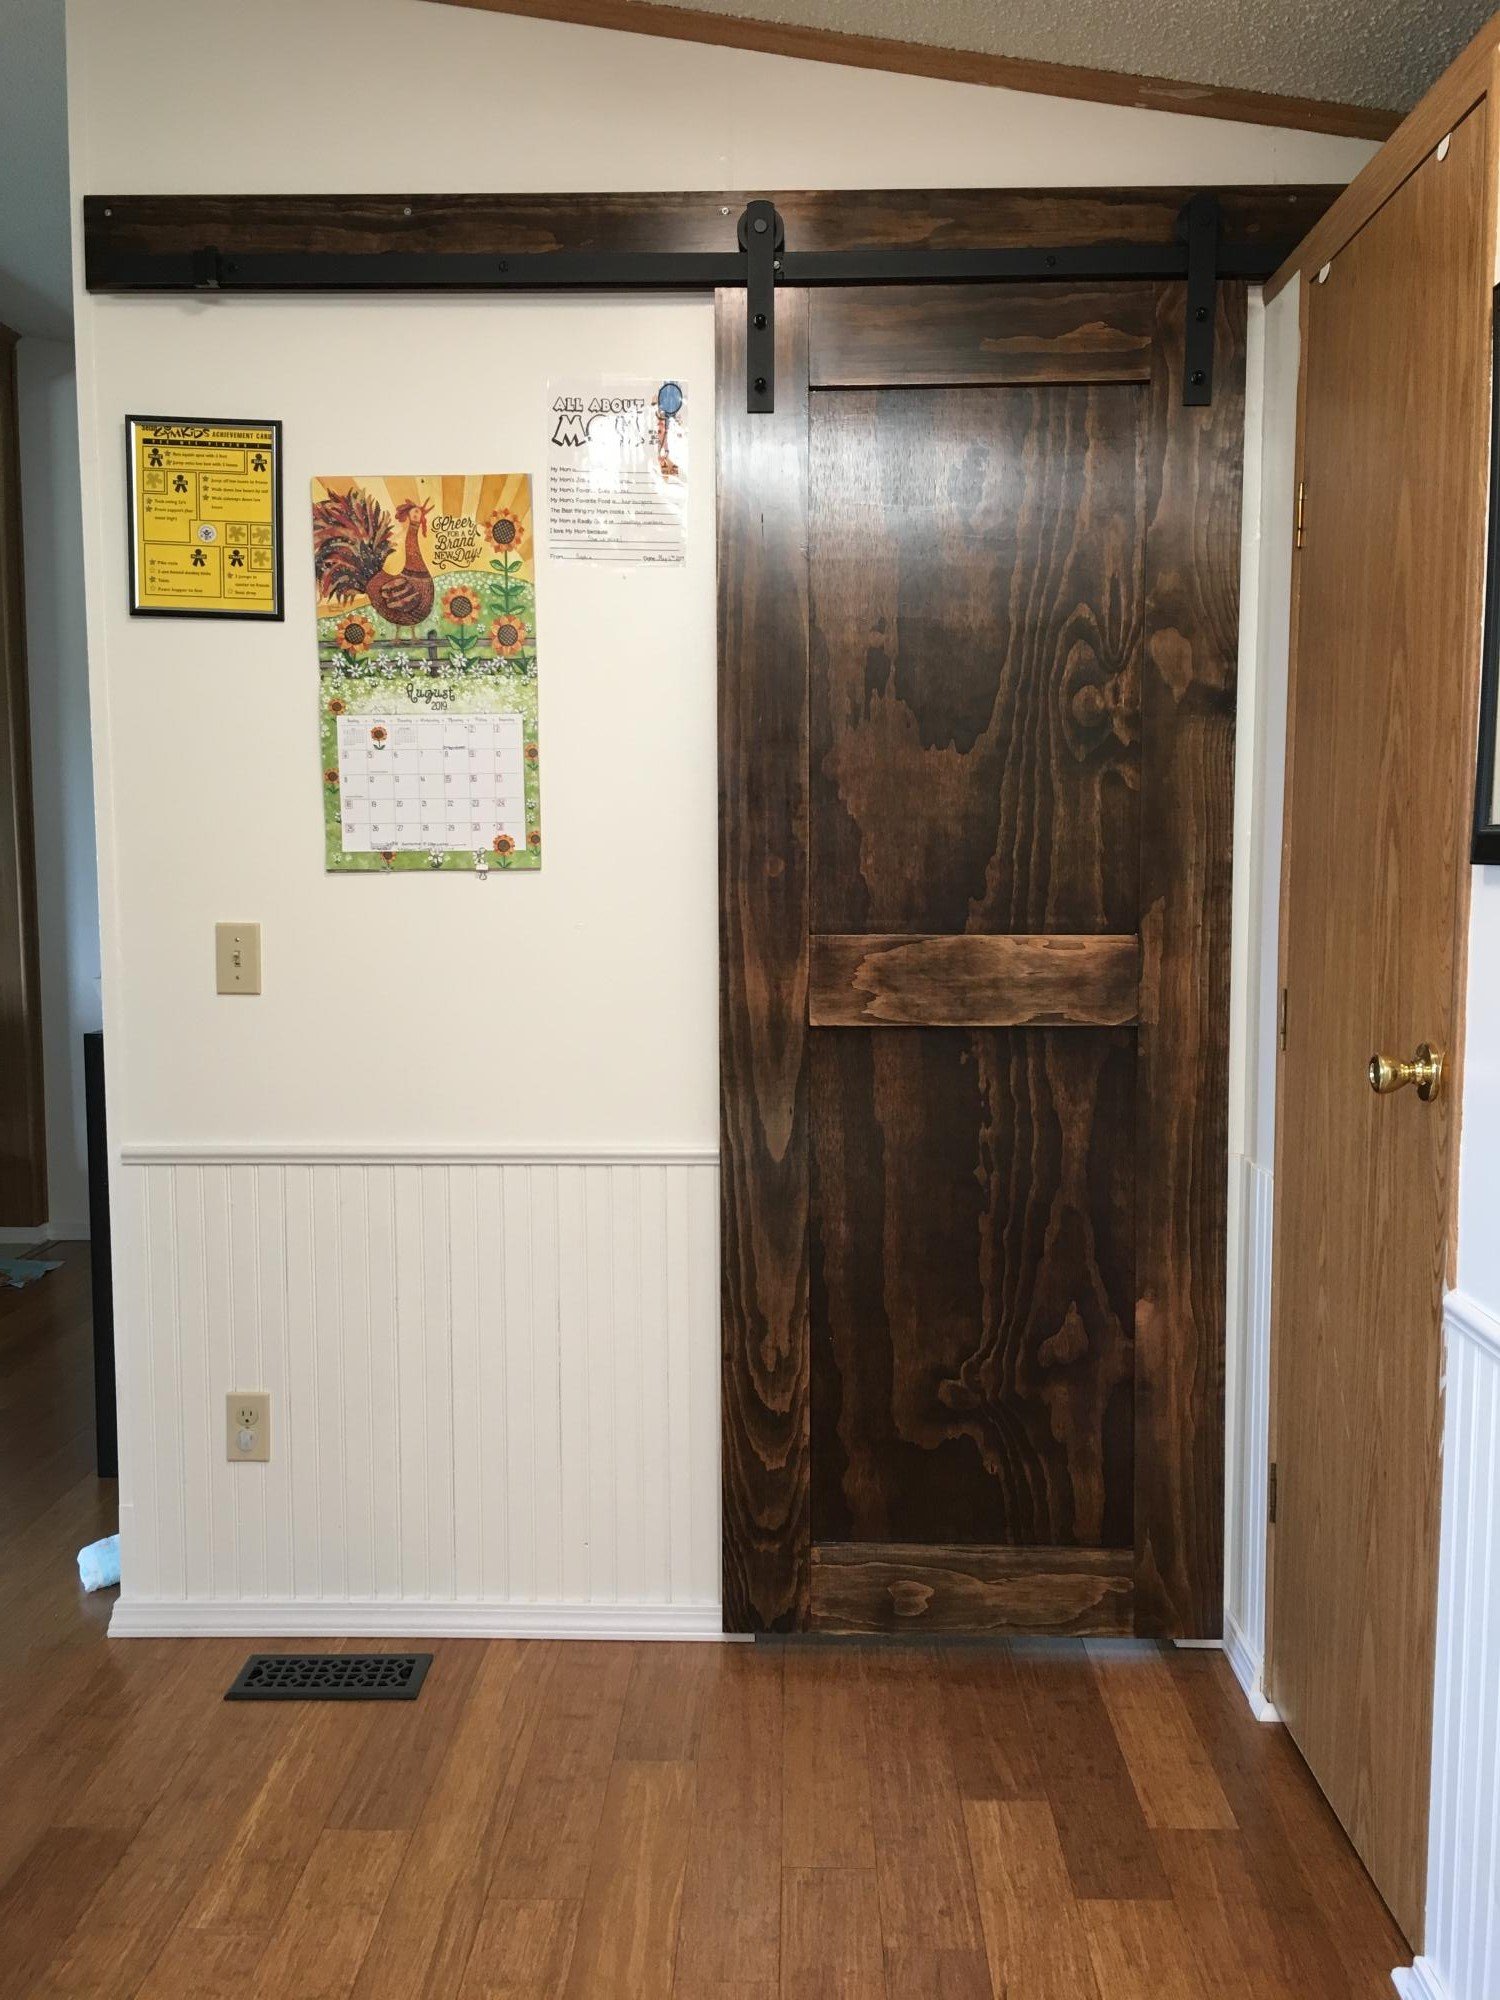
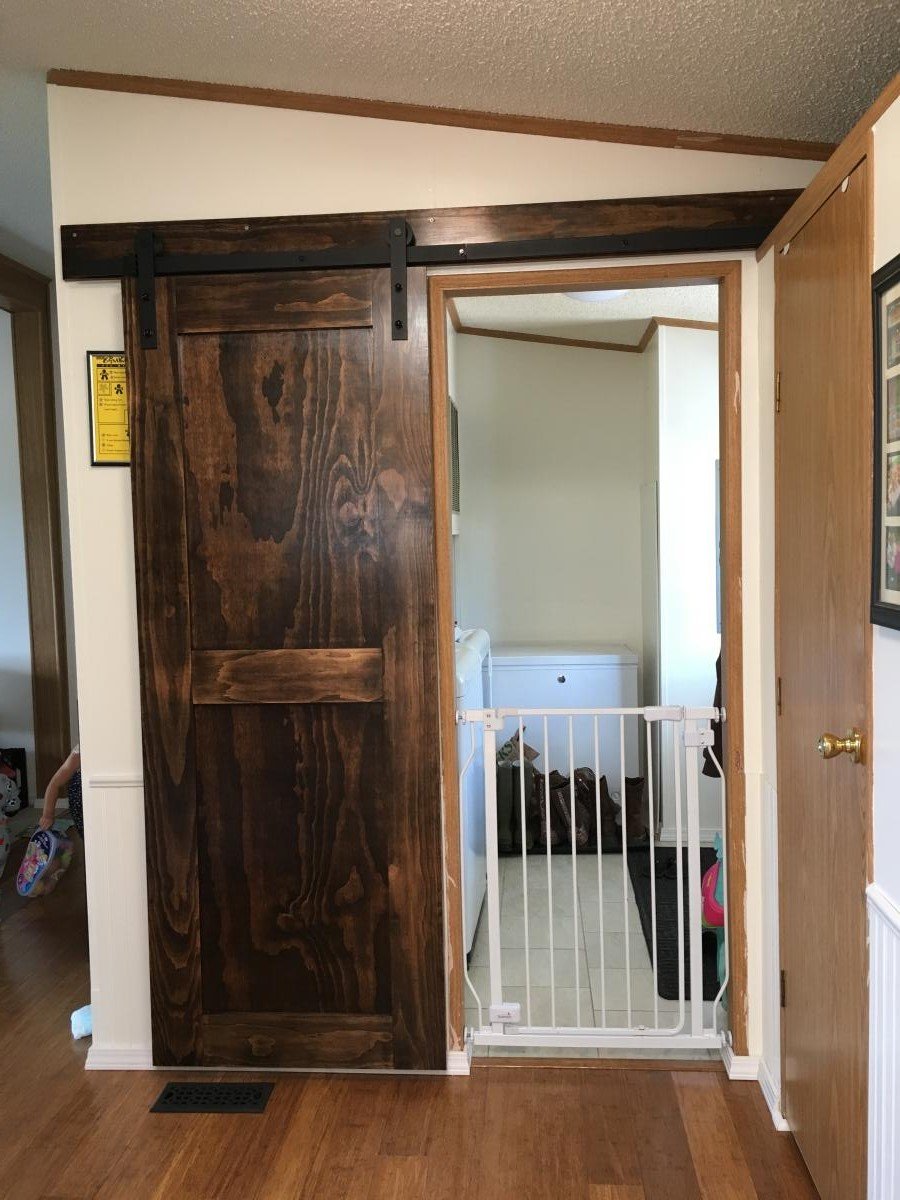
Barn door

Submitted by Anonymous (not verified) on Thu, 08/15/2019 - 20:03

I used your plans for the painted barn doors using plywood but modified them and stained the door instead.

Built from Plan(s)

King Modern Bed

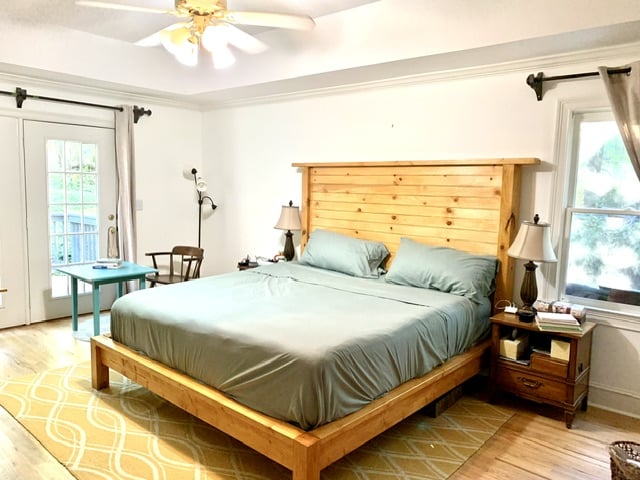
Submitted by Anonymous (not verified) on Fri, 05/05/2023 - 05:52

Made this with pallet 4x6 and 4x4 posts, and construction lumber.

Built from Plan(s)

Comments

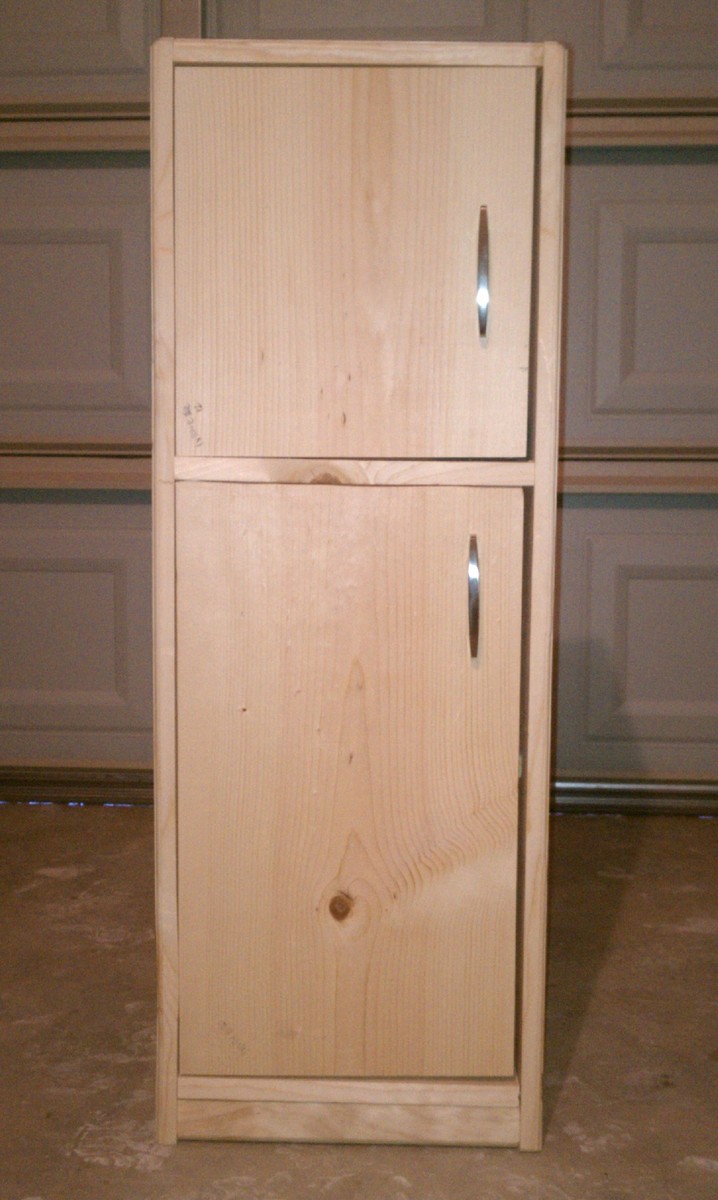
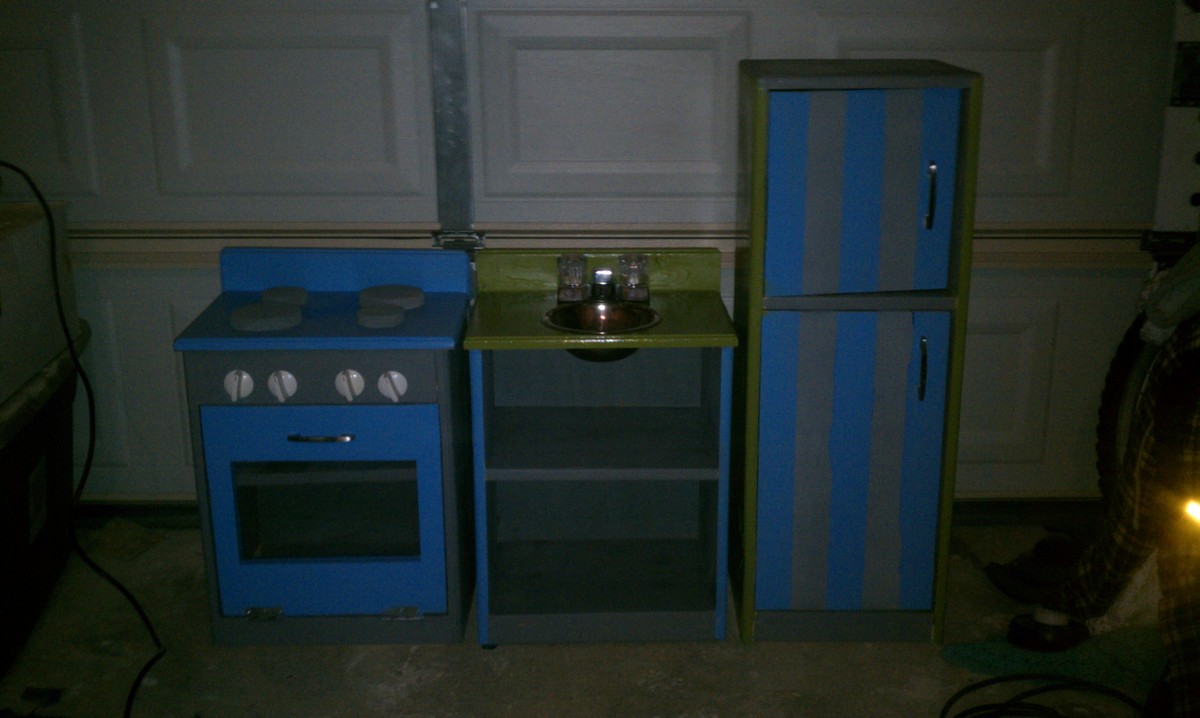
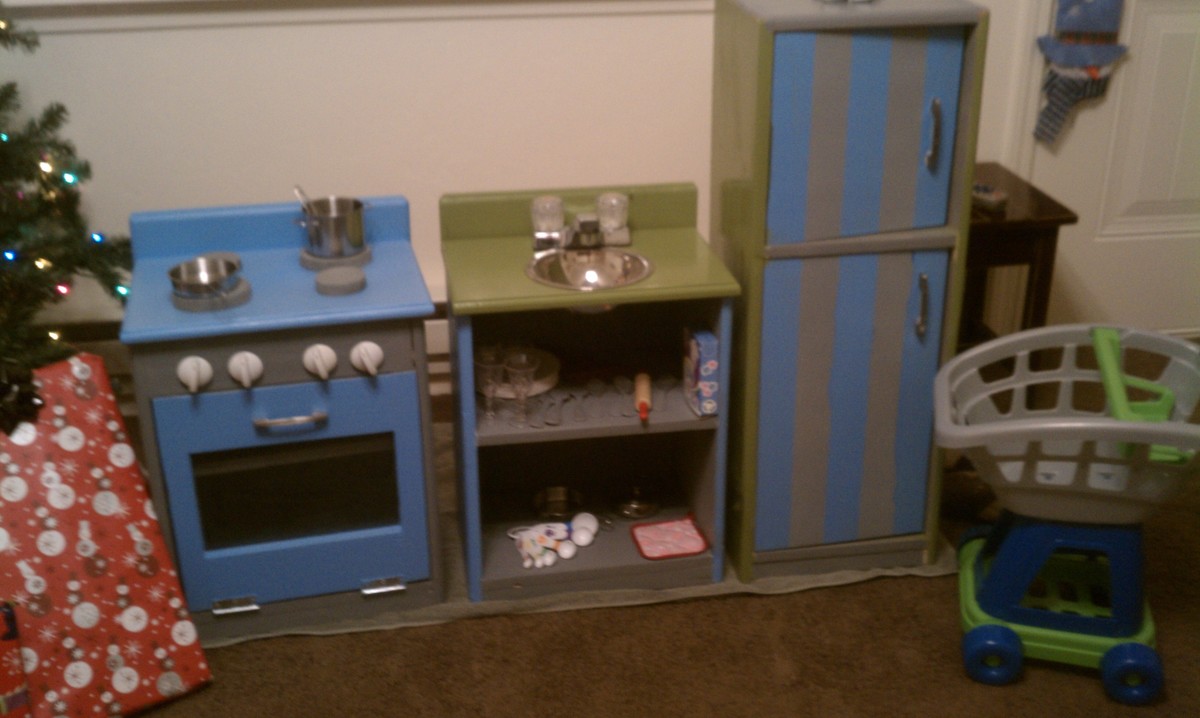
Boy Kitchen

Submitted by brit1002 on Wed, 01/04/2012 - 03:10

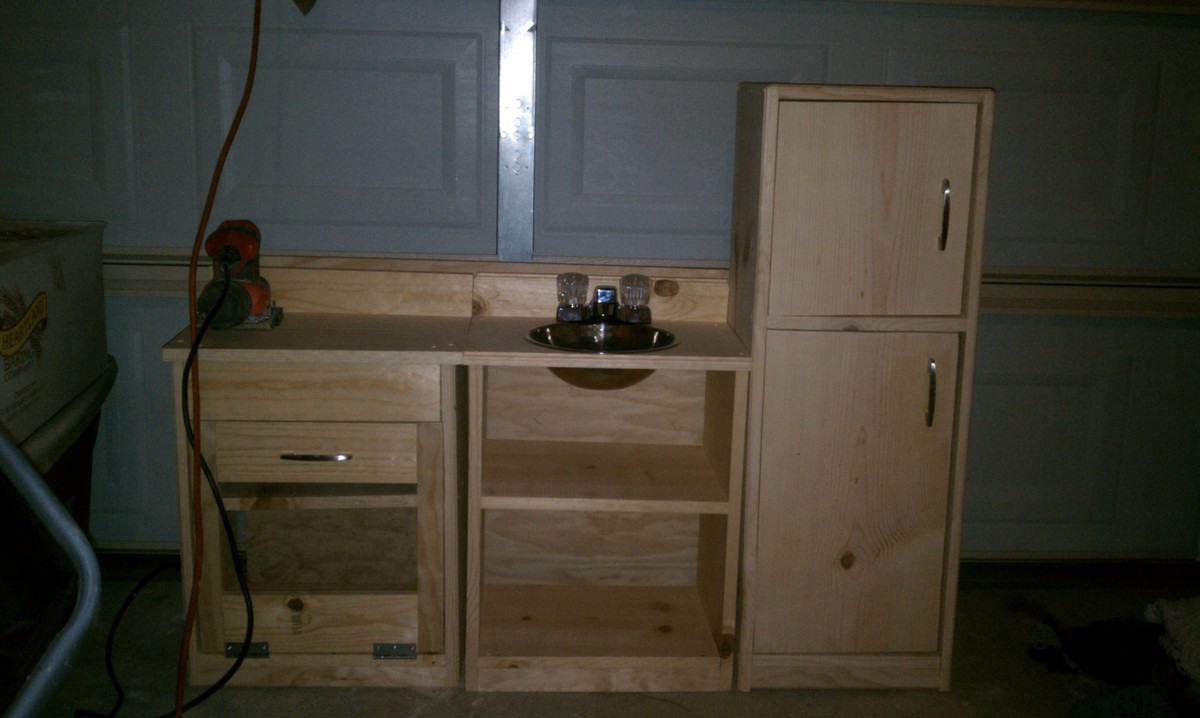
My almost 3 year old son was getting really into playing pretend and would always bring me and my husband little toys and he would say "here's your pancakes I made you". So when I seen Grace's kitchen I knew I needed to make my boys one. I had limited time to work on it as I work full-time and it's winter here so the garage isnt the funnest place for them to hang out. It was so fun and easy (Thanks to your plans) to build and they love it! I made the burners out of wood with my jig saw as I couldn't find anything else I liked. The sink is just an old mixing bowl that fit perfectly. The faucet is from the Orange store and was only $10. I had the hardest time with hinges I initially went with the ones that Anna had done. I found that my littlest guy (1.5 years old) was having a hard time pulling the doors open though so I switched to regular hinges and a cheap magnetic closer. I saved the other hinges though so when he gets a bit older I can switch back. One of the best parts of my build is my husband bought me a ROUTER!
Estimated Cost
$100... It was about $70 for wood and then paint, handles, and hinges
Estimated Time Investment
Weekend Project (10-20 Hours)
Finish Used
Just several coats of paint and magnetic paint for the fridge.
Recommended Skill Level
Beginner

Comments

Dewey Setlak (not verified)

Wed, 01/04/2012 - 05:49

That's cute! Not to mention, cool too! So your son can actually cook there? If you all play it right, he may just develop the aptitude and love for cooking, and grow up to be a chef someday!

terrillr (not verified)

Wed, 01/04/2012 - 08:48

I got my youngest son a kitchen set (purchased, never even thought about making one my self!) long ago because he played "cooking" too. He and his brother loved it, and the the youngest did become a chef!

Dinning room table

Submitted by Btpowell on Thu, 11/21/2013 - 09:19

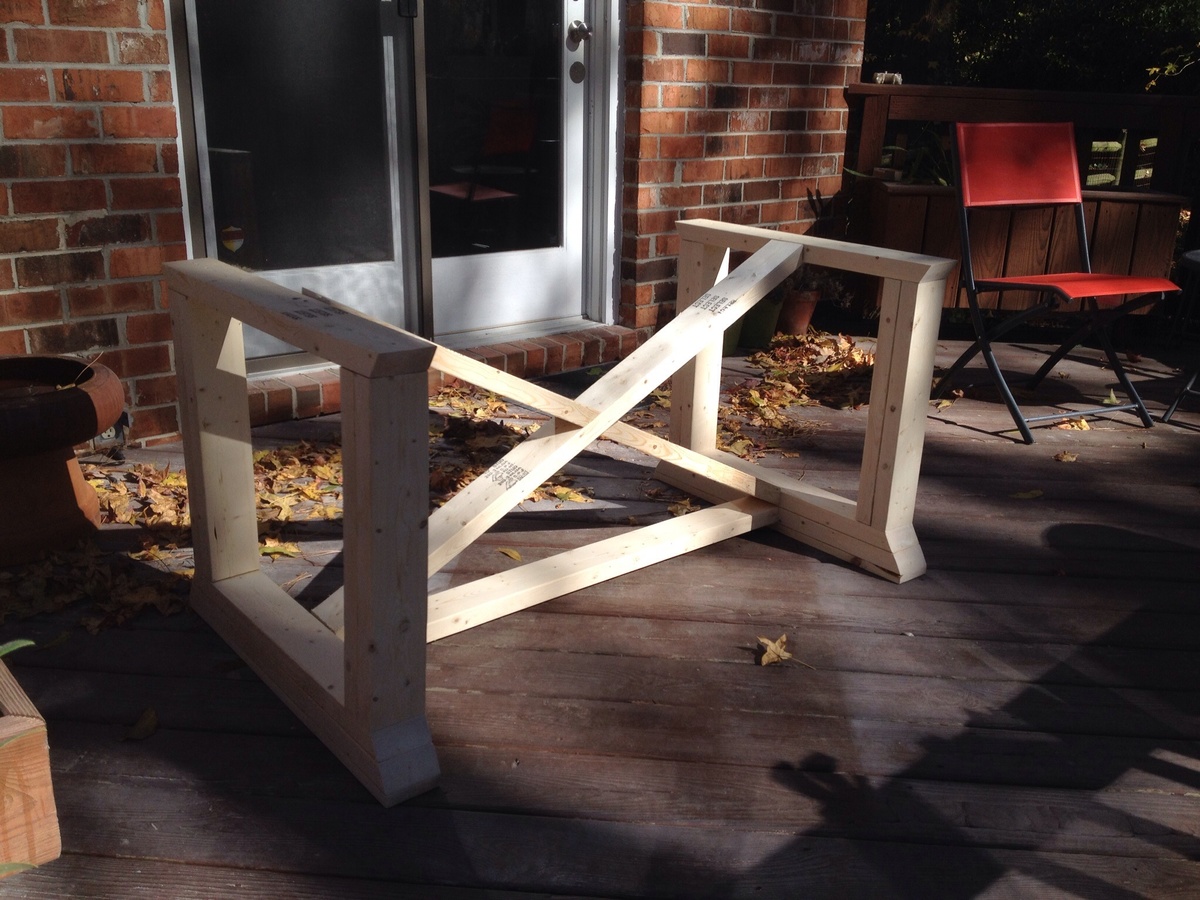
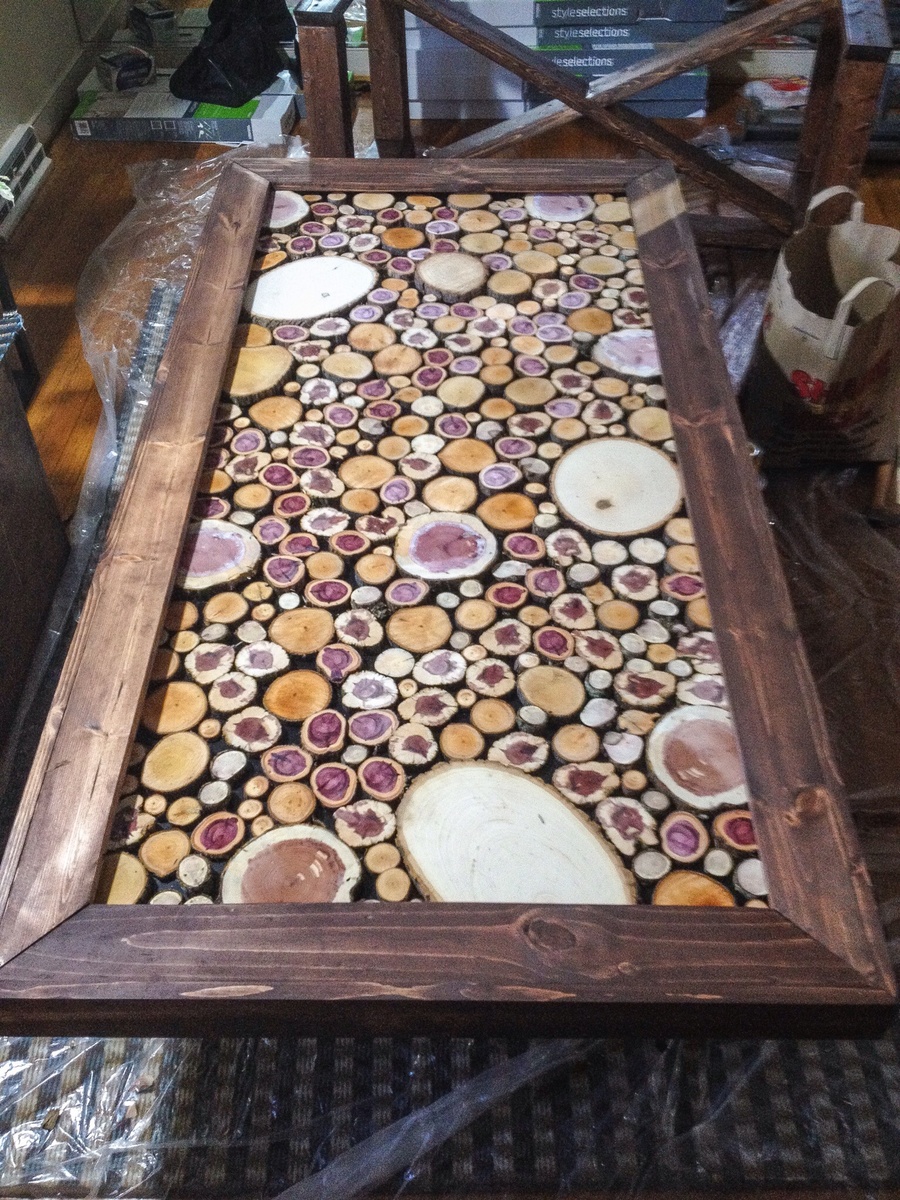
Needed something I could put together between work in a few weeks to serve thanksgiving on. The base of the table is modified from Ana's build and the table top is a frame I built and filled with log slices and clear epoxy resin

Built from Plan(s)
Estimated Cost
100 for lumber.
Estimated Time Investment
Weekend Project (10-20 Hours)
Finish Used
Dark walnut then red oak
Recommended Skill Level
Intermediate

Comments

kennonr79

Thu, 11/21/2013 - 10:14

Awesome idea for the top. Would love to see a pic of the finished product!
kennonr79

Thu, 11/21/2013 - 10:14

Awesome idea for the top. Would love to see a pic of the finished product!
spiceylg

Thu, 11/21/2013 - 12:15

Love it and I agree with kennonr79, would love to see a pic of the finished product! So unique!