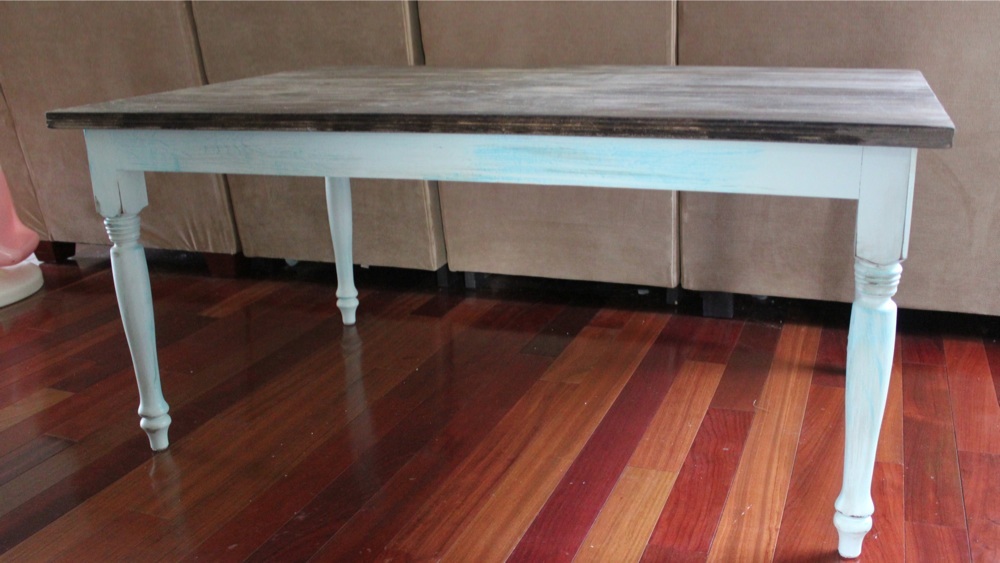
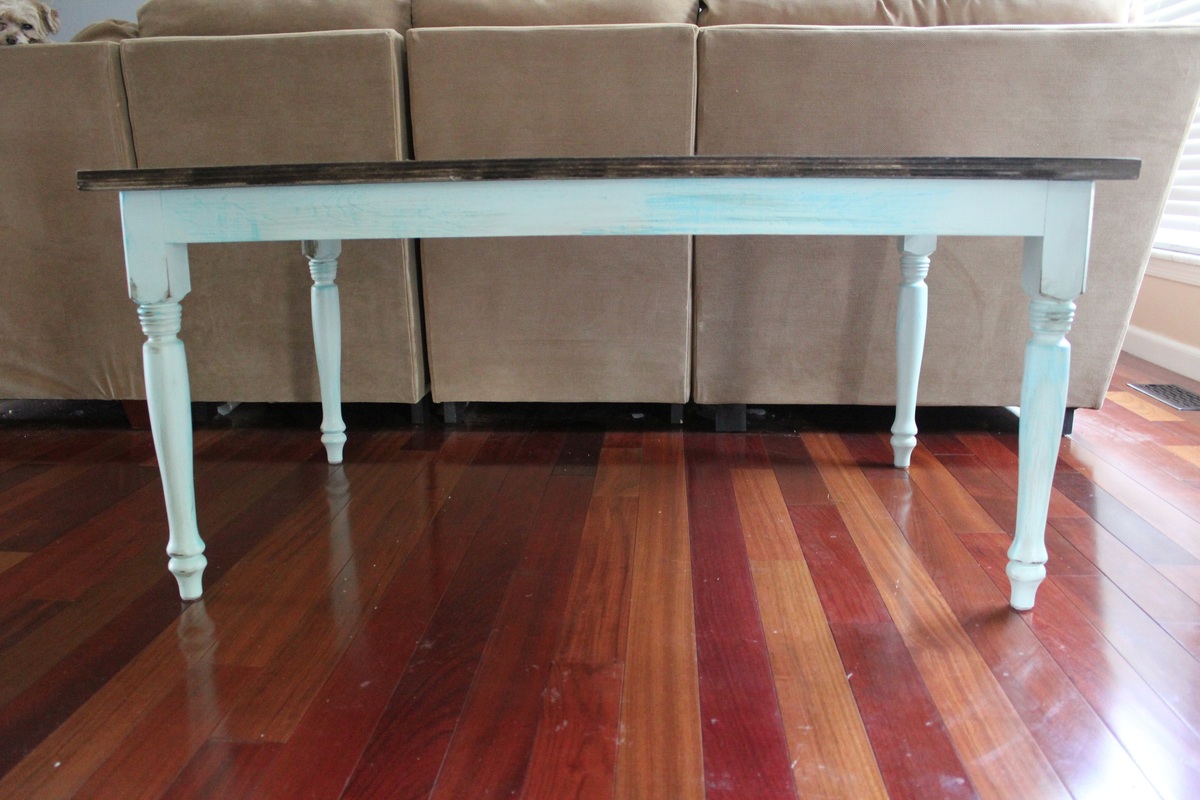
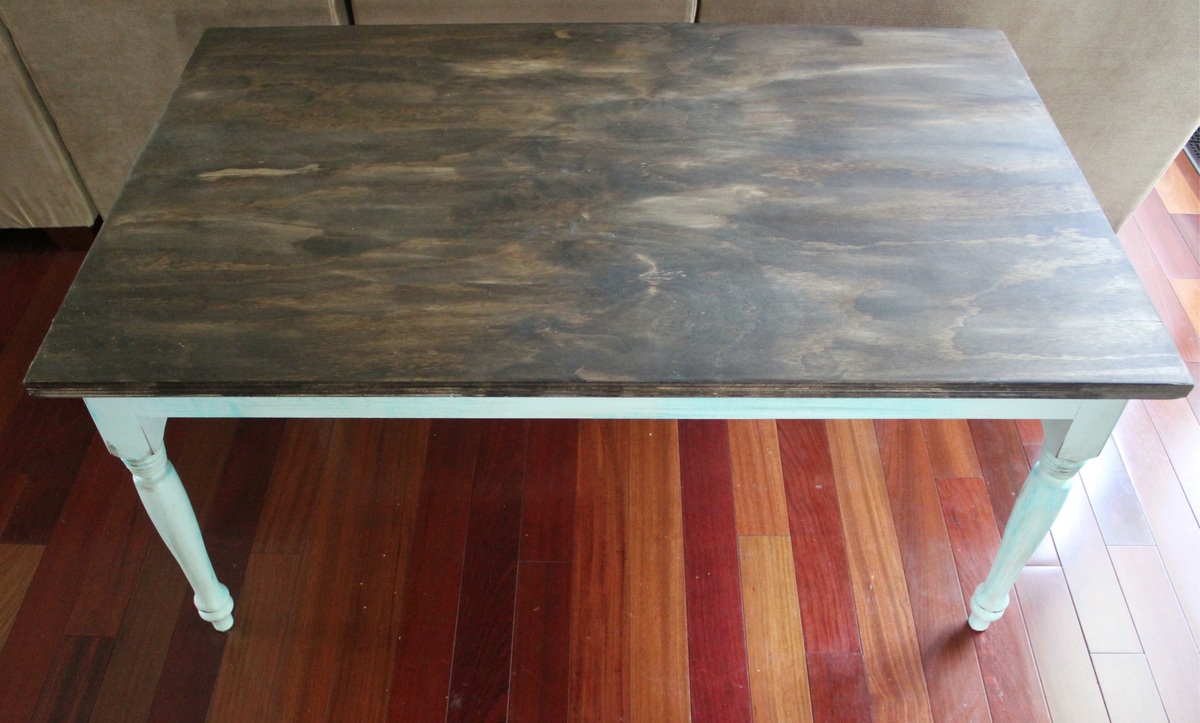
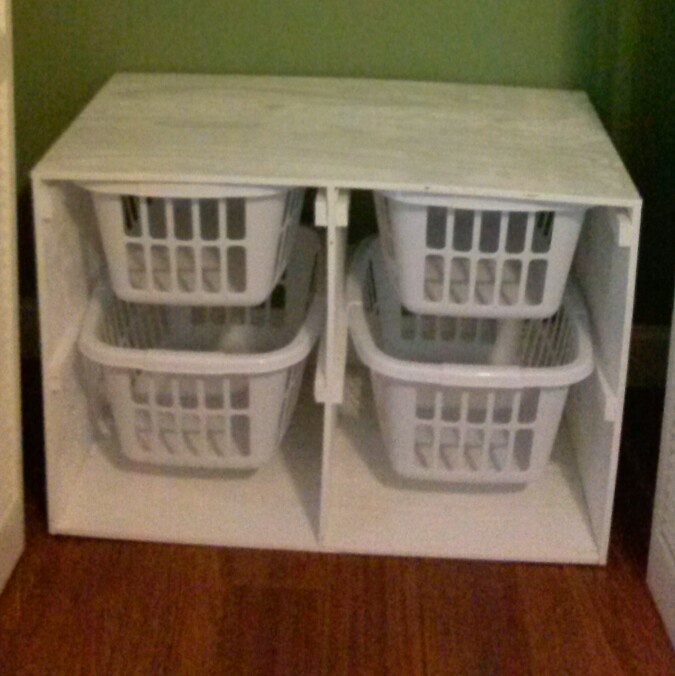
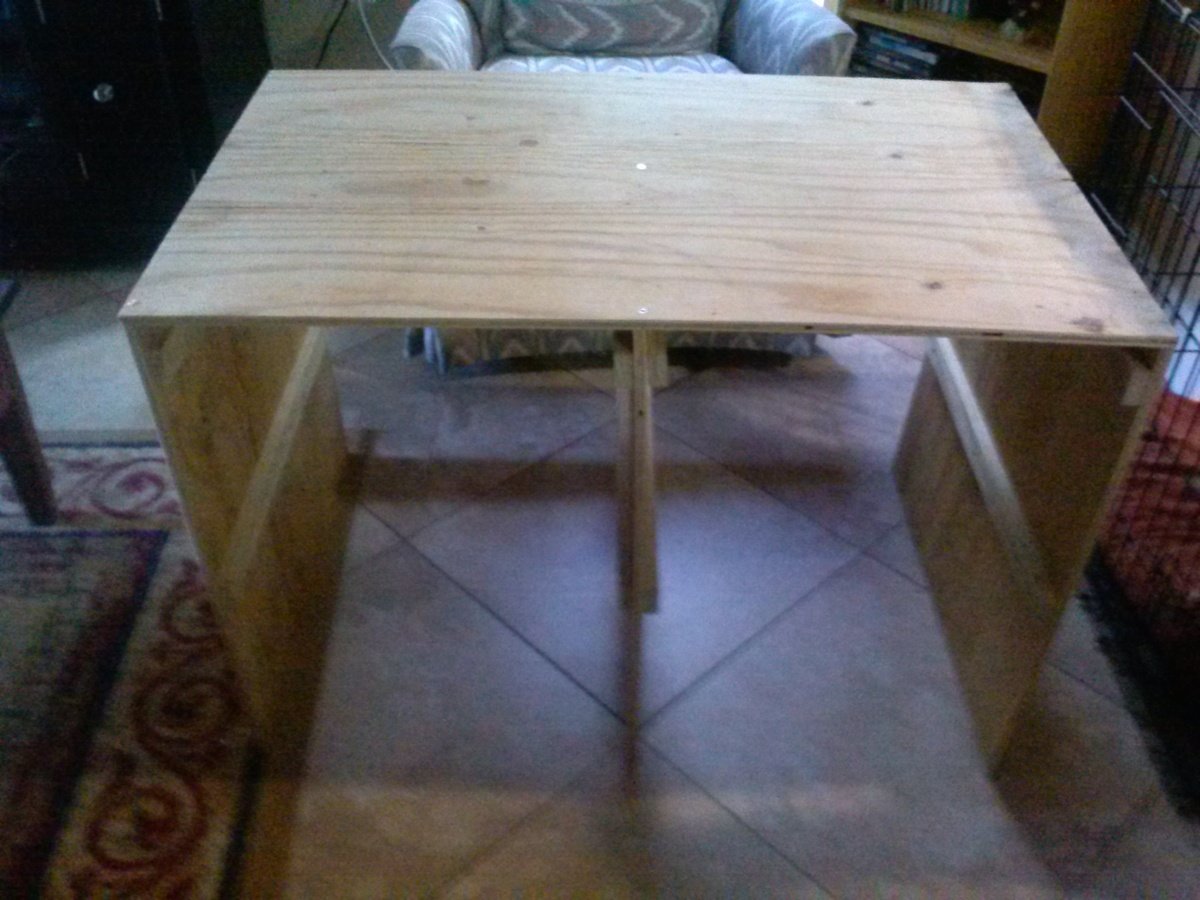
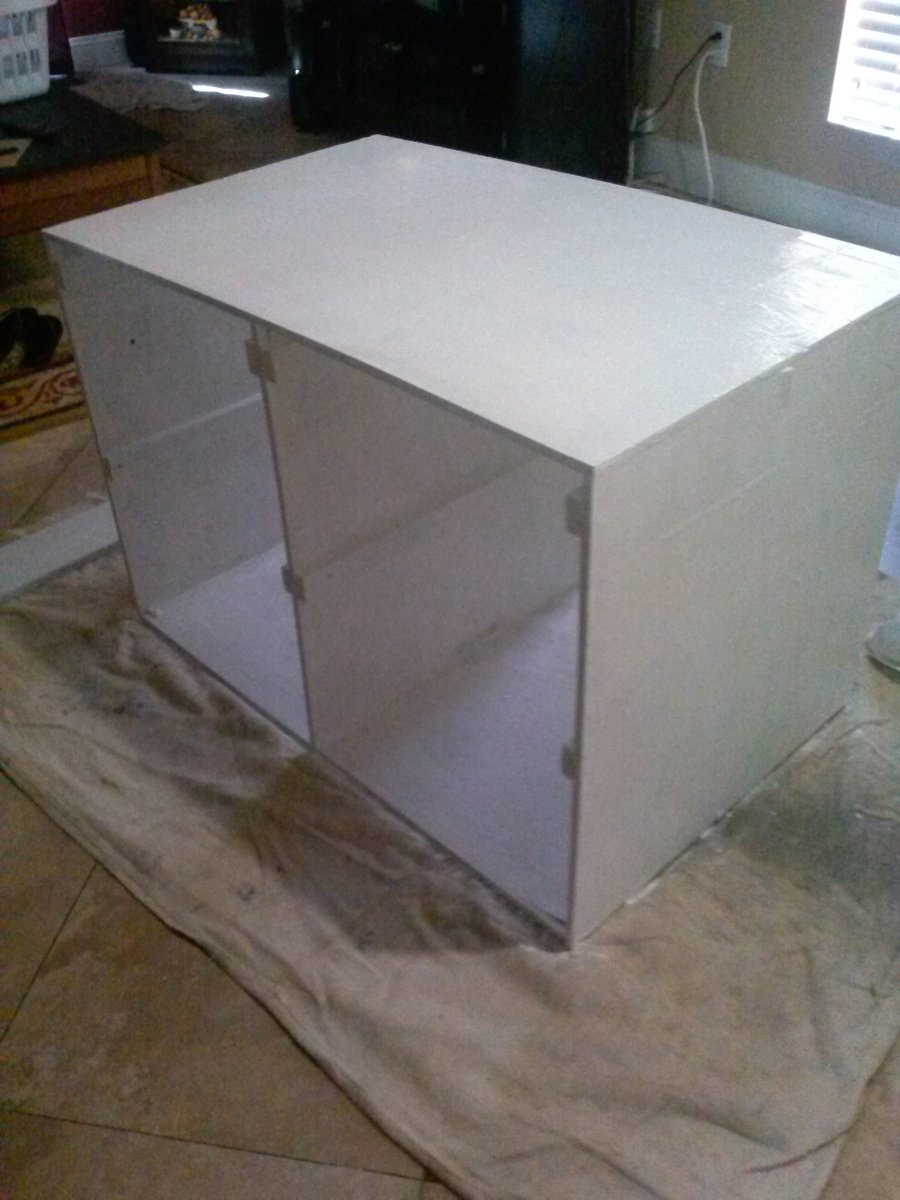
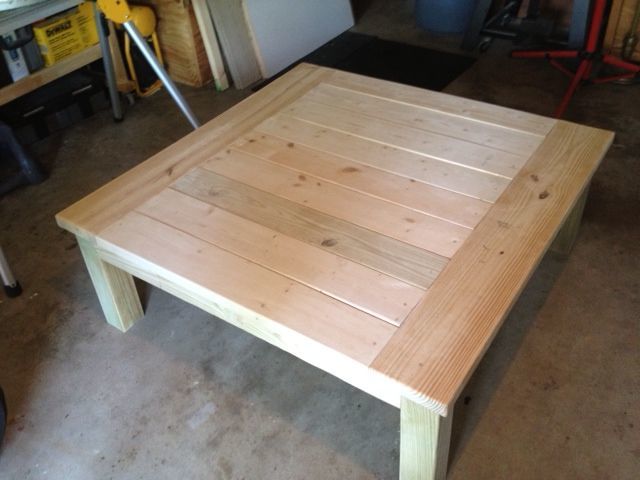
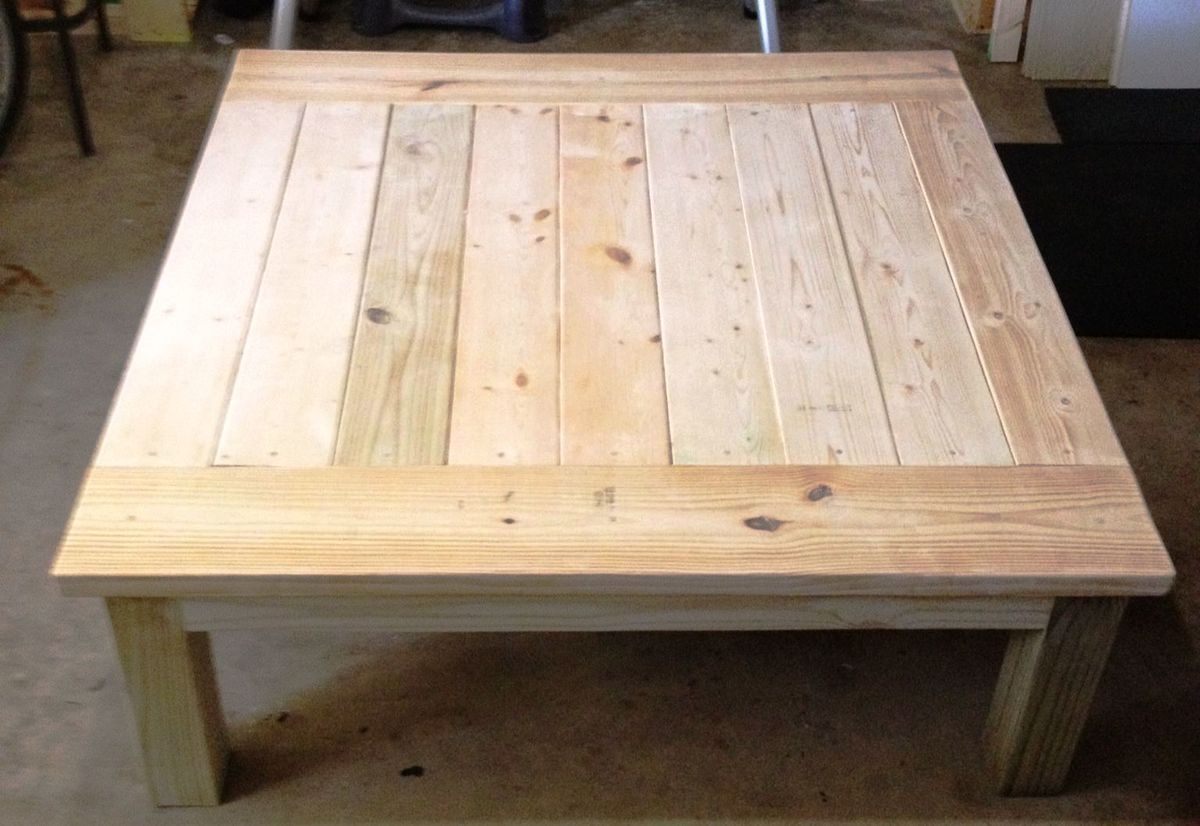
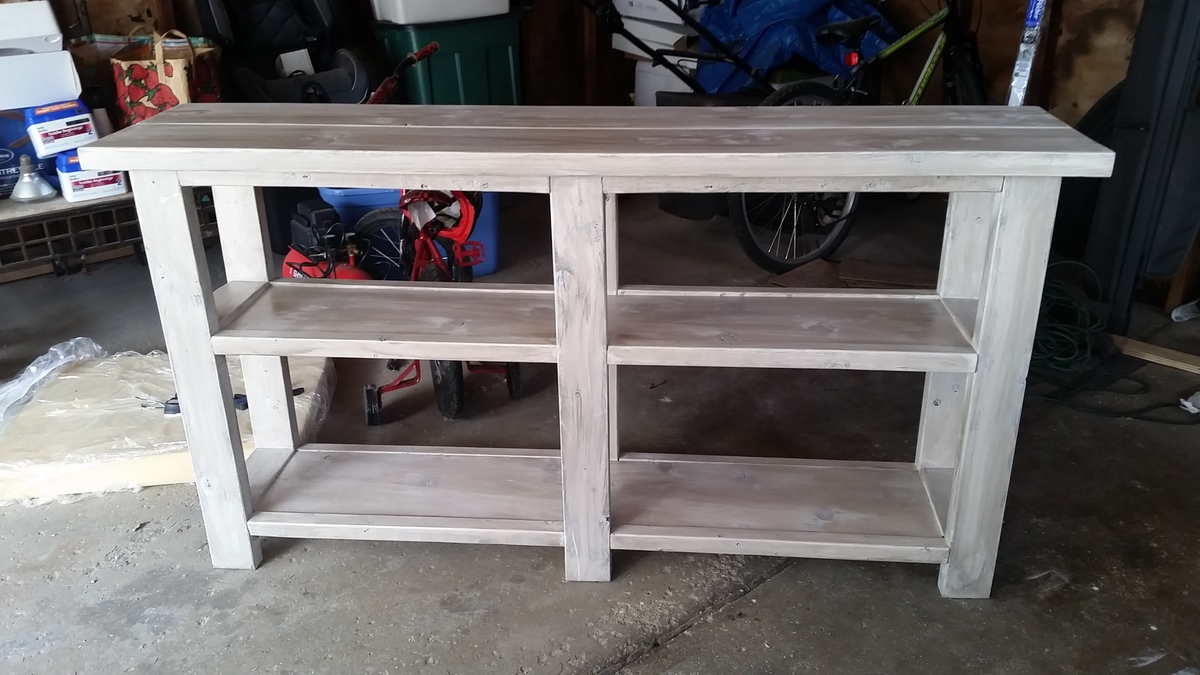
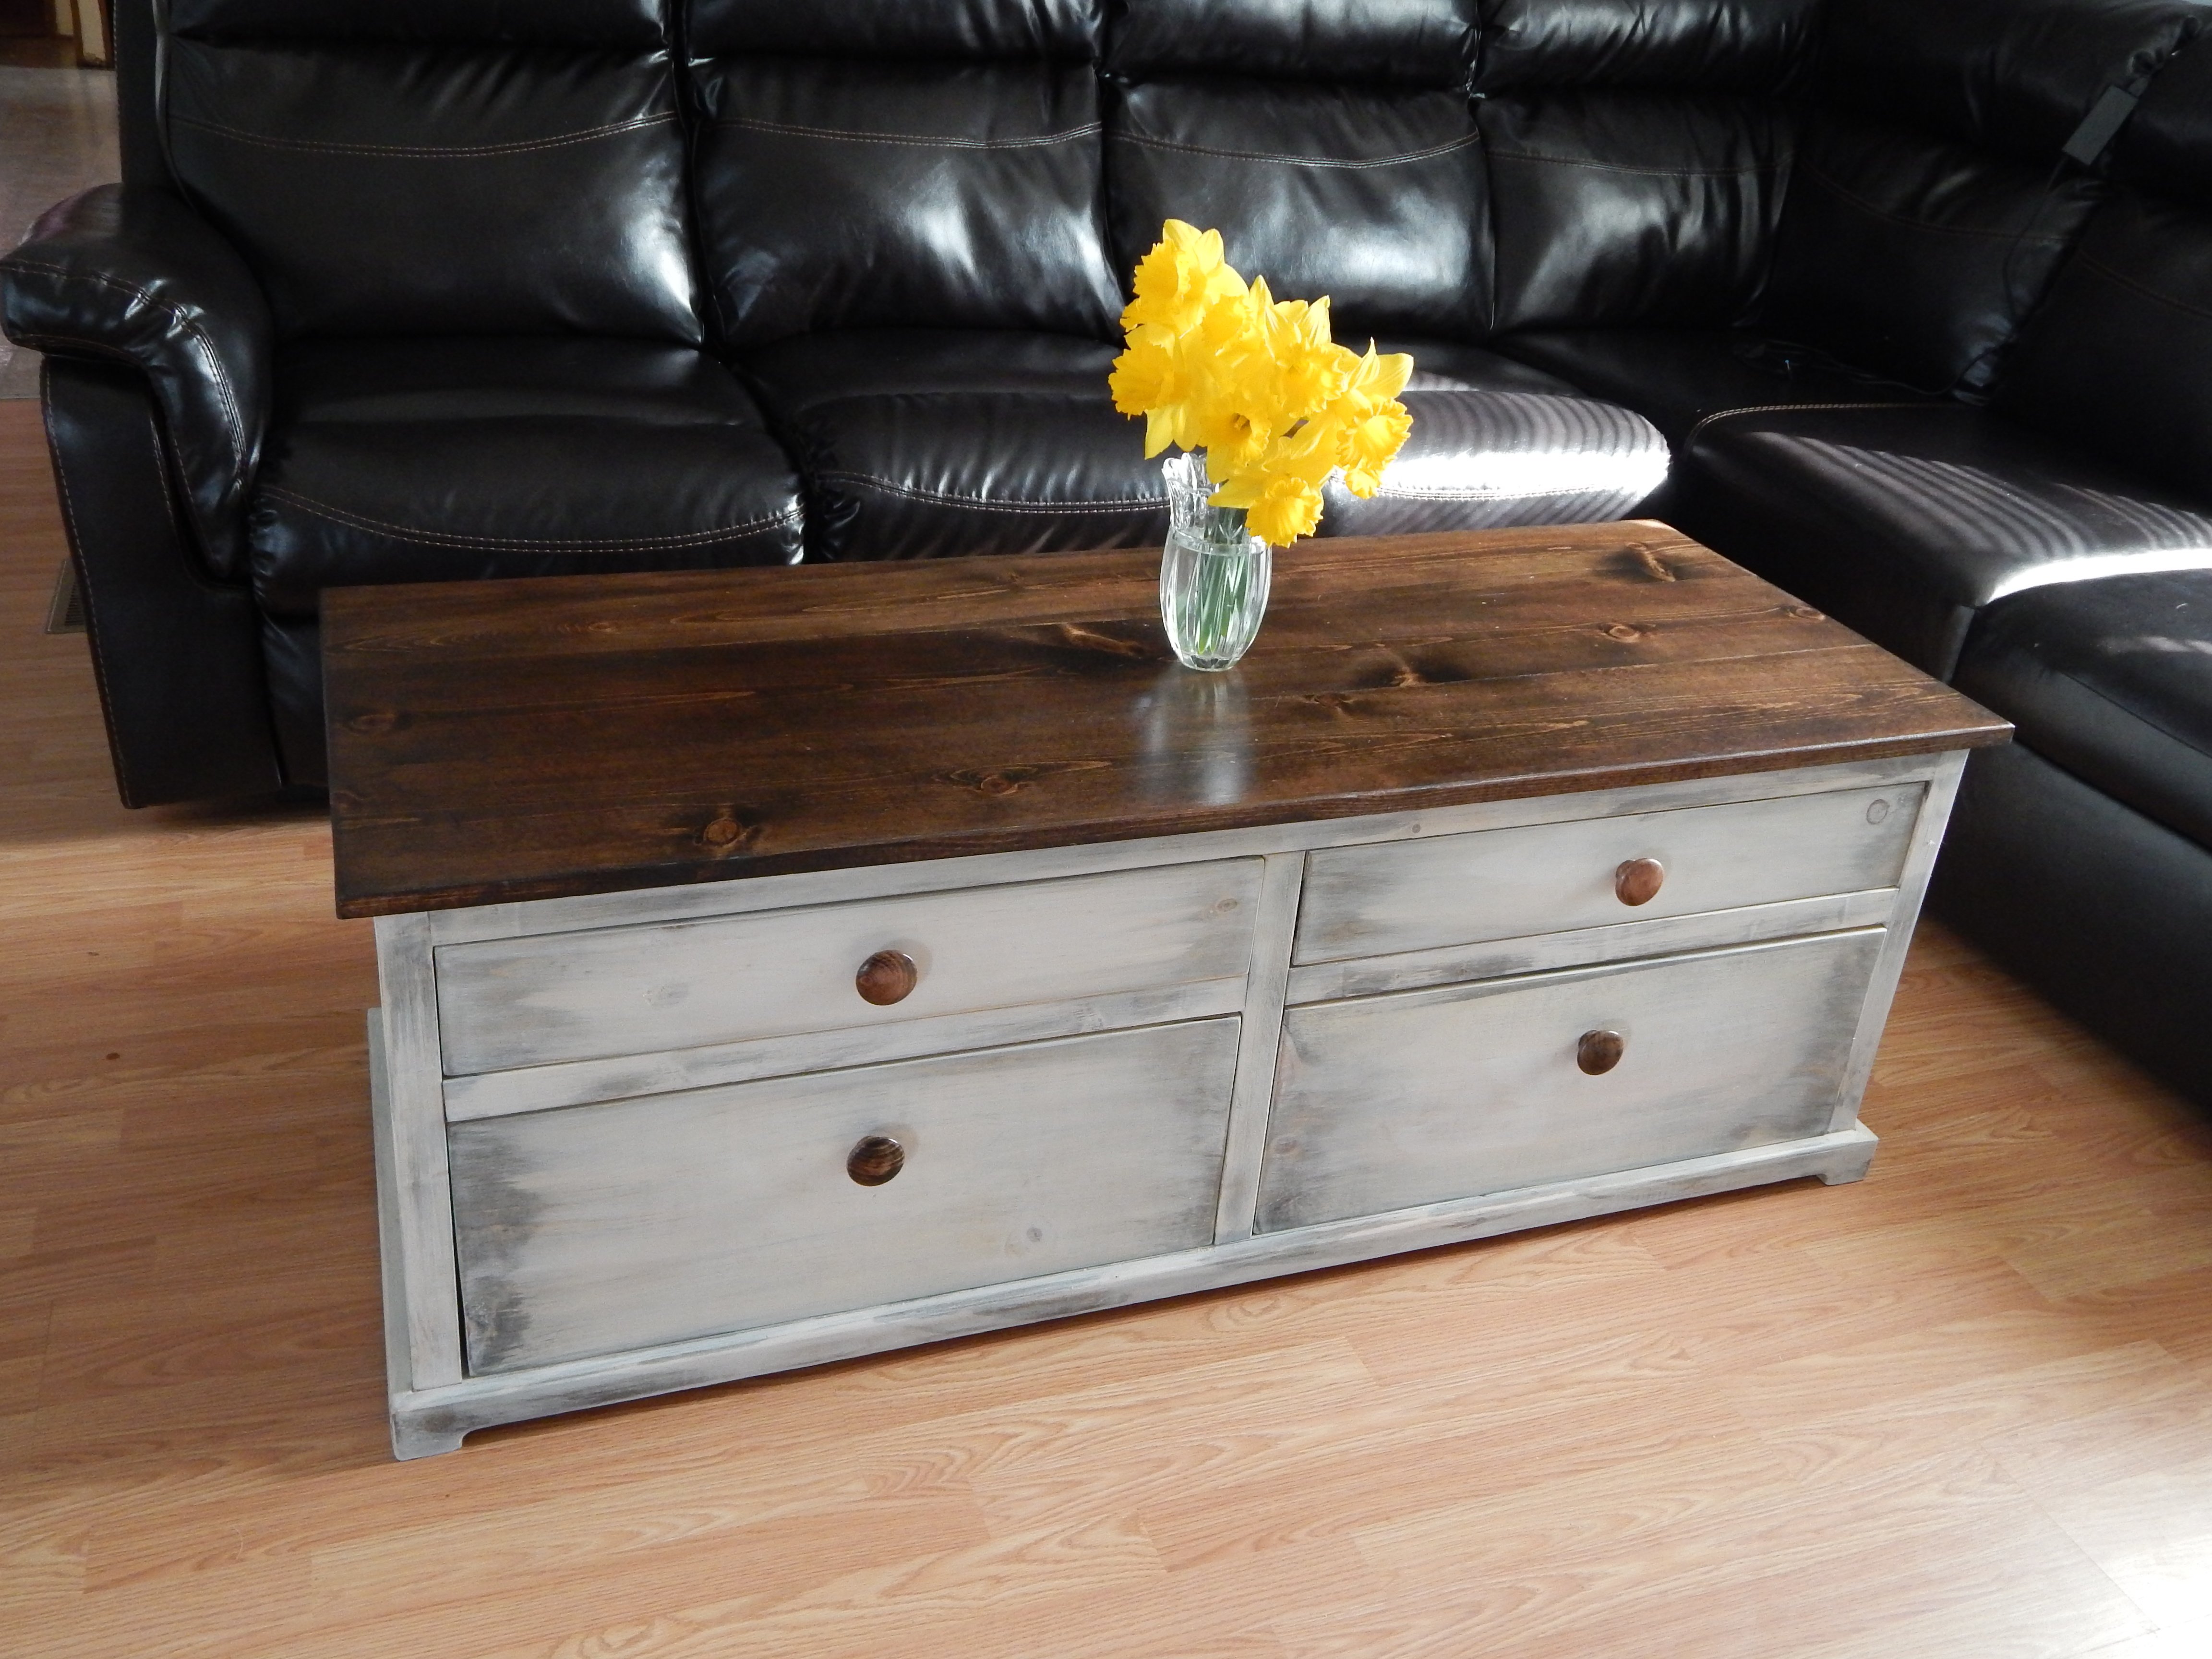
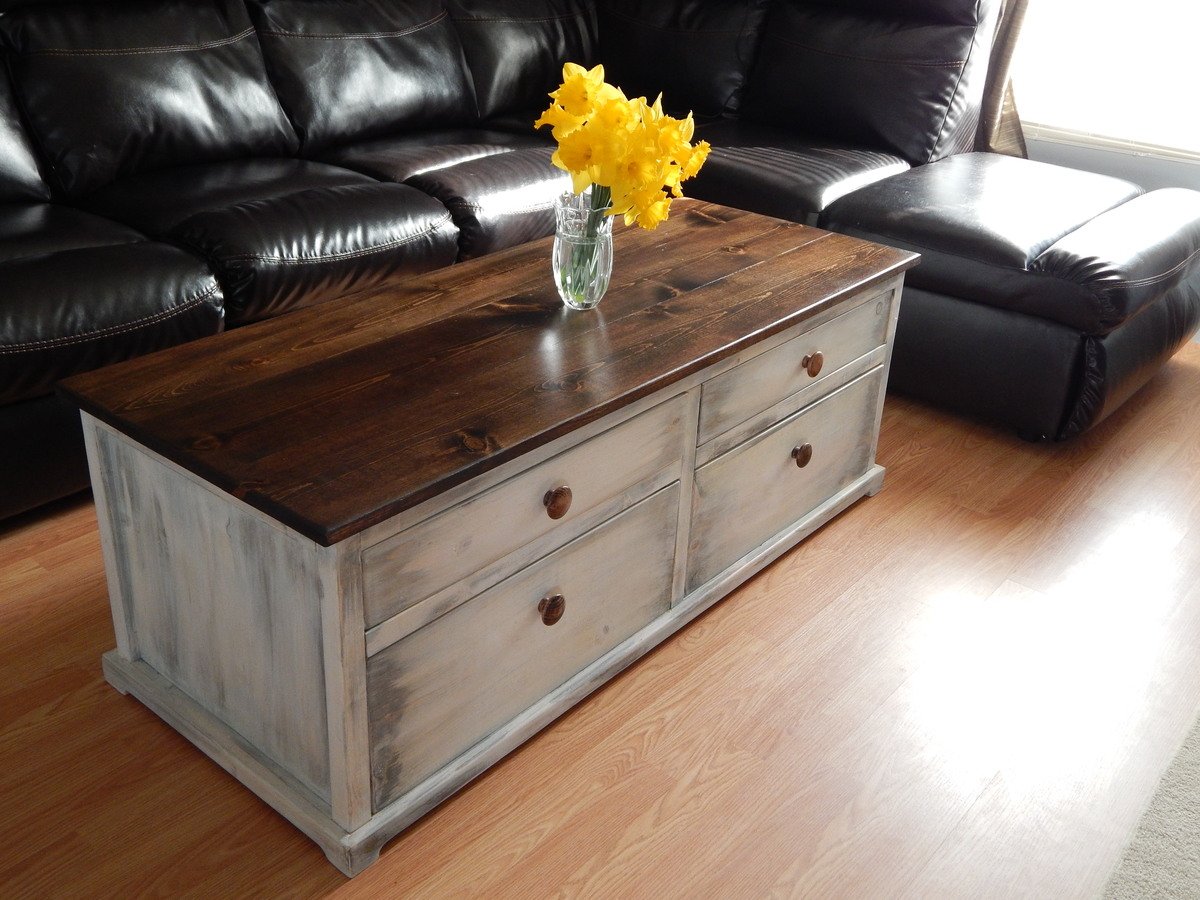
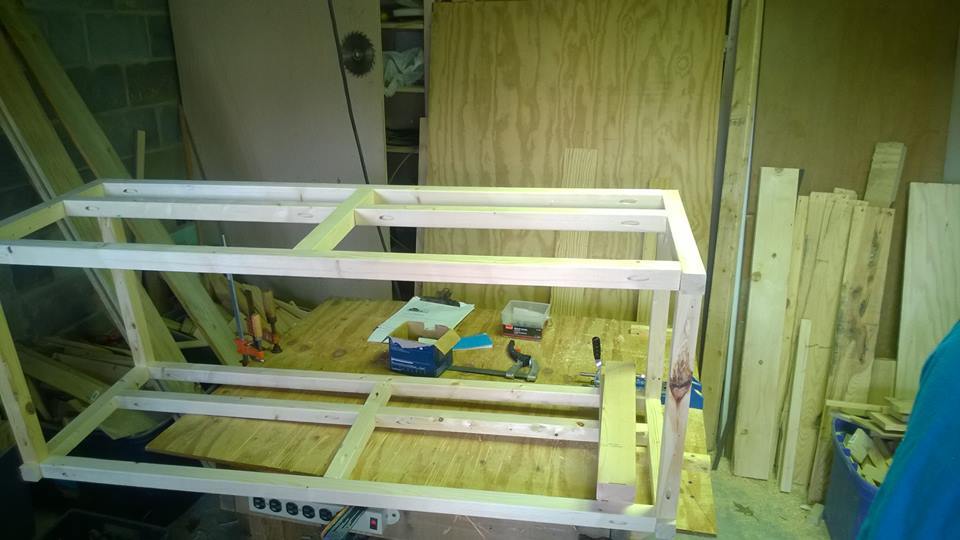
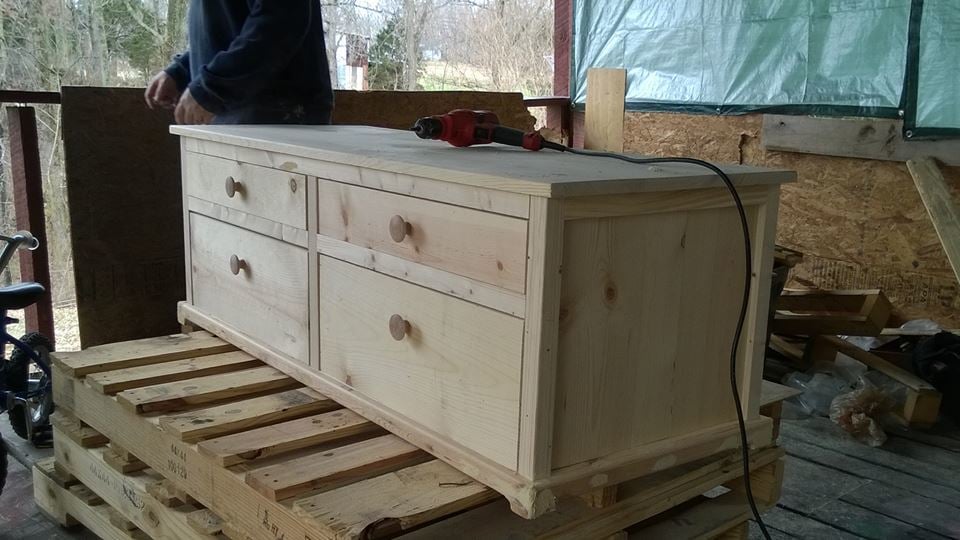
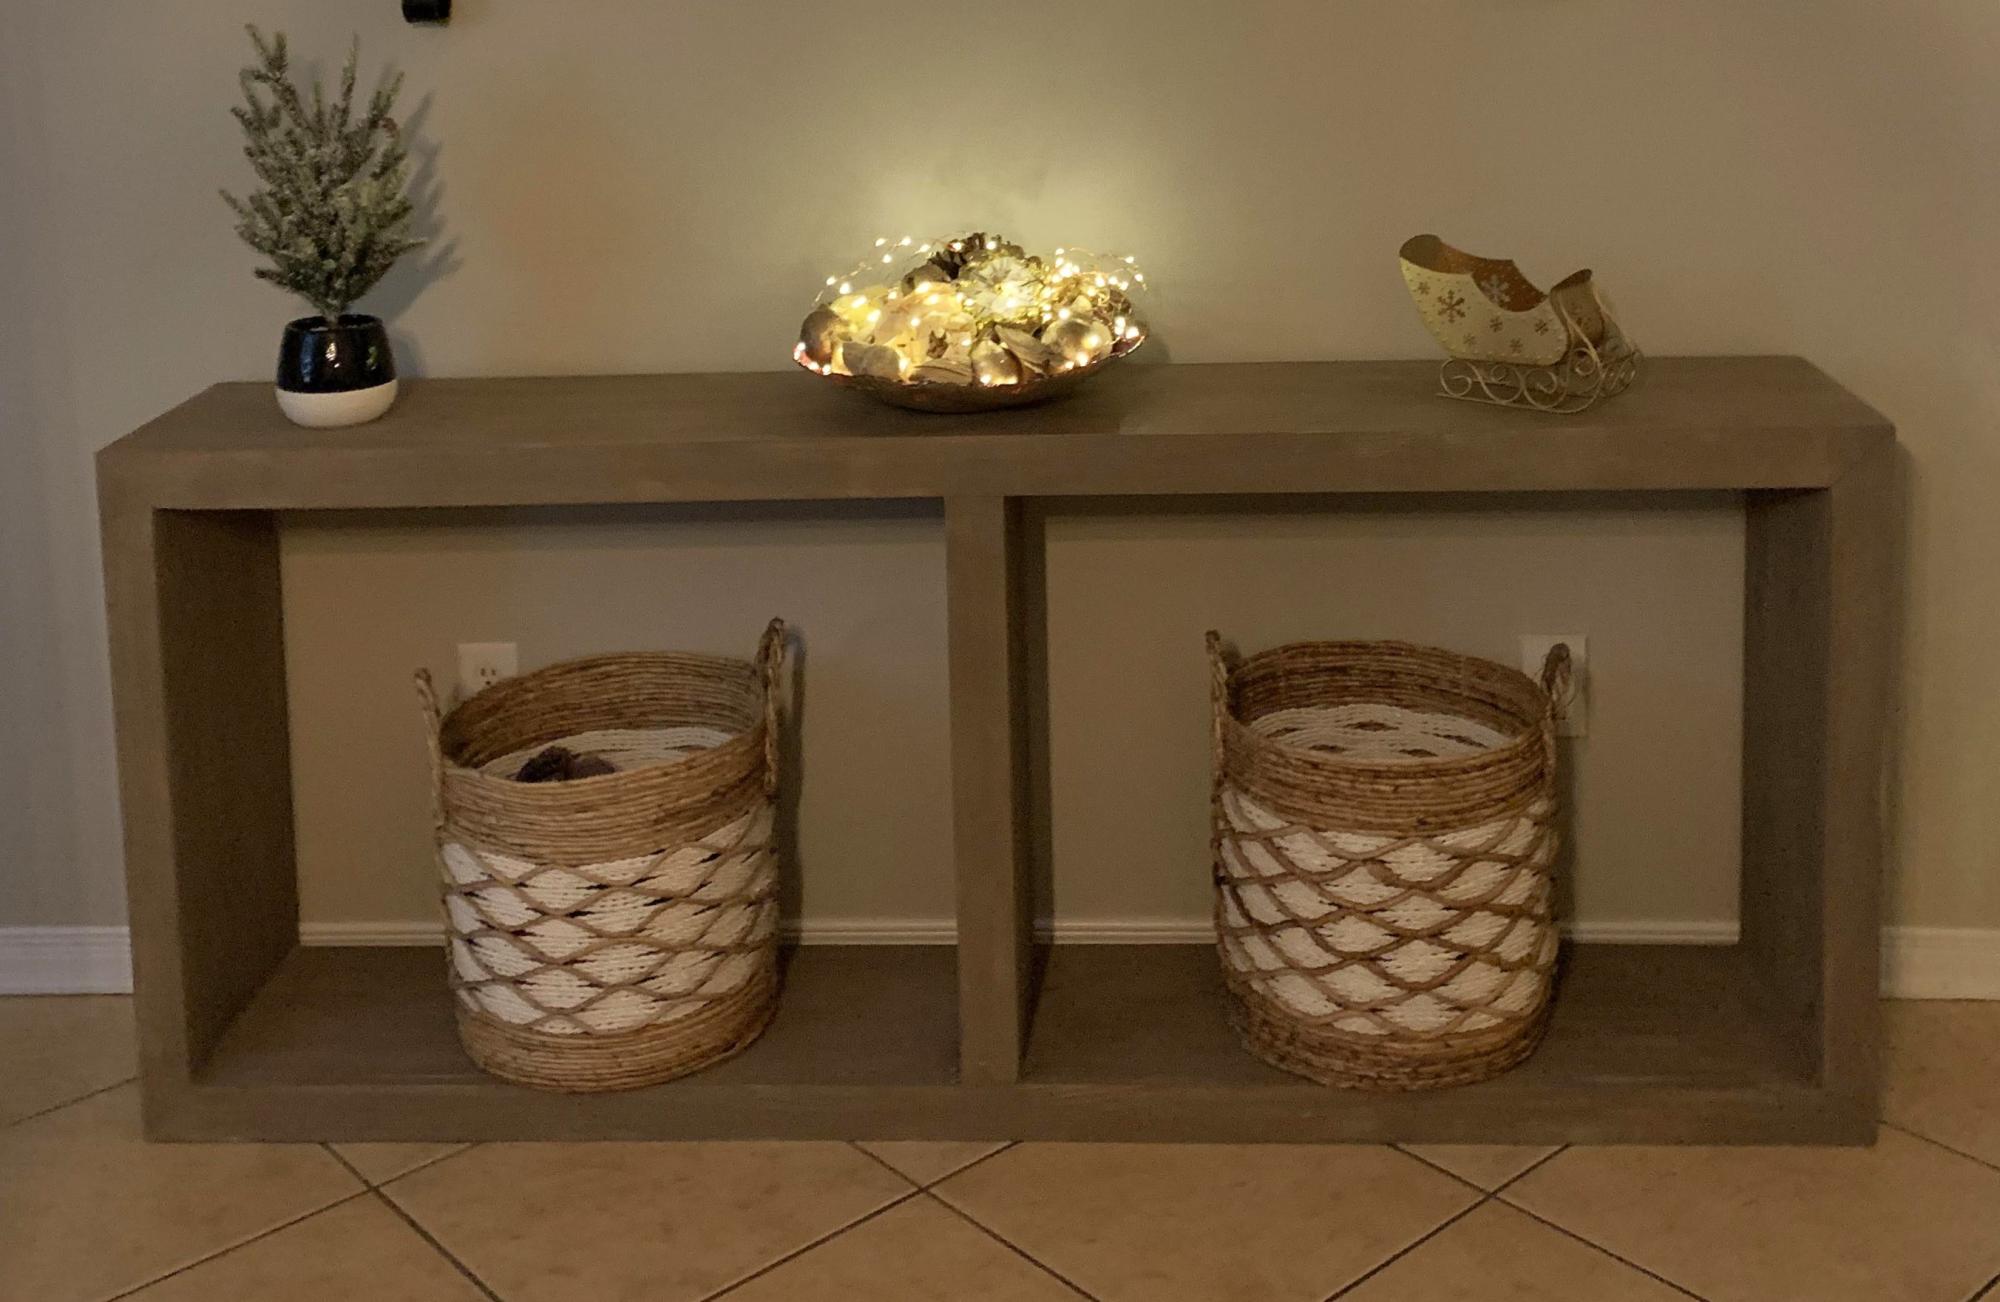
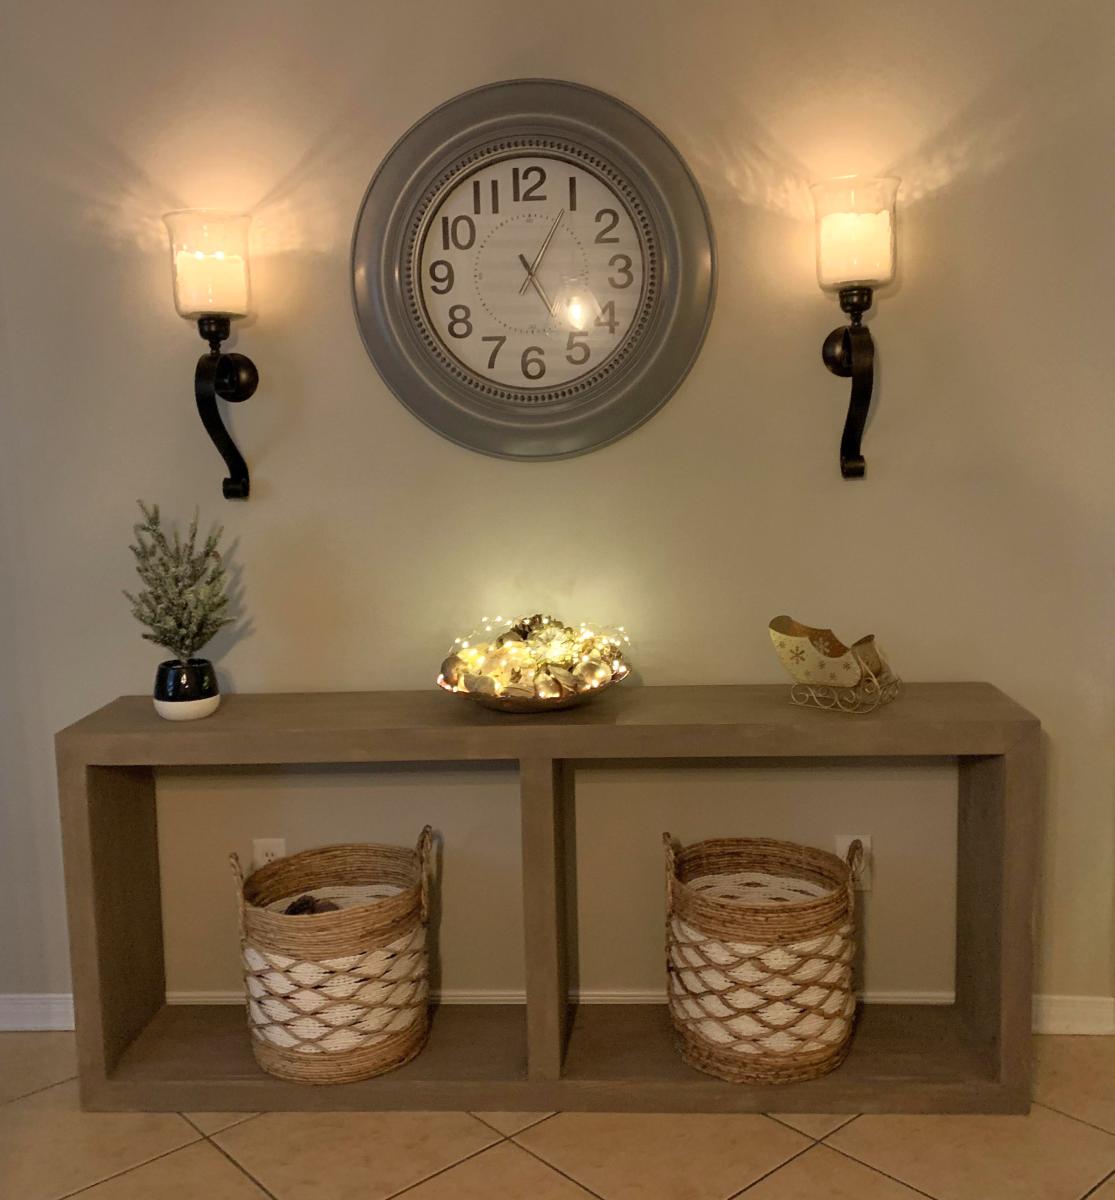
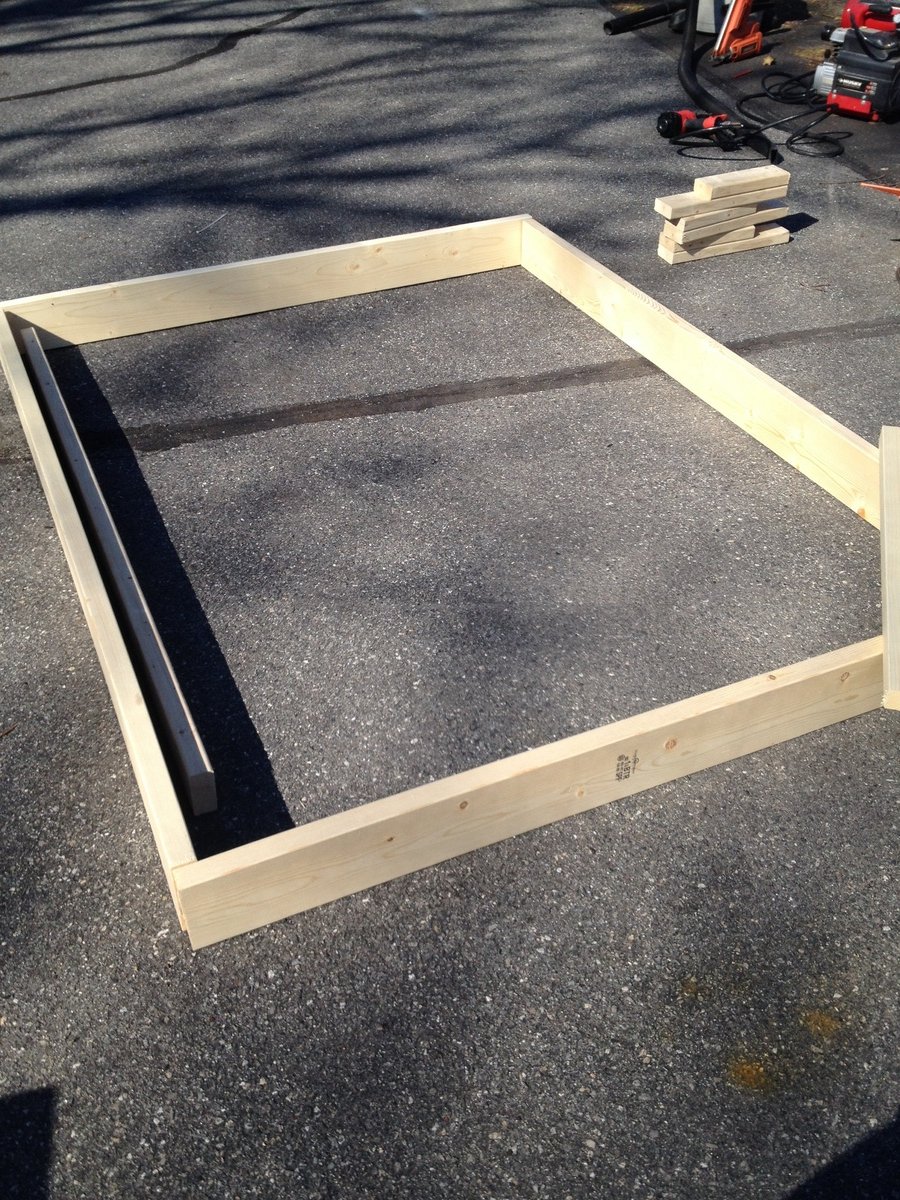
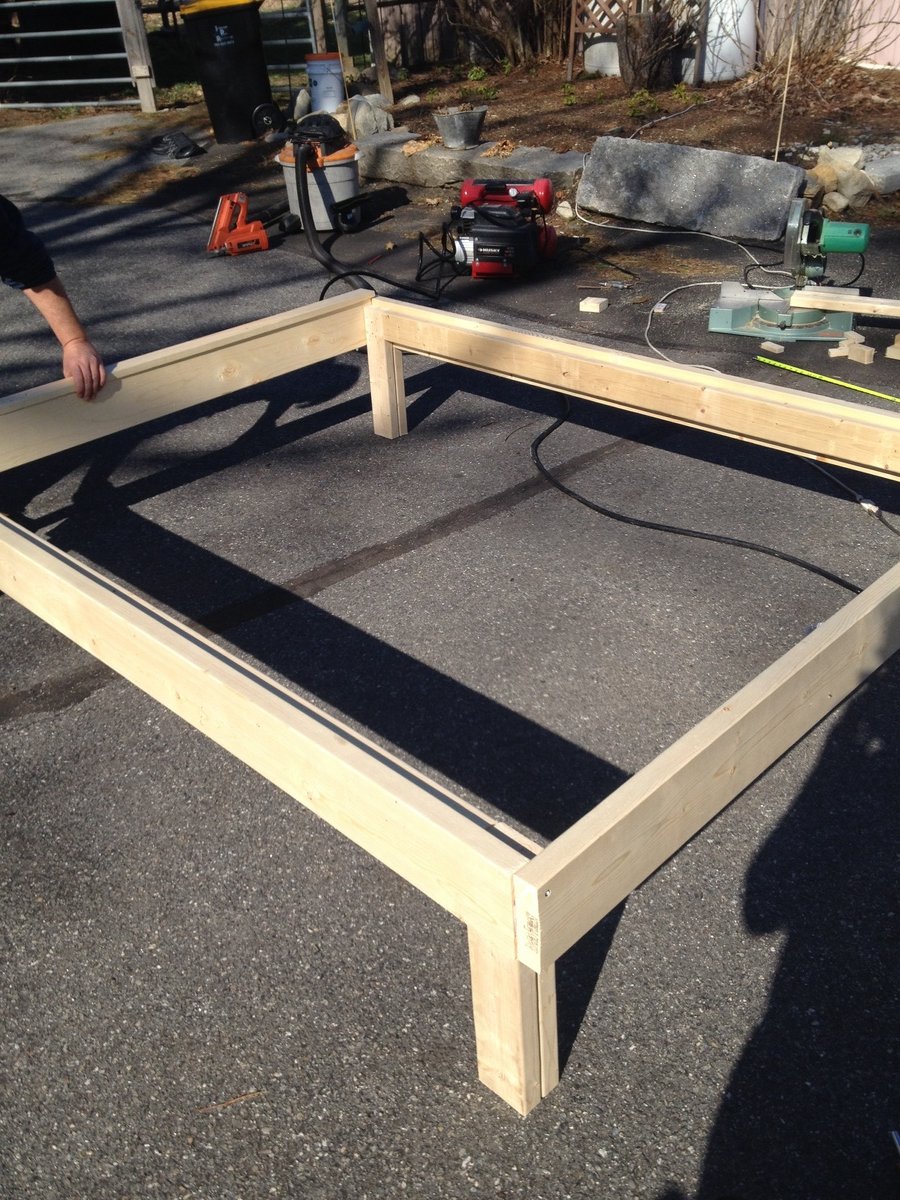
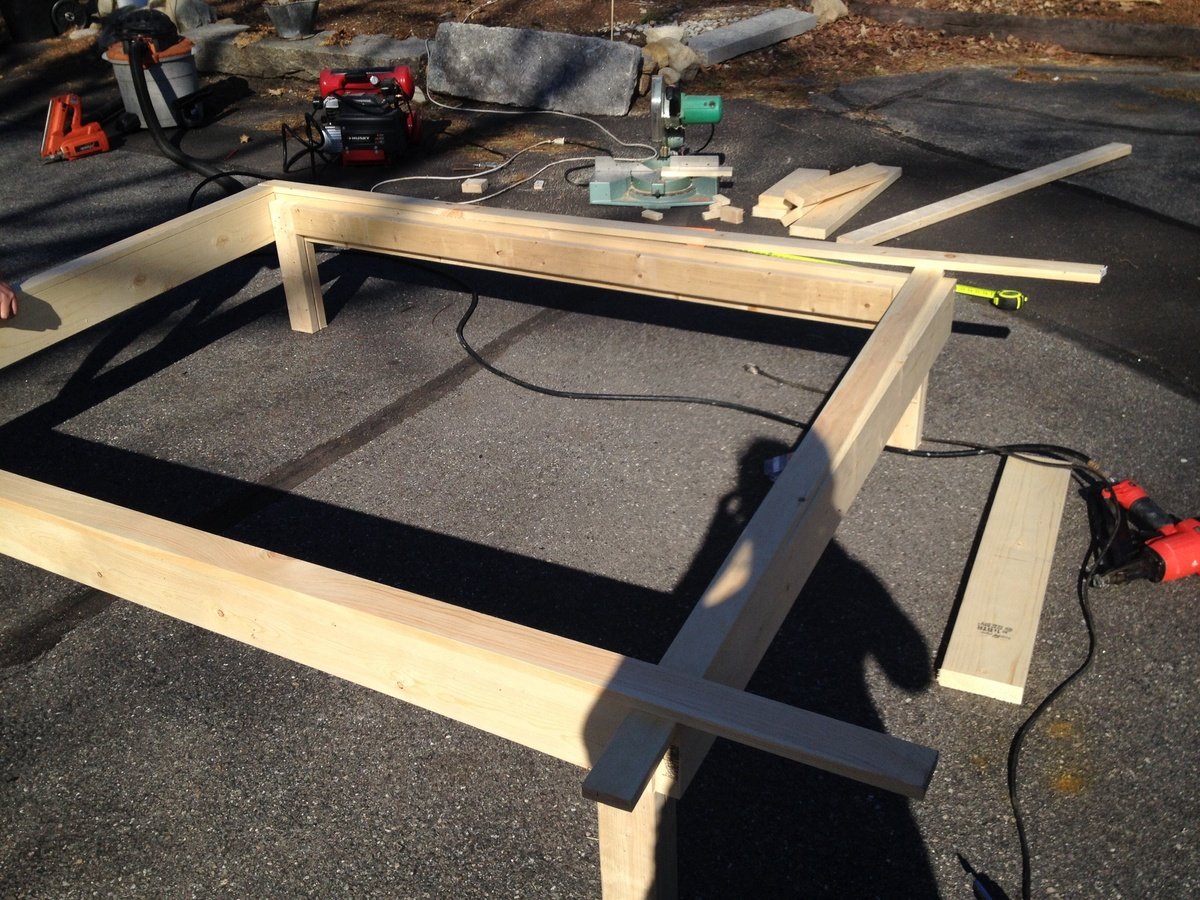
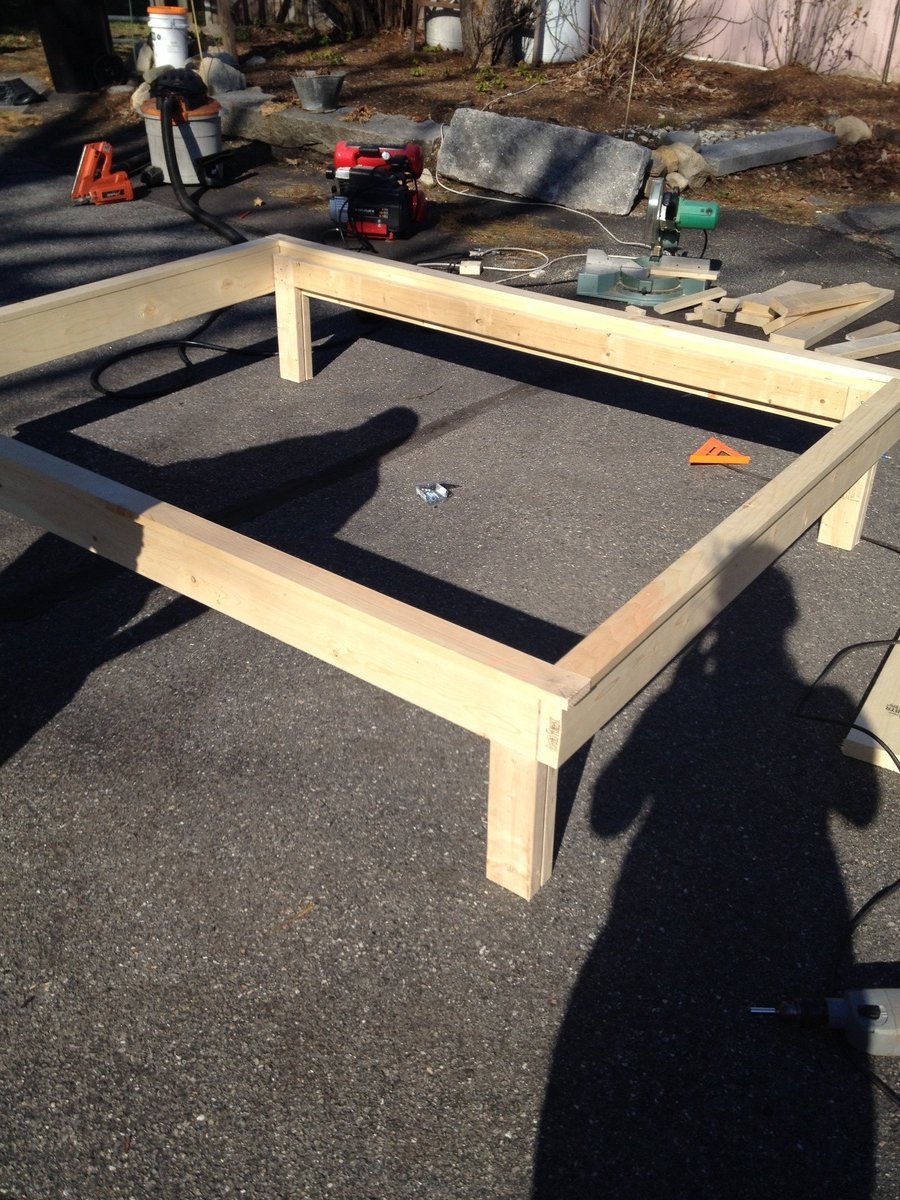
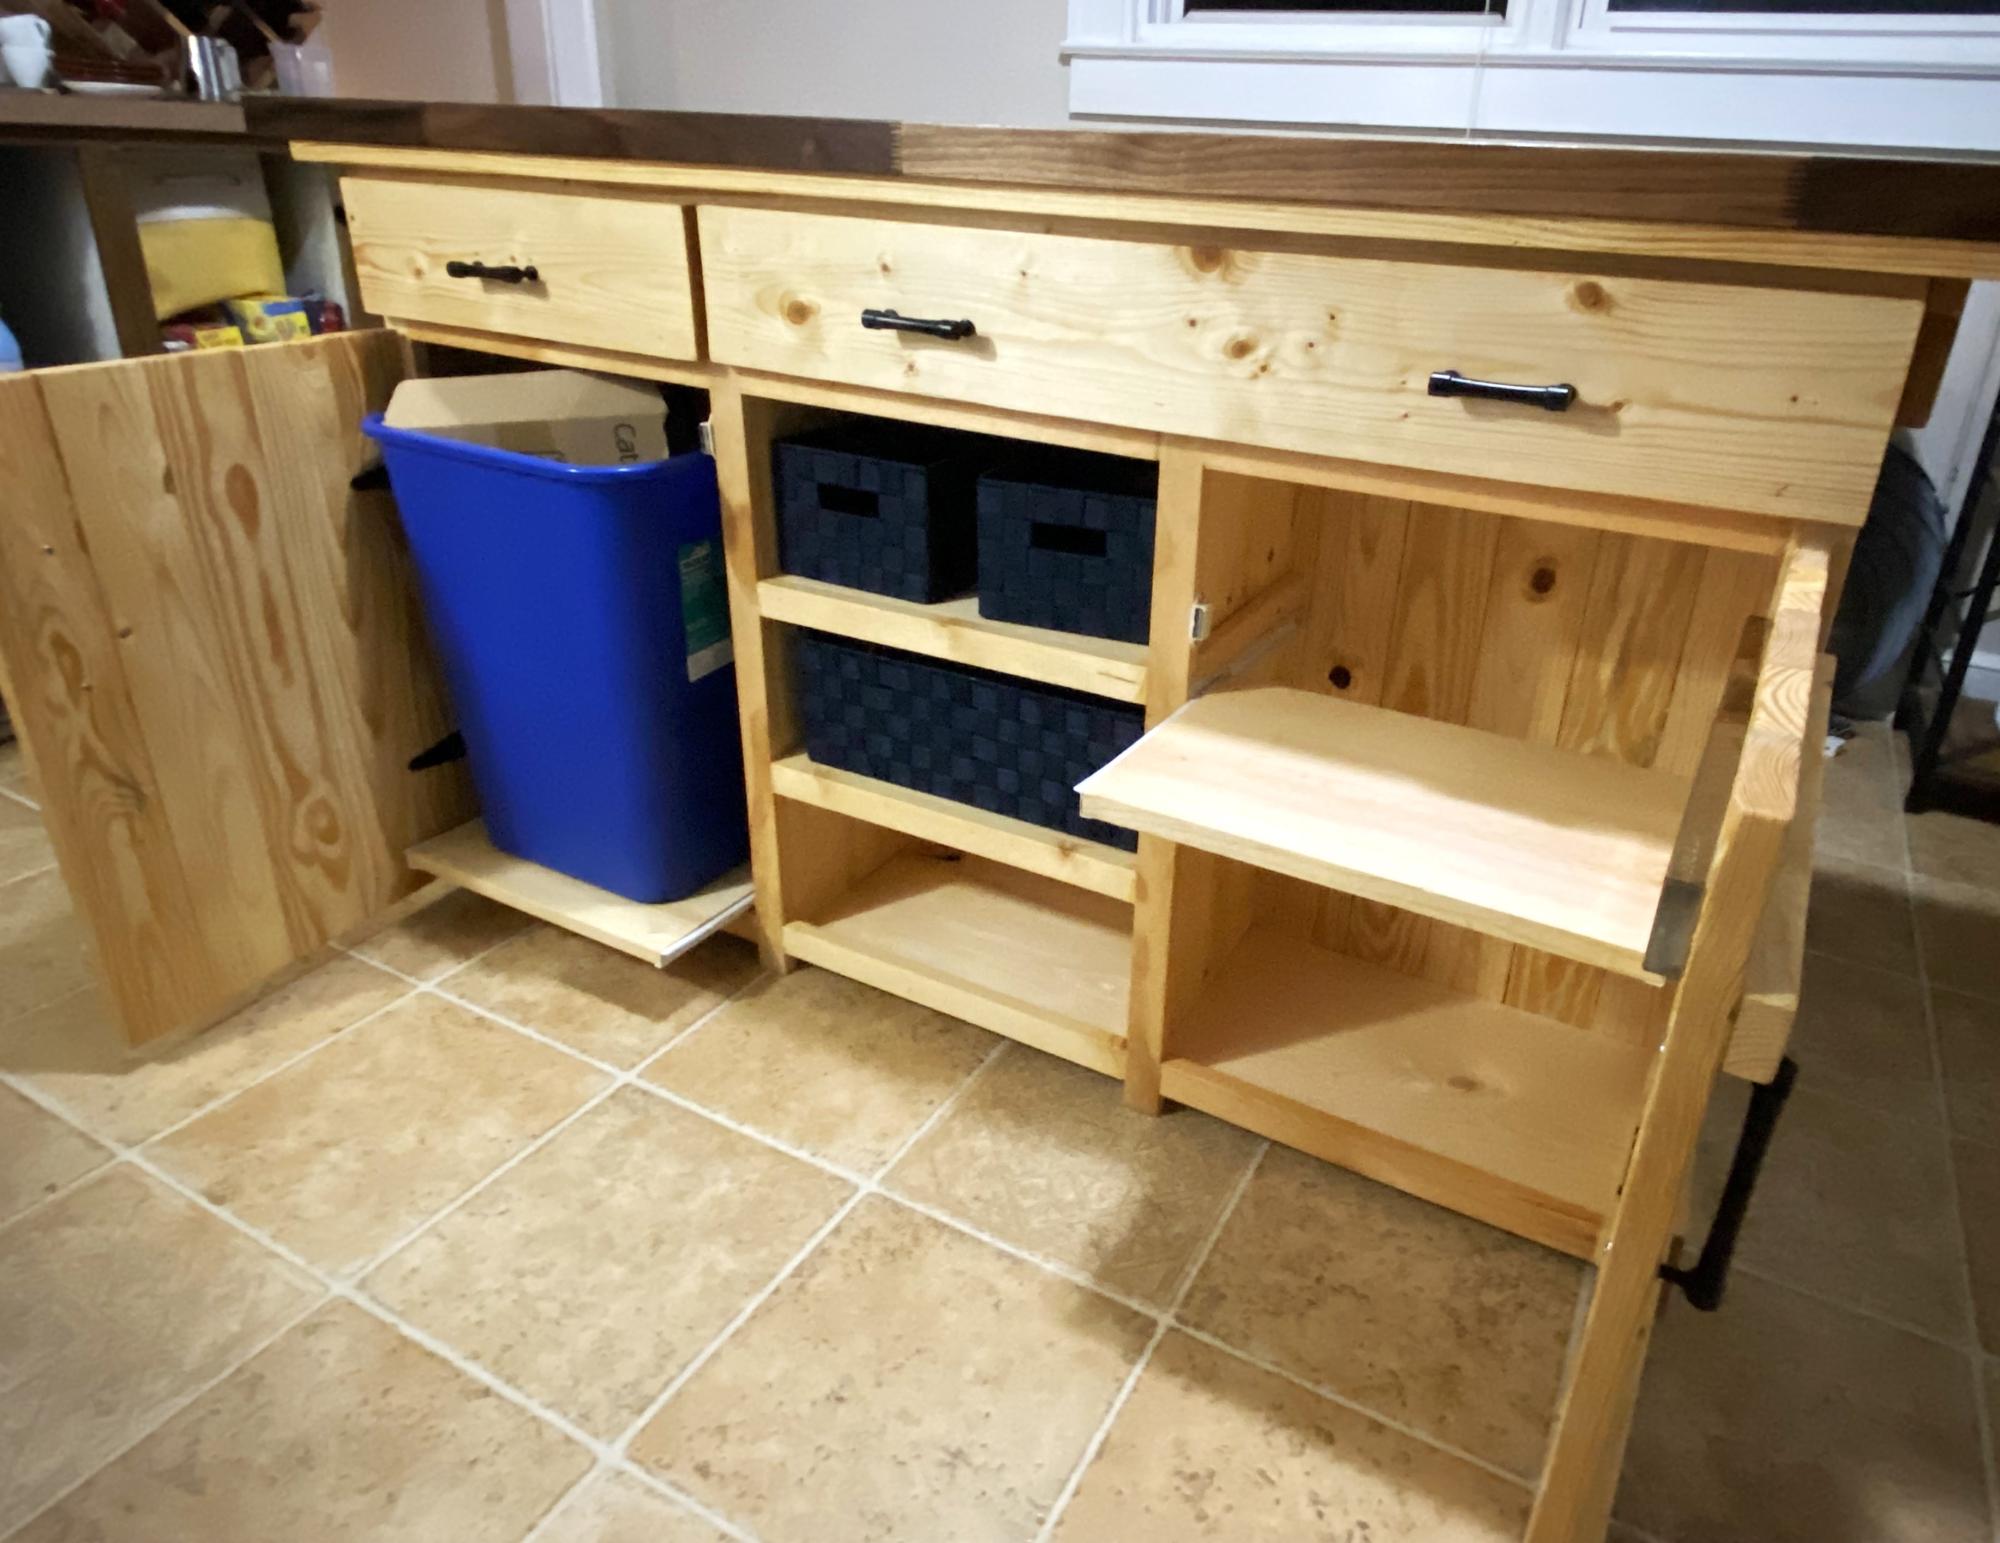
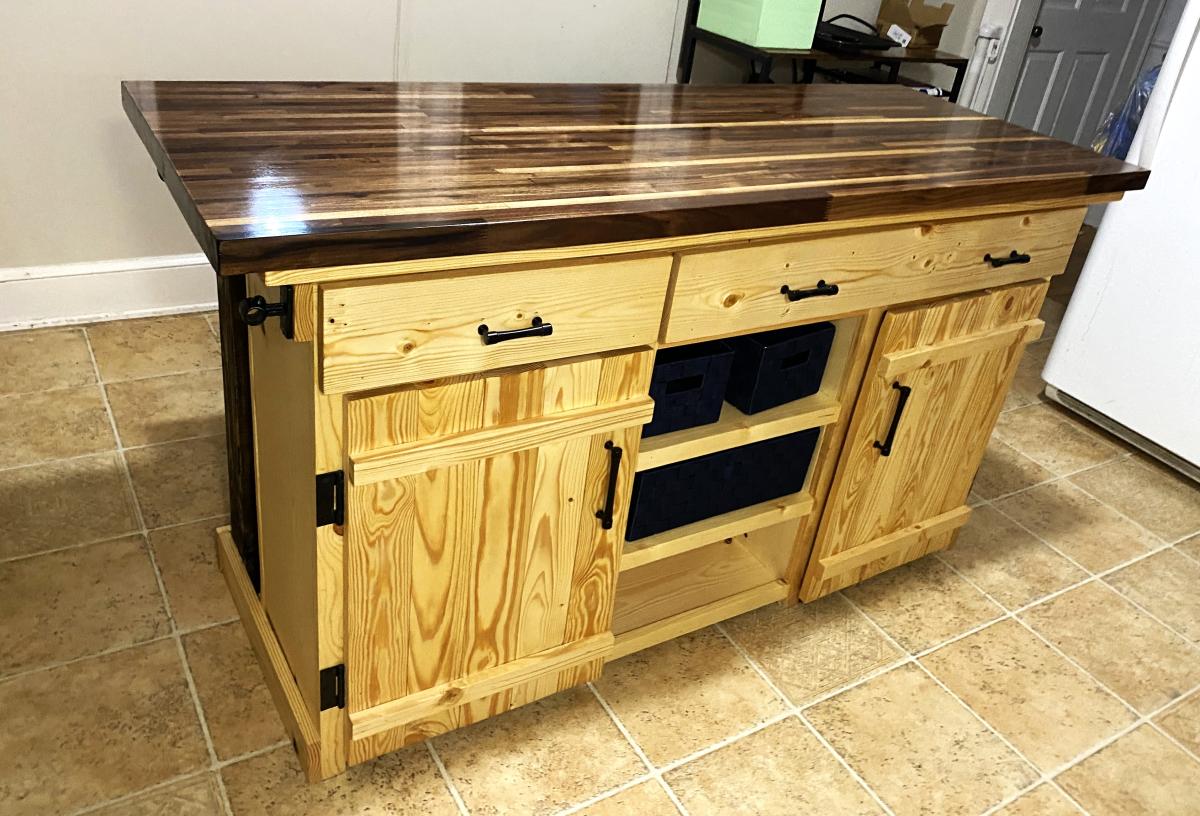
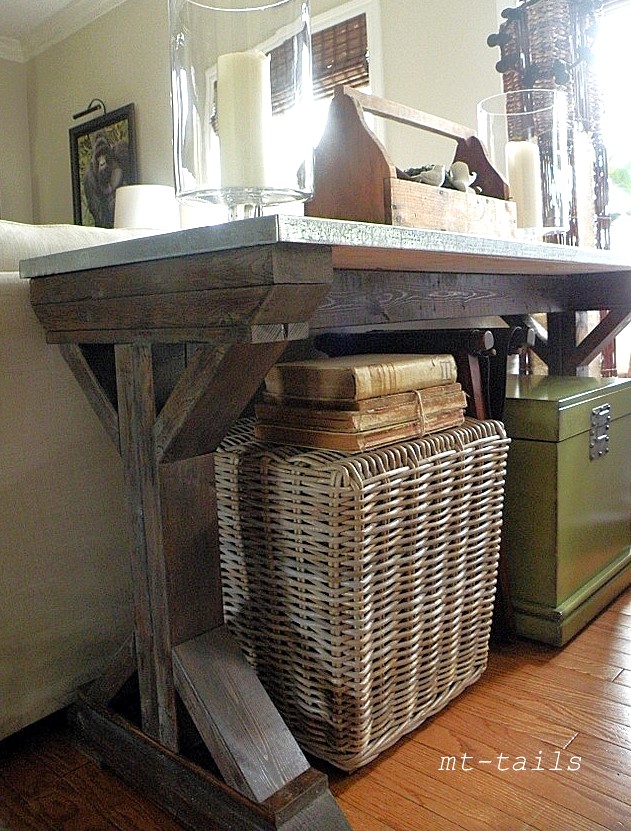
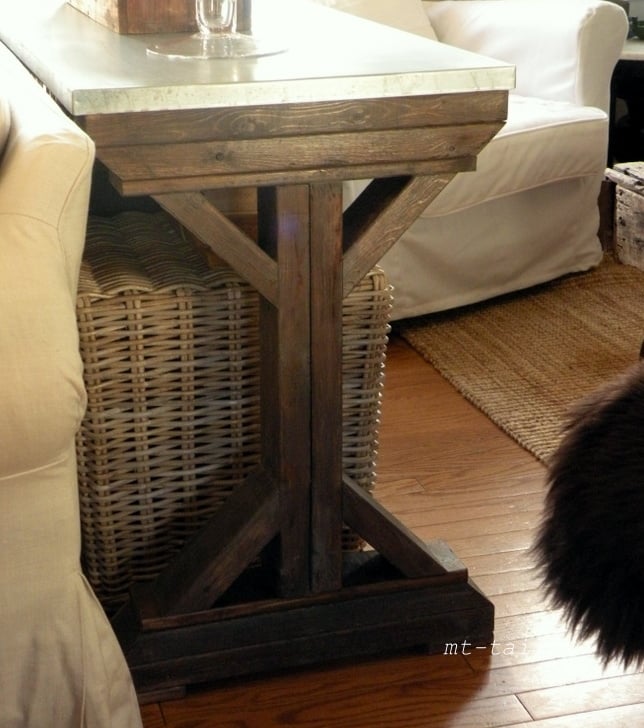
I altered this plan to make a short and wide version of the dresser. It is also one whole piece as shown in the picture. I am remodeling my office closet and plan to use it for storing bulky items like cables, gift boxes, etc. I must say for my first project, I think it came out pretty good.
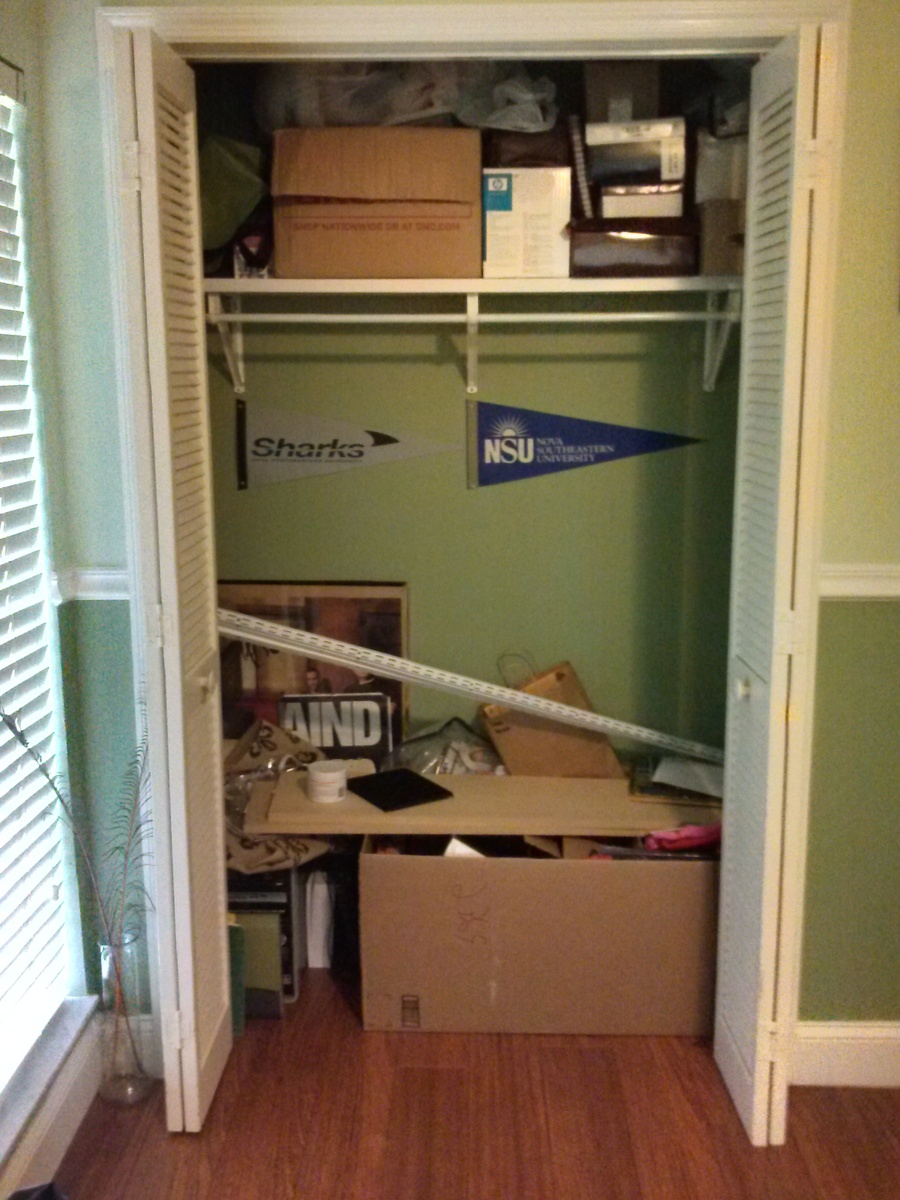
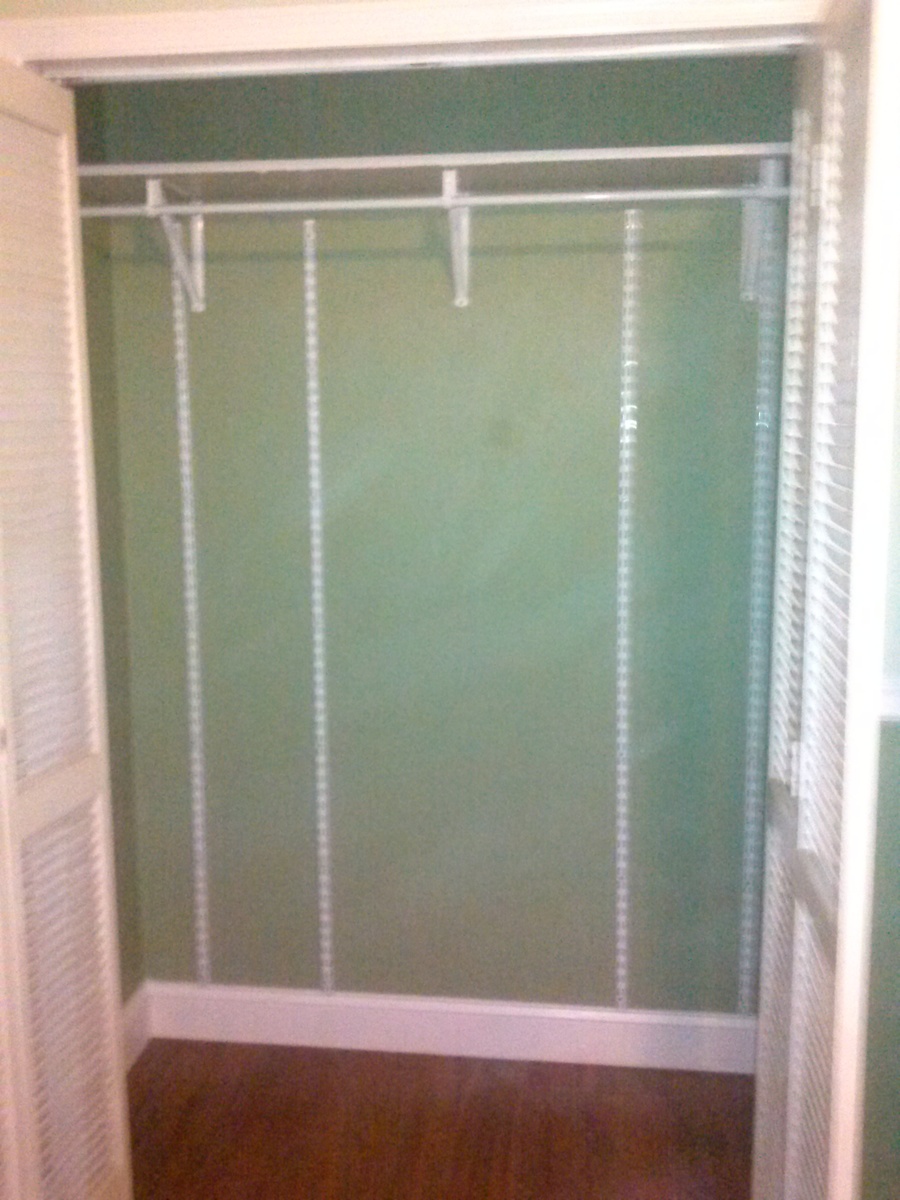
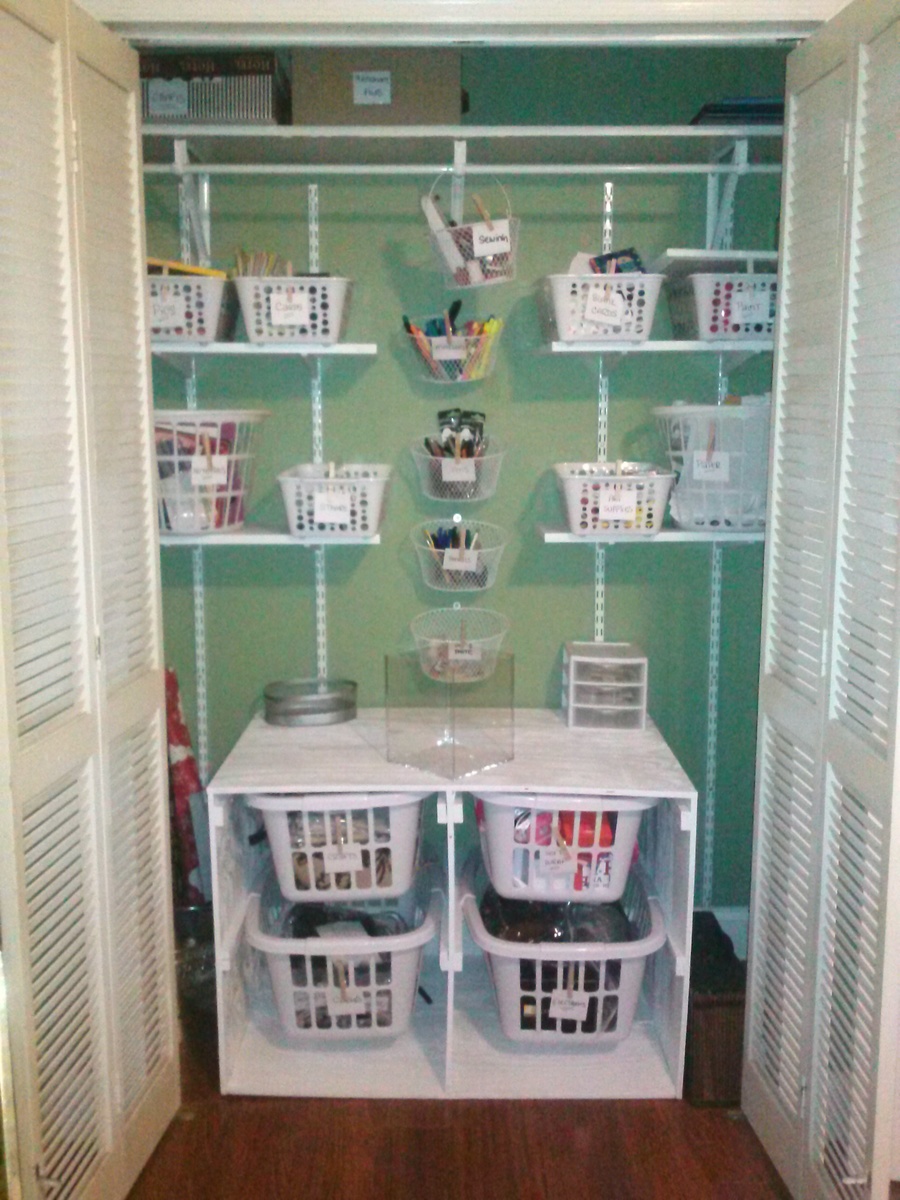
I then moved the existing shelf in the closet up, added shelf bracket rails, and spackled & painted the wall. I added a few shelves, dollar store bins and then labeled everything. I also screwed some small metal baskets with removable handles to the wall, I think it turned out terrific.
Thanks for the inspiration, Ana!