Chaise Loung Chairs
Very easy and fun project.
Very easy and fun project.
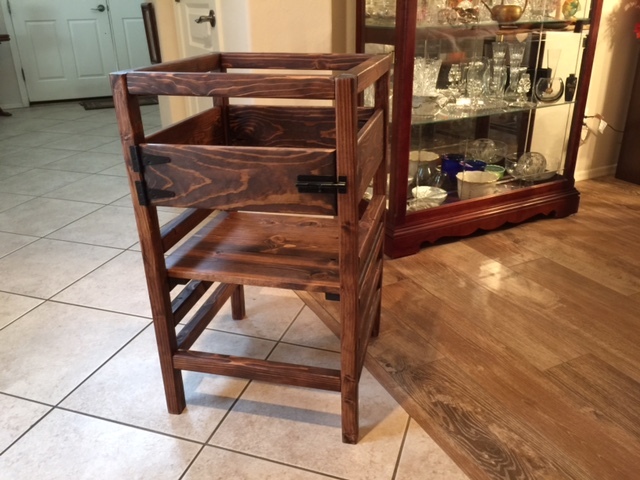
This tower is from two or three plans found on Pinterest as well as the plans on Ana White. The materials are from 2 x 2 or 1 x 5. Length of legs are 34 inches, all cross members are 17 inches basically your cutting list is :
Quantity Size Description
4 2 x 2 x 34 Legs. You can change this to taller or shorter.
14 2 x 2 x 17 Cross members
3 1 x 6 x 17 Safety sides
1 1 x 6 x 16 7/8 Door (optional)
3 1 x 6 x 16 7/8 Floor
2 1 x 2 x 17 Floor Braces
1 set Hinges (Optional)
1 Latch (Optional)
1 ¾ x ¼ x 3 Door stop (Optional)
Distanced between parts-I used Ana Whites dimensions.
Basic unit.
Floor Assembly
Final Finish
1. I love rattle can finishes. Deft is my favorite. Use what you like. Take your time.
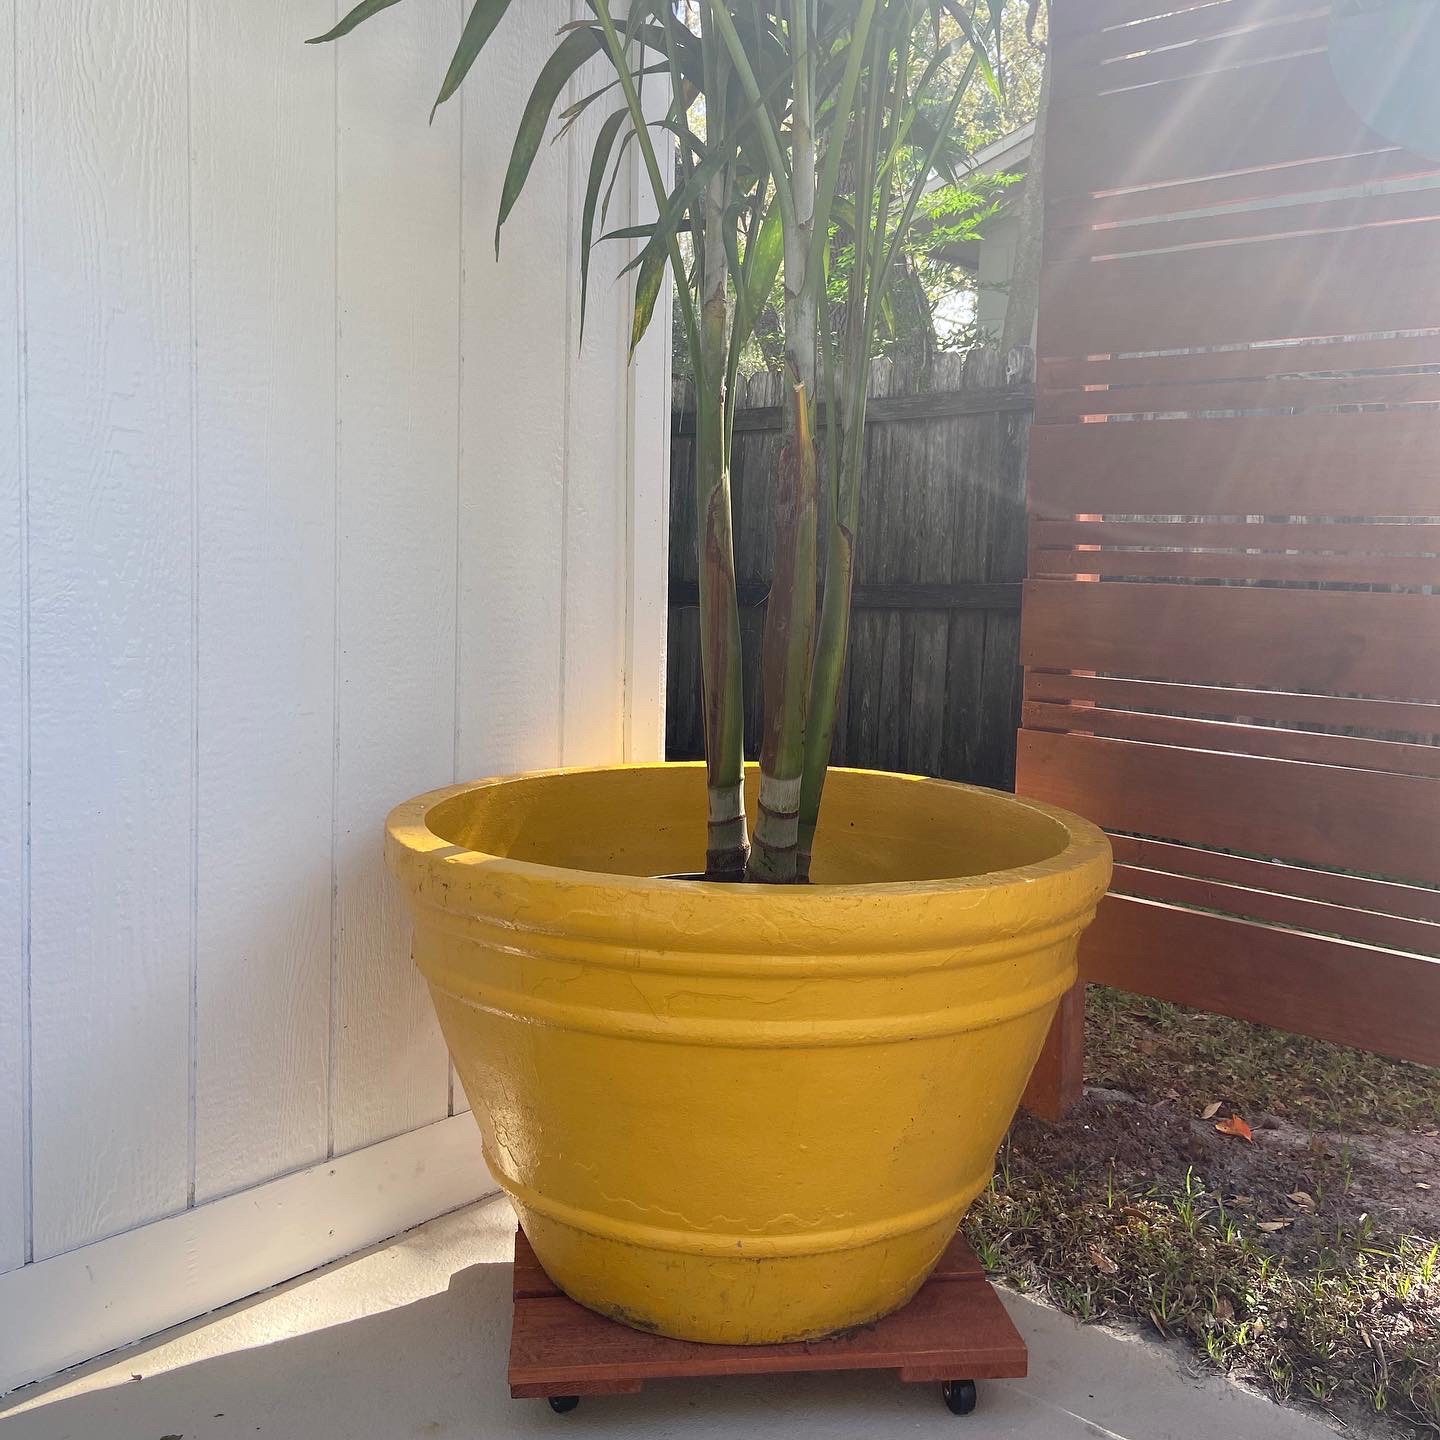
Used cedar fence planks. These were pretty cheap at Home Depot. My husband wanted to use them for another project, but ended up not needing them. So instead of returning, I used them! I needed a caddy to hold a planter well over 150lbs. My husband and I had to load on a dolly to move around. It was made out of 2 planks and I added copper wheels (each wheel holds about 80lbs) from Lowe’s. I had a few extra planks, and made an herb window planter...I’ll post on that too!!
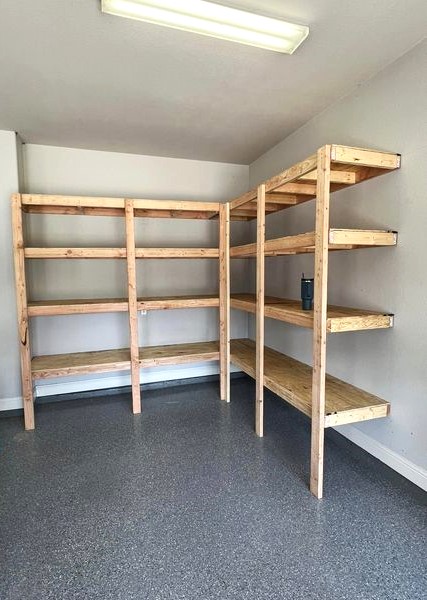
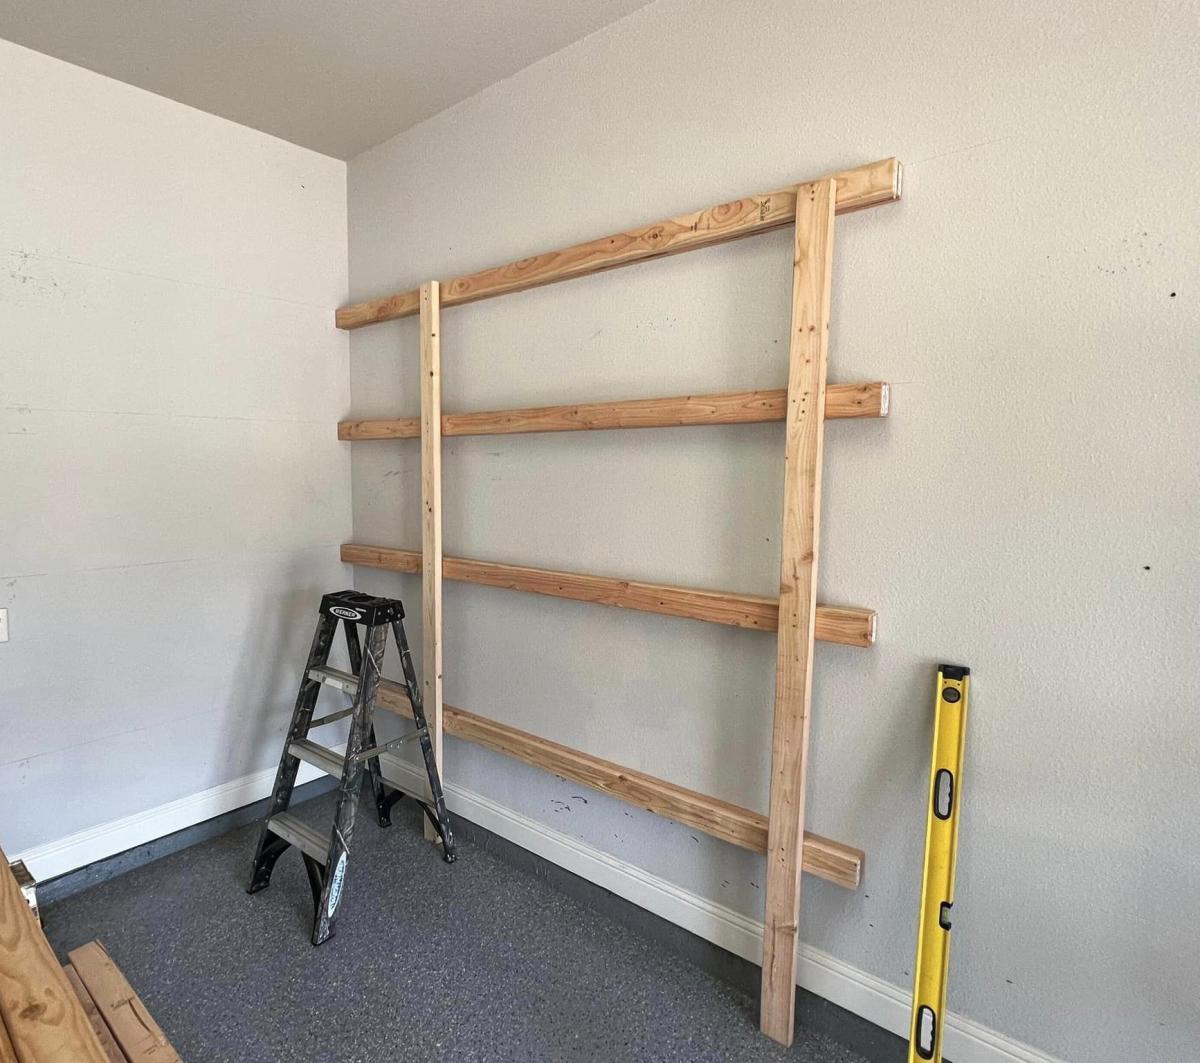
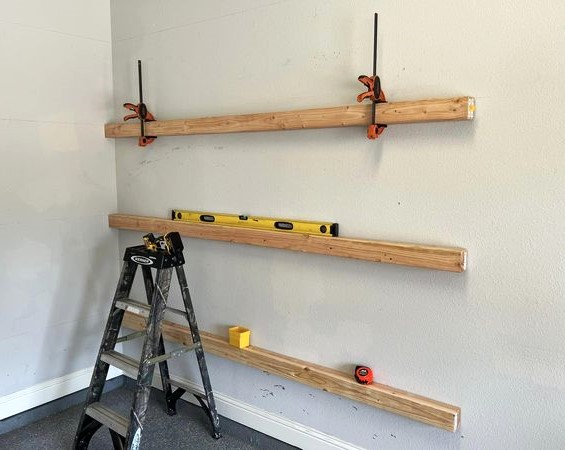
My son and I build these shelving units as a side hustle. We’ve built dozens over the past few years, this was a solo build this AM as he was working at his day job.
Tip: use clamps to hold the pieces of wood together before which put in the vertical supports.
Nice little corner unit.
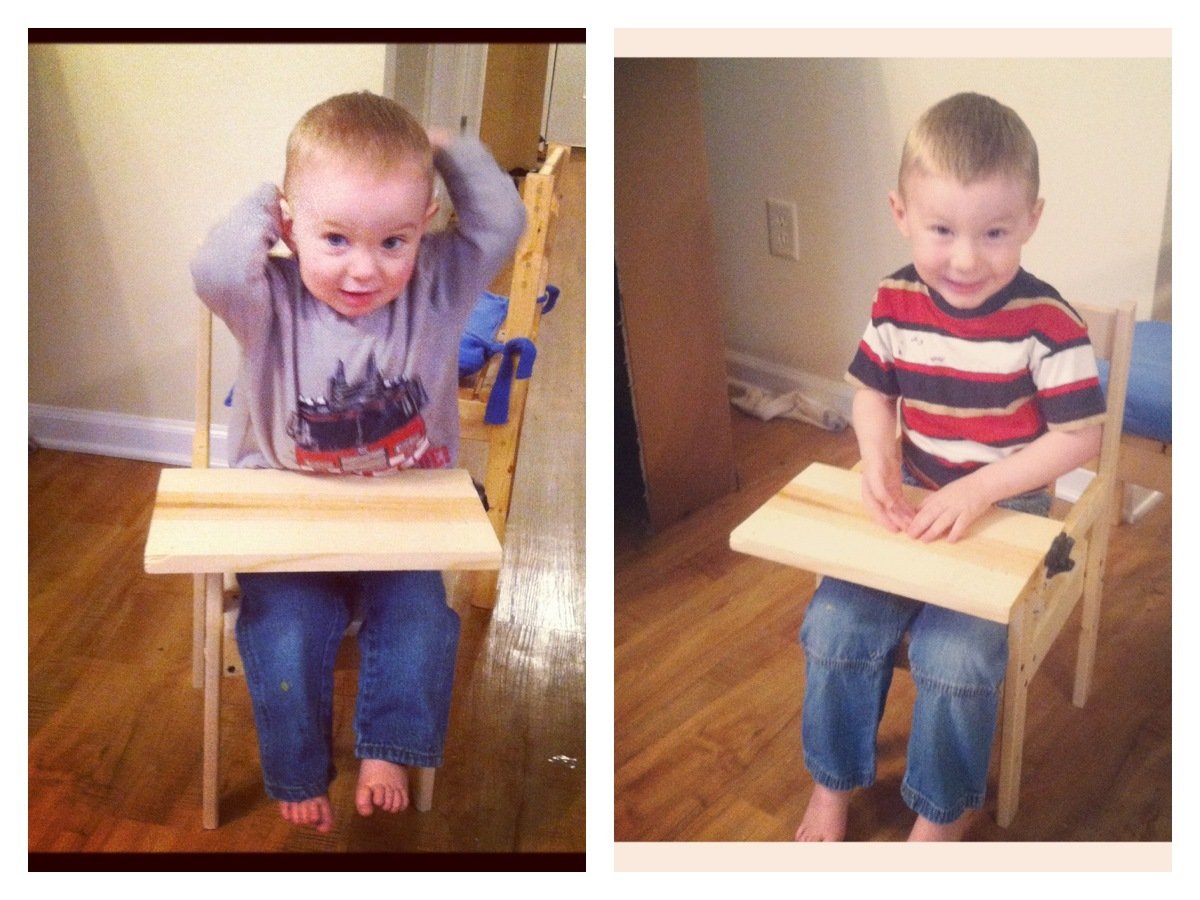
I made this for a friend whose son is turning 1. I wanted him to be able to sit in the seat without falling out, so at first I just planned on making arm rests (thus destroying the stack element, but he's an only child haha!). I had an extra piece of 1x8 laying around that turned out to be just long enough, and some hinges and a sash lock.
in the first picture, the desk is screwed on. I ended up changing it so he could use the desk longer! little legs can only squeeze into spaces for so long :)
Long story short, for this project I took all of the measurements for the original stackable chair and took 2" off to make it more appropriate for his size, EXCEPT the front legs, which I actually added 5 inches to. The front legs then stuck up from the seat about 5 inches, and i attached a 10.5" 1x2 from the front leg to the back leg on each side. Hinges on one side of the 1x8 board, sash lock on the other, and voila! desk-chair!! and it fit my 15 month old AND my almost 3 year old! granted, it was a tight squeeze for the 3 year old, but he LOVES the desk and I'm planning on finding a way to convert his stackable chair into one :)
Tue, 11/06/2012 - 11:07
i brought it outside to sand yesterday and all of the kids in our row of townhomes were trying to play in it! i had 2 people ask me to make one for their kids! i hope a lot of other people can use this concept and make it even better for their kids! i feel like there have to be better hinges and lock sets than what i used, hopefully someone on here can make suggestions!
Love these two projects in getting my son's room organized, and he loves having a desk for his lego creations and his "projects". We used poplar for the sawhorses that we had cut from family land and planed down ourselves, then purchased a premade project panel for the top. Used a paint sprayer for the blue and finished the top with Rustoleum stain in Wheat with several coats of Rustoleum Satin poly. For the toy shelf we just purchased pine and finished with the same stain and poly.


Loft bed made from the camp loft plans. I used 4x4s for the legs for extra support.
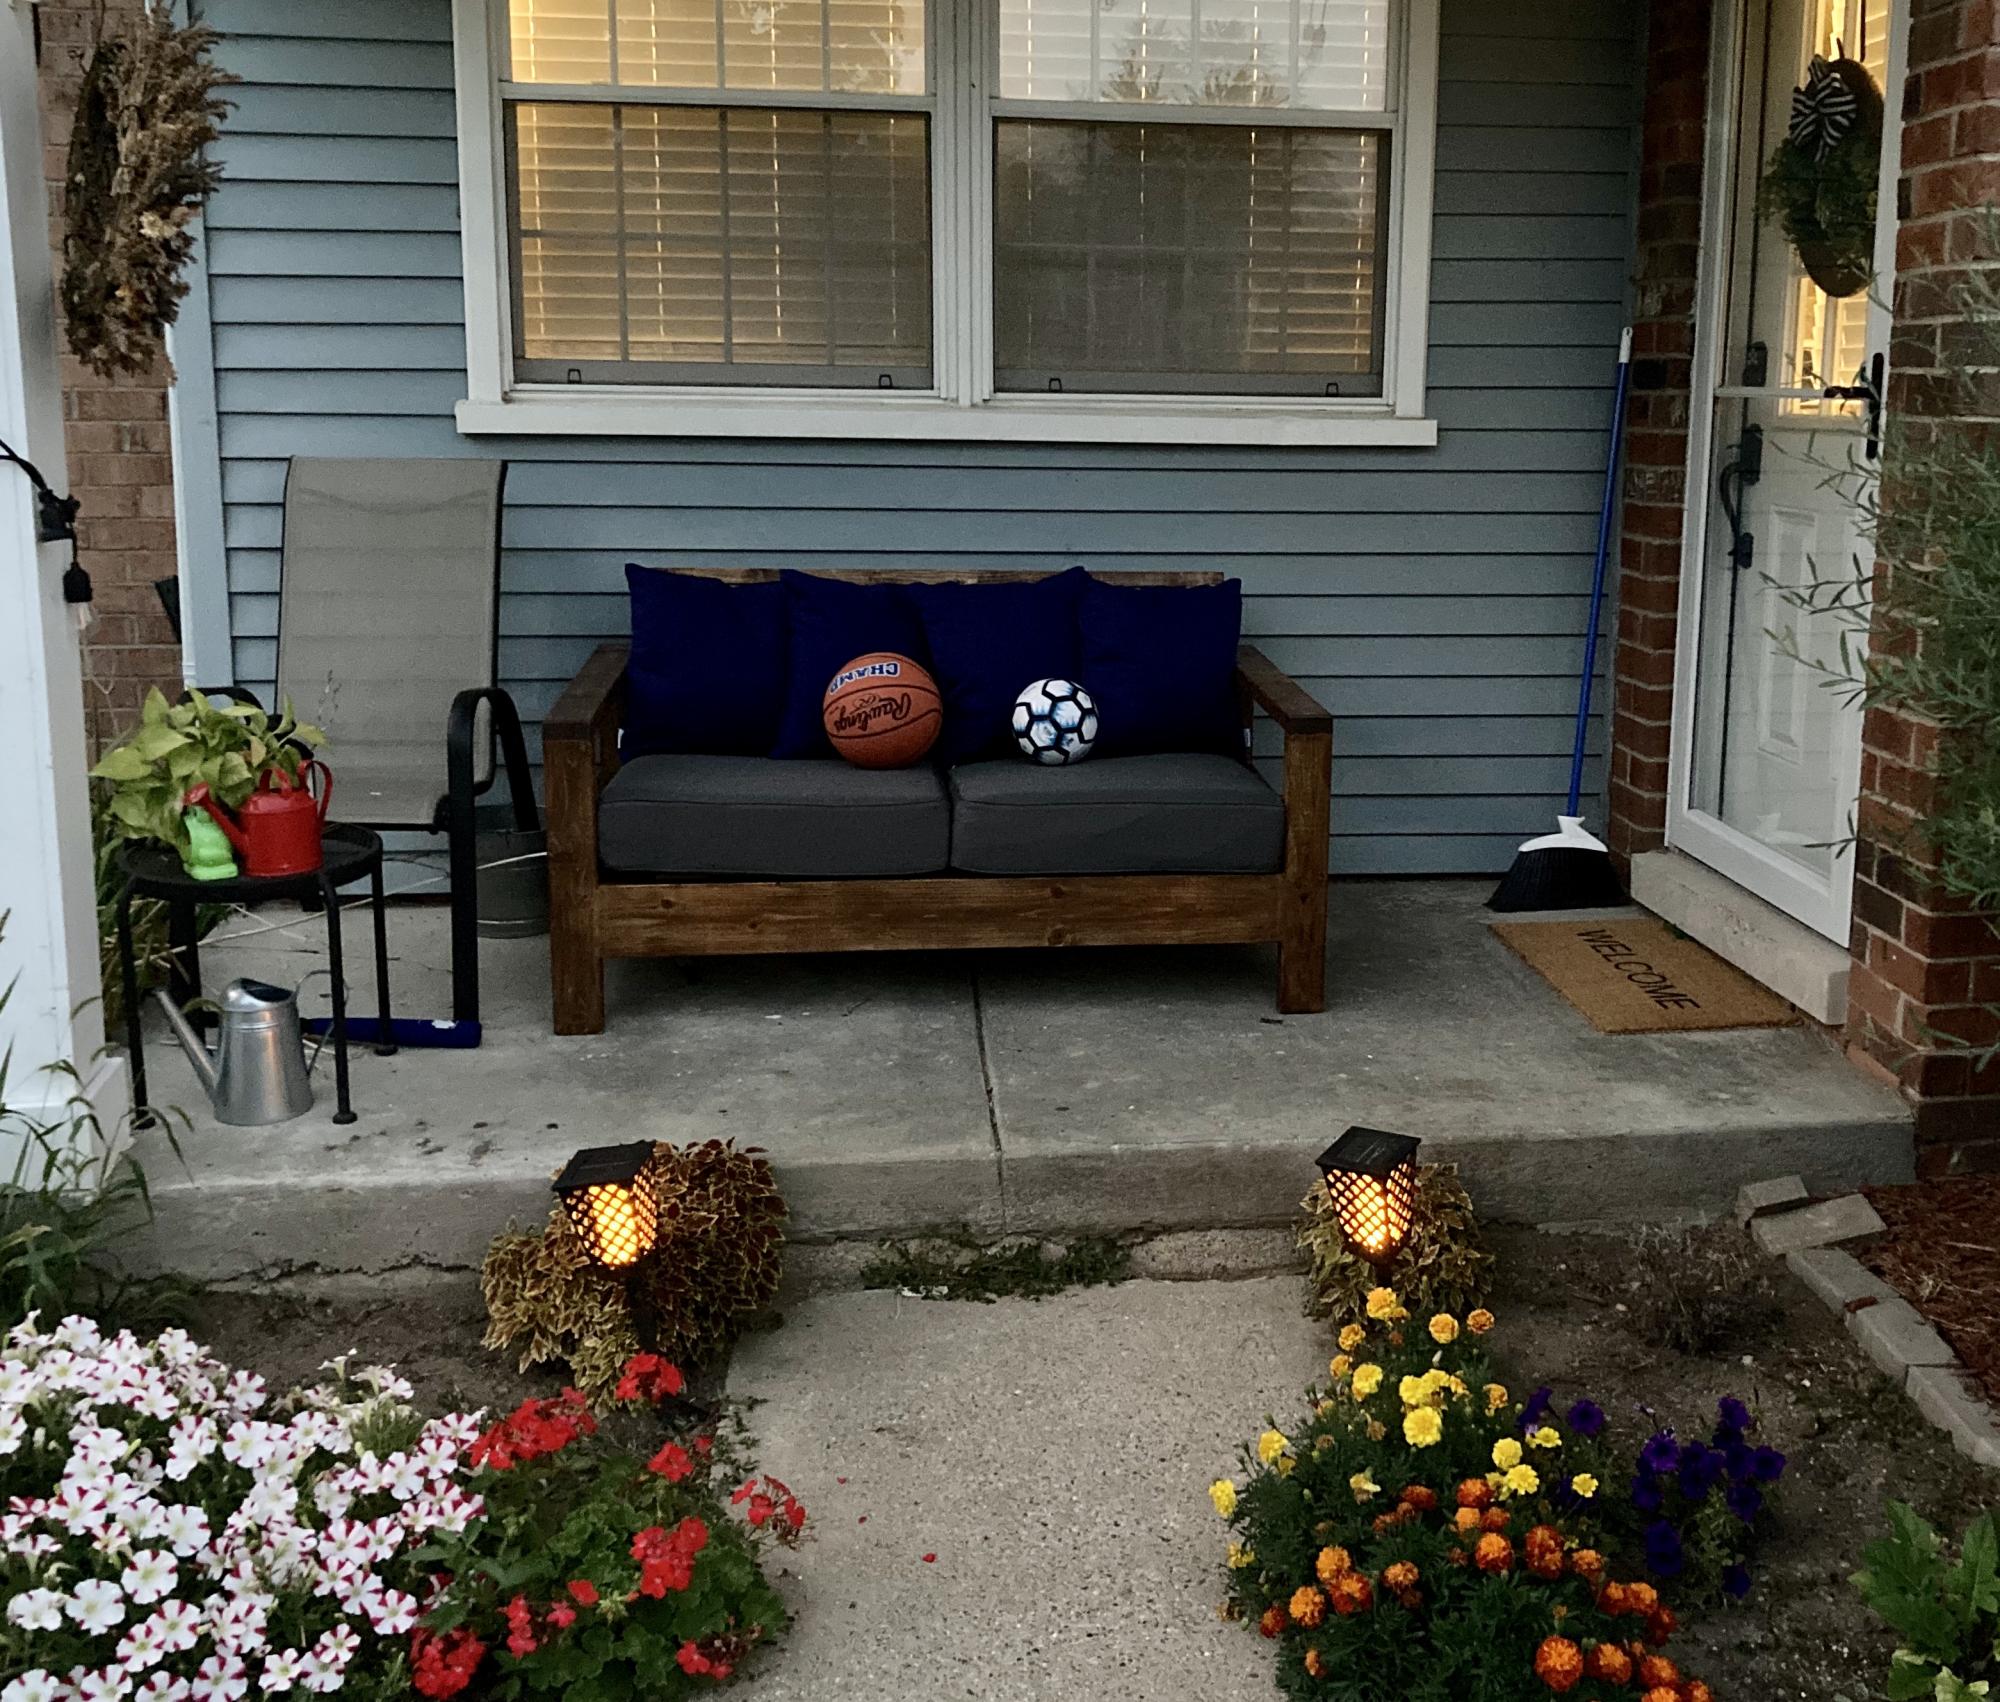
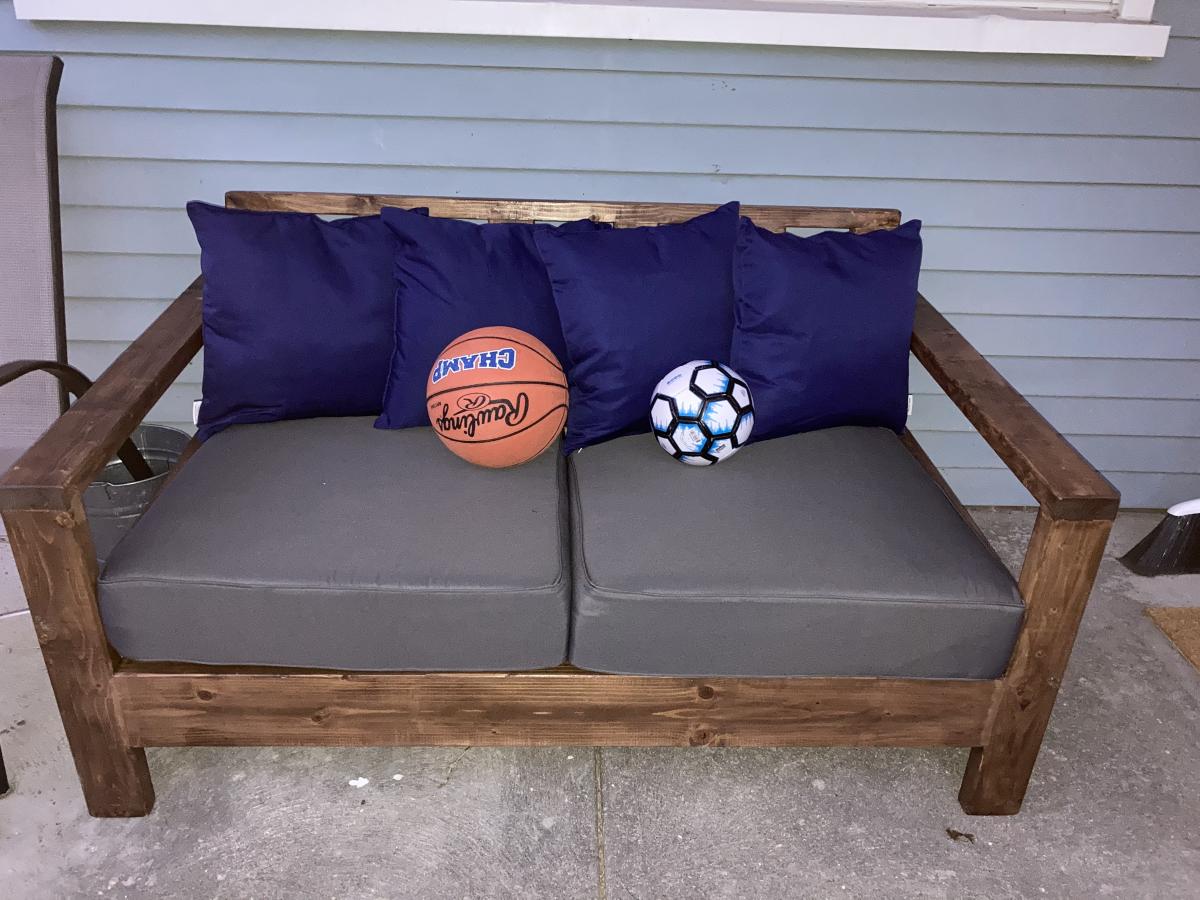
Just wanted a nice looking bench to seat at the porch! This turned out great!
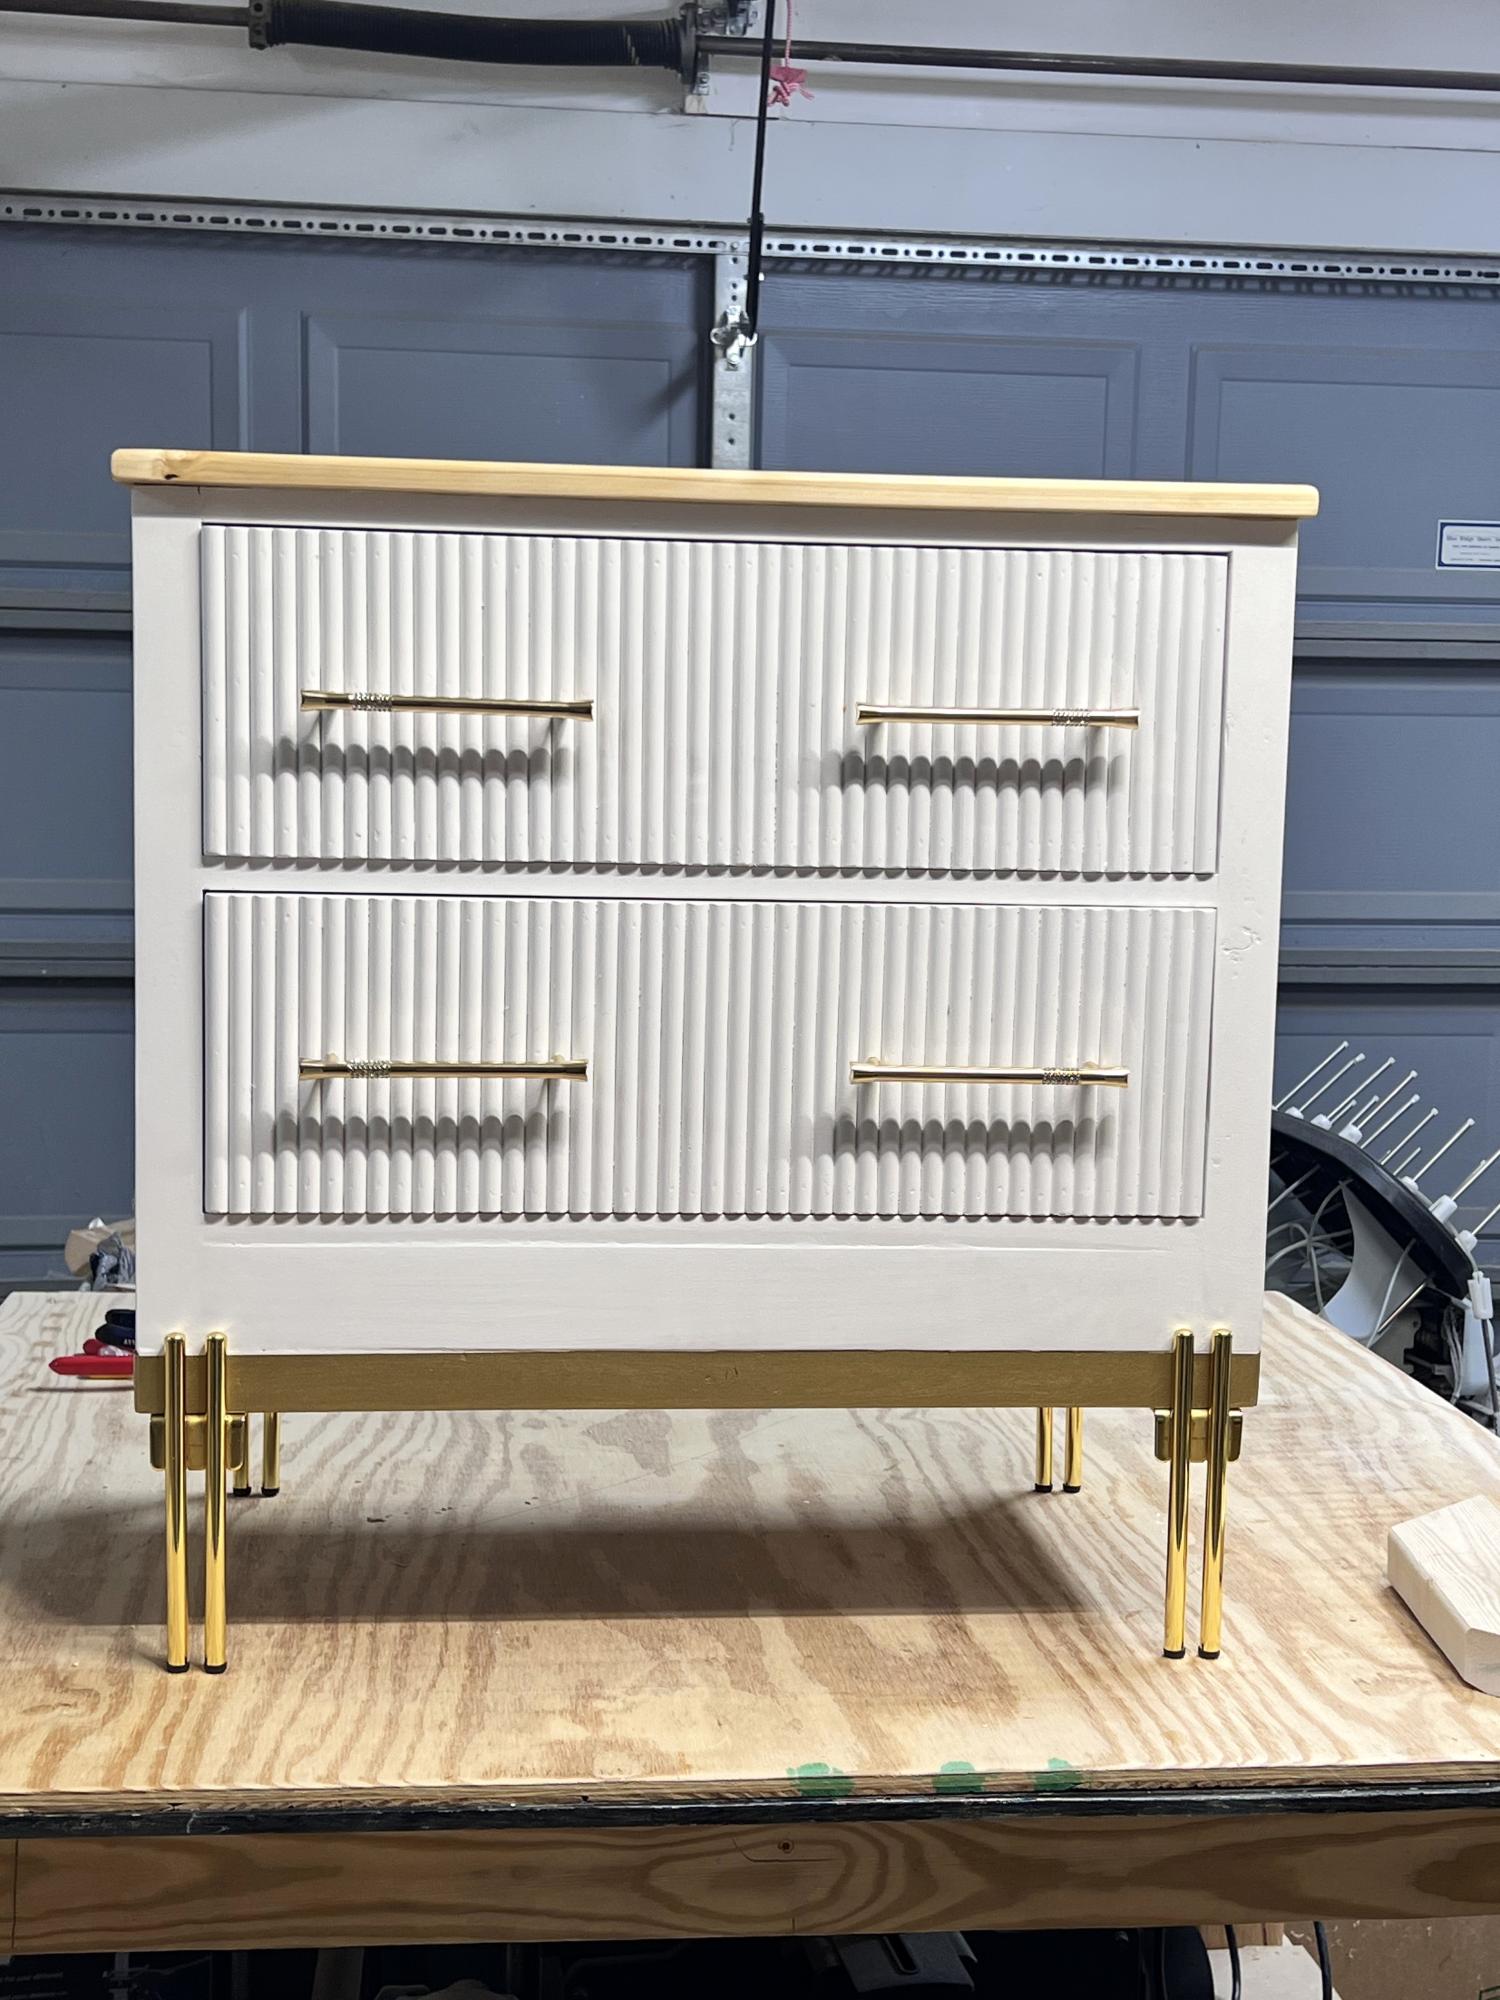
My husband and I made these for our grandchildren for their bedrooms at their new house. Same plan, just personalized each one.
Mandy B
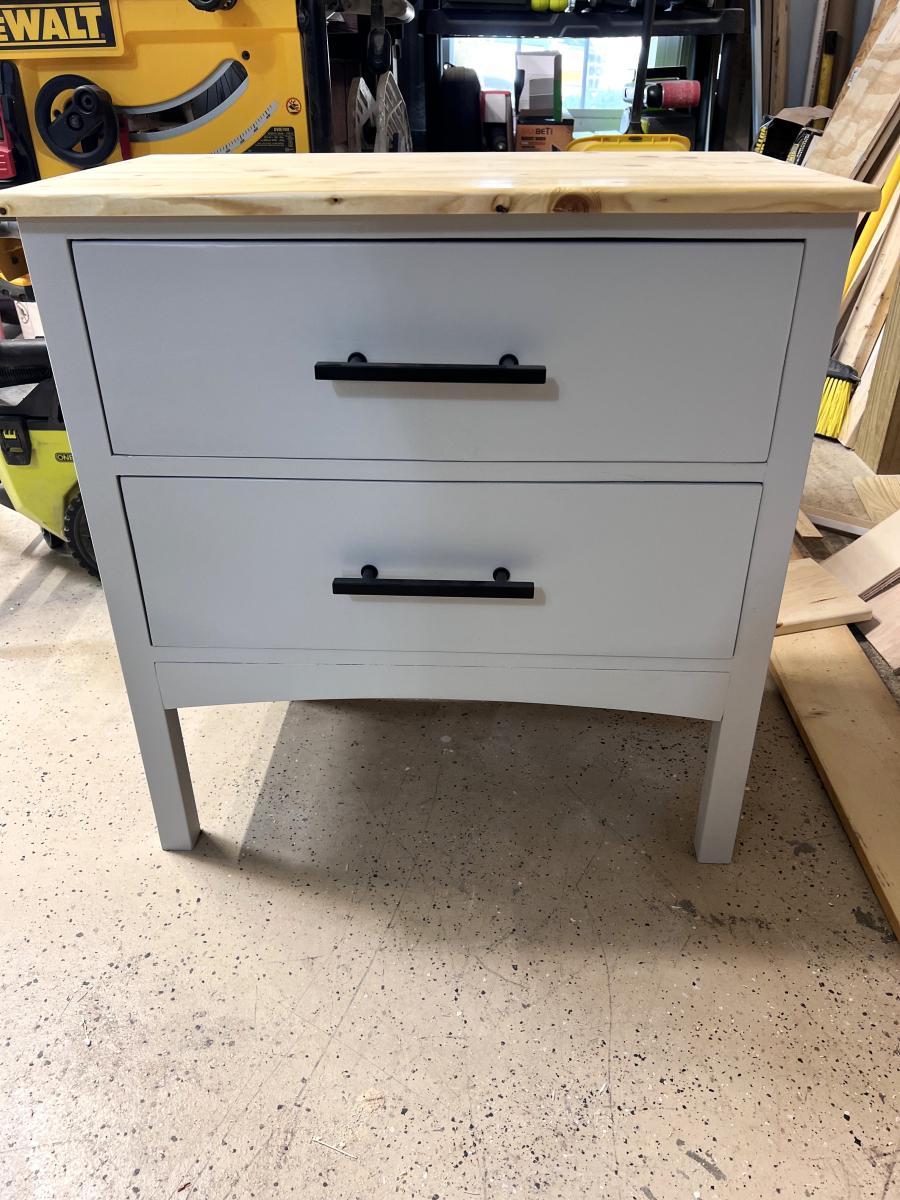
We started with a play table from Ikea, added a 1X3 lip around that and then built a train table top to the same dimensions as Thomas the Train tables, trimmed it with 1X2 and glue thin felt on the base. I built cleats uner the top to fit snuggley over the base table. The train top can be lifted off and the under table is perfect as a leggo table when my grandson is old enough for leggo.

Months ago while browsing online I stumbled across a cool coke bottle opener. I had no idea what I would do with it but I knew I had to have it! So after months of procrastination I finally decided it was time to use it.
I found a cheap esky at kmart and decided that I would be able to make an esky stand and use the coke bottle opener on it. So after a trip to Bunnings for some new timber I got to work. It only took about a week to get it done including staining it.
In reply to Love it by Drew N Heidi 07
Wed, 09/03/2014 - 08:00
Thank you so much. I had so much fun doing this build. Some builds can feel like they are dragging on a bit but this one was fun every step of the way.
I am one of 11 children. My parents purchased a new home this summer that had a huge dining room. I new exactly what I wanted to do for them for Christmas. I collaborated with several of my brothers to build them the tables and benches. I used sketchup to modify the design and then to create a cutlist. My brothers and I worked on the project over several weeks as time permitted. The results are 2 tables that measure 14'4" long and 44 inches wide and benches to match. All the material was purchased at Menards.

Our daughter has been asking us to build her a bed for months now. When eLearning became a reality for our household, we knew it was time to get to work. We usually do two to three big DIY projects a year, and have built from many of Ana White's plans. We often refer our the time together DIYing as "couples therapy".
We used Ana's plans for the Loft Bed and included the tall bookcase and desk system, with a few of our own modifiations and personal touches, such as:
- elimated the plywood backing on the bottom shelves of the tall bookcase
- only used one (1) bookshelf for desk system
- used toungue and groove paneling for back of small bookshelf, adding it to the sides as well
- made the desktop 19" wide
- added a framed magnet board
- added a sliding keyboard tray


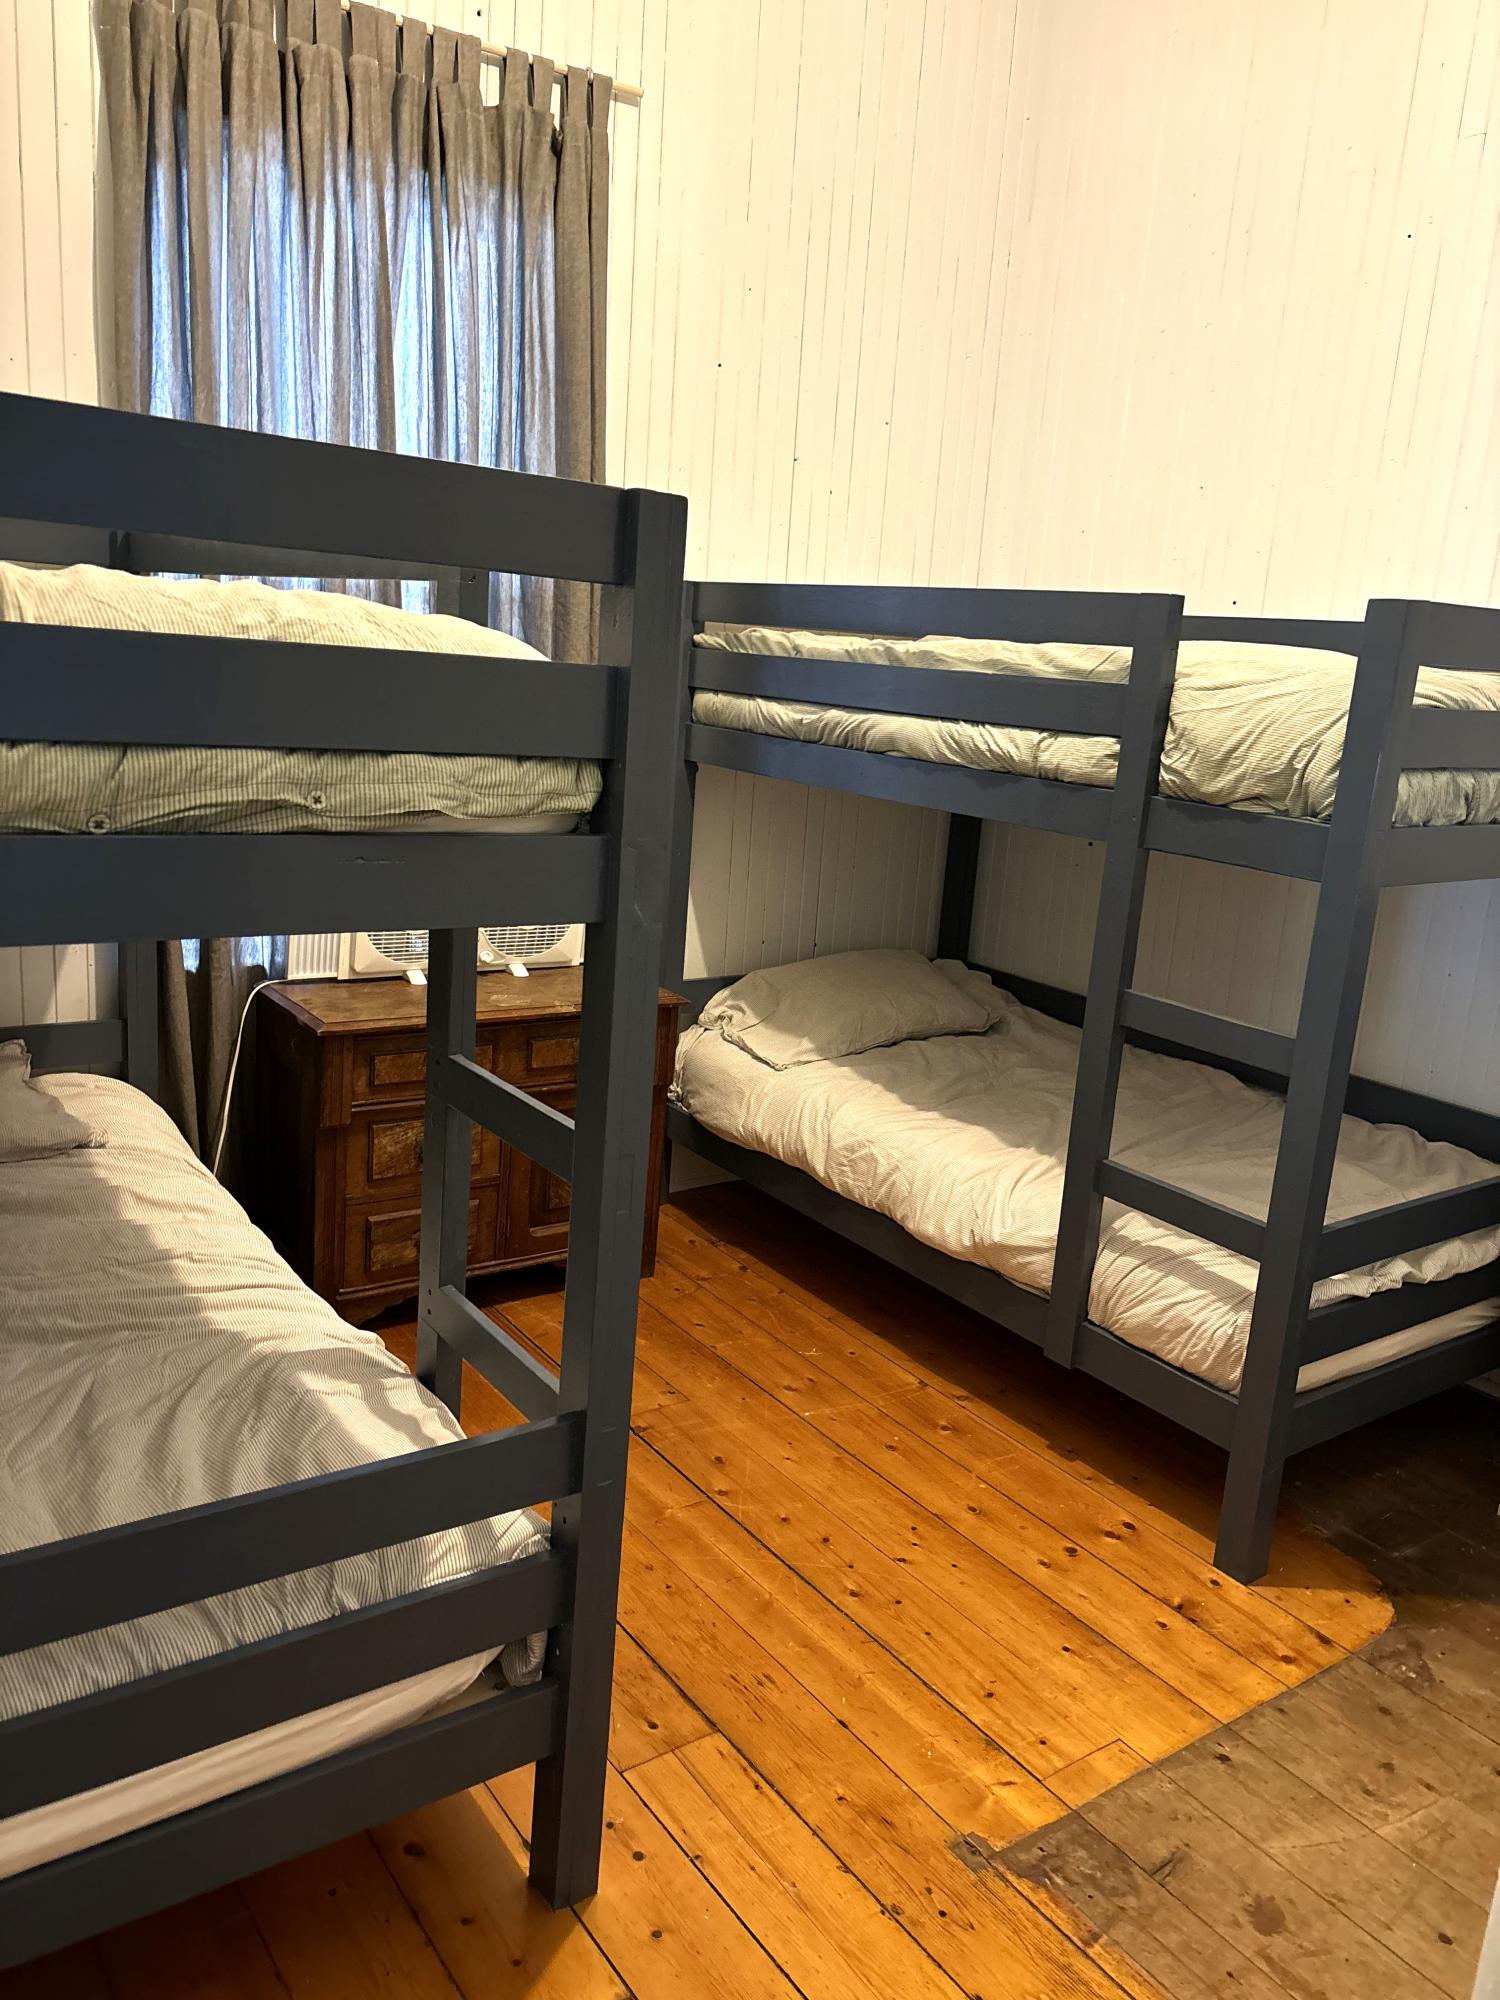
Old bunk beds were only ¾ width and dark brown. So the room was dingy. Really like how these turned out. I painted the underside of the top bunk white to keep it lighter. Thanks for the plans!
Karen
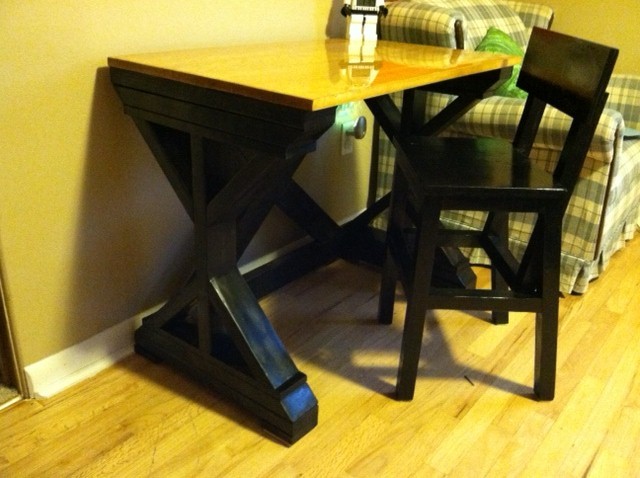
this is a much smaller version of the $55 Fancy "x" Desk. We did not have the space for the larger version and my son liked that one best, so this is as close as I could come. I also made him the Higher Chair. He is six and very tall with it, but a standard height table and chair still make him sit low enough that writing and working on projects can be troublesome. He loves this, and we had fun working on it together.
Mon, 11/12/2012 - 12:31
Sorry for the yellow and blurry photo, had to take with my phone!
Fri, 11/16/2012 - 14:10
I have this in my to do list and like you I want a shorter version. I was wonder how long you built yours?
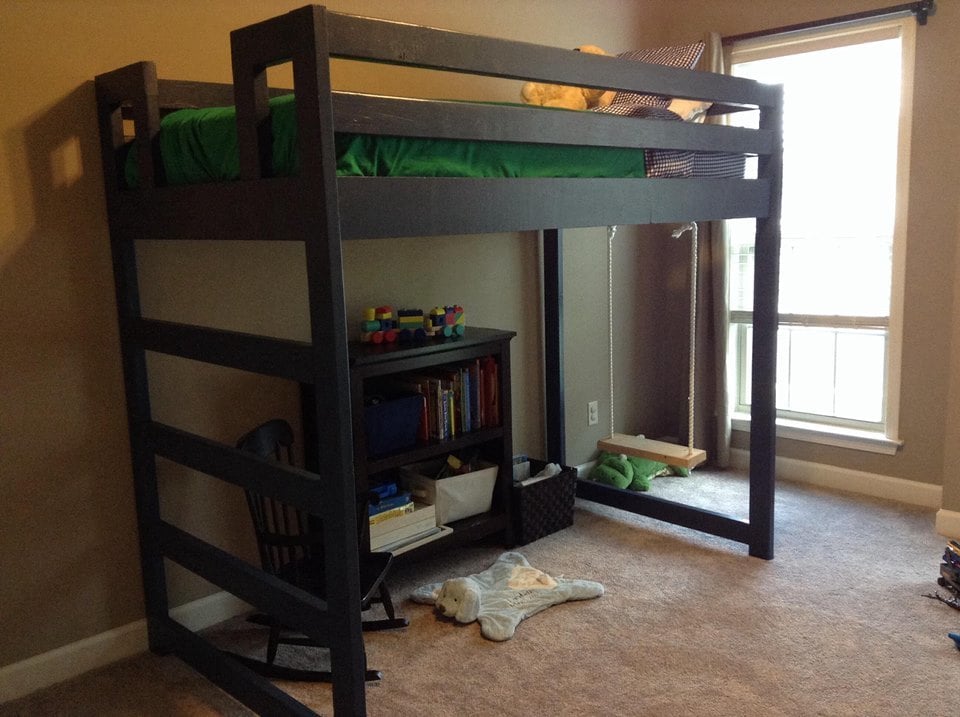
My little boy asked for a "big boy bed with a ladder", and we wanted to make good use of space in his room, so I built this loft bed. I continued the 2x4's down one side instead of adding stairs, and raised the height of the bed a bit. I added space in the middle of the ladder section for him to have room to climb in safely. I also added a rope swing on the bottom, where he now spends much of his days looking out his window.
Awesome plans for the farmhouse table. Very easy to follow and the pictures were very helpful. It took longer due to my schedule but the top took about four day to poly. The bench is also from Ana White.
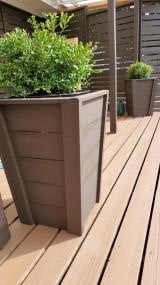
Very easy fun build. I laid out the fence boards and marked the 5 degree angle but cut them with a miter saw as I was not confident to use the hand saw. Also numbered each section to easily put the sections back together. Miter saw was set to 5 degree angle also. I initially built with 7 boards and then took off two of them as it was really tall.
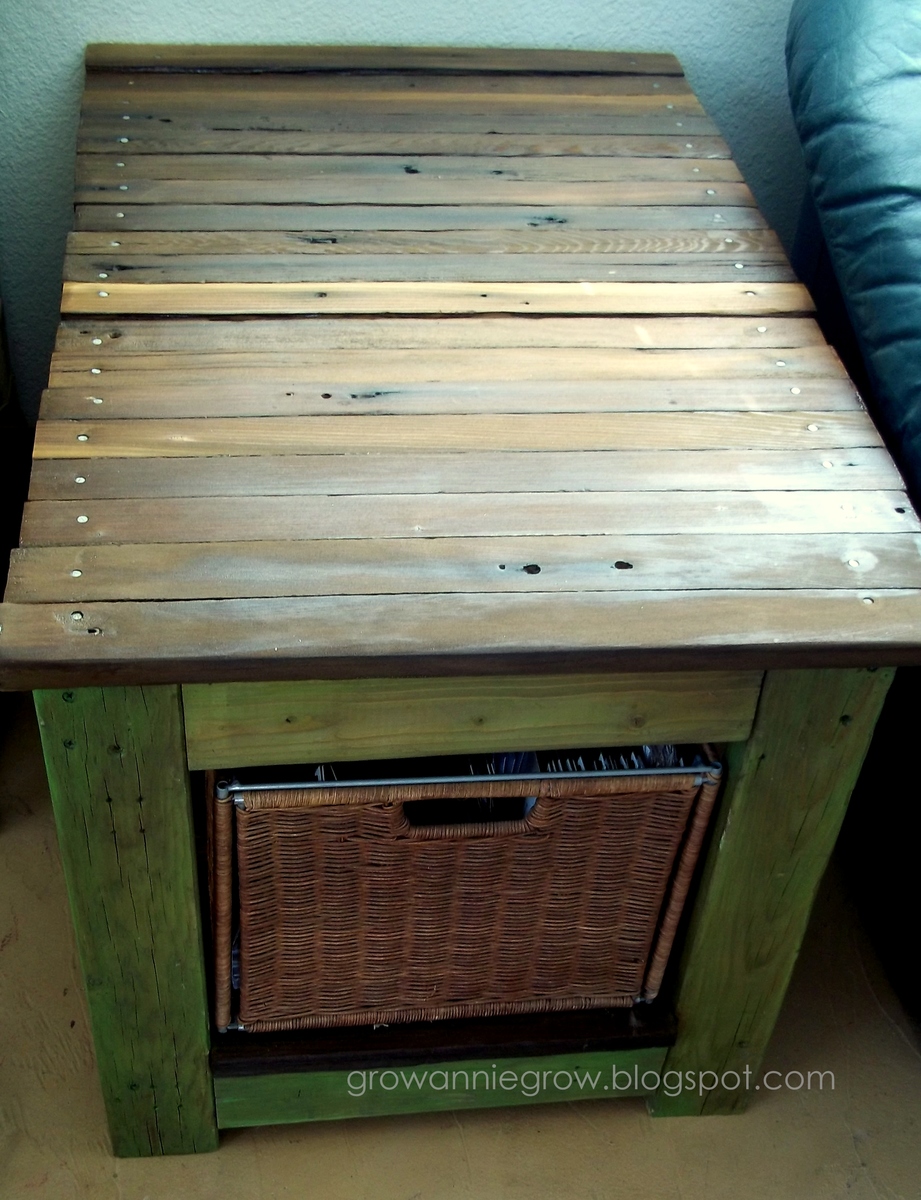
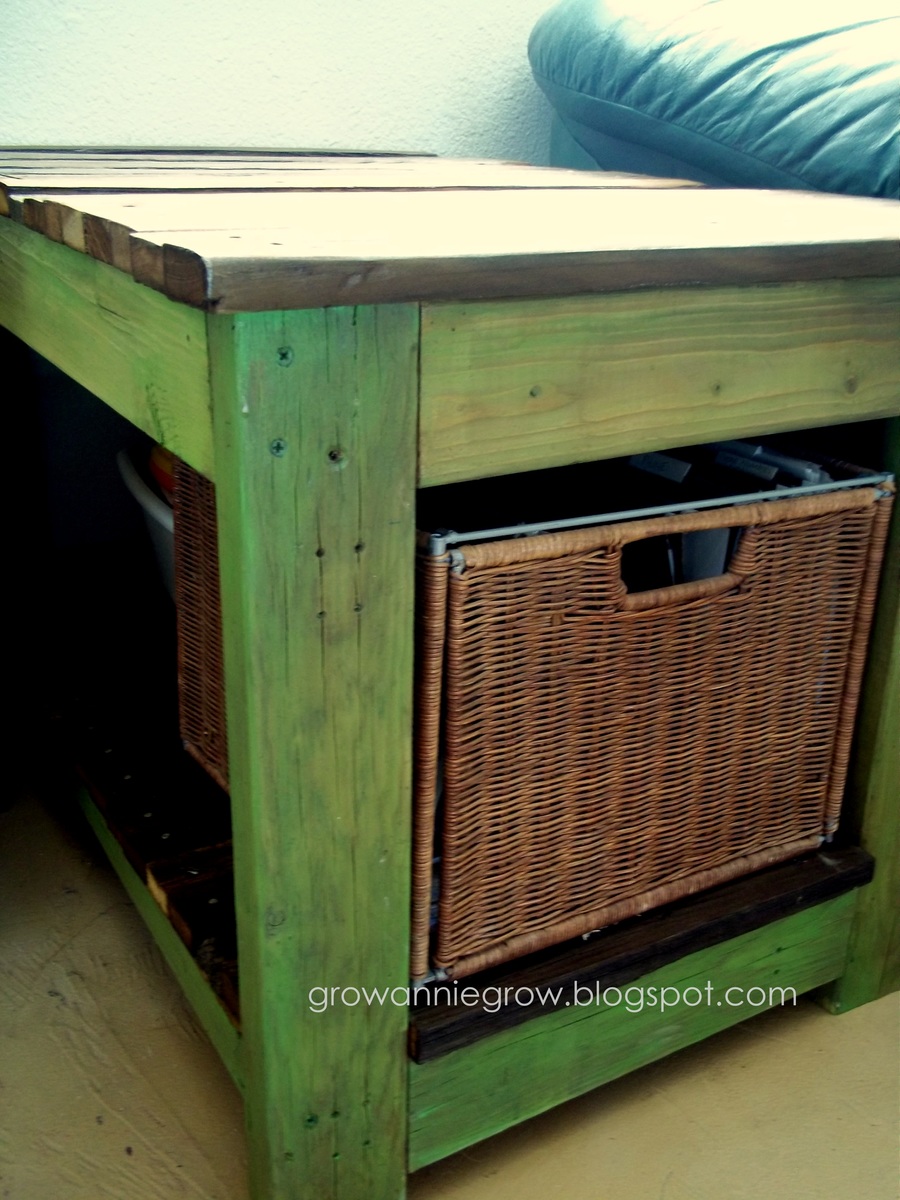
I wanted a table that would double as a file cabinet of sorts - so I made this end table with an opening big enough for my file box and the right height for my couch.
The top of the table and the lower shelf and made from pickets from a picket fence that was taken down and the rest was from leftover 2 x 4 s from other projects around our fixer-upper.
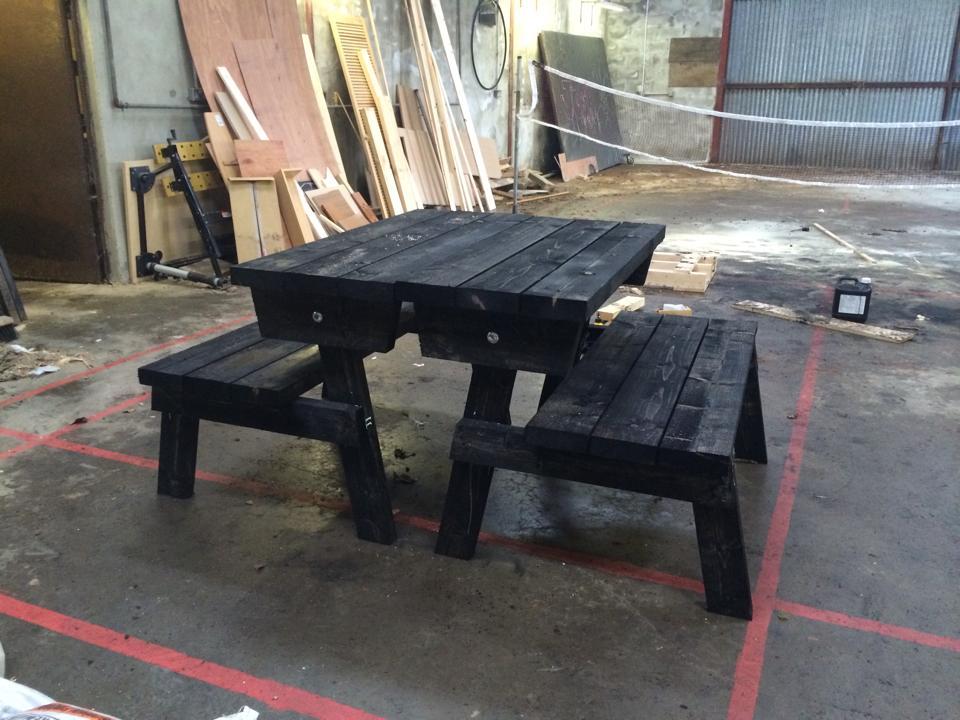
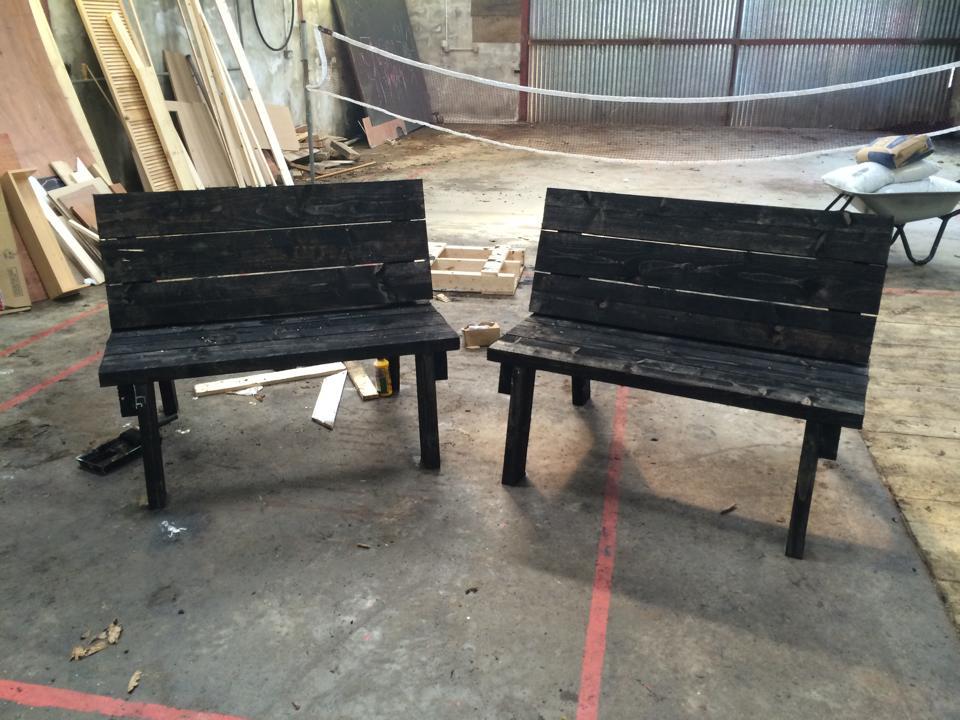
Picnic Table that Converts to Benches
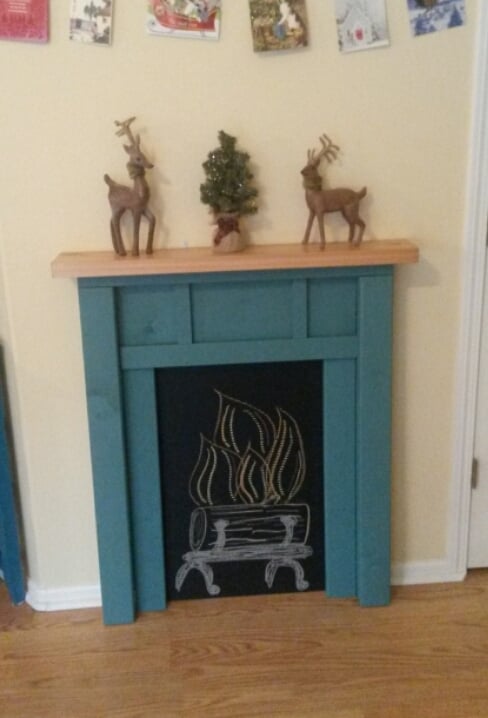
After living in a house with a fireplace for 7 years, we recently moved to a house without one. When unpacking the Christmas box, our boys asked where we would hang our stockings this year and that got me thinking about how much I'd like a mantle for the holidays. After searching online, I found Ana's plan (of course she has one!) and scaled it down to fit the one small open wall in our living room. I didn't trust myself to cut an even arch, so I used an idea from another brag post and added architectural elements with leftover 1x2 & 1x3 to a 1x10 (which was a better size for our scaled down version) Lastly, I knew I wanted a chalkboard backing, but having no scrap plywood, I covered a large piece of cardboard with chalkboard contact paper and tacked it on the back before installing. Super happy with how it turned out and look forward to using it for many years to come!