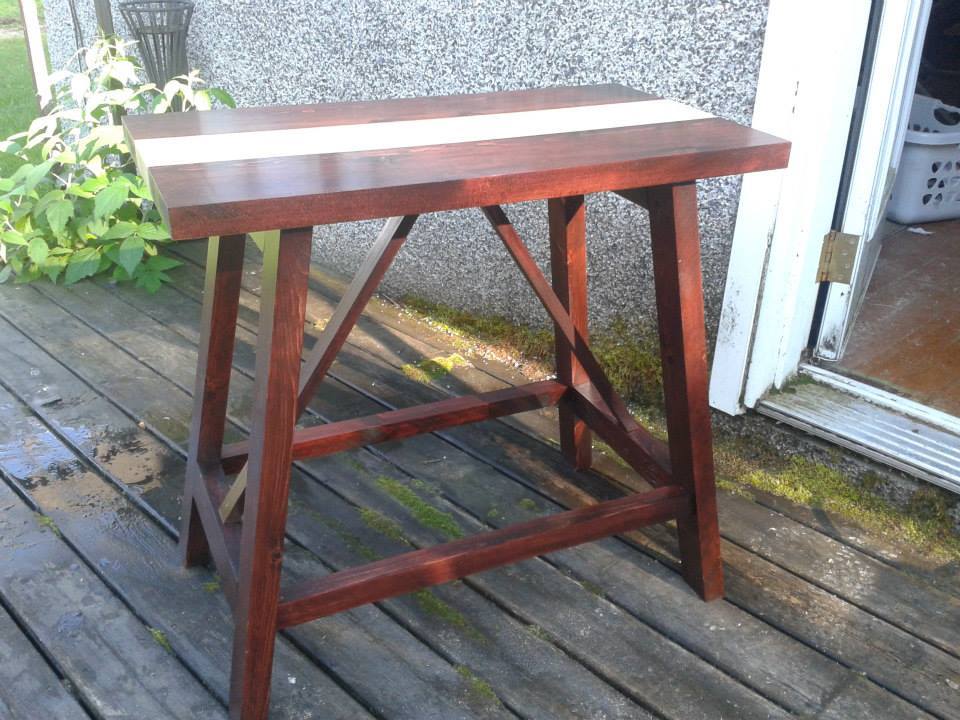
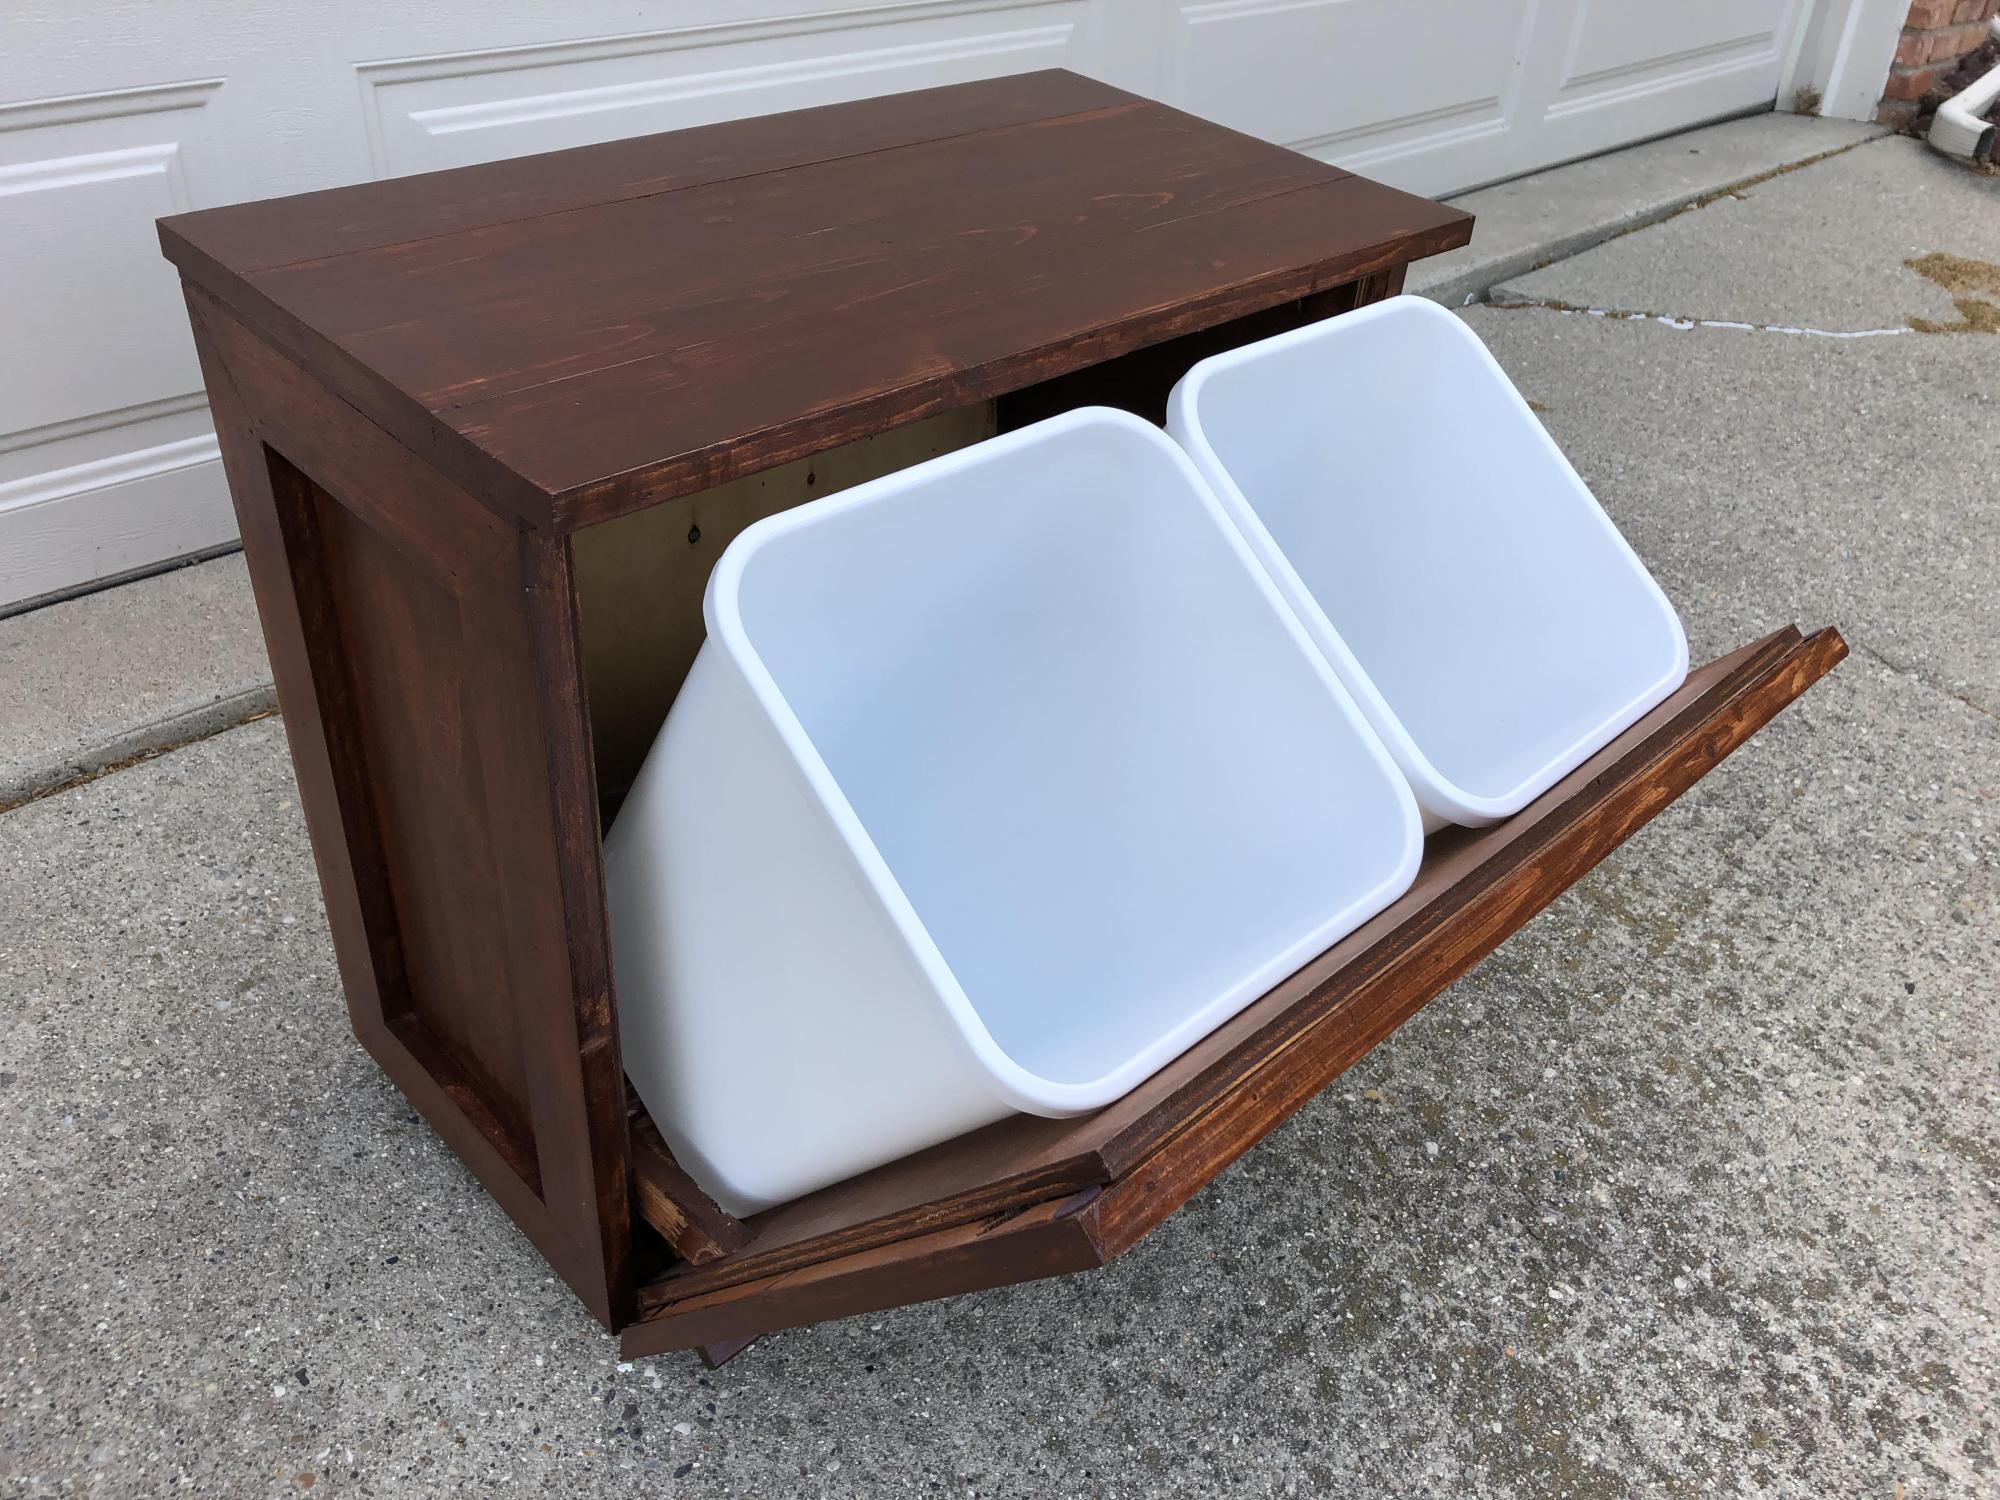
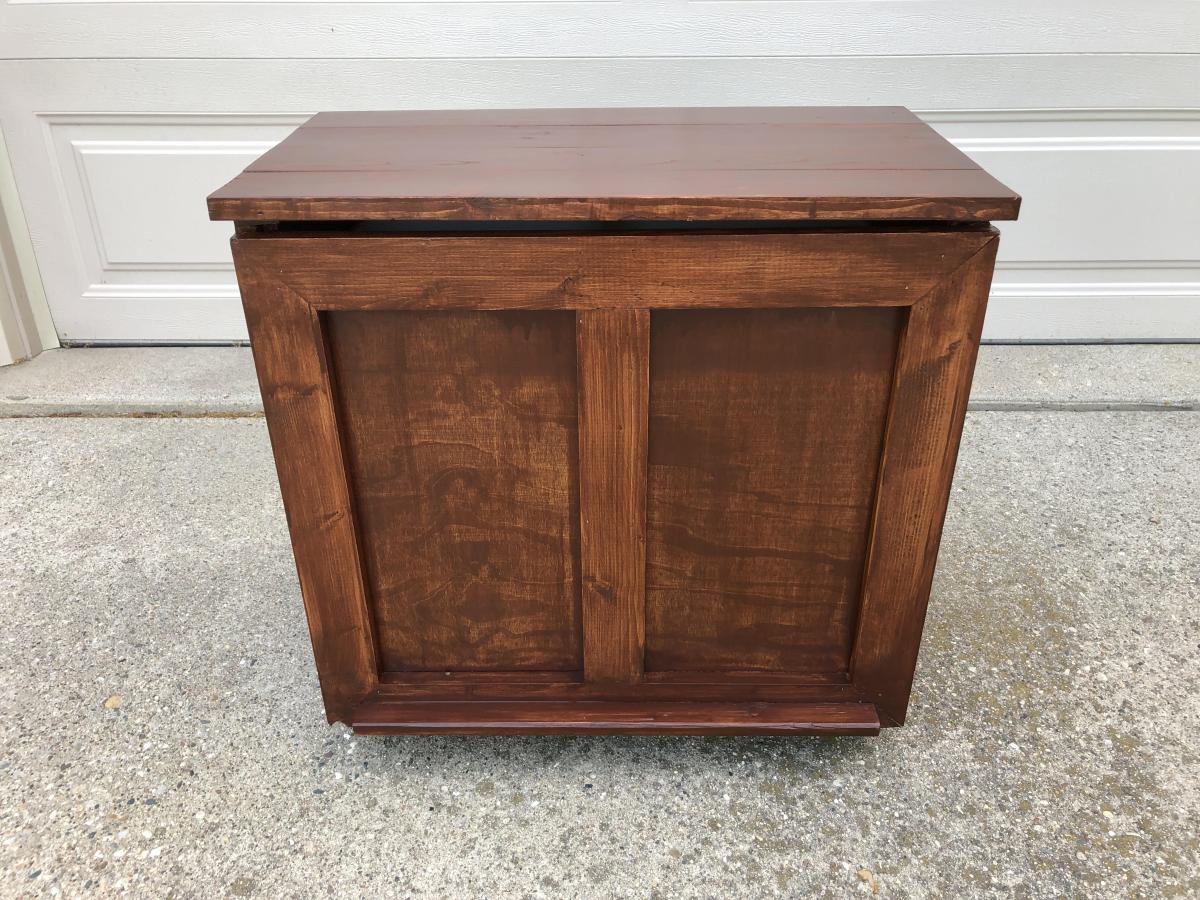
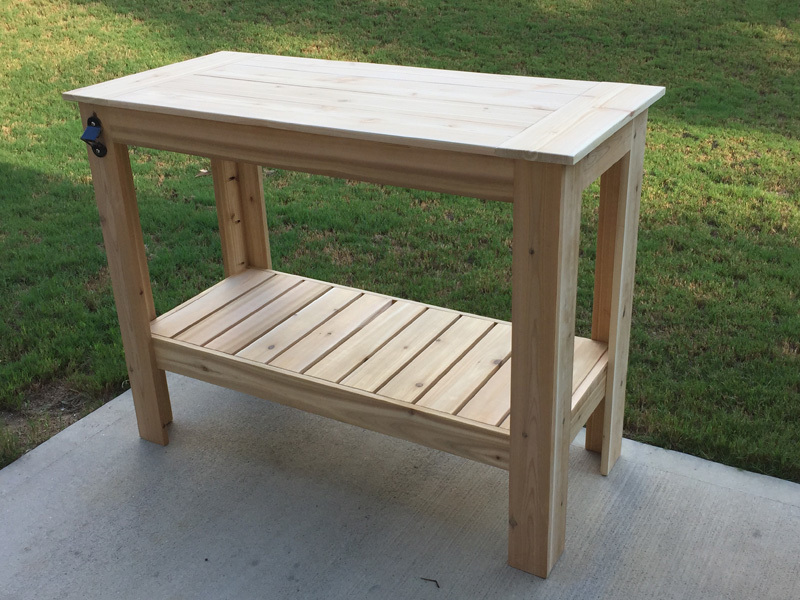
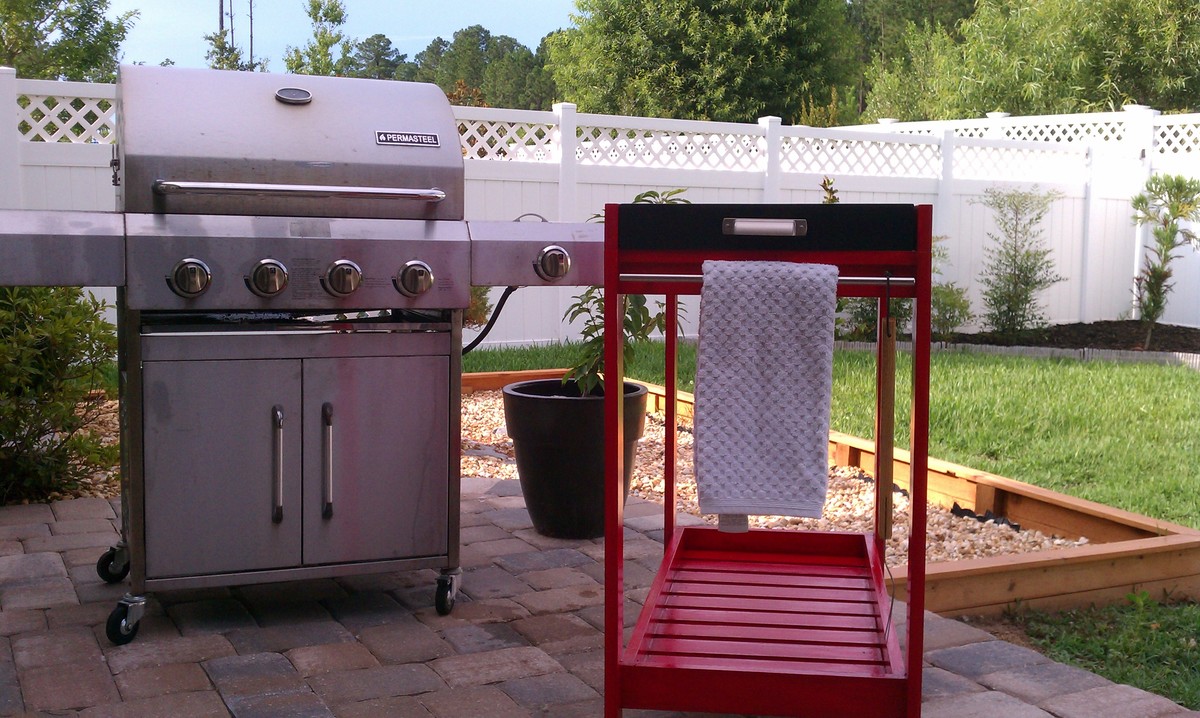
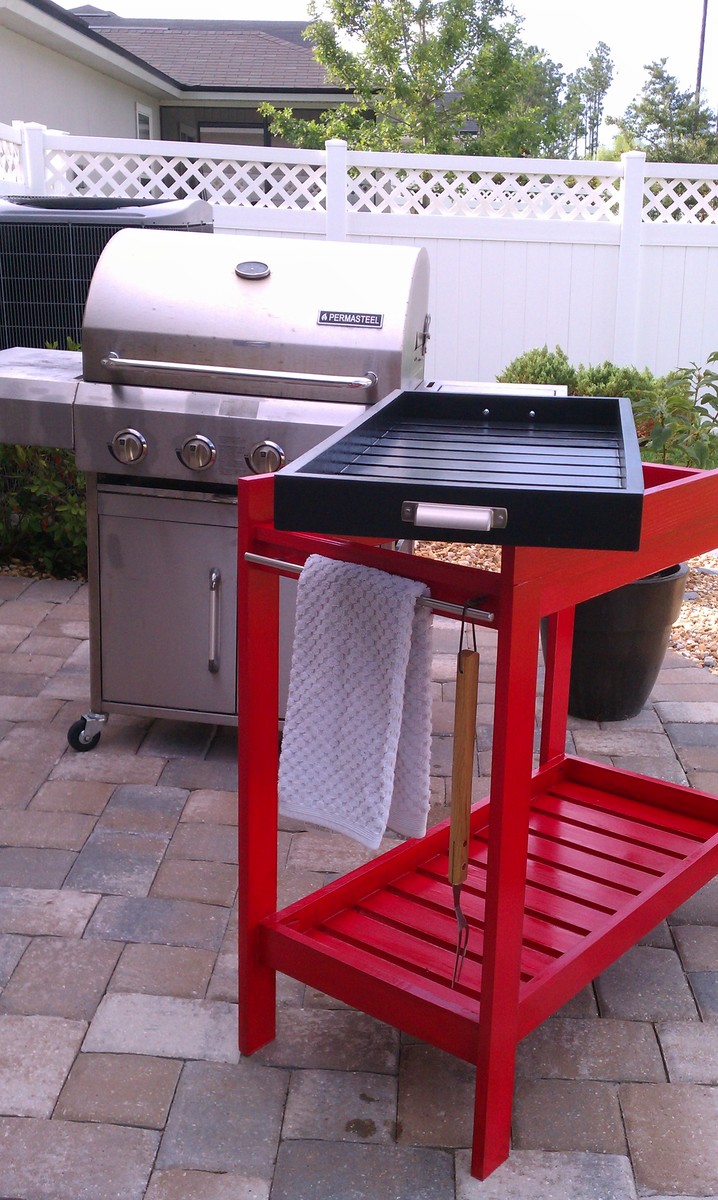
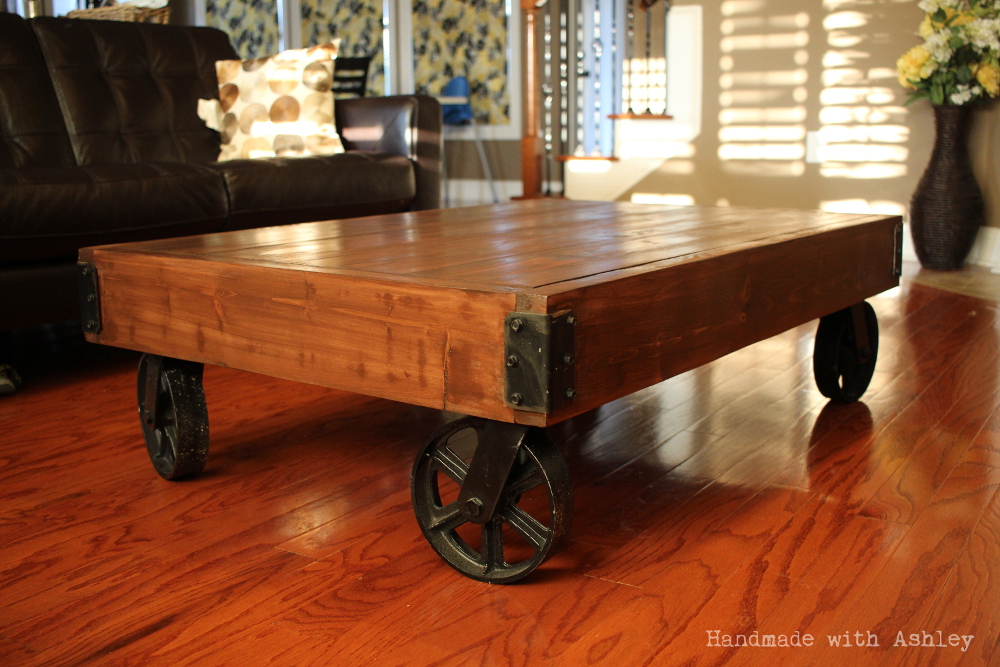
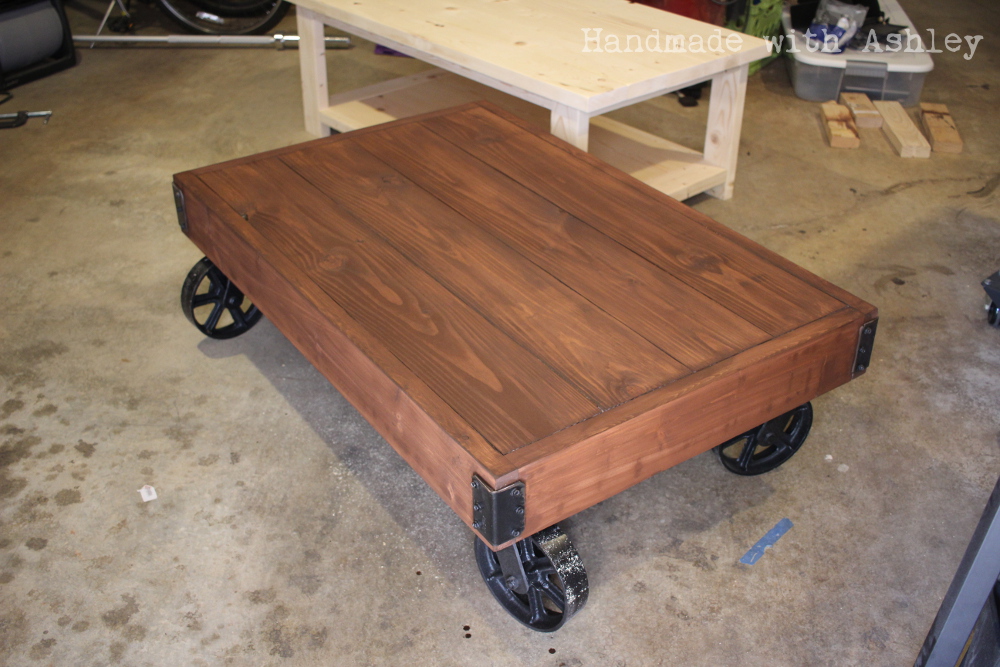
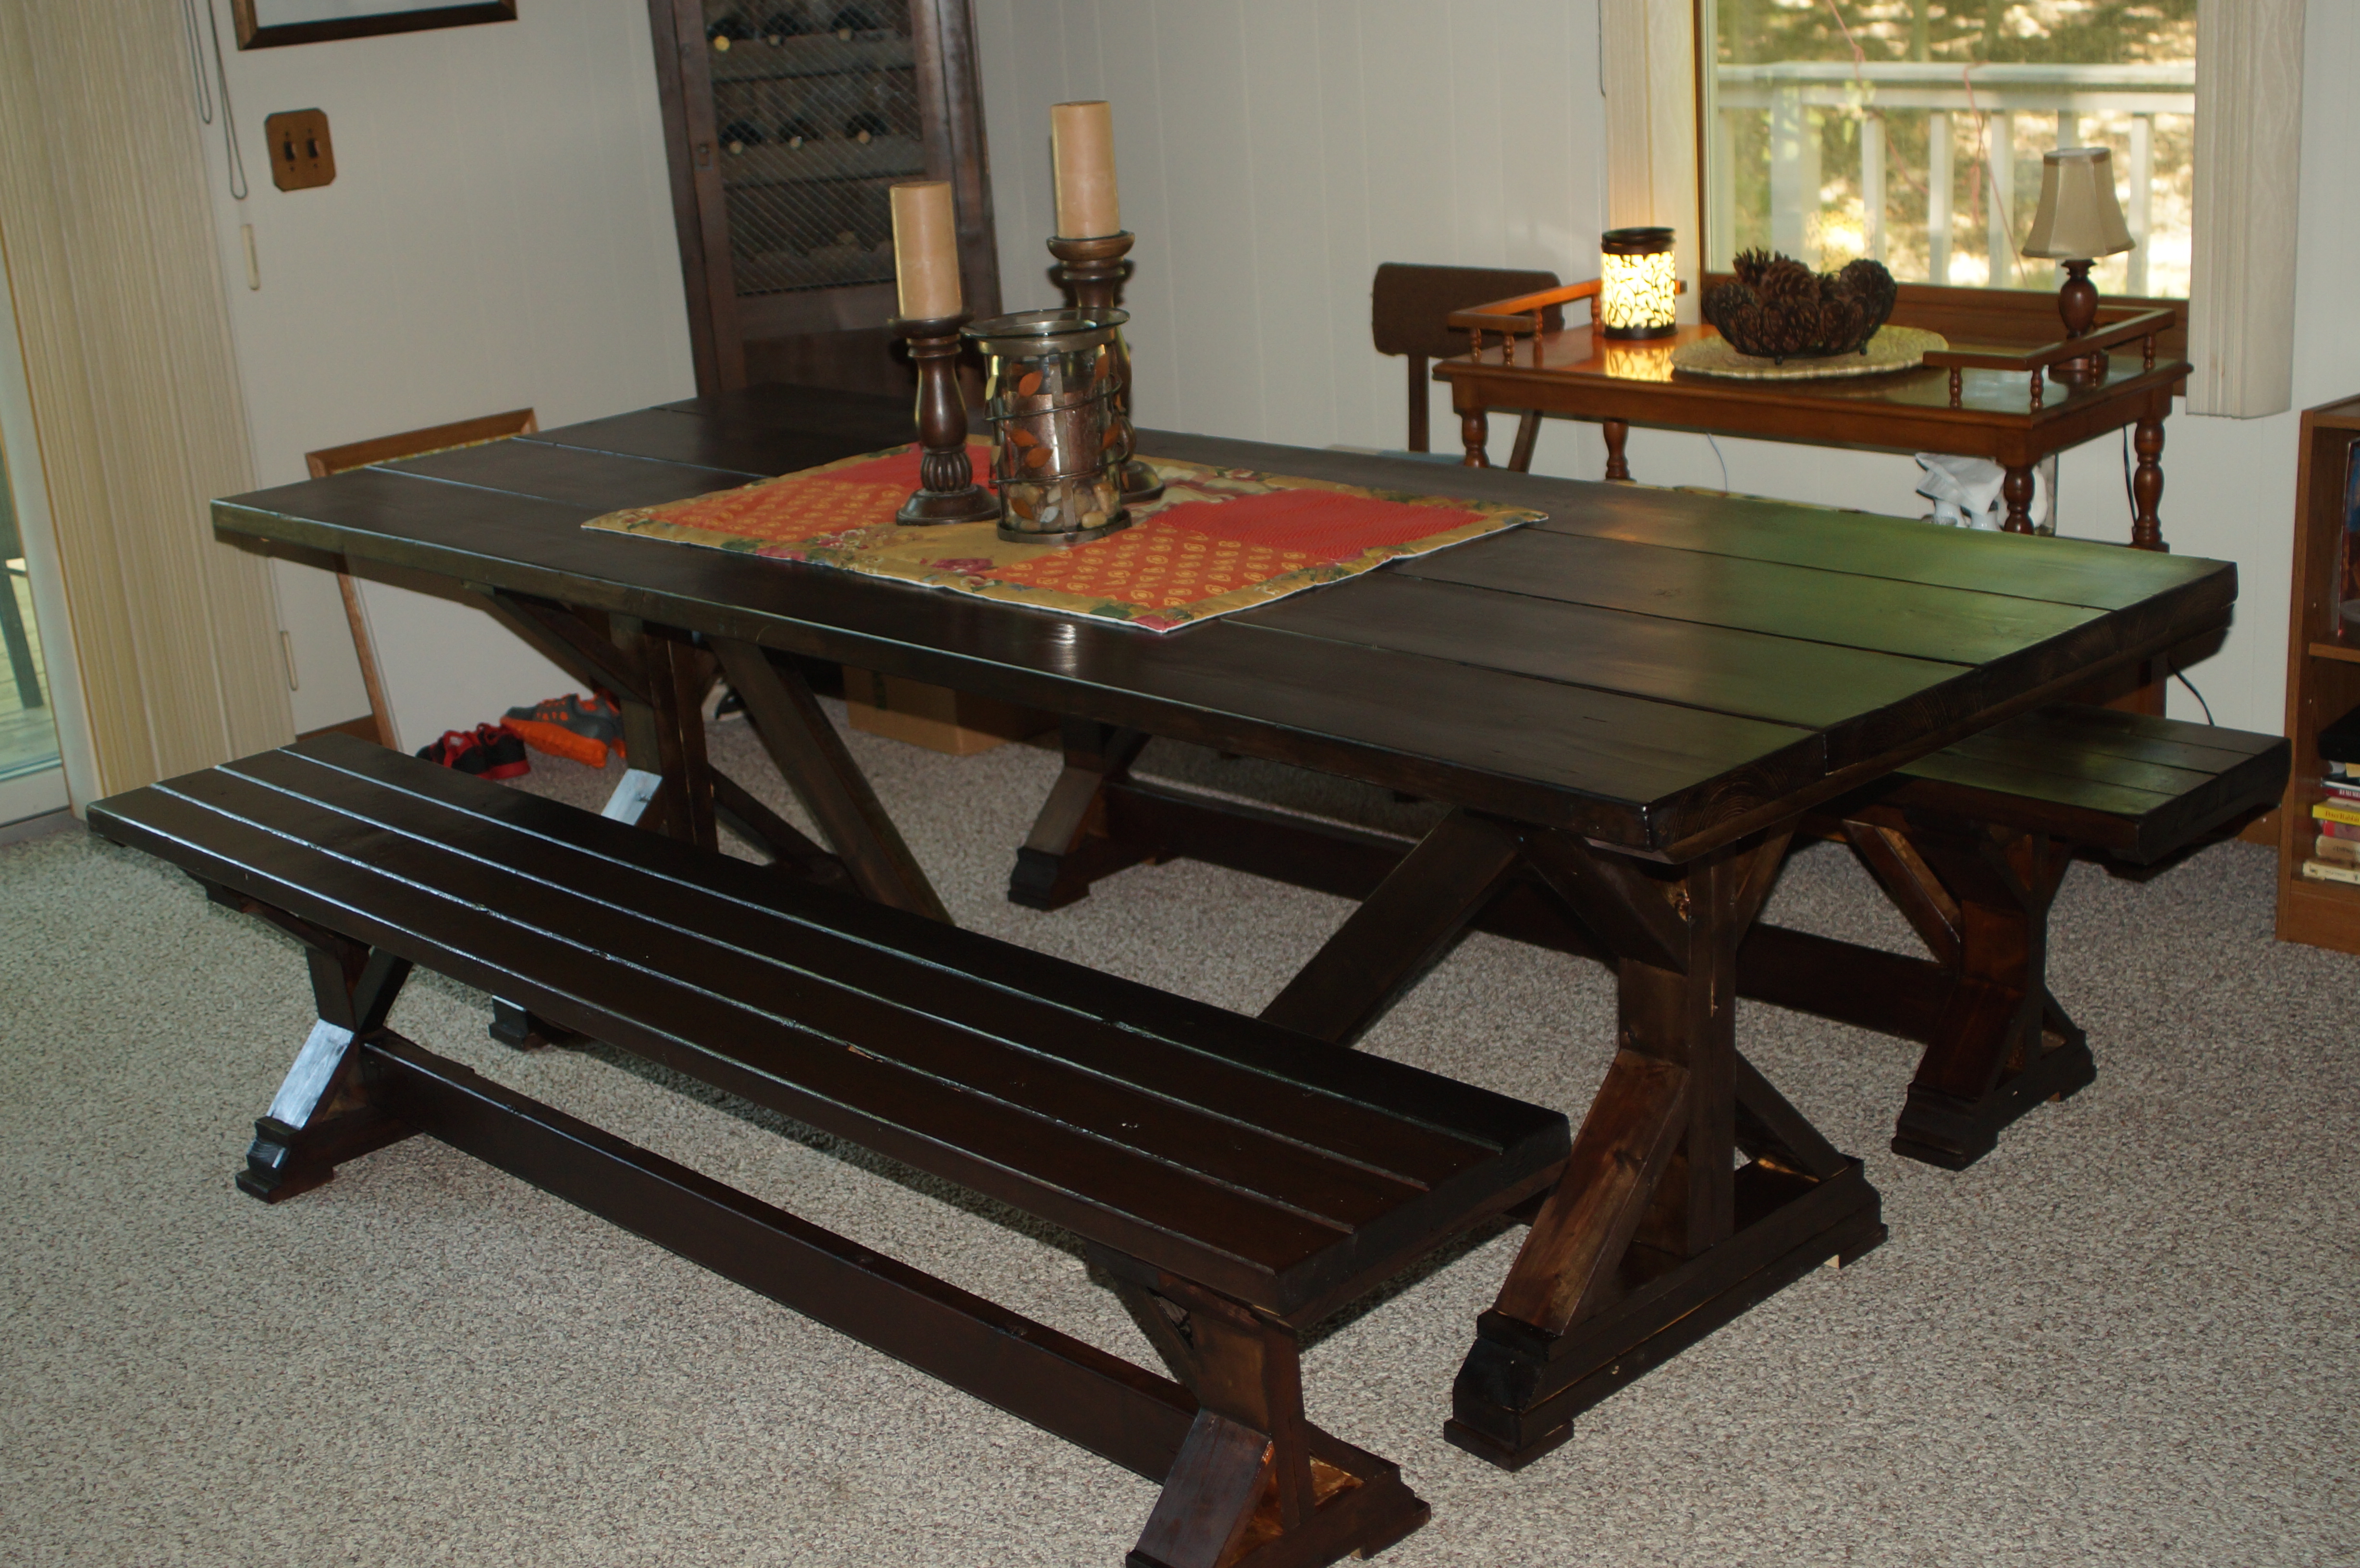
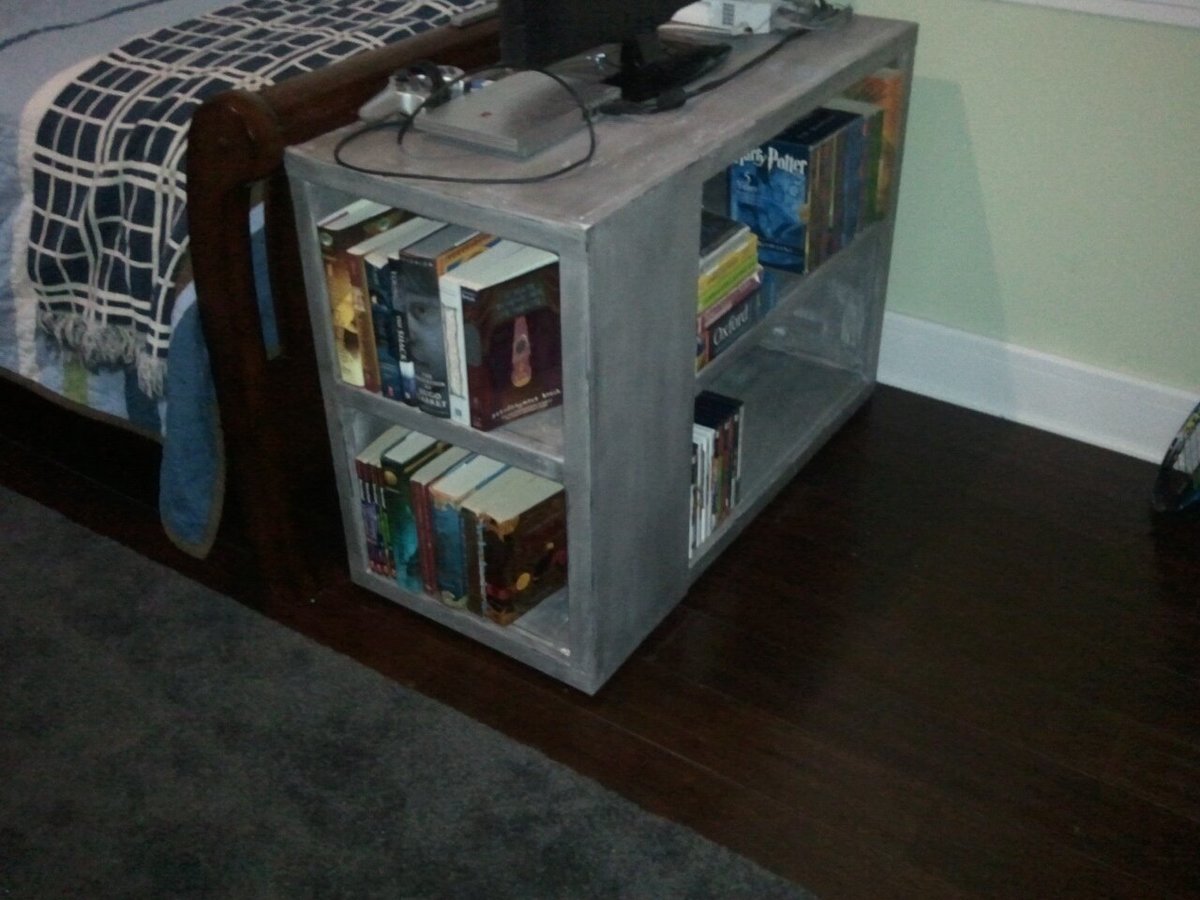
Ok, so I built this table for my Brother. He just purchased a new BBQ and I noticed he didn't have anywhere for staging his food. I was going to just build a table, but then I saw this rolling cart w/ removable tray. I thought it was a great idea. He can bring the tray inside, load it up with food and supplies, bring it to the grill, and then bring it to the table if he so desires. I made a few changes from the original . The biggest changes were that I did not put handles on it nor did I make it a rolling cart. The main reason was.....well....i just didn't feel like it. HaHa
If he decides he wants it to roll, it's a pretty easy fix to take care of that for him. Me personally, I just liked it as a stationary table. And since I built it, I can pretty much do what I want. (insert laugh) I also added an extra handle to one side of the cart. It can be used for a towel, BBQ tools, etc.
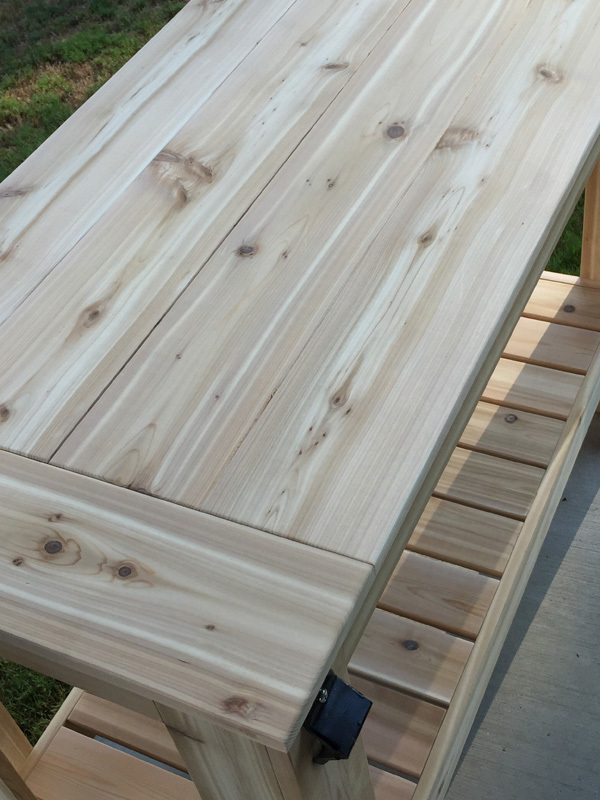
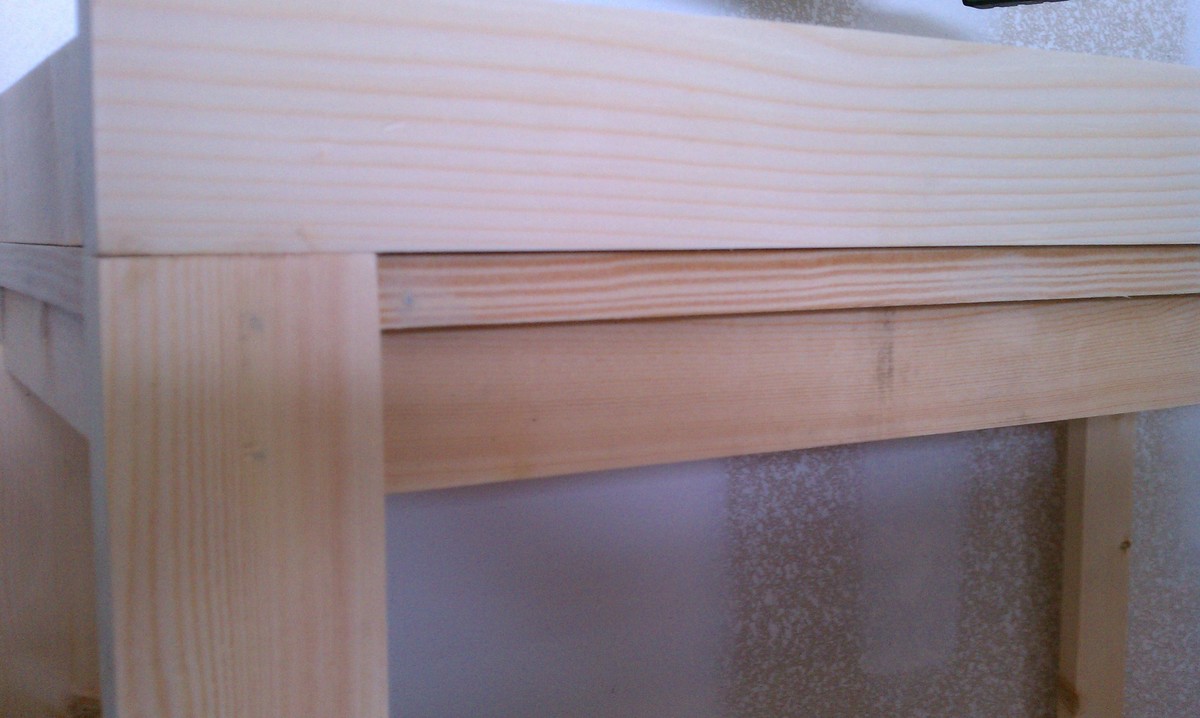
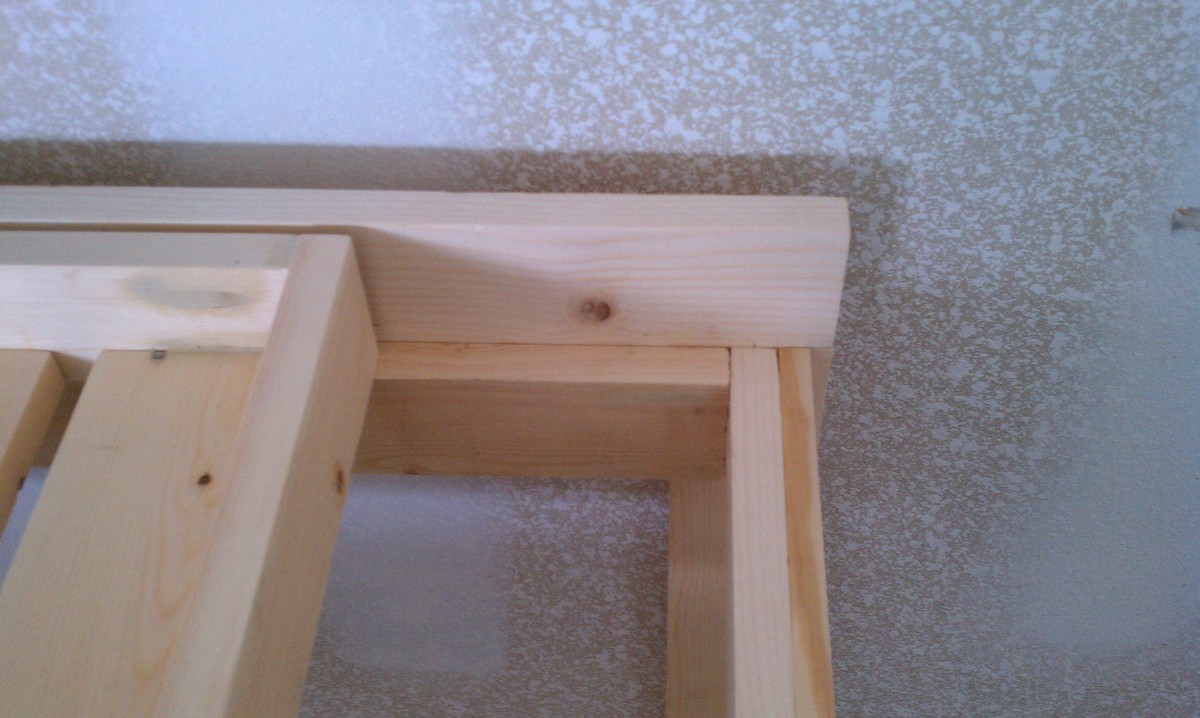
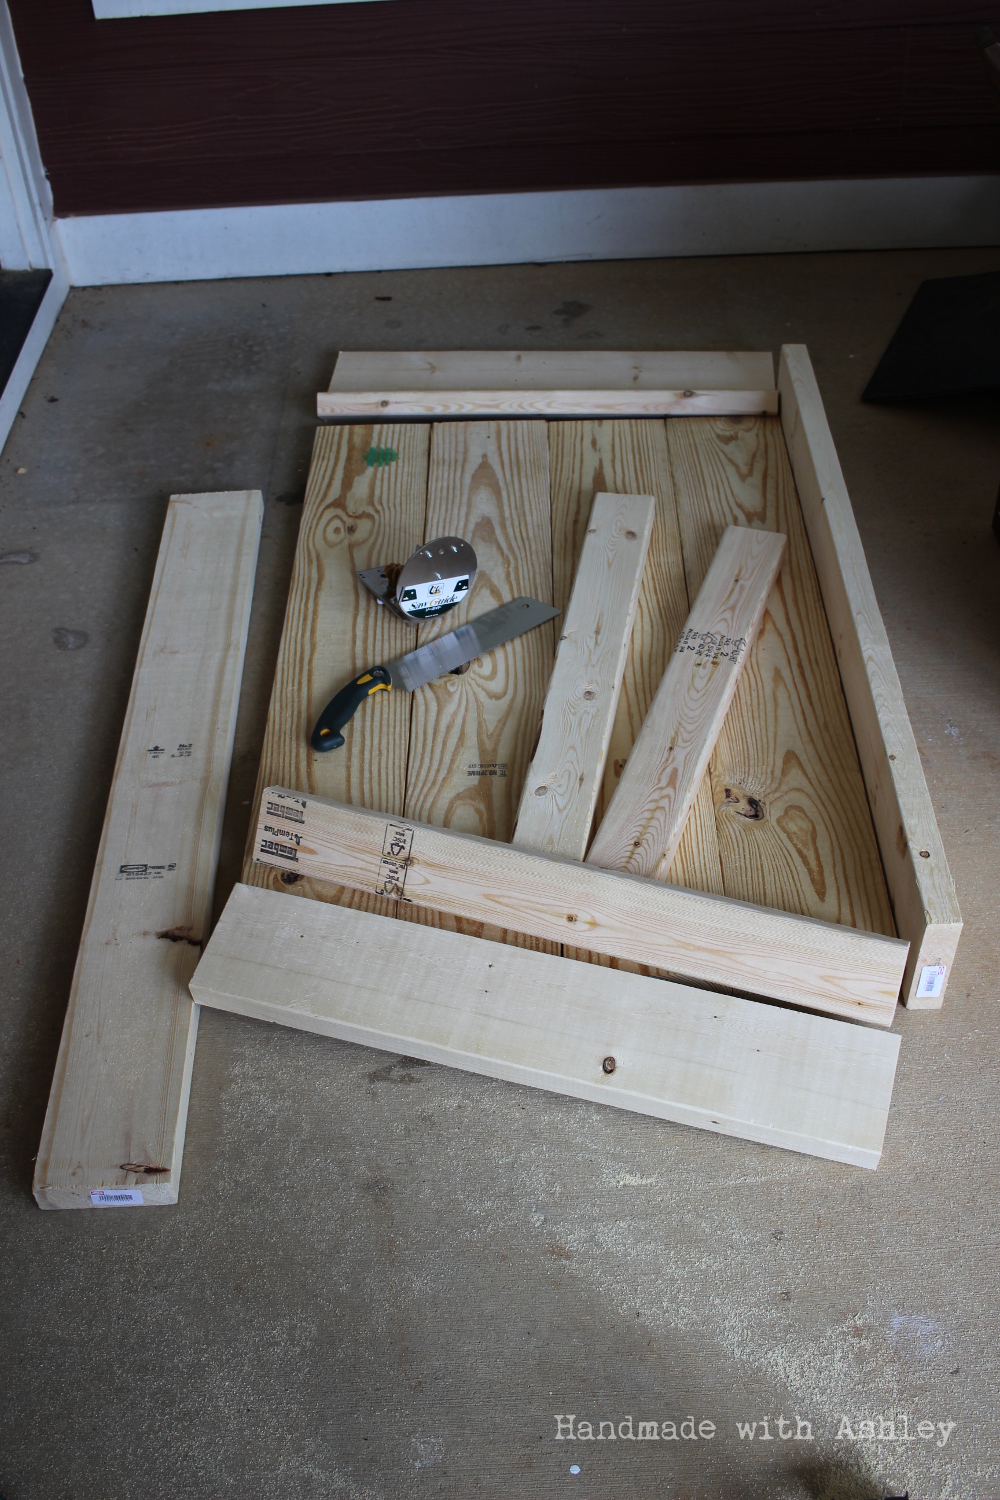
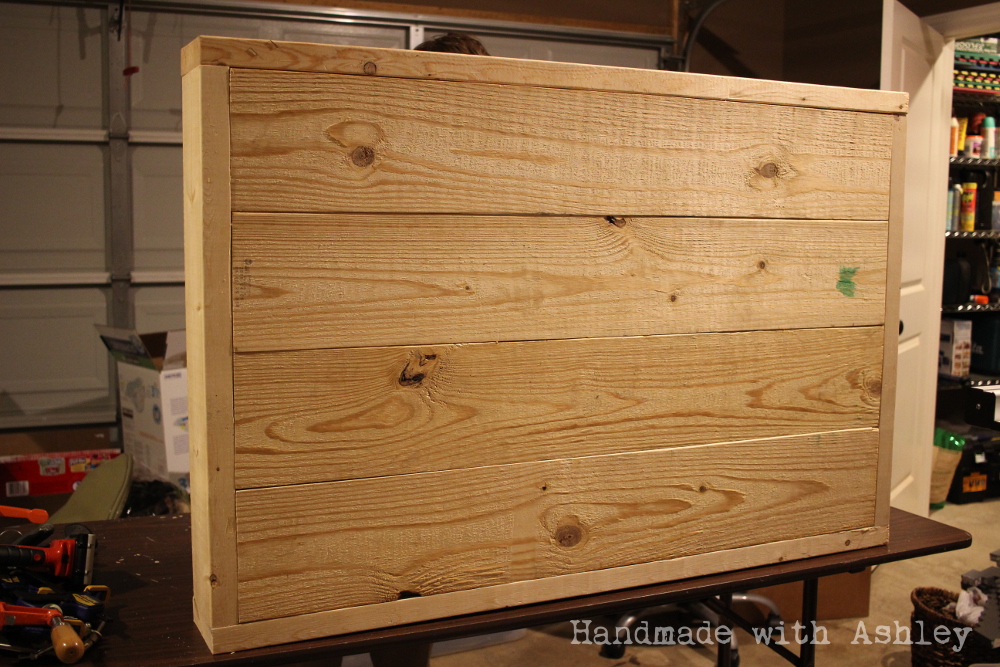
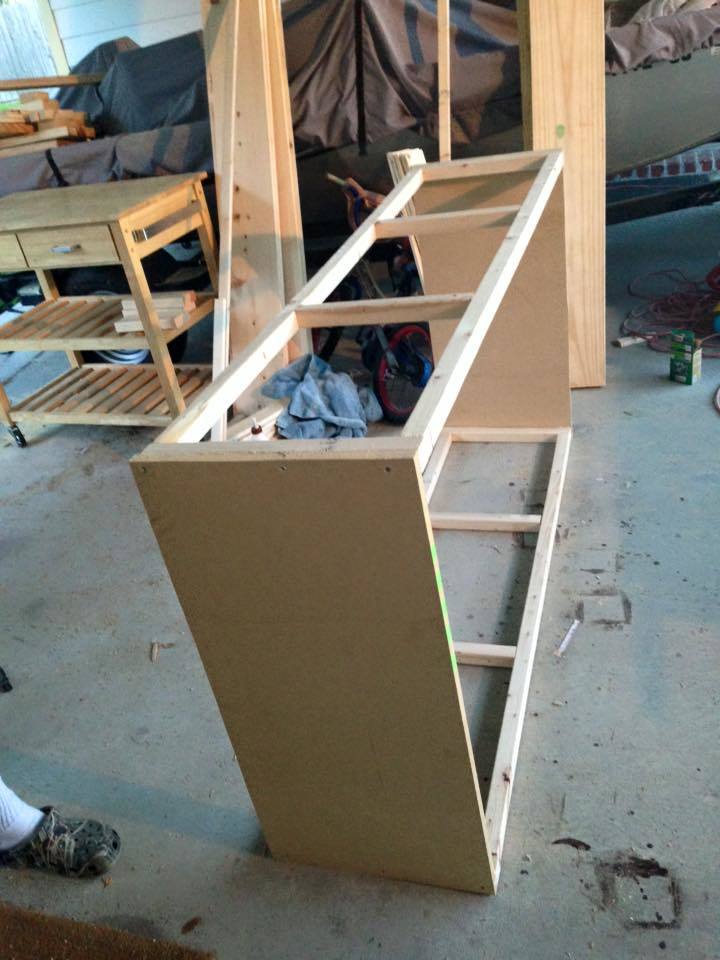
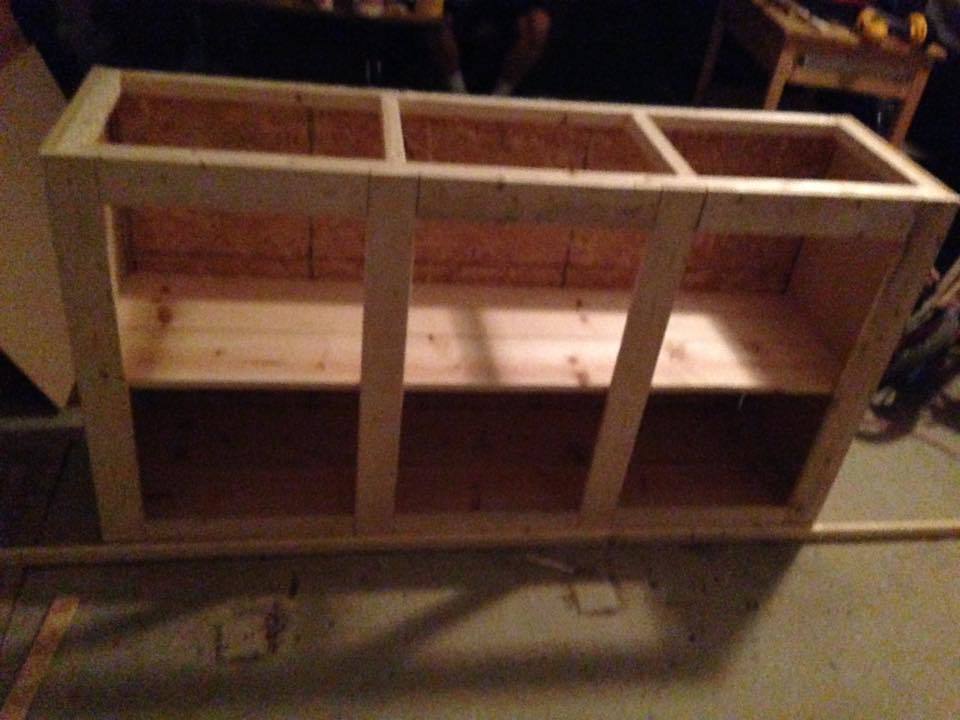
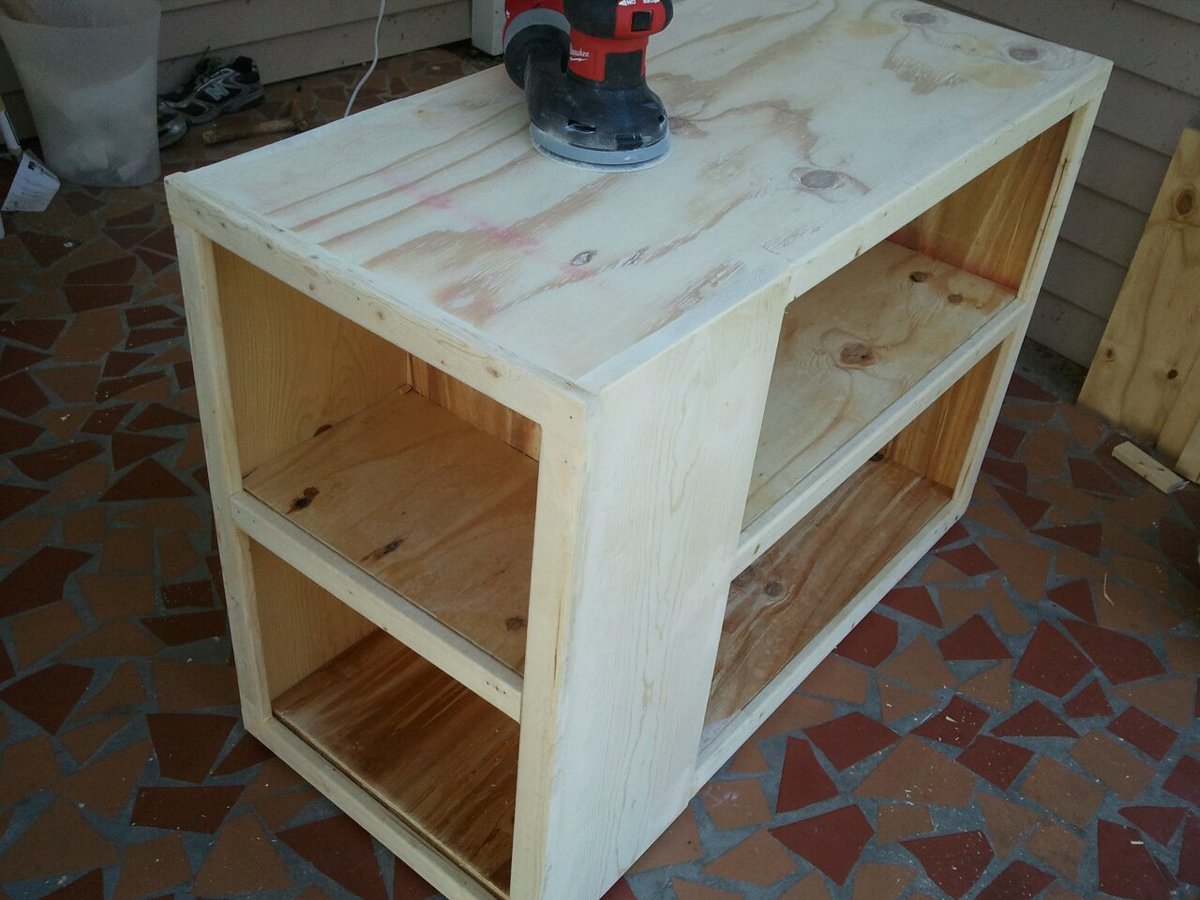
I did add extra side supports and added some additional trim to the side to take up some gaps. This aided in added strength and prevented the top tray from falling through the top. I noticed with the original plan that the tray only sat on the end pieces and there was nothing preventing it from falling right on through. Either that or I built it wrong. Either way it was an easy fix and I like the way it looks afterwards too.
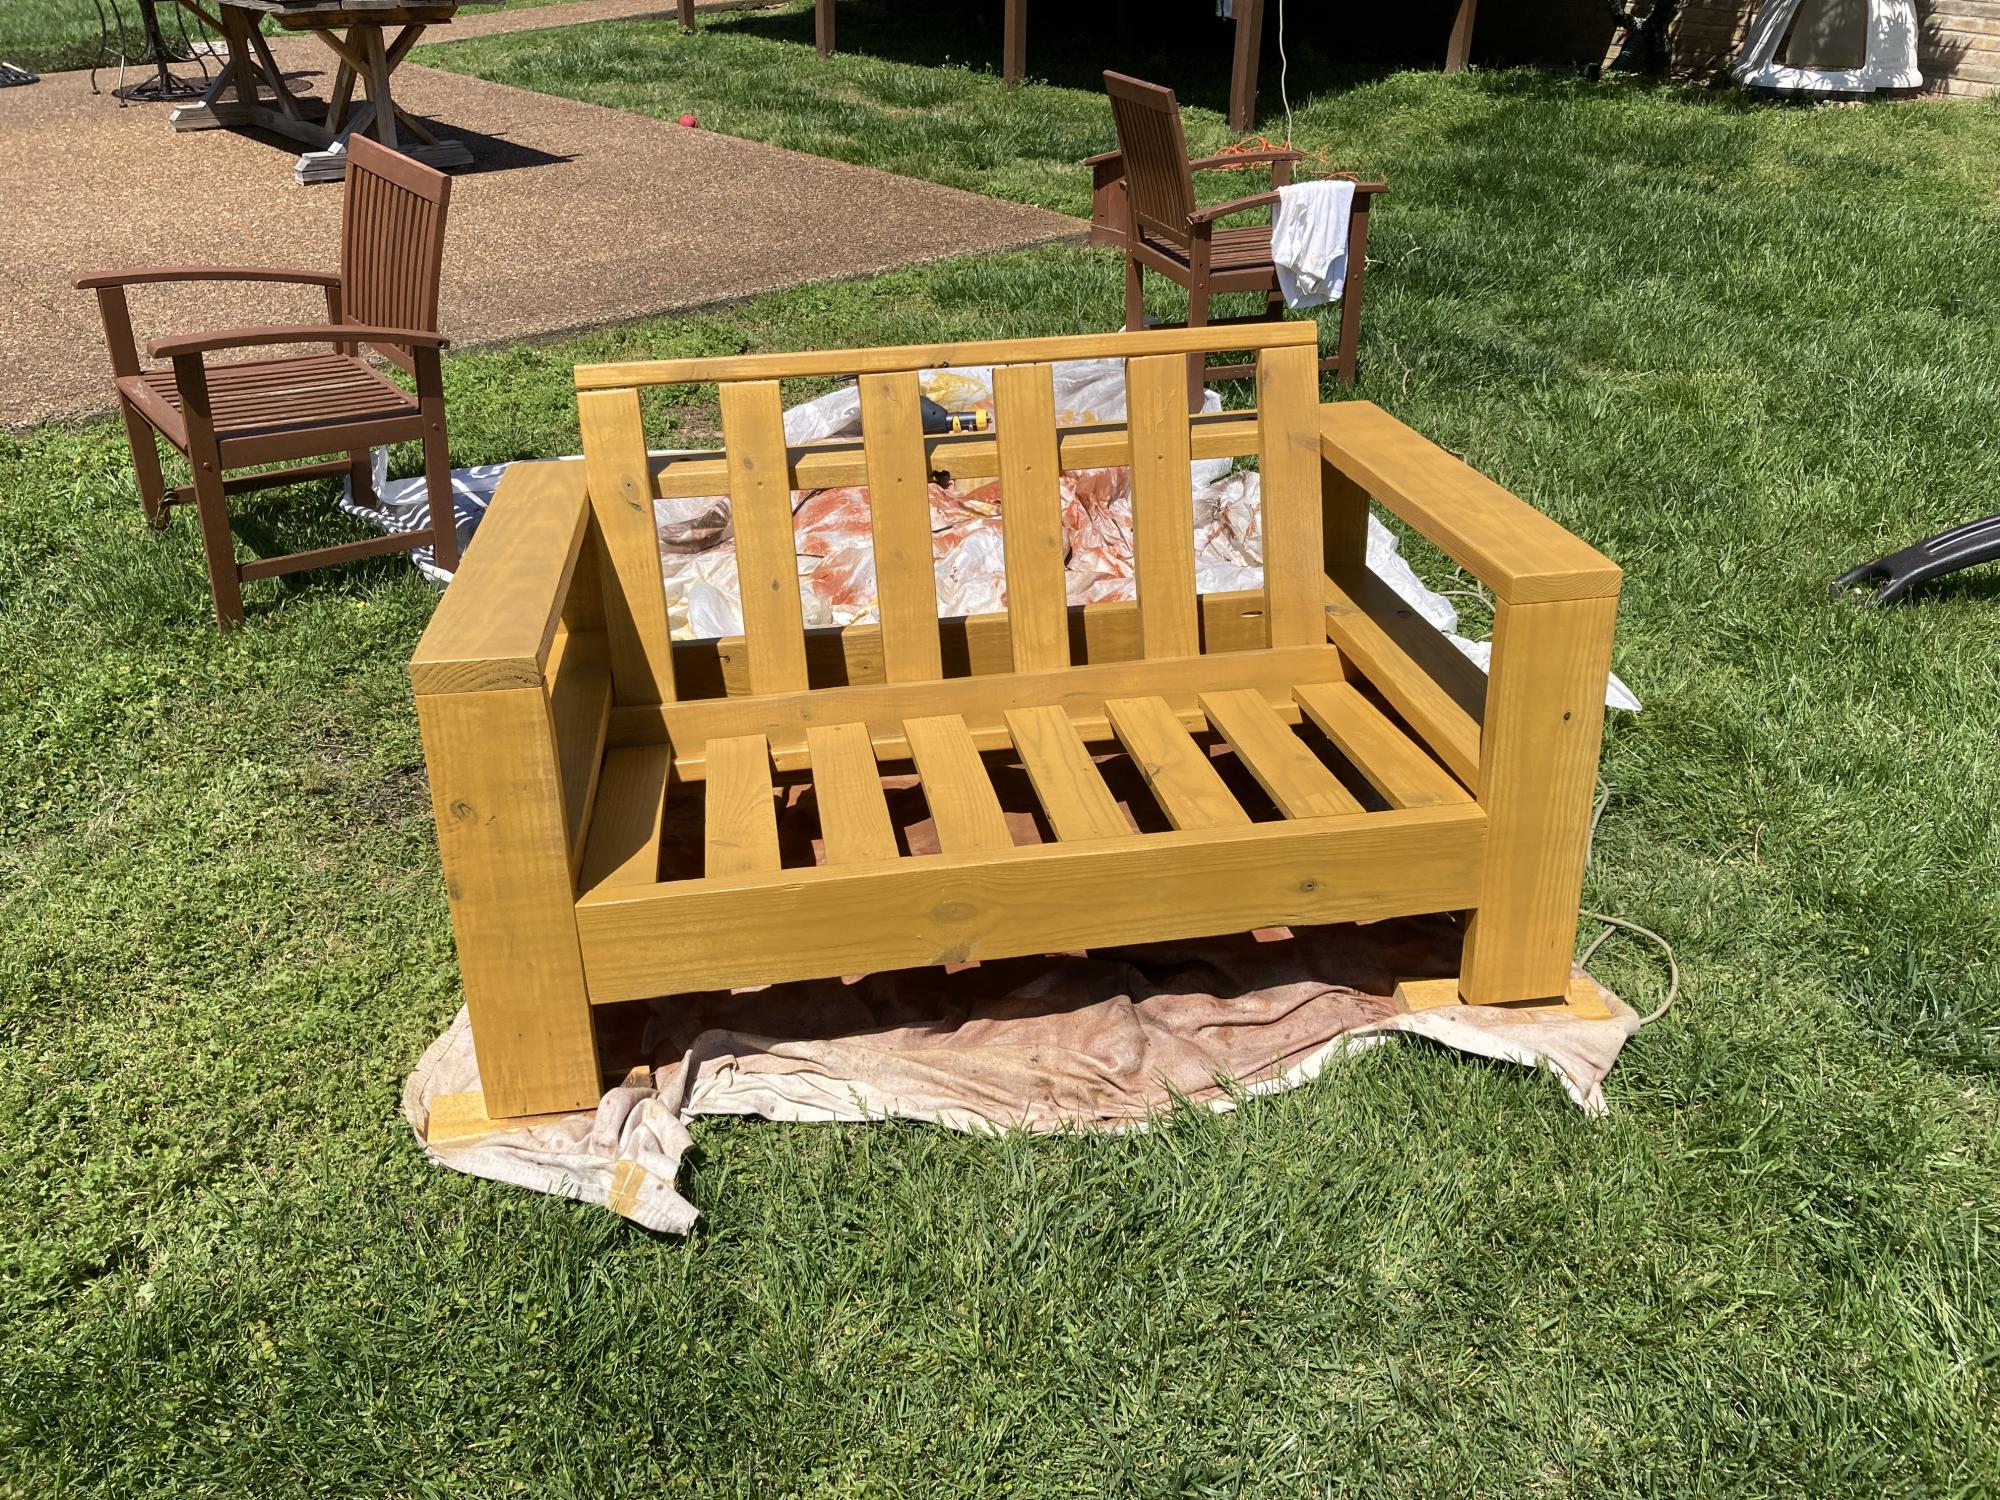
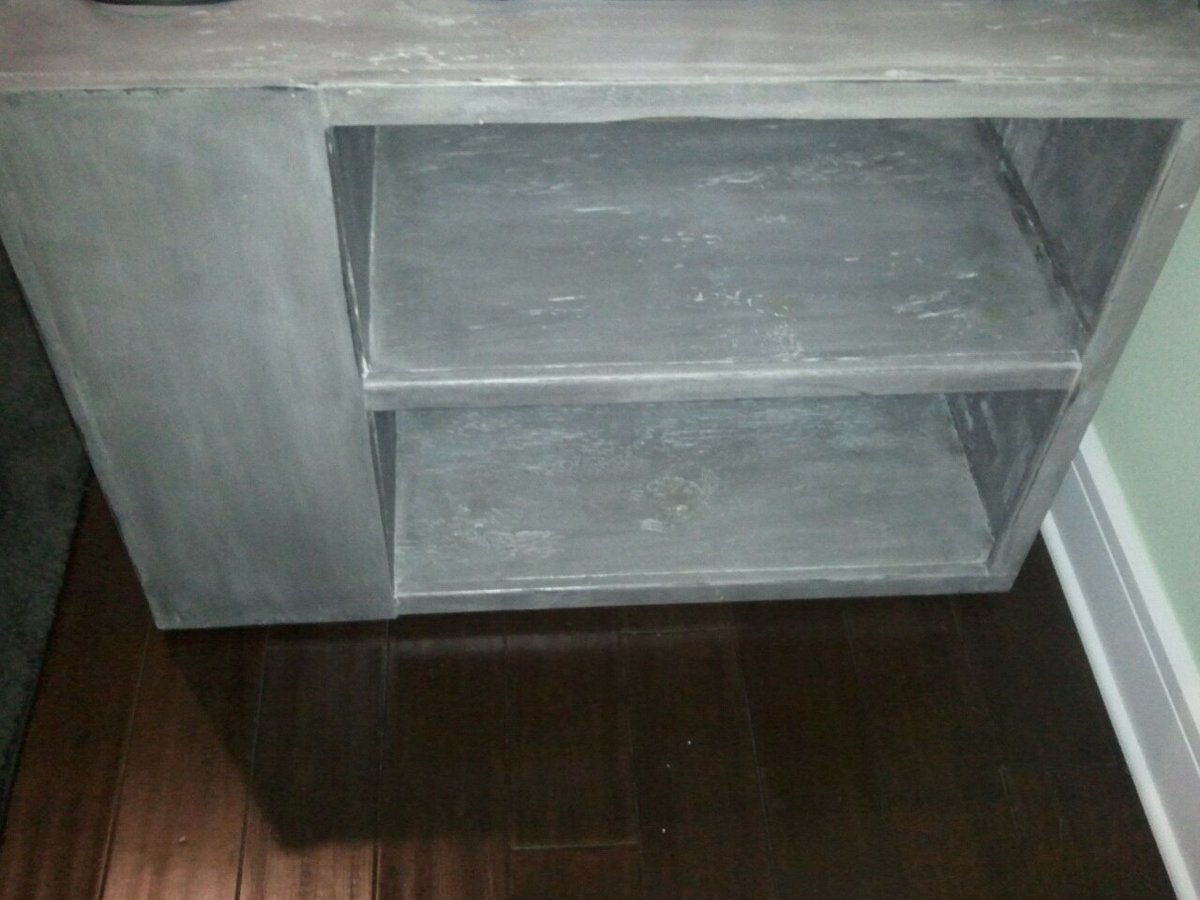
Overall I am happy with the build portion of it, but extremely bummed with the finish. I tried my hand at painting it with outdoor paint and a clear outdoor top coat. For some reason I could just not get it smooth. Oh well, we live and learn. No more painting for me, I will stick to staining from now on.
I hope you all enjoy and maybe my Brother will invite you over for a BBQ. He at least better invite me over!!
Thanks Ana for another brilliant plan. Couldn't do it it without you! (or coffee)
Checkout the blog link for more pictures!