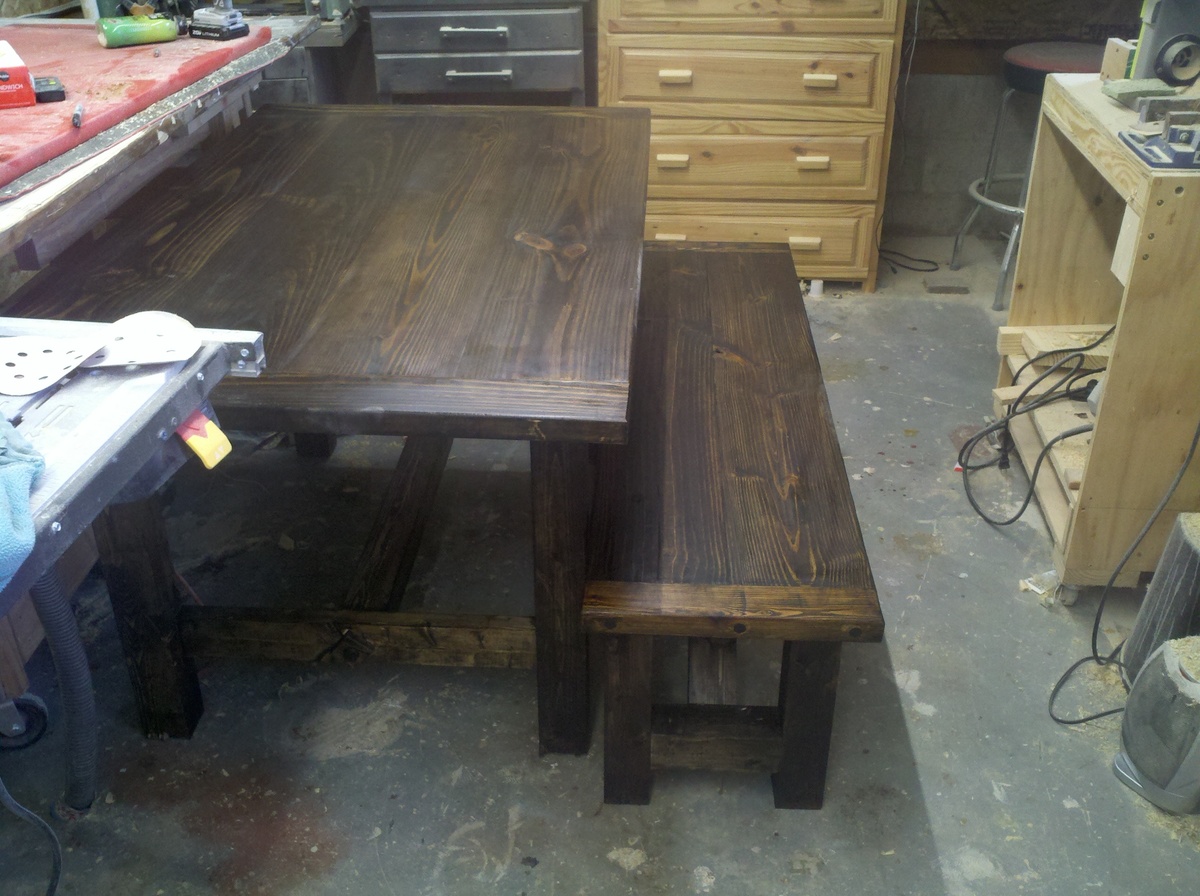
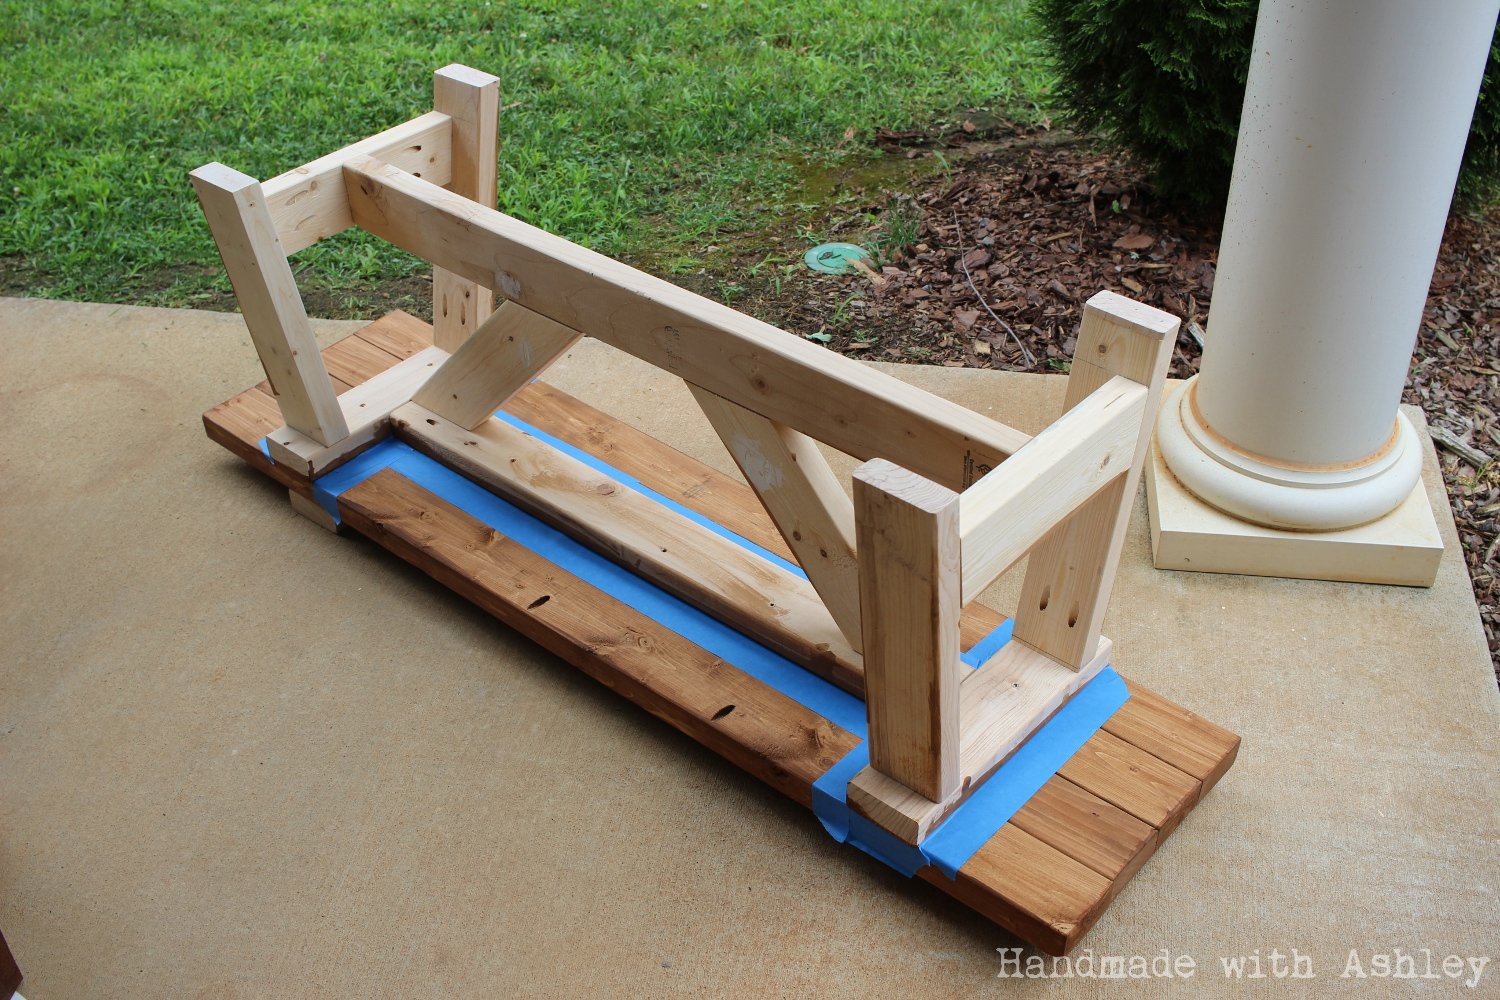
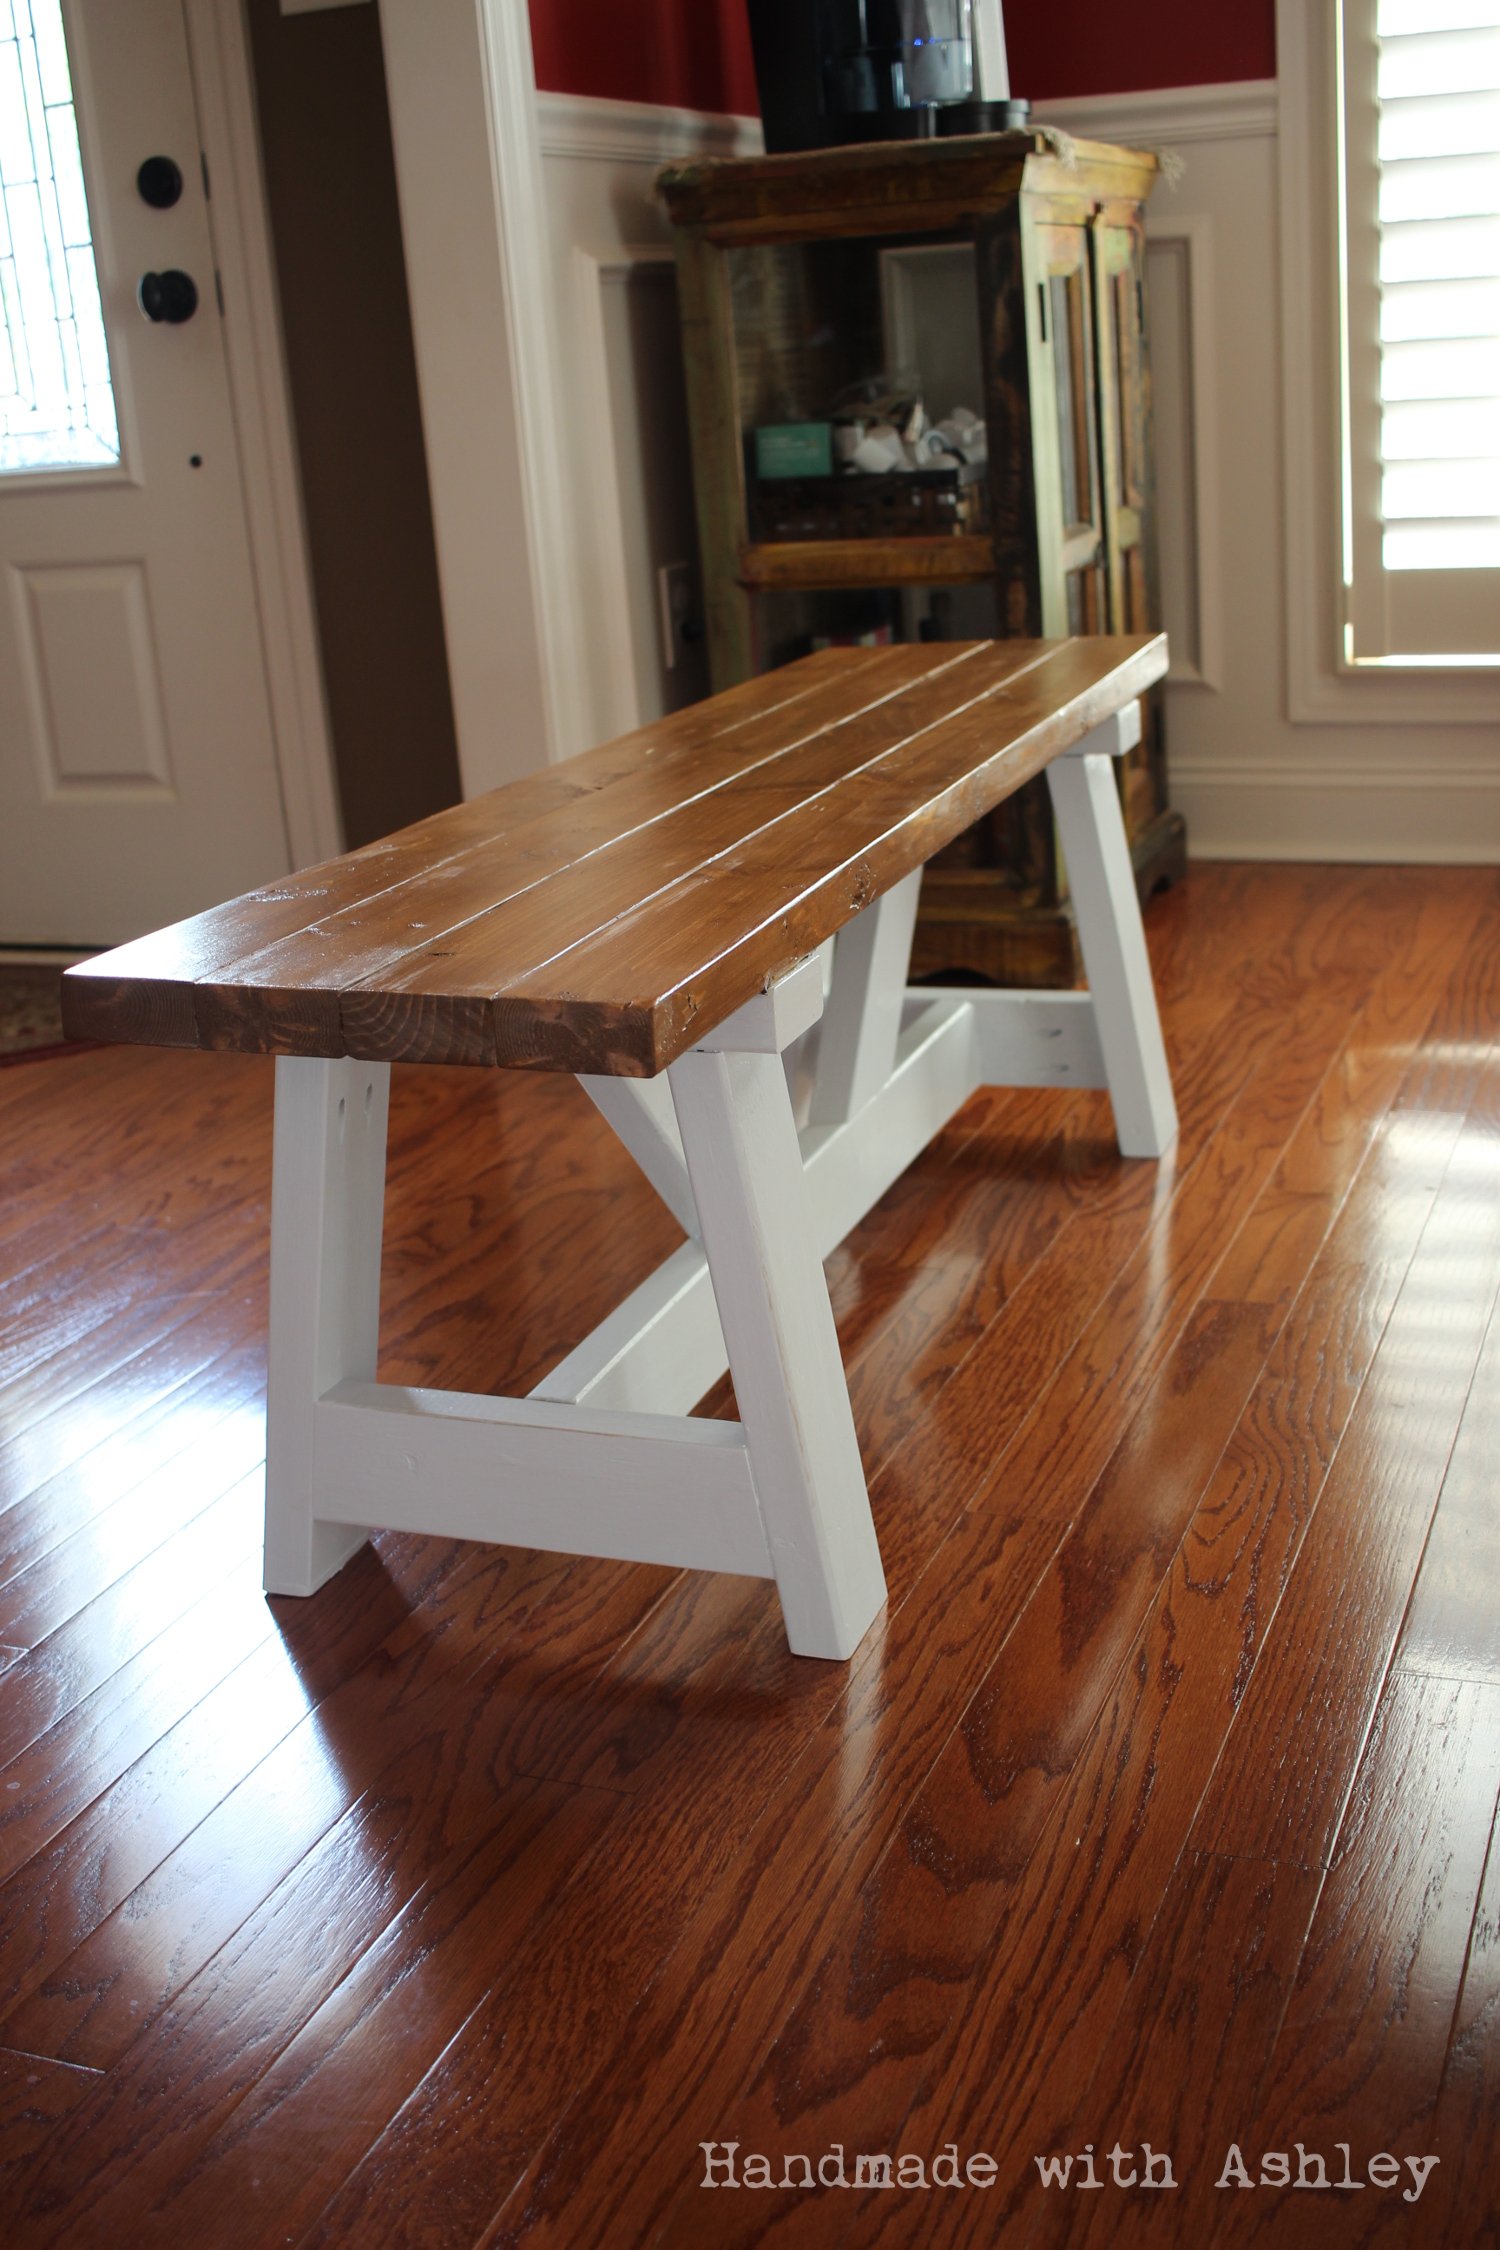
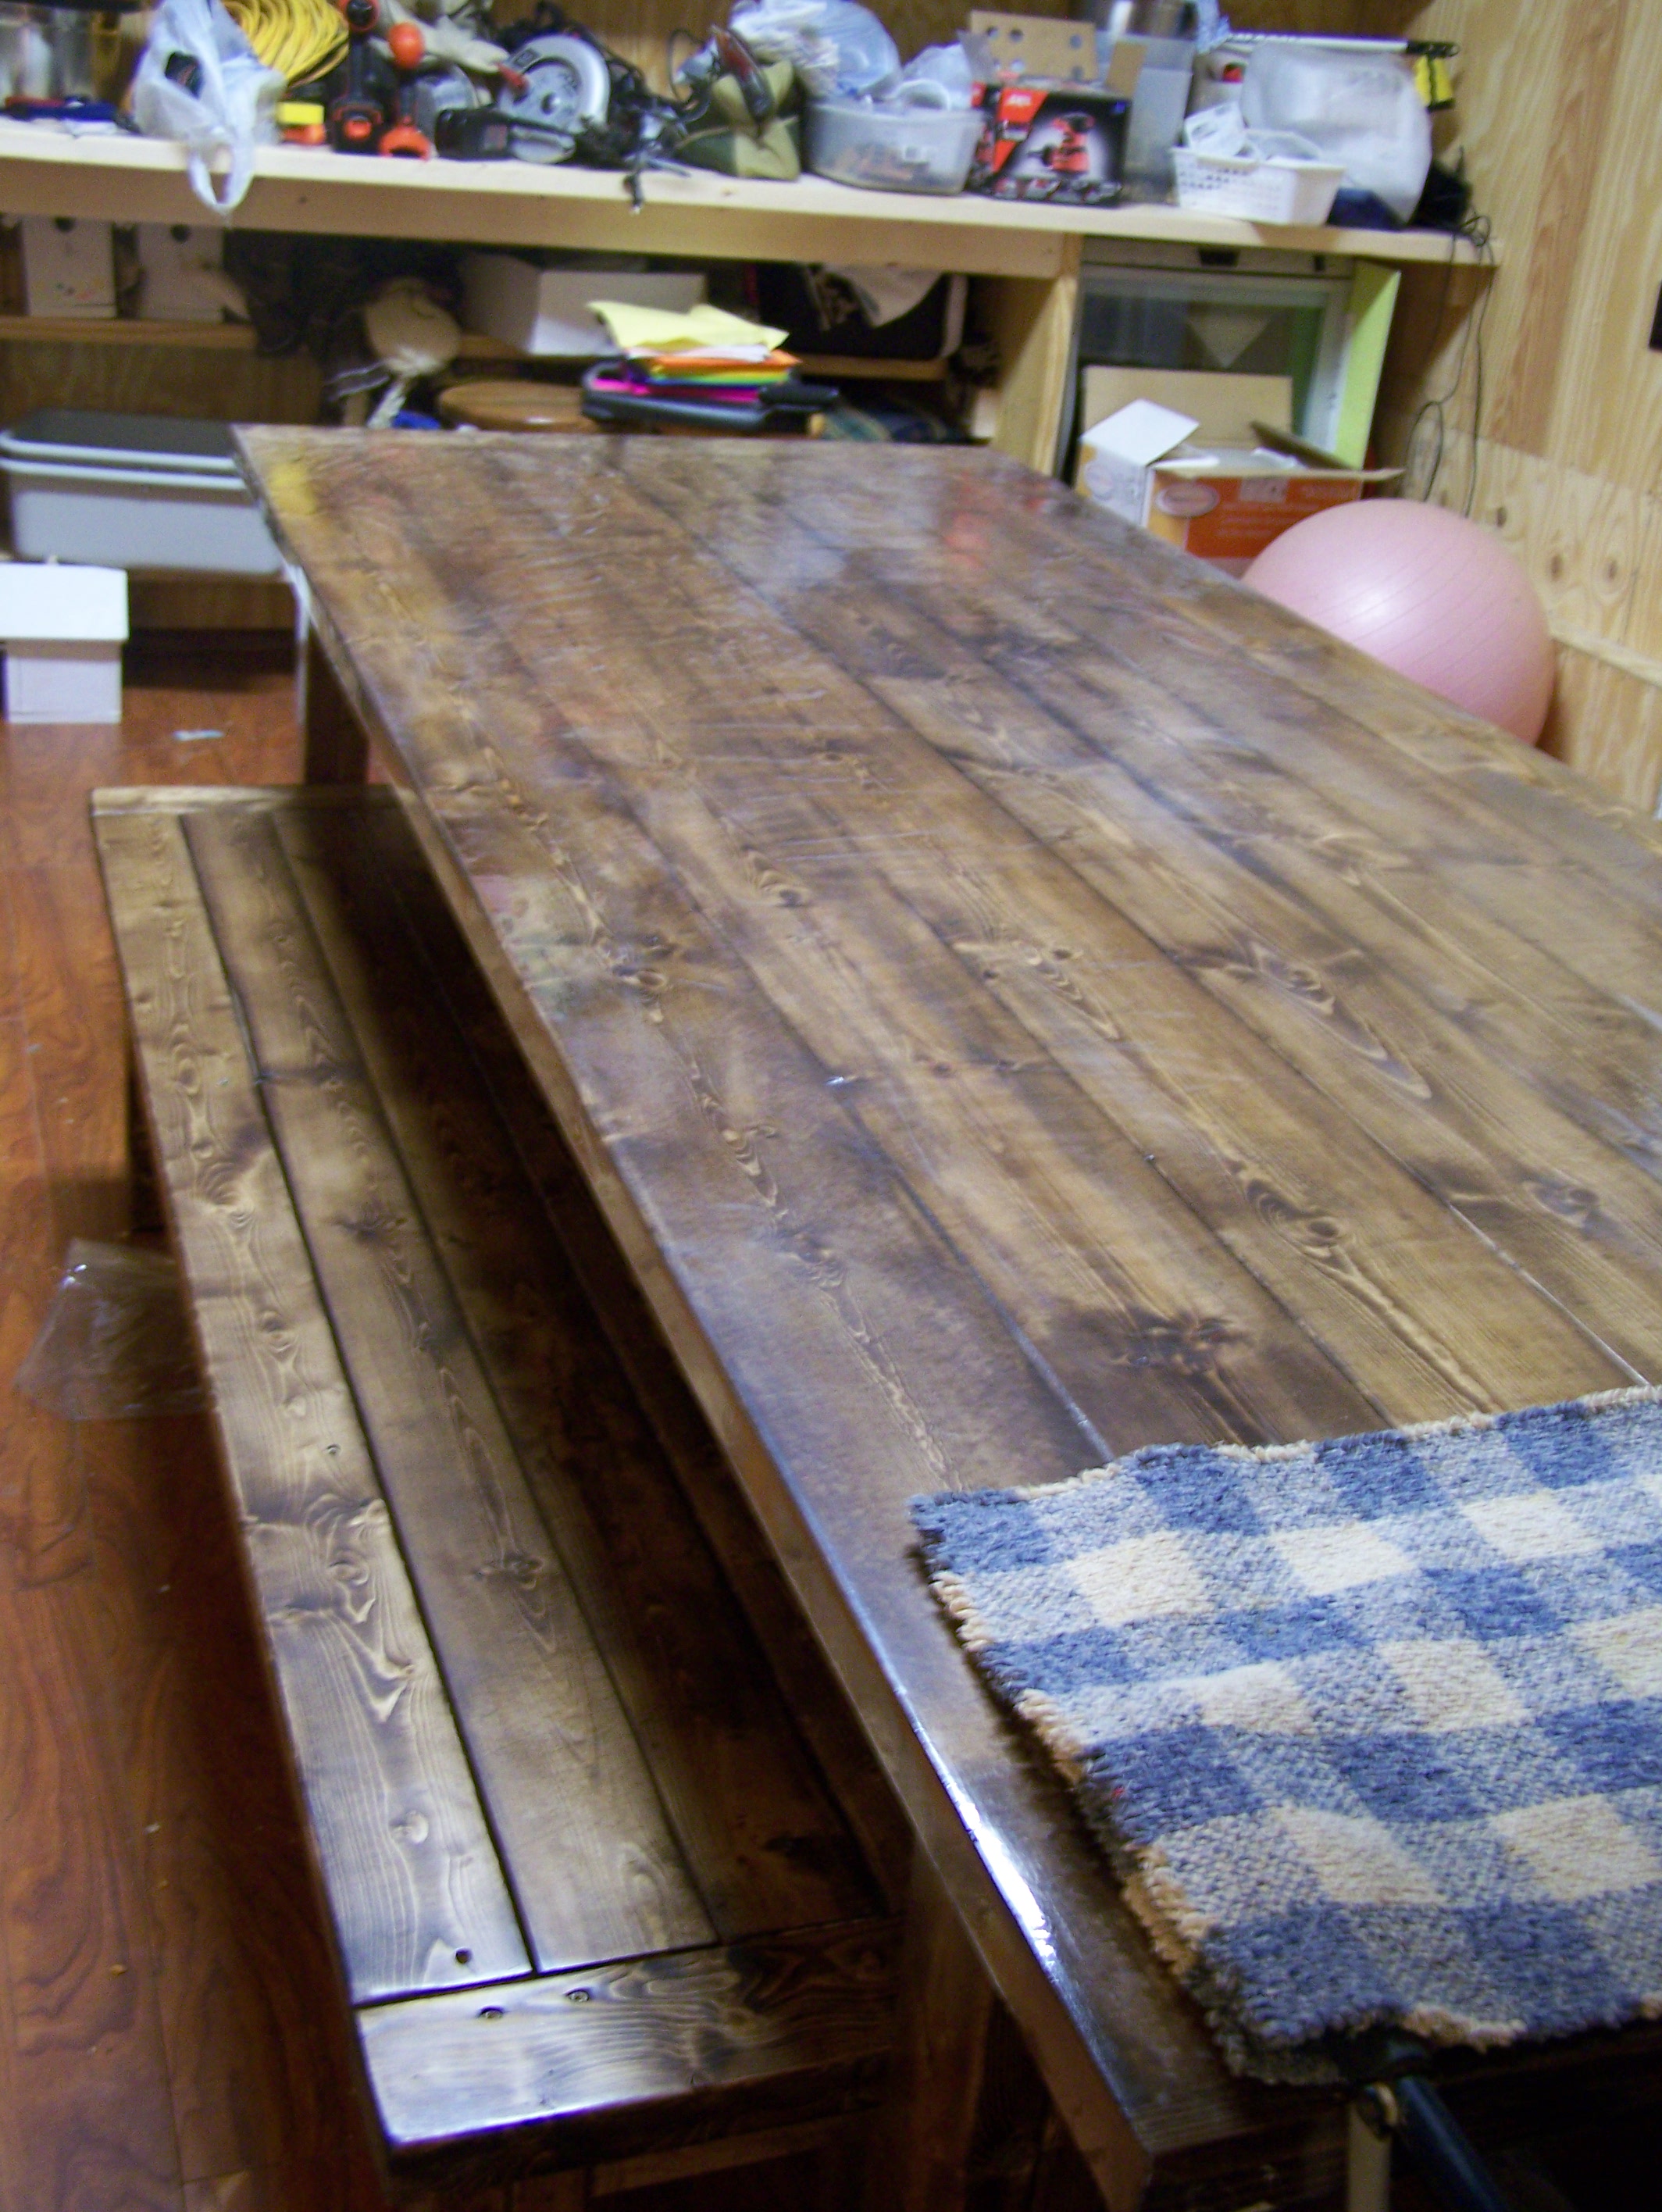
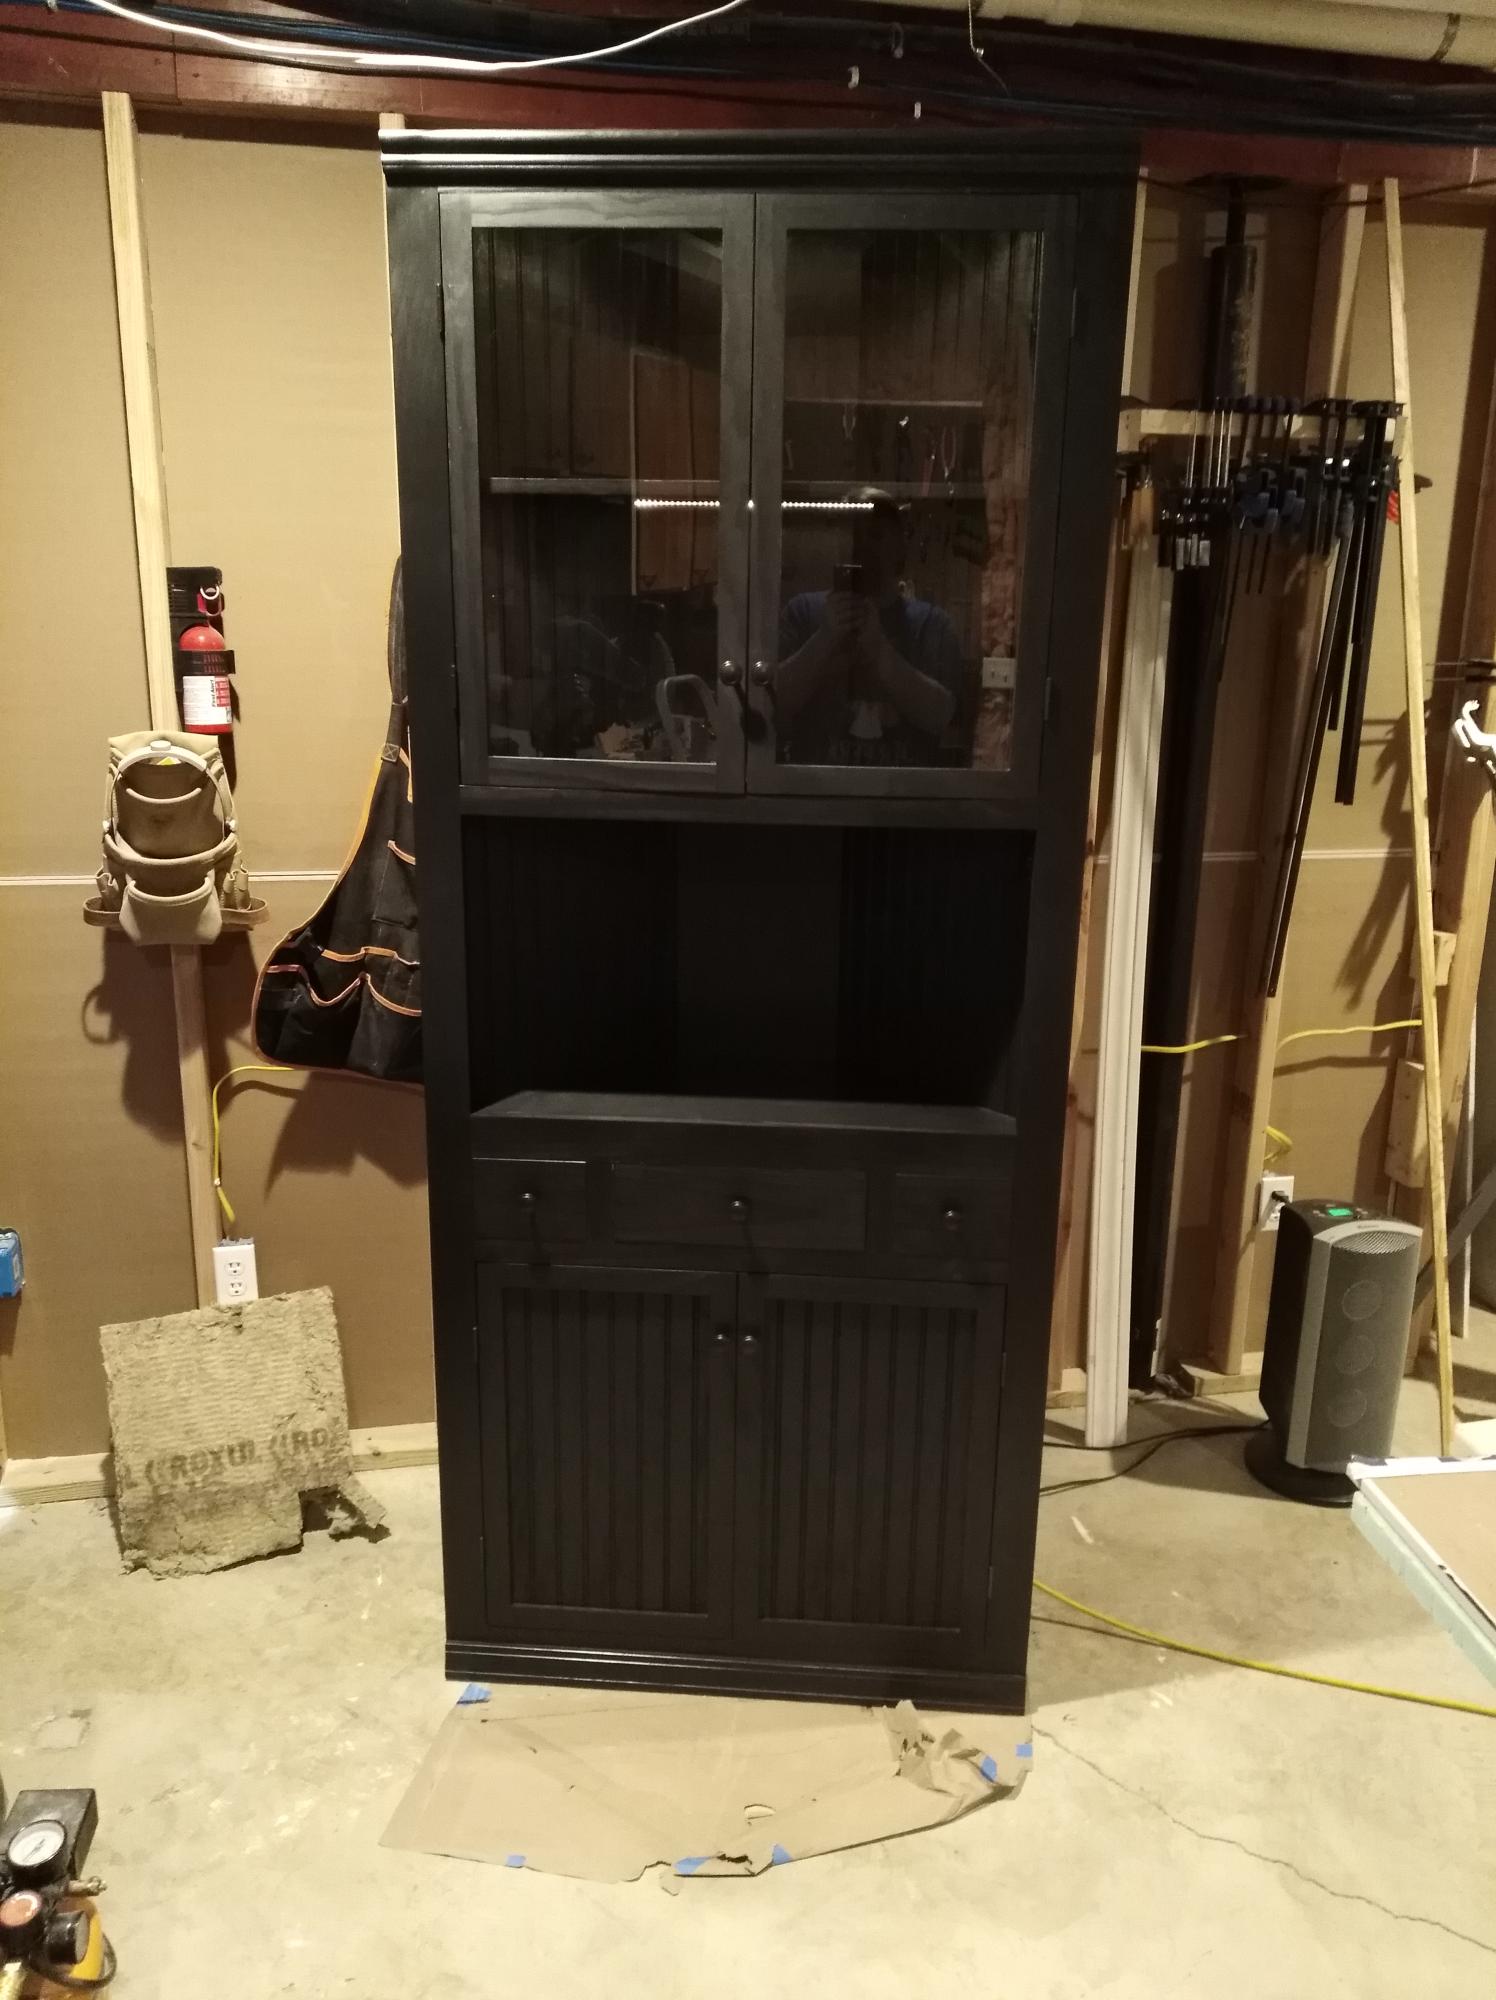
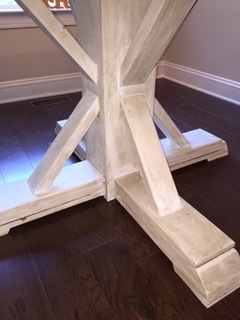
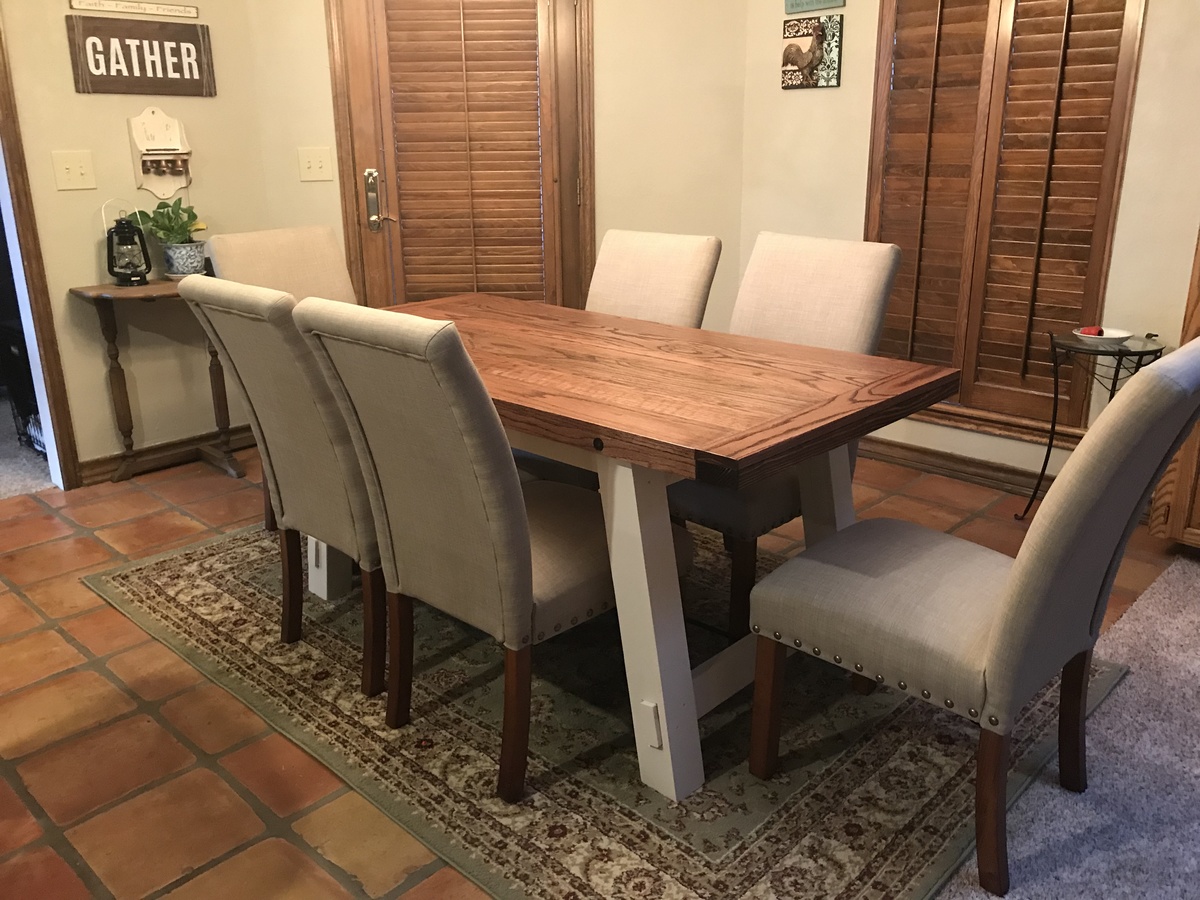
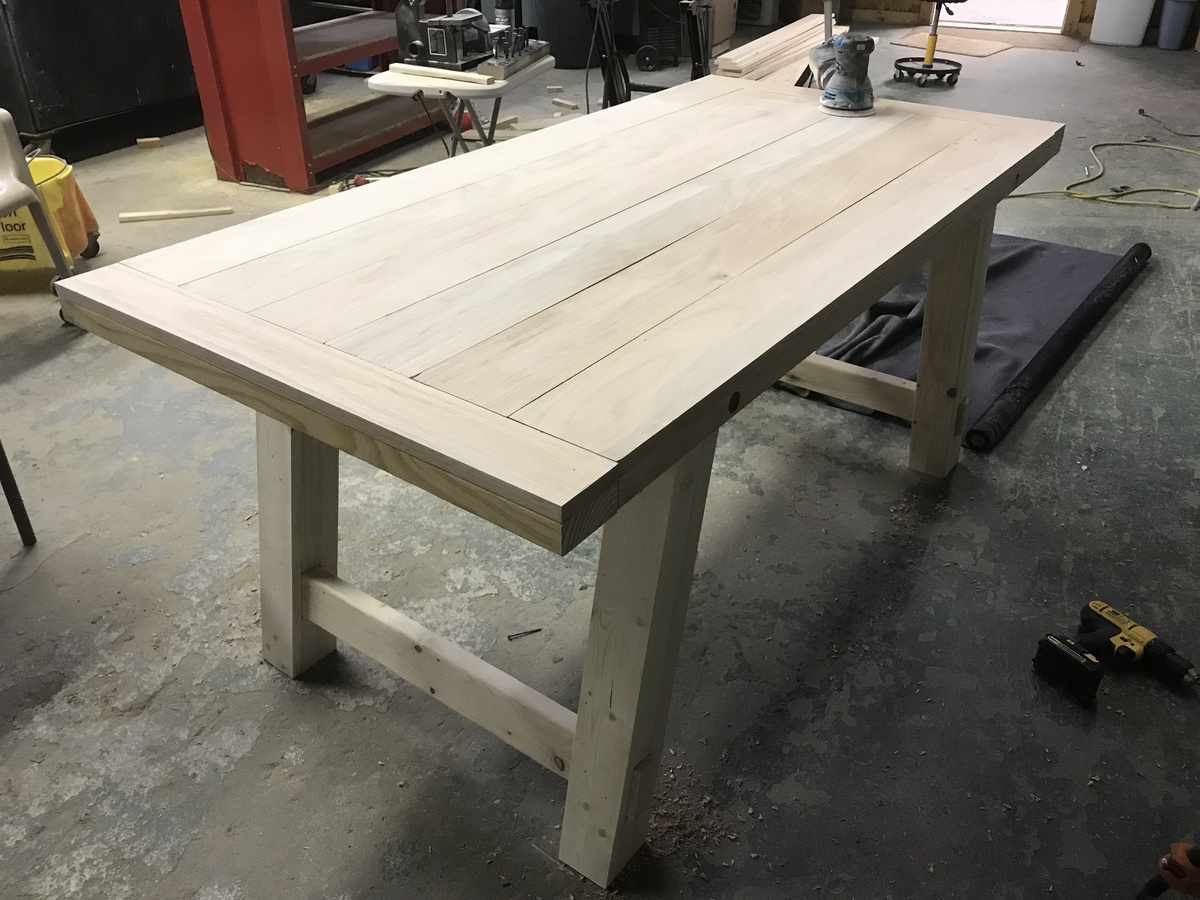
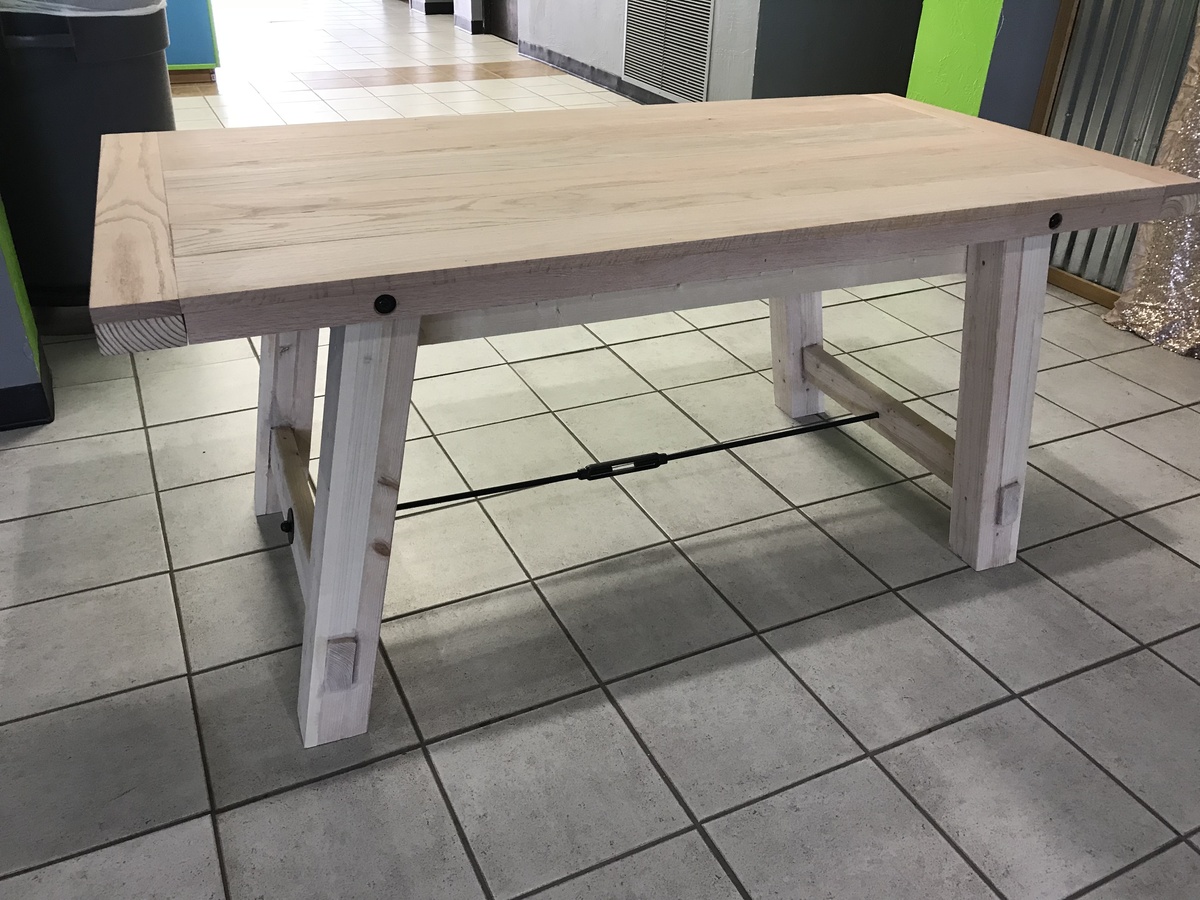
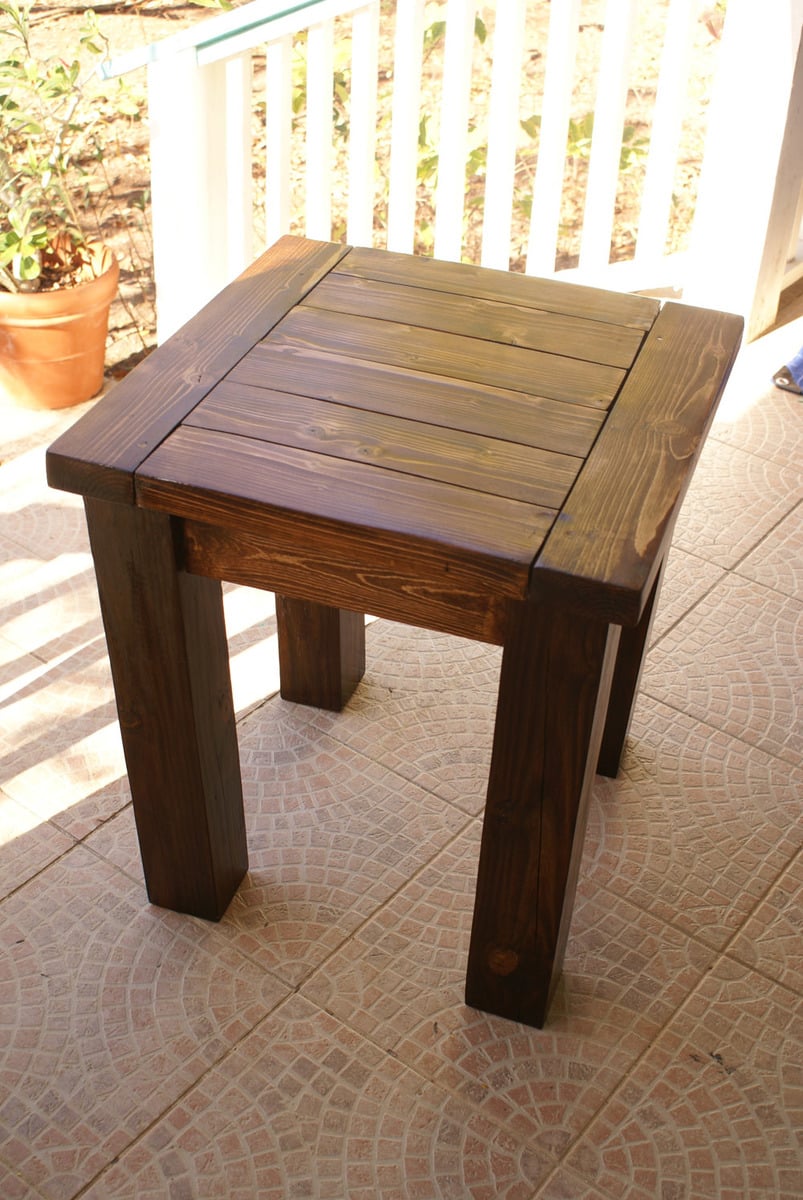
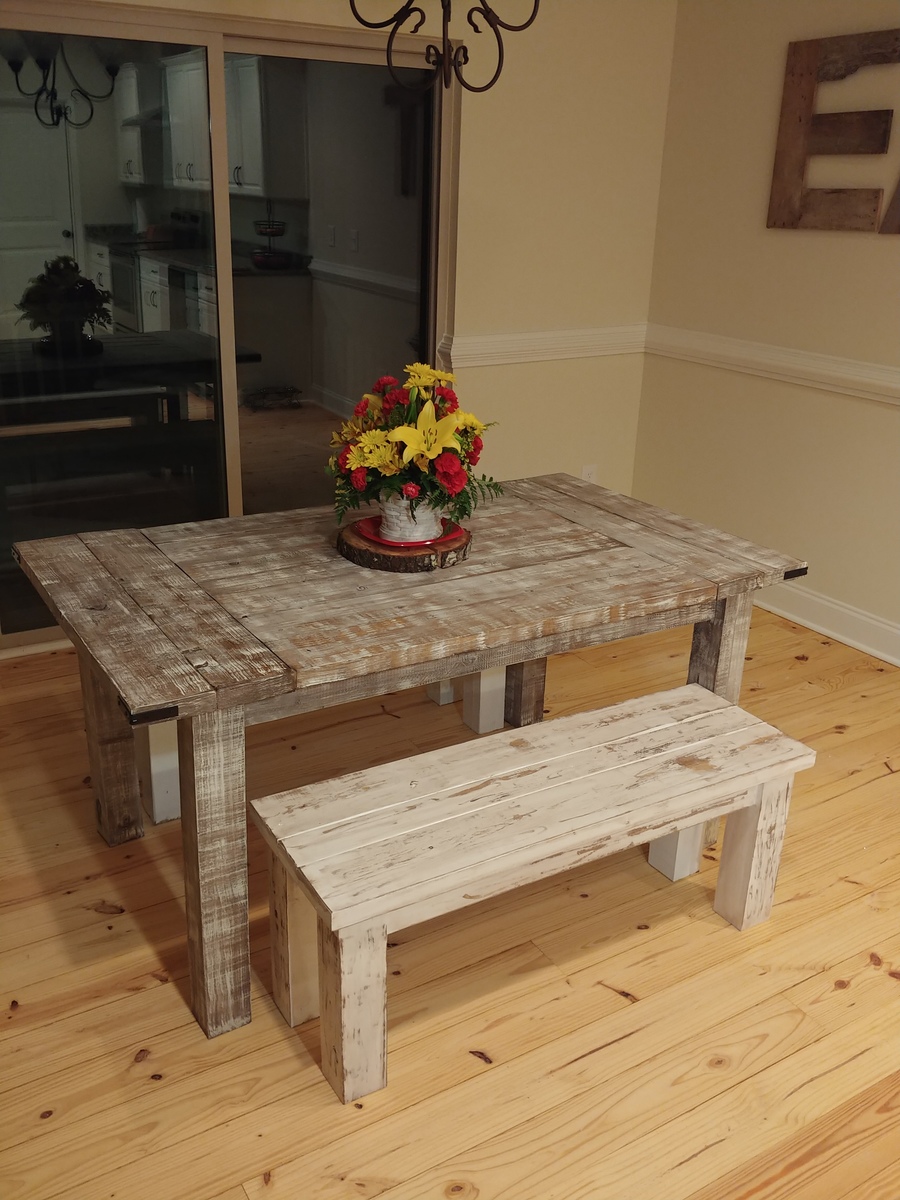
farmhouse table and bench
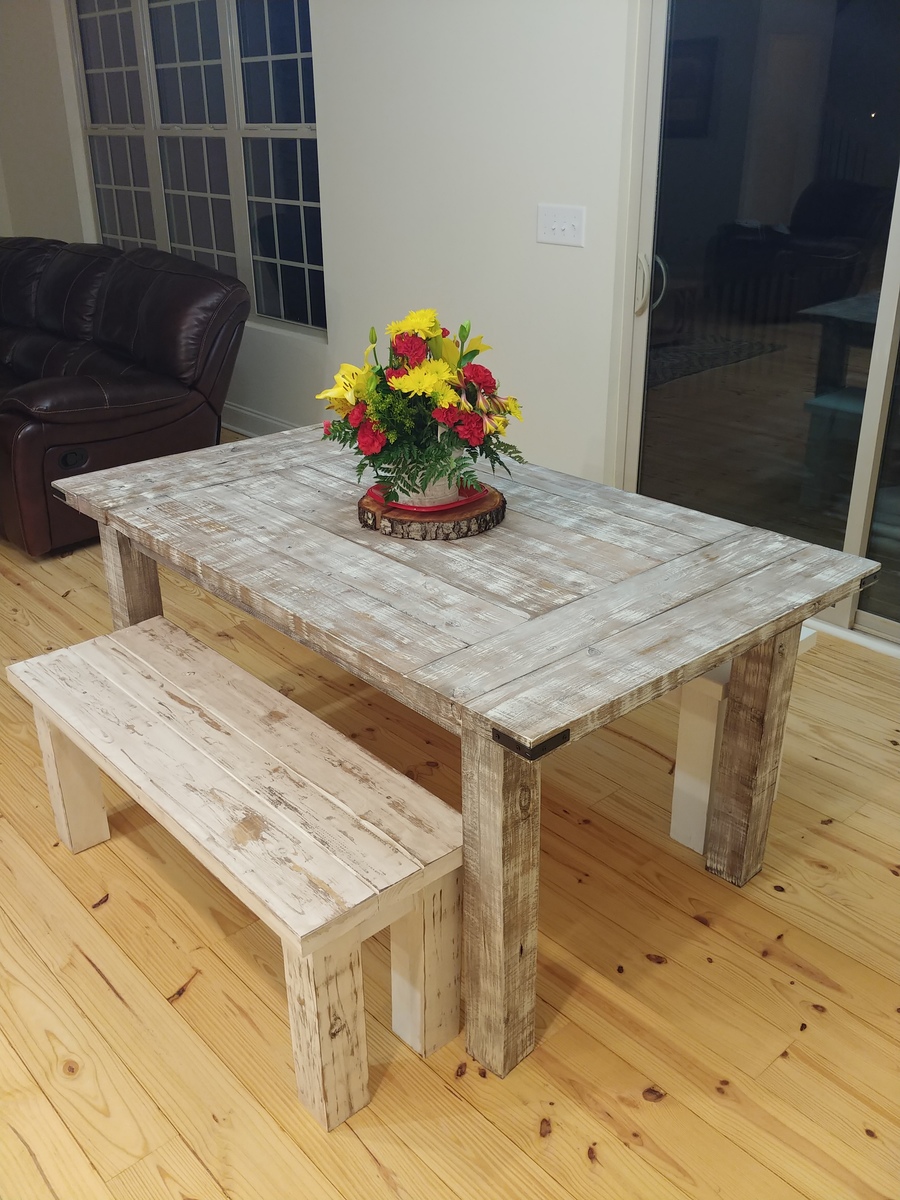
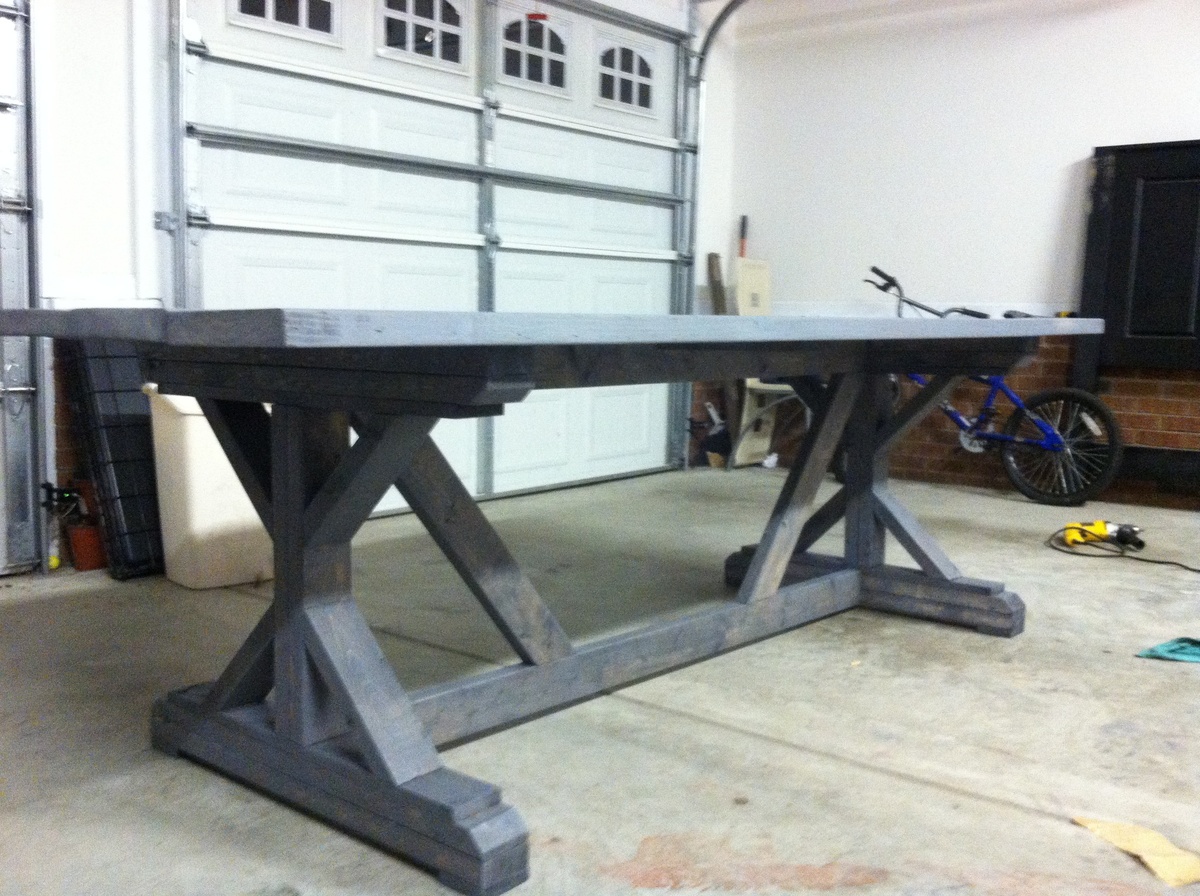
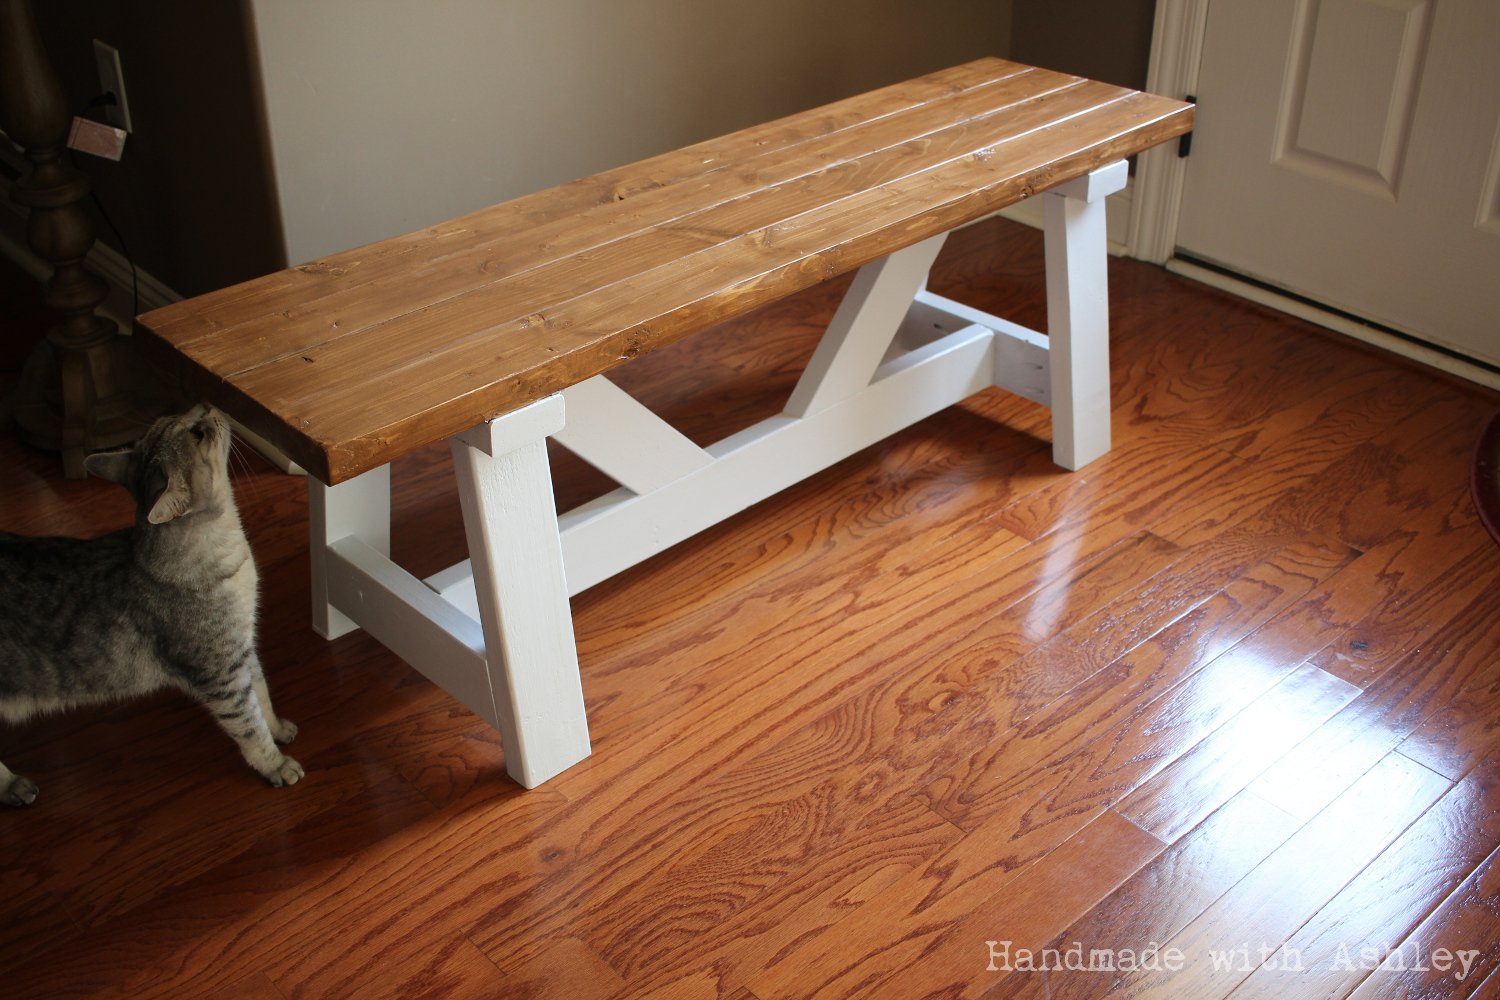
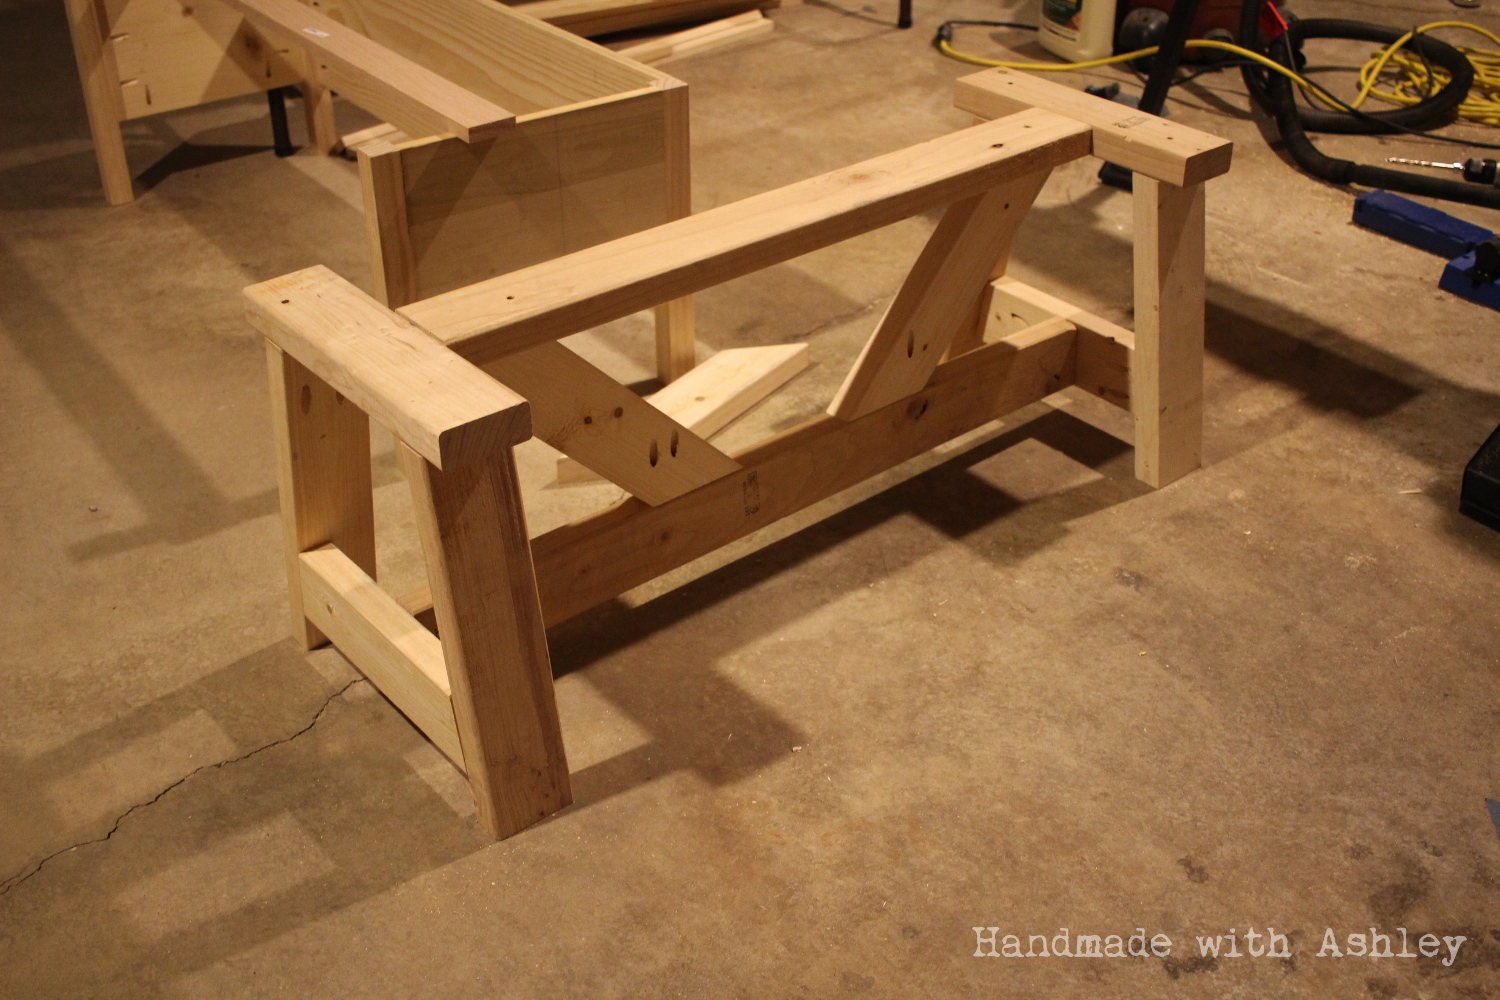
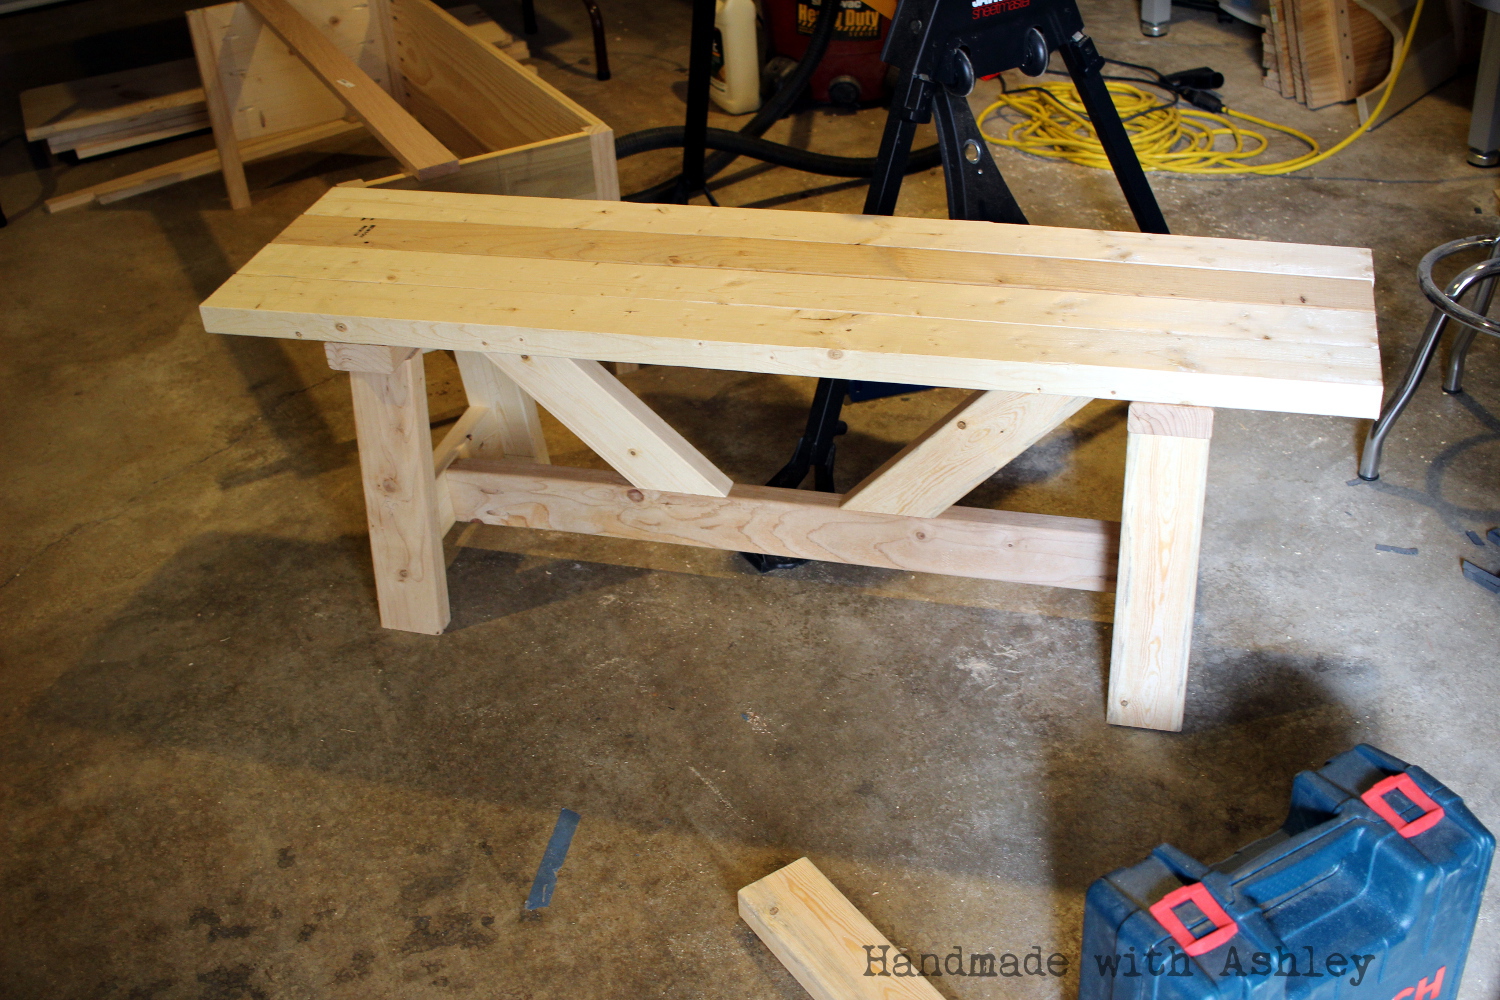
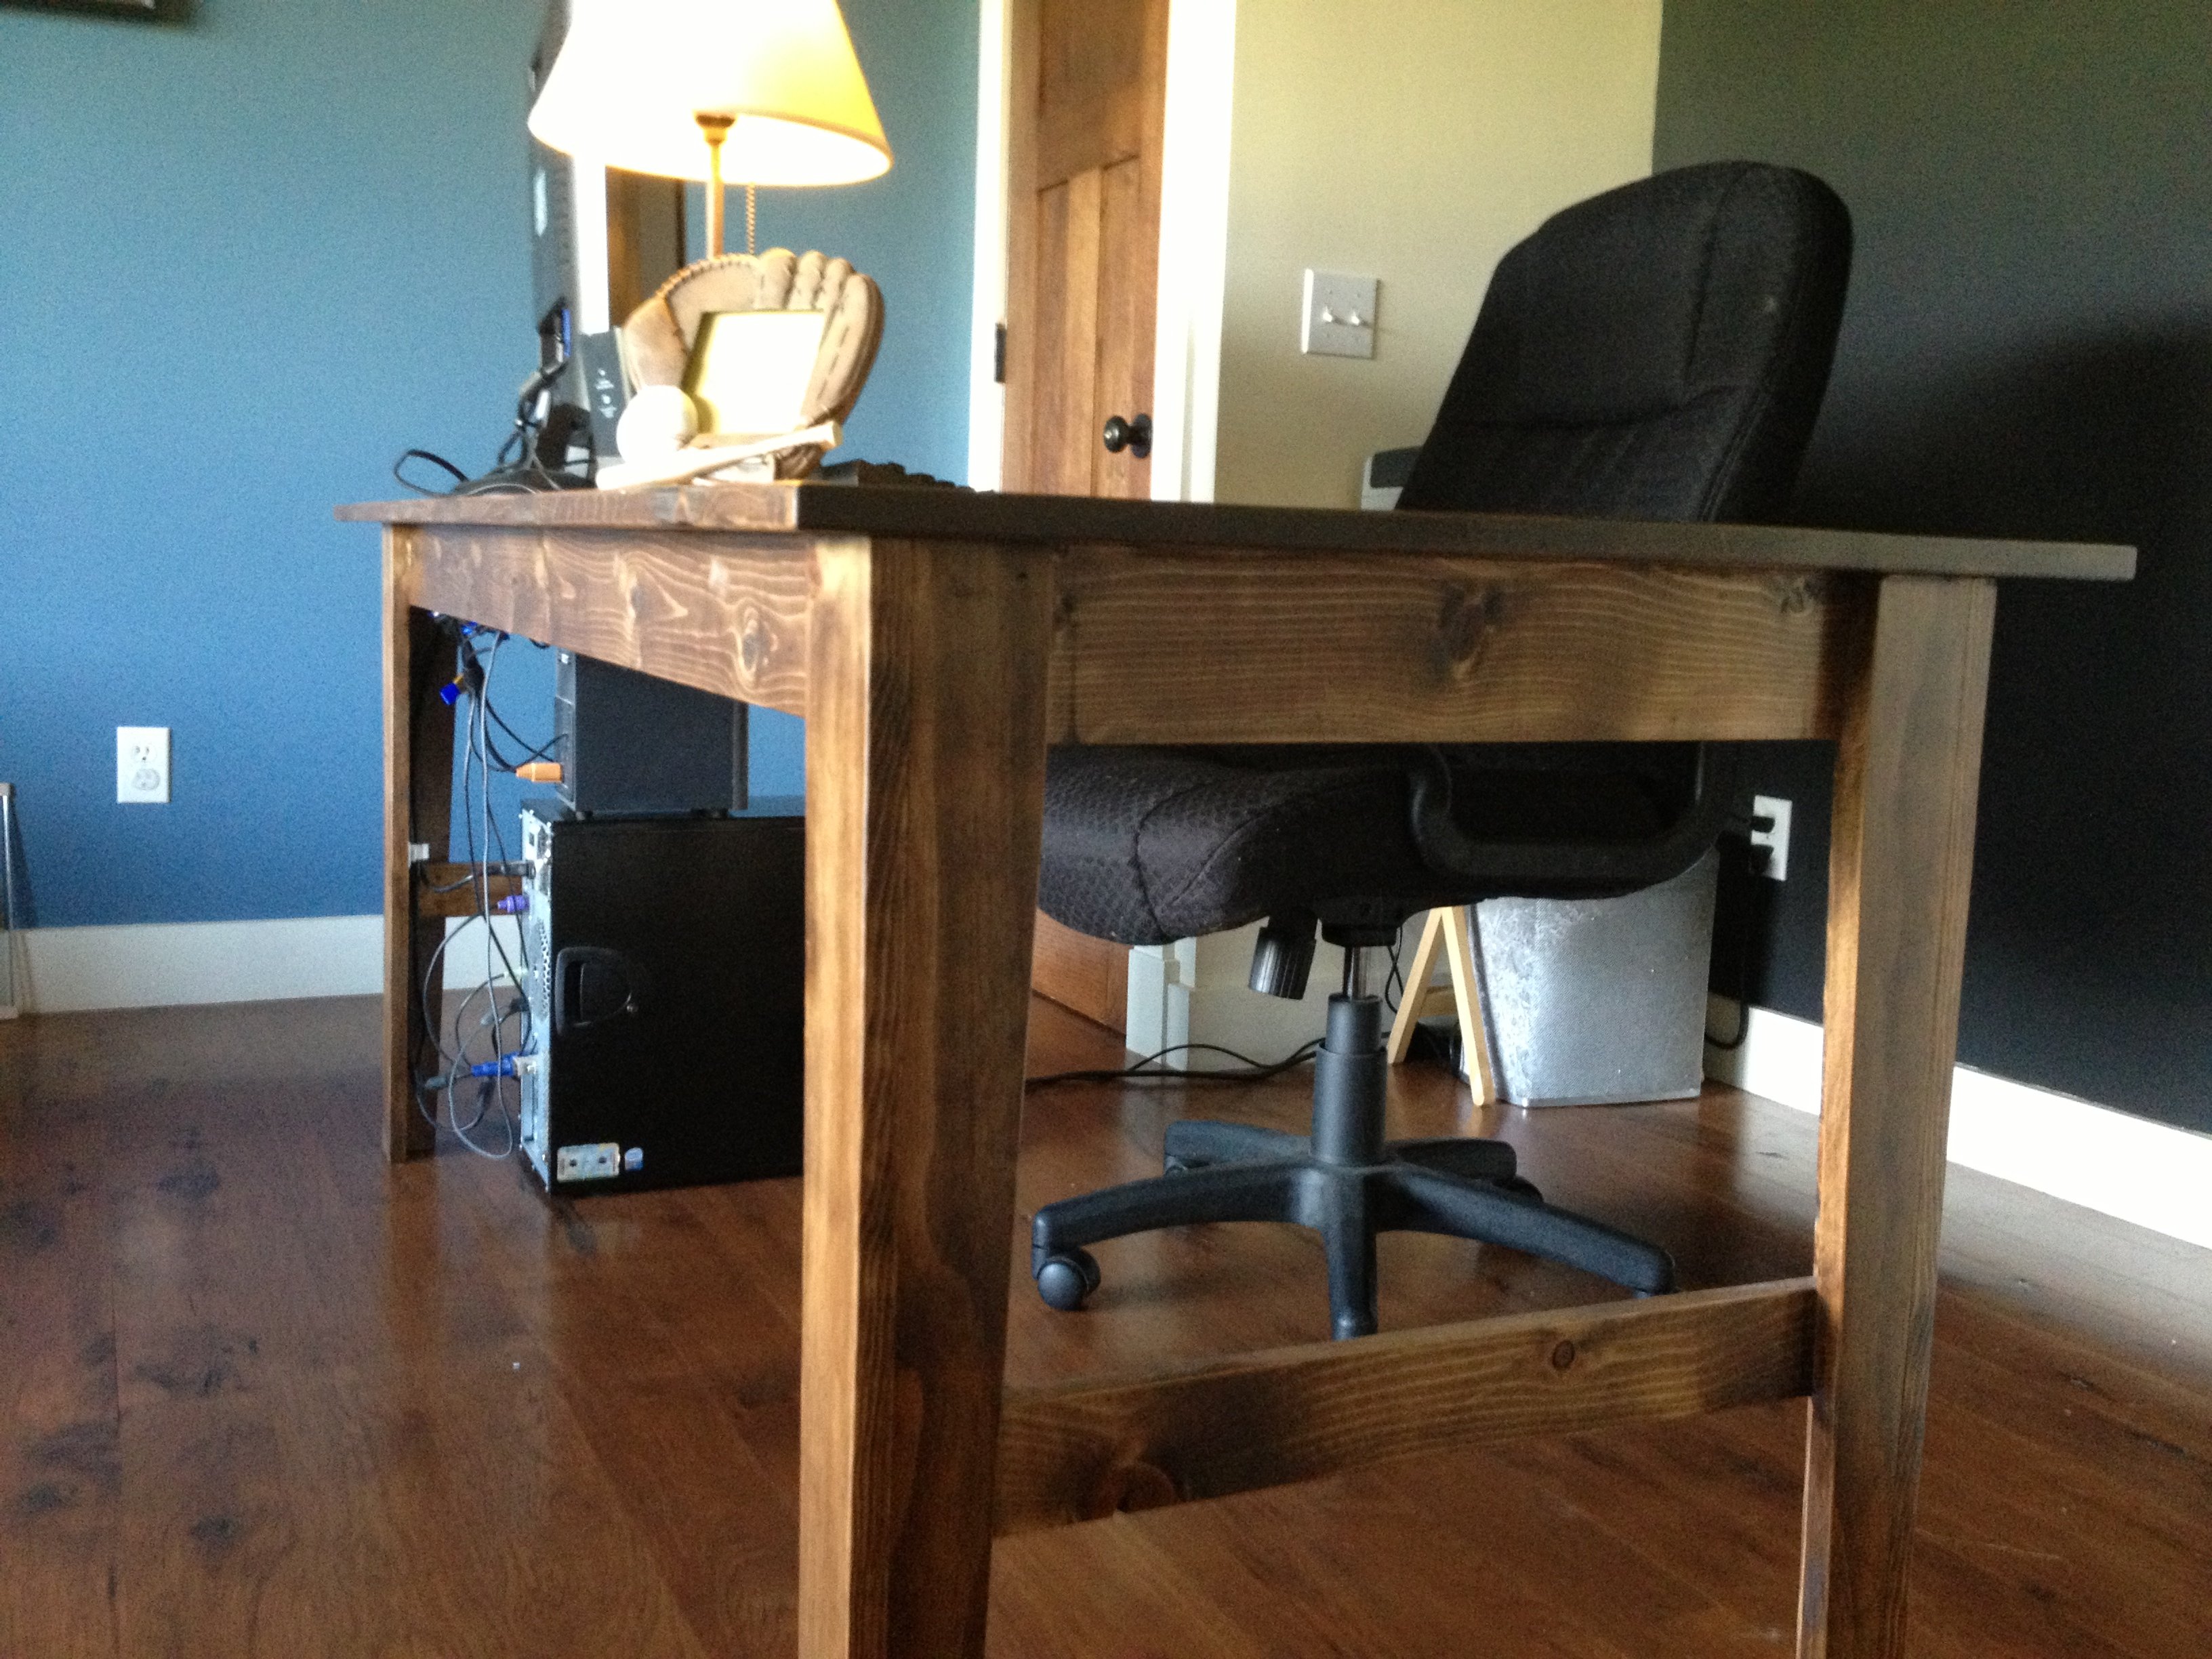
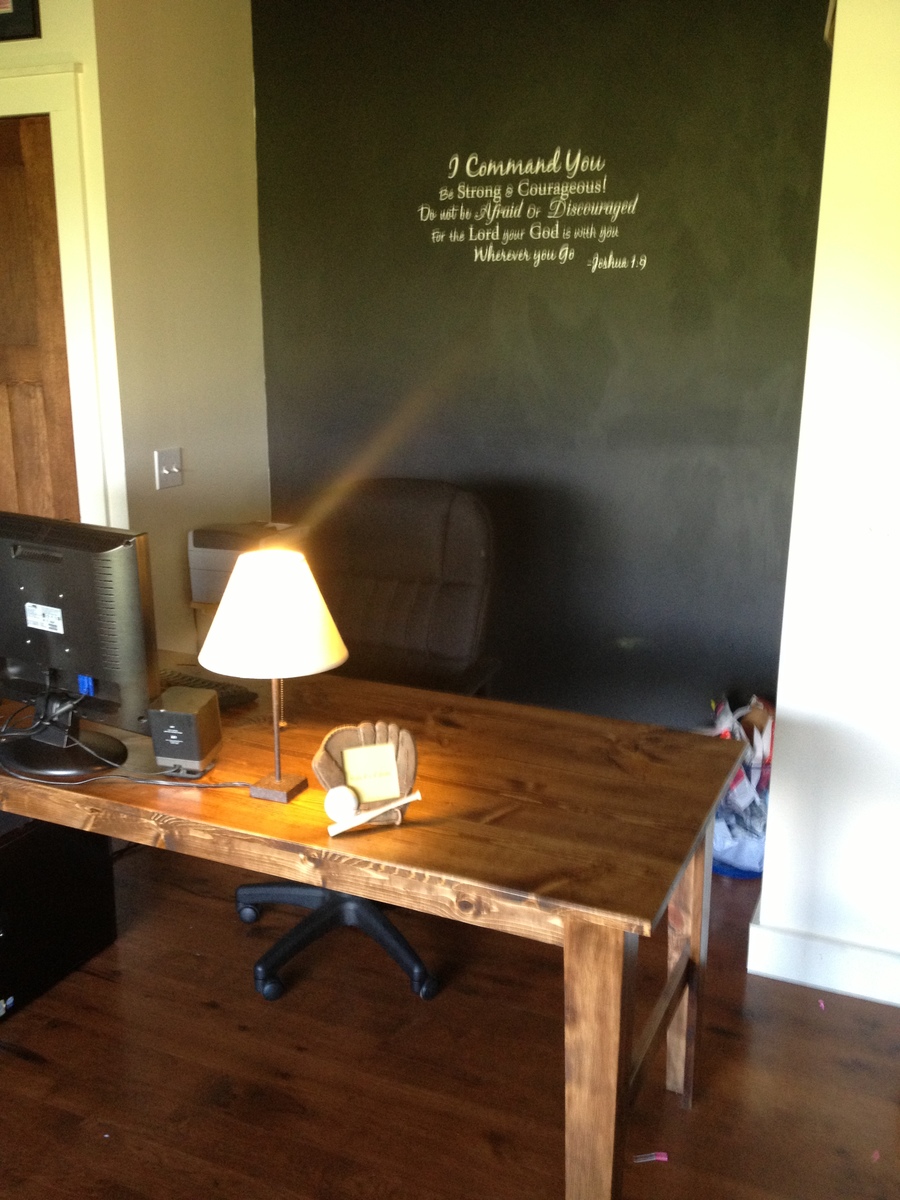
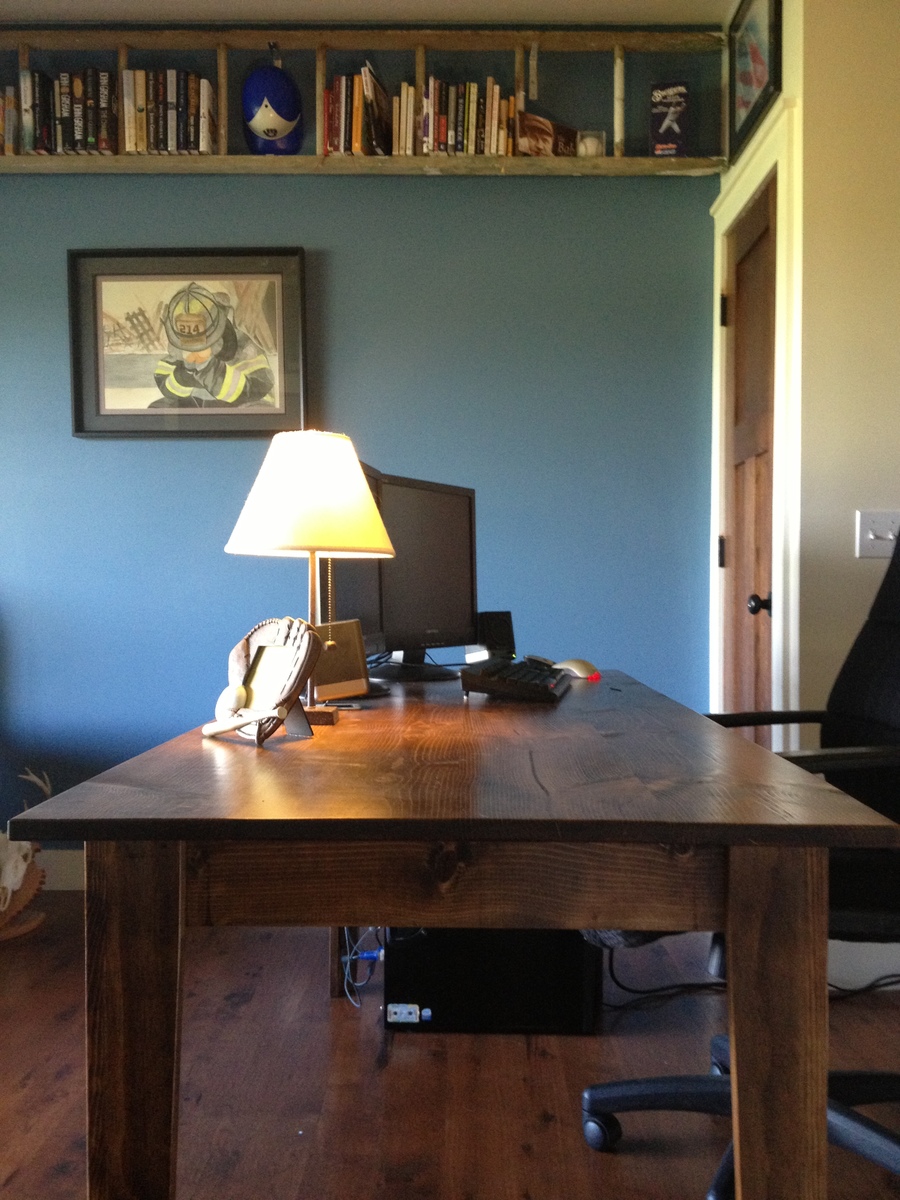
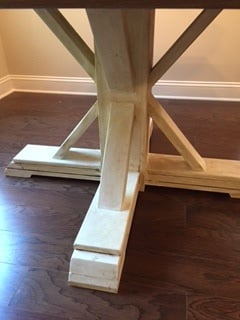
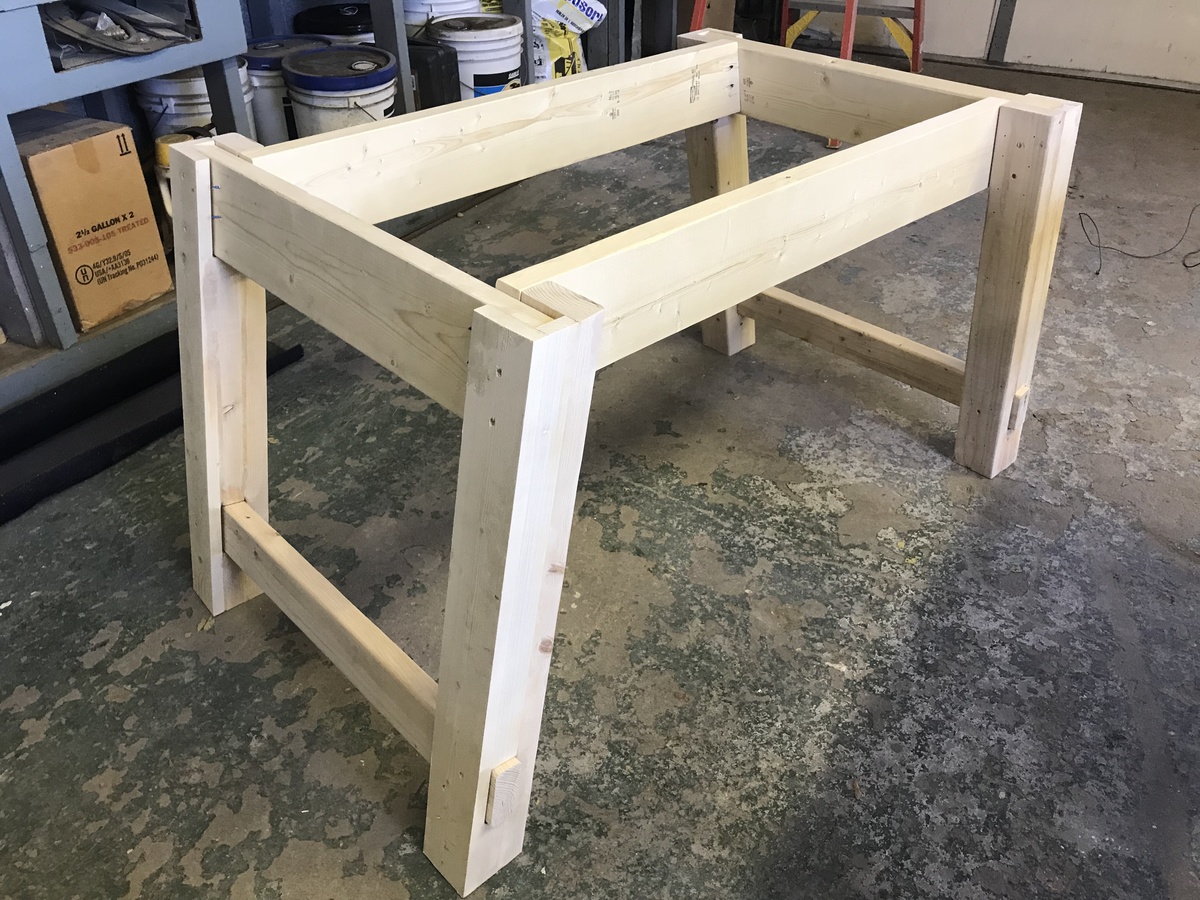
I built this table and two simple benches, inspired by the farmhouse table plans. I modified the plan slightly, in that I didn't add the center 2x4 on the bottom, or the two 2x4's between the legs. I also added a second "bread end board," and customized the corners with some "L" bracket accessories. It took me a week to build everything, then add the finish. It would have gone quicker, had I had time to do it all at the same time, but I had to make time after work to do everything. All, in all, this is probably a weekend job, at most.
Estimated Cost
approximately $100.00 for everything
Estimated Time Investment
Week Long Project (20 Hours or More)
Finish Used
For the table, I stained with a dark stain, then sanded with a fine grit sand paper, then lightly painted with a light colored paint to give the wood that weathered and worn appearance.
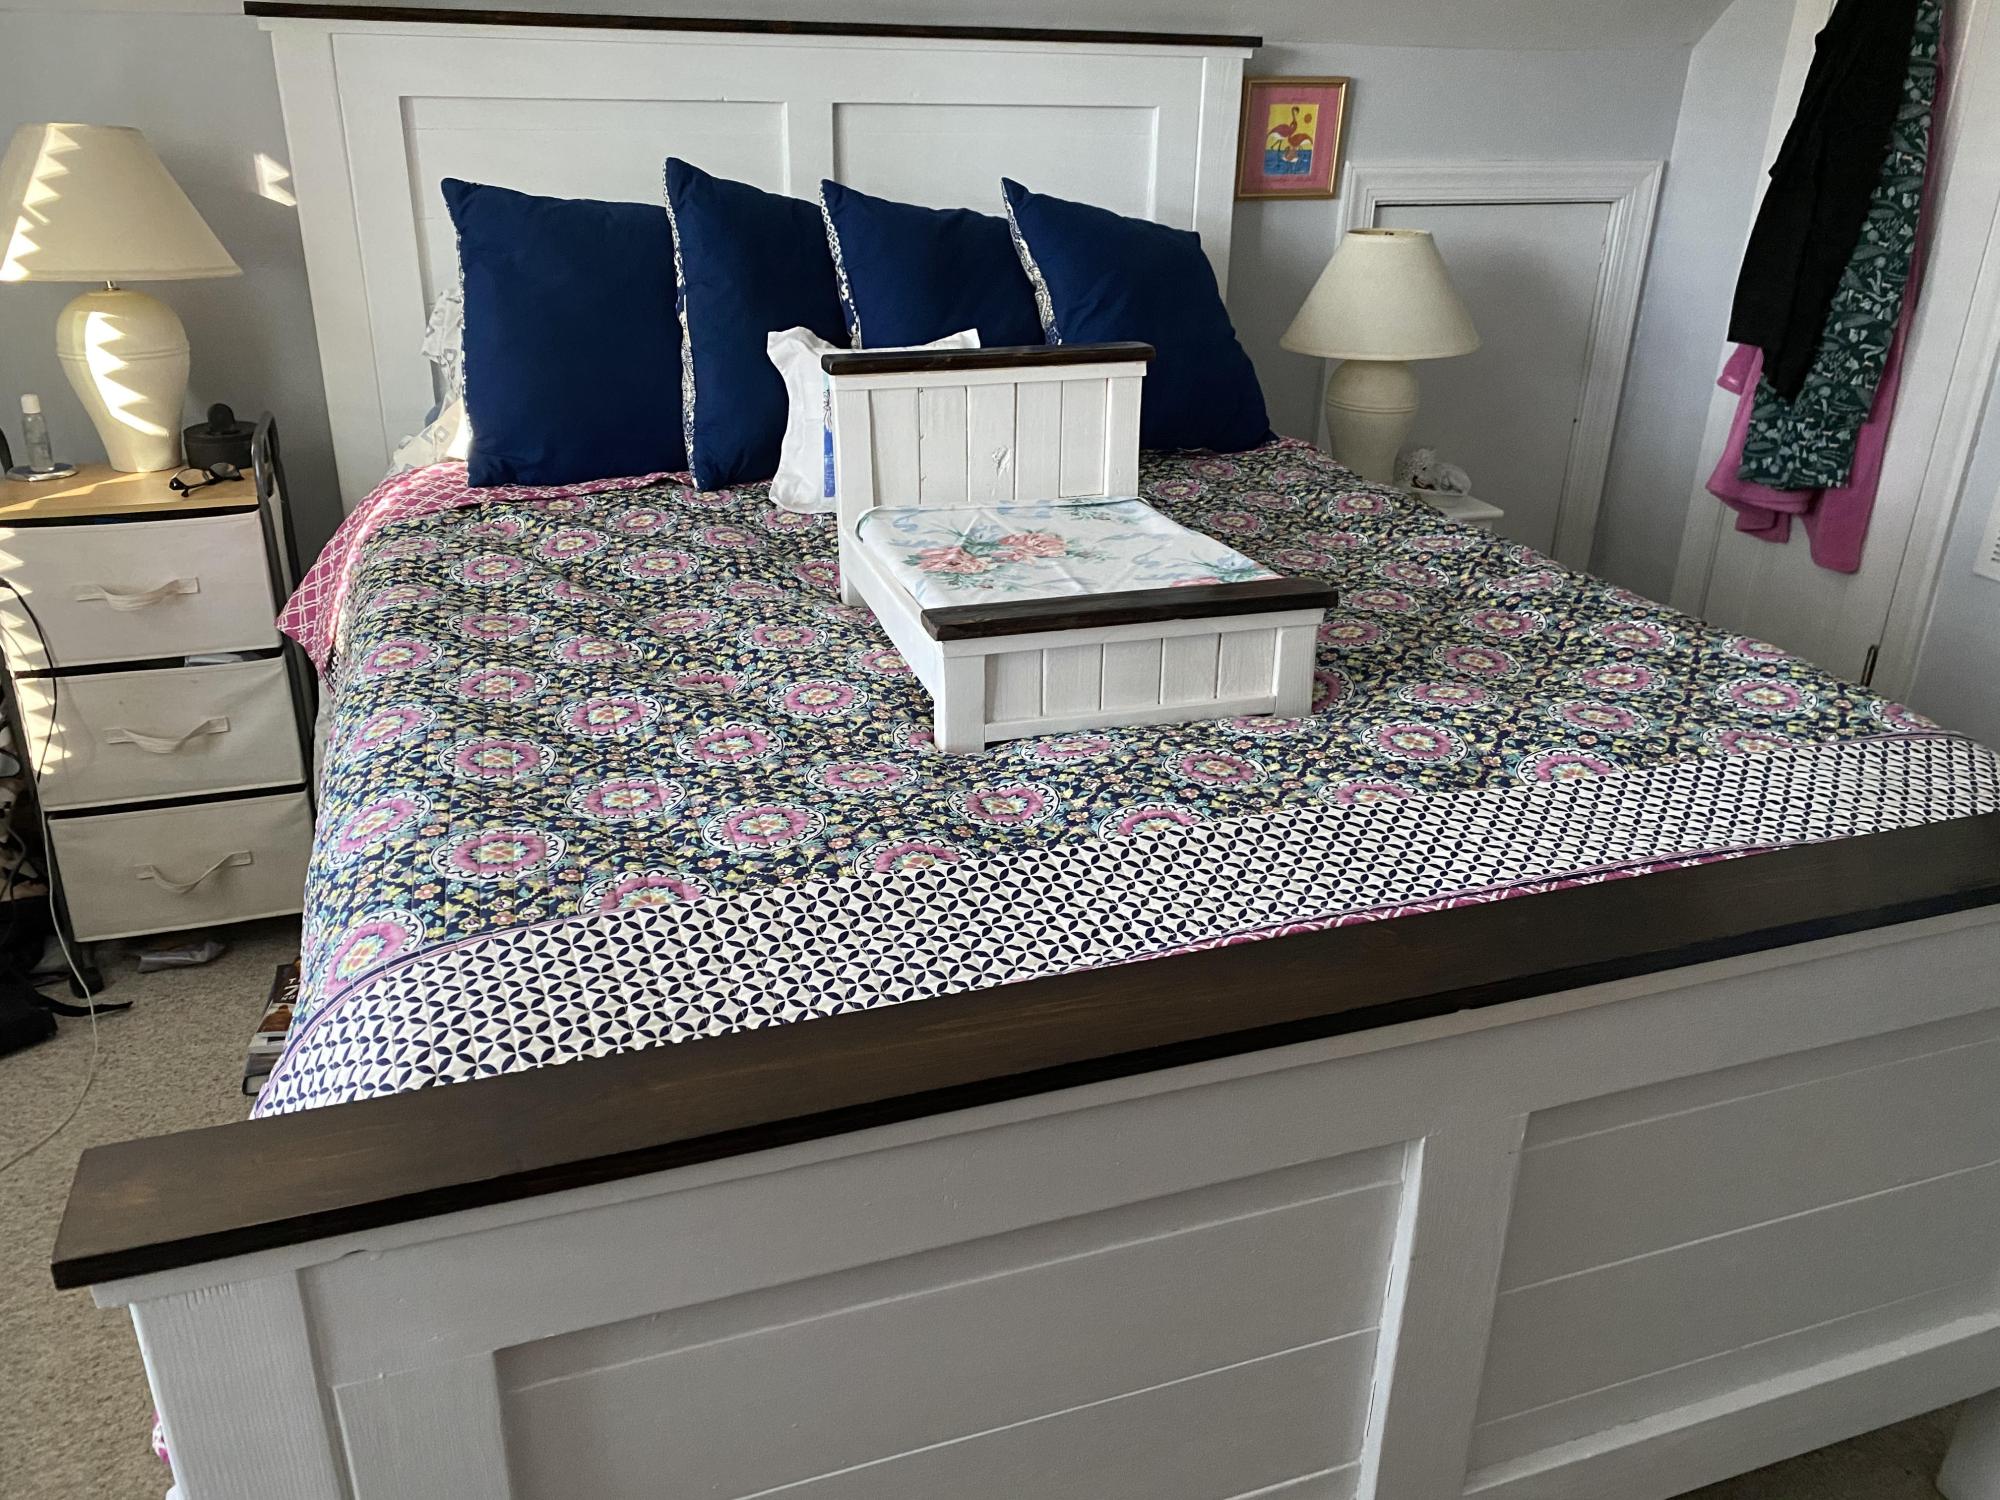
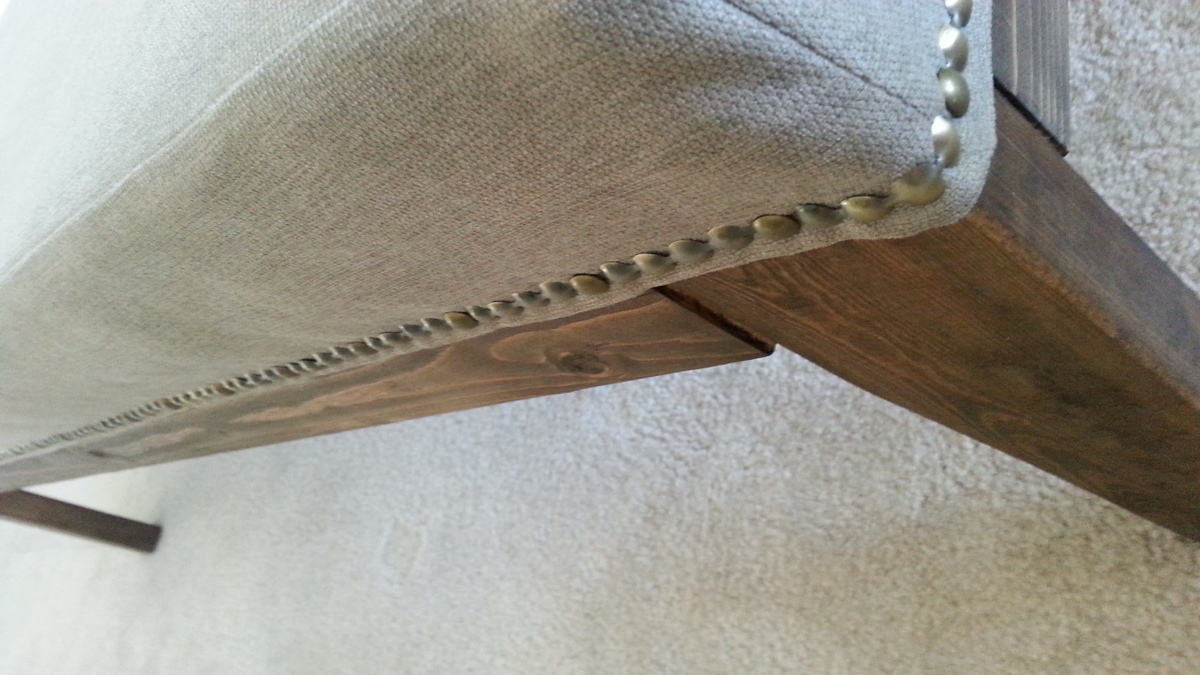
For the bench, I whitewashed with a white paint, then rough sanded, to expose the wood in places, then where the wood is exposed, I added dark stain, then wiped clean to give that worn, paint flaking appearance.
For the bench, I whitewashed with a white paint, then rough sanded, to expose the wood in places, then where the wood is exposed, I added dark stain, then wiped clean to give that worn, paint flaking appearance.
Recommended Skill Level
Beginner