Community Brag Posts

Mars Map

Submitted by brittanyj on Thu, 12/28/2017 - 13:59

This was a time intensive gift made for the husband for Christmas.  Found a really cool Mars Map that's in print here: https://www.etsy.com/listing/387457074/mars-map-8x8-letterpress-redwhit…
That we saw in store at the amazing Boys Fort in Portland.  Decided it might be cool to make a wood wall hanging from it, and woodburn the image.  

Traced image onto wood with graphite paper, then took versatool from Michael's and woodburned for the next 20,000 hours : )  It was a ton of work, but in the end, a completely one of a kind, personalized gift that I know he'll love on his office wall.  Real conversation piece.  Cool stuff!

Estimated Cost
Scraps, $15 woodburner
Estimated Time Investment
Week Long Project (20 Hours or More)
Finish Used
Varathane poly
Recommended Skill Level
Intermediate

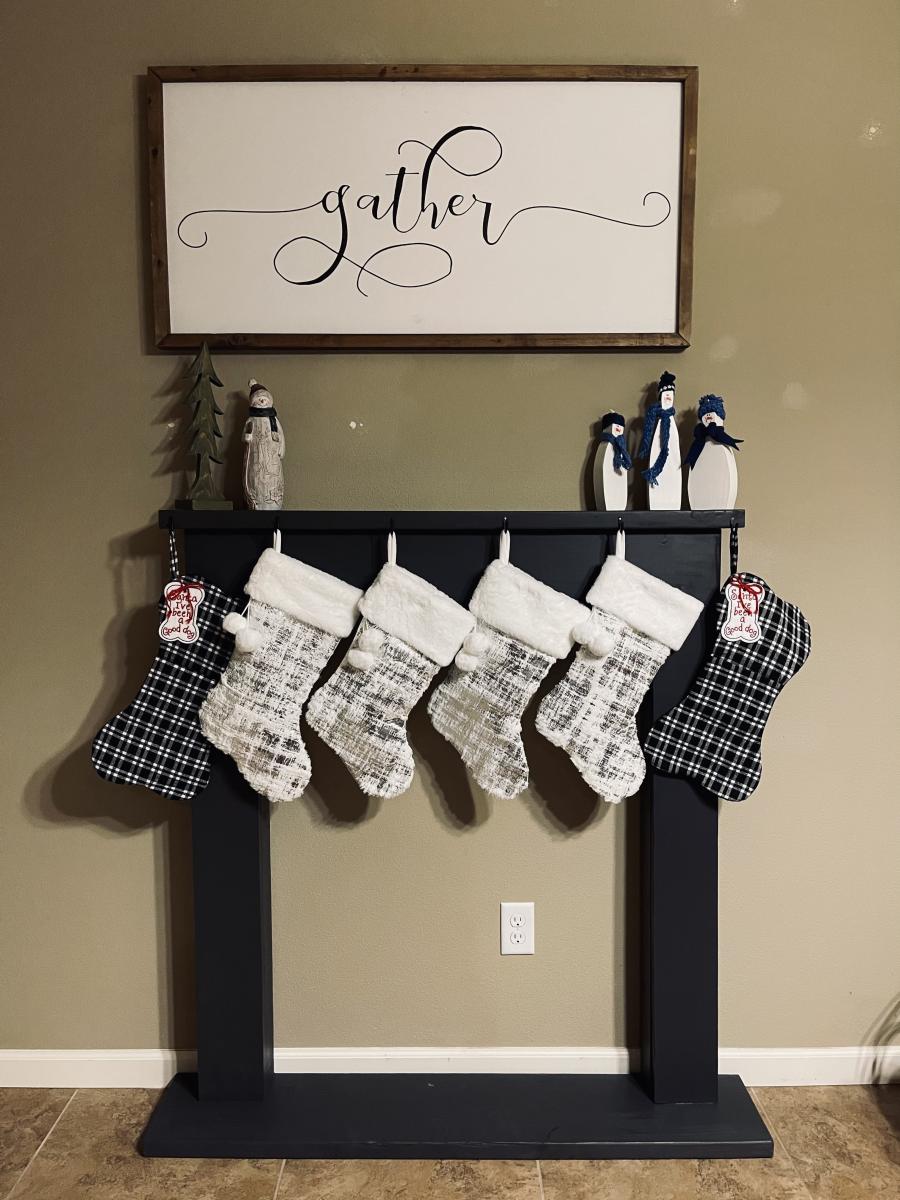
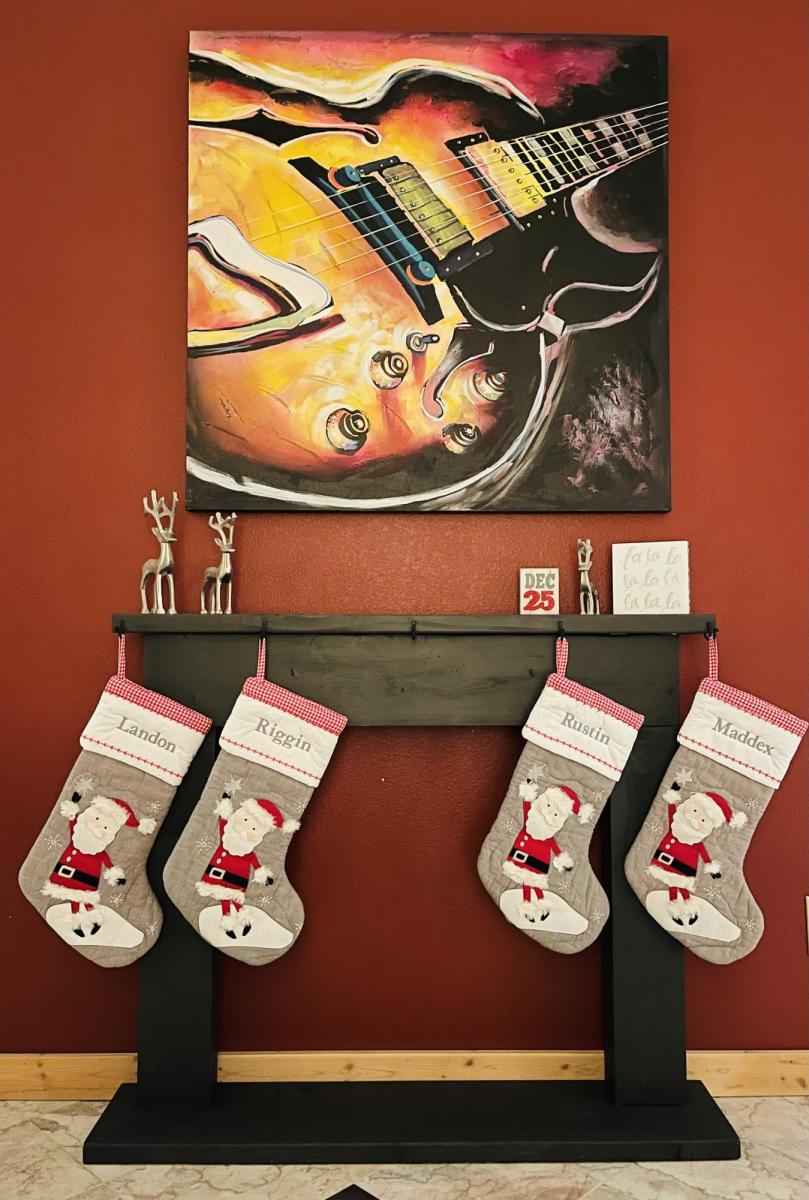
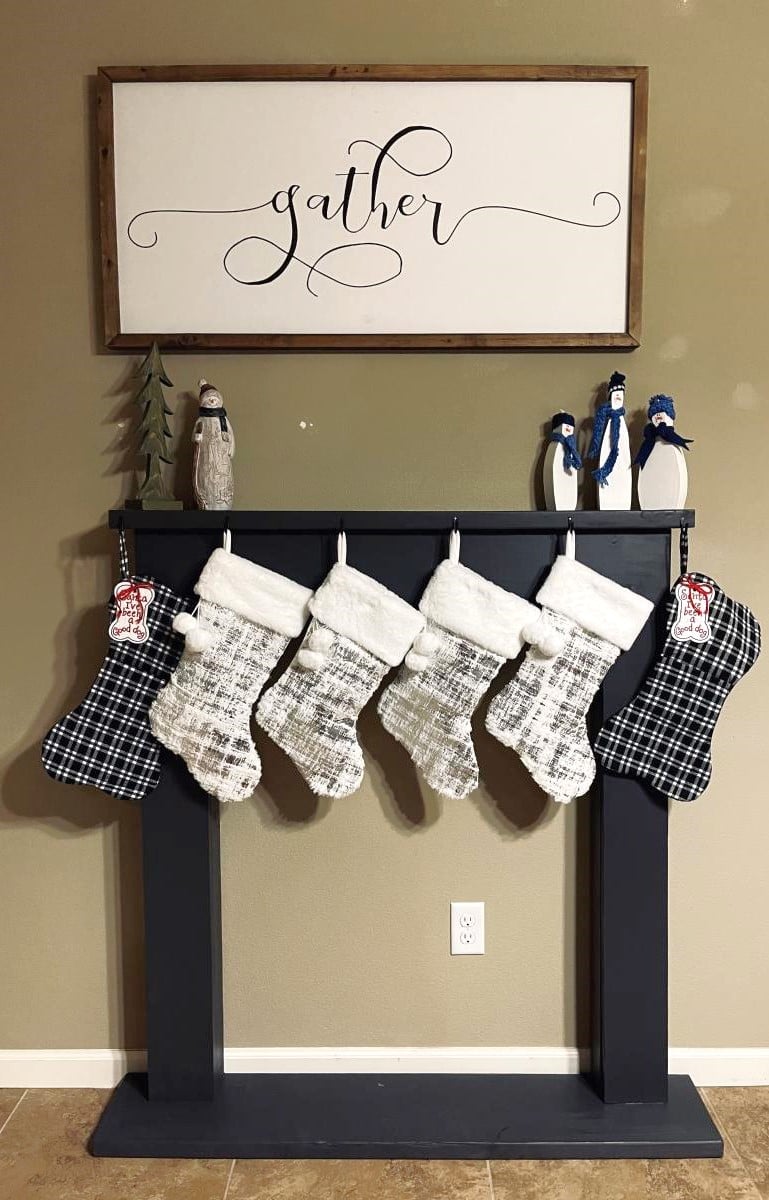
Christmas Stocking mantle

Submitted by Anonymous (not verified) on Sun, 12/26/2021 - 13:22

I made 2 different-sized mantles, one for my daughter’s house (taller and wider) and one for mine.

Built from Plan(s)

Comments

Seasonal And Holiday

Tryde Coffee Table

I built Ana's Tryde Coffee Table.  Building was quick and easy and I am in LOVE with my new table!!!   You can see the modifications I made at our blog http://www.shanty-2-chic.com/2011/04/coffee-table-reveal.html

Built from Plan(s)
Estimated Cost
$40
Estimated Time Investment
Afternoon Project (3-6 Hours)
Finish Used
Minwax Dark Walnut and Rust-oleum Heirloom White Spray Paint
Recommended Skill Level
Intermediate

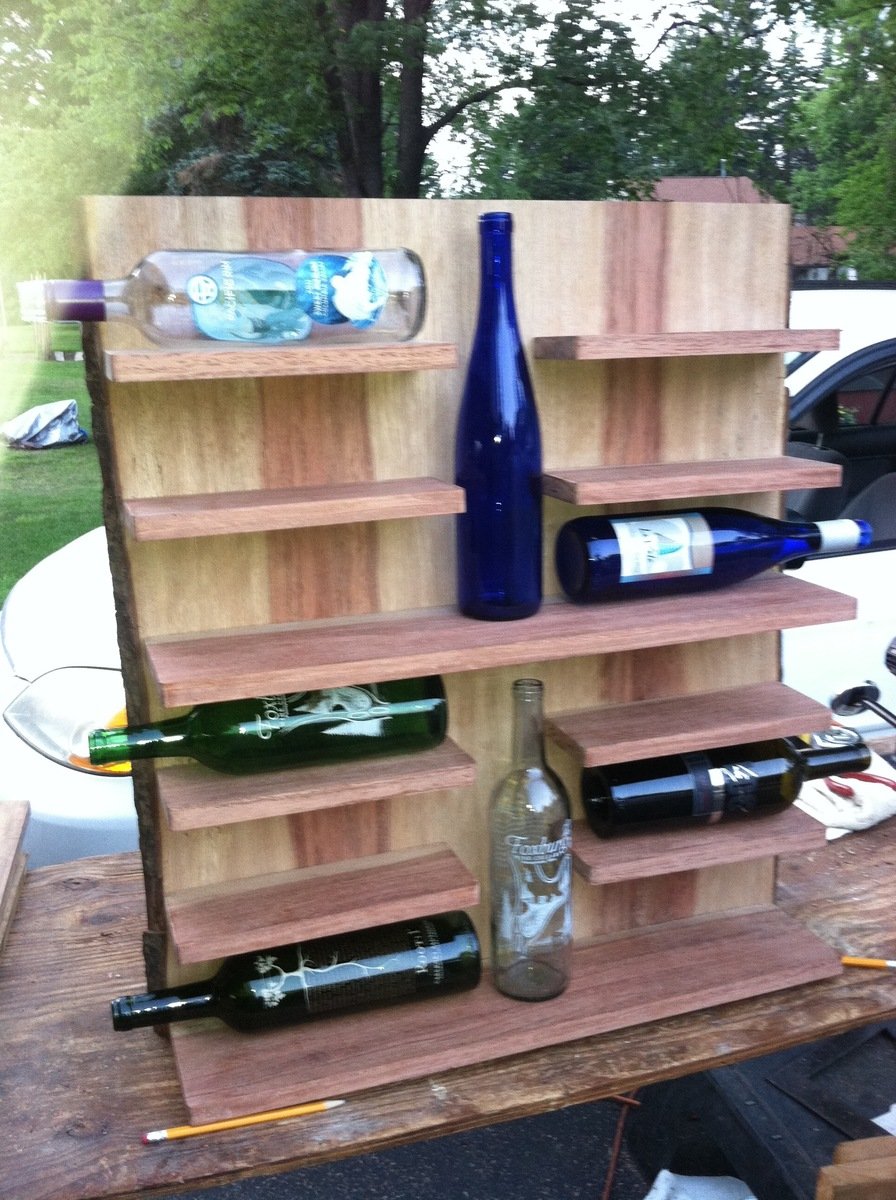
WALL-MOUNTED WINE RACK

Submitted by crowner123 on Mon, 06/24/2013 - 14:54

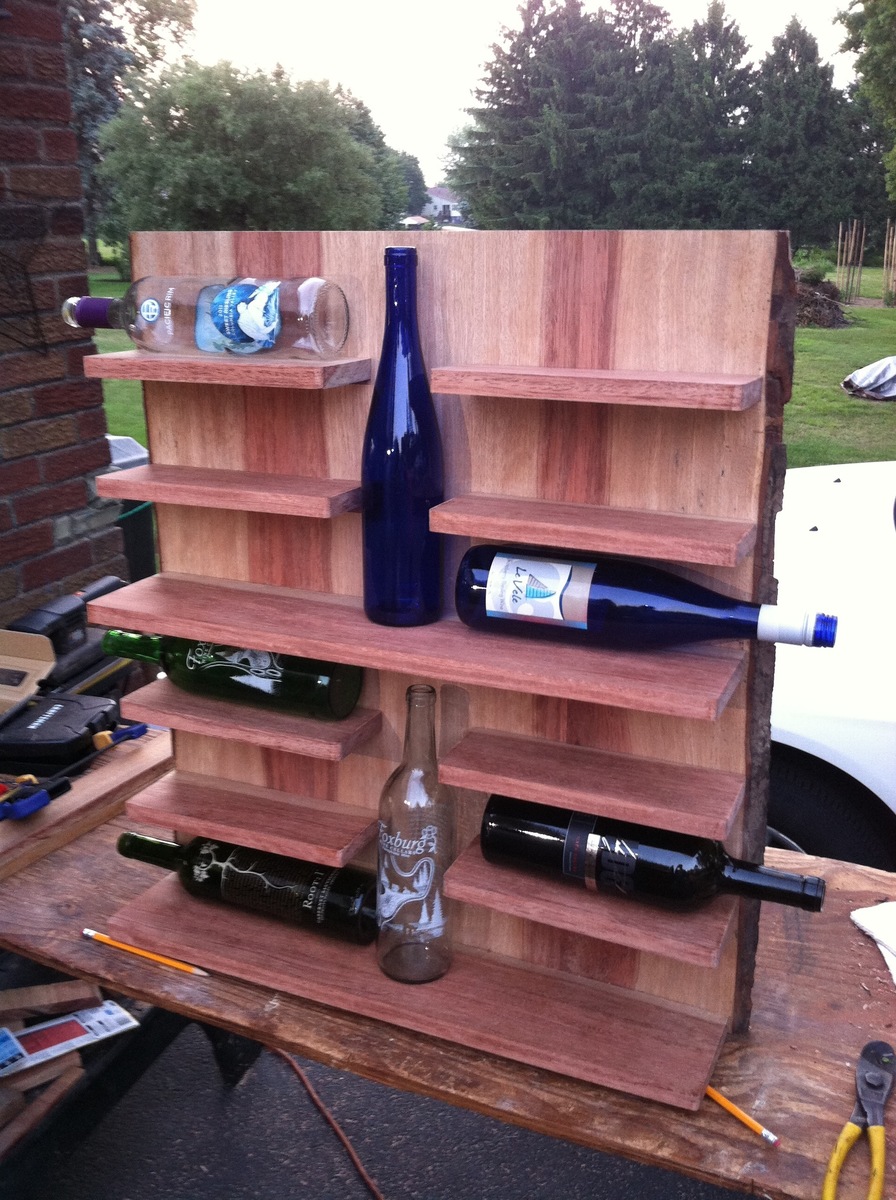
This was a rack I helped my dad make so he could give it as a wedding gift. This is an attempt to build from plans that Ana posted here:

http://ana-white.com/2011/11/wall-mounted-wine-rack-dont-forget-erase-y…

We took 2 long long cherry boards with bark still on the sides, and ran them through the planer. Then we ripped them down the center to be able to use bark ends on each side and book-matched the cherry colors, but most people wont have to worry about that since they wont be using "found" cherry.

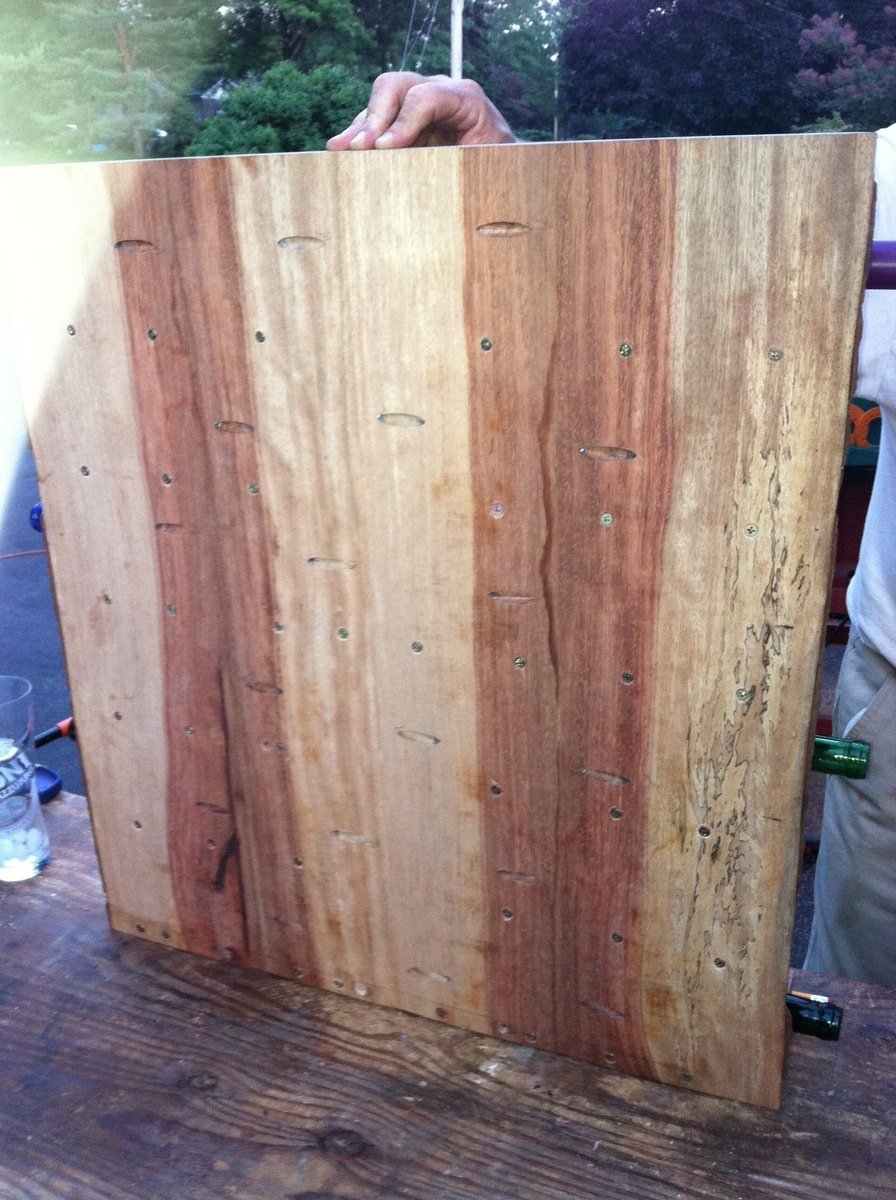
The back board is made up of four 1x7s cuts at 28.5 inches long. You can use whatever width you want, we just wound up with 7inch pieces. Then we used a Kreg Jig to screw those together flush (see picture of back). Once those 4 pieces were together we sanded the edges down to make the backboard smooth and flush.

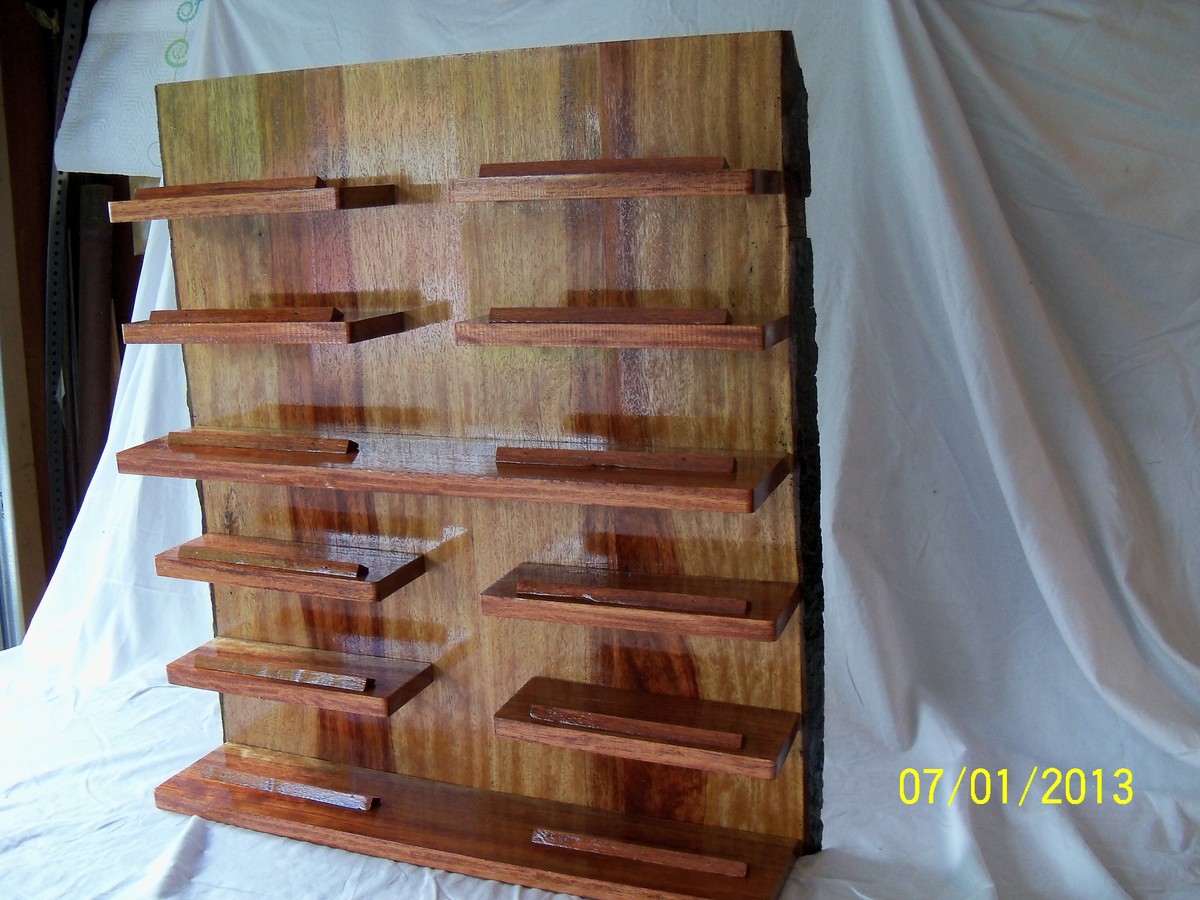
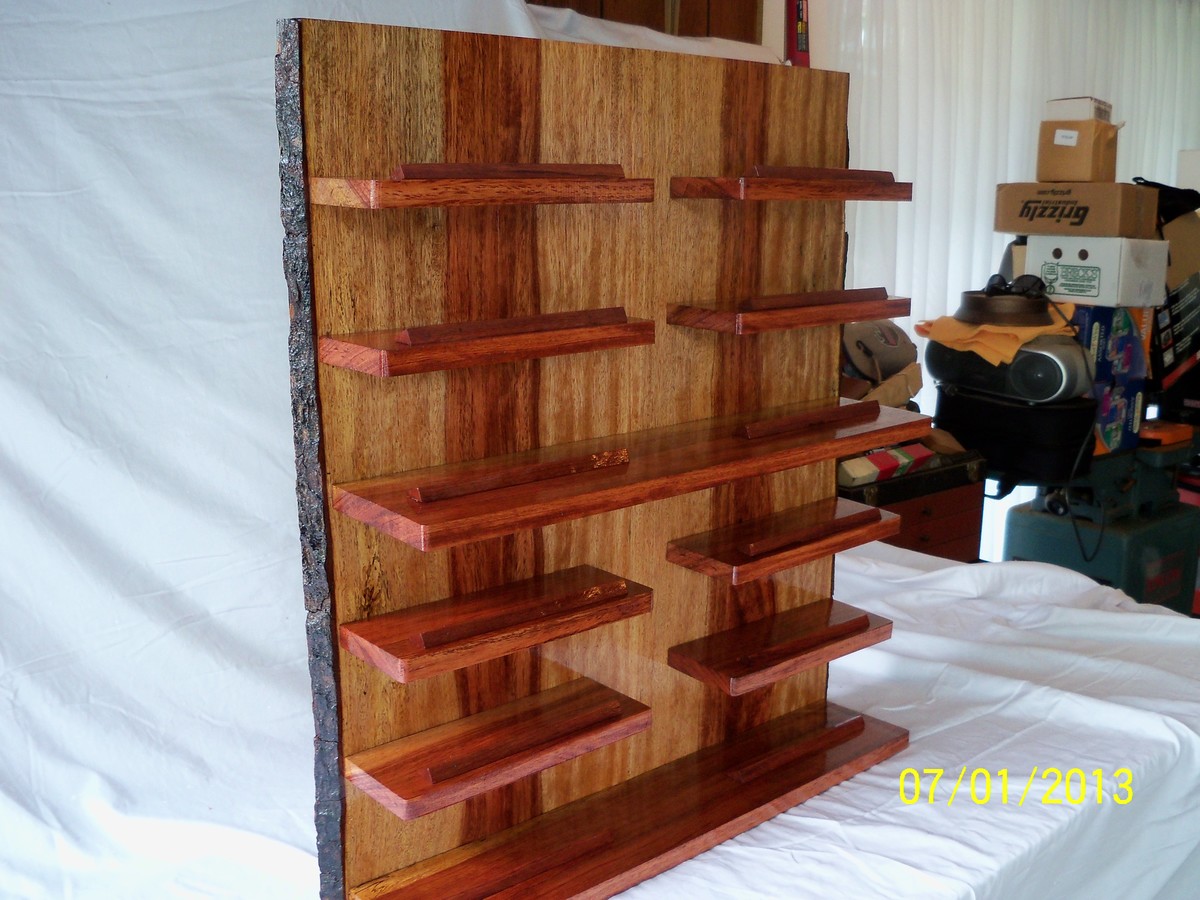
The 8 mini shelves were 1x3.5s cut at 10 inches long. The middle and bottom shelves were 1x5s cut at 24.75 inches long. Again, we were using limited wood and had to adjust our measurements to make it work.

We spaced the bottom shelf flush with the bottom of the backboard and then would space 4.5 inches between the top of that and the bottom of the next shelf. Make sure there is still room for your wine bottle to fit between the floating shelves. ALSO, MAKE SURE YOU KEEP THE FLOATING SHELVES ACROSS FROM EACH OTHER LEVEL WITH ONE ANOTHER. You don't want your shelves to look lazily placed.

The way we placed the shelves on backboard was...involved.
- Clamp the shelves in place on the front of the board and trace them with pencil.
- Remove the shelves.
- Marke holes to drill within center of the trace.
- Drill those holes from the front of the board to the back.
- Reclamp the shelves back on and use the holes in the board to mark the clamped on shelves from the back.
- Unclamp the shelves and fully drill the shelves by themselves while they were not attached. (BE CAREFUL TO DRILL STRAIGHT and never come through the top or bottom of the shelf)
- Sand off your pencil marks after your drilling.
- Re-clamp the shelves to the backboard.
- Use 3" screws straight from the back into the shelves.
- Use 8 screws per big shelf and 3 screws per little shelf.

Then it was just slow and steadily clamping, tracing, drilling, re-clamping, drilling, sanding, re-clamping, and screwing the shelves on... You have to follow that pattern for each shelf or you risk ruining your shelf and if you have limited wood (like we did) that is not an option.

We also put very small pieces of wood to keep the bottles from rolling off their shelves. These were just scraps we had lying around and tapped them in with small finishing nails.

Good luck!
Estimated Cost
$50
Estimated Time Investment
Weekend Project (10-20 Hours)
Finish Used
These photos were taken pre-finish. That is just how beautiful the cherry looks! We will be spraying on a high gloss clear finish and we'll be done.
Recommended Skill Level
Intermediate

Hexagon Table

Submitted by german_mot on Sun, 06/07/2015 - 06:51

Anna, thanks for your project! I only strengthened it a metal plate in the center, extended sitting on 4" and feet connected bolts.

Recommended Skill Level
Advanced

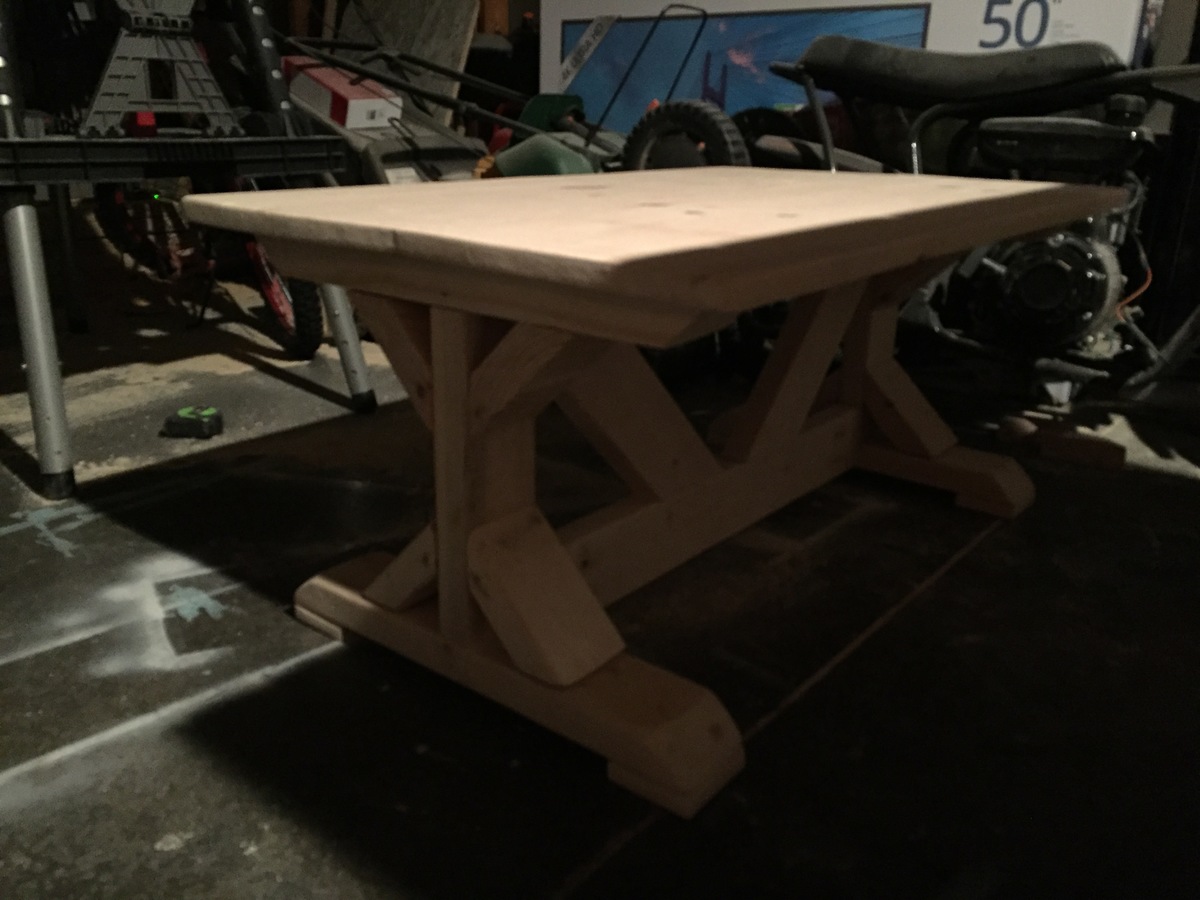
Fancy X farmhouse coffee table

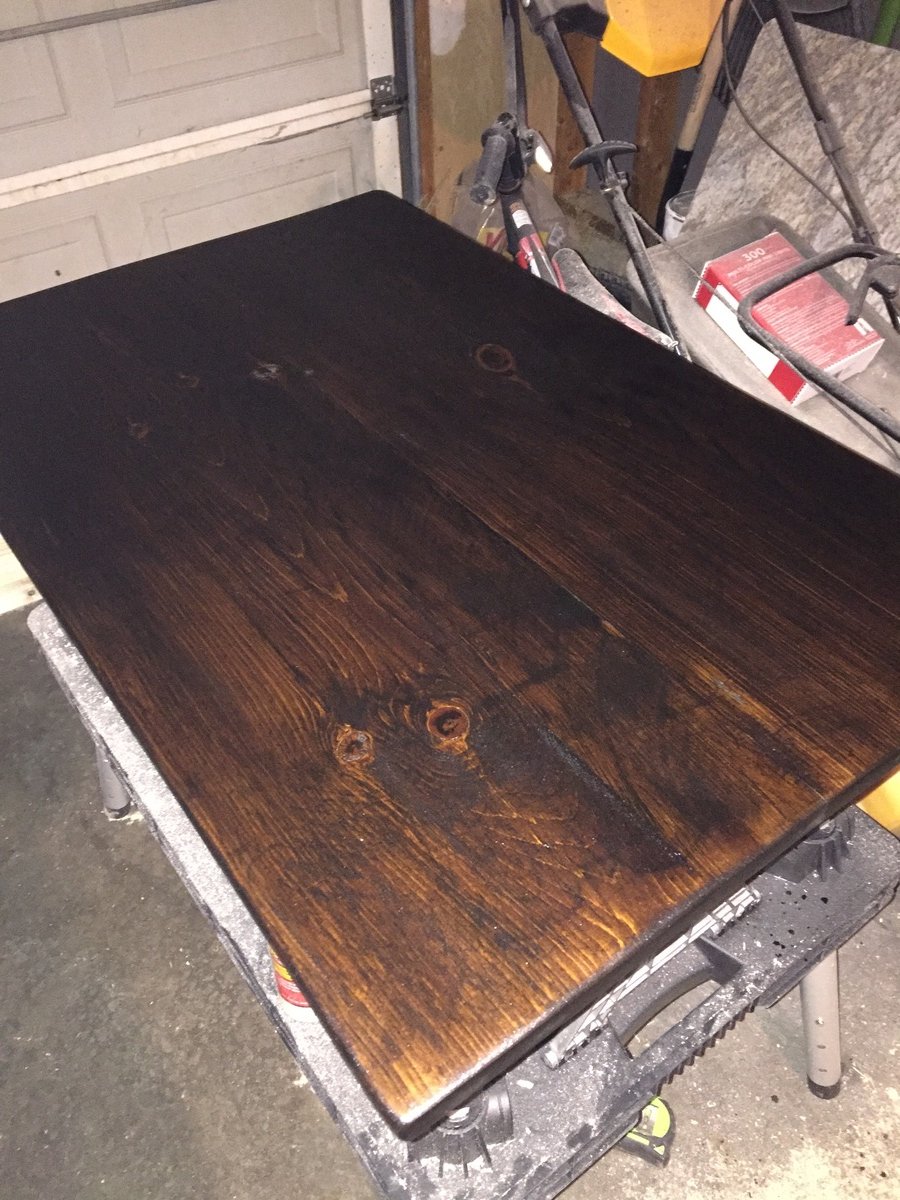
It’s not done yet, but I wanted to share my coffee table with y’all. I made it with the same proportions as Ana’s fancy x kitchen table just 3ft wide and 16 inches high. It’s going to be the same finish as Ana’s too. Dark walnut with satin polyurethane.

Built from Plan(s)
Estimated Time Investment
Afternoon Project (3-6 Hours)
Finish Used
Dark walnut
Recommended Skill Level
Beginner

Comments

Covid projects

Submitted by Anonymous (not verified) on Sun, 12/26/2021 - 14:58

Merry Christmas Ana, Just a few of my projects inspired by your great work. I have no carpentry experience other than shop class 40 years ago. Love doing wood work thanks to you.
Happy New year Mikw

Comments

Footbridge

Submitted by sooz122 on Tue, 04/26/2011 - 18:36

I wanted to make a footbridge for my mom so she wouldn't get muddy when she crosses a small drainage ditch when goes walking on the trails behind her house. I didn't have a plan and this was my first build and I loved it! I just wanted to give everyone an idea of something to build. Can't wait to build more.

Estimated Cost
45
Estimated Time Investment
Afternoon Project (3-6 Hours)
Finish Used
Dark Minwax Walnut with a couple coats of poly.
Recommended Skill Level
Beginner

Workbench

Submitted by e1p2m3 on Wed, 06/26/2013 - 06:52

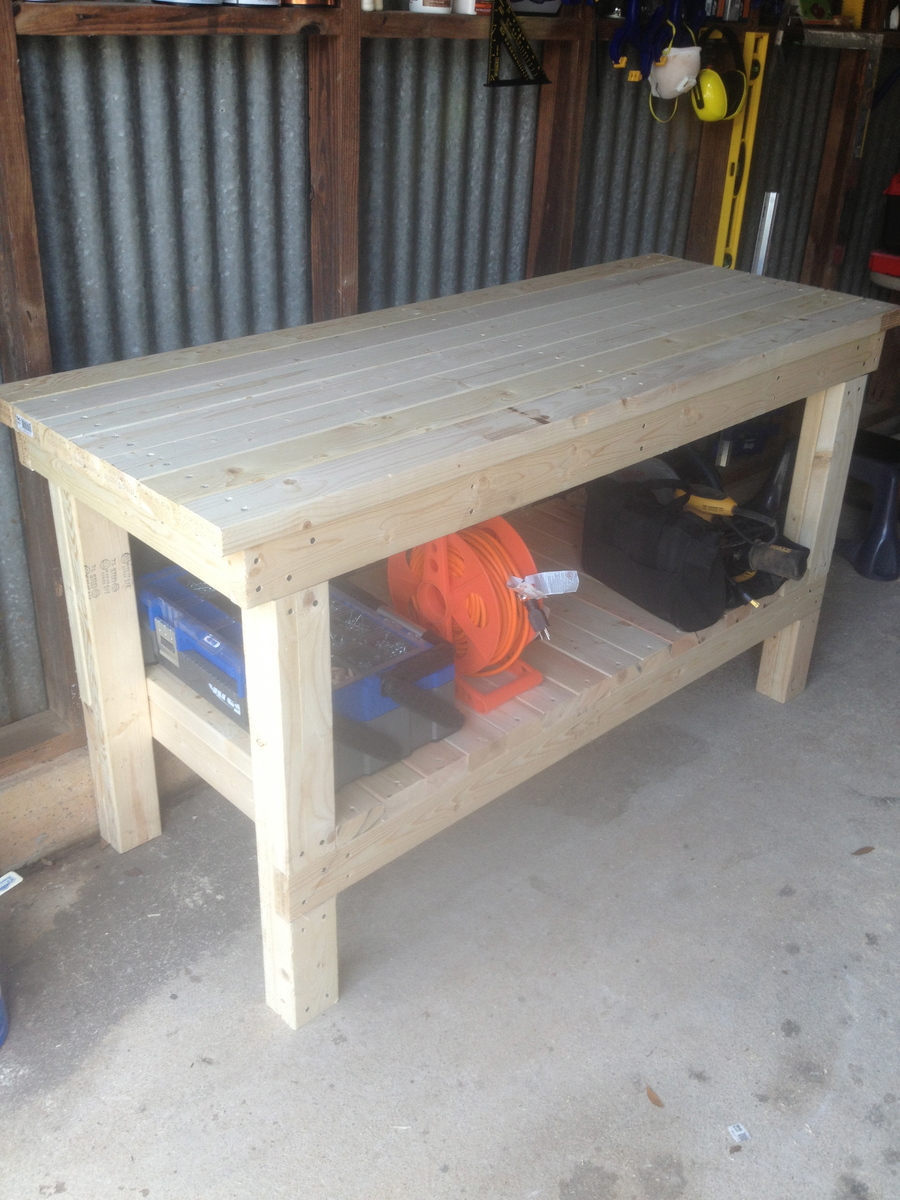
This is from the "Workbench to Get the Job Done" plan. Instead of using plywood for the shelves, I used 2x4s cut to length which made the piece extra sturdy. I also left a little overhang on each of the ends for clamping things (I wish I left at least 3" on each side, but I think I left about 1 1/2").

Estimated Cost
50
Estimated Time Investment
Afternoon Project (3-6 Hours)
Finish Used
None
Recommended Skill Level
Beginner

Console

Submitted by cjlaw on Wed, 06/10/2015 - 13:44

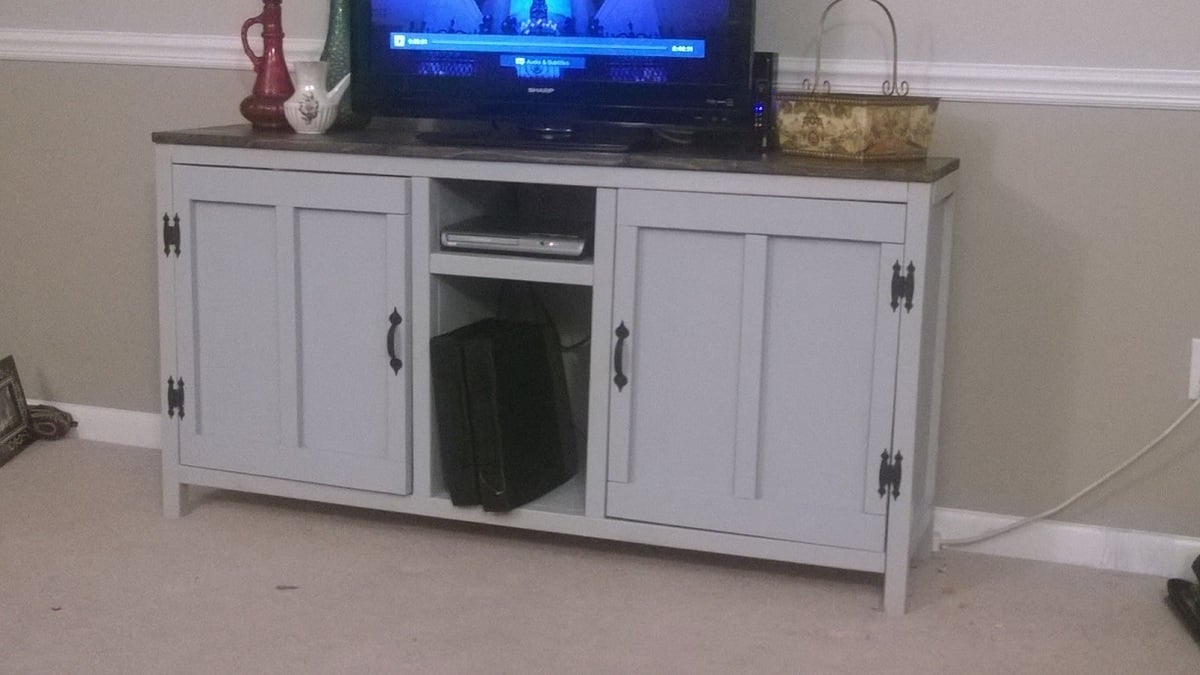
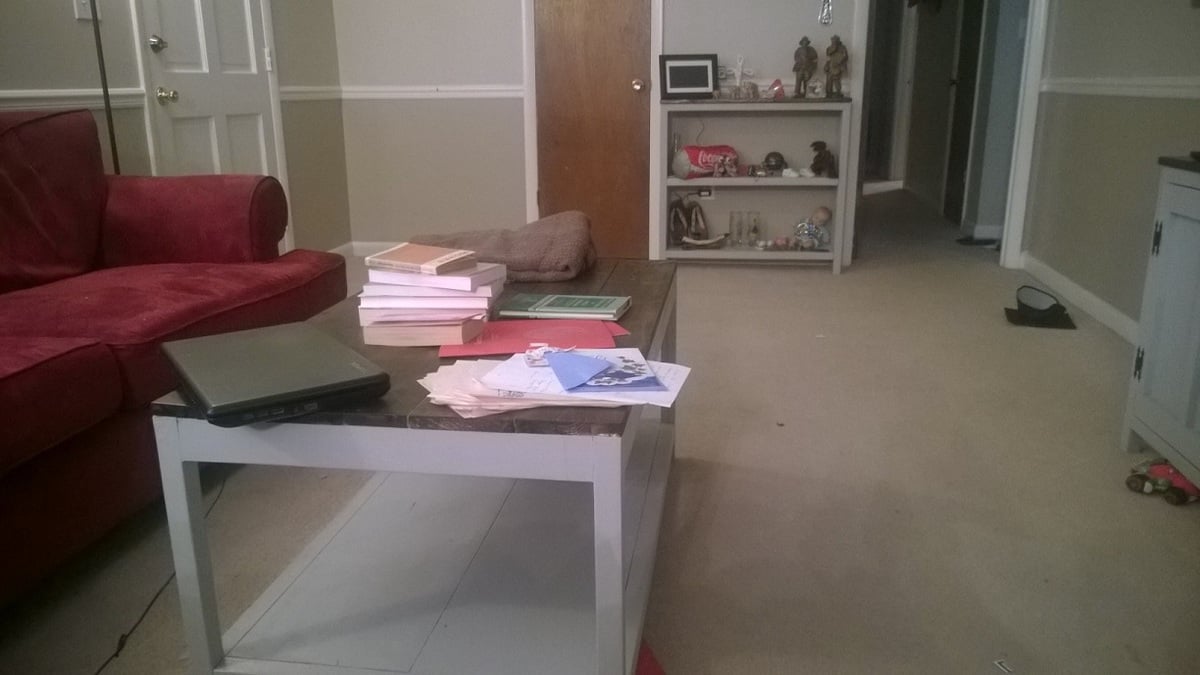
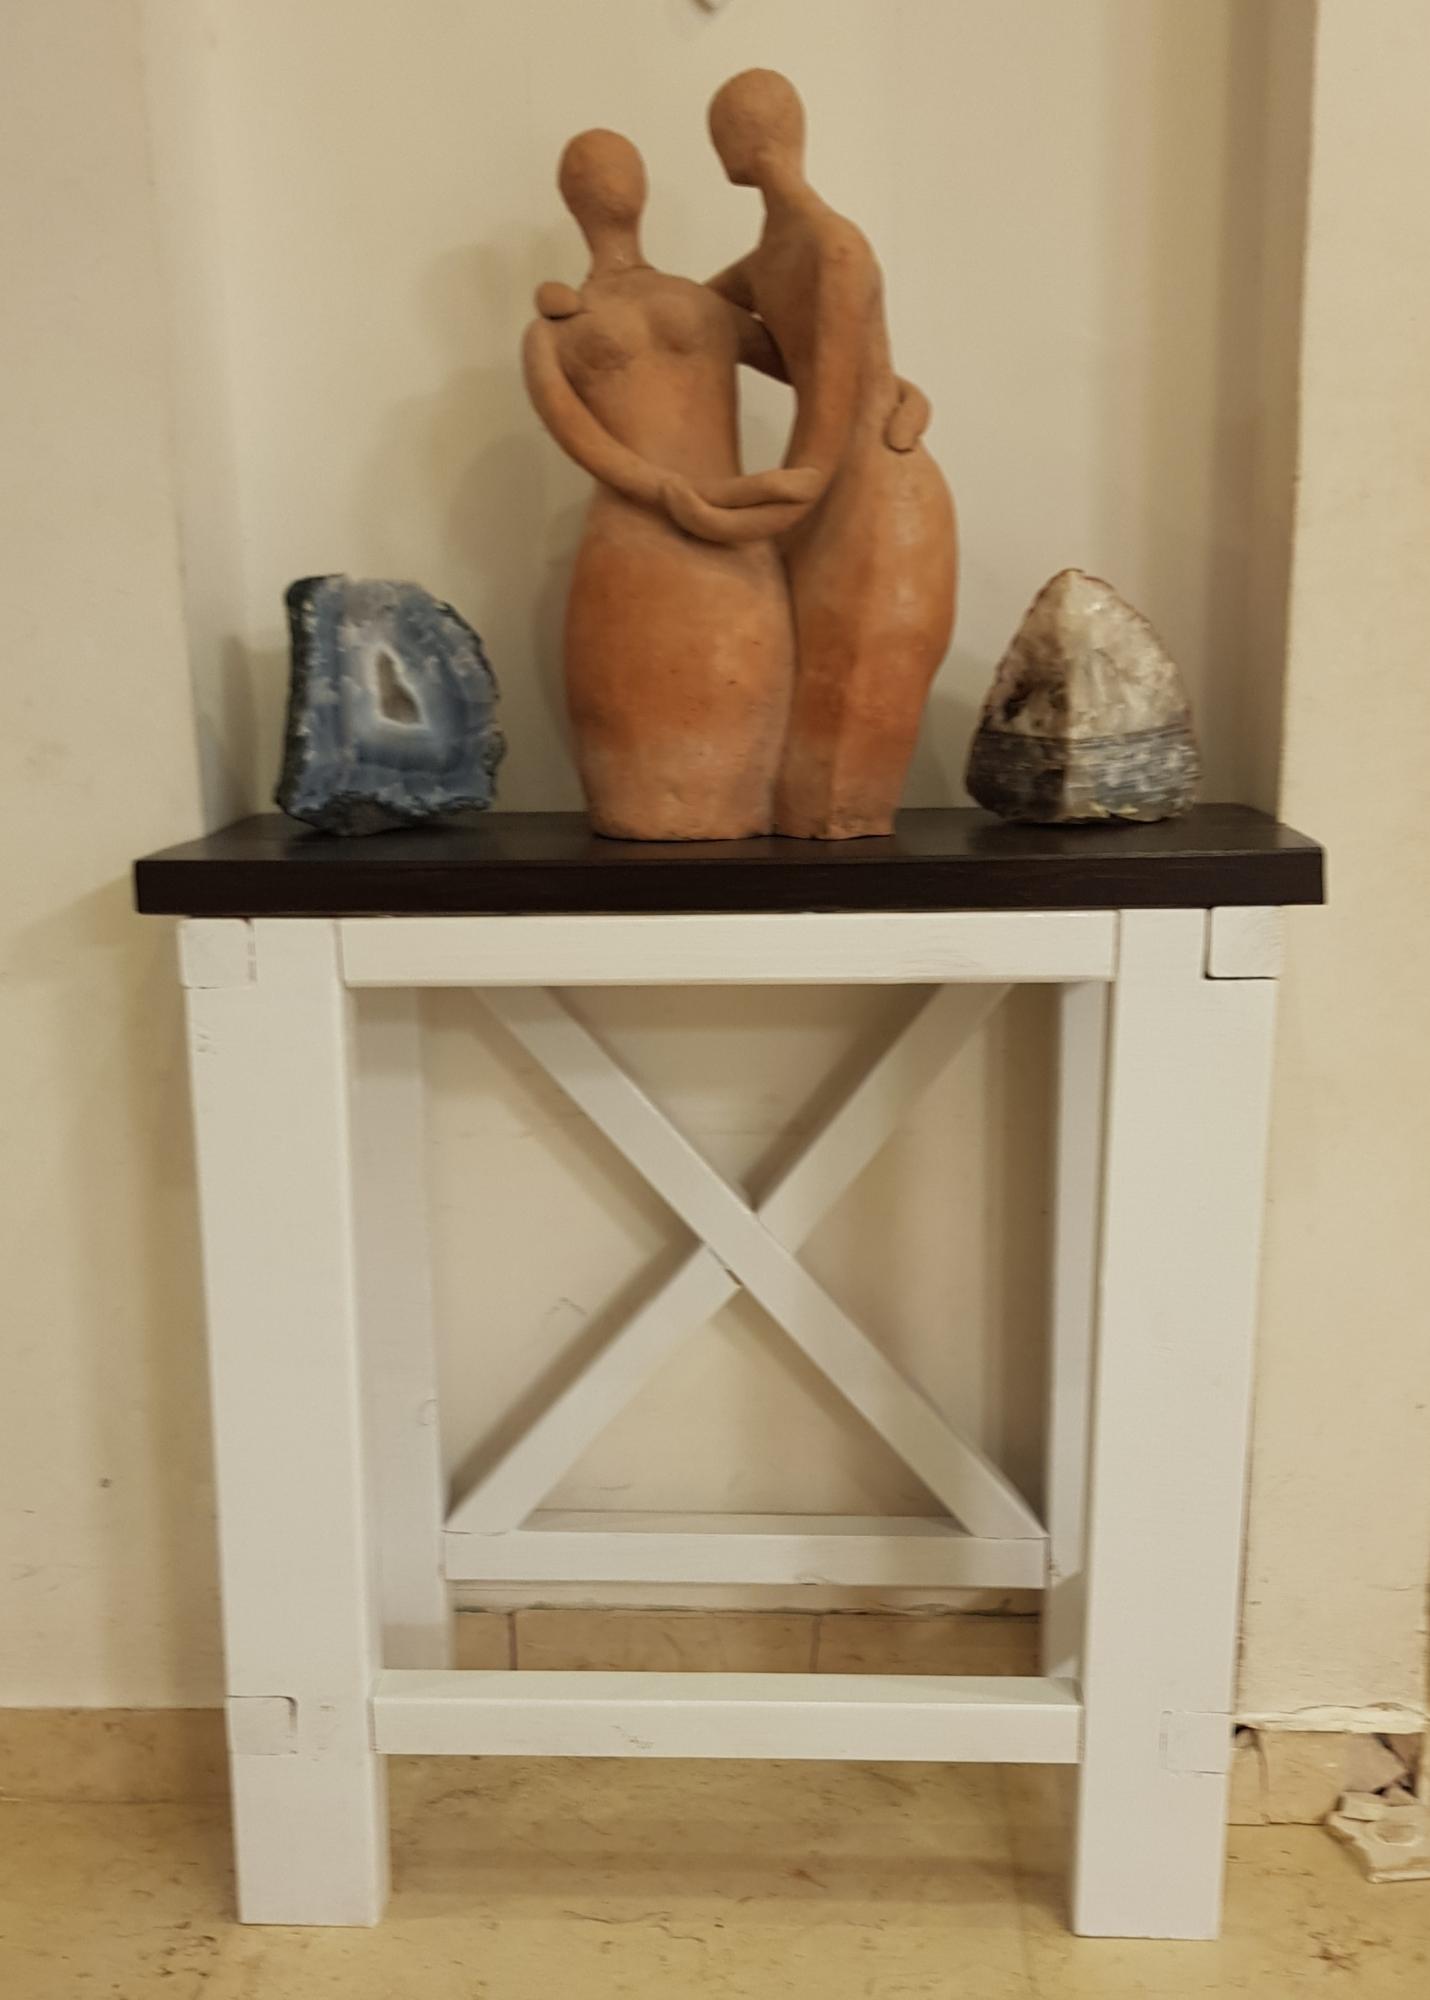
We really liked the design of the console table. We built an entry way table and a coffee table to match. We did change some of the measurement to suit our particular needs. We are very happy with how this one turned out. Next we plan on making some end tables to match also.

Built from Plan(s)
Estimated Time Investment
Afternoon Project (3-6 Hours)
Finish Used
Stained top and painted bottom.
Recommended Skill Level
Beginner

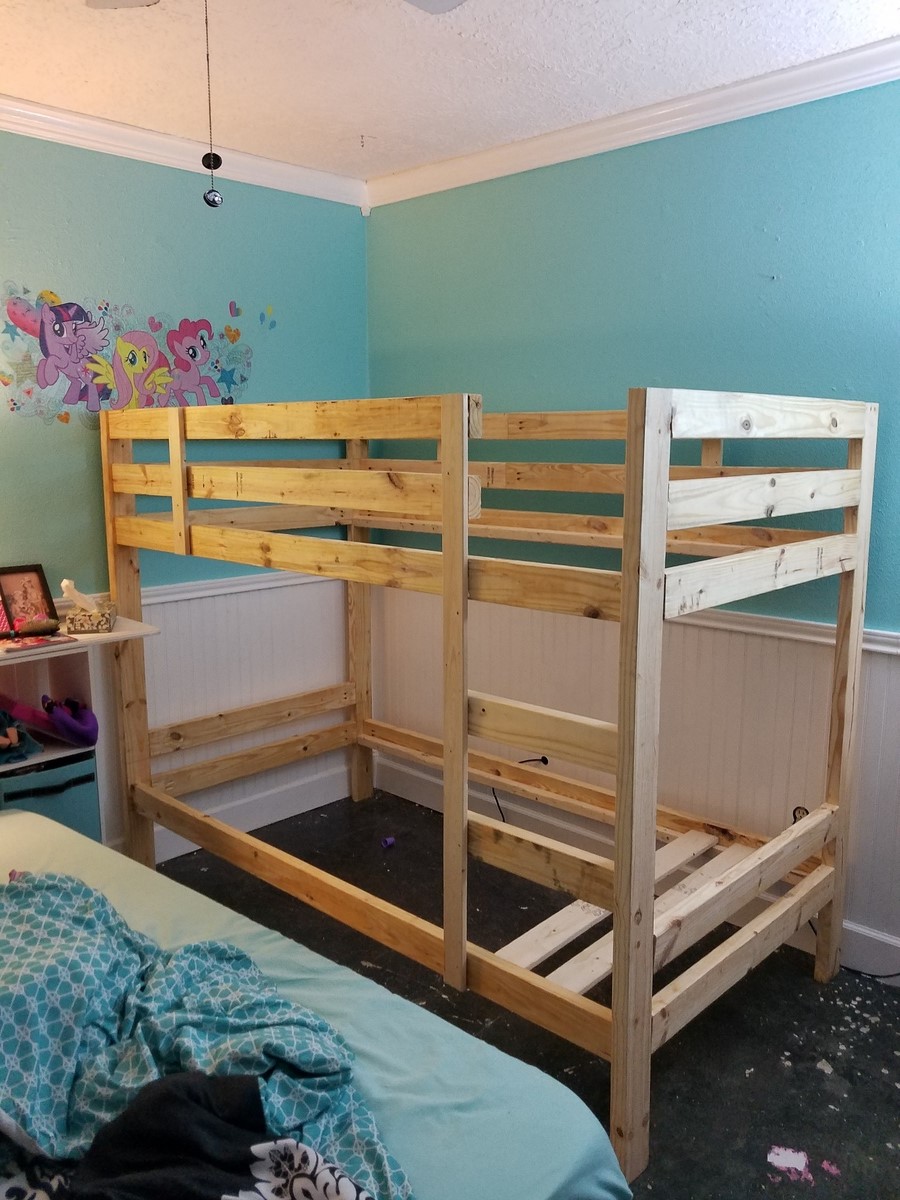
Sweet dreams bunk bed

Built this for our 6yr old. She has decided she wants it to be pink so we picked out a beautiful Aubrey Hepburn worthy shade and will update our photo. 

Built from Plan(s)
Estimated Cost
$100 materials + $36 Pocket Hole Jig
Estimated Time Investment
Day Project (6-9 Hours)
Recommended Skill Level
Beginner

Cornhole Boards #1

Submitted by JLFarquhar on Sun, 12/26/2021 - 17:14

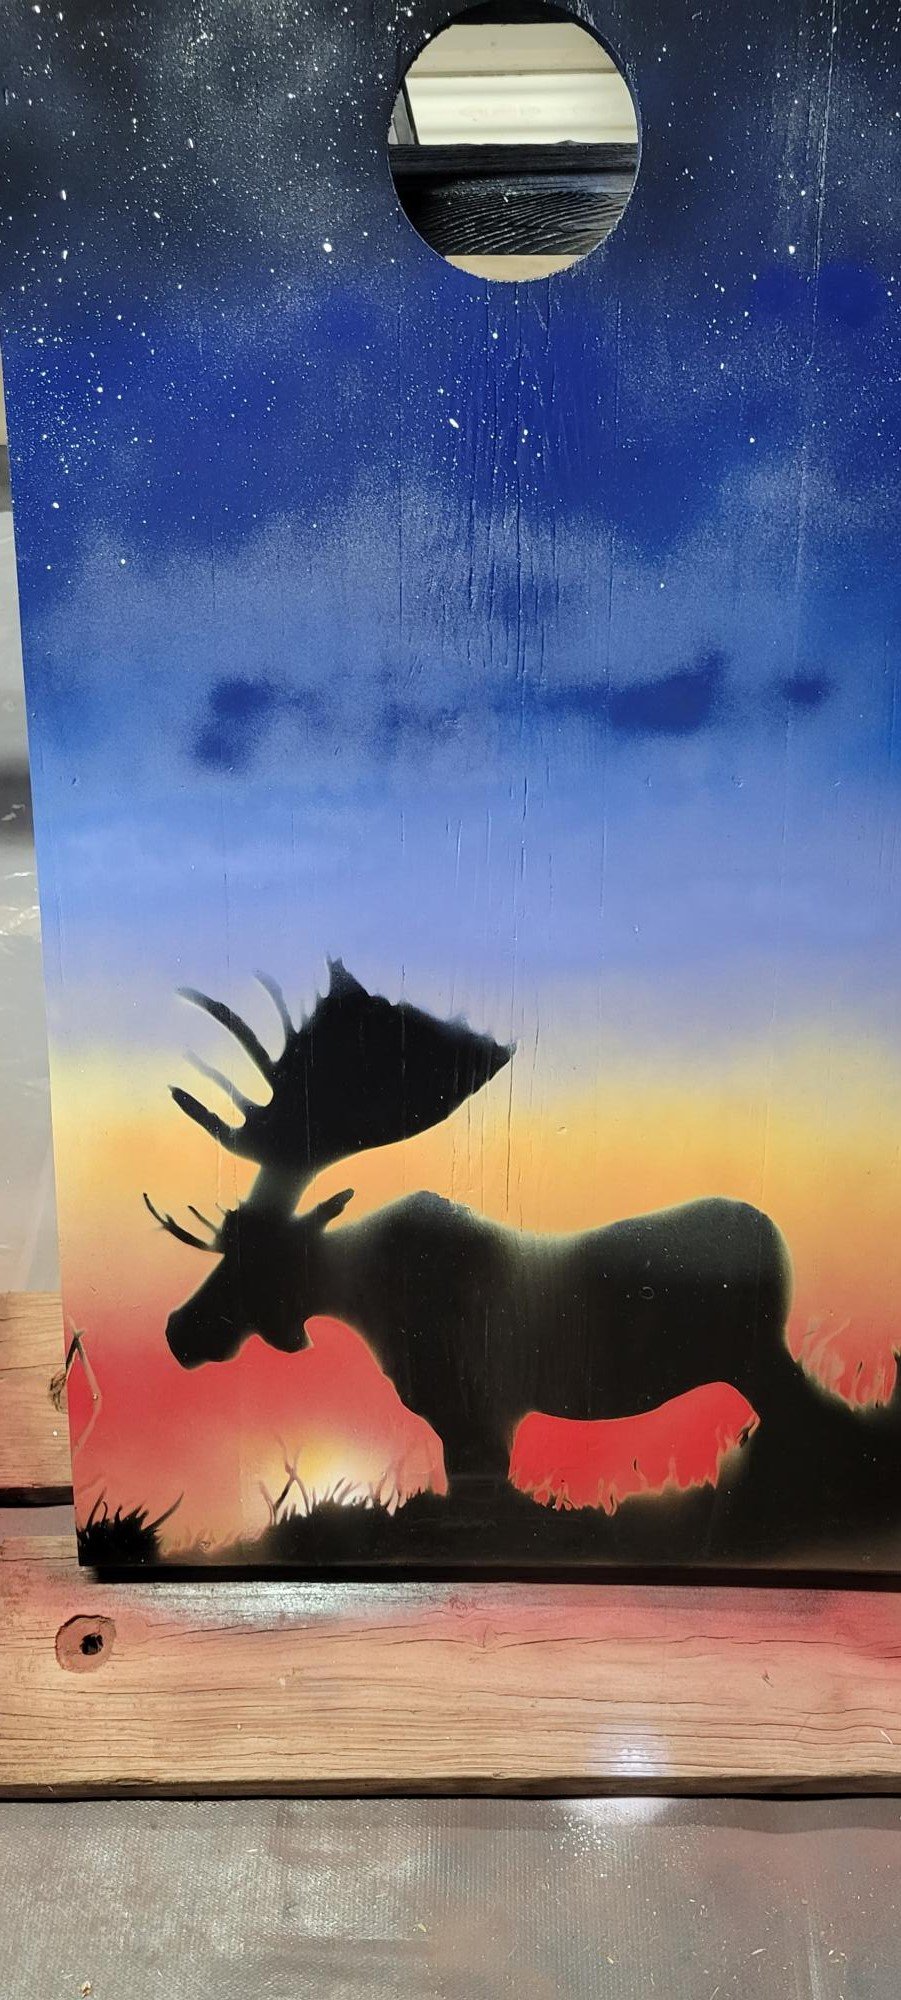
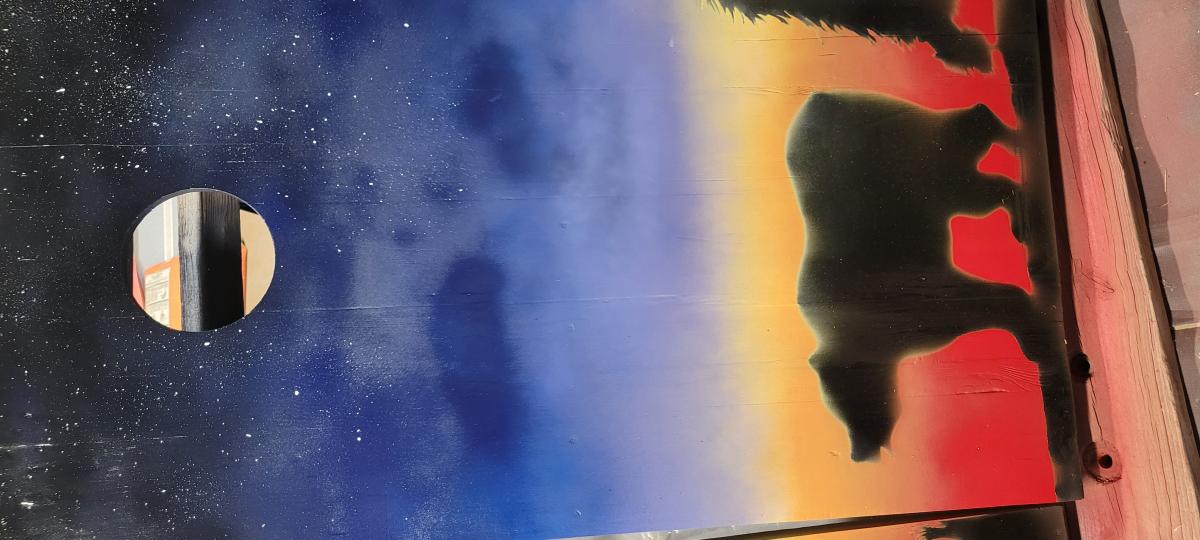
This is the first of the cornhole boards this year. Having never made such before, I learned a lot of the tips and tricks in this build. This build begins with cedar 2x4s and cedar fence pickets that I took down this last summer. I began by sanding the boards starting with 60 grit through to 320 grit with a belt sander up to 180 grit and hand sanding through 320 grit. The frame was glued up with Titebond II, then counter-sunk #8 x 1-1/2 screws. Next, we used nine (9) different cans of Rust-Oleum semi-gloss paint to fill in the background and to cover the moose and bear senciles drawn by my wife. The boards were then coated with Minwax Poly-Acrylic (9 coats) and Howard's Bee's Wax (6). The boards are secured with 3-inch toggle fasteners and the handles are Kayak straps with four (4) screw holes; I used the same Torx screws for strength and stability.

Comments

Outdoor Pine Canopy Daybed

Submitted by evilmom on Sun, 05/01/2011 - 14:01

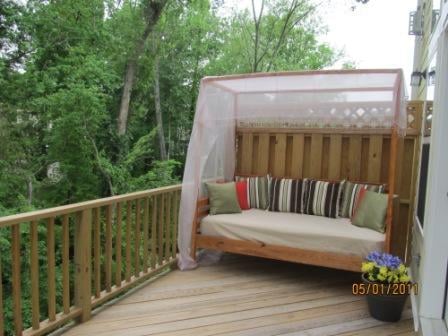
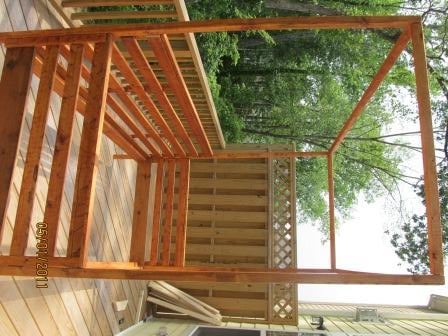
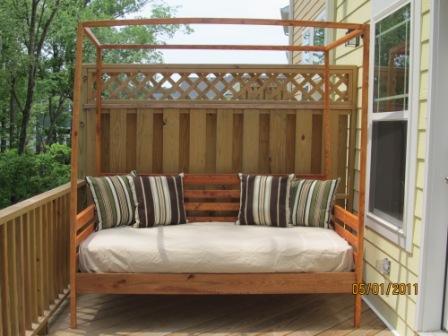
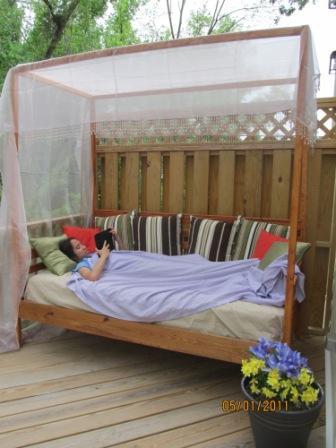
This is my first venture into woodworking/carpentry. Since I did not want to shell out too much money for lumber, I used untreated pine (worst wood they say to use) for the daybed and used an exterior wood stain (with uv protection) to seal the wood. I also did not invest in power tools and used a hammer and wood saw to cut and nail everything together. As I cannot sew, I waterproofed the mattress by sandwiching it between two plastic mattress covers (dollar store) and duct taping the seams. It's not elegant but no one is going to see it. I used a cotton fitted twin sheet (old one) for the cover and found some outdoor pillows for $16 a pair ($8 per pillow and made with solarium fabric). Also as this is placed outside (deck), I'm looking into getting a mosquito net to use over the daybed instead of the bed tent I have on right now.

In hindsight, I should have used pressure treated wood for the posts and canopy beams to prevent bending/twisting (I had to re-do 2 posts). If I get 3 years of use for this furniture. I'm a happy camper. Ana, thank you so much for the plan. Kathy thanks for the advice on painting the lumber first.

You guys can do this!

Estimated Cost
$70 for the lumber, $ 40 for stain, sand paper, nails, wood glue, $4 for mattress cover, duct tape
Estimated Time Investment
Week Long Project (20 Hours or More)
Finish Used
Olympic exterior wood stain with UV protection (oil based).
Recommended Skill Level
Intermediate

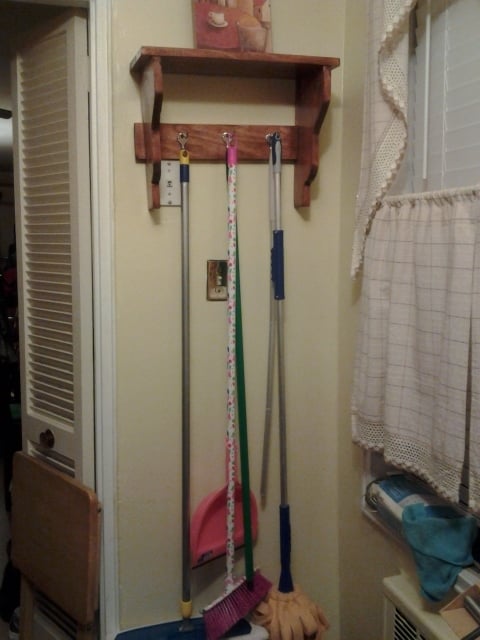
Vintage kitchen shelf with hooks

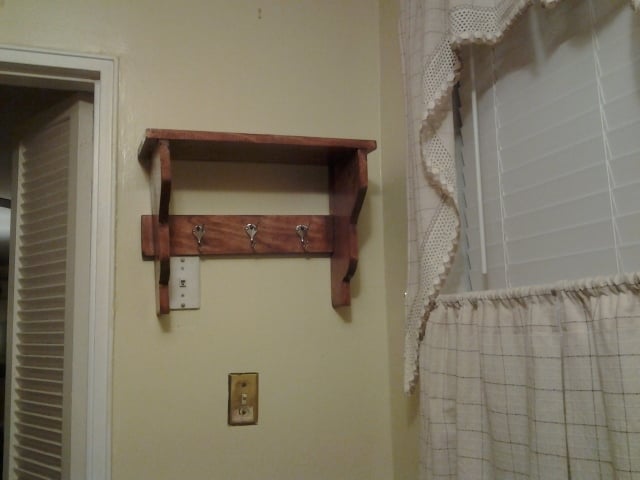
This is my first project. I had to shorten the width of the shelf to fit the space I had for it. The board on the back is also a 1x4 instead of the 1x3 that was in the plans. This was a great first project for anyone.

Built from Plan(s)
Estimated Cost
N/A. Since this was my first project, I had to buy wood, tools, paint, hooks.
Finish Used
First I used one -coat of mini-wax oil based stain in Colonial Maple. The color was nice but a bit too "orangey" for my taste. I then used one-coat of mini-wax water based stain in toffee. Much better results for my taste. The final clear coat was also water based.
Recommended Skill Level
Beginner

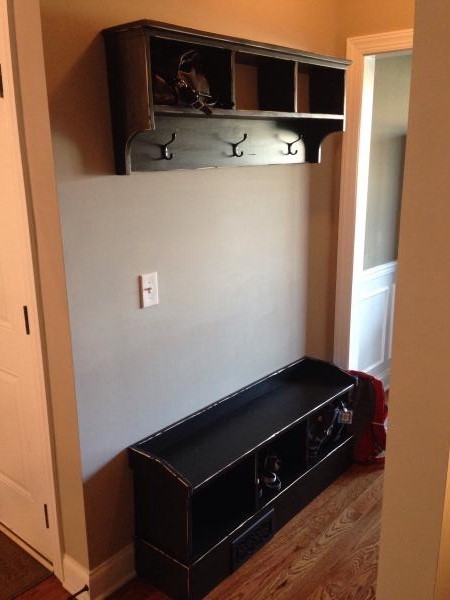
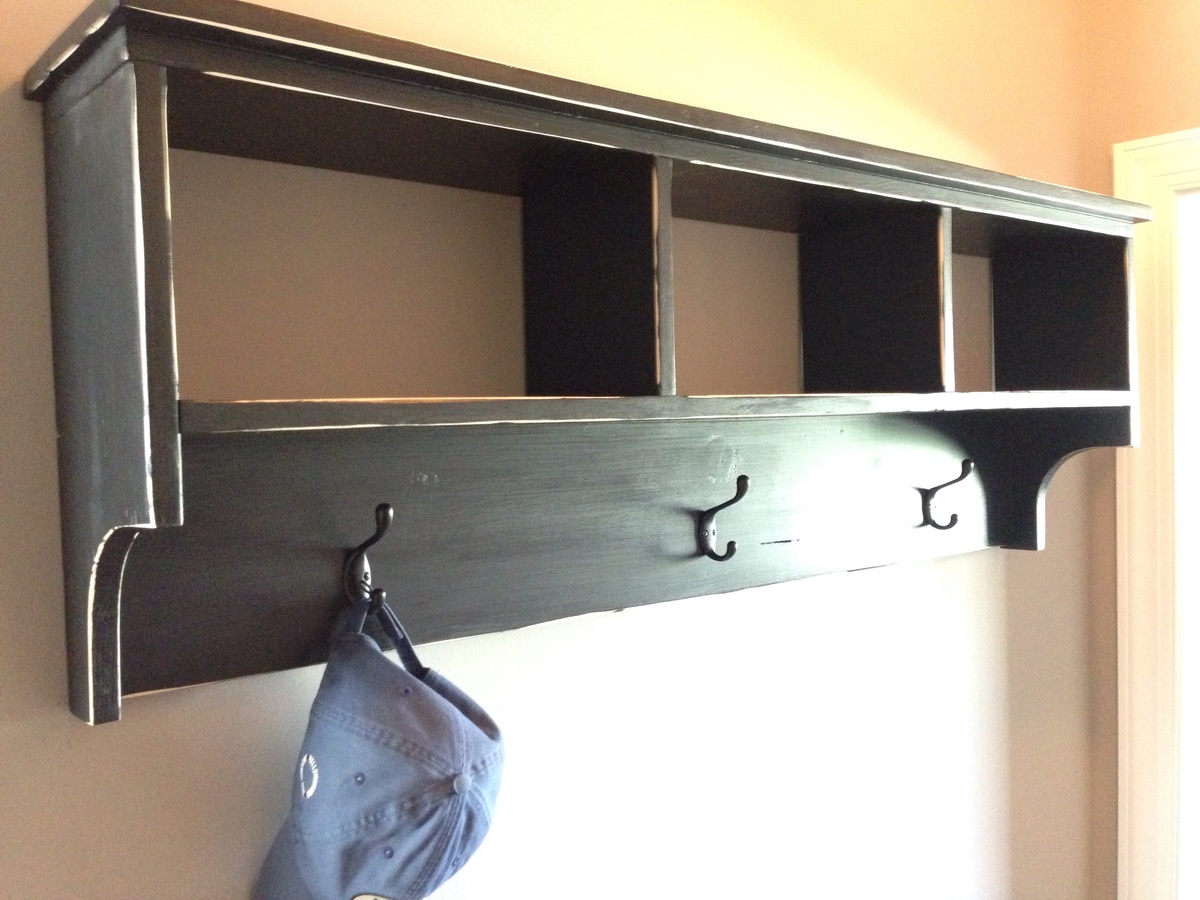
Entry Bench and Shelf

Submitted by MatthewC on Tue, 06/16/2015 - 08:51

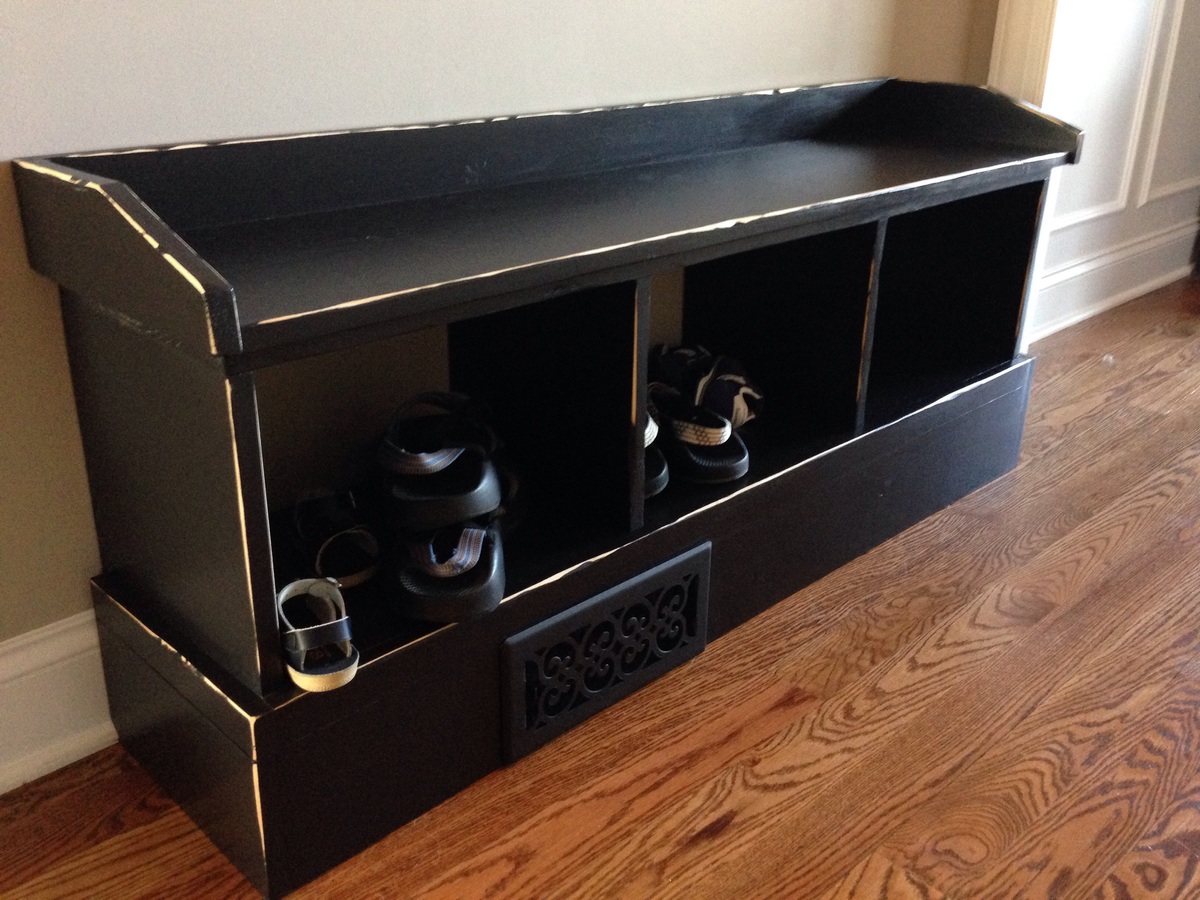
This was my second build, very easy with the plans. I wanted it flush with the wall so used a jig saw to cut notches in the bottom to fit around the baseboard. I was also covering an air vent, so I built a simple air diverter out of 1x's and bought a decorative vent cover of Amazon for $10...worked out much better than I thought it would. Painted with a flat black then a few coats of poly.

Estimated Cost
$100
Estimated Time Investment
Weekend Project (10-20 Hours)
Finish Used
Paint and polyurethane
Recommended Skill Level
Starter Project

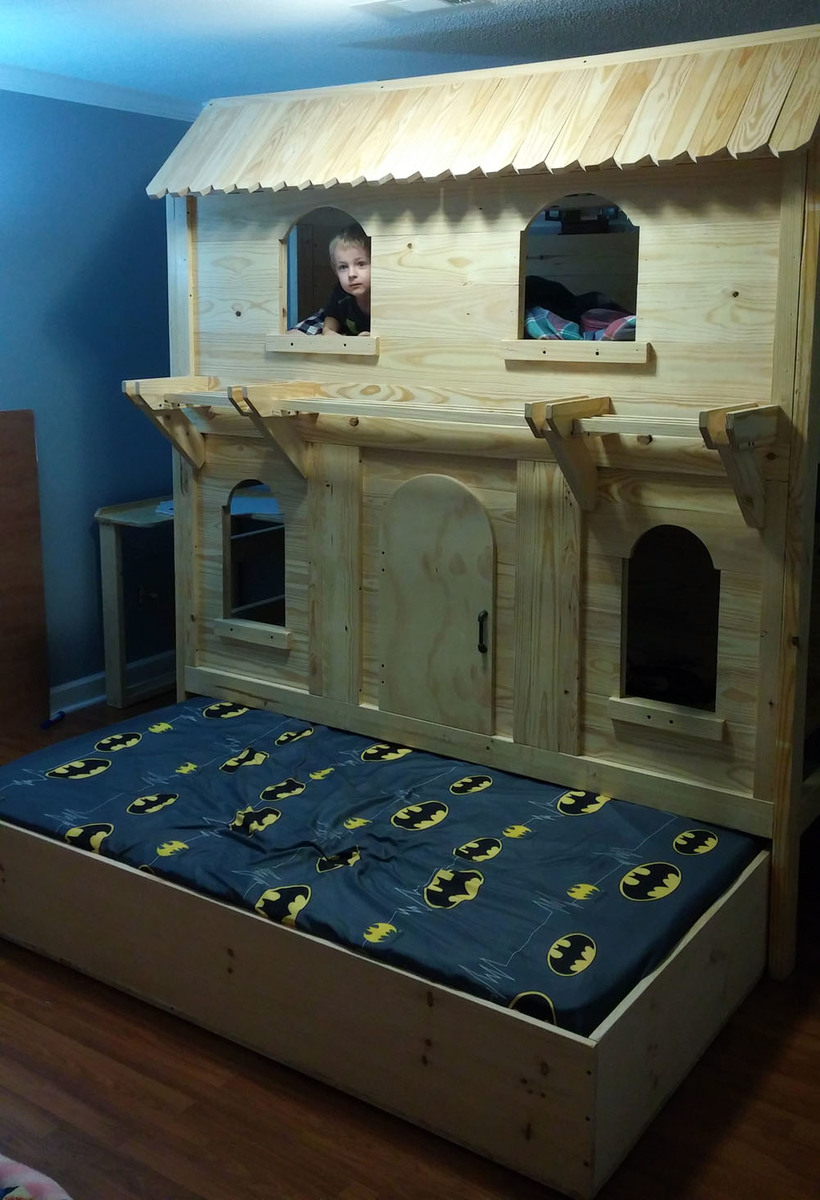
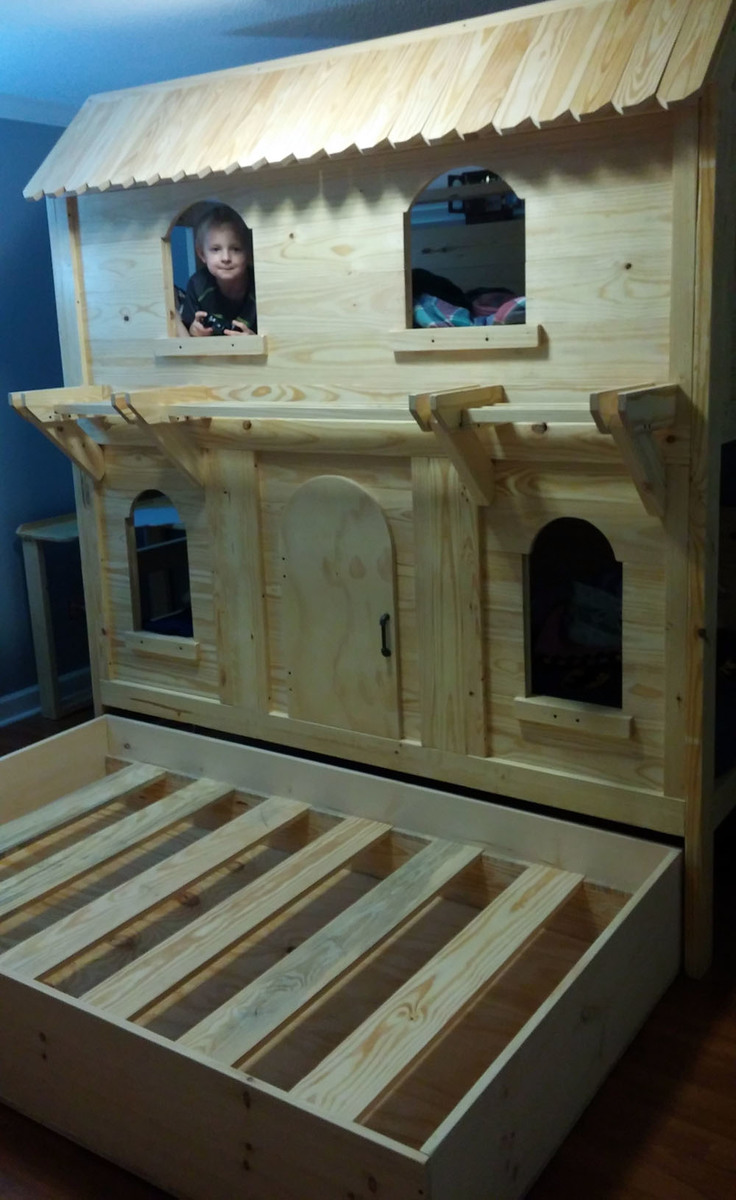
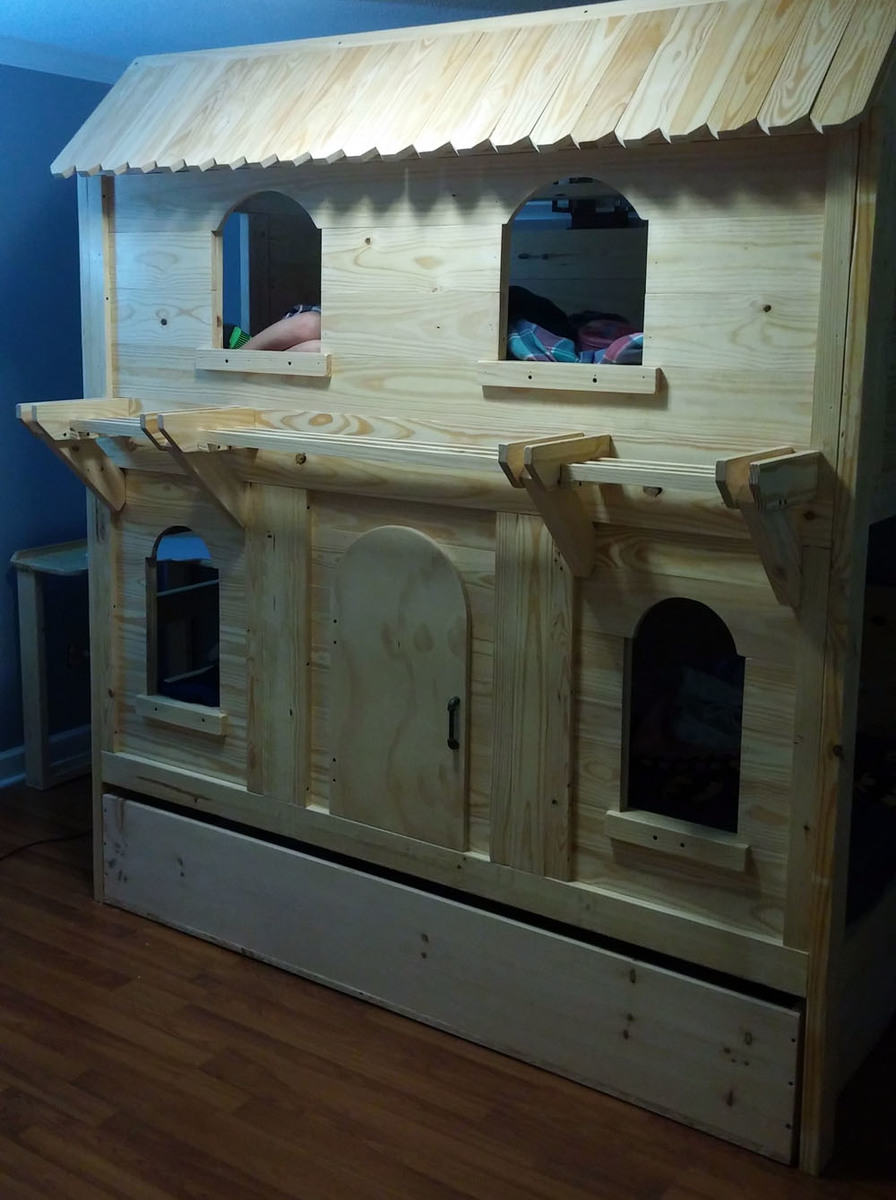
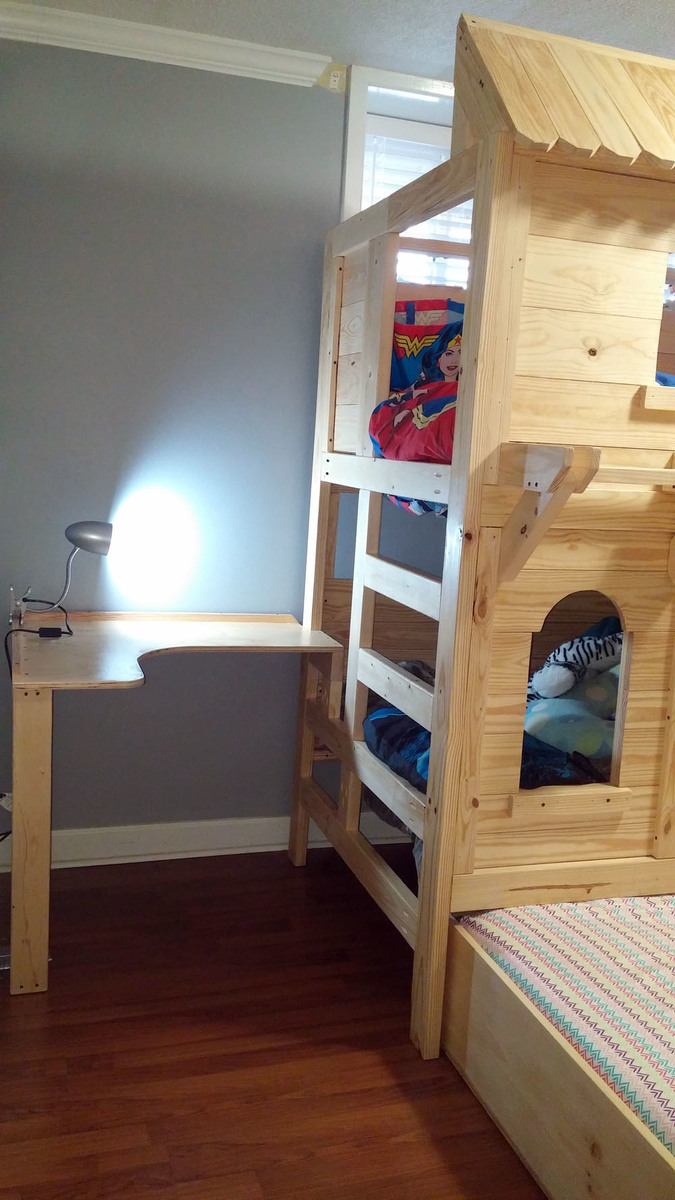
Three Beds and Desk

Submitted by Owen Farms on Sat, 01/06/2018 - 02:13

Trundle bed and desk addition.

Built from Plan(s)
Estimated Cost
450 dollars
Estimated Time Investment
Weekend Project (10-20 Hours)
Finish Used
Poly coat
Recommended Skill Level
Intermediate

Comments

Small Rustic X Console

Submitted by Anonymous (not verified) on Mon, 12/27/2021 - 02:36

My first project!

Built from Plan(s)

Comments

Child's Book shelf

Submitted by Marisol on Wed, 05/04/2011 - 20:20

First Project...really got me hooked! It's only 4 feet tall so it really was a cheap one...

Built from Plan(s)
Estimated Cost
$15.00
Estimated Time Investment
Afternoon Project (3-6 Hours)
Finish Used
Behr white paint with primer
Recommended Skill Level
Starter Project

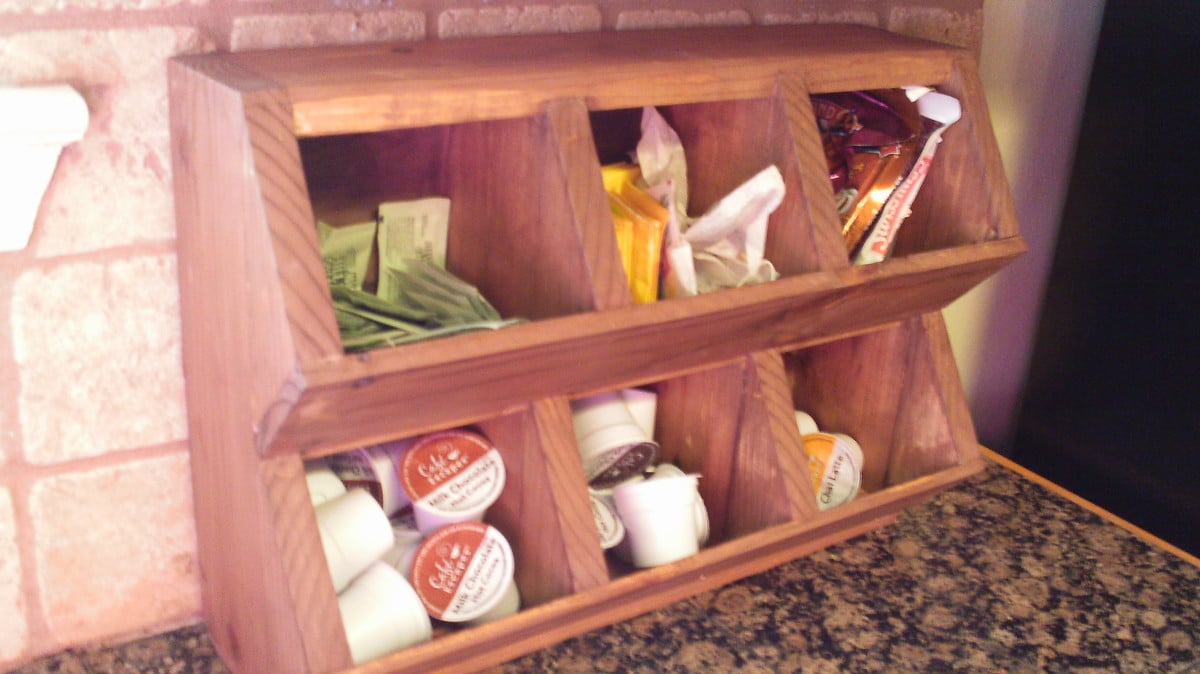
Coffee Station Cubbies

Submitted by scokenour on Sun, 06/30/2013 - 19:29

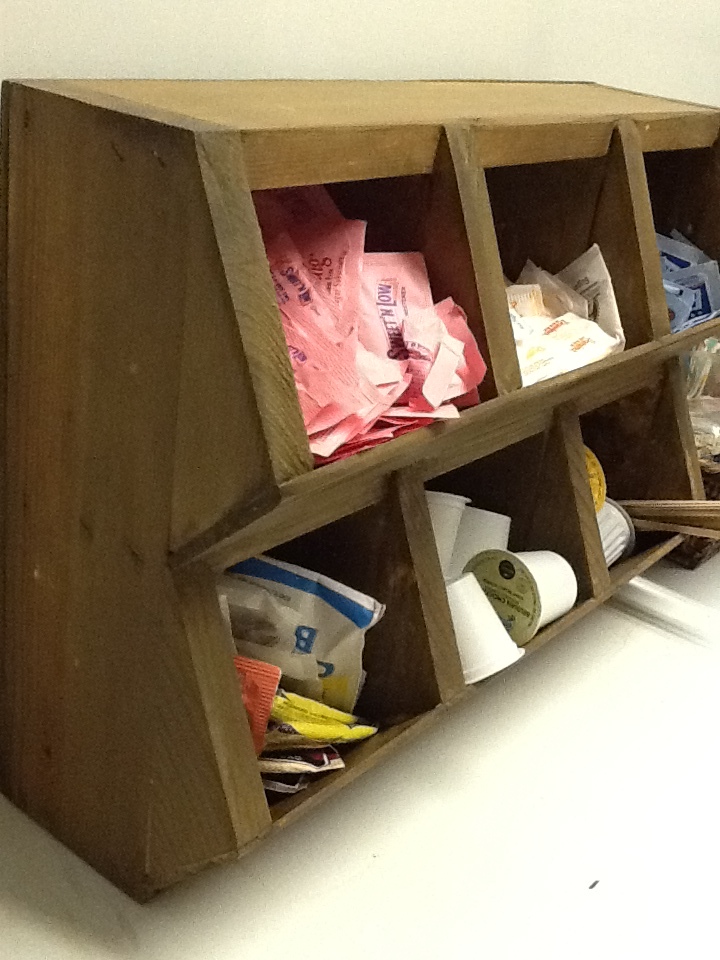
I wanted to make something to organize the coffee supplies in my office breakroom, so I made these cubbies using the same basic concept as the Vegetable Bins. I used 1 - 8' 1x4, scraps for the angled pieces and 1/4 plywood for the back and front of cubbies. I was able to construct primarily with glue and nail gun. I chose "intermediate" level because you may need to make tricky cuts using your miter saw that beginner may not be comfortable with.

Built from Plan(s)
Estimated Cost
$8
Estimated Time Investment
An Hour or Two (0-2 Hours)
Finish Used
vinegar/steel wool stain, paste wax
Recommended Skill Level
Intermediate

Comments

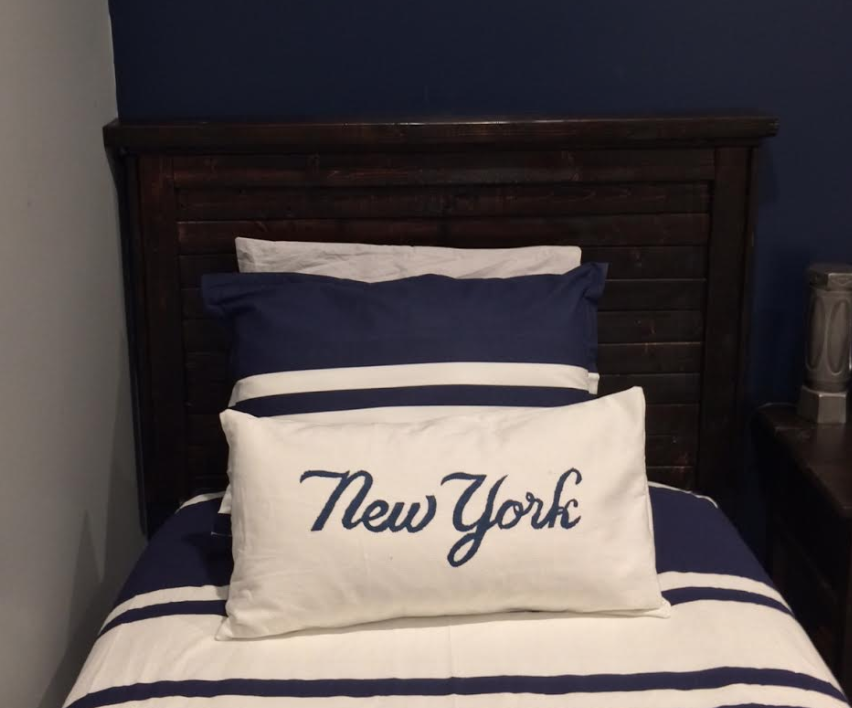
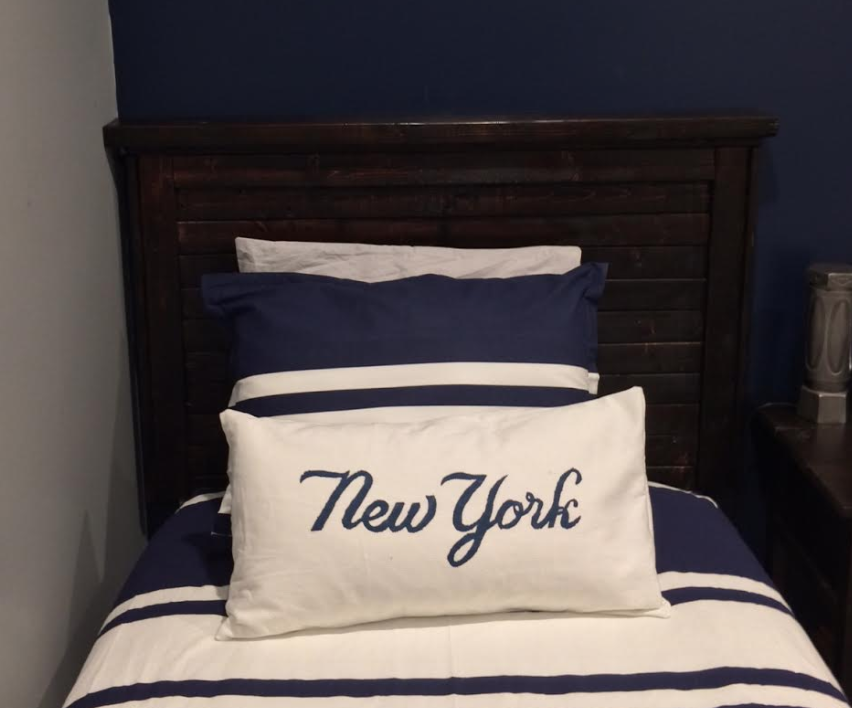
Headboards

Submitted by fiddlepics on Mon, 01/08/2018 - 07:31

Built these for my boys room- these headboards are for highrisers so I did not use legs- they end at the bottom of the slats.  I used 1x3 furring strips for the slats to keep the costs down, I believe I used 10 slats. In order to mount the headboards, they are completely mounted on the wall and not attached to the bed at all. I used 3-2'' Z clips,  at the top, tried to get them drilled into wall studs. To keep the headboards even more secure, I used corner braces on the bottom- 2'' braces, drilled into the wall with anchorless screws and then drilled into the bottom of the headboard frame. 


I also did not cut the wood at the hardware store- I purchased a circular saw and was very happy with the decision. Was MUCH better to cut as I built. 

Estimated Cost
$75-$100
Estimated Time Investment
Day Project (6-9 Hours)
Finish Used
Minwax penetrating stain- 2 coats dark walnut, 1 coat red mahogany. Spray Minwax Lacquer in Satin
Recommended Skill Level
Beginner

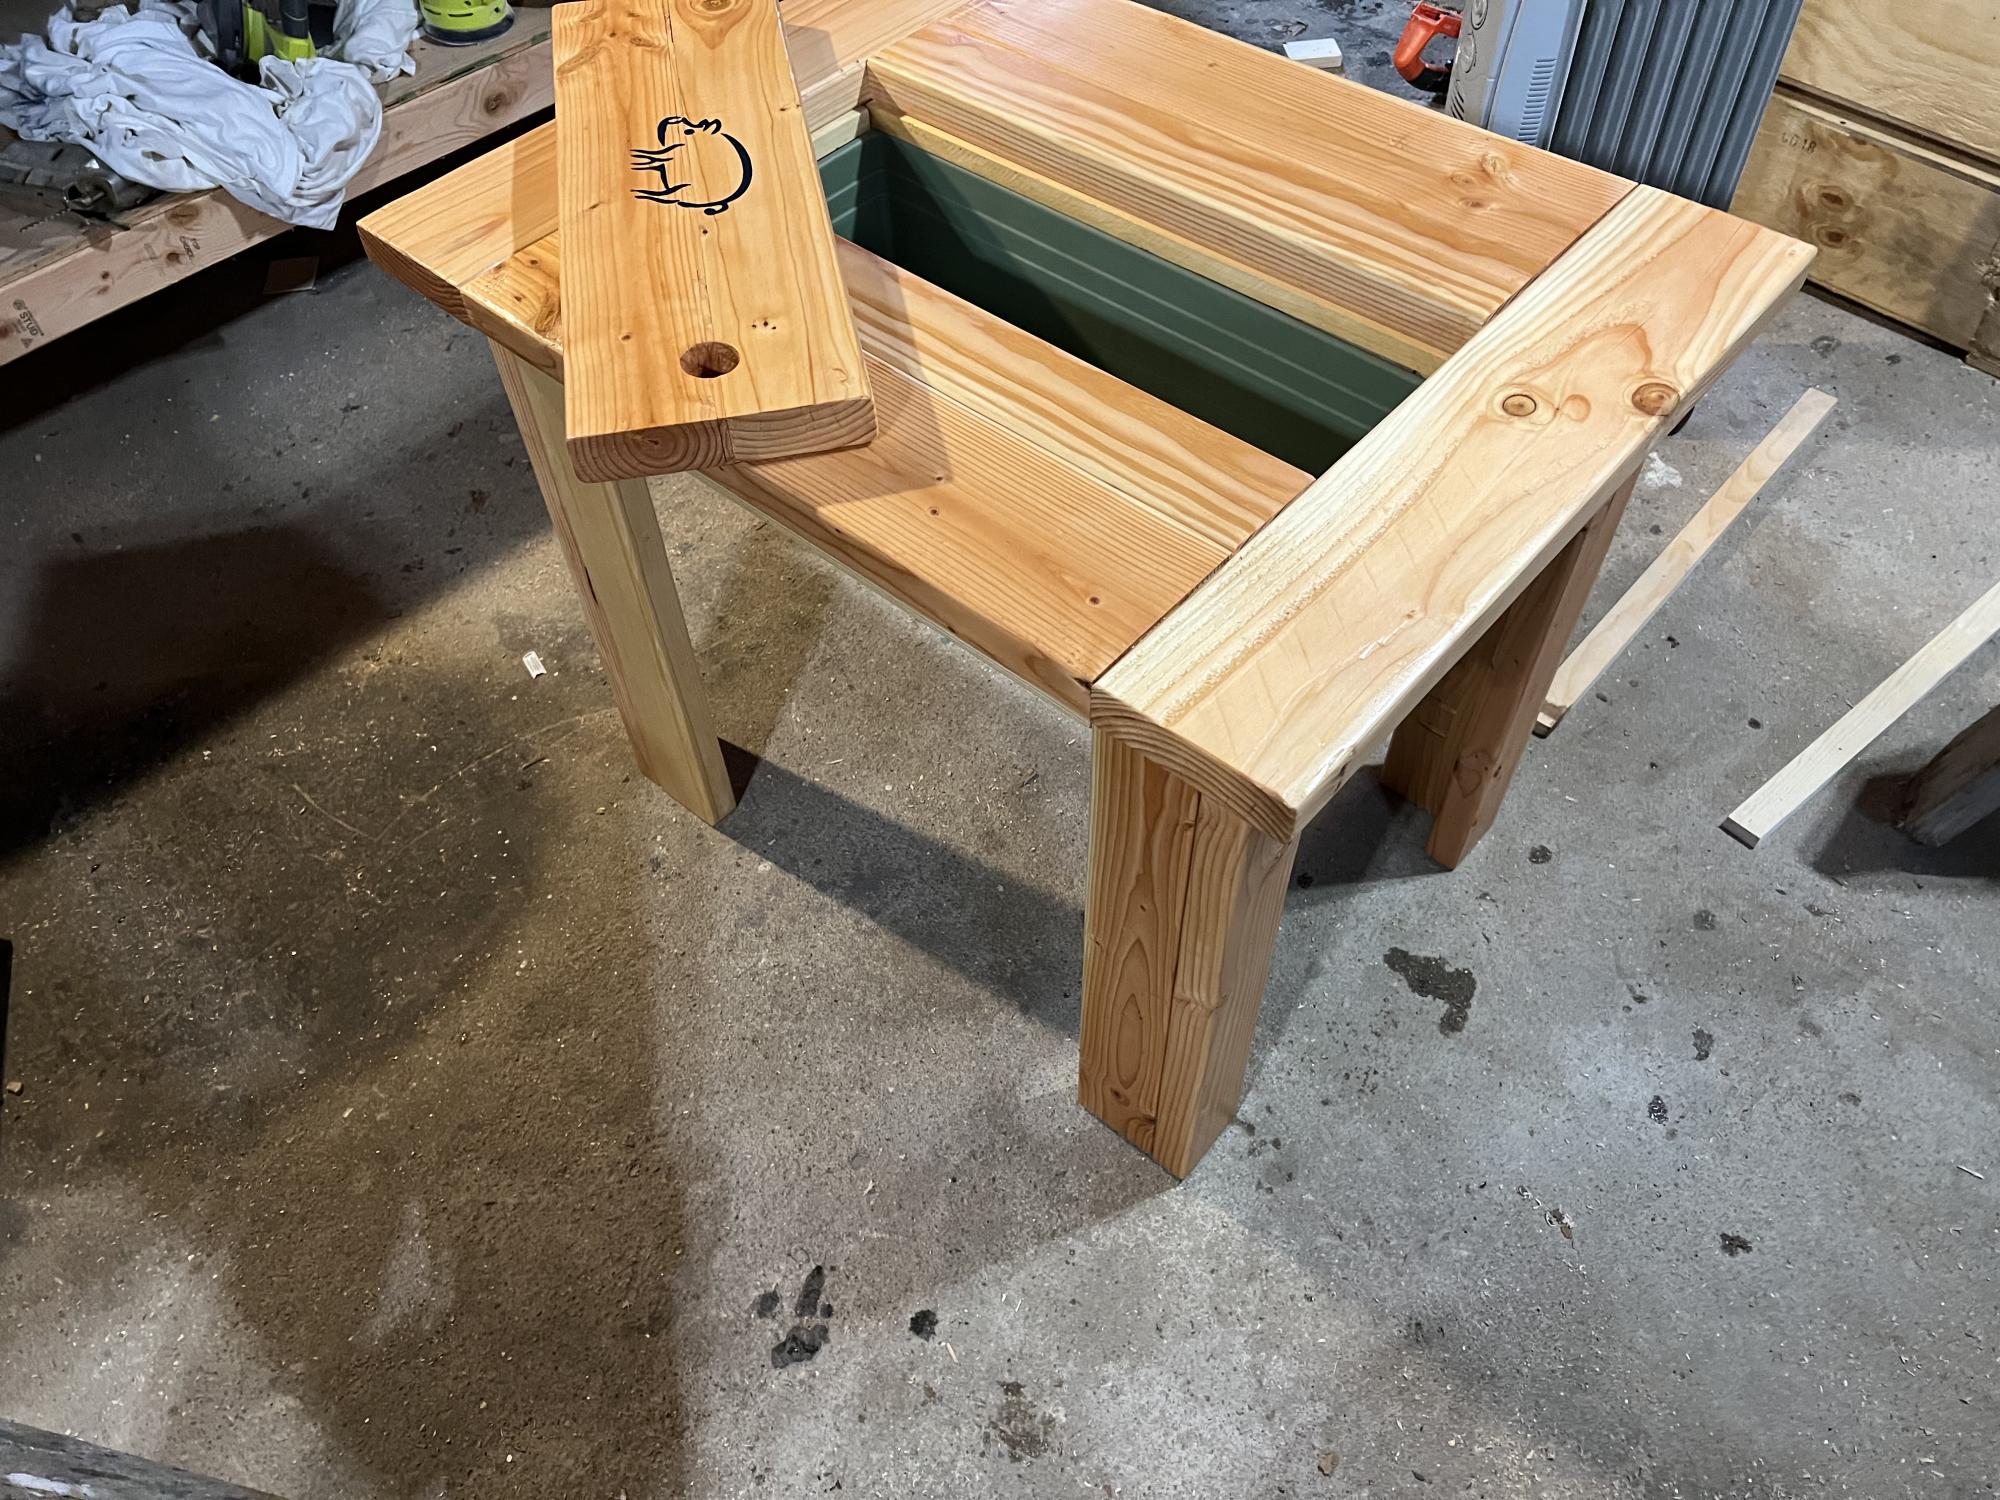
Ice Trough Table

Submitted by SHiggins03 on Mon, 12/27/2021 - 11:37

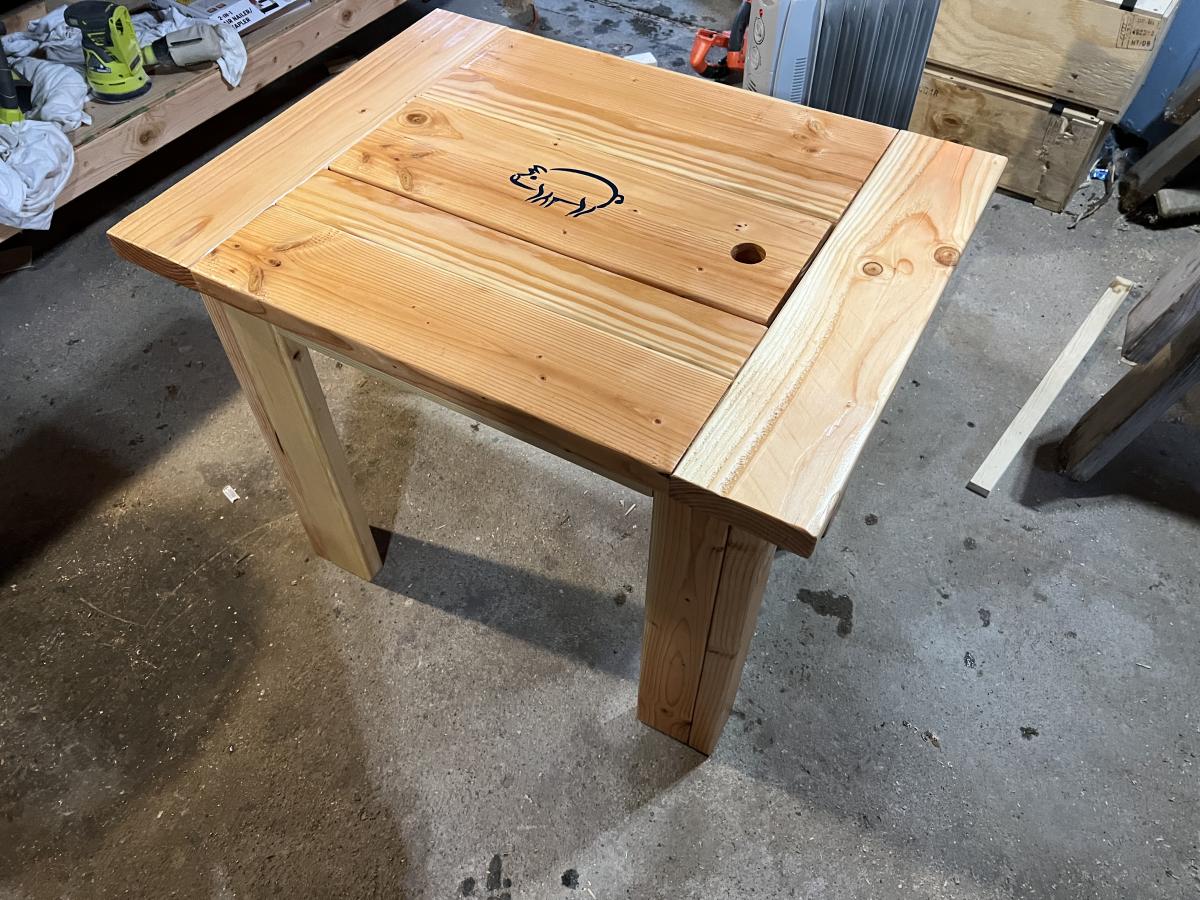
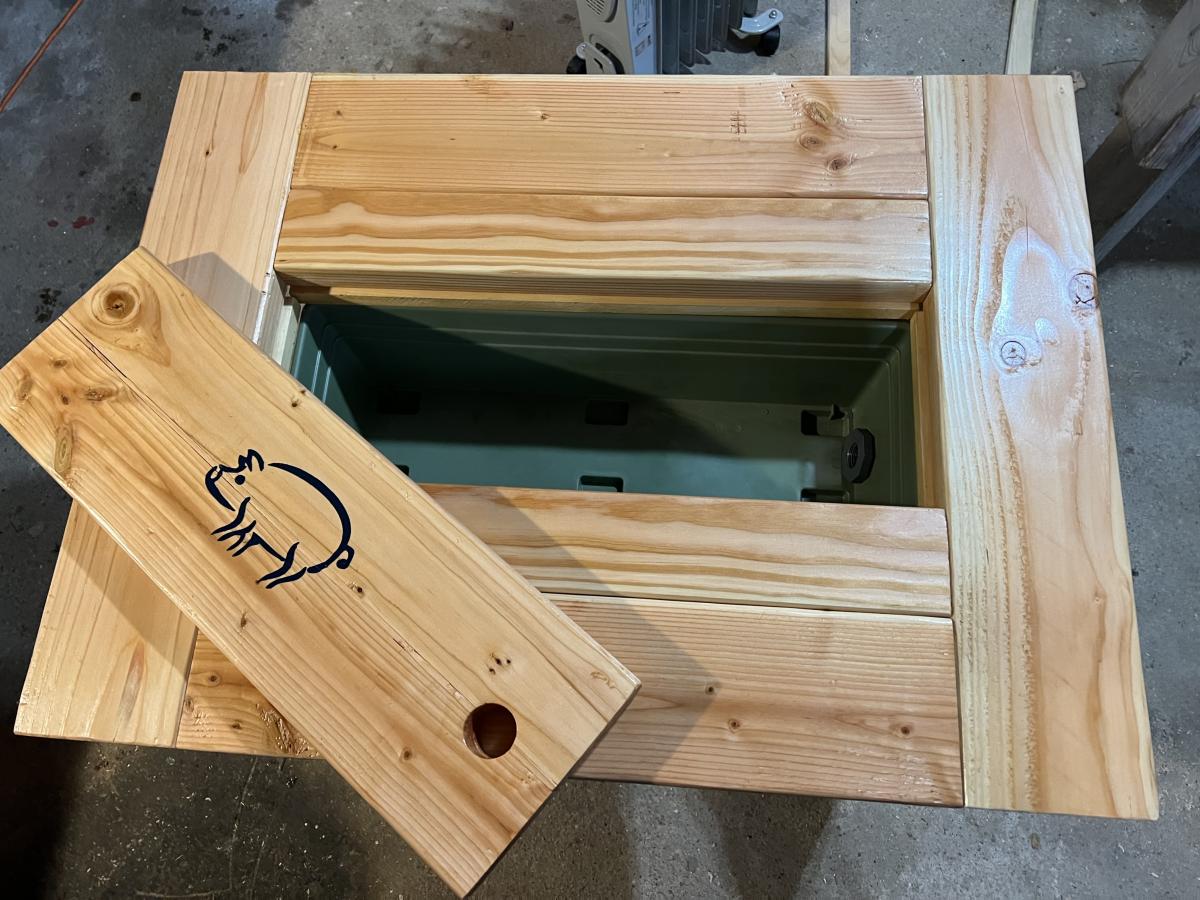
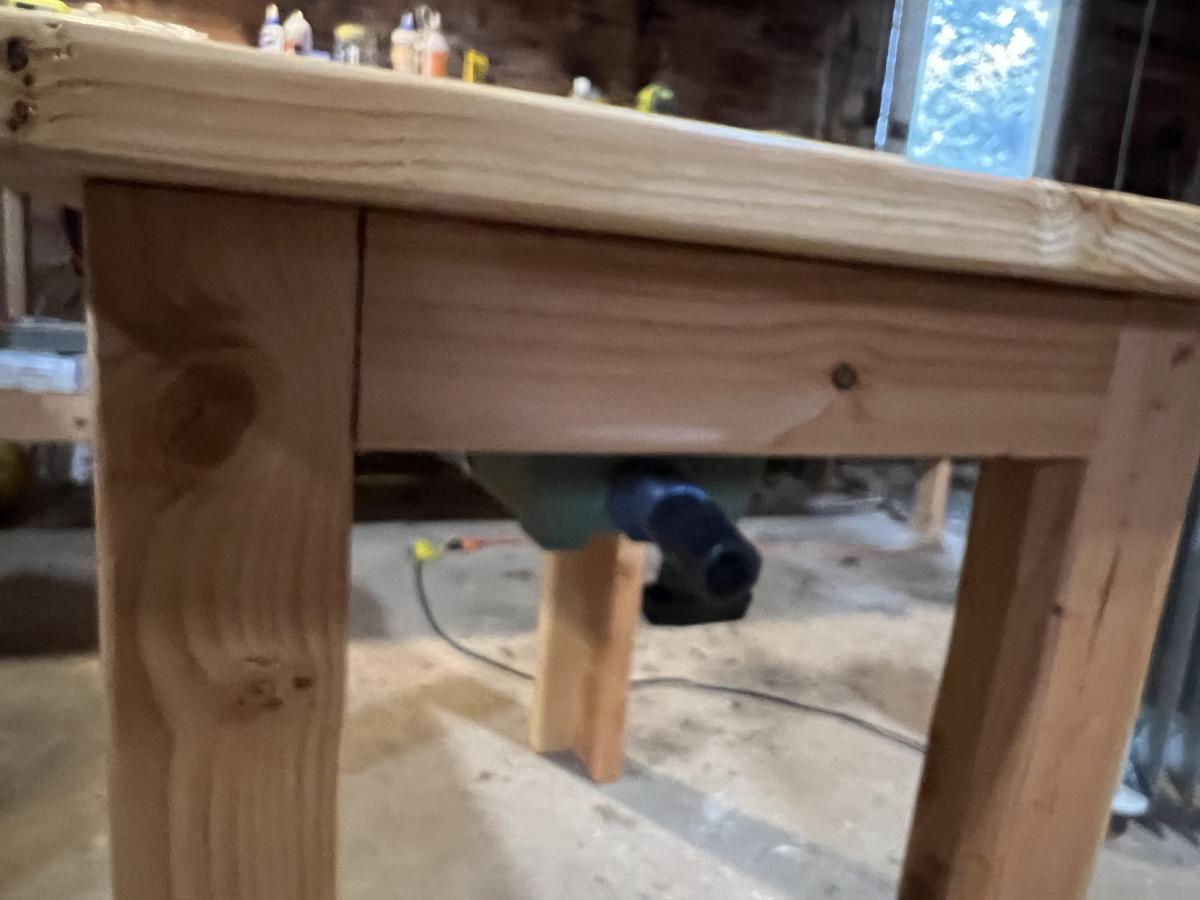
Wanted to try something different for my Secret Santa gift. Didn’t have the exact plans I needed so I based it off others. Built this to fit in and out of an RV entry door. It also has a drain valve underneath. This was my first without a plan project

Comments