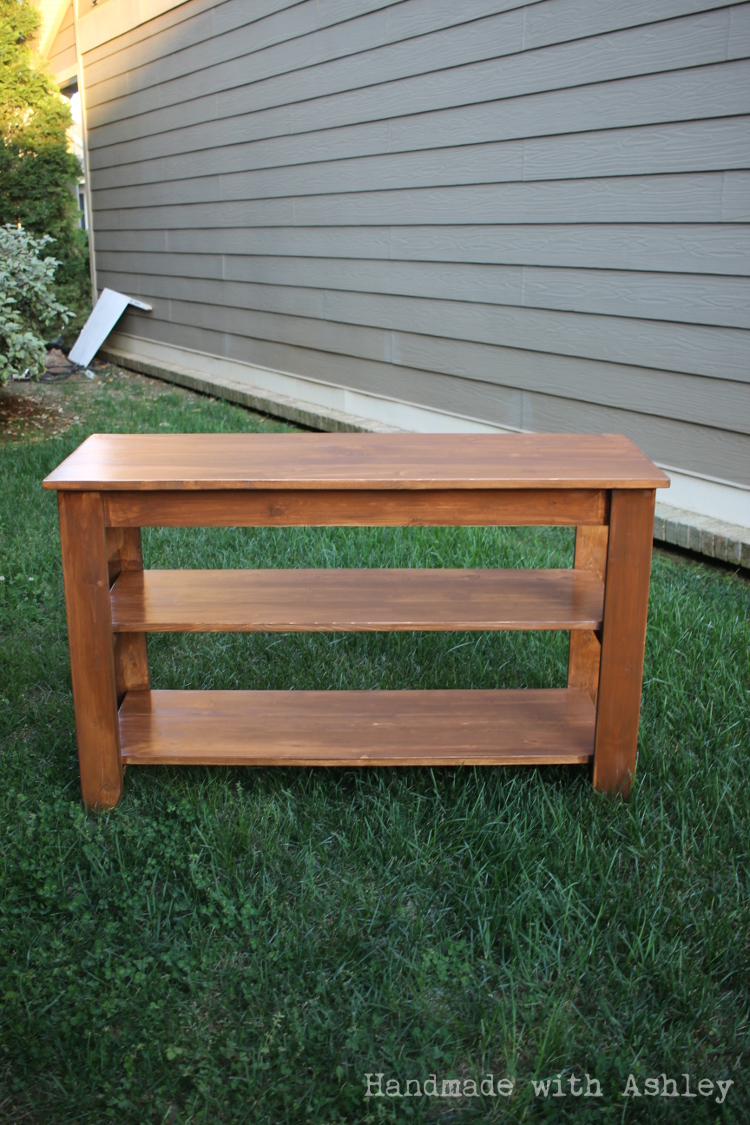
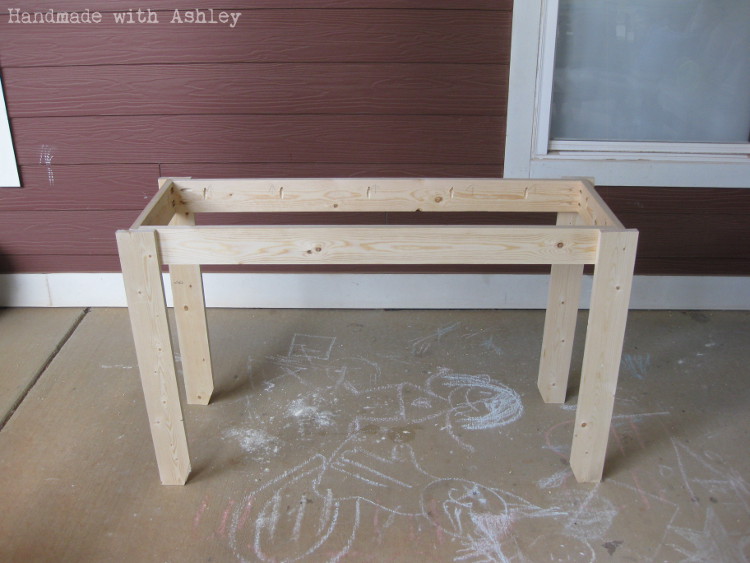
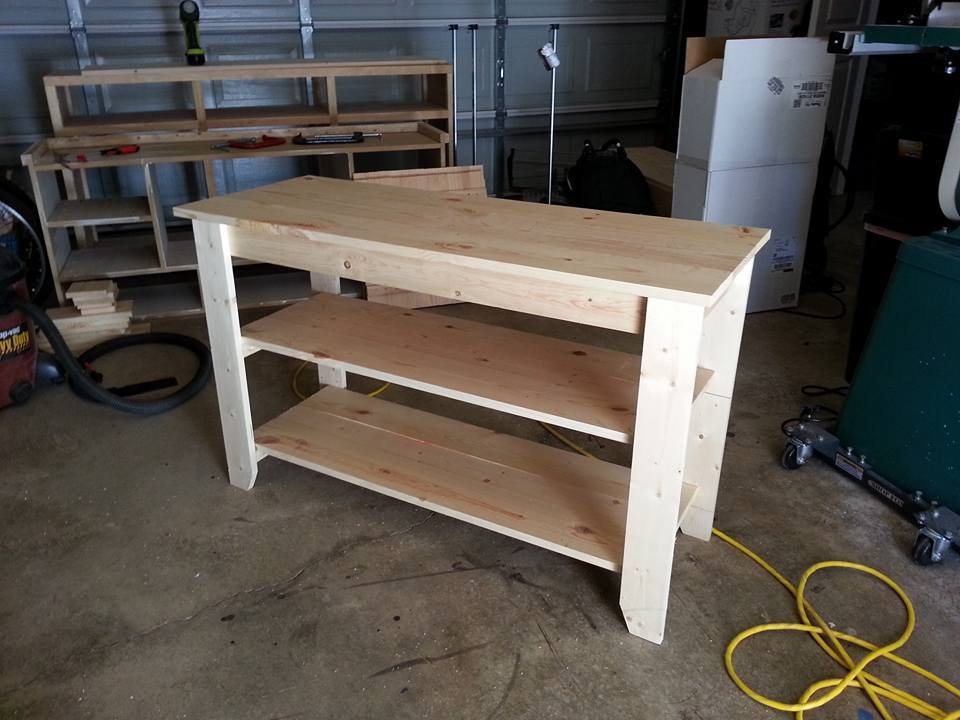
Alexia Bench modified
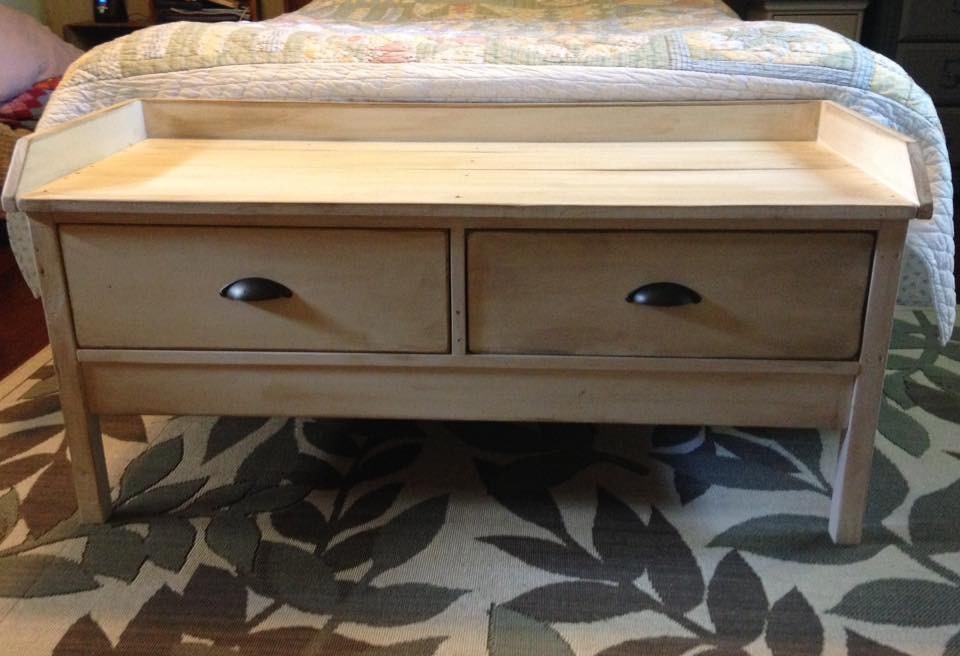
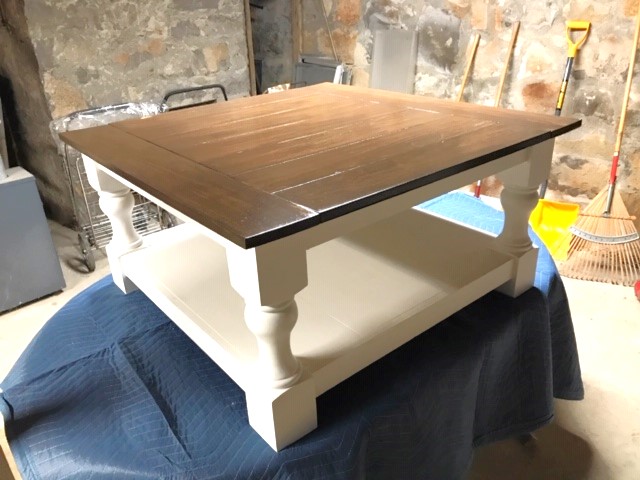
This was a very quick and easy build that was completely finished in an afternoon. My Kreg jig was loaned out, so I have exposed fasteners, but I prefer to let them show instead of filling the holes. I built this with 20" legs to make it a little taller and more comfortable for my height. I also prefer straight lines and angles, so I changed the trim pieces a bit to suit my style. The hardest part was getting the drawer slides lined up. The finish is Rustoleum Heirloom White with a coffee colored glaze. The picture makes one drawer look darker, but it's really just a shadow. I'm in love with this project!
Built from Plan(s)
Estimated Cost
$65 for standard boards and a small can of paint
Estimated Time Investment
Afternoon Project (3-6 Hours)
Finish Used
Rustoleum Heirloom White with a coffee colored glaze
Recommended Skill Level
Beginner