Reclaimed Pine and Poplar
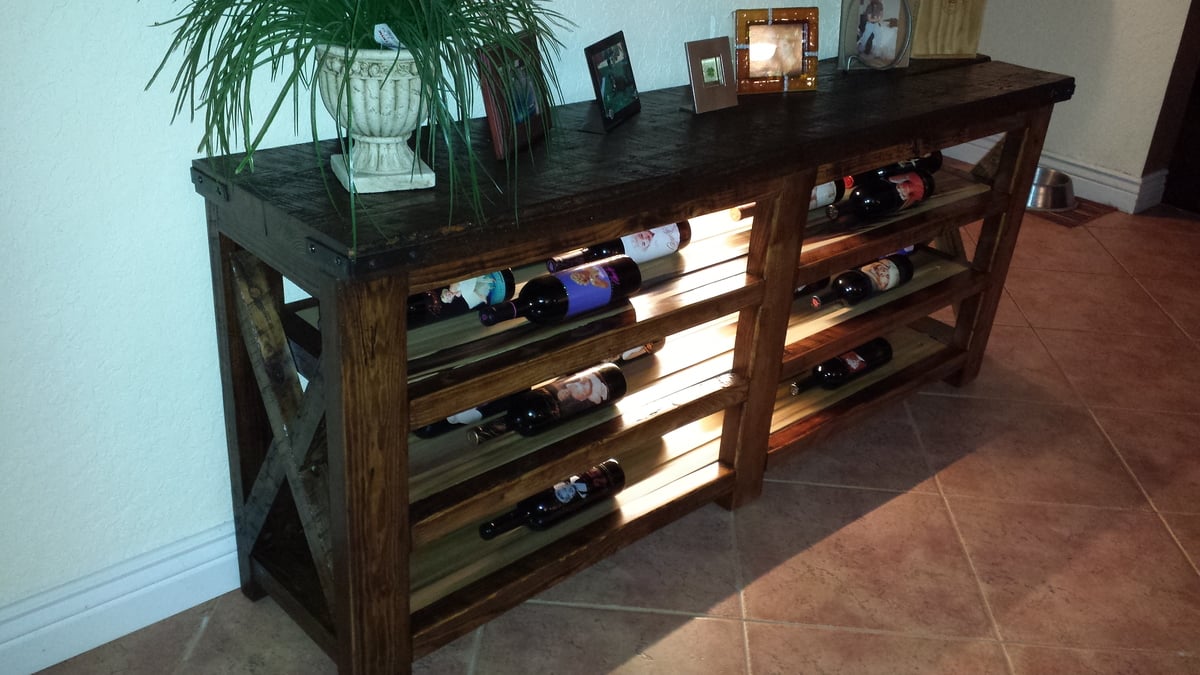
My friend saw the Gaby Kitchen Island that I posted on FB and asked me to make a wine display for him. I immediately went to Anna's site to look for a design. Added LED lights from IKEA.
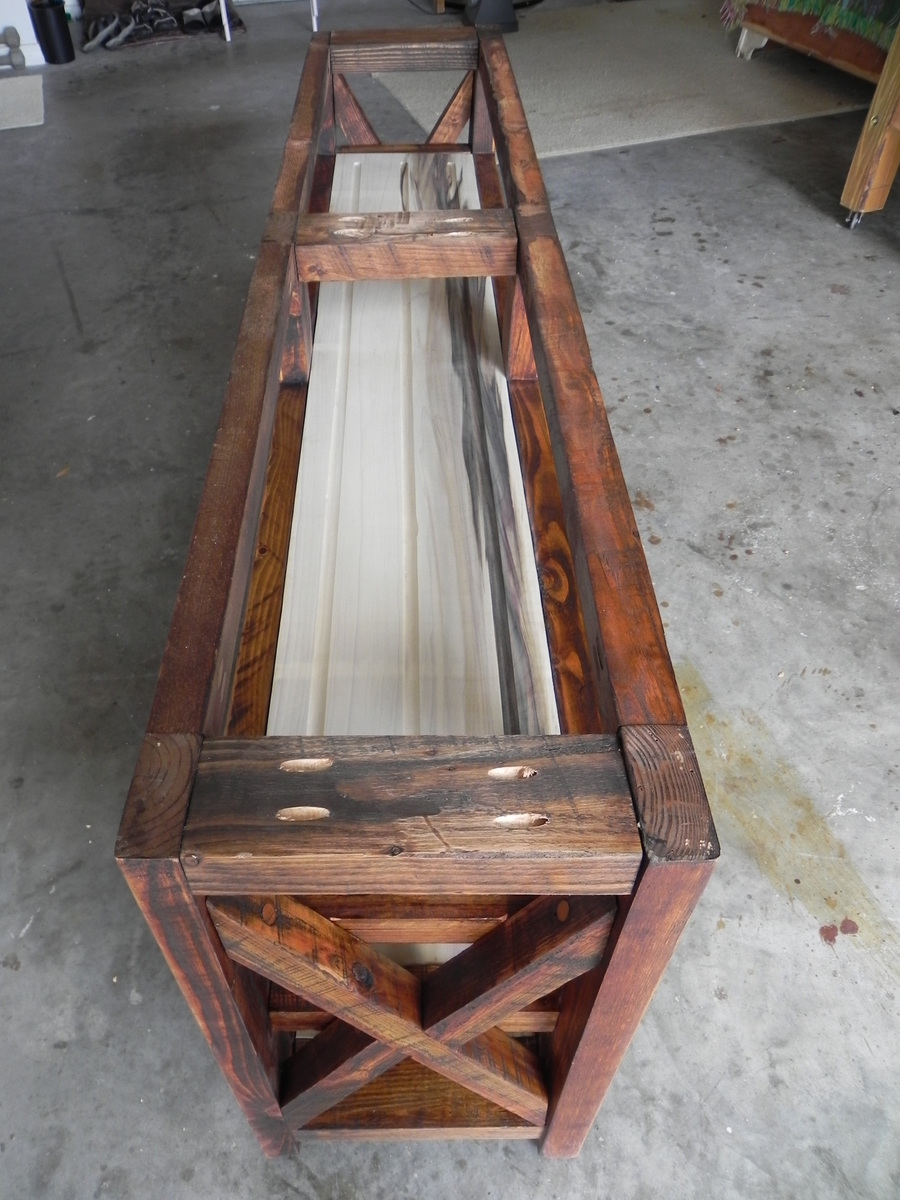
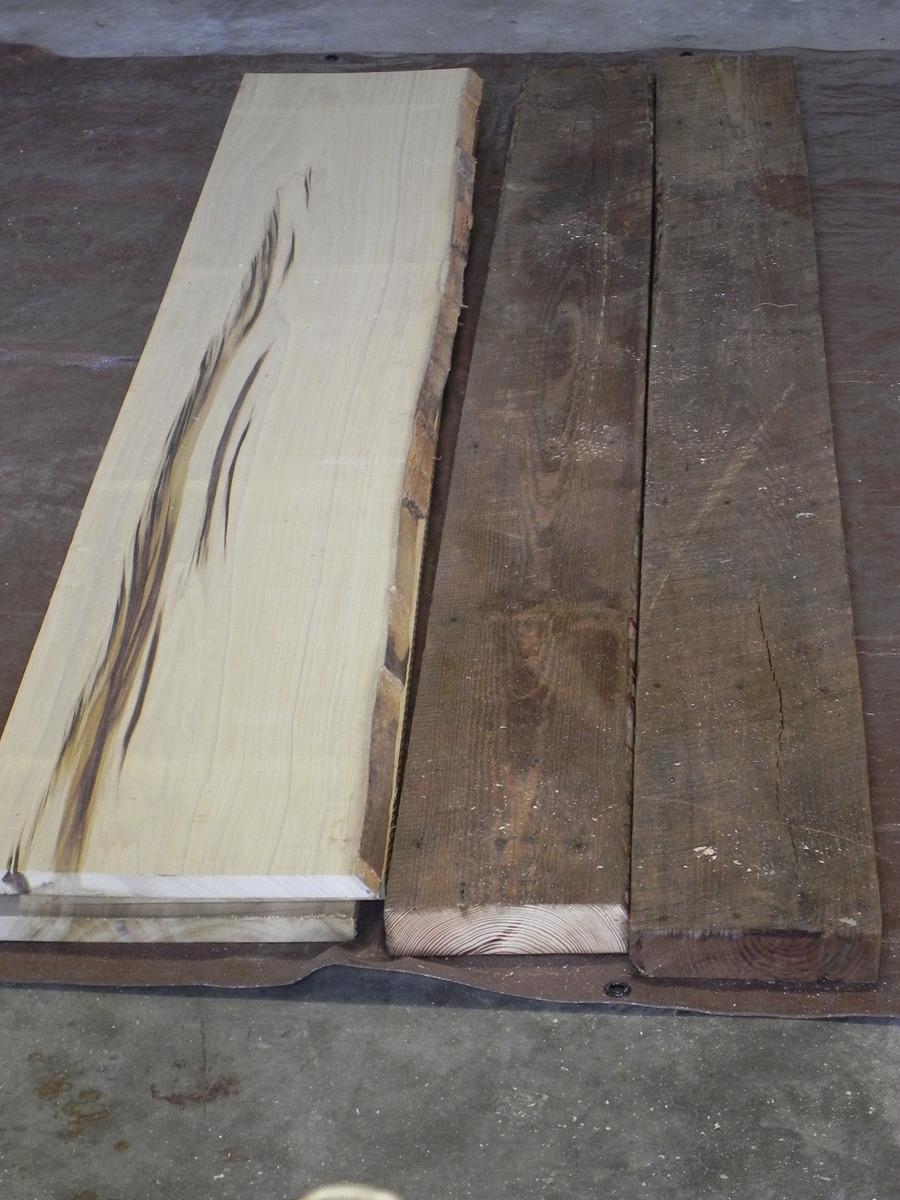
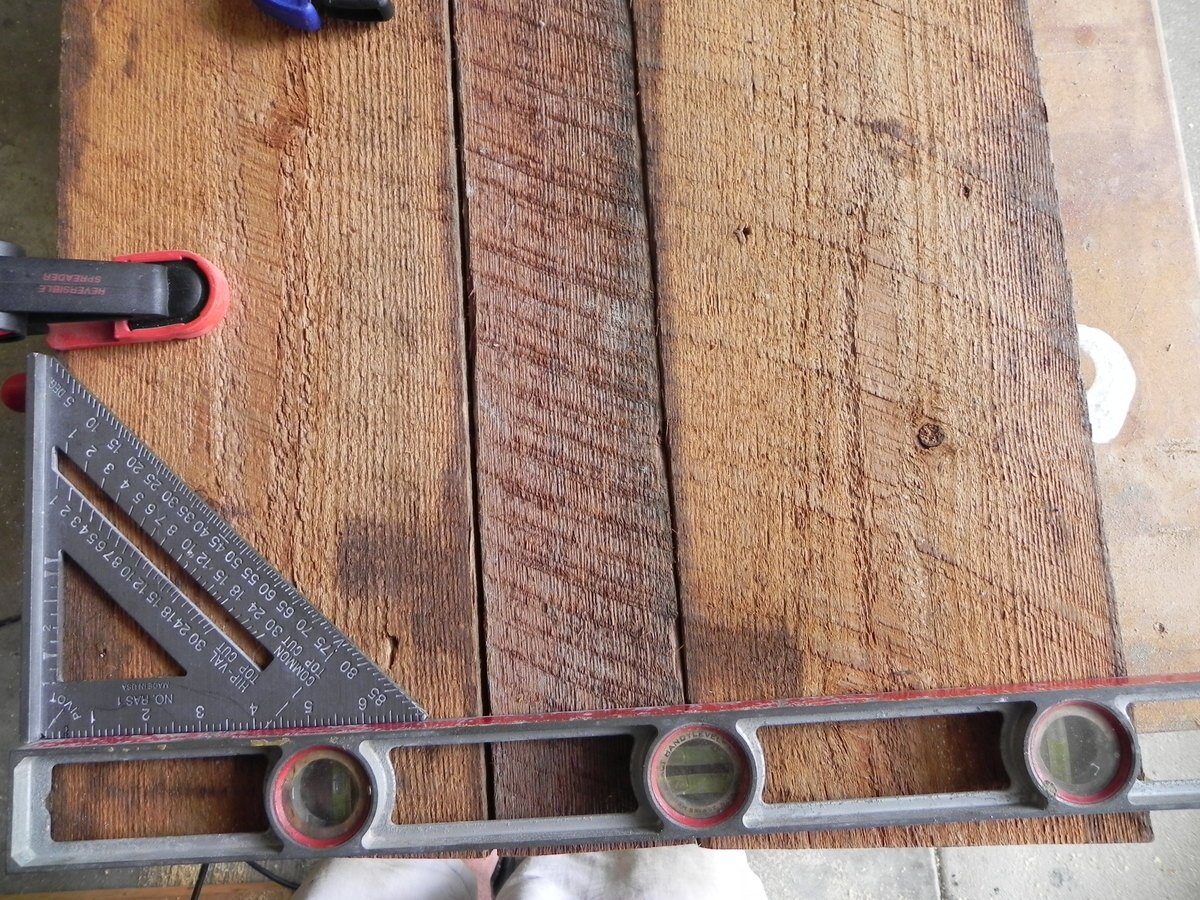
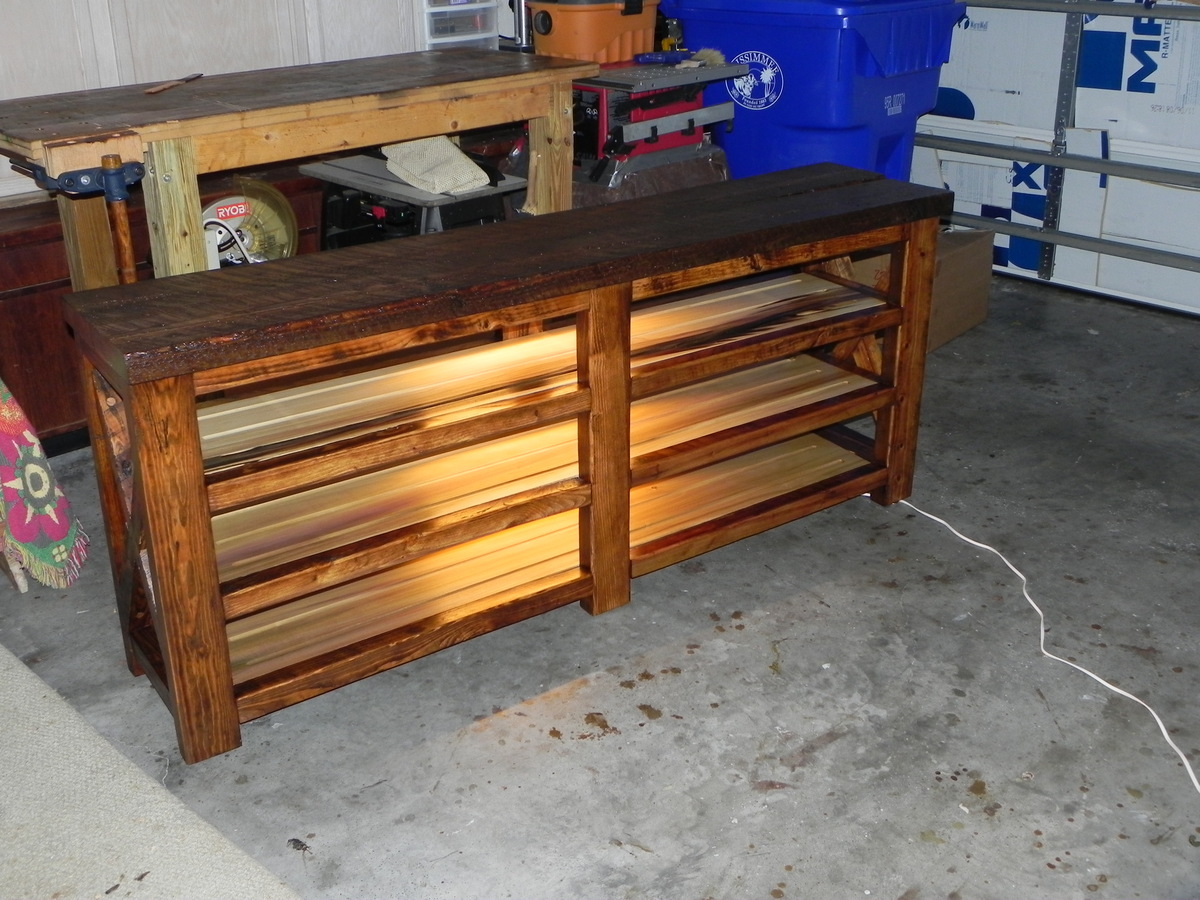
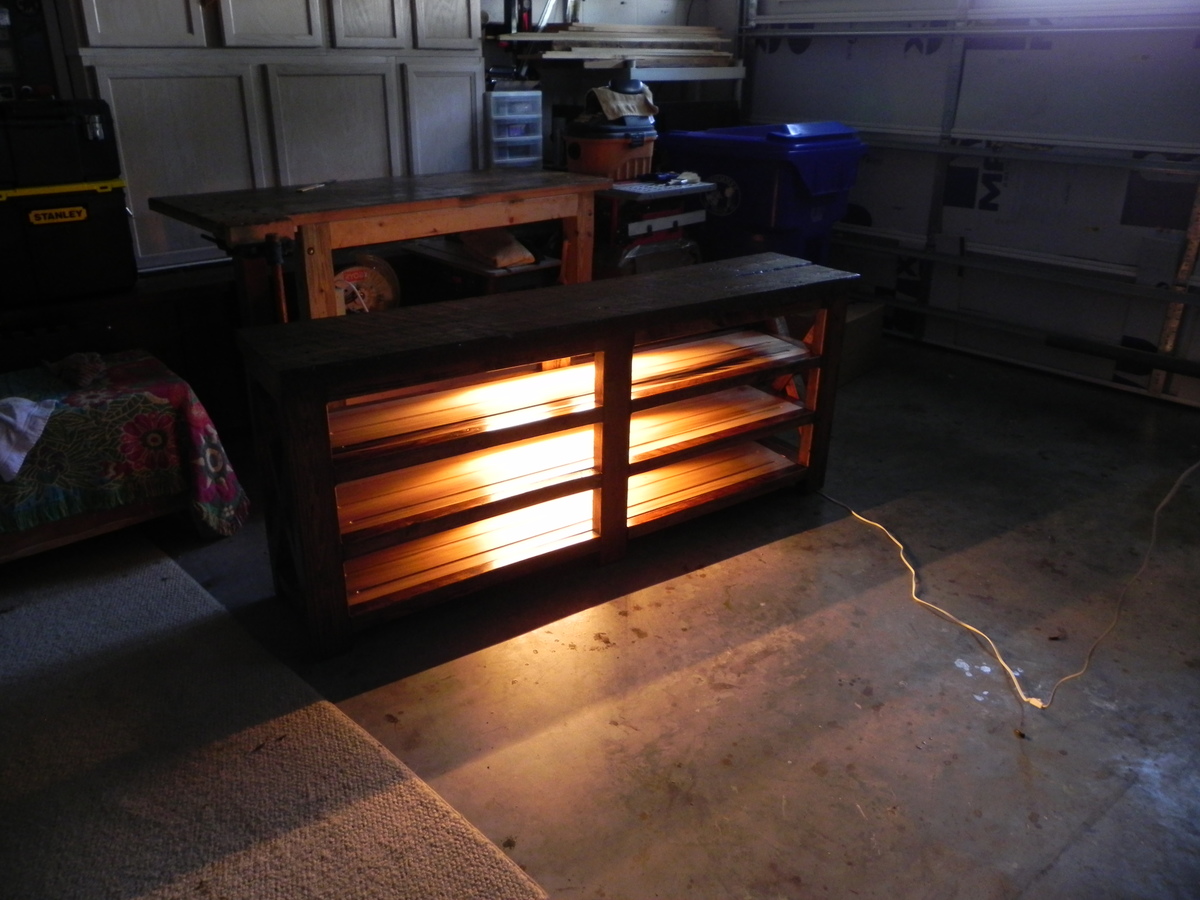

My friend saw the Gaby Kitchen Island that I posted on FB and asked me to make a wine display for him. I immediately went to Anna's site to look for a design. Added LED lights from IKEA.


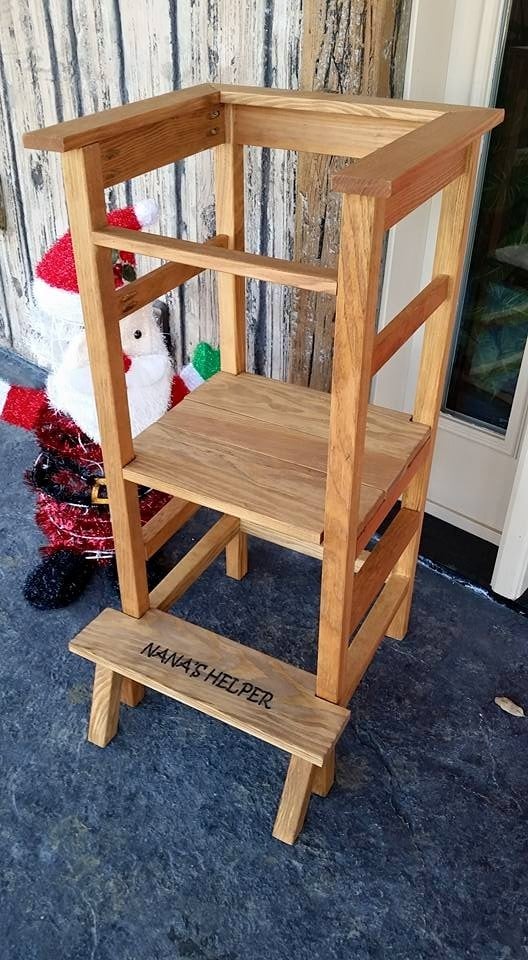
I modified the "standing high chair" from Ana's plan and from Blame Crayons blog post...so, I did a little freestyling. The standing platform is adjustable height, just like Ana's. My friend asked me to make this for her mom for Christmas.
Thu, 08/25/2016 - 08:36
I lovel your modification to add the entry-step to Ana's plans. I think I will try to re-create that myself, any special tips on adding that extra step?
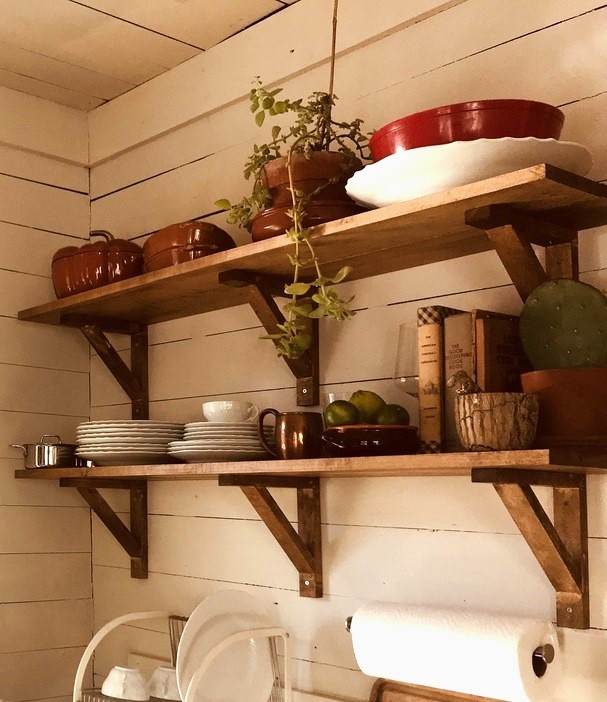
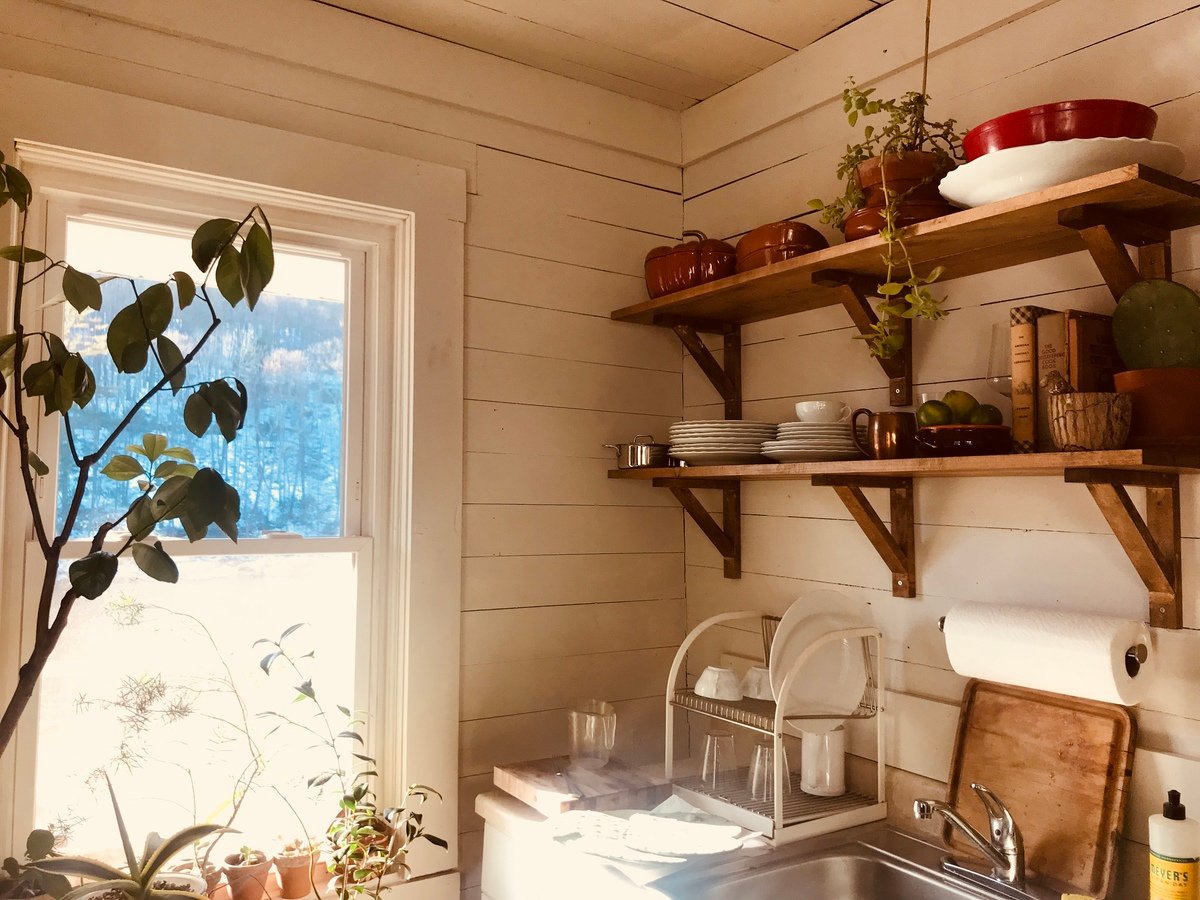
We wanted to get rid of the plastic contractor’s cabinets in our tiny 1930 cabin on the Delaware River. Found your plans and video and went straight to Home Depot. Took only a few hours and we love it!
Mon, 03/04/2019 - 12:59
Perfect for the space, great job and thanks for sharing!
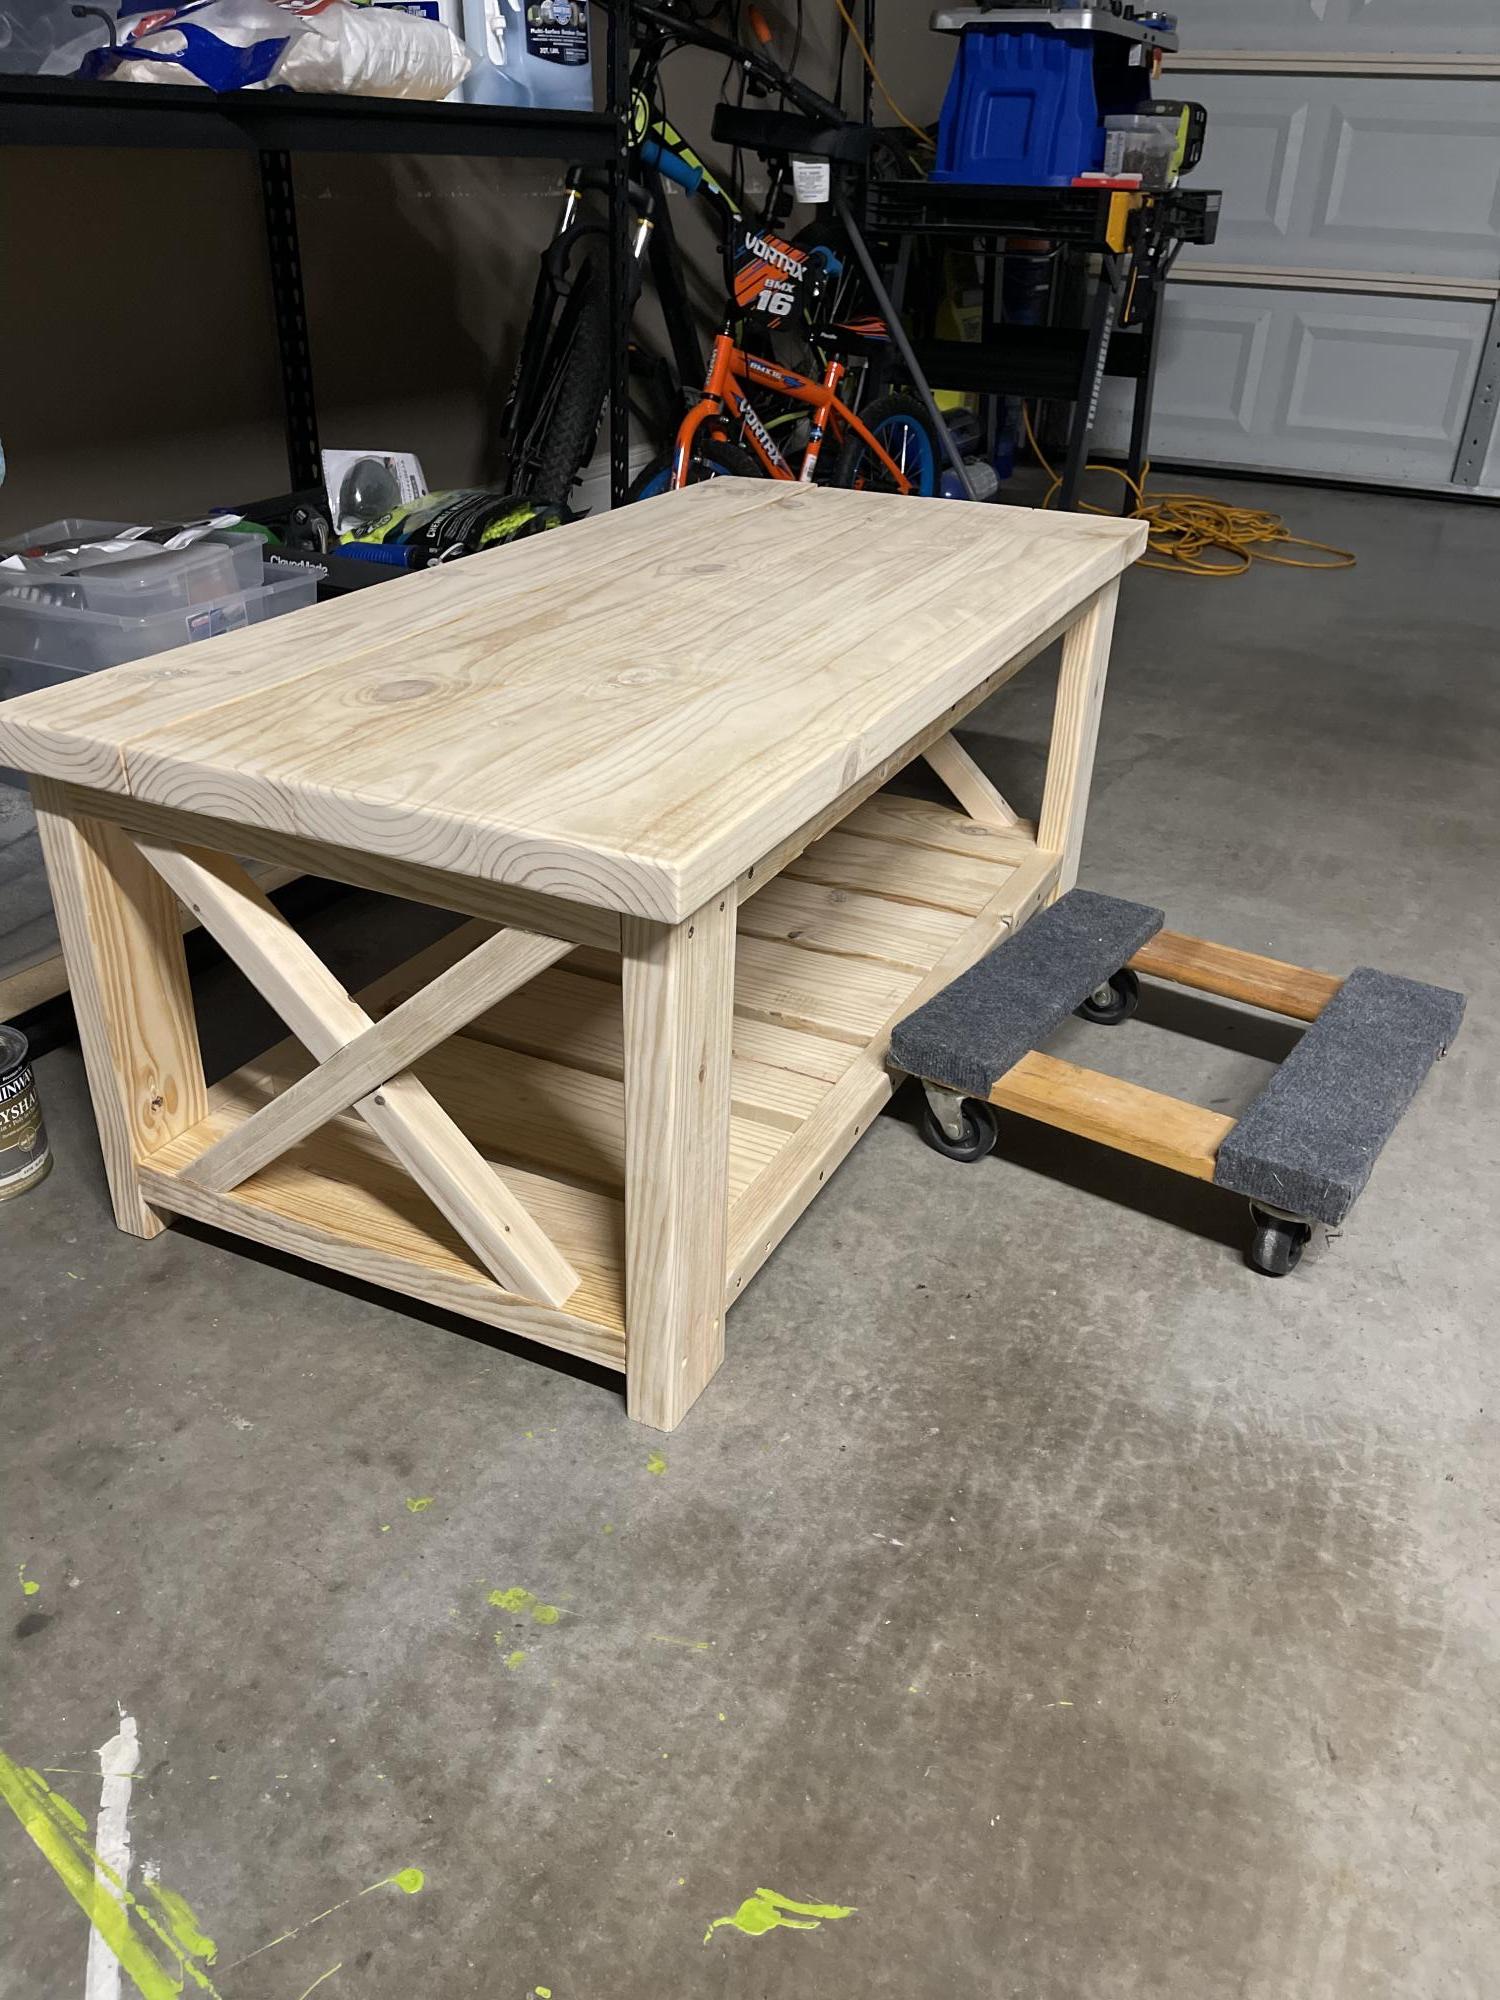
First time doing anything this big. The crosses on the side kicked my butt but I think I got them figured out.
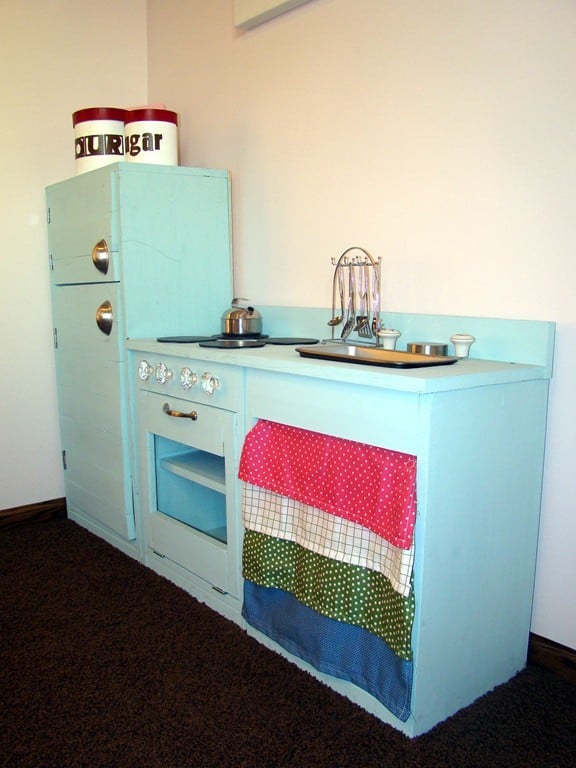
I made this for my daughter for Christmas last year. Well, actually Santa did, or at least that's what she tells people. I had one of the big companies cut the lumber for me, but a few boards were cut incorrectly. I live about 25 minutes from a local hardware store and needed to have them re-cut. Luckily for me, my father-in-law is handy and he brought out his circular saw and helped me even out my boards. Then, for Christmas I got a gift too - a table saw.
I've been eyeing the Land of Nod library cart for months!
...However, I wasn't sure about the price tag, so I started researching how to make it myself.
This is our first of many projects!
Modified the plans to make smaller and shorter to use as a flatscreen tv stand to fit up to a 60 inch tv. It has room on each side for baskets that I will put in later!
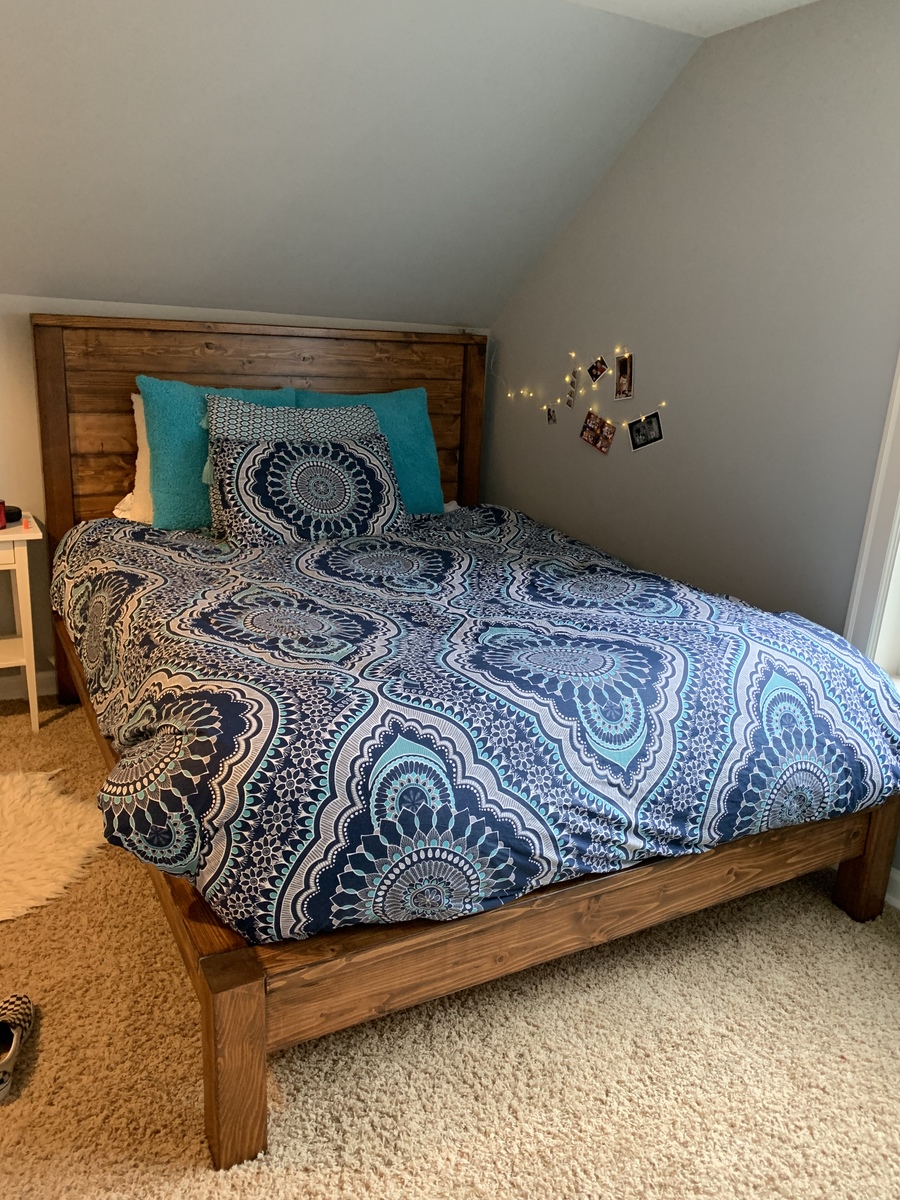
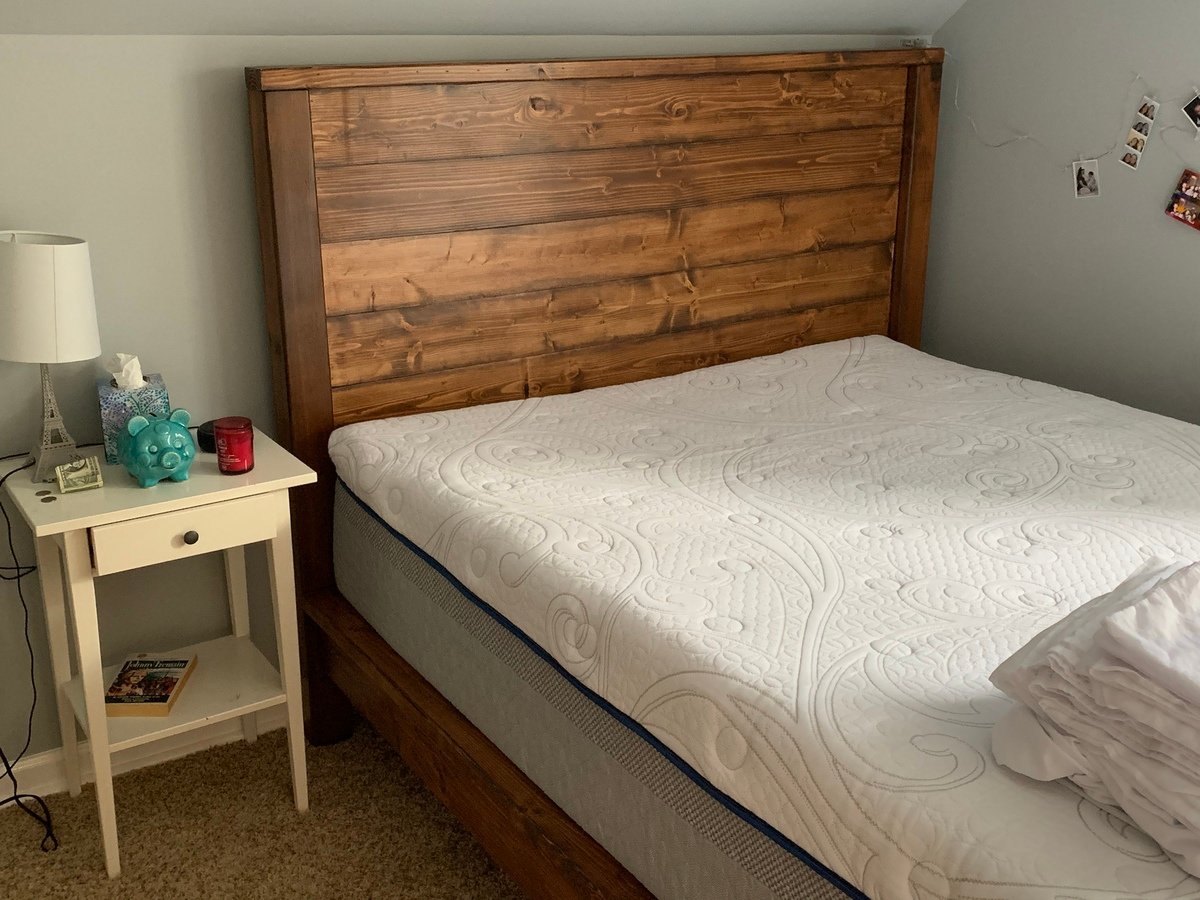
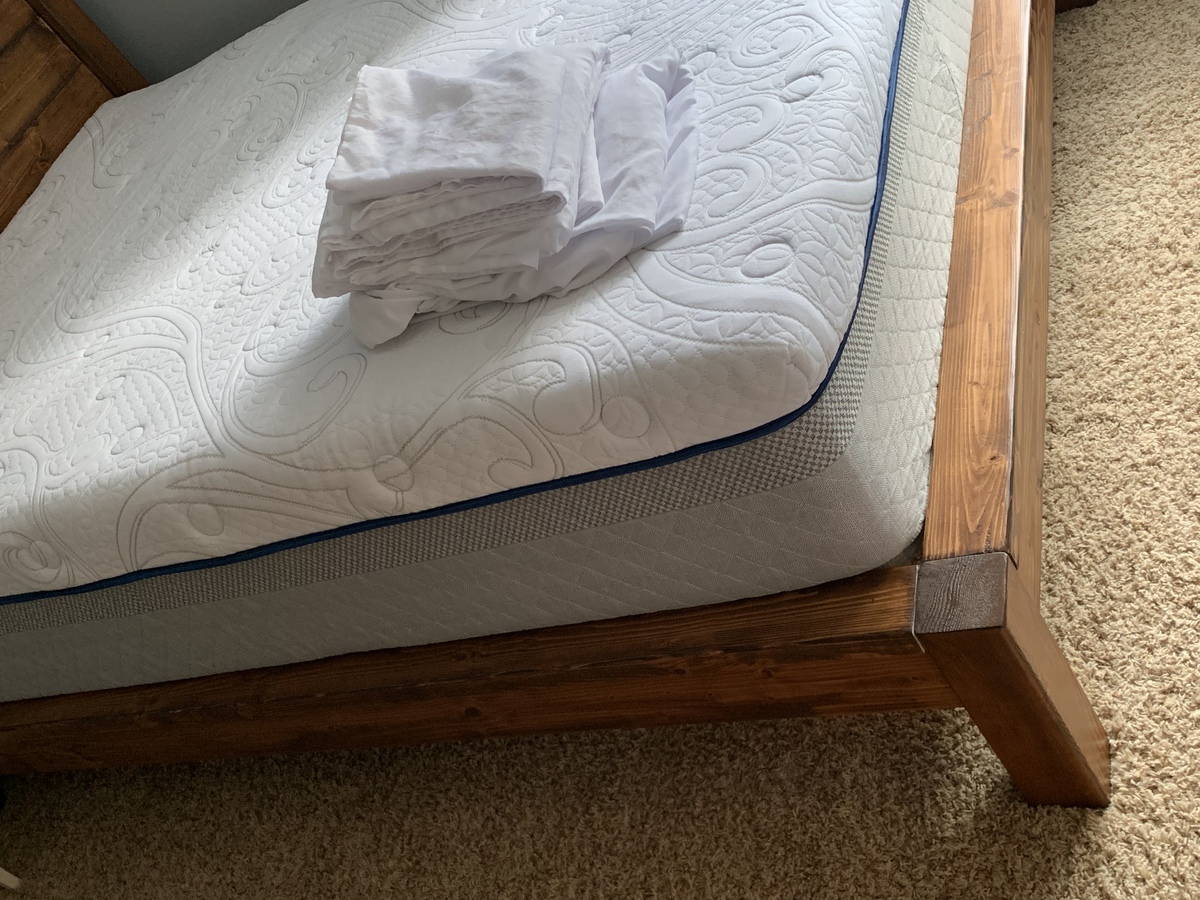
I made this as part of a room makeover for my teenager. It was my second furniture project, the first being Ana’s original farmhouse bed. This was my first project with the Kreg jig and I watched a great YouTube video by shanty2chic to learn the basics of pocket holes. This was also my first staining project and I love the results. My daughter loved it so much she had me stain her closet doors to match! The lumber for the bed was only $120, I spent an additional $80 on wood and screws for the slats to support the mattress, my new kreg jig came with enough screws to make the bed frame. I spent another $80 on wood conditioner, stain and poly since she didn’t like the first stain (Briarsmoke, which I will definitely use on another project).

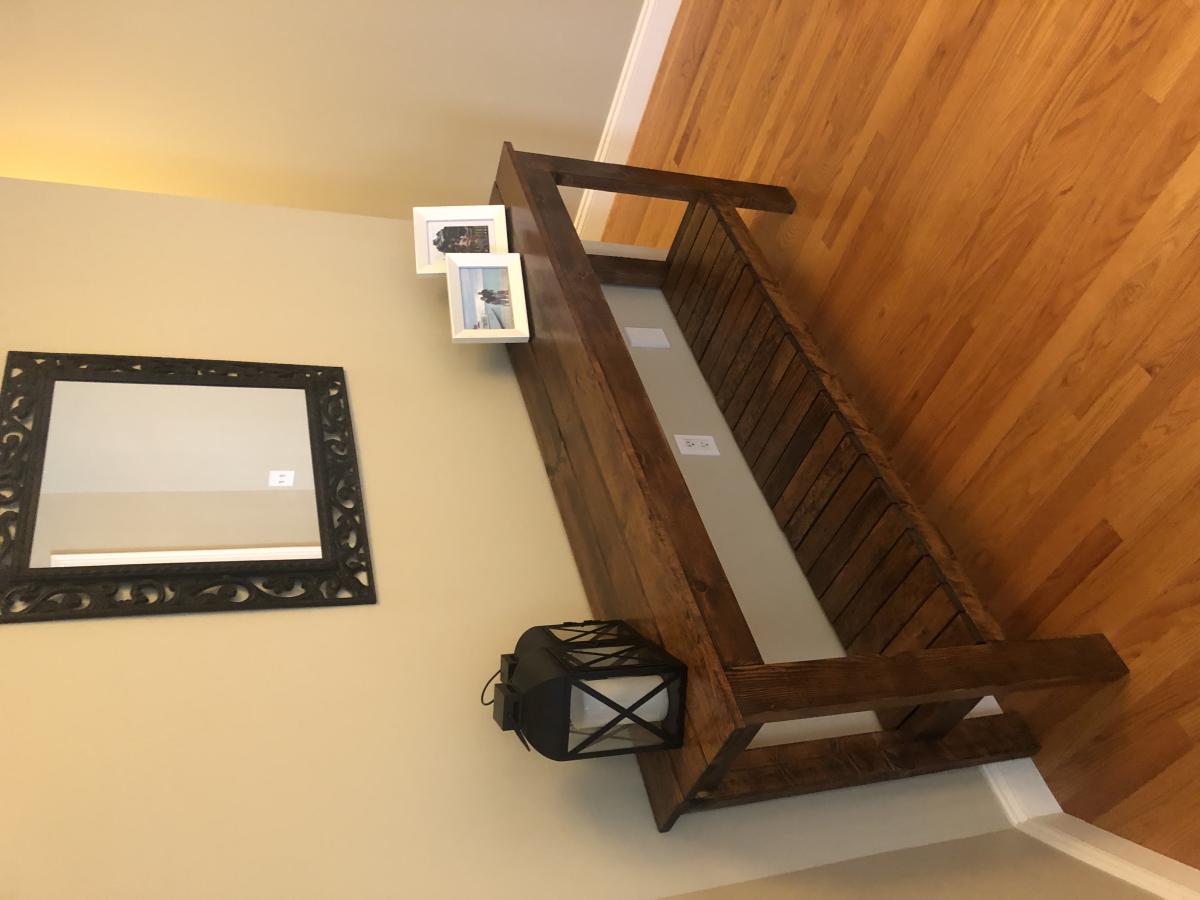
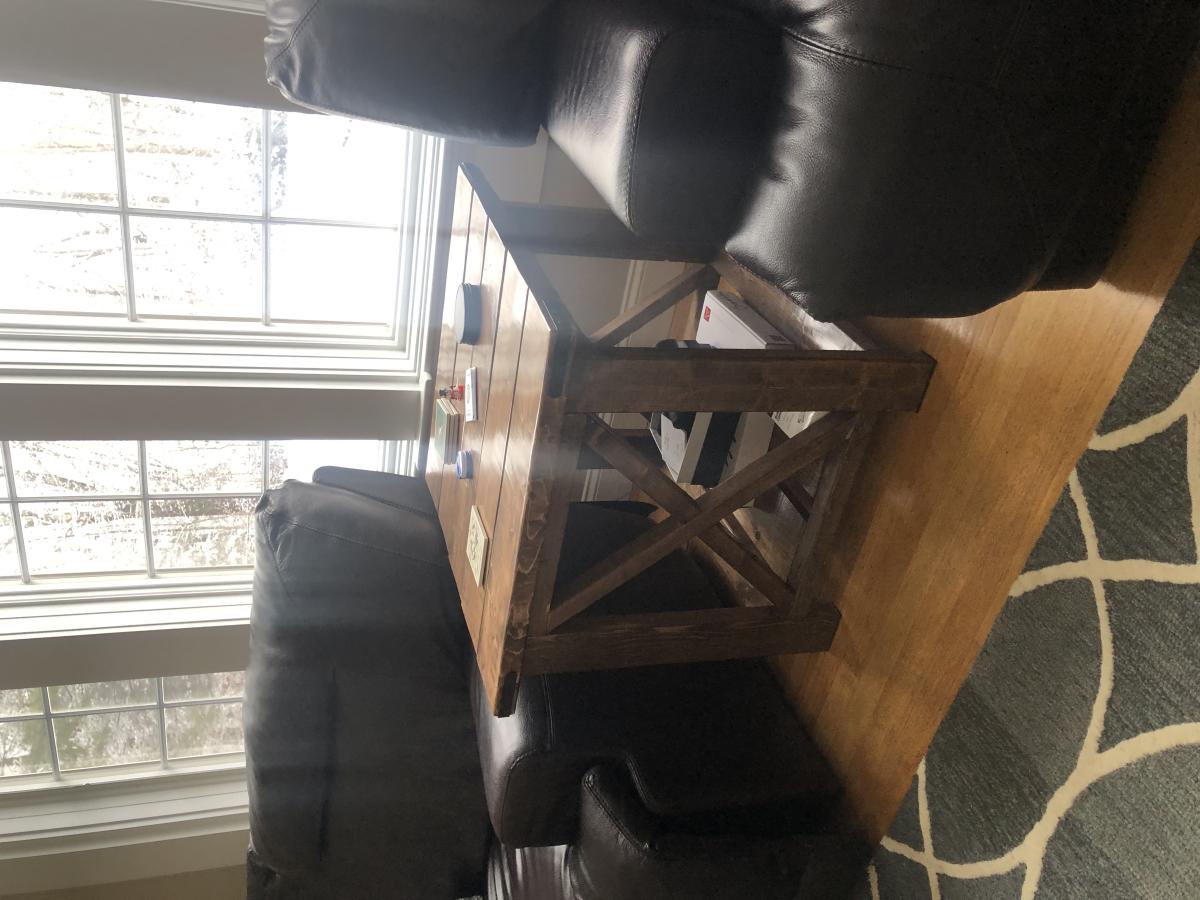
The tv table is most recent and custom with acquired skills using your other plans along the way. Coffee and side table are 100% from your plan . Hall table is modified from a plan as I wanted it to fit the top of stairs landing. Love your site! I've done other projects but these are all in my own and built in the last 18 months. Cheers!!

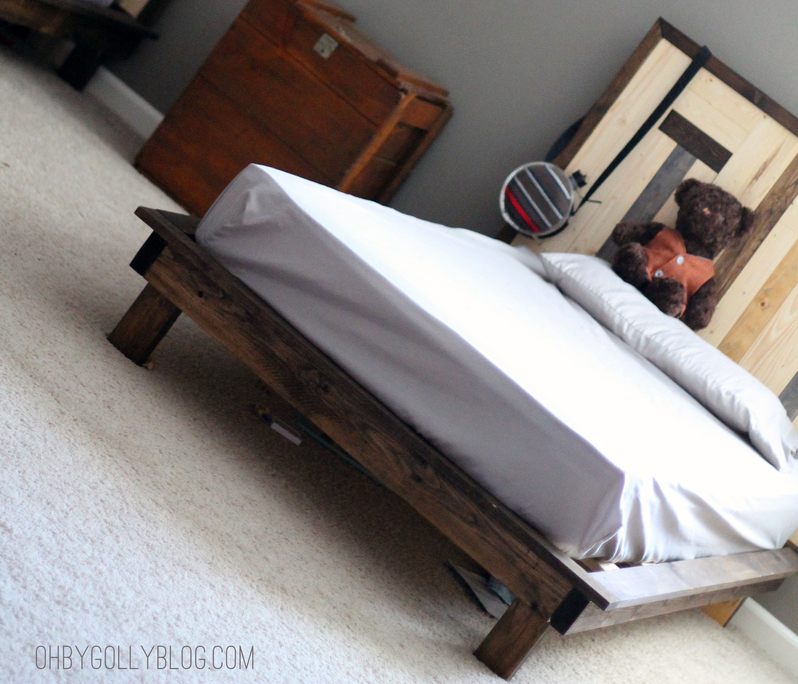
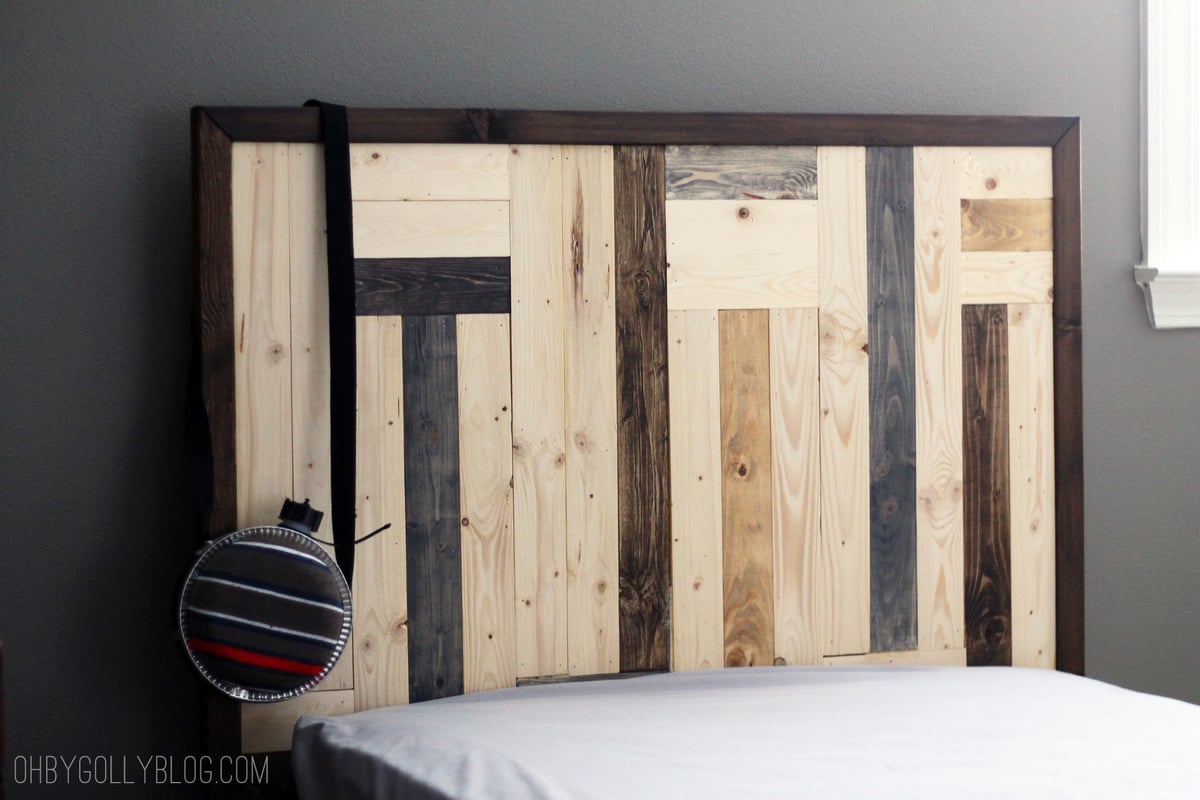
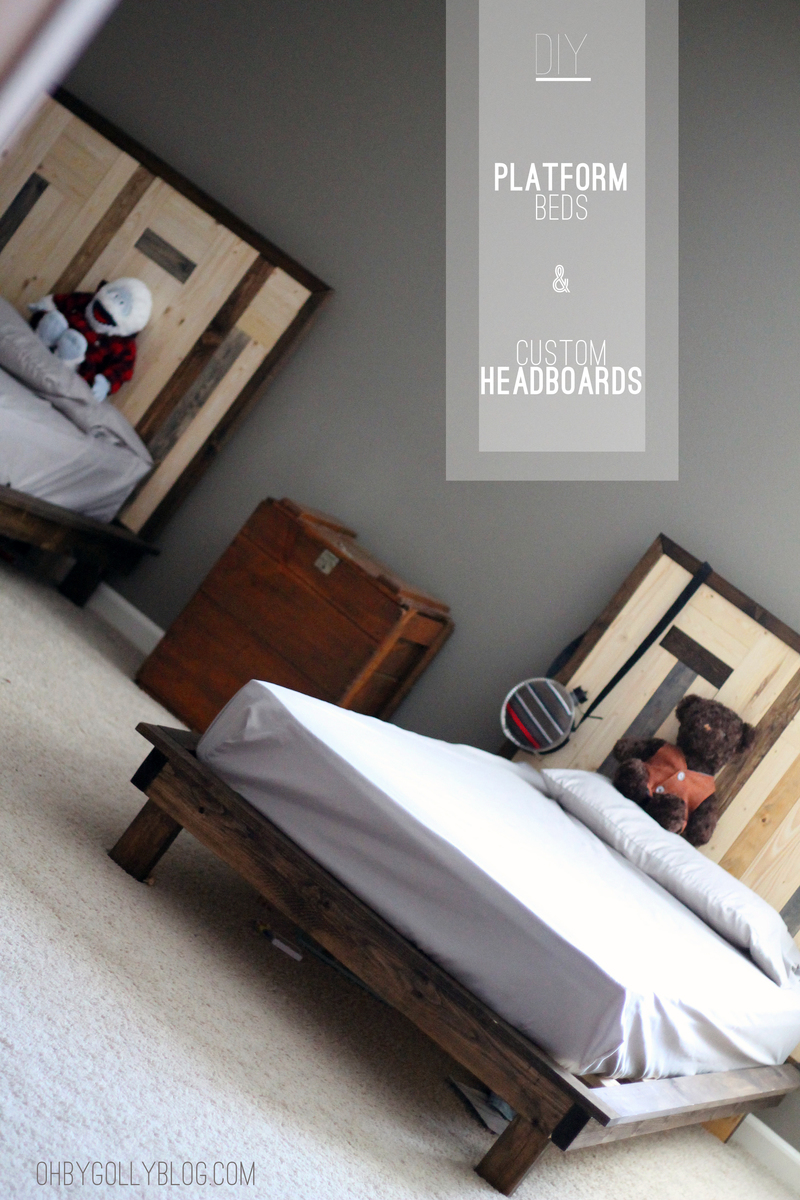
More images and details can be found at http://ohbygollyblog.com/?p=4029 Come visit me!
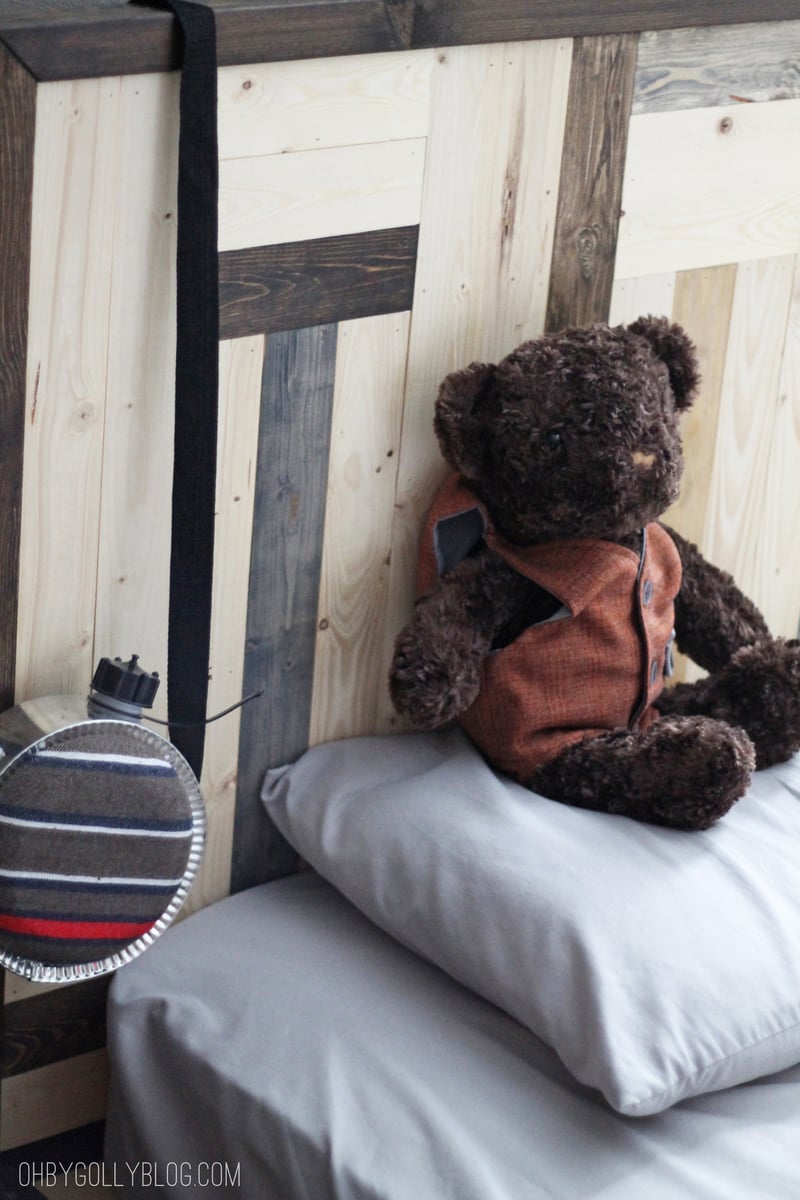
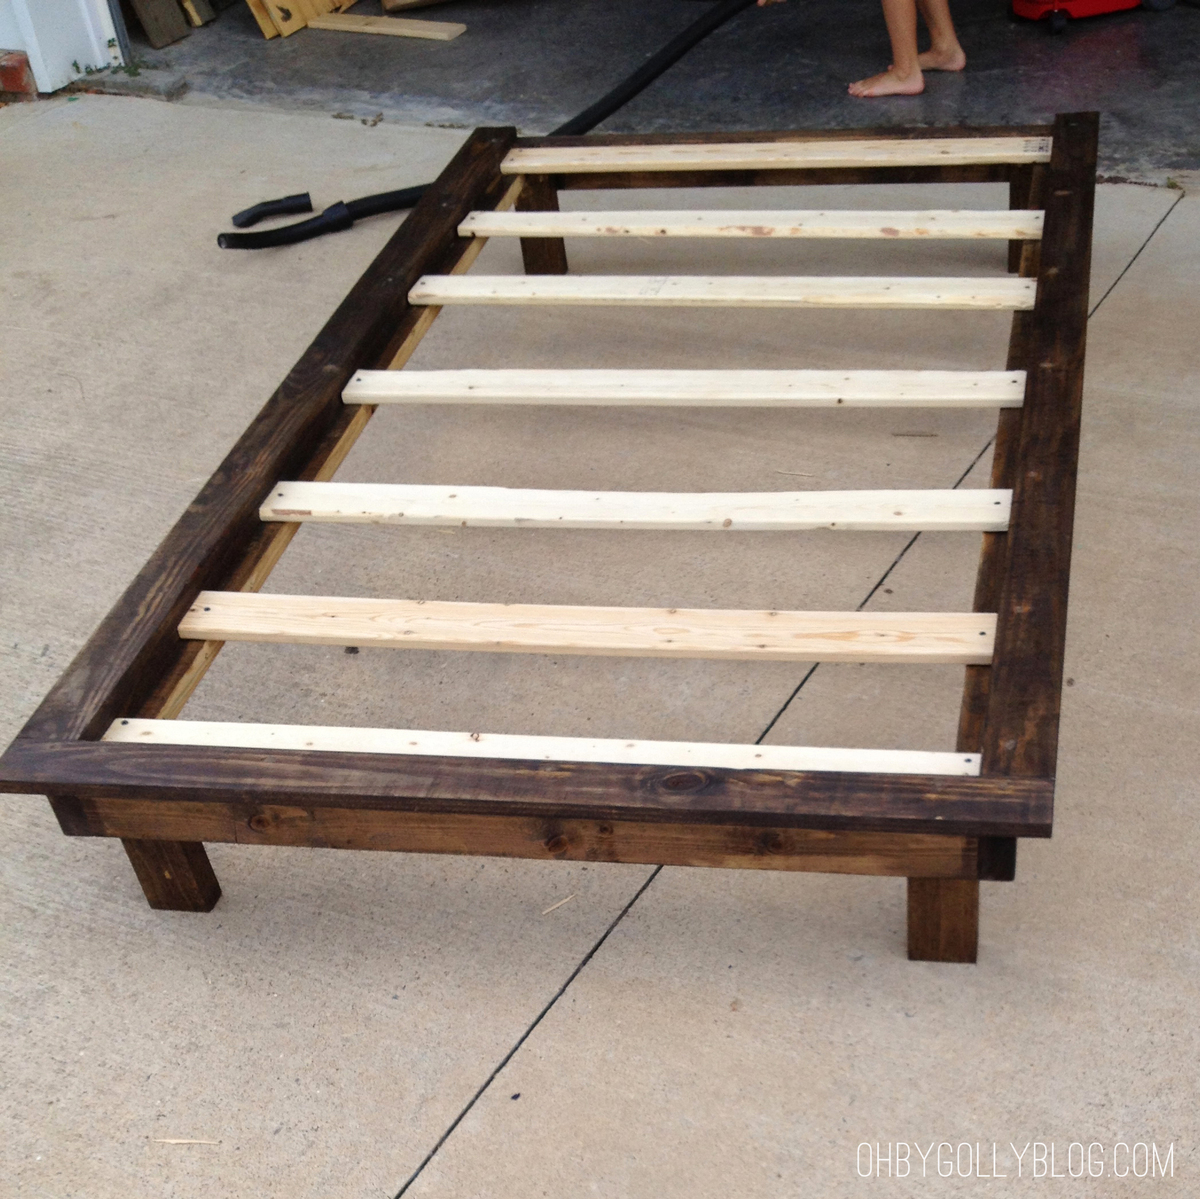
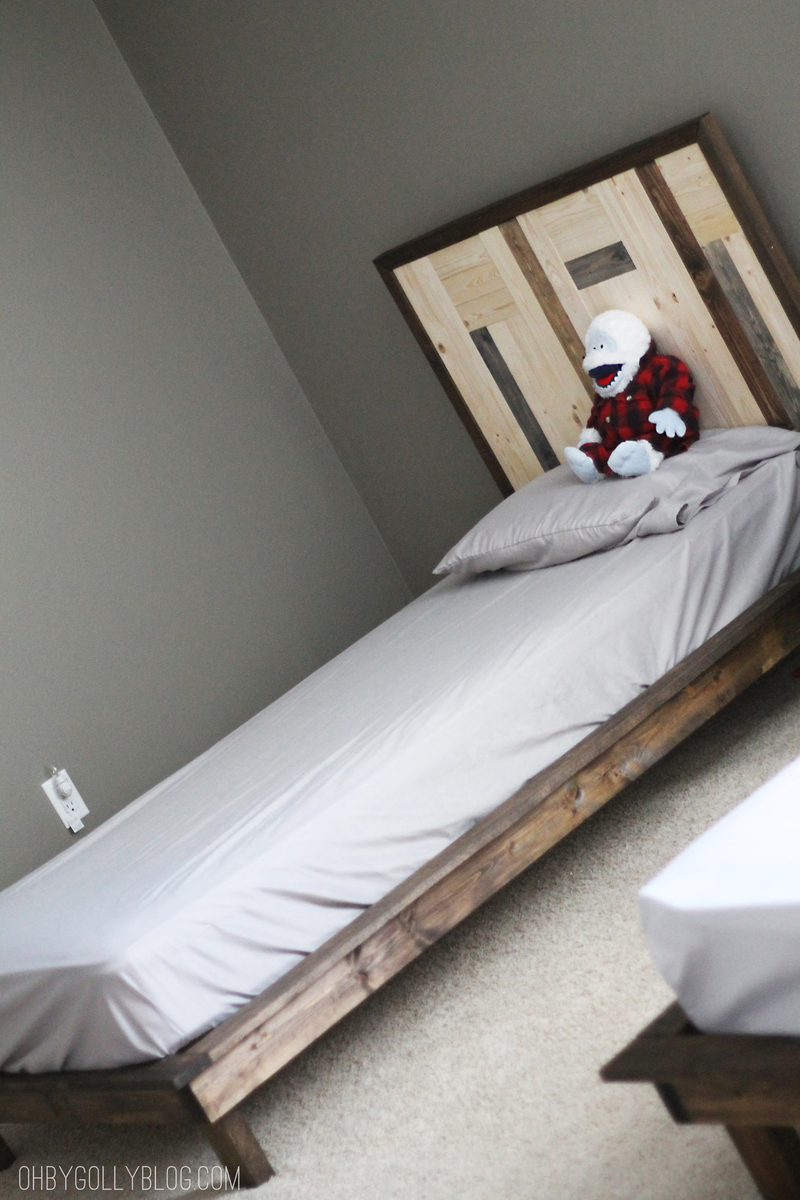
Tue, 10/08/2013 - 09:58
Very creative! I went to your blog and looked at your own headboard, too. You do good work!
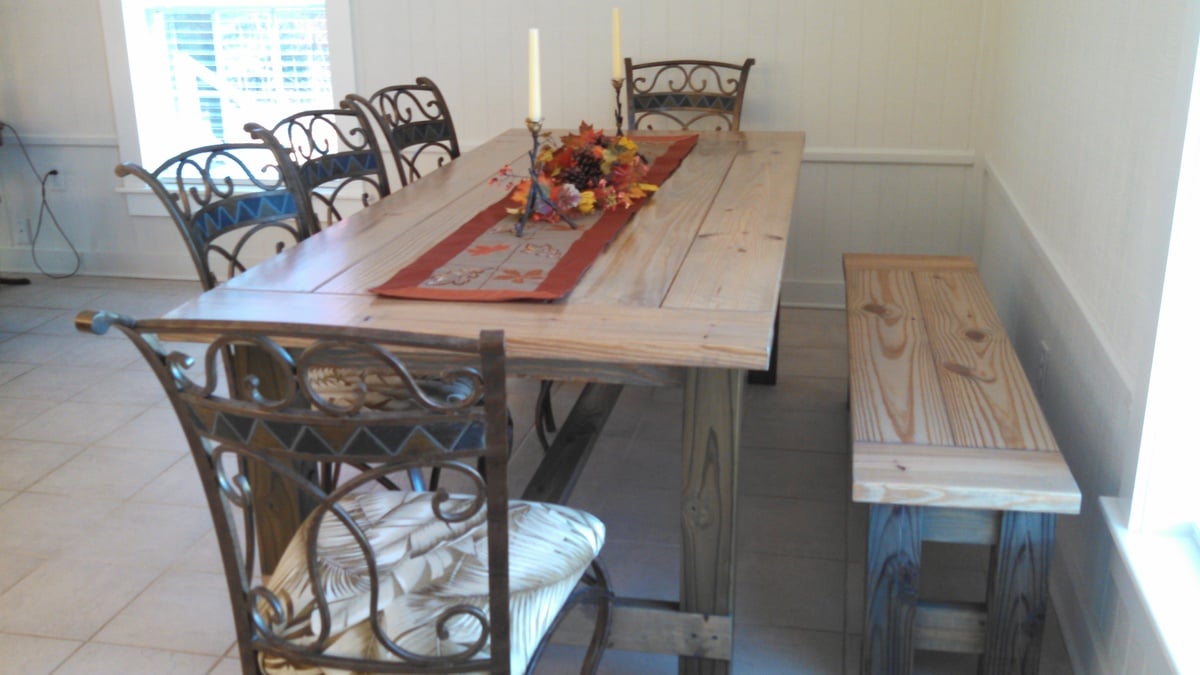
My first woodworking project ! Already planning others from the ana white site.
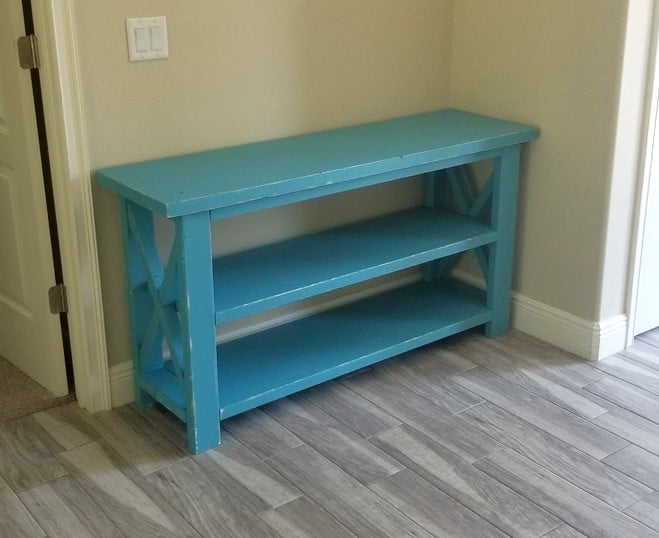
Built from plans
Modified the bed so that is was not as tall as the original project plan. We also changed the molding on the top to a 2x4 with a angle cut and then a 1x4 on top. The bed can only be positioned one way in the room and we didn't want to cover the window with a real high head board. Thank you Ana! You rock!!
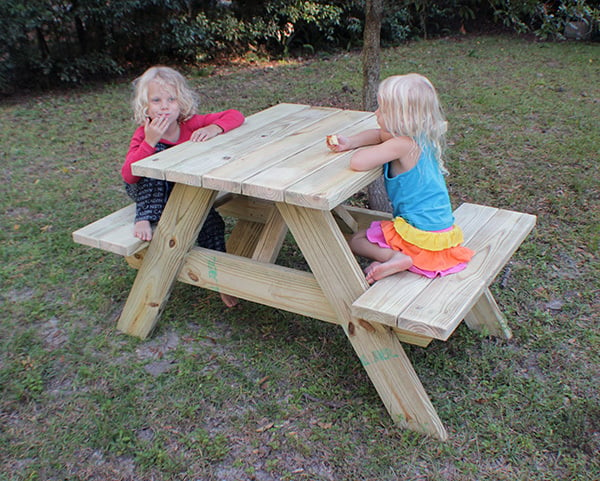
I've got a full how-to and FREE PLANS at
http://www.iliketomakestuff.com/two-person-picnic-table/
The whole thing was built for under $60 and could be done with only a circular saw and a drill, in an afternoon.
(optionally, a router and sander can smooth out corners)
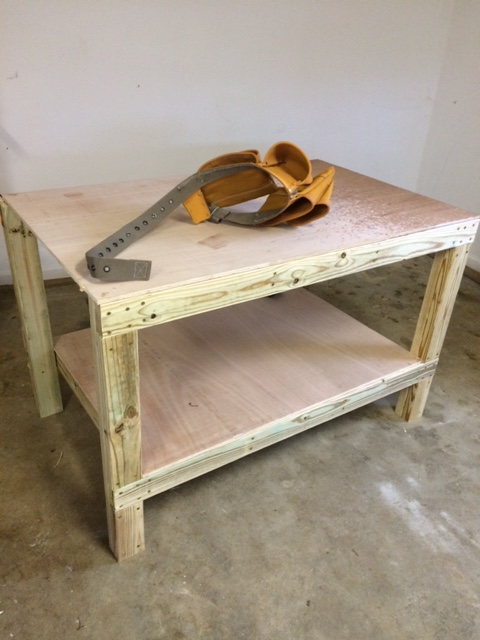
I saw the "Easy DIY Garage Workbench" plans and got motivated for a little garage organization.
Thu, 11/04/2021 - 07:08
This is great, love what you did here, thank you for sharing!
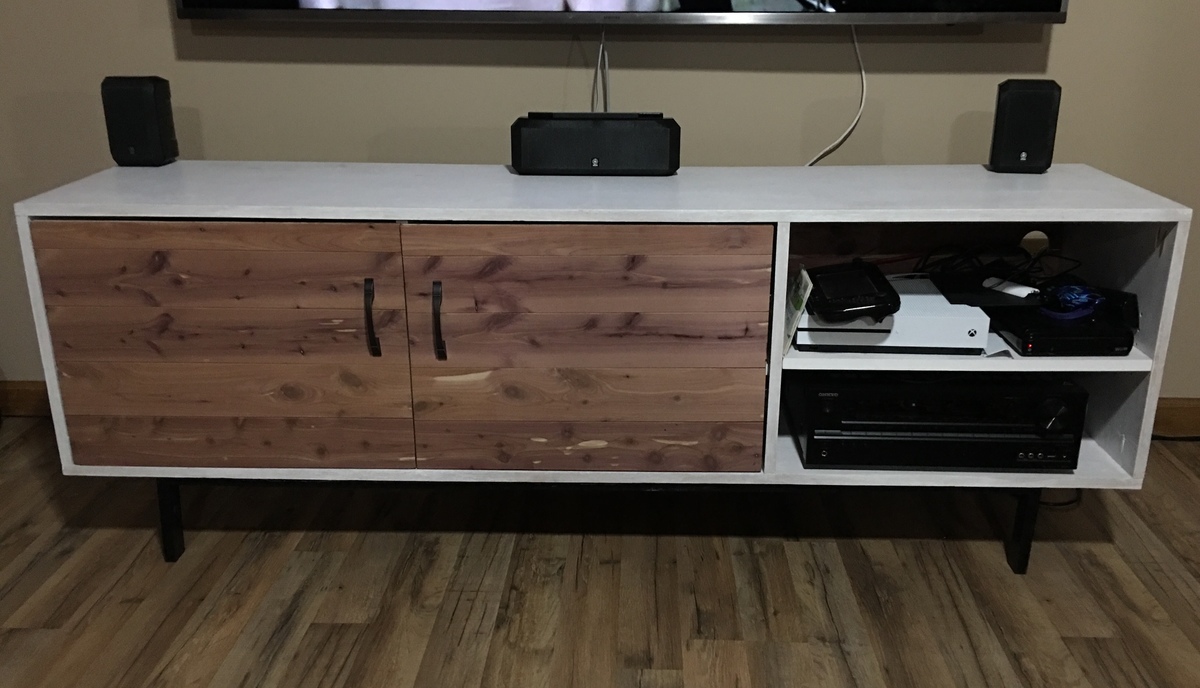
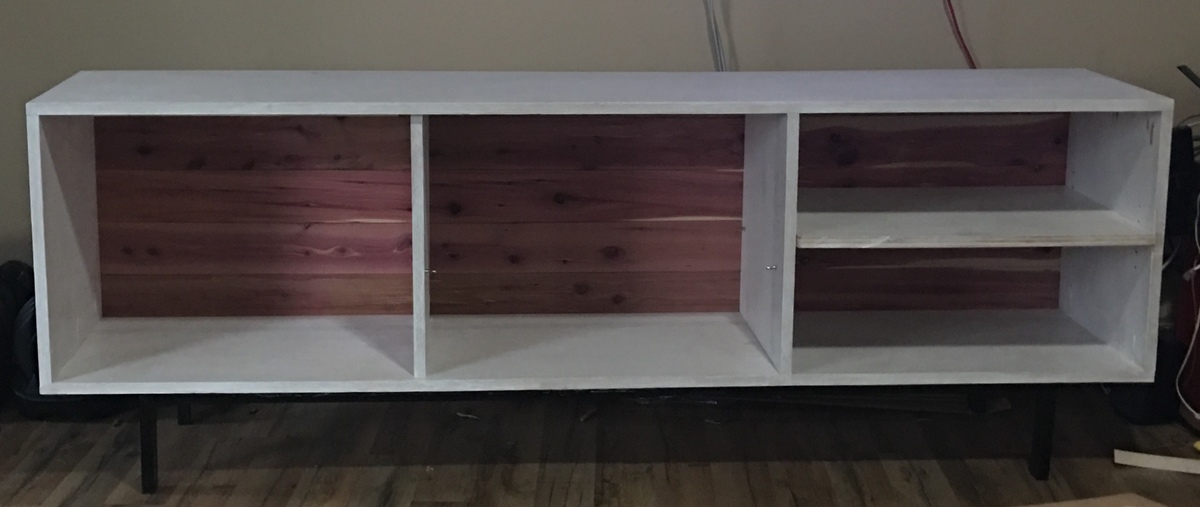
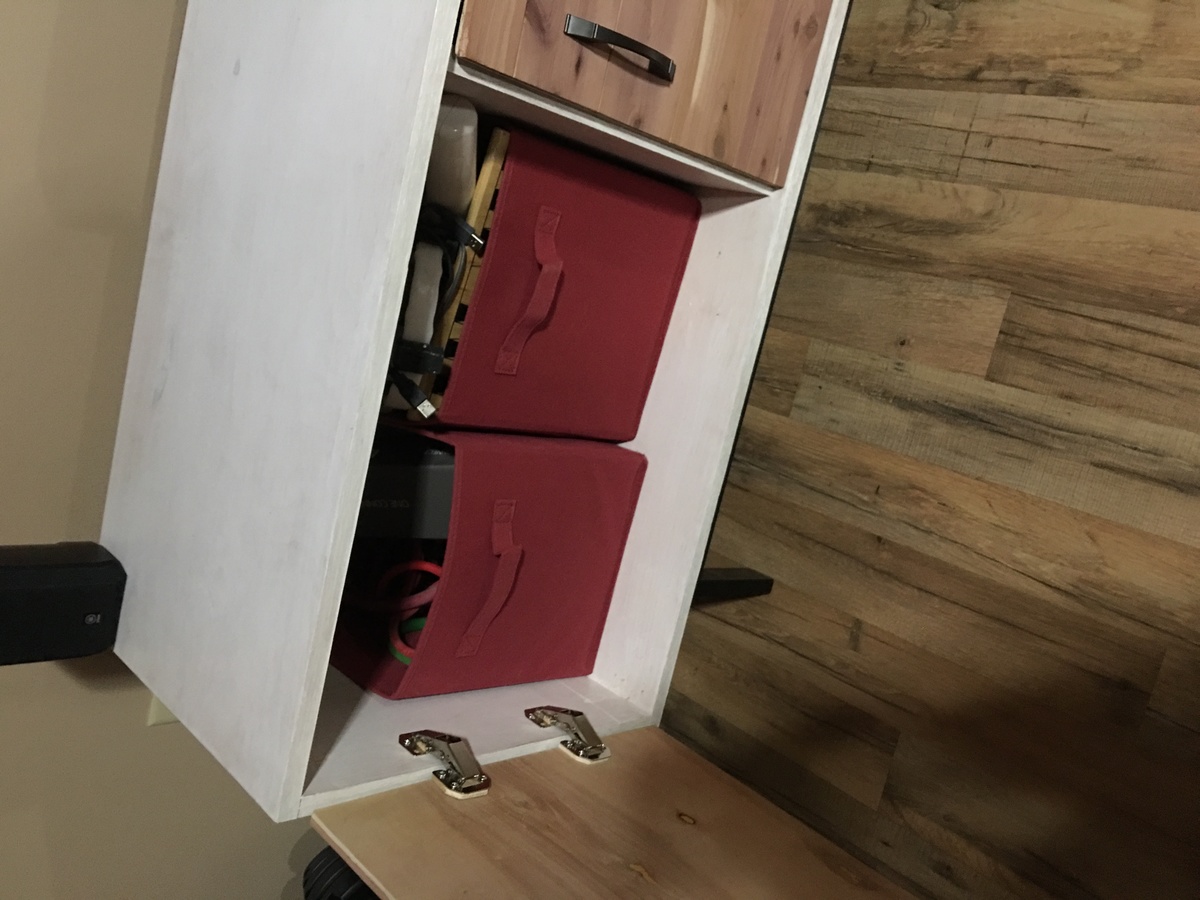
Built this project to organize and store the electronics in the living room. Followed the plans for the most part with a single sheet of 3/4” Maple ply for the console. 2” Oak lumber for the legs. Cedar planks instead of 1/4 plywood for the backing. I glued Cedar planks to 1/2 ply and trimmed for the doors; hidden hinges. I drilled holes for adjustable shelving in each section and bought the shelf pins on Amazon.
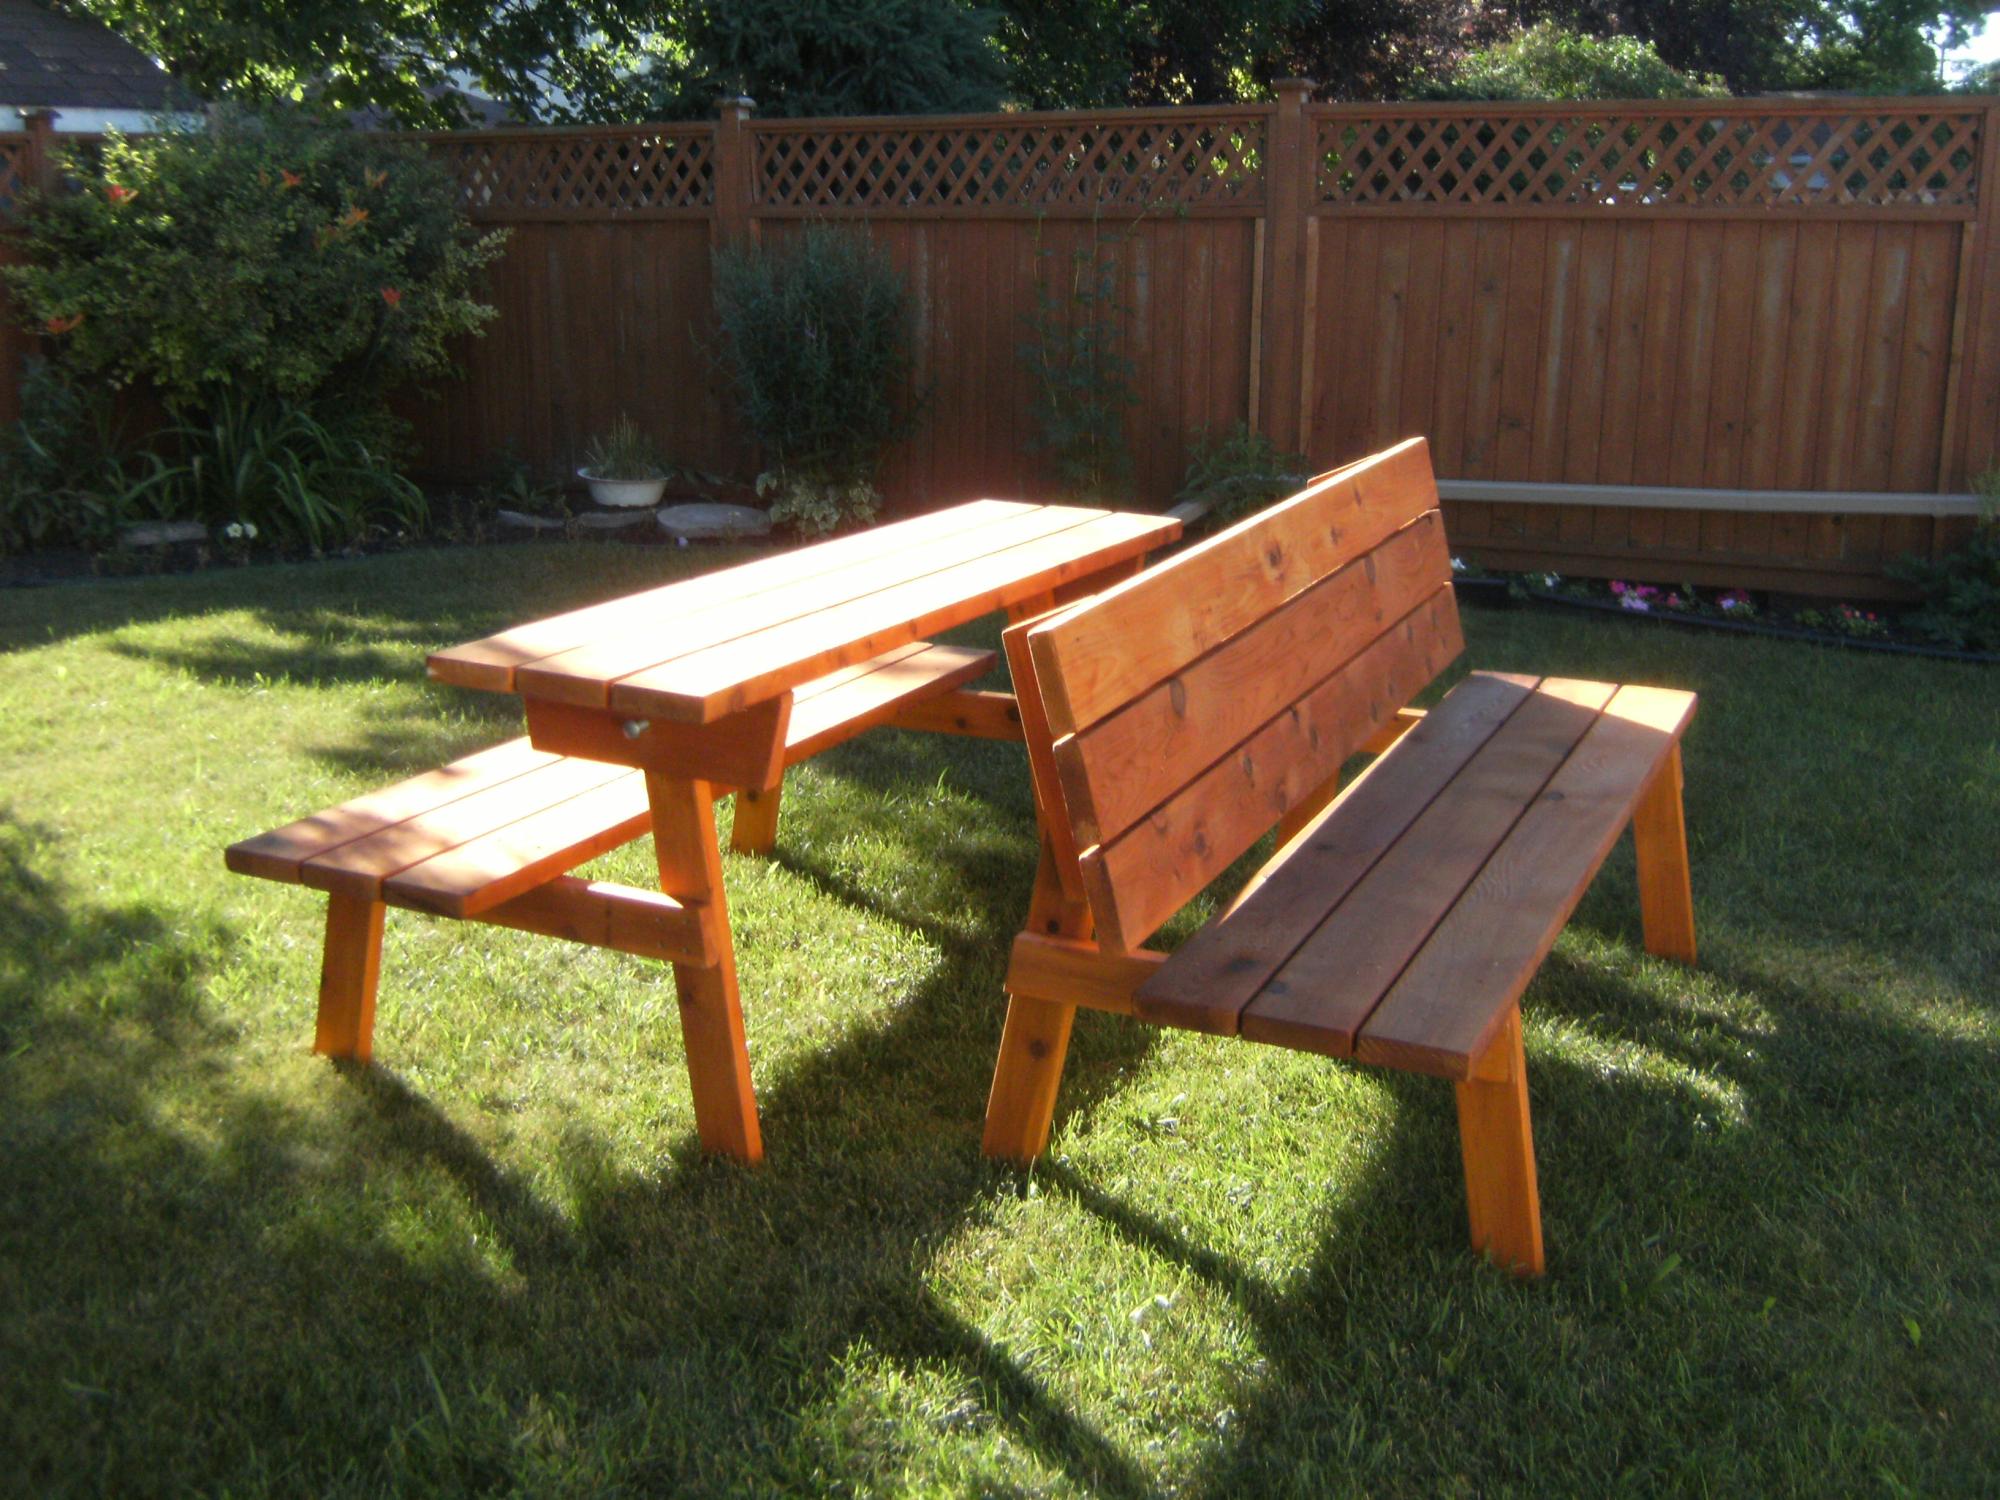
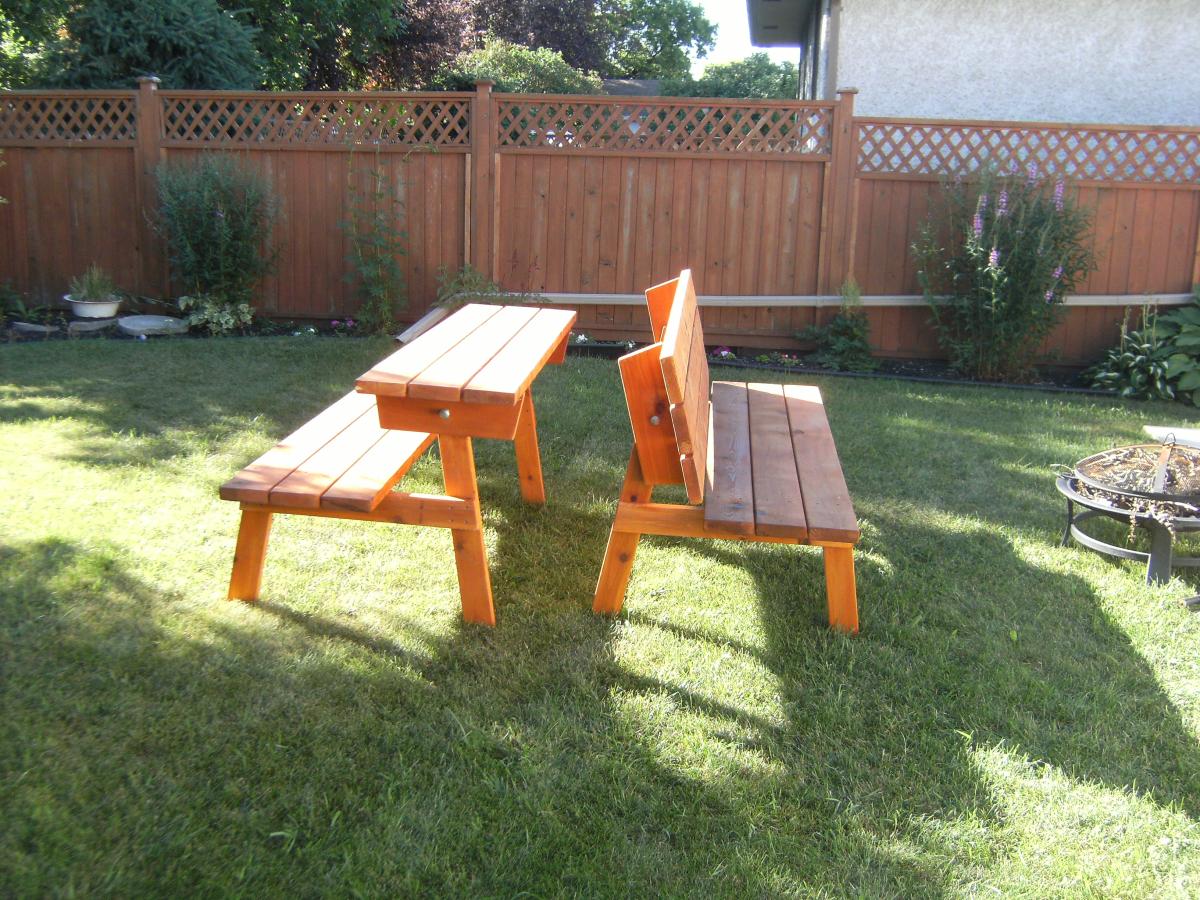
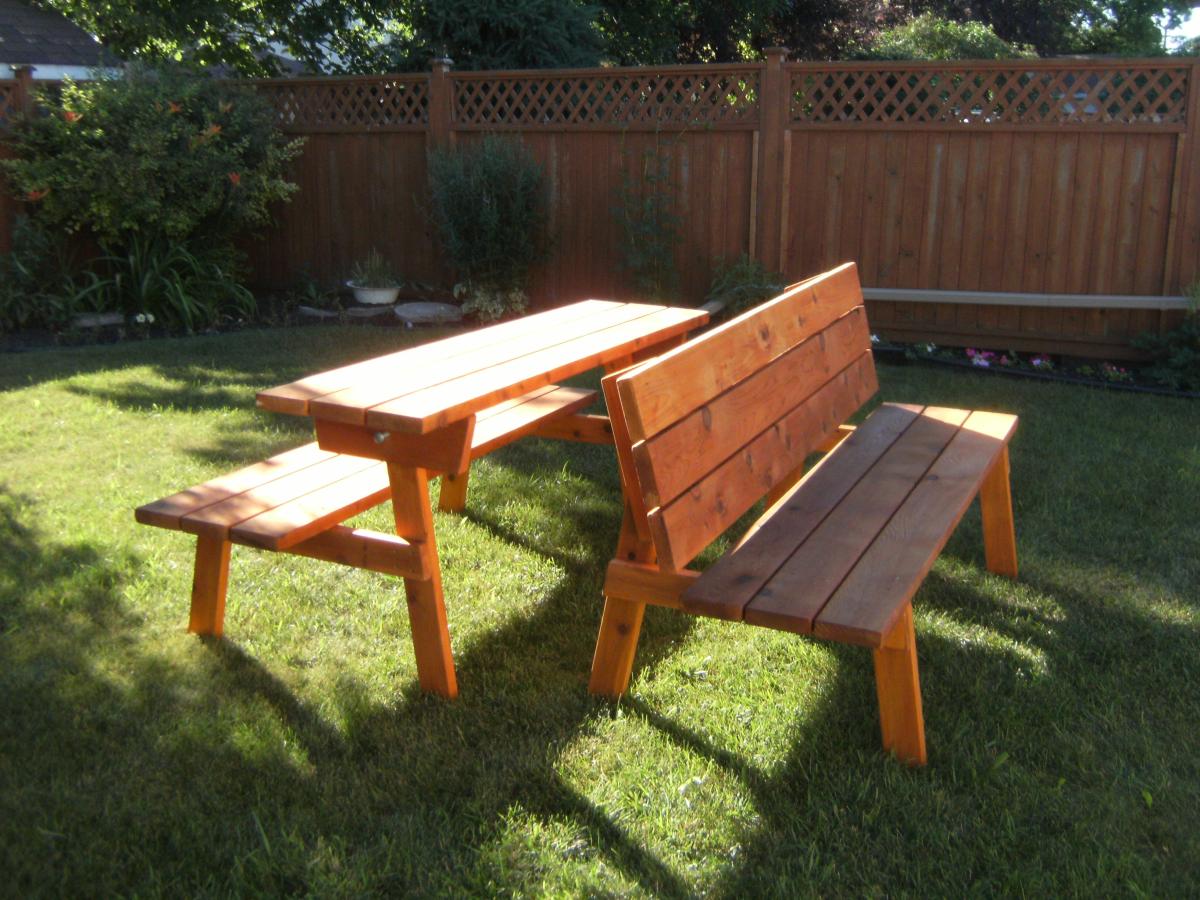
Simple benches that convert to picnic tables
Tryde Media Console plans, with slight modifications.
This was my first real project after building a very basic woodworking bench. It might look a bit daunting but is actually very simple - build the box and add some legs. Keep your cuts square and accurate and have a lot of wood filler (putty) on hand for mistakes :)
Tricky parts of this project were:
1) building it here in Australia - our wood sizes are different, and untreated 4x4's are not easily available.
2) hinges - I hate them! Still can't use 'em and may never do again.
I began this project sticking pretty much to the plans Ana posted, just making the width of the console a little narrower as my tv is 36" wide only.
Then I saw a post by the Shanty2Chic sisters who made a Apothecary Media Console with stained doors project and I fell in love. To be honest I wasn't crazy about the open sections on each side of the Tryde Console anyway, and I thought adding doors would be easy. Plus the glass knobs used by the S2C sisters were gorgeous! So I guess you could say this is a Tryde/Apothecary Media Console hybrid.
So this project is pretty much as Ana wrote it except it's narrower, and has doors with faux drawer fronts. And as it always goes the longest part of this project was doing the finish.
Please please read about this on my blog - I go into a lot of detail about the build and finish process and I make a lot of mistakes so you don't have to.
I will be posting the matching hutch project soon as I've finished that too.
UPDATE: You can read all about the matching hutch here
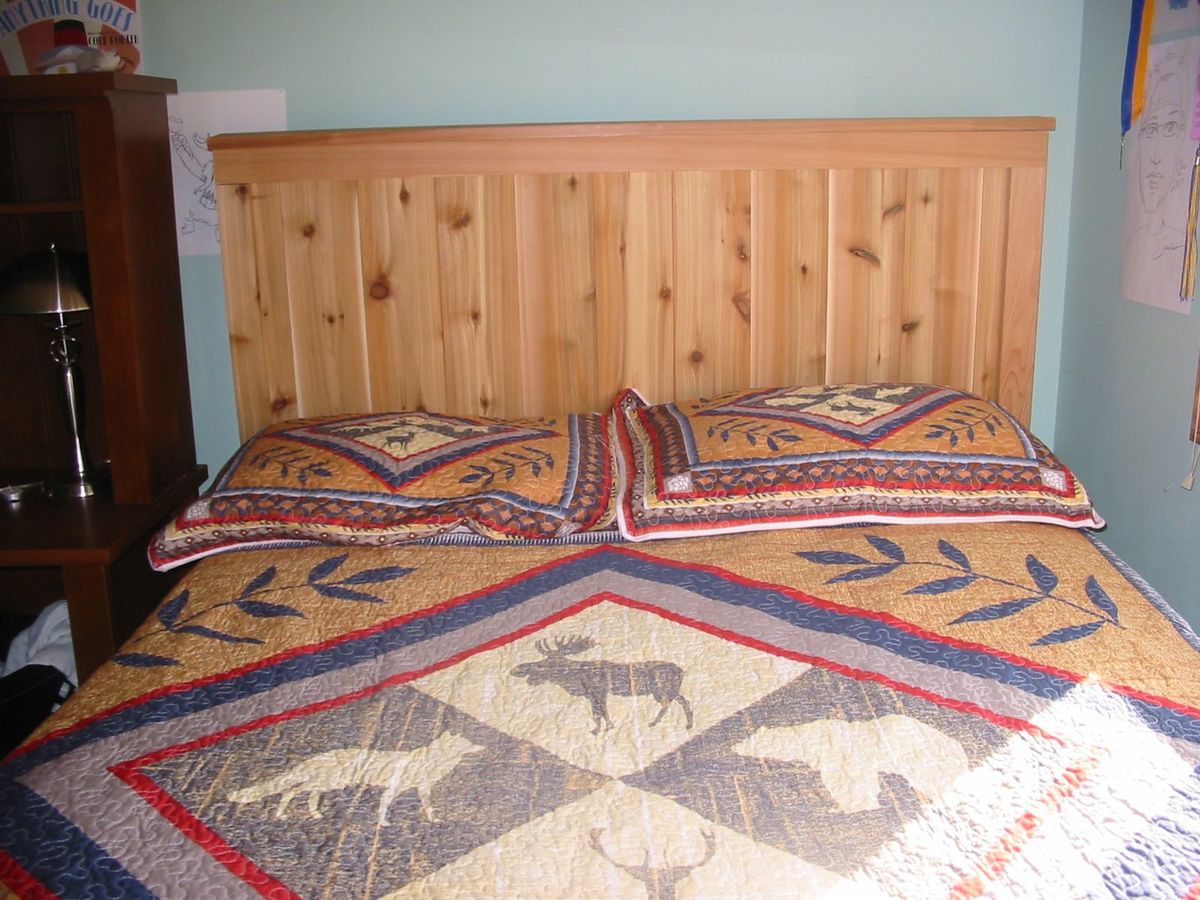
Hello,
I made the head board from the farm house bed project. I used western red cedar for this project and I bolted it to a standard metal bed frame. It came out really well and I'm very pleased with the plans and the results.
Thank you,
V. Woodcock
Minnesota
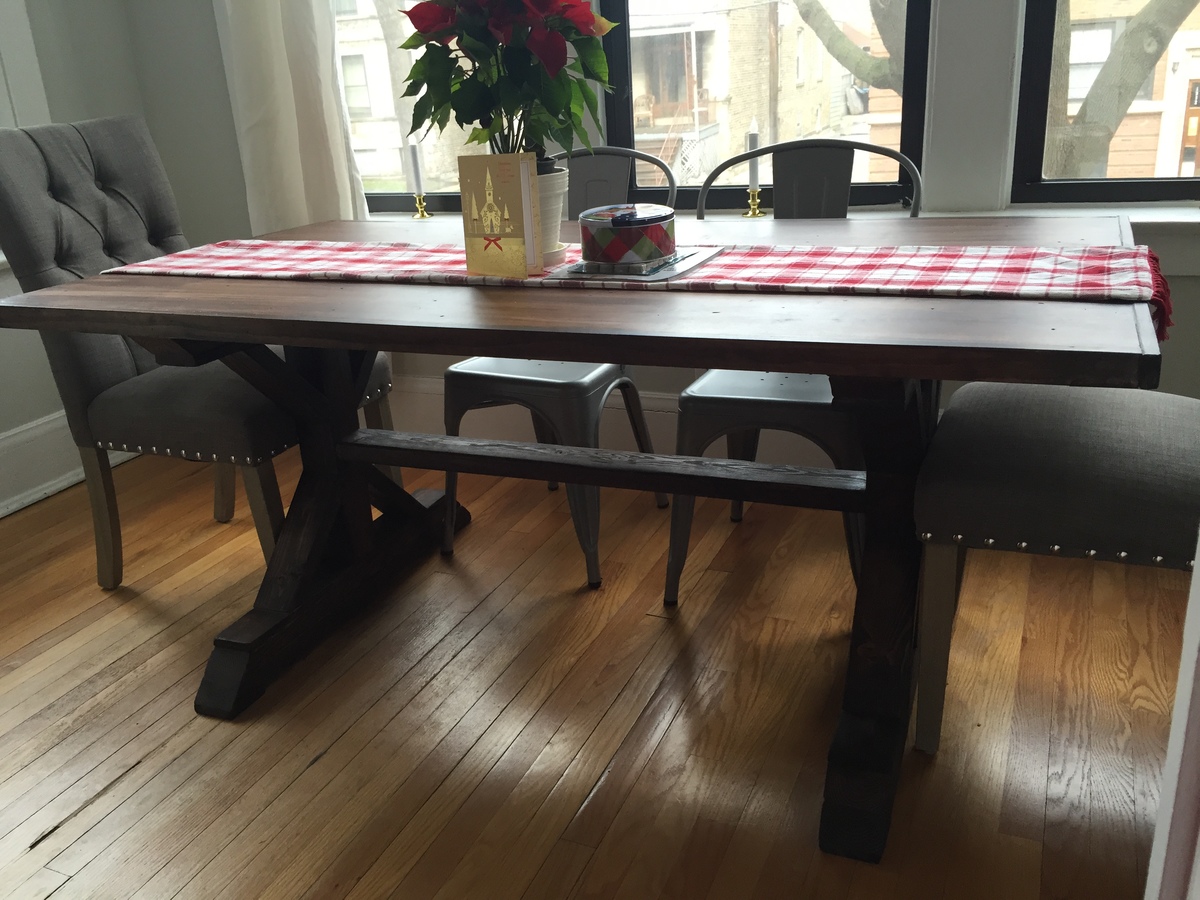
I wanted to make something for my daughter Jaclyn and her significant other Sam for their new condo that would bring memories to the table each and every time they sat at it with memories that would last a lifetime. This was perfect. I made it in a week and was ready just before they moved into their new condo. The top is a slab of maple and the frame is pine 2x4's. I deviated by using a 4x4 center post on each side of the pedestal. I used my keg jig to hide the hole in various places. I used chains, a hammer and nails to distress the top.