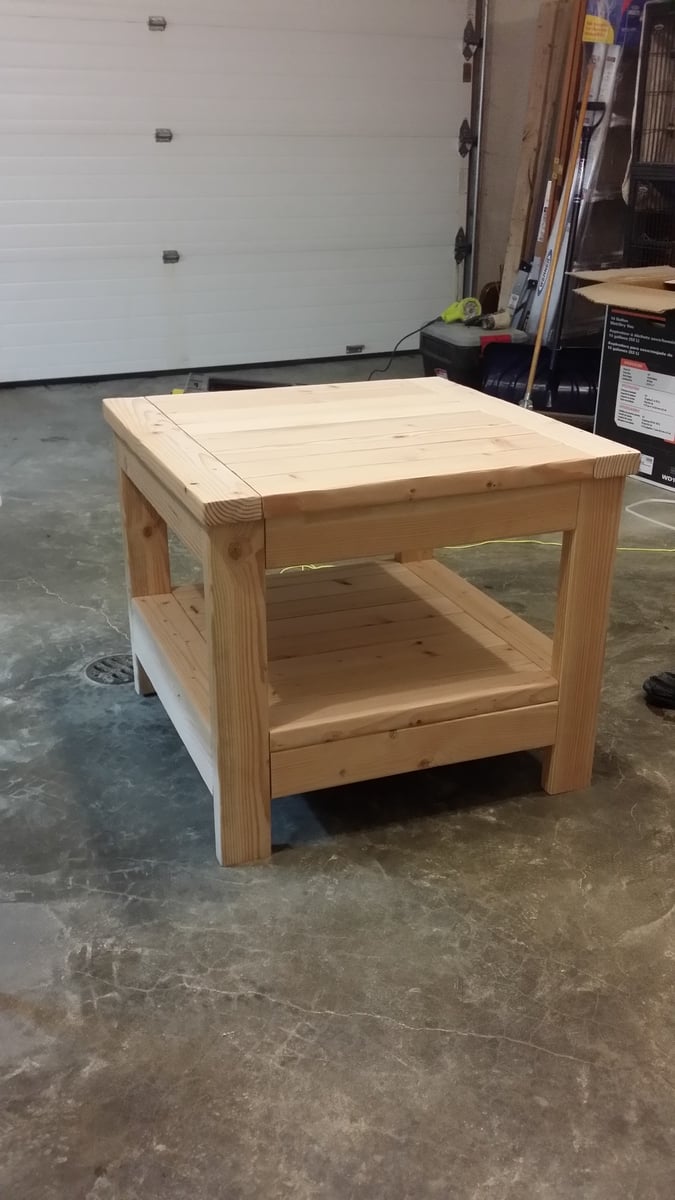
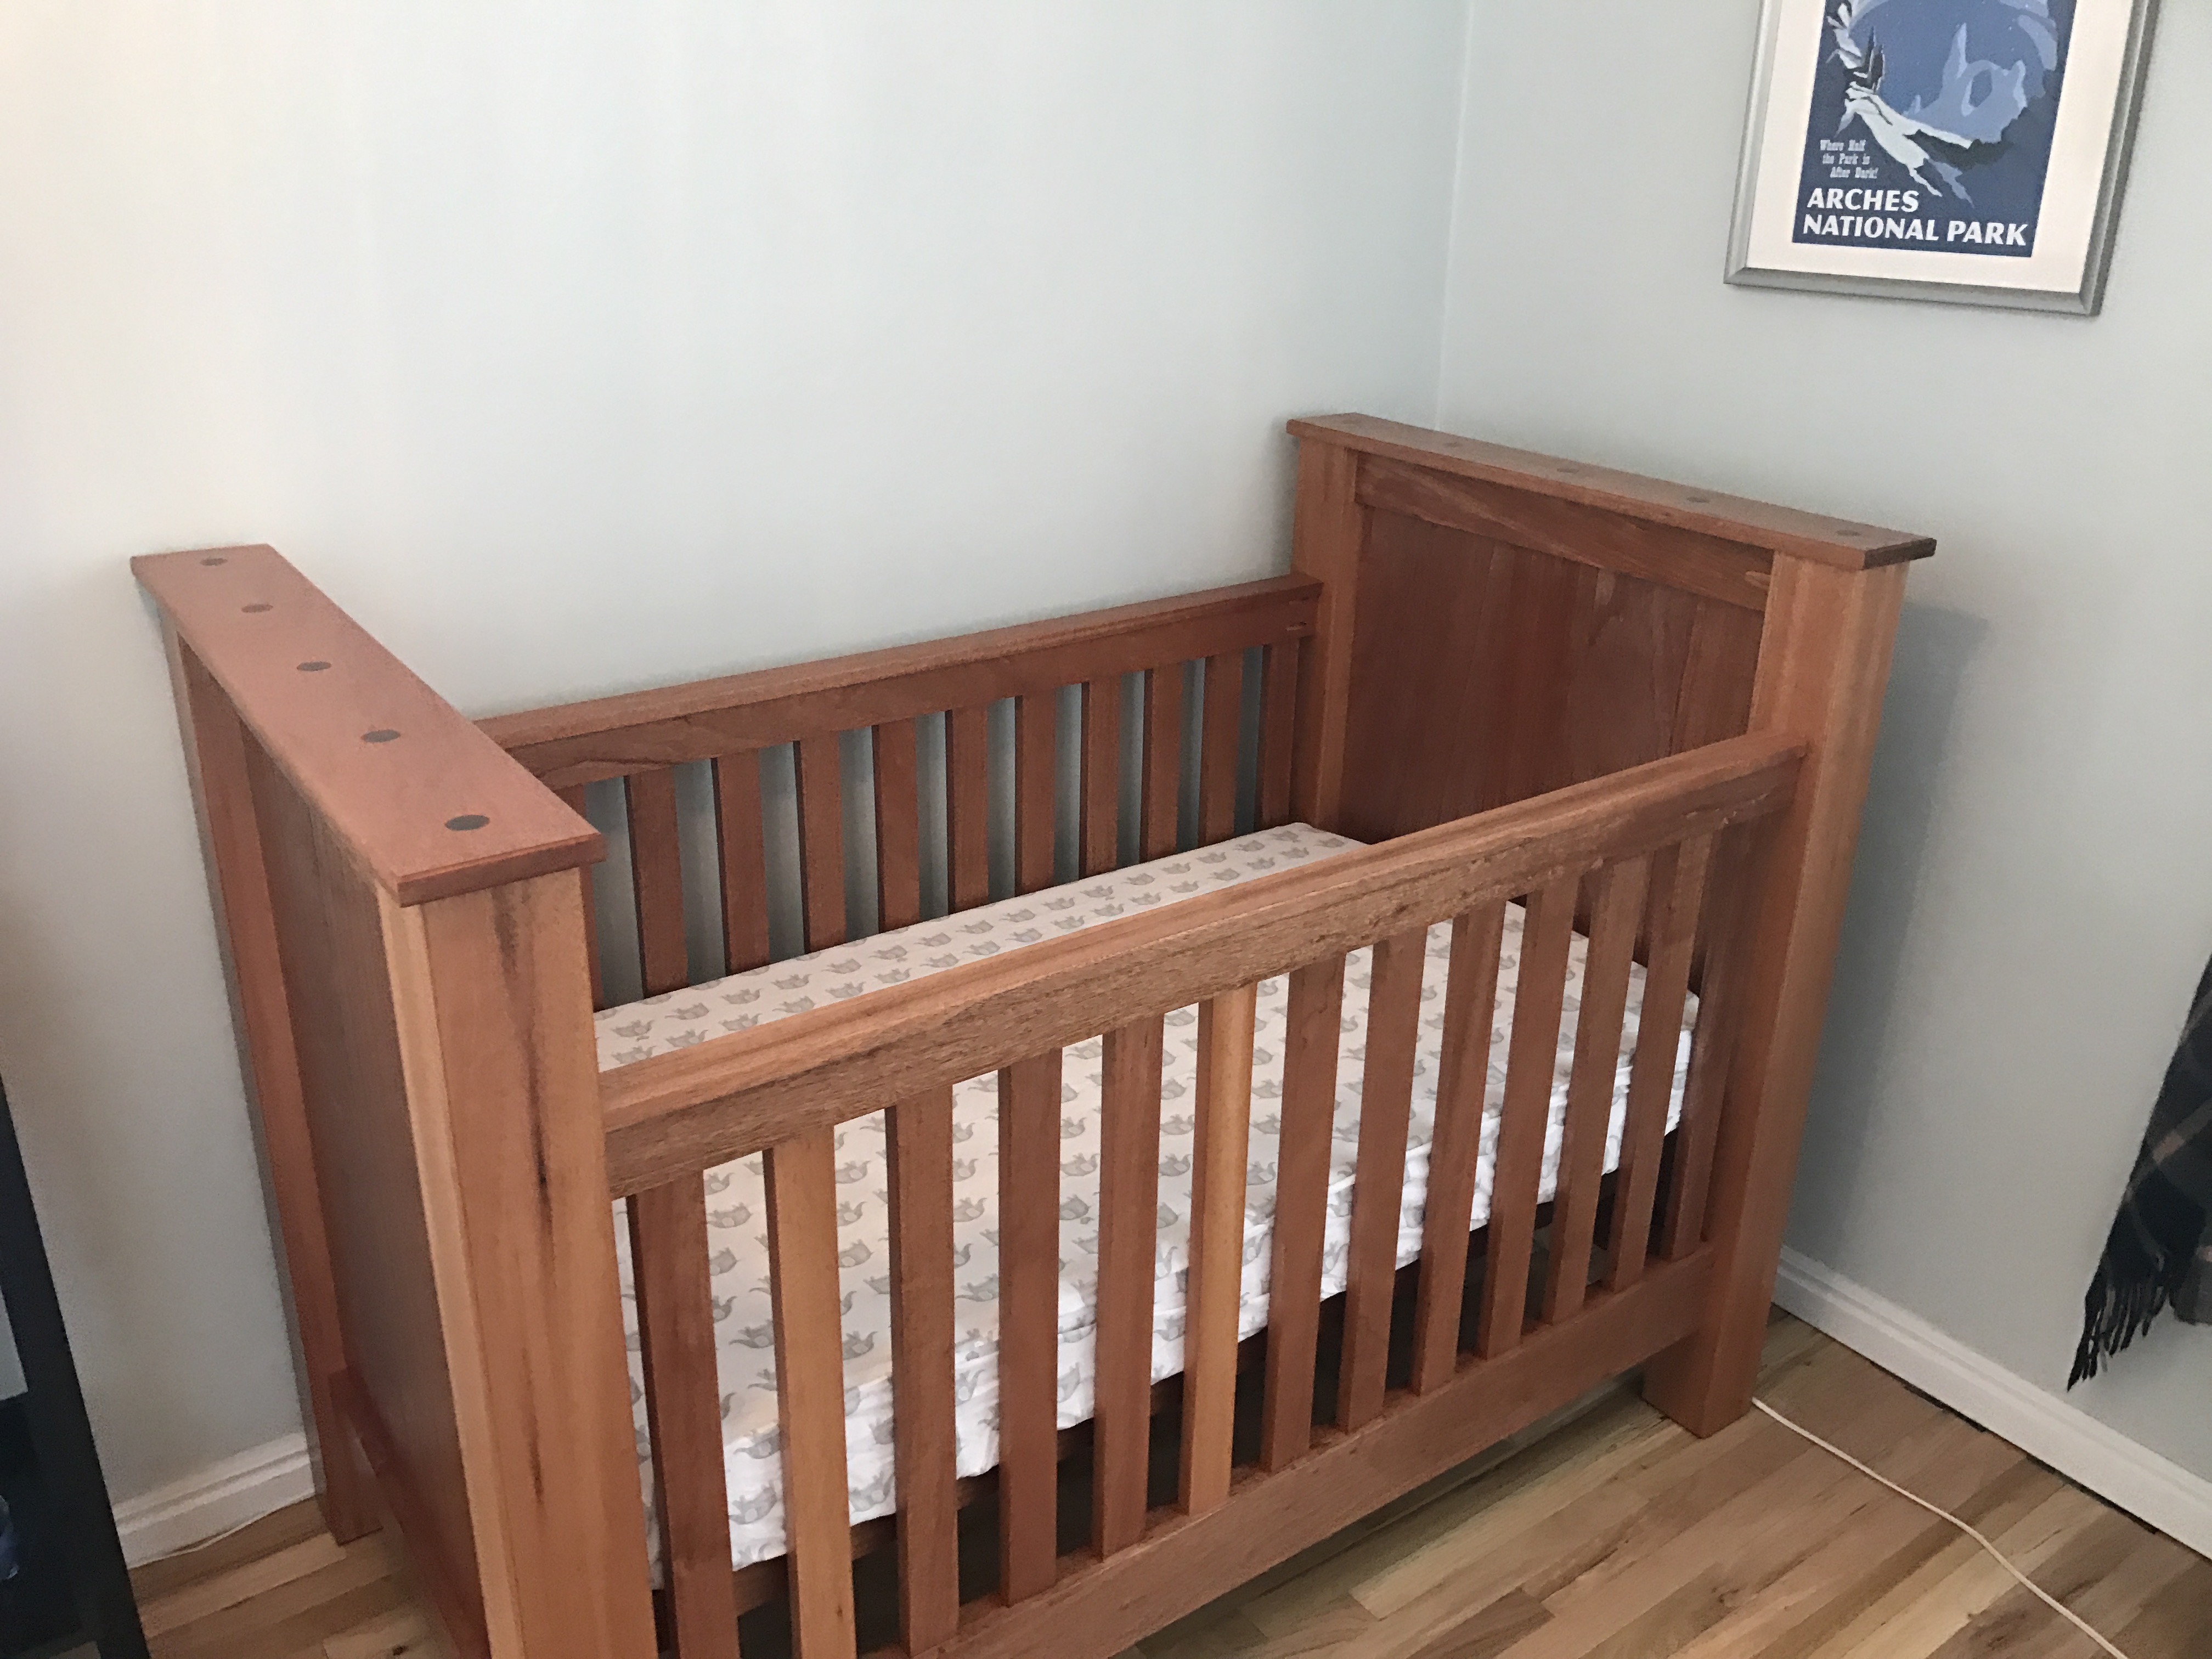
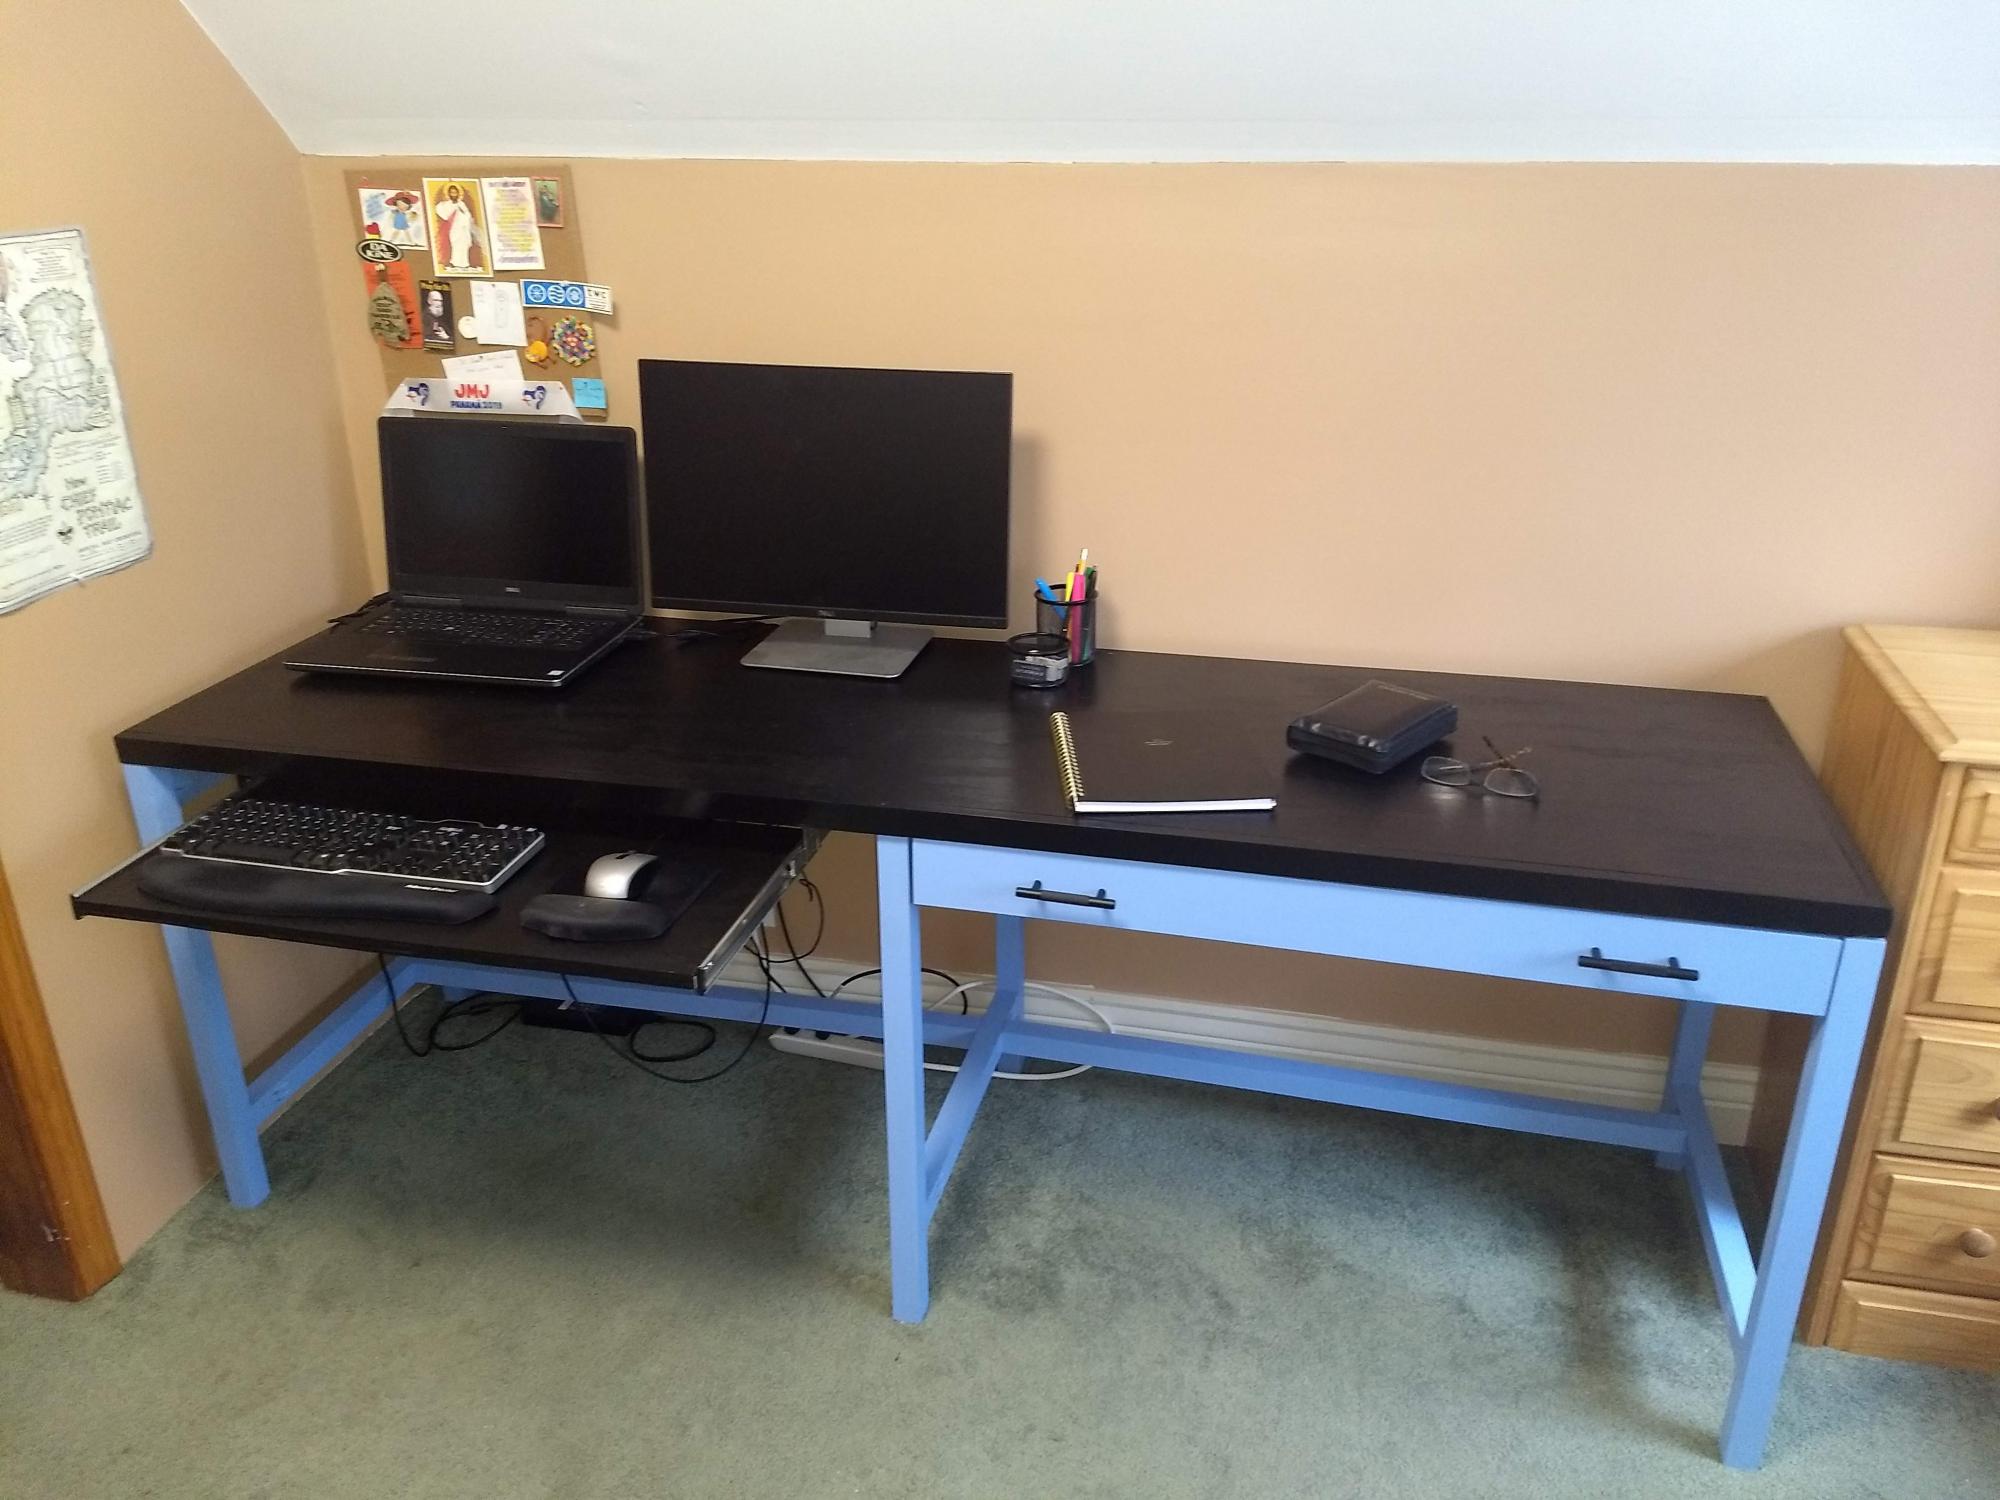
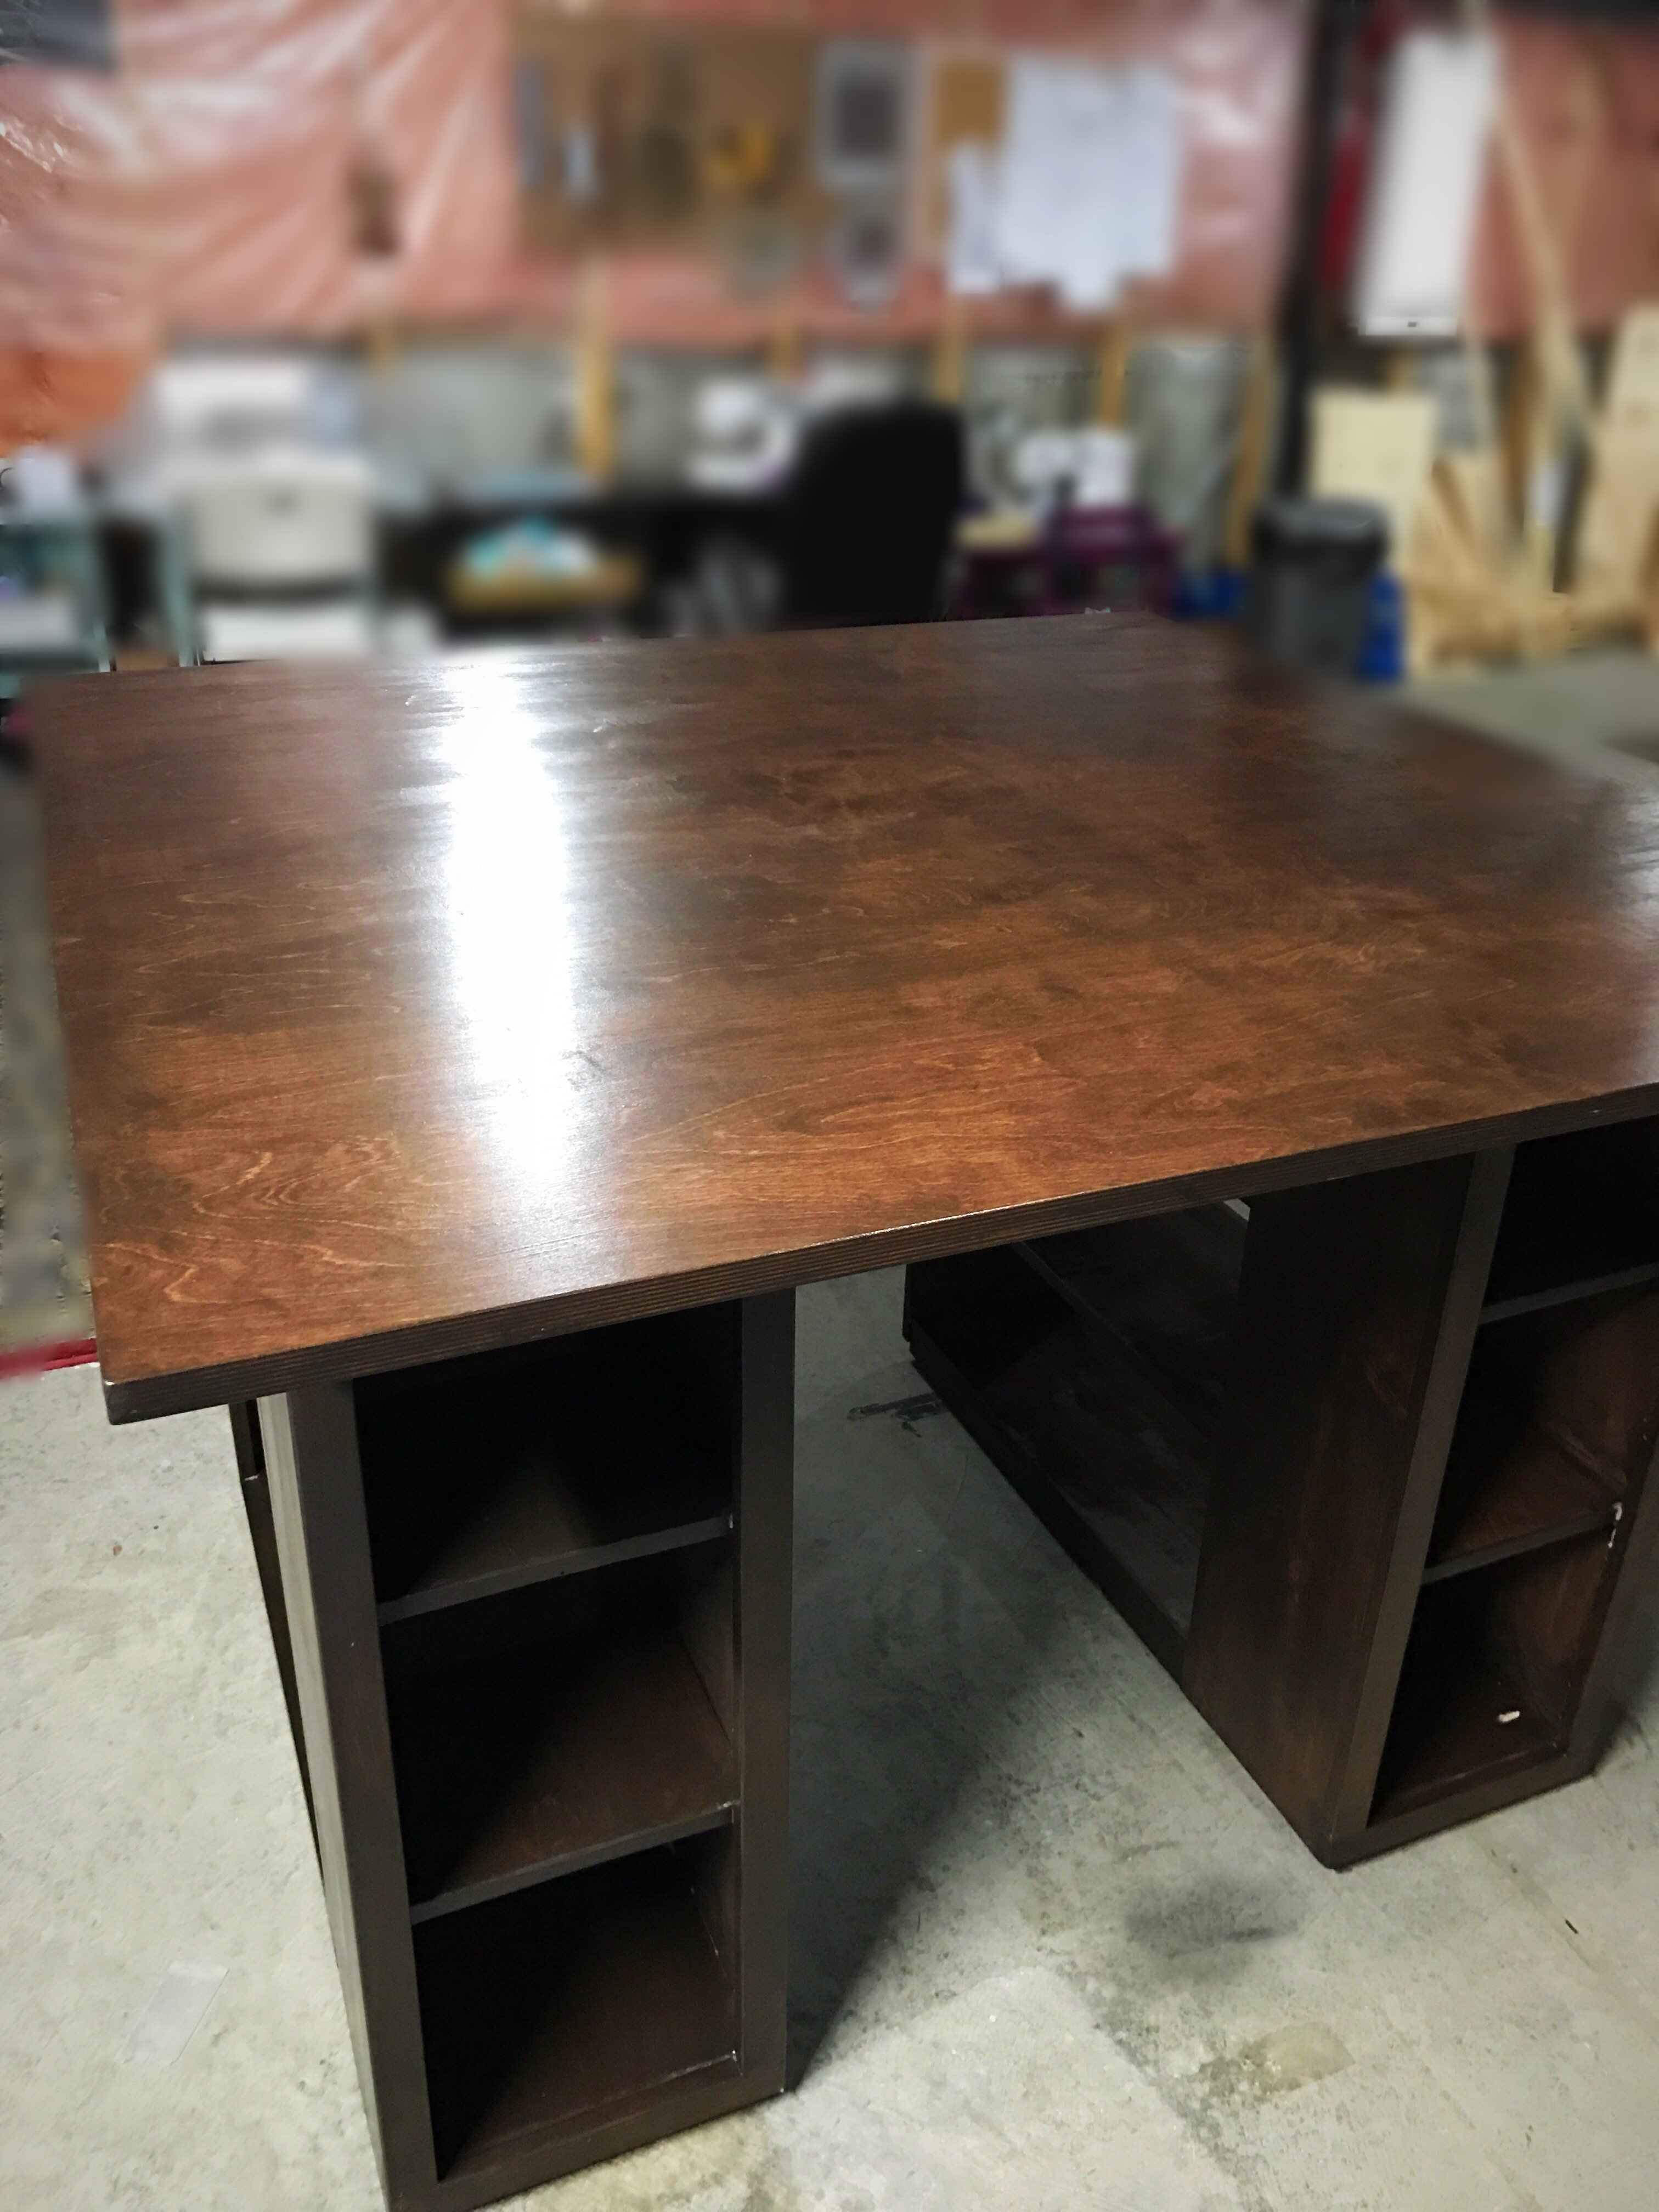
Computer Desk with hutch
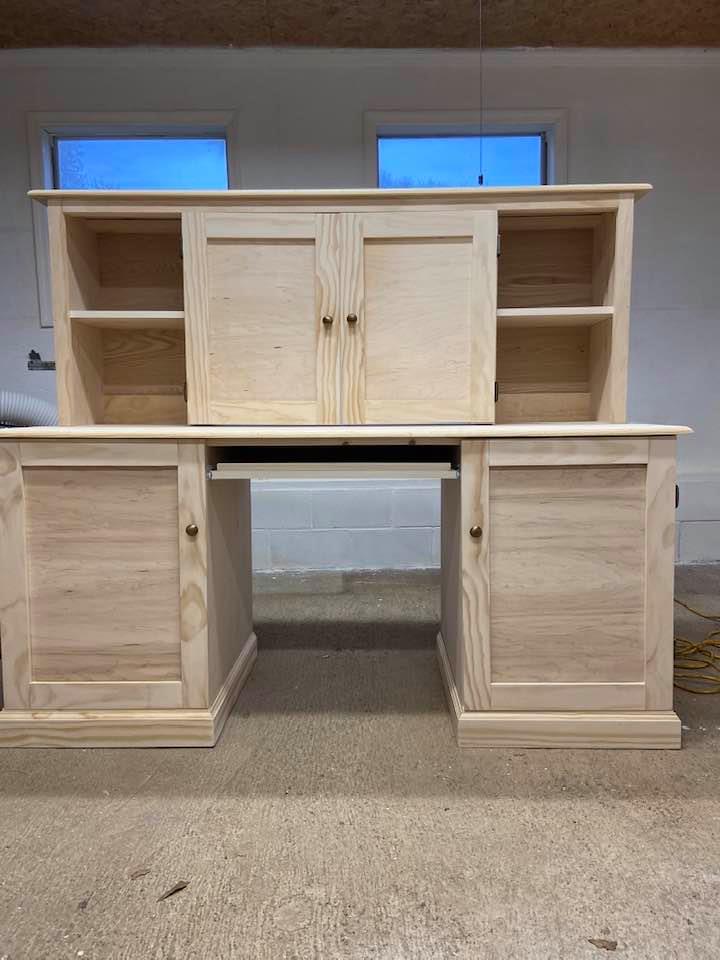
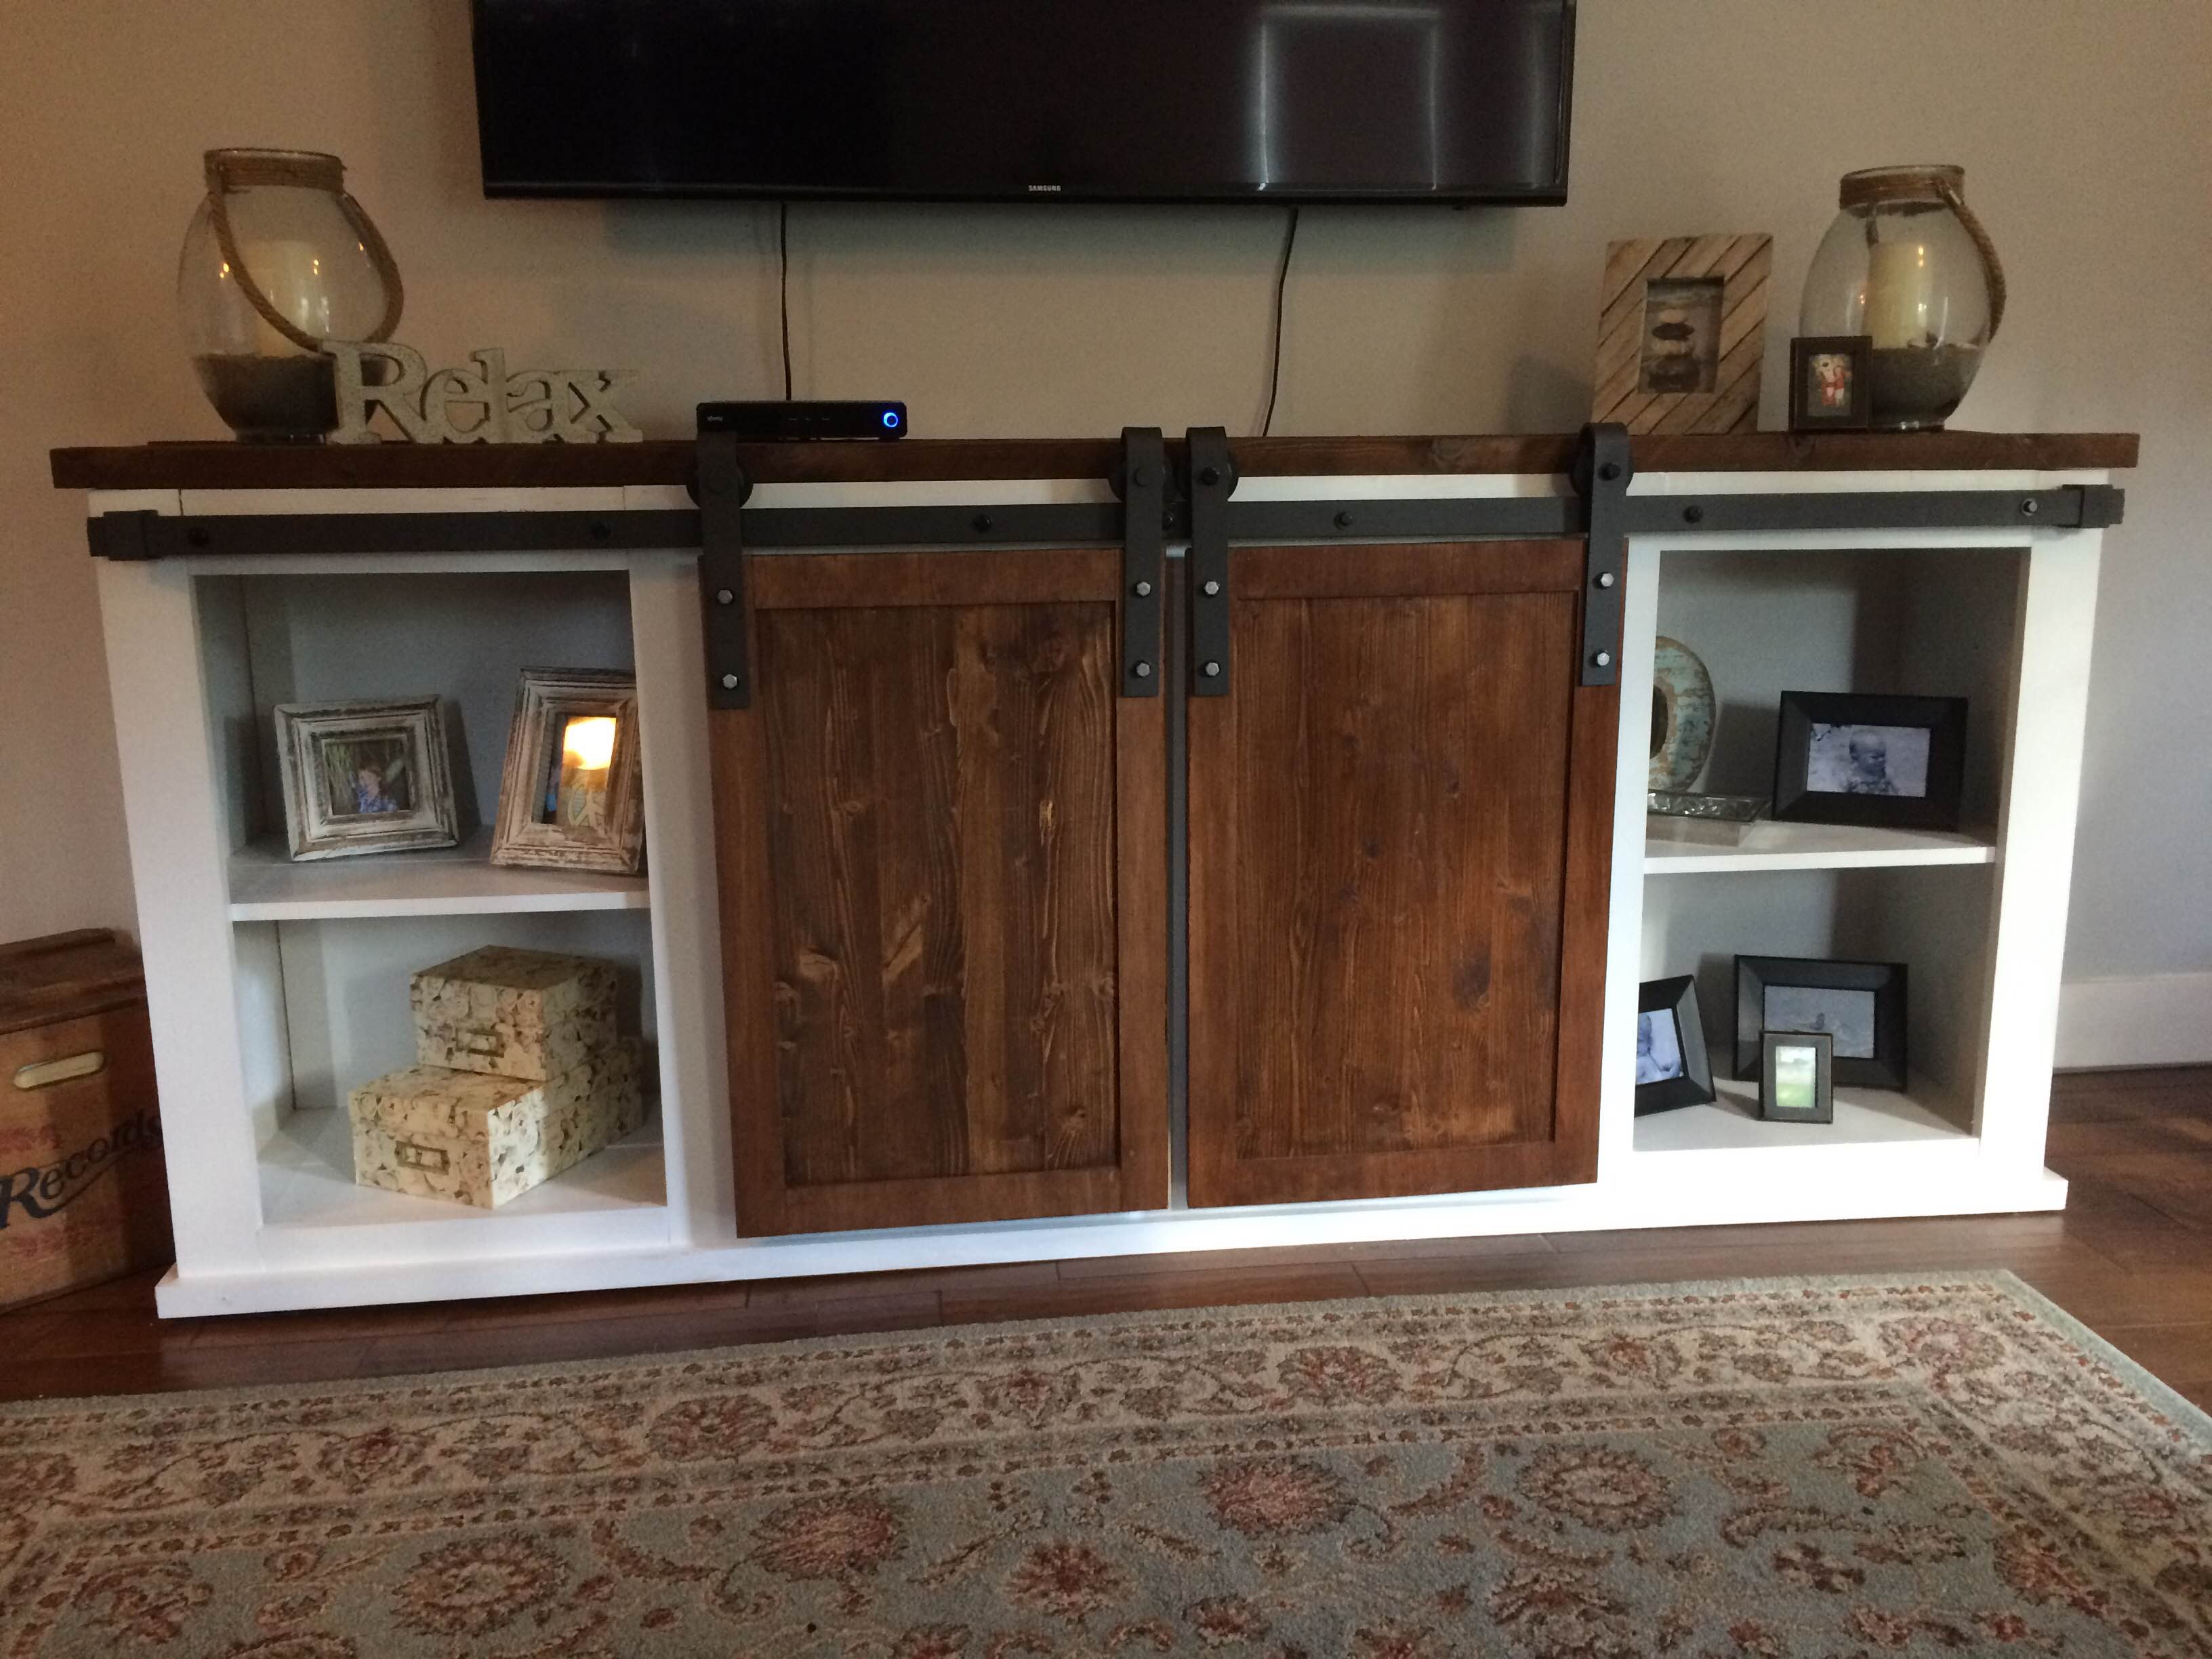
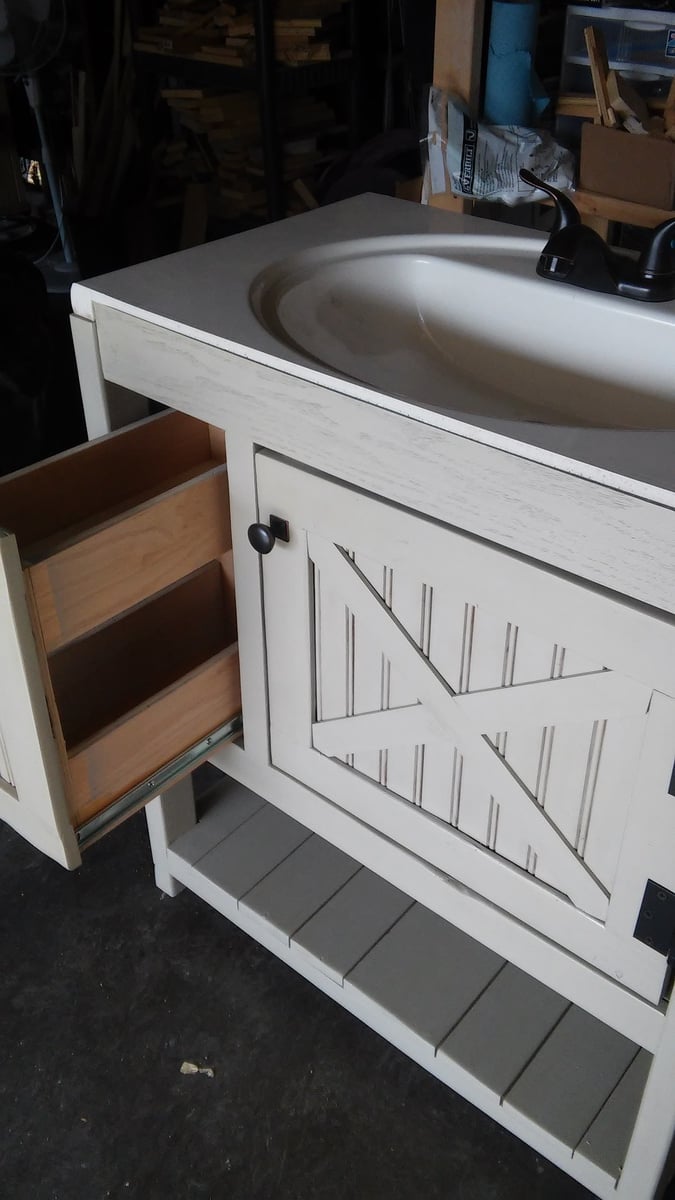
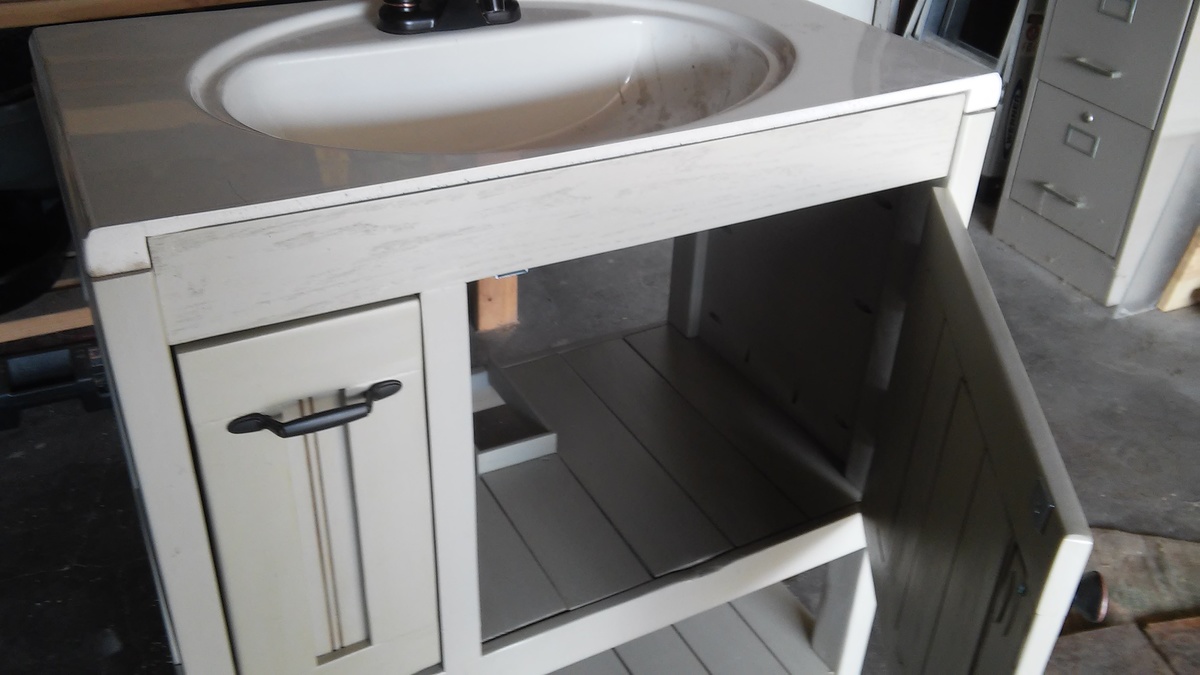
My cousin needed a computer desk but wanted it to look like a piece of furniture when not in use since they have limited space. The left side stores her tower, the right side has a pullout shelf for her printer and storage for printer paper & supplies. She works with 2 monitors so the center on the hutch will accommodate both but be hidden when she isn't working. This was a fun project and using Shelfhelp made it a joy to build. They will be my "go-to" place when building large pieces of furniture.
Built from Plan(s)
Estimated Cost
$400.00
Estimated Time Investment
Weekend Project (10-20 Hours)
Finish Used
Unfinished as they will stain to match their furniture


Comments
Ana White Admin
Sat, 12/19/2020 - 10:30
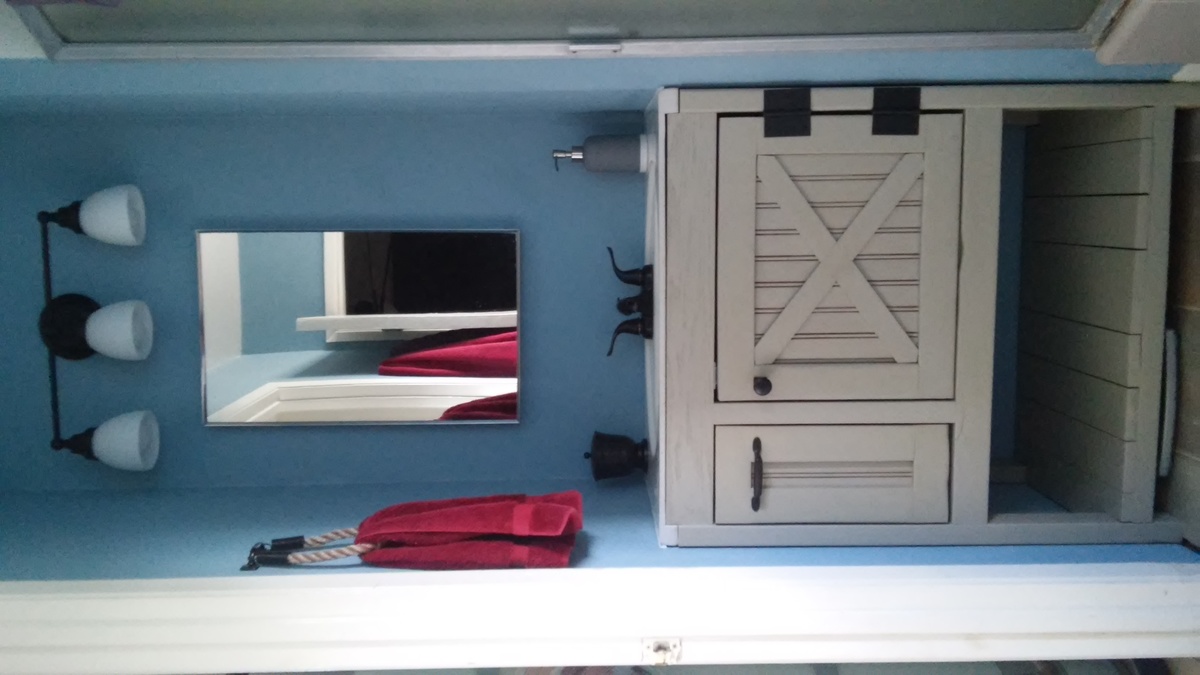
Lots of great workspace and storage!
Thank you for using Shelf Help! It looks fantastic:)