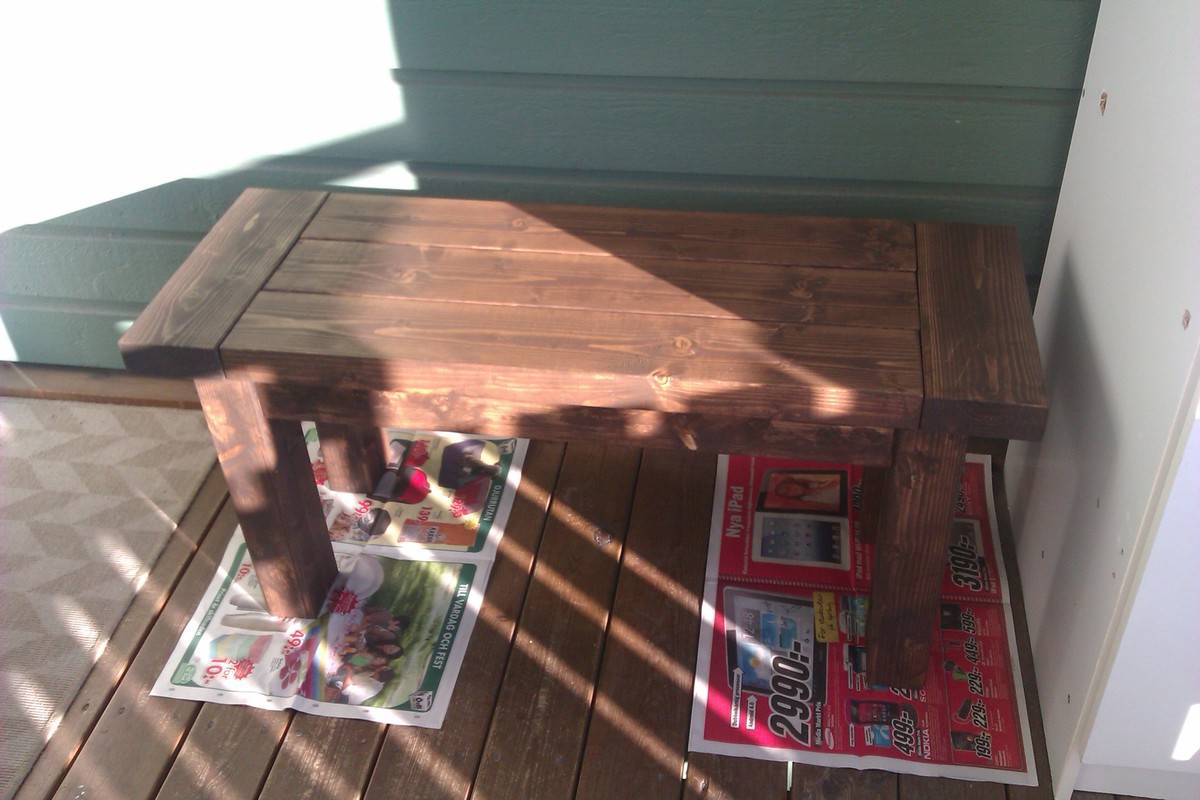
End table
Simple and easy
Built from Plan(s)
Estimated Cost
$30
Estimated Time Investment
Afternoon Project (3-6 Hours)
Recommended Skill Level
Beginner
Simple and easy

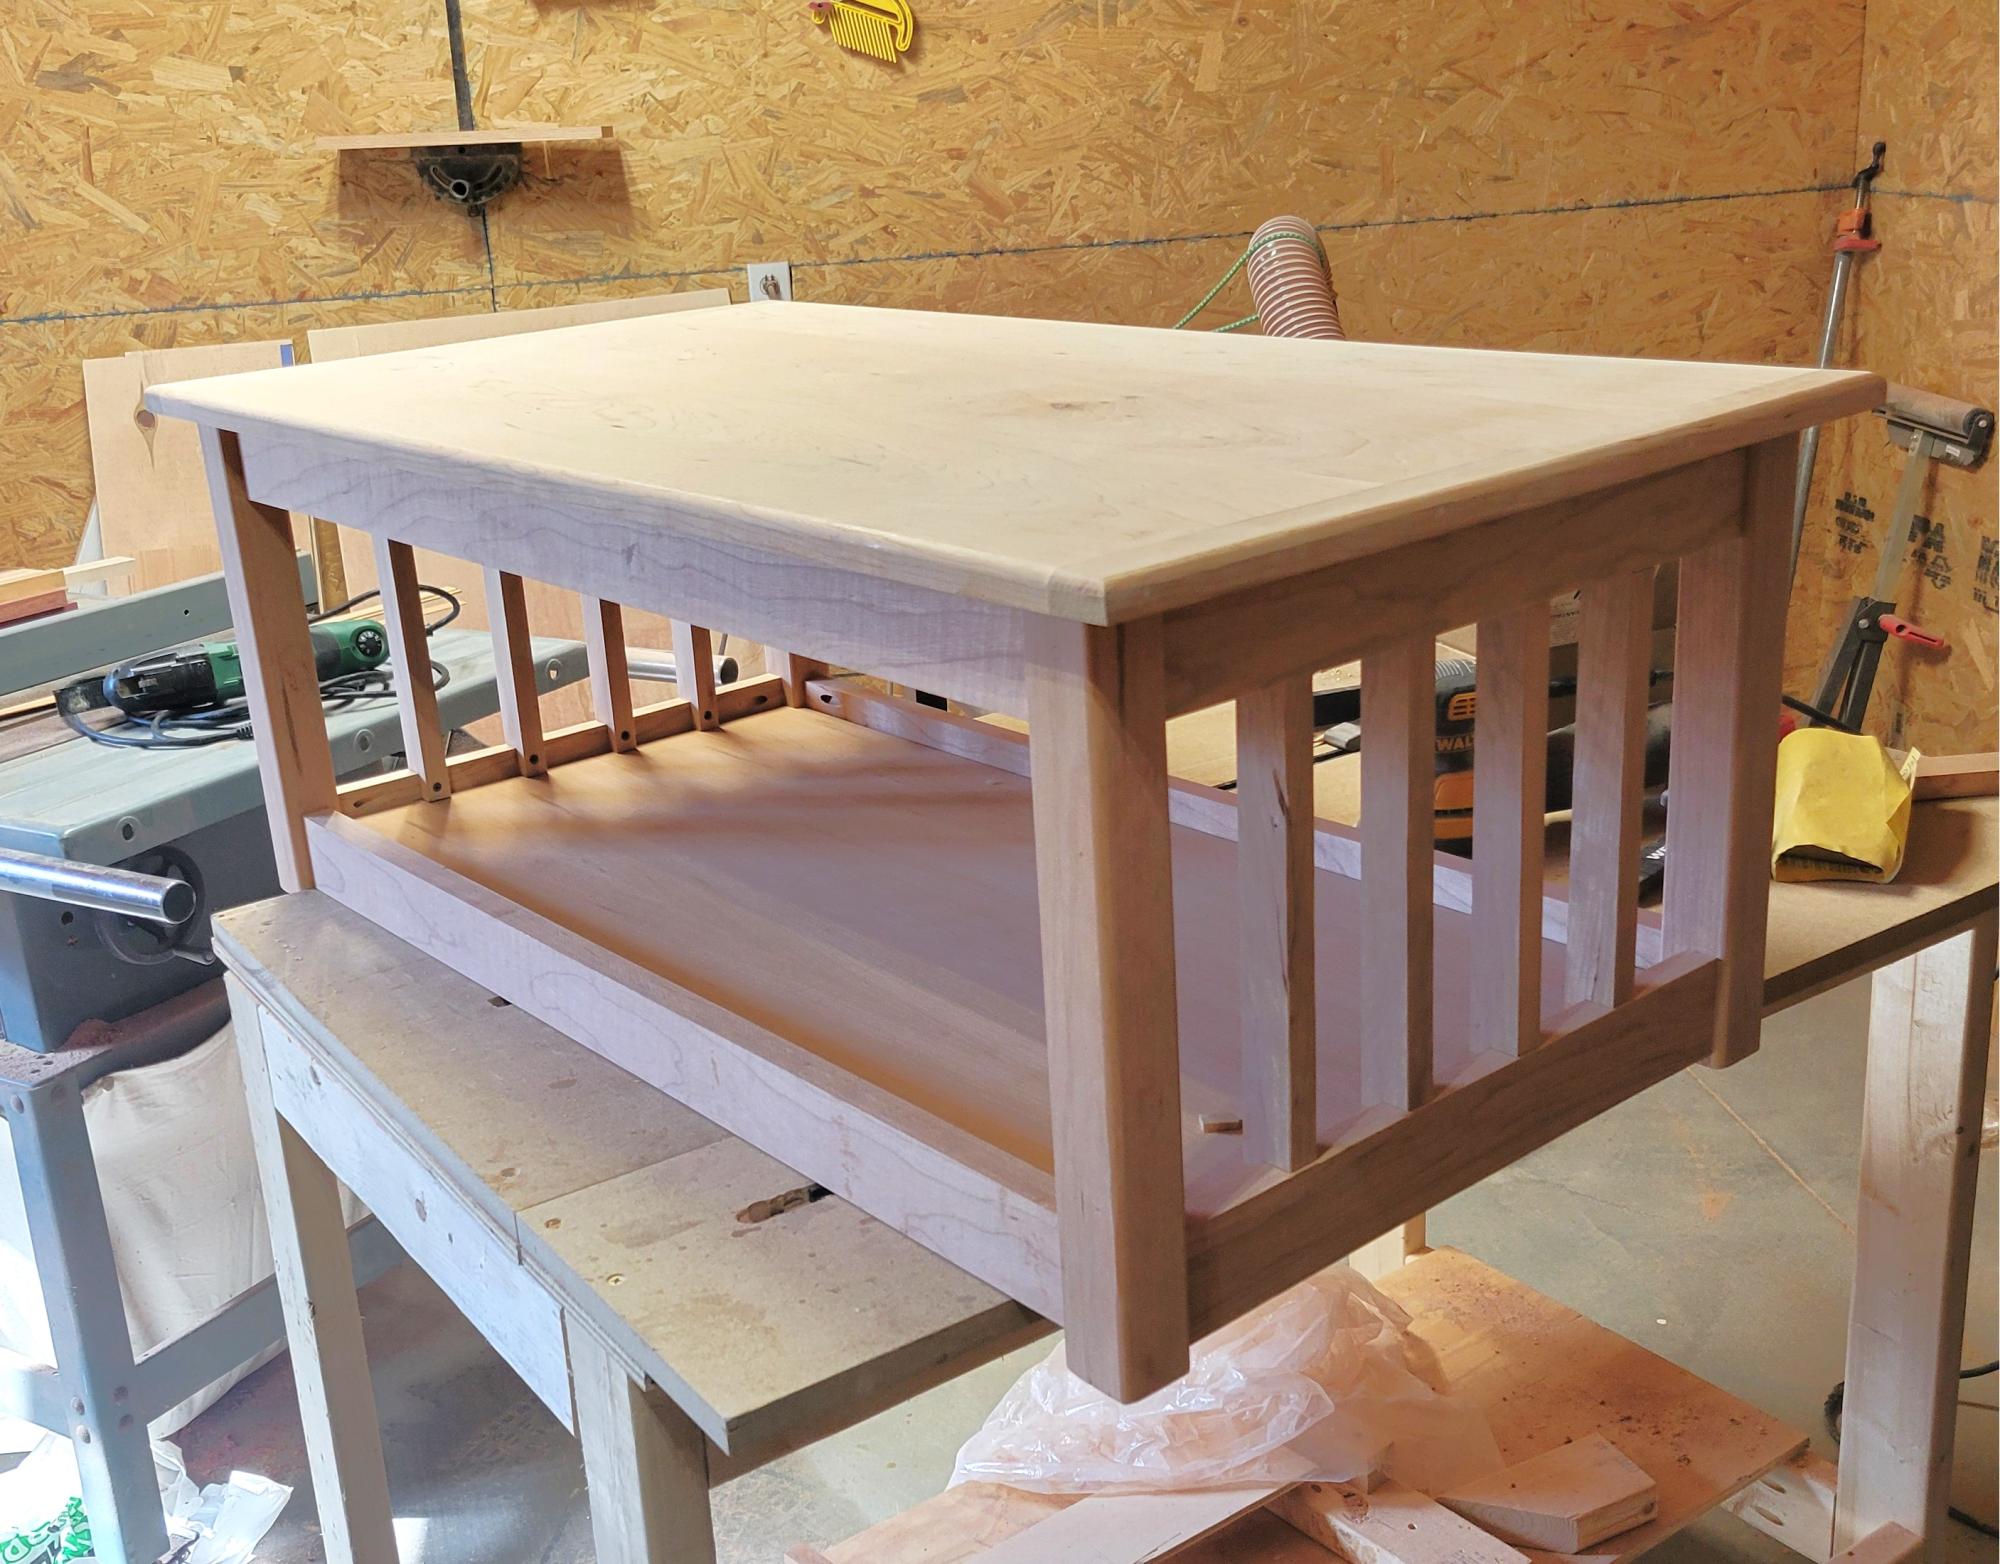
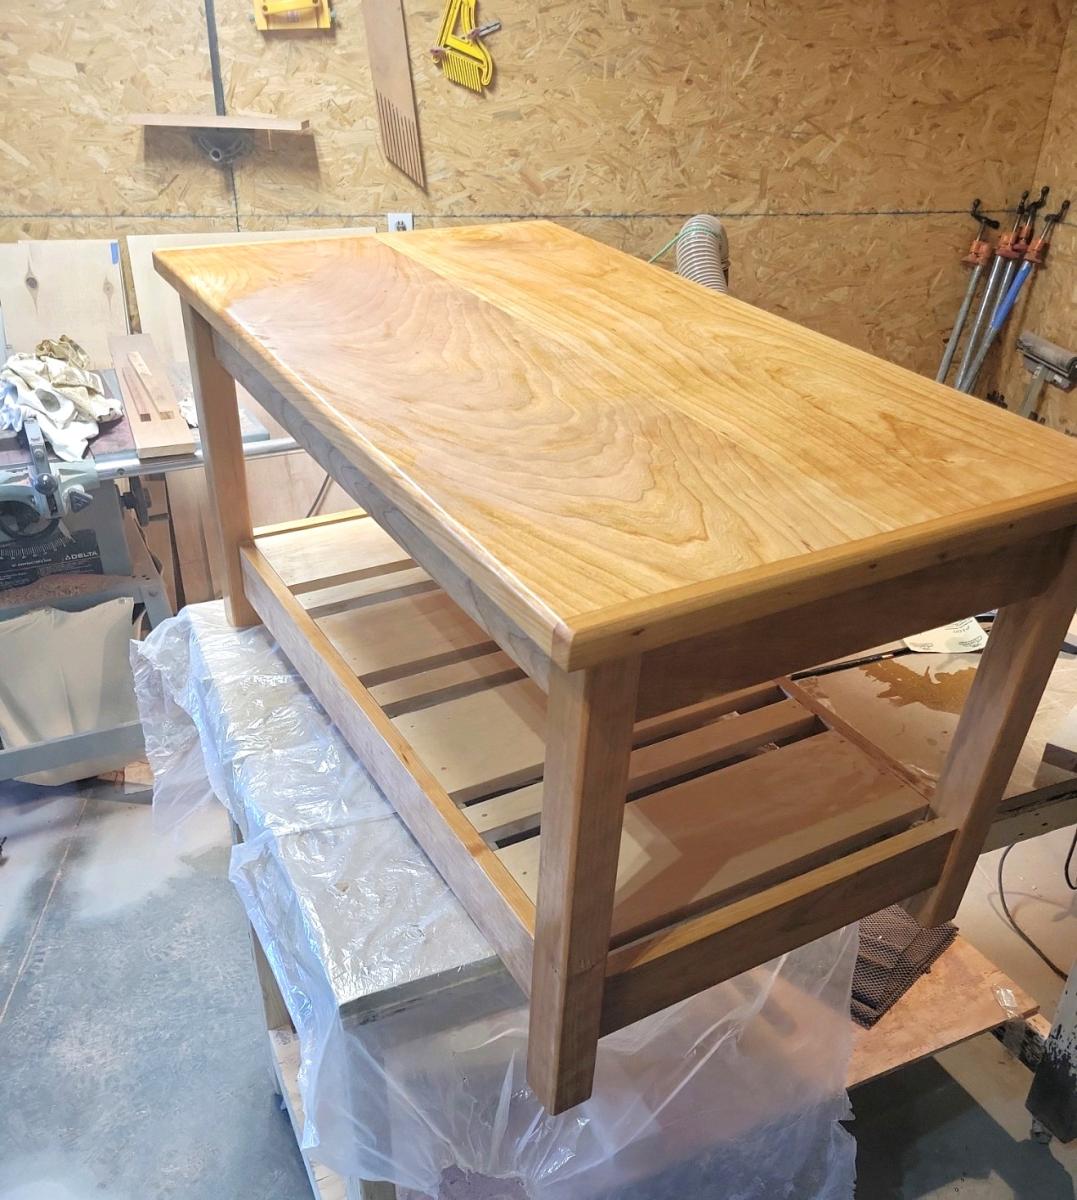
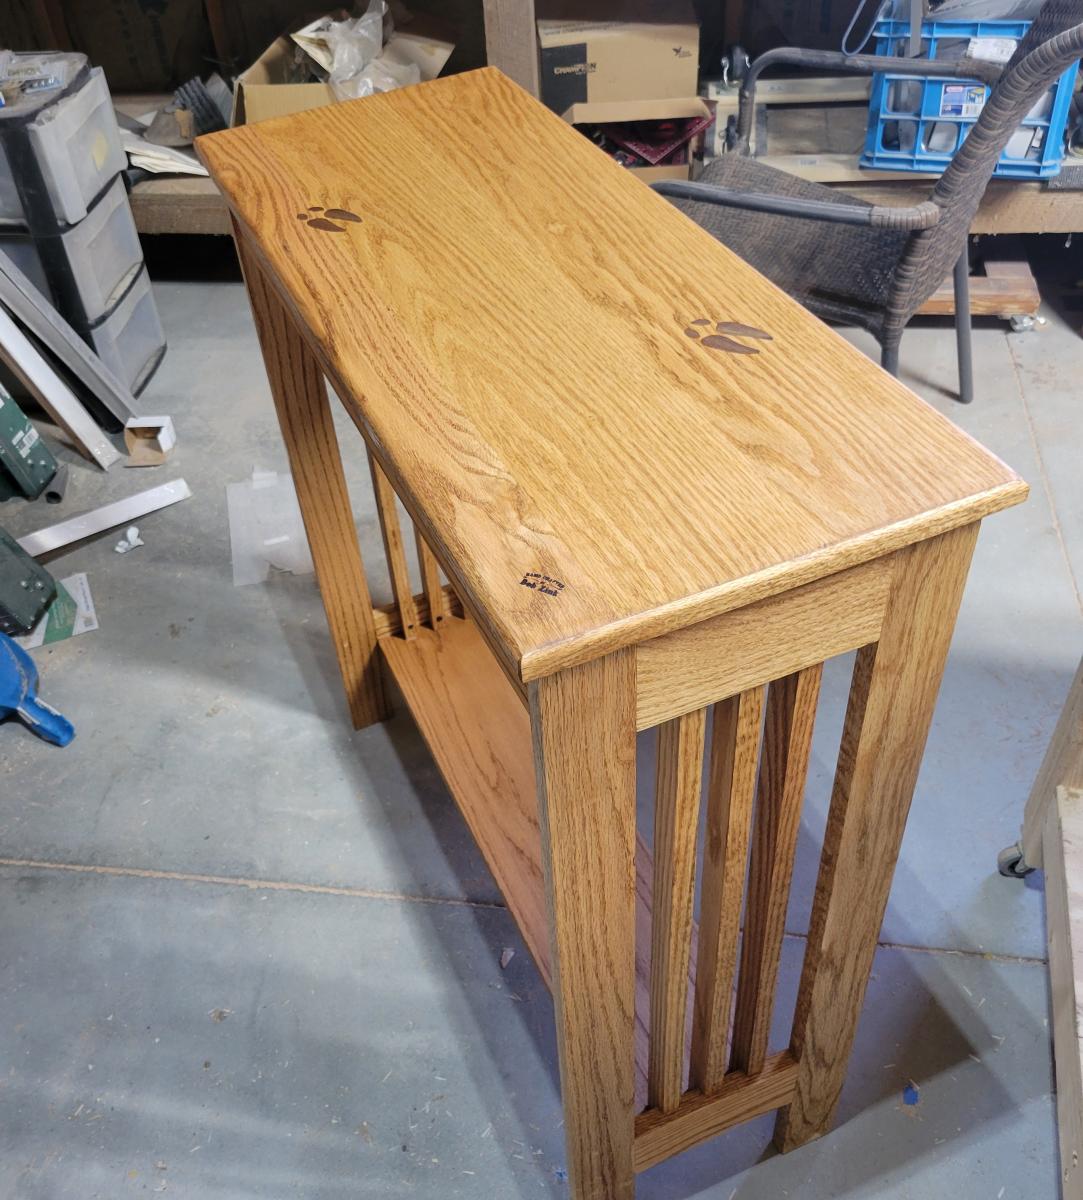
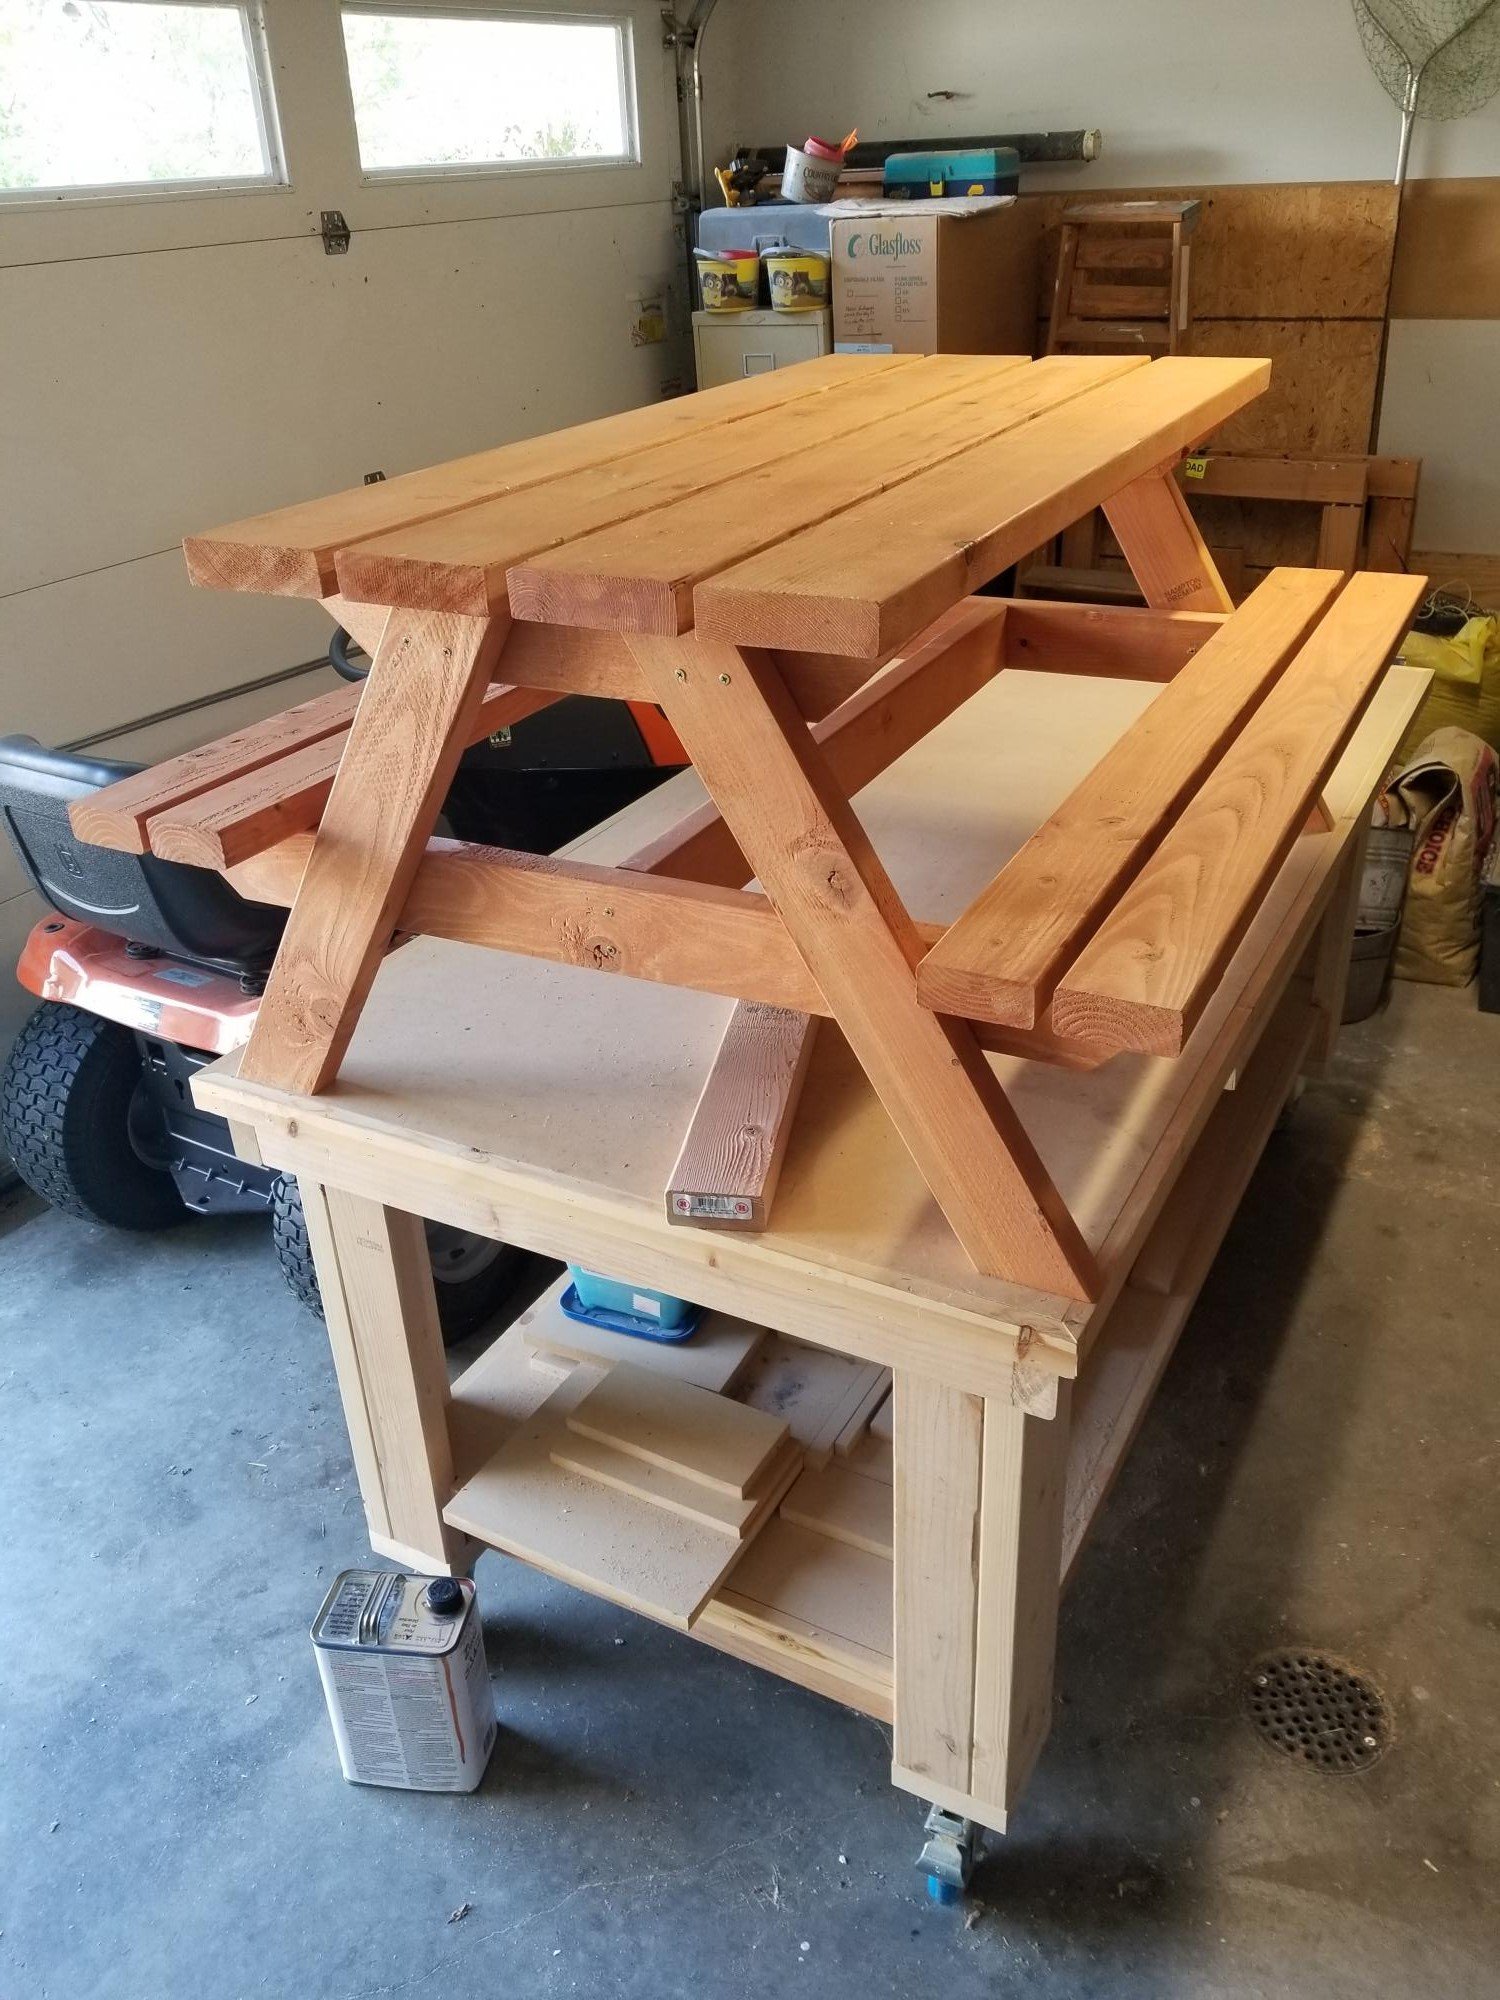
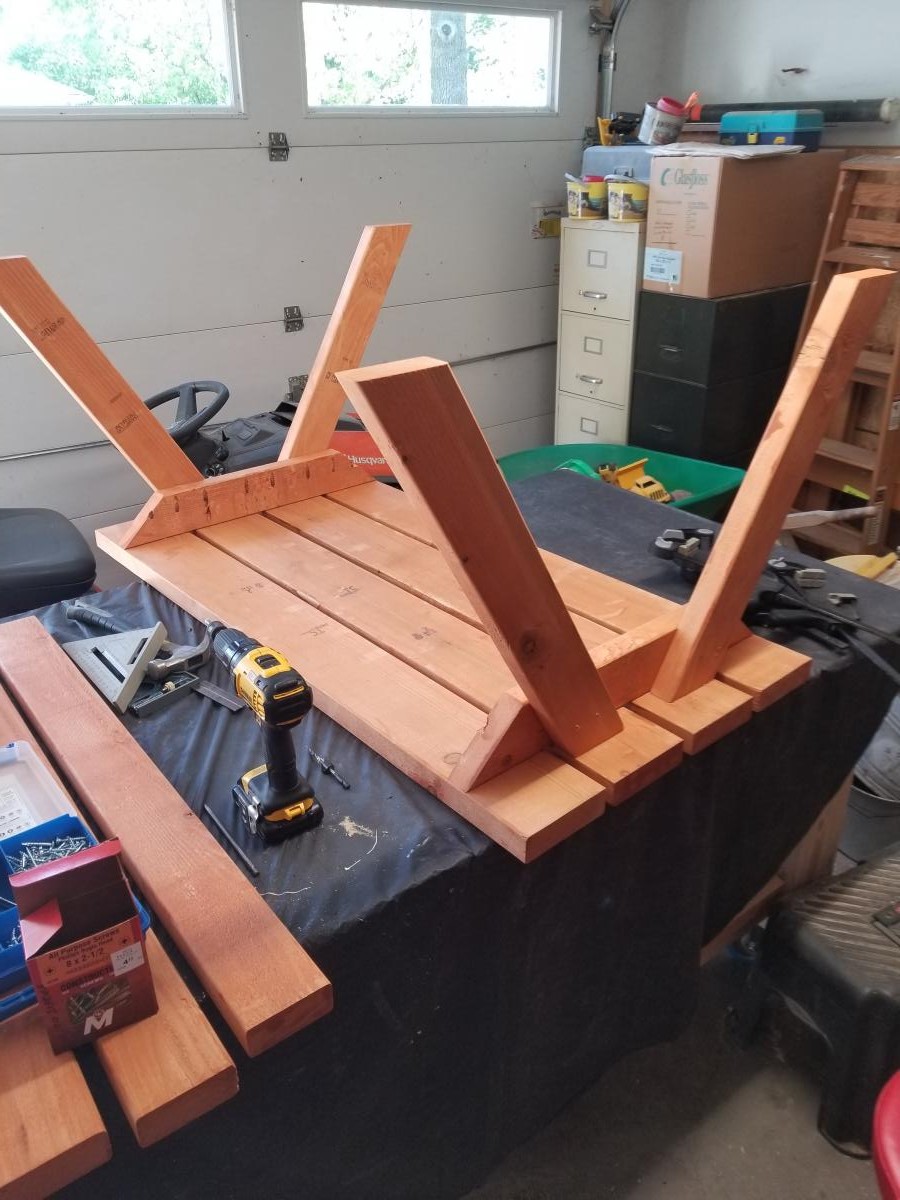
I built this a couple feet shorter than in the plans because it is for my neighbor's fish tank! It was fun to build and I'm in love with the finished product. She's going to paint or stain it herself. The pics were taken in my messy, projects-everywhere carport right before the neighbor hauled it off! Her son-in-law wants one now, and I will be building one for MYSELF right away as well! Thank you Ana!!!
Tue, 09/08/2020 - 16:56
looks great I'm hoping to build one myself this week =)
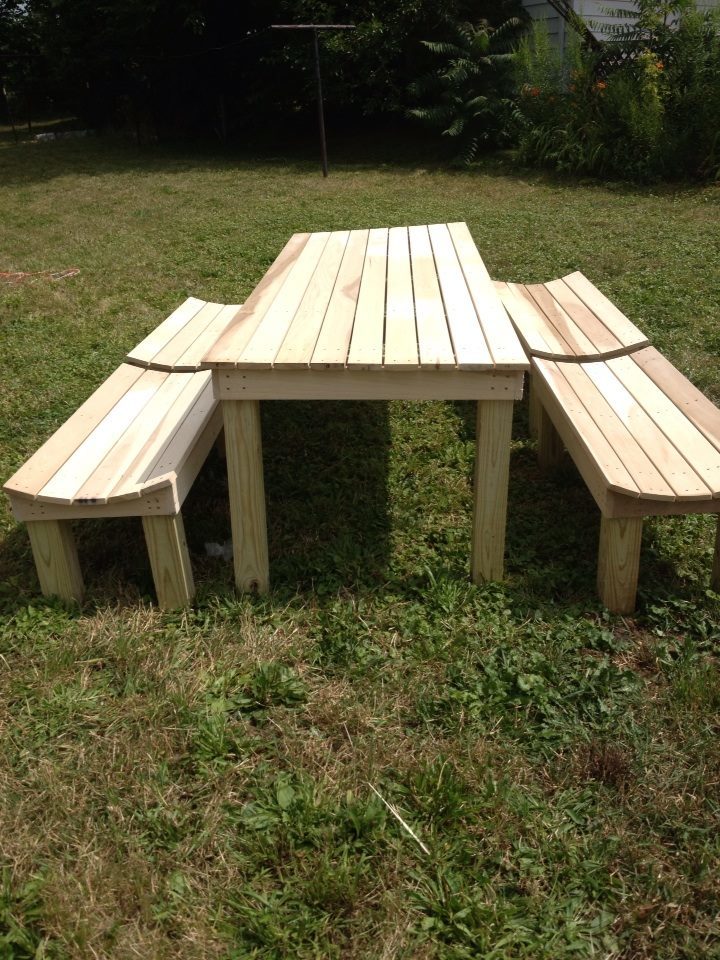
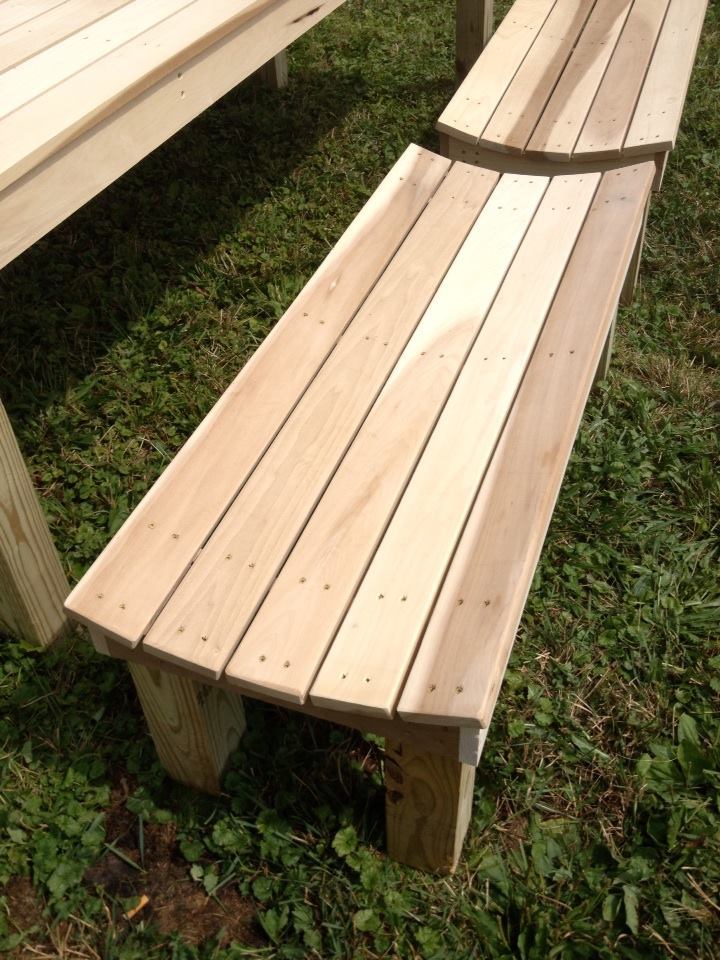
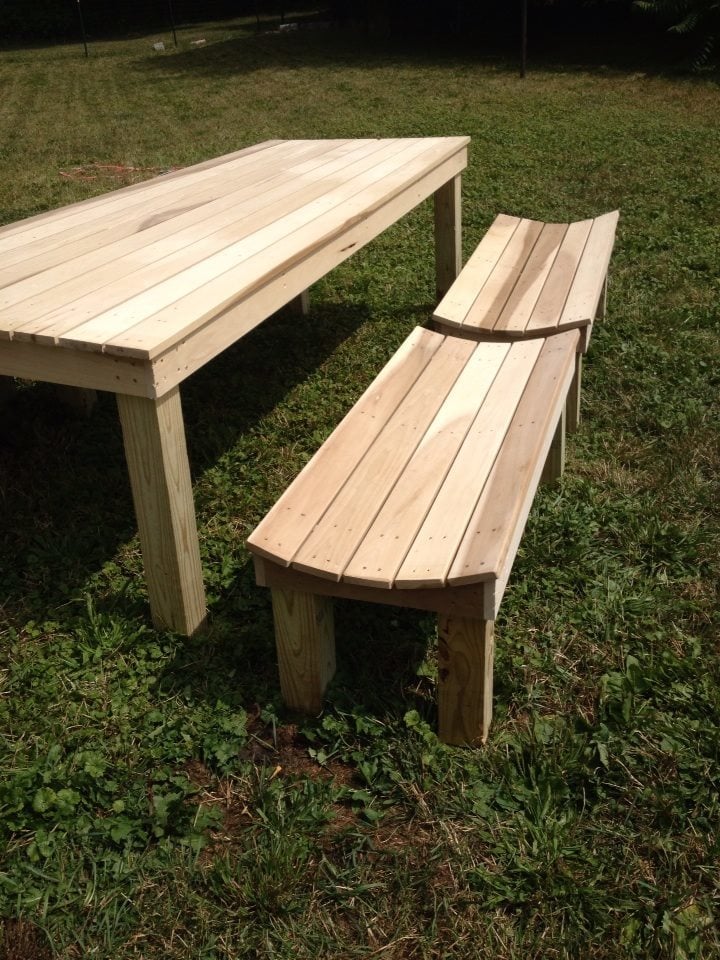
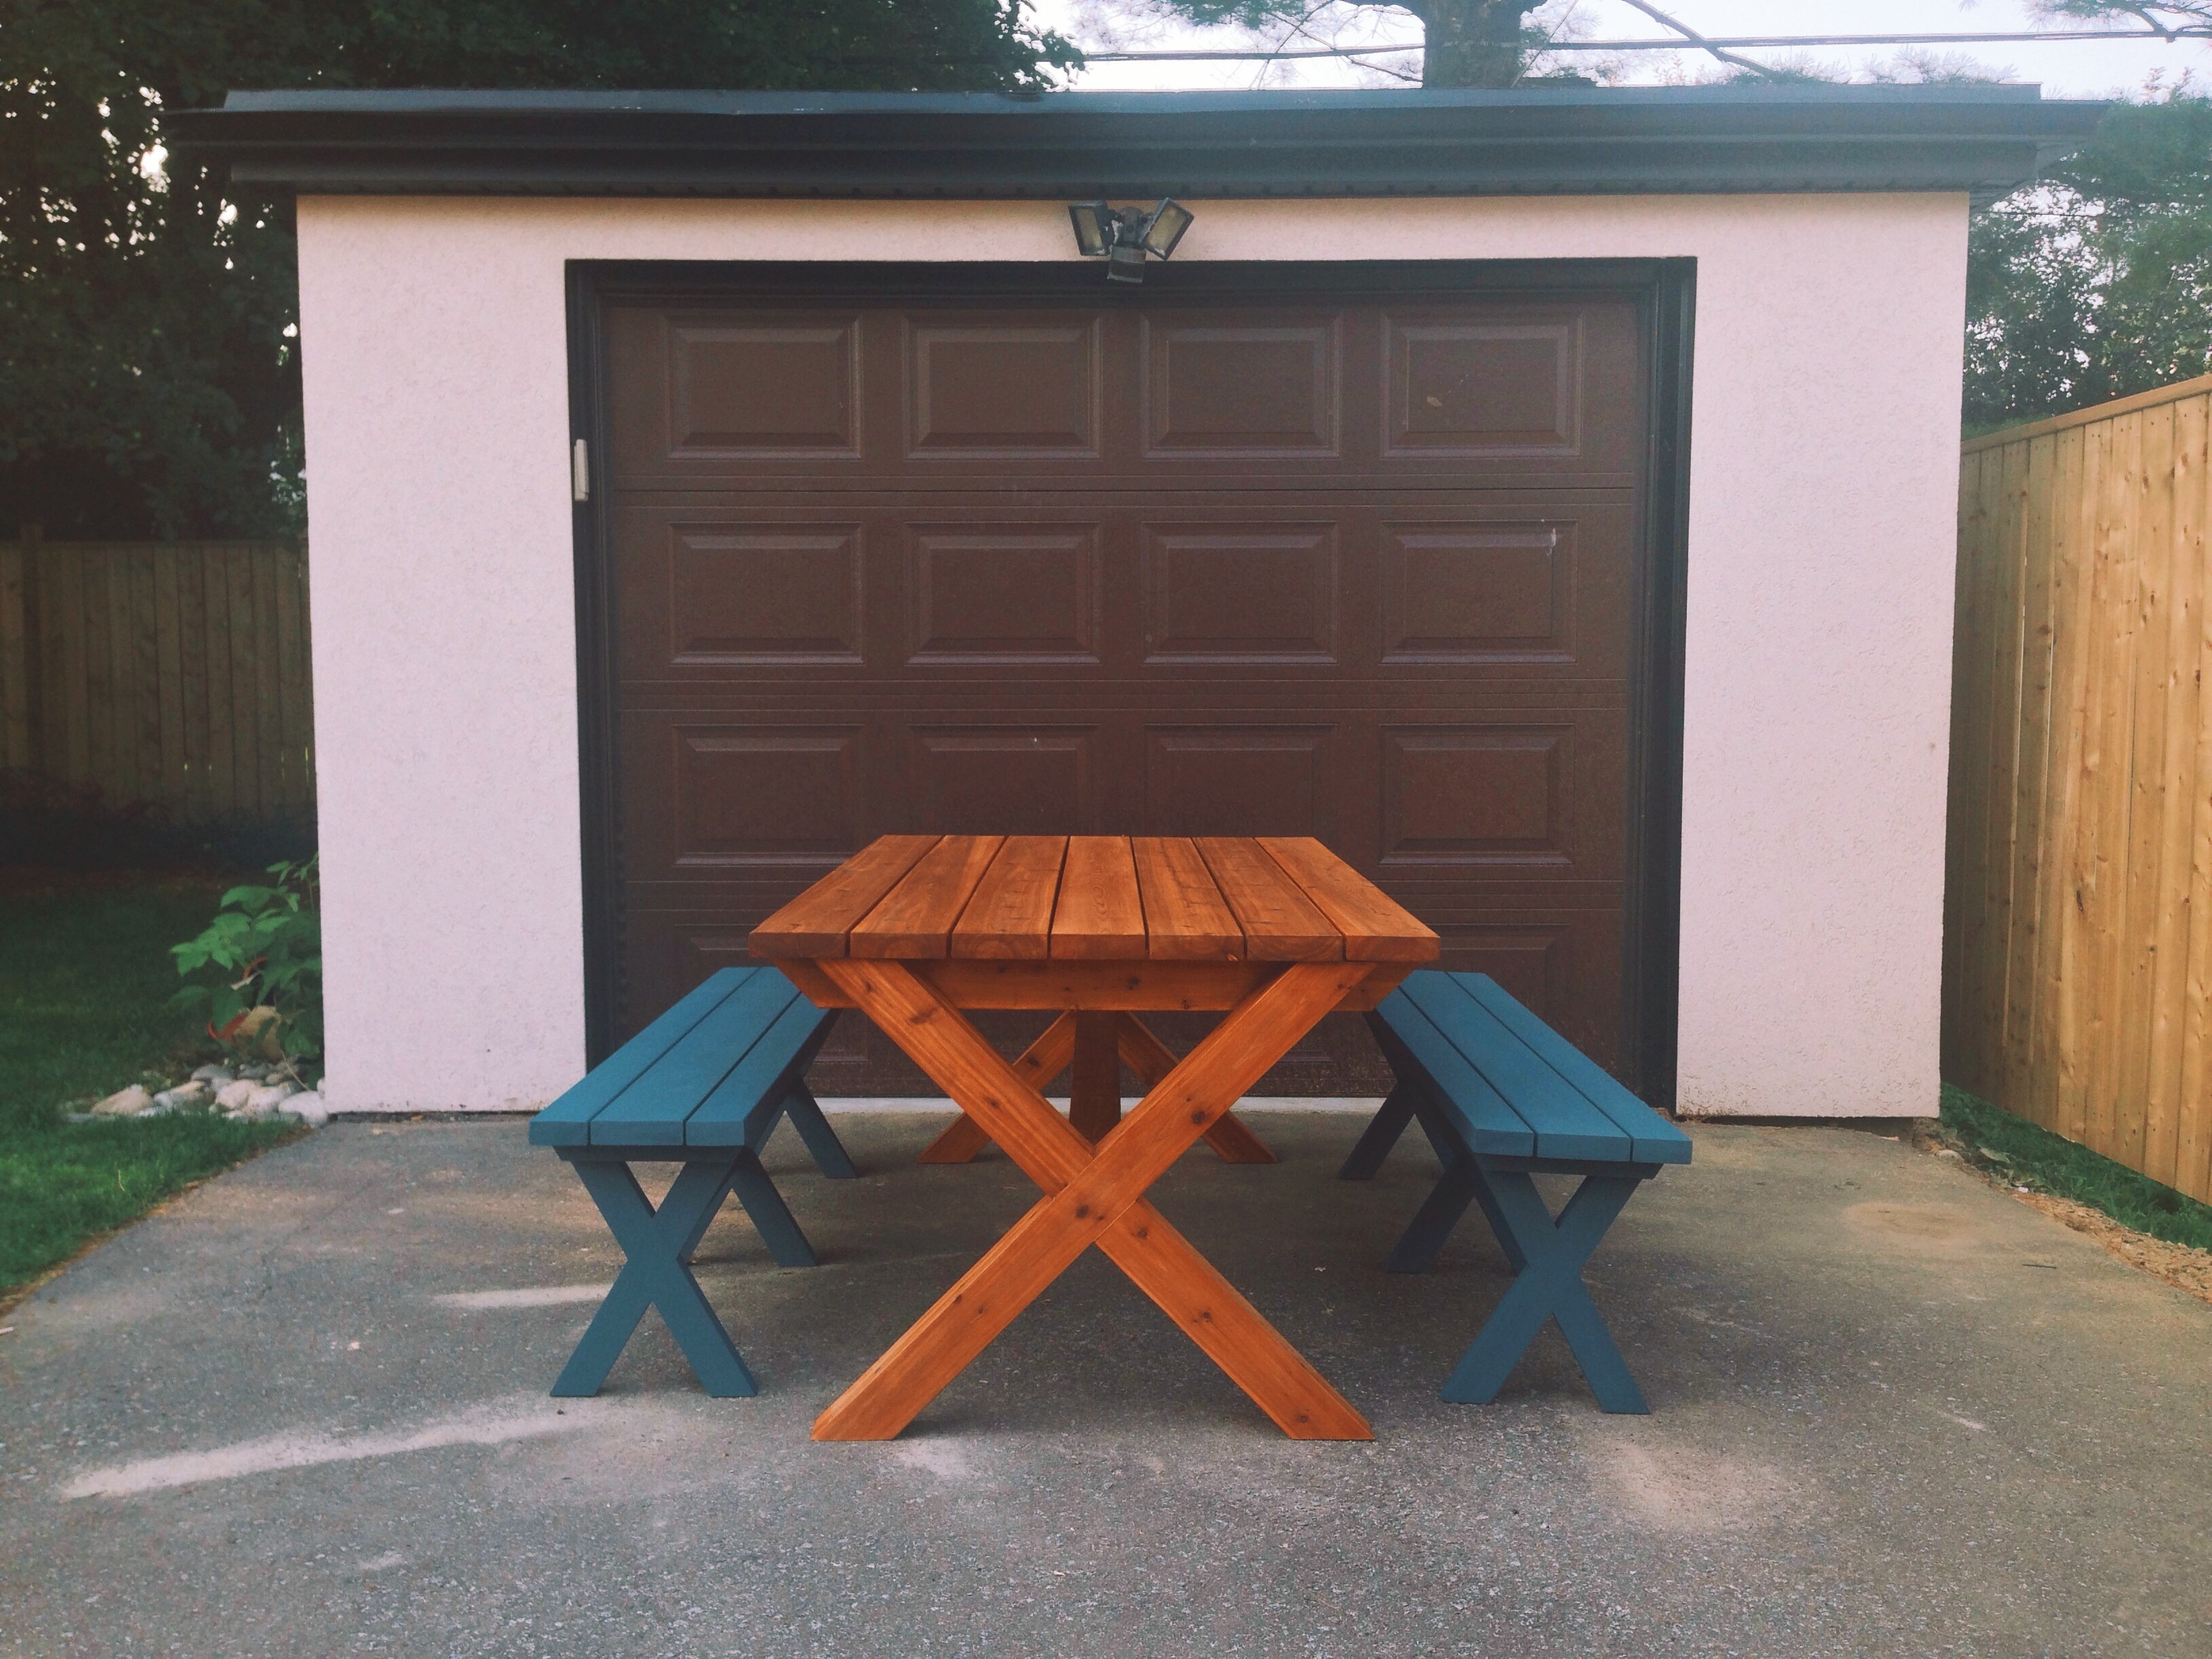
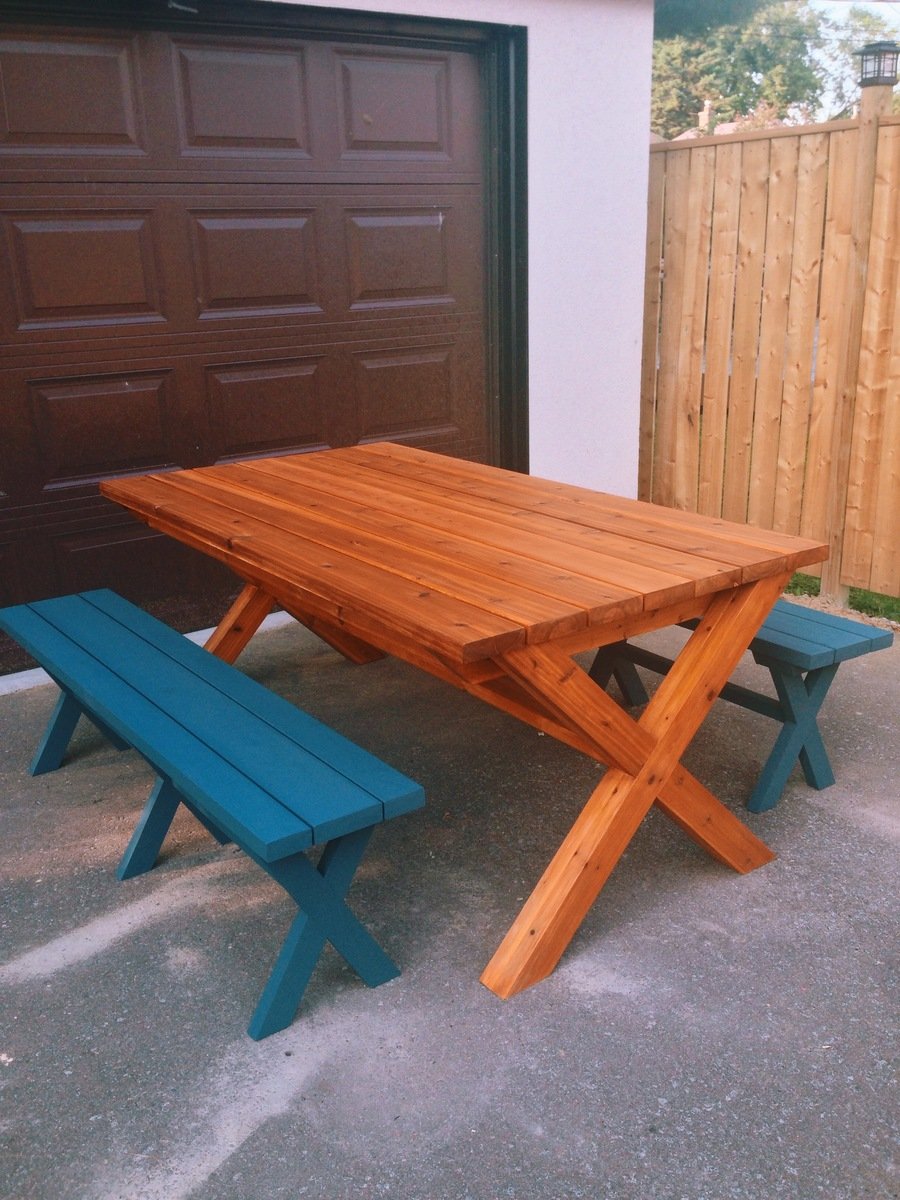
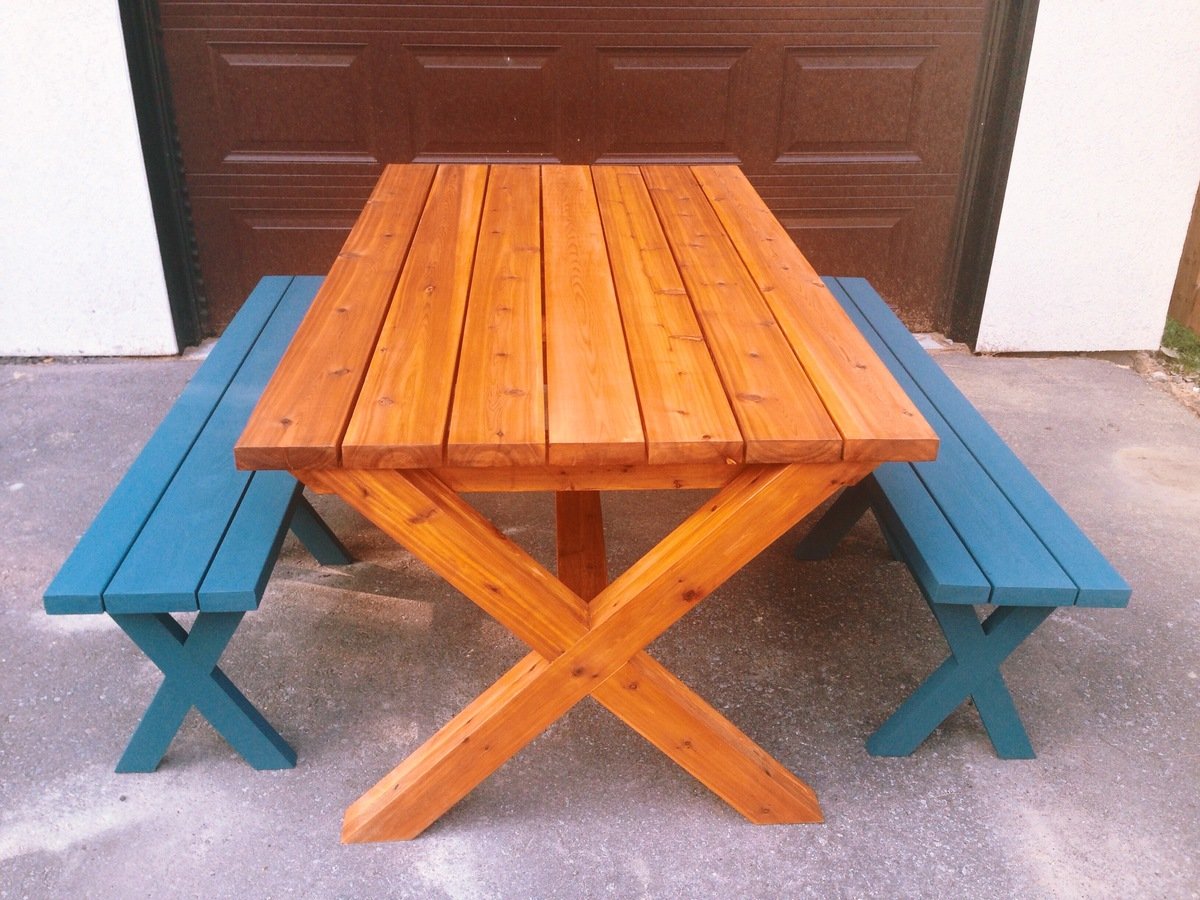
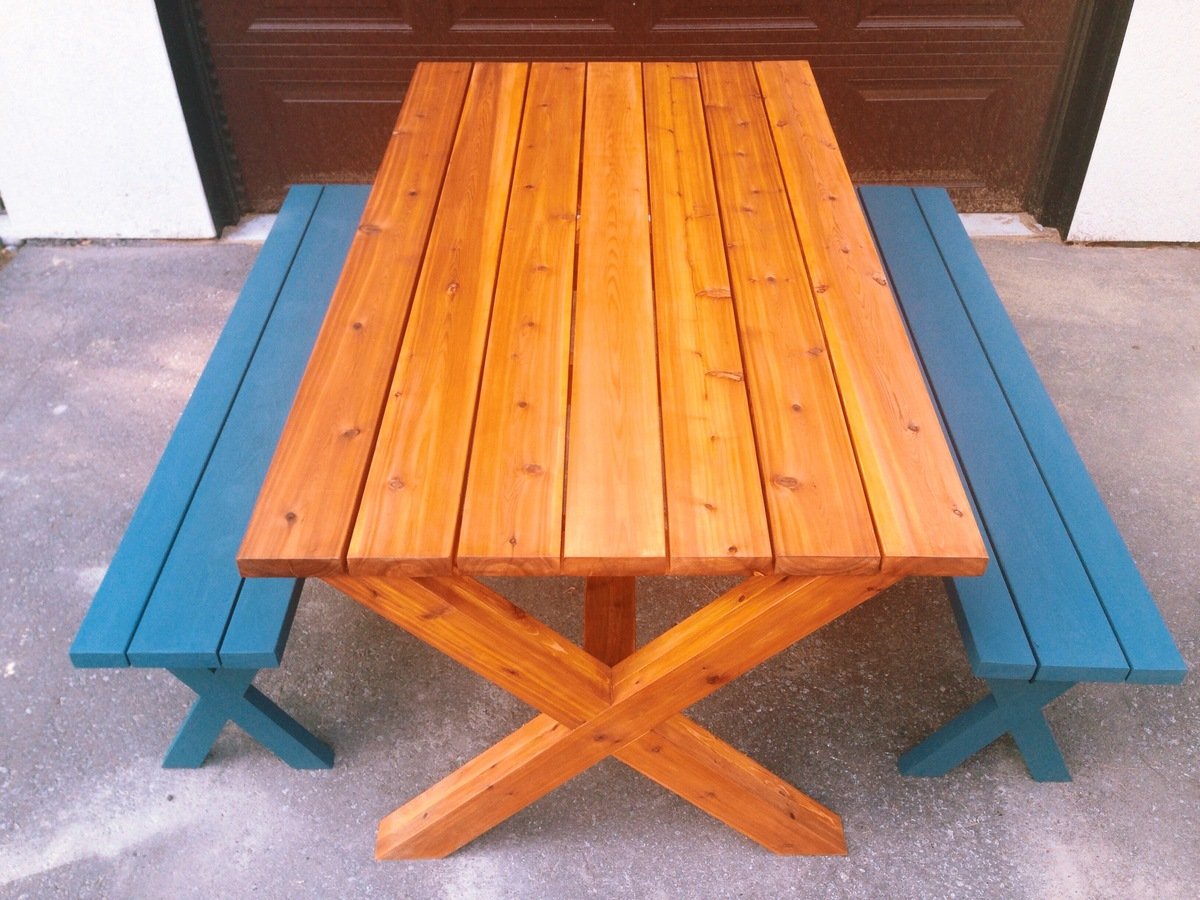
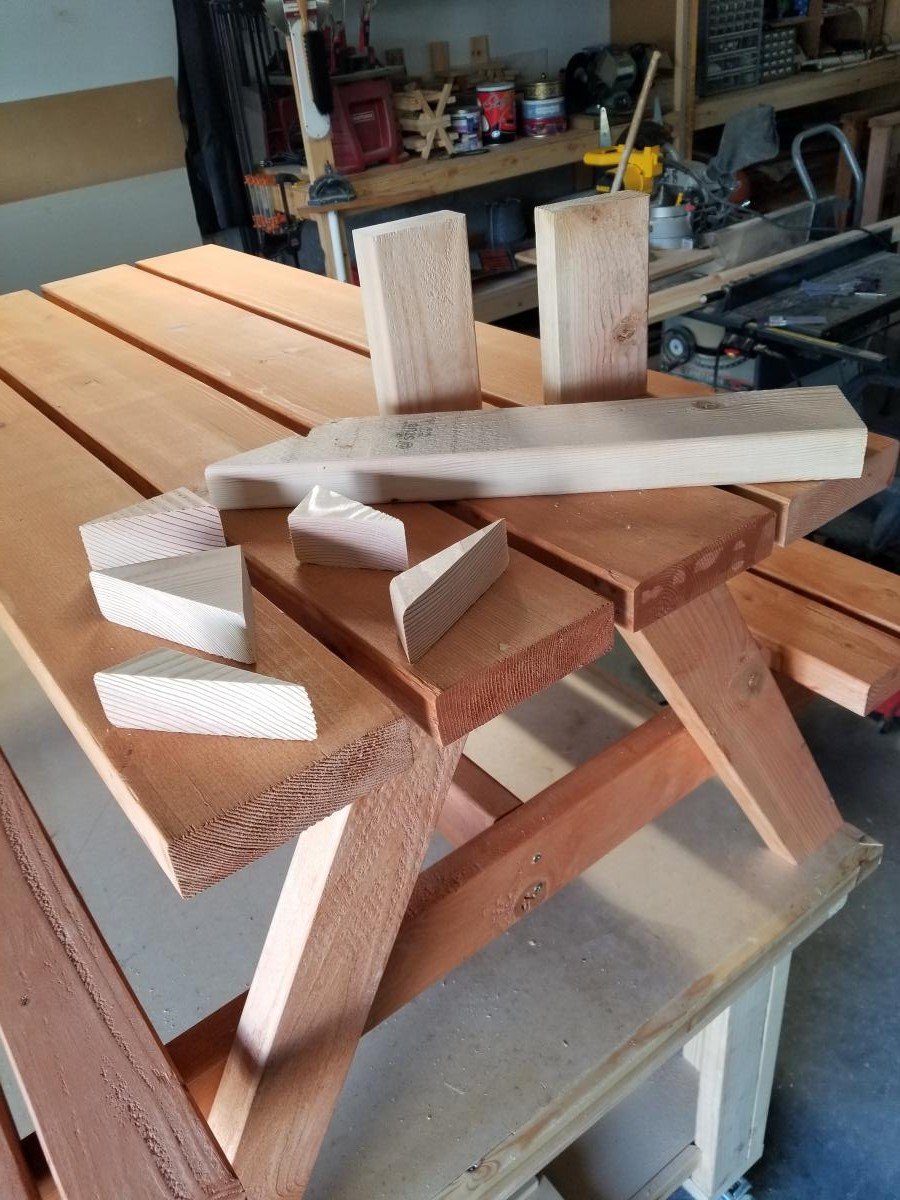
When I wanted to build a new outdoor dining set, I immediately turned to the Ana White website to browse the plans. I chose the simple outdoor dining table and this is my much modified version of that plan.
I liked the look of the table and the bench and the vertical slats but I needed to modify the plan to build a larger table that could seat as many as 10 if needed. I also wanted a curved bench top because of aesthetics and because it's so much more comfortable. I soon realized that I wouldn't be able to keep the vertical slats in the bench and get the curve I wanted. Once I went with horizontal lines in the bench I modified the table to match.
I finished building the tables and benches at 3 am on a Saturday morning, just in time for a family BBQ at 6 pm. There wasn't time to apply a finish, but I plan on using a golden pine stain and semi-gloss clear urethane sealer with UV protection.
Poplar was on sale when I went shopping for wood. It wasn't my first choice but the price made it hard to turn down. Because the legs sit directly on the ground I chose pressure treated 4X4 lumber for those.
Although the finished product is much different than the original plans for the simple outdoor table, I hope you enjoy seeing what I was able to build from that starting point.

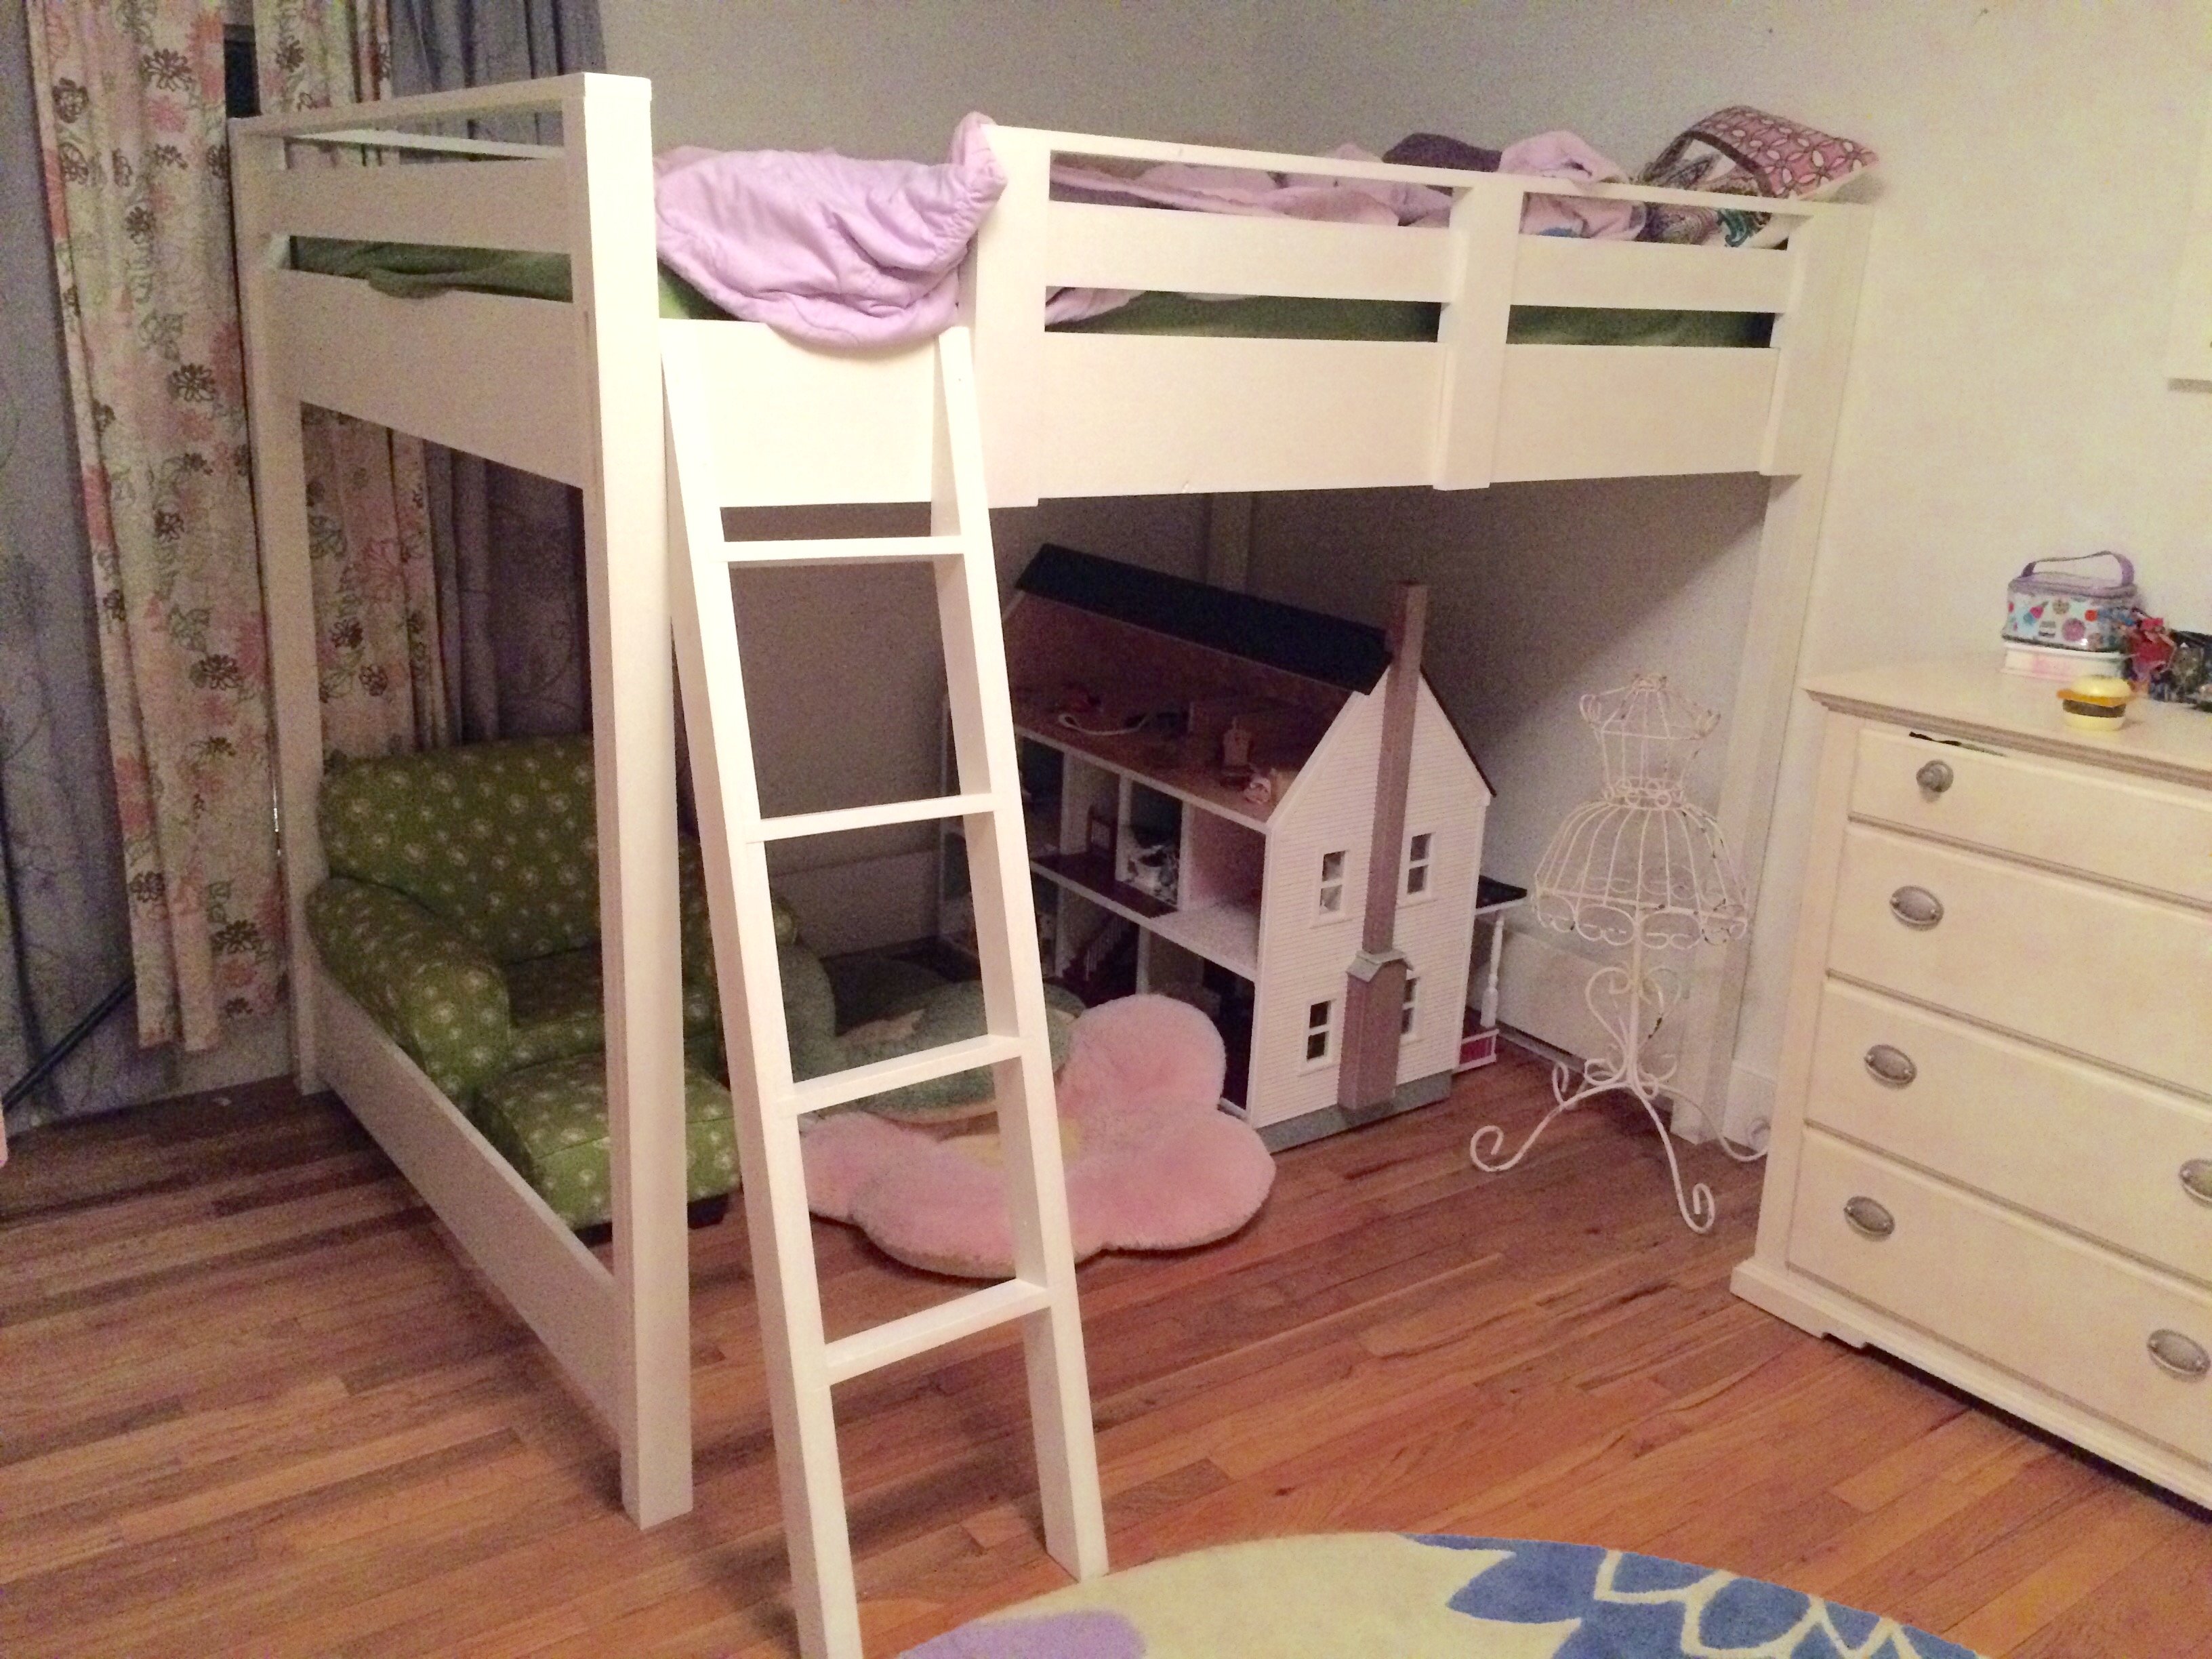
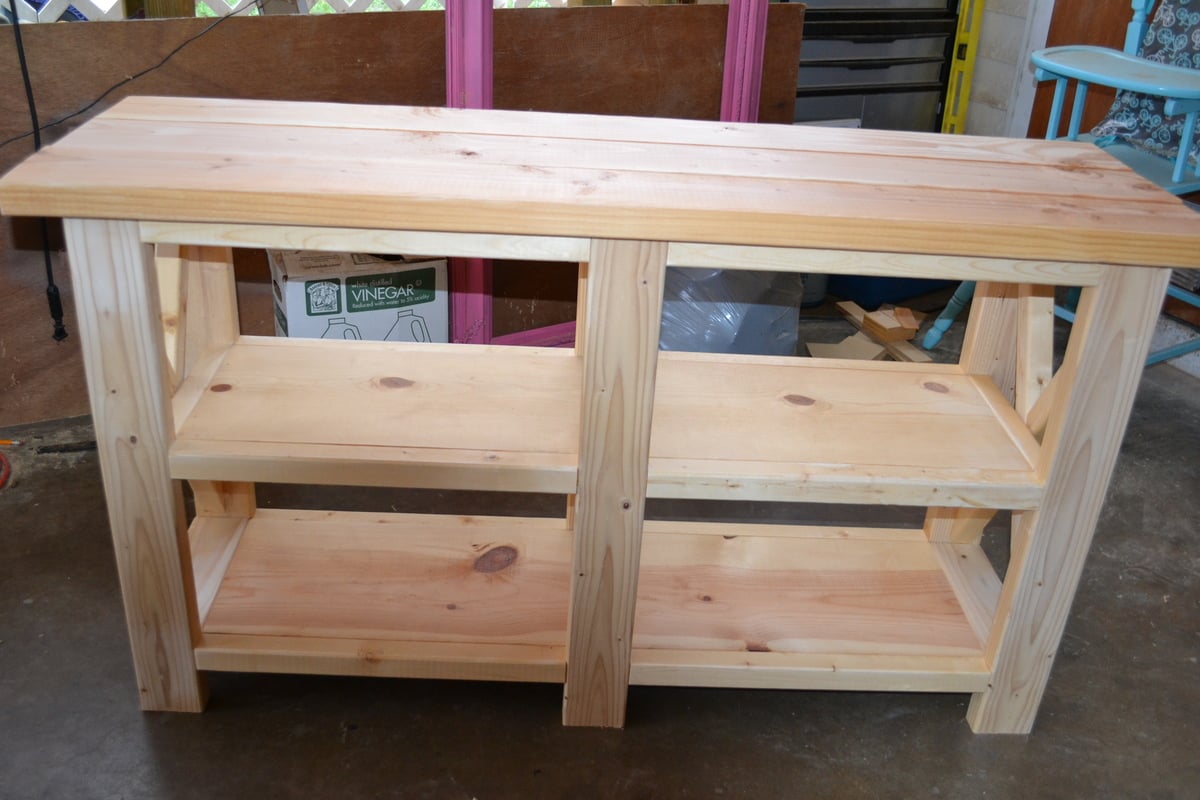
This is the first piece of furniture I've ever made. Great plans. I shortened mine 10 inches by reducing the height of the legs, filler pieces, and ladder. My daughter loves it!
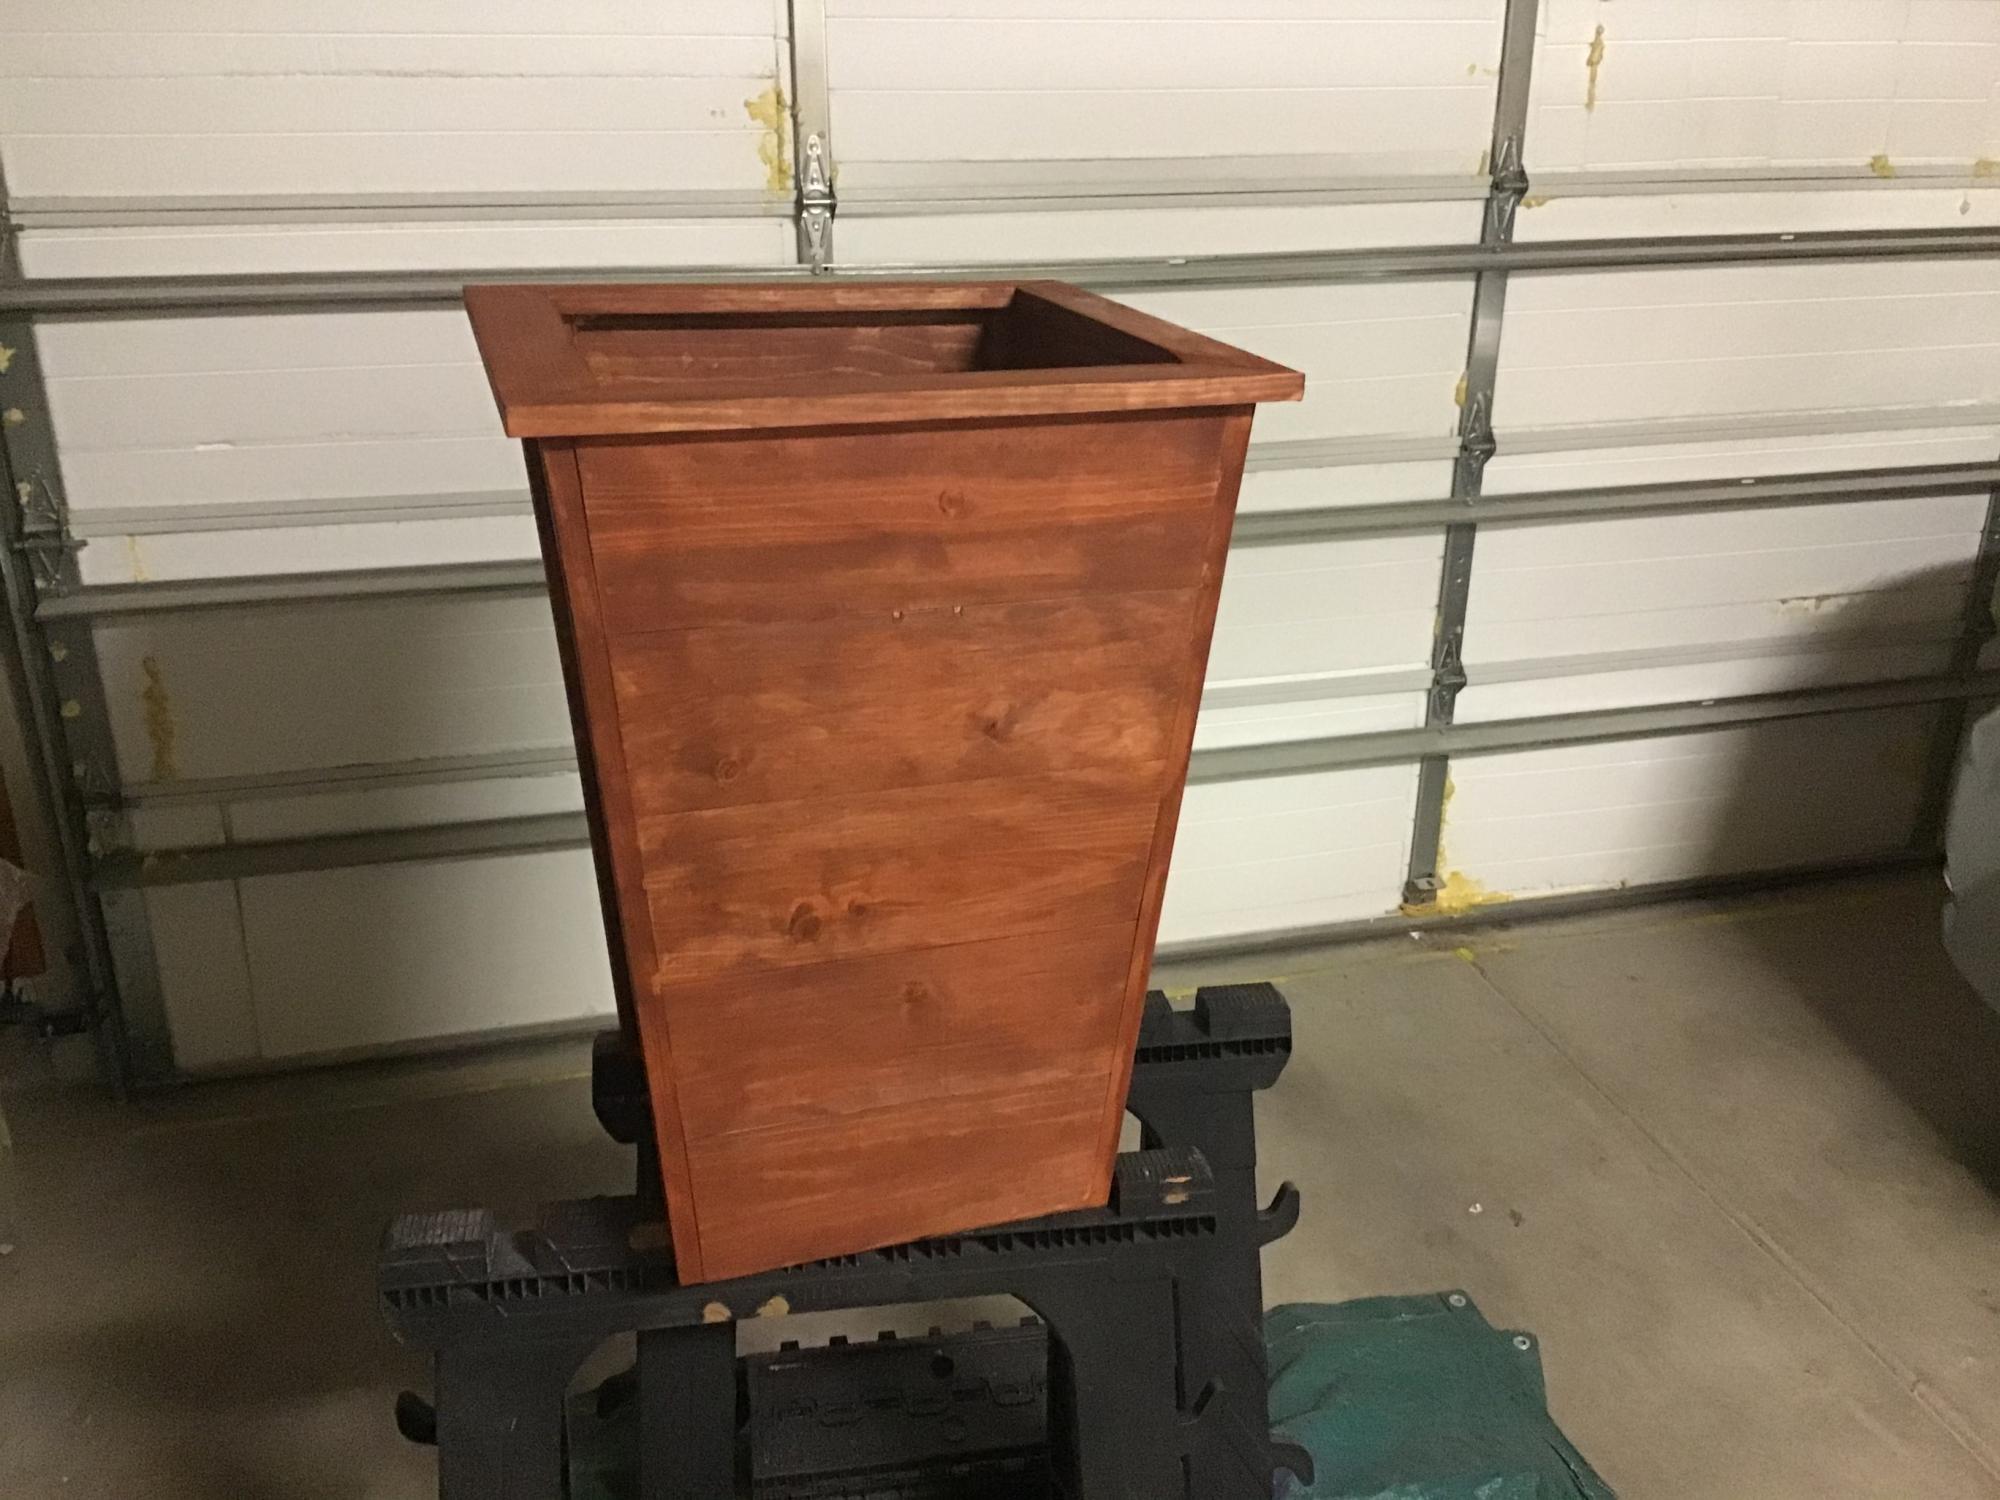
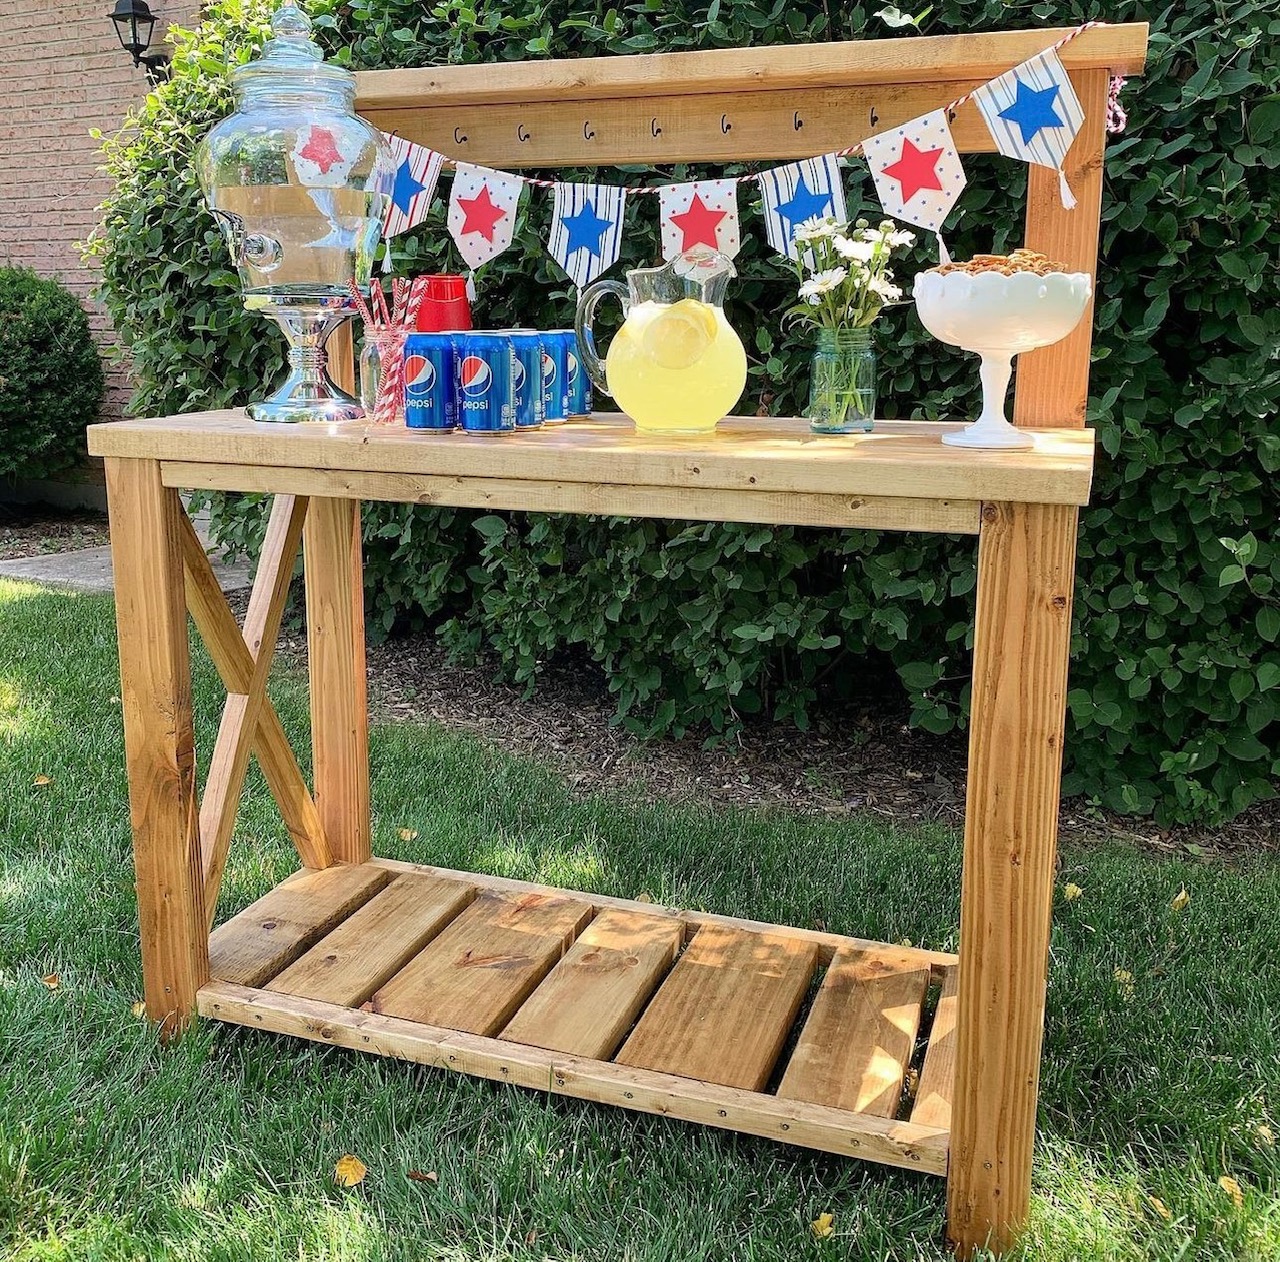
Could not find cedar fence pickets that did not have dog ears. Used 1”x6”s instead. That also helped with strength. Followed your directions and then added a top “shelf” and stained the planter. Lots of fun.
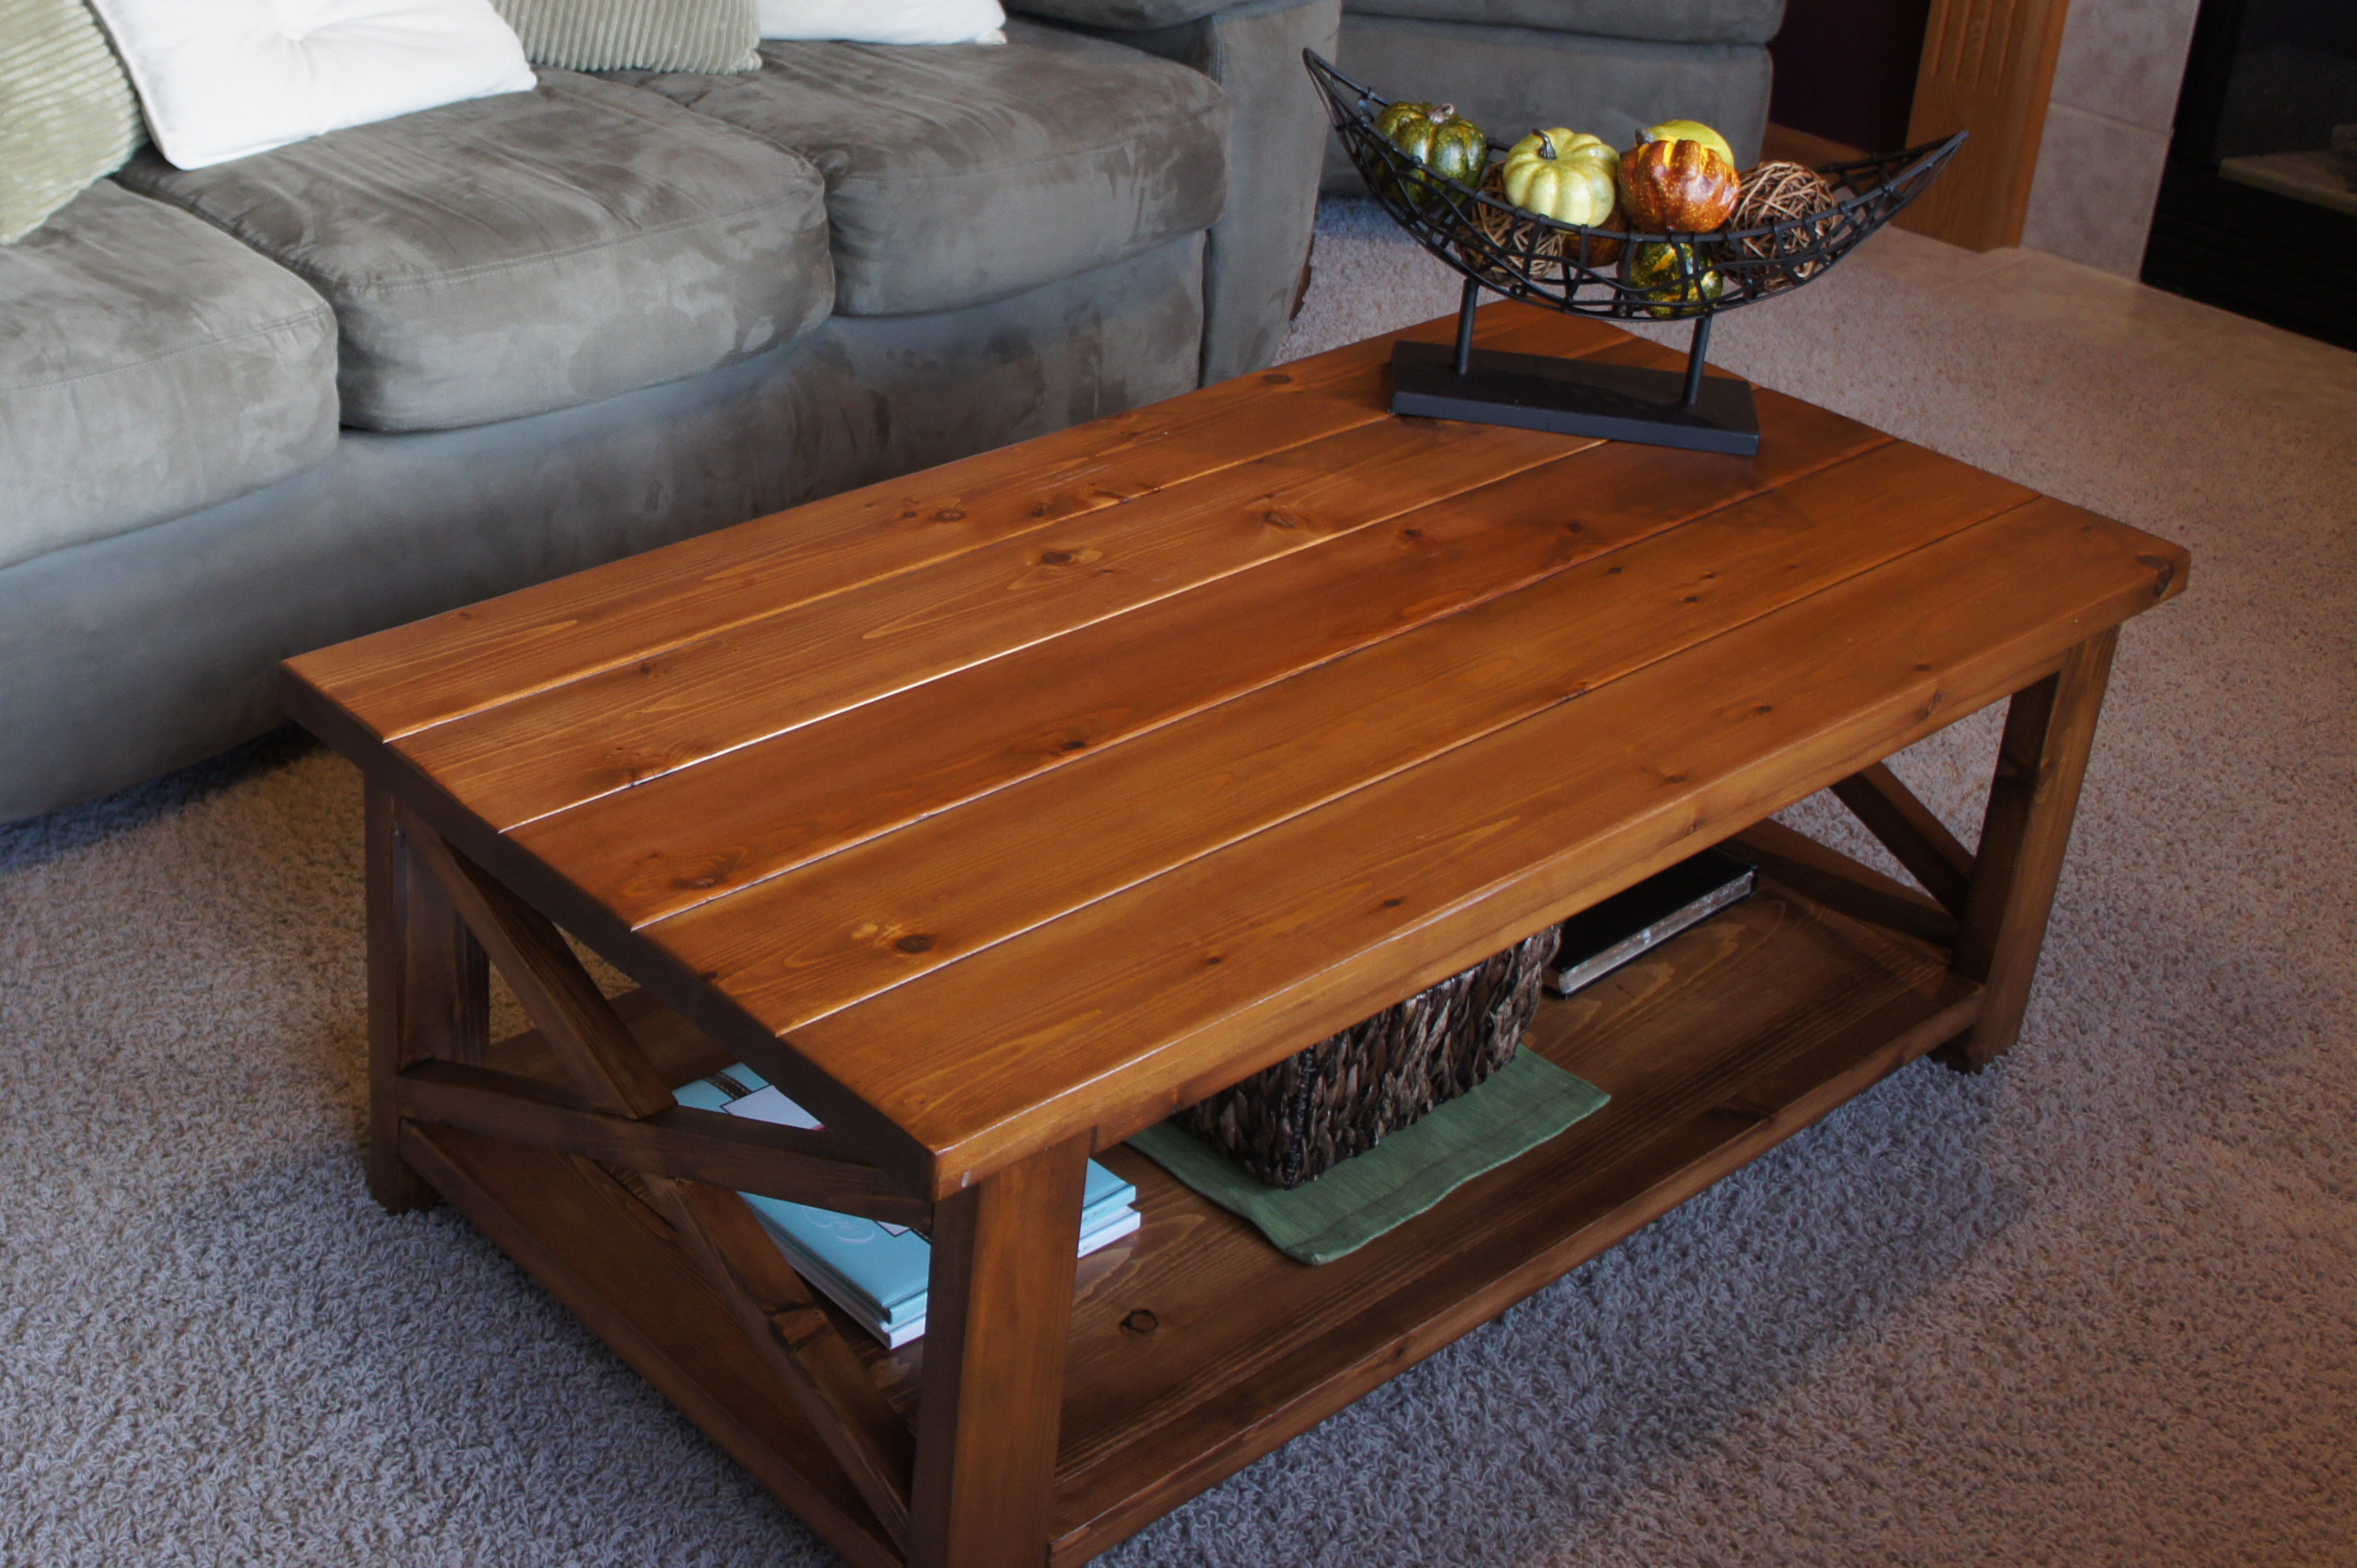
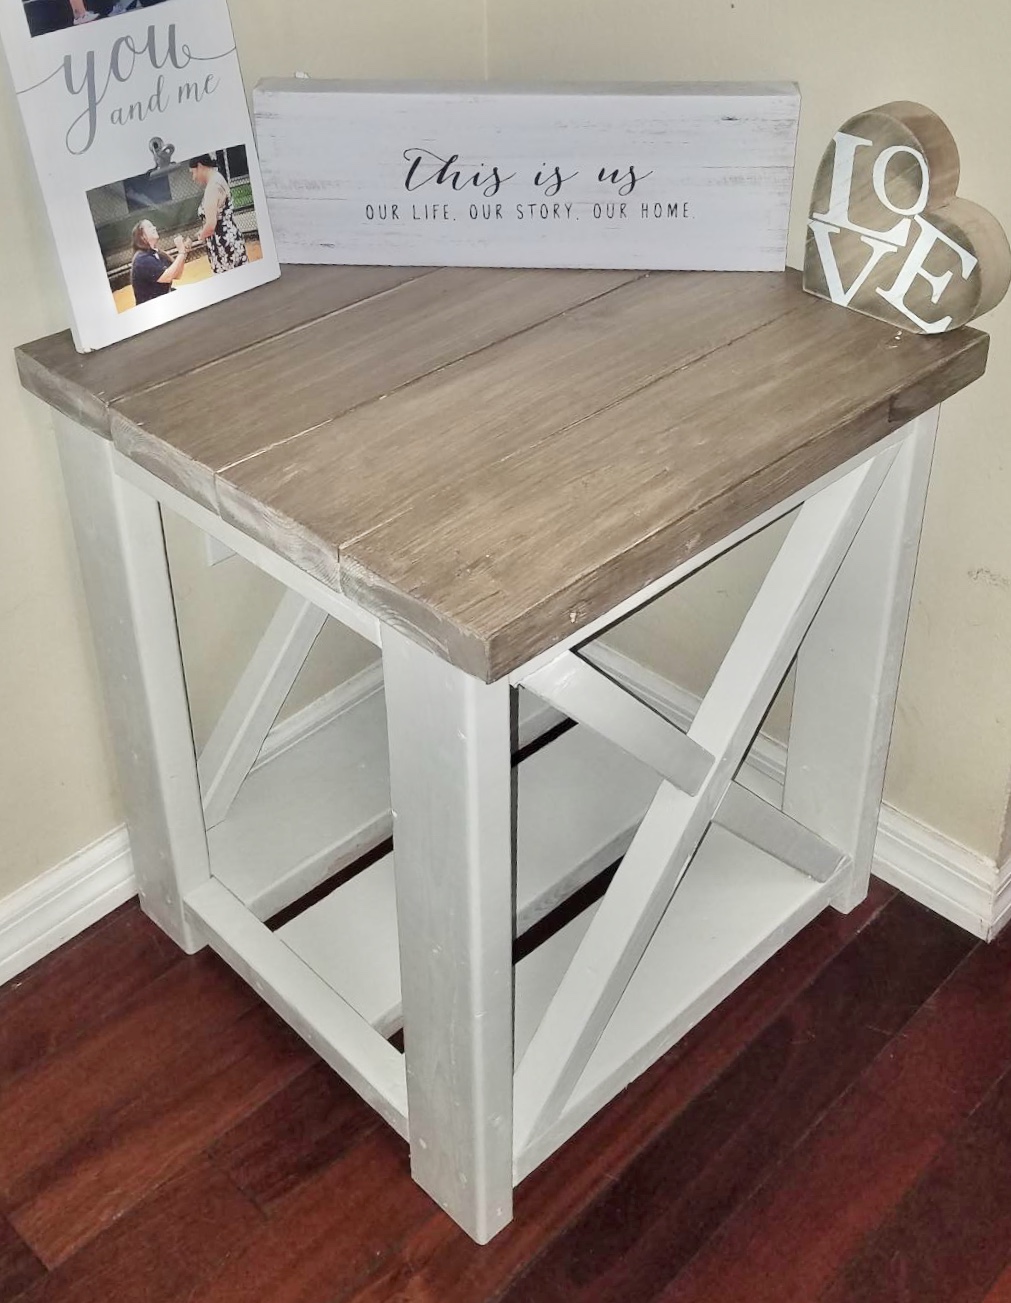
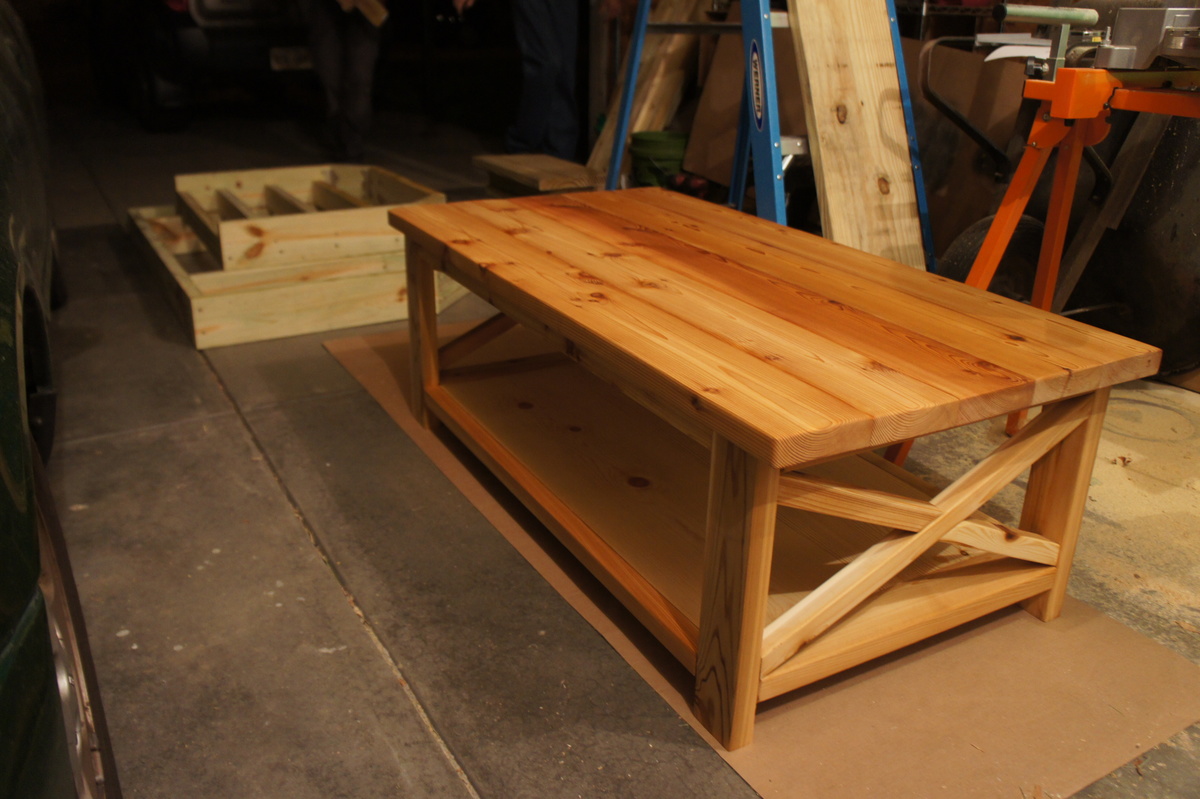
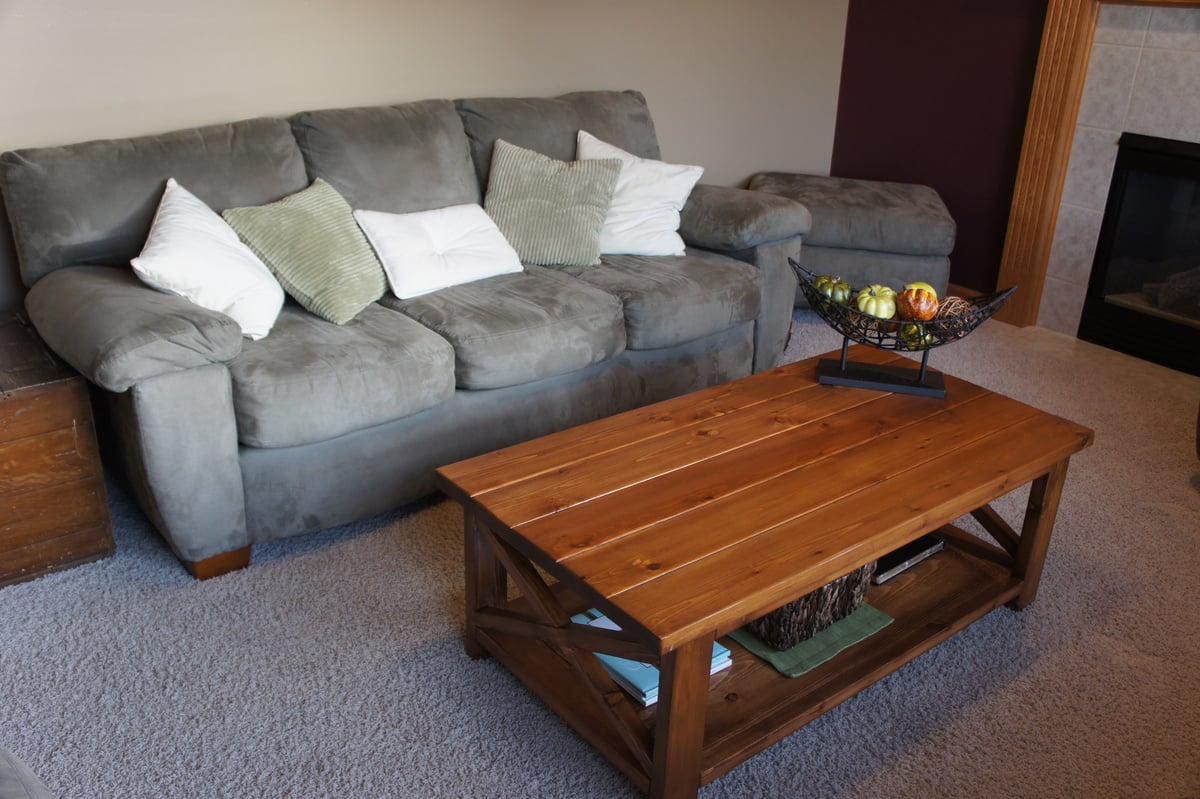
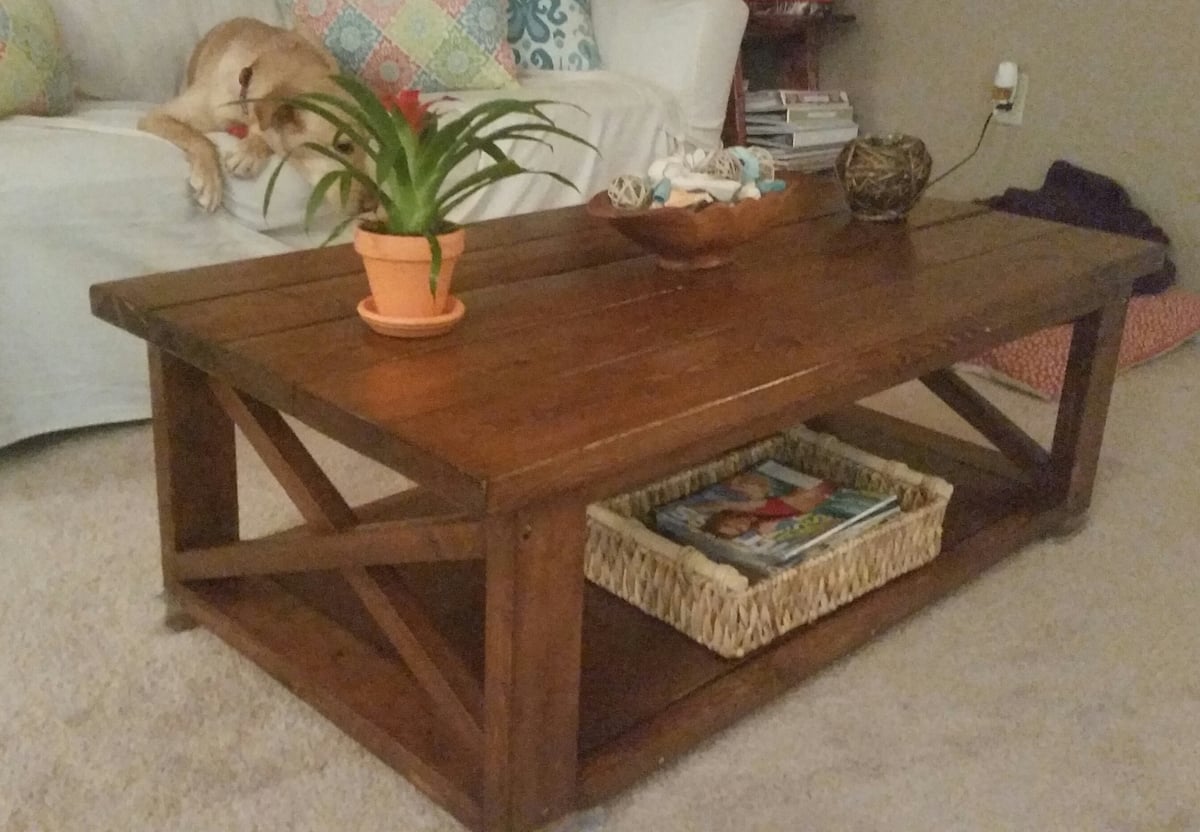
This is the Rustic X Coffee Table without the rustic finish. I used cedar wood with Early American stain. This was my first furniture project and I am so happy I did it. We needed a coffee table badly and I couldn't fathom spending several hundred on a good one. This one saved money and I appreciate it so much more. Because I used cedar the cost of the project was about $100. I used pine on the 1X12s on the bottom shelf and once stained it looks just fine. I did not stain the under side of the table top so as to maintain the smell of cedar.


Fri, 01/05/2018 - 23:10
The table look great! Thinking about building one myself soon? Have you noticed any warping or cracking of the wood since you built this?
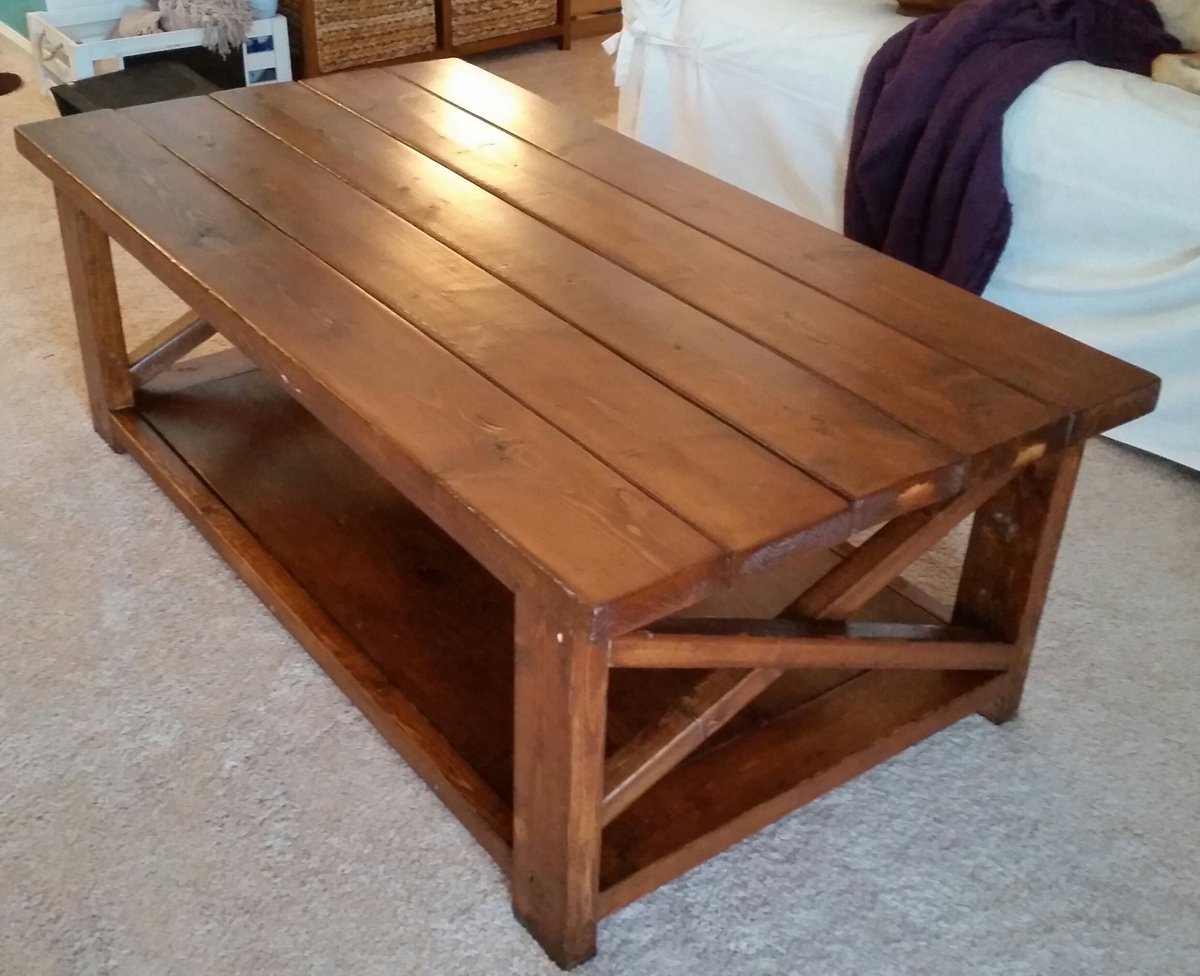
My first piece I made from this site. Absolutely love it! Slight modification on the X bars to add more depth to the base to balance the heavy look of it
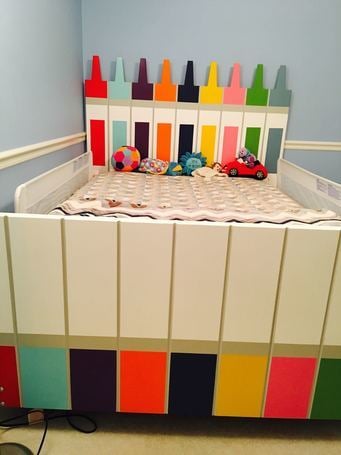
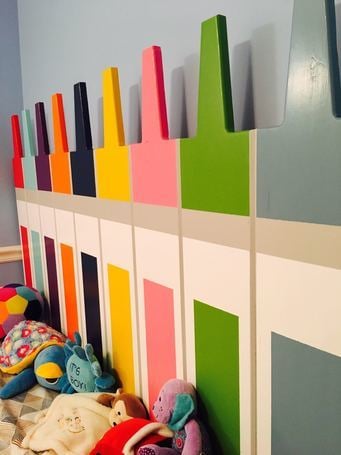
My son loves to color so we decided to make him a bed that looked like crayons
The headboard is mounted on the wall with a french cleat
The footboard is mounted to the metal bed frame with carriage bolts
The entire project is made of shiplap board which gives it the drooves in between each "crayon"
Hardest part was getting the crayon tip risht and transferring it to each board
Longest part was taping, painting, waiting, paiting, removing tape, retaping ....... and continue
We used behr bright white paint and then paint samples for the colored parts and finished it with general finishes satin top coat
Turned out better than expected especially since this is only my second woodworking project ever and my son loveeesss it !!!


Built this amazing patio set using Ana White’s design. Just added extra back supposed to prevent the cushions from falling over. Very sturdy set!!
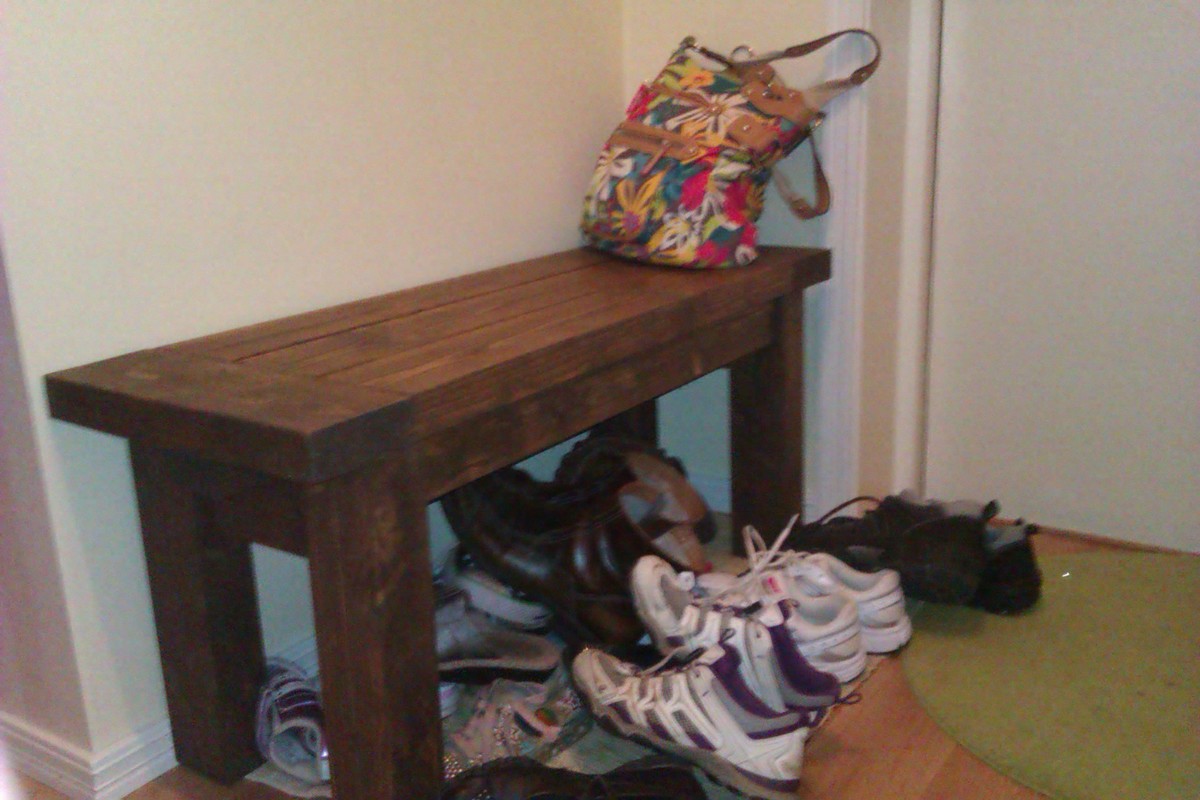
A 1m version of the farmhouse bench. We needed a shorter one for the hallway and realized that the only way would be if we built it ourselves. My bf and I built this together and it's really sturdy. Some adaption to the plan was made since it's shorter. It's very useful and we all love it. It's used each and every day.
First project of my husband. He had no experience at all in making furniture but when he stumbled on this website he was inspired.
I wanted to contribute so I volunteered to stain both the table and benches.
Modification: used 2x4 for the legs of the table
I wanted to say thank you for the inspiration.
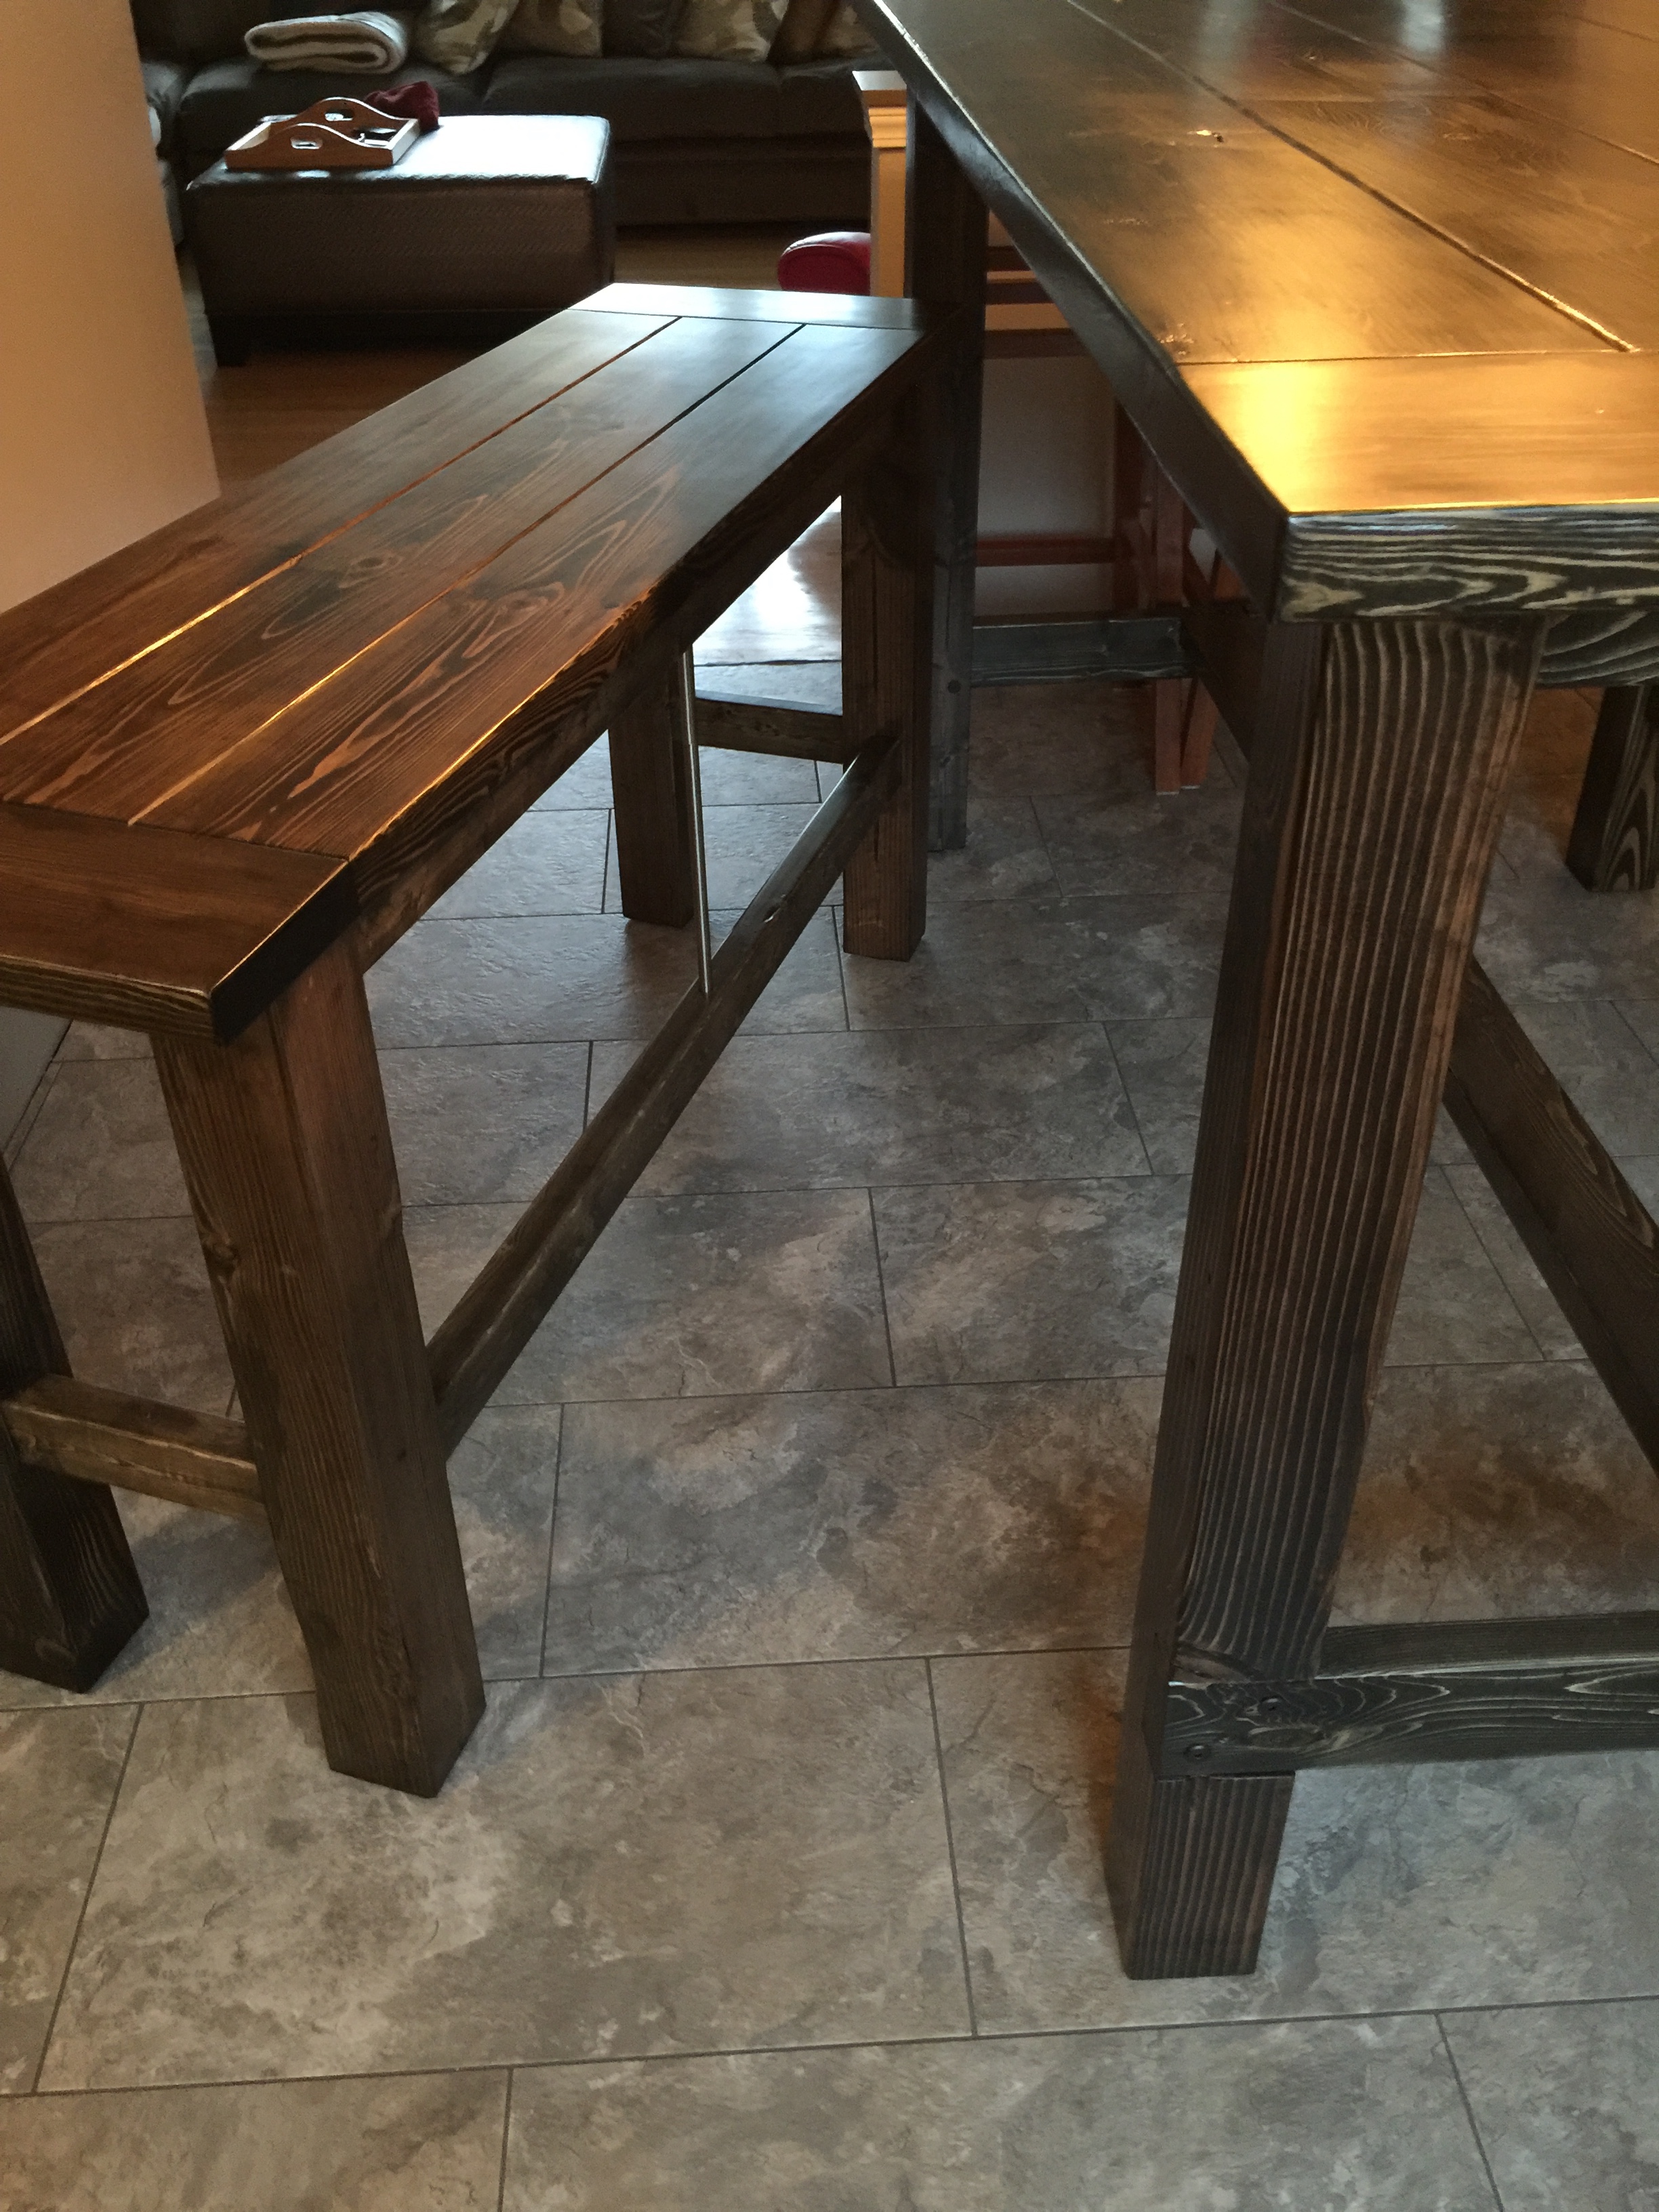
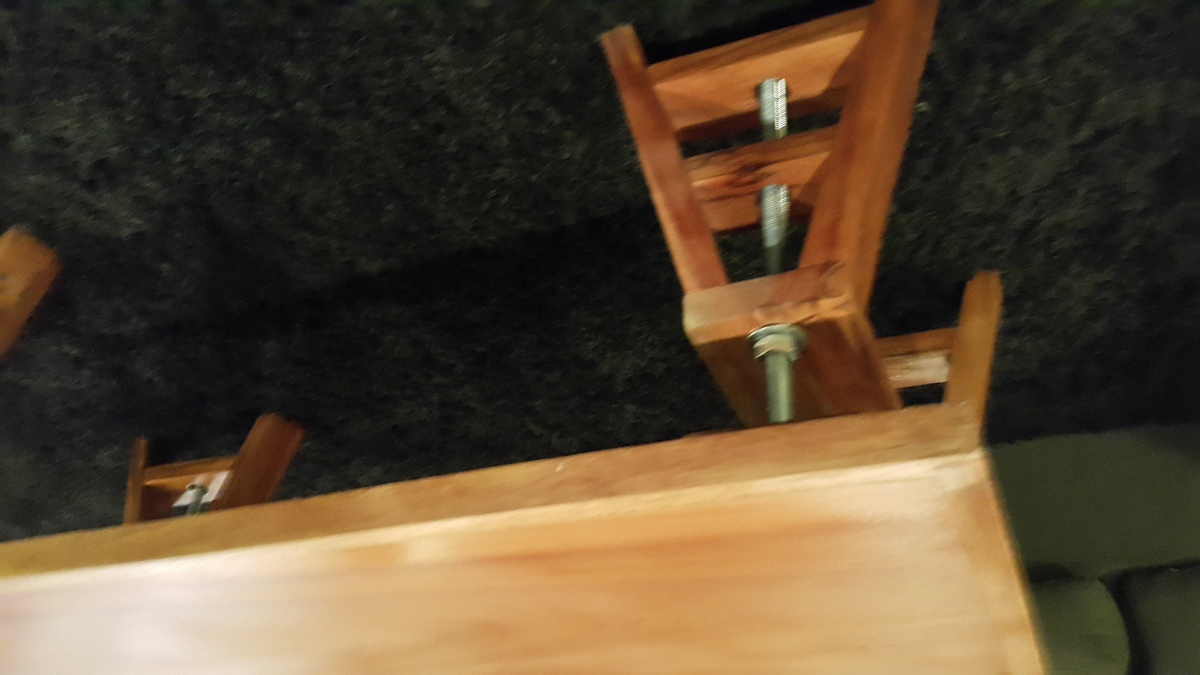
I took the general idea, made it bar height and my own preferred size and beefed it up by doweling together the top pieces.
Given the size, I made the top removable with threaded inserts as well as the removable support beams below.
For the benches, I wanted something sturdy and a look that was similar to the table. I added in a nickel support rod for the foot rest for both strength and a nice look.
All in all this project took a lot of time, probably more so with my perfectionist ways and wanting to make the finish perfectly smooth. It's like glass, which I just love against the dents and dings of the wood.
Some of the challenges were wood that warped. After putting together the bench tops, the wood warped quite a bit, nothing that a few clamps couldn't undo but a pain nonetheless.
Using black stain really brought out a nice look and I'm taking that same look to the new trim and door that are going into the dining area as well.
I've not seen a bar height (not counter height) table in a full dining table size before, it's what I wanted and I couldn't be happier with the results. Was it worth all of the time? That's hard to say, I really love it, but it took a long time to get it to be exactly what I wanted it to be.
Thanks!
Loved your plans for this and built a table for my 4 year old grandson who could destroy a box of rocks if given the opportunity! I was able to get by with (5) 2X4's instead of the (6) called for in the plans which was even better since I've now got an extra one for the next project. I used pocket hole screws, #8 x 2-1/2" exterior grade screws, and some Thompson's Water Seal and everything turned out even better than expected! Virtually no "scrap" to absorb either. Thank you for sharing your plans - I'm looking at those for the full-size version for someone that has asked if I could build one for him!
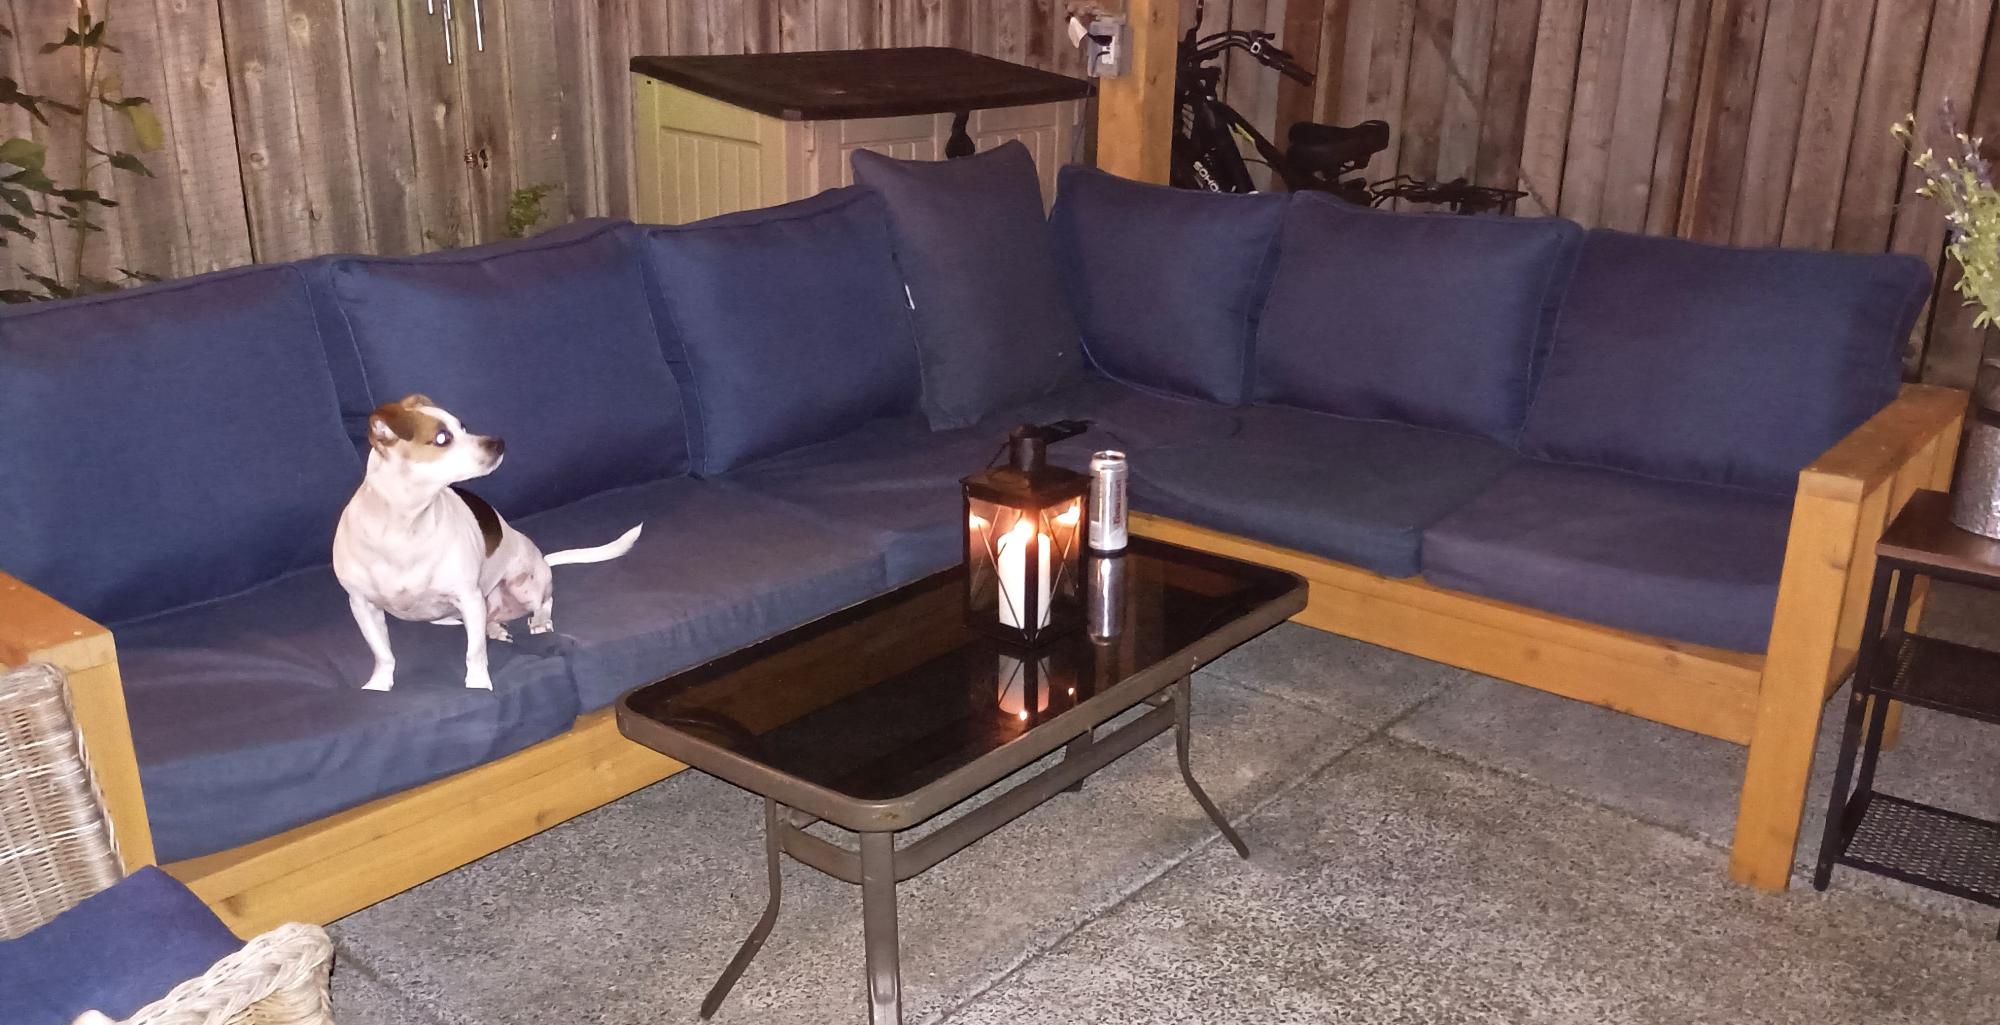
We love our sectional...
The Harts
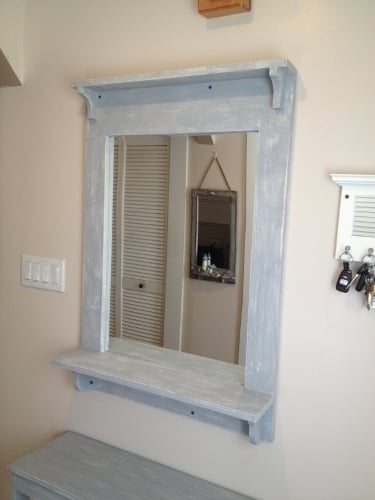
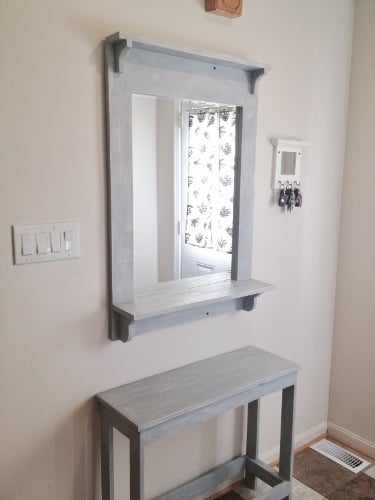
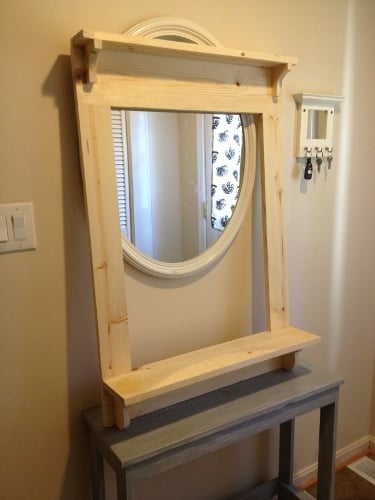
This project is the mirror from page 37 of The Handbuilt Home. I received my copy on Thursday night, built this and painted on Friday, then (impatiently) waited 24 hours for the paint to dry before distressing and hanging it up yesterday afternoon. The mirror was a plain one I found at Lowes for about $20 and attached with mirror clips. I attached to the wall with 2 1/2" screws through the frame into the wall studs. I was going to leave the screw heads exposed for decoration, but now I think I'll add a dab of gray on them to blend them in. This was a super fun project, easy to do. Love the book, and can't wait to build more projects from it! Ana, fab job on the book!!

Sun, 10/14/2012 - 14:25
Thanks Ann! This was a fun project. I've been wanting a mirror to match that table since last year, and this one fits just right. My family said they liked the visible screws too, so I'm going to leave them as they are.
:)
Joanne

Sun, 10/14/2012 - 15:26
Joanne, this is beautiful!!!! I am so glad you like the mirror. We adore ours! Thanks for getting the book! Ana

Sun, 10/14/2012 - 16:03
Great job on the mirror!! I hate waiting for paint to dry also....that's why Ive taken to painting everything with homemade chalk paint...dries in minutes and I can get right to sanding and glazing. Love the gray you used!!
Thu, 08/29/2013 - 13:57
Ana, Thank you so much! I can't wait to get building on more projects from the book and from here too! You are awesome! :)
YankeeBelle, thank you! How do you make chalk paint? That sounds like a great time saver!
:)
Joanne
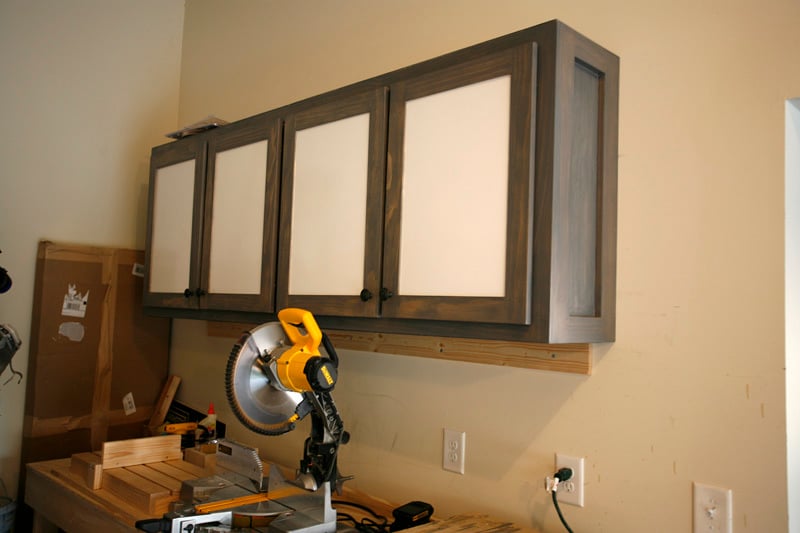
First part of garage storage system complete. 7.5 foot cabinets with whiteboard marker board doors inserts.
Next step to build new bench with storage cupboards to keep dust out and a central dust extraction/containment area.
Then put some tool board and a charging station above the two outlets.

Wed, 08/06/2014 - 05:51
What plans did you use to build the cabinets? I'm currently re-doing my garage and I was looking for something like this.

In reply to Looks Great by TaylorMade1205
Wed, 10/08/2014 - 19:20
Hi. I drew the plans myself to make it fit the space I needed. Happy to share the google sketchup file with you if you want to send me your contact (if that is allowed on here!). Sorry for the delay in replying but not logged on here for a while.

Tue, 04/02/2019 - 19:13
These cabinets would be perfect for my craft room. Can I please get the plans?
Christi
Thank you Ana because you were my inspiration. I would've never dreamed of building my own furniture before I saw you doing it. I loved doing it I loved outside the US and the machines and jigs are difficukt and expensive here but I've managed to get the basics. this is my 5th project and was a lot of work because the woods here are exotic but not dried in kim and come with lots of imperfections but are beautiful..anyways thanks again!
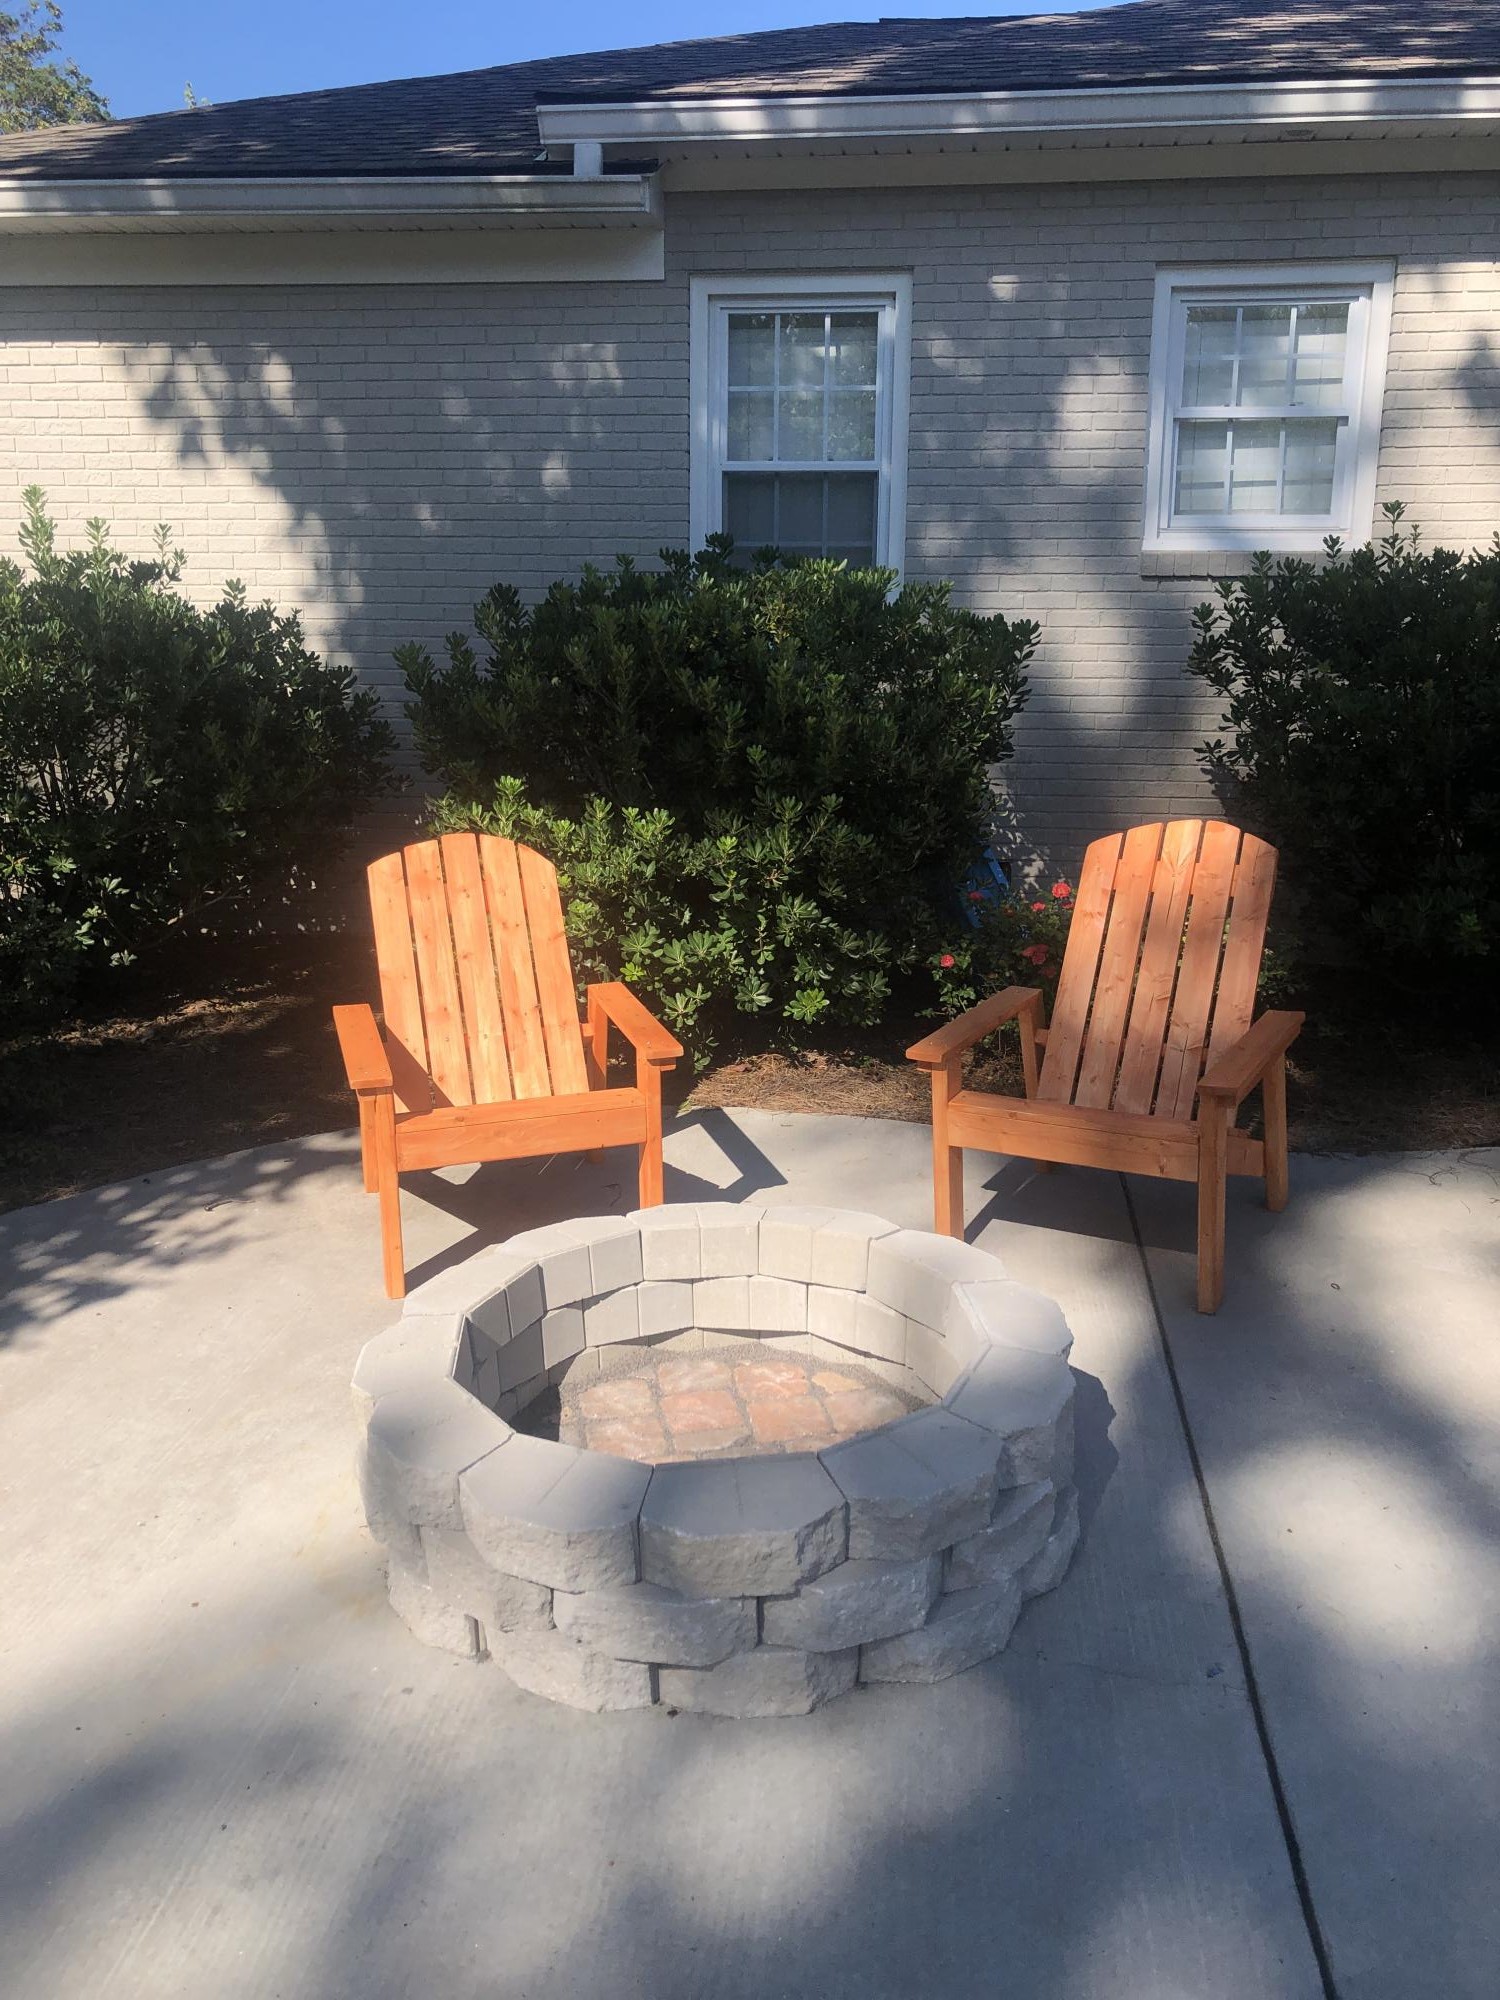
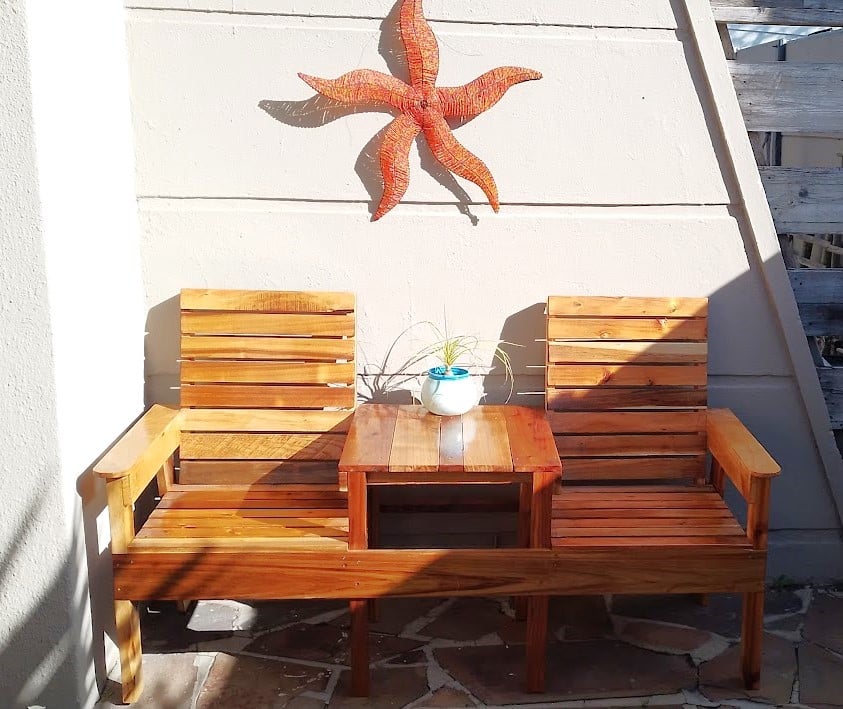
I was super intimidated by these chairs going into it, but it was actually much easier than anticipated. Any time angles are involved I cringe, but these were great practice!