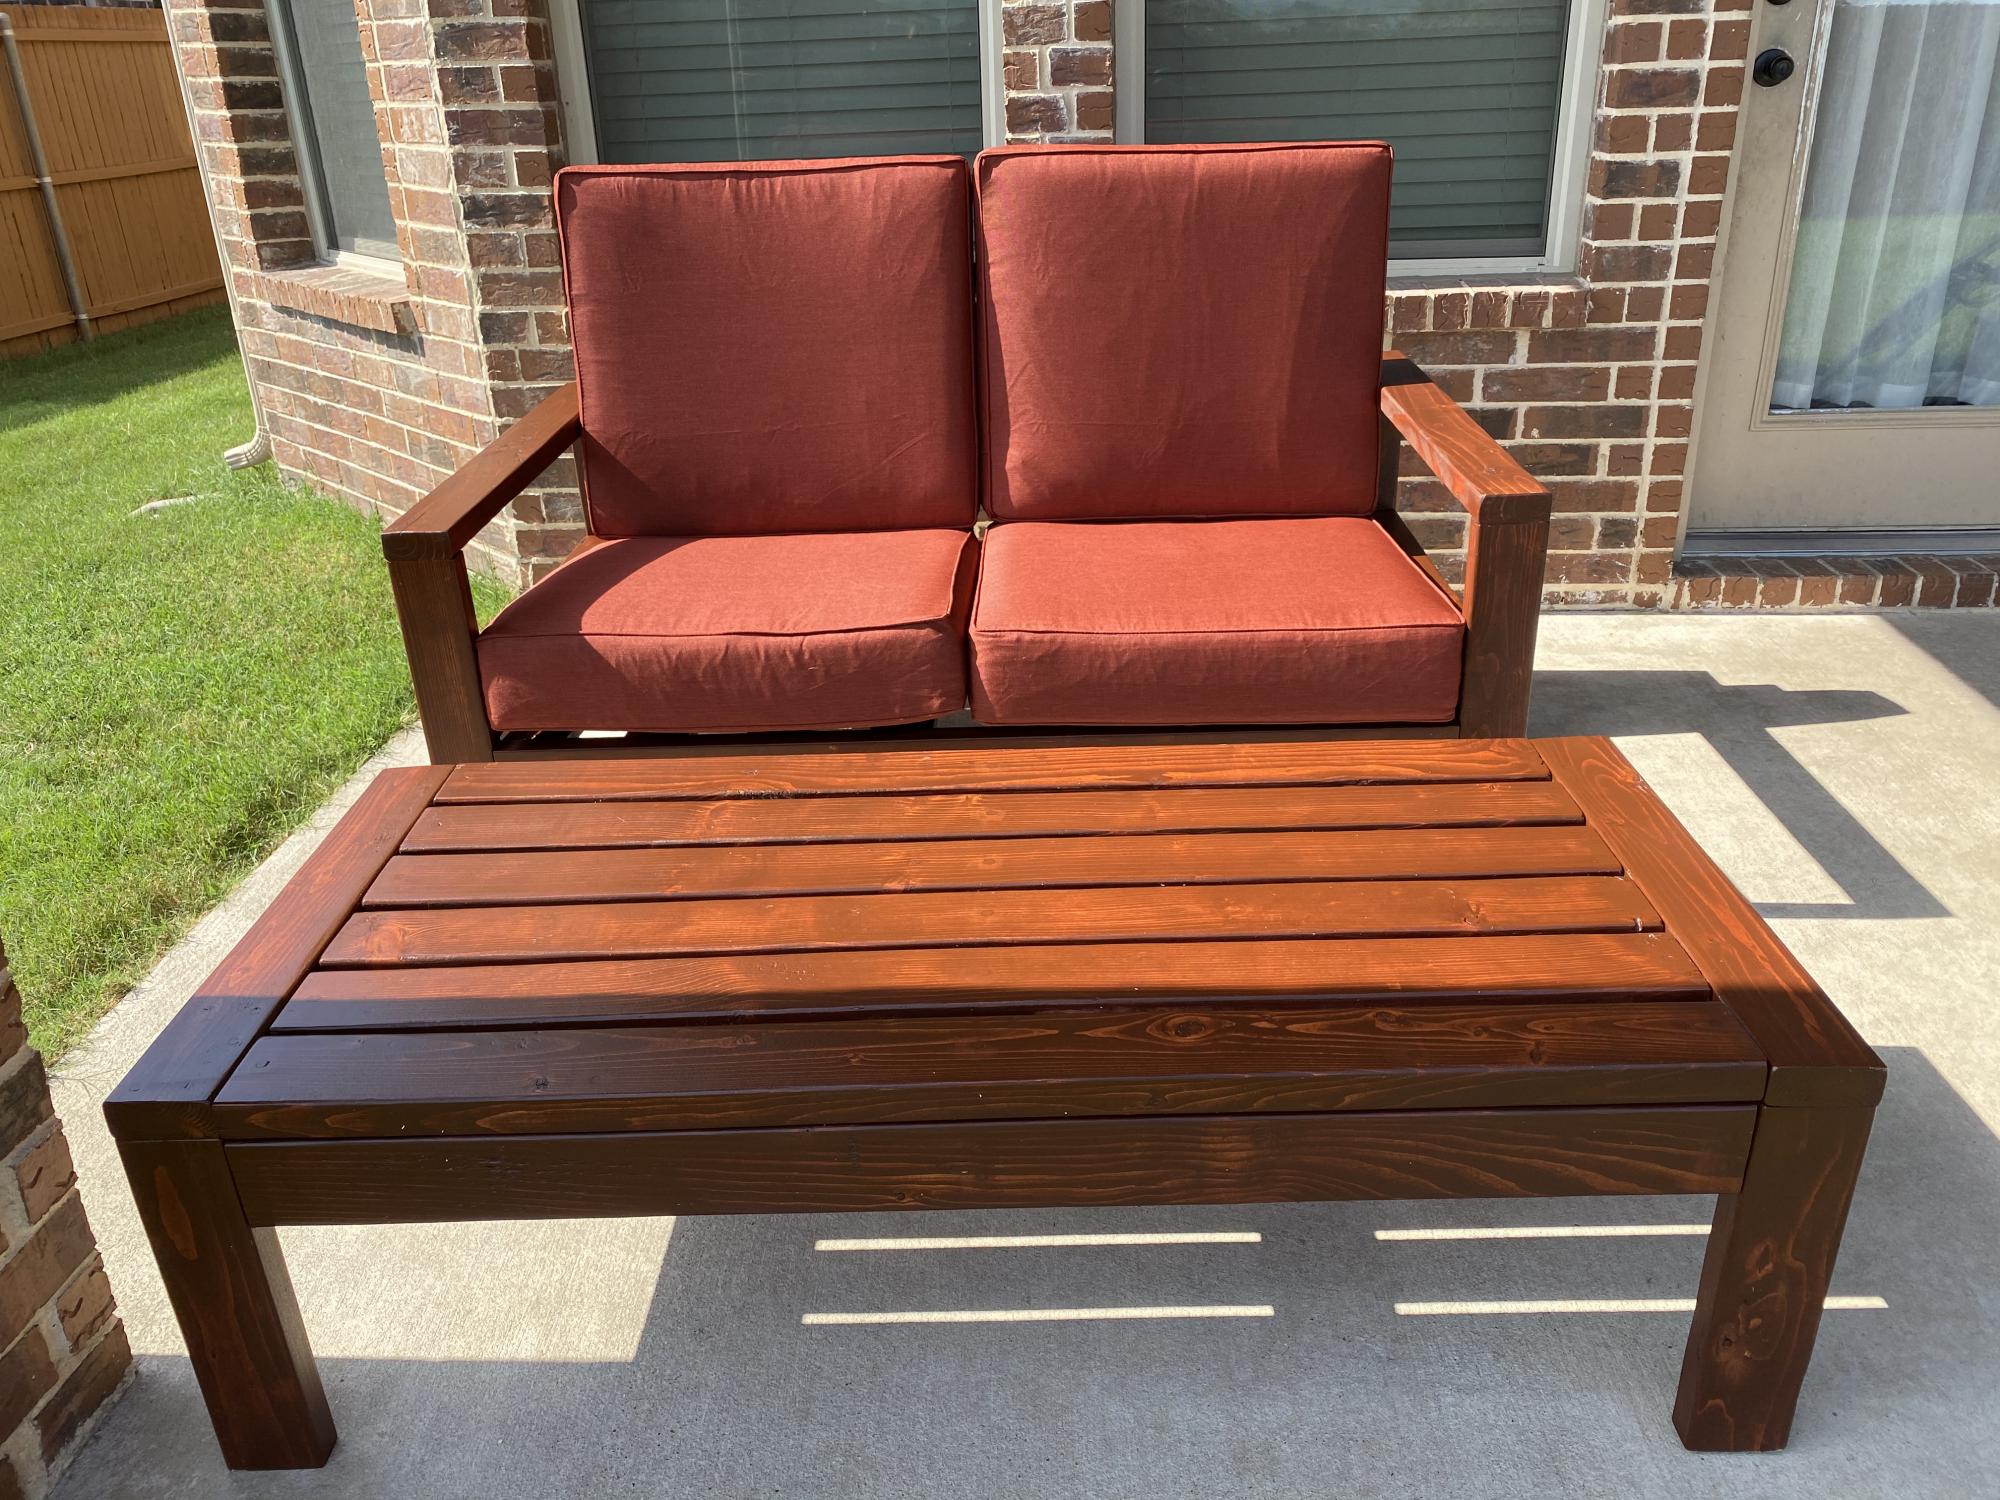
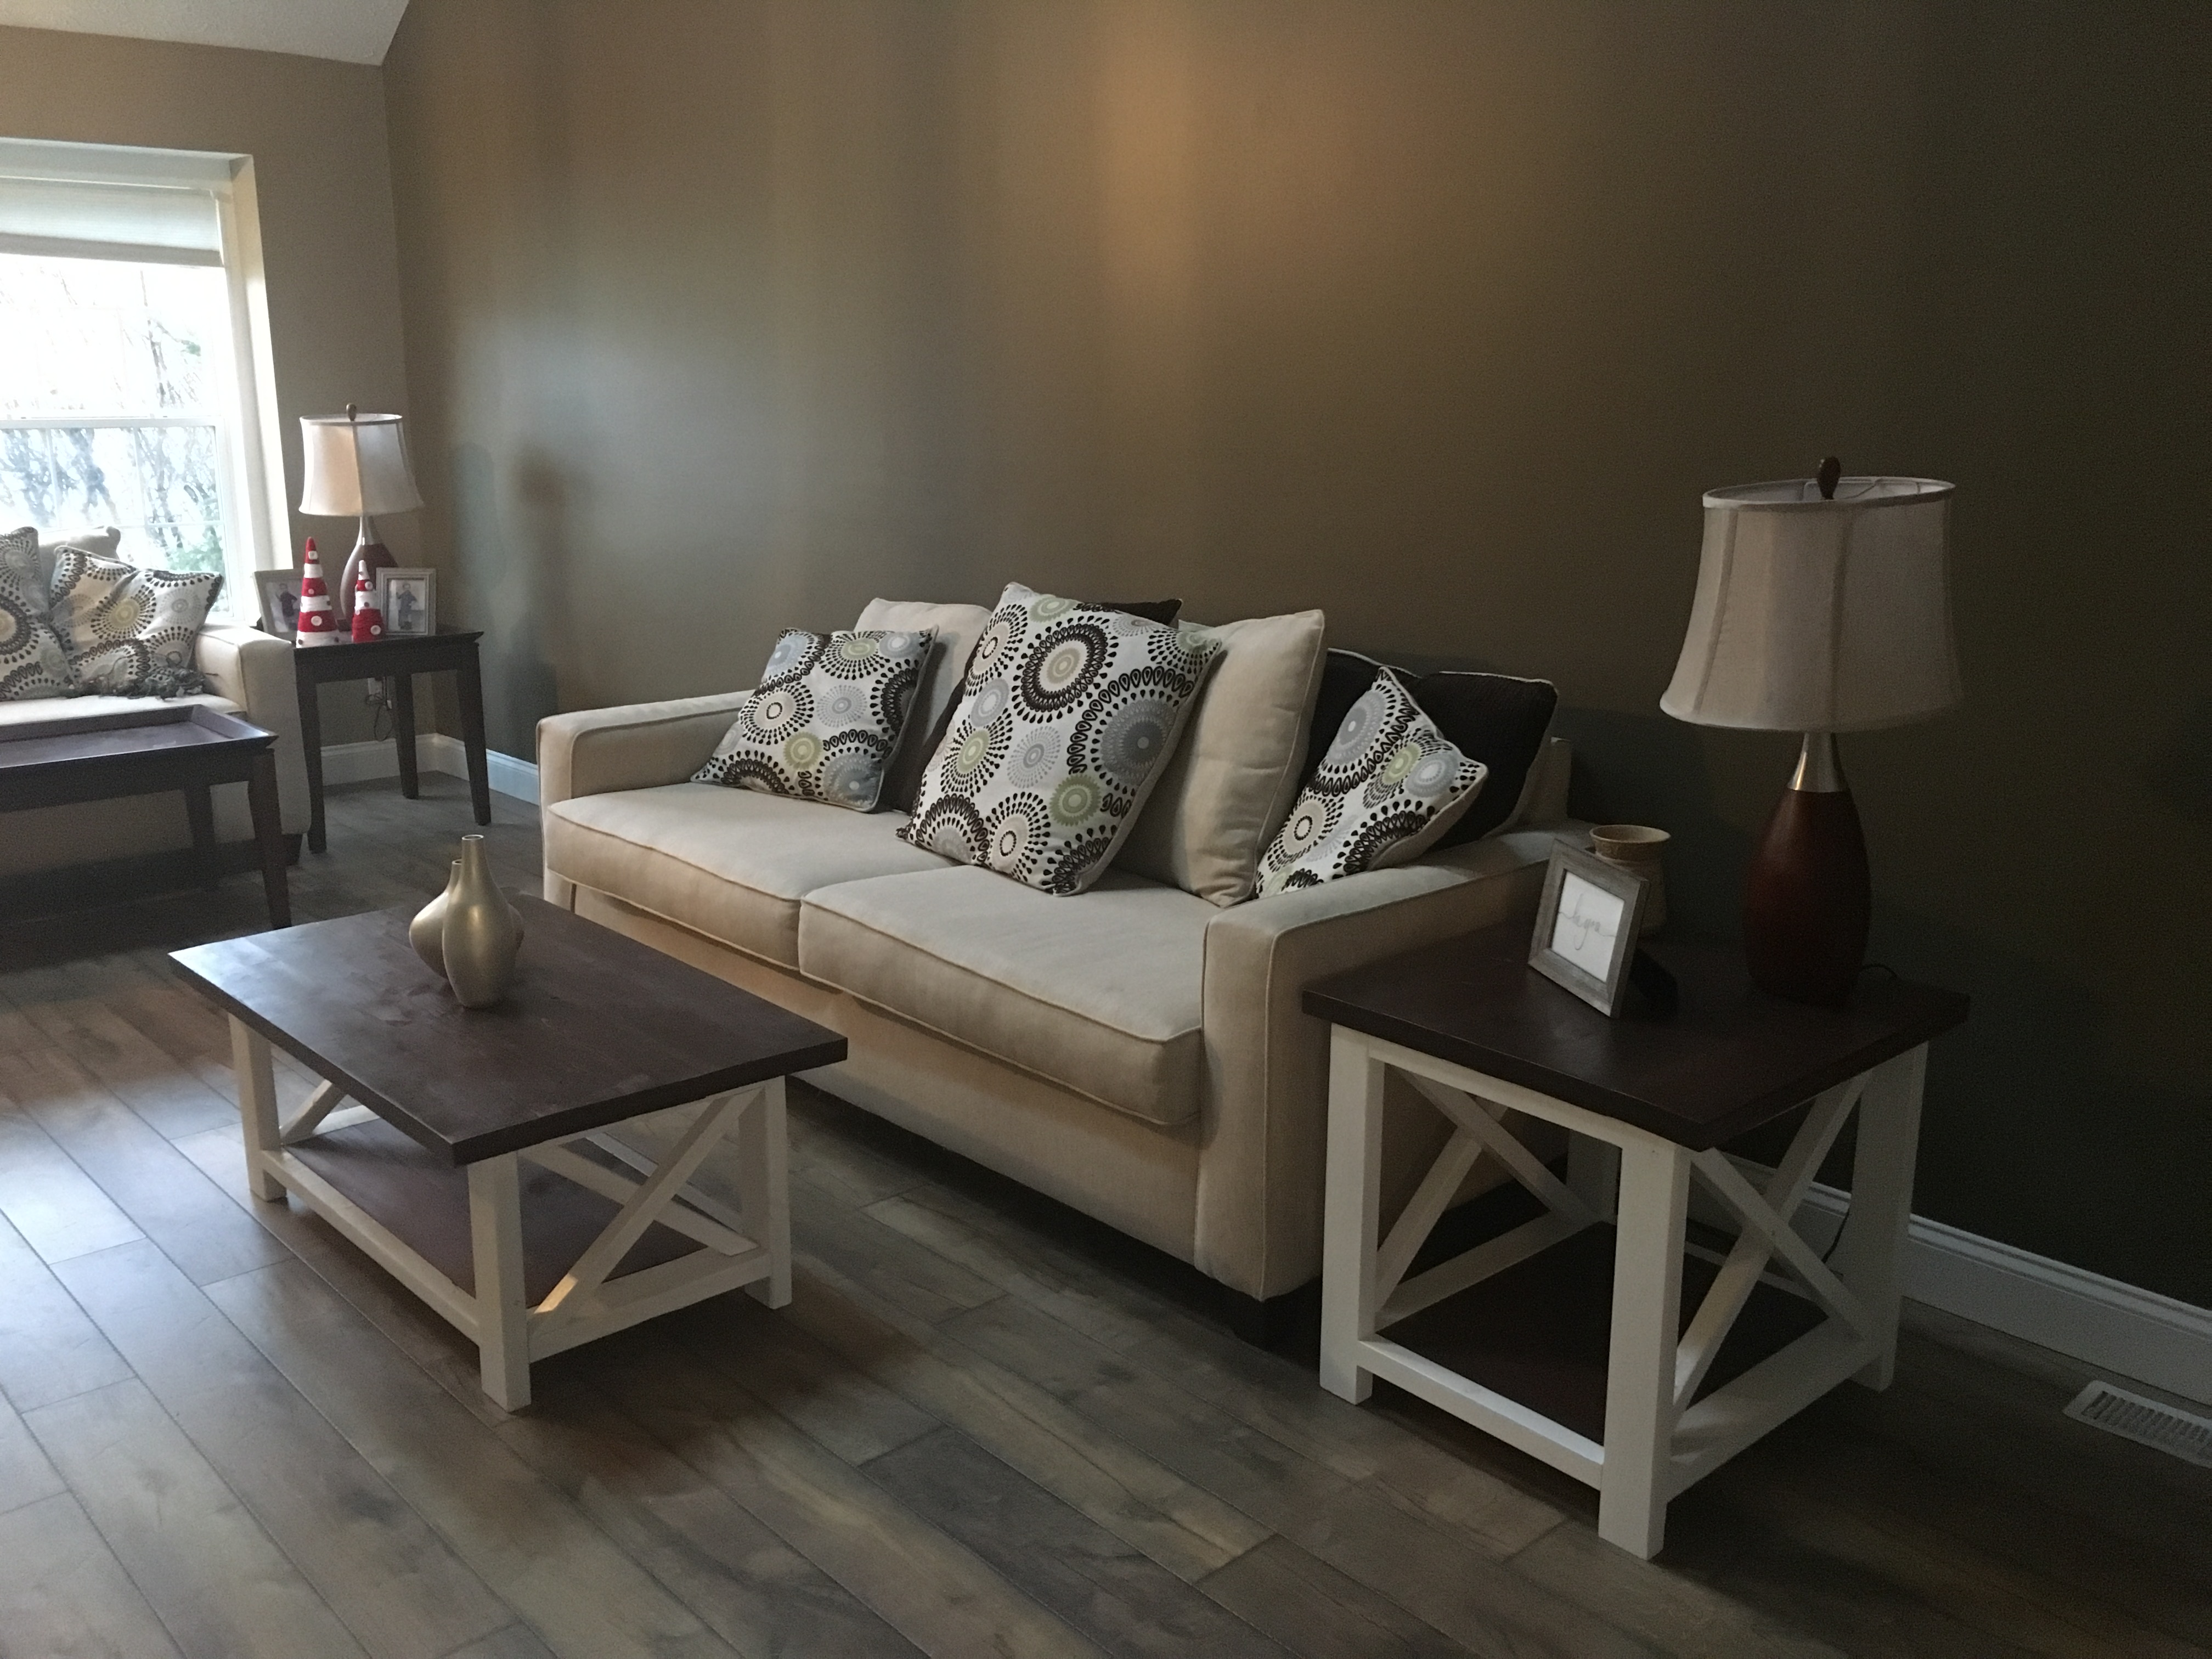
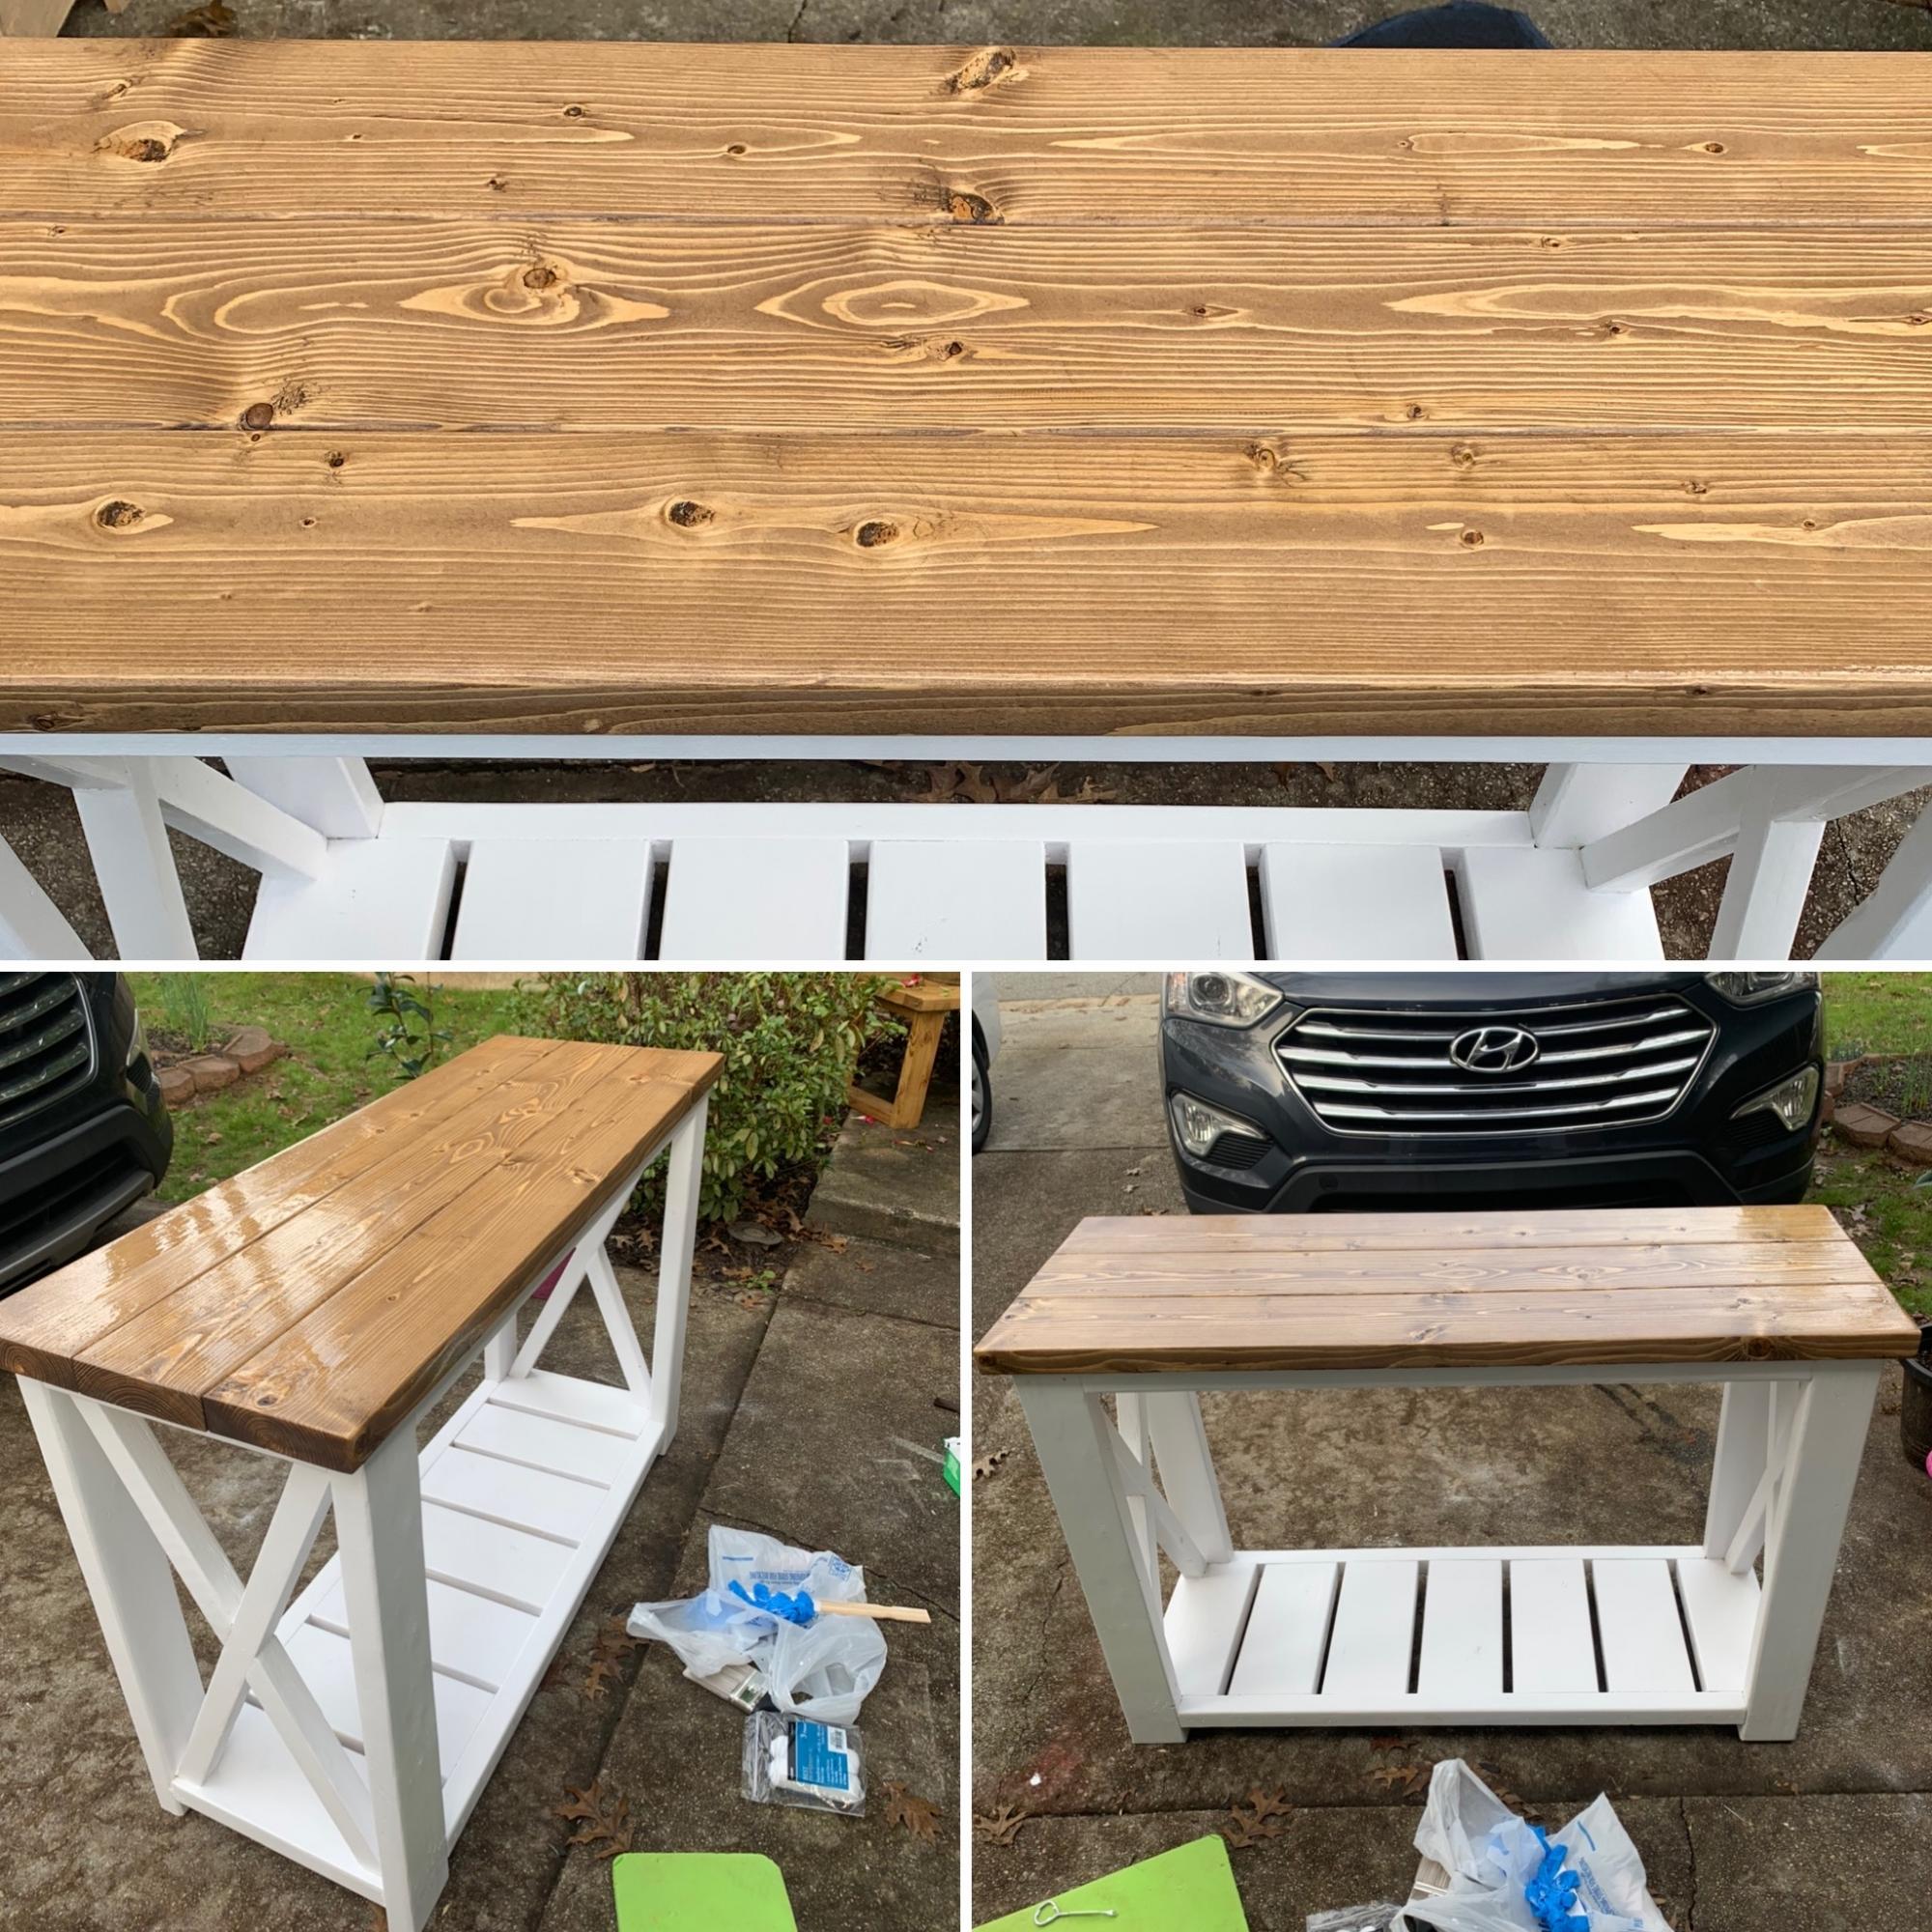
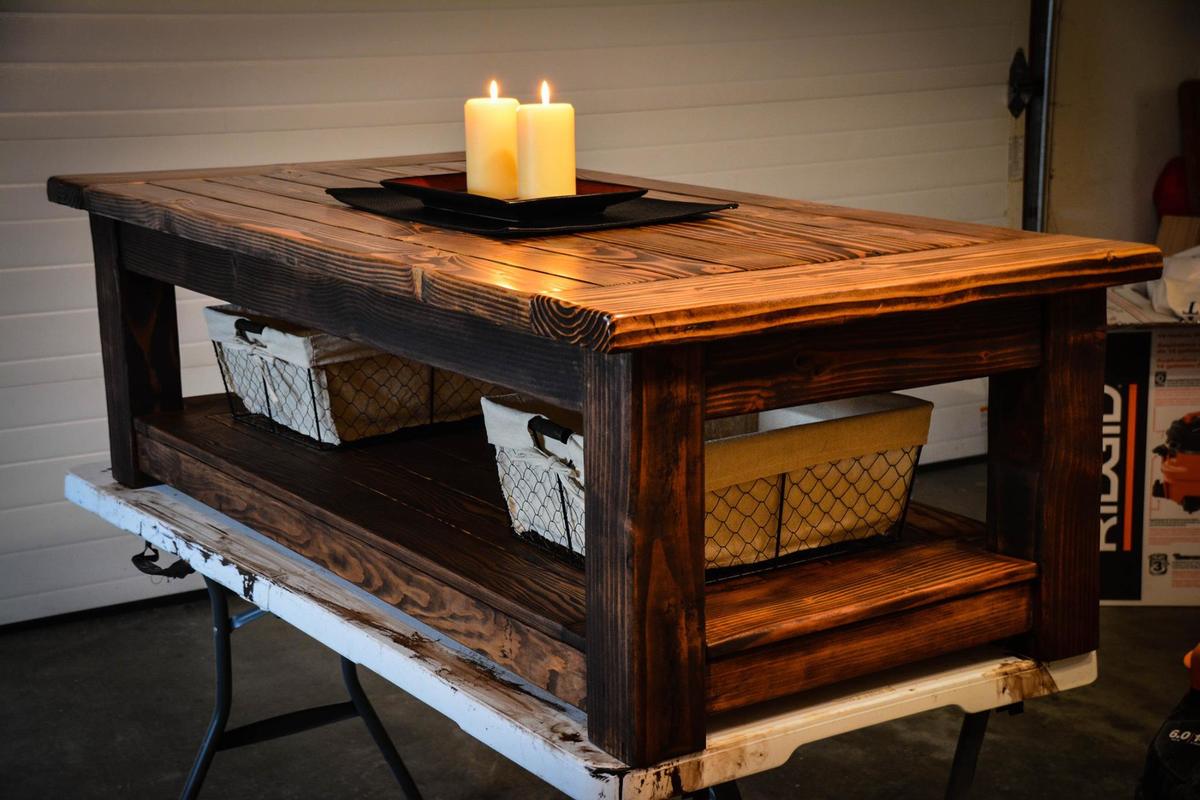
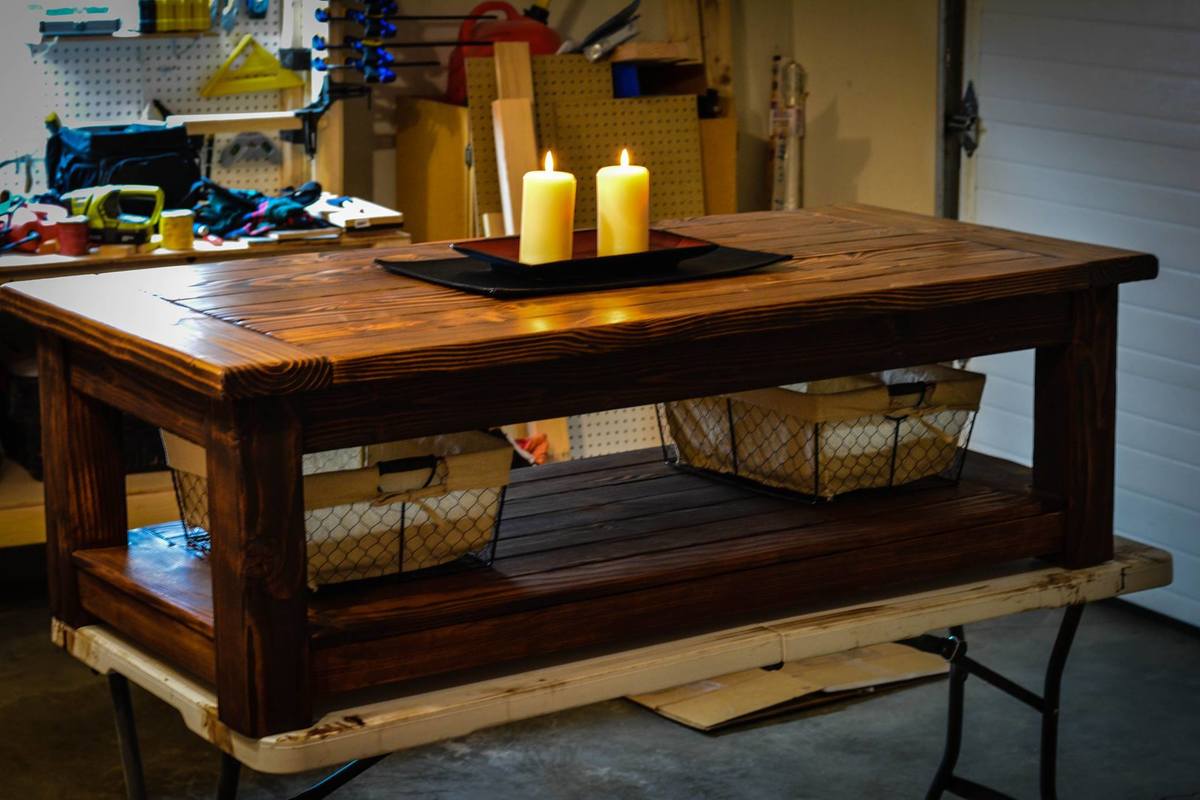
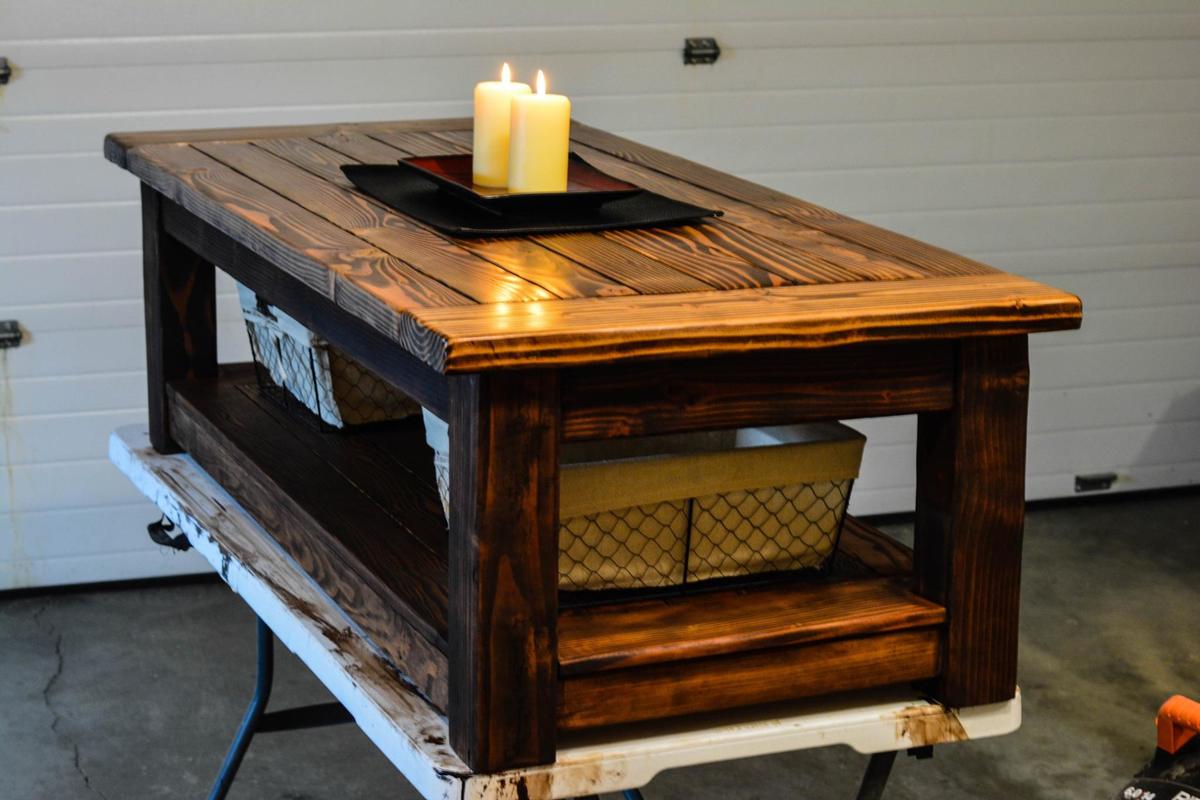
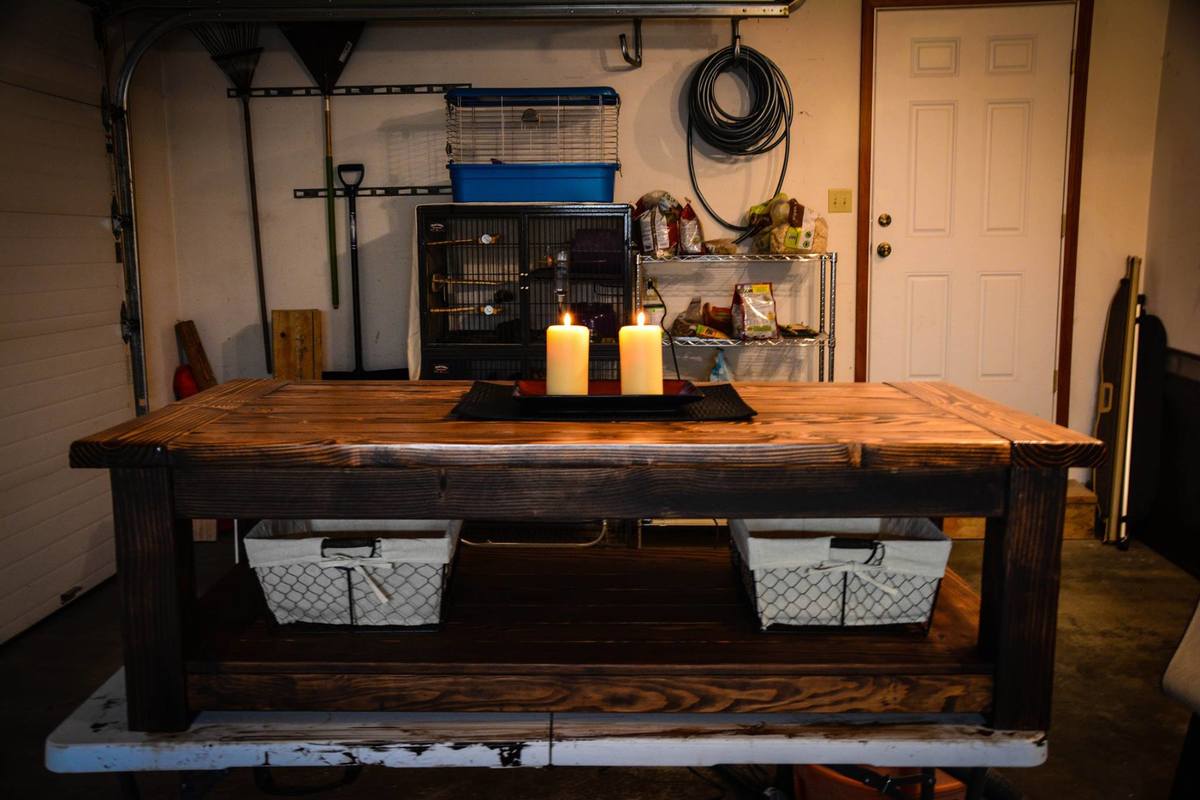
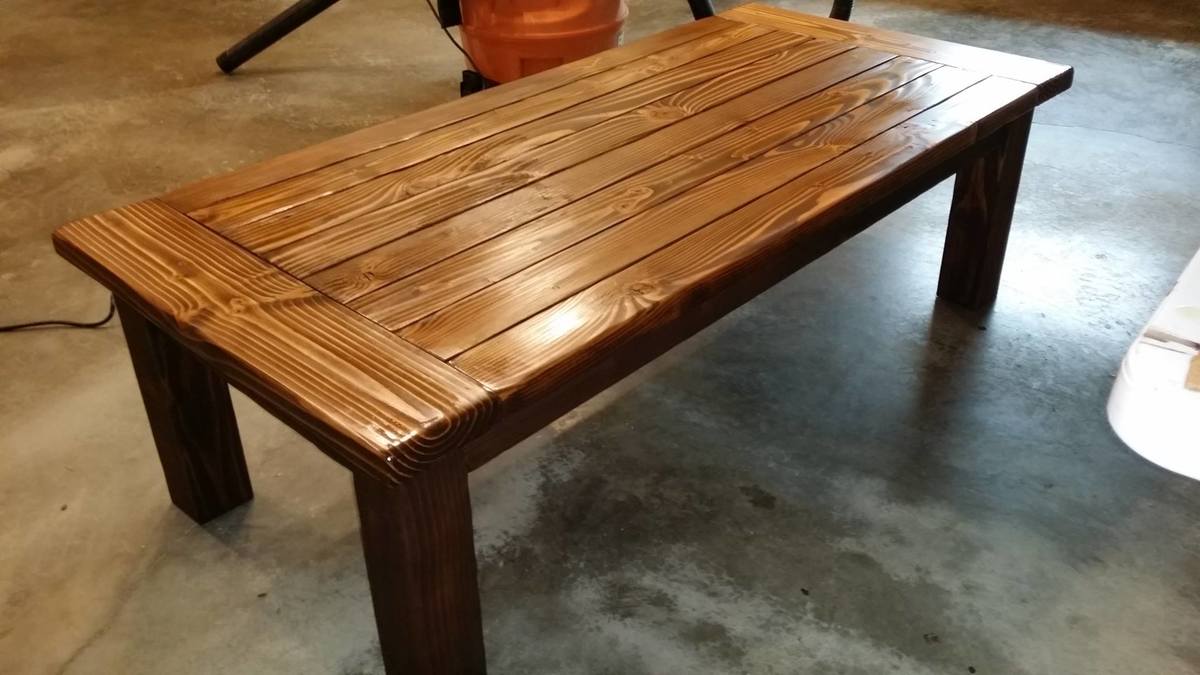
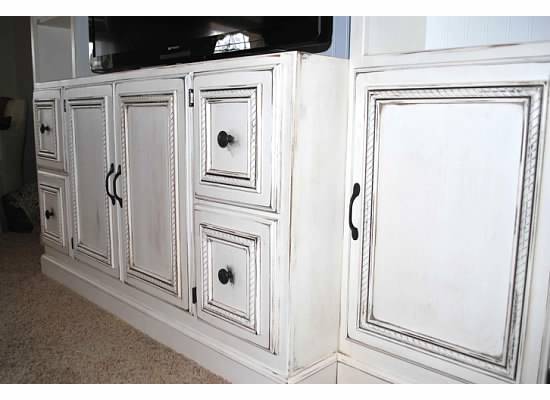
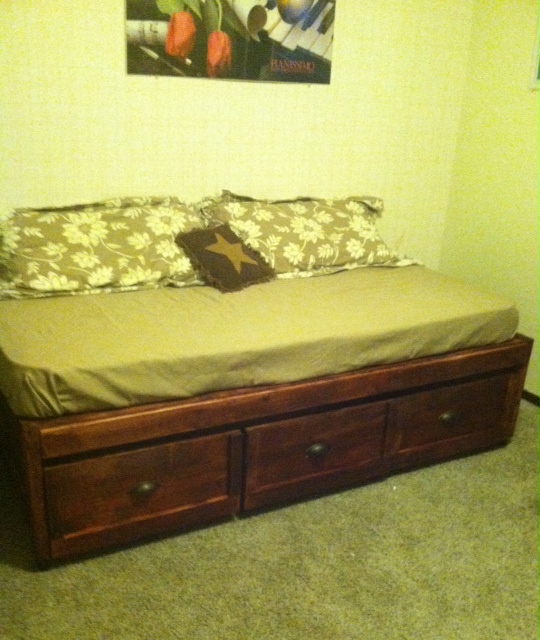
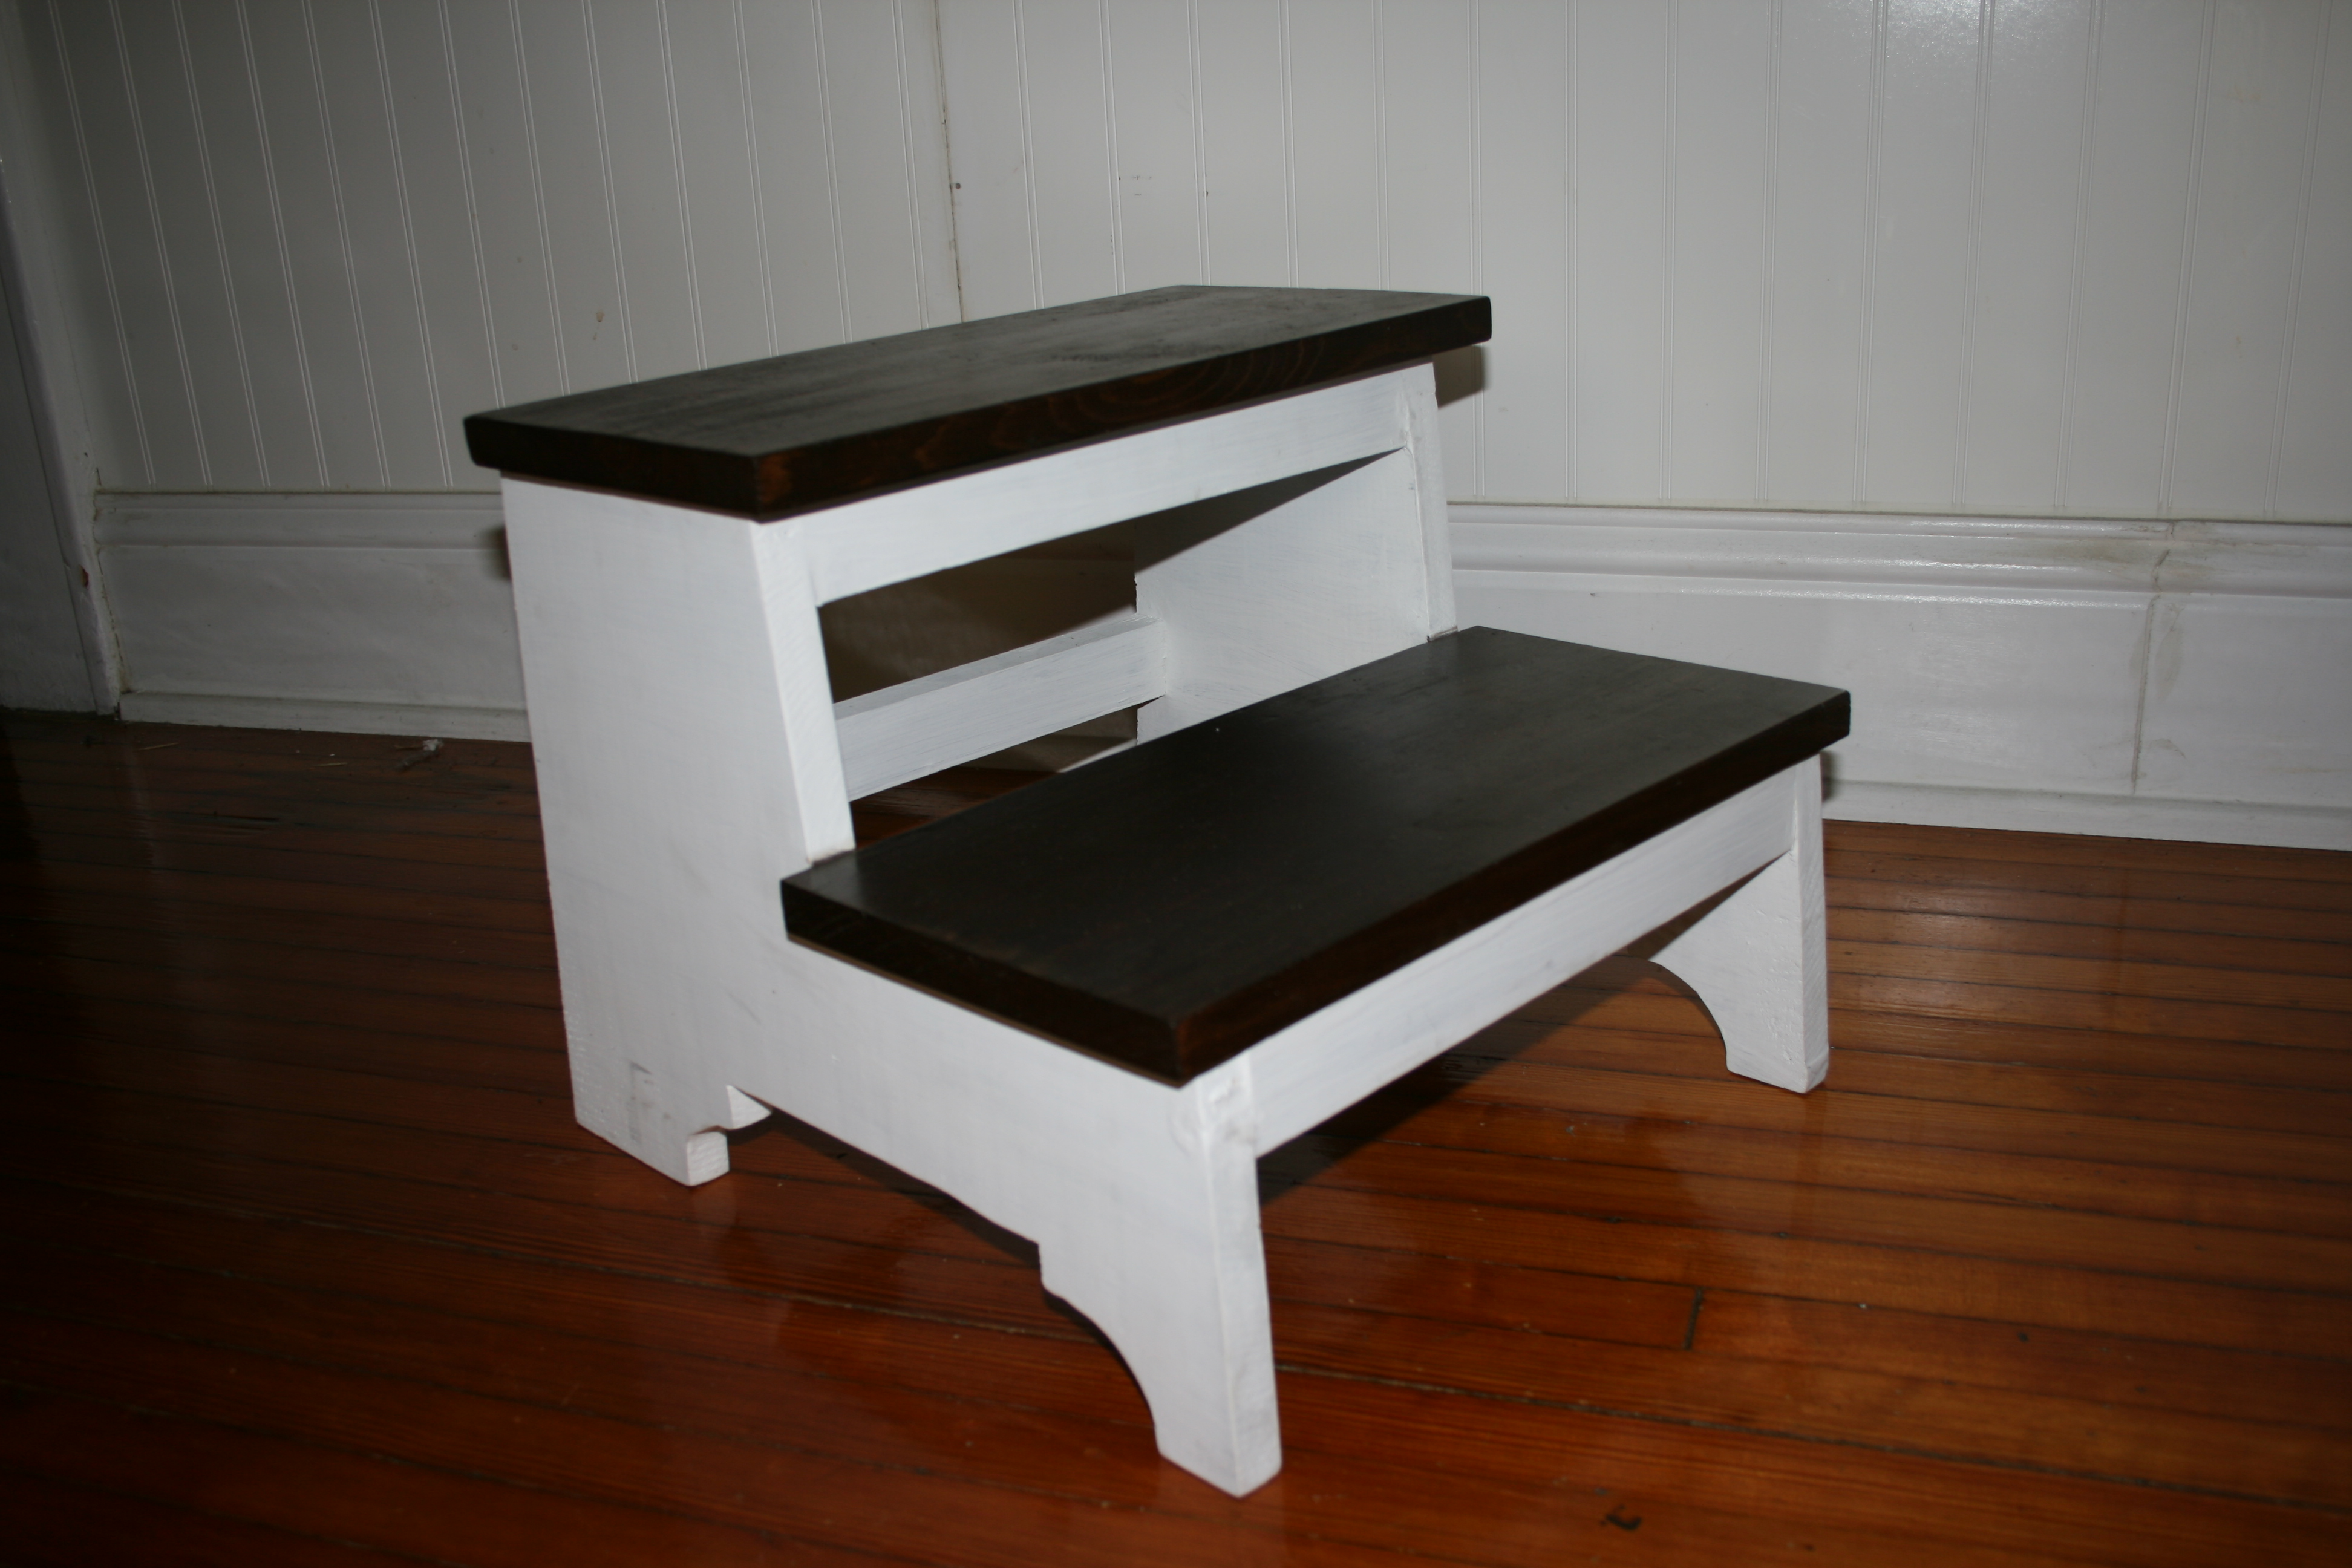
Community Brag Posts

Rustic X Console Table With Twigging

Submitted by markman57 on Mon, 09/21/2015 - 08:44

Followed the original plan but substituted branches from an oak tree for the X brace to give it a more "Adirondack" look.  Geneously sprayed the branches with a clear polyurethane coating to seal the bark.

Built from Plan(s)
Estimated Time Investment
Week Long Project (20 Hours or More)
Finish Used
Zar Golden Oak oil based finish
Recommended Skill Level
Intermediate

Wooden Play Toy Grill

Submitted by zeuss0101 on Sat, 09/15/2018 - 17:35

Enjoyed building this with my son.  Thank you Ana.

Estimated Cost
About $25
Estimated Time Investment
Afternoon Project (3-6 Hours)
Recommended Skill Level
Intermediate

Camp Loft Bed with Stair, Junior Height

Submitted by Anonymous (not verified) on Wed, 06/08/2022 - 15:46

Pretty straightforward project. I didn't end up making the base due to lack of space and time. The hardest part for me was staining as depending on the medium semi-transparent etc... and how you apply it brush or gun etc... can change how it turns out. I used dark walnut i believe and only 1 coat and to me it was plenty rich. pretty sure it was semi transparent. I like how it's a loft bed and gives kid more sqft for their room. it is somewhat shaky but not horrible probably due to lack of base. I will probably add some cross members for support.

Comments

Simple Modern Desk

Submitted by lilred02 on Sun, 07/17/2011 - 18:01

Built this a little smaller - only 15" deep and 42" wide for use behind the couch with multiple functions - laptop desk, dining room buffet table, and behind-the-couch-set-things-on table. Love it!

Tricky parts - the drawers. Because I changed the dimensions, I built the drawer box to fit my new dimensions and installed it. Then, I cut the sides of my drawers 10" deep (the smallest drawer slides I could find and a perfect fit). I laid the Hettich ball bearing drawer slides (from my local lumber and cabinet supplier, not big box) in the drawer box and trimmed down my drawer front/back until they fit nicely. If you're interested, it was 15 1/8" wide.

Nail gun is a must on this project!!! And remember to glue and use 2" nails.

I used the Kreg jig to build my drawers because I'm familiar with building drawers that way and feel comfortable getting them squared. I highly recommend the Kreg jig!

Then, I attacked it with my orbital sander until it was nice and smooth.

Love Ana's great patterns!

Built from Plan(s)
Estimated Cost
$85
Estimated Time Investment
Day Project (6-9 Hours)
Finish Used
lots of sanding, vacuum, wipe with microfiber cloth, spray primer, sand, vacuum, wipe, paint, sand, wipe, poly to finish. Use sponge brush to avoid brush strokes.
Recommended Skill Level
Beginner

Comments

simplyelle

Sat, 06/22/2013 - 13:34

I've been looking for a post with dimensions more similar to my sketch and found yours. Thanks! I must say that I'm a bit puzzled with how to attack my drawers. My table's dimensions being 44Lx16D. I am in desperate need of a comp table to fit along a short wall, but need it to be functional, hence the need for drawers. Were your drawer dimensions limited to the length of the drawer slides you found? If possible, I'd like my drawers deeper. However, I'm open to one longer, less complicated, drawer as well, lol. I'm curious. Help!

Master Bedroom

Submitted by fanofana on Tue, 08/20/2013 - 14:09

After living in the basement with our young children for the first few years after moving into our new home, we were ready to claim the master bedroom on the main level. We made it a winter project and re-did the whole room (good-bye lavender walls). We made the headboard from Ana's "Reclaimed Headboard" plans and one of the night stands from the "Kentwood Nightstand" plans! We love the final look and saved ourselves a TON of cash in the process.

Estimated Time Investment
Week Long Project (20 Hours or More)
Finish Used
I went for an aged look by painting them, stripping most of the paint off leaving a little white, then used a vinegar/steel wool solution to get the aged effect. The technique I used can be found at the following link http://beingbrook.com/rustic-headboard-aged-wood/
Recommended Skill Level
Beginner

Potting bench from recycled materials

Submitted by Anonymous (not verified) on Wed, 06/22/2022 - 07:42

I used recycled materials for my potting table. The boards for the front and back legs I found from a factory's dumpster. Side aprons are from boards I saved when we took down a wall in our home. The boards were a part of the wall's frame. All the boards for the worktop, back wall and the lower shelf came from the dumpster of a company selling plastic sewer pipes. They used to be frames holding together the bunches of pipes during transport from factory to the store. And lastly, the board for the little shelf used to be part of the structure holding up the tarp over a freight truck's freight space.

I've only built raised beds and crude shelves for seedlings up until this project. This was my first more complex project. And the first with which I had to follow a plan. Due to my materials being differently sized than in the project plan, I had to make some adjustments along the way. My husband helped me to make sense of the instructions and also helped when I needed another pair of hands to keep parts still while drilling.

The biggest setback during the project was the board for the small shelf splintering while drilling it into place. It splintered even though we pre-drilled holes for the screws to go into especially to prevent splintering. I made another board and that one we secured in place with small corner braces which worked better.

Thank you Ana for the project plan. Here in Finland potting tables like these are not common and they are not sold anywhere. I've dreamt of one for 15 years and now, finally, I made my dream home true with your help.

Best wishes,
Aija

Comments

Corner Cabinet Storage Shelf

Submitted by sssmile14 on Sun, 07/24/2011 - 19:32

We built this corner cabinet shelf in three days (only because it is over 100 degrees here, so we had to wait until 9:00 at night to work on it) for our office space. We love, love, love it and can't believe how nice my corner cabinet turned out. Only our second building project ever. :)


Built from Plan(s)
Estimated Cost
80.00
Estimated Time Investment
Afternoon Project (3-6 Hours)
Finish Used
Kilz Satin Paint- Black
Recommended Skill Level
Starter Project

Comments

kellerkb

Mon, 06/03/2013 - 21:20

Hello, I would appreciate help finding the plans for this project! Thanks!

cerberus456

Tue, 08/02/2016 - 14:54

I do cedar. Thank you very much for the drawings. This site is to become one of my favorites.

Greetings from Xalapa Veracruz Mexico


Adirondack Chair in Pine

This Adirondack chair was done in pine. I followed Ana's plan, with only one modification ... went with a wider armrest. I thought the wider armrest would be handy for resting a drink.

Estimated Time Investment
Weekend Project (10-20 Hours)
Finish Used
Haven't finished it yet, but have selected Minwax Puritan Pine 218, followed by a urethane finish.
Recommended Skill Level
Beginner

stuffed animal problem

Submitted by bhoppy on Sat, 10/03/2015 - 14:36

There were a few of these floating around pinterest so I just looked at a few pictures and kinda winged it.  It is made almost just like Jamie’s except I used additional 2x2’s as you can see in the pics… I needed something to thread the bungee cords through.  I tied them off on the top and bottom.  I ordered a roll of pink bungee cord off of amazon.  This is actually two years old as you can see from how much it has filled up.  I also went back and added additional rows of bungee cord between all the others as stuffed animals were falling out.  Again, I winged it.  Having plans will make this build much easier!!

Built from Plan(s)
Estimated Cost
$50
Estimated Time Investment
Weekend Project (10-20 Hours)
Finish Used
primed with kilz and satin white paint I already had
Recommended Skill Level
Starter Project

Comments

mrsloveless

Mon, 01/18/2016 - 13:19

Where did you purchase the 2x2's and 1x3's? Are they furring strips or pressure treated lumber? Thanks!

Easy Workshop Workbench

Submitted by Anonymous (not verified) on Fri, 07/01/2022 - 04:21

Great plan and great instructions (especially the cuts). My only two deviations from the original design were to use carriage bolts to secure the long apron pieces to the legs (I like to have the bench frame be more flexible while I add the components and then tighten everything up once all the pieces are in place) and to add adjustable feet (You might have stellar tradesmen up there, but down in the Pennsylvania woods, we tend to get the C & D graduates from Trade School; hence, level, evenness, & square are rare qualities to be celebrated when encountered and not taken for granted). My only other comment regarding the instructions would be to mention in the tools required that either a big honking set of clamps (36" span) or maybe ratcheting straps would be a good thing to hold the shell together while you are trying to screw the cross pieces into the shell. Maybe you are good enough to do it without clamps / straps , but I sure couldn't get the (slippery) glued cross pieces to stay put without some kind of support. Other than that, great design and instructions. Thanks!

My "Heck- I'll give it a go" Altered Farmhouse Table

Submitted by snabowne on Thu, 07/28/2011 - 21:03

Our kitchen table buggered out so I decided to give making one a try. This was my first project. With seriously low funds available- I asked around to family for scrap lumber. Turns out the old lumber in the barn was black walnut! I had to plane and join it by hand so it took quite a bit longer to make.
I made the table one foot shorter and one foot wider. It seats 6 comfortably on the sides. Thank you so much for the plans!

Built from Plan(s)
Estimated Cost
$65.00 (but the walnut top I got for free).
Estimated Time Investment
Week Long Project (20 Hours or More)
Finish Used
Outdoor Polyurethane
Recommended Skill Level
Beginner

Comments

Cassidy Bed Works Well with a Sleep Number Platform

My husband and I bought our California king Sleep Number bed several years after we bought our solid wood bedroom furniture and it was too big to use with the bed that came with our dressers. After our most recent move, I decided I would have to finally part with the dressers in order to have a bedroom set that matches, which was hard because I love the simple, classic style of the dressers. Then I found this site and the plans for the Cassidy bed.

To make the Cassidy bed work for us, I extended height of the side rails and footboard to the floor so that our little dog could not hide under the bed when it was time for her to go into her kennel. That means I had to buy two sheets of plywood, one for the headboard to be cut from and one for the footboard to be cut from, and I bought 1x16s instead of 1x12s for the side rails. I also adapted the entire dimensions of the bed so that it fits around the plastic platform of our Sleep number bed, so we did not need to use the 2x4 slats. In fact, we did not use any of the 2x4s in the plan. The side rails are hung on the scrap lengths of the plywood. Finally, we did not decorate the headboard with door shims.

In the end, the bed is incredibly solid and beautiful. Afterword, I finished it to match our dressers, which I had stripped, as well.

Built from Plan(s)
Estimated Cost
$450
Estimated Time Investment
Week Long Project (20 Hours or More)
Finish Used
Three coats of Minwax Red Walnut and three coats of Minwax Polyurethane (Satin)
Recommended Skill Level
Intermediate

Comments

Farmhouse Bedside (actually entry) Table

Submitted by canterbc on Wed, 10/24/2018 - 16:04

I needed an entry table and when I saw this plan for a bedside table I knew with just a couple of size modifications it would be perfect for me. It is a little taller and wider that Ana's plans, but other than that is true to her design. Couldn't be happier with the new table!

Built from Plan(s)
Estimated Cost
Around $100, maybe a bit more. Higher cost is because I used Poplar. This plan can definitely be done for less if you use regular pine.
Estimated Time Investment
Day Project (6-9 Hours)
Finish Used
I painted the base with Valspar Signature in satin Blanched Pine, one of the 10,000 shades of white. For the bottom shelf and the top, I picked the darkest pieces of Poplar I could find and just used Minwax satin polyurethane on them.
Recommended Skill Level
Intermediate

Slightly modified coffee table

Submitted by Anonymous (not verified) on Mon, 07/11/2022 - 07:59

Table, based on Farmhouse coffee table project. Resized to roughly picnic table dimensions (1200*700 mm, 650 mm high), mostly as a means to recycle board cuttings, left over from building farmhouse itself. Didn't install X shaped sides, because there were no more suitable timbers remaining, which, it appears, my toddler greatly appreciated - bottom shelf makes a lovely crawl space. Shape of the shelf planks was a happy accident: what remained was sized 250 - 200 - 150 - 200 - 250 mm. Looks kinda nice doesn't it?

Comments

The 5 Shelf using 1x8 &1x12 scraps

I wanted to make something using the plethora of scraps in my garage. I ended up making this shelf that calls for 1x6 pieces with 1x8's and I didn't even have enough for that so I cut down some 1x12 pieces and used those too. The long part of the shelf is actually two pieces screwed together using pocket holes. Check out my blog for more on this project!

Built from Plan(s)
Estimated Time Investment
Day Project (6-9 Hours)
Finish Used
Krylon Satin Black Spray Paint.
Recommended Skill Level
Beginner

Comments

Outdoor Sectional with Corner Pieces

Submitted by unotrainer on Tue, 08/27/2013 - 09:51

We used 2x4s instead of 1x4s to make it more sturdy. We had to adjust some cuts accordingly. I bought the cushions at Target on clearance.

Estimated Cost
$250 with cushions
Estimated Time Investment
Week Long Project (20 Hours or More)
Finish Used
Valspar paint
Recommended Skill Level
Intermediate

Scrap Wood Barn Door

Submitted by milleall on Mon, 10/12/2015 - 07:31

I am finally getting around to the final touches on the home we built.  I have a small pocket office that needed a sliding barn door.  I build this door out of 3/4 inch plywood framed with 1x2 oak boards.  I added planks of scrap plywood, 1x boards, and pallet wood.   I added some different colors to make for a fun industrial/modern look.  I made the barn door track out of steel purchased at a local metal shop and wooden wheels purchased online.  

Estimated Time Investment
Weekend Project (10-20 Hours)
Finish Used
Different colors of diy chalk paint (flat paint with water and plaster of paris), various stain colors, and triple thick satin poly.
Recommended Skill Level
Intermediate

Wood Tilt Out Trash cabinet with storage

Submitted by bcarter_1 on Tue, 10/30/2018 - 04:47

Modified the plans, my can was shorter for the bathroom, so I added a drawer.

Estimated Time Investment
Weekend Project (10-20 Hours)
Finish Used
Rust-Oleum weathered grey stain
Recommended Skill Level
Beginner

Comments

Farmhouse kitchen island

Submitted by Anonymous (not verified) on Mon, 07/25/2022 - 20:39

I found plans on here for a farmhouse kitchen island. I built it for my wife. She loves it.

Built from Plan(s)

Comments

sofa for my "portico"

Submitted by pattyitaly on Thu, 08/29/2013 - 14:18

I exactly used Ana's project but I decided to paint light grey and I used for cushions denim jeans. It is really resistent and cool. grazie Ana

Estimated Time Investment
Weekend Project (10-20 Hours)
Recommended Skill Level
Starter Project

Comments

JoanneS

Fri, 08/30/2013 - 09:23

Your sofa looks super! Love the gray color. What a cool idea to use denim jeans for your cushions!