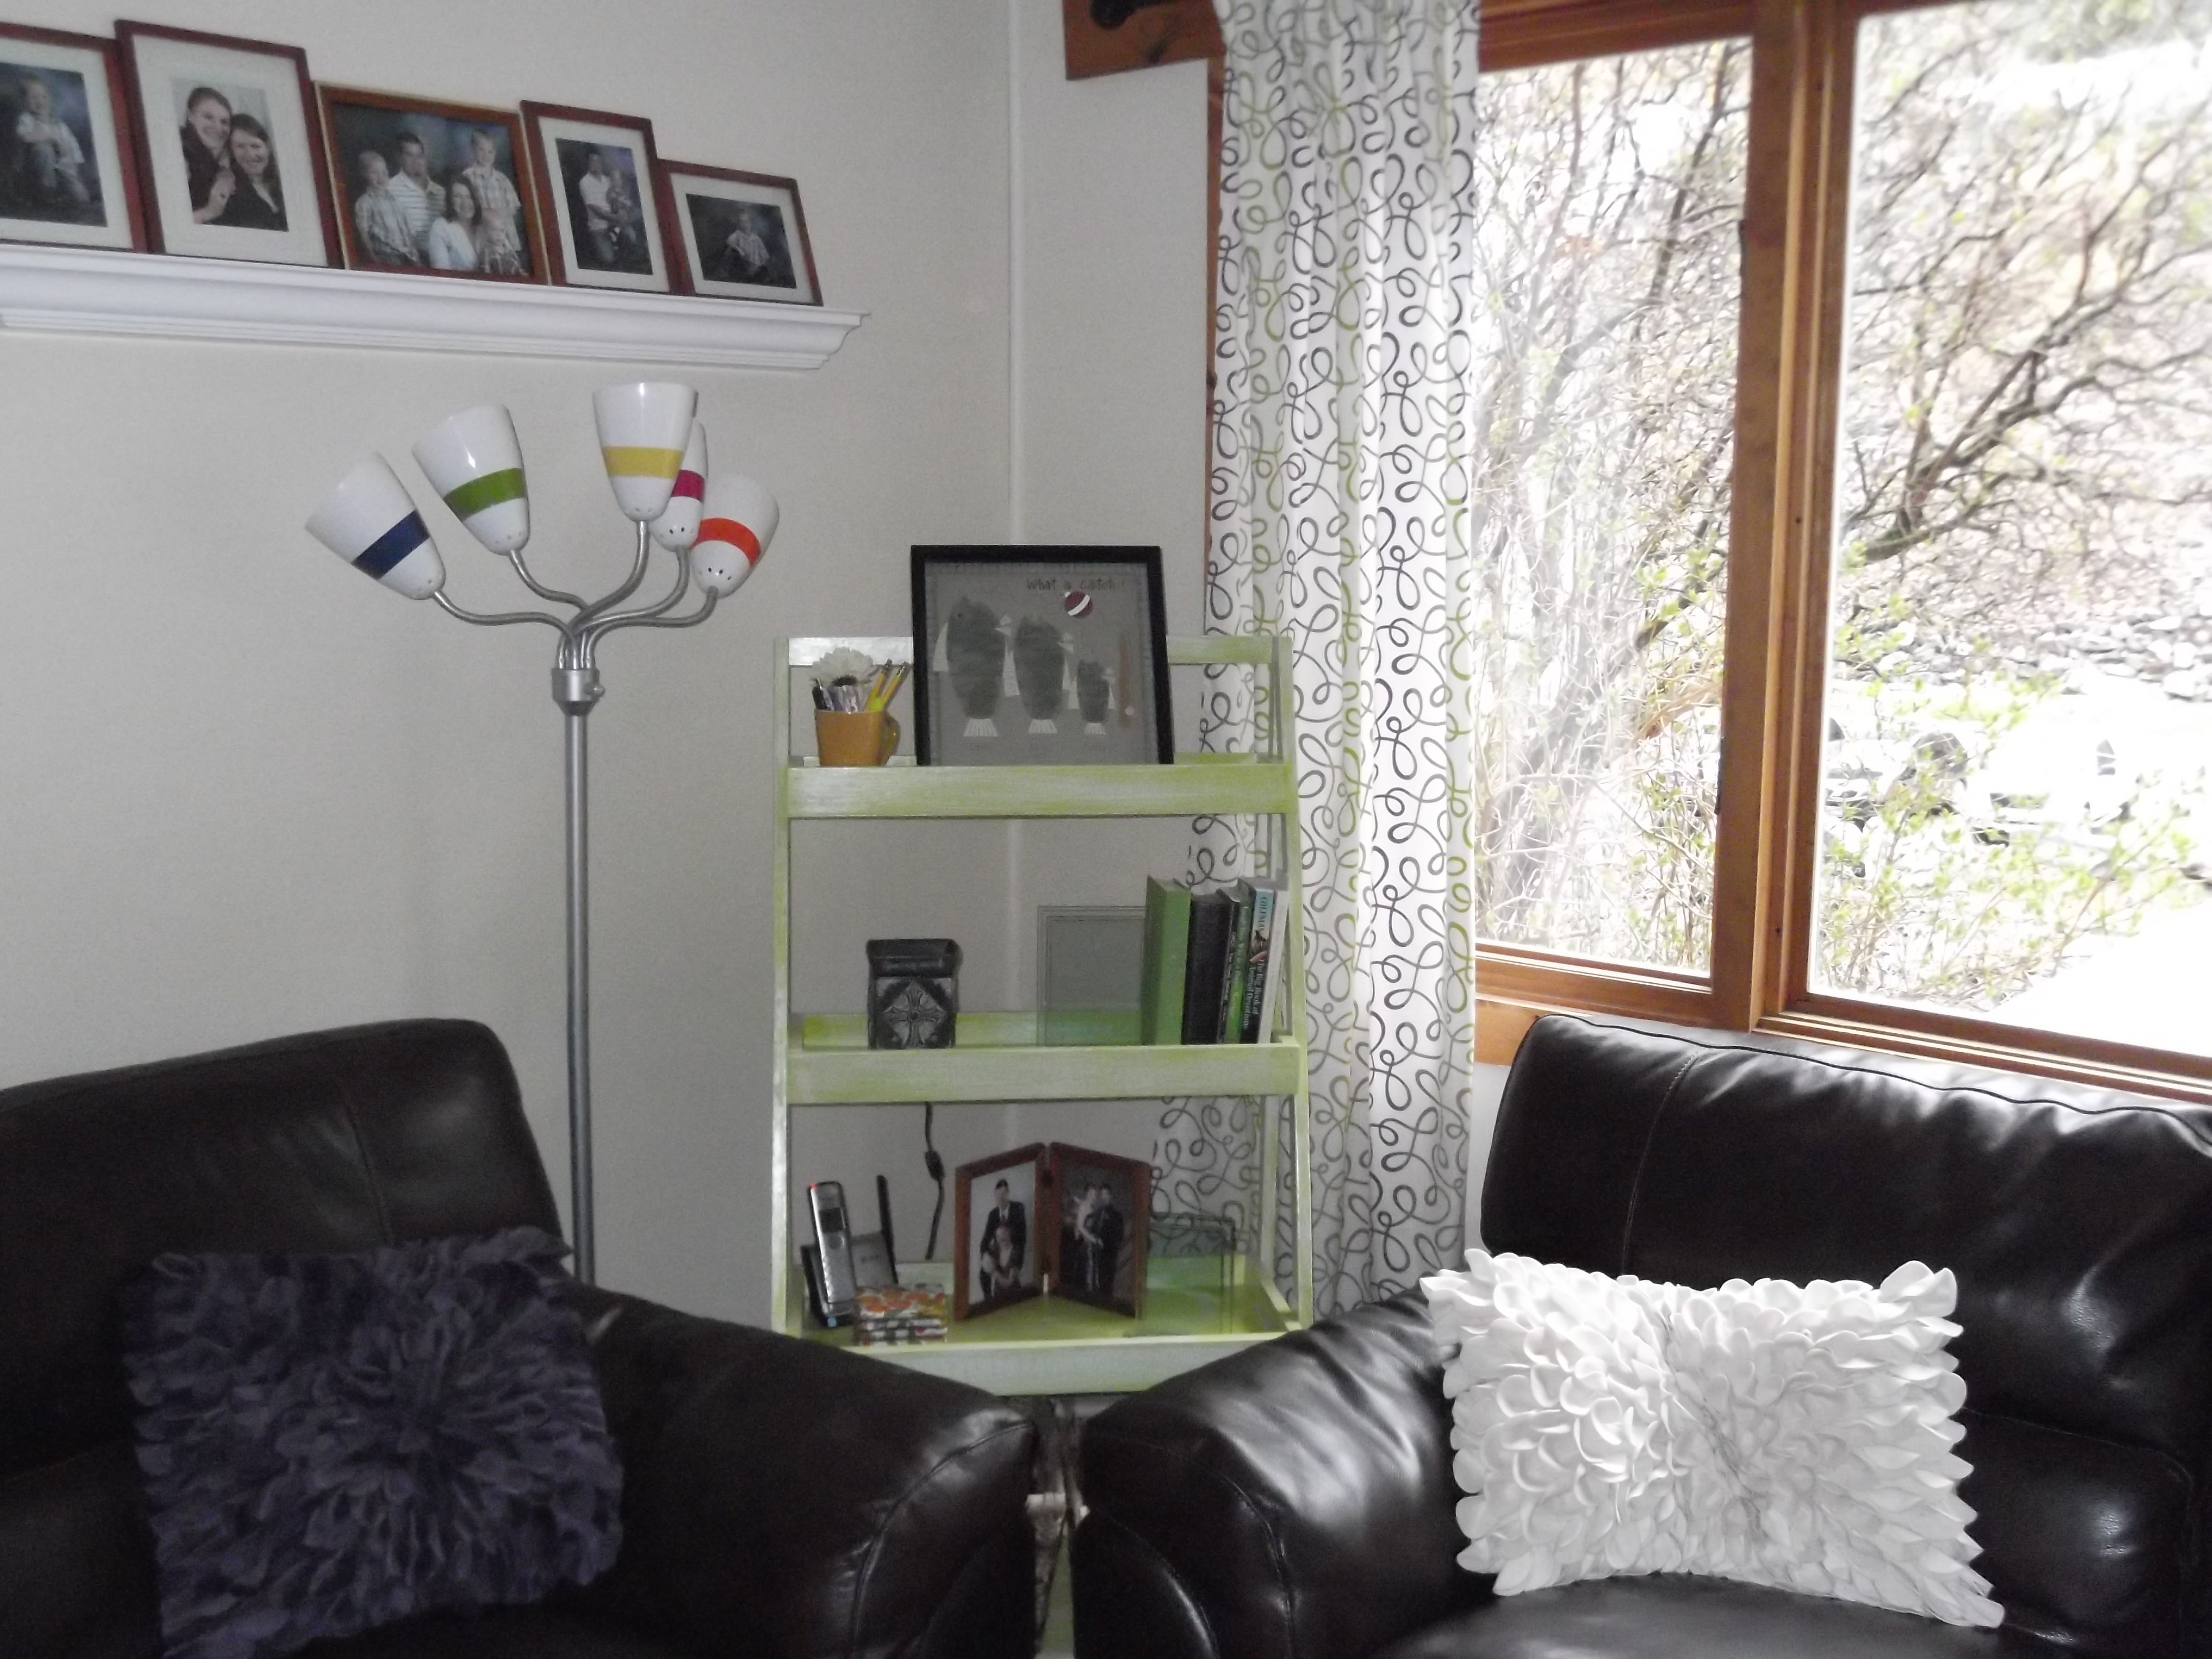
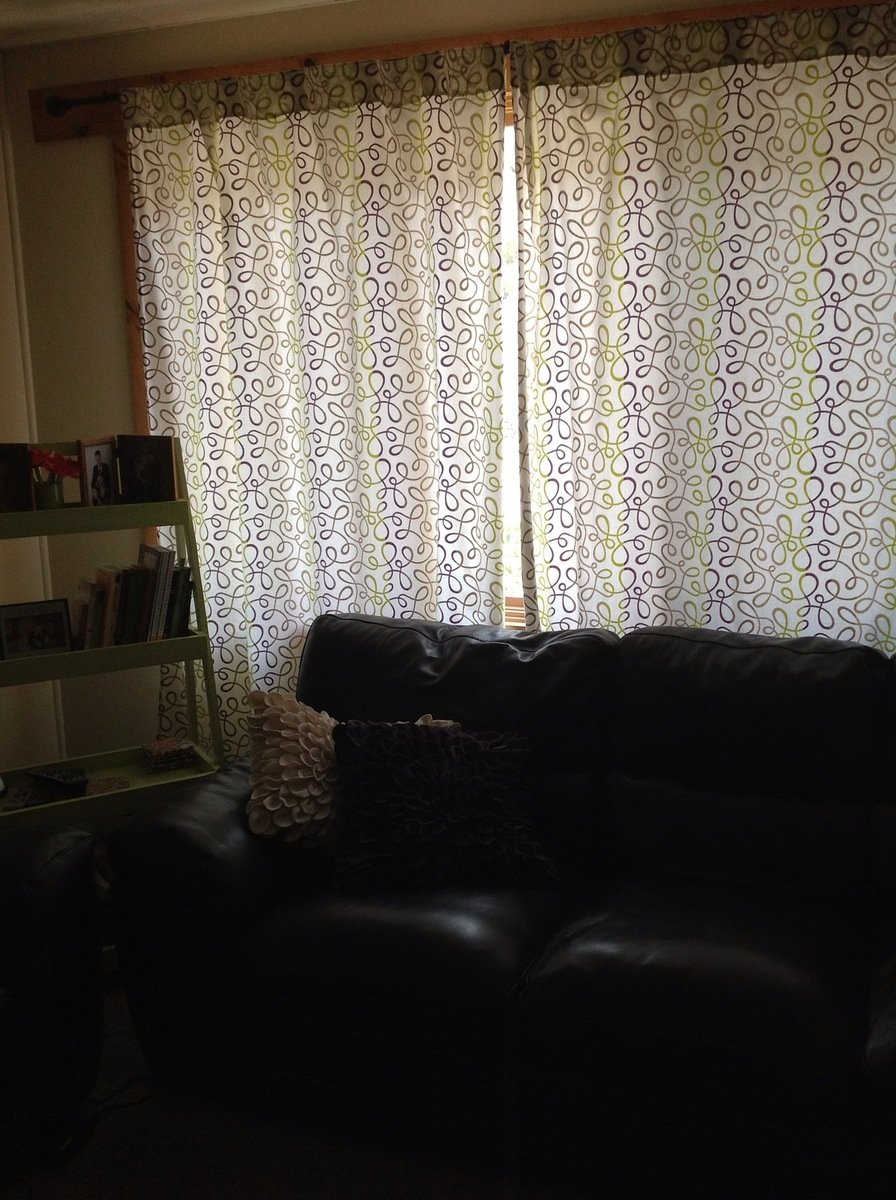
I just swooned when Ana posted her Tab-top curtain tutorial! I decided right then and there I'd be tackling all of the window treatment-less windows in my new home using her instructions. I'm no whiz on the sewing machine but I couldn't be happier with the way my curtains turned out!! No joke, if I can do this, so can you!!
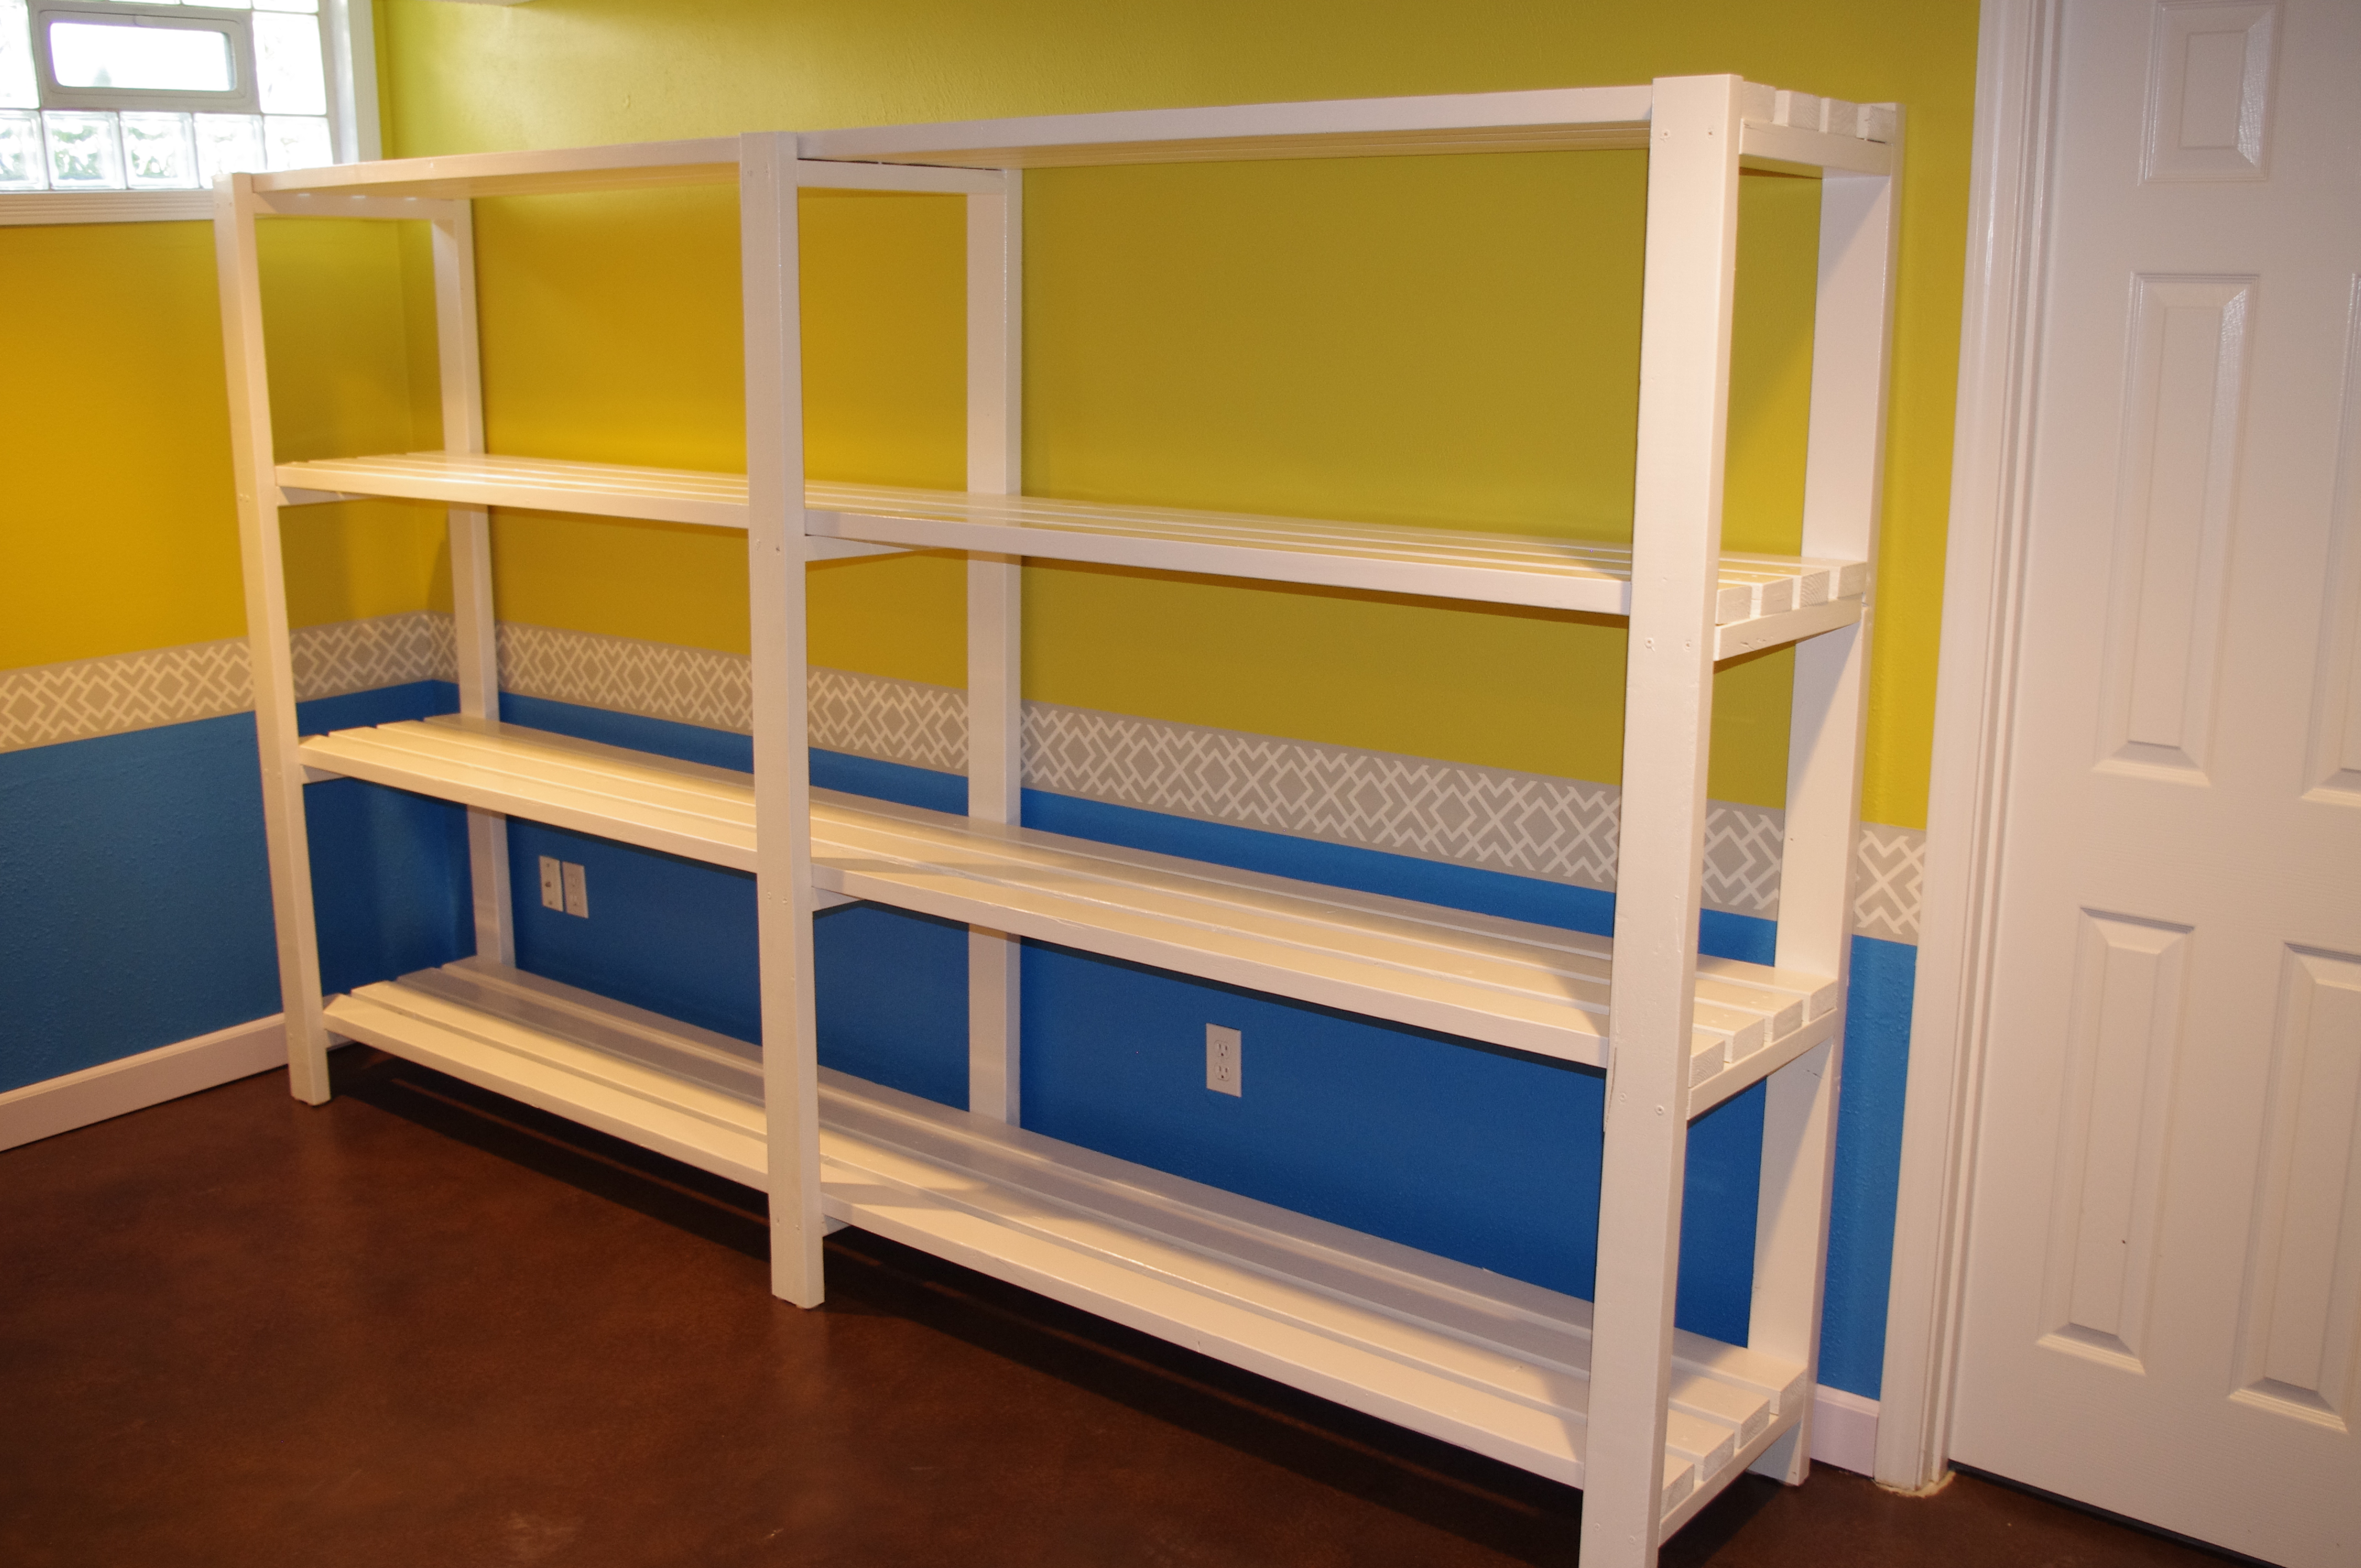
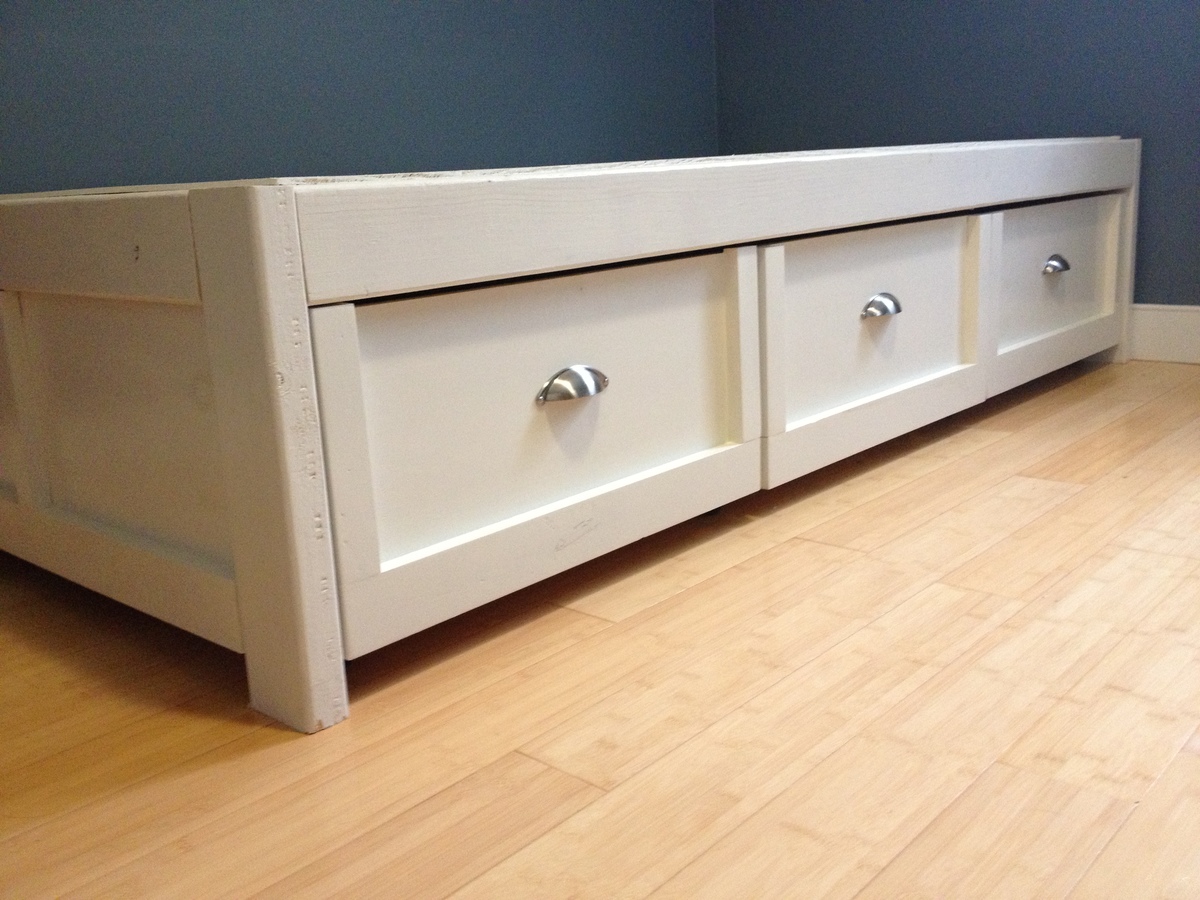
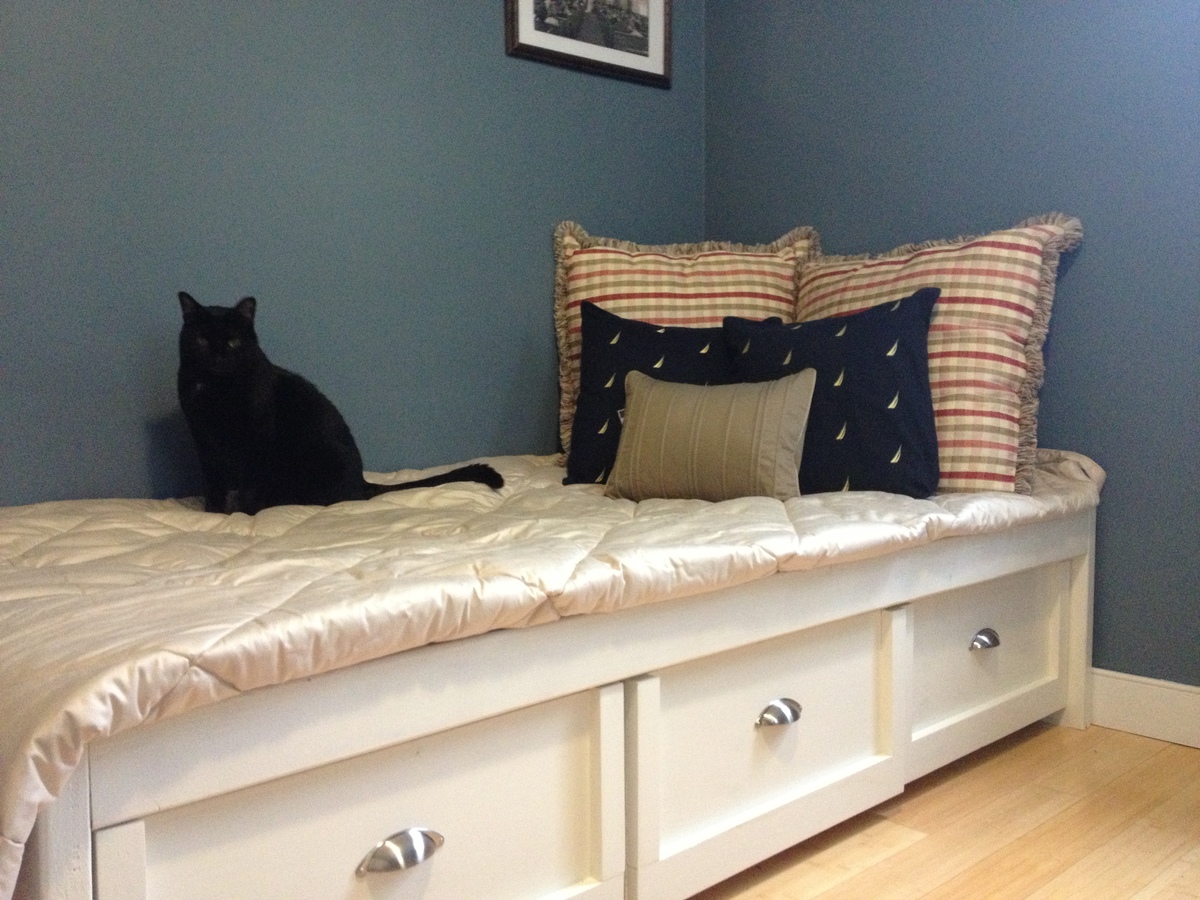
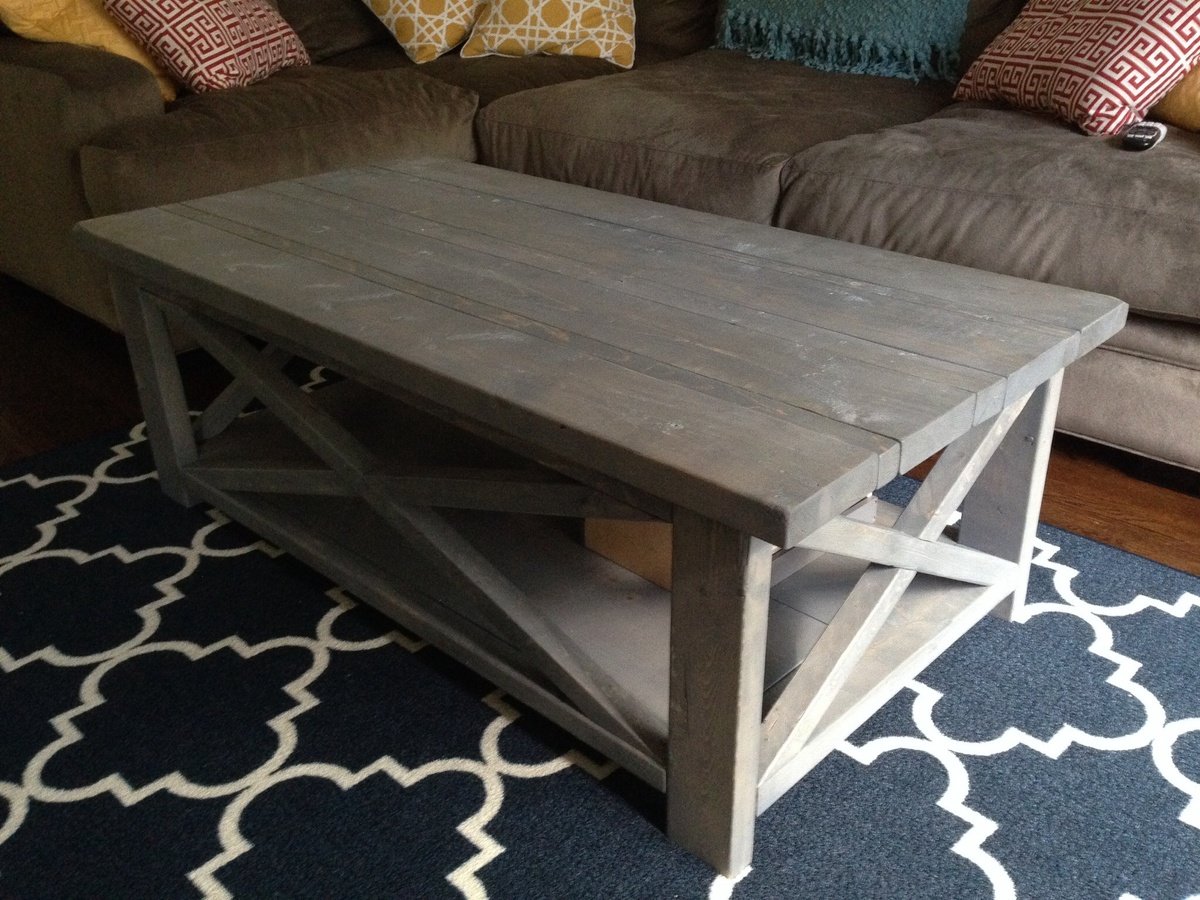
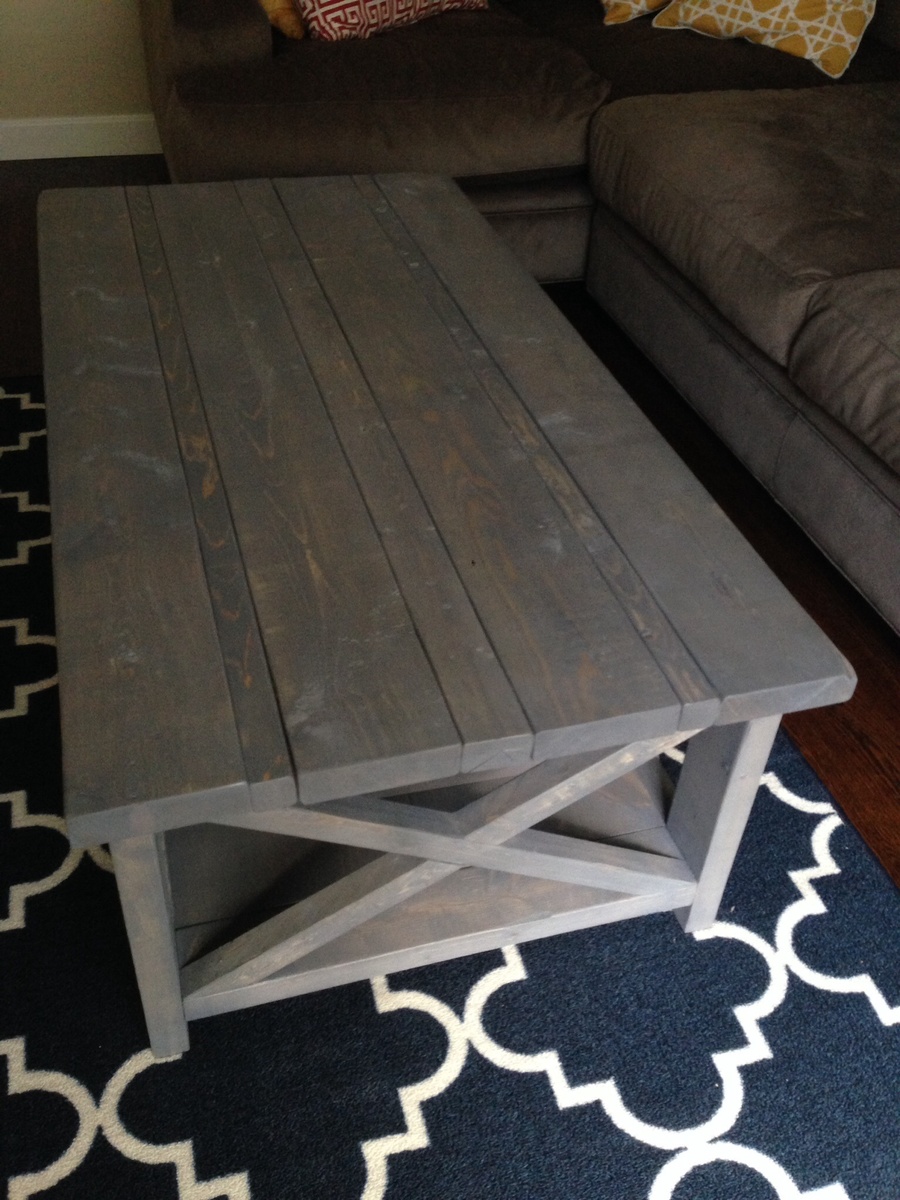
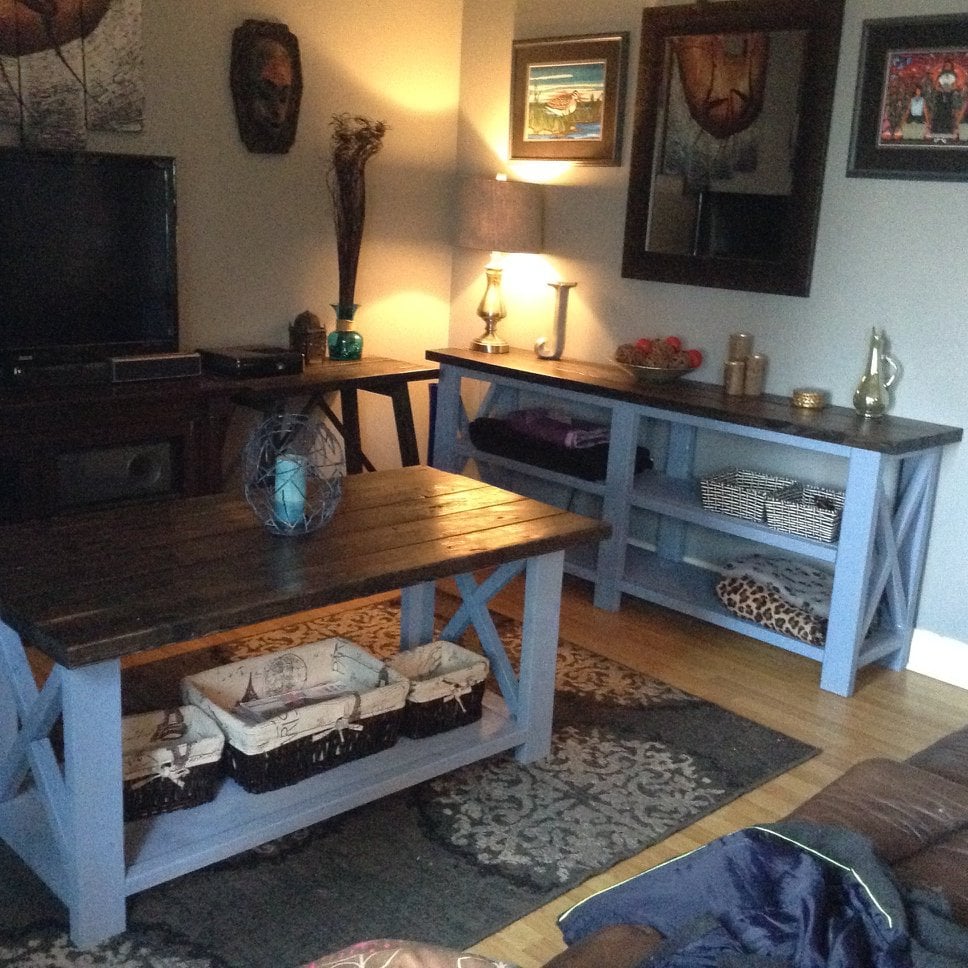
I made the green shelf in my living room all by myself a couple years ago from Ana's Painter's Ladder Shelf plans. :-) It used to be red but I refinished it to match the decorating scheme in my new house. I love how everywhere you look in my home you see some piece of furniture or project that came about as a direct result of finding and embracing Ana's DIY spirit!! My curtains are no exception. :-)
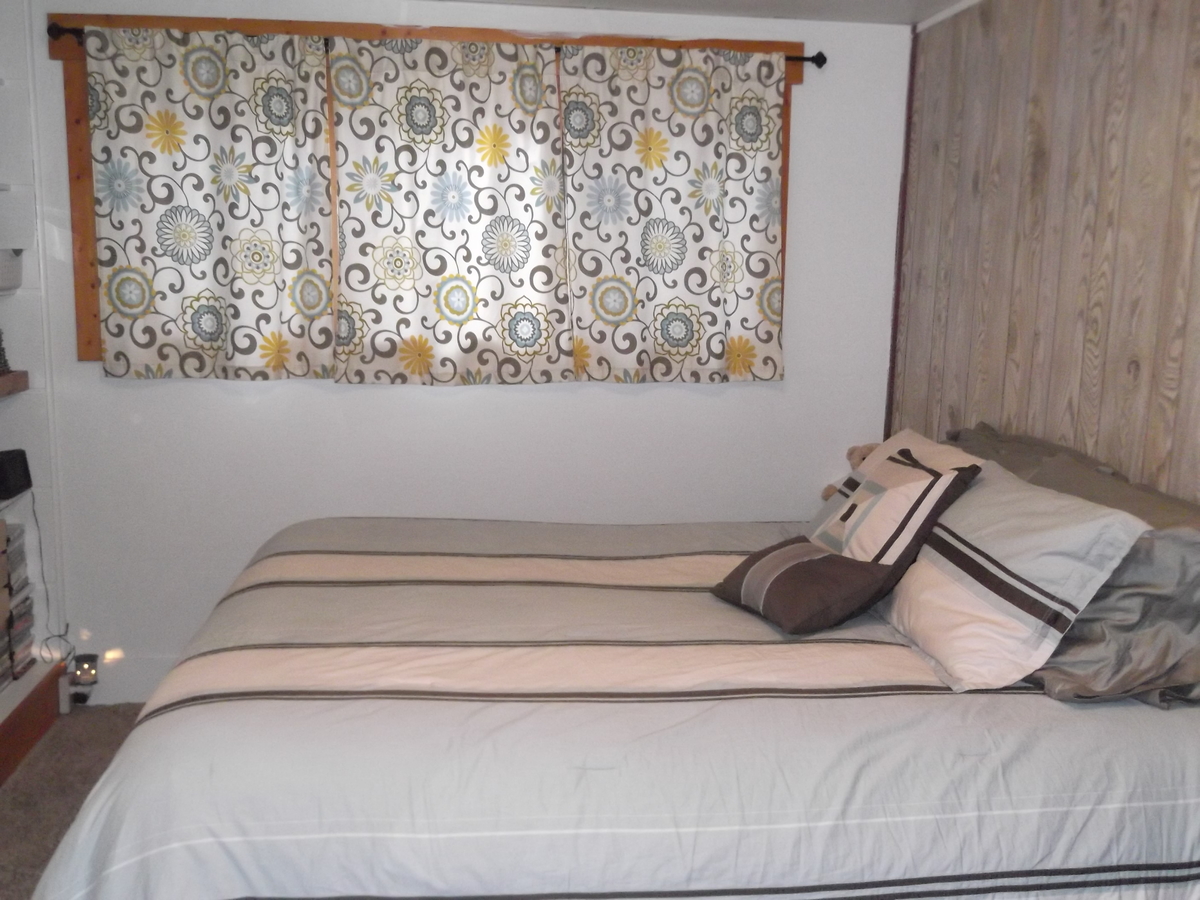
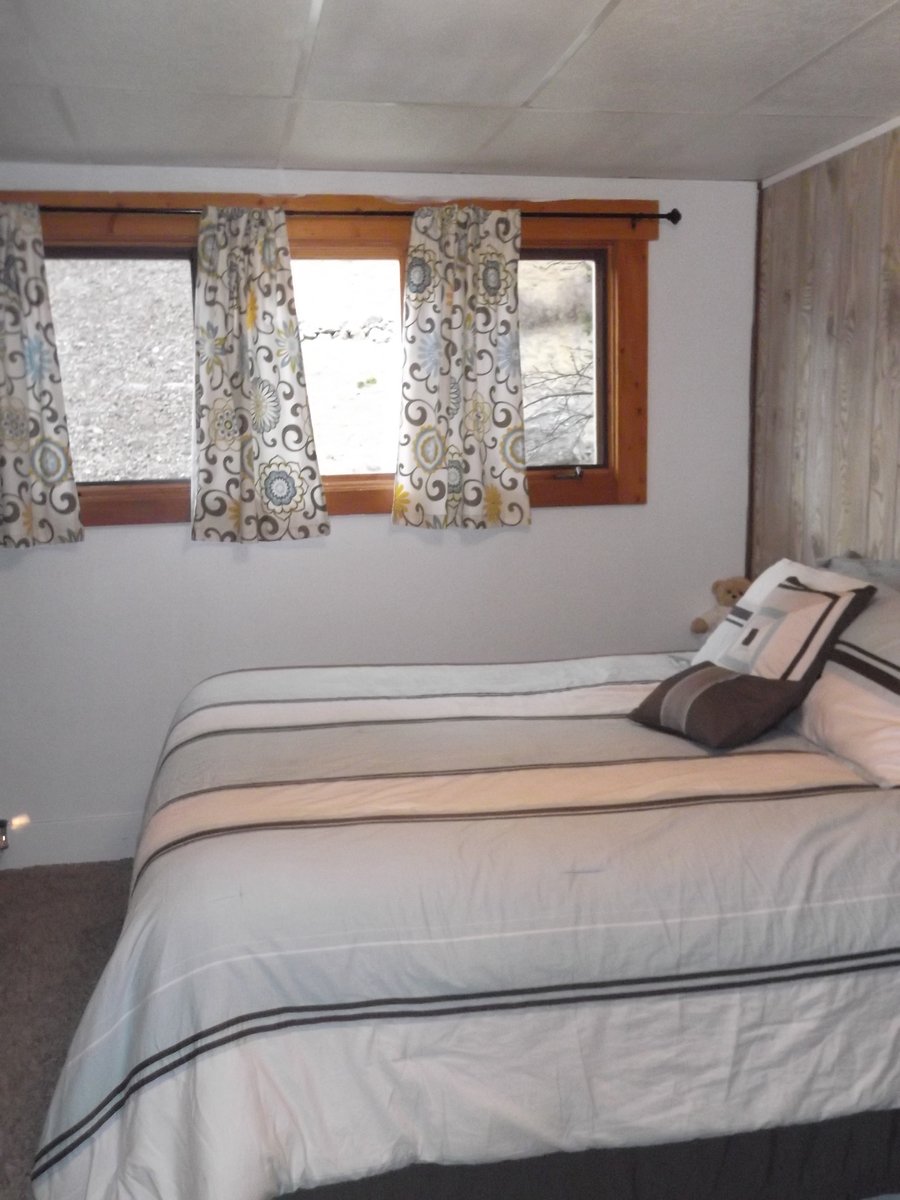
I've made the curtains for my living room and my bedroom, and I just started the set for my boys' bedroom tonight. I've gotten better with each set, and this third time around I'm pretty confident in what I'm doing. Lucky for my kids, they're going to get the best set, lol!
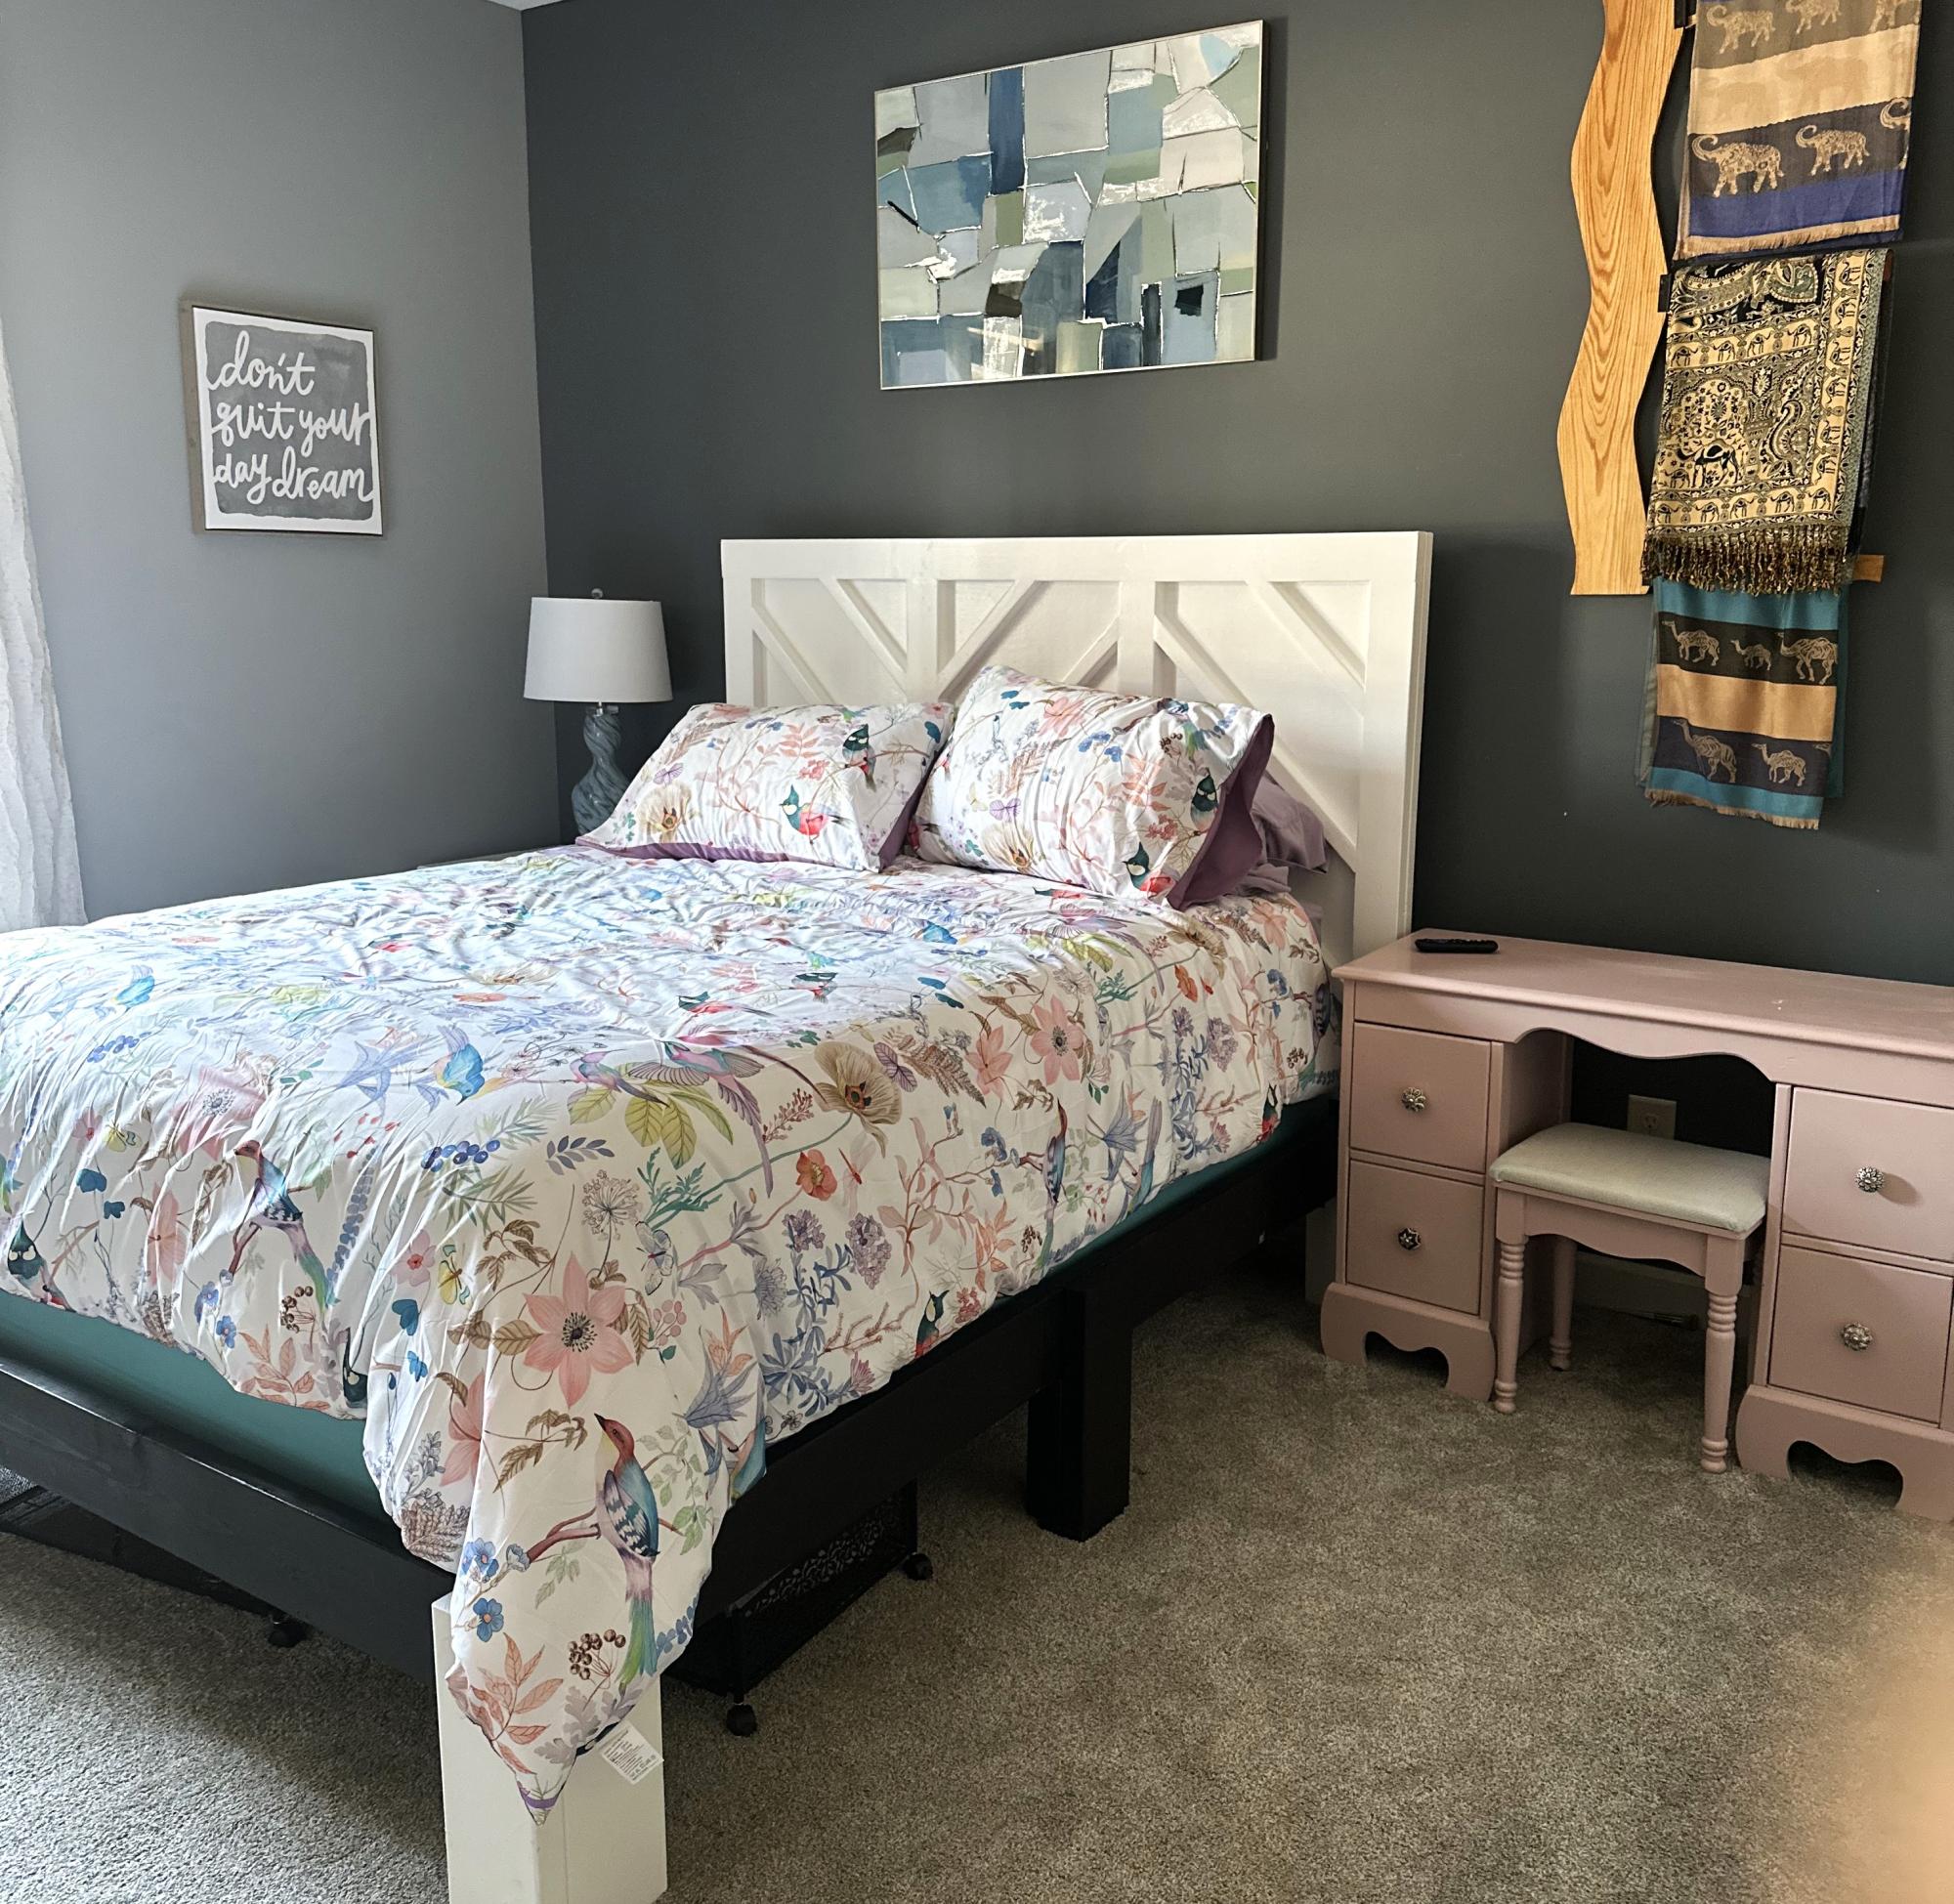
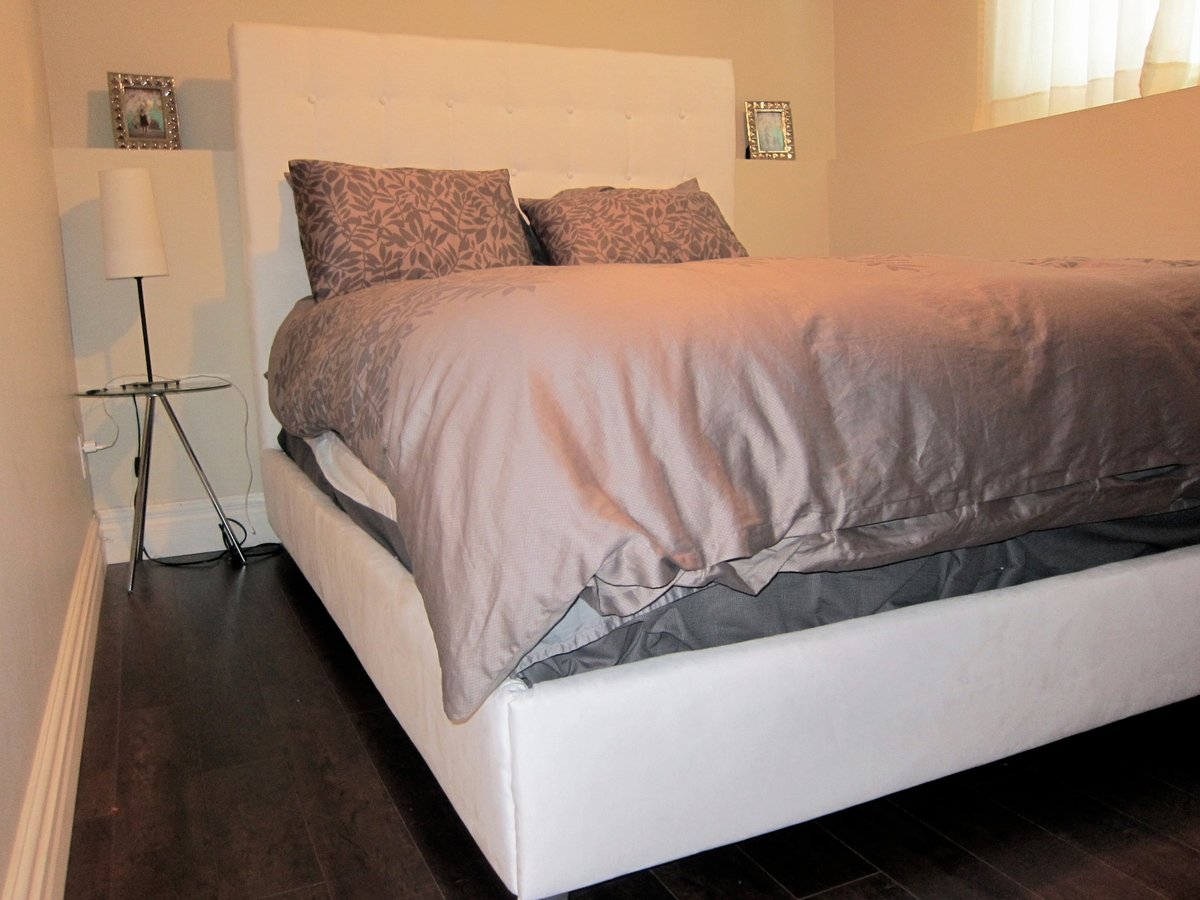
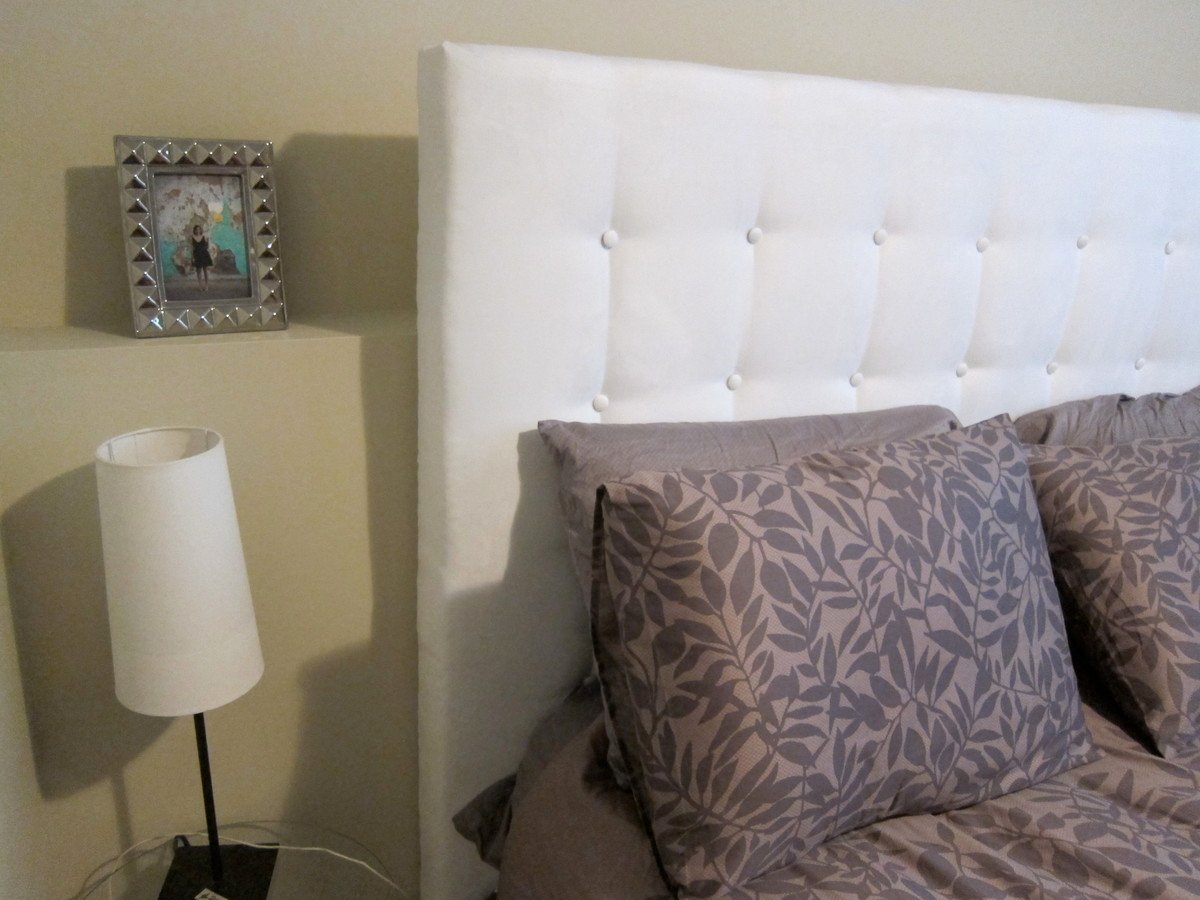
I'd already been agonizing over what to do for curtains in my bedroom and I fell instantly in love with the fabric Ana used for hers. I already had bedroom linens that would match perfectly so I went ahead and snagged a few yards. All three of the fabrics I've used have been in the Waverly Home Decor line. The patterns are fun and modern, the price is right, the quality is great and I've always been able to find the perfect design. I usually buy from Fabric.com as it tends to be cheaper once you search for readily available online coupons.
I've really enjoyed making my window treatments! I get to have exactly what I want, in a better quality for a better price than I would ever be able to find in a store. It takes me about a day to finish a set (or at least the first two did) and I have relished the excuse to watch girly movies or listen to music while I get these babies sewn. I've had my first two sets done for 4 & 6 months respectively and they still bring me such joy every day.....give it a try, you wont regret it!!


Comments
Ana White
Sat, 10/22/2016 - 09:43
Great job, that's amazing you
Great job, that's amazing you figured out how to get the materials through the tiny window! Thanks for sharing!