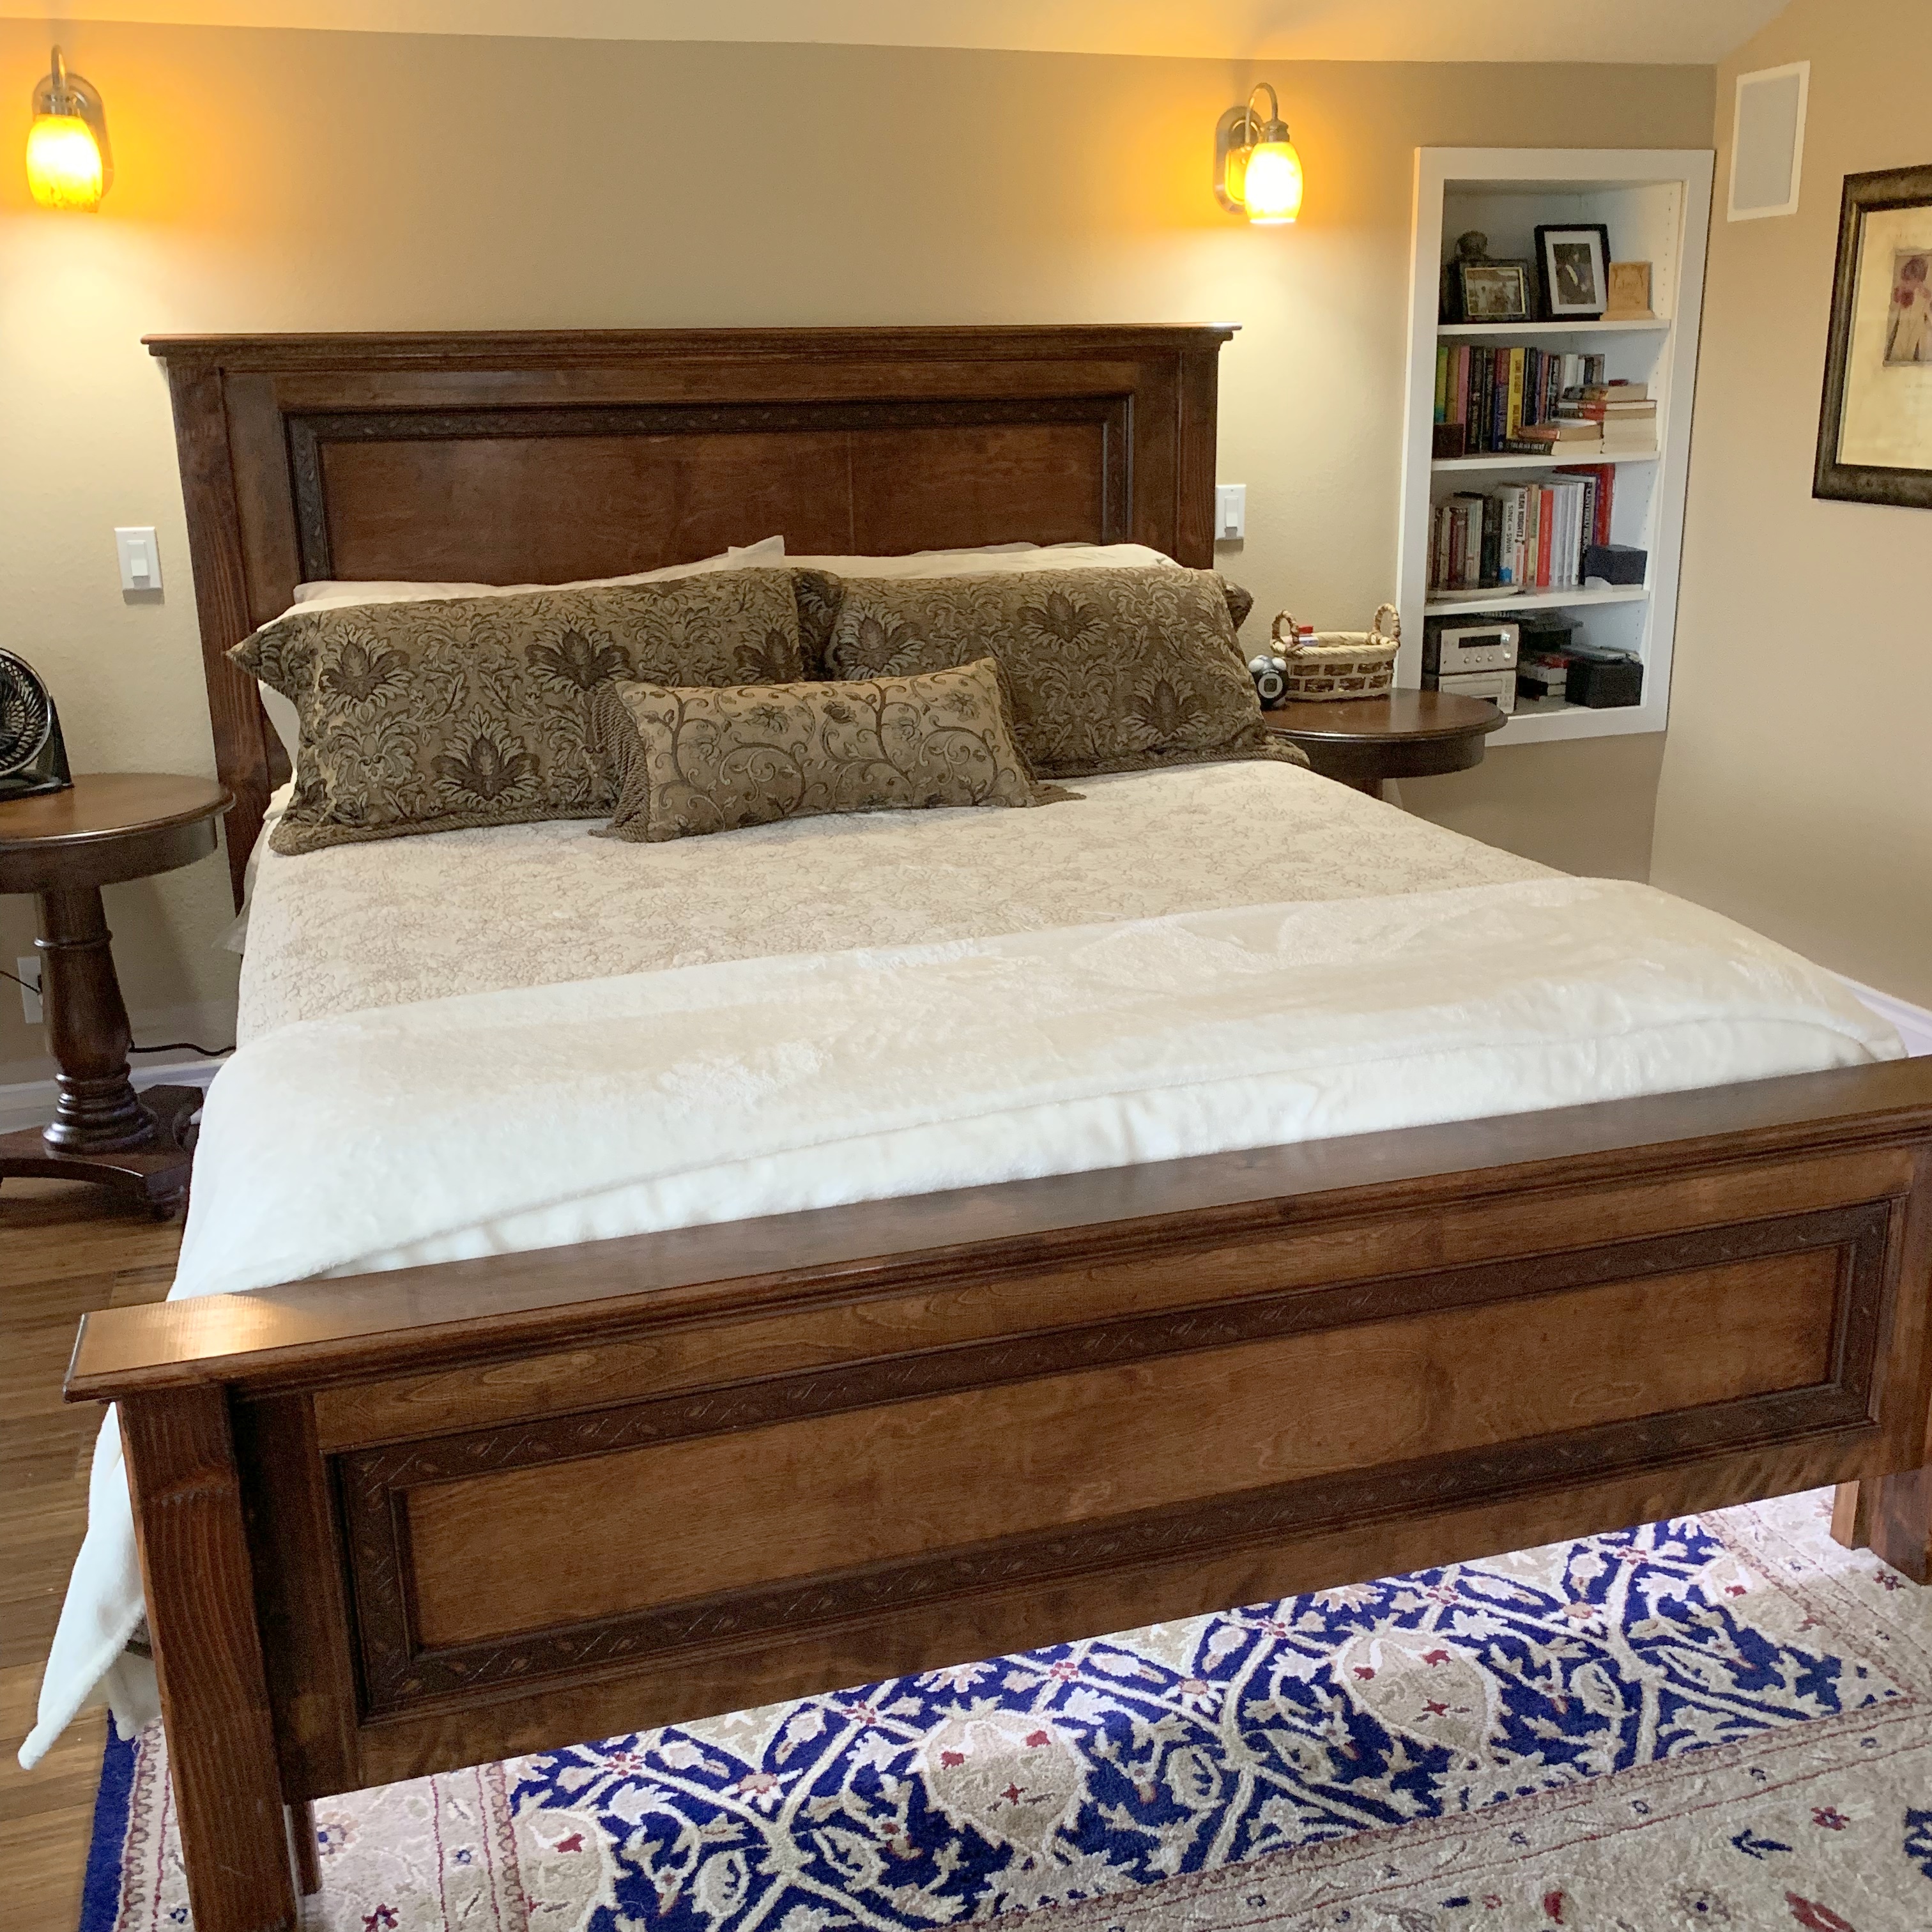
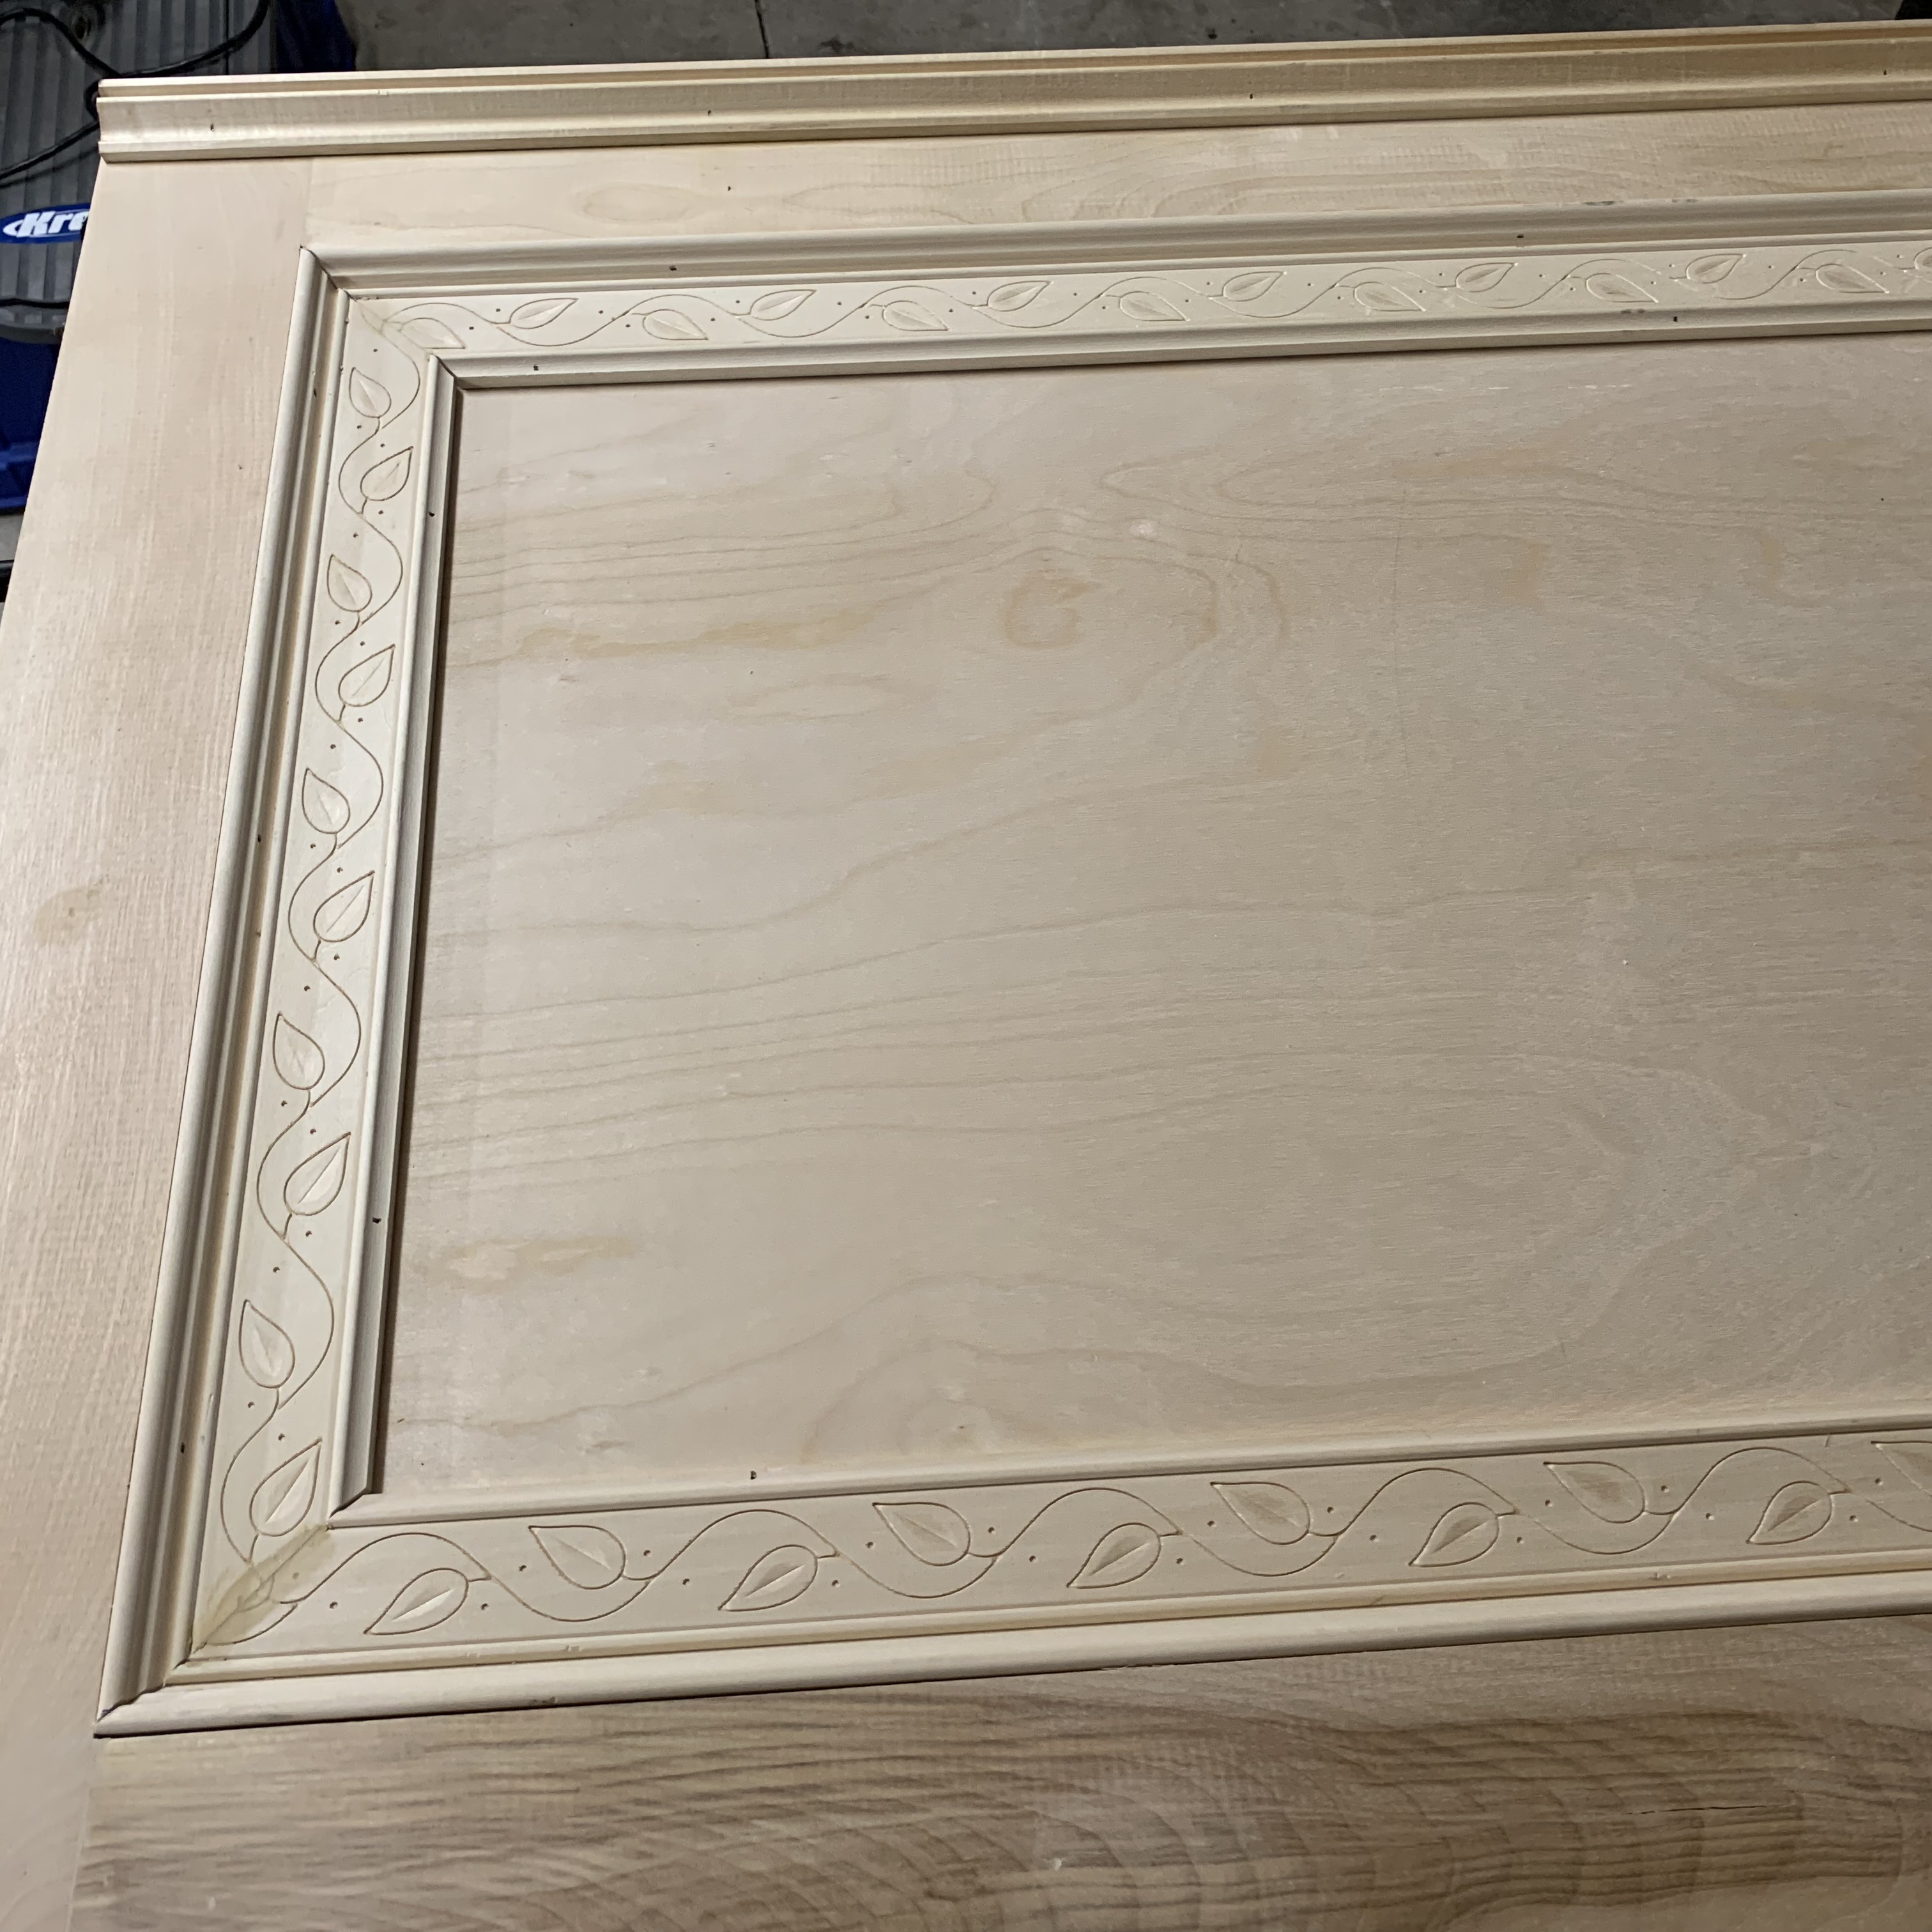
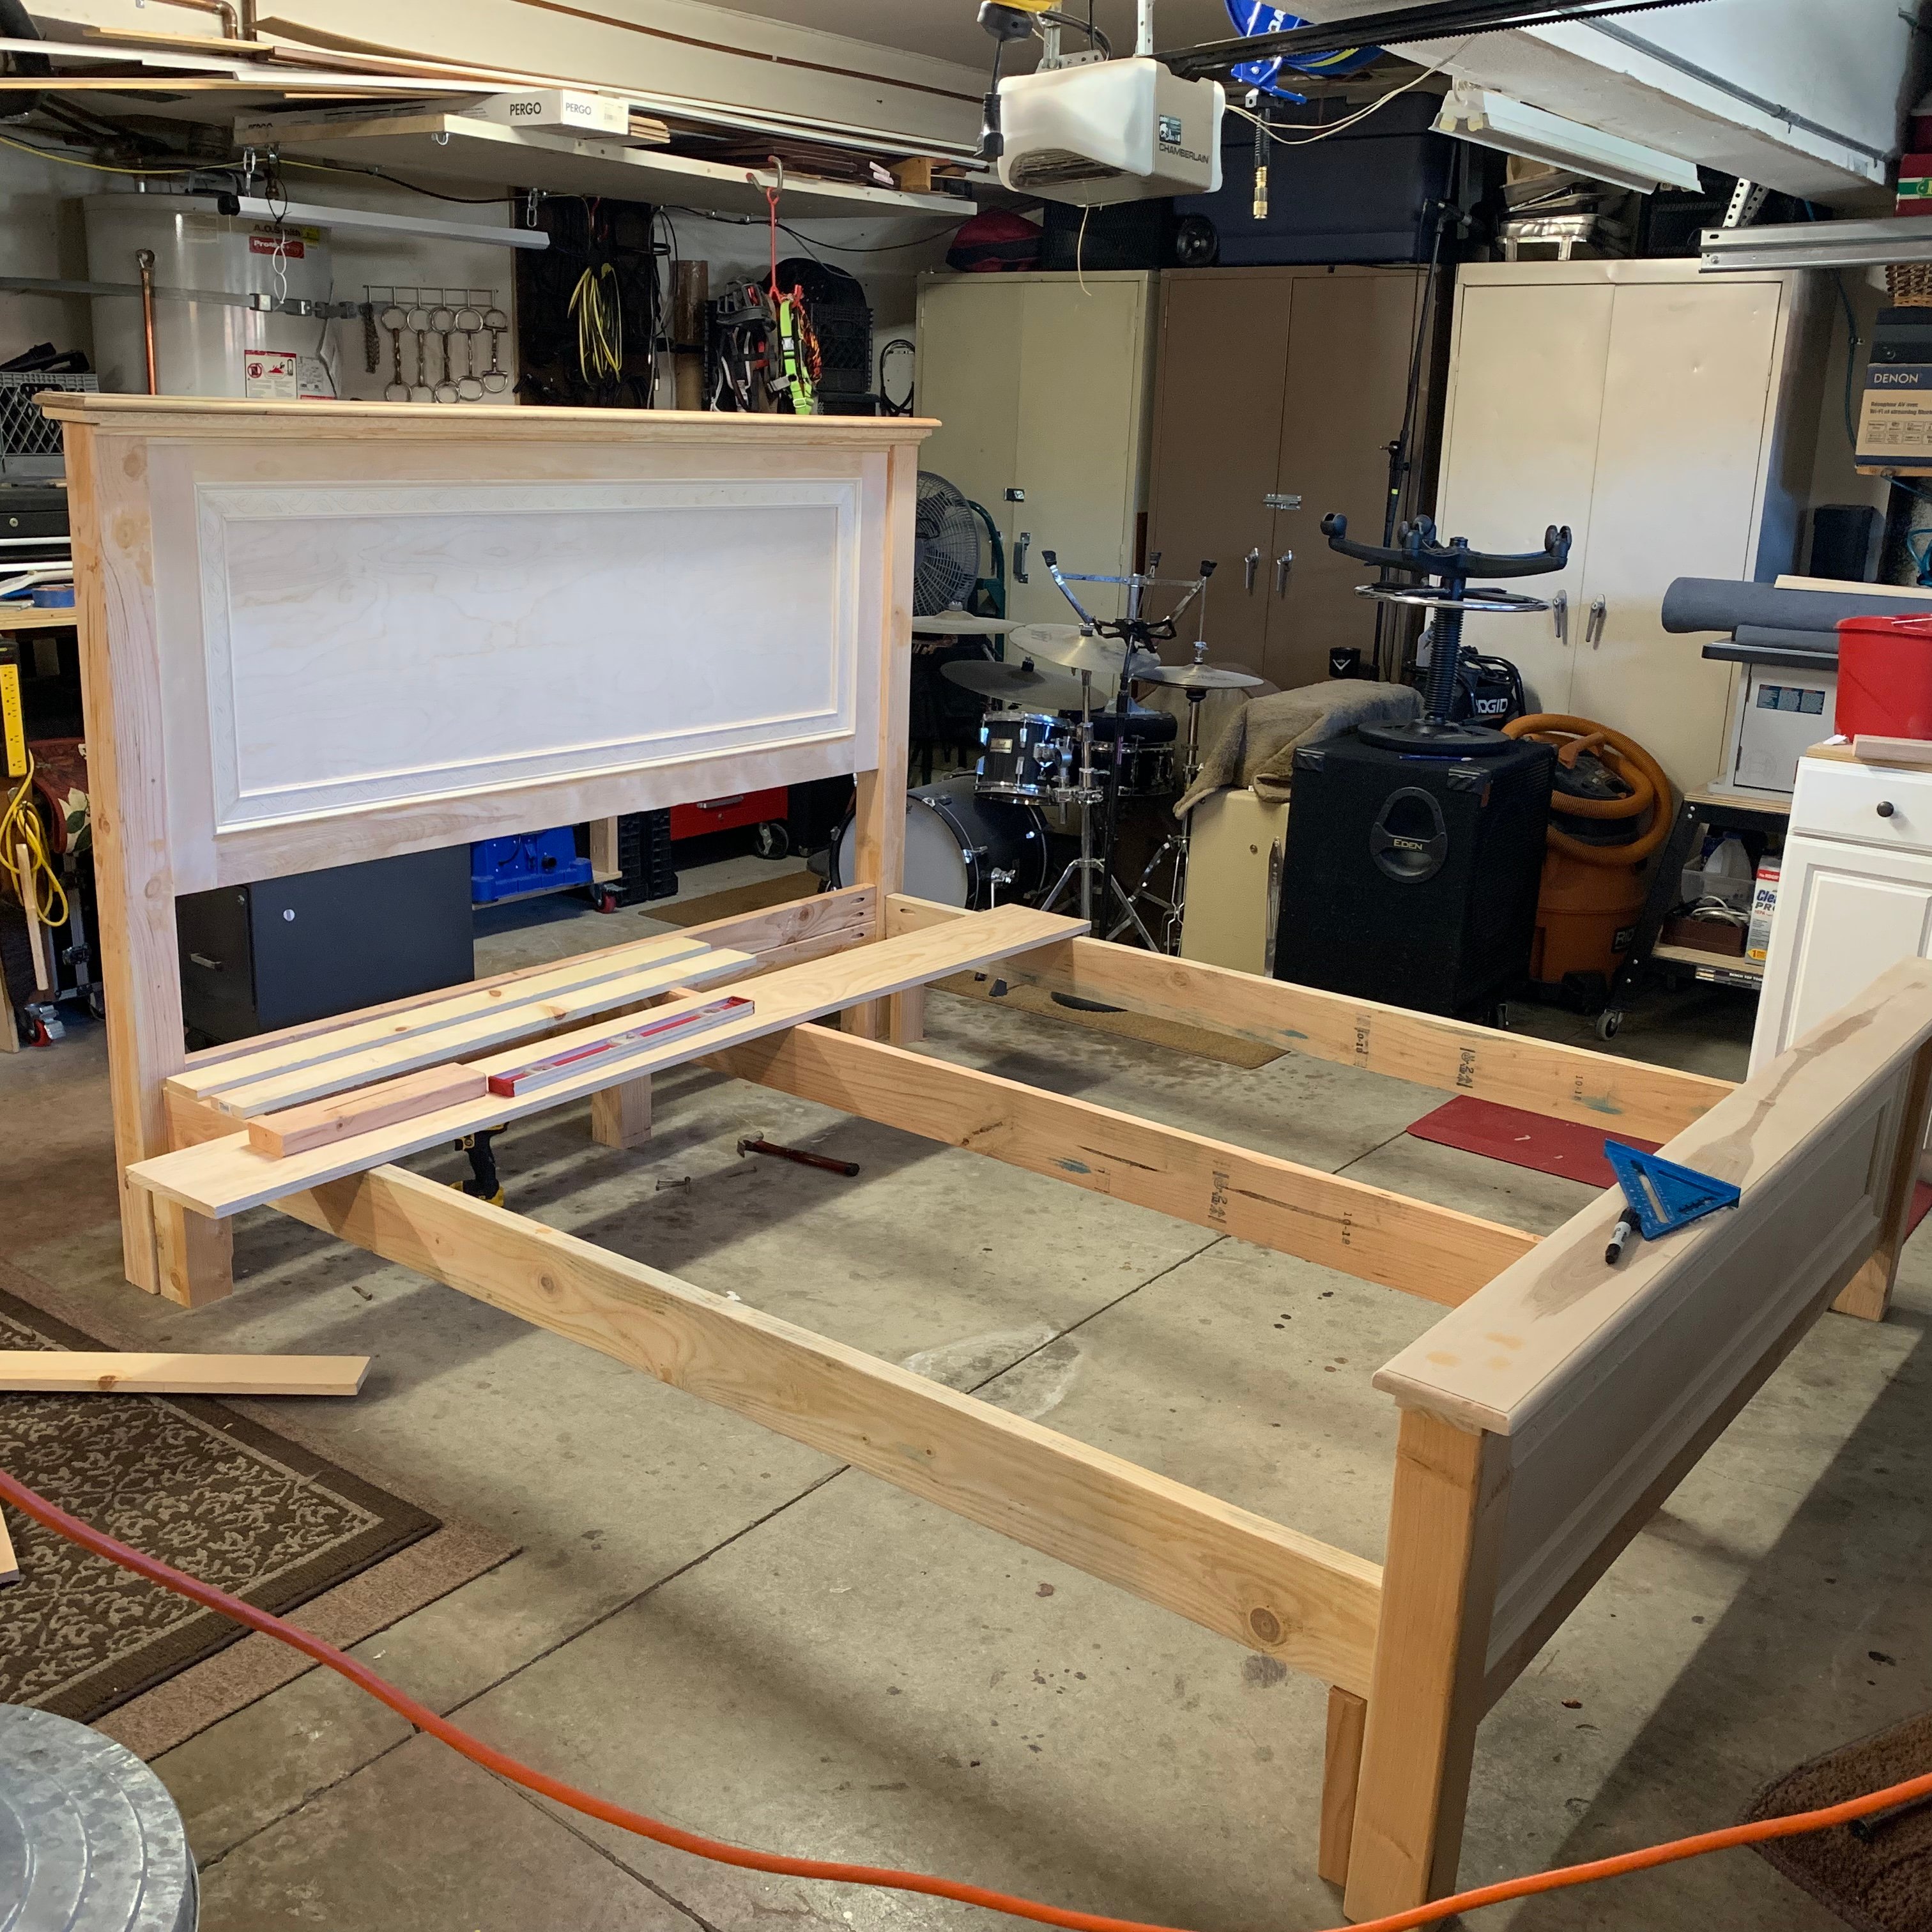
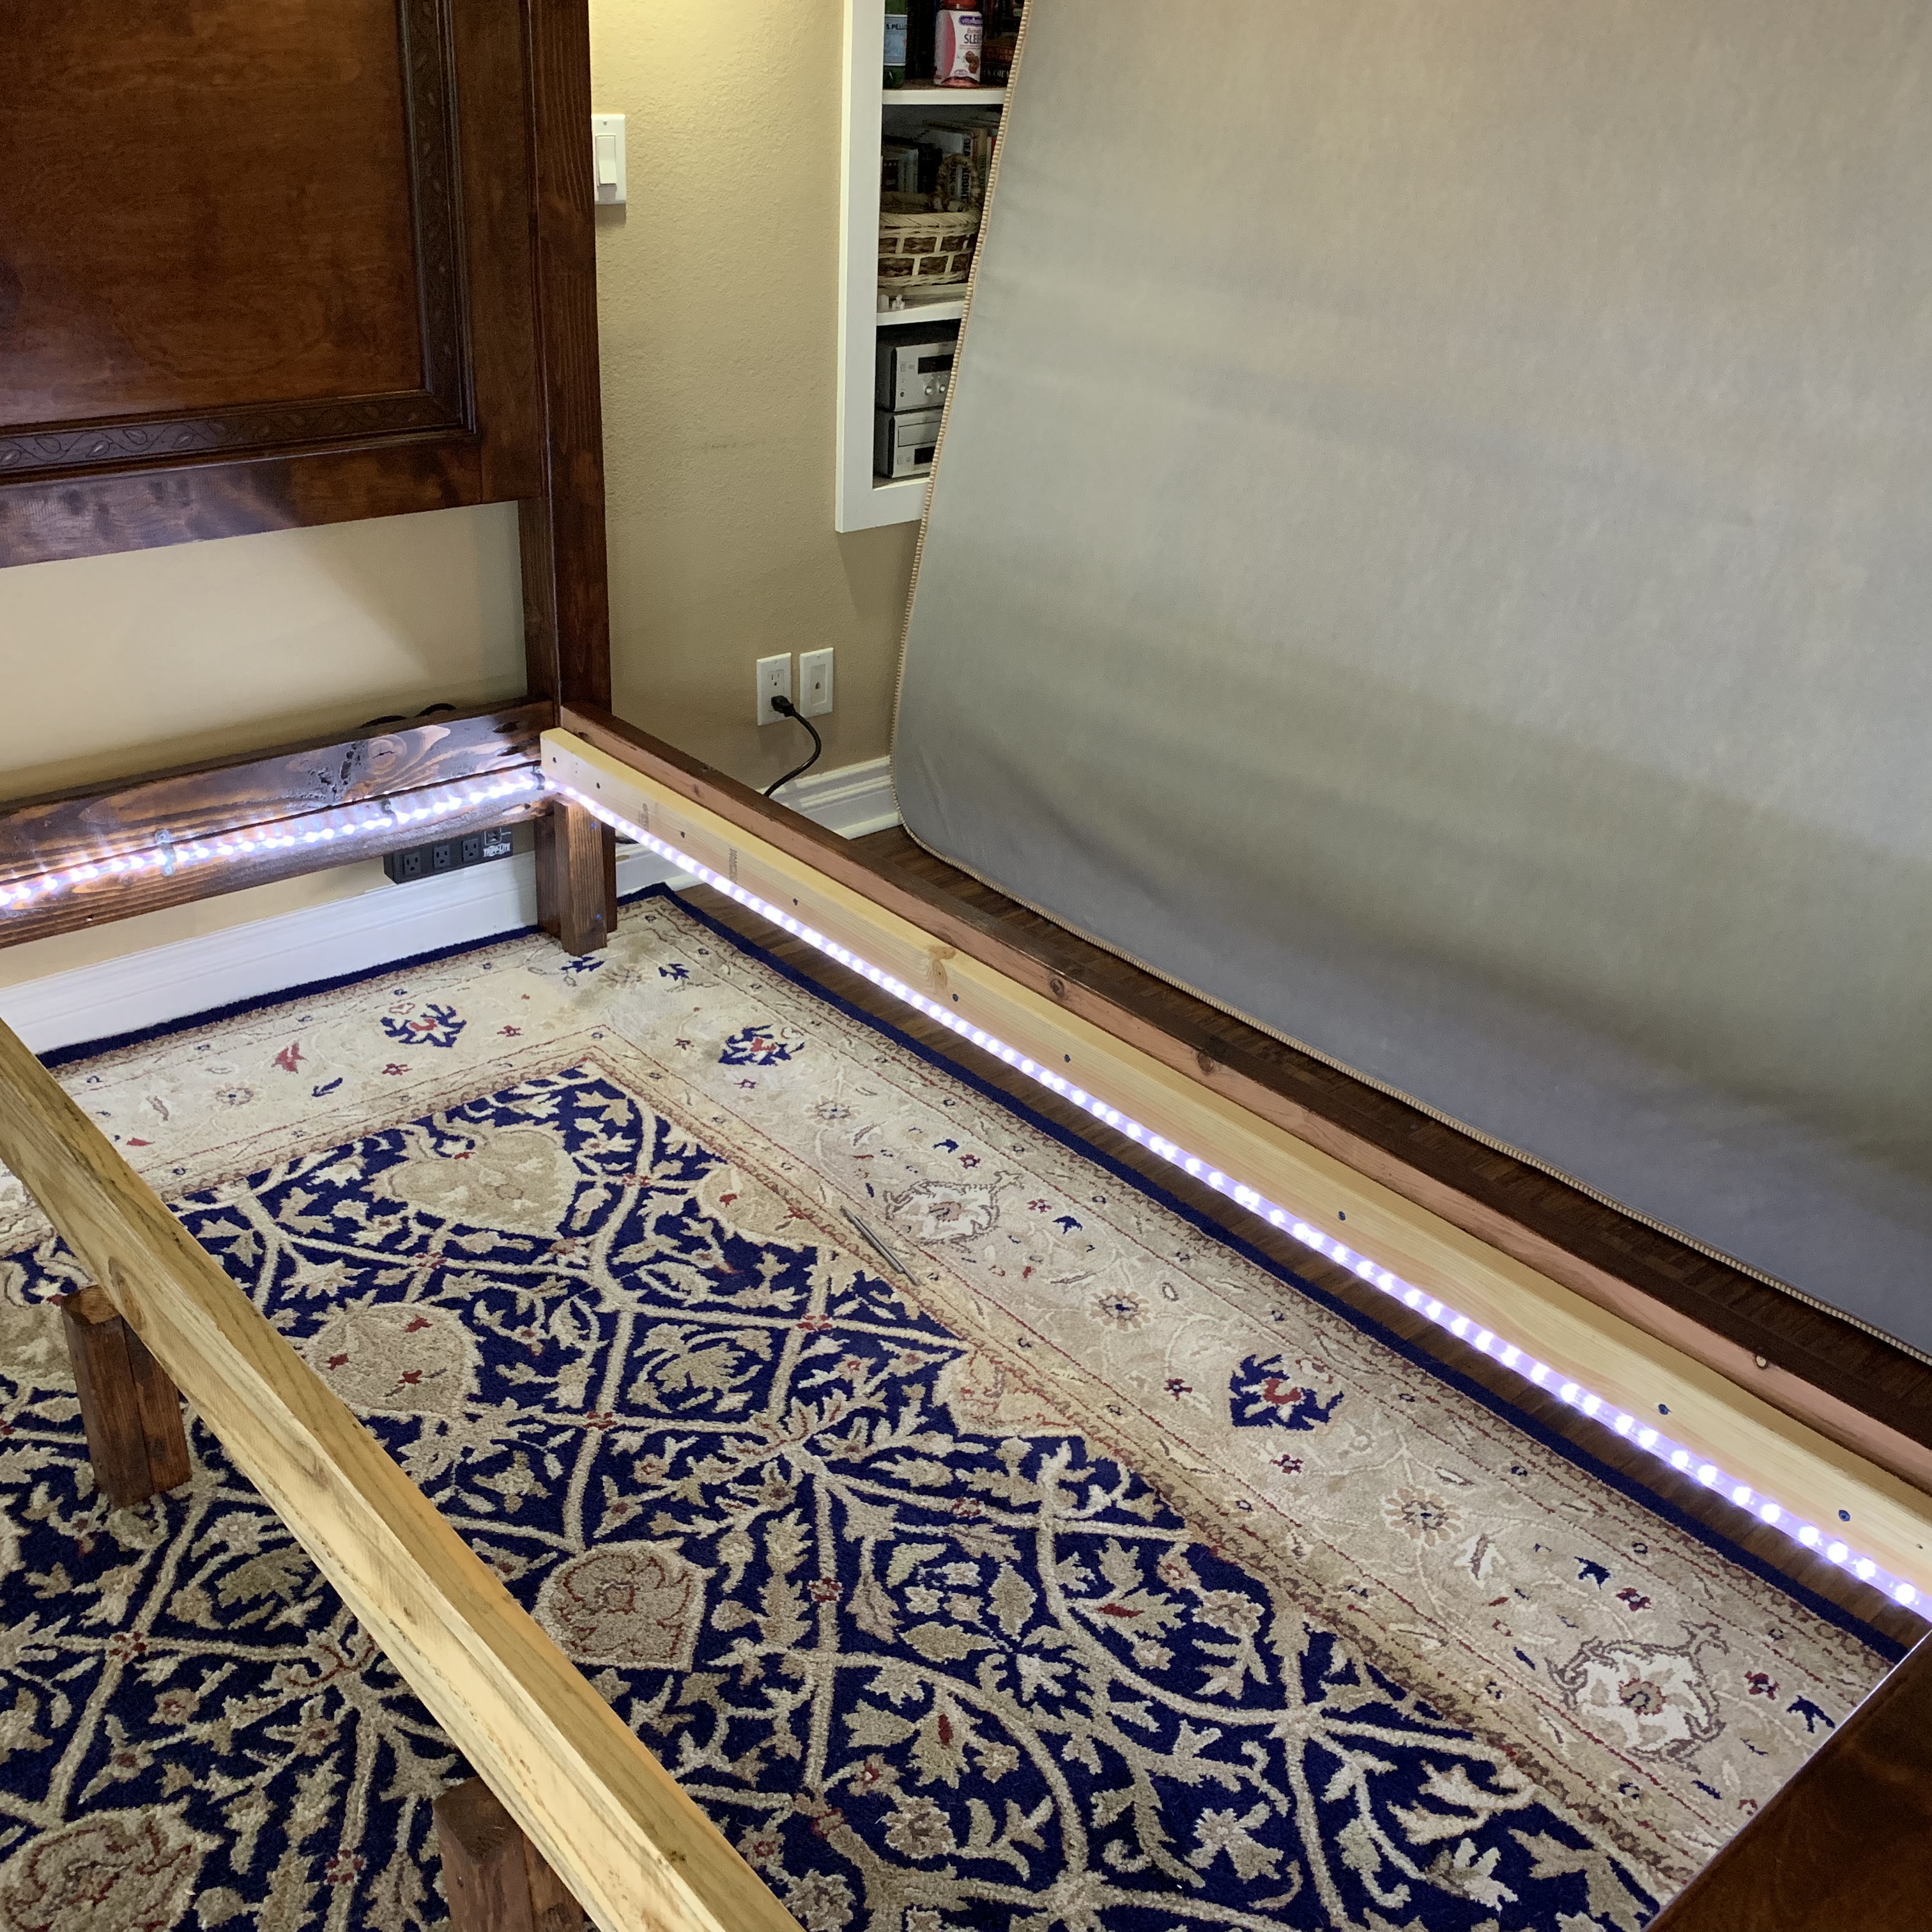
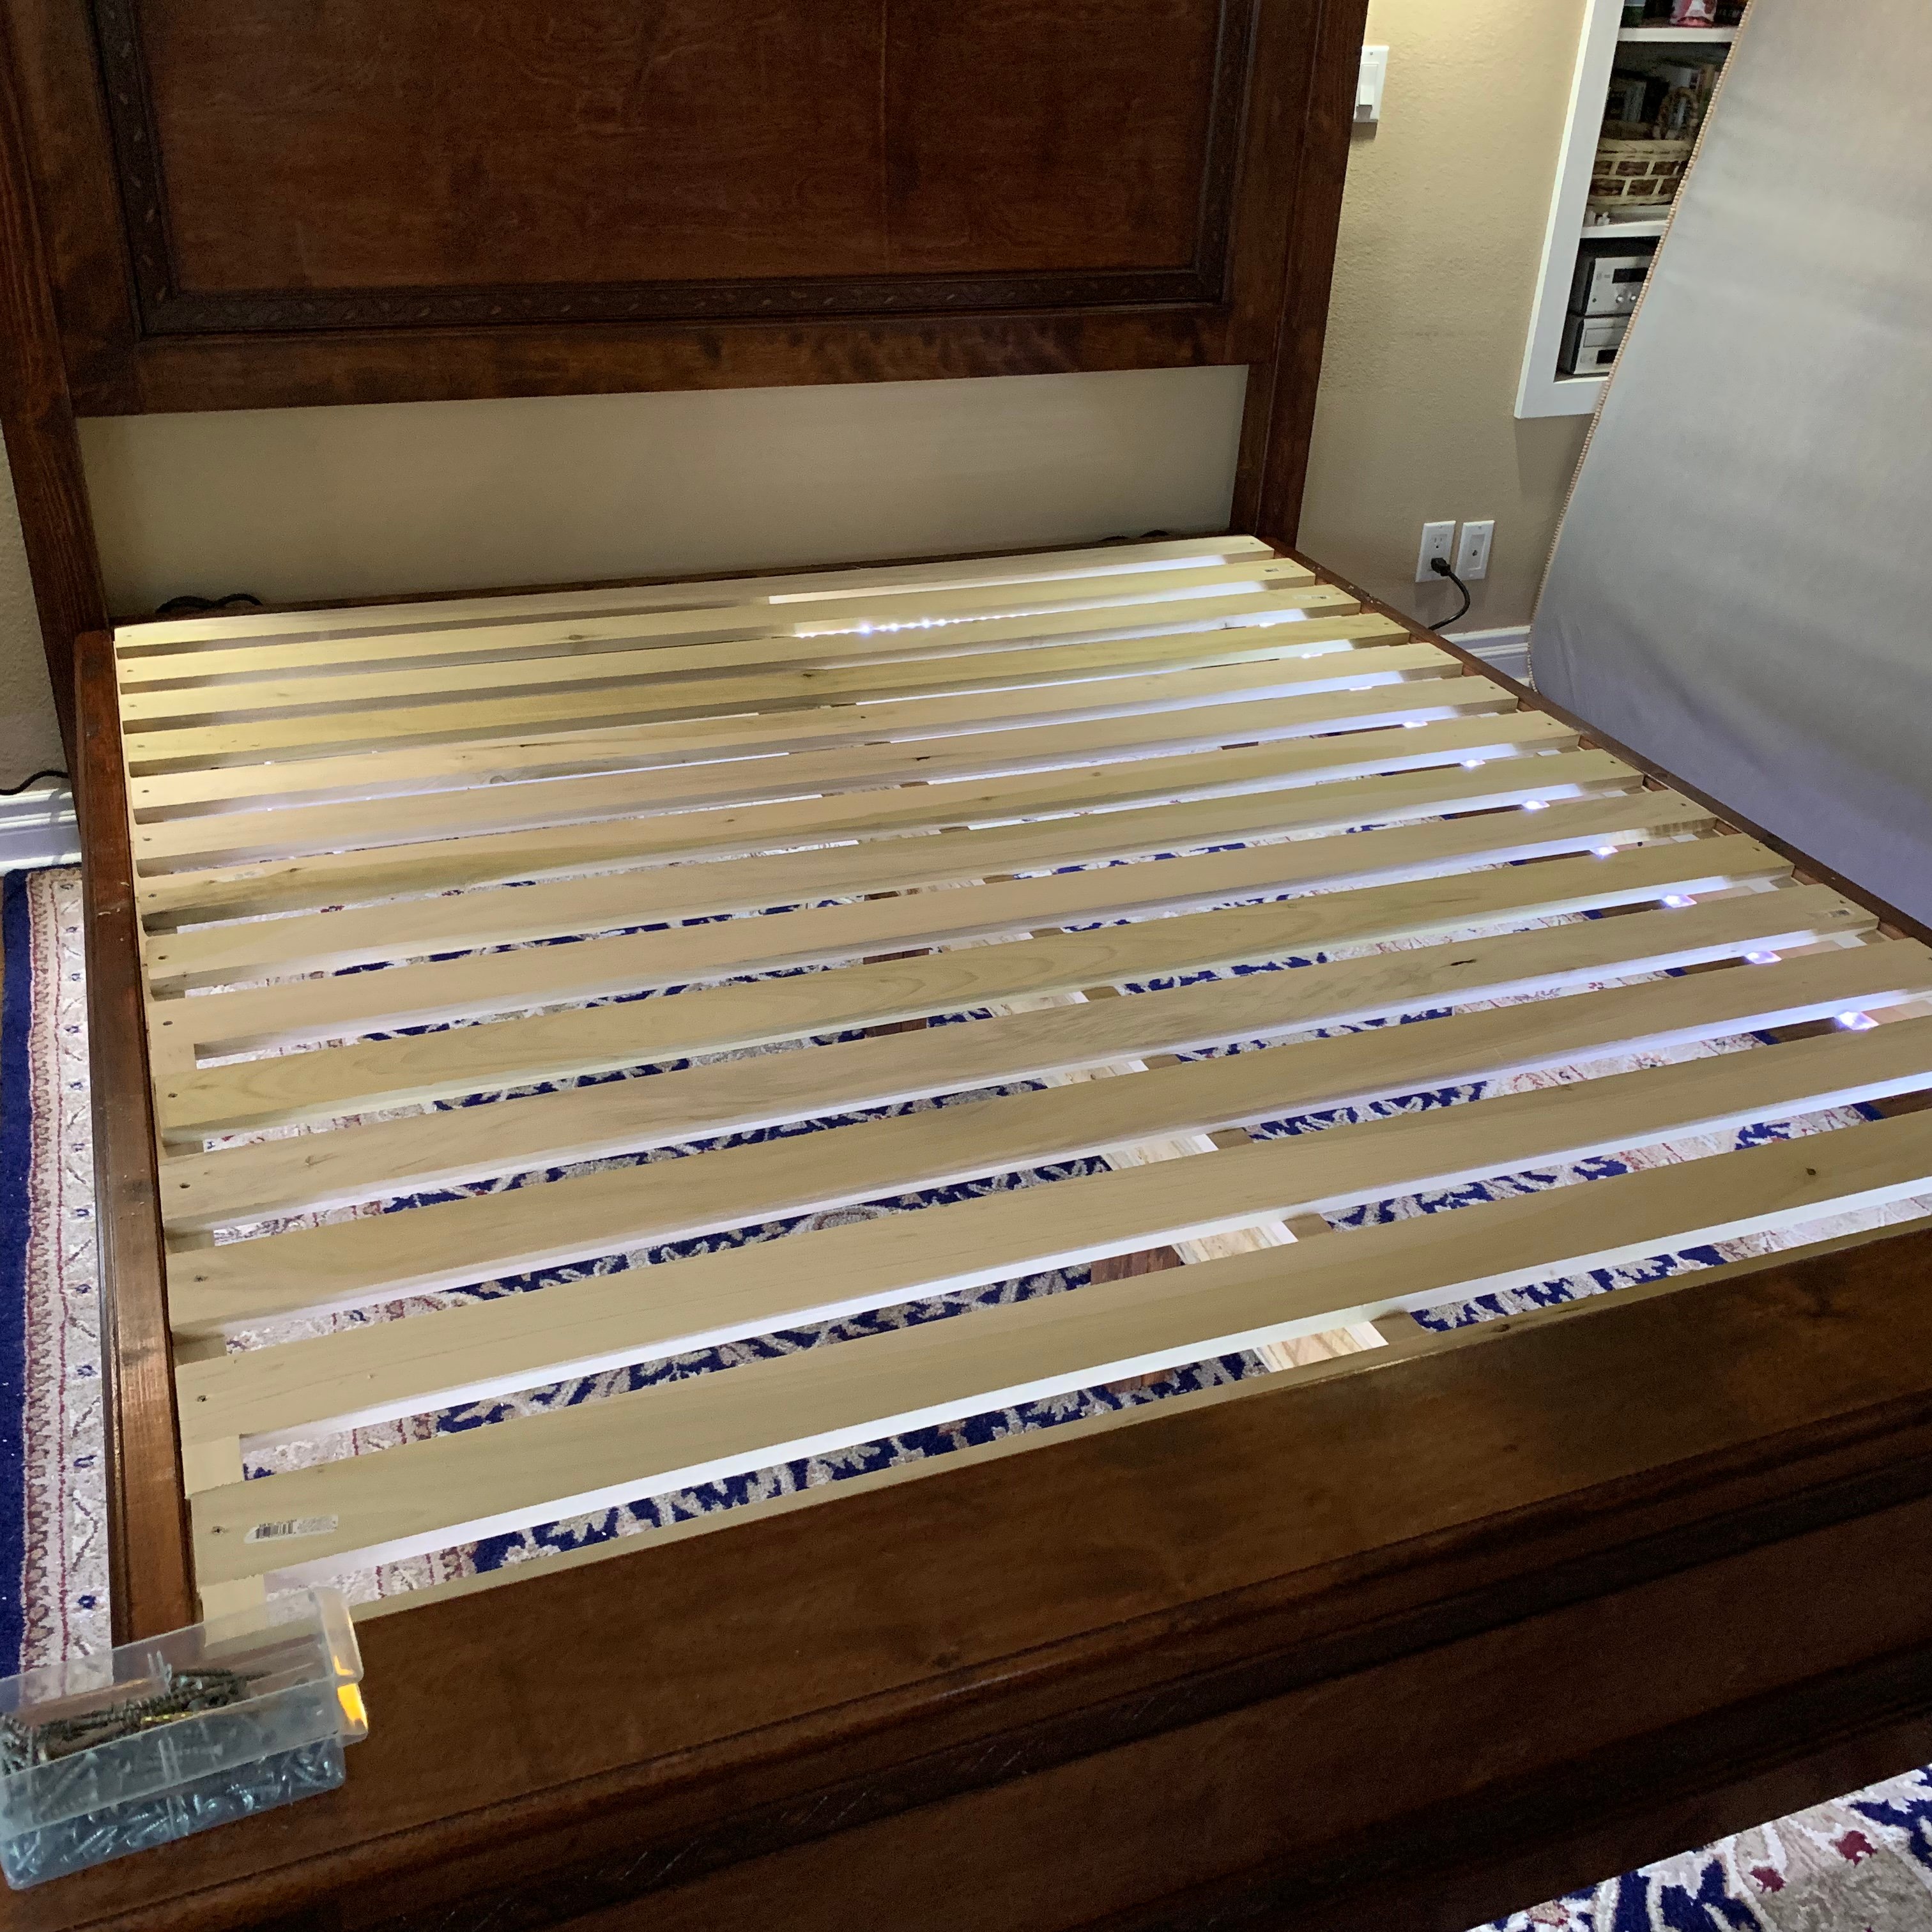
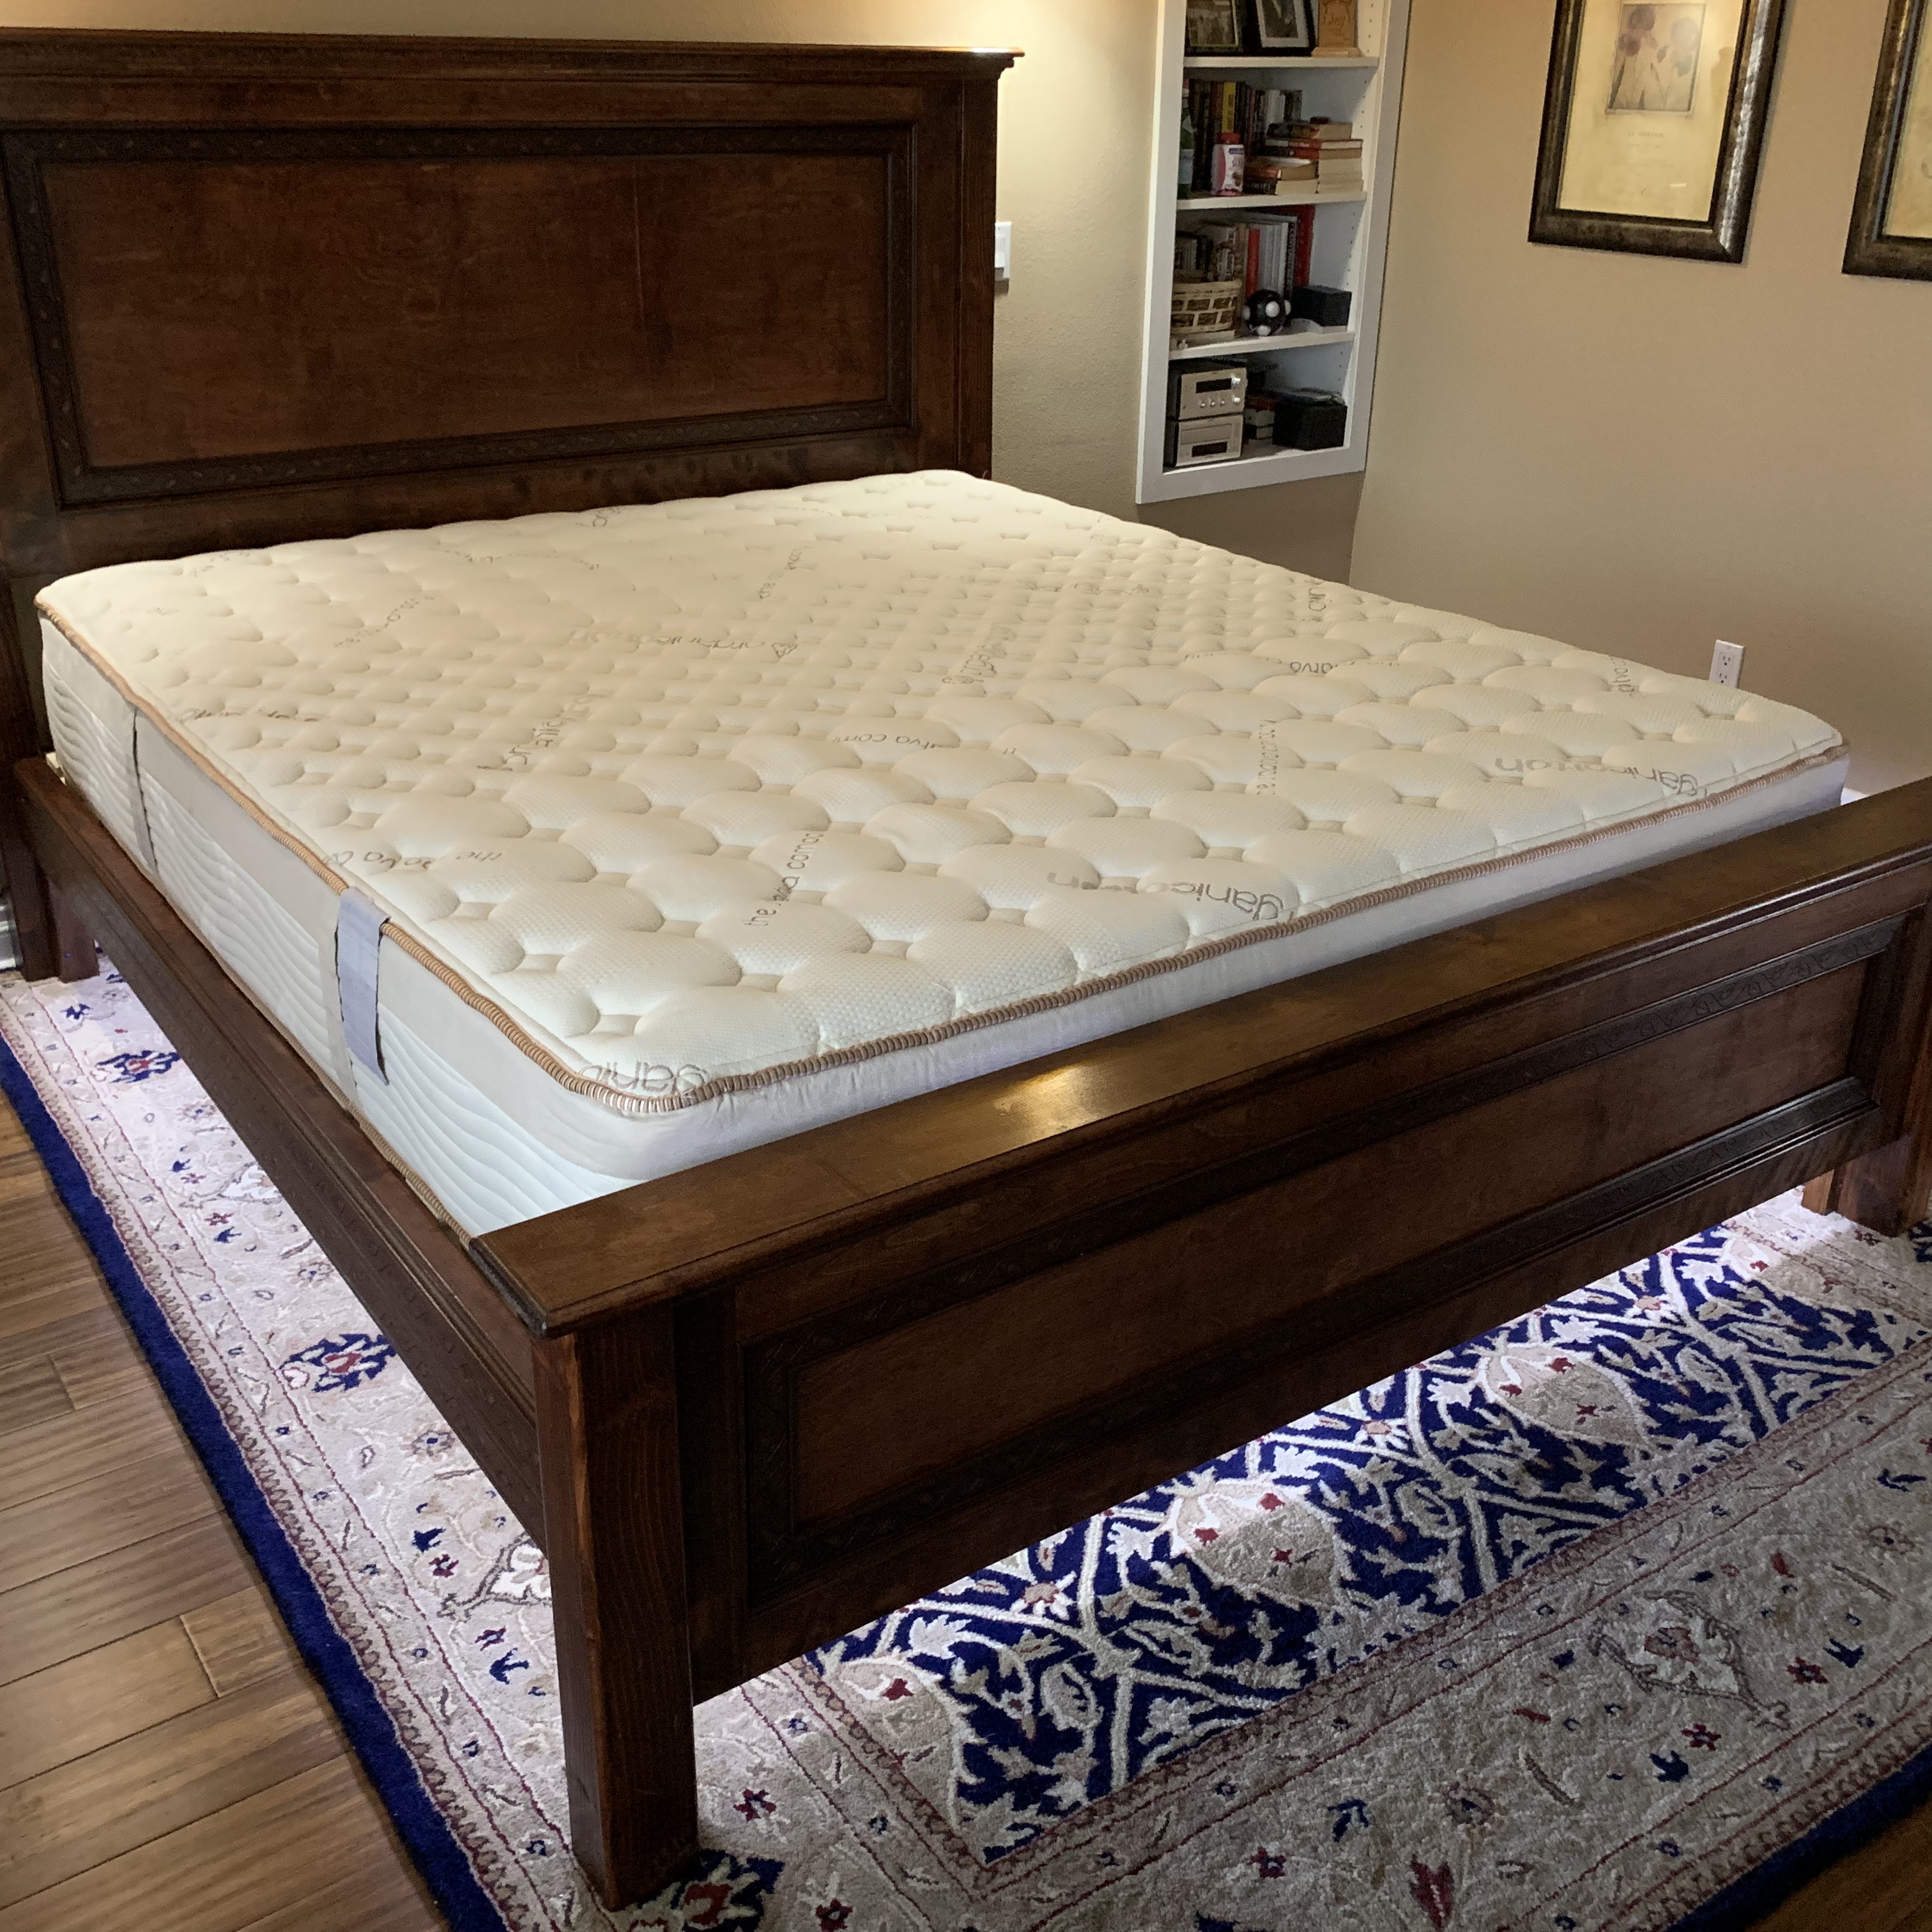
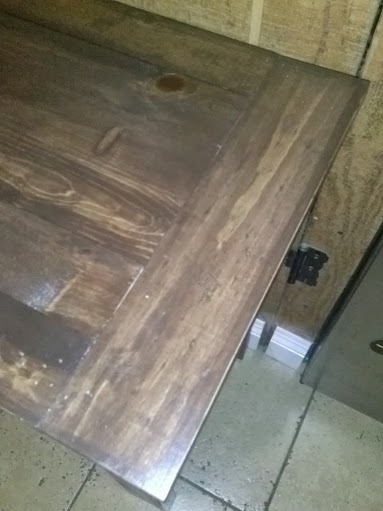
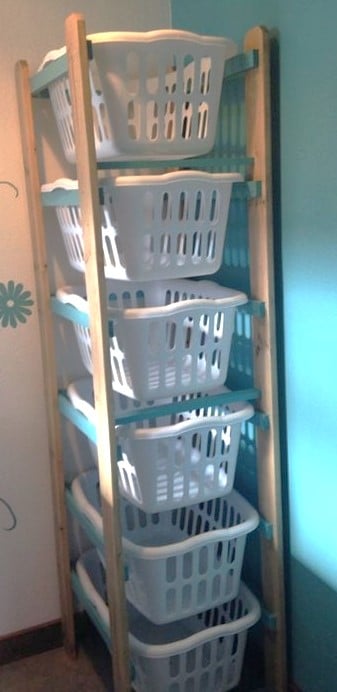
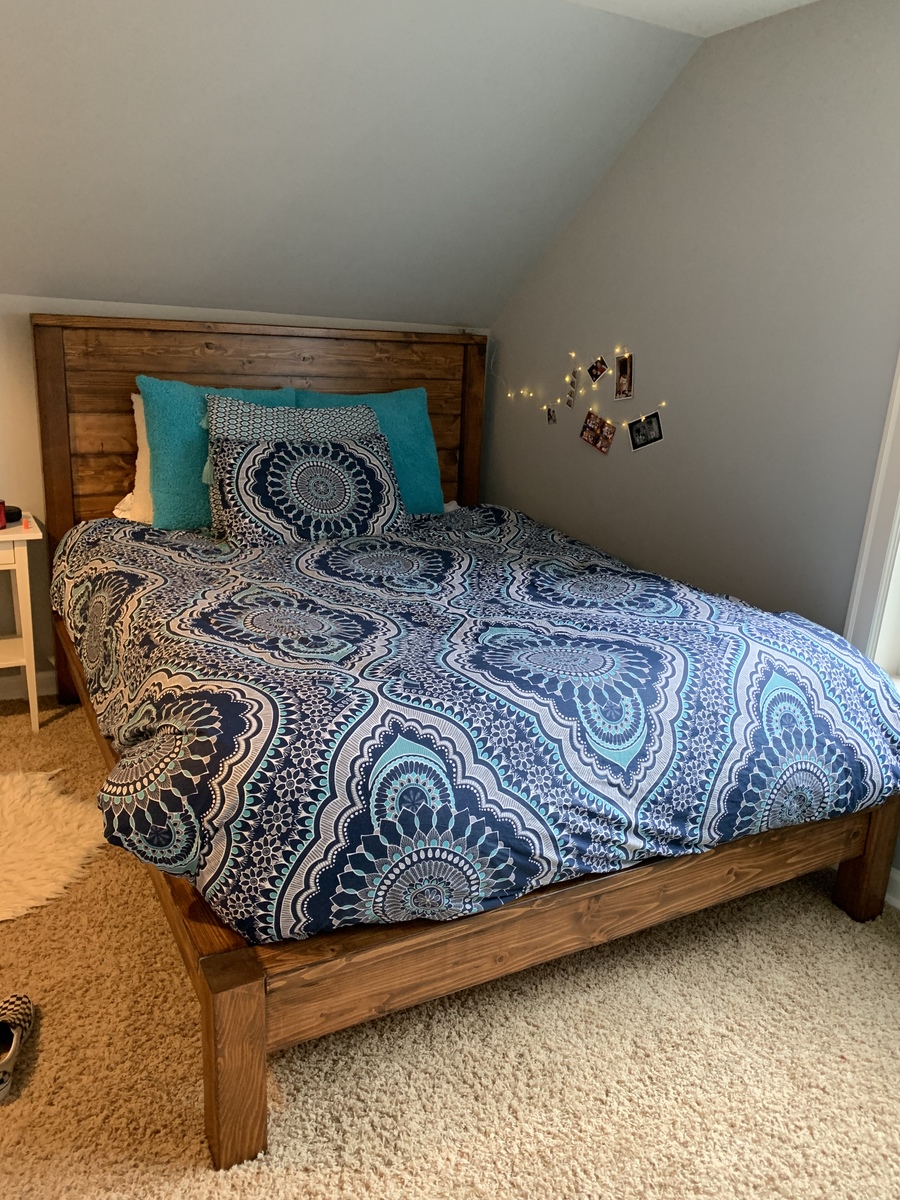
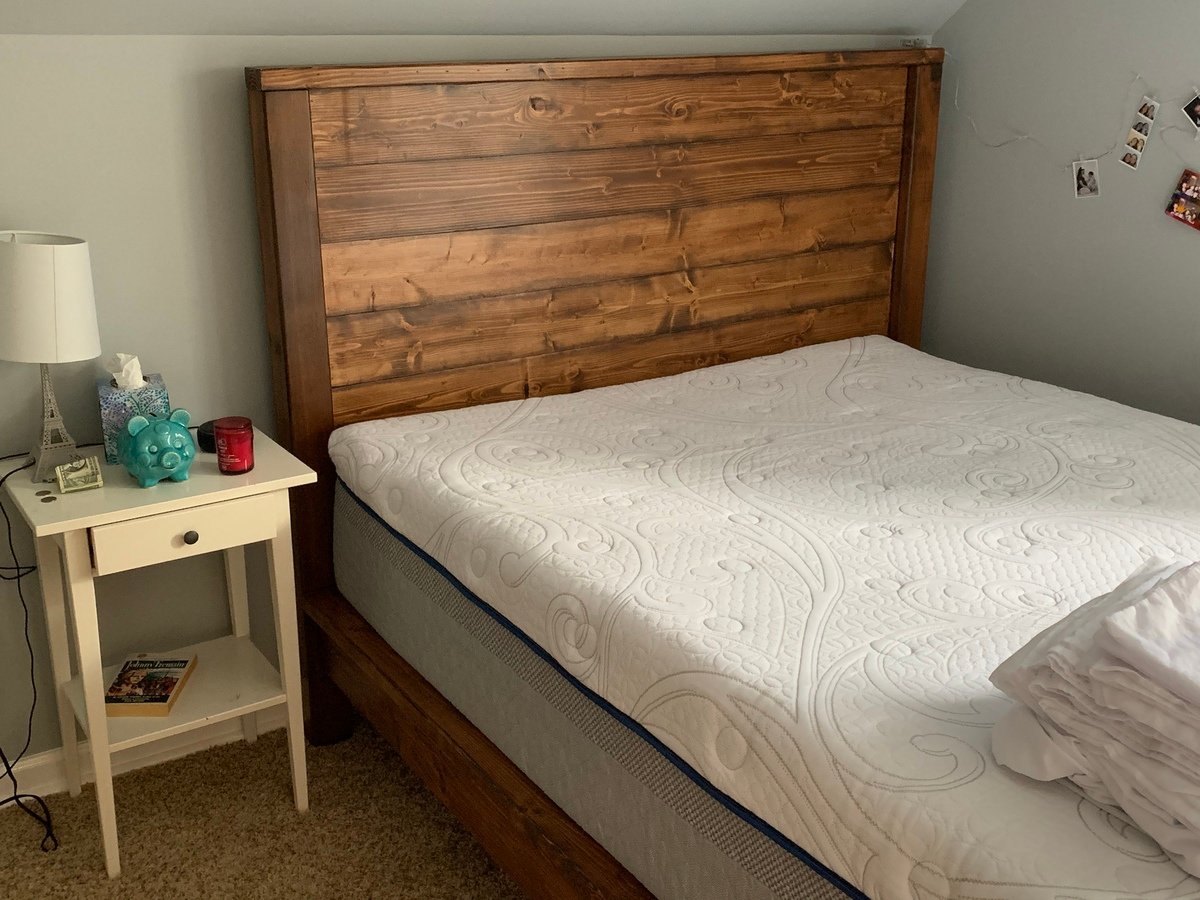
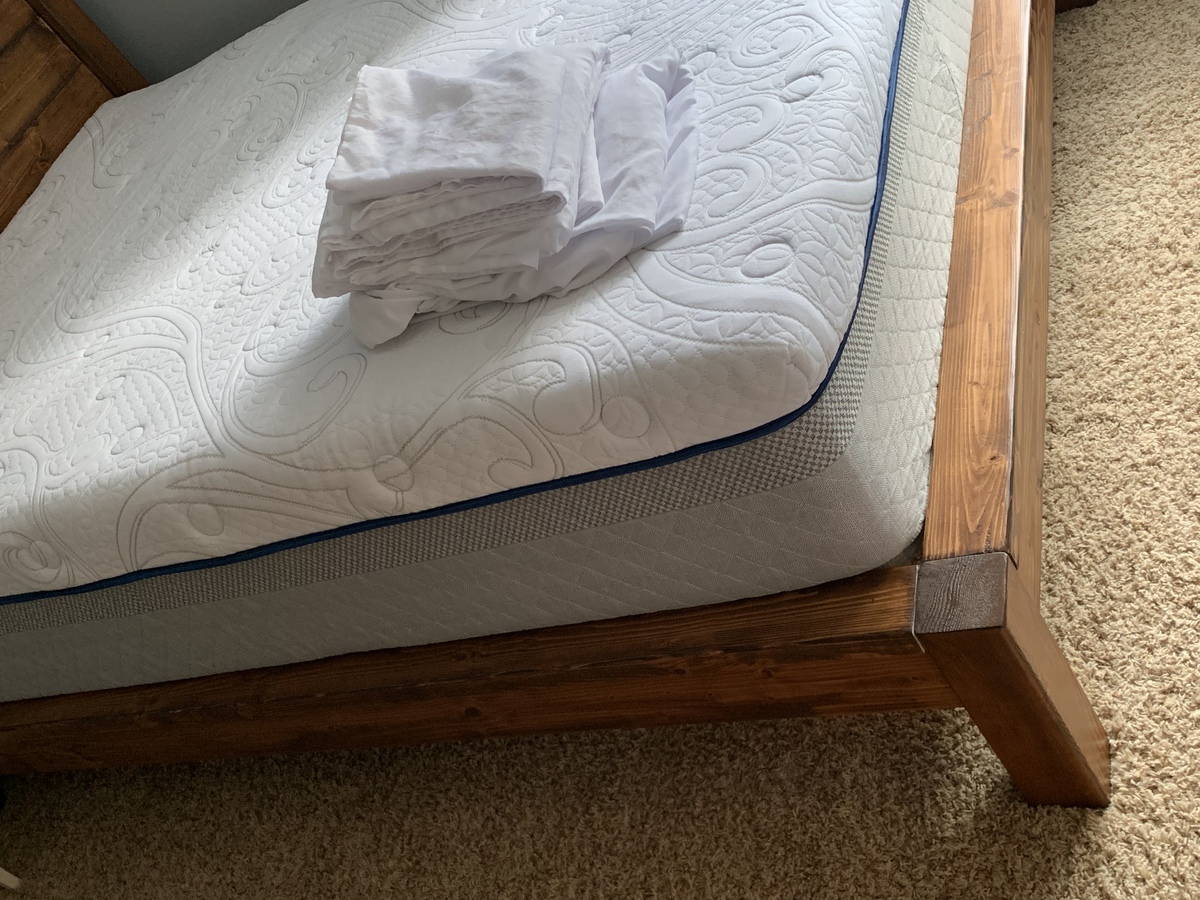
This was my first furniture build. Wanted something a little more detailed, so did solid panels, and inset molding into the panels for depth. I also wanted a taller footboard, so the panel is 18" high instead of the 15" that the plan showed. Ended up adding some crown molding as well, but mostly to cover up my mistakes. Also dressed up the side rails by covering them in a matching molding as well. Didn't want to use box springs, so moved the slats up to the top of the rail, and spaced them with 2" gaps between slats to give maximum support to the mattress. Since we have a small dog that I tend to trip over in the dark, I ran a 24' rope light along the interior side panels and footboard, and plugged into a wireless switch that I mounted to side of headboard, which I can turn on and off from bed. Stained it with General Finishes Mahogany Brown and then two coats of poly. Really happy with the way this turned out! Can't wait to do some more building, thanks to Ana! :-)


Comments
Ana White
Wed, 09/14/2011 - 11:31
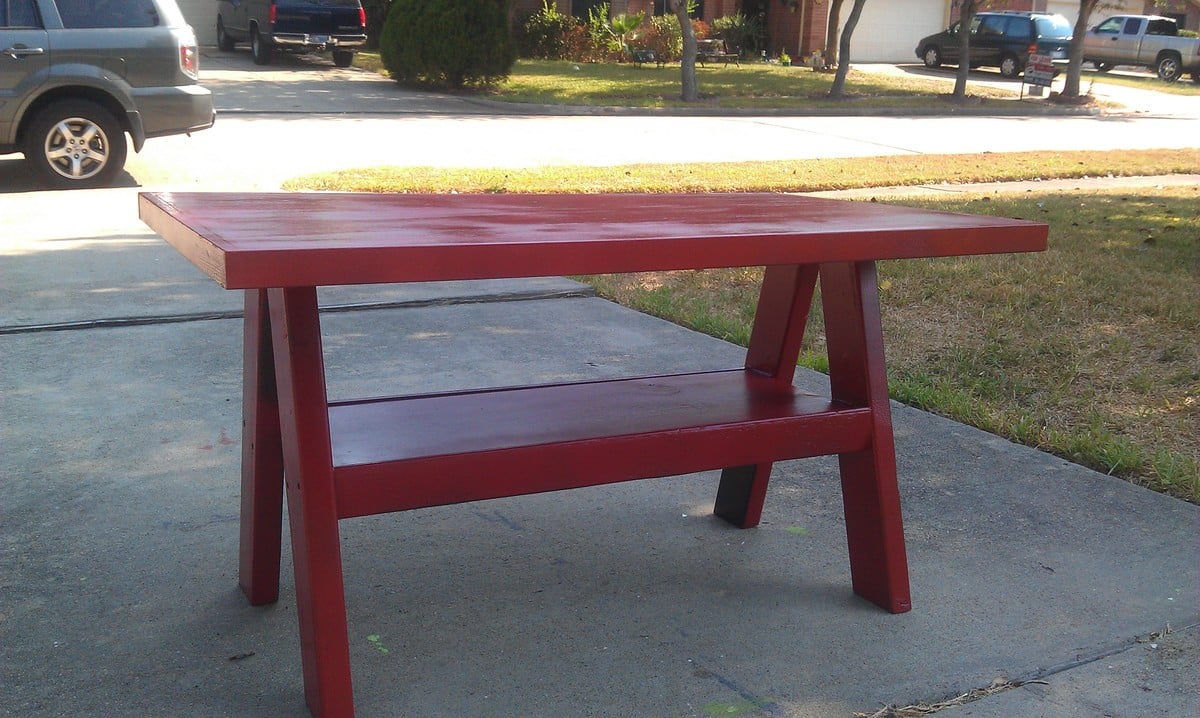
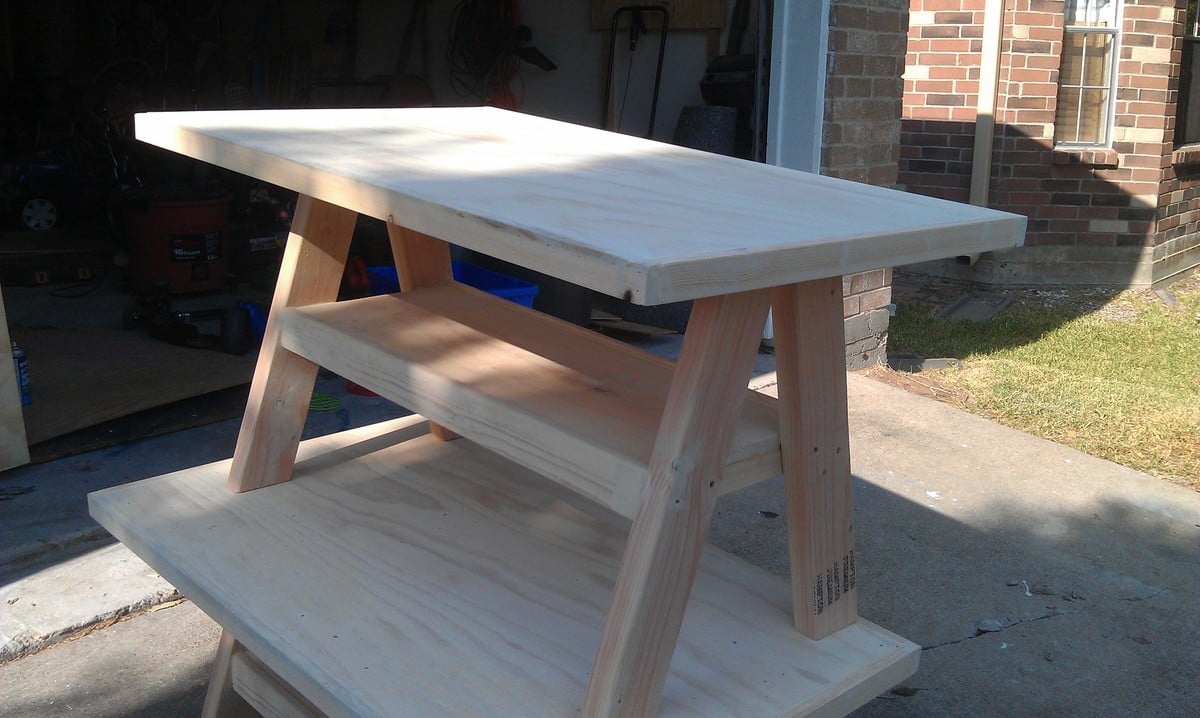
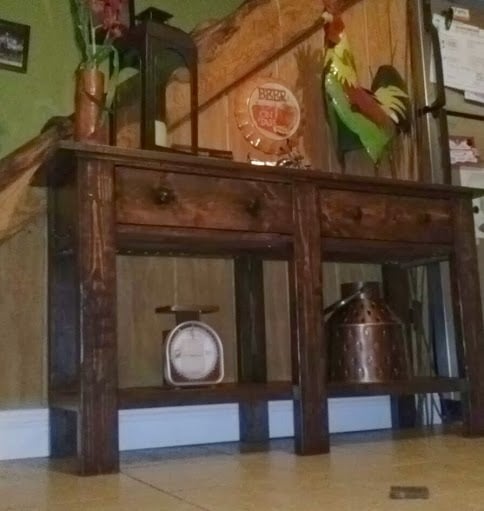
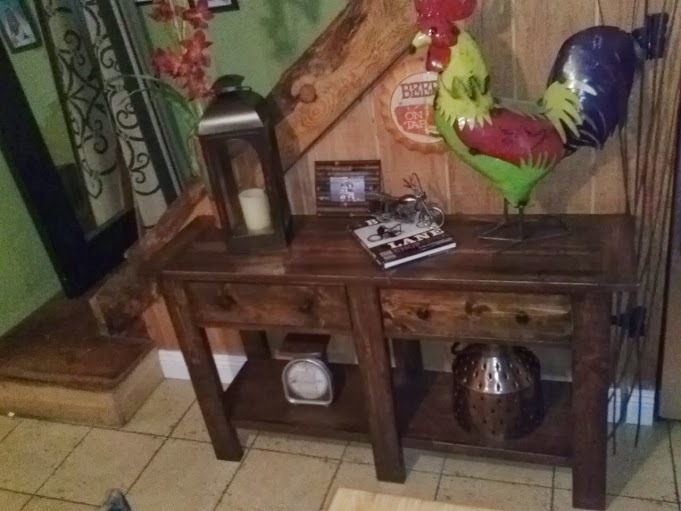
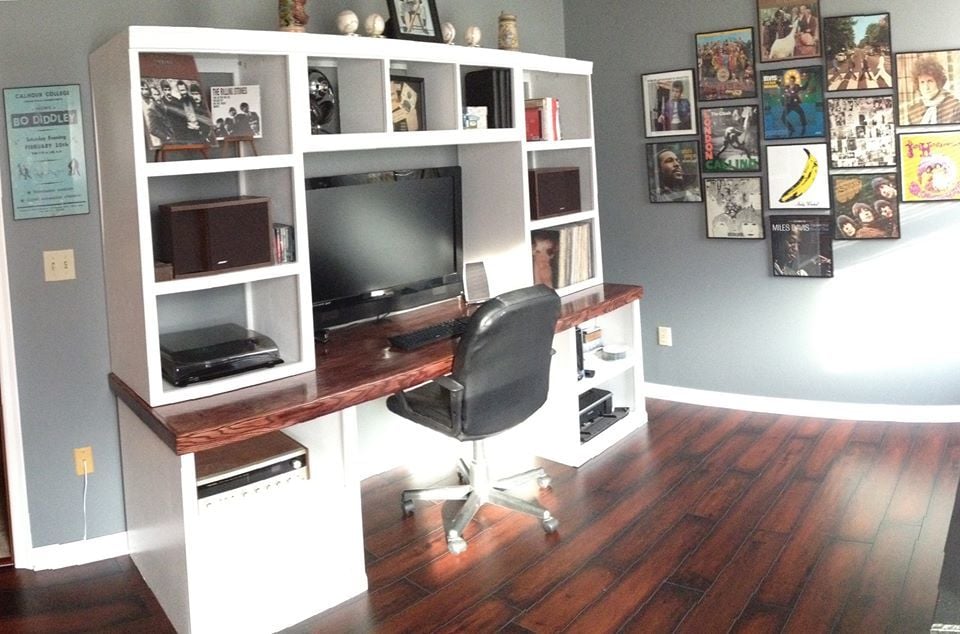
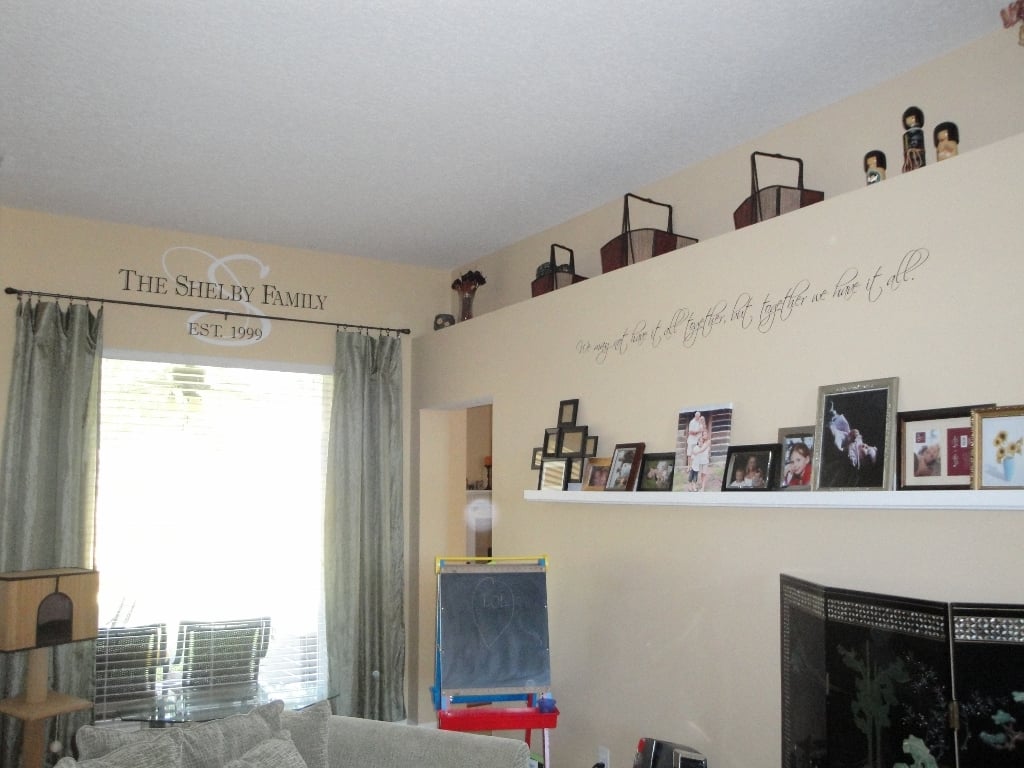
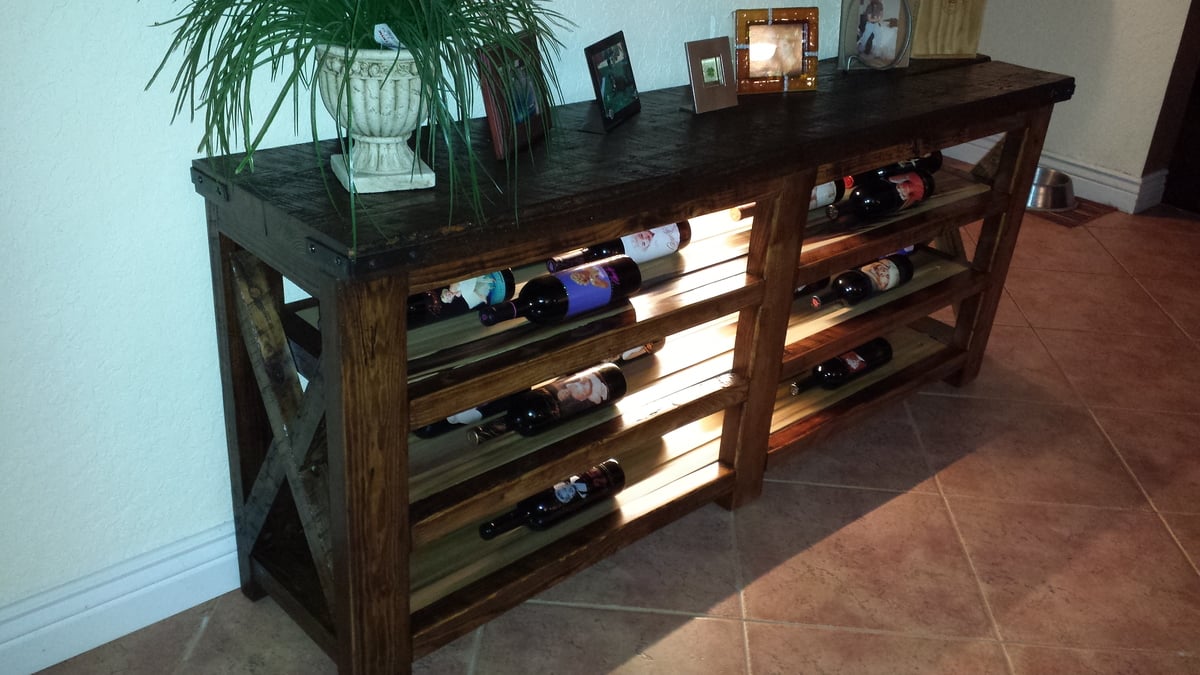
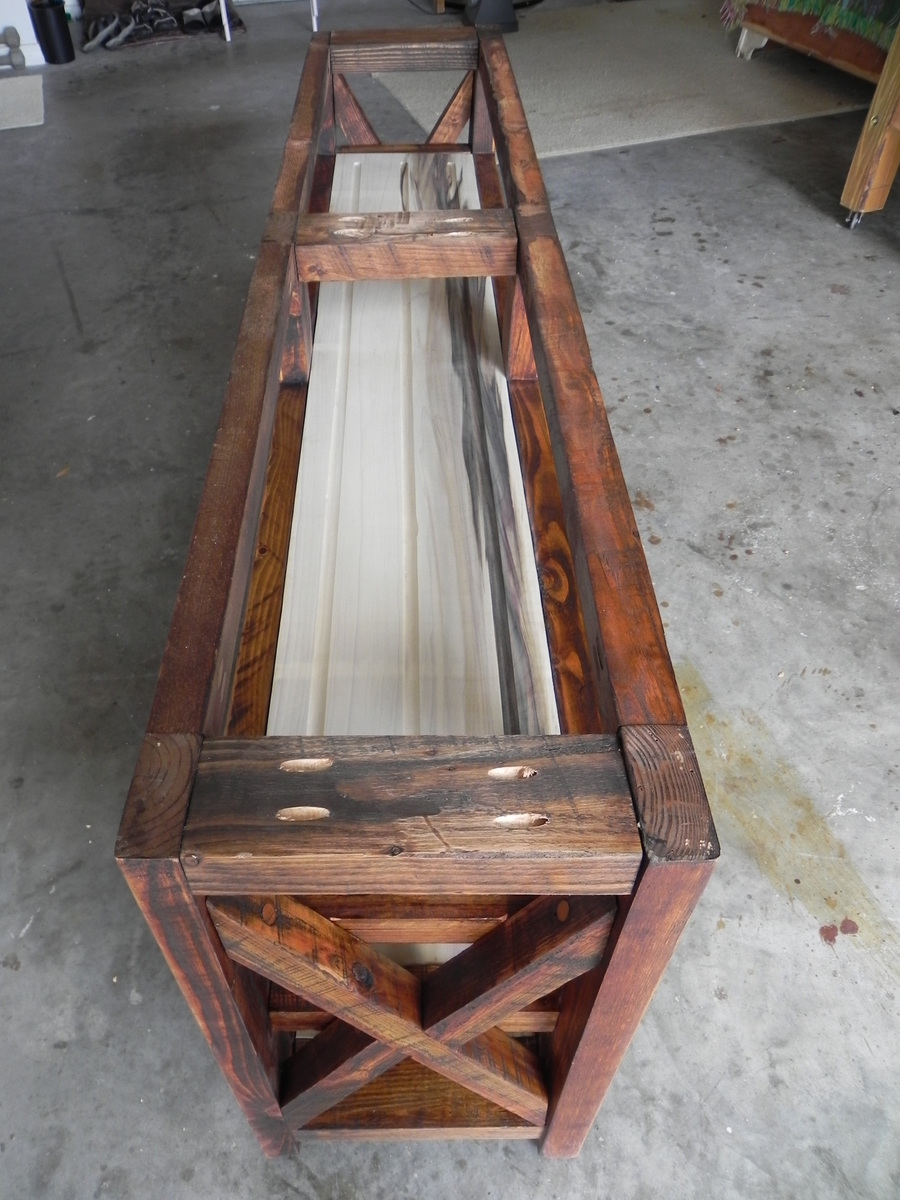
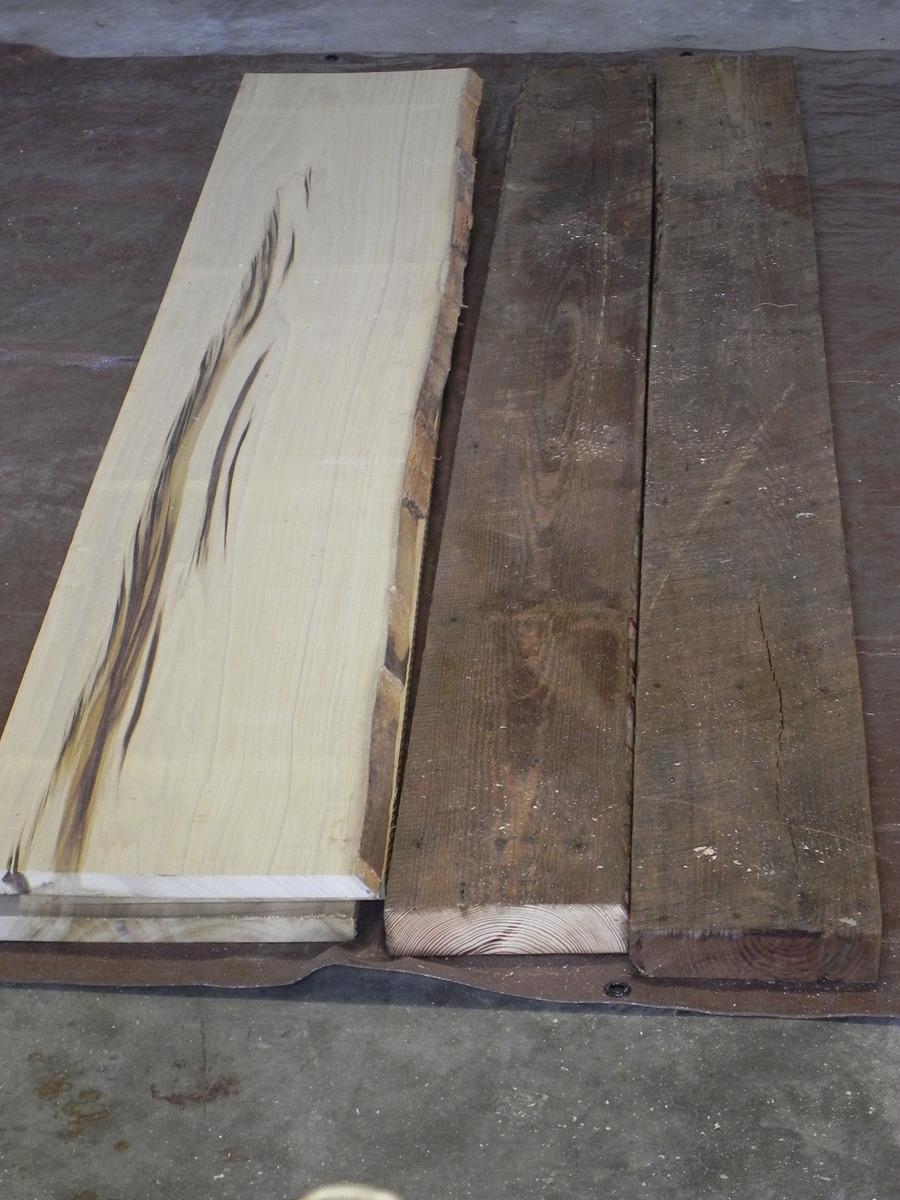
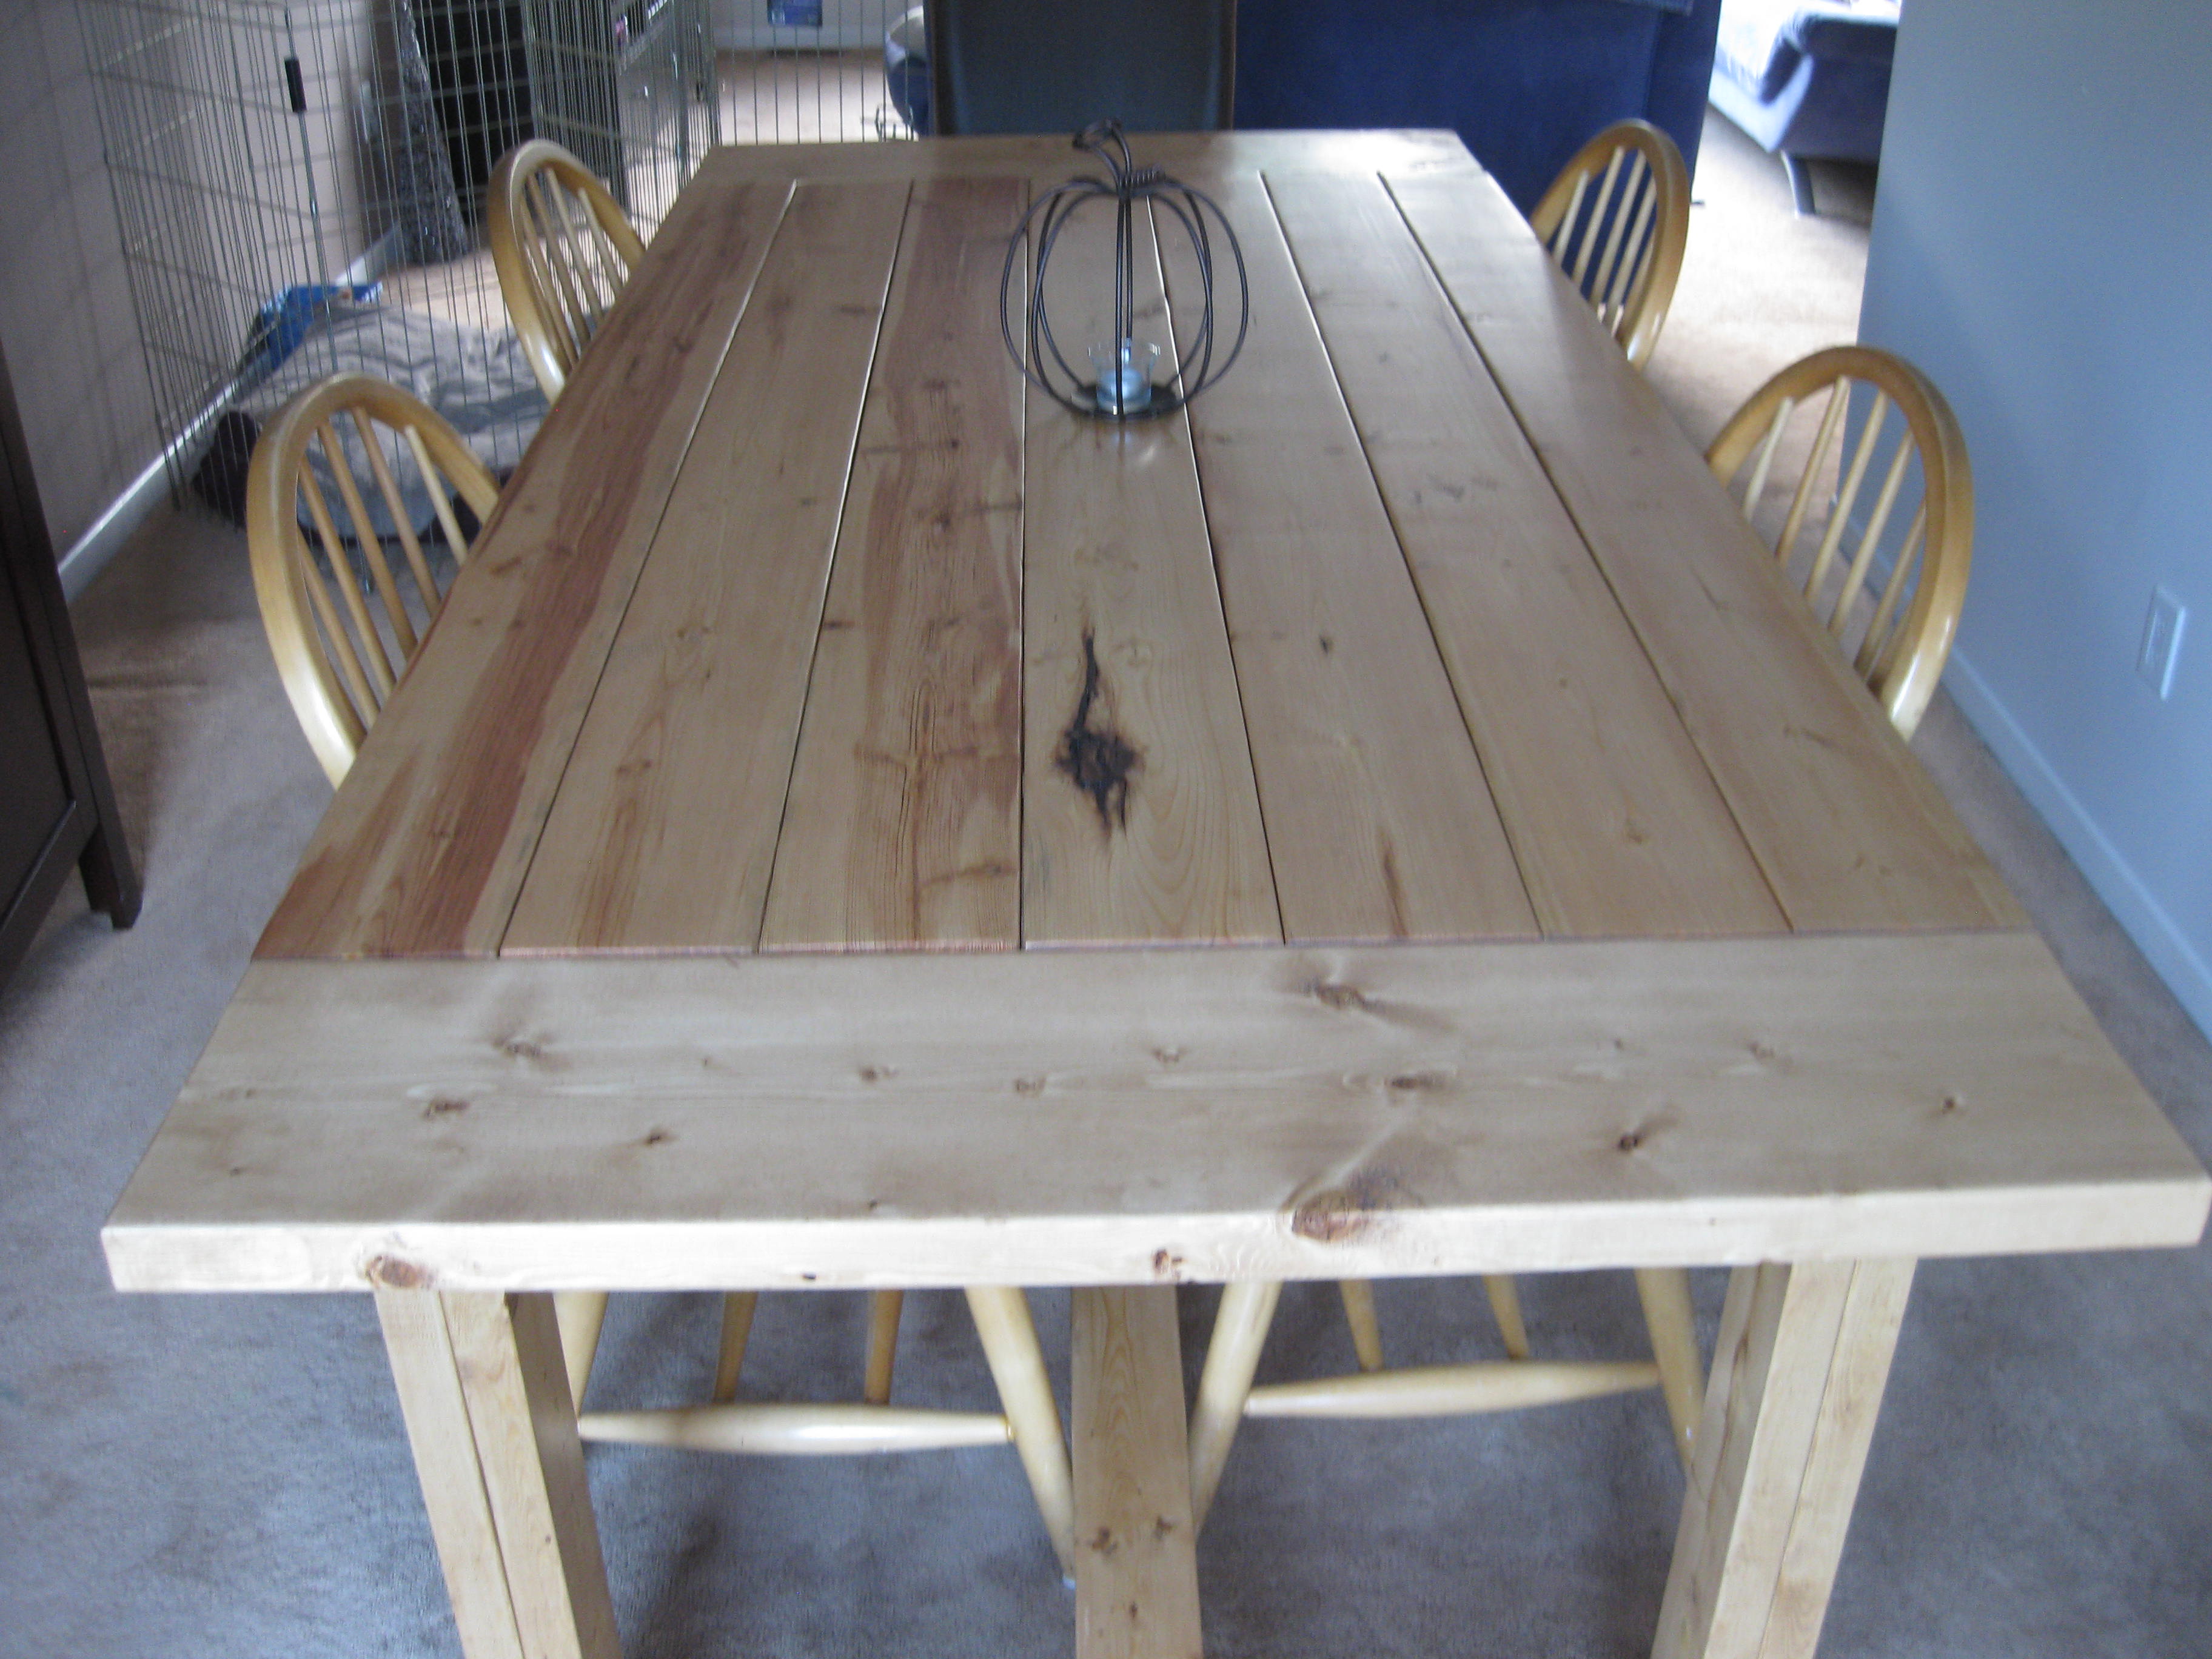
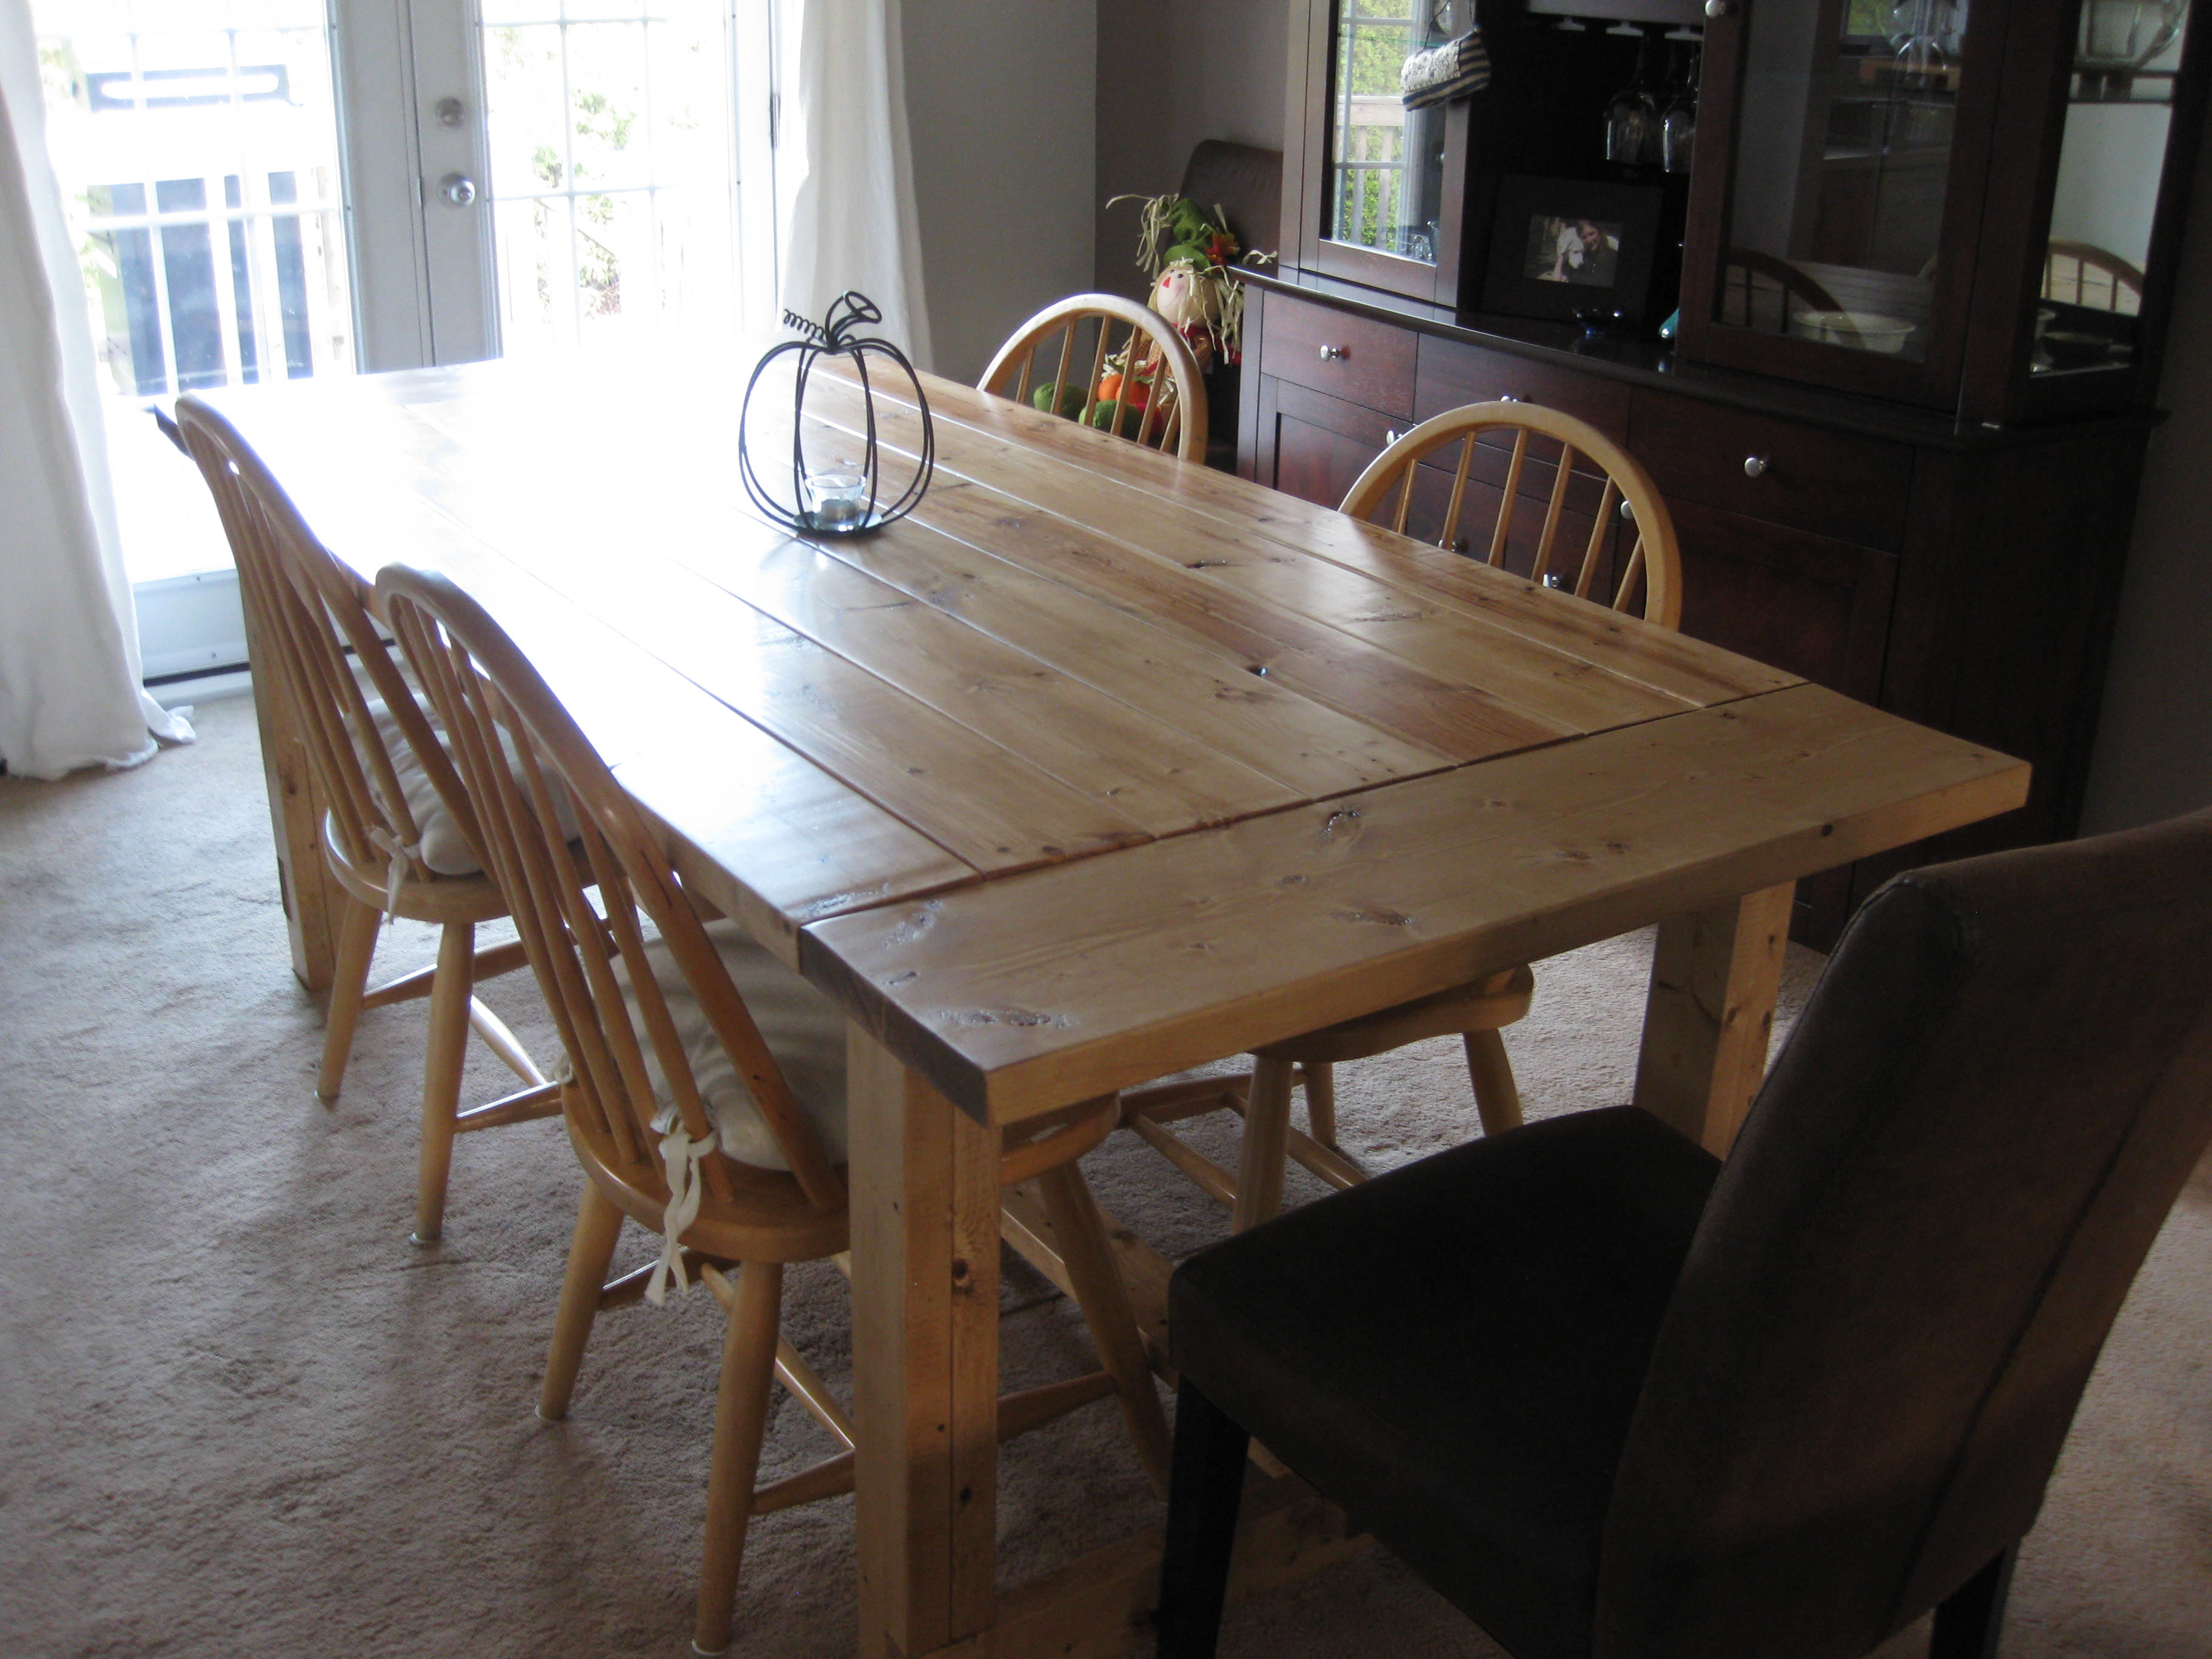
The table I didn't get to build!
Oh yeah! I love this - turned out so well! Please share painted photos too - just too cute for words!
JenS (not verified)
Wed, 09/14/2011 - 11:51
Love this!
So glad you built this. I totally have it on my to-do list. Looks great!