Community Brag Posts

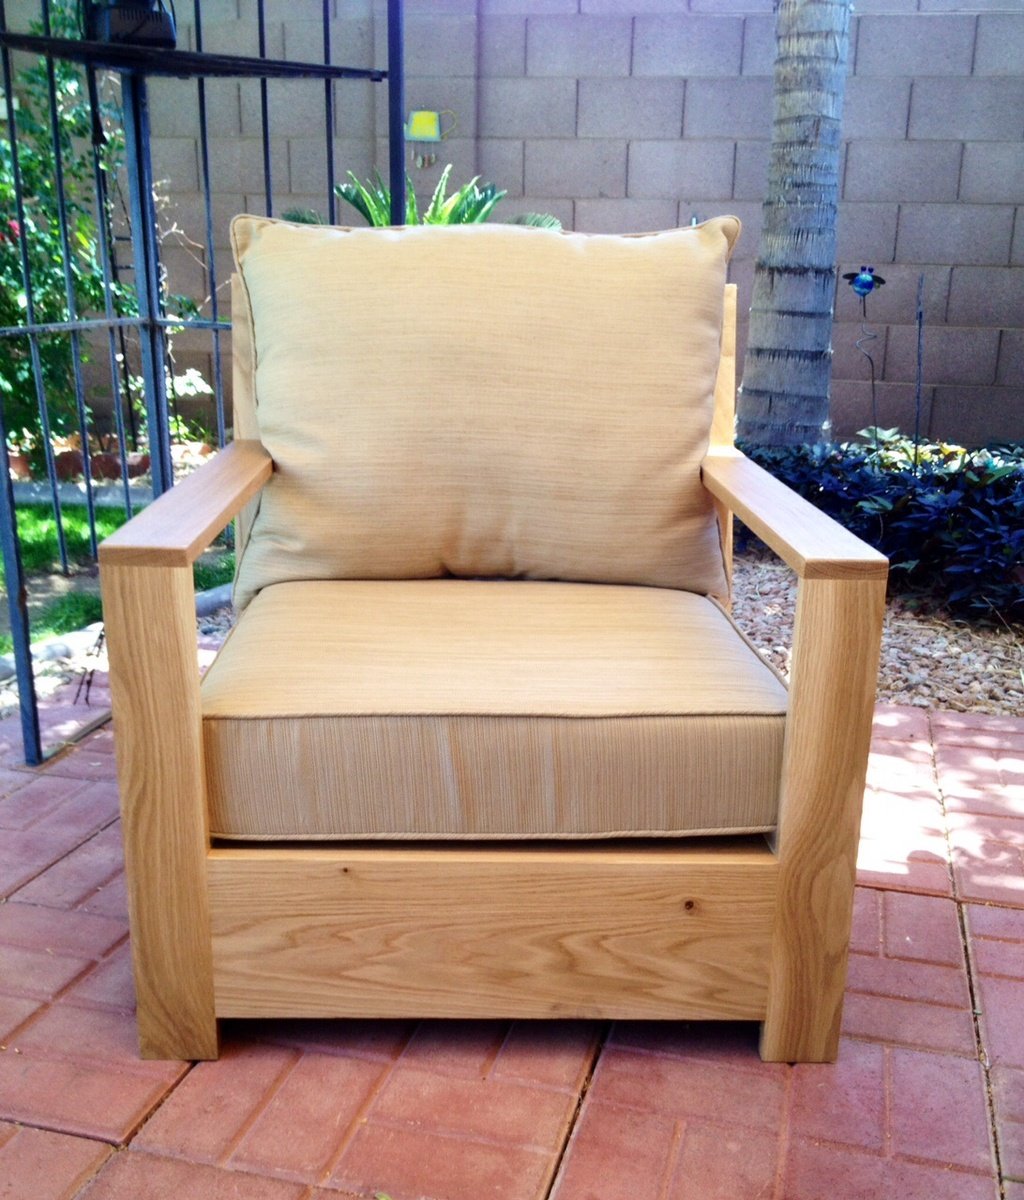
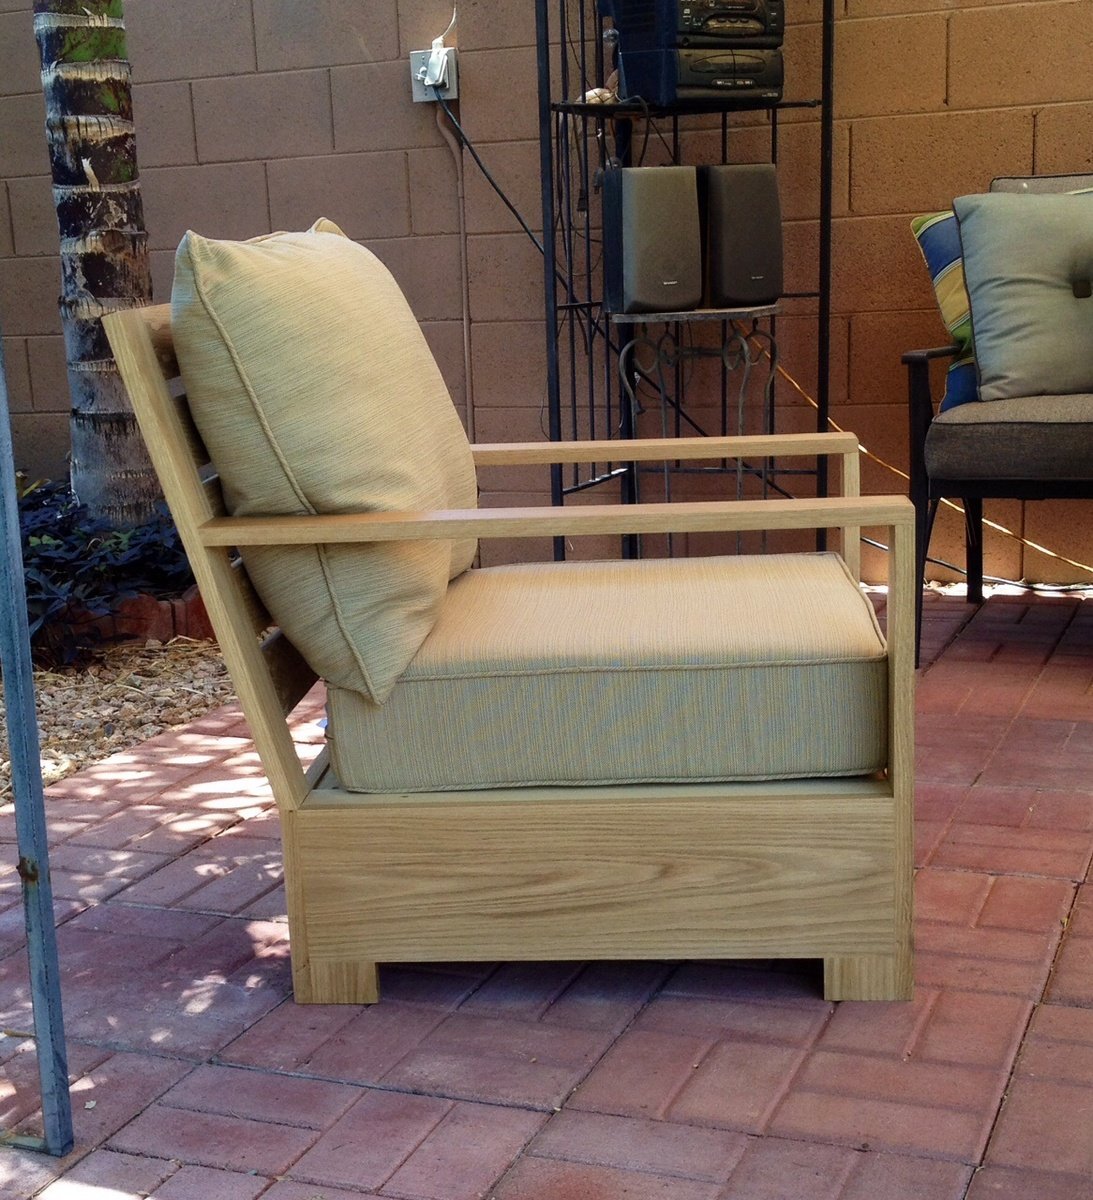
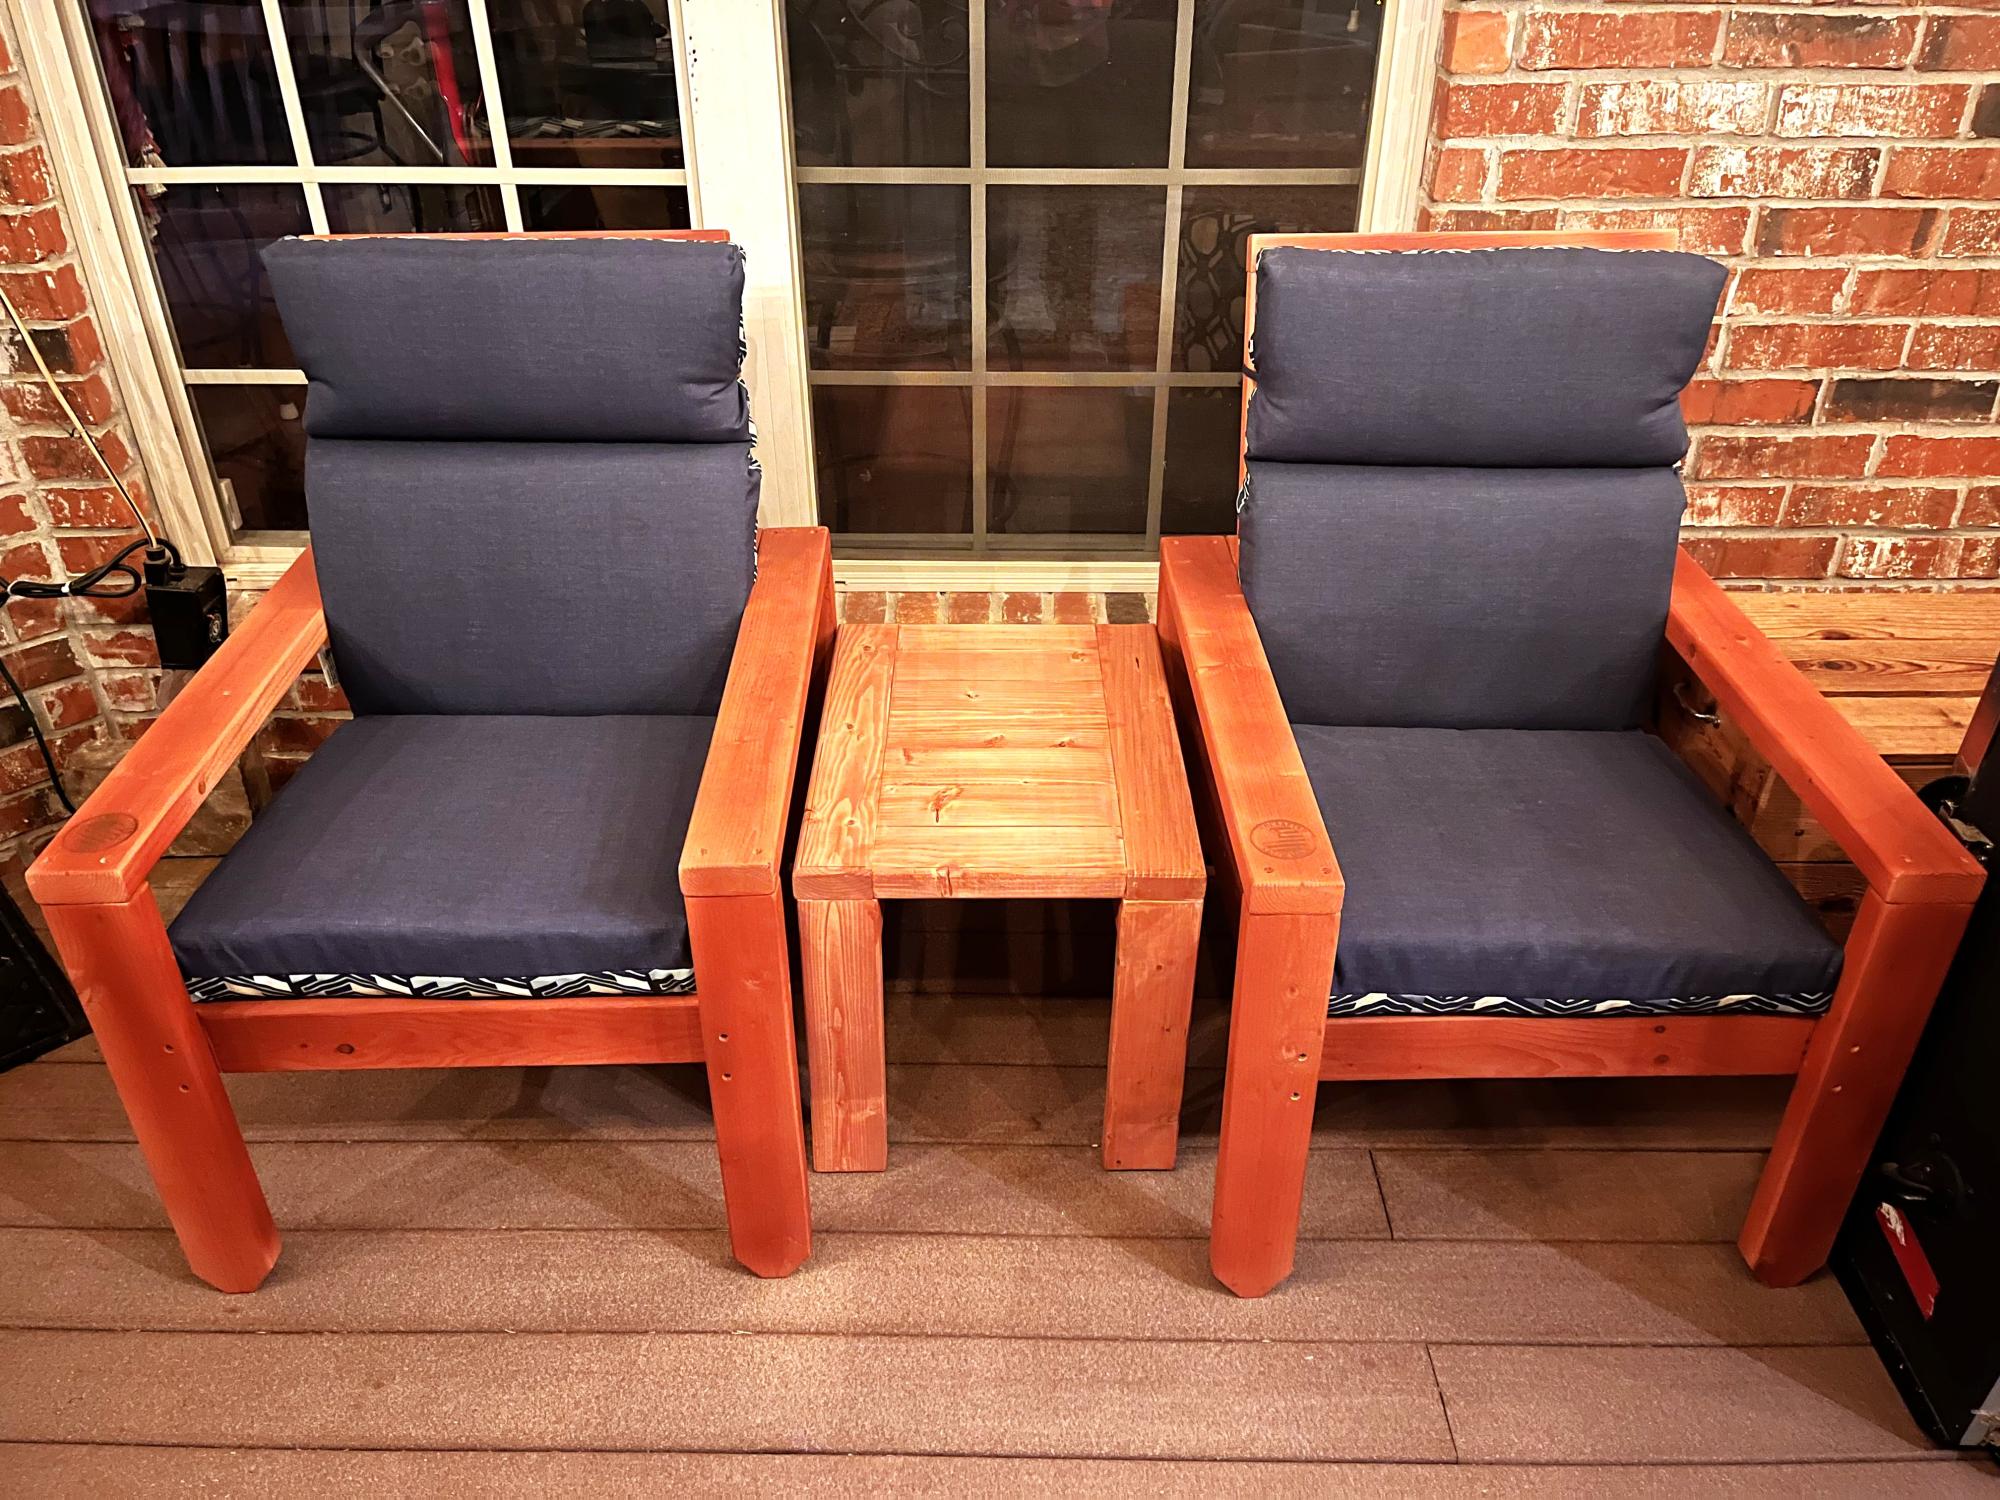
BRISTOL OUTDOOR LOUNGE CHAIR

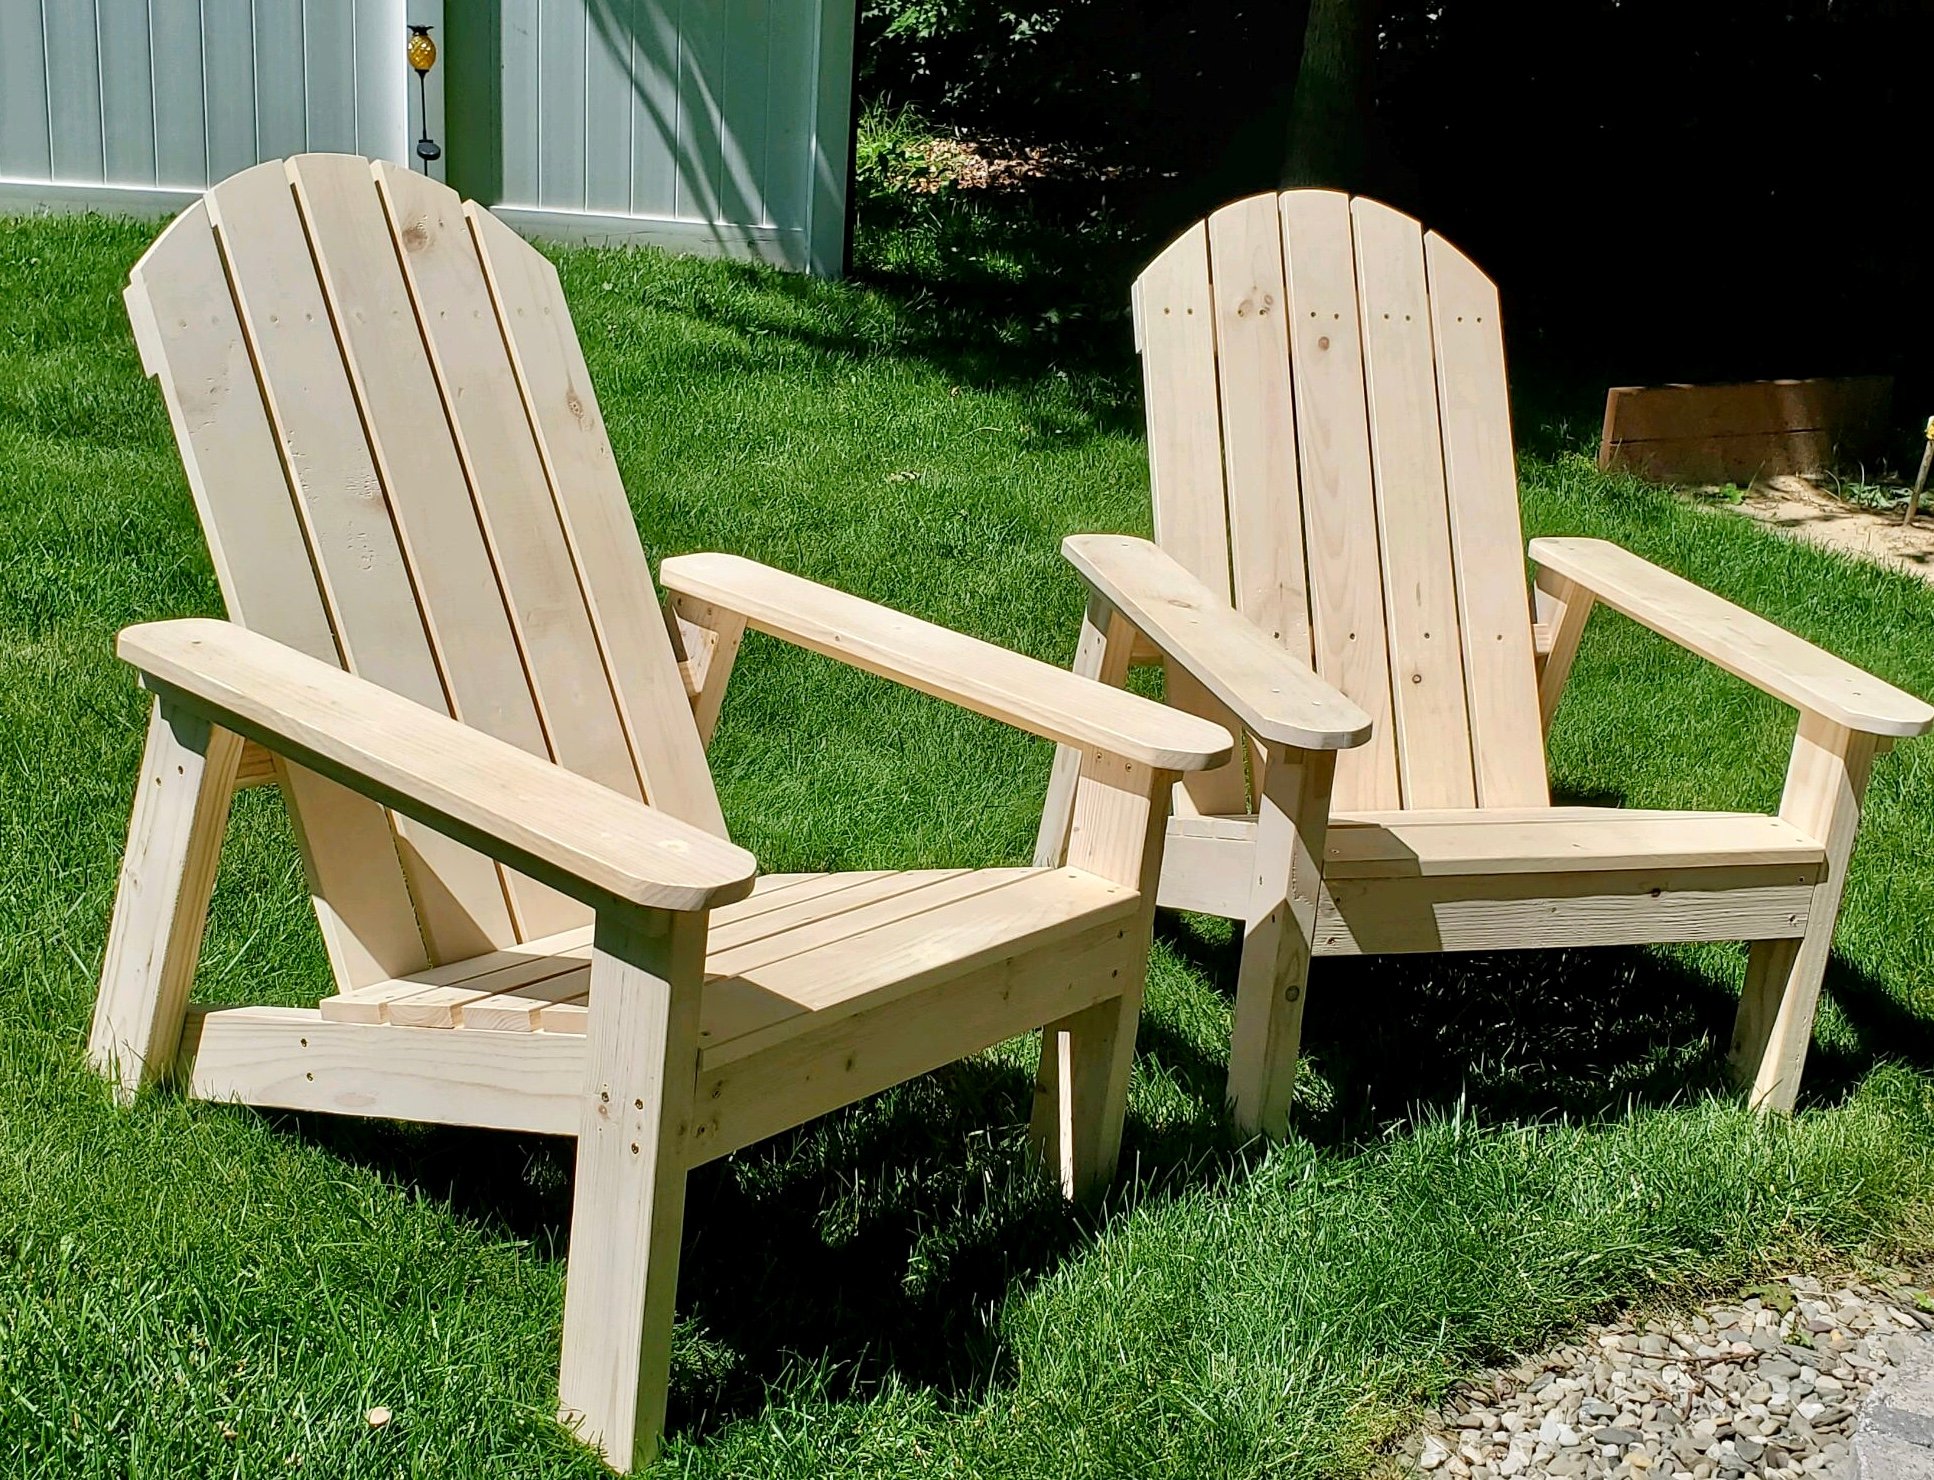
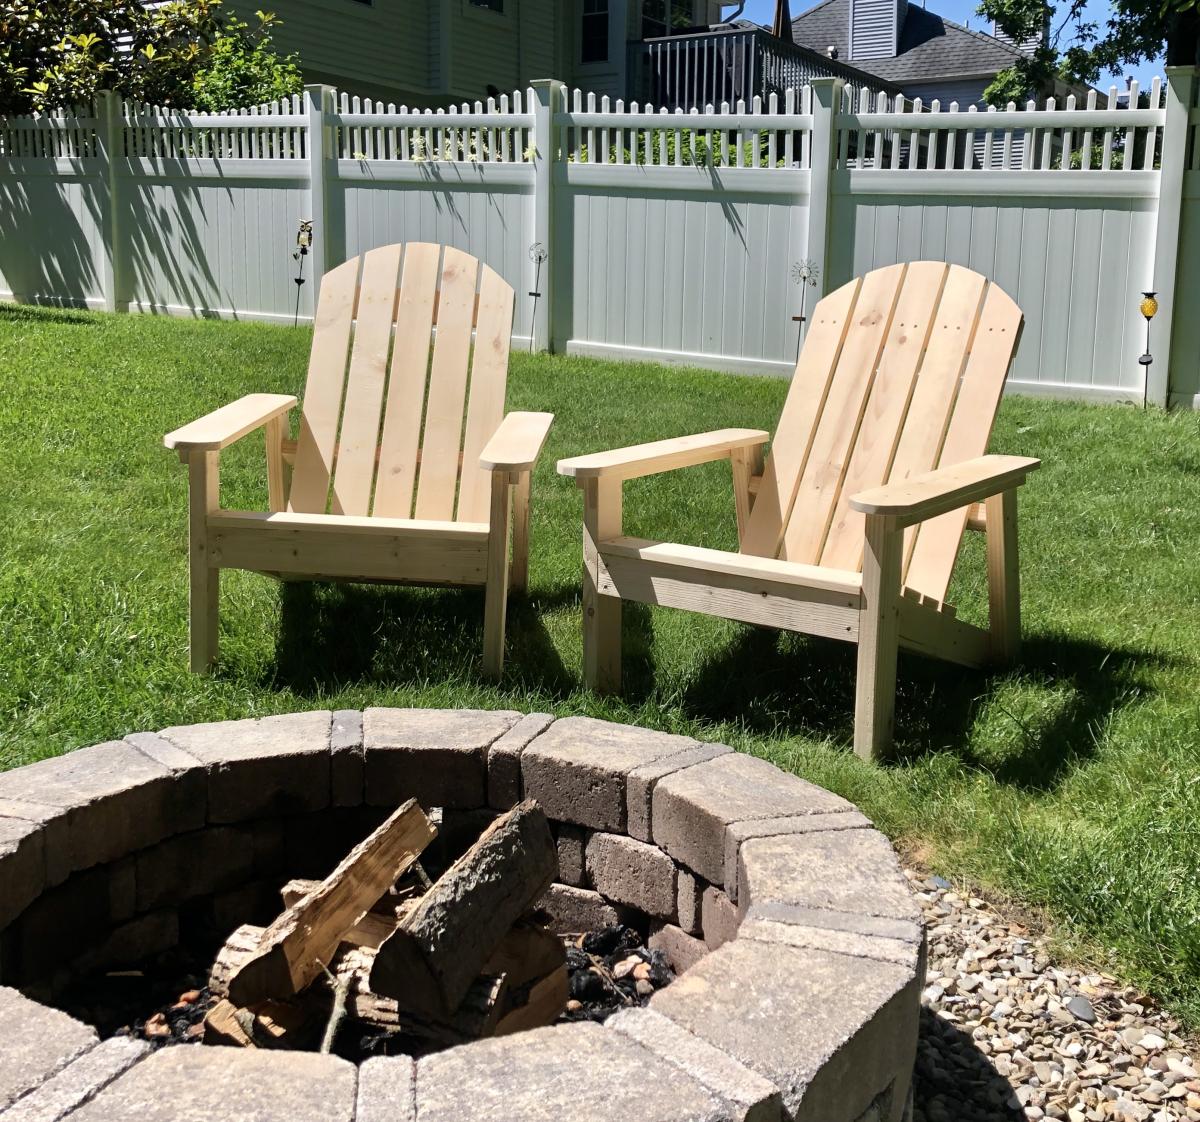
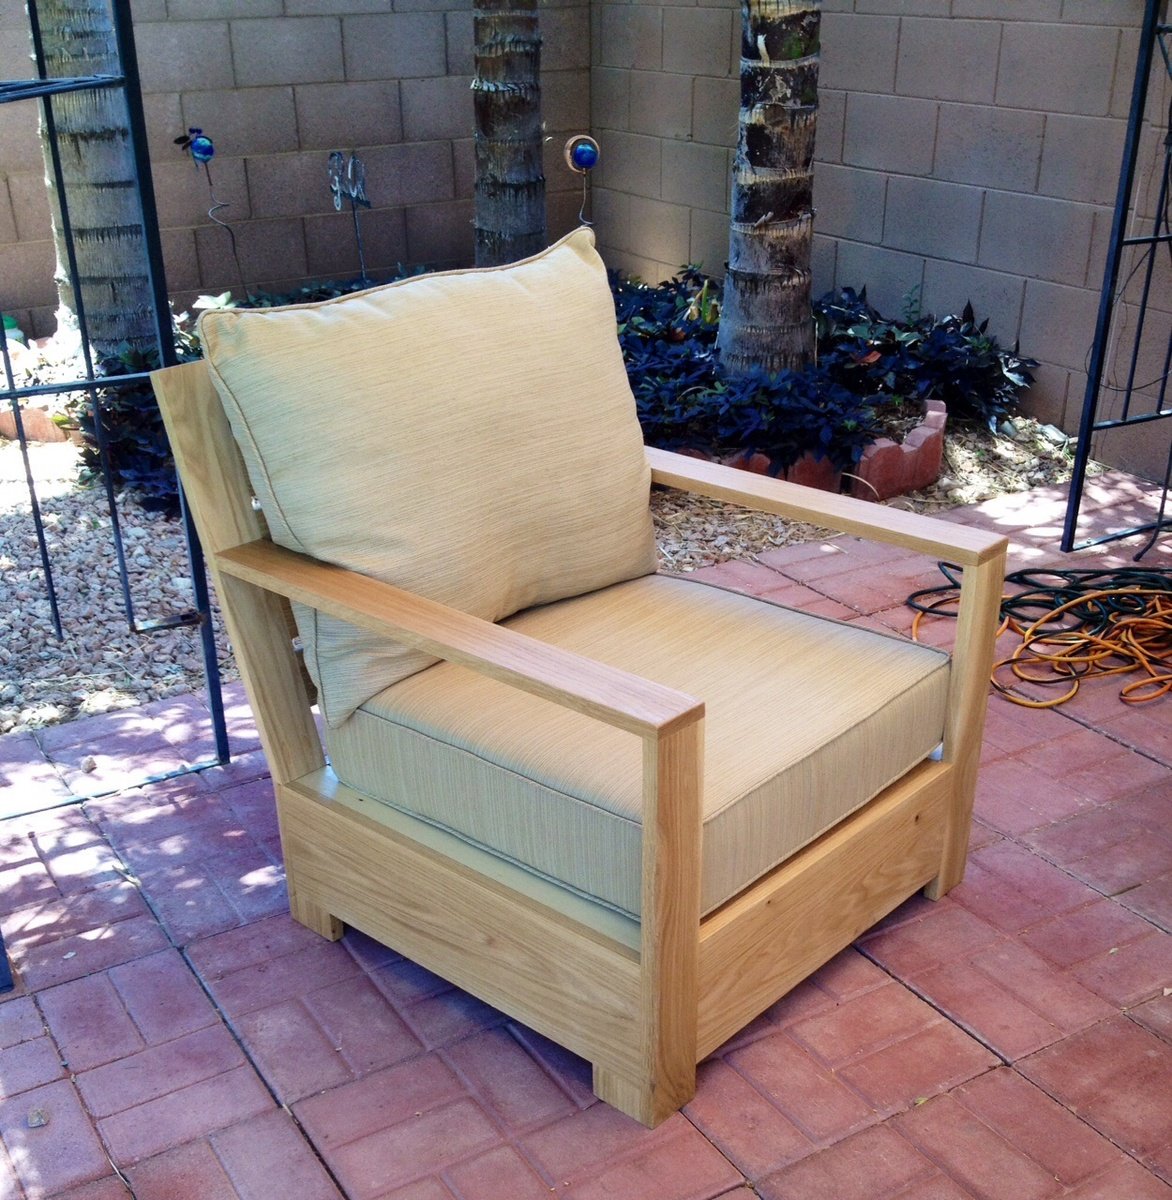
I followed Ana's plans to build the Bristol Outdoor Lounge Chair. I used White Oak for the chair. The plan was pretty easy to follow and i enjoyed the project. I am excited to build a second chair as well as other items that i will find of interest on her website.

James

Estimated Cost
$220 including cushions bought at Lowe's
Estimated Time Investment
Weekend Project (10-20 Hours)
Finish Used
I used General Finishes Exterior 450
Recommended Skill Level
Beginner

Shared room

Submitted by kile529 on Fri, 08/26/2016 - 05:38

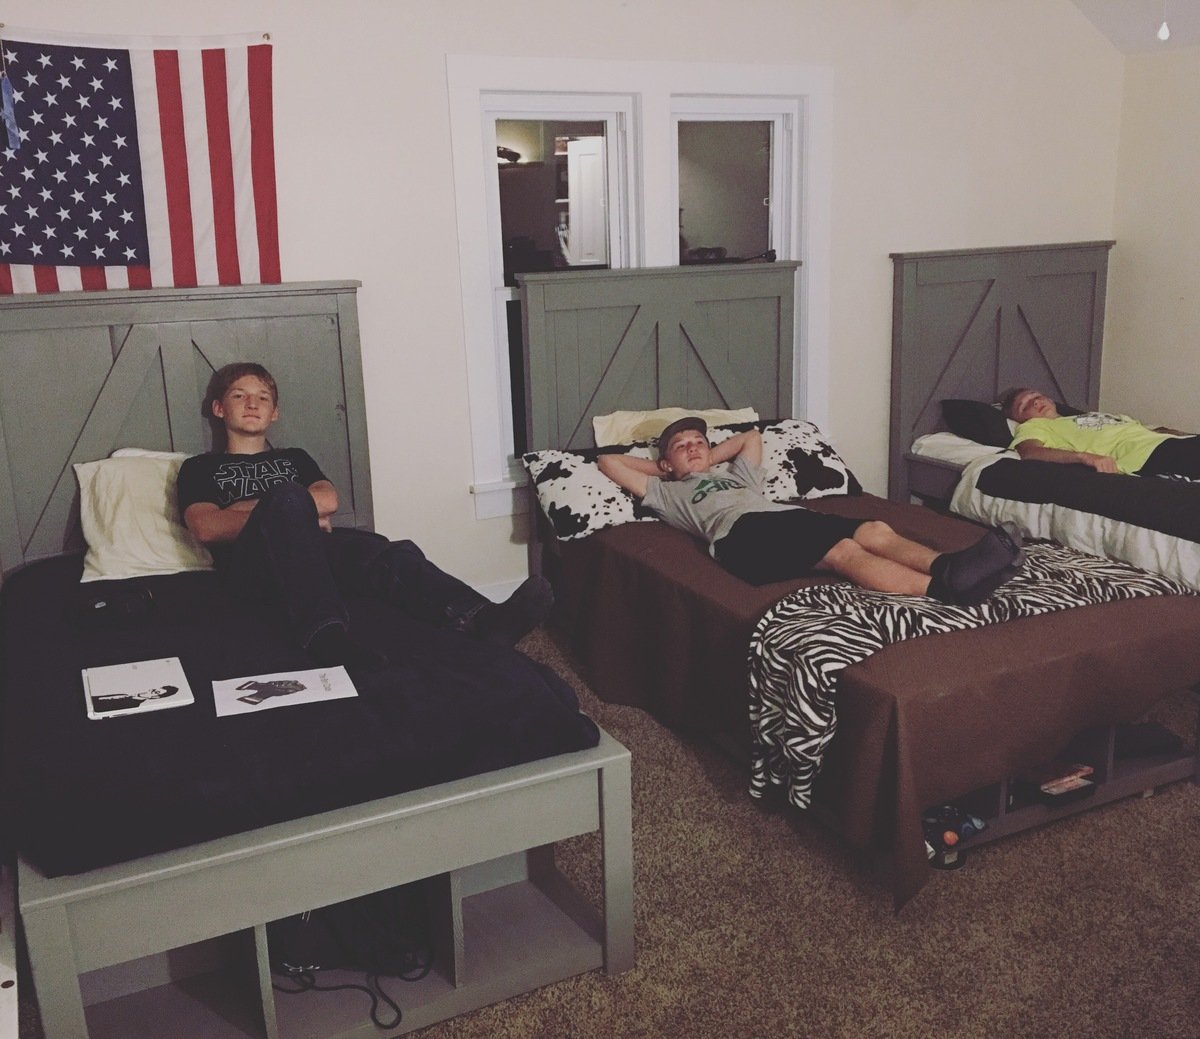
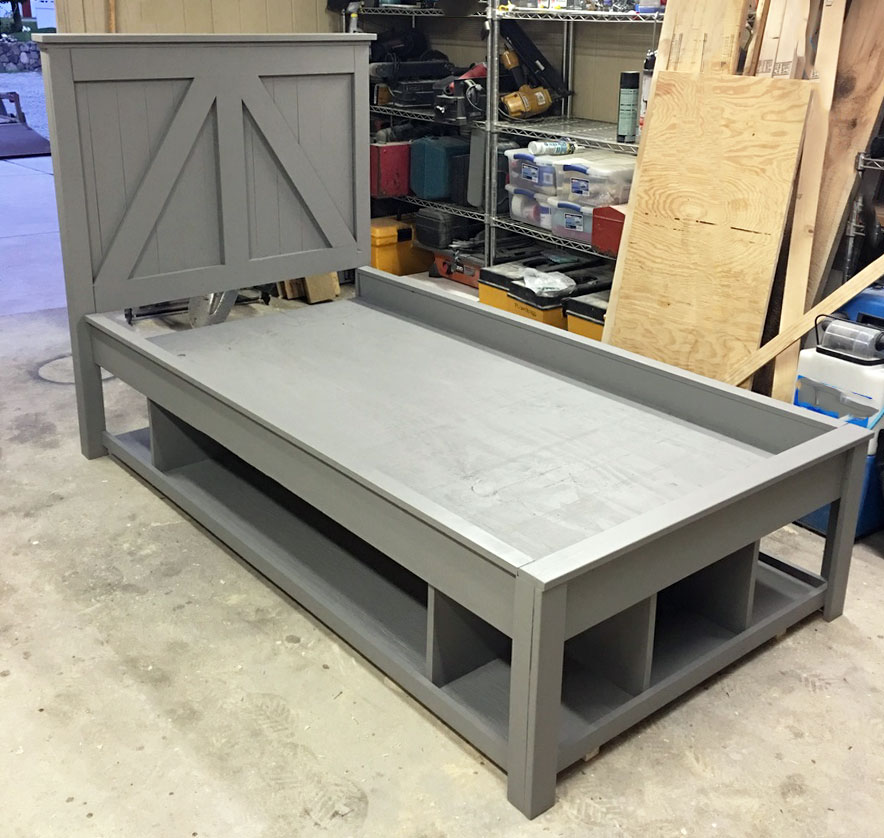
We have 3 (almost) teenage boys and needed the storage of the Brookstone bed for their sport gear, etc. I built 2 of them and my 15 year old built his. I can't get over how easy they were to build! This was the first building project I ever made and they turned out beautifully! The headboard took about 2 hours to build and the bed about 5 hours. I was pretty slow though, checking and double checking measurements, glueing and clamping like crazy, being careful not to rush. Still, 7 hours to make the bed and a couple hours to paint, not a bad days work! The lumber cost $144/each so we were happy with the cost of the beds. I would highly recommend furniture movers underneath them. I used 4 huge ones under the ends of the 2x2 supports and small squares under the legs/headboard. They move so easily with them! Thanks, Ana, for a great plan!! We are so thankful and love our new beds!!

Estimated Cost
$144 for lumber
Estimated Time Investment
Day Project (6-9 Hours)
Finish Used
Grey paint. Wanted a grayish stain but couldn't get the pine to take it the way I wanted it to.
Recommended Skill Level
Beginner

Comments

anita1977

Tue, 12/06/2016 - 07:56

I have 4 boys, but 3 are married and gone now and I bought my youngest a new bed last year, but I would have loved to have been able to make these for the older ones when they were growing up!  Great job to you and your son!

Outdoor furniture

Submitted by td_tx on Sun, 06/07/2020 - 11:33

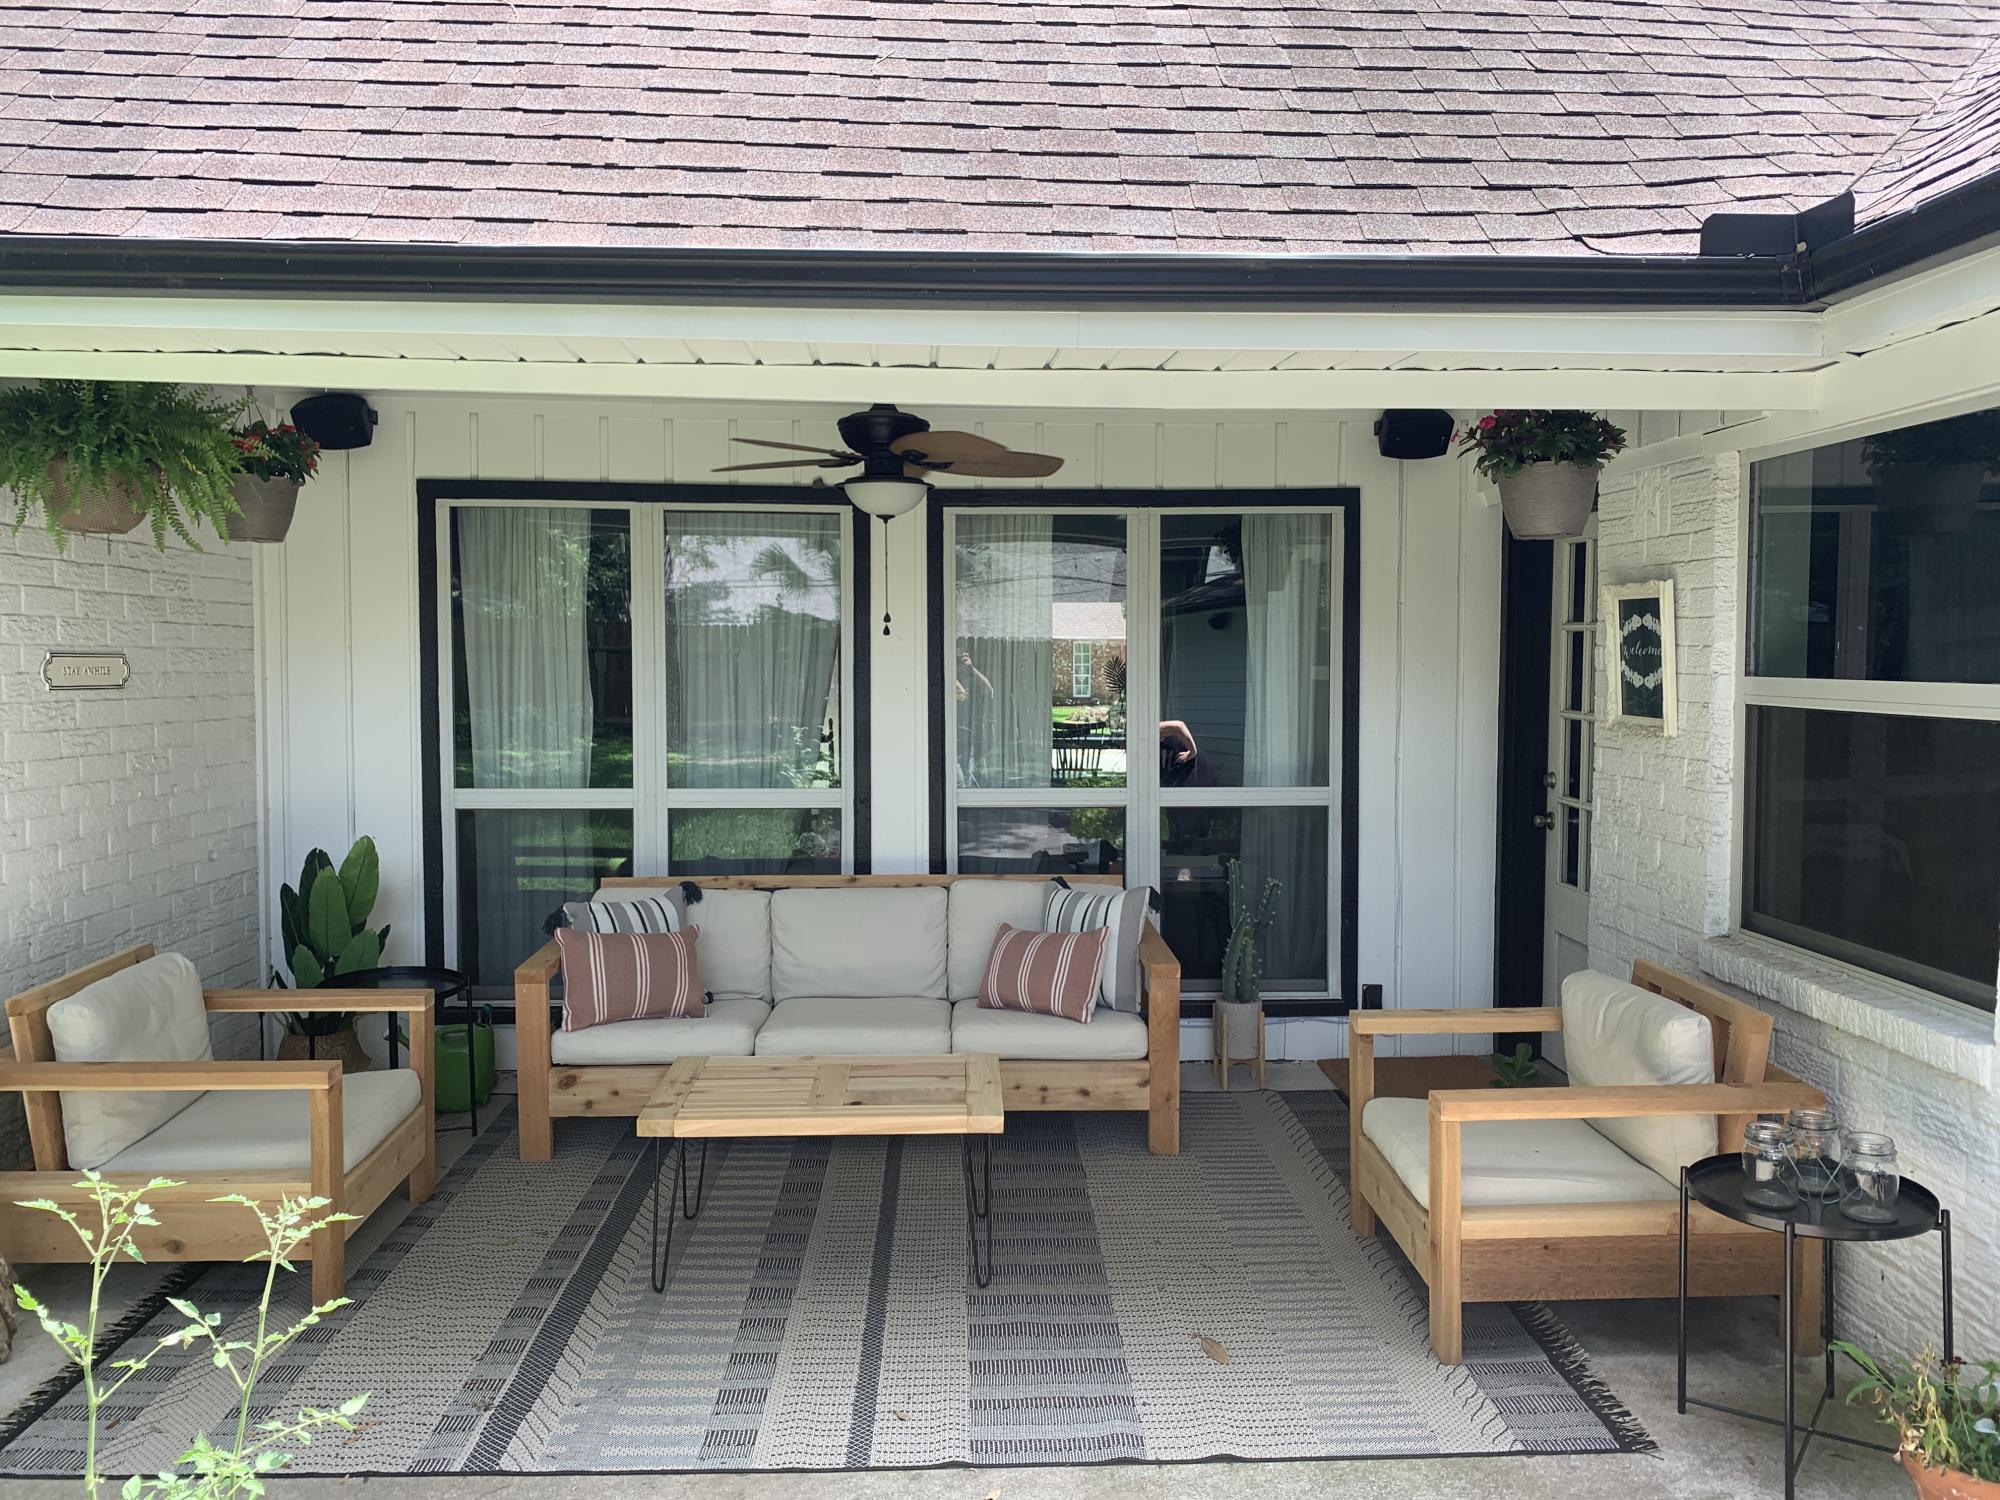
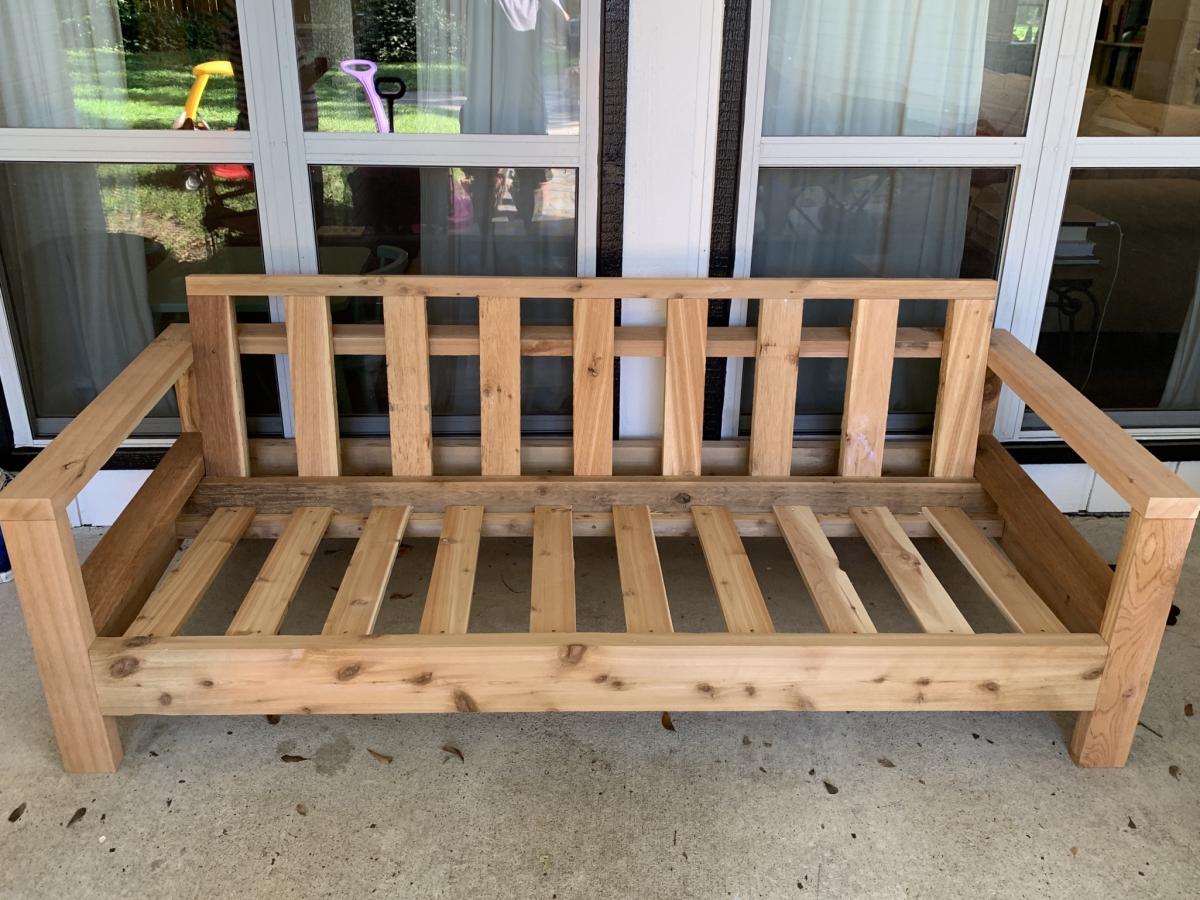
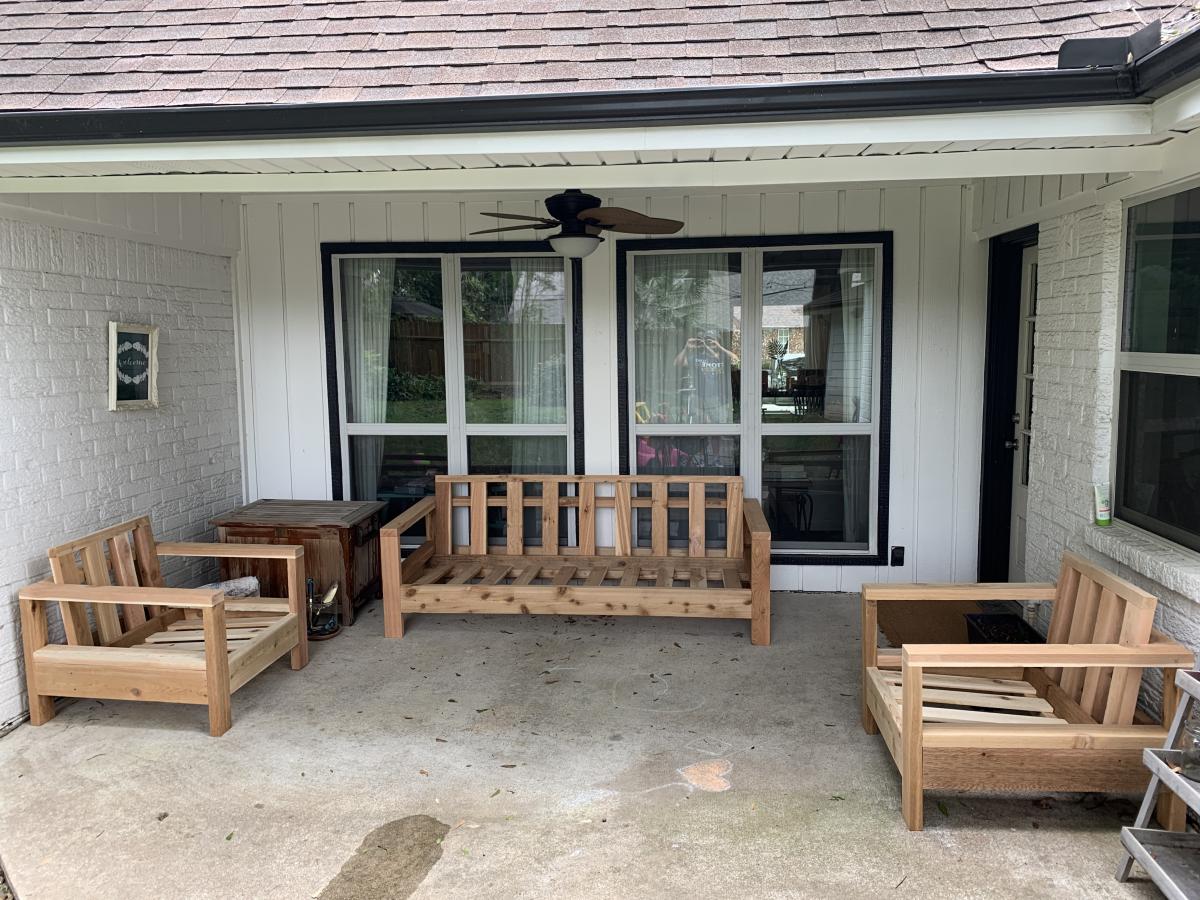
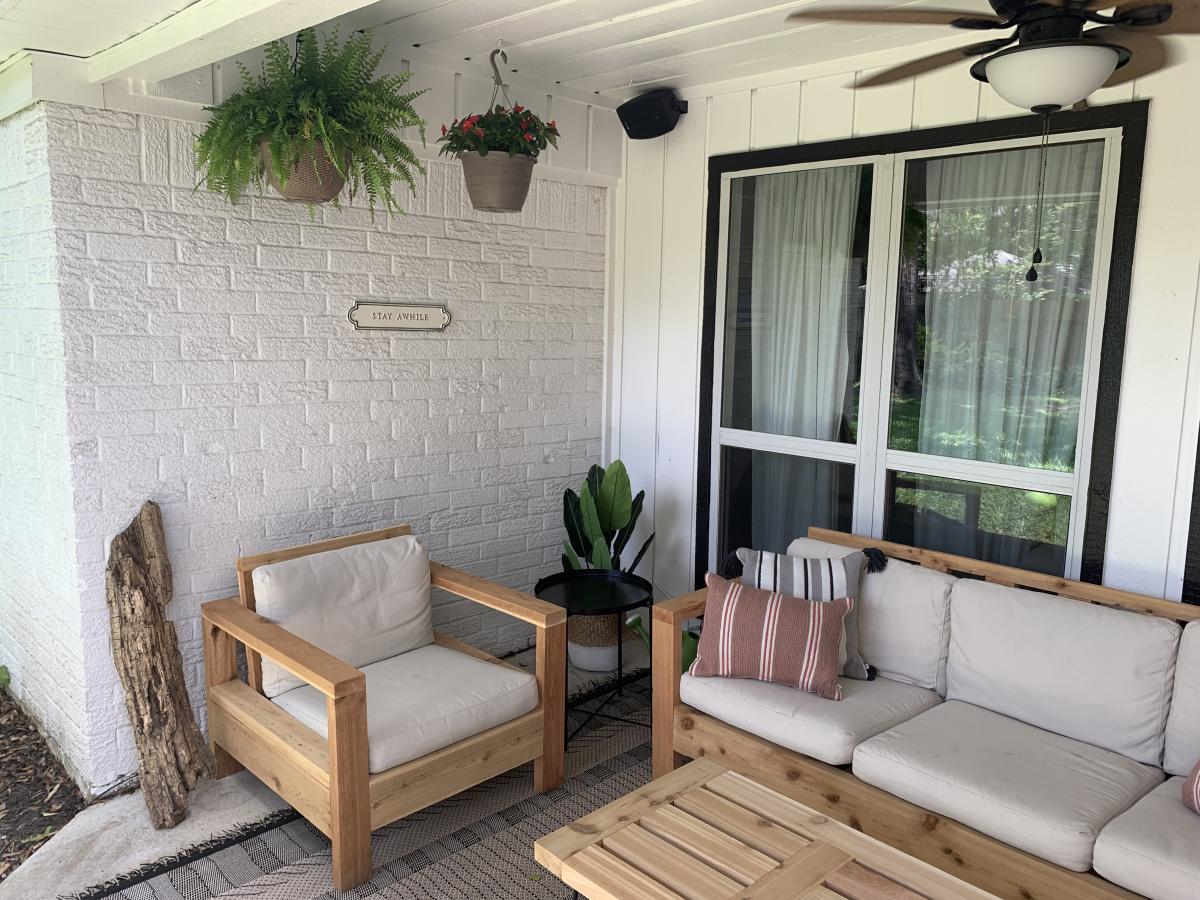
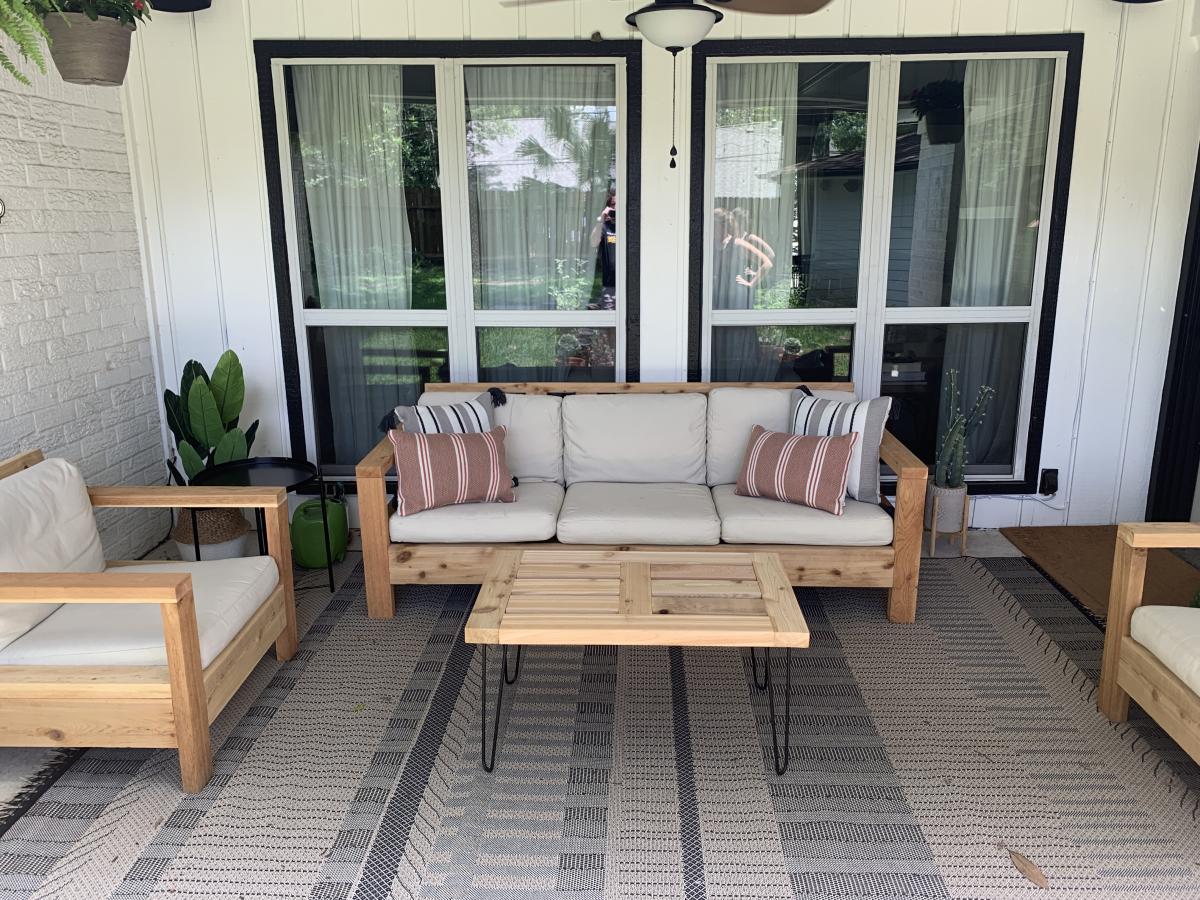
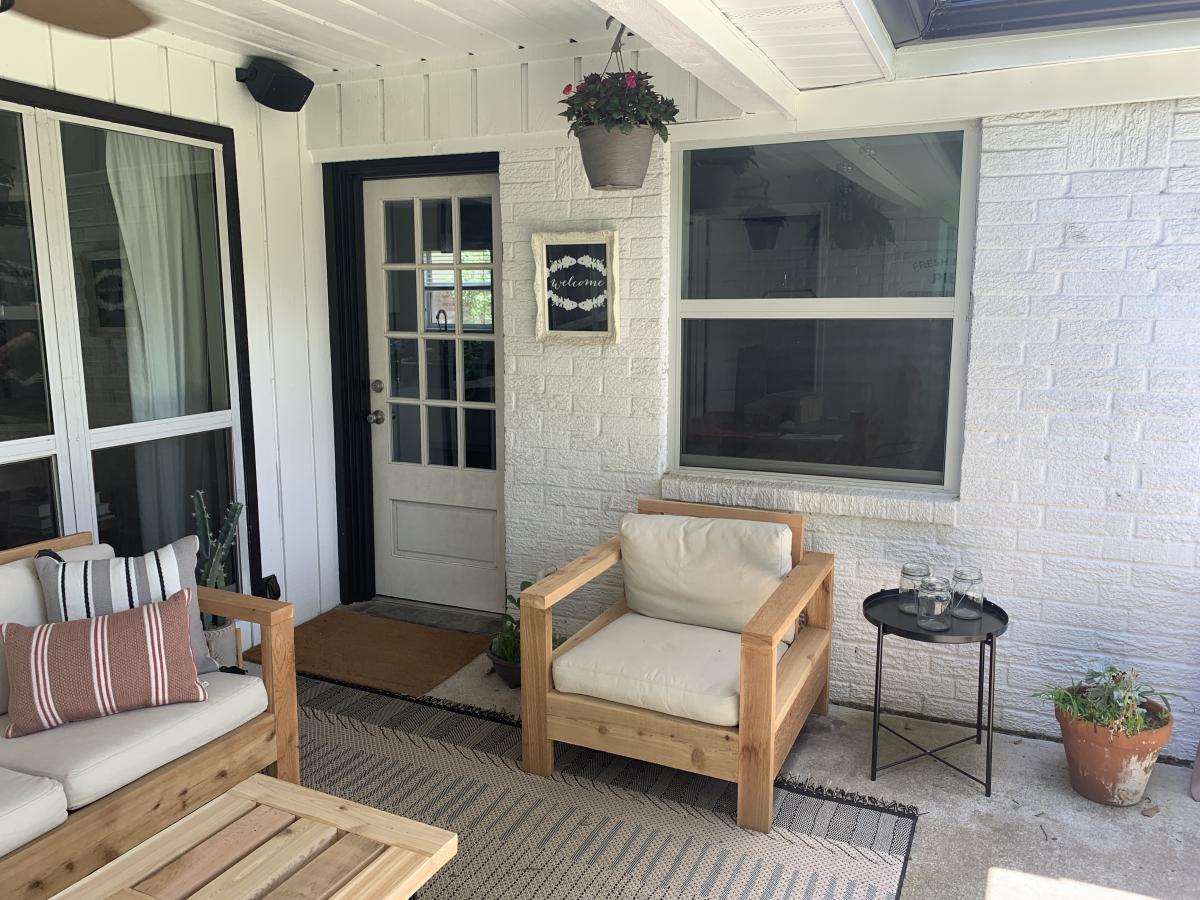
I used rough cedar to build the patio set. I pre-sanded all pieces to smooth them out and sanded again at the end to limit any remaining splinters. I could not find cedar 2x2, so I ripped all 2x2 from 2x6 using the table saw. The furniture is covered by our porch and we decided to leave it unfinished to let it weather naturally. The plans were modified slightly to accommodate IKEA outdoor cushions. I had some remaining wood, so I built a basic coffee table using some black iron hairpin legs from Amazon.

Estimated Cost
$600 with cushions
Estimated Time Investment
Weekend Project (10-20 Hours)
Finish Used
Left unfinished to let the cedar weather
Recommended Skill Level
Beginner
Seasonal And Holiday

modified bench swing

Luv your site. Took your bench swing plan and modified it a bit (shortened depth) and then created a small pergola to hang it from. Just need to stain/poly to finish it off. Thanks for your plan and website it is very inspiring.

Estimated Time Investment
Weekend Project (10-20 Hours)
Recommended Skill Level
Beginner

Surf Shack Bunk Bed (Using Club House Bed Plans)

Submitted by Anonymous (not verified) on Sun, 08/28/2016 - 21:39

We decided to follow the Club House bed plans, but we added another bunk below. We did this by adding a foot to the height and duplicating the slats and ends etc. My boys absolutely love this bed! We actually enjoyed building it. I can't wait to try more Ana White plans - they were so easy to follow and it's so satisfying having made something cool from scratch.

Built from Plan(s)
Estimated Cost
$200
Estimated Time Investment
Weekend Project (10-20 Hours)
Finish Used
One part water to two parts white paint
Recommended Skill Level
Intermediate

Playset Addition

Submitted by Derek S on Wed, 06/10/2020 - 08:27

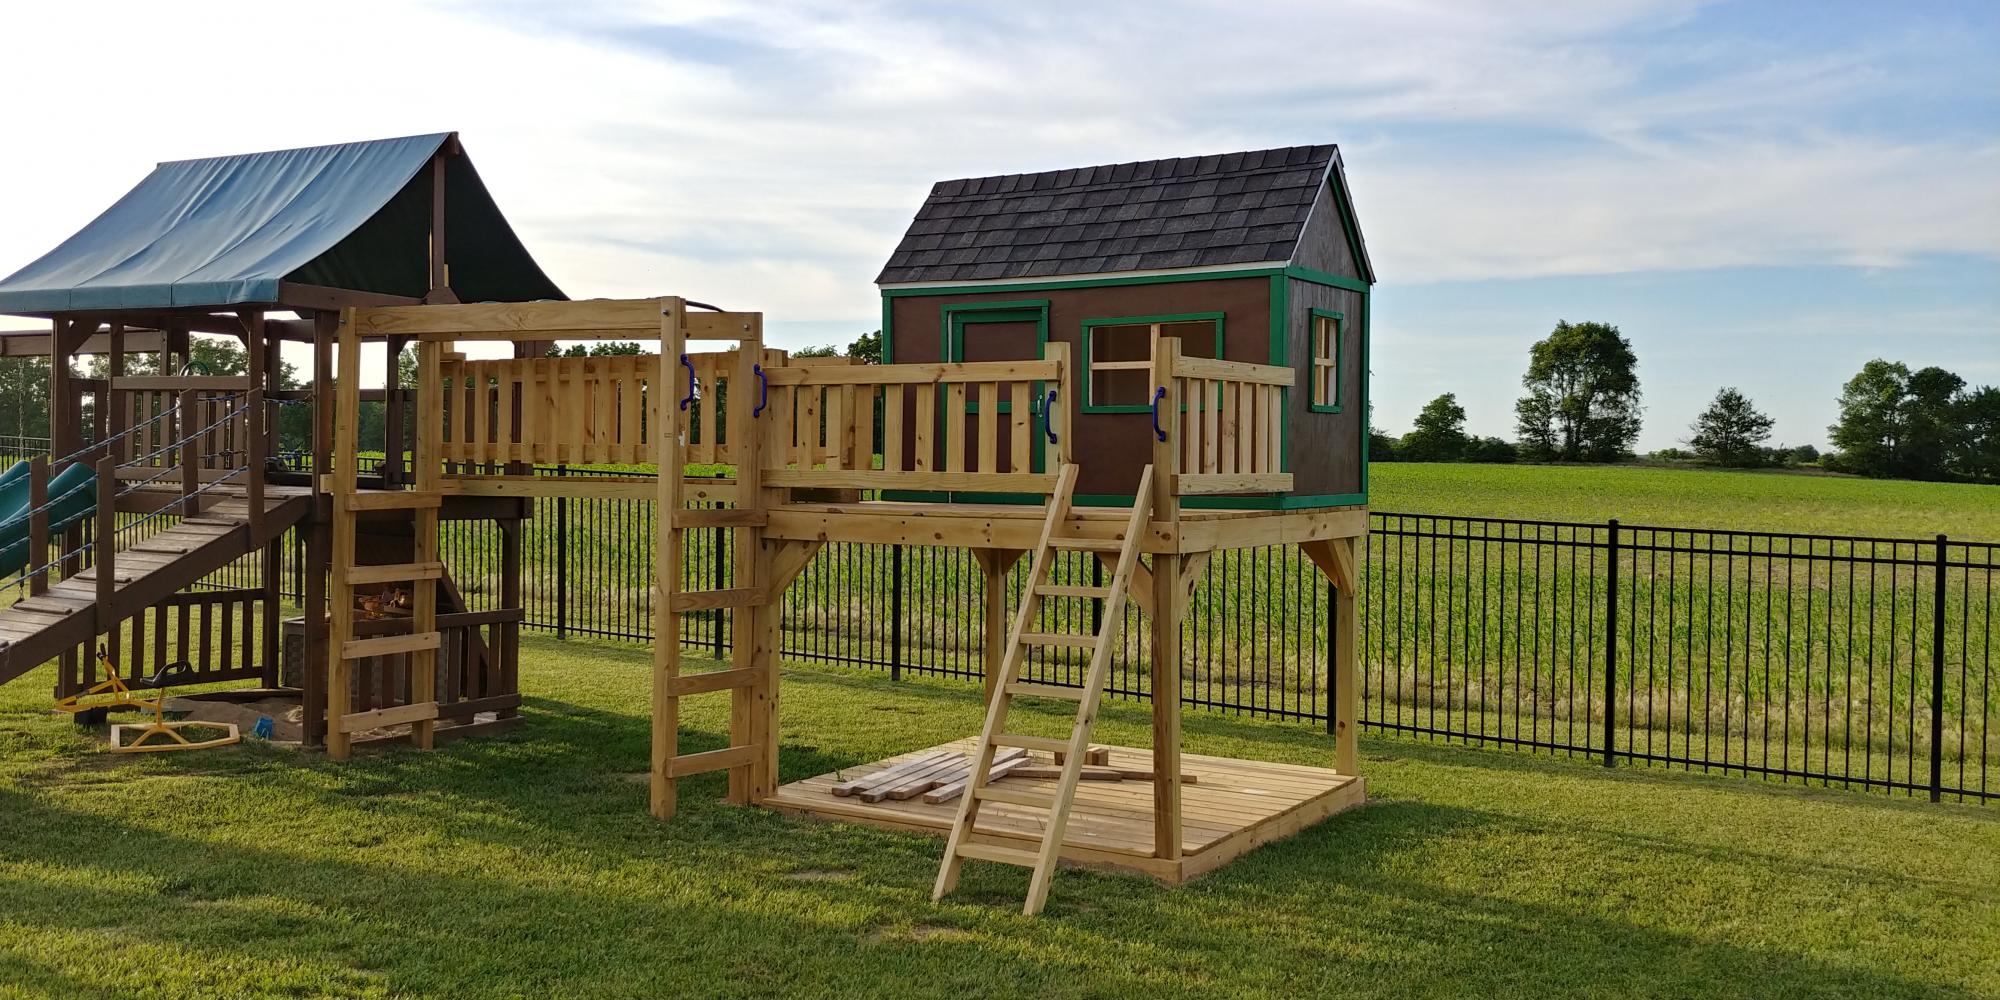
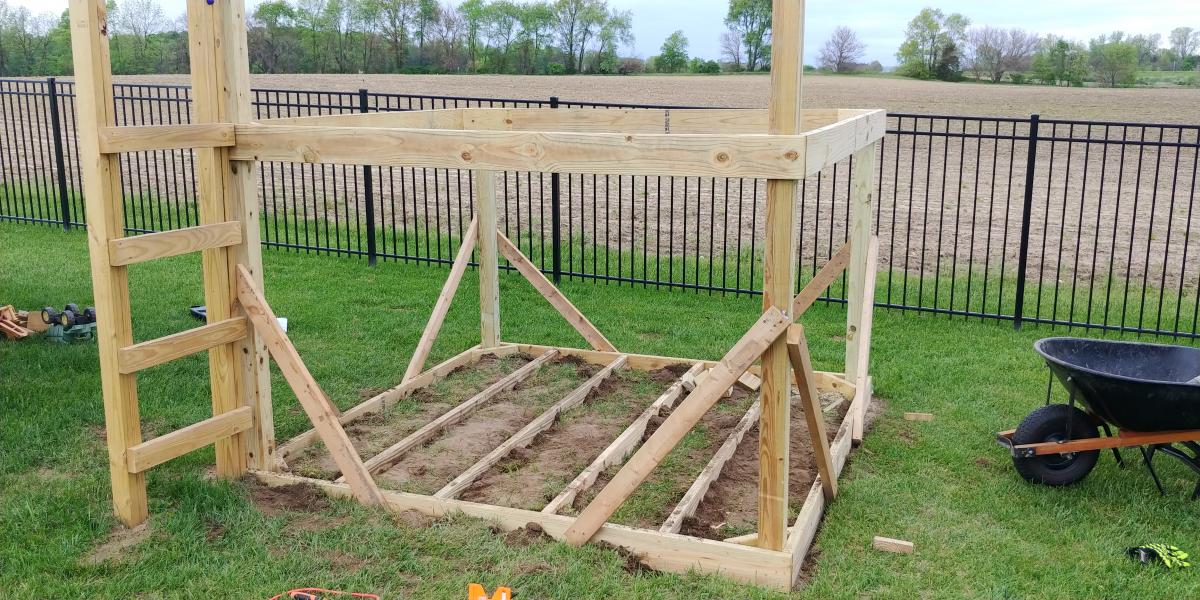
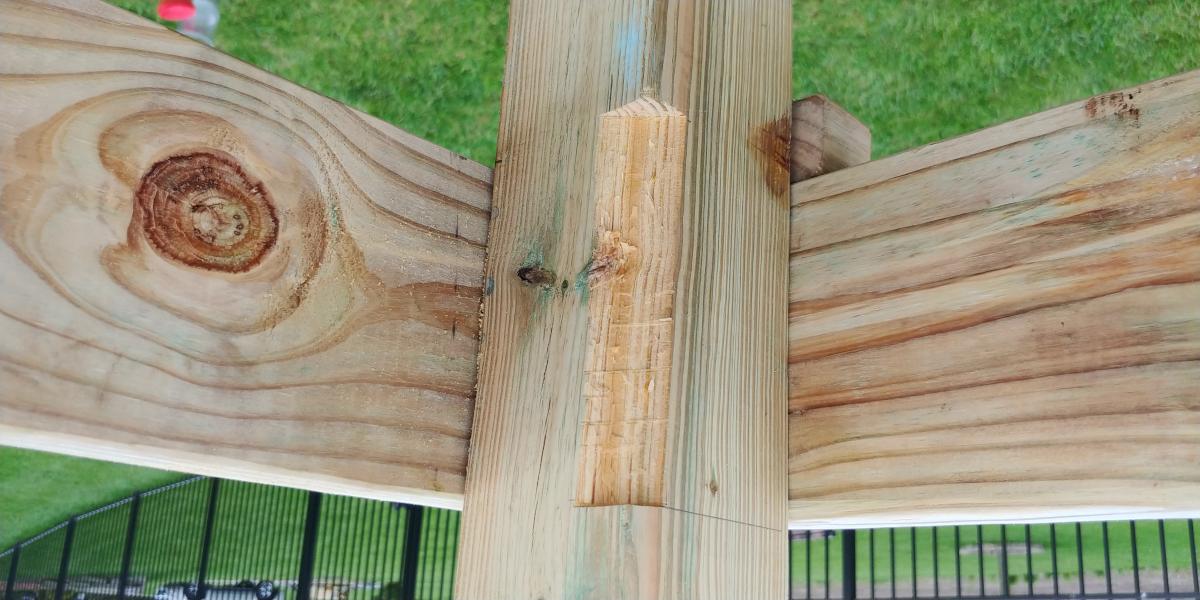
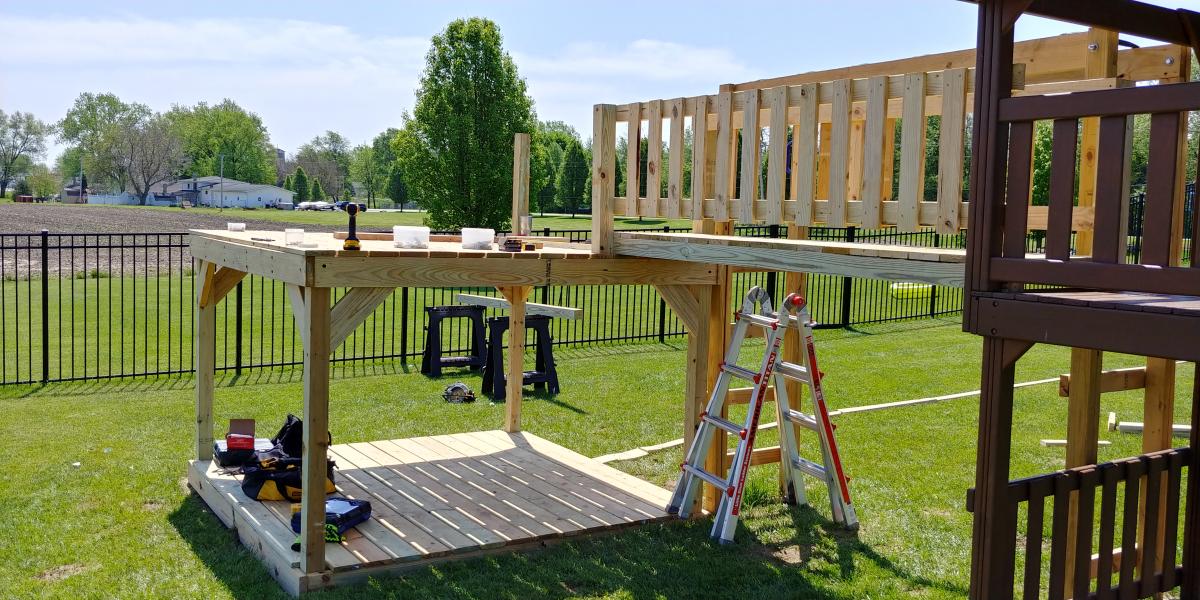
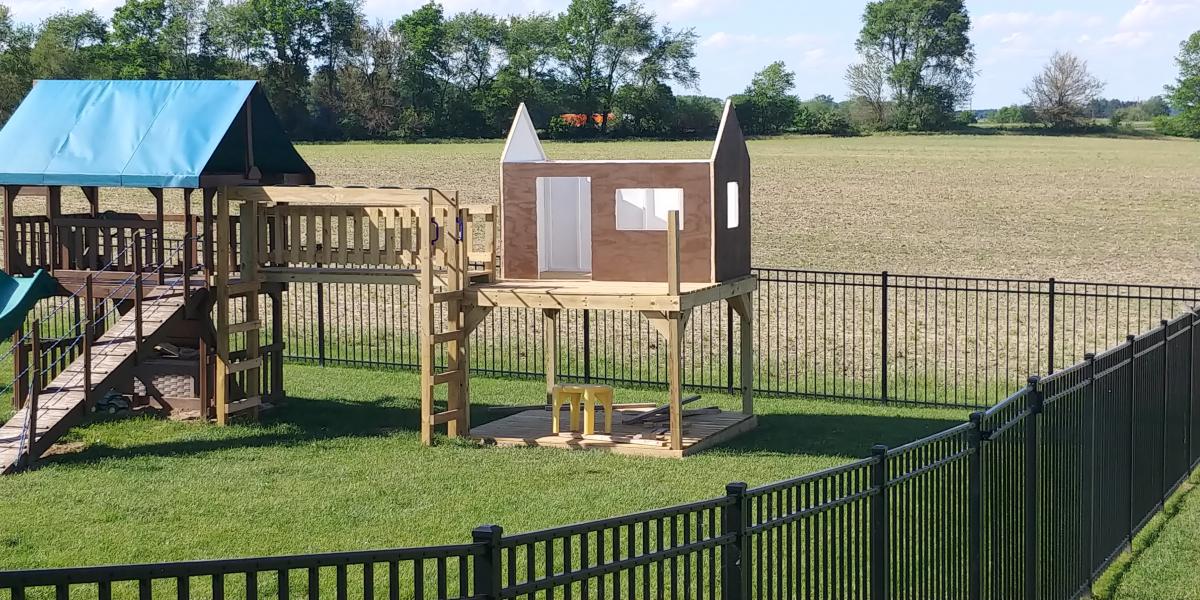
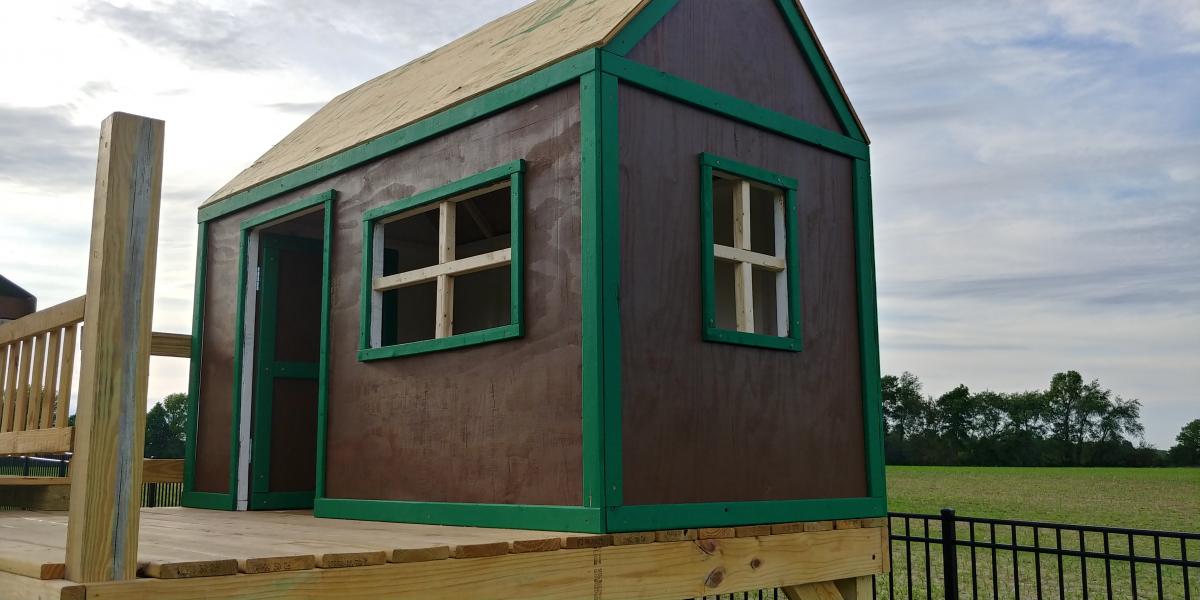
Decided our old play set needed an addition, landed on these plans of Ana's. Sat on them and mulled them over for months. Once the wife said something about adding on to it I made the purchases needed. Connected the two platforms with a bridge. I used 4"x4"x10' for the runners, same boards as the decking for the platform of the bridge(5/4"x6"), 2x4's and 1x4's for the railing. If you look at the 3rd photo, I had to chisel out the 4x4 post to get the 2"x6"x12" support to fit correctly. This should measure 2"x6"x13". Another change I made was to cut the bottom and top trim pieces longer on the front and back sections so that the trim would cover the framing of the gable end walls (see last photo). my son wanted windows so I faked in some windows with scrap 2x2's. I used 2x6's as supports from the 4x4's to the 2x6 framing (see photo 3) I added the monkey bars about a month before deciding to do the platform/deck and playhouse. The ladder is based loosely off of a couple of plans I found online. I was able to do all of this work myself except for the roof. Need my dads help to lift the plywood, he then helped me with the rest of the roof.

Estimated Cost
$1000
Estimated Time Investment
Week Long Project (20 Hours or More)
Finish Used
I used a dark wood stain fore the house, green exterior paint for the trim and white exterior paint for the interior of the house.
Recommended Skill Level
Intermediate
Seasonal And Holiday

Garden Bench!!

Submitted by Nathan1342 on Mon, 08/06/2012 - 12:09

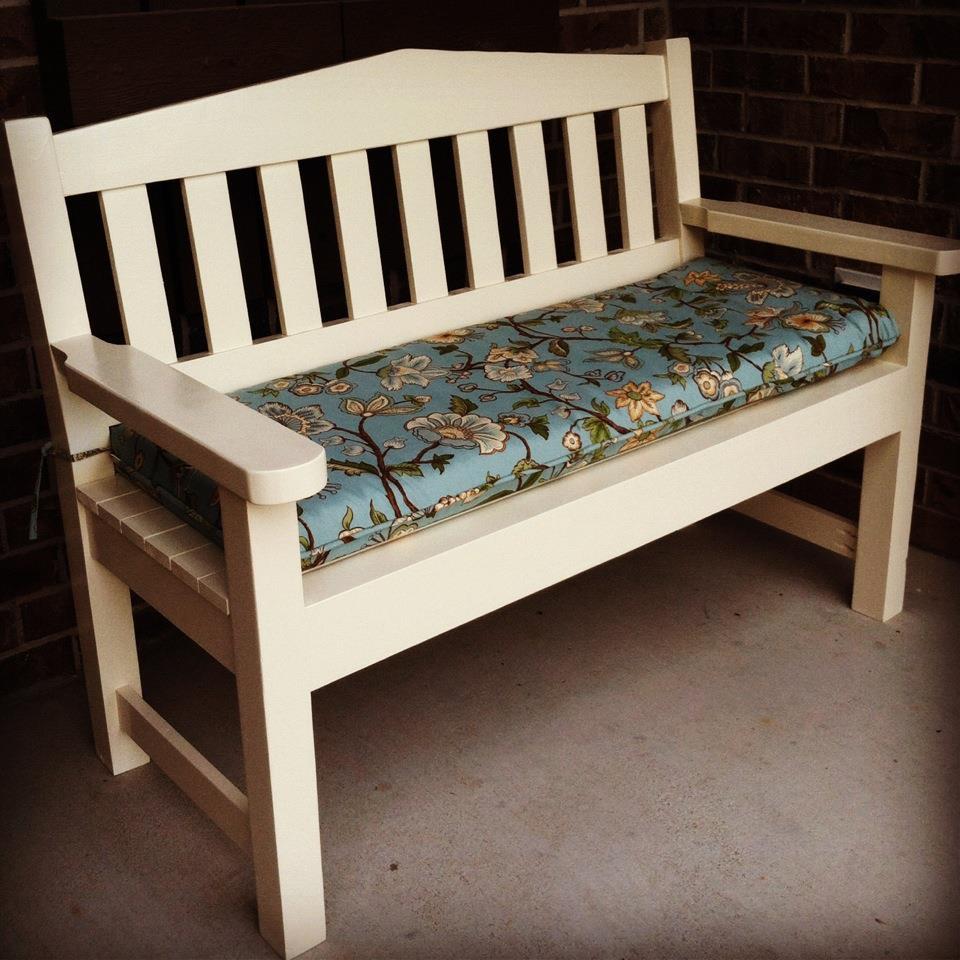
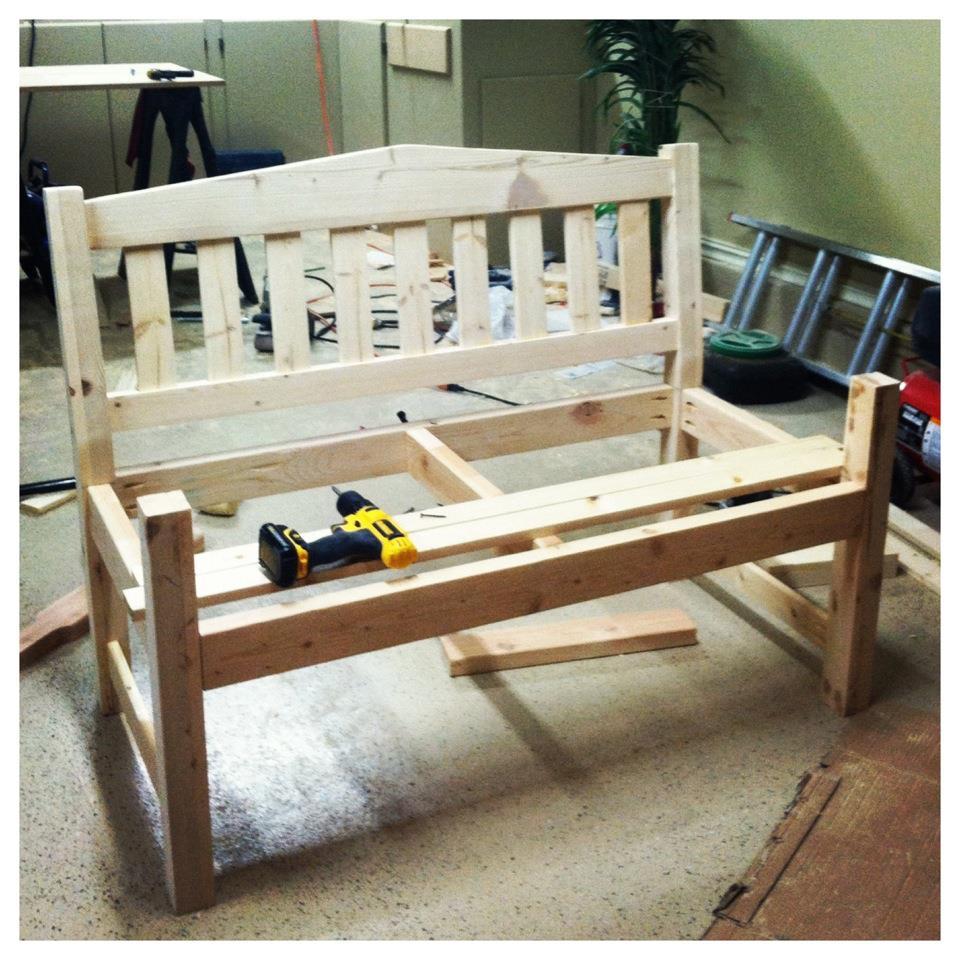
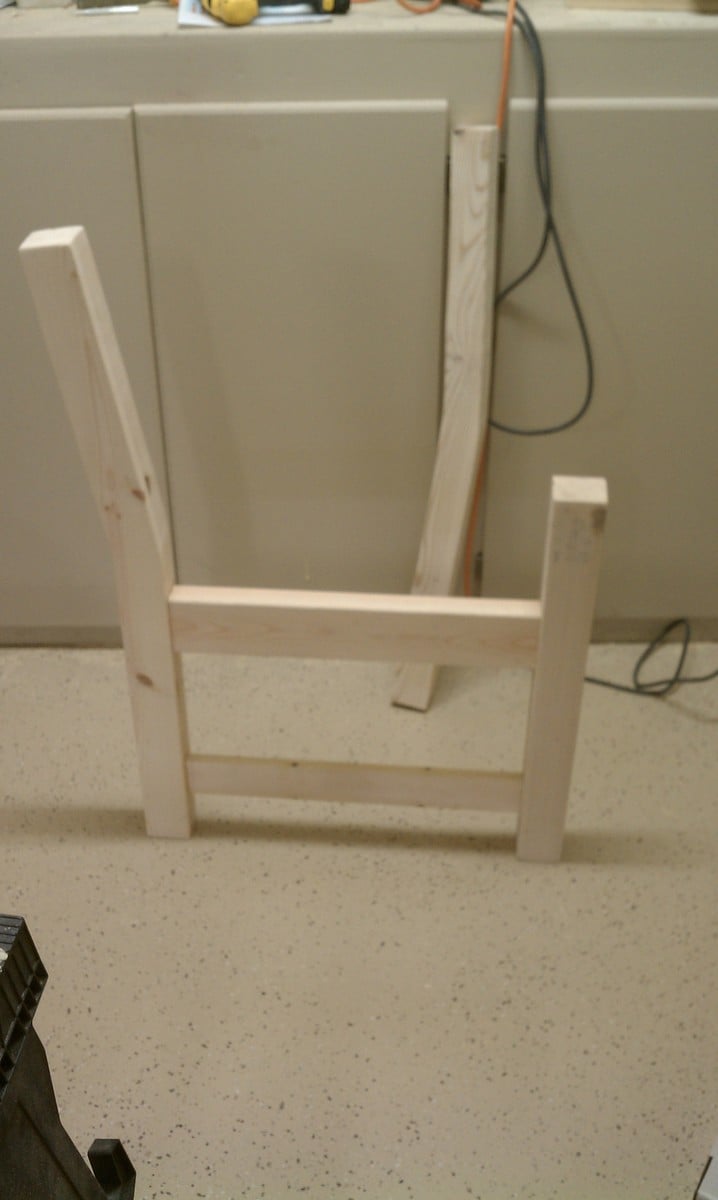
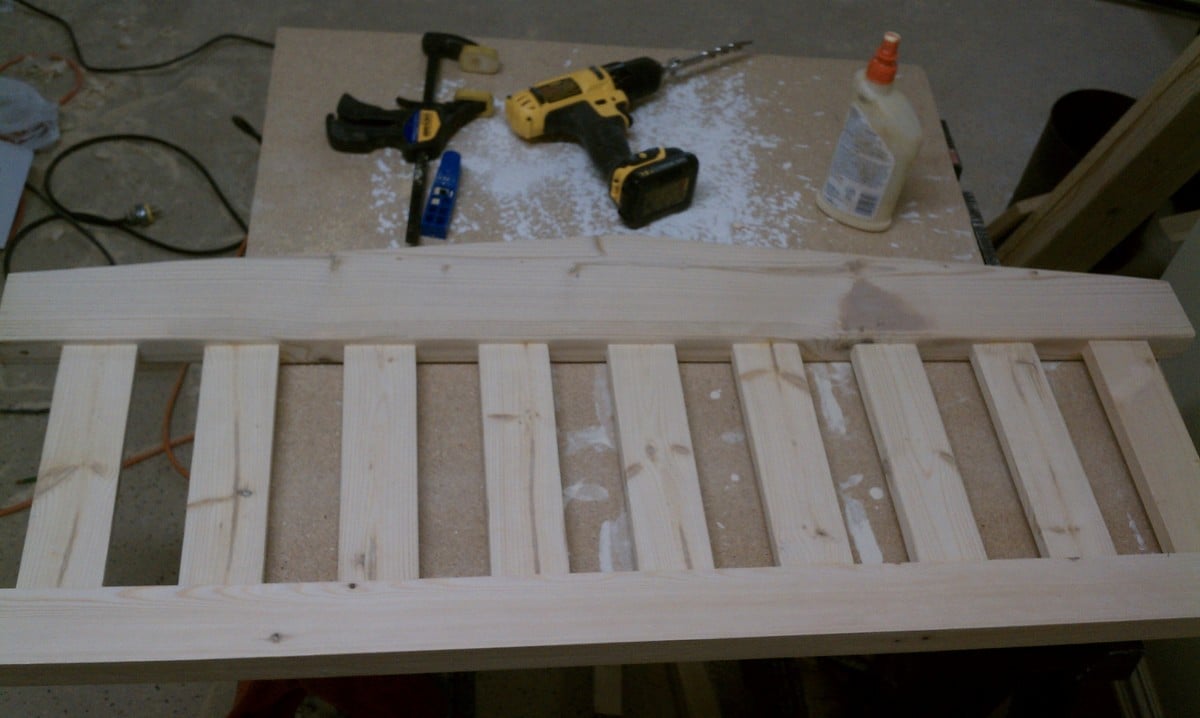
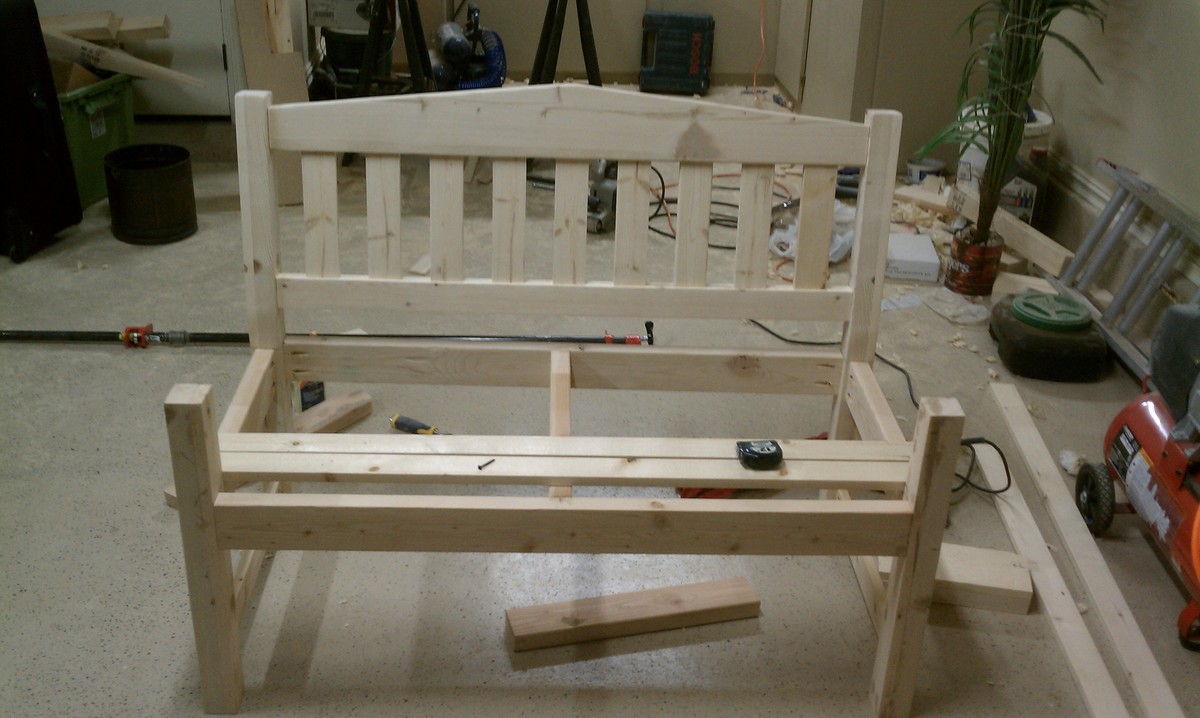
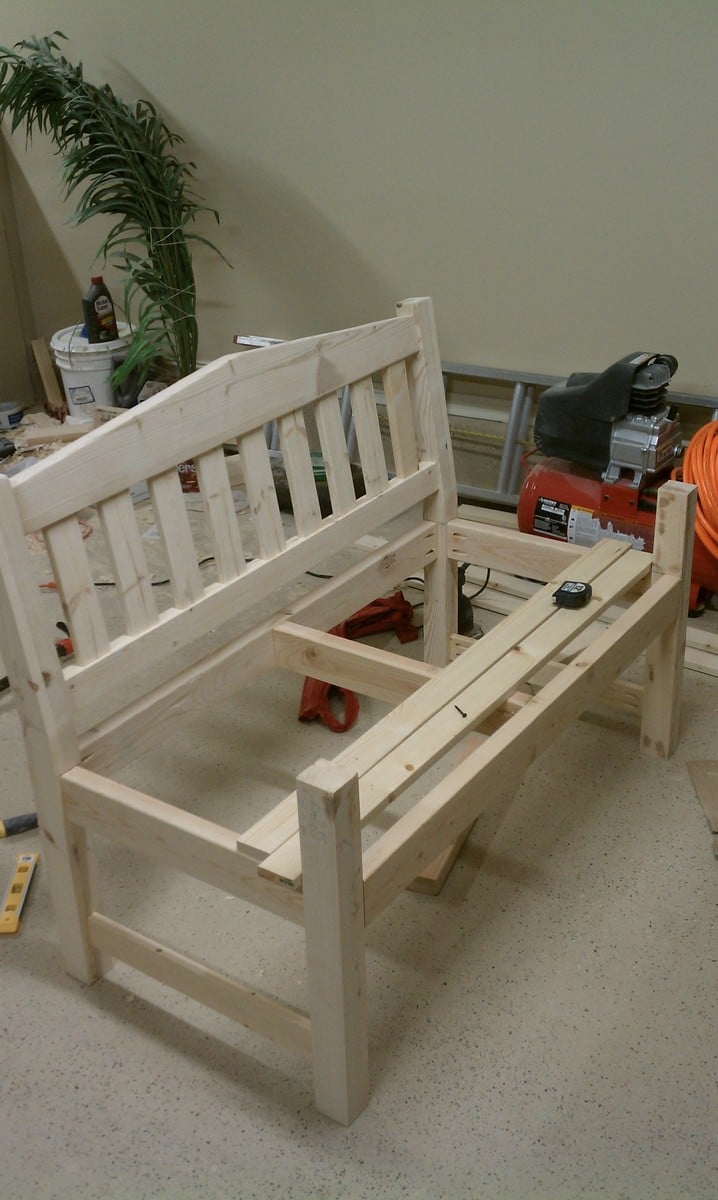
I built this for my wife for an anniversary present. She had wanted a garden bench for some time but the ones that she wanted were between $500-$700 which is ridiculous for this type of bench. So, I did a search on here for garden benches but there weren't really any plans for them and the few brag plans were not really the type of bench I was looking for. I printed off a few pictures of benches that I liked and got to work. The front and back legs a 2x6 and a 1x6 glued together and then cut to be straight. I wanted something thicker then just a plain old 2x6. If I had to do this again though, I would have just glued 3 1X6's together. The reason being, is that 1x6's usually do not have a rounded edge and a 2X6 does. So needless to say when you glue them together you have a nice little gap on either side. Without a table saw to take this off, its pretty difficult to get a straight cut. But I ended up getting it right after sweating for a few hours in the garage. The bench stands 36 inches high, 48inches wide and about 18 inches deep. The seat height is right at 18in also.

In the unfinished pictures I actually had the depth being 24 inches. After sitting on it though it was just way to deep. So I pulled it apart, made the adjustments and its now much more comfortable to sit in.

If anyone has any questions or wants more details feel free to drop me a line!

Thanks!
Estimated Cost
85
Estimated Time Investment
Weekend Project (10-20 Hours)
Finish Used
Oil based acrylic paint
Recommended Skill Level
Beginner

Comments

Torwart13

Tue, 06/16/2015 - 11:25

So legs are about 2 1/4" square? Are the seat supports 2x4's? Back cross pieces 2x4? Slats 1x4"?

smz1919

Wed, 06/17/2015 - 12:39

how did you get the curve on the back legs?

In reply to by smz1919

Nathan1342

Fri, 06/19/2015 - 13:34

I glued a 2x6 and a 1x6 together to get the thickness. Now that i have a table saw and a jointer this entire process would have been much easier but after getting it to look like one solid piece i just outlined the slant i wanted and cut it using a jig saw.

smz1919

Fri, 06/19/2015 - 20:17

So the back slats are just glued in place right? I wonder if it would be easier to use a biscuit joiner or not

Mikeyw221

Sun, 10/23/2016 - 17:46

on the back legs how high up did you go before you started cutting the angle? and was it around 15 degrees fromt he edge?

SawdustMaker21

Wed, 05/26/2021 - 08:32

Hi Nathan
Love the look of the bench. Would you have a list of material requirements. I intend to make a bench like this and would like to know the measurements of the top back spar (the shaped one).
Here in the Uk our timber yards do not always supply the same cuts as the US so I need to have some idea of the pieces I need
Many thanks

Modern outdoor Sectional

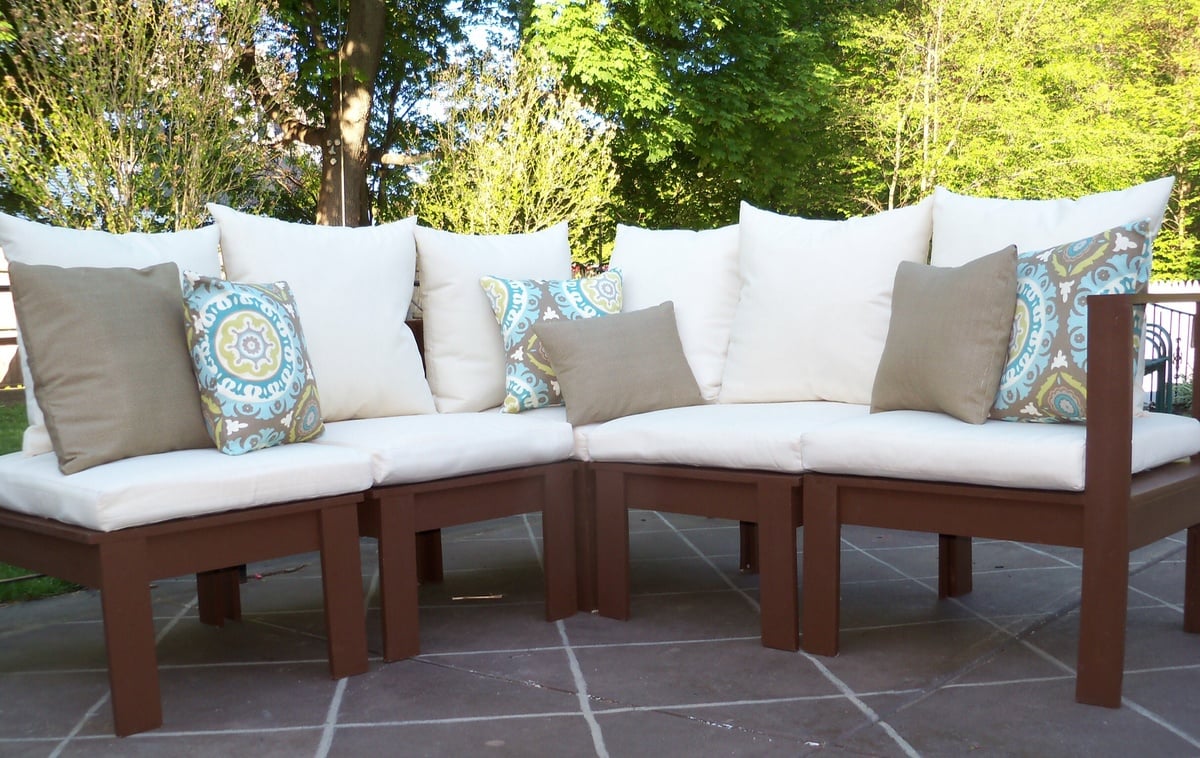
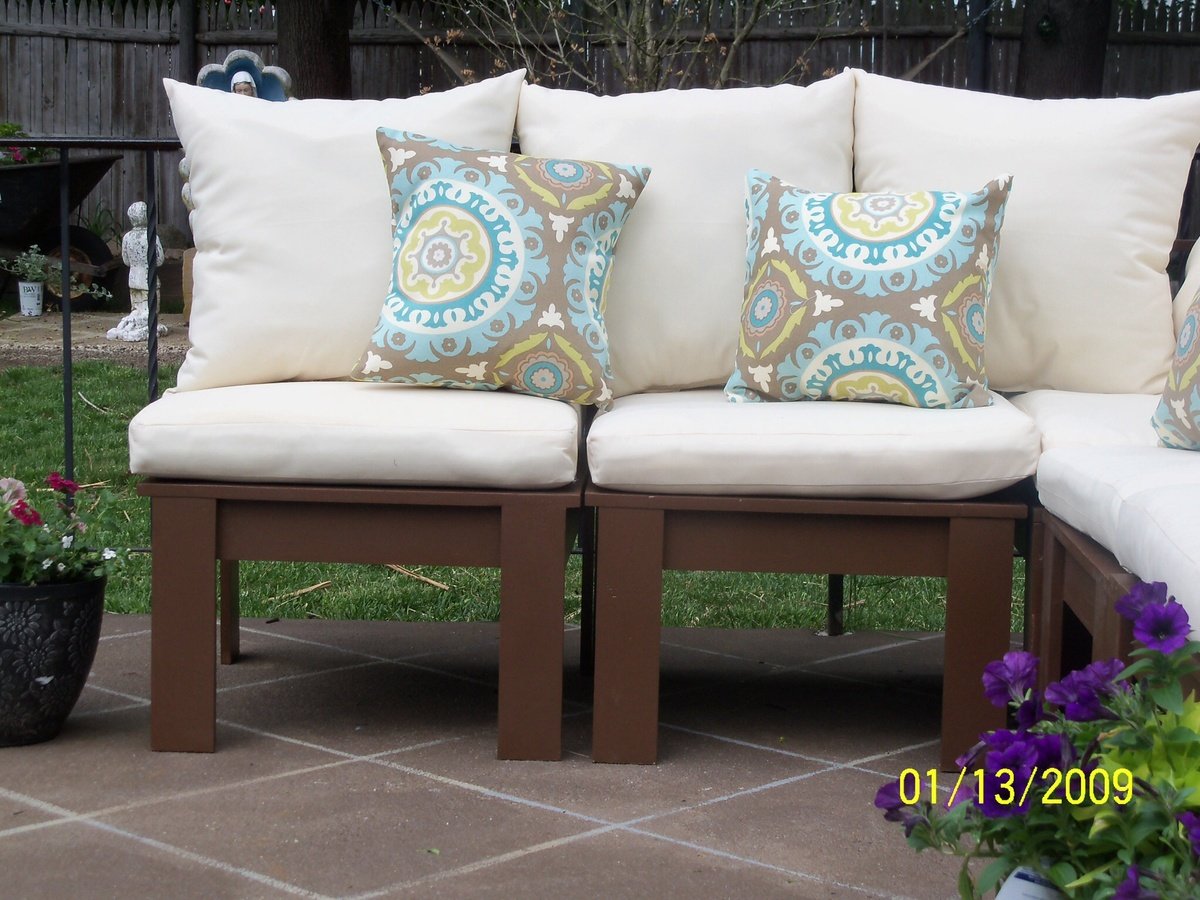
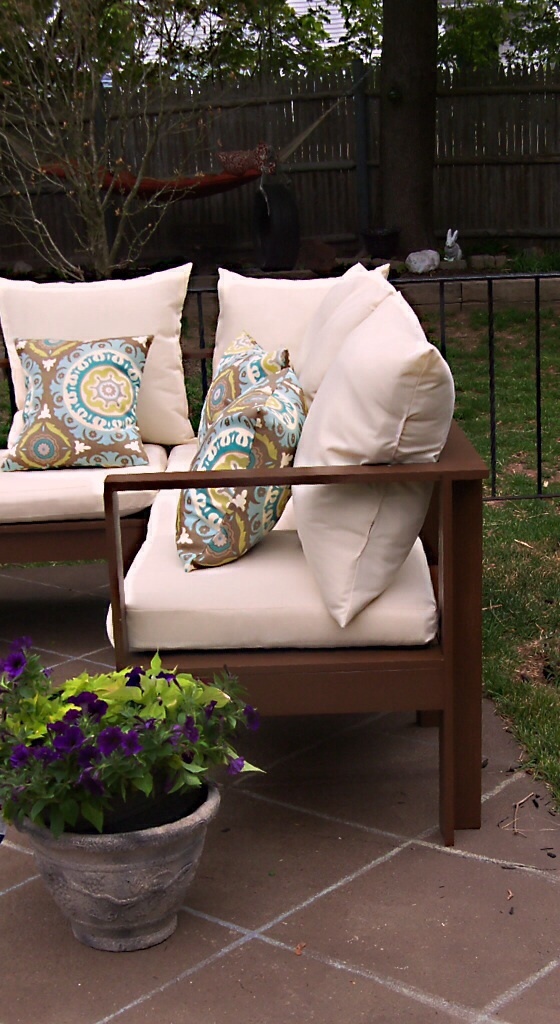
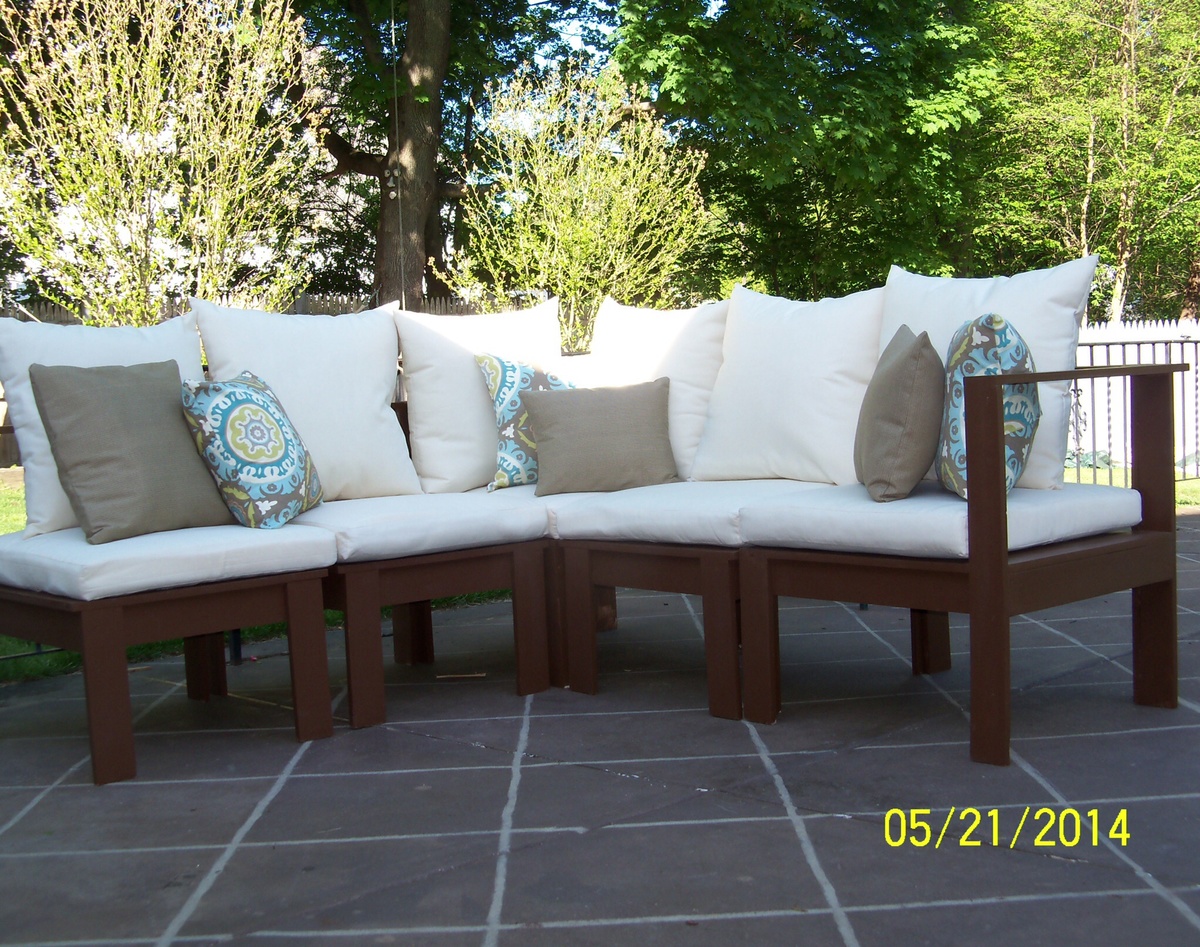
This project is straight forward and lots of fun. Next time I plan to stain opposed to paint due the amount of time painting takes.

Estimated Cost
100
Estimated Time Investment
Week Long Project (20 Hours or More)
Finish Used
Behr Exterior Chocolate
Recommended Skill Level
Intermediate

Comments

spiceylg

Fri, 05/30/2014 - 11:37

This came out really nice. Love the colors and cushions. Can you share the source of pricing of the cushions please?

Pursuit of Handyness

Fri, 05/30/2014 - 20:23

I like how the color contrasts with the cushions and the throw pillows add a nice punch of color and fun. I also would like to know the source of the cushions. The cushions seem to always be the budget breaker.

Tammylinskey

Wed, 08/06/2014 - 14:44

My apologies for replying so late!!! I didn't realize I received a comment or two!! Thank you for you for the lovely comments I truly appreciate it. As far the cushions, I purchased the fabric, batting, etc at Joan's Fabric at 50% off and sewed myself. Before this project I had never sewed before so please have faith in yourself because if I can do it anyone can do it!!!!! Tammy Linskey

Seasonal And Holiday

Adirondack Chairs

Submitted by Anonymous (not verified) on Fri, 06/12/2020 - 18:21

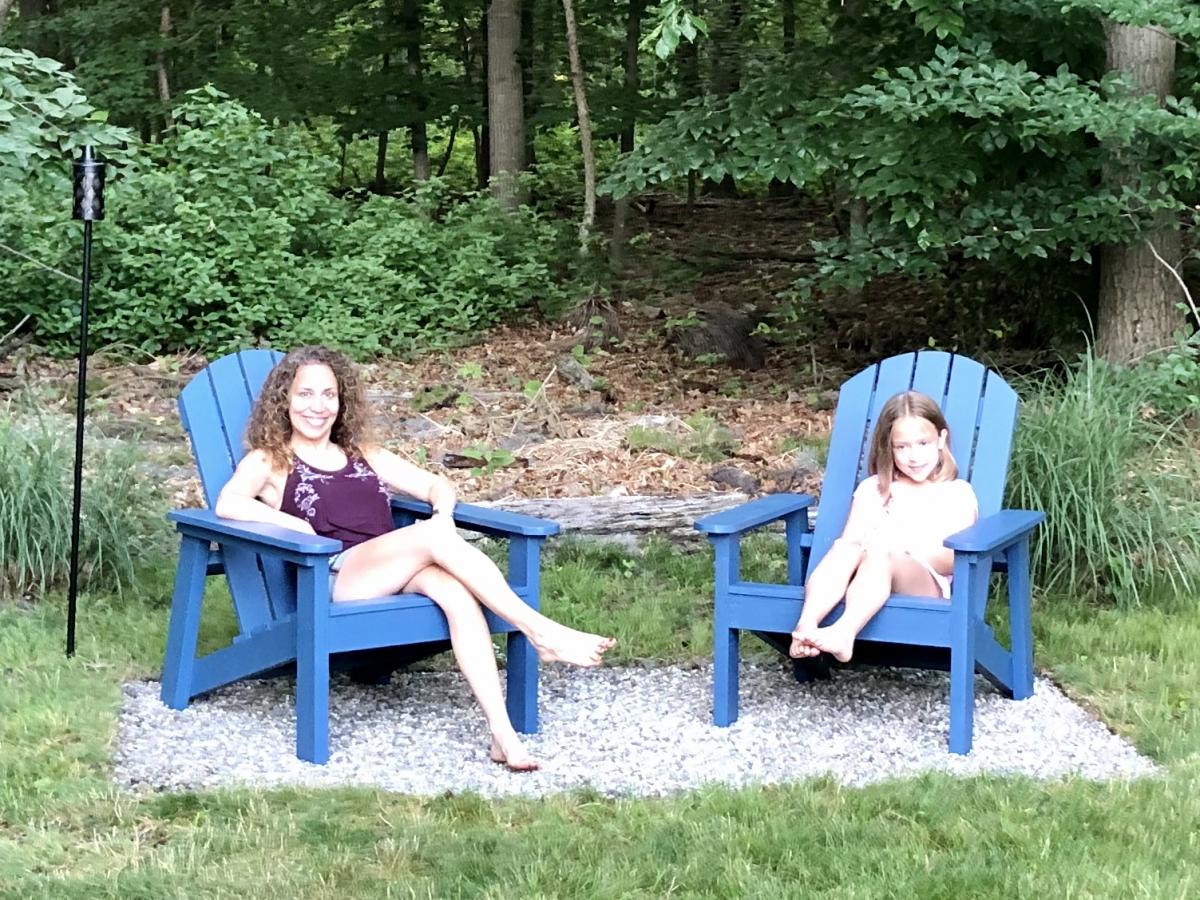
Plans were excellent! Thank you. For my own personal preference I used 1x5 for the arm rests to make them a bit wider for your drink, and rounded the corners. Can’t wait to use them!

Estimated Time Investment
Afternoon Project (3-6 Hours)
Finish Used
used a blue outdoor paint to finish them. Two coats.
Recommended Skill Level
Intermediate

Loft Bed

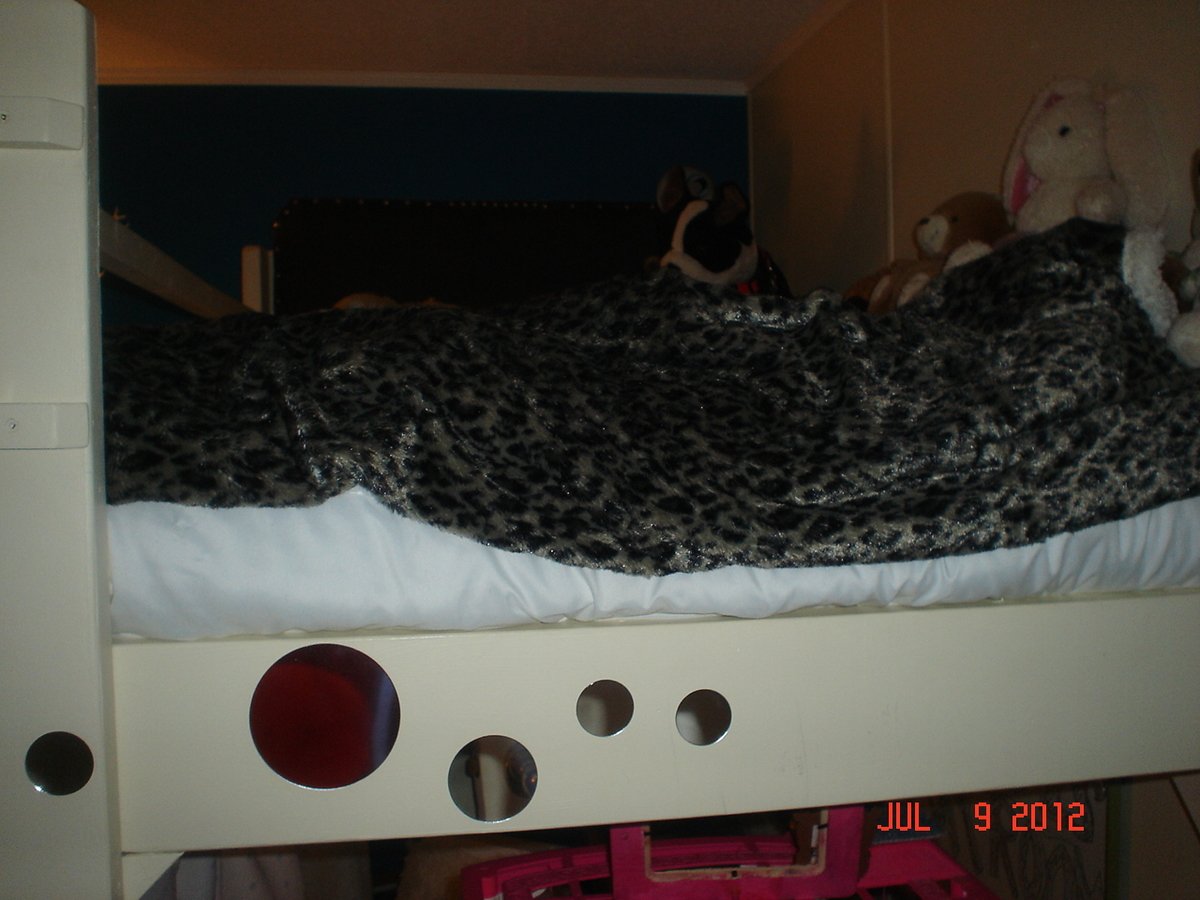
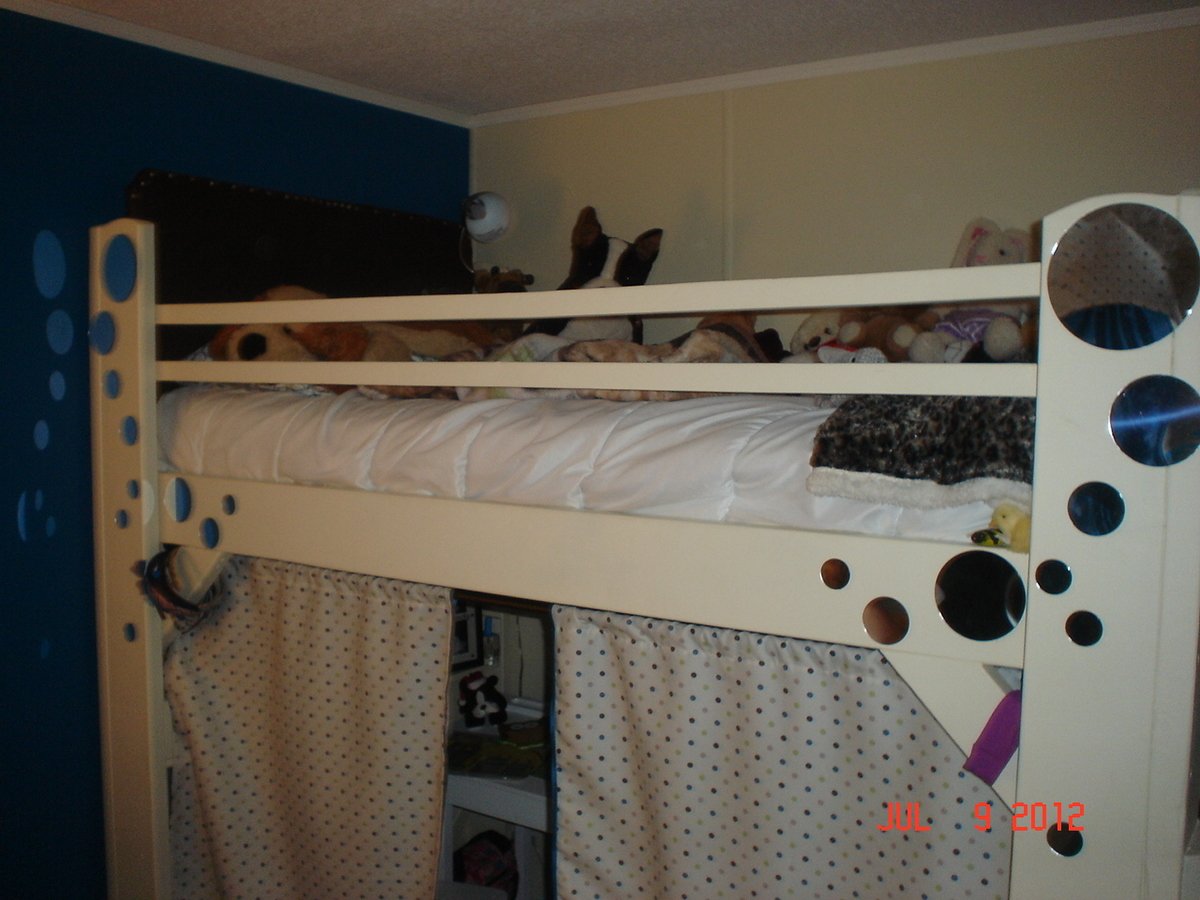
Seen the plan on another site....cannot for the life of me remember which one.....but I made my own out of the one I seen online. Sorry pictures are not that great!!! But my daughter loves it!!!!

Estimated Cost
$150
Estimated Time Investment
Weekend Project (10-20 Hours)
Finish Used
Sanded well filling in large holes with wood filler....covered bolt holes with the sticky mirrors that my daughter picked out......Paint is White semi gloss...3 coats!
Recommended Skill Level
Beginner

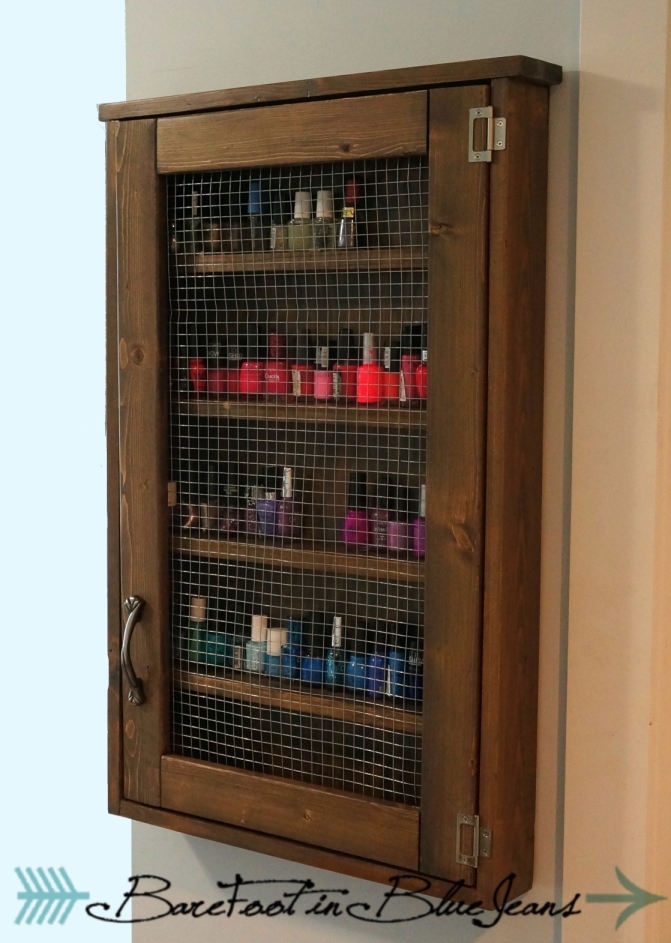
Nail polish cabinet

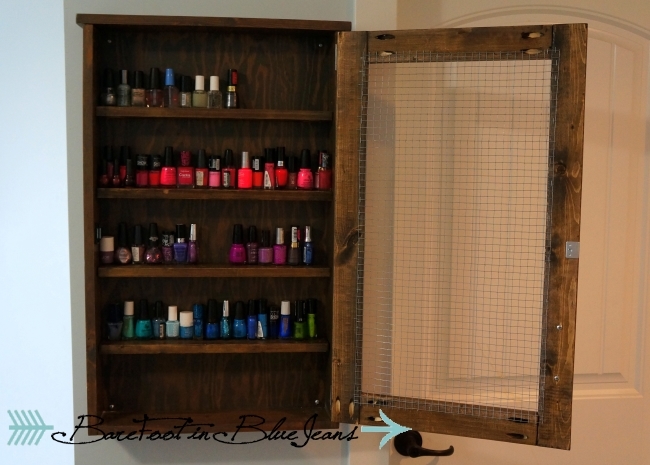
So another super awesome project from miss Ana. I dont have a lot of jewelry, but I make up for it with nail polish. I made a few minor adjustments and viola and wicked cabinet to hold all of my piggy painters!

Built from Plan(s)
Estimated Cost
20$
Estimated Time Investment
Afternoon Project (3-6 Hours)
Finish Used
espresso/classic grey. Poly
Recommended Skill Level
Beginner

Comments

balloongal247

Tue, 06/24/2014 - 10:55

Did you use 1x3s for the shelves and doors, and 1x4s for the rest? I've been needing a nail polish shelving unit, so I may copy you. :)

Spanish entry table

Submitted by Anonymous (not verified) on Sun, 09/04/2016 - 16:25

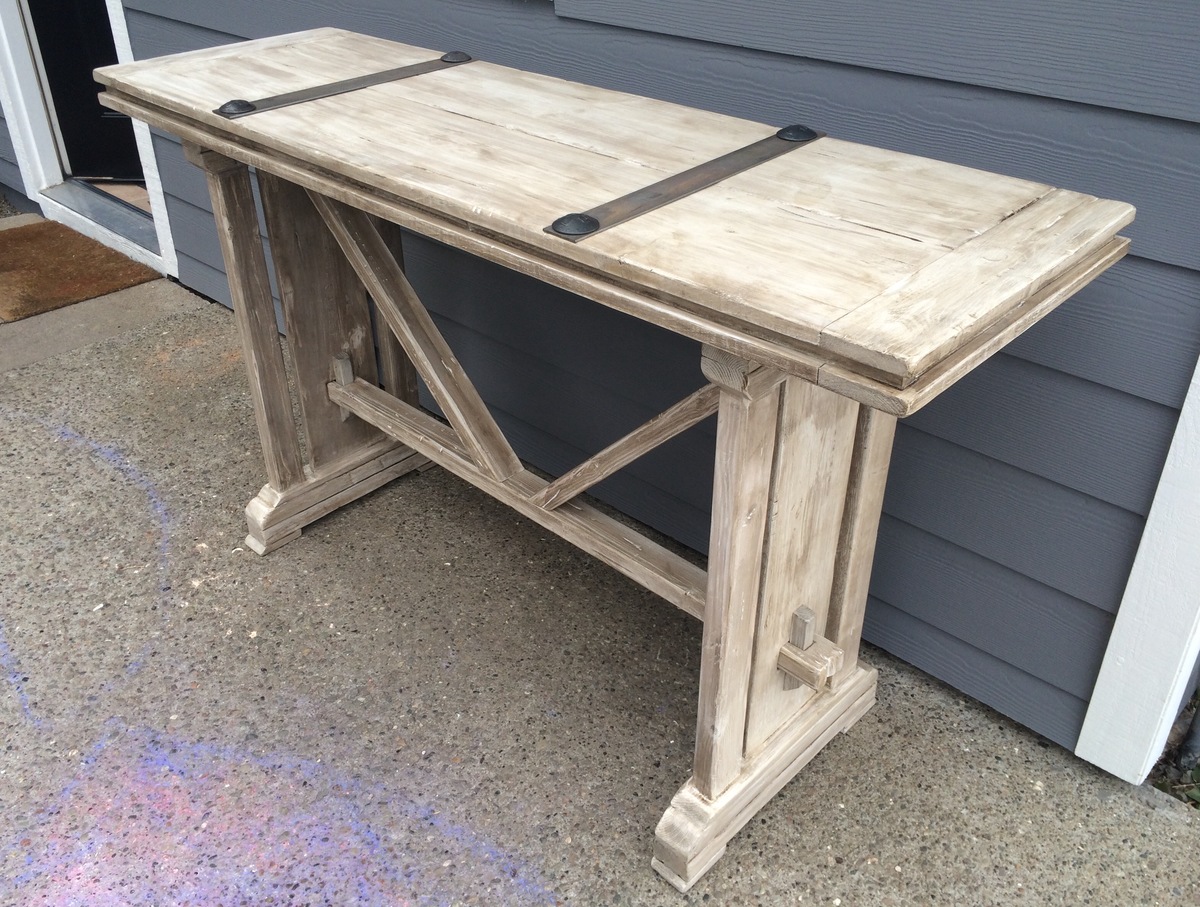
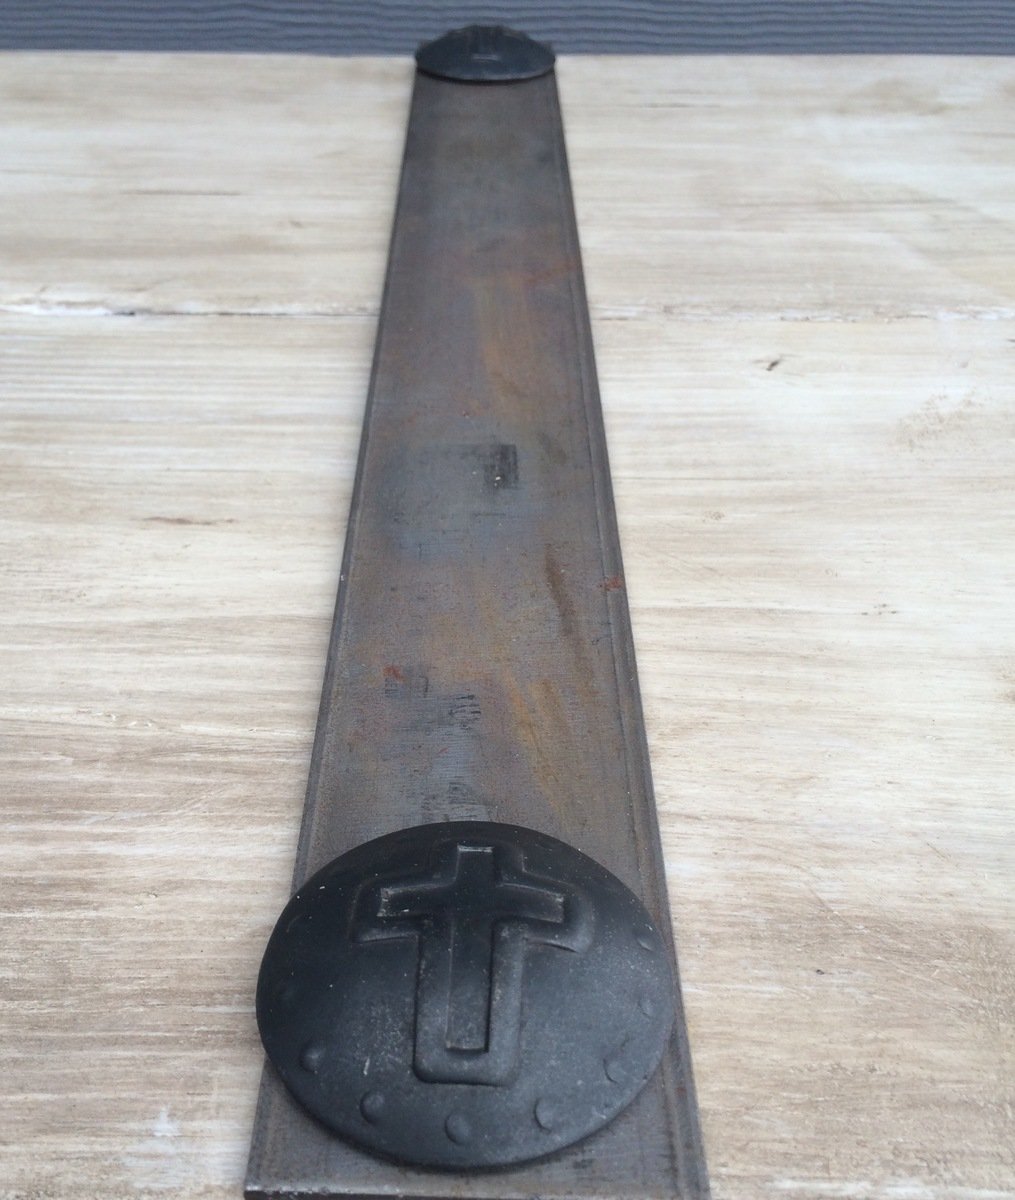
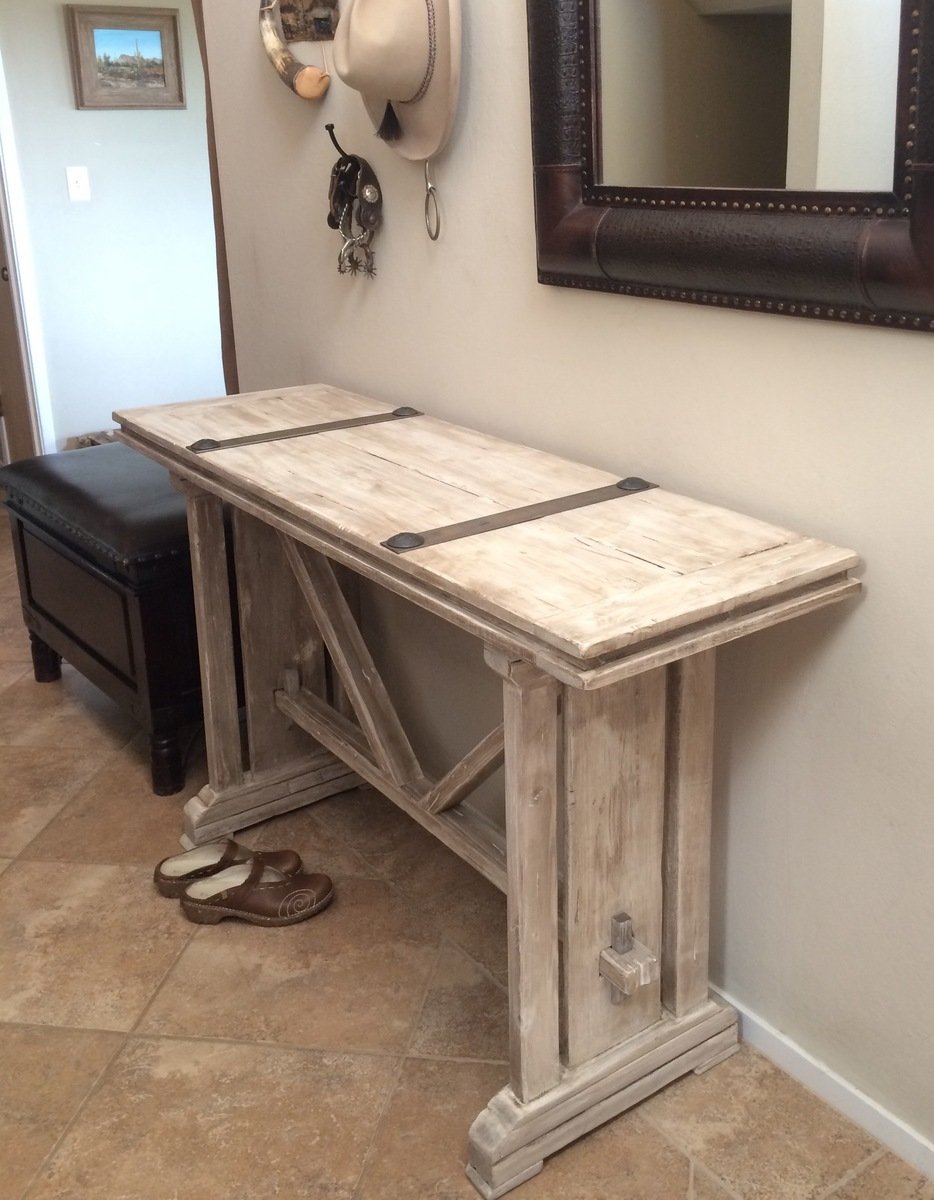
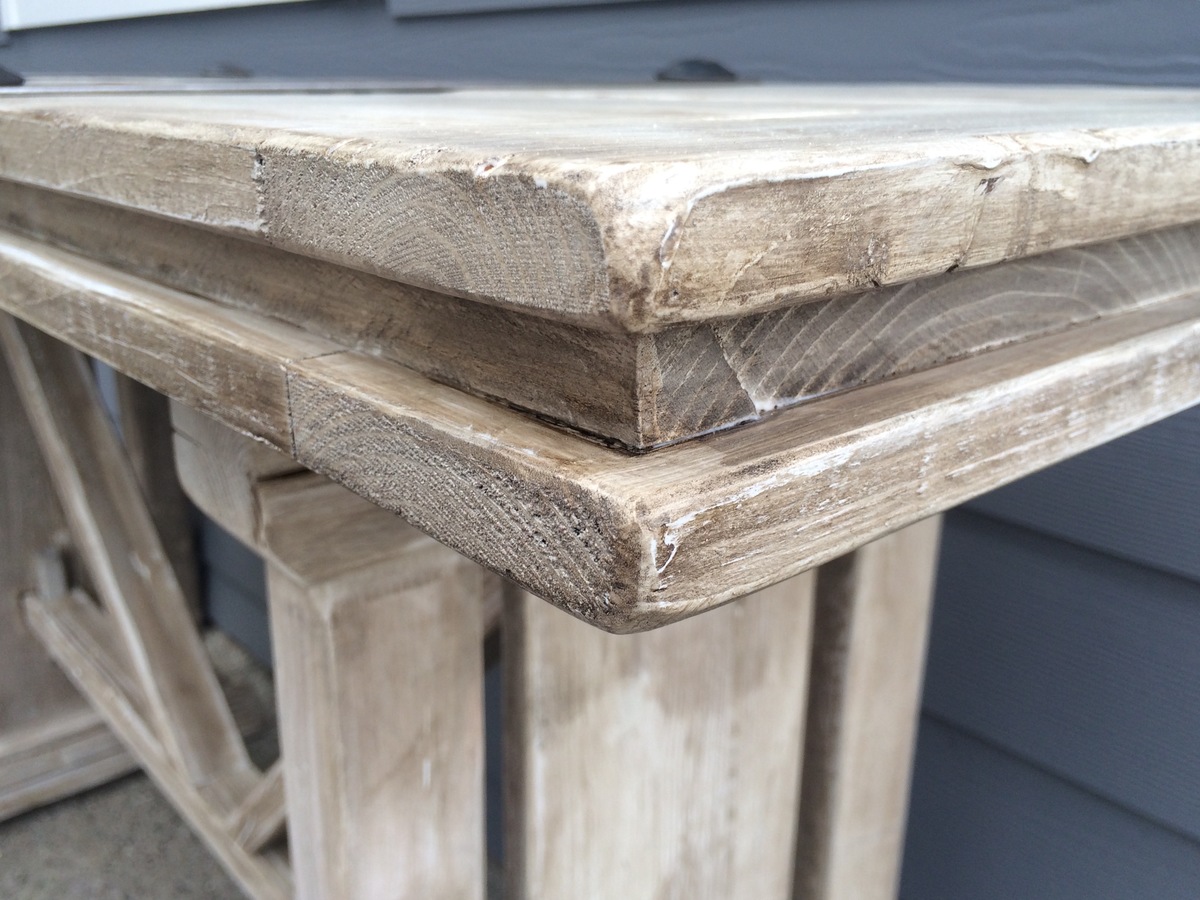
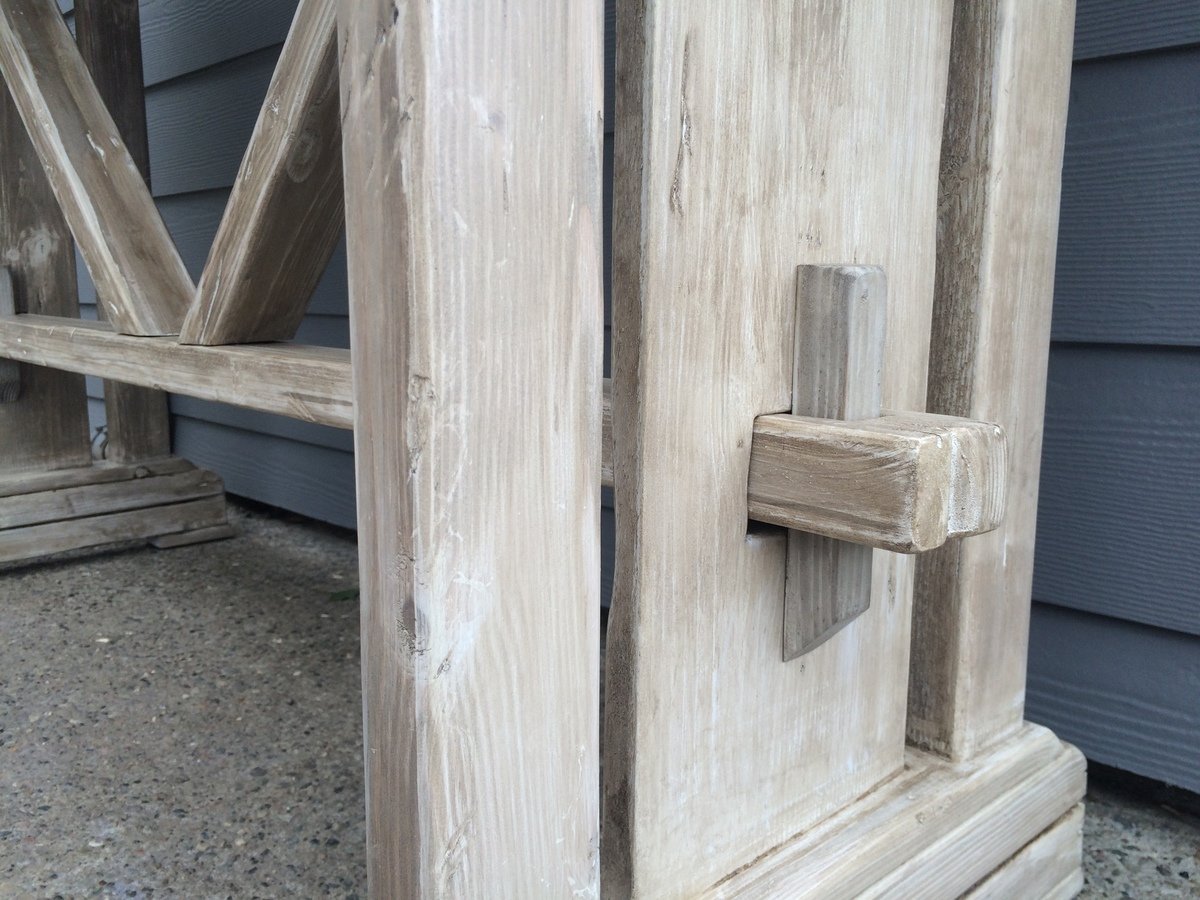
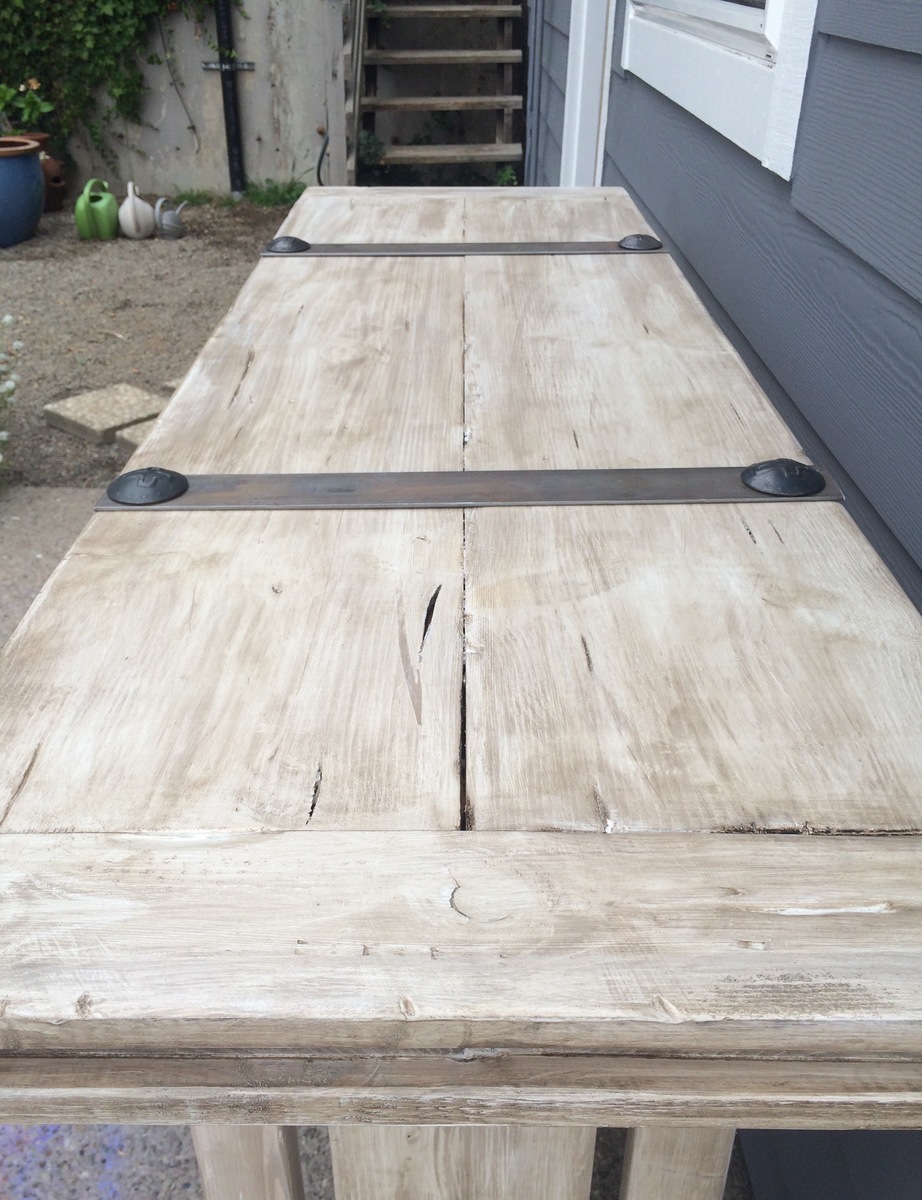
Built this entry table as a gift for my aunt. She has a beautiful Spanish style home, and I wanted to create a piece that looked as though it would have come from one of our California Spanish missions. I used the Honey Bear Lane staining technique. I used HD pine lumber and accented with metal straps from HD and clavos. This was a challenging but very fun project!

Estimated Time Investment
Week Long Project (20 Hours or More)
Finish Used
Honeybearlane.com technique- dark stain over white wash. Three coats of matte polyurethane varnish to seal.
Recommended Skill Level
Beginner

Farmhouse Potting Bench

This was my first woodworking project and I absolutely love it !!

Built from Plan(s)
Estimated Cost
50
Estimated Time Investment
Weekend Project (10-20 Hours)
Recommended Skill Level
Intermediate

Comments

Simple Twin Bed

Submitted by LacyLou on Sun, 08/12/2012 - 12:19

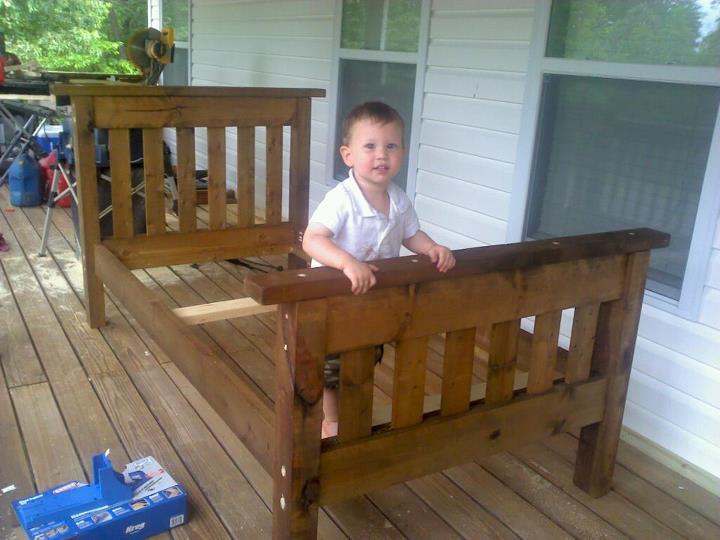
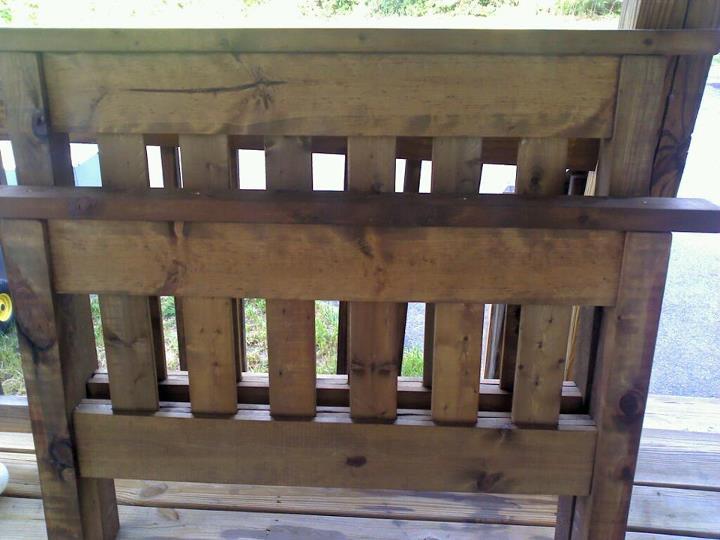
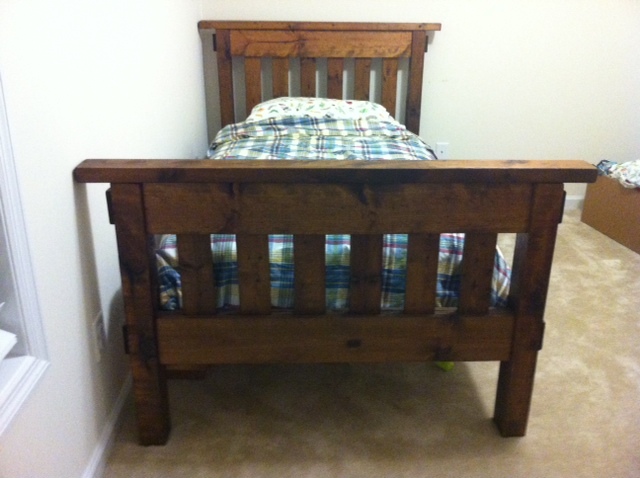
This was my first Ana White project! There was a learning curve so it took longer than it probably should have but over all the build went pretty fast. The finishing was the part that seemed to drag forever! I used a tea followed by vinegar/steal wool treatment to make it look rustic. Finished with a wipe on poly that looks great but smelled atrocious for weeks! Looks great and smells fine now. The bed is super heavy and sturdy, which shocked everyone. Not only did I build something, I built something really well and its all thanks to these awesome plans that made it too easy!
Built from Plan(s)
Estimated Cost
60.00
Estimated Time Investment
Weekend Project (10-20 Hours)
Finish Used
Antique treatment of tea bath followed by vinegar/ steal wool bath. Finished with wipe on poly.
Recommended Skill Level
Beginner

Our First Project

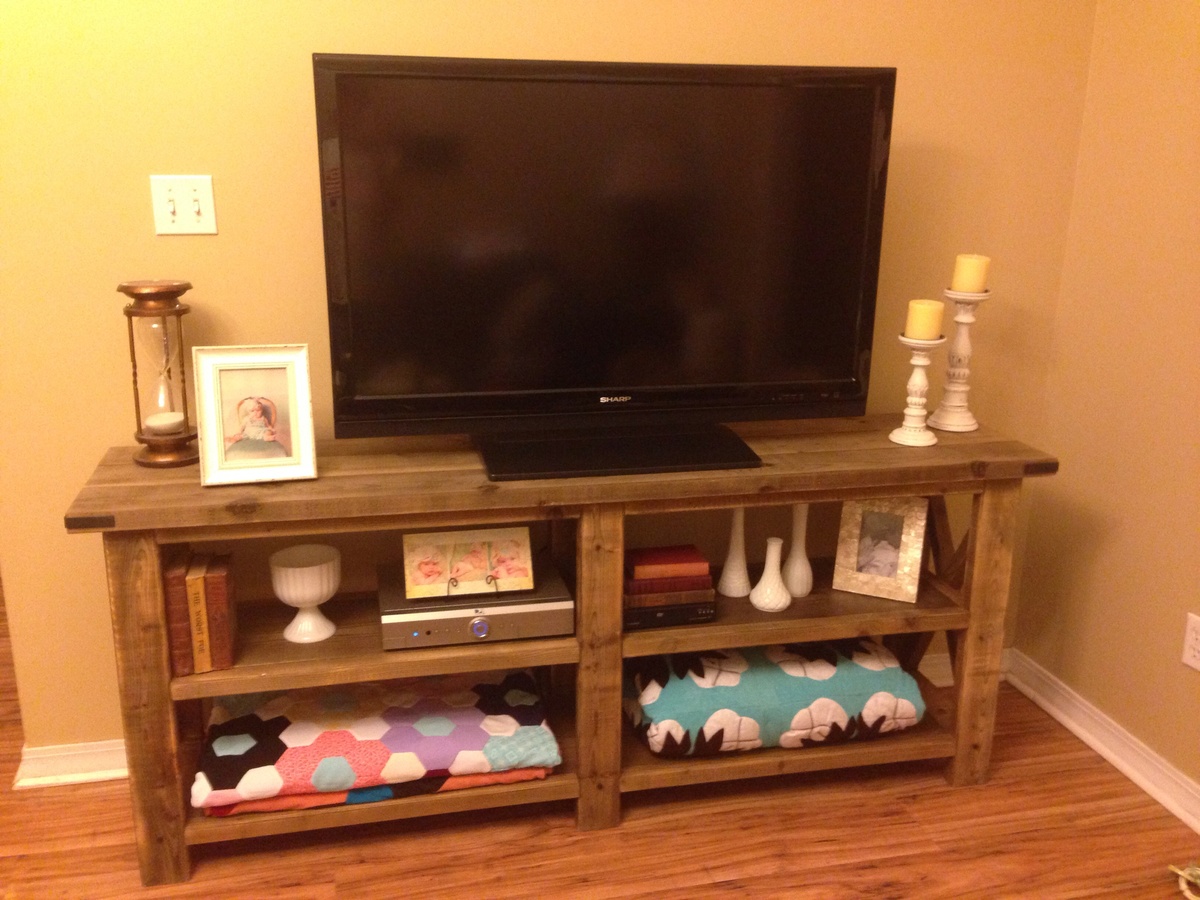
X console table with steel wool and vinegar treatment distressed and sealed with wax

Recommended Skill Level
Beginner

Comments

Floating Bedside Table

I’ve been in need of a bed side table in my room for quite some time now. I need storage for things like my keys, wallet, the remote, as well as other little items that seem to get kicked around and lost. I figured it would also be nice to have a place to keep my alarm clock, I’m guessing it will be a lot more convenient to hit the snooze button in the morning if the clock is closer to me.

Estimated Time Investment
Day Project (6-9 Hours)
Recommended Skill Level
Intermediate
Back