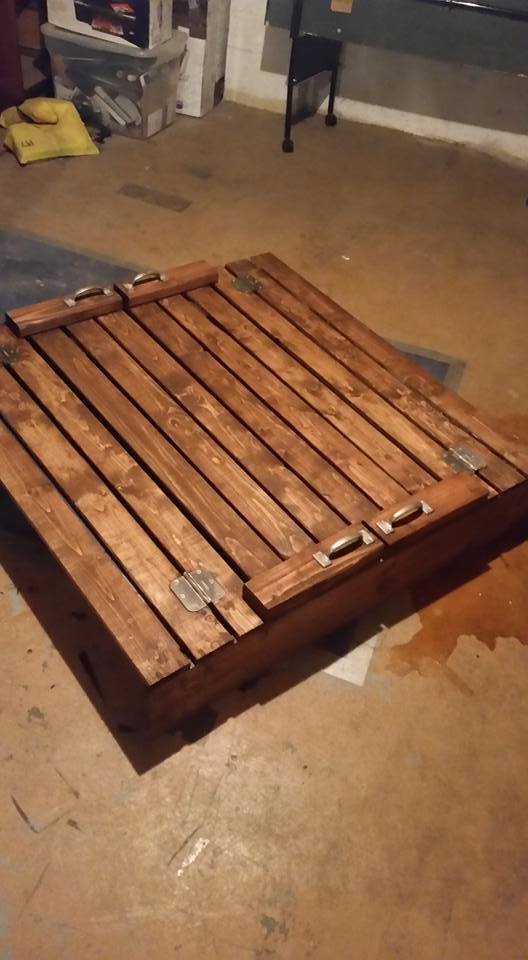
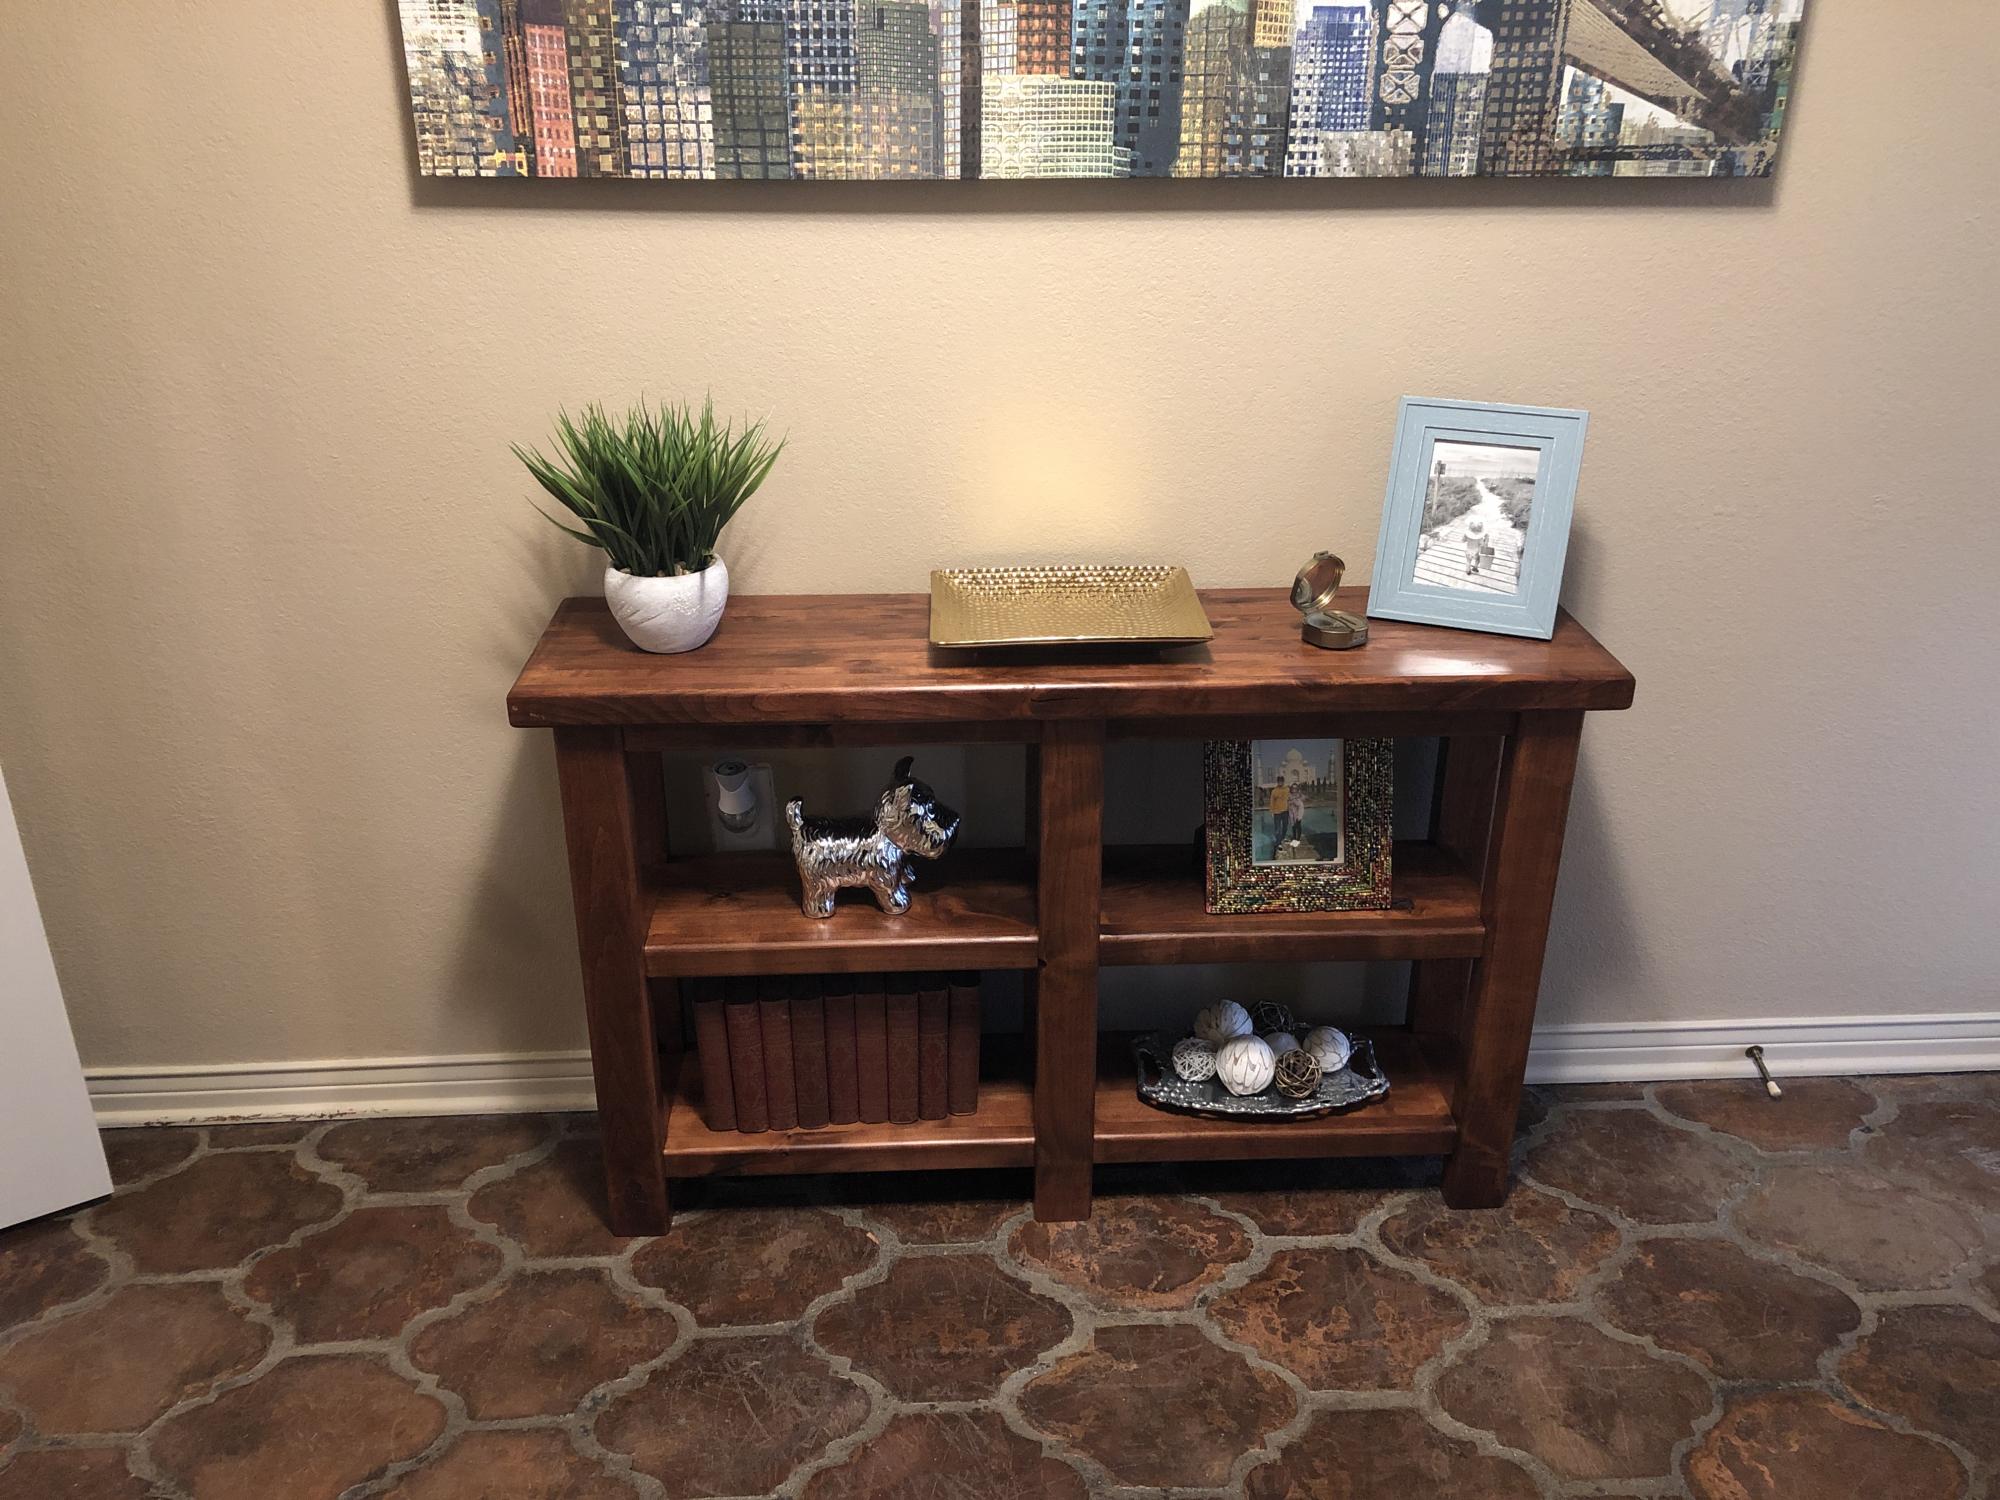
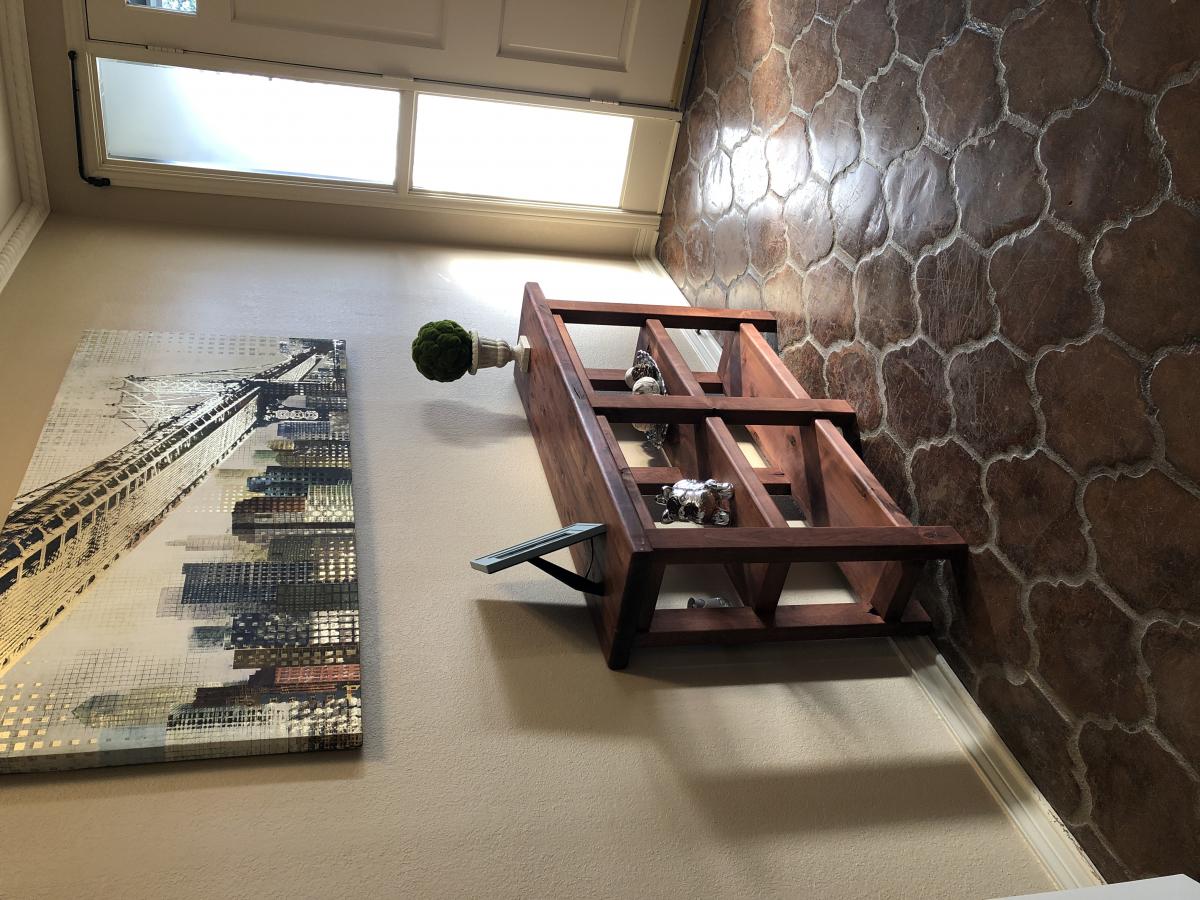
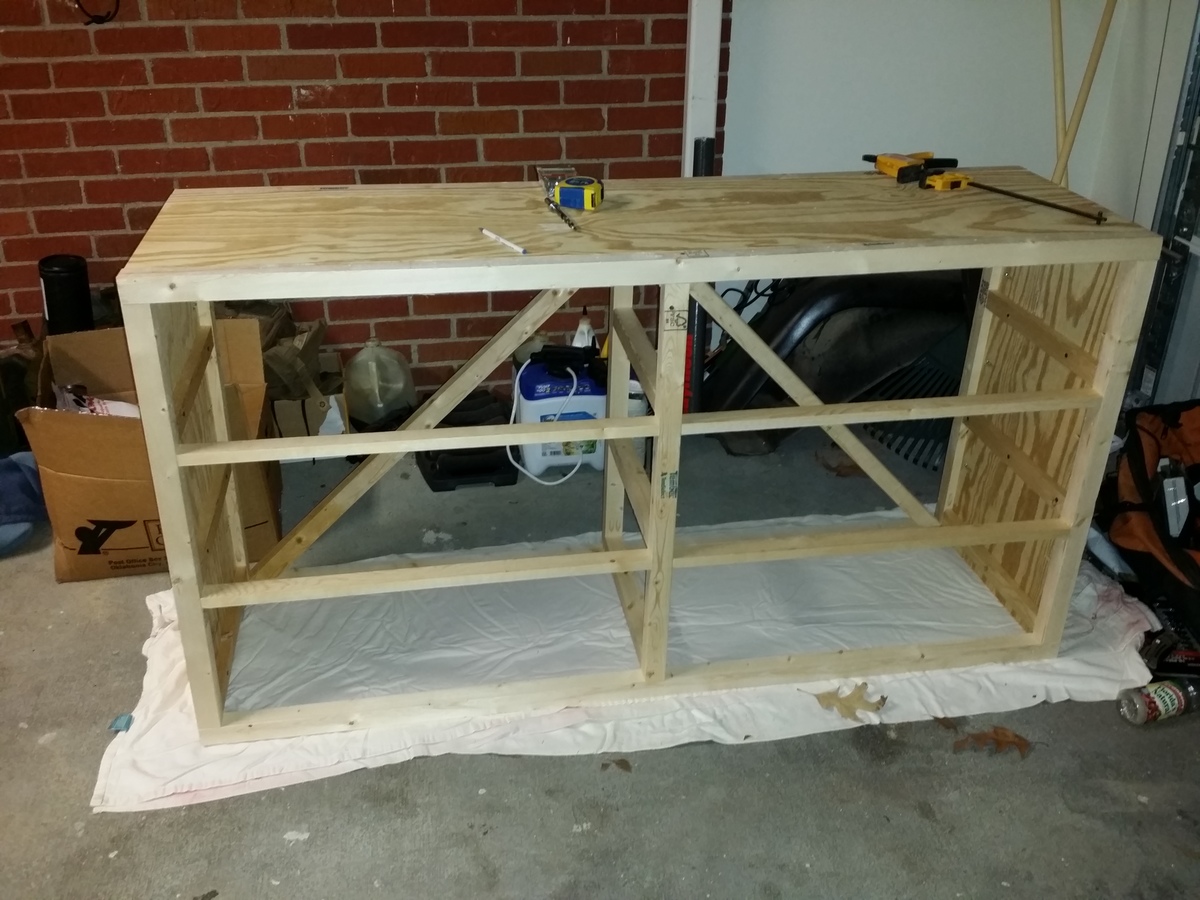
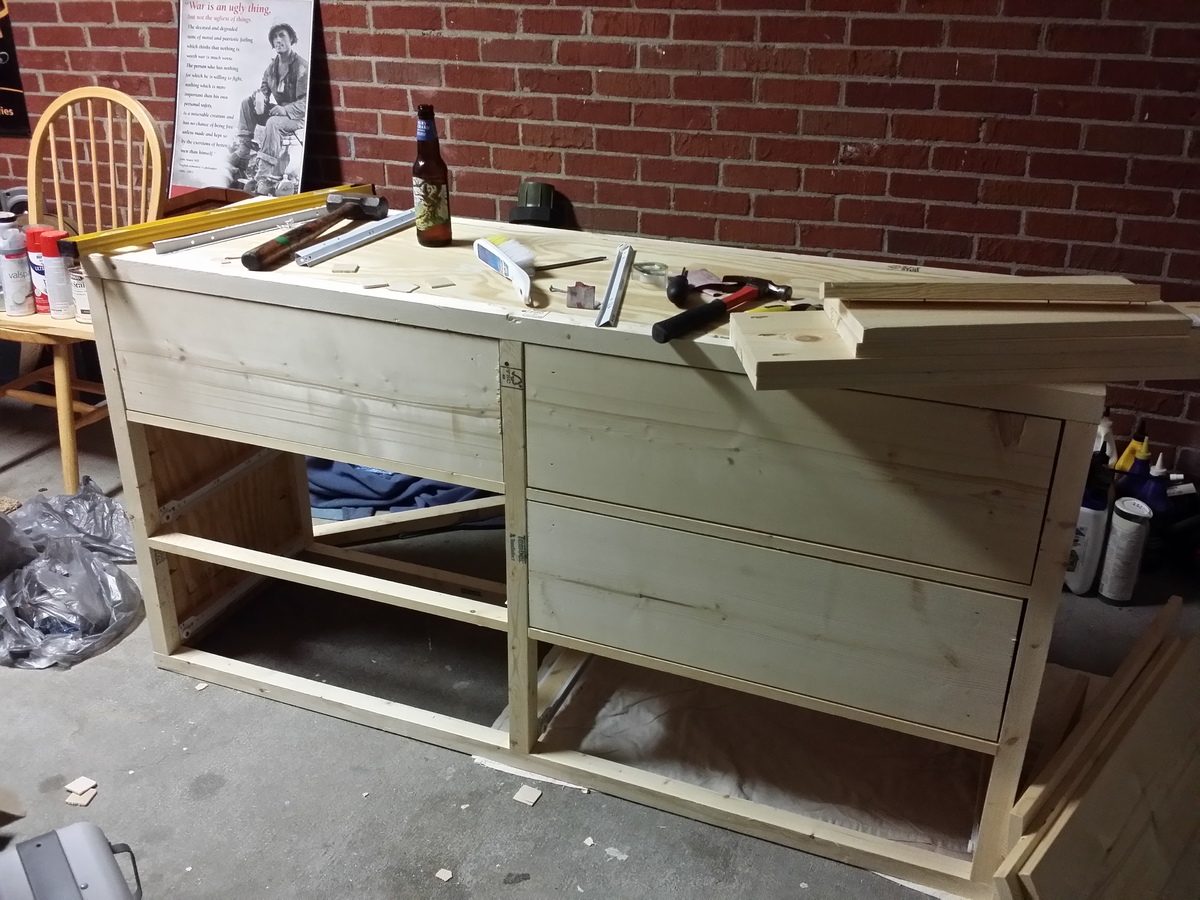
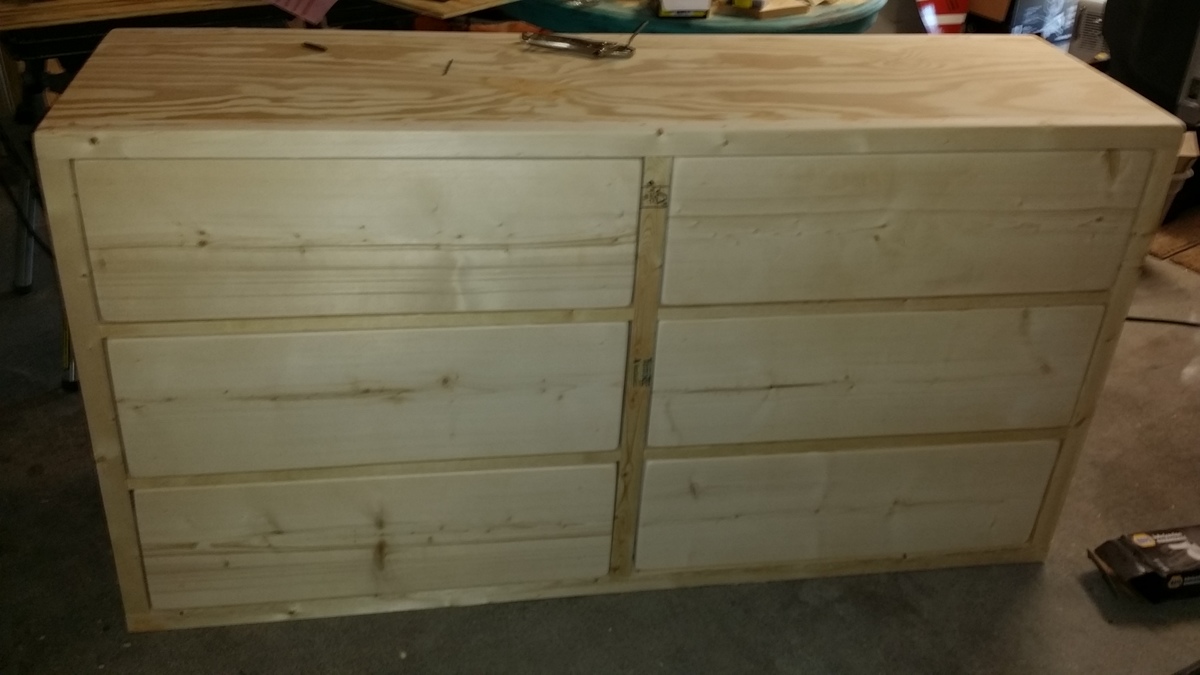
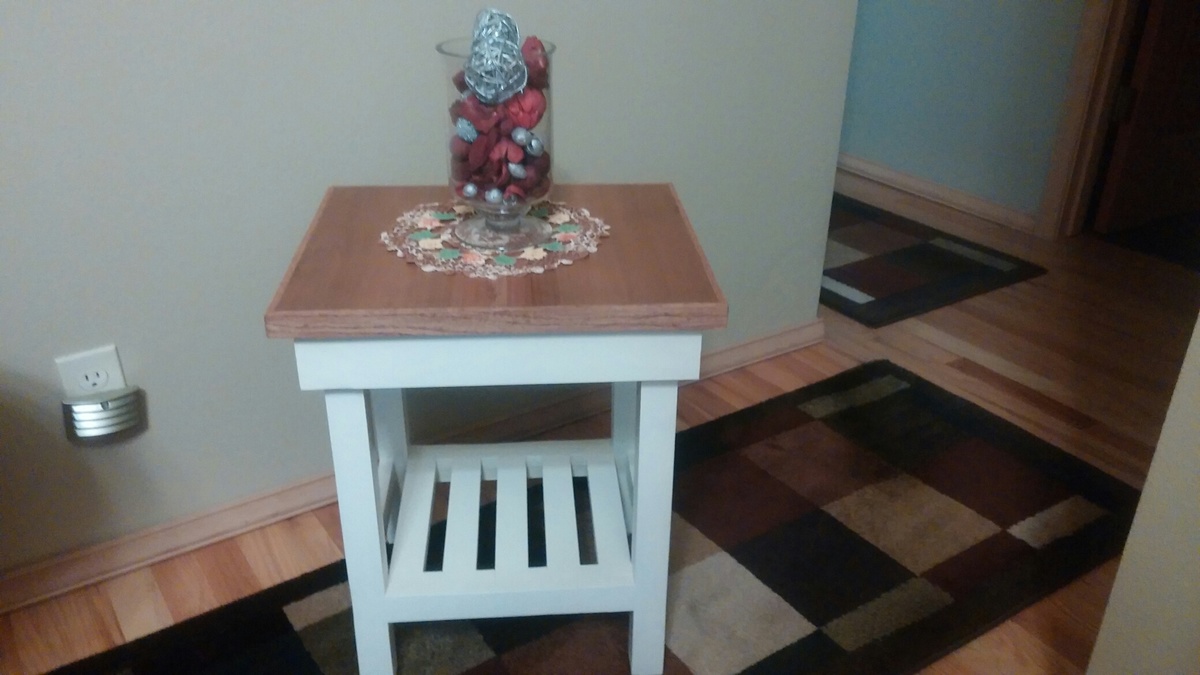
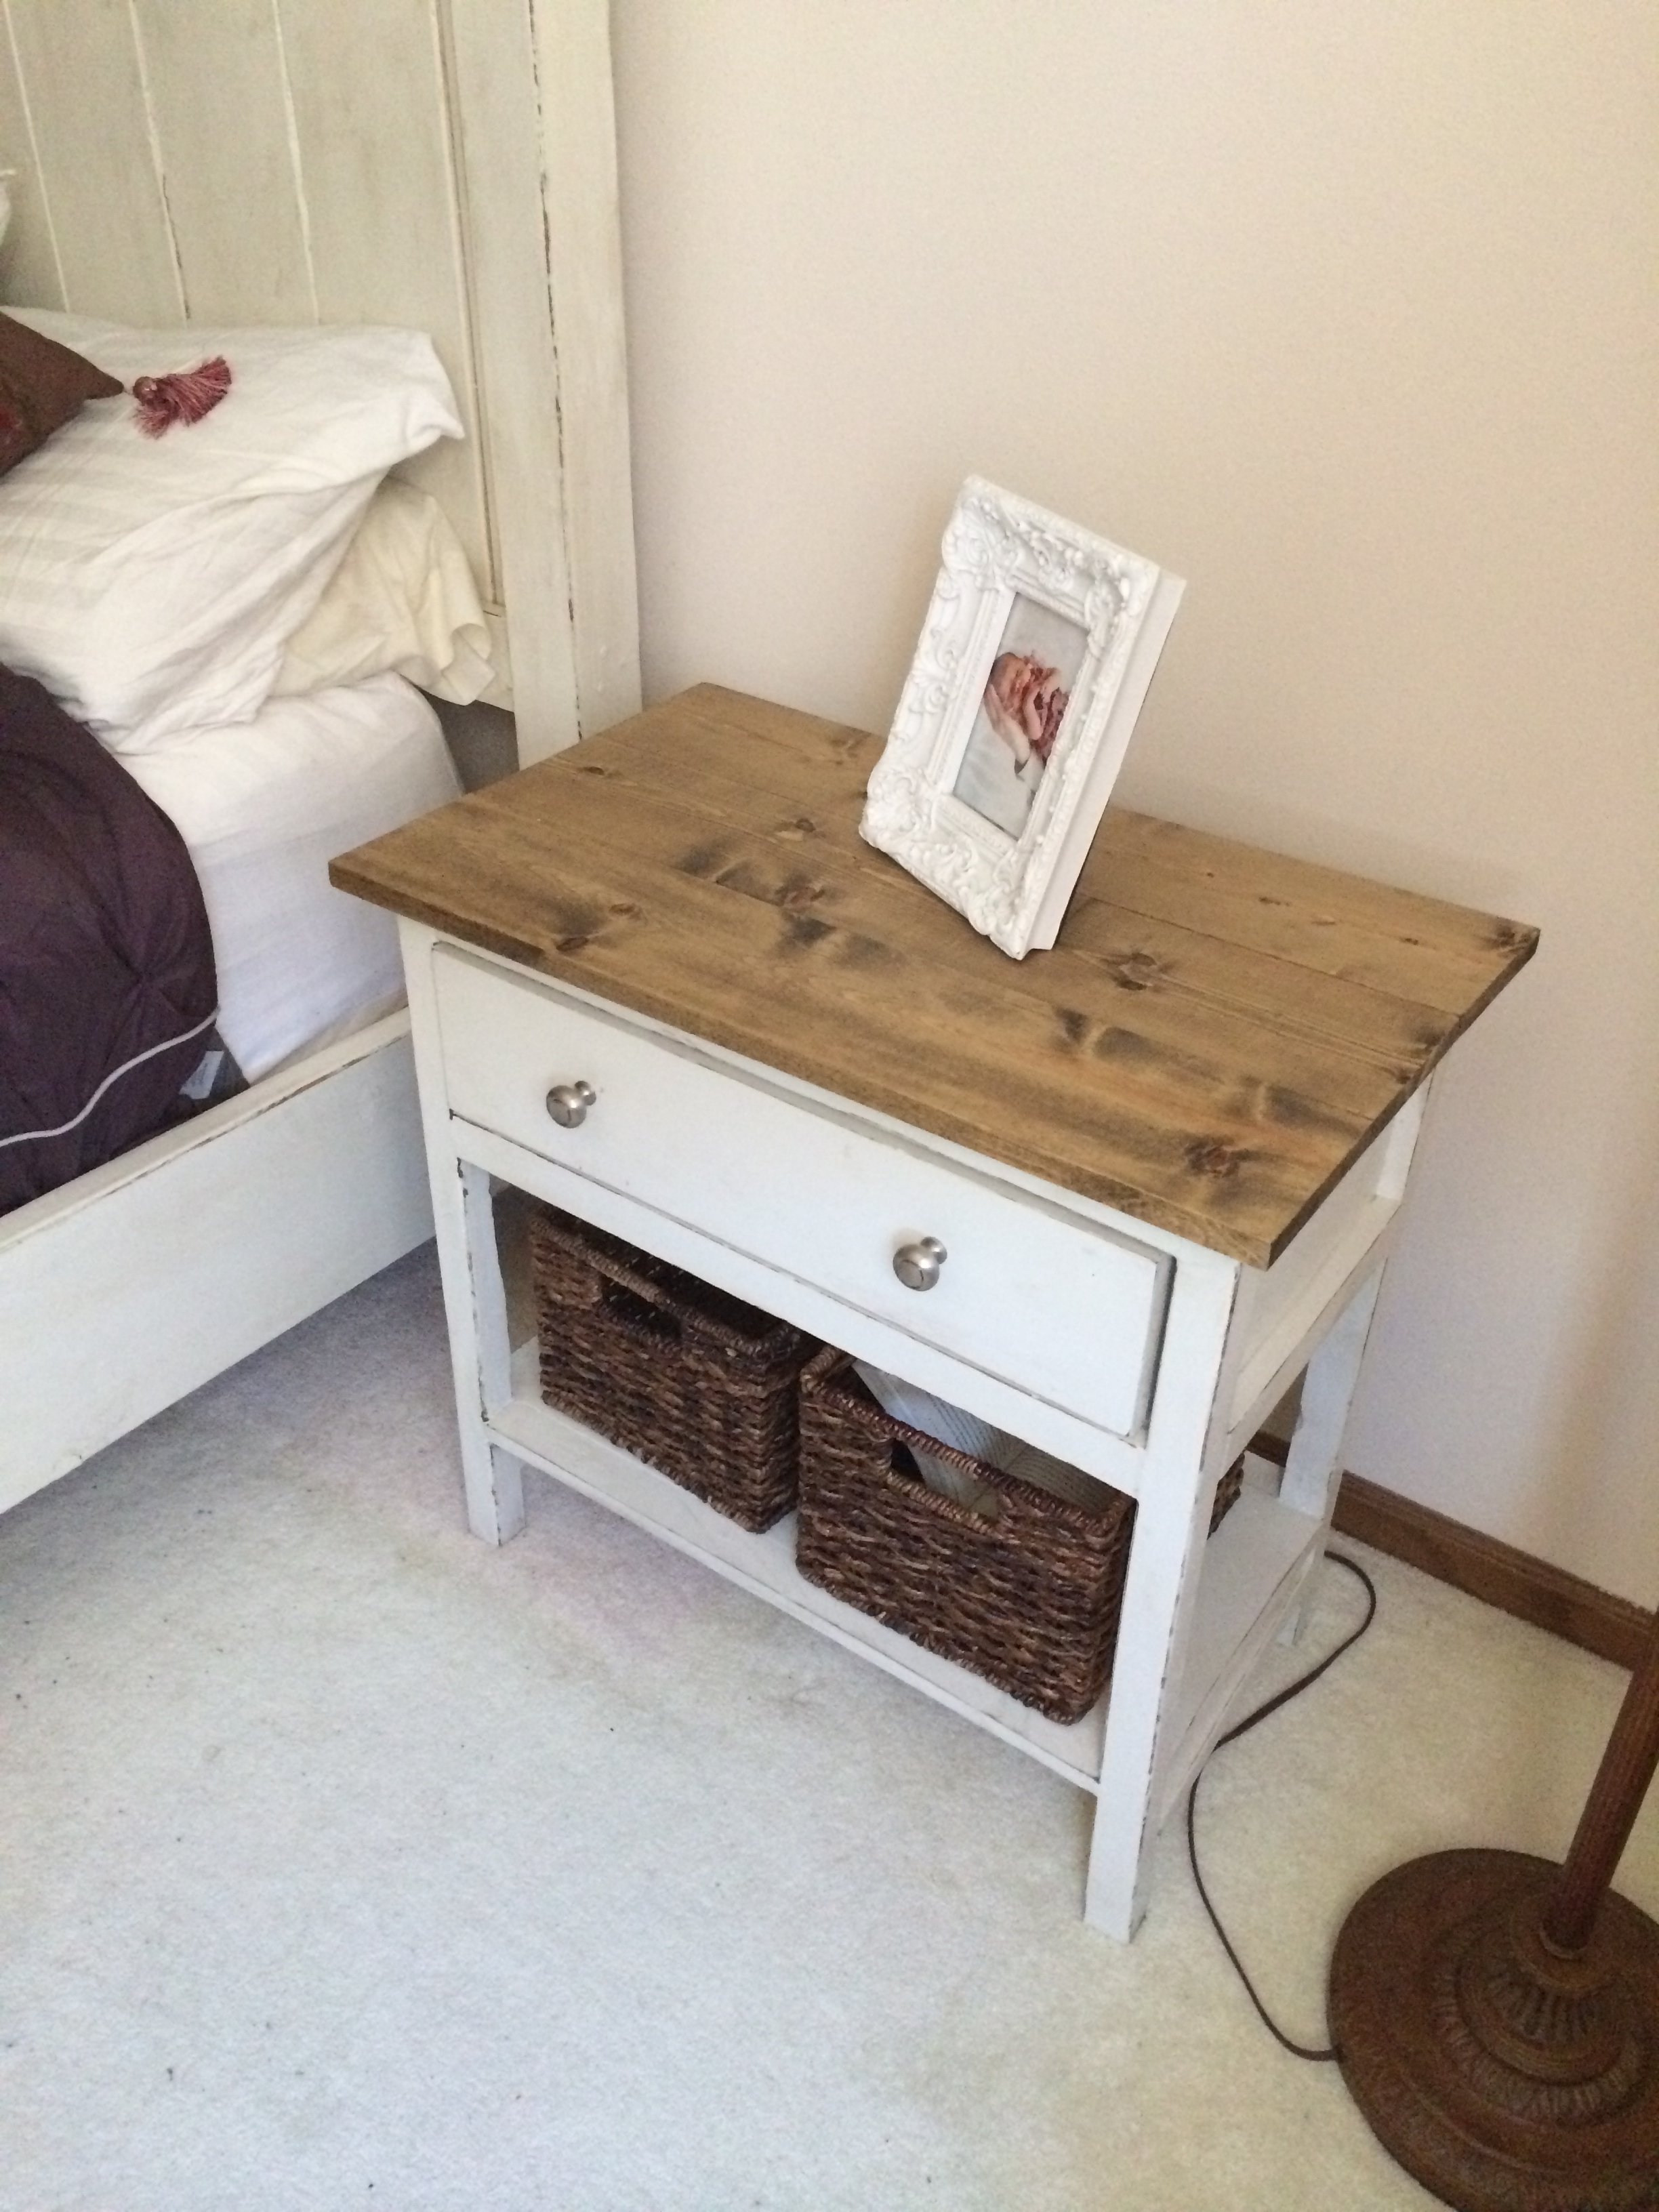
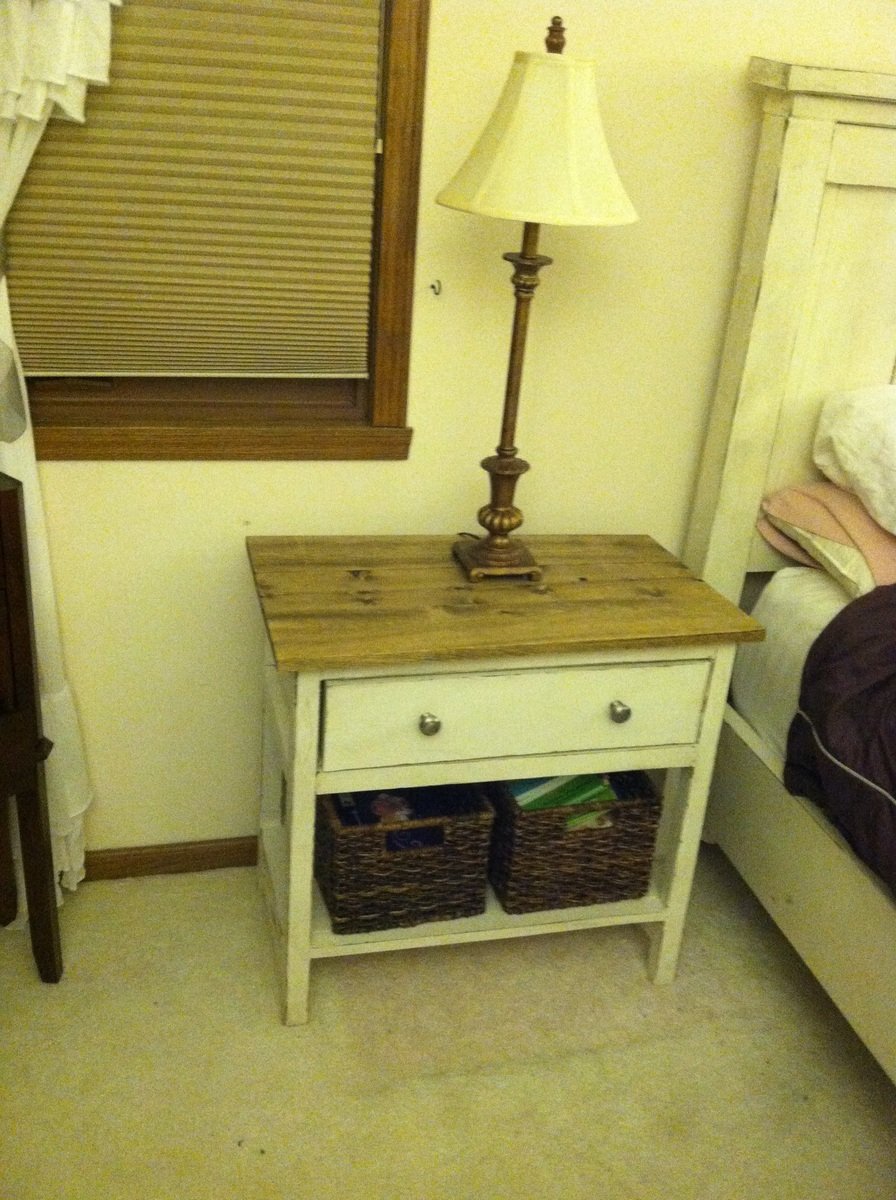
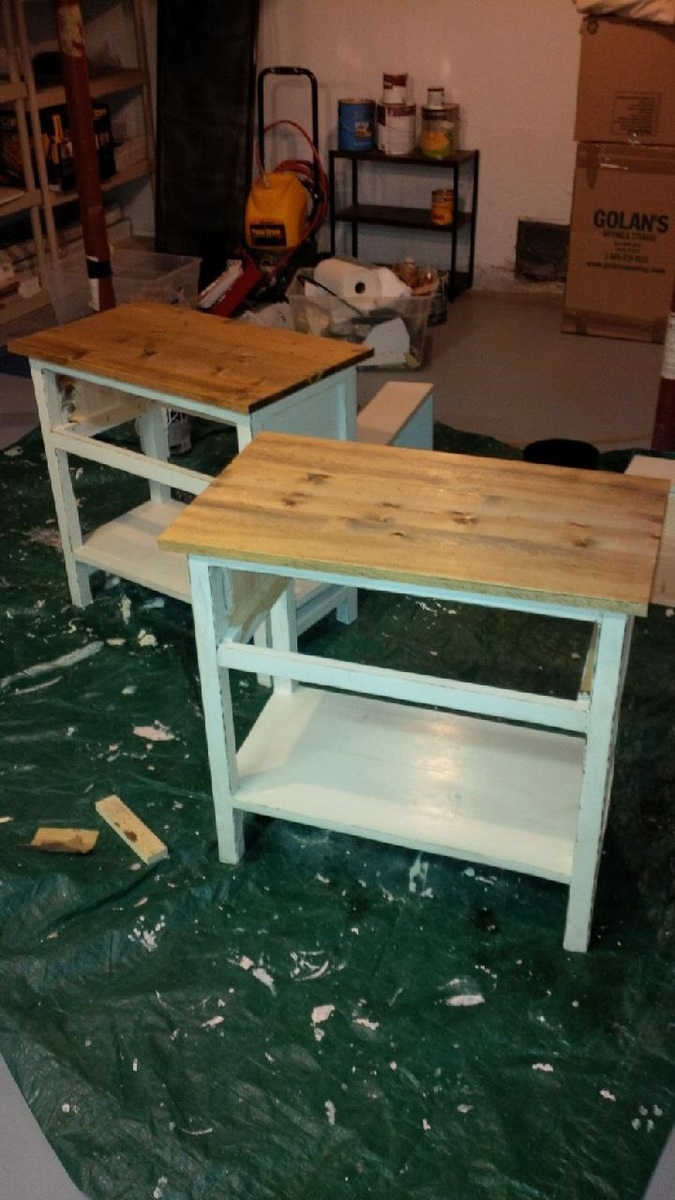
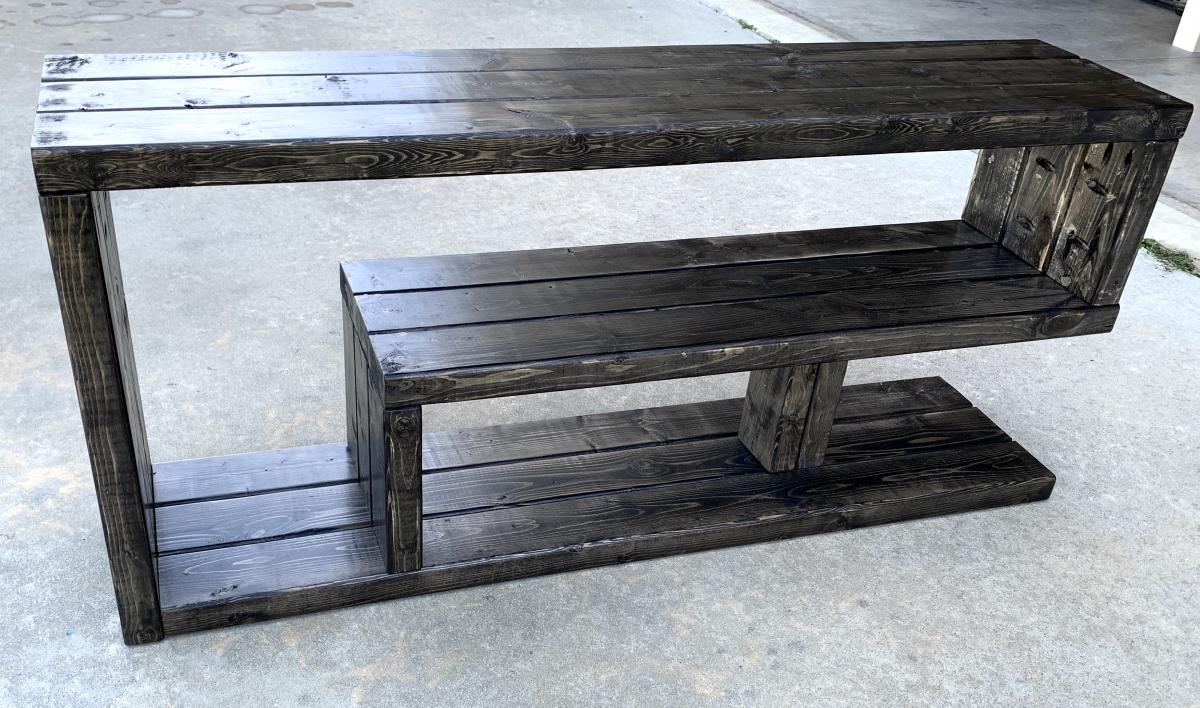
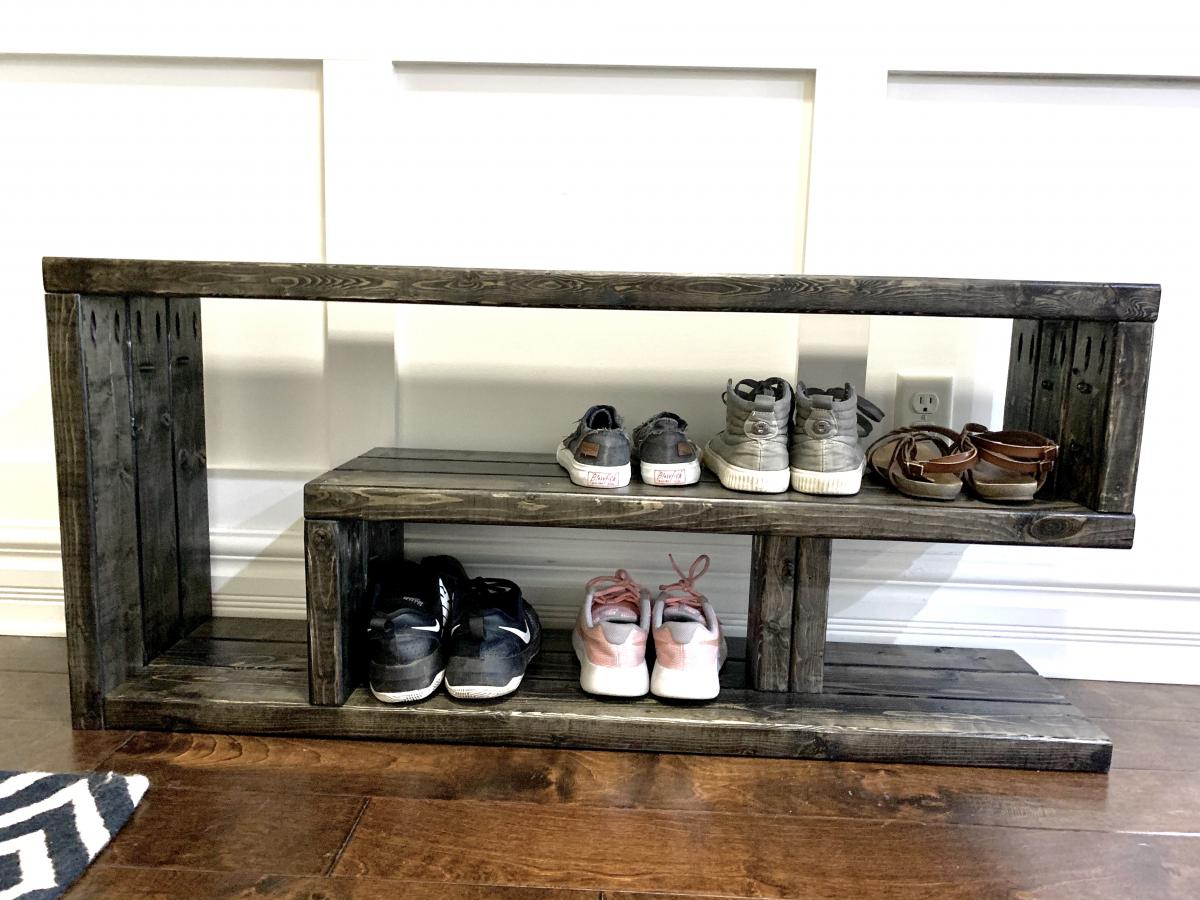
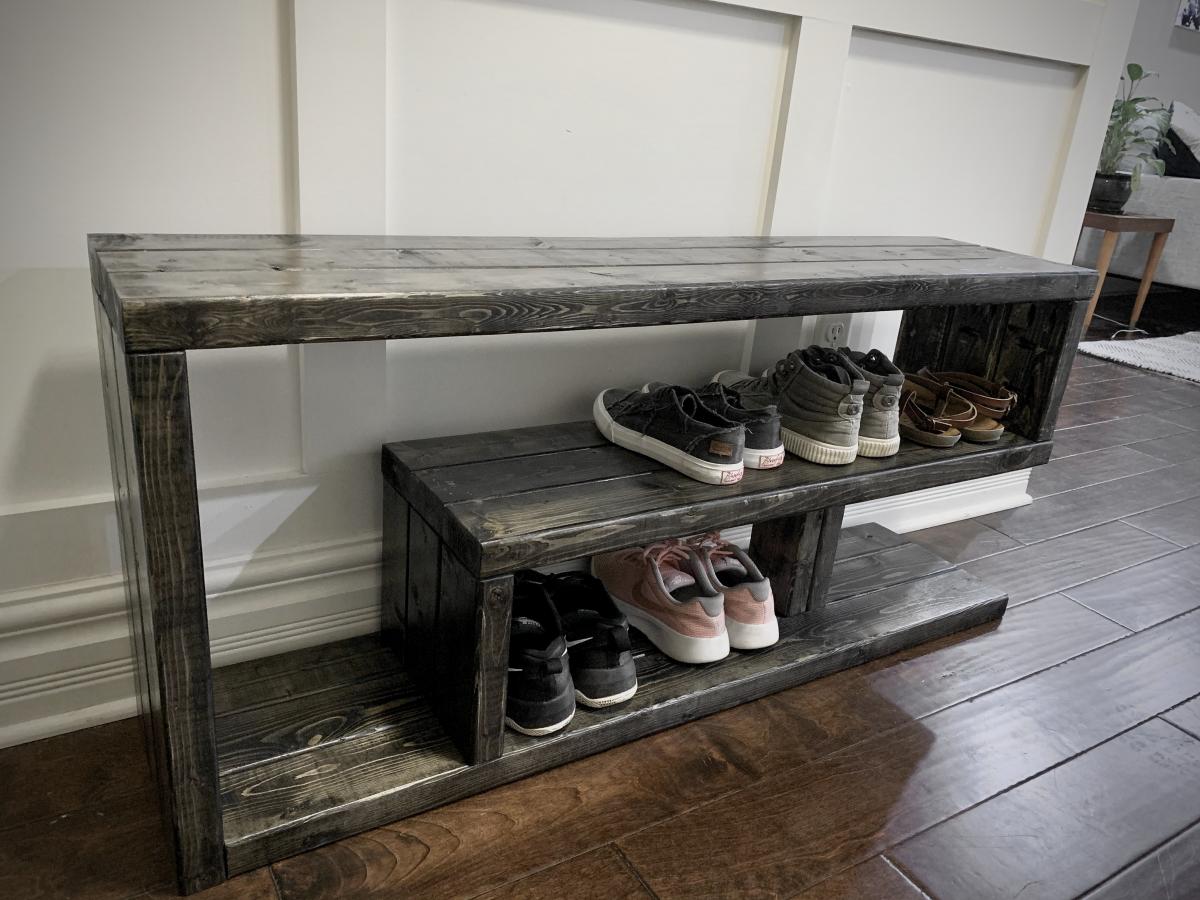
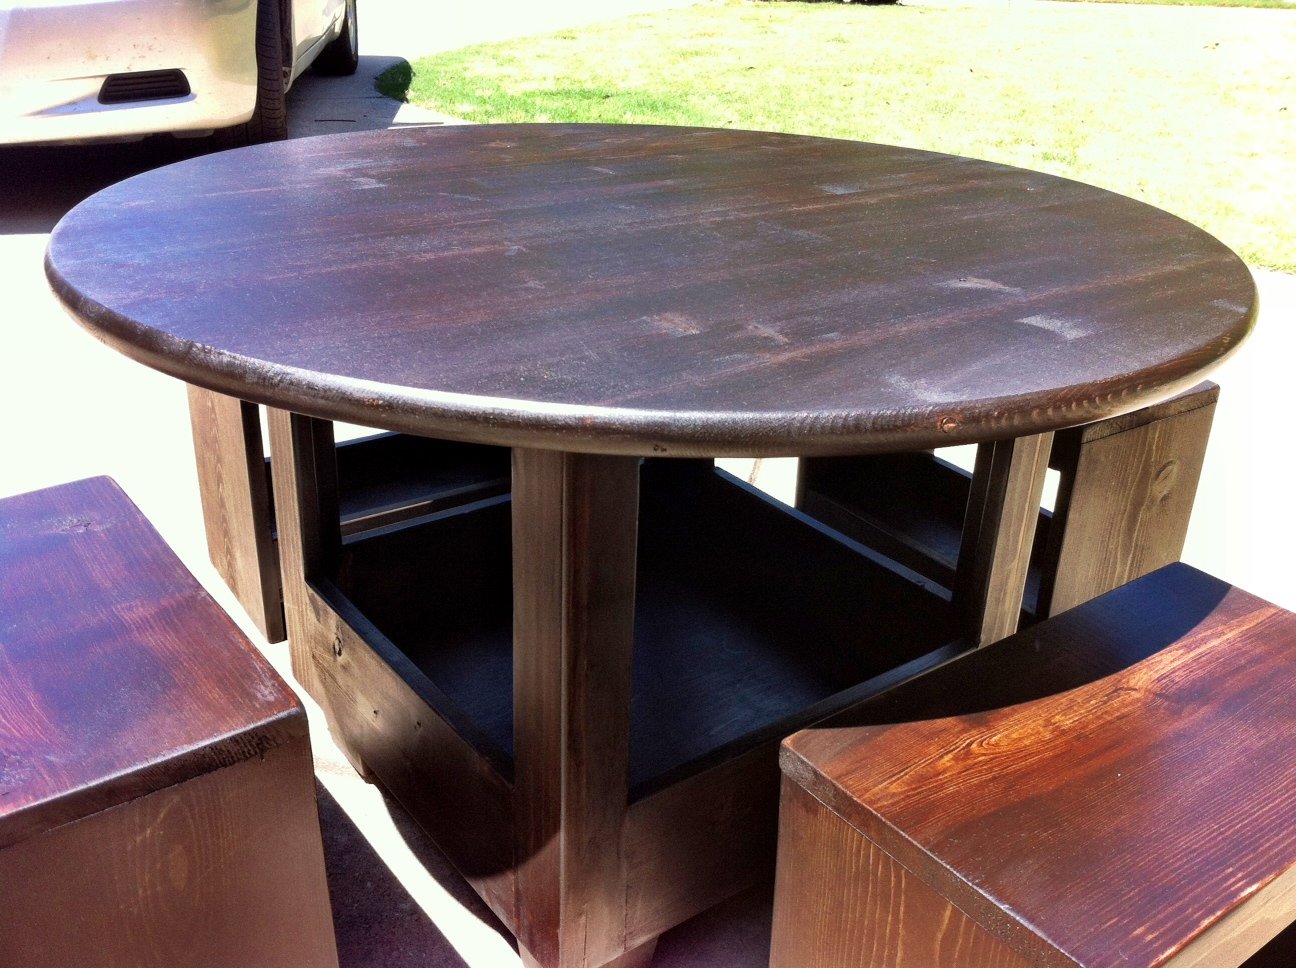
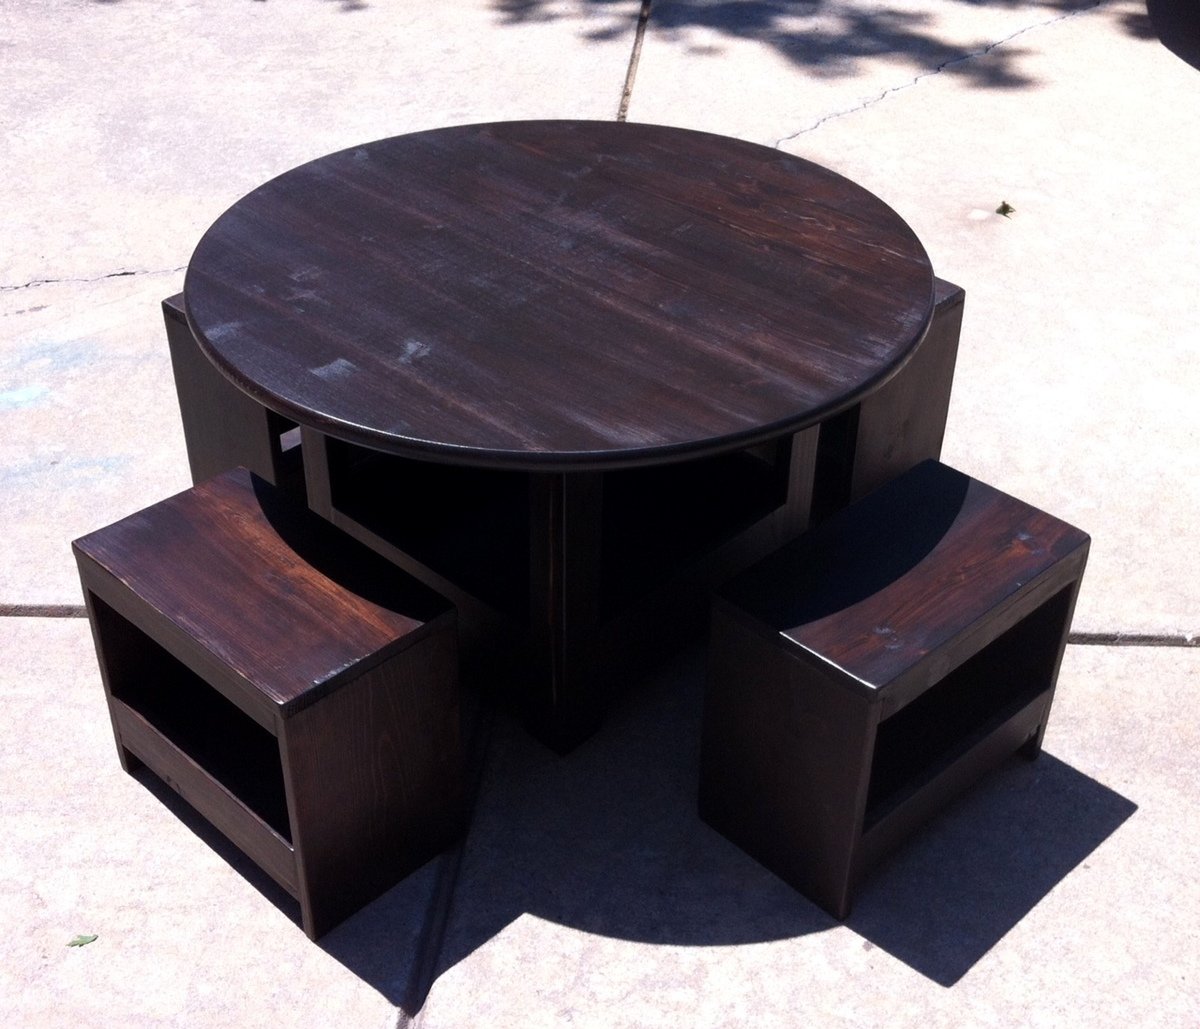
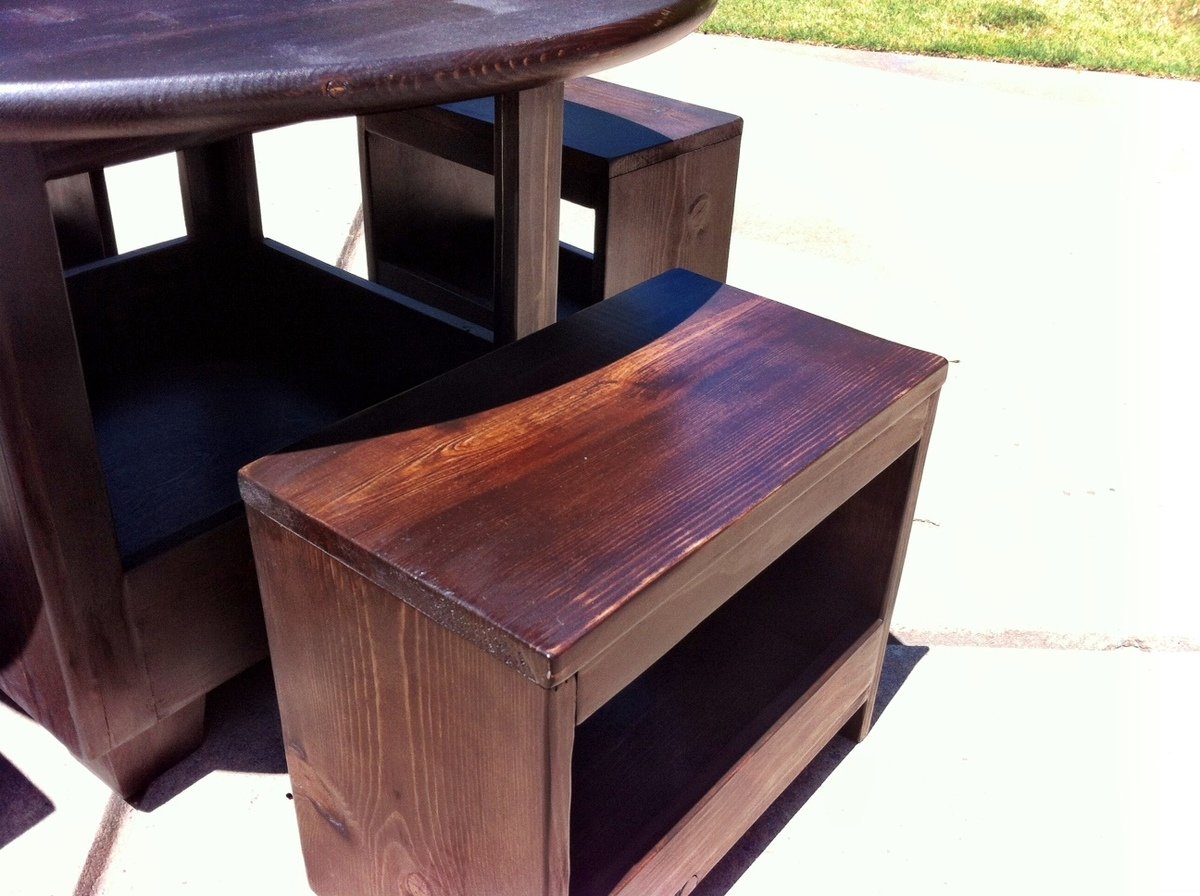
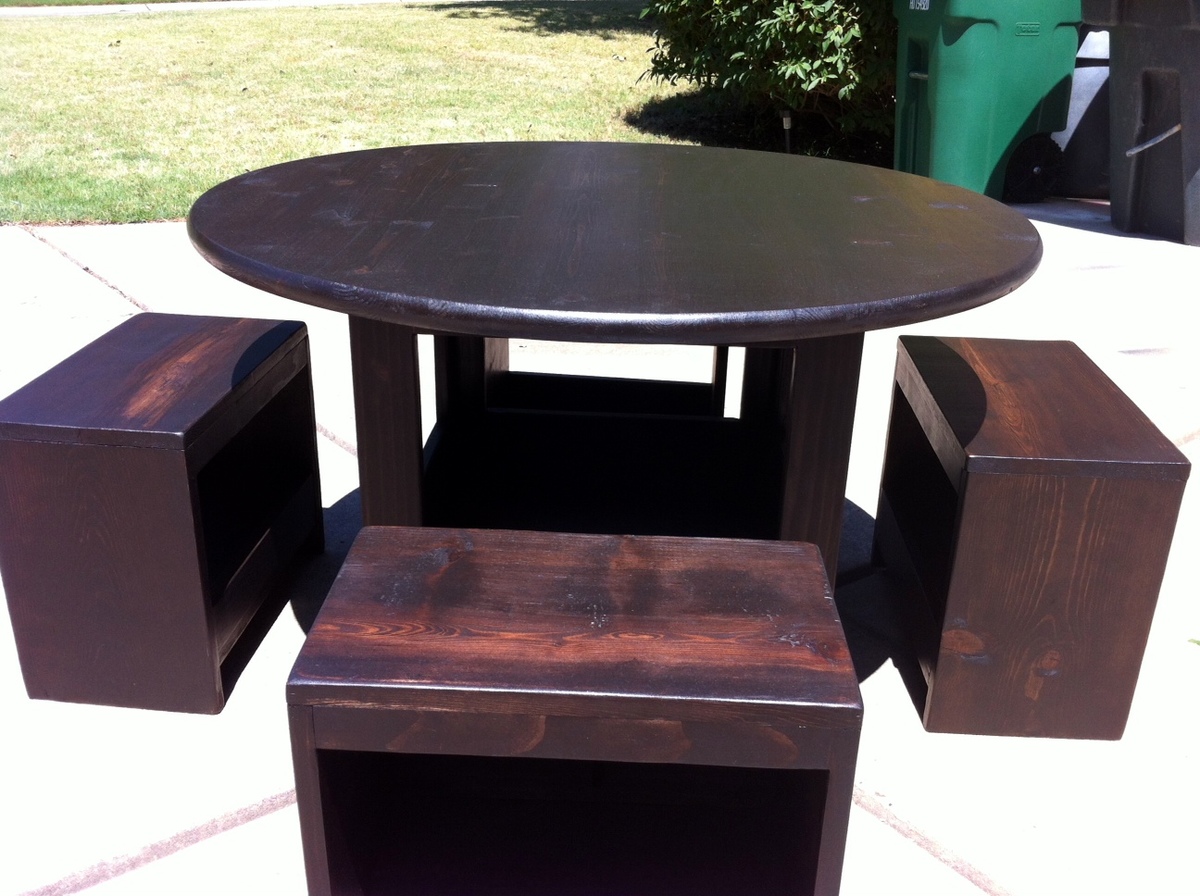
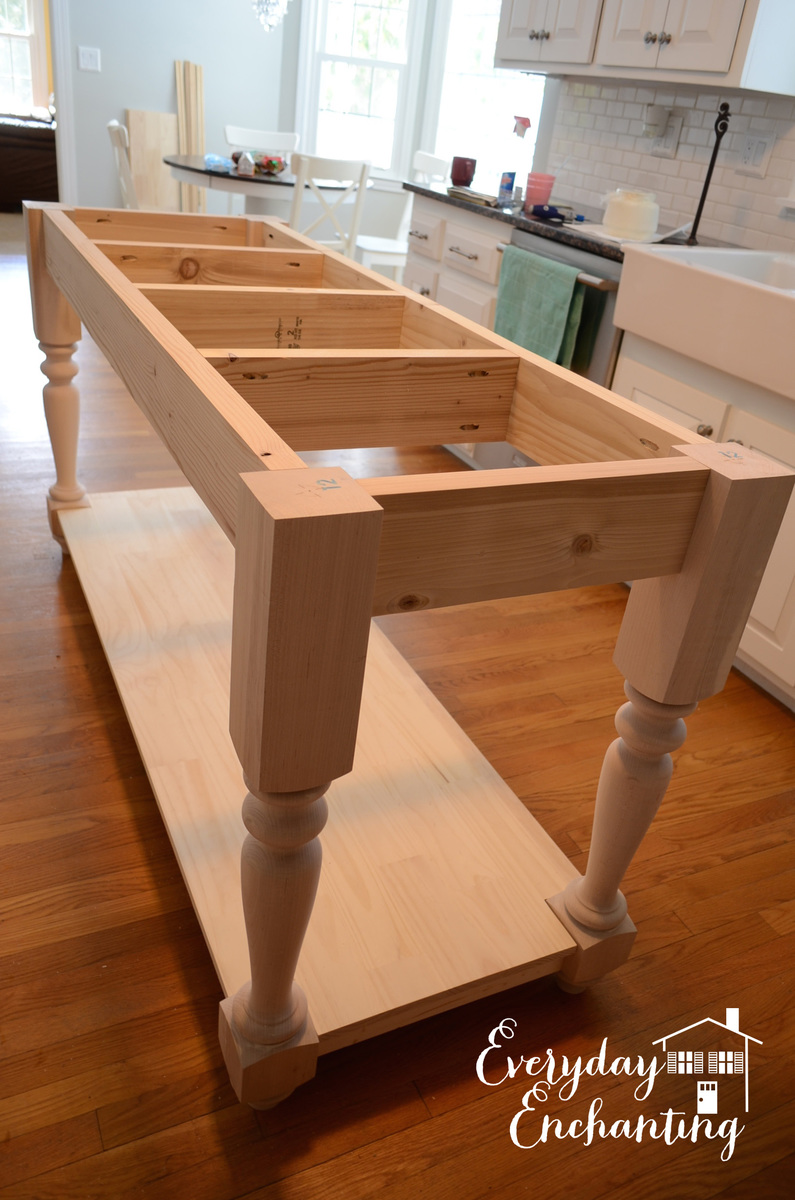
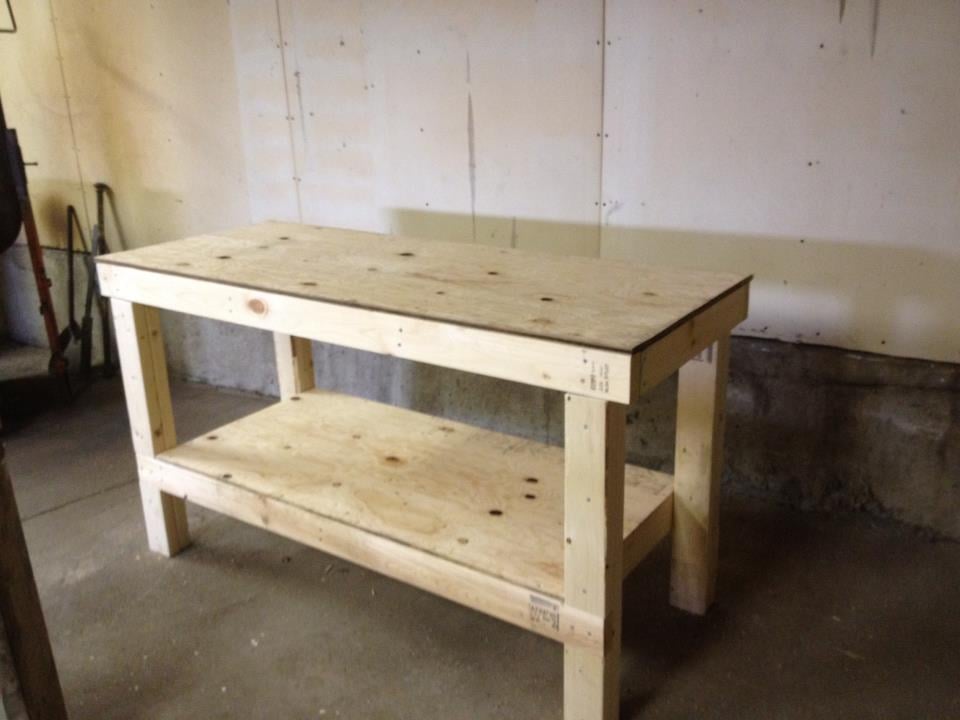
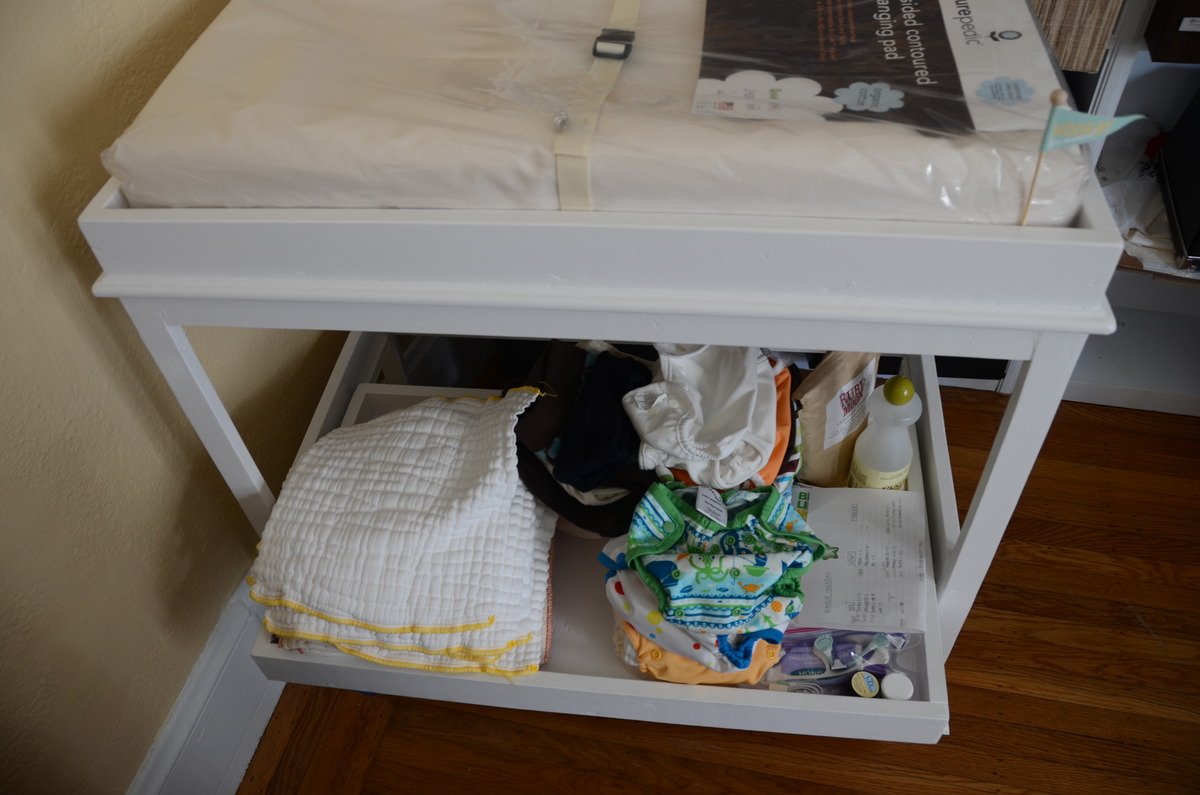
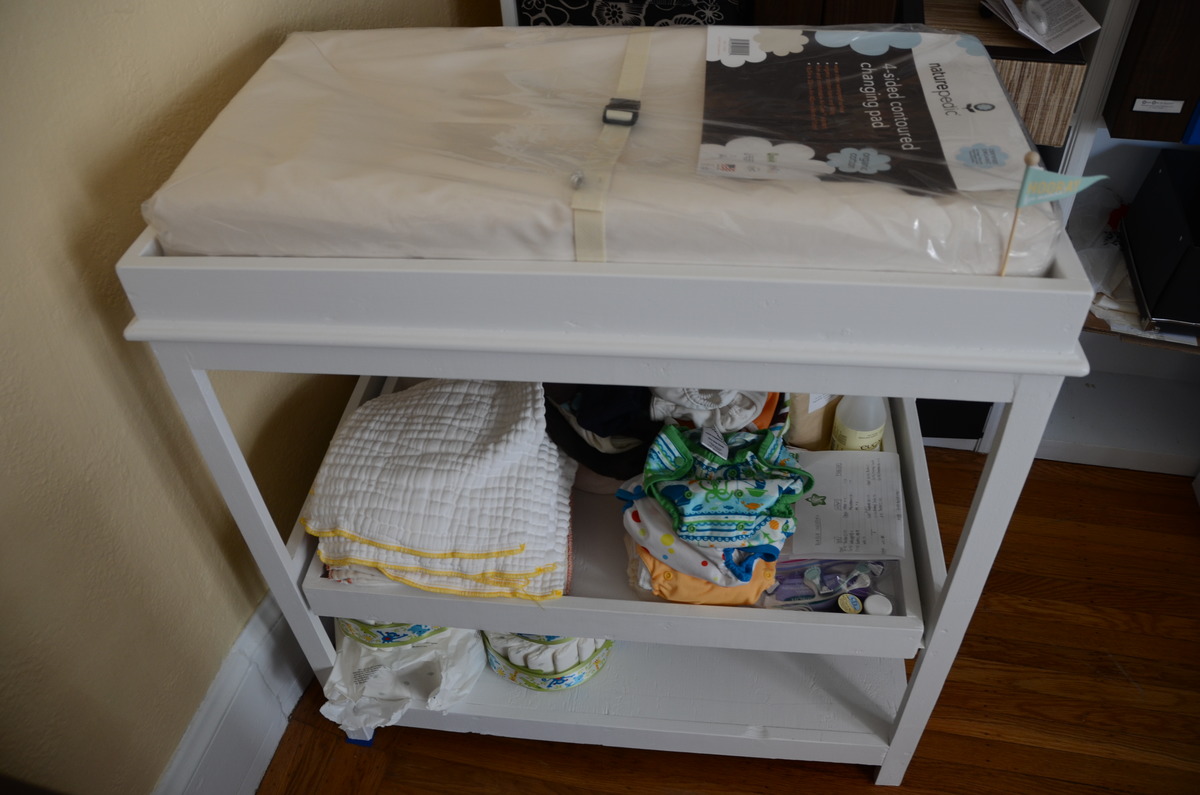
Changing Table with slideout shelf
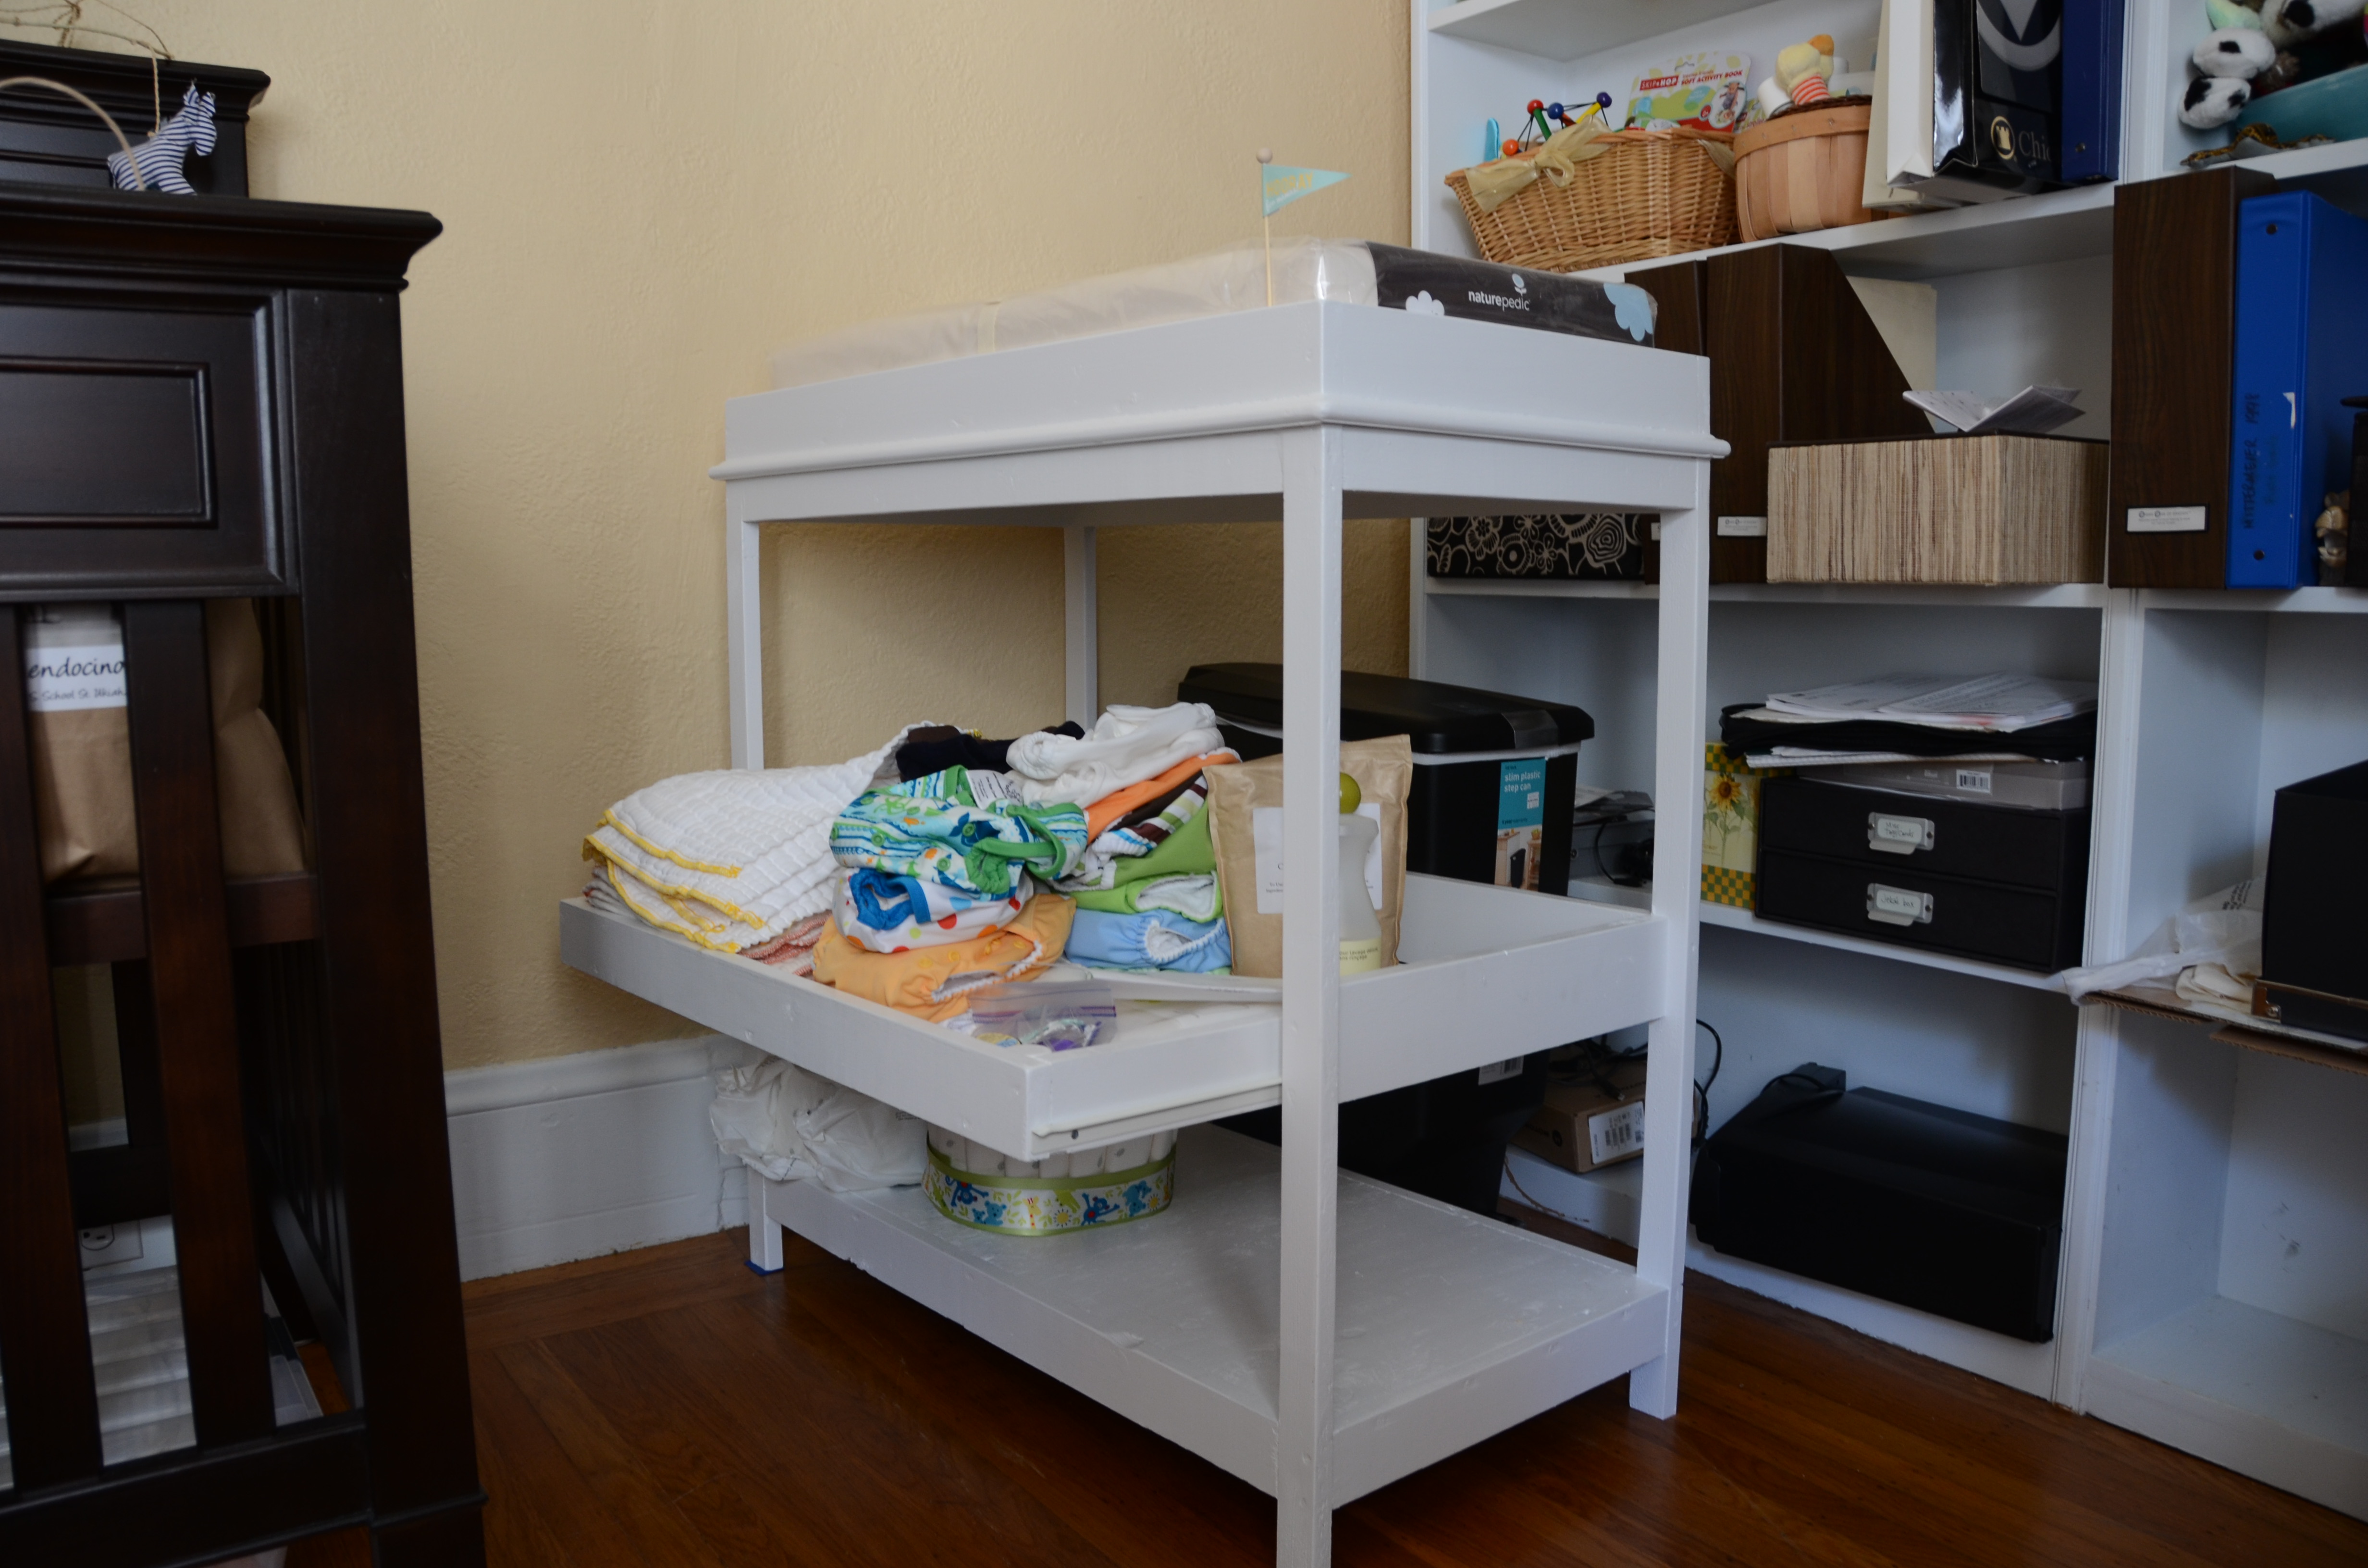
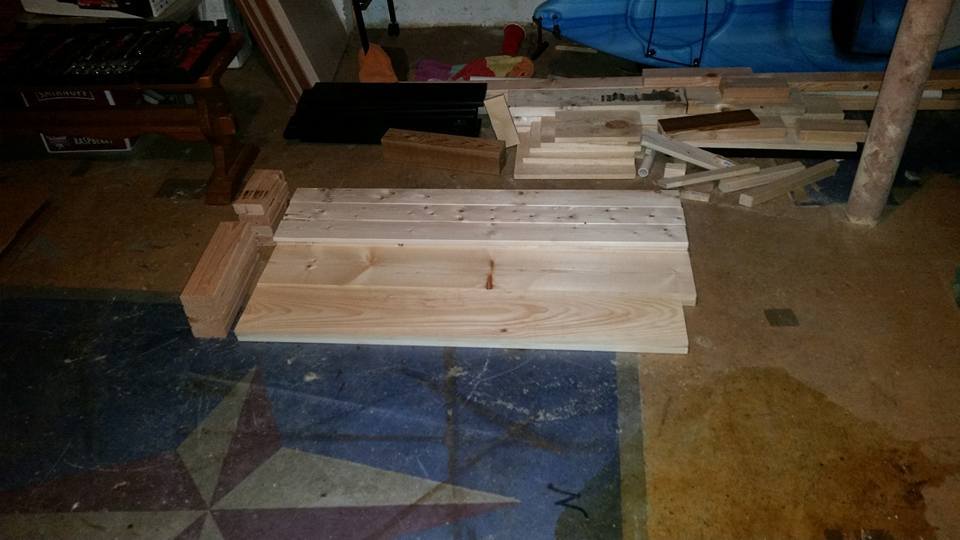
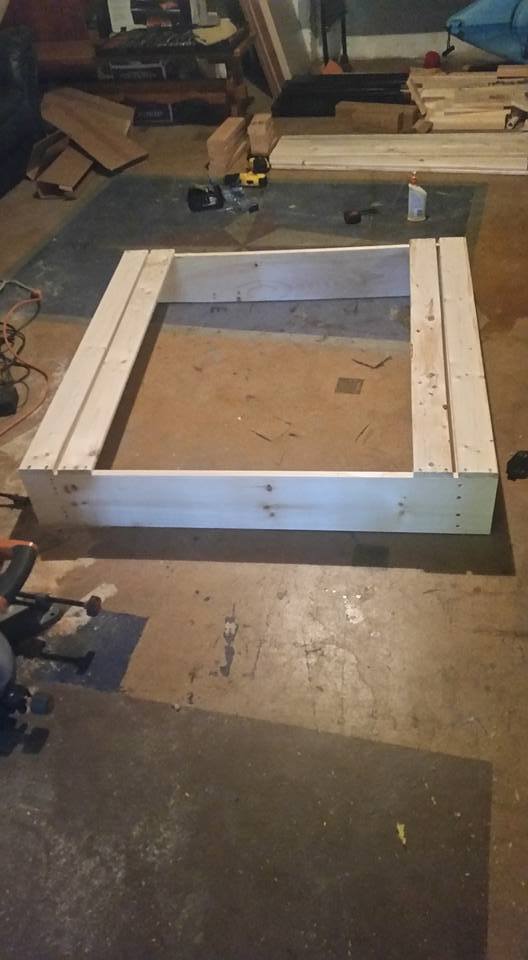
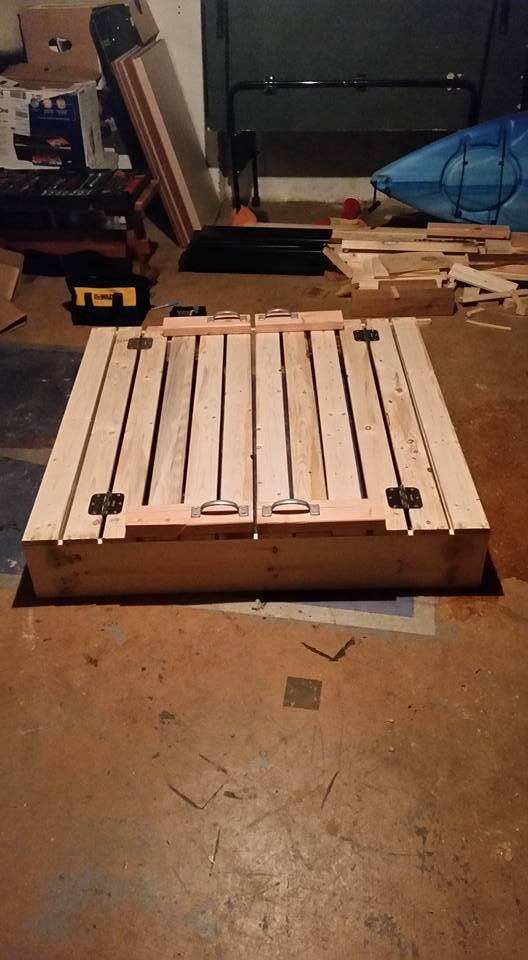
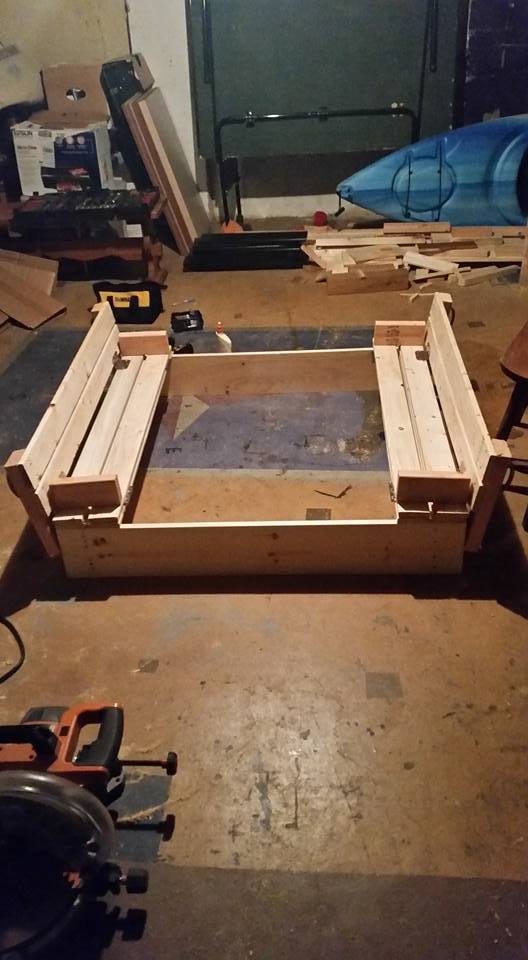
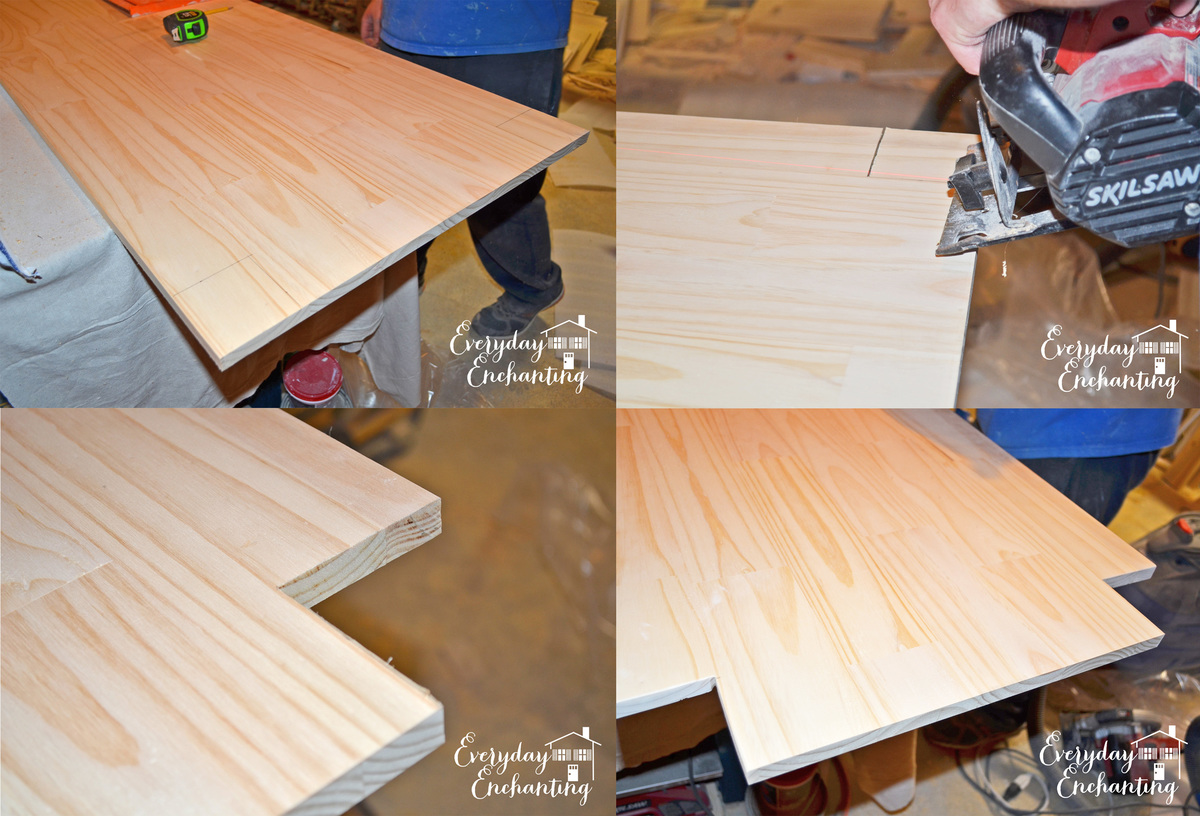
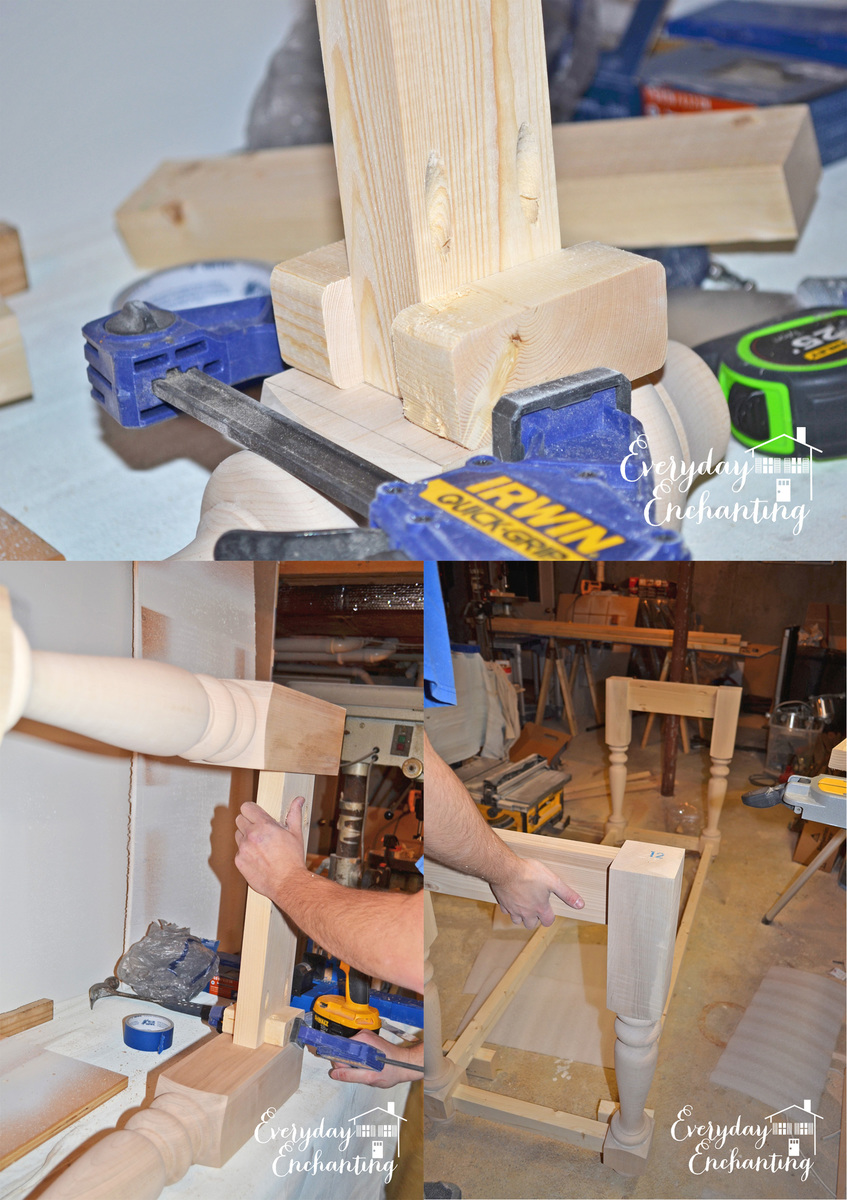
With a little one on the way, we just couldn't find a changing table that fit our space and wasn't too expensive. So, thanks to Ana's plans, I was able to put together a smaller changing table with a slide out shelf. In the future, I'd do a better job of measuring out the height of the middle sliding shelf...anyone over 5'5" will have to bend way over to slide it in/out. I switching the 1x4s from the top to the middle shelf and made sure to measure my changing pad before starting (after reading the comments on Ana's original design). My local lumber store cut my 3/4" ply to size for free, so if you can go in with dimensions already planned out, it'll save tons of time and headache driving with 4'x6' ply floppin' around.
Built from Plan(s)
Estimated Cost
$50
Estimated Time Investment
Day Project (6-9 Hours)
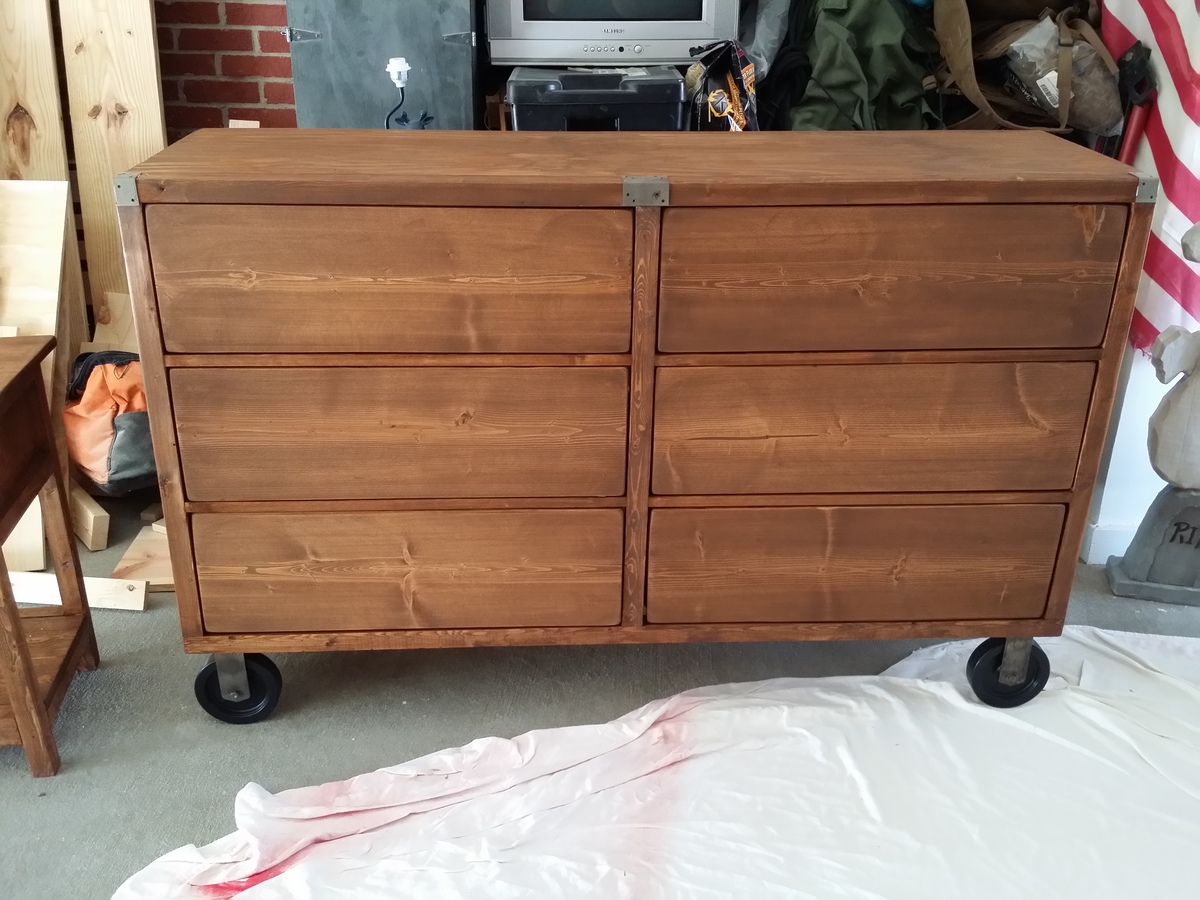
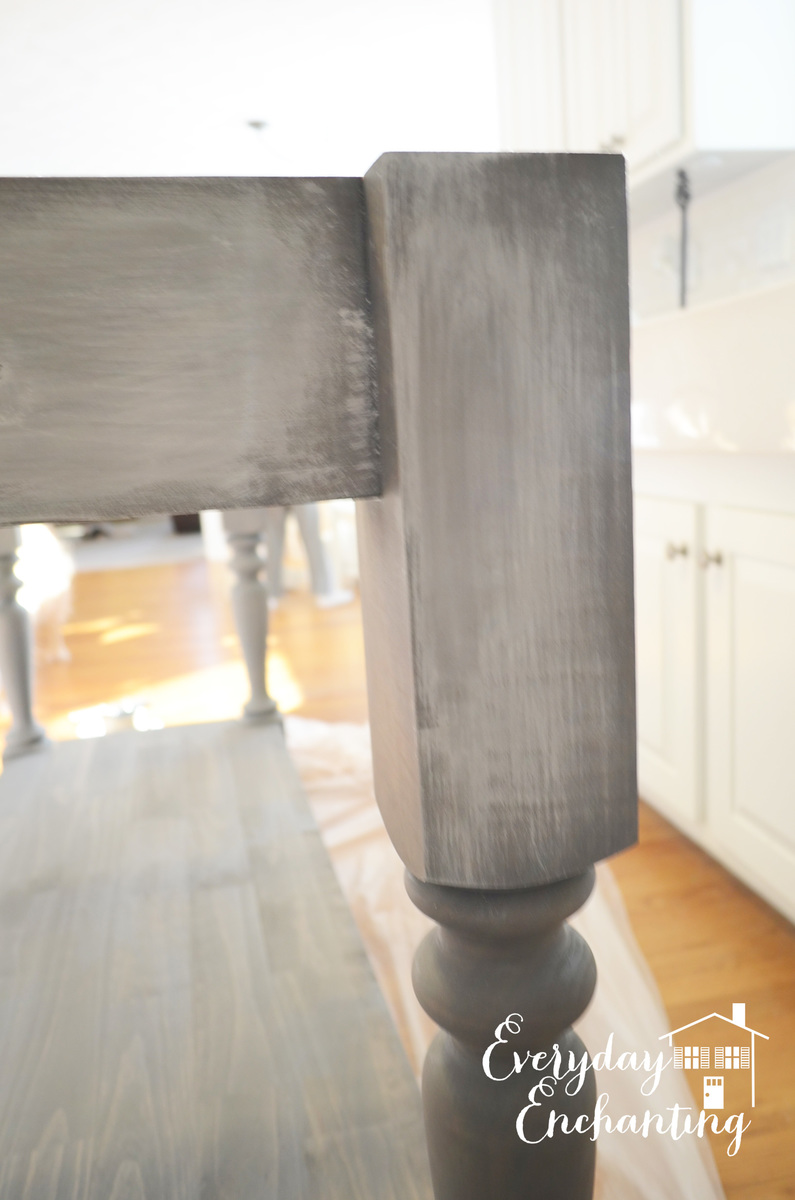
Finish Used
Interior primer and semi-gloss interior bright white paint.
Recommended Skill Level
Beginner