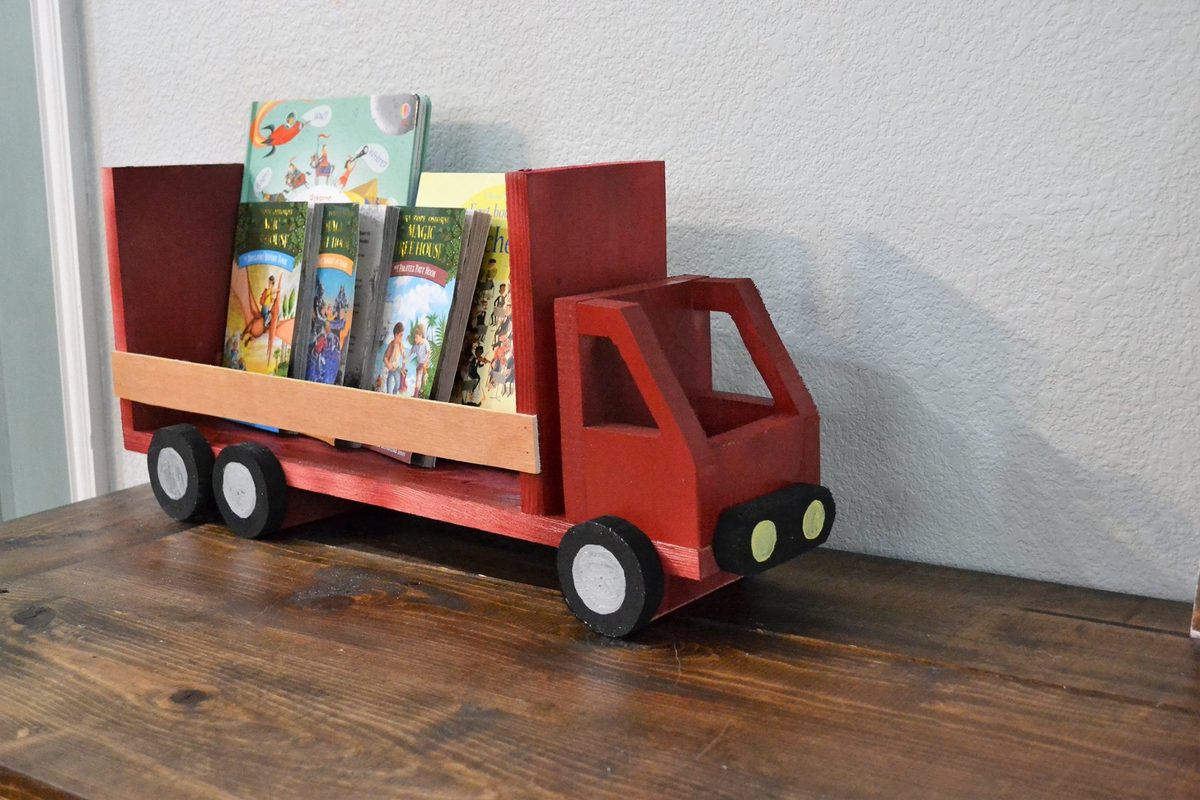
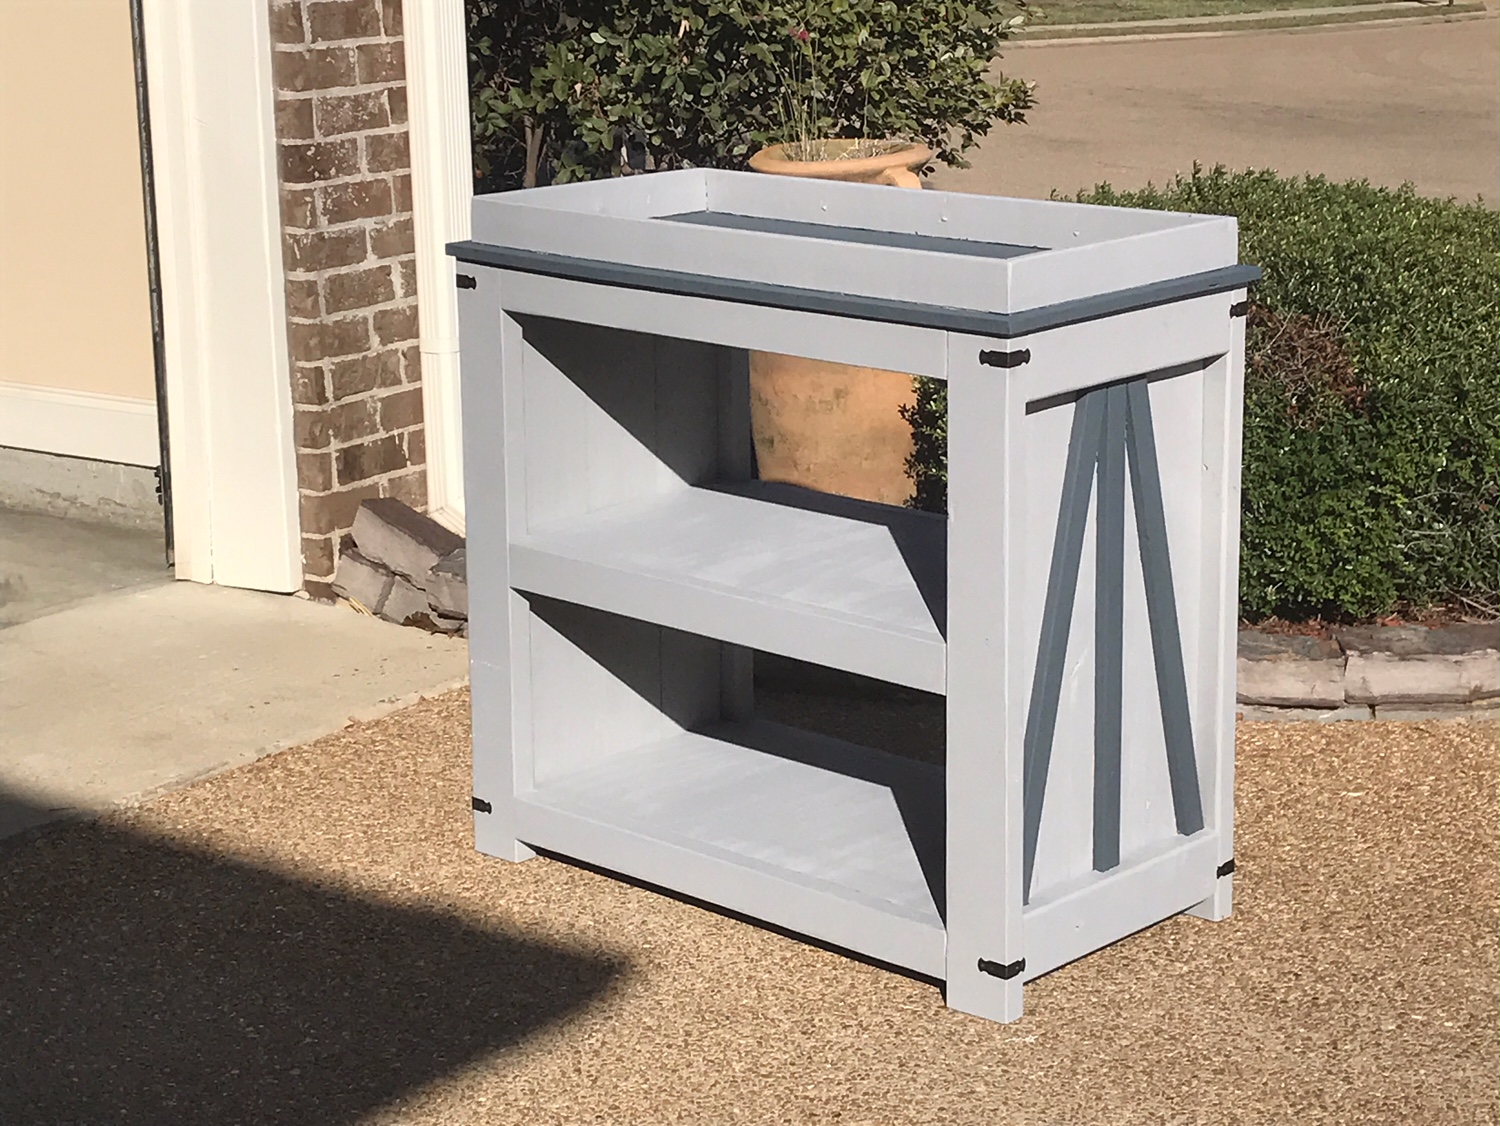
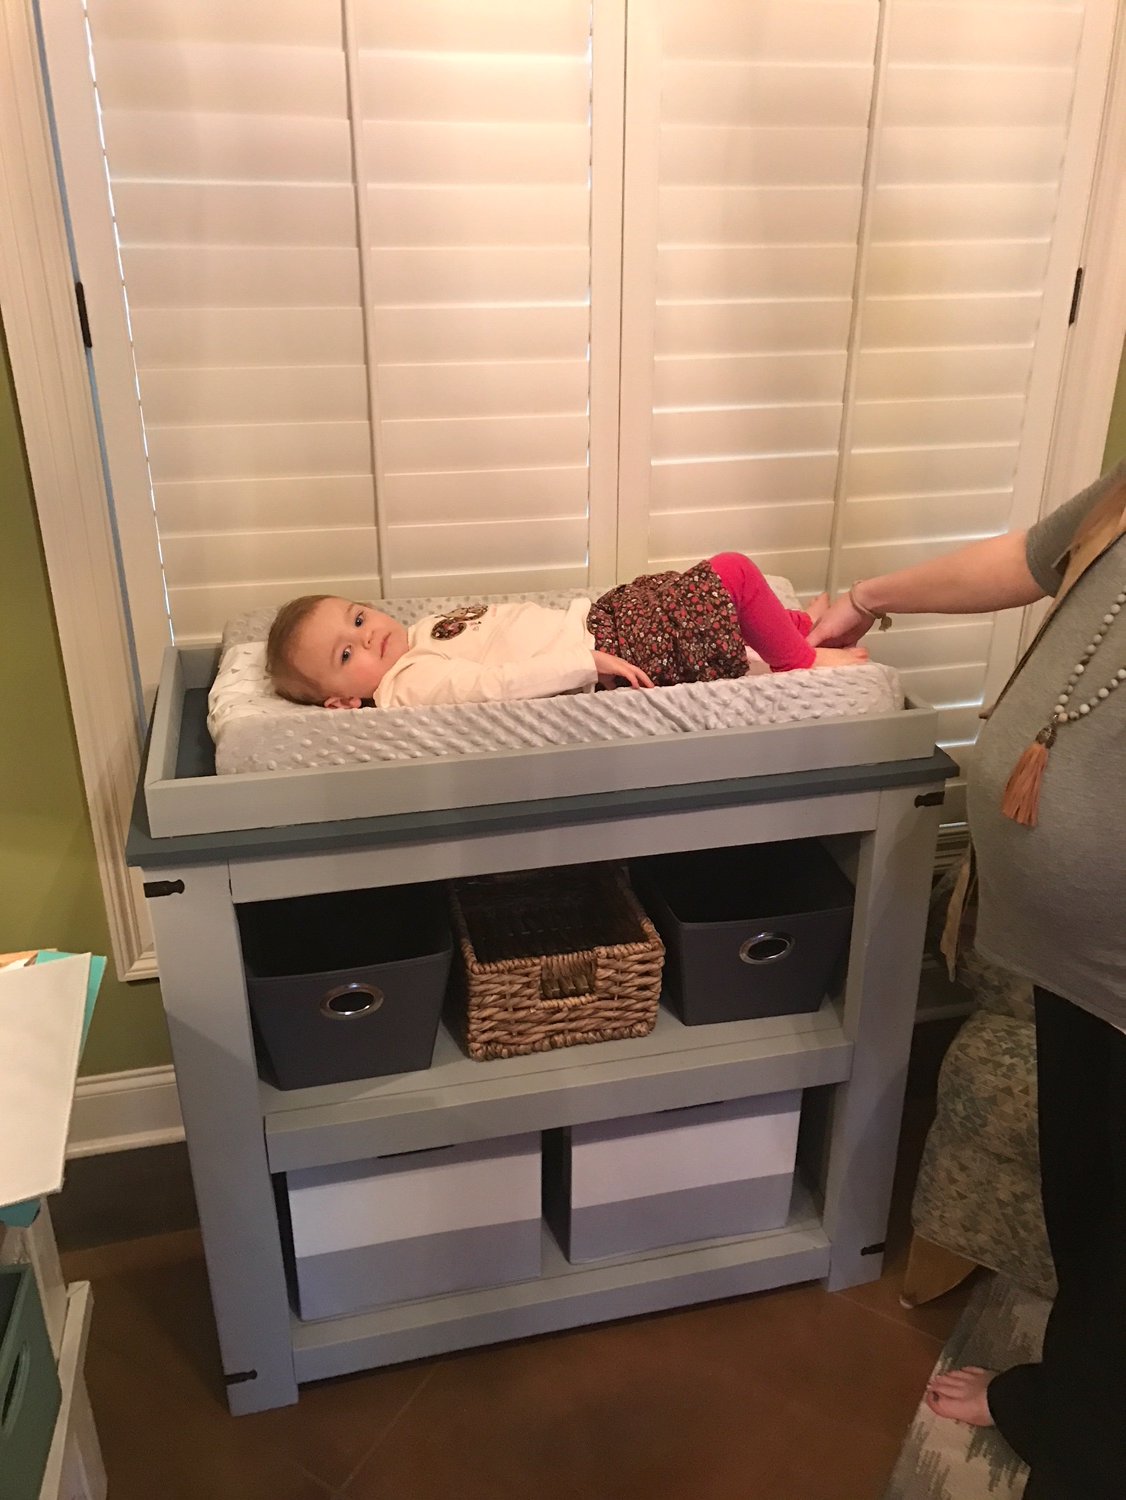
Truck Shelf or Desk Organizer
very easy
Built from Plan(s)
Estimated Time Investment
Afternoon Project (3-6 Hours)
Recommended Skill Level
Beginner
very easy
My husband and I just recently moved to Savannah from Annapolis.
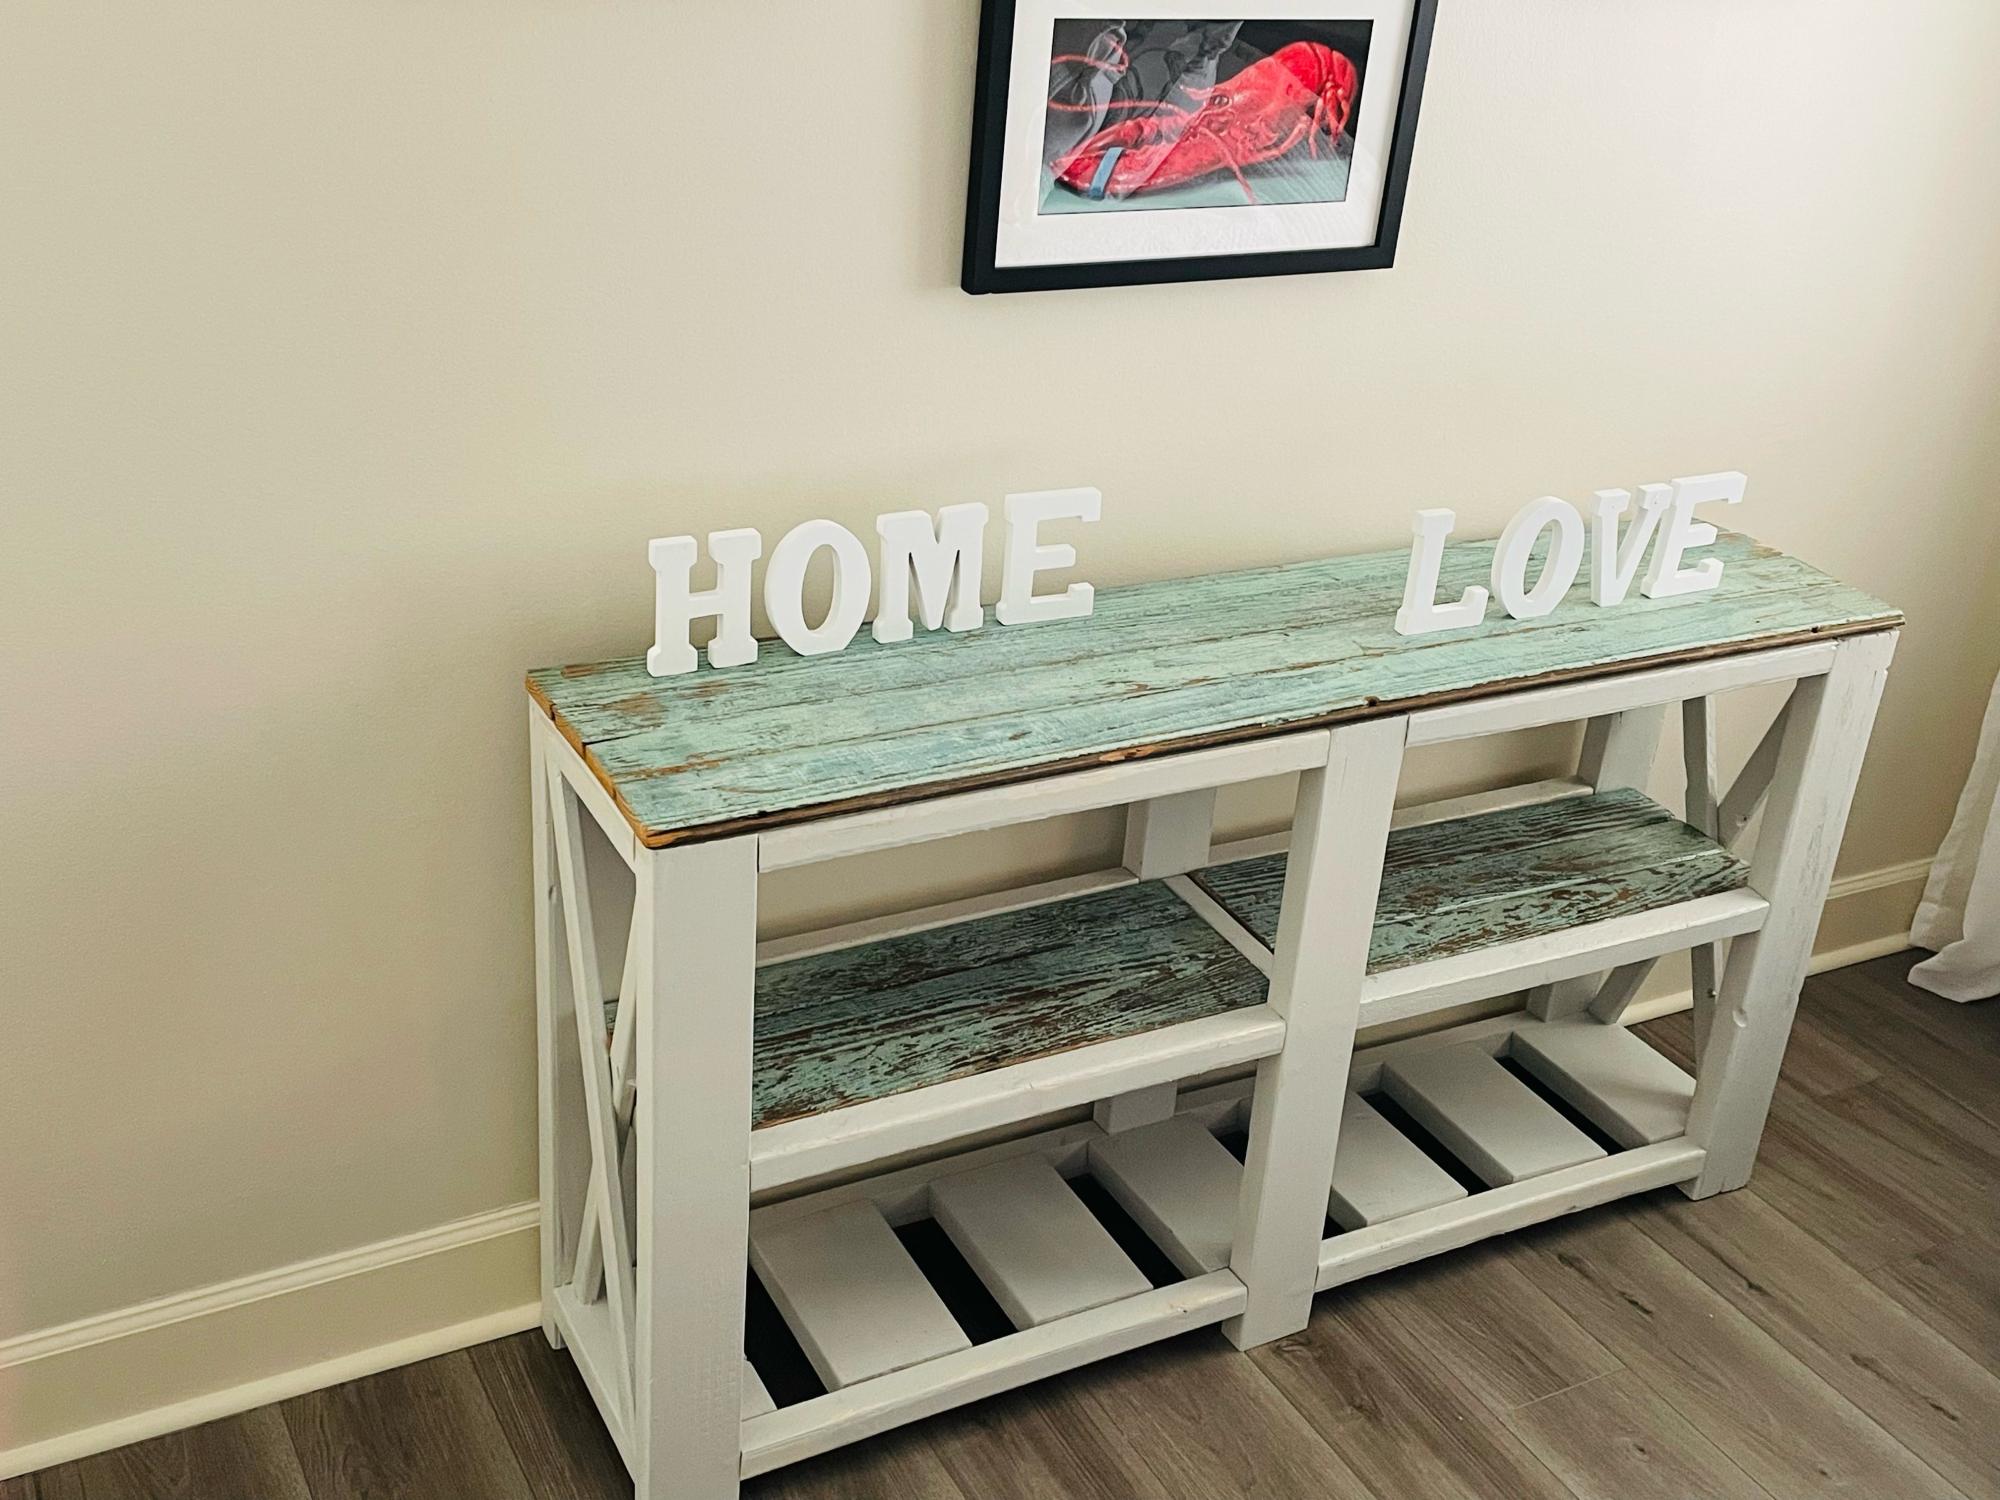
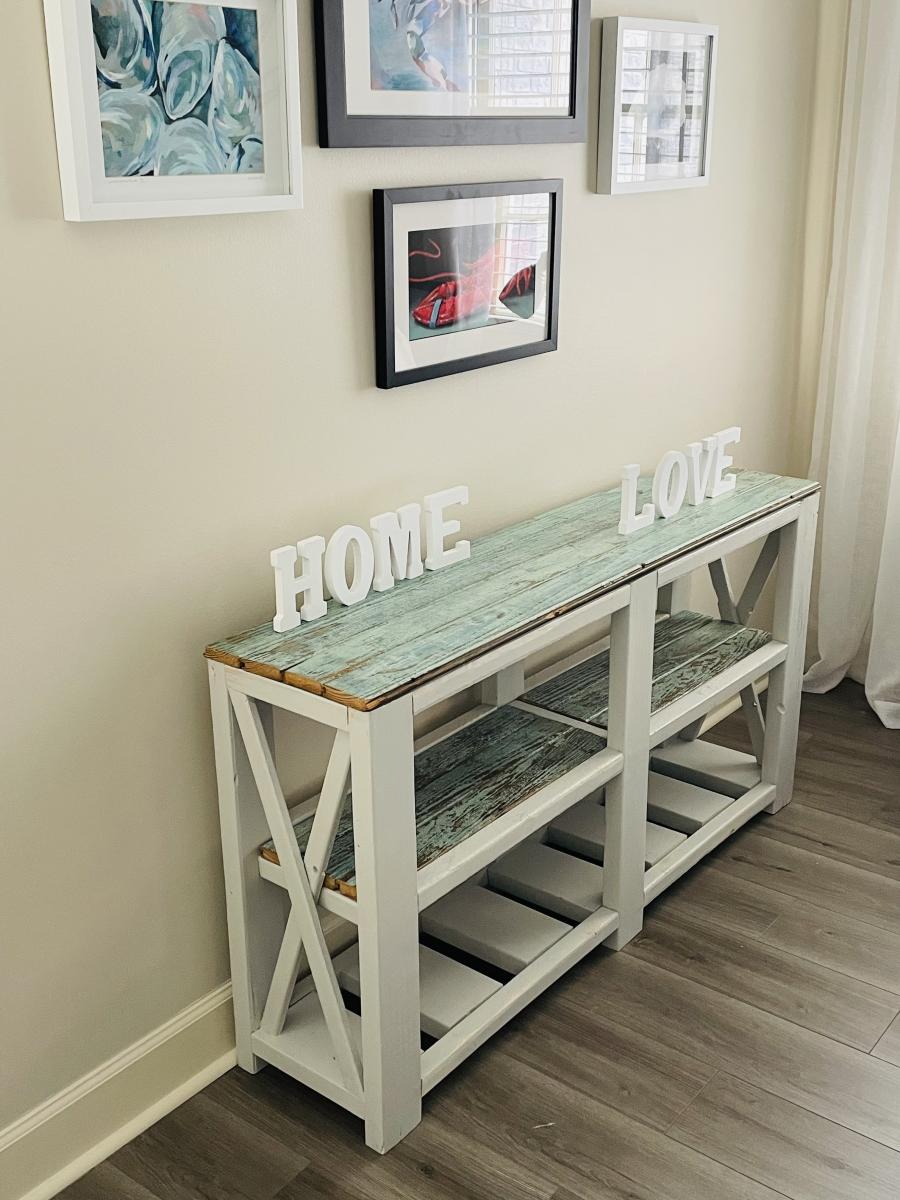
I got my hands on some beautiful wood from an old house in Savannah. The console table for the bedroom came to mind immediately. Great project, thank you for the plans, Ana!
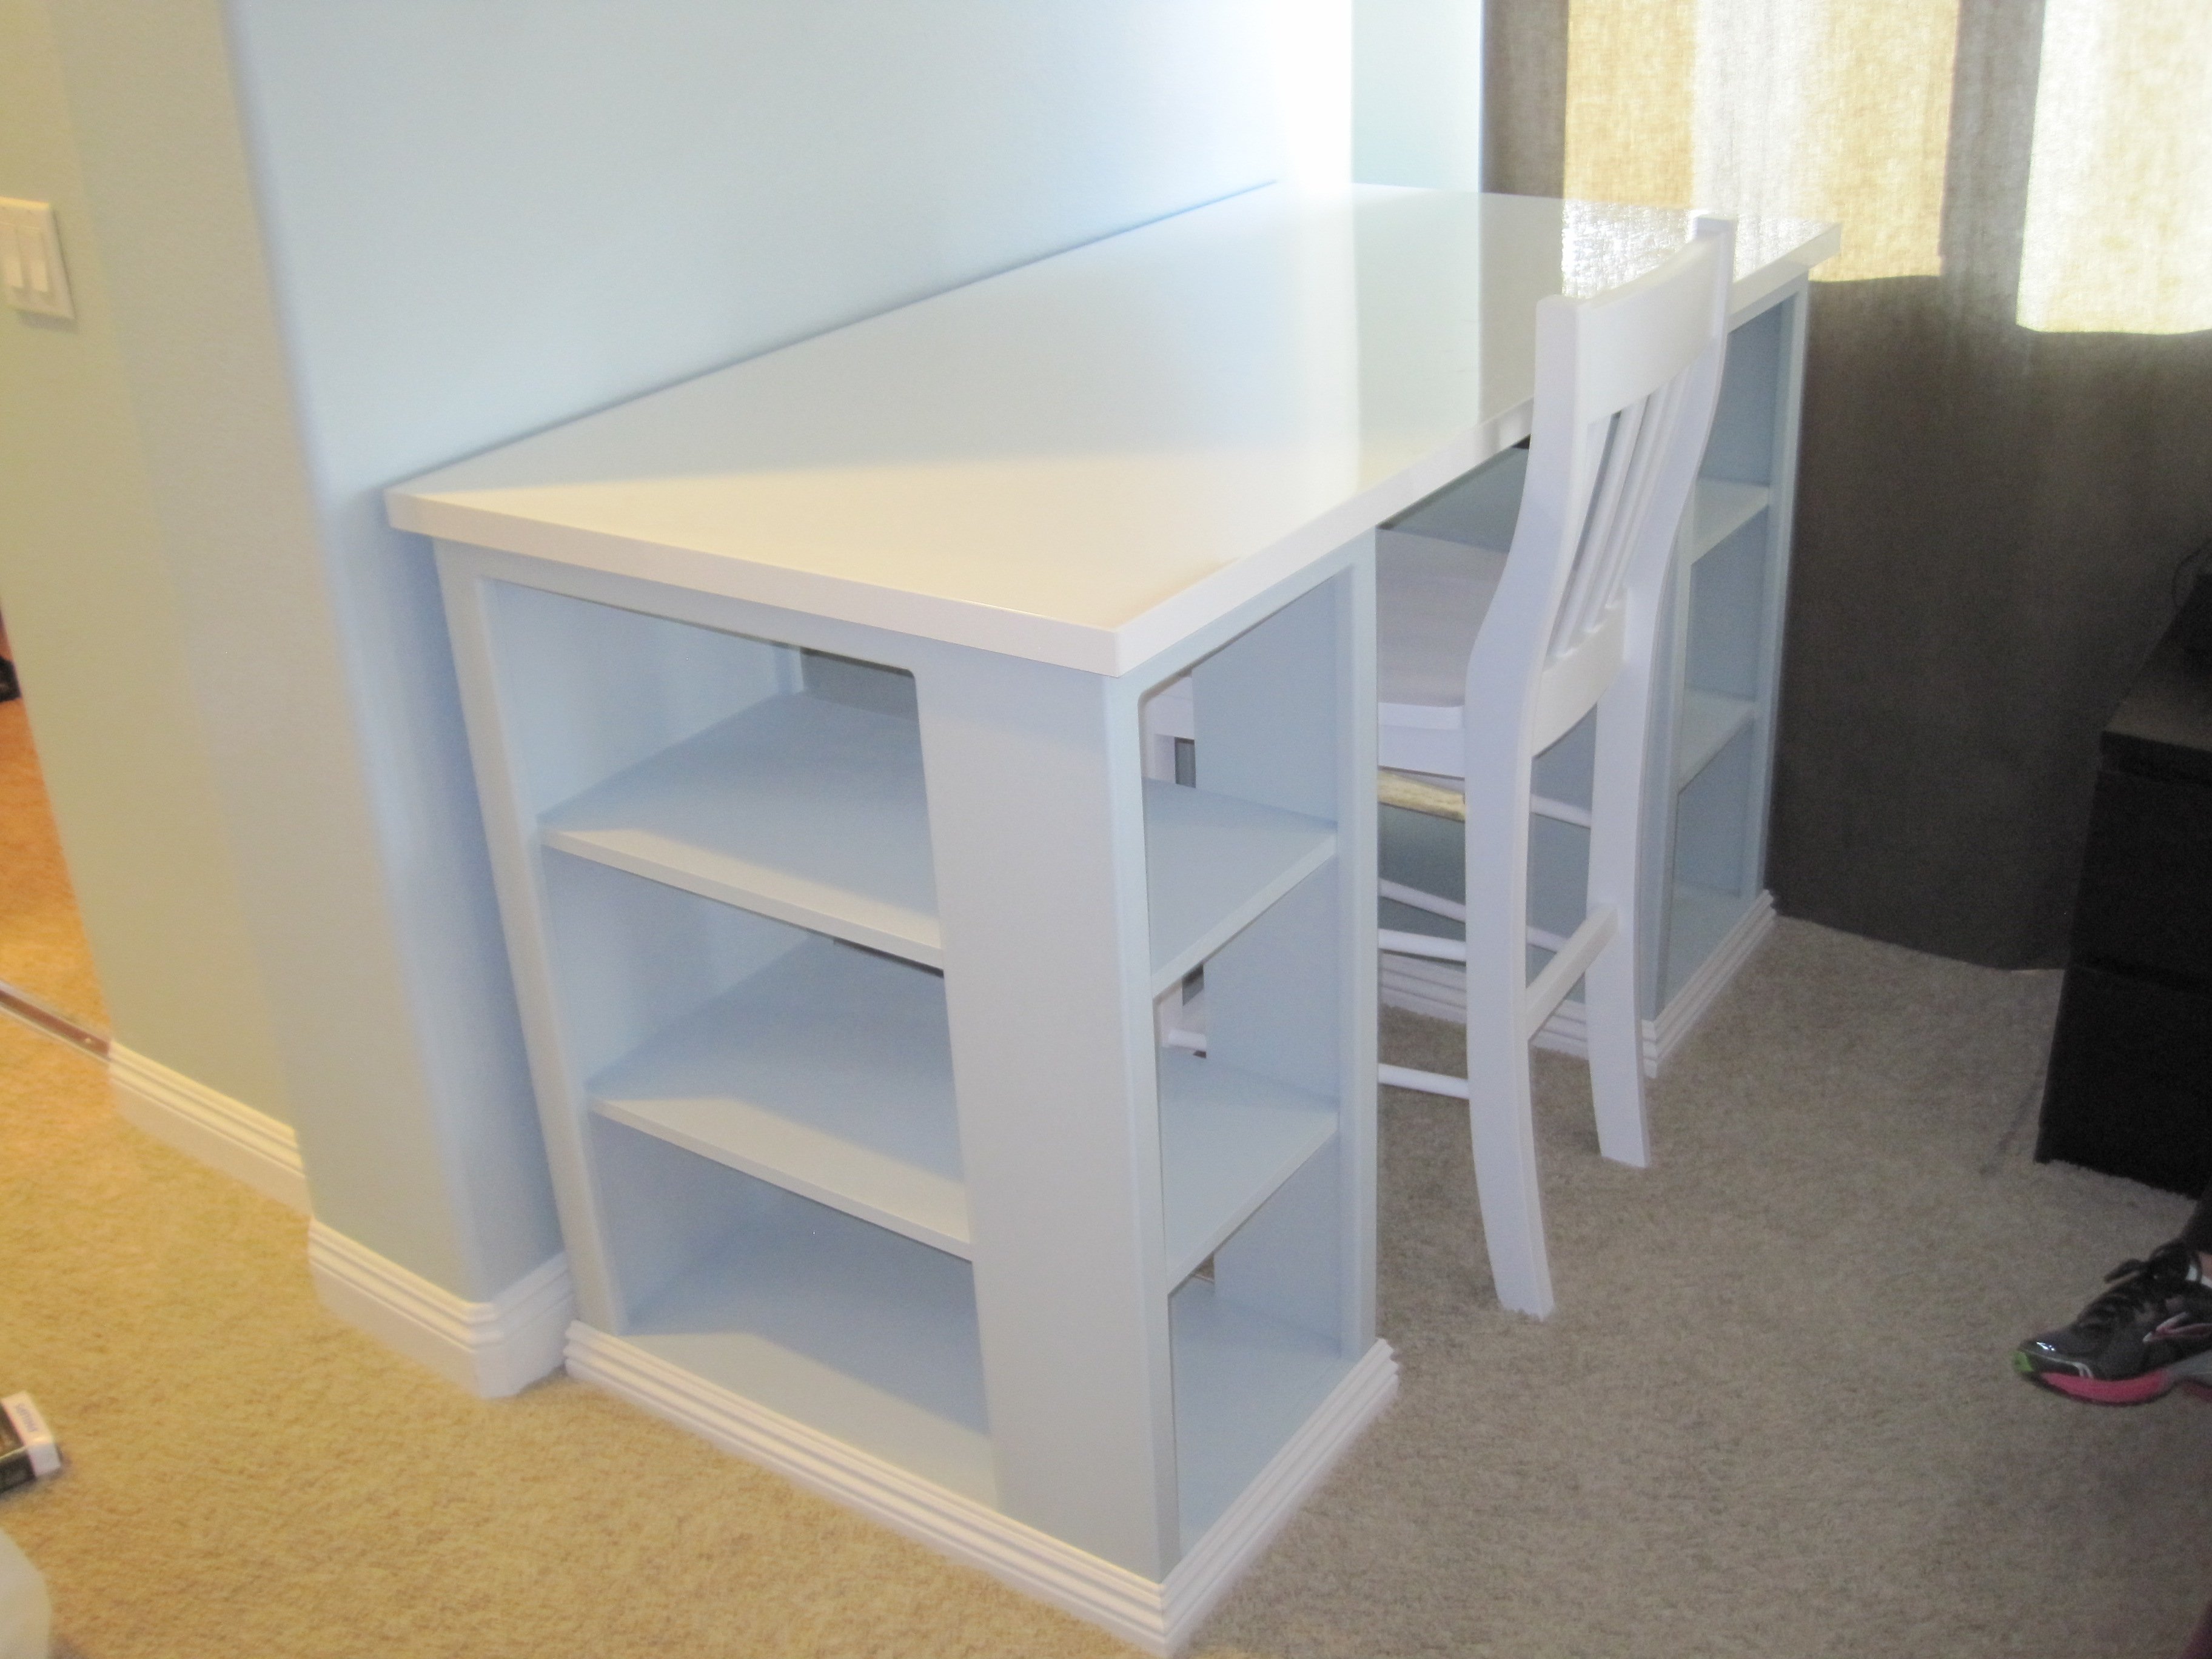
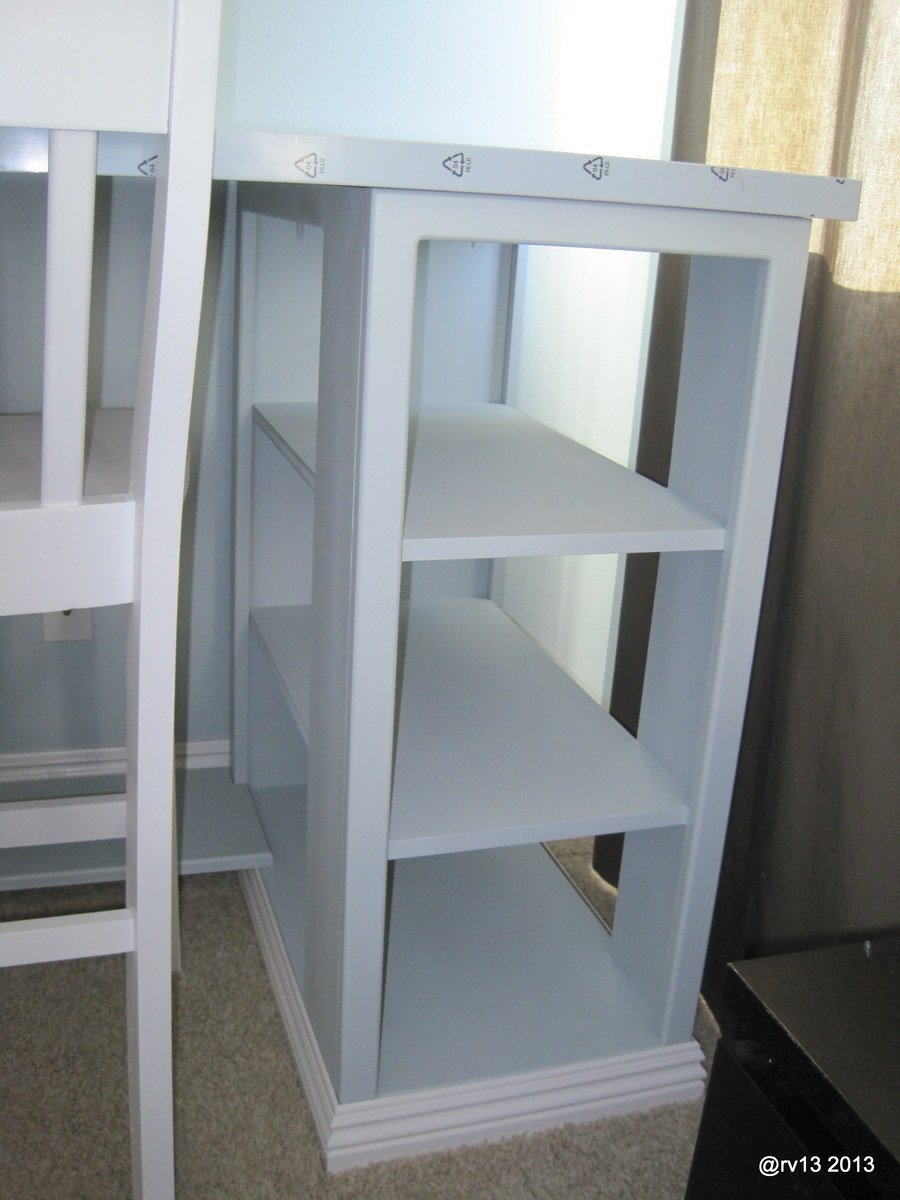
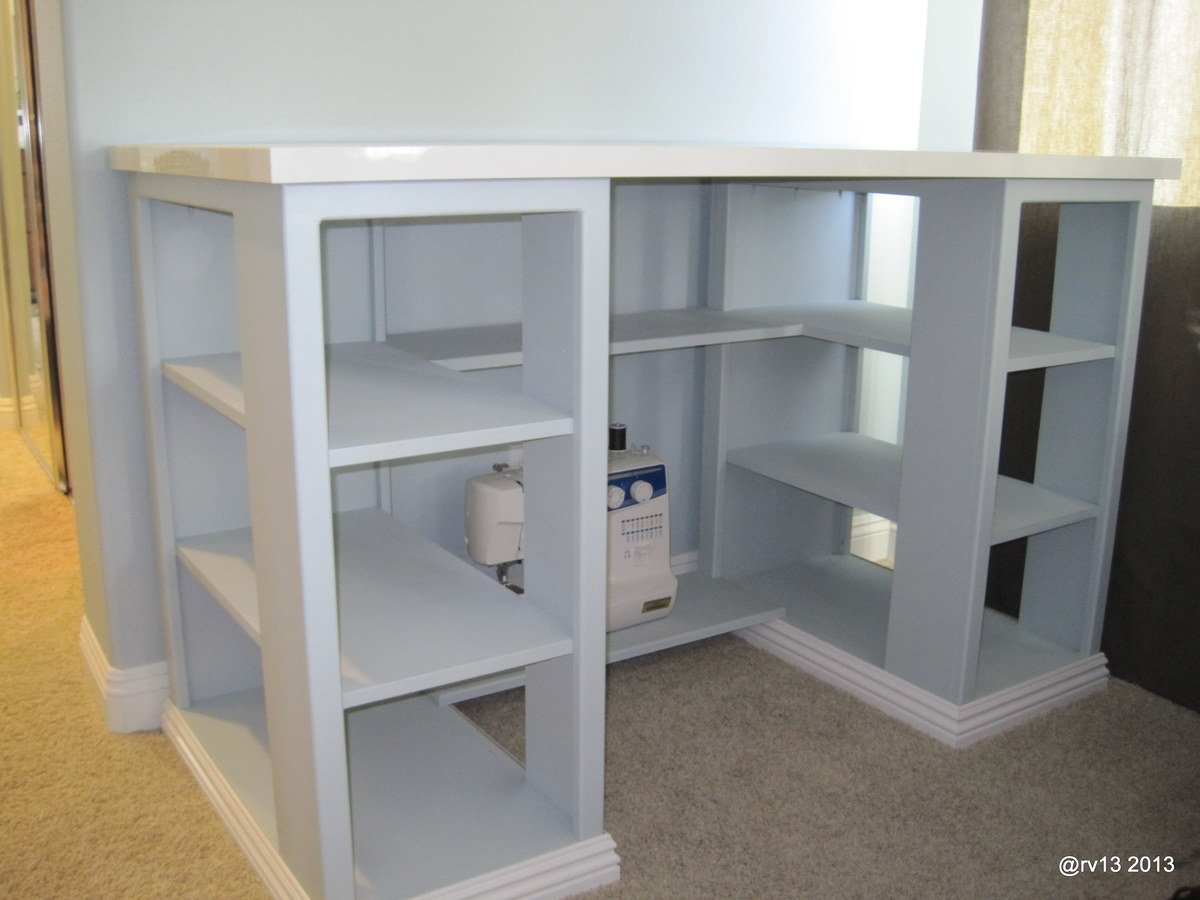
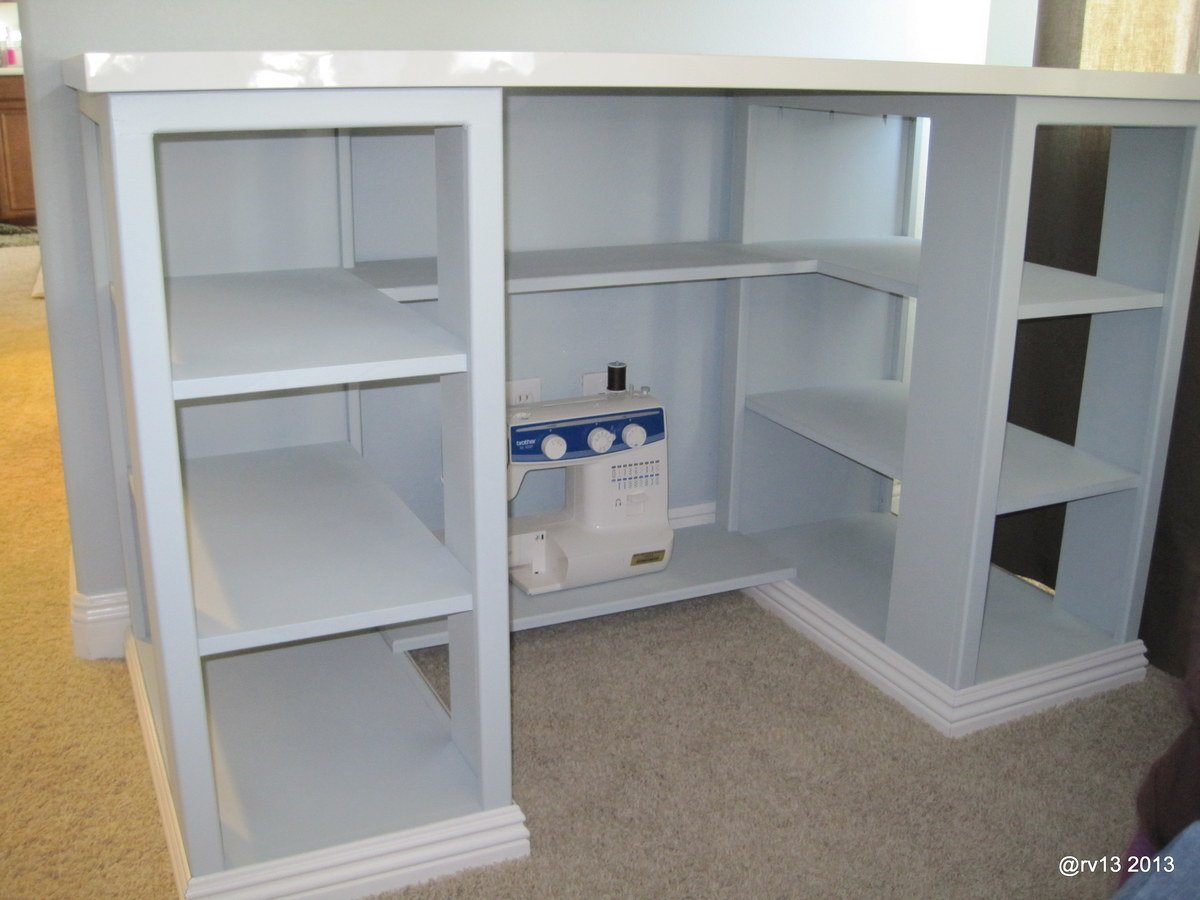
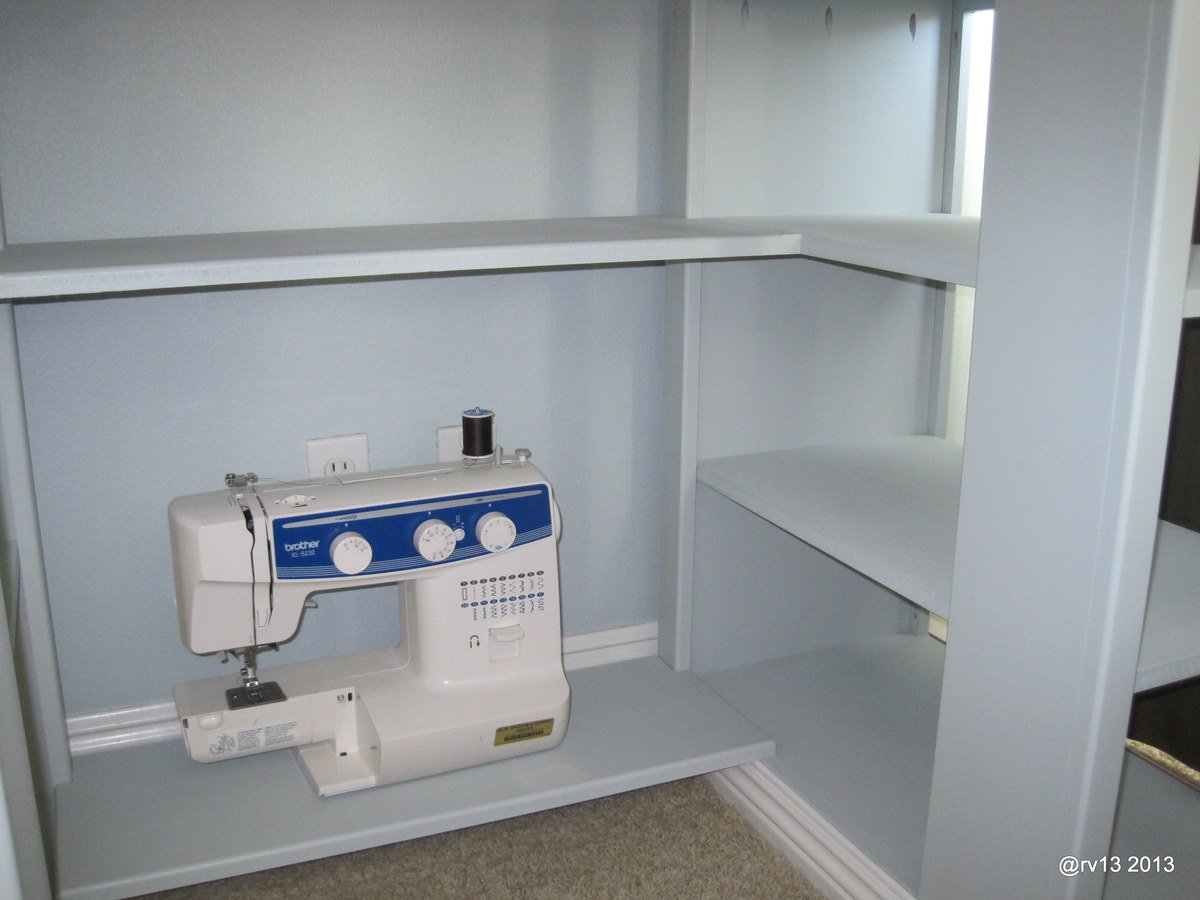
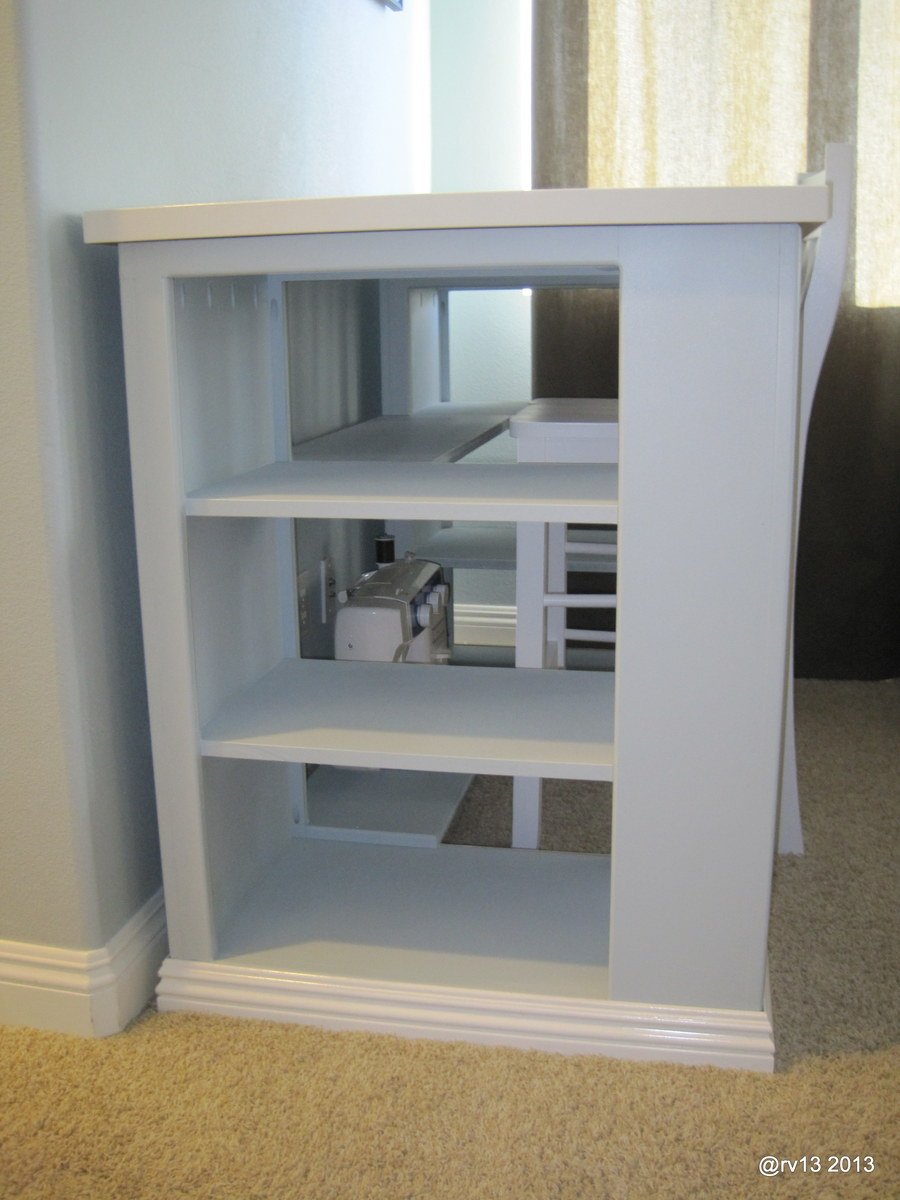
Here is our take on the Ana White "Modern Craft Table". My wife wanted to use this as a sewing table. I used my Kreg Pocket Jig for most all connections, minus the moulding. The unit was built out of 3/4 MDF. The table top is from IKEA.
Mine is built a little different in that the shelves are continuous, not compartments. I also added in shelving on the back for more storage.
I also ran the router along all the edges.
Mon, 08/05/2013 - 06:45
Very nice for sewing - and love how you added shelves to the back.
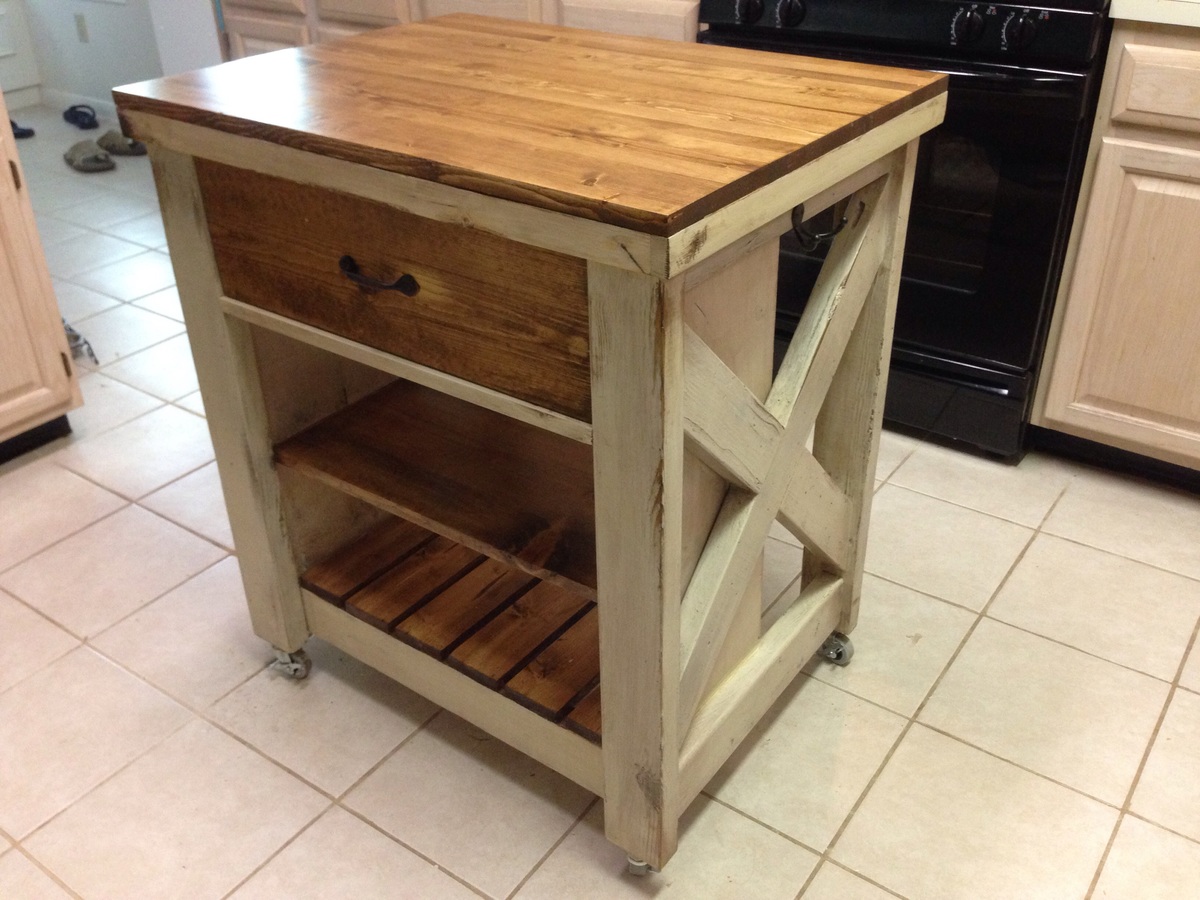
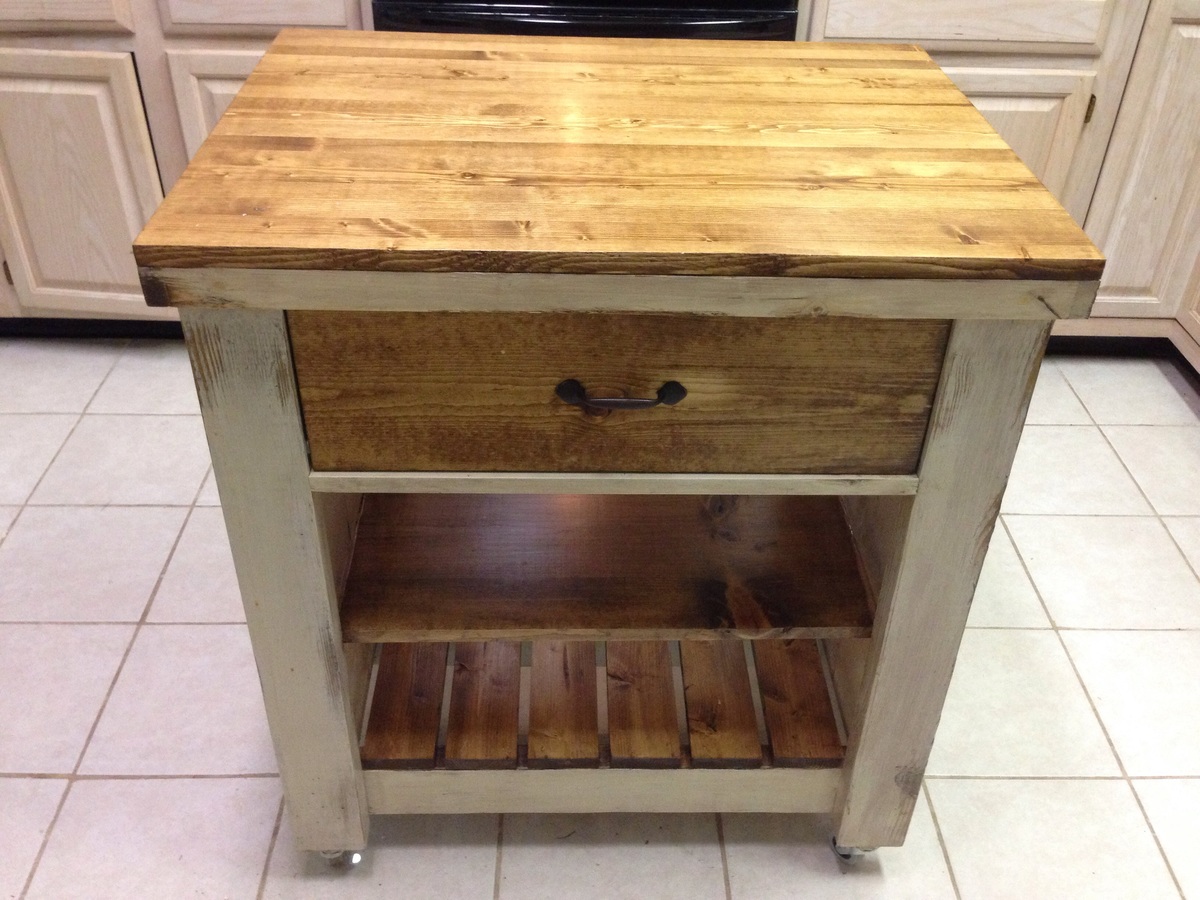
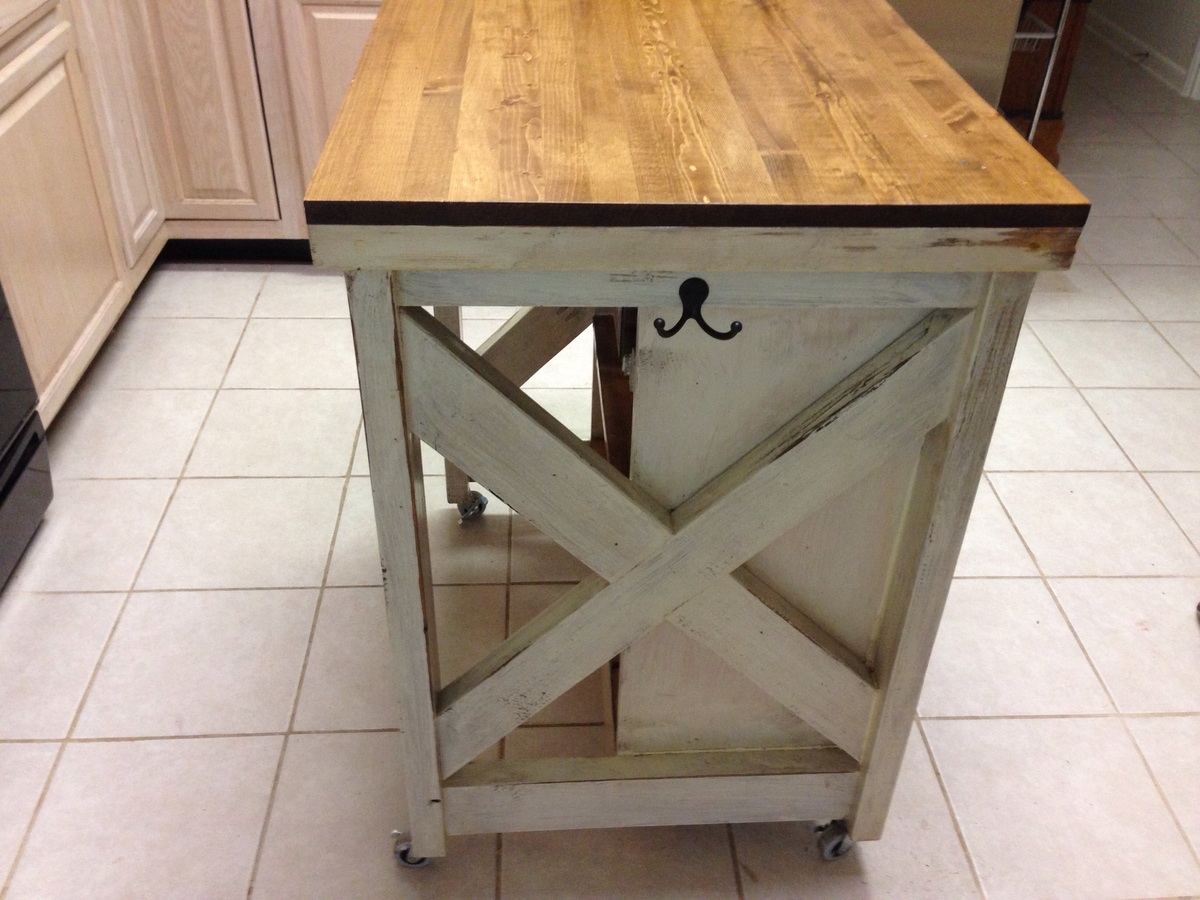
This kitchen island should be your next project. My wife wanted me to build an island for so long, but I never thought I had the skill to get it done. I can truly say this was only my second woodworking project and it was pretty simple. I learned a lot along the way and made a modification to the drawer rails. The key to my success was the Kreg jig. In the end it was a blast to build and I couldn't have done it without Ana's plans.
The rolling kitchen island is the central point of the kitchen now, even though we have 75'sf counter space to use. It seems to be used by everyone in the family whether it's getting something out of the fridge or using it for serving. Well worth the effort..
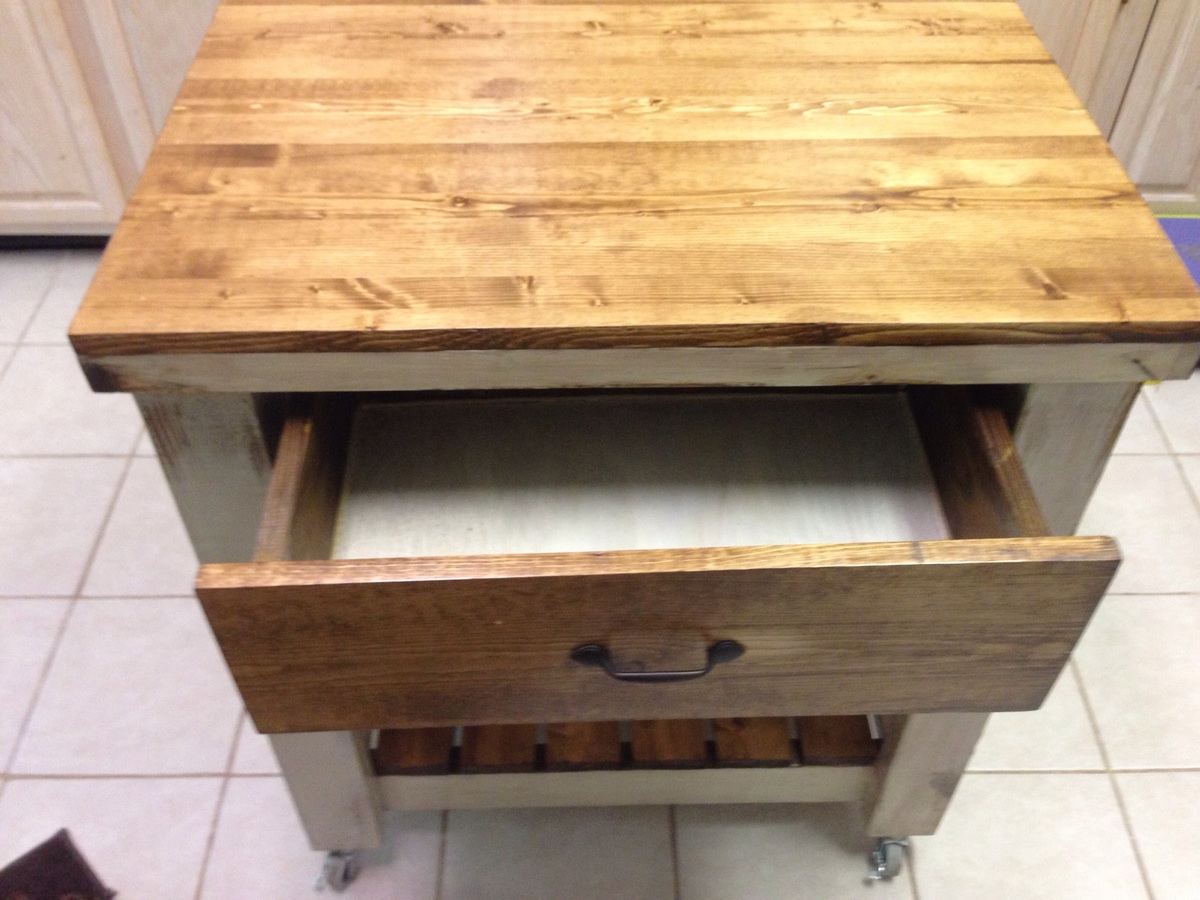
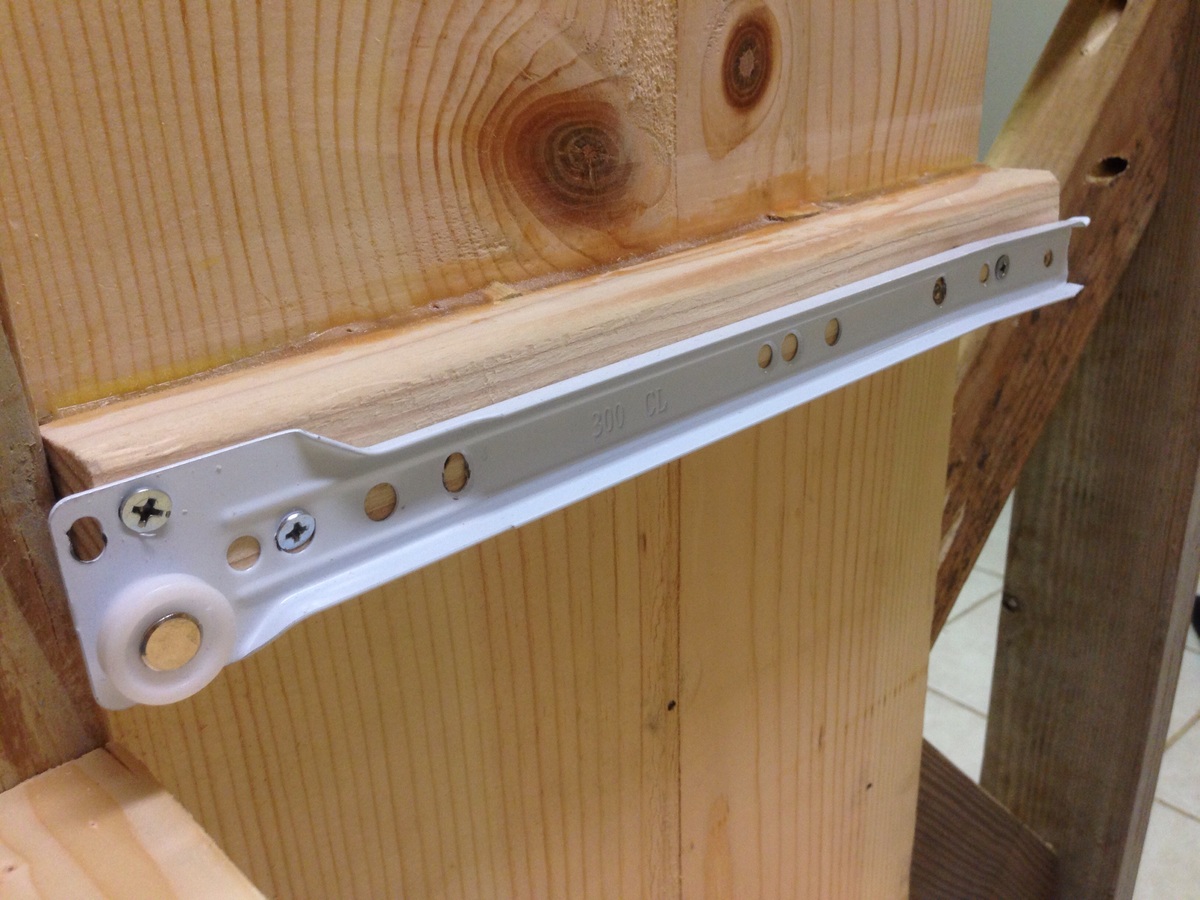
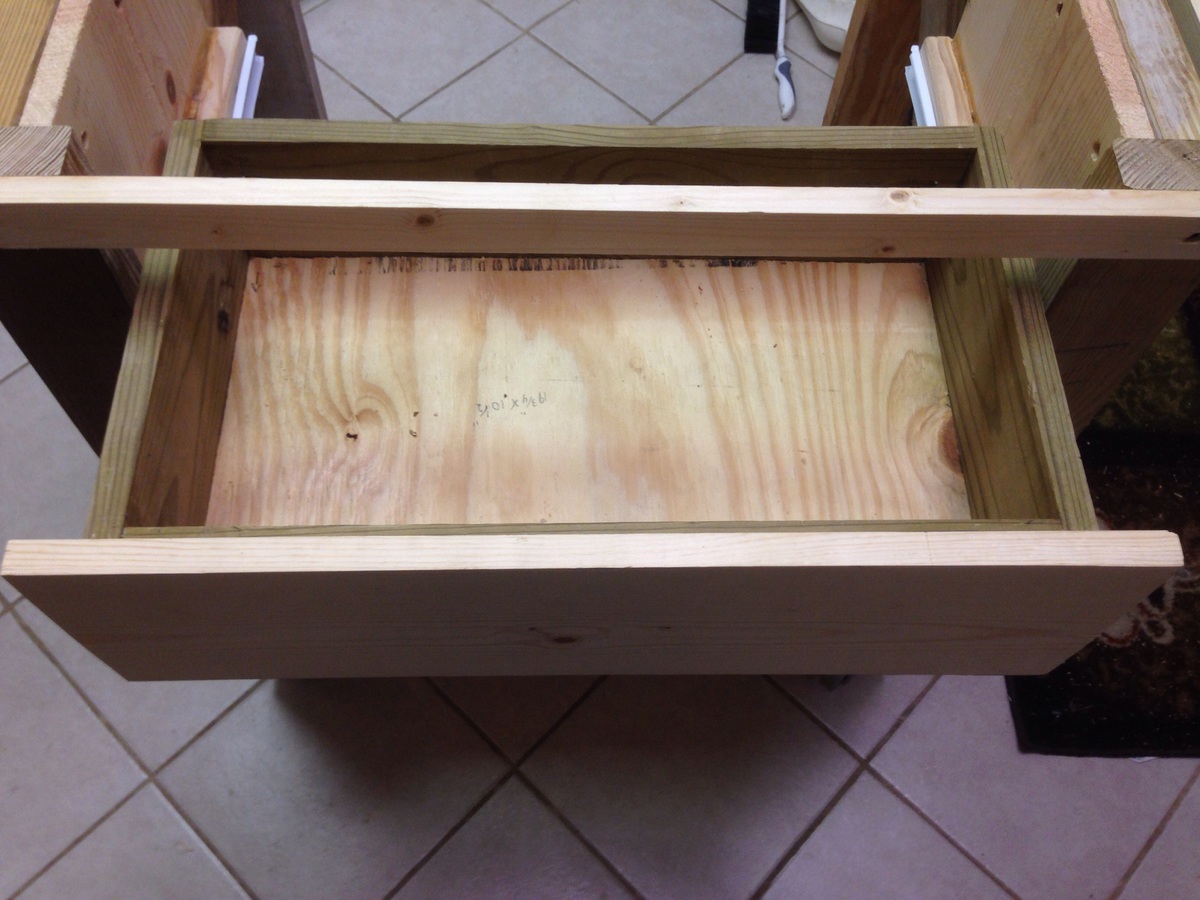
MODIFICATIONS: I made two small modifications to the project.
One was the casters. Instead of the plate casters I installed threaded stem casters with a T-nut in the bottom of the legs. The casters are adjustable so it's easy to keep level. The second mod was the drawers. I initially built the drawer with wood rails, but was not happy with the drawer falling to floor, if you pulled it out to far. Living in a humid climate, I could see the original rails swelling and then the drawer would be hard to operate. My solution was to add metal rolling sliders. I had to remove the 2 x 2's on inner cabinet and the 1 x 2s on the drawer itself. I added 1 x 2s on the inner cabinet, mounted 12" metal sliders ($5)) on the 1 x 2s and screwed the other half of slider on bottom of drawer. It may require a small shim behind sliders to make it fit perfect though. I provided photos of this mod. My drawer works perfect now. There is no dragging, no falling out and no wear.

Shared on Facebook by Jenna Schultz
My husband built your Rustic bathroom vanities into 3 drawer dressers to hide our children's toys on each side of the fireplace. They turned out amazing!!!
My first project, I've never done any kind of wood working at all. I made and noticed several mistakes however, I'm still very pleased with how it turned out. I learned from all my mistakes and now know the best ways to avoid them in the future. Super excited to begin my next project!
Sat, 11/20/2021 - 09:23
It looks great and even better, its functional! Thanks for sharing:)

My 2nd project!

My hubby is a pro carpenter and was annoyed that i printed out instructions for him... but I wanted it to look exactly like the ones on the blog! I LOVE my new bed so much
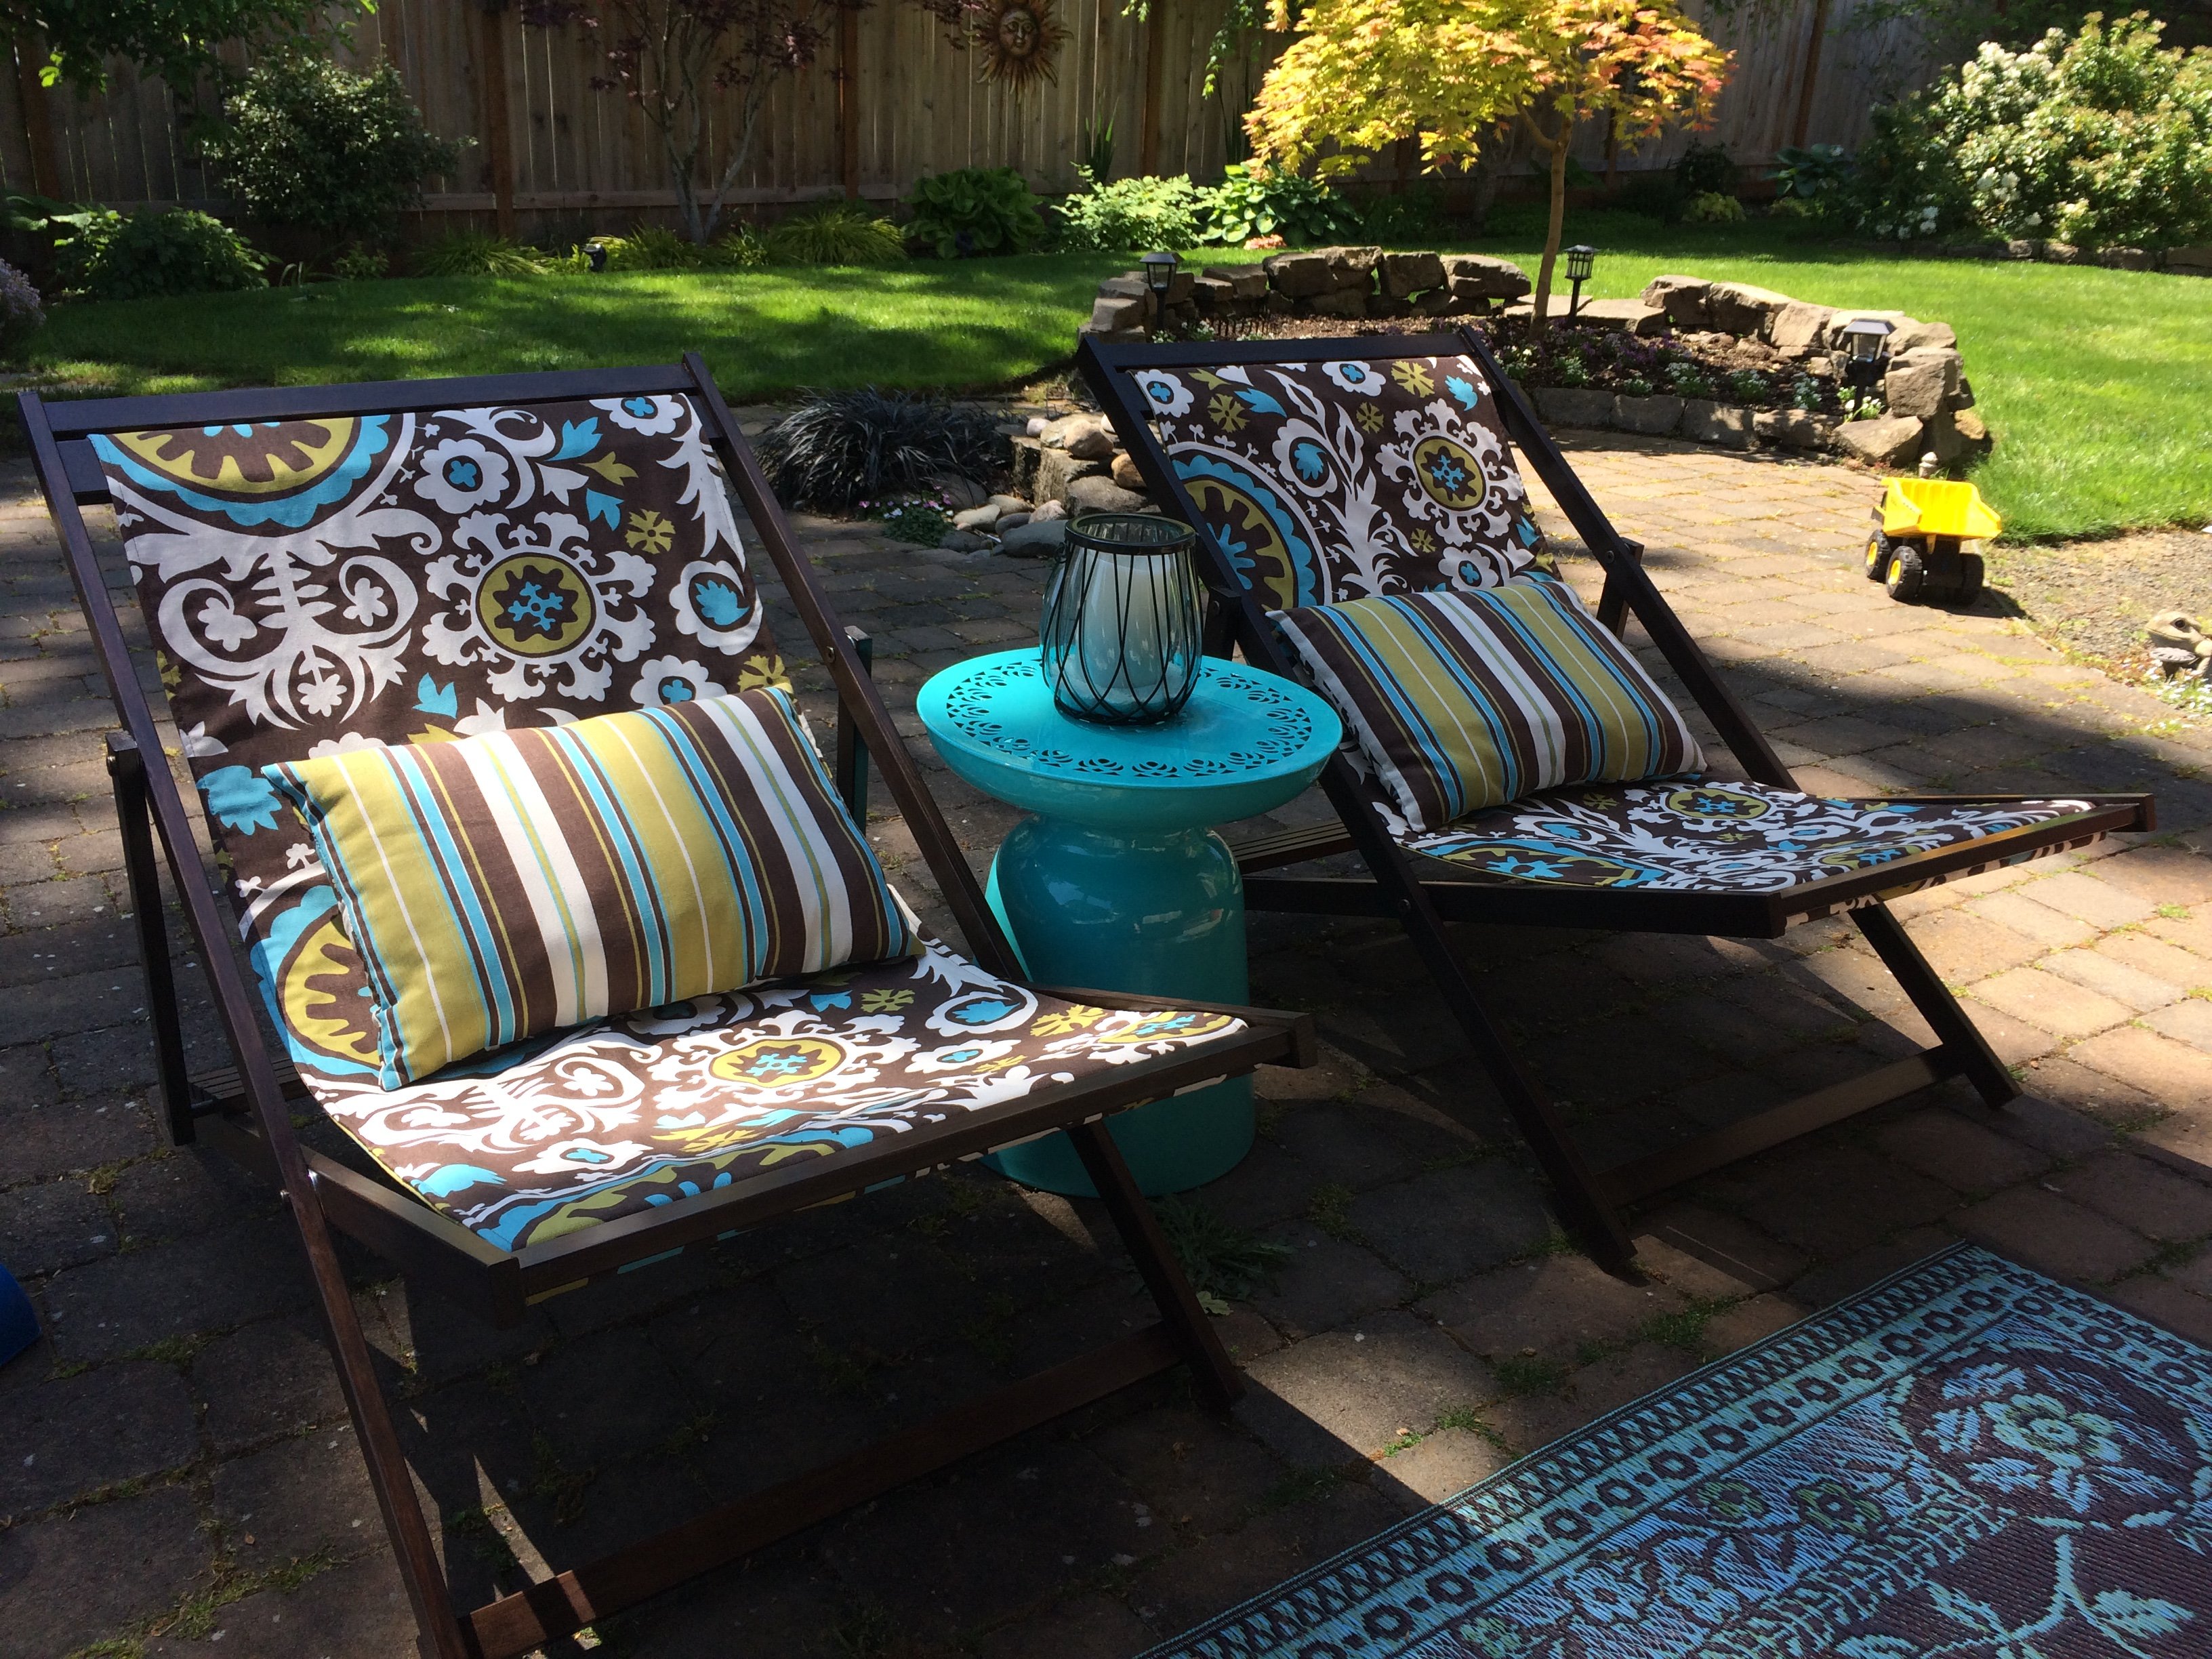
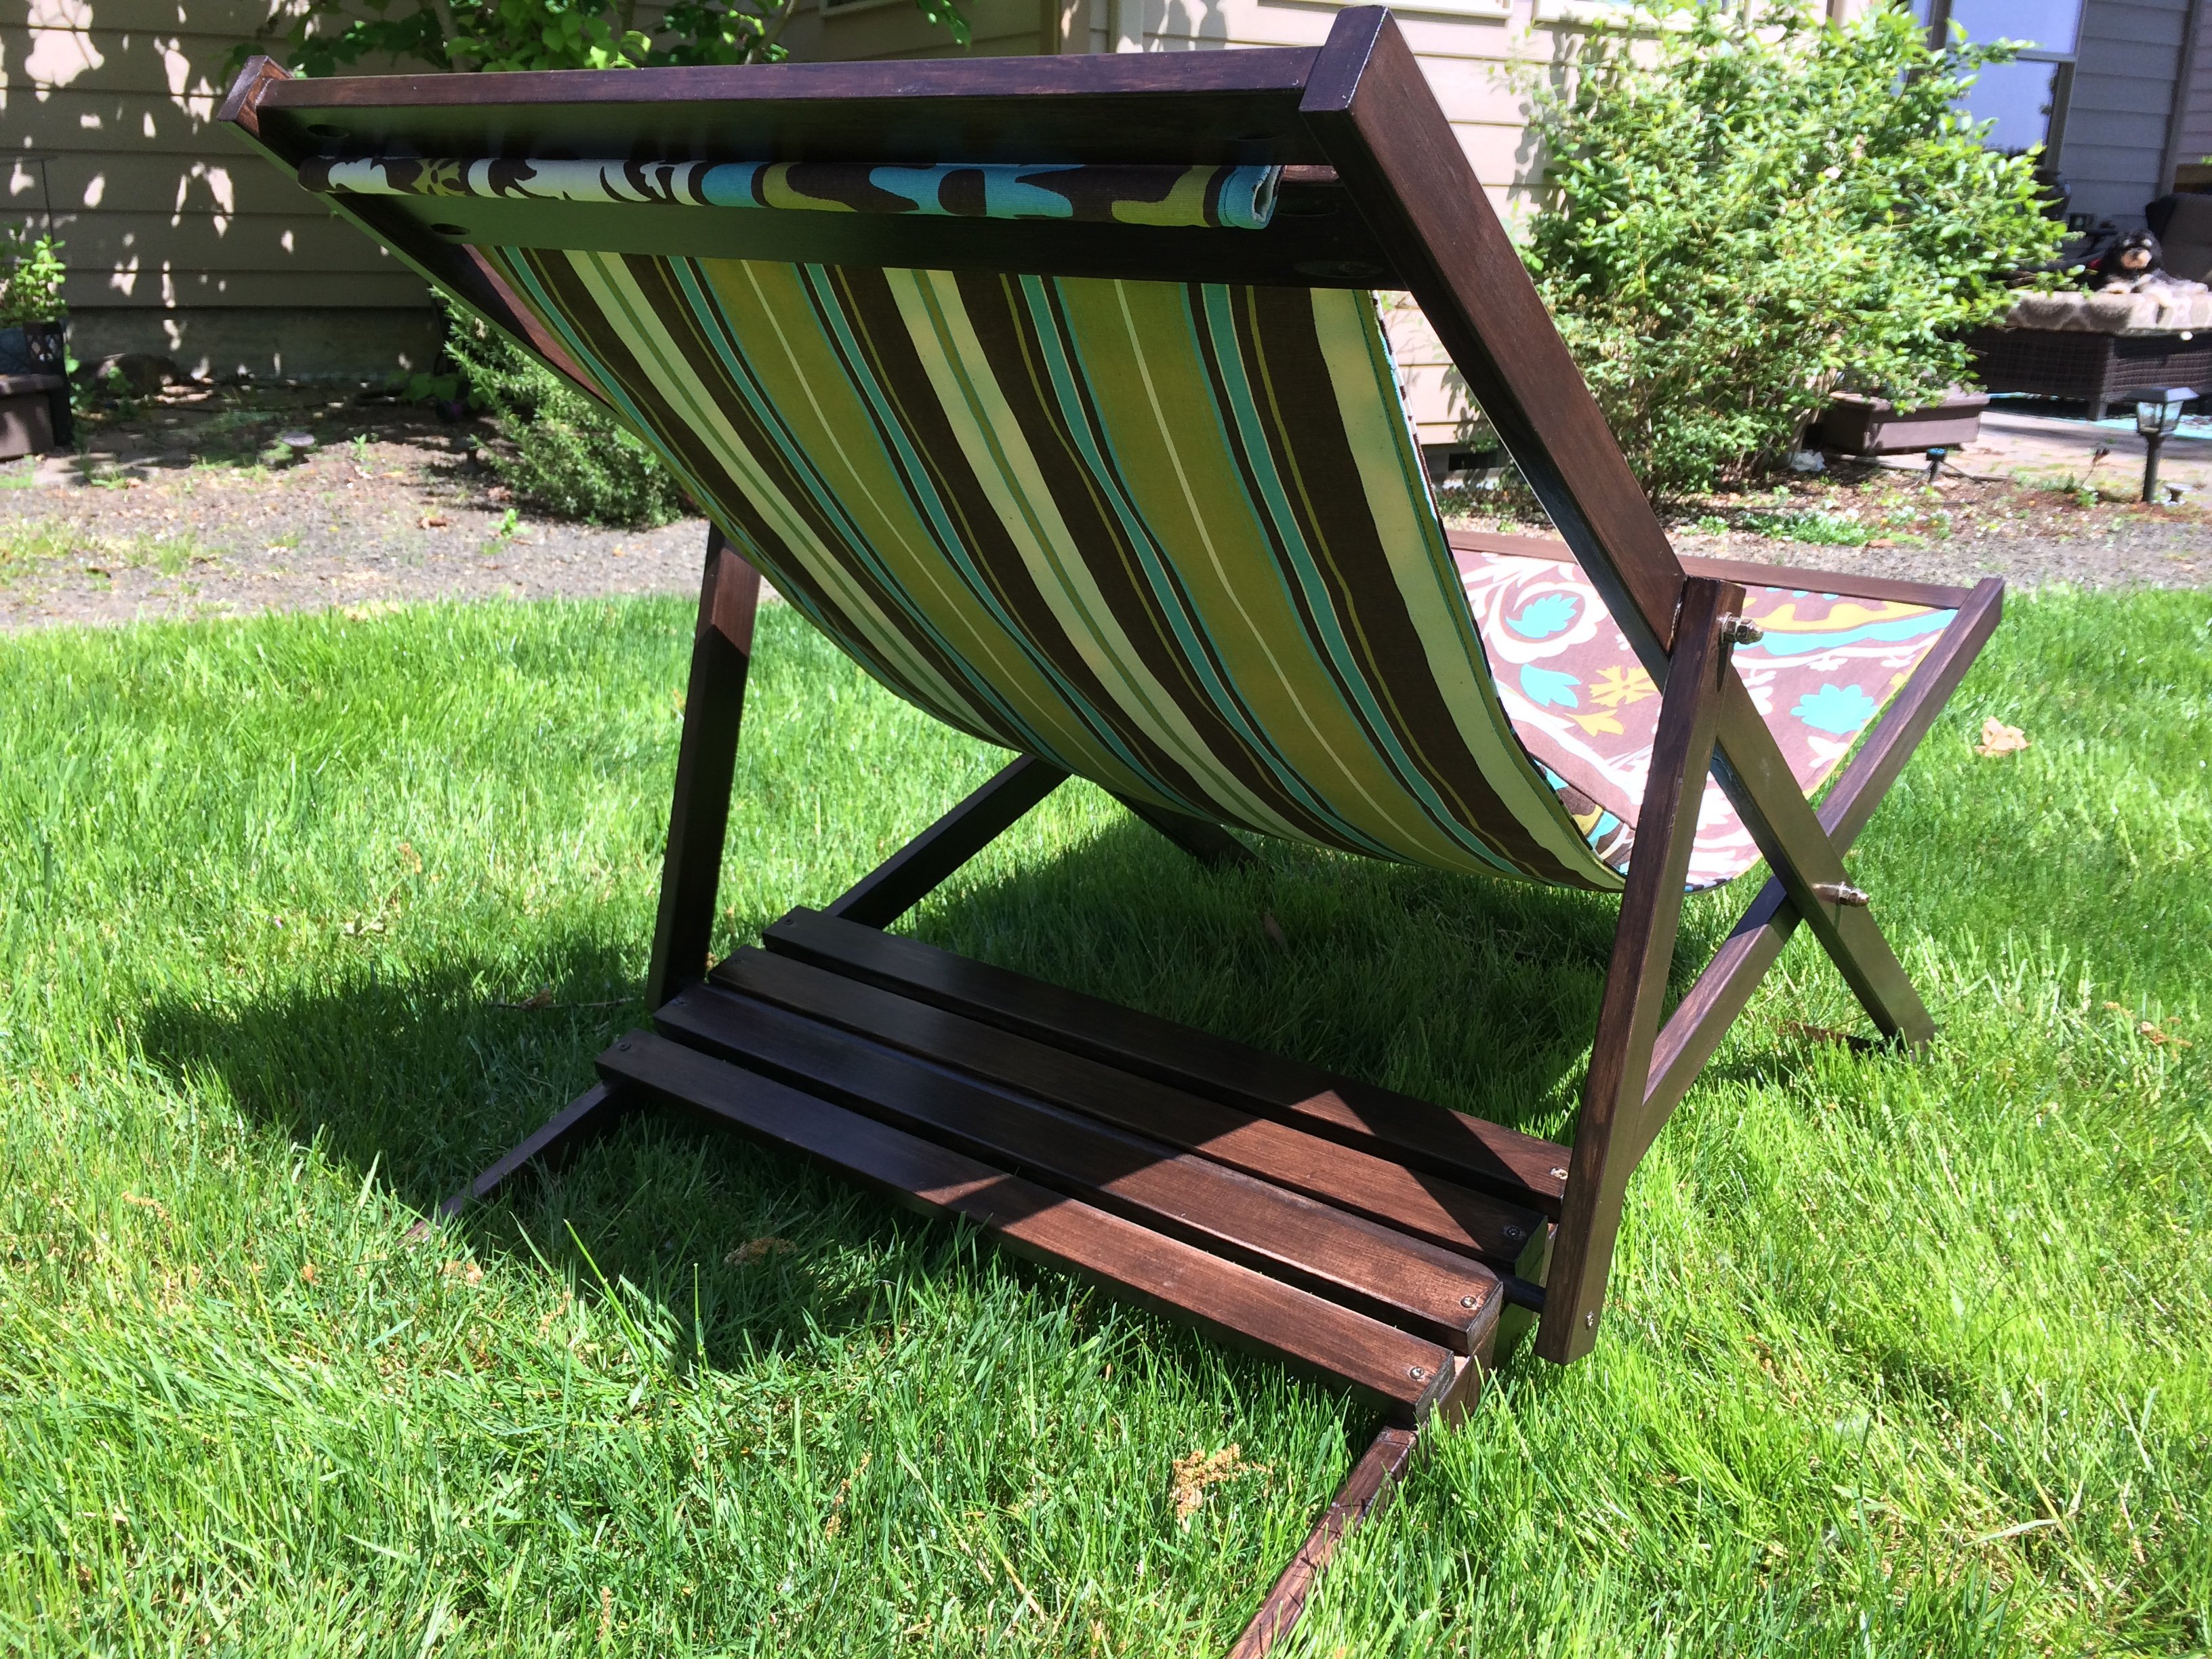
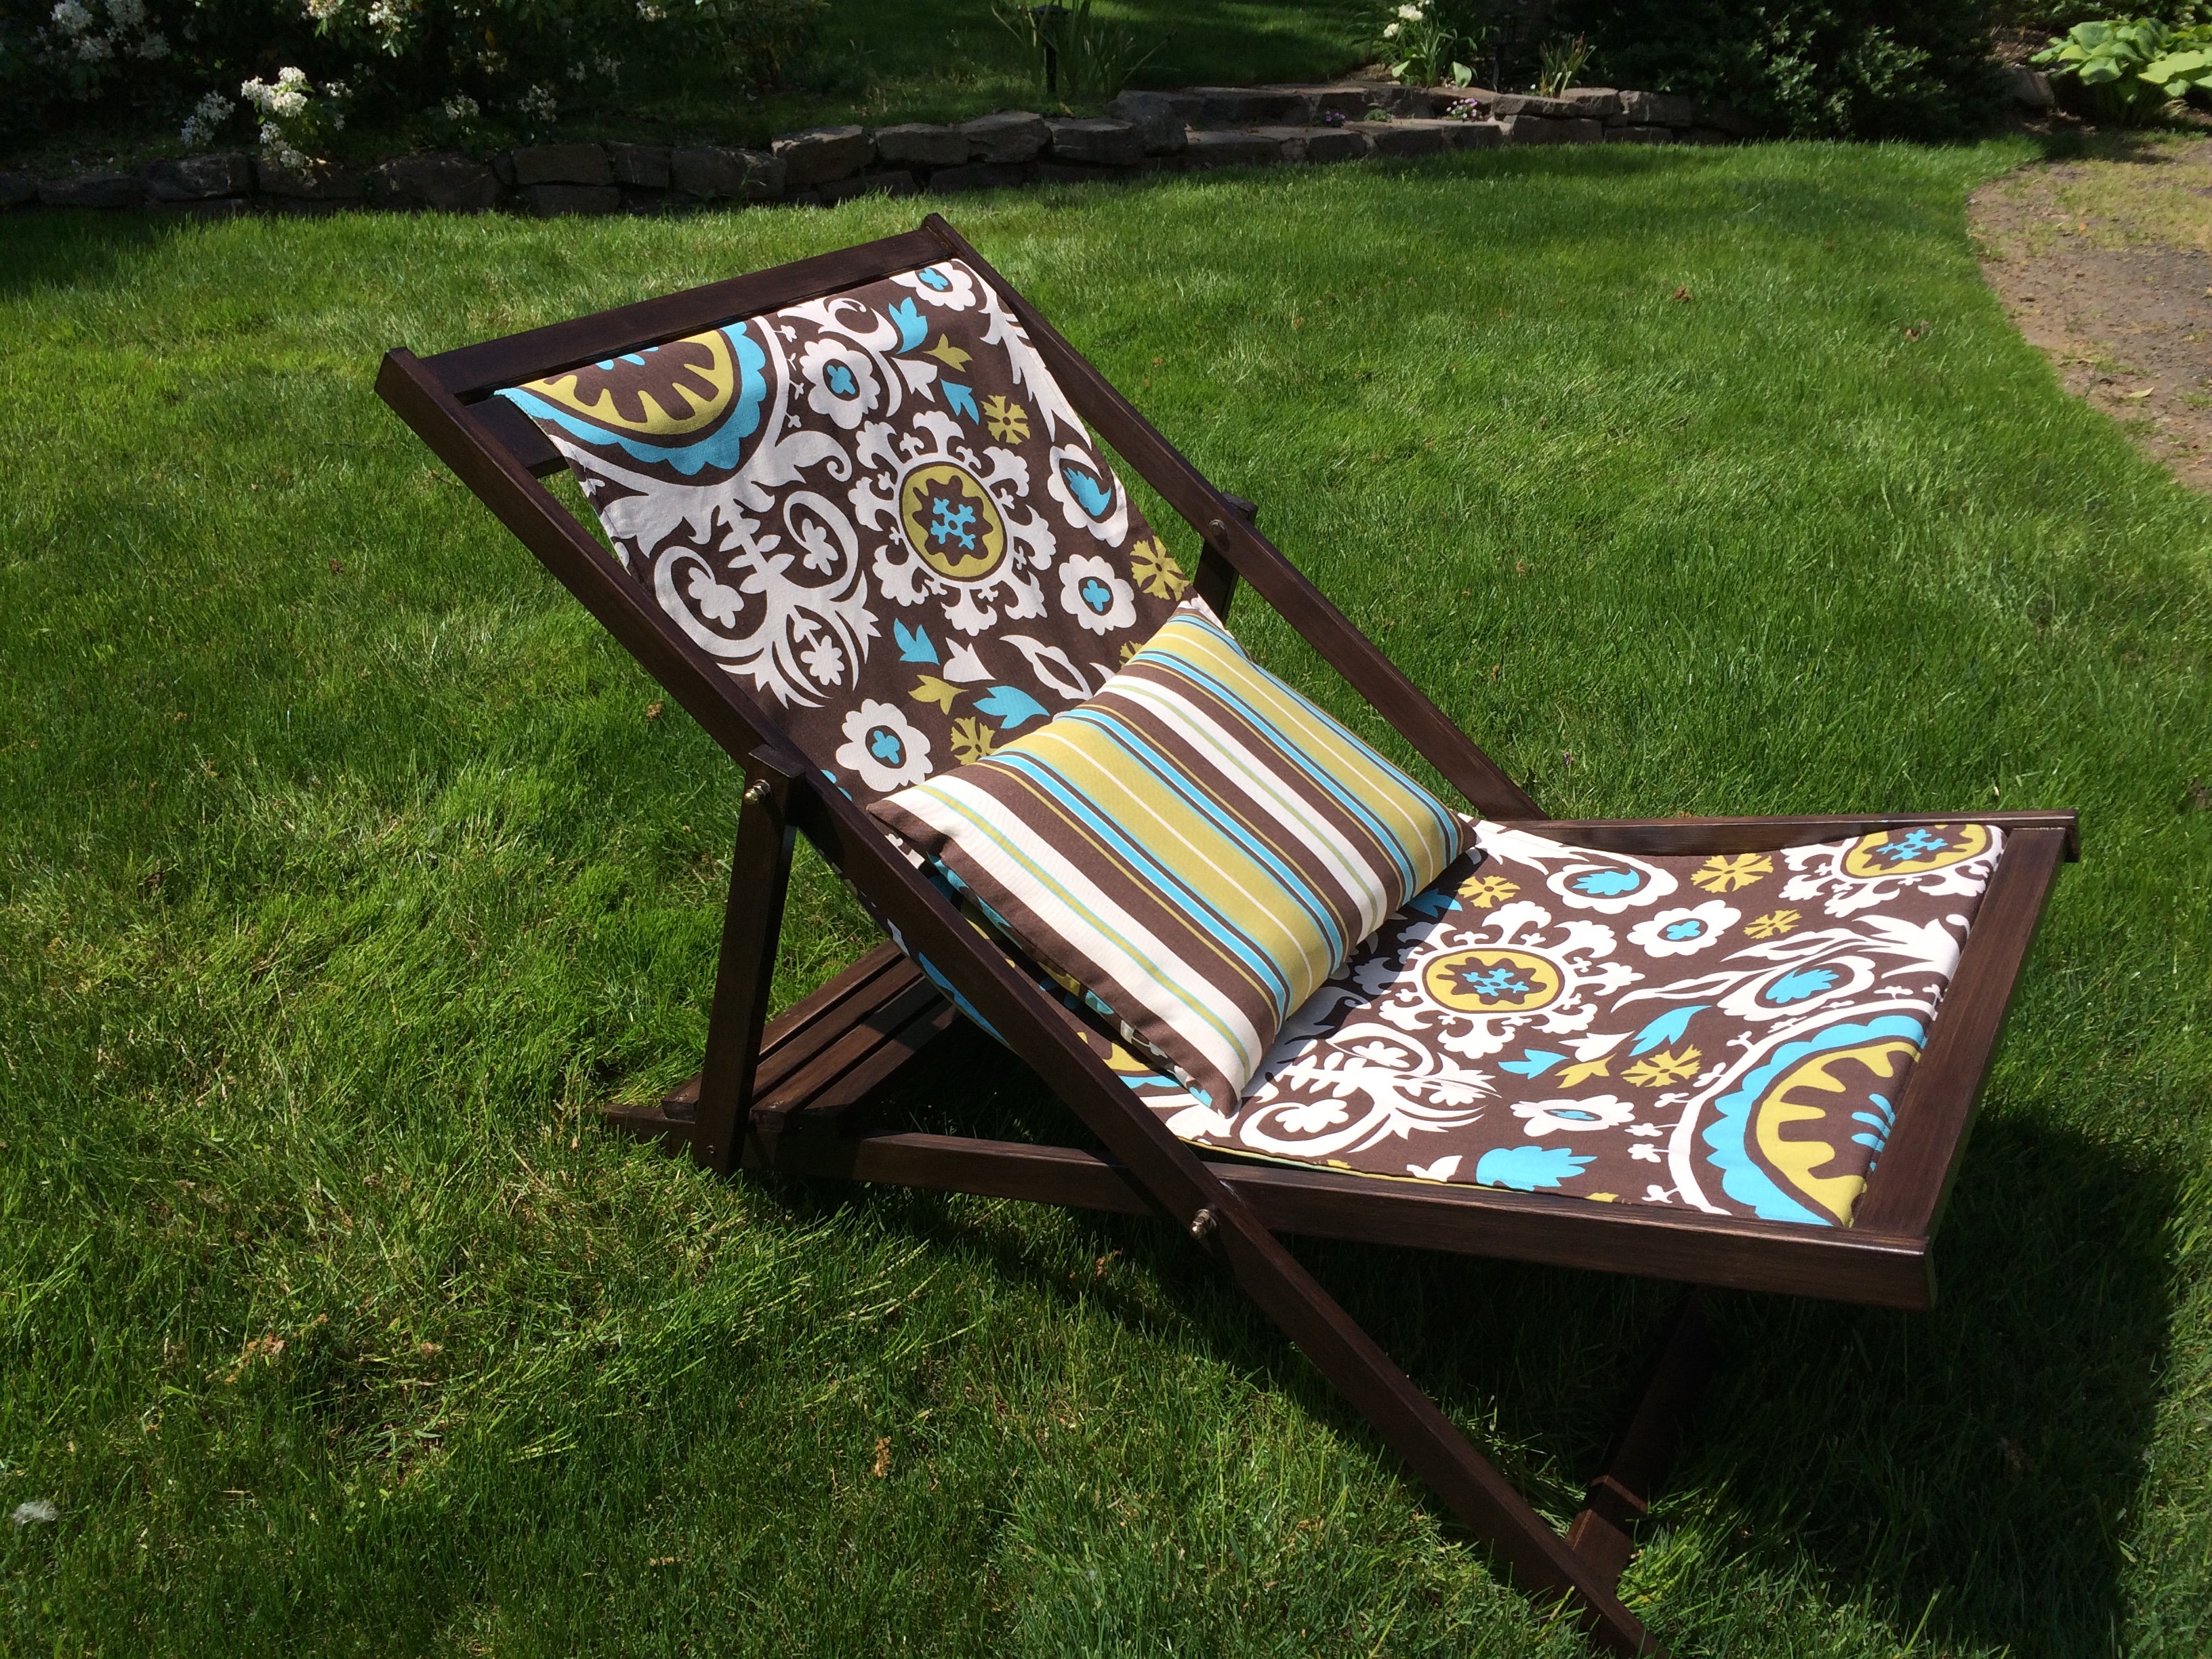
This was my first solo build project and my first time using a power saw. I was terrified but determined because I've been wanting to make these chairs for years. After failing to convince my husband to make them for me, I decided to make them myself and I am so glad that I did. I am so proud!
I fell in love with the fabric first (Premier Prints' Suzani Chocolate and a striped fabric called Veranda Chocolate for the bottom) and then picked a stain to match. I chose to reinforce the sling by sandwiching the outer fabric with a layer of heavy duck fabric. I also made pillows, which protect your head from that upper wood support.
Also, I ordered some special connecting bolts and nuts made by Rockler that someone else mentioned in their brag post. Unlike the hardware mentioned in the original plan, these bolts are flush with the frame on both the inside and out so the chairs can fold completely flat. Here are the links to them on Amazon:
http://www.amazon.com/Statuary-Bronze-Connector-Bolts-8-Pack/dp/B001DT3…
http://www.amazon.com/Cap-Nuts-Connector-Bolts-pack/dp/B001DT3G9O/ref=p…
The inner frame did need slightly larger holes (3/8 inch, I believe) to accommodate the cap nuts.

Fri, 05/22/2015 - 09:43
These are just beautiful. Nice job! Thanks for such a nice write-up with all the additional hardware information.
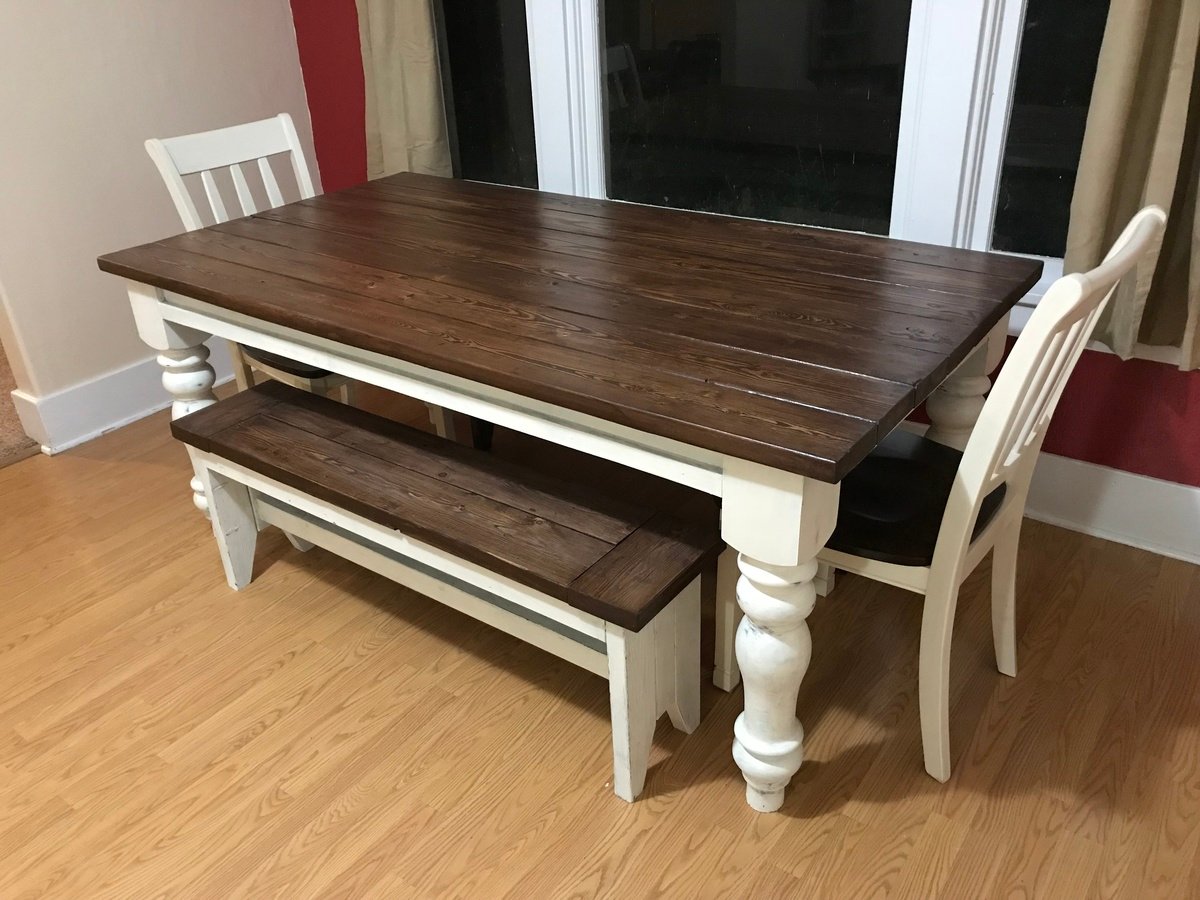
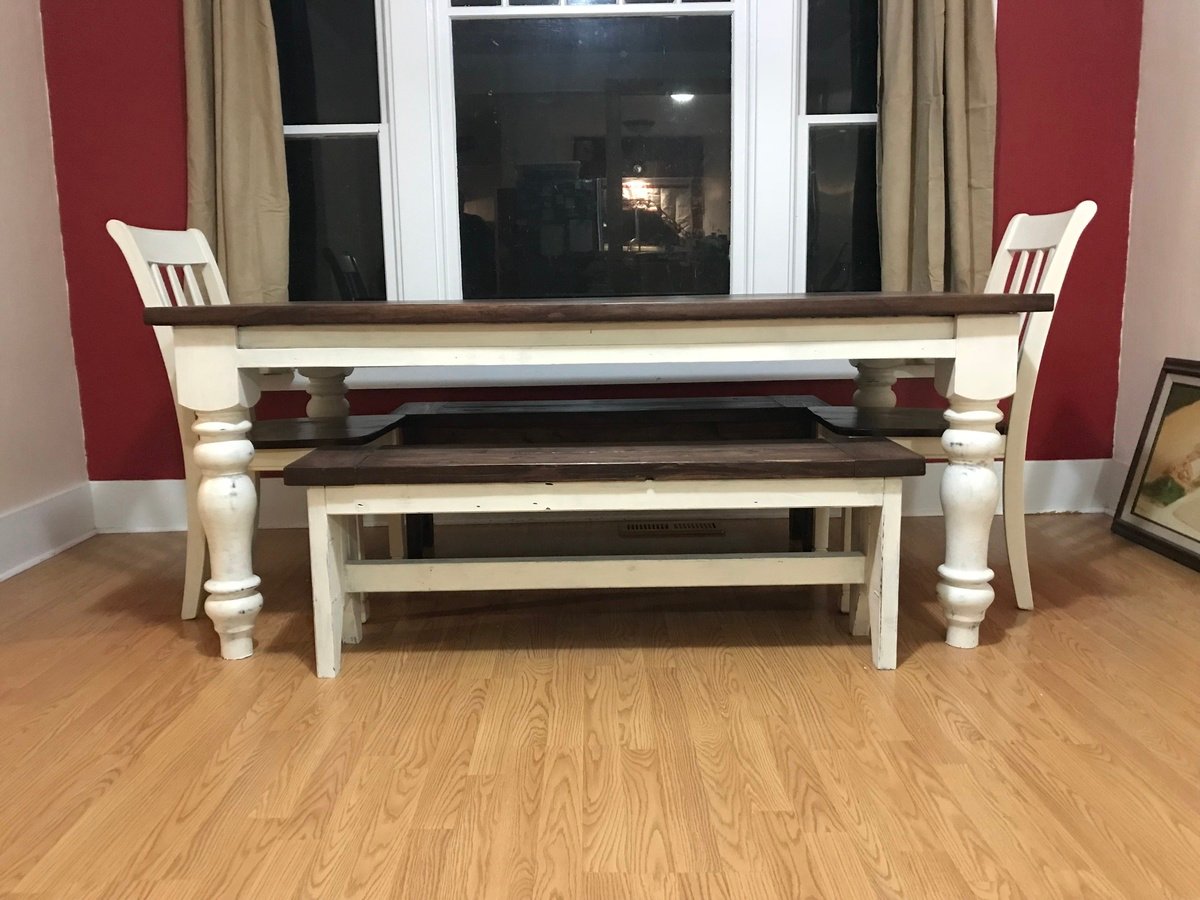
My husband & I built this version of the Husky Farmhouse Table. We also built two benches & bought chairs to match the colors as closely as we could. We. LOVE. It! I found the legs on Etsy for a little cheaper than the place Ana reccomends in the plans. The milk paint didn't crackle as much as I wanted, but I think that was because I put the first coat on WAY too thin since I was afraid of running out. And I ended up doing 3 coats. We were able to sand the edges & some spots down a bit to get the effect we wanted though. Super excited to have Christmas dinner at this baby!
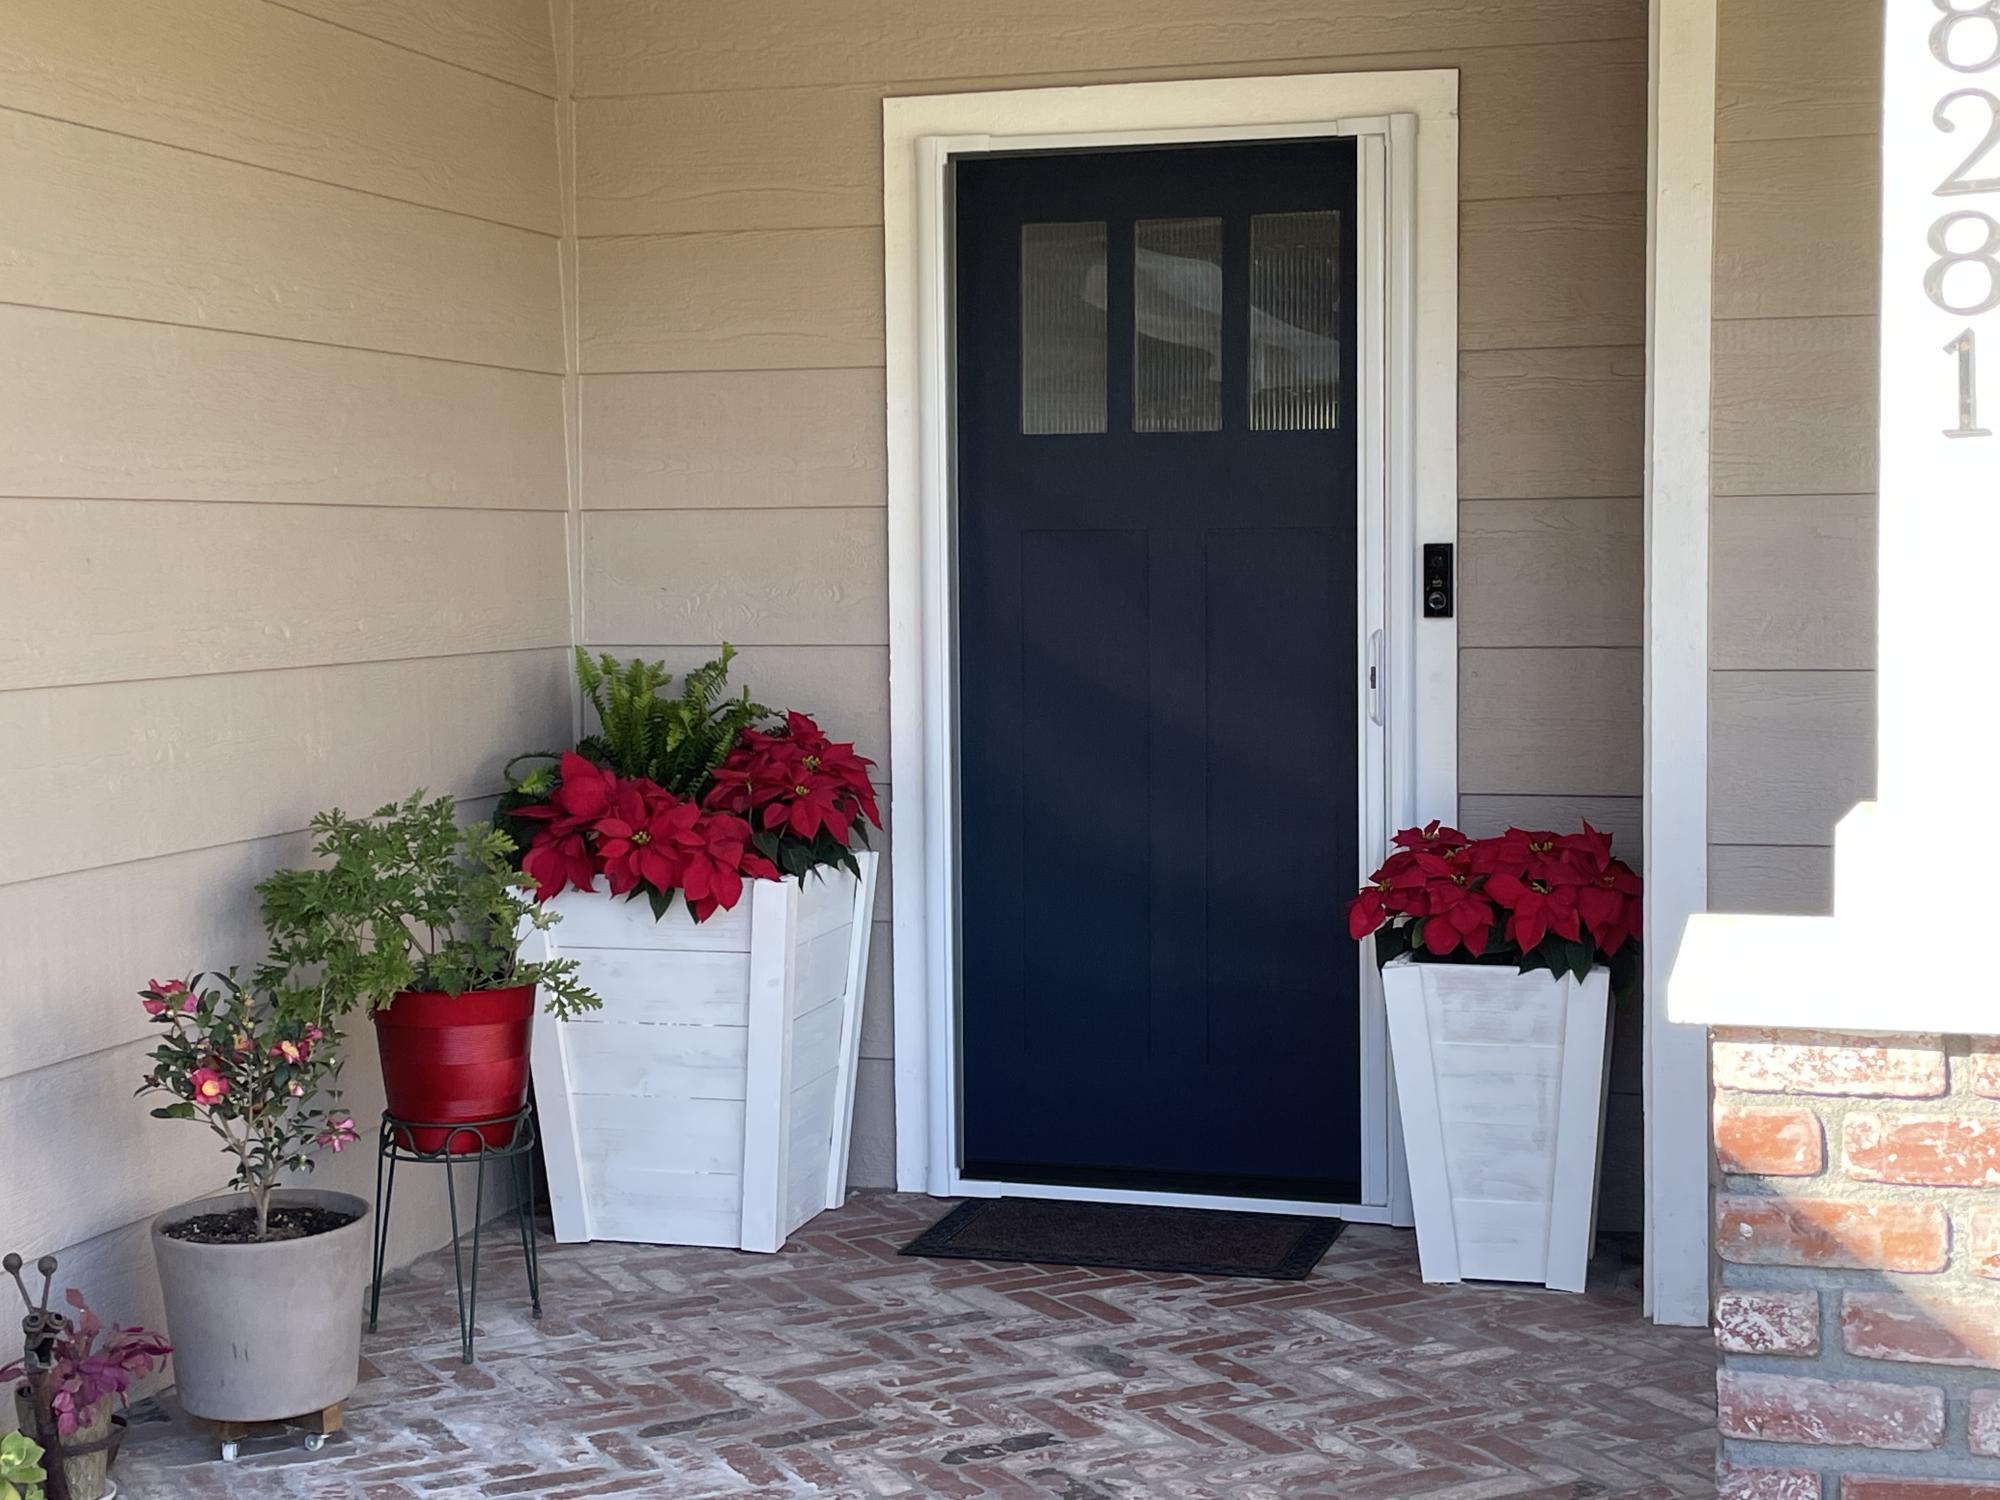
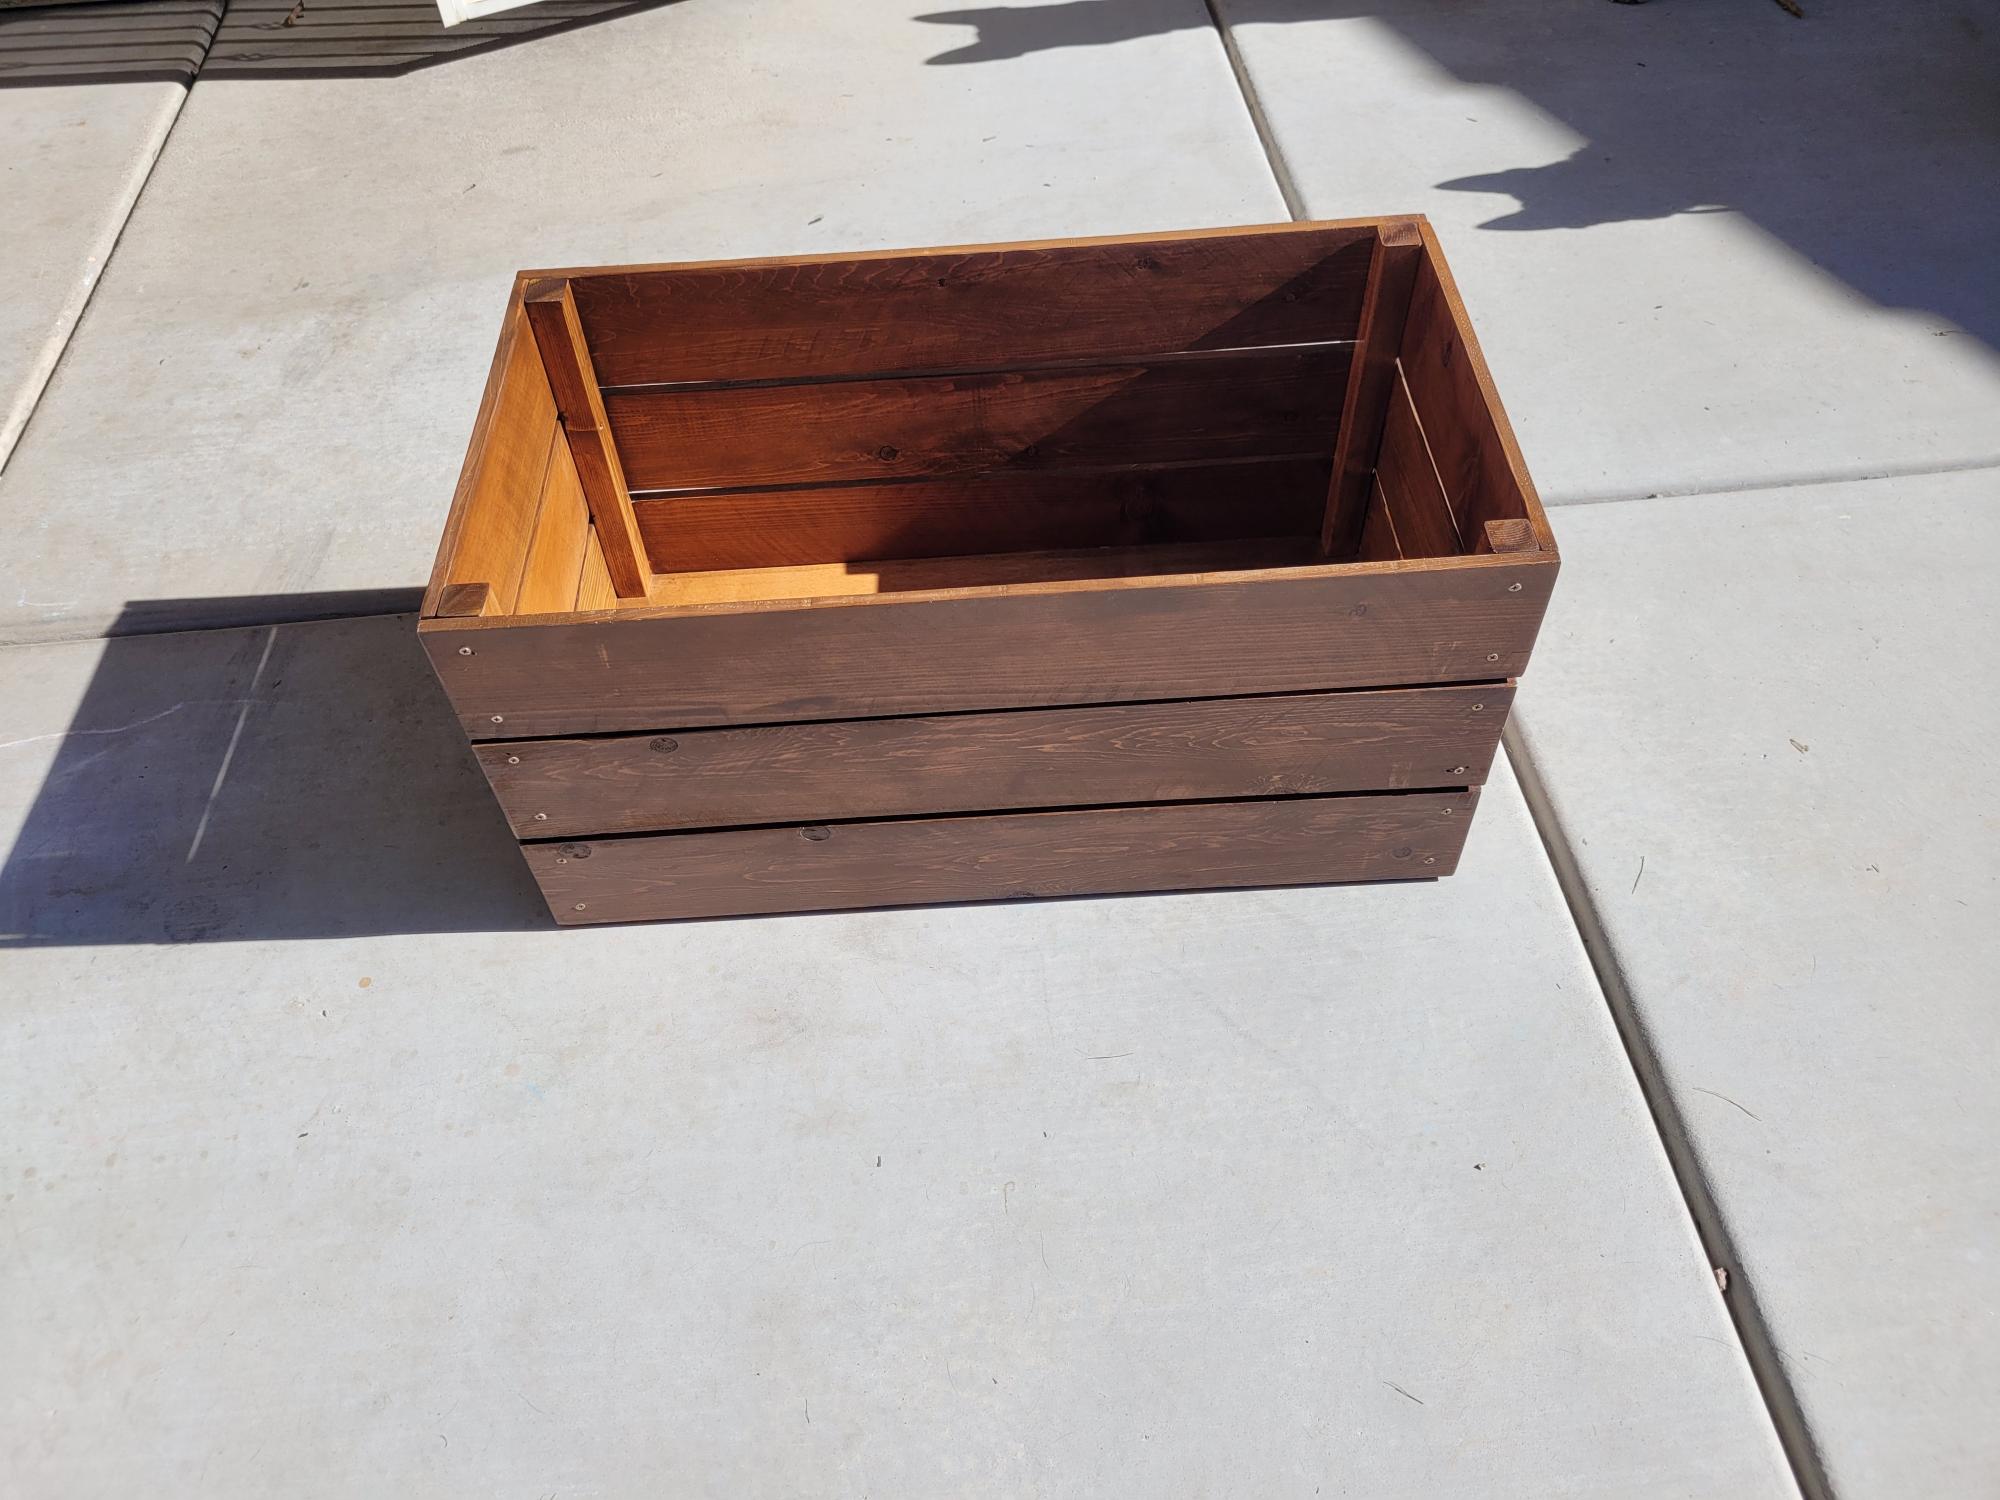
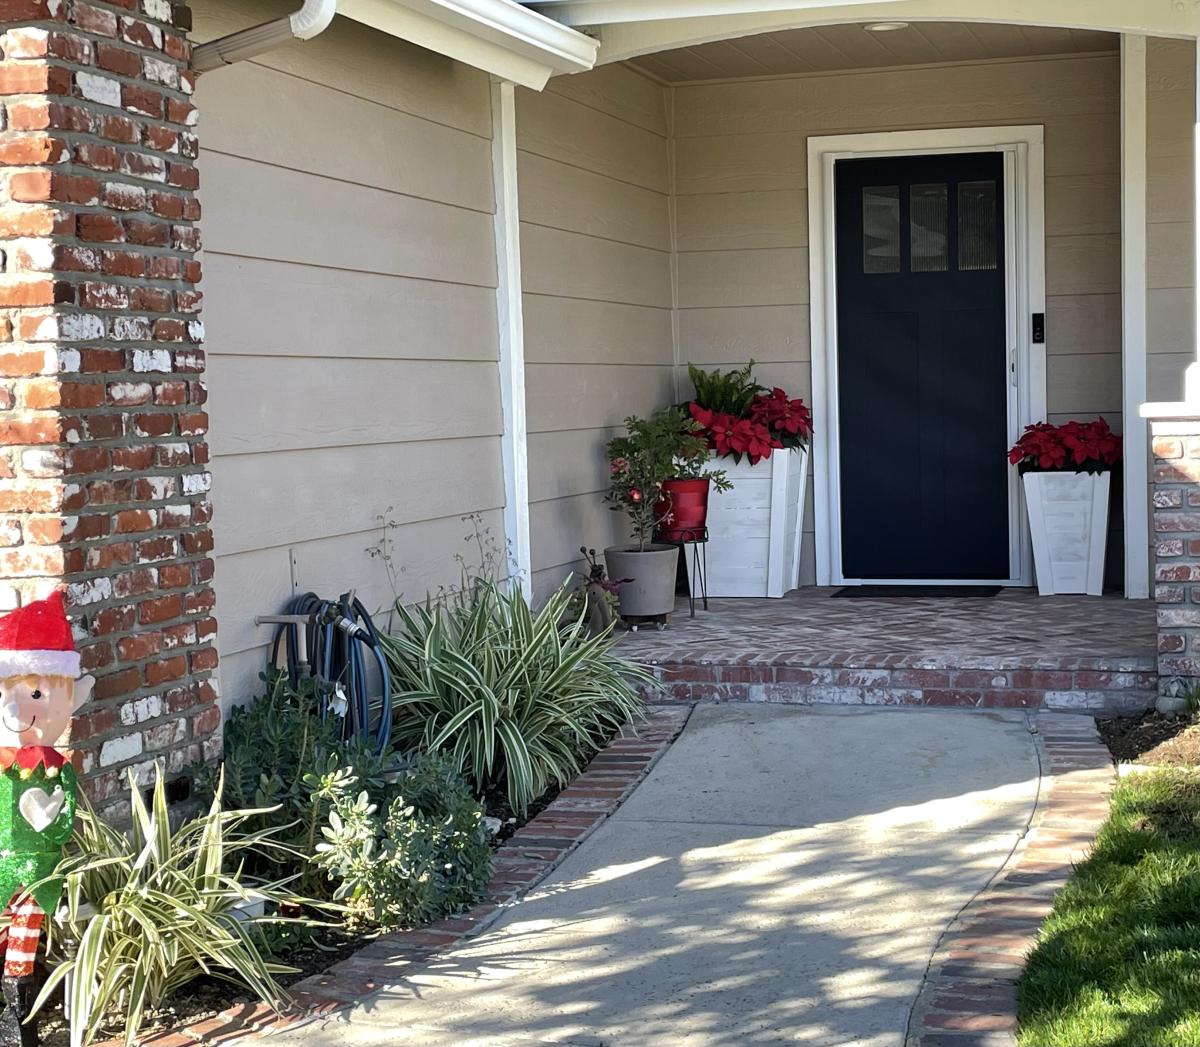
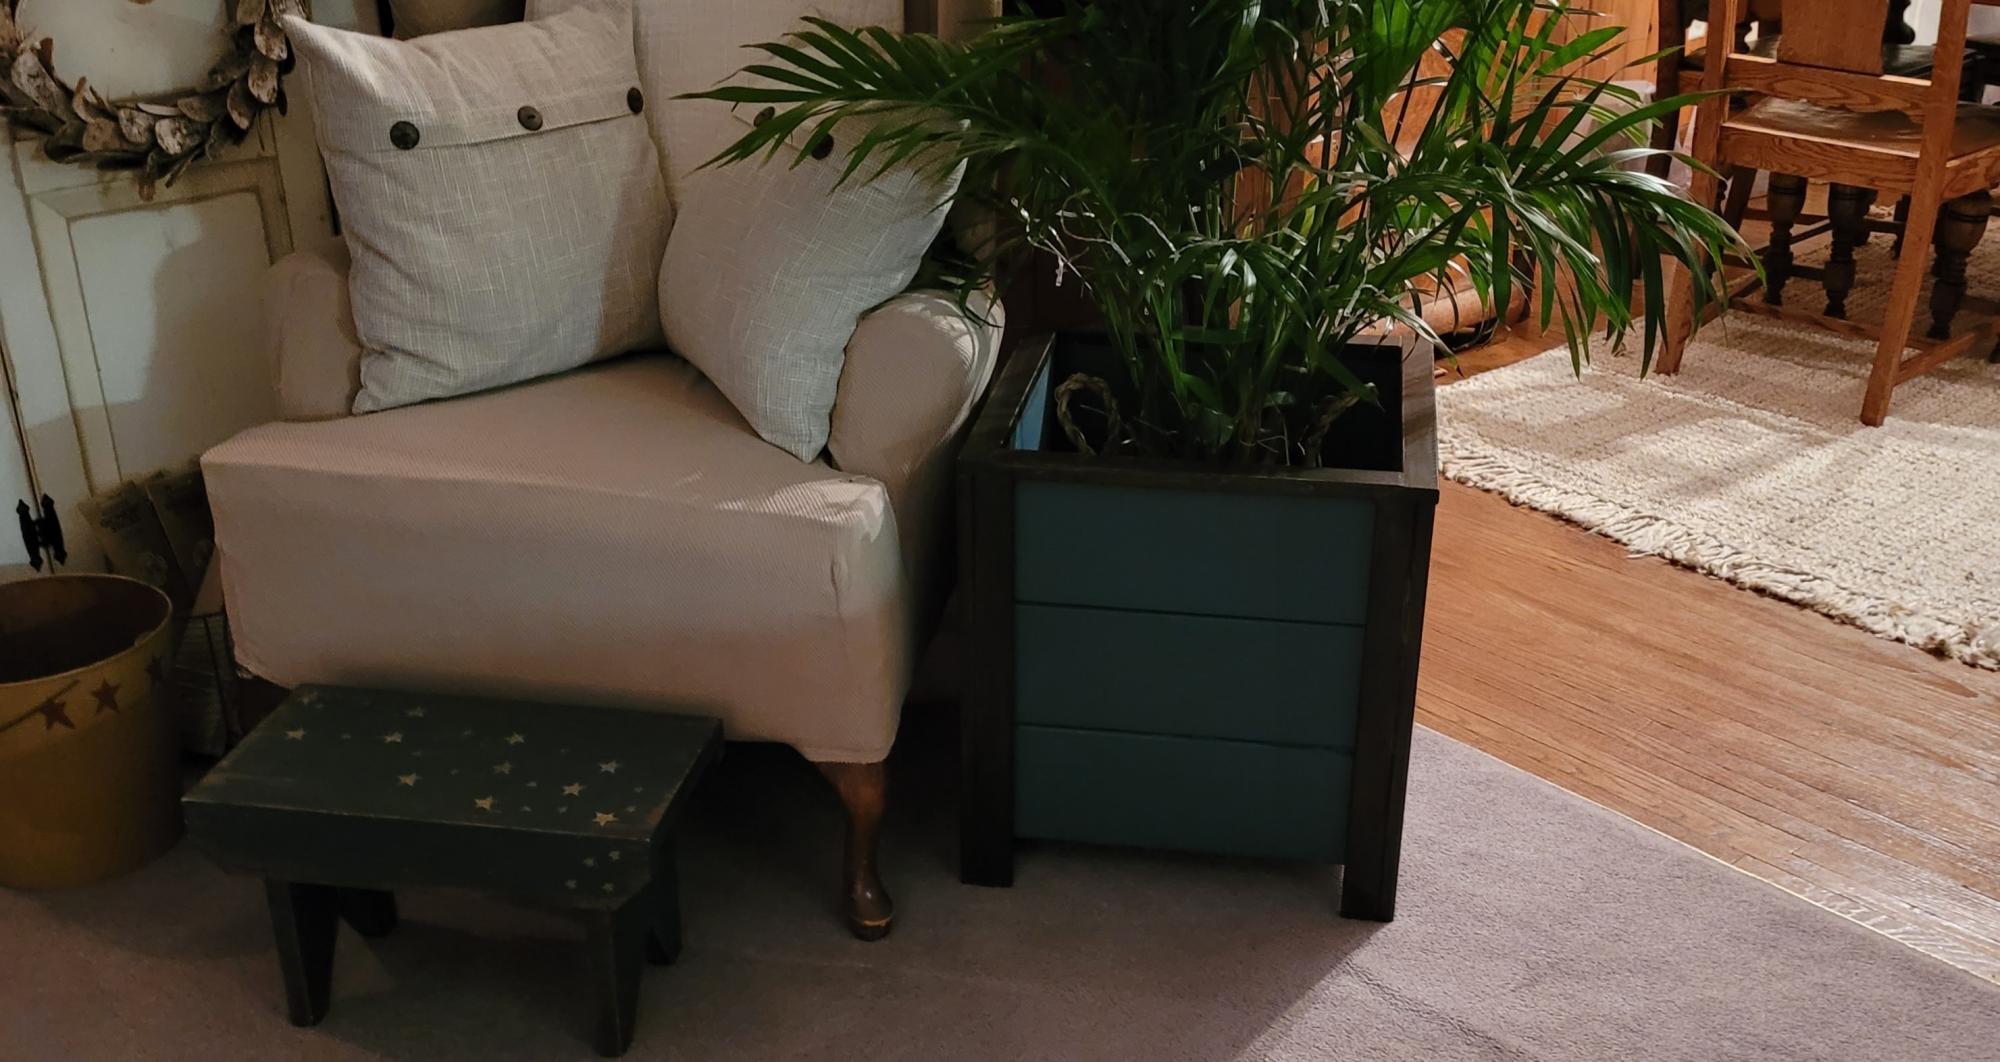
Love these planters! I made the large one first with the circular saw and struggled. The smaller one was super easy by using my miter saw with the 5 degree setting. Thanks , Ana. 😀
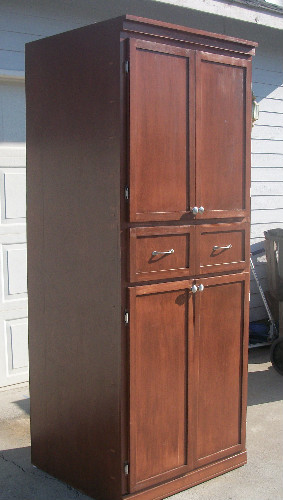
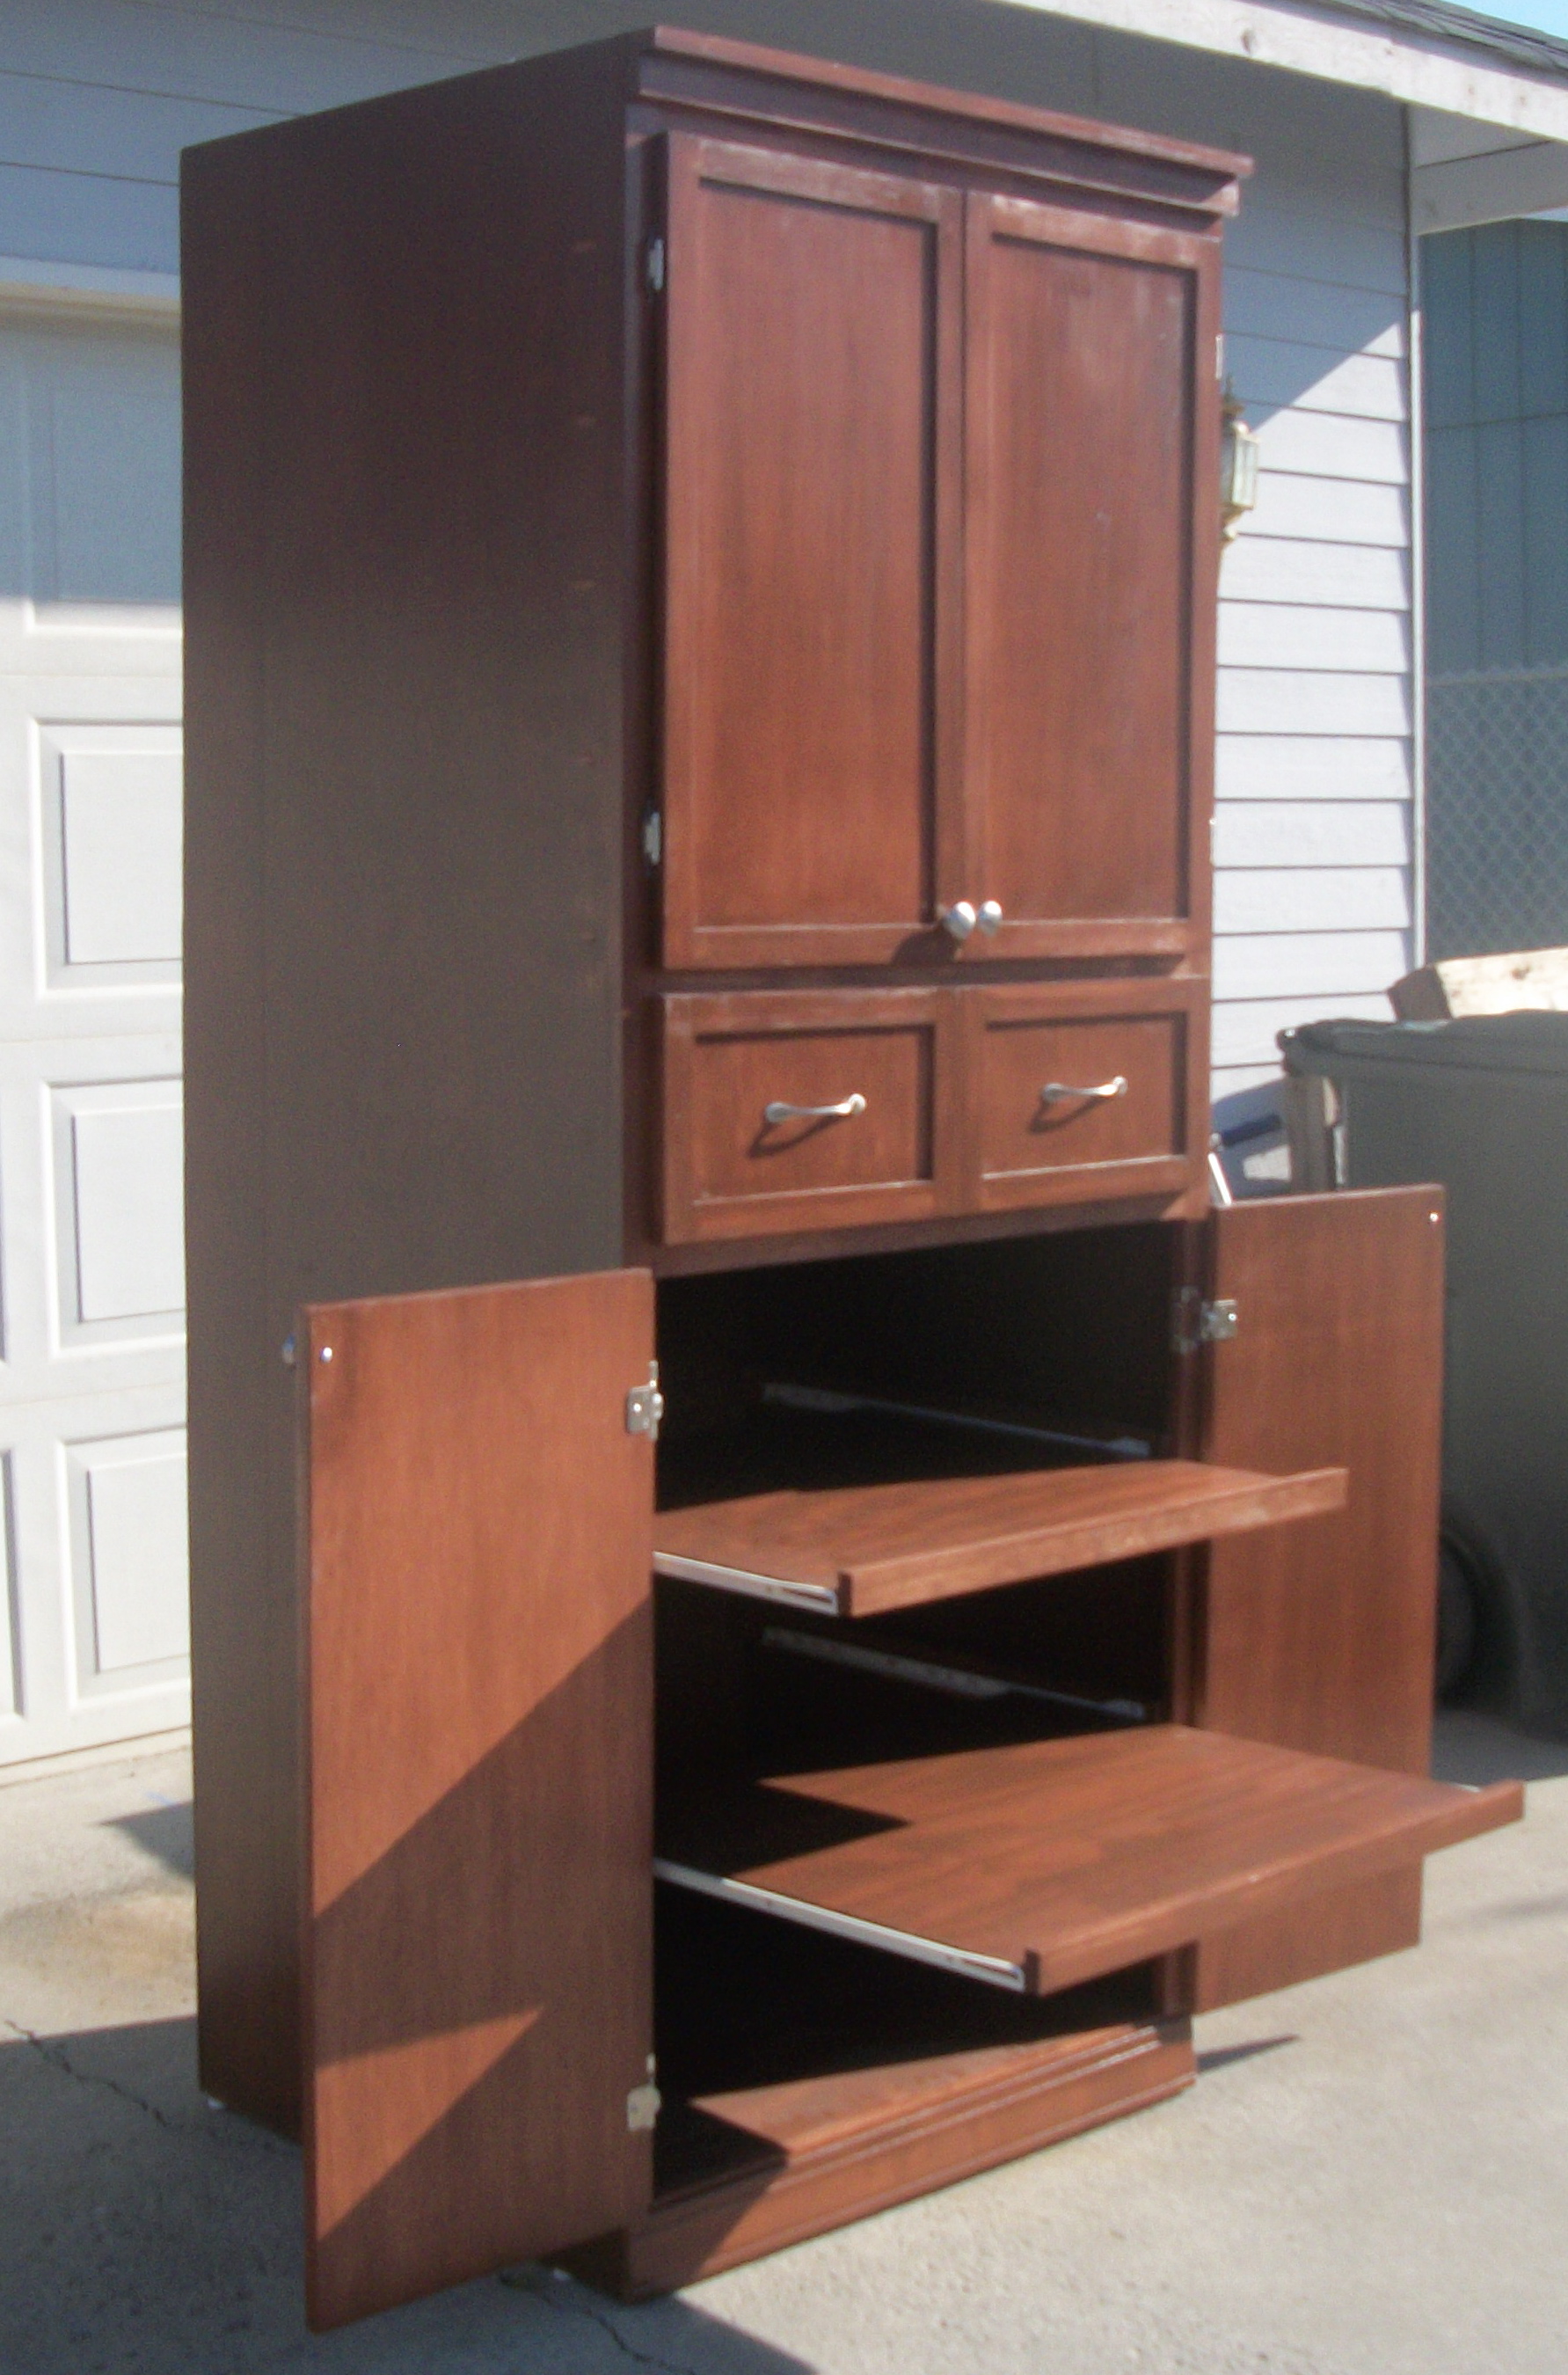
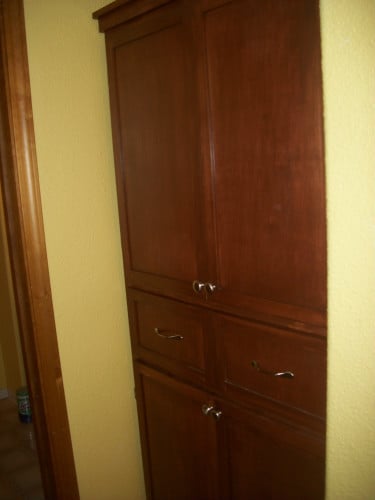
We built this armoire cabinet for a client of ours (this was a paying gig) who needed extra storage in her bathroom. I think it turned out beautifully if I do say so myself. So much so that I decided the build two of these to put in my laundry room for extra storage.
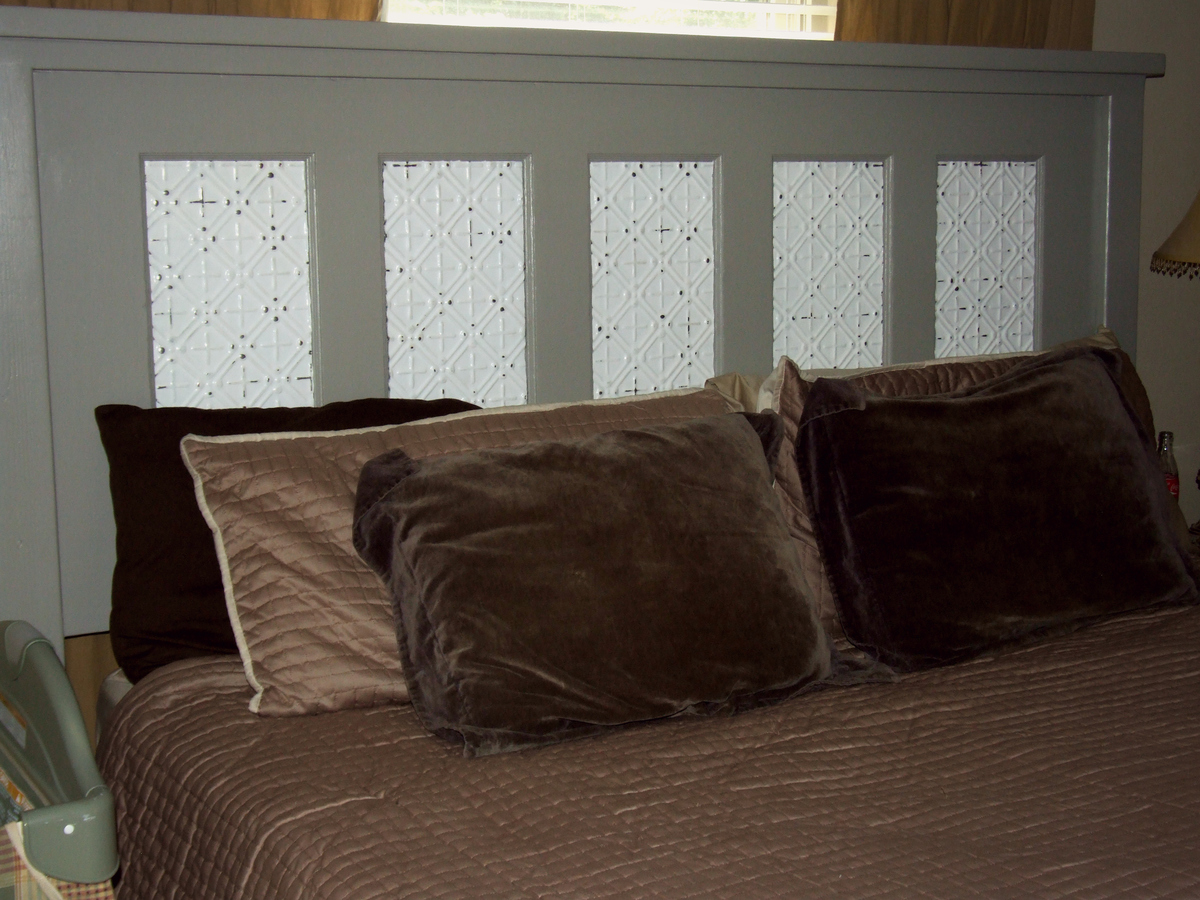
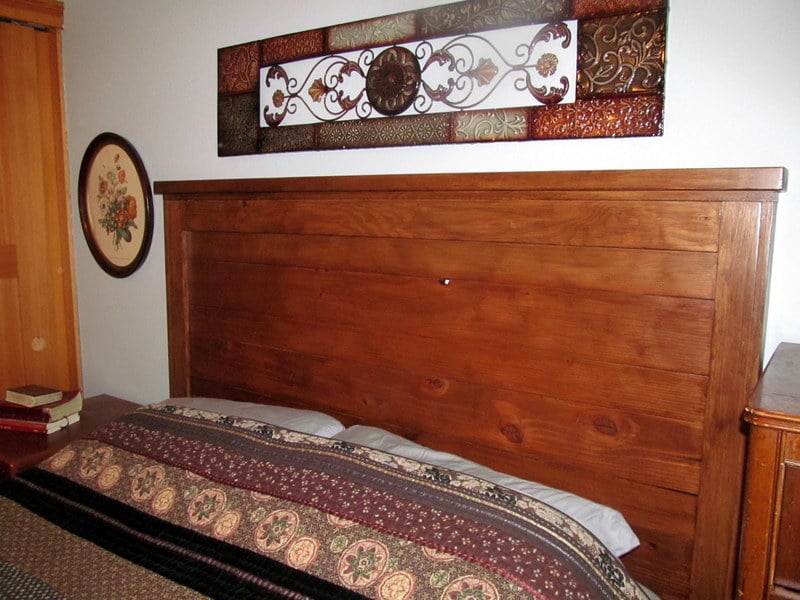
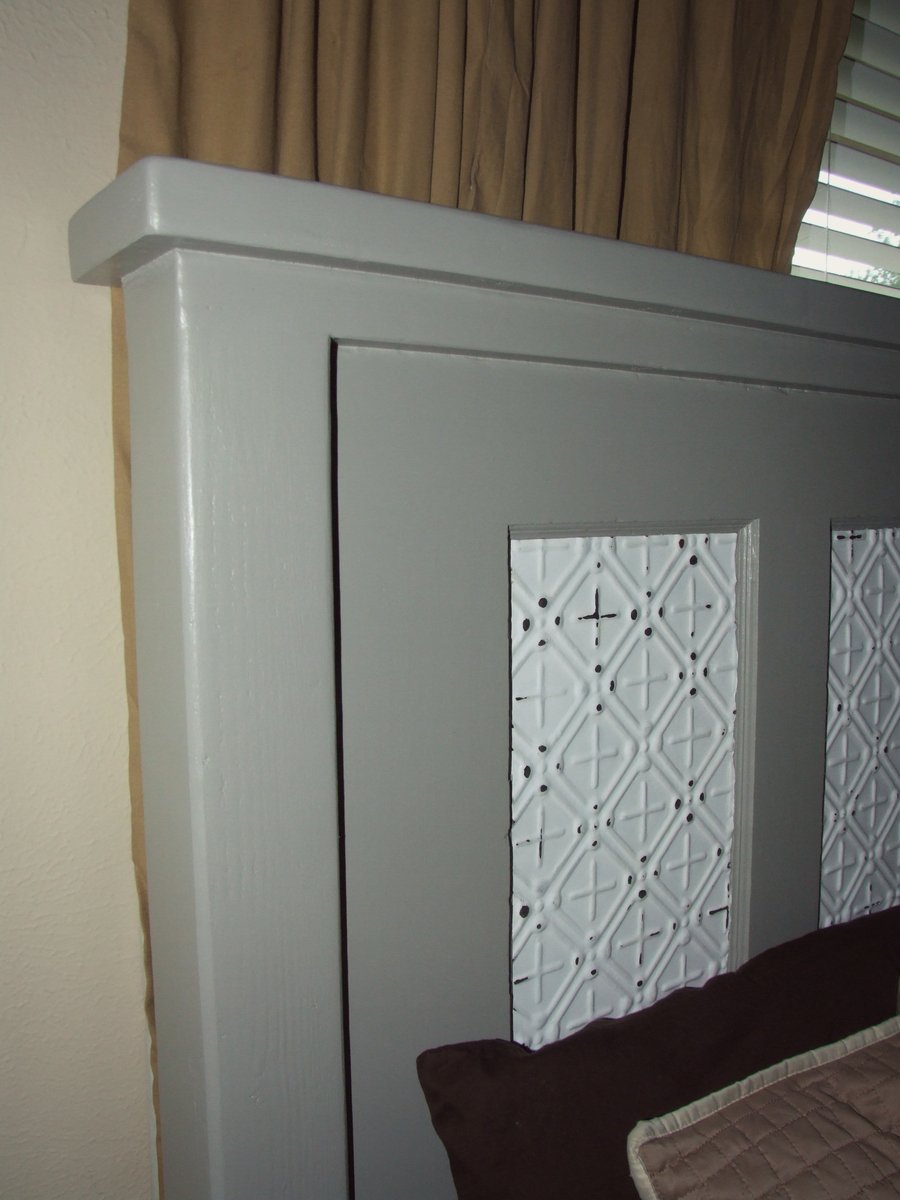
We used the modified king-size plans from the farmhouse bed to make this headboard. Instead of the planks, we used a vintage door that we cut to size, but the rest is according to the plans.
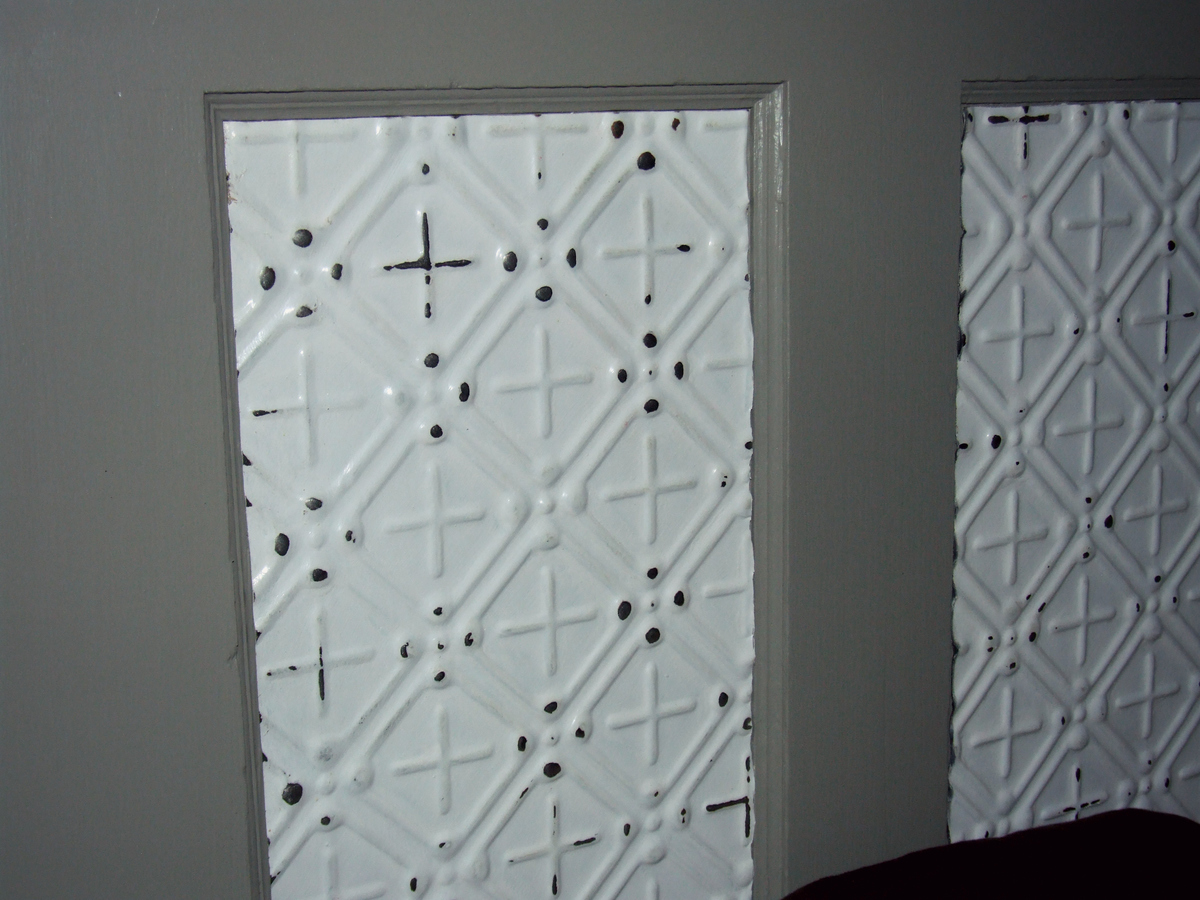
In each panel, we put a piece of painted, distressed ceiling tin, since this was our "tin" anniversary.
We used pocket holes to attach the door to the posts. My first time to use the jig!
Read more about the process in the blog post!
http://lassothemoon.typepad.com/lasso_the_moon/2013/06/diy-headboard-fr…
Fri, 07/05/2013 - 23:10
This is so cute. I love the Tin ceiling tiles. I've always walked past them at HD and wanted to use them for something but never knew what to use them for. I love the idea of u using them because of your Tin anniversary. Turned out beautiful
~Melody
Fri, 07/05/2013 - 23:10
This is so cute. I love the Tin ceiling tiles. I've always walked past them at HD and wanted to use them for something but never knew what to use them for. I love the idea of u using them because of your Tin anniversary. Turned out beautiful
~Melody
Sun, 07/07/2013 - 00:55
He thinks out side of the box. What a great cotton gift. I got my husband DKNY towels. haha. (he always complained that ours werent soft enough. I think we stopped at wood because it got too hard. I cant even think of a wool gift since we live in Southern CA. You sound like you have a good man.
~Melody
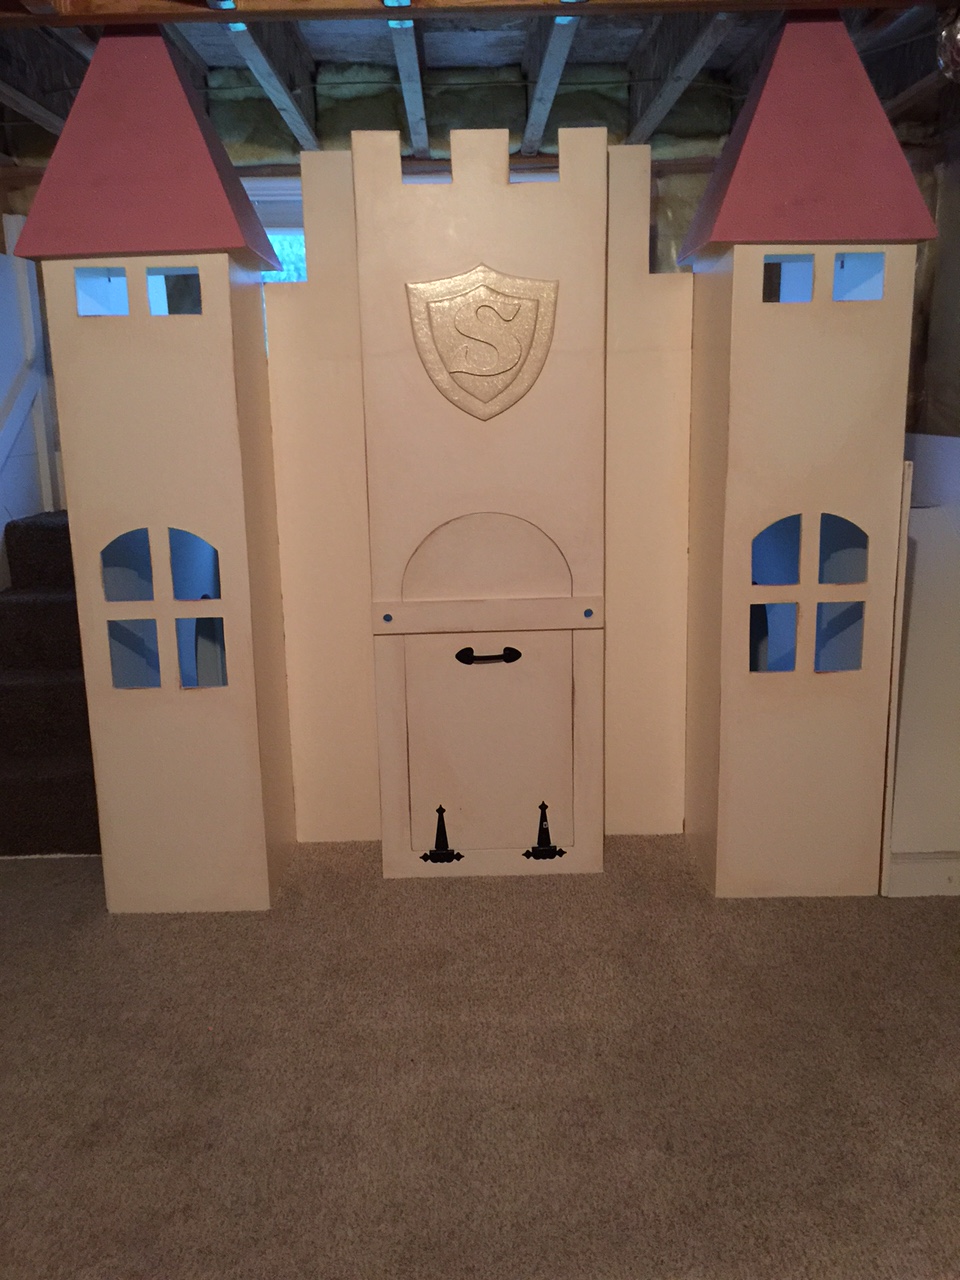
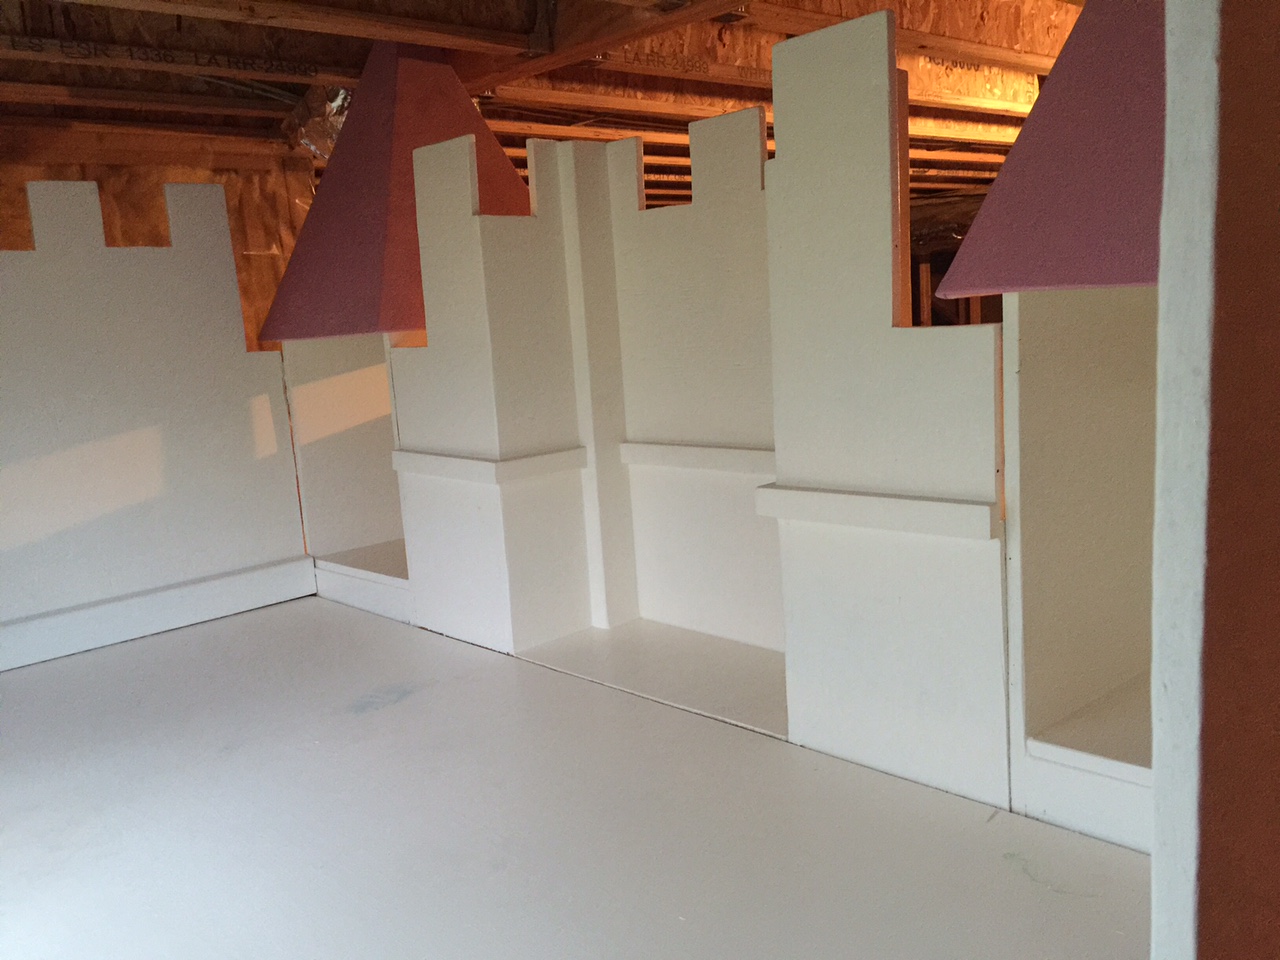
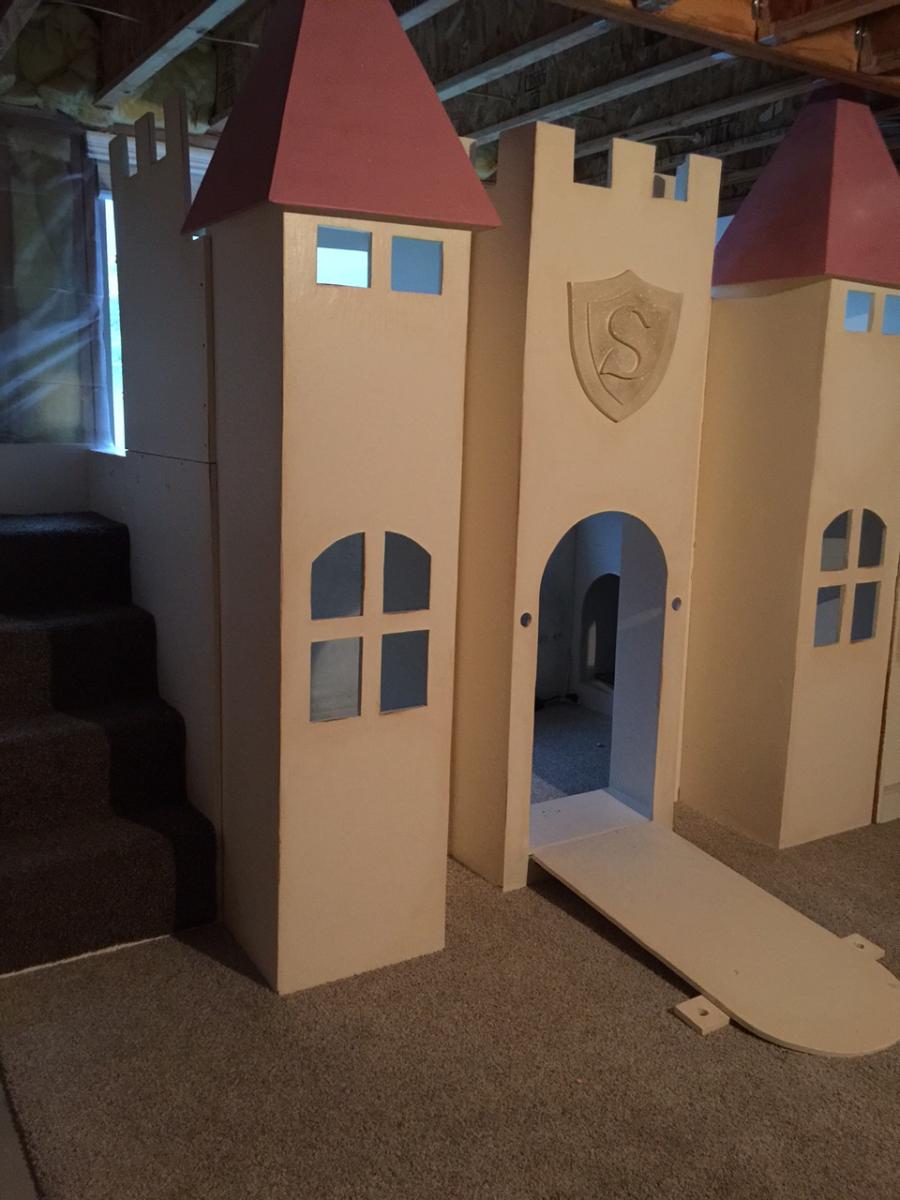
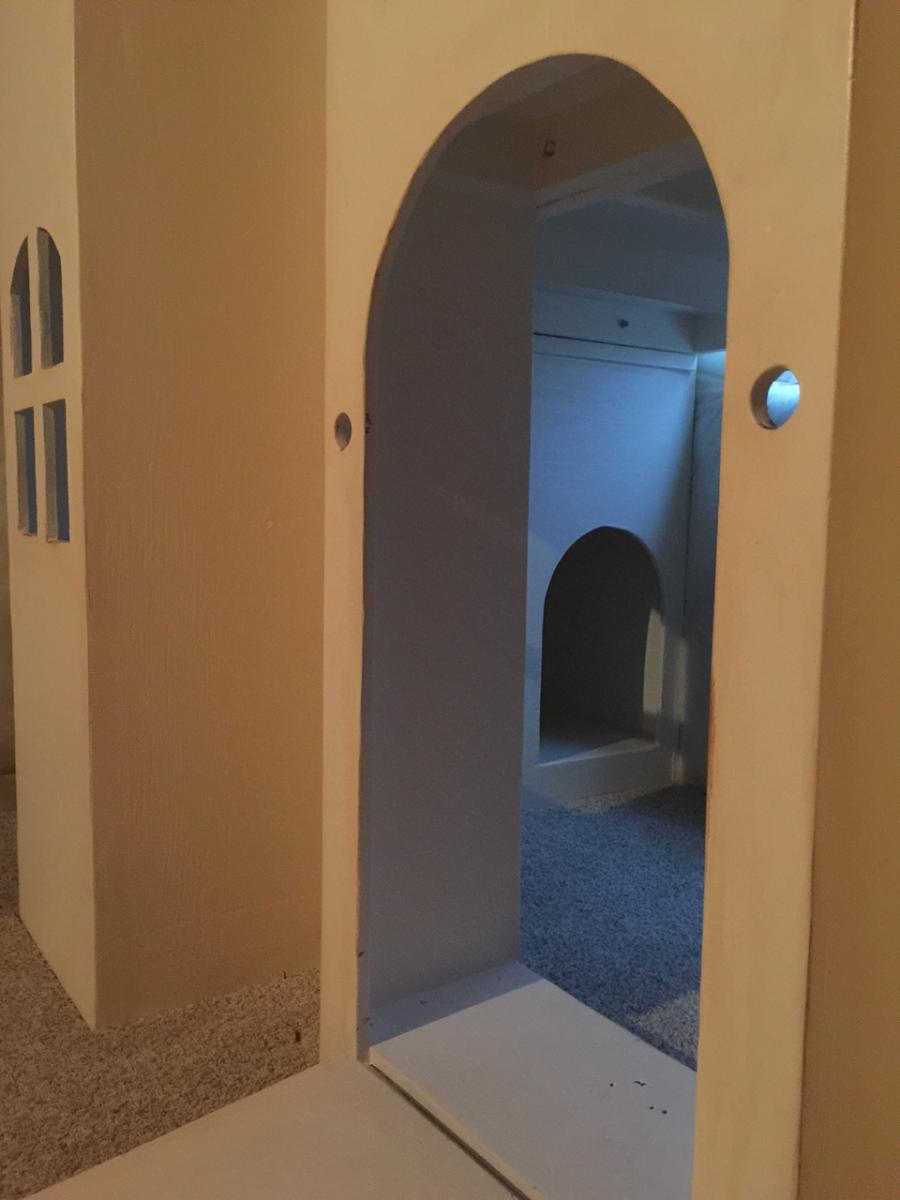
This was a project I took on for my two daughters (5 and 2). I was pretty intense as I used the castle loft bed as my starting point. The drawbridge is fully functional, but I had to remove the black ropes as my kids were running around and tripping (safety hazard). I made the top large enough to house two small mattresses for the kids to sleep on. I made use of the space under the stairs and the slide by cutting out doors. This is a very large structure and is modular (front, towers (2x), stairs, slide, platform). They are all joined with some significant lag bolts and is sturdy enough to have my wife and I and both children up top. I have also mounted LED lights under the platform wired to a switch so that they can see at night. Overall, it has been a hit for my daughters and their friends. Thanks for the plans!
Sun, 04/19/2020 - 18:25
could you possibly give me a rundown of what specific changed you made, what extra material I would need, ect. I'm wanting to build the princess bed- but I'm a little ocd and would much appreciate the symmetry of two identical towers. thanks if you can help.
My very first project. Was so easy thanks to Ana's instructions. Dark walnut gel stain and Fusion Seaside. Thank you so much Ana.
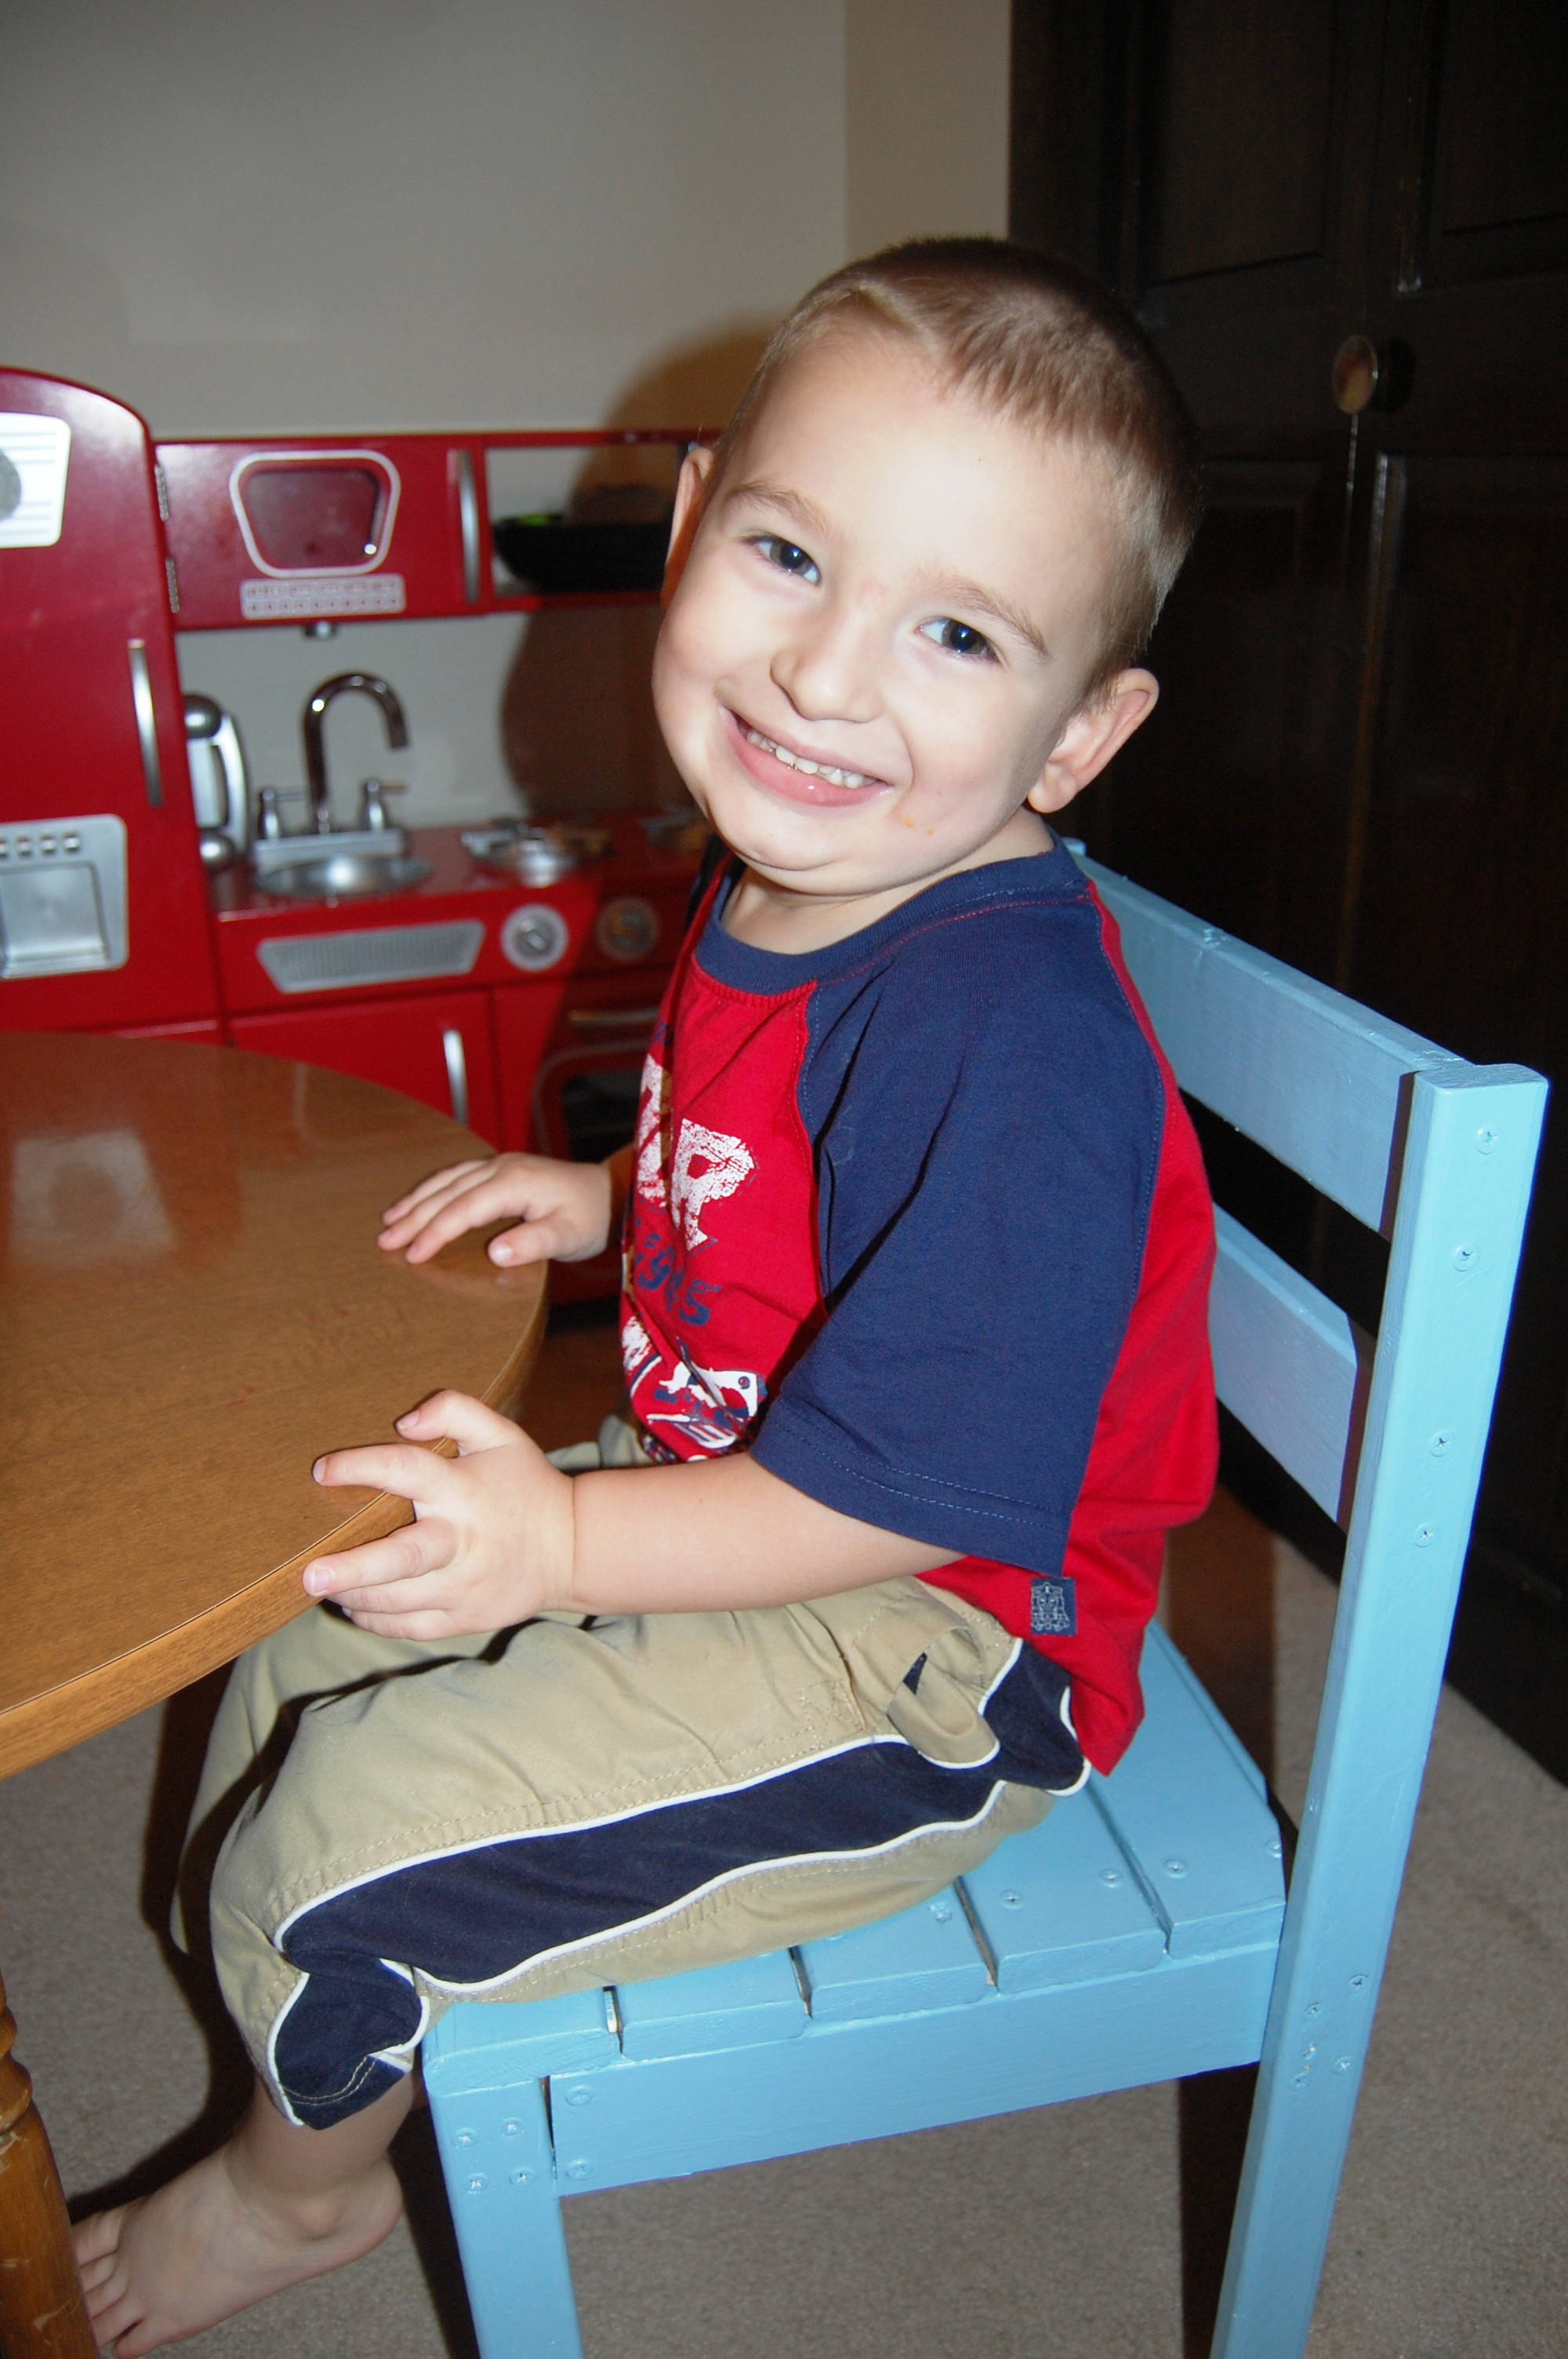
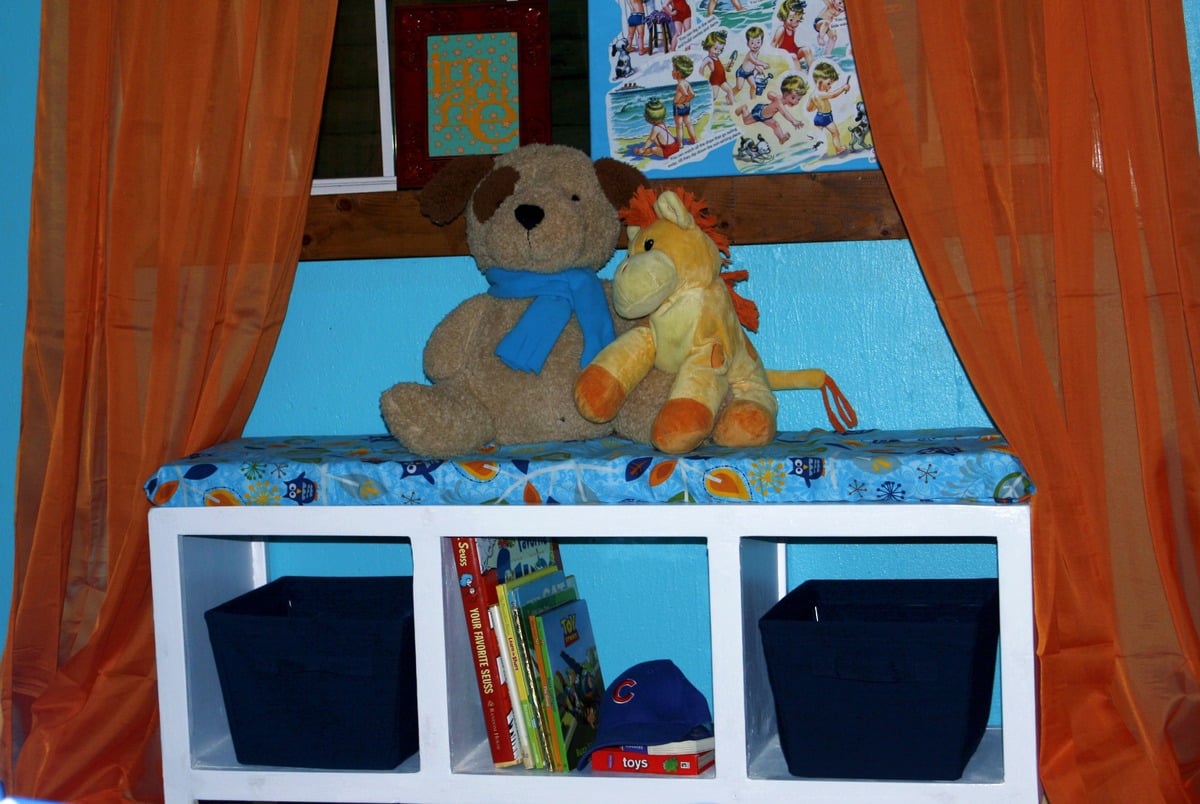
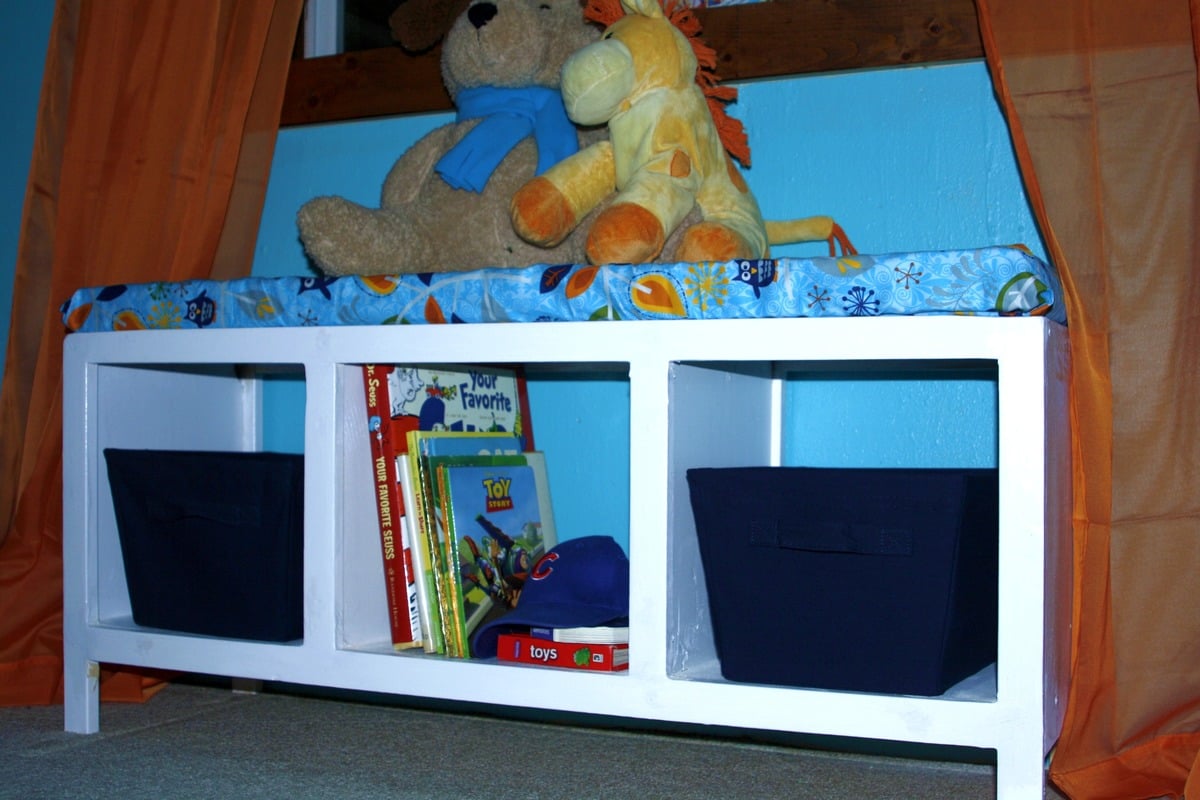
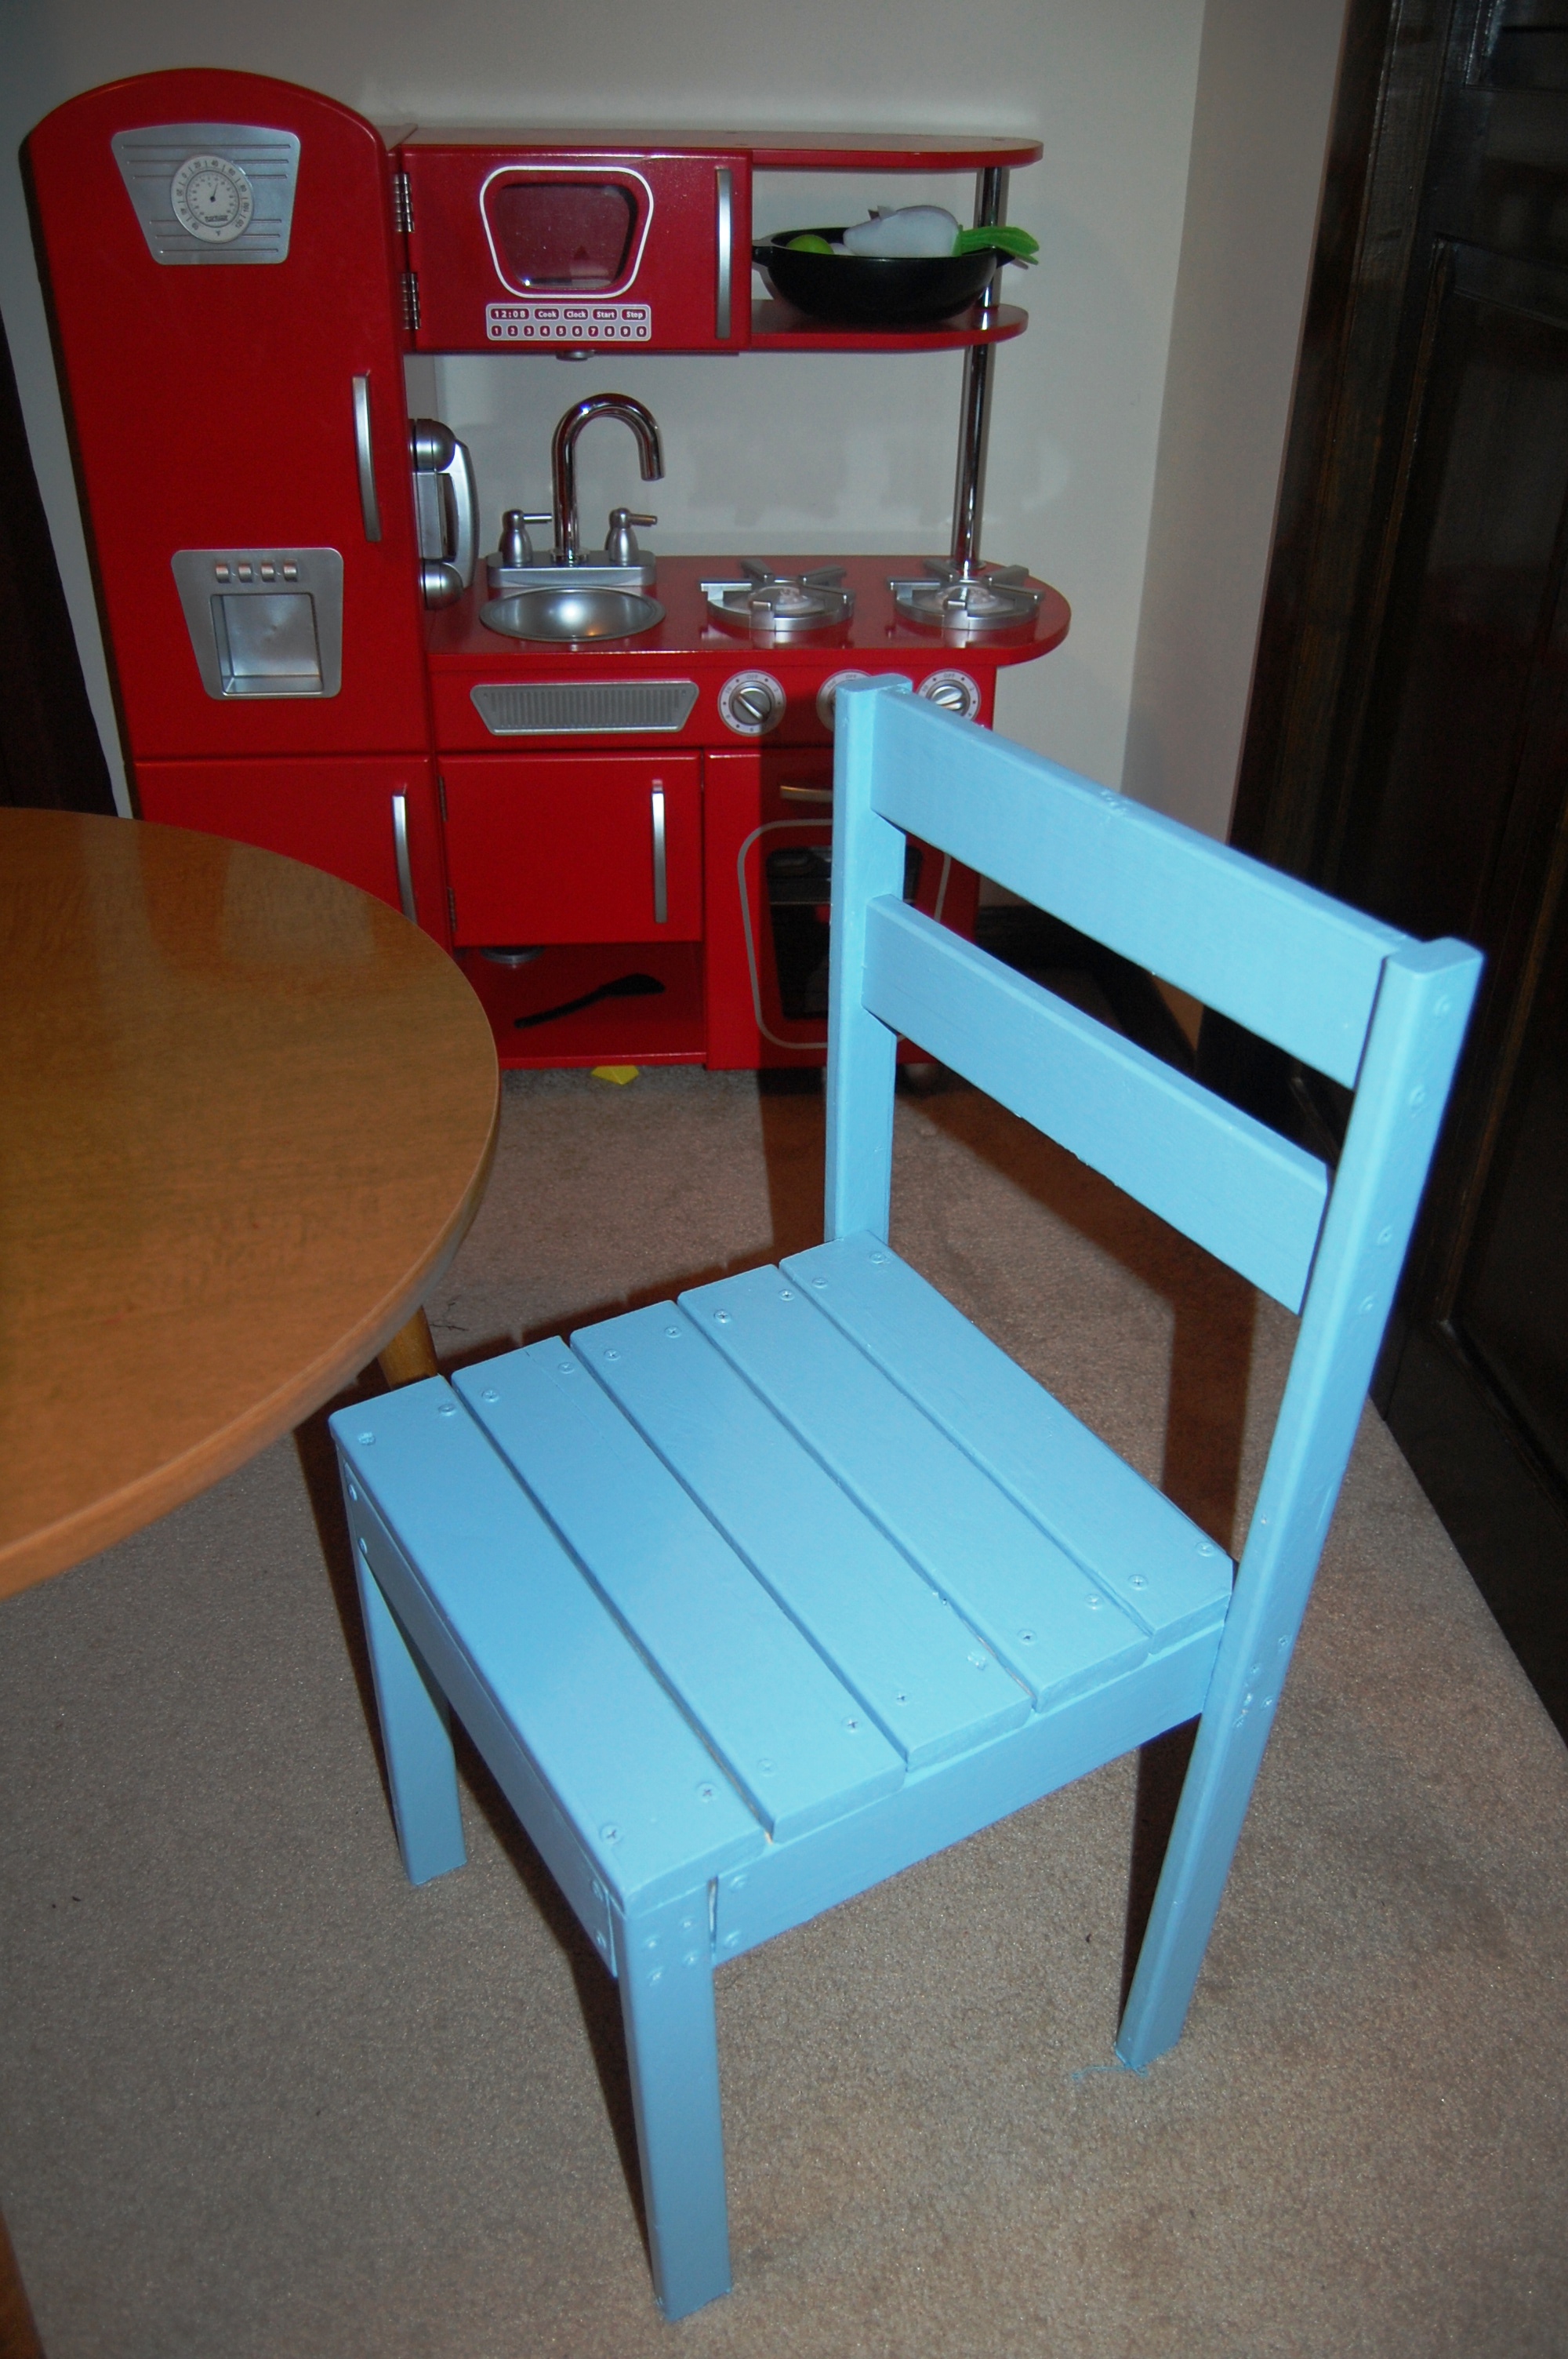
James got a sweet retro kitchen set for Christmas from his grandma. CarpenterMama scored a kids kitchen table (pretty sure it's authentic retro) at Goodwill for $8. All that he needed was a chair to sit in, and Ana's Four Dollar Stackable Chair fit quite nicely!
This was CarpenterMama's very first building project, and she is as proud as punch that she made something with her own two hands, some wood & screws, and oops paint. James is ecstatic that it is blue and he can sit in it. :-)
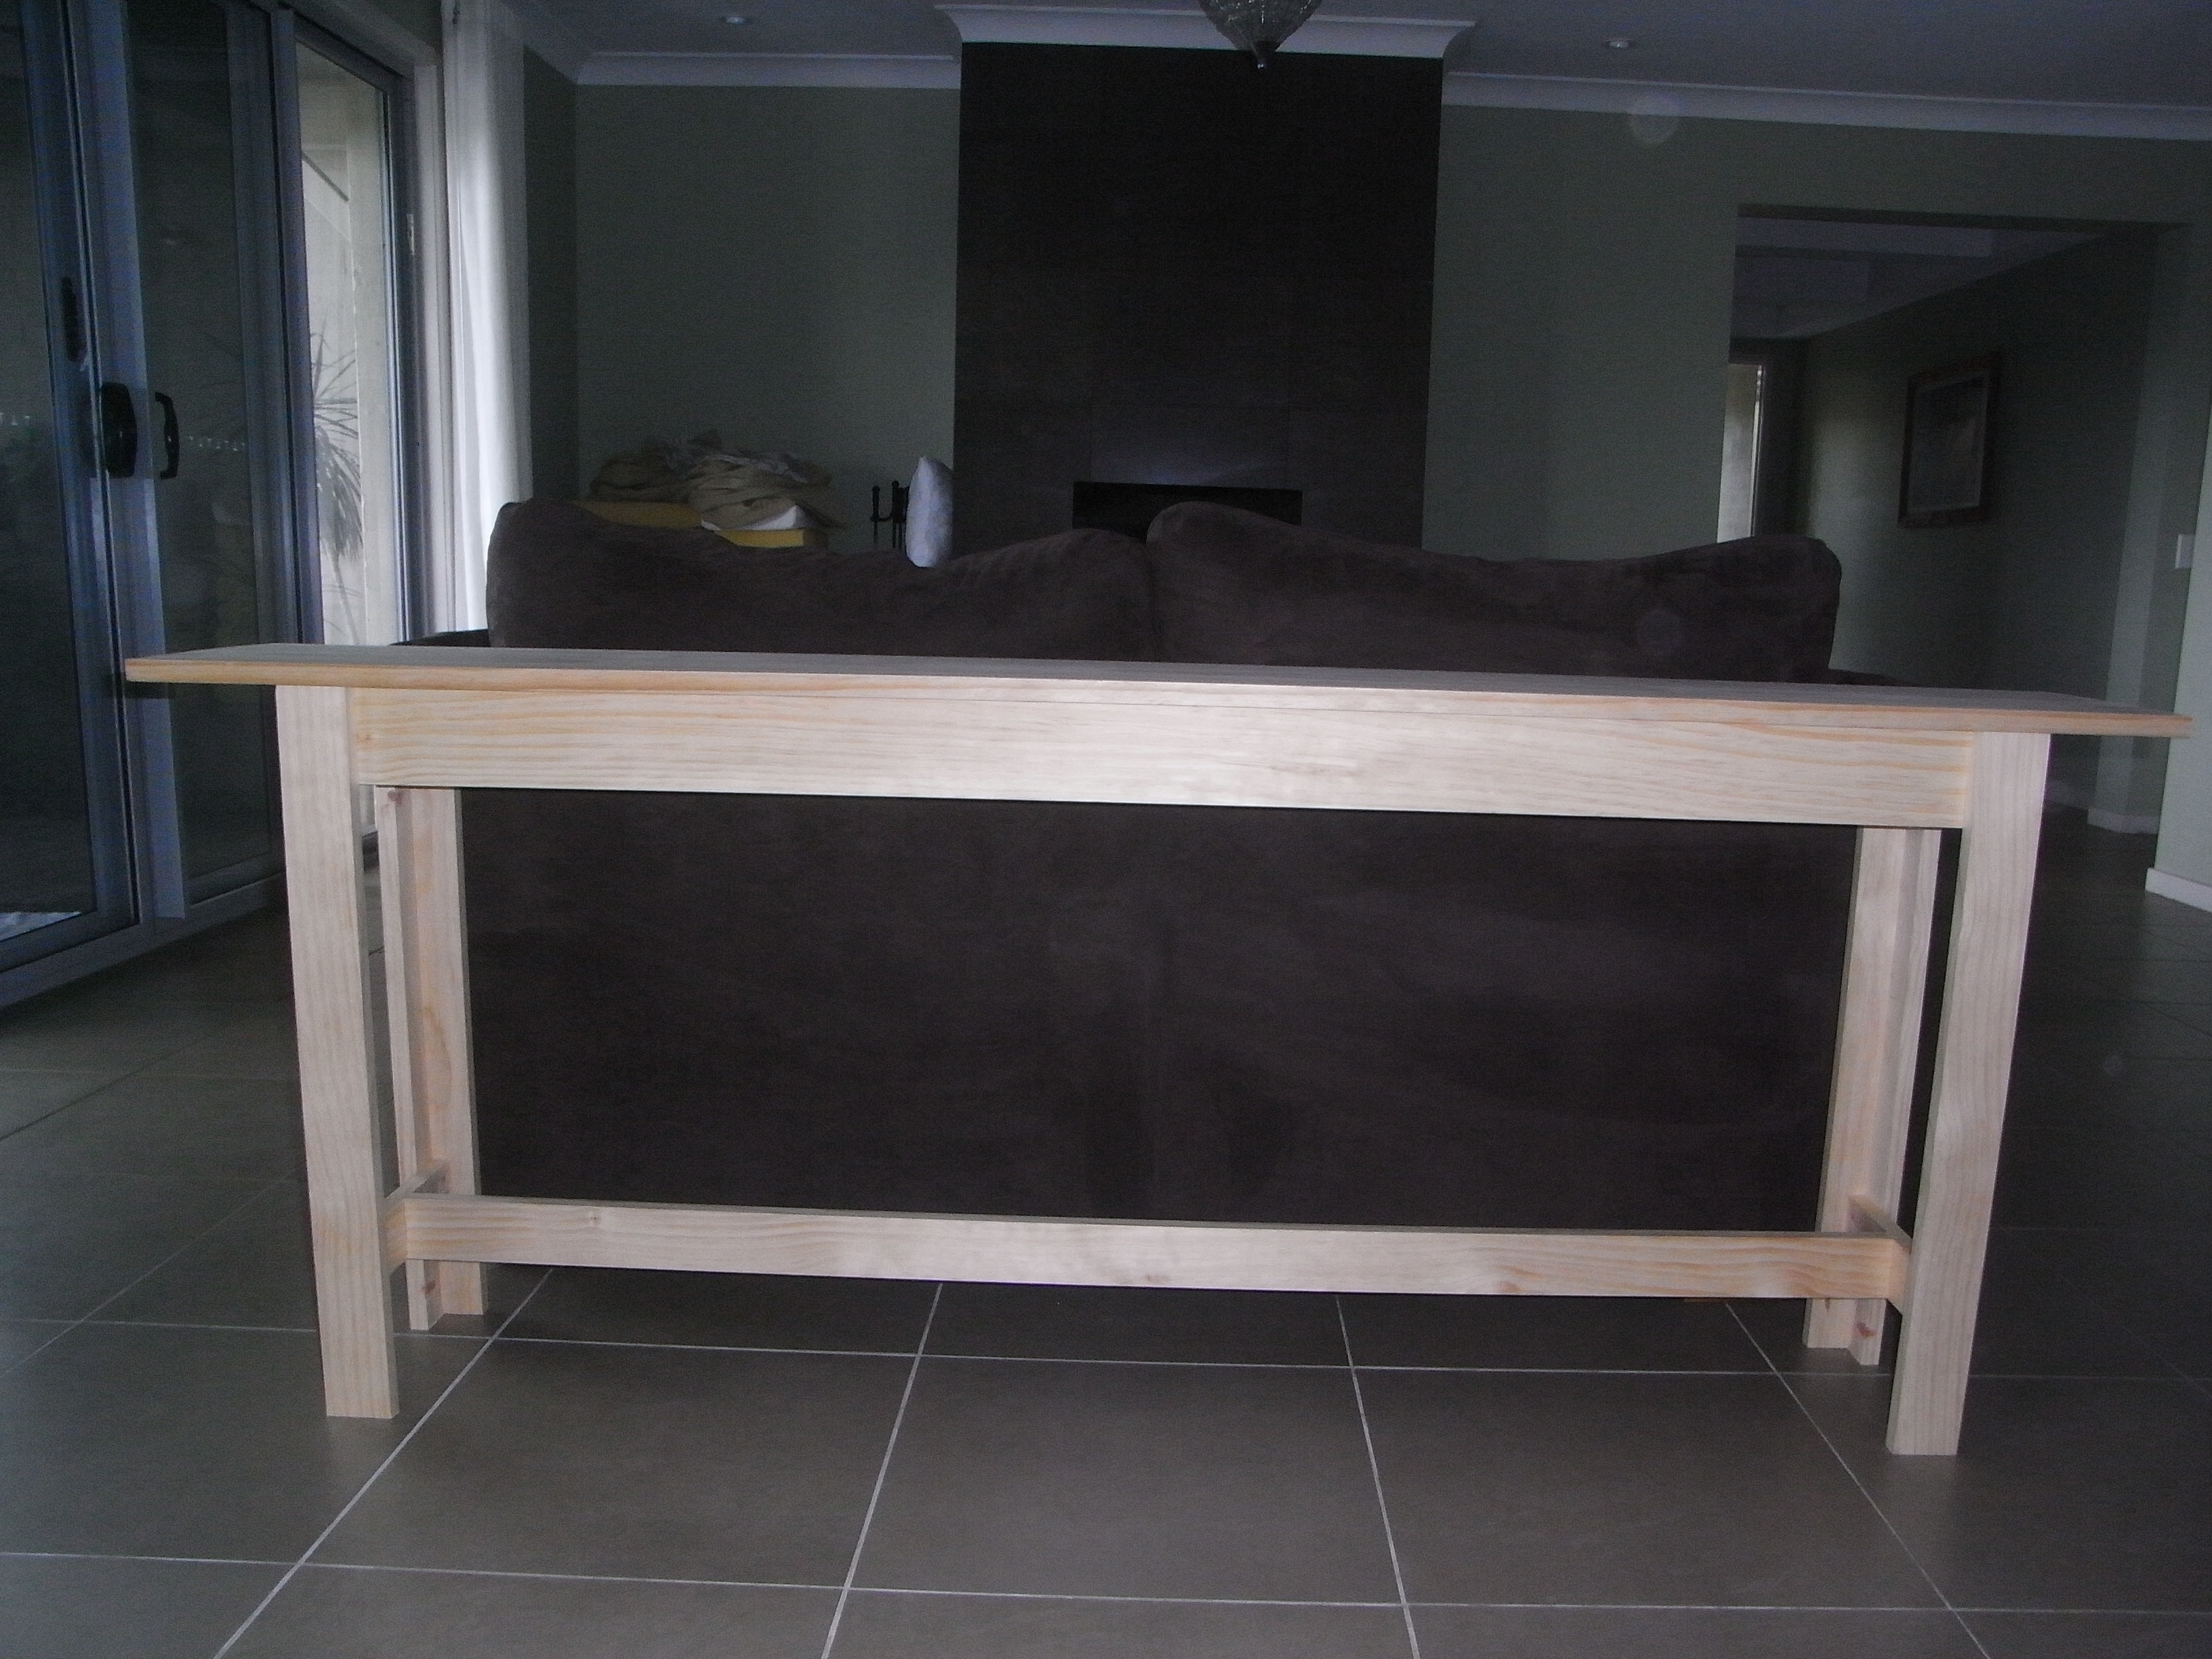
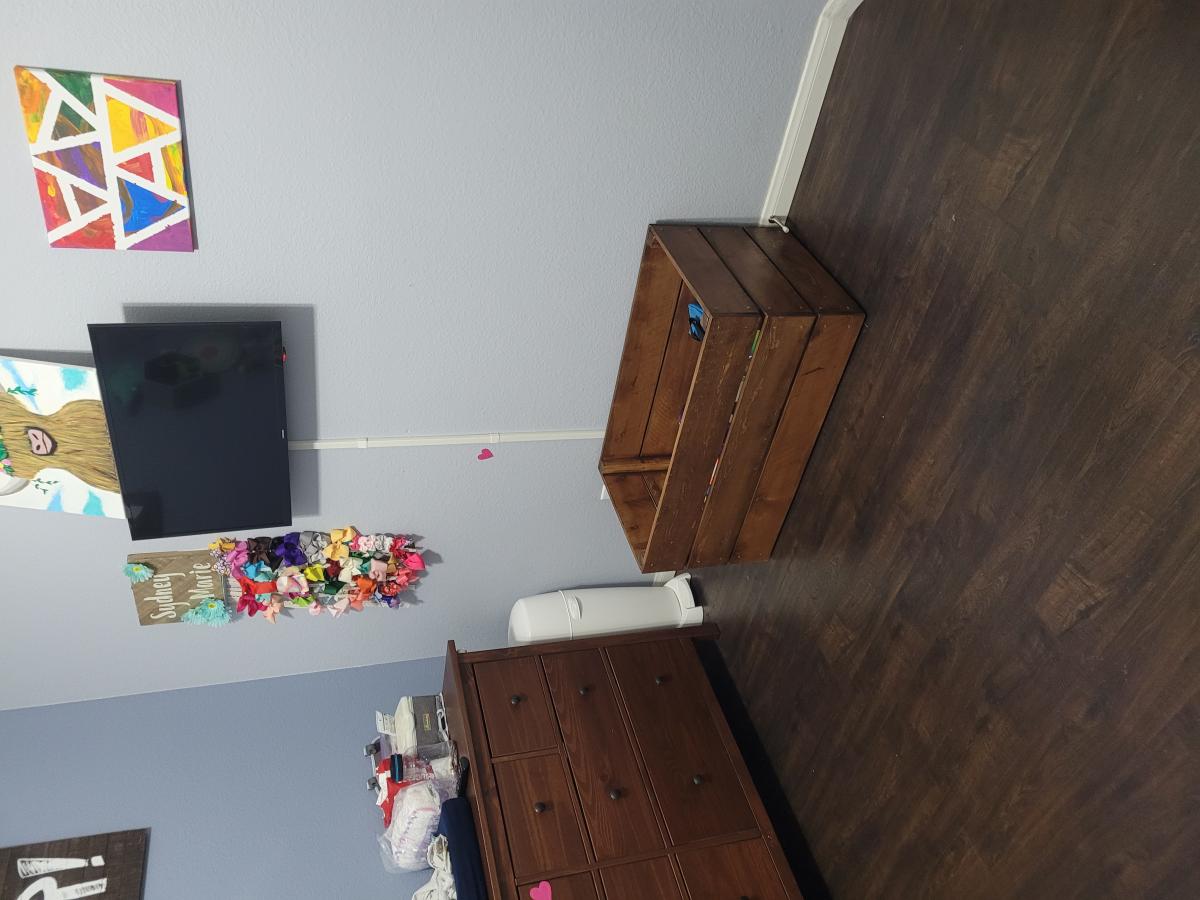
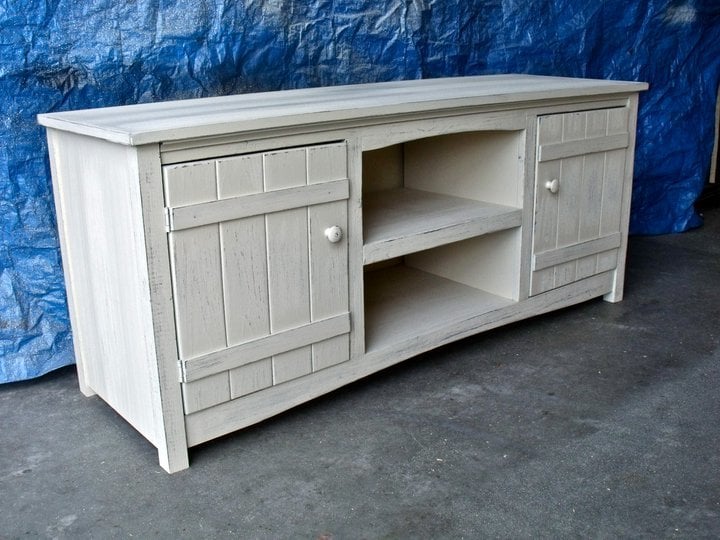
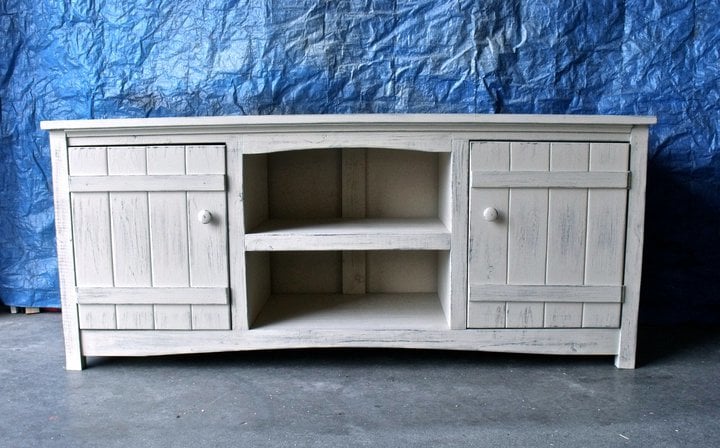
sofa table made from console plan, I just changed the measurements.
Dear Ana White: Please stop posting cool - “must do” projects on your website … you’re killing us.
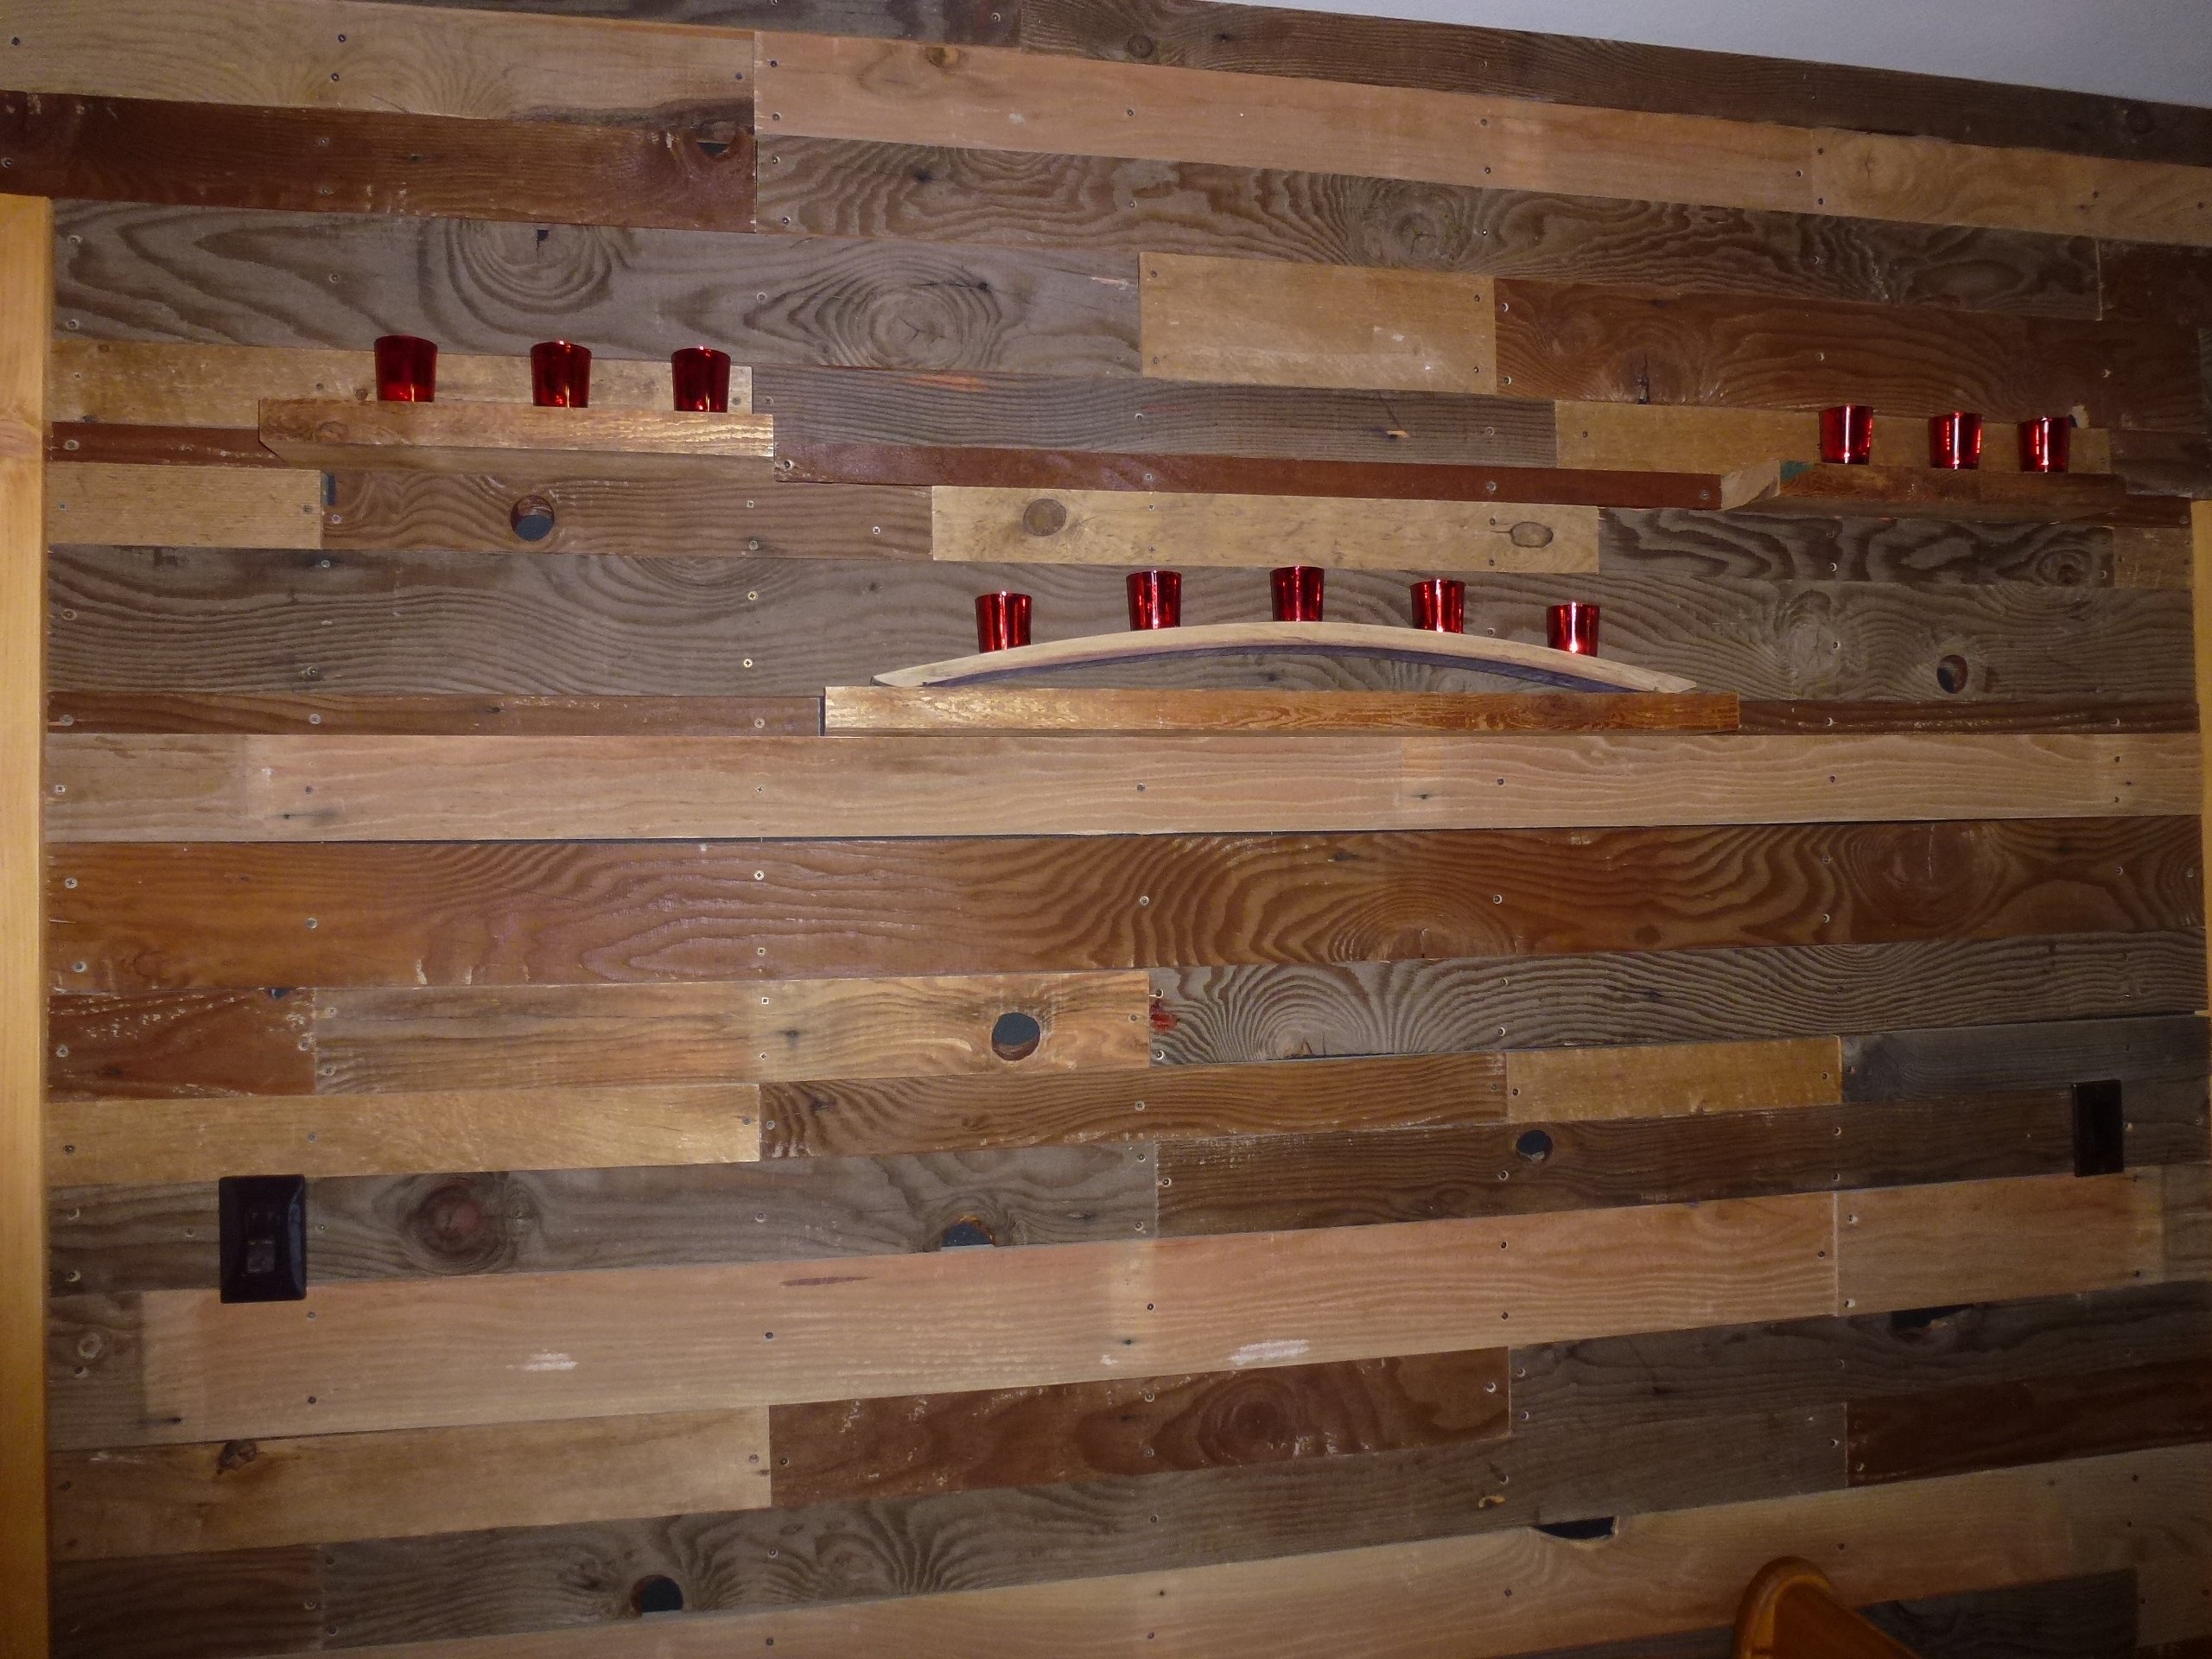
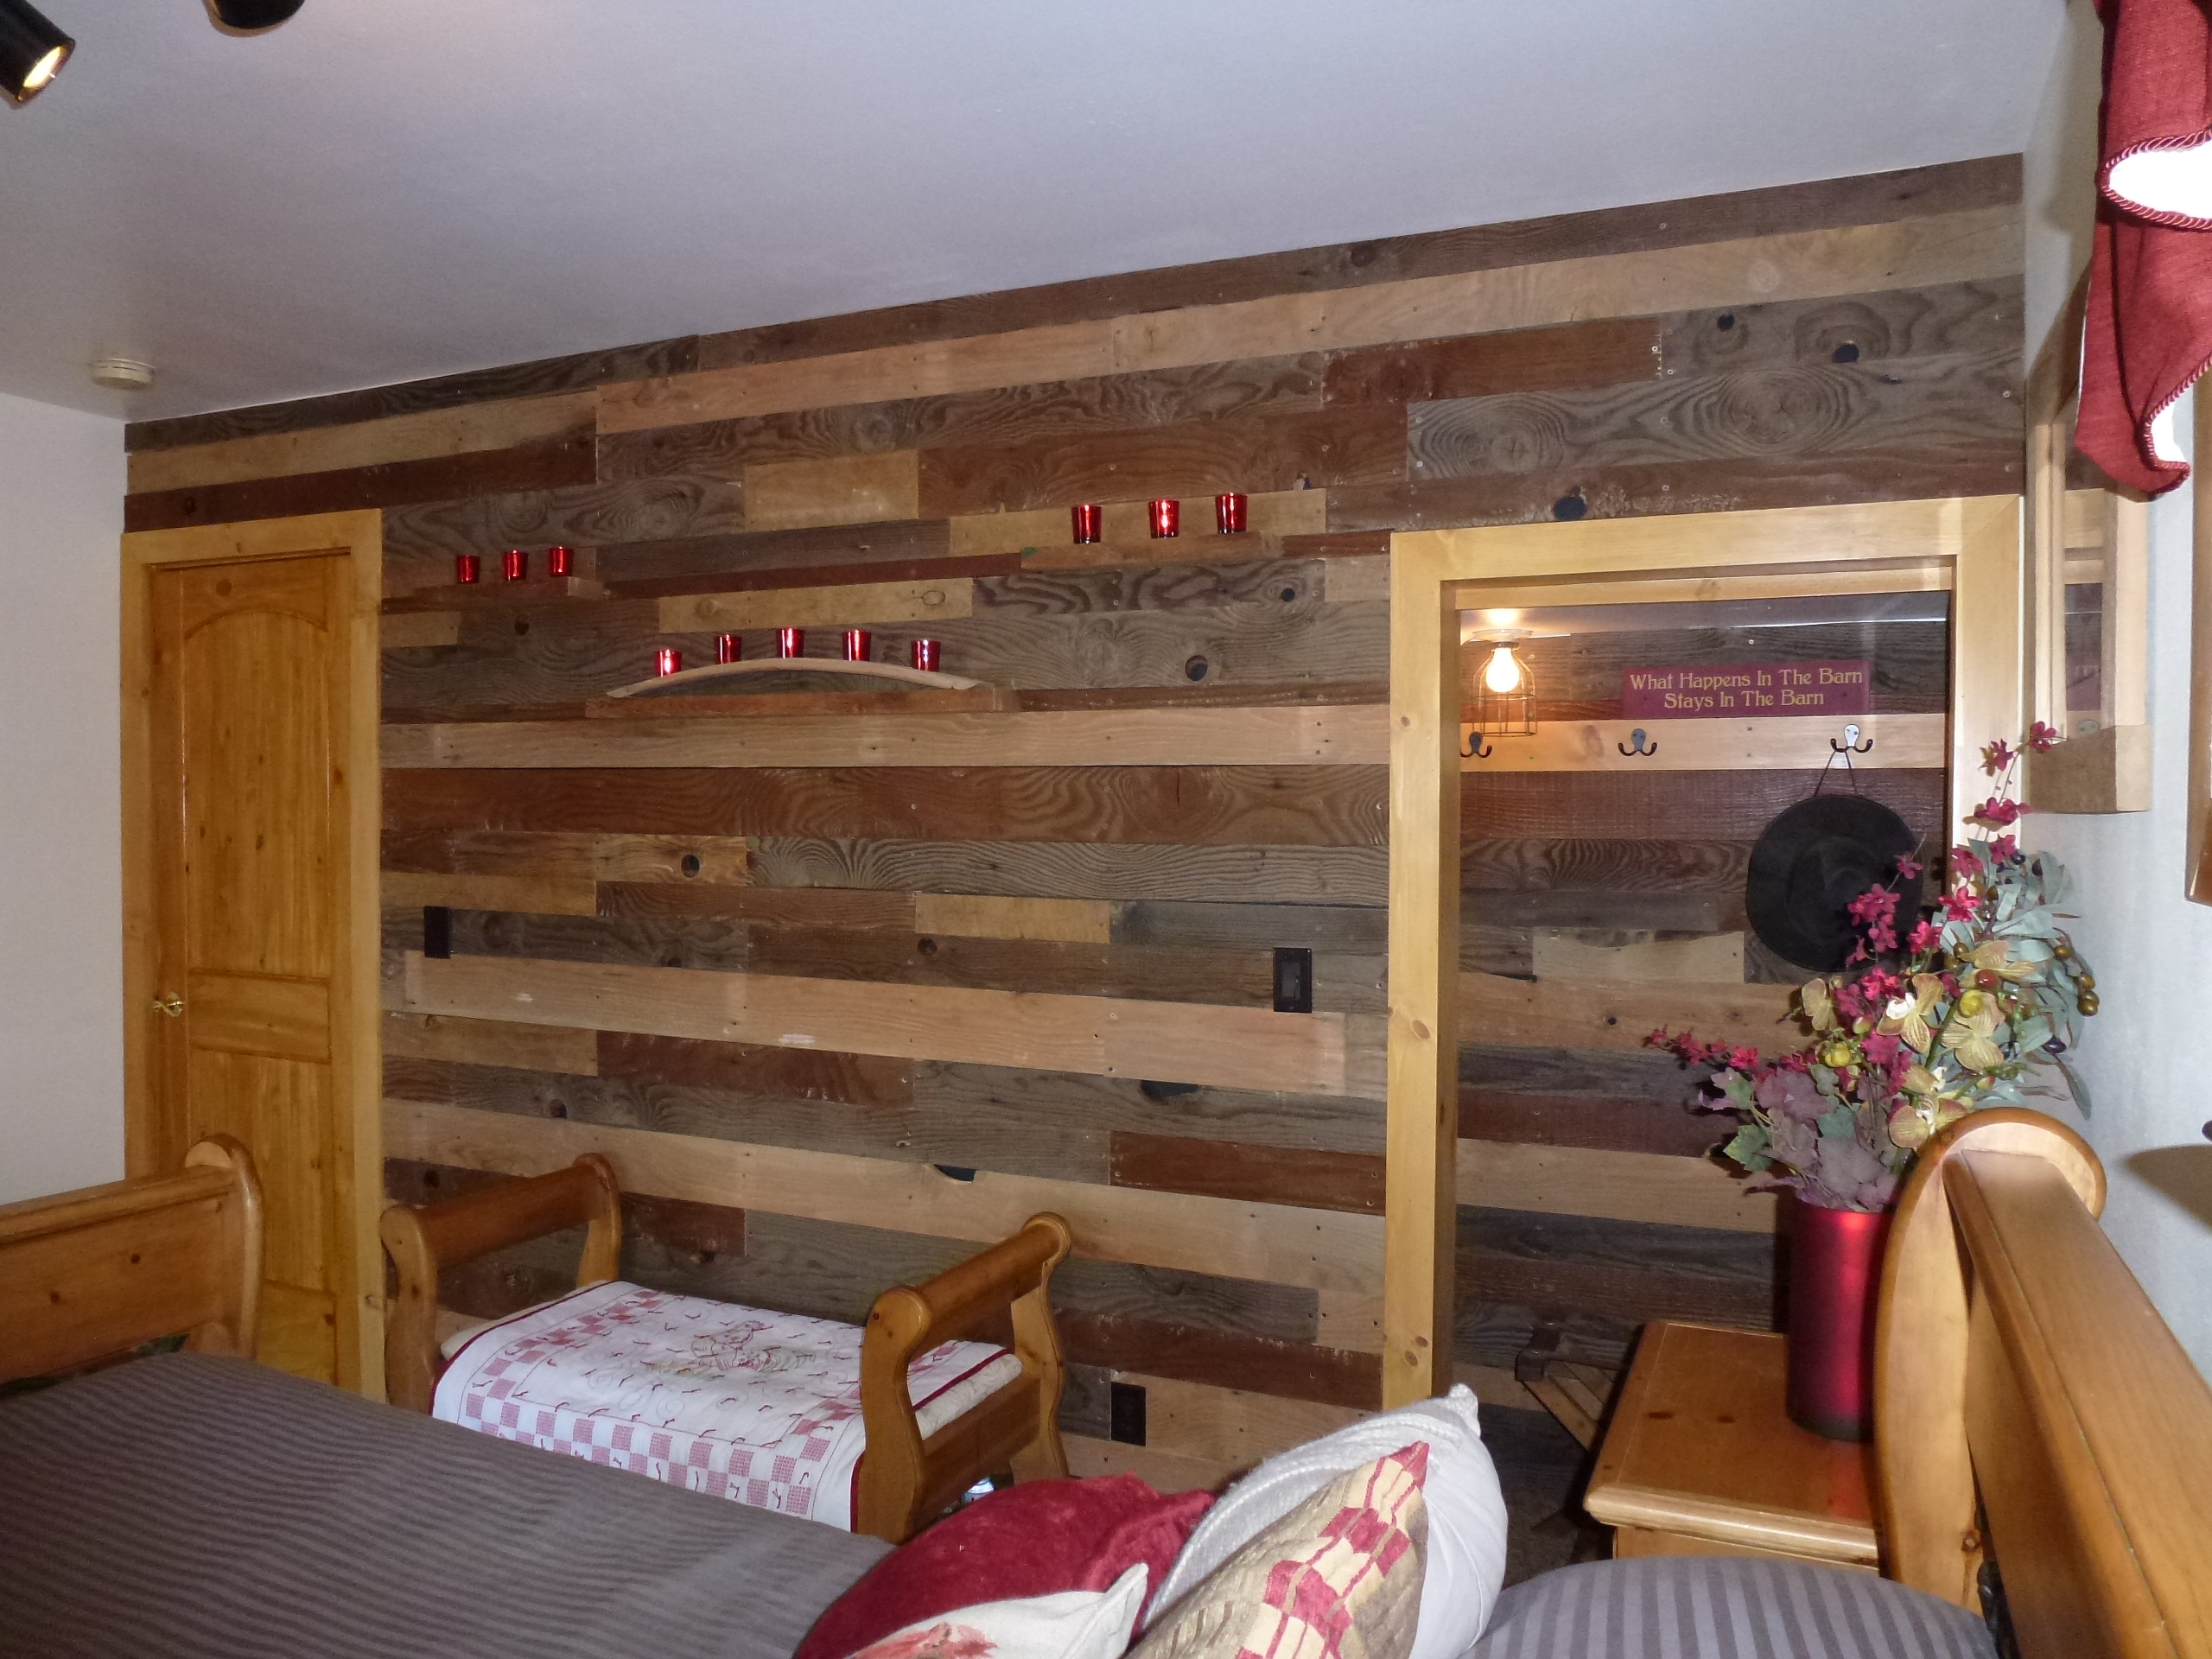
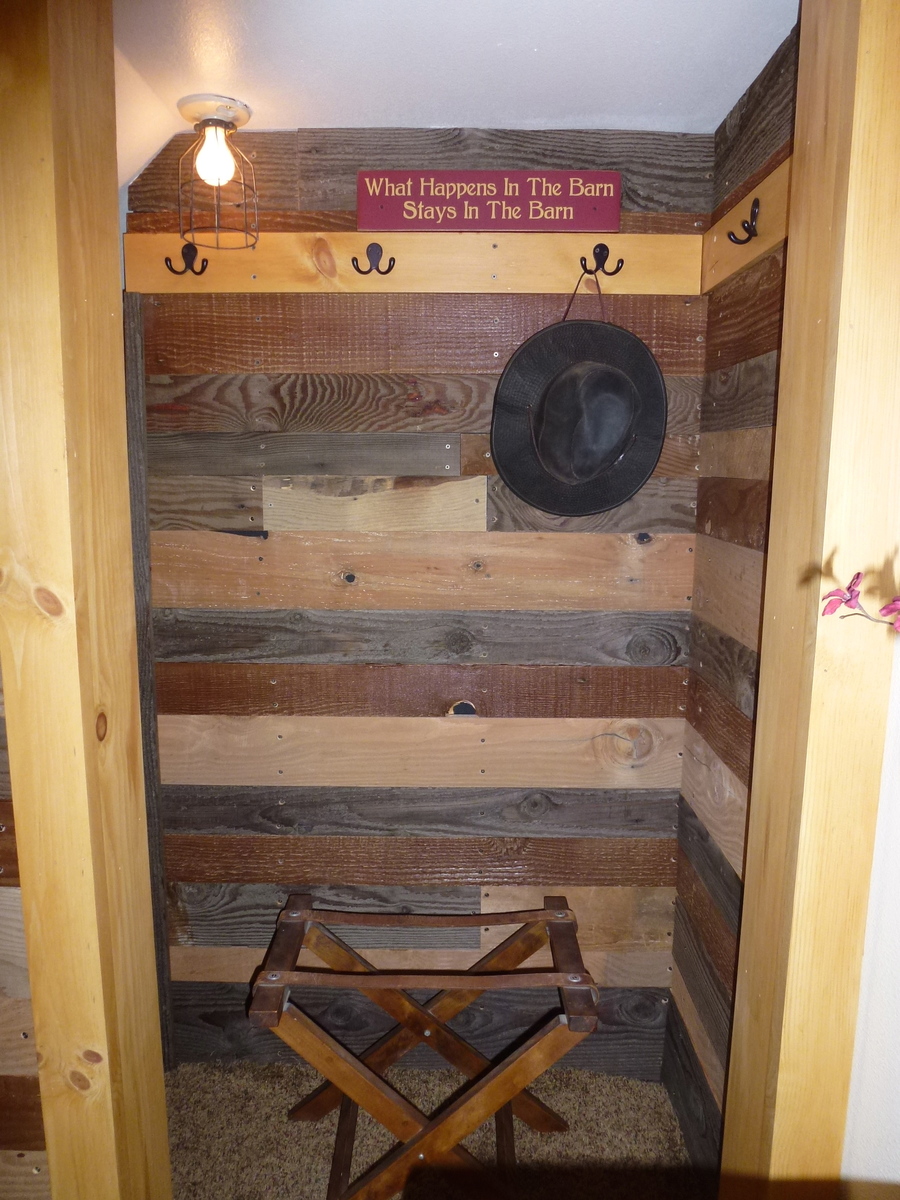
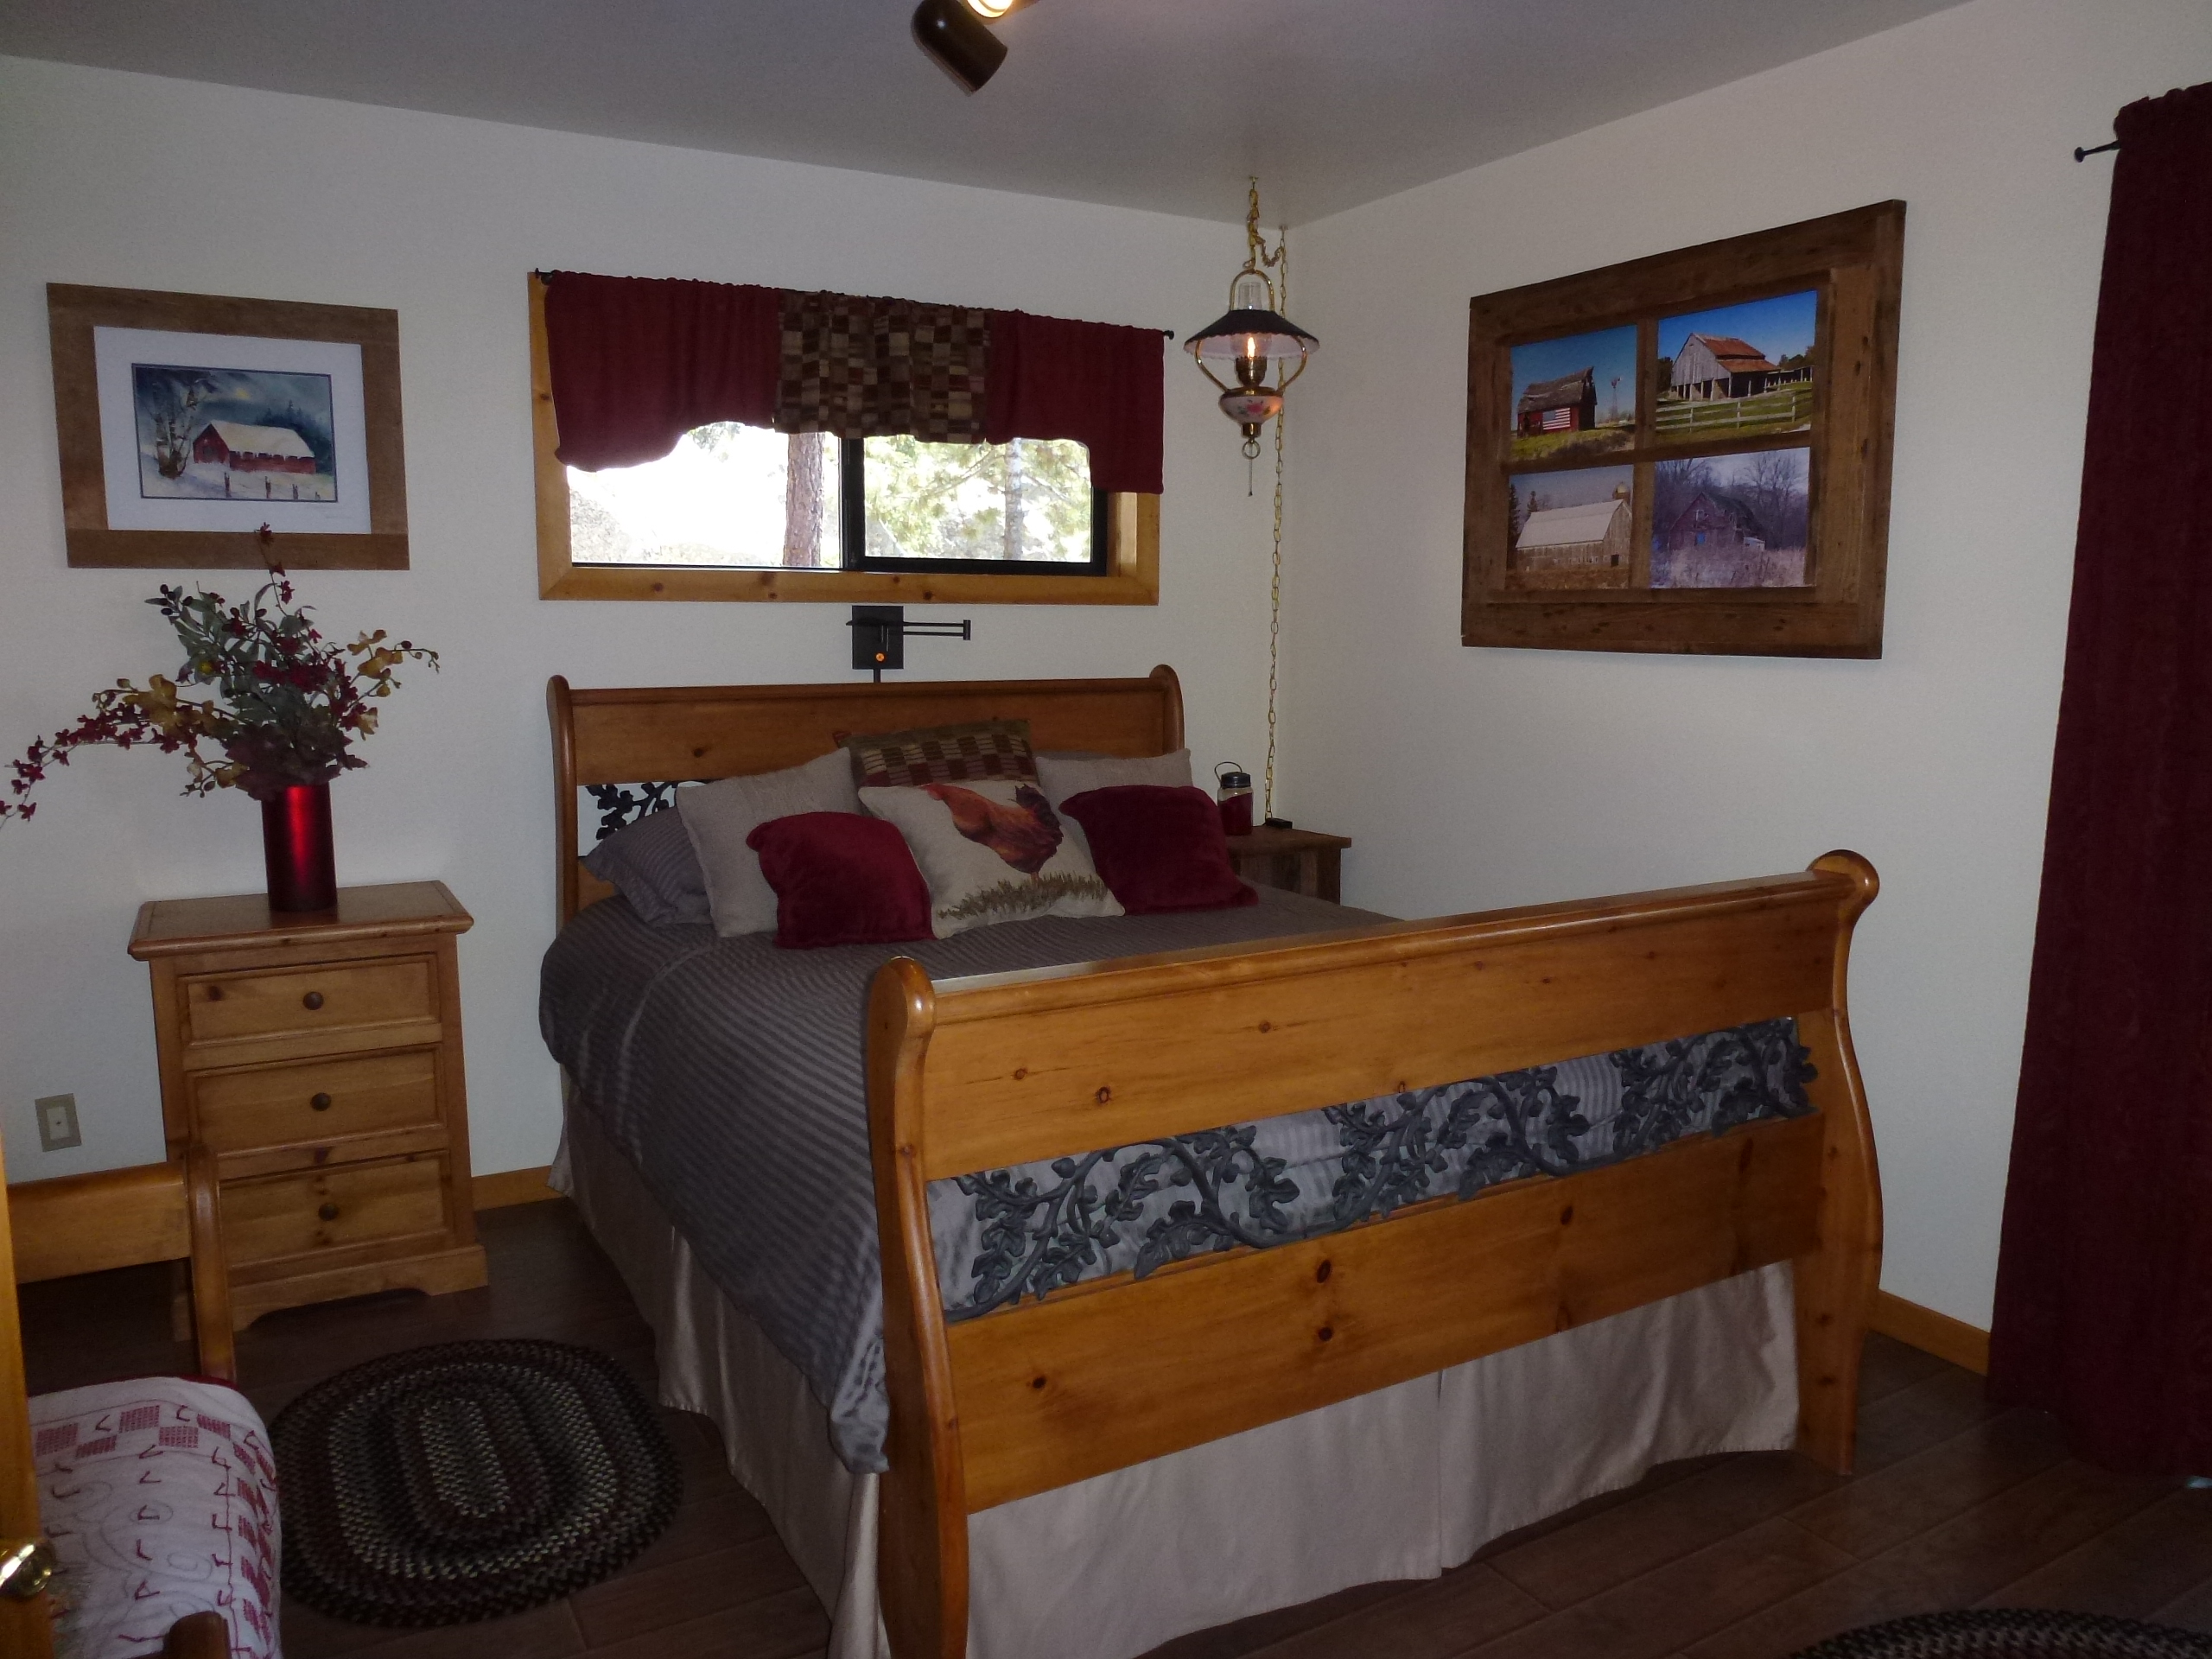
After we saw Ana White’s posting for her pallet wall http://ana-white.com/2015/02/free_plans/pallet-wall-hgtv-saving-alaska , we knew we had to augment our guest bedroom with this concept.
Before we began this project, we really didn’t have any idea how expensive “rustic” was or how complex “random” could be.
Mostly, we used 1 type of reclaimed barn wood and stained it with 3 different colors as well as using the natural un-weathered side to add color contrast. For added variety, we used some leftover reclaimed barn wood from a previous project spattered throughout the design.
This was really a fun project. Barn wood is very forgiving and user – friendly. Each piece of barn wood is unique in itself, very much like a snowflake, from being weathered in the elements.
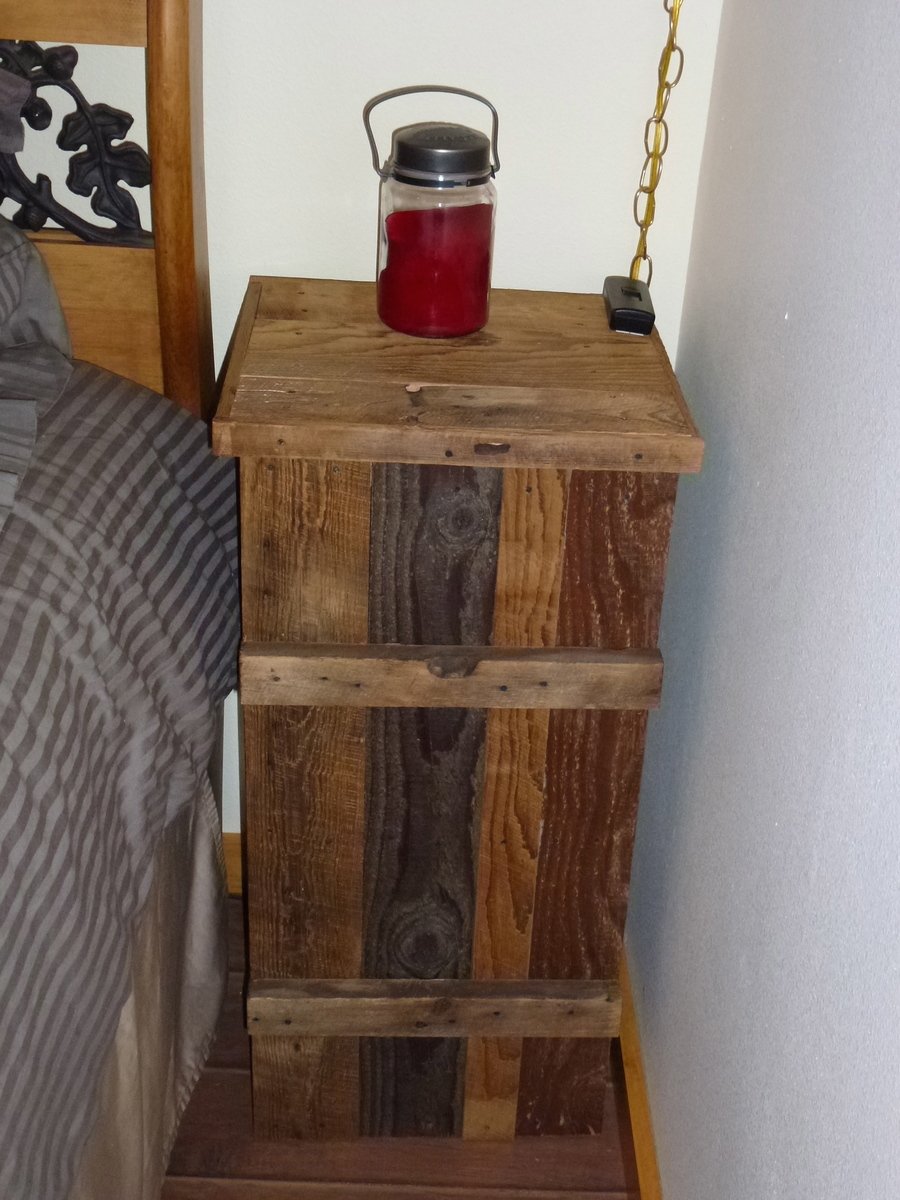
We finished the room off with closet sans door, picture frame & nightstand.
The GOOD news is that we are now out of reclaimed barn wood and we can’t build anything else.
Thanks, Ana! You have helped us make our guest bedroom a special place for our visitors.
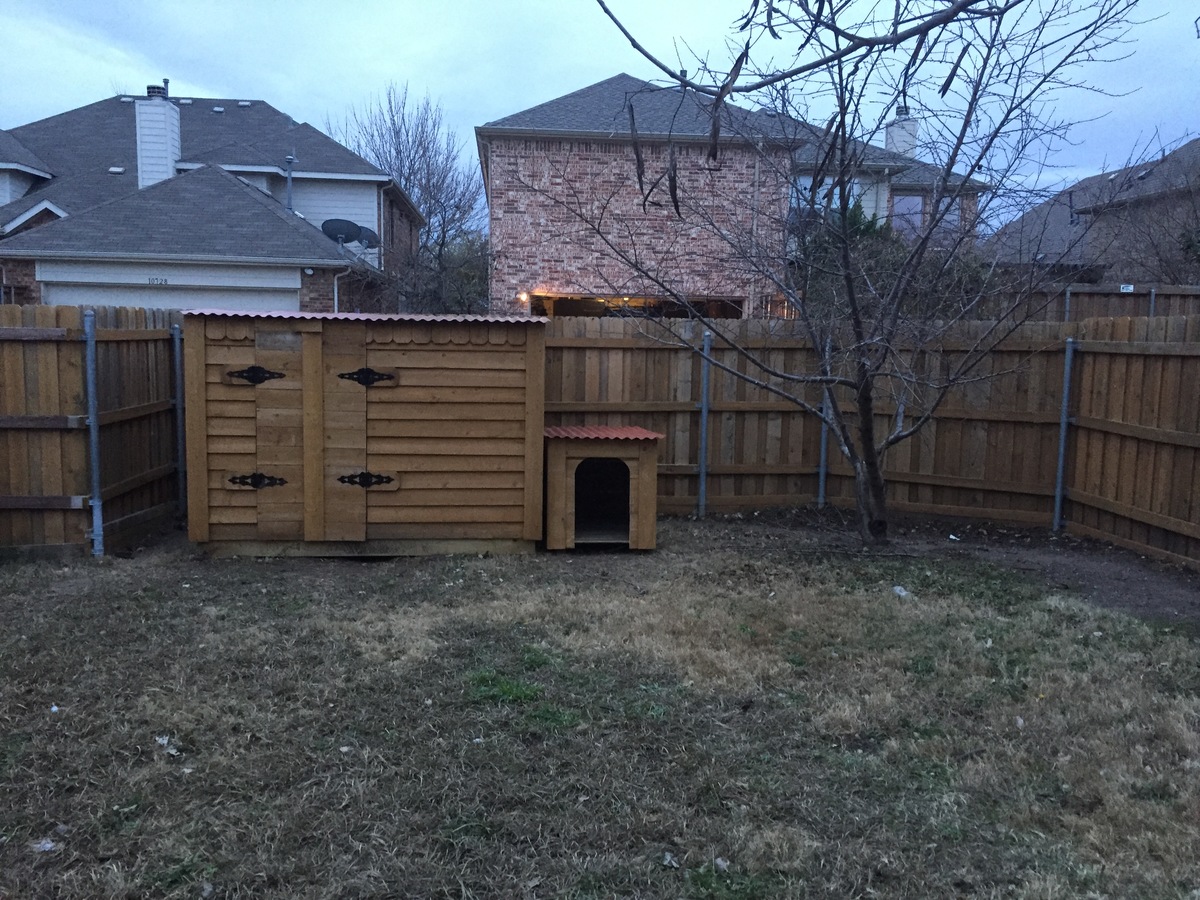
I needed a shed to get my outdoor and seldomly used equipment out of my gargage. But I needed the shed to be small so it doesn't take up too much space in the back yard and my HOA will not allow it to be taller than my fence. So I needed a small/short shed. I didn't use any plans, but it would probably have been quicker if I had. I did it with free time during a week, but could probably be all completed during a weekend. It was probably a few hundred total. I tried to reuse existing hardware/wood where possible. I'm a cheapskape. Here's my blogpost I did with additional pictures...
https://drowland.wordpress.com/2017/12/22/small-short-storage-shed/
You can see I also added a matching doghouse.


Comments
JoanneS
Tue, 11/07/2017 - 17:28
Adorable!
This is totally adorable! I'm saving this one on my to-do list! :)
Aprilmariemason
Tue, 01/09/2018 - 06:56
Thank you!
Thank you!