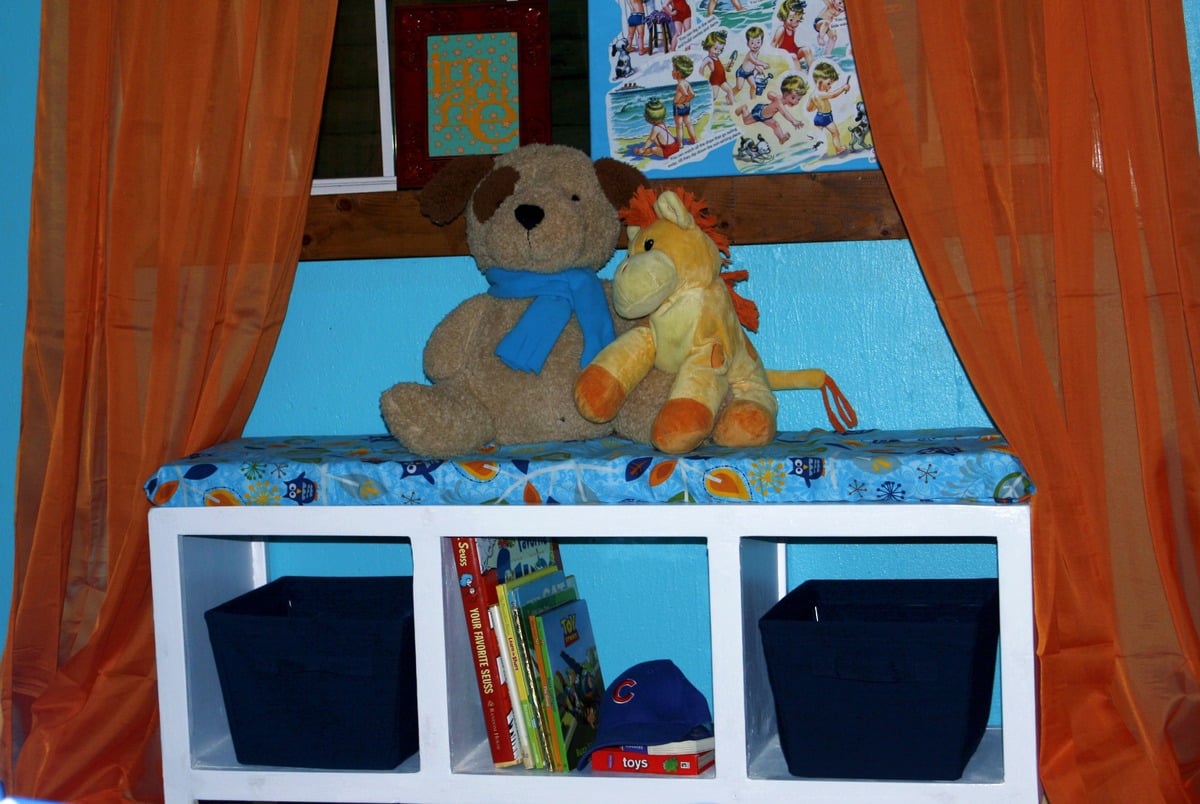
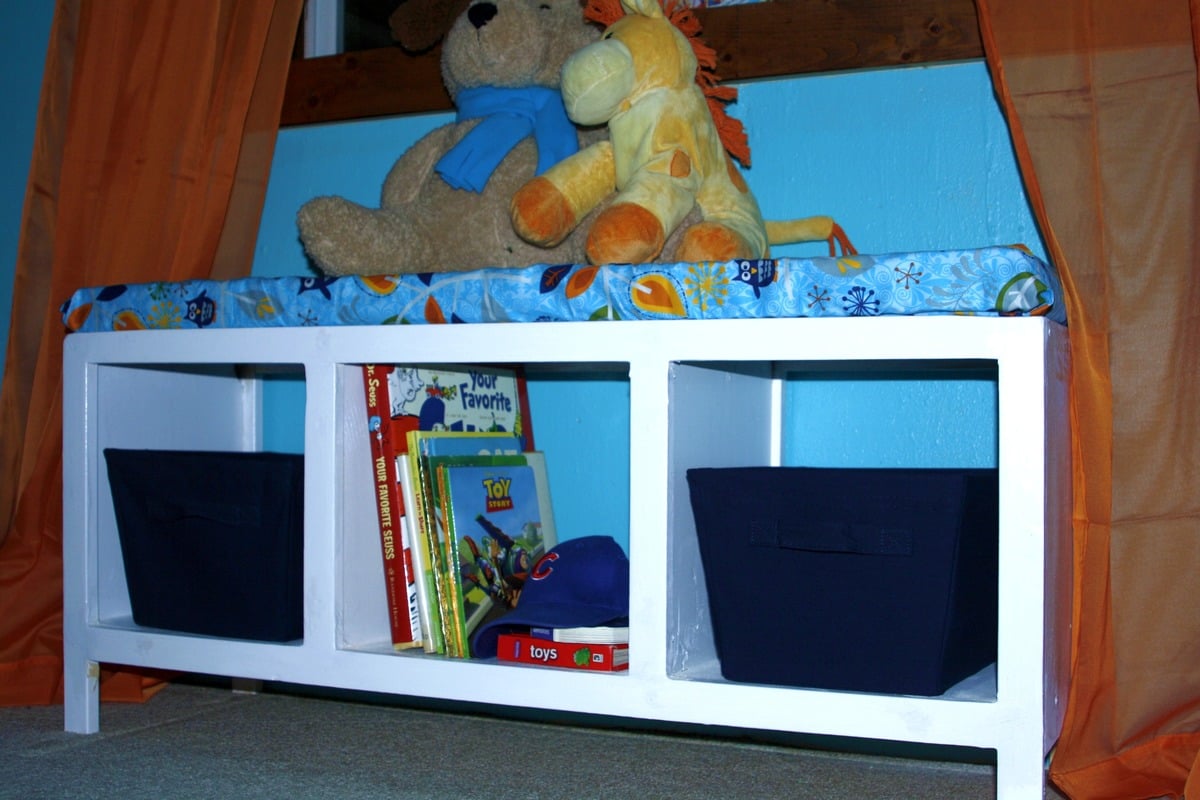
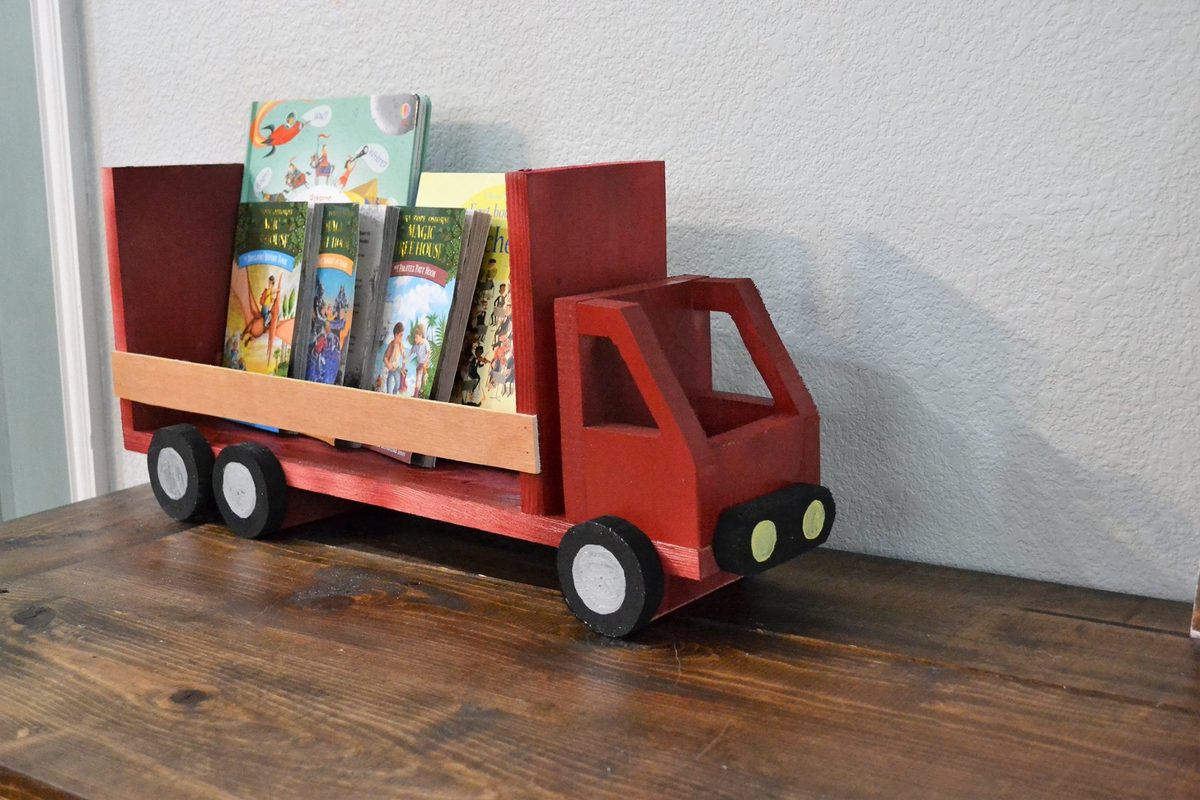
Our new Ladder Shelf!
This is our first piece of
This is our first piece of
Very excited to have our bench, table & doll chair out on our porch. Thank you so much for your great web-site and all of the wonderful plans. I have already put together a very long "weekend projects" list for my husband to work on.
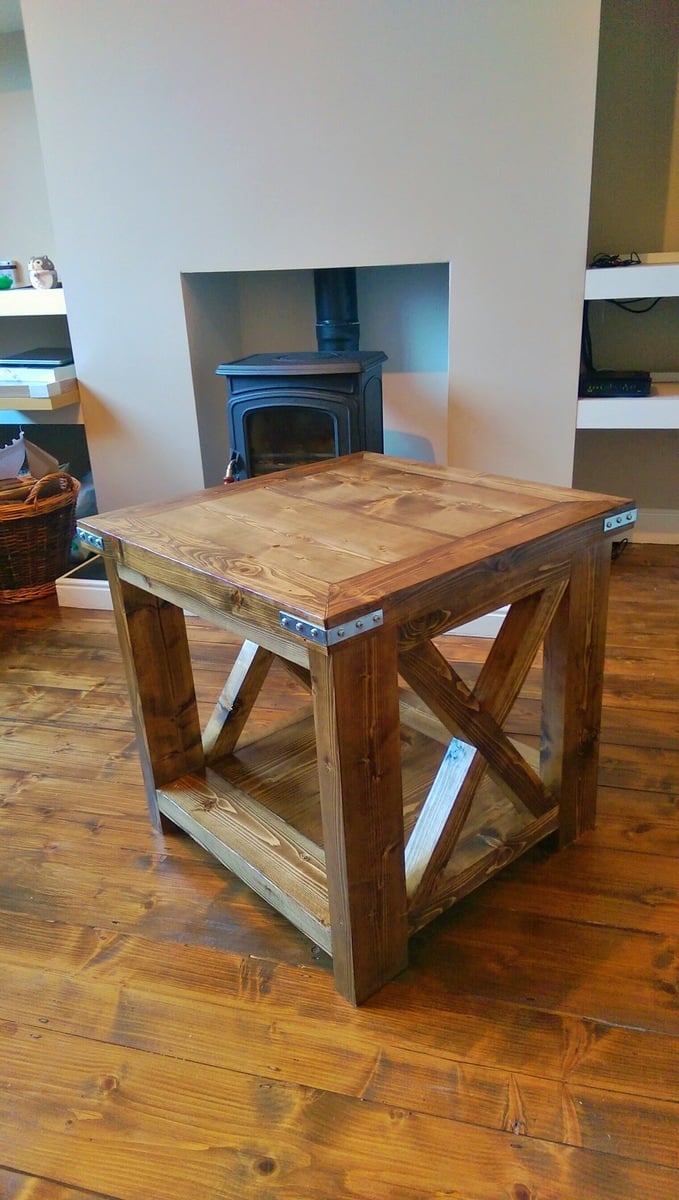
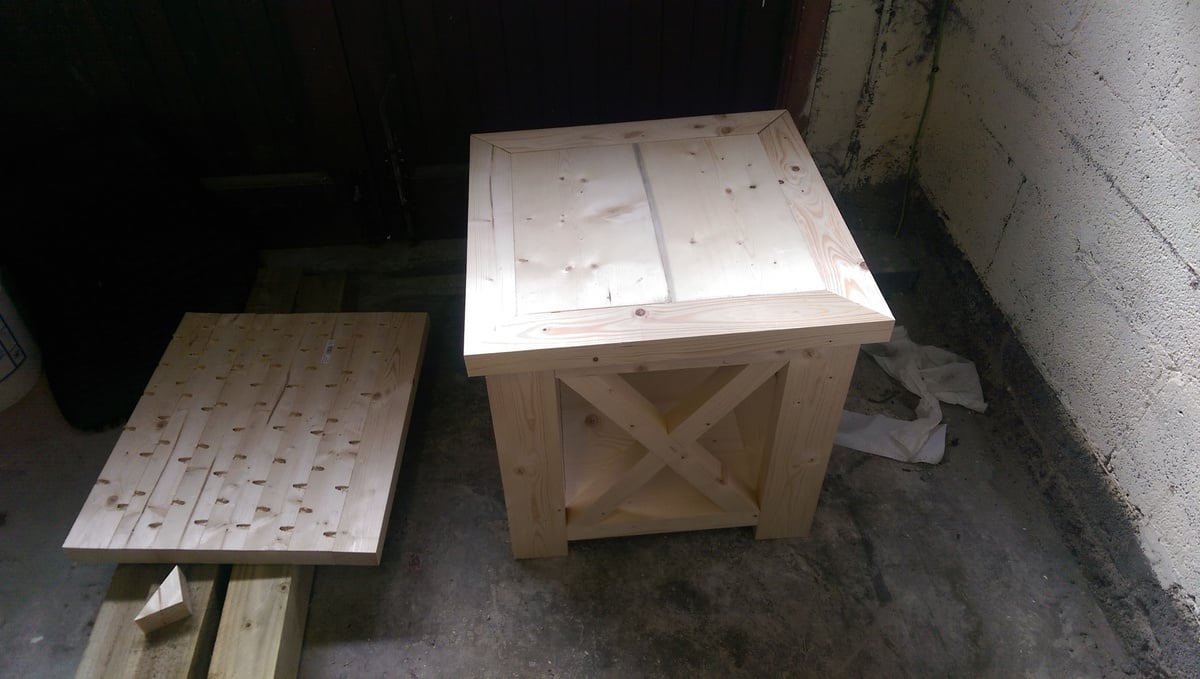
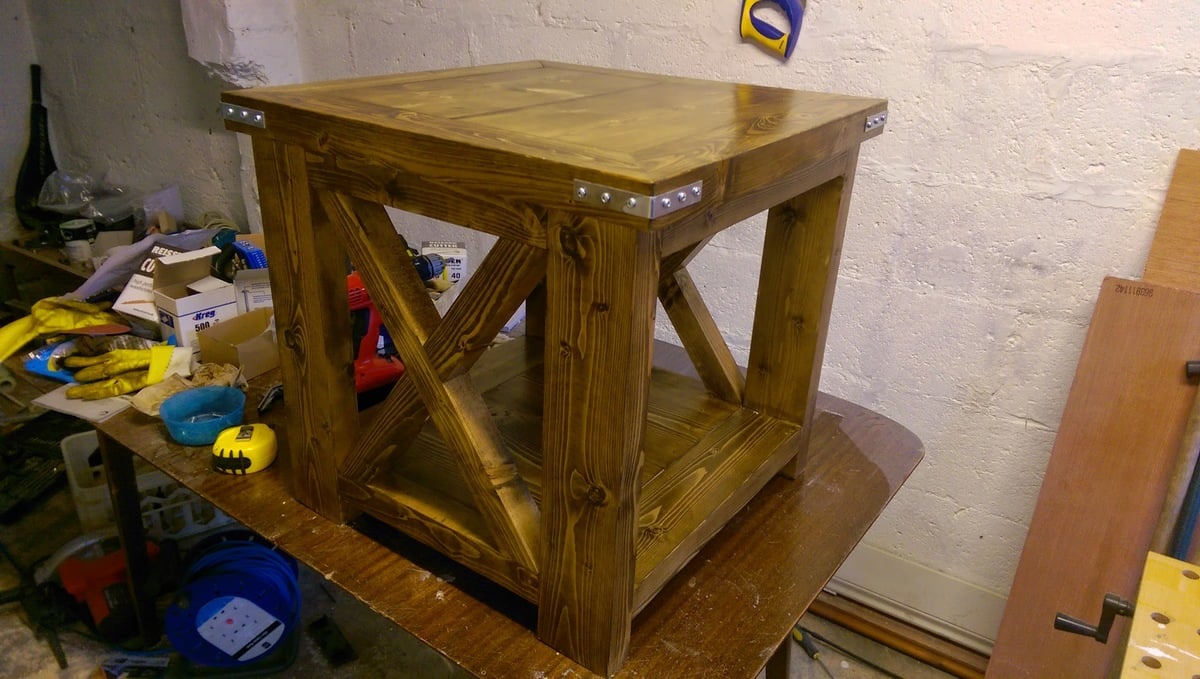
I had to redesign the top because my wood was too narrow and warped to make it as per the plan, and I'm too cheap to go and buy some more. I think it worked out OK. I enjoyed making this piece and I'm trying to develop my accuracy in wood working. My patience for the "finishing" element is improving, but I'm still a Sand-a-phobe.

These plans were perfect for the small space we had for the kitchen table. Really like how the benches fit under the table too.
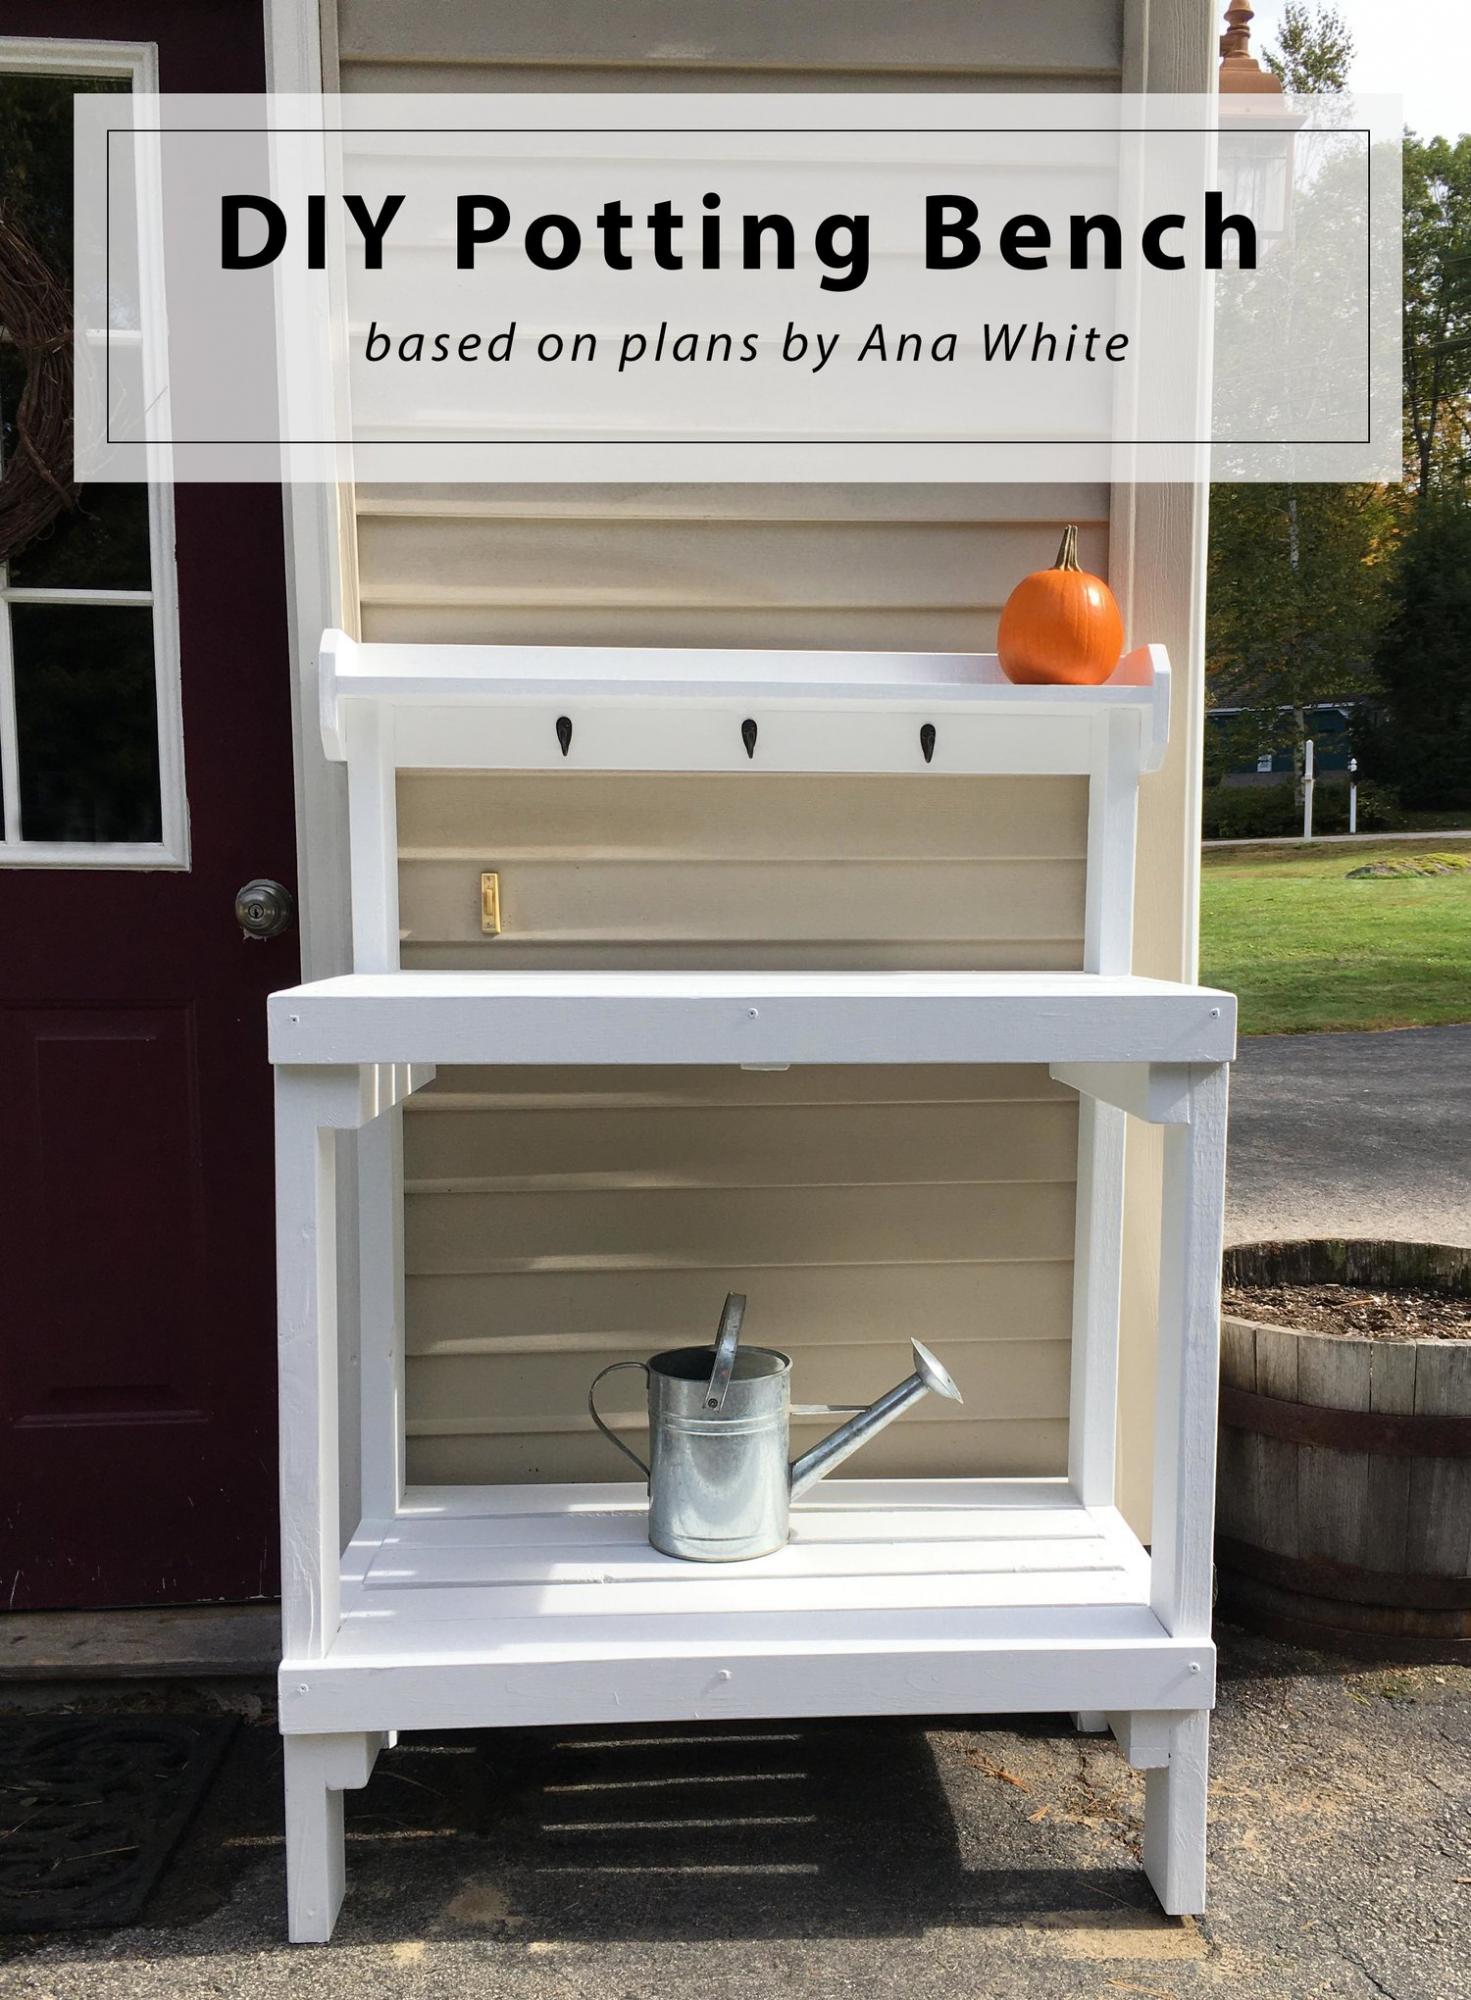
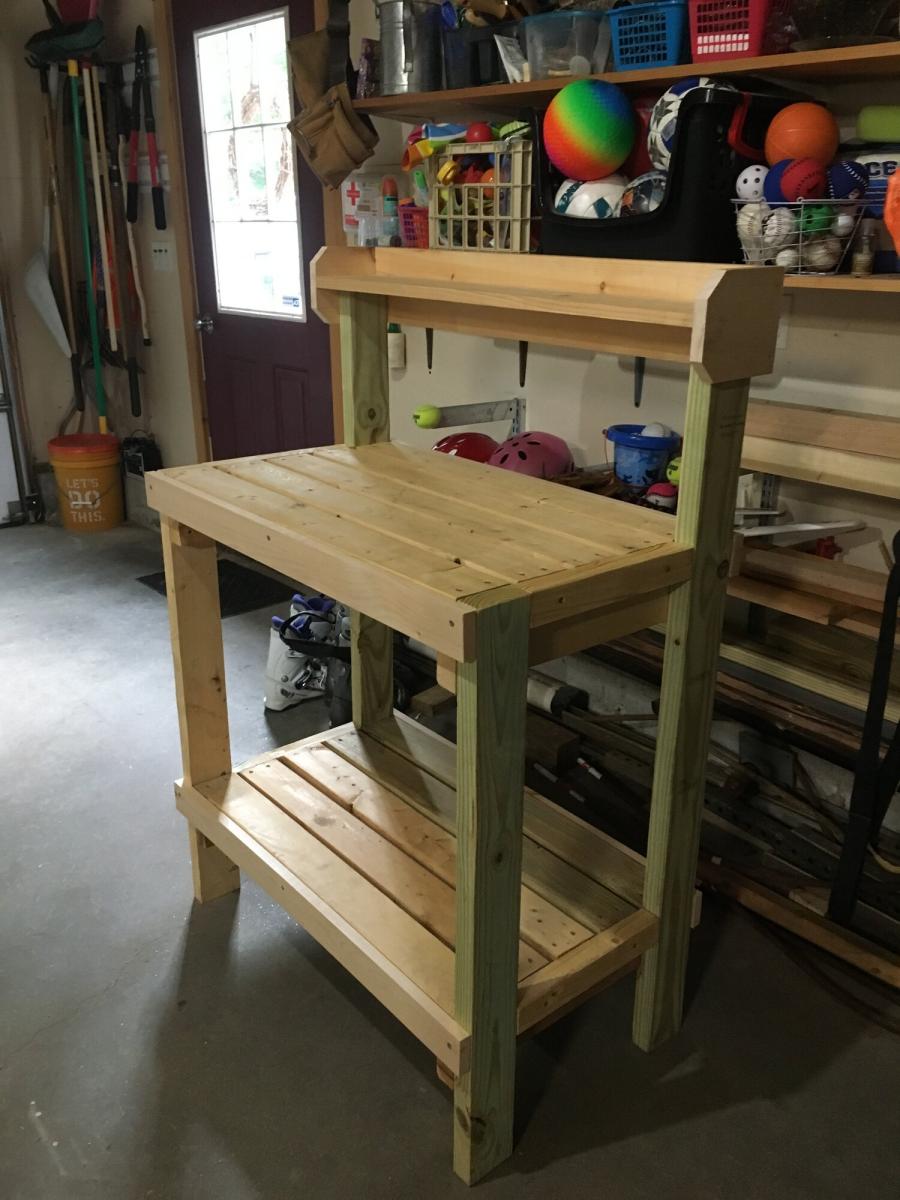
I’ve been wanting a potting bench for a while now - something by the back door to display some decor, use as an outdoor work station, and double as a place for UPS to leave packages. After looking around online and at local stores, I couldn’t find anything that I liked that fit the narrow space - so I did what any #woodworkingmom would do, I decided to build it myself. Please see my blog post for additional photos and lessons learned during this project.

I was dying to try this little picnic table out for my boys. It was such a quick and easy build, though without clamps, I had to enlist my husband's help to hold things for me while I drilled!
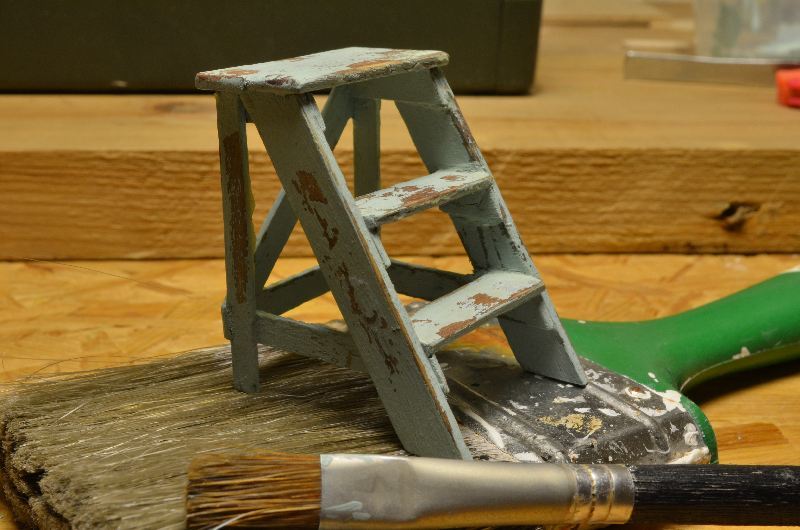
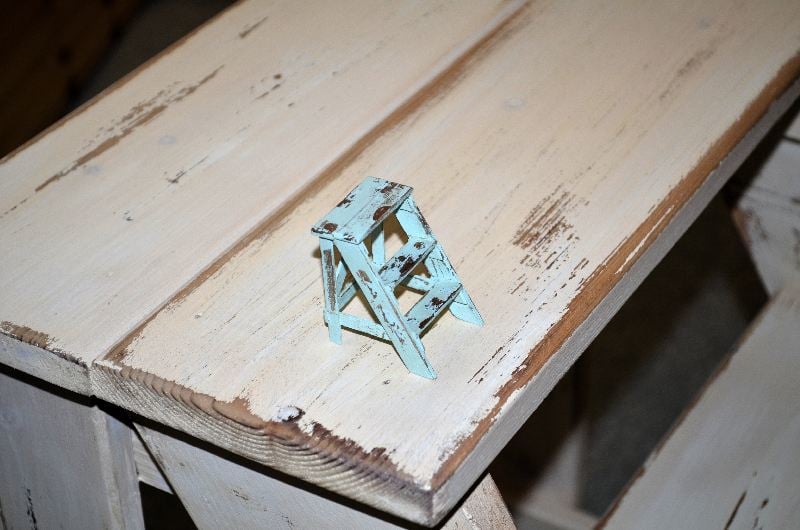
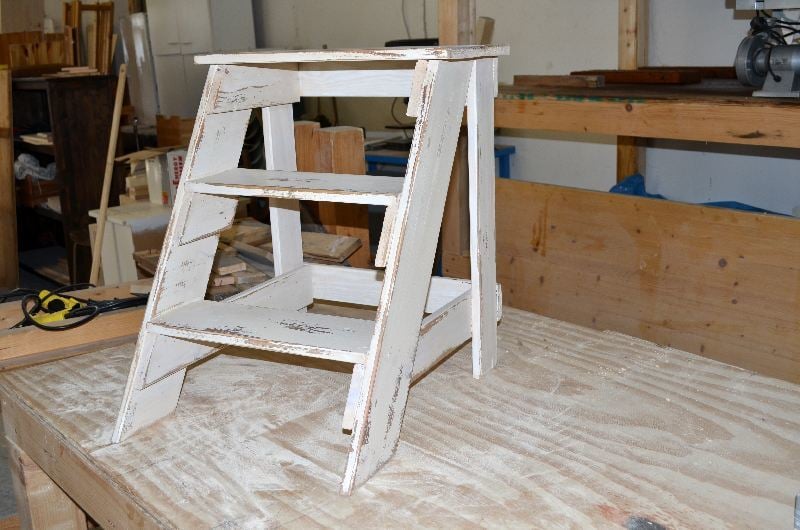
I built this step stool for friend, and a tiny version for my own dolls house. I had expected difficulties with the angled parts, but it went together very easily. I stained both of them with a vinegar/steel wool mix, painted with homemade chalkpaint. At last I sanded them for a distressed look and coated them with brown finishing wax.
Thank You Ana-White for the amazing plans for this beautiful farmhouse queen bed! Not bad for the first try!
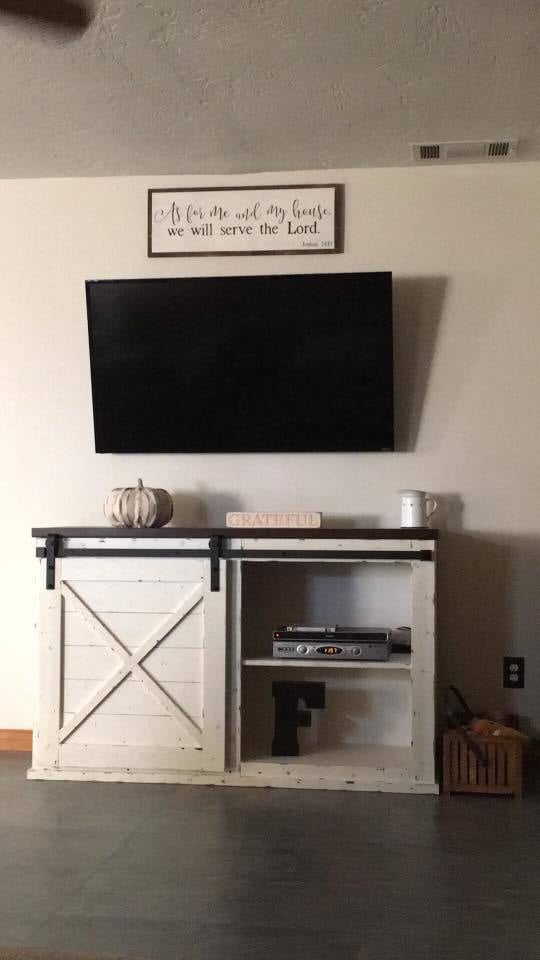
Submitted by Joanna Franke
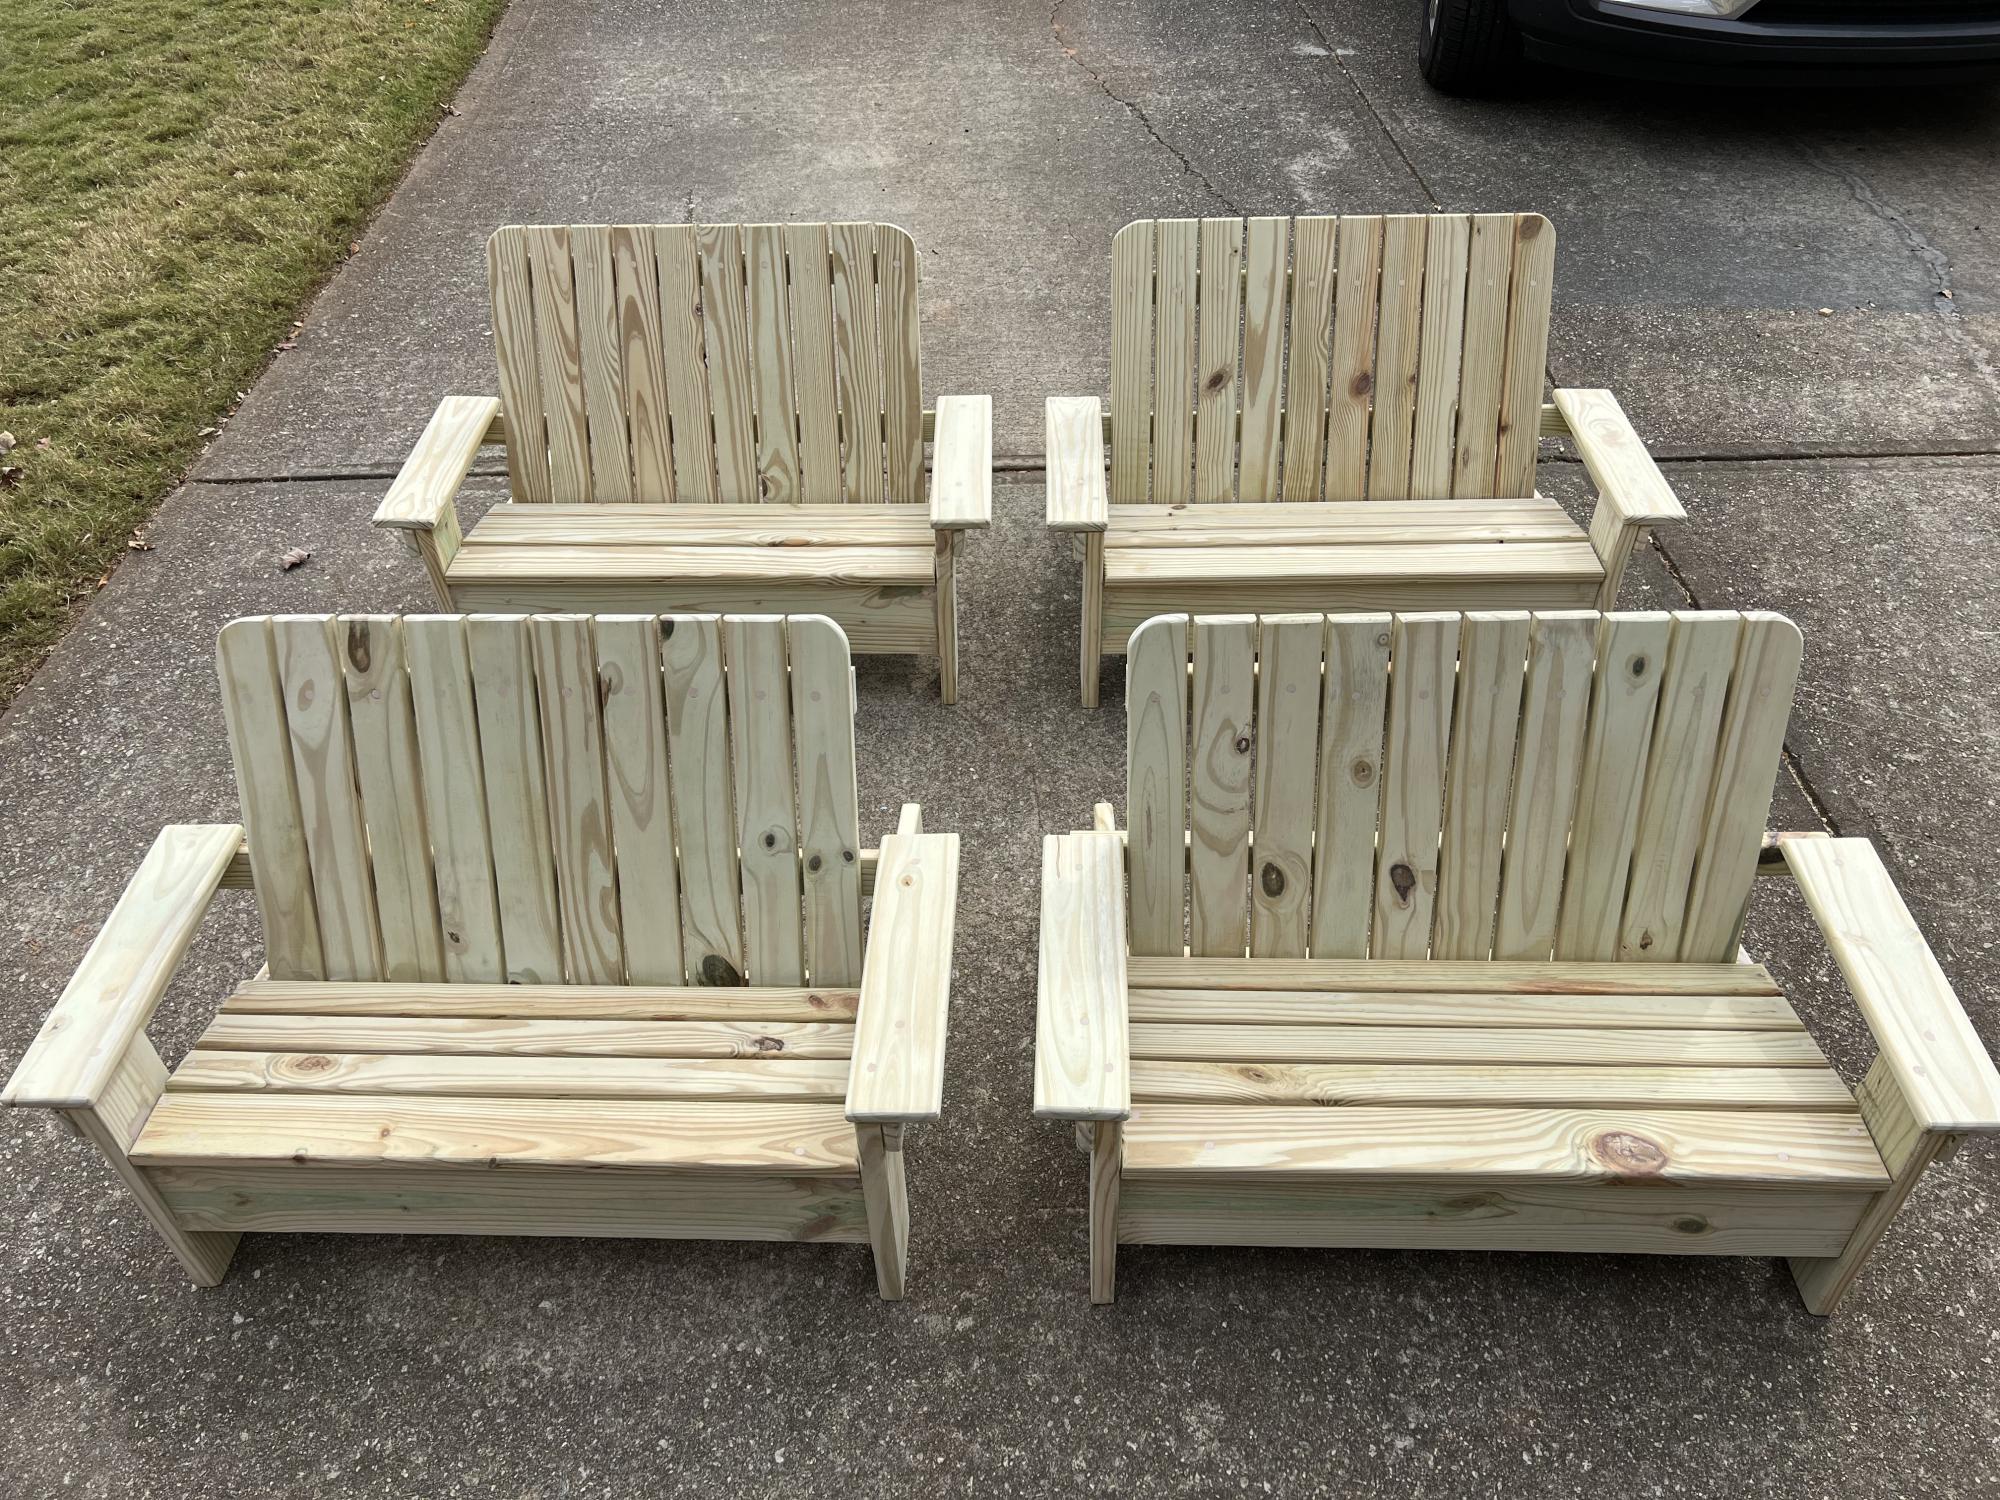
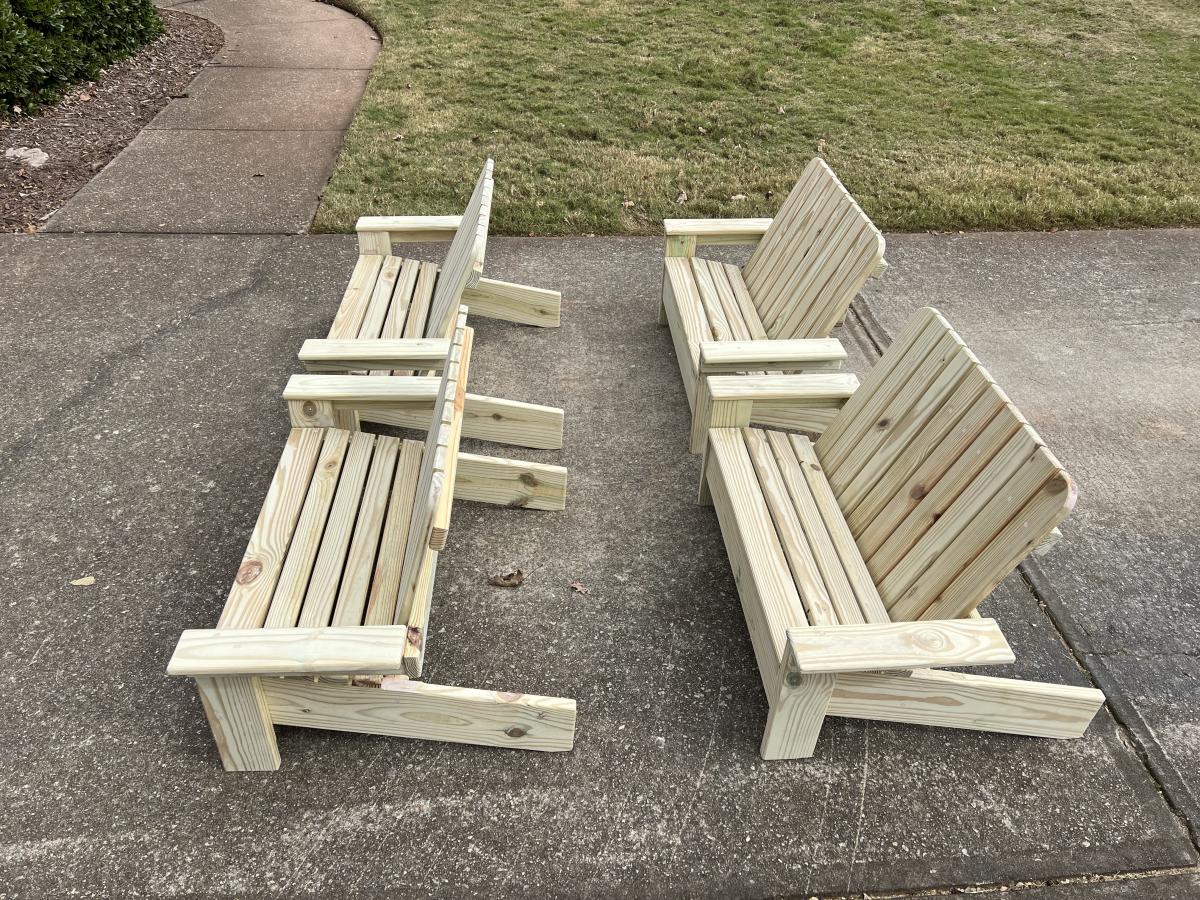
I built these benches for my son’s school. Their current ones were very rotted and falling apart. These will be outside and uncovered so pressure treated stock was used and I filled the screw holes with epoxy.
Sat, 11/06/2021 - 17:44
Those are awesome and look super comfortable, thanks for sharing!
First bench to match the Farm House table I have built. Istill need to finish my table now to match the bench.
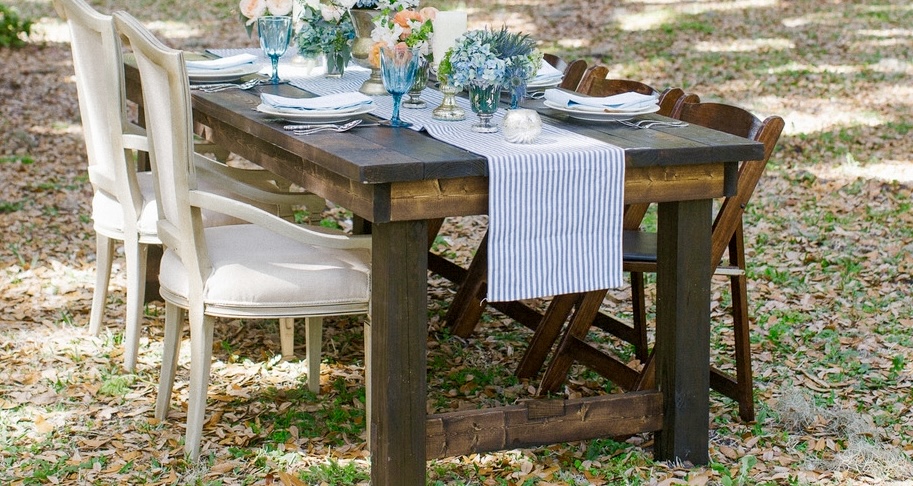
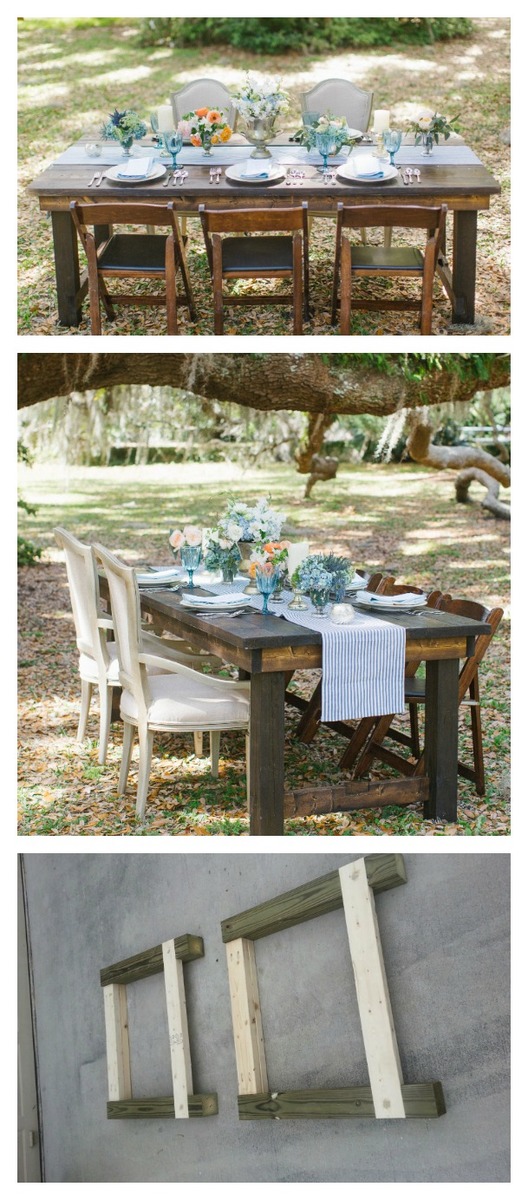
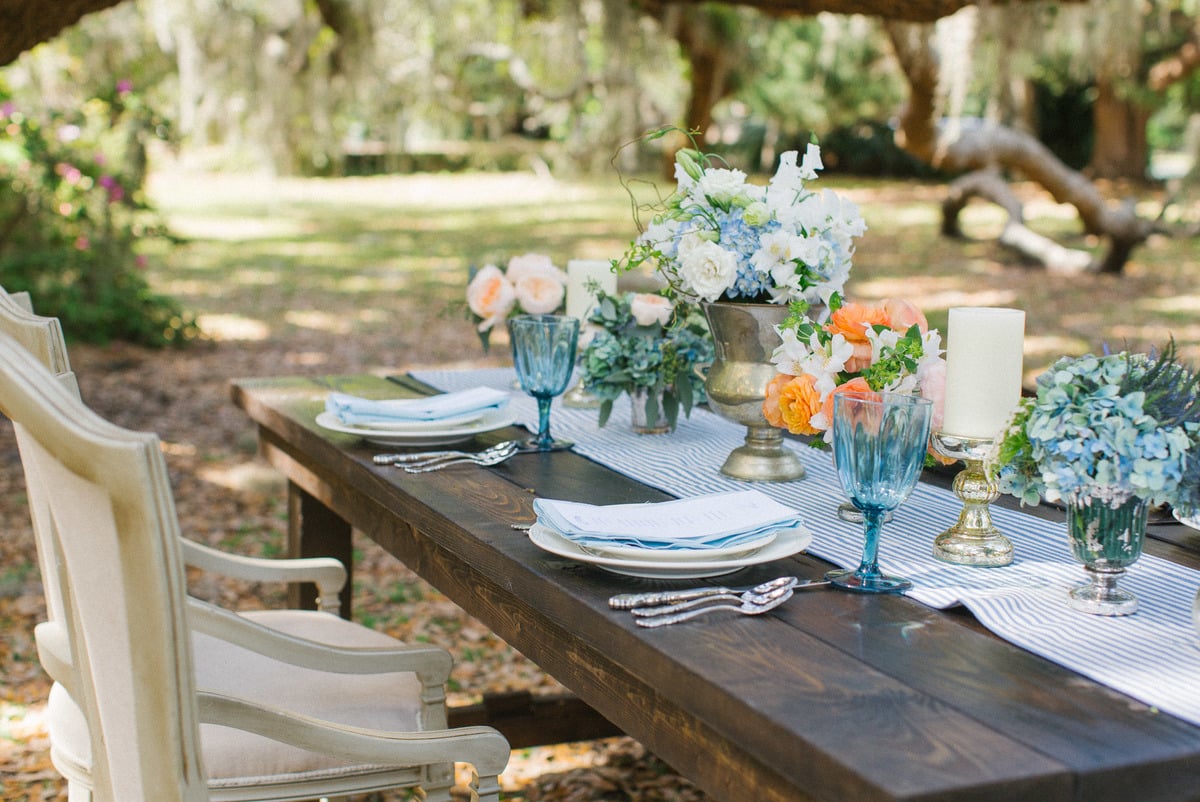
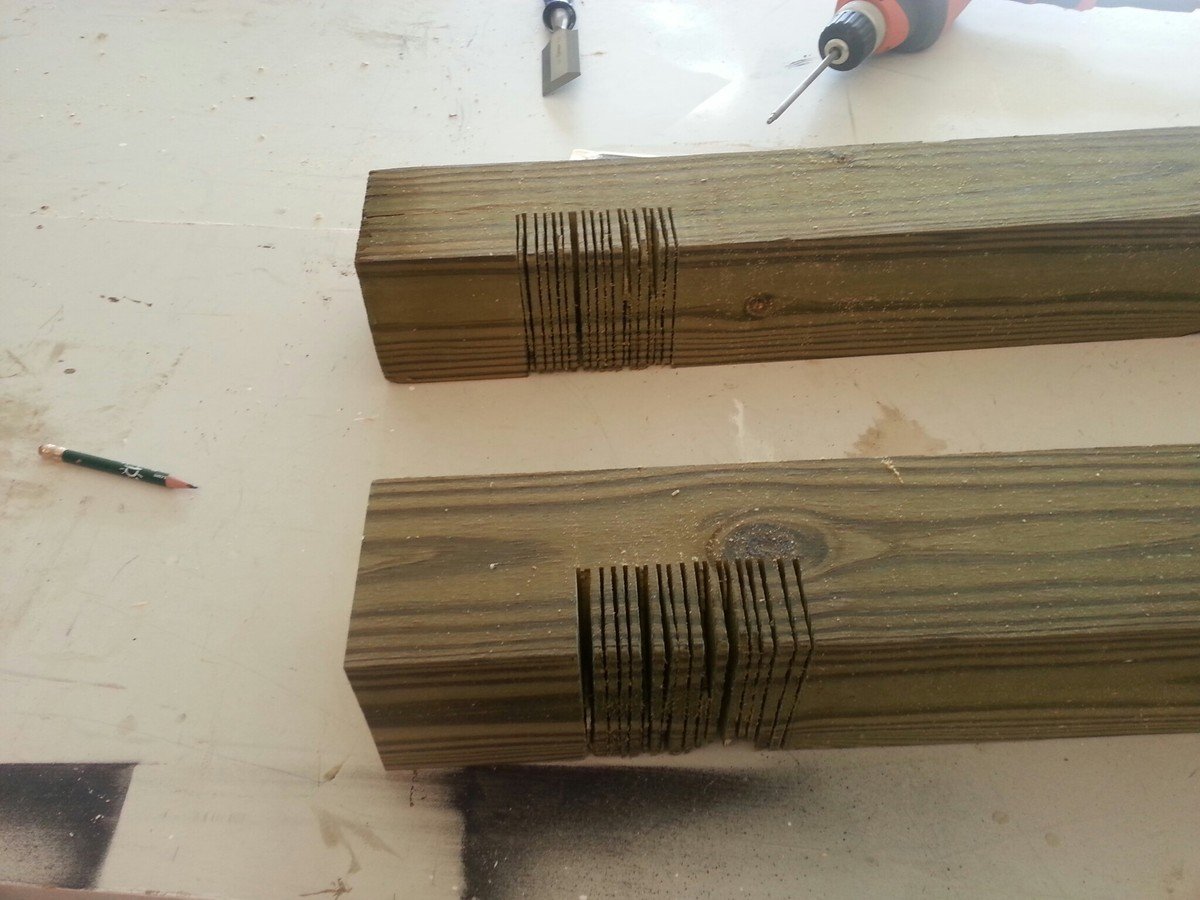
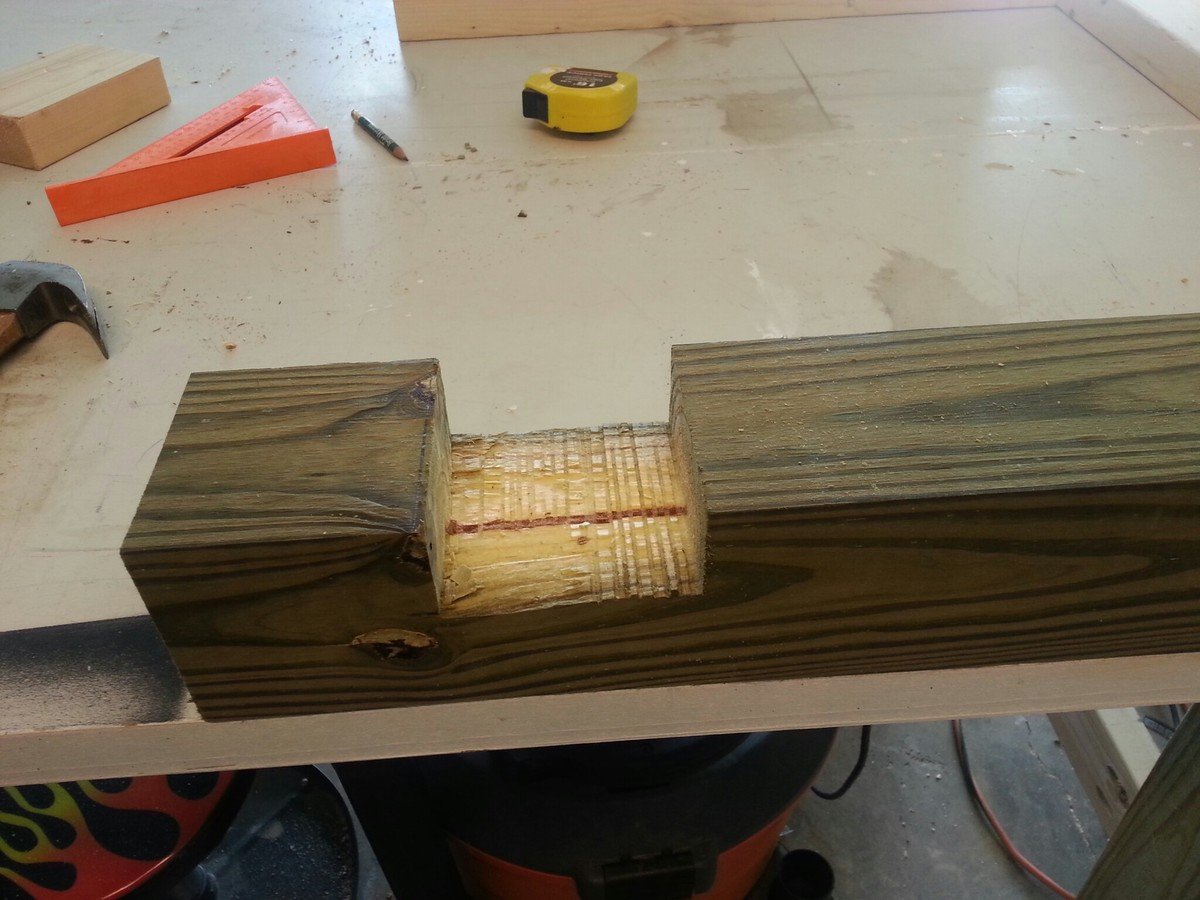
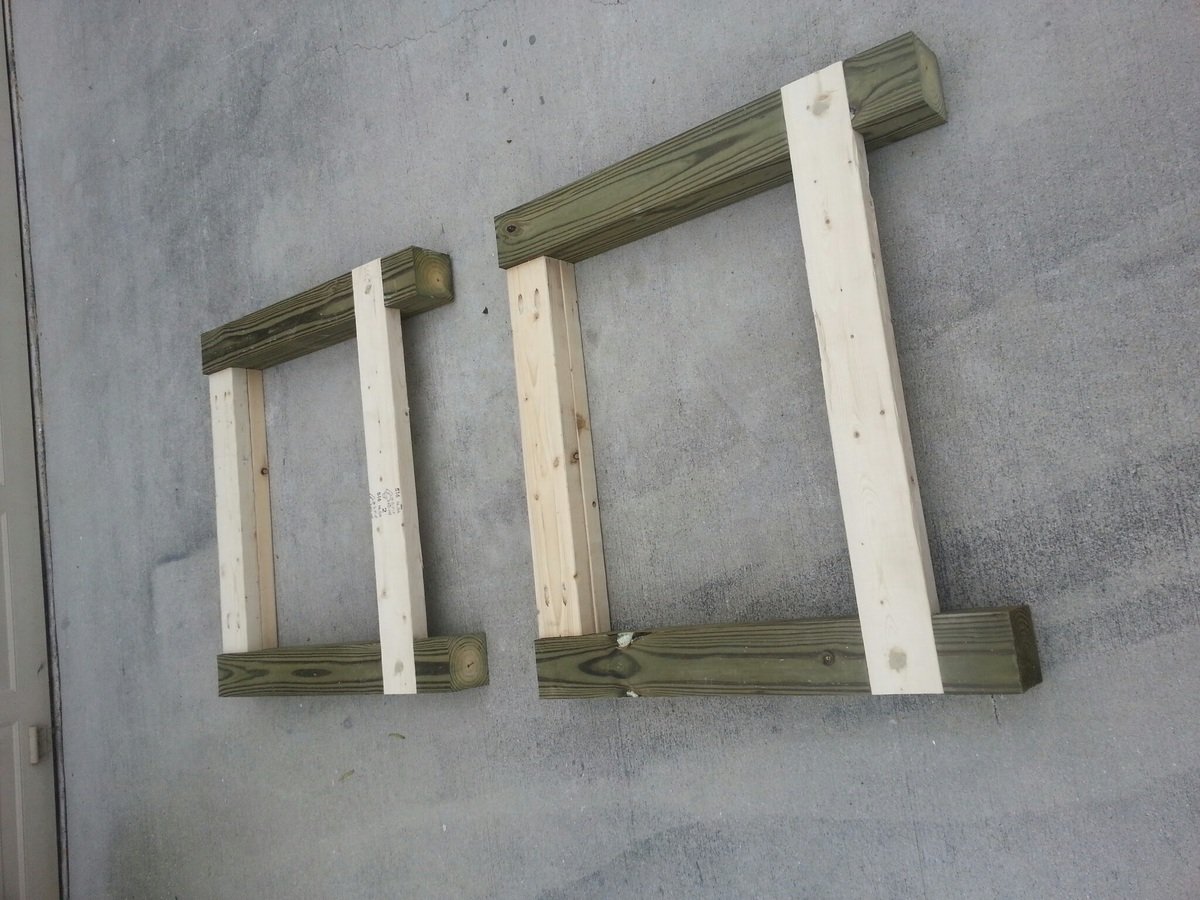
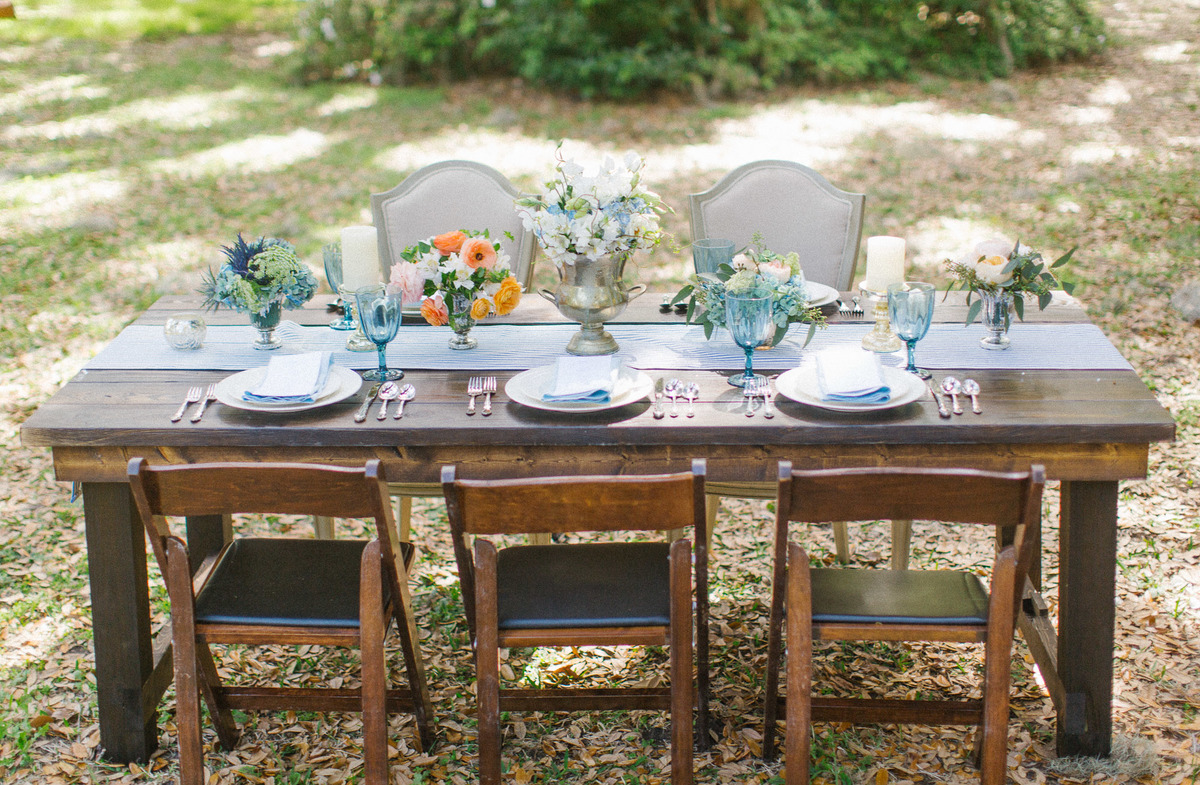
My wife wanted a portable farmhouse style rustic dining table that she could take to photoshoots and other events. I started with a top made with 2x6s and make the legs with 4x4s and the rest with 2x4s. Stain is dark walnut with a clear coat on top.
The legs are attached with door hinges and can fold into the top for more portable use. There is also a board that can be inserted in the bottom slots so that when in use the legs can not fold in.
So far the rustic dining table is working out great, although this table is VERY HEAVY and needs 2-3 strong people to carry it around. I have also made a lighter version using 1x6 tops and all 2x4 frame and legs.
Photos courtesy of Jennifer Blair Photography Designed by Amber Veatch Designs
Wed, 06/12/2013 - 04:15
Oh I really hope that you are able to put these modified plans up!!! A foldable farmhouse table.... what will they think of next!
Sat, 10/22/2016 - 12:25
Stunningly beautiful! Thank you for sharing and inspiring!
Sat, 10/22/2016 - 17:21
I cannot find the plans for the tiny house drawers any where. Can someone please point me in the right direction. Thank you!
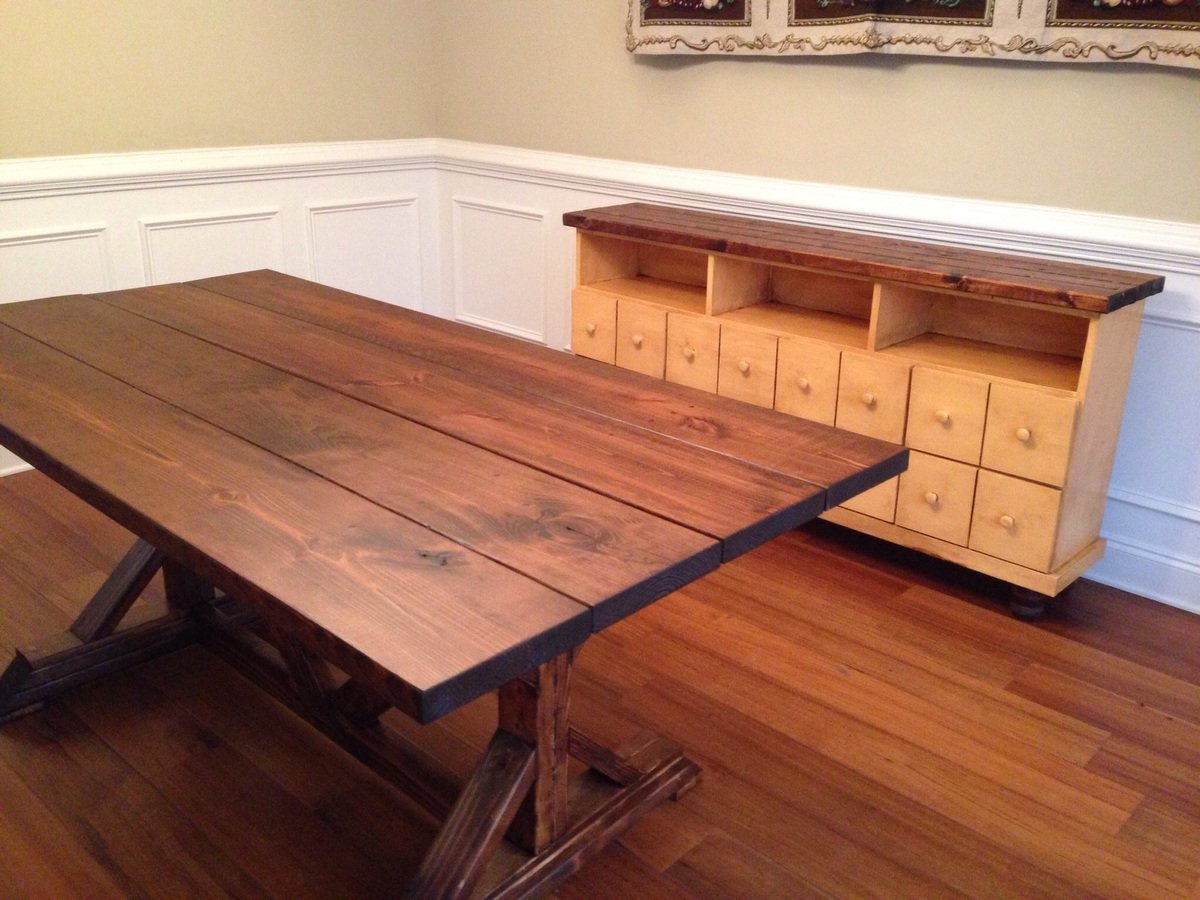
Built for my sister. Because she liked mine so much :) I also built her an apothecary console to use as a side board in the dining room
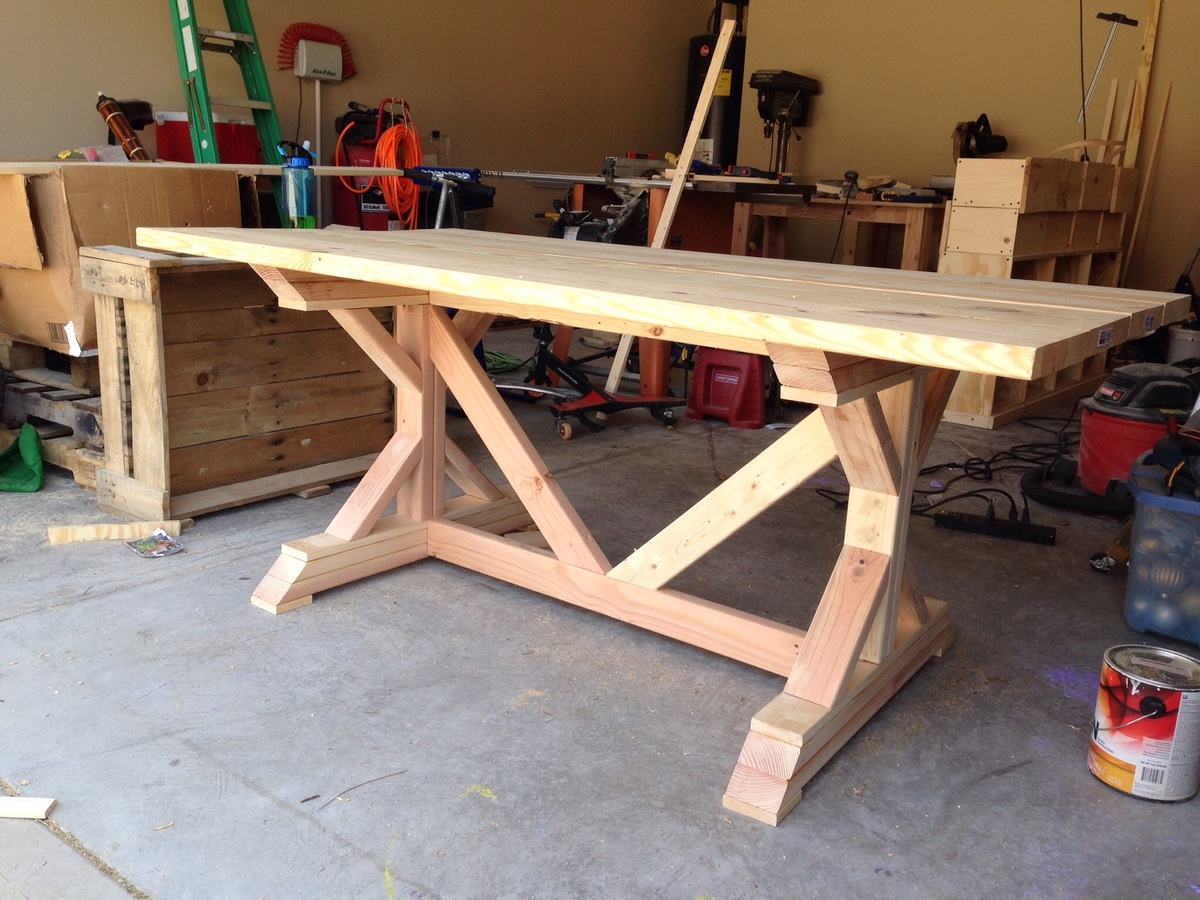
very easy
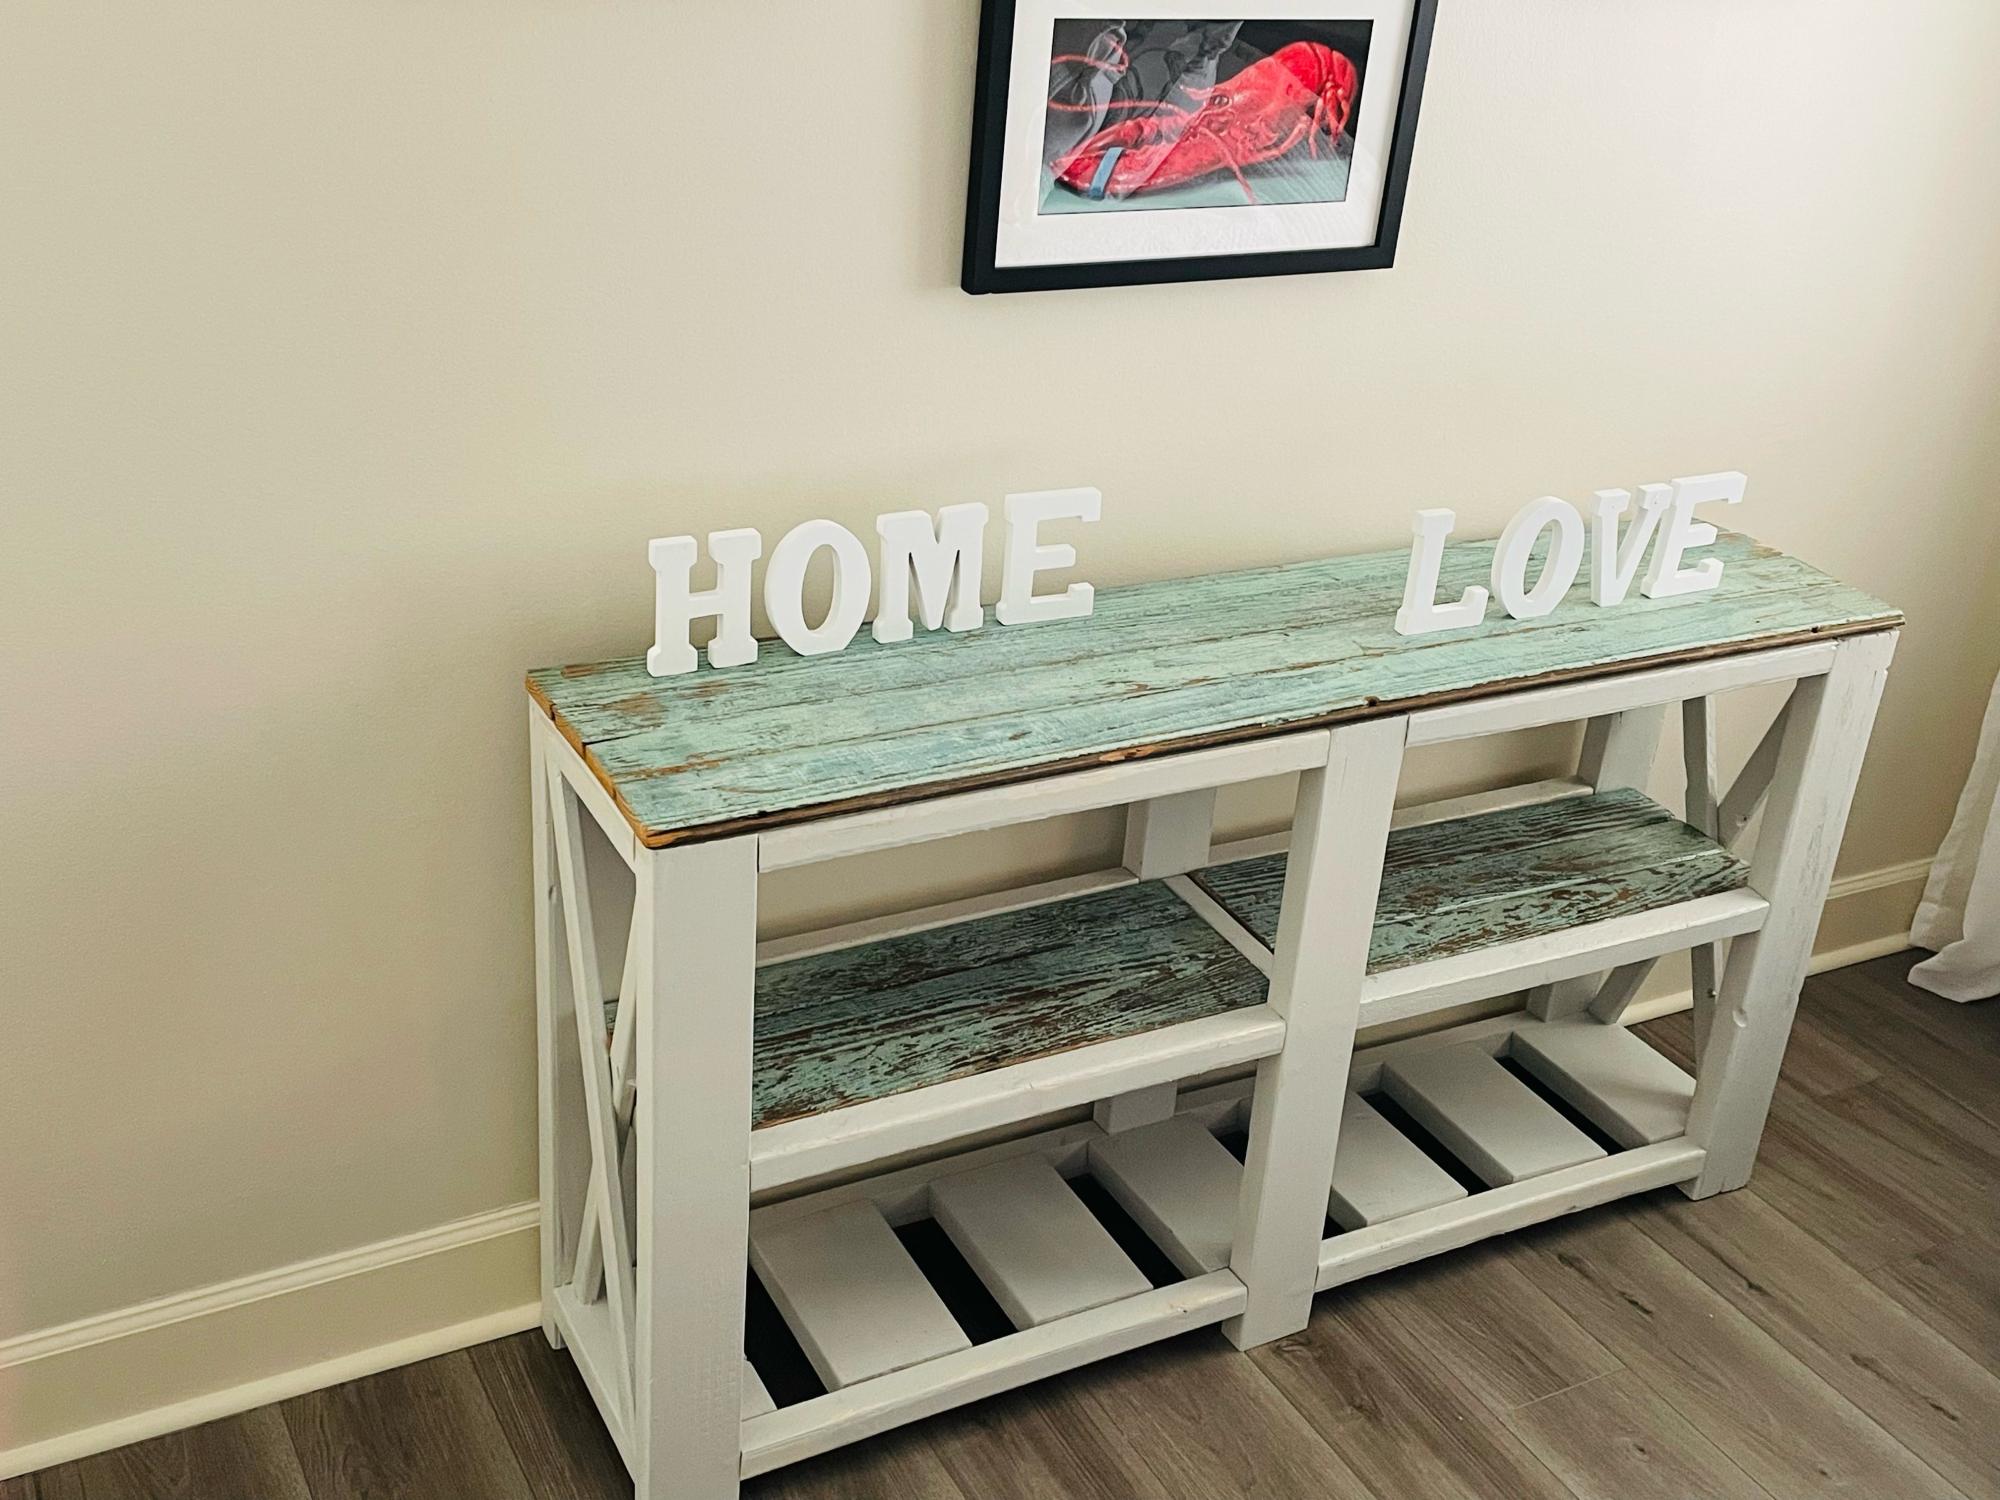
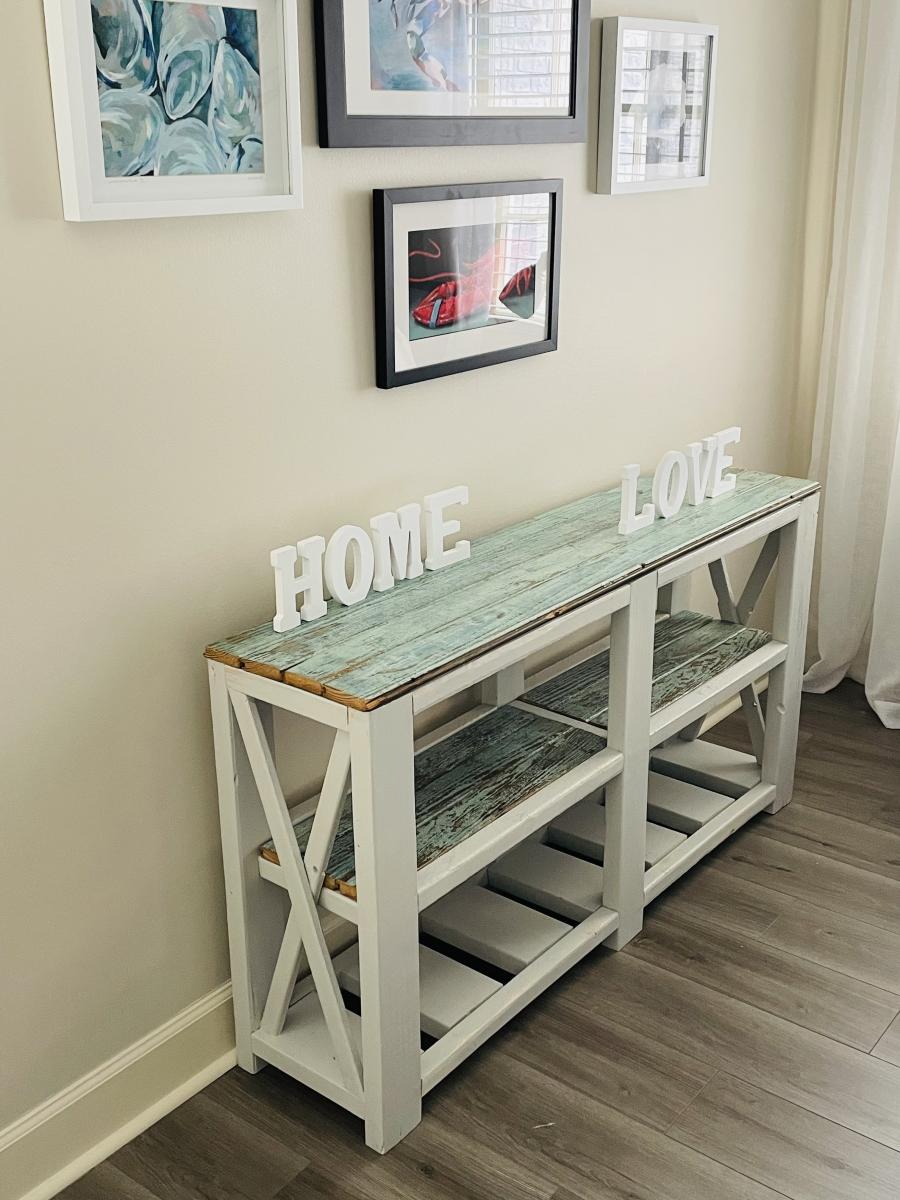
My husband and I just recently moved to Savannah from Annapolis.
I got my hands on some beautiful wood from an old house in Savannah. The console table for the bedroom came to mind immediately. Great project, thank you for the plans, Ana!
Here is our take on the Ana White "Modern Craft Table". My wife wanted to use this as a sewing table. I used my Kreg Pocket Jig for most all connections, minus the moulding. The unit was built out of 3/4 MDF. The table top is from IKEA.
Mine is built a little different in that the shelves are continuous, not compartments. I also added in shelving on the back for more storage.
I also ran the router along all the edges.


Mon, 08/05/2013 - 06:45
Very nice for sewing - and love how you added shelves to the back.
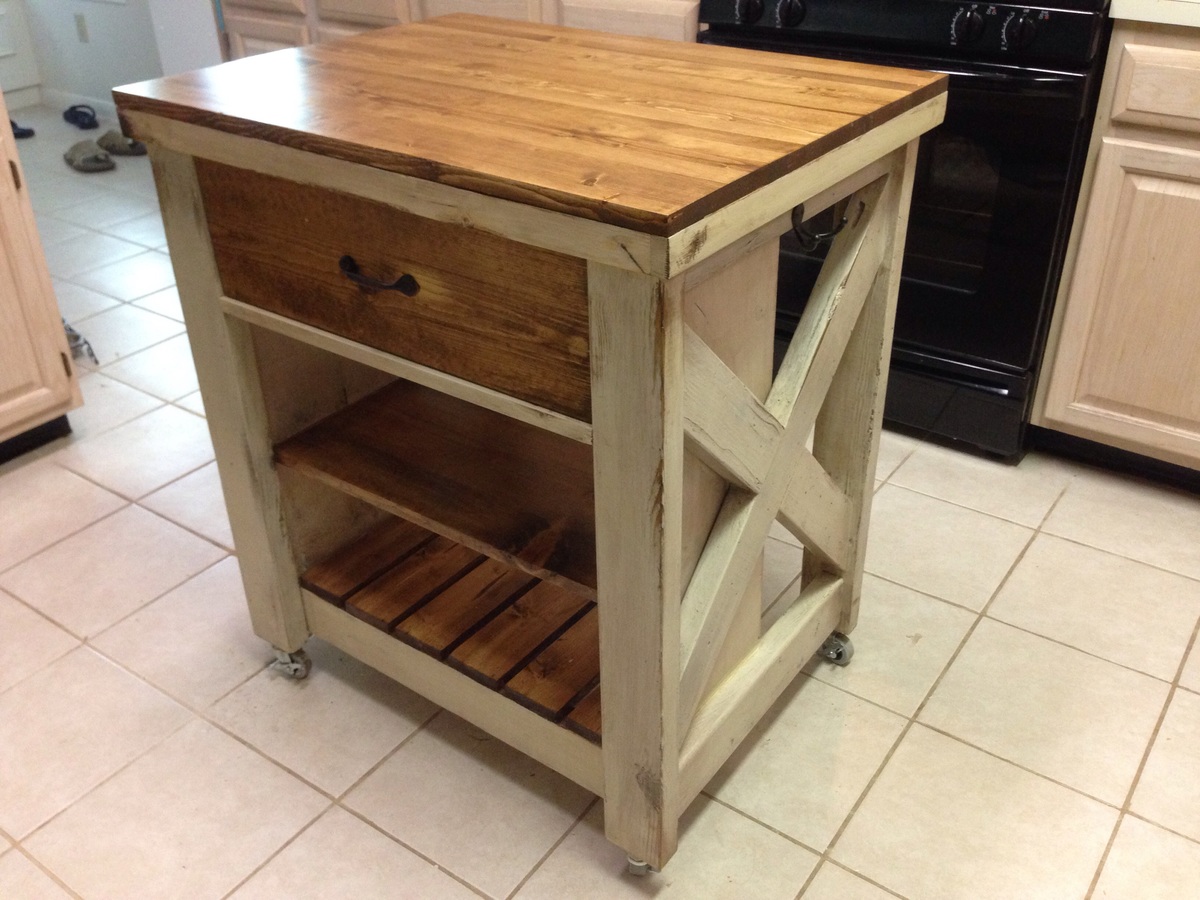
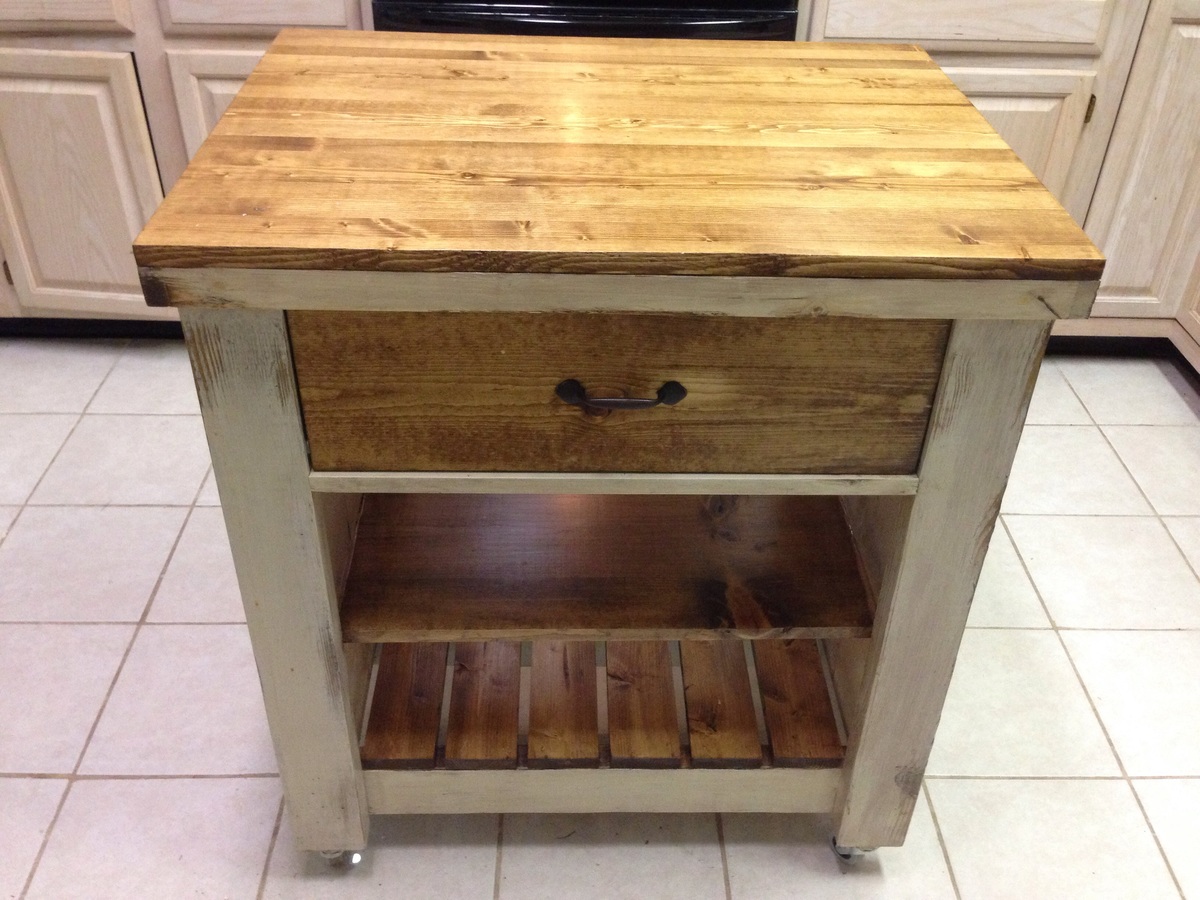
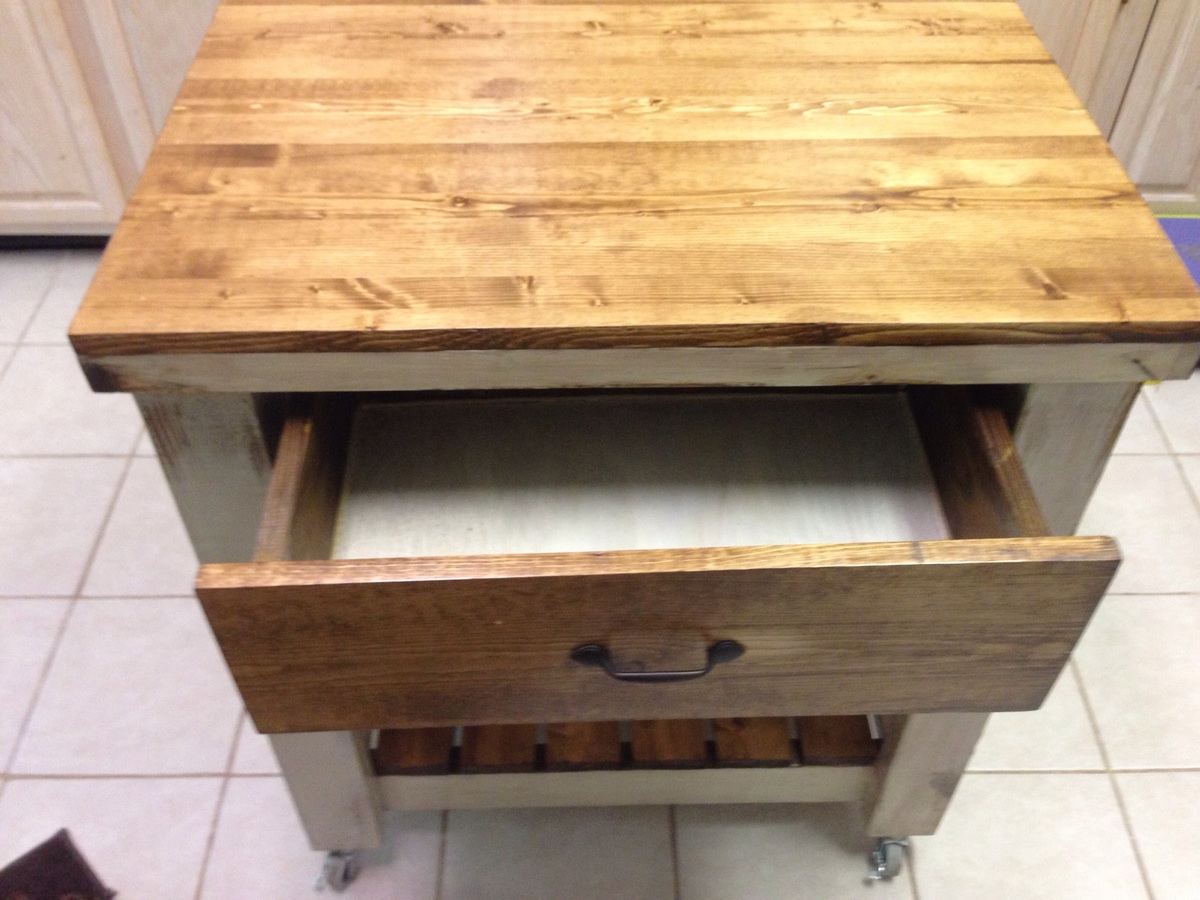
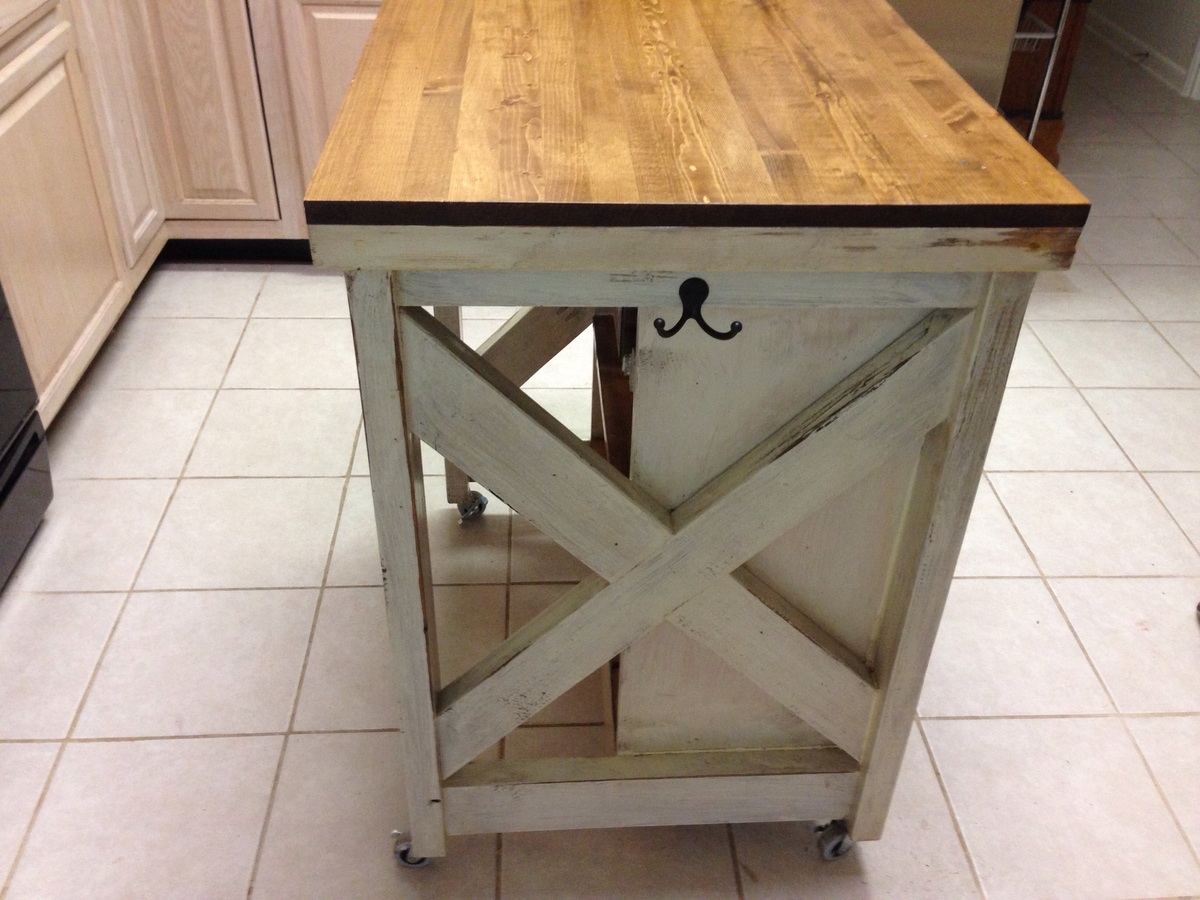
This kitchen island should be your next project. My wife wanted me to build an island for so long, but I never thought I had the skill to get it done. I can truly say this was only my second woodworking project and it was pretty simple. I learned a lot along the way and made a modification to the drawer rails. The key to my success was the Kreg jig. In the end it was a blast to build and I couldn't have done it without Ana's plans.
The rolling kitchen island is the central point of the kitchen now, even though we have 75'sf counter space to use. It seems to be used by everyone in the family whether it's getting something out of the fridge or using it for serving. Well worth the effort..
MODIFICATIONS: I made two small modifications to the project.
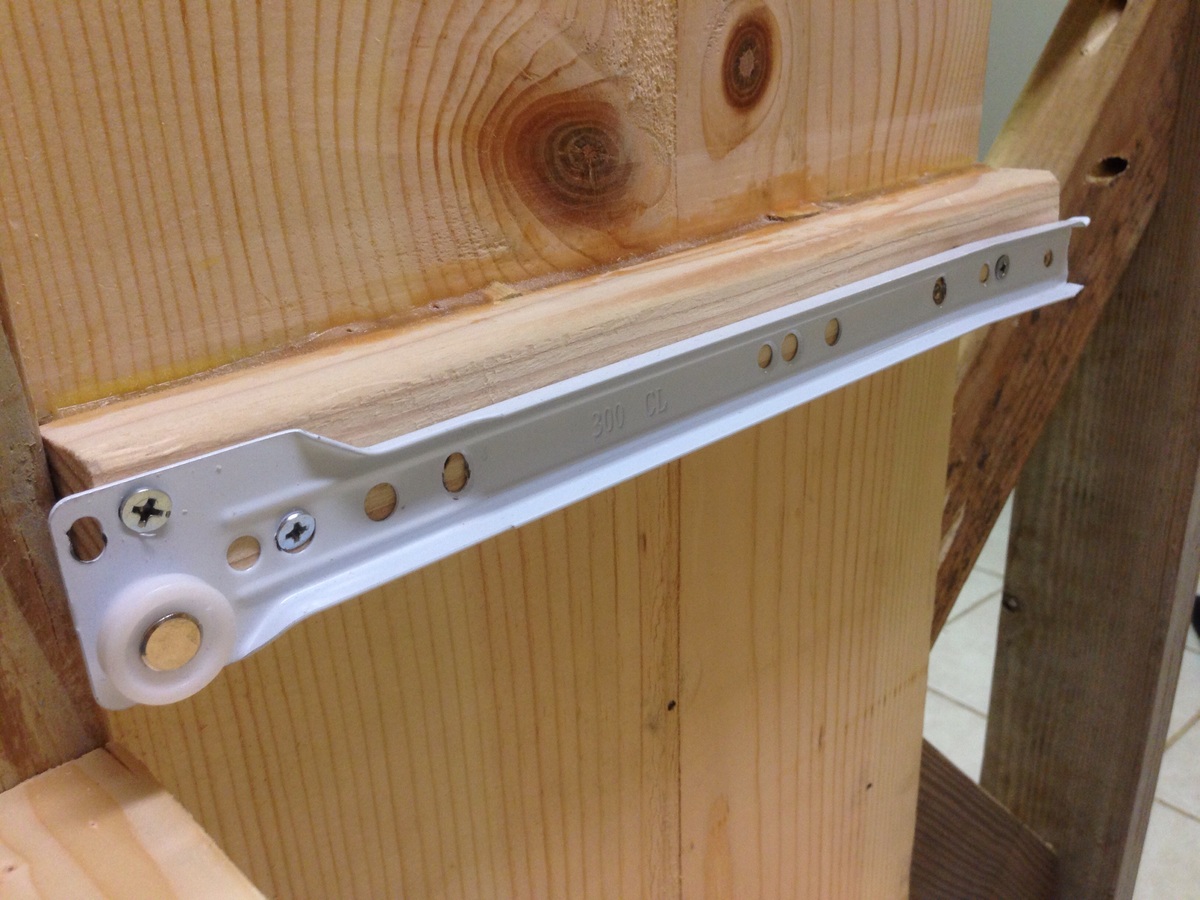
One was the casters. Instead of the plate casters I installed threaded stem casters with a T-nut in the bottom of the legs. The casters are adjustable so it's easy to keep level. The second mod was the drawers. I initially built the drawer with wood rails, but was not happy with the drawer falling to floor, if you pulled it out to far. Living in a humid climate, I could see the original rails swelling and then the drawer would be hard to operate. My solution was to add metal rolling sliders. I had to remove the 2 x 2's on inner cabinet and the 1 x 2s on the drawer itself. I added 1 x 2s on the inner cabinet, mounted 12" metal sliders ($5)) on the 1 x 2s and screwed the other half of slider on bottom of drawer. It may require a small shim behind sliders to make it fit perfect though. I provided photos of this mod. My drawer works perfect now. There is no dragging, no falling out and no wear.
Shared on Facebook by Jenna Schultz
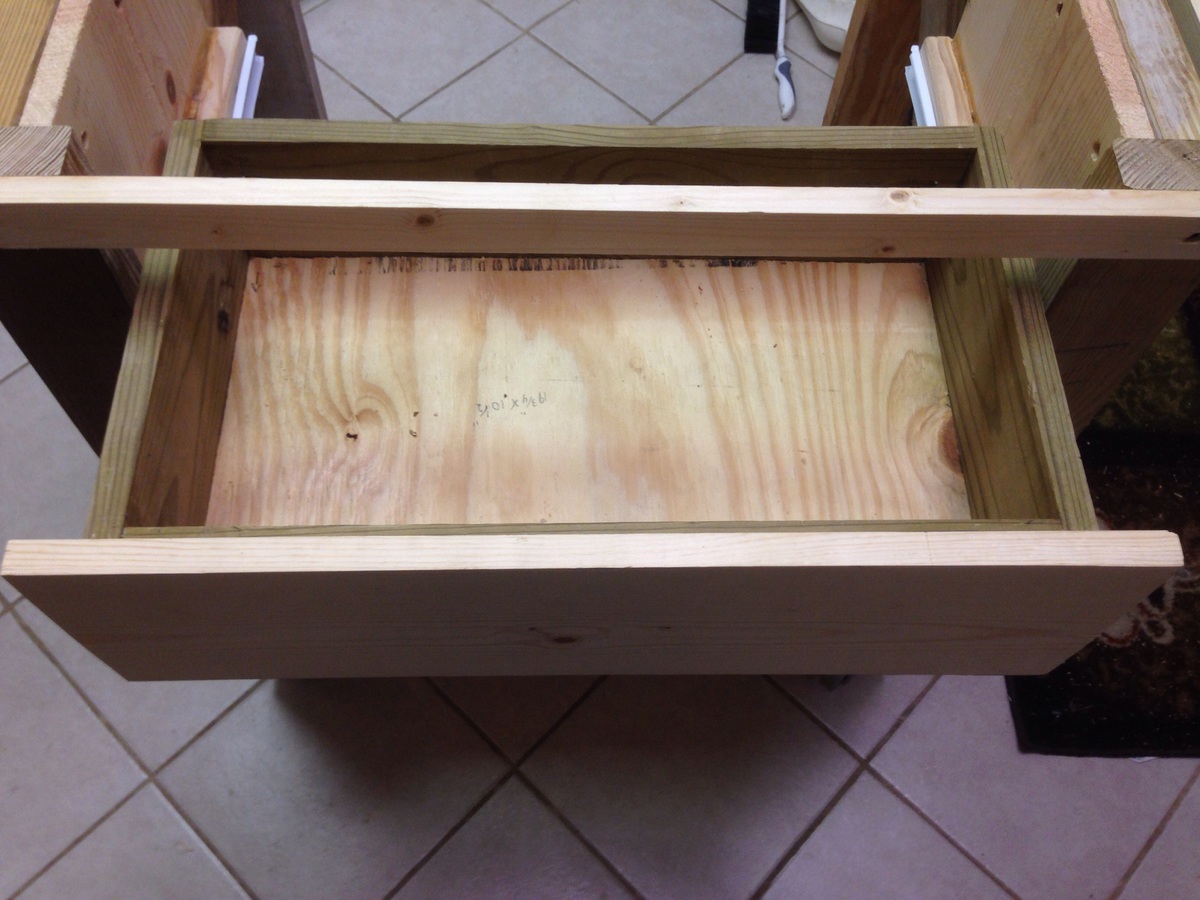
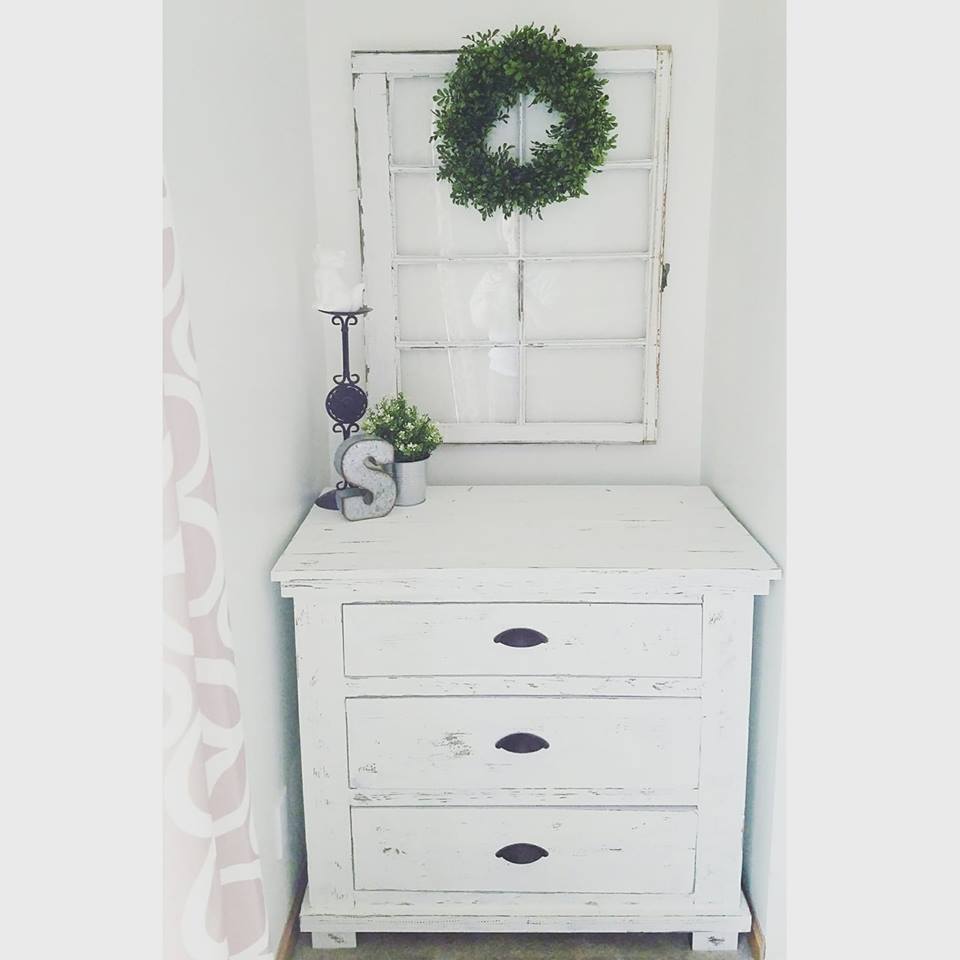
My husband built your Rustic bathroom vanities into 3 drawer dressers to hide our children's toys on each side of the fireplace. They turned out amazing!!!
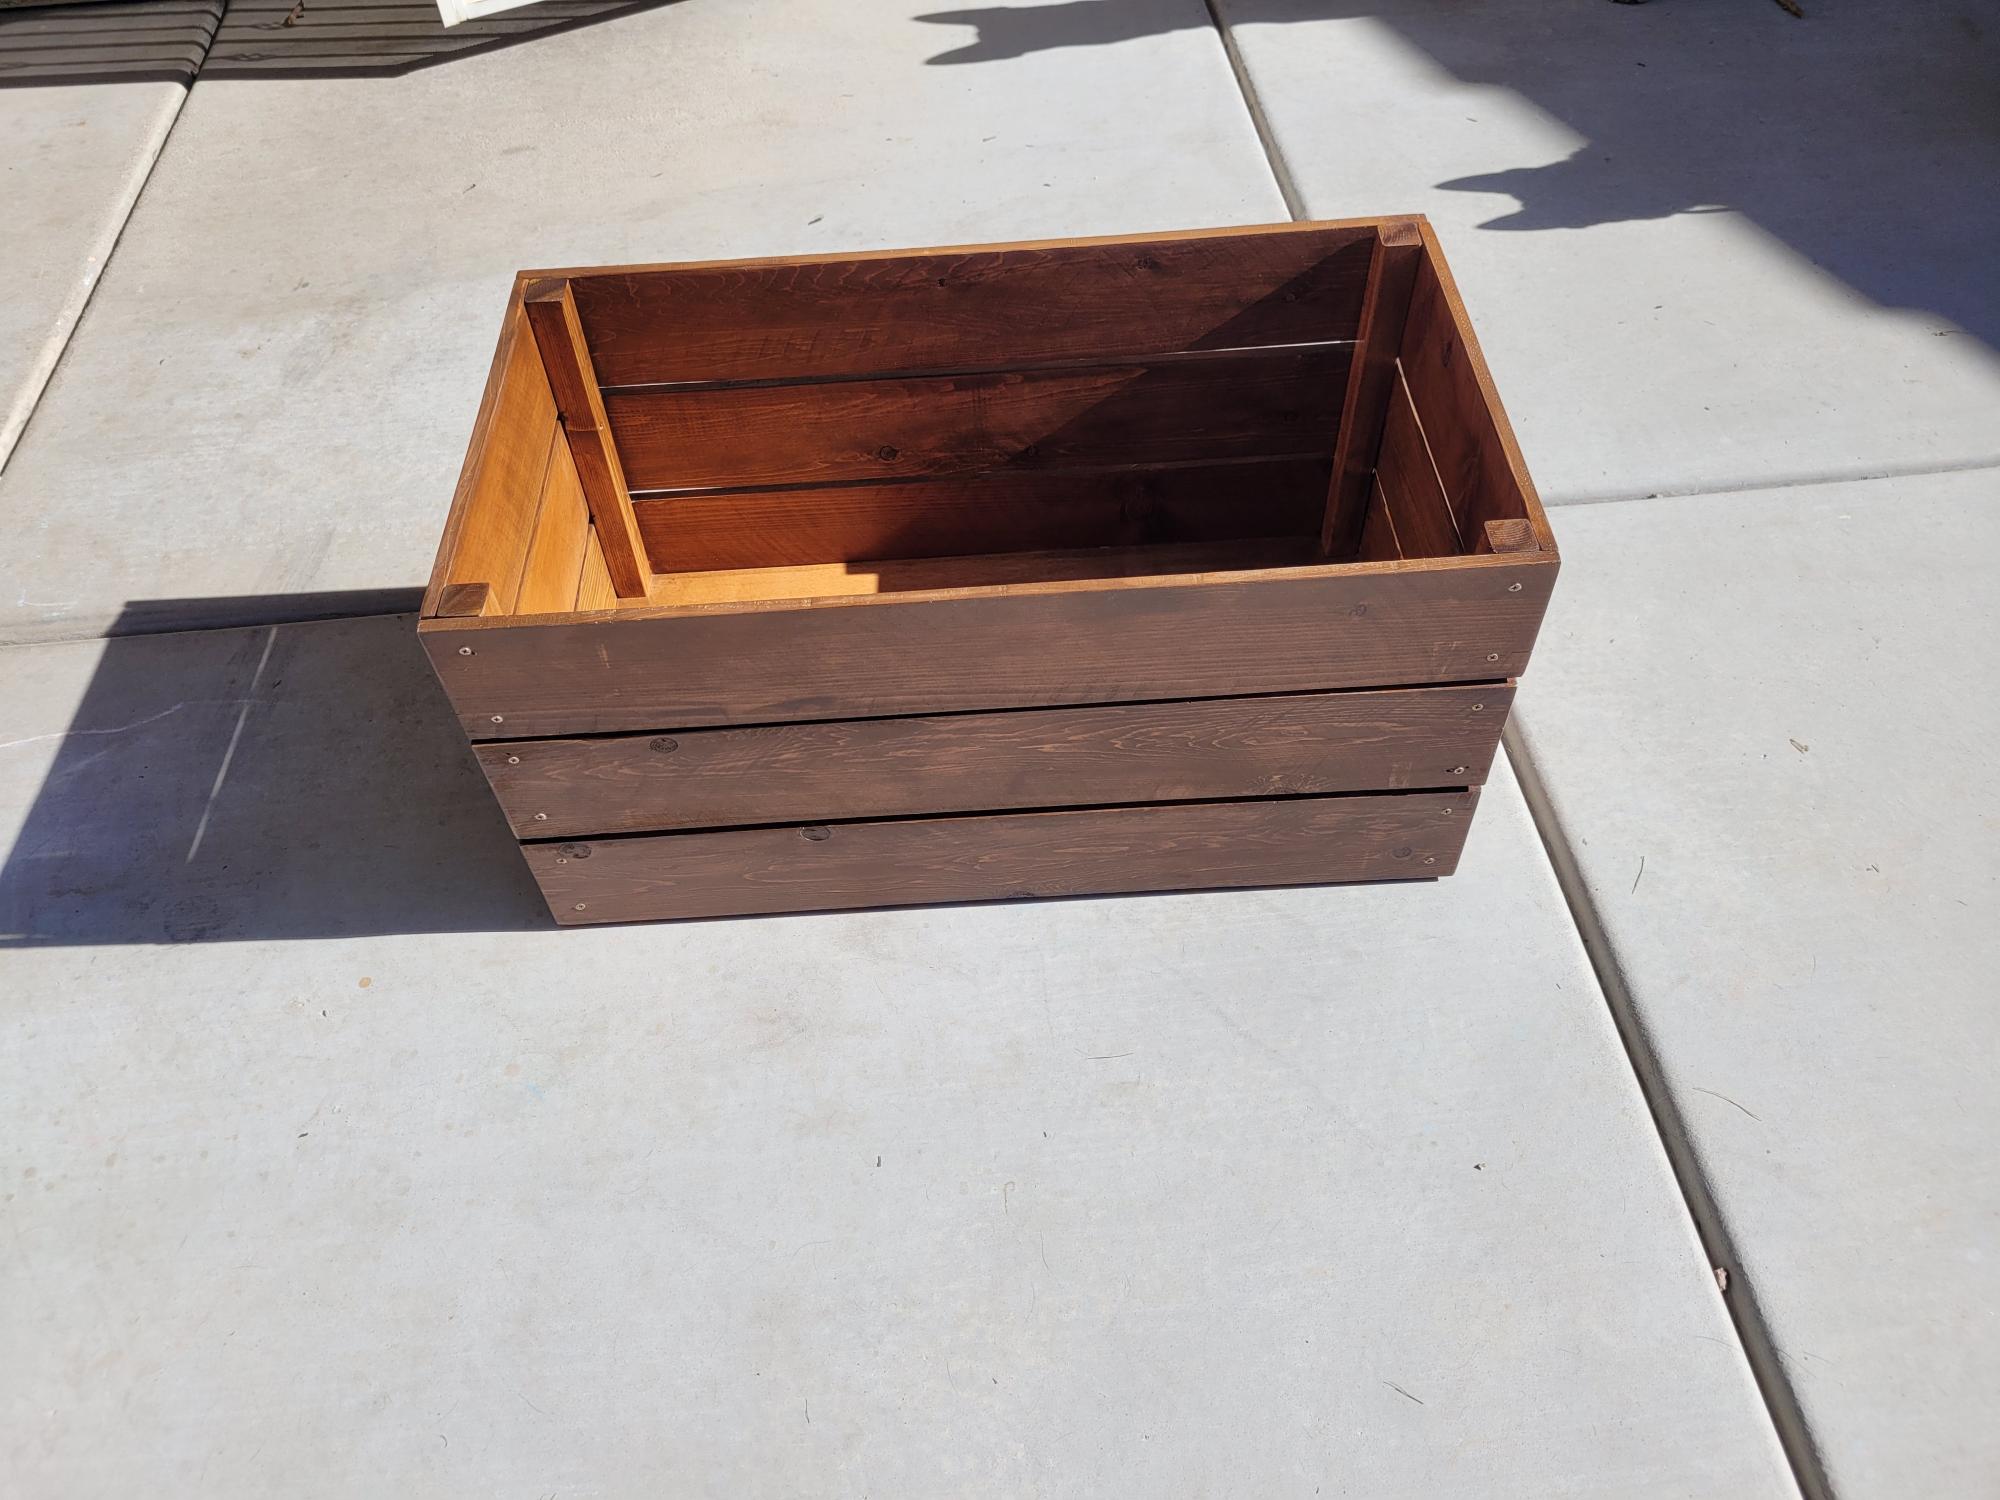
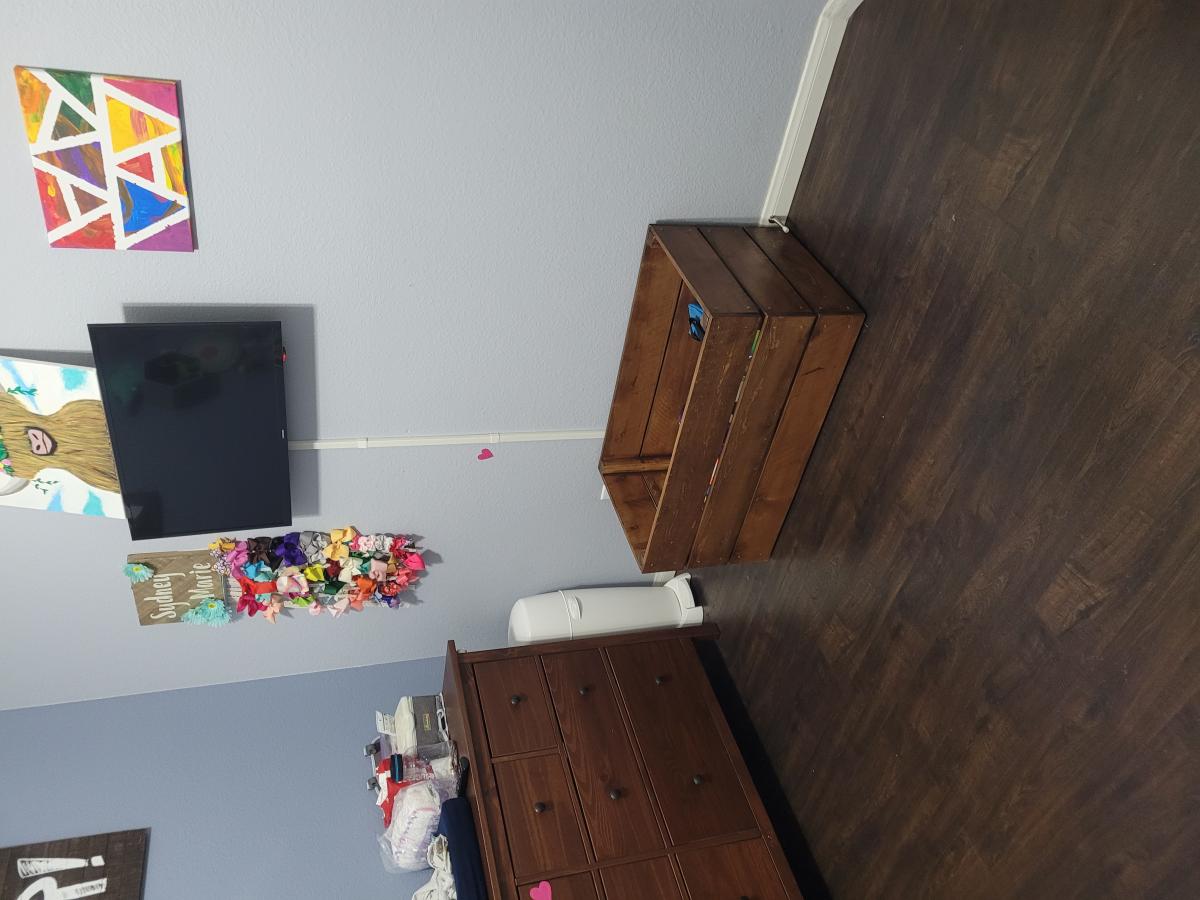
My first project, I've never done any kind of wood working at all. I made and noticed several mistakes however, I'm still very pleased with how it turned out. I learned from all my mistakes and now know the best ways to avoid them in the future. Super excited to begin my next project!
Sat, 11/20/2021 - 09:23
It looks great and even better, its functional! Thanks for sharing:)
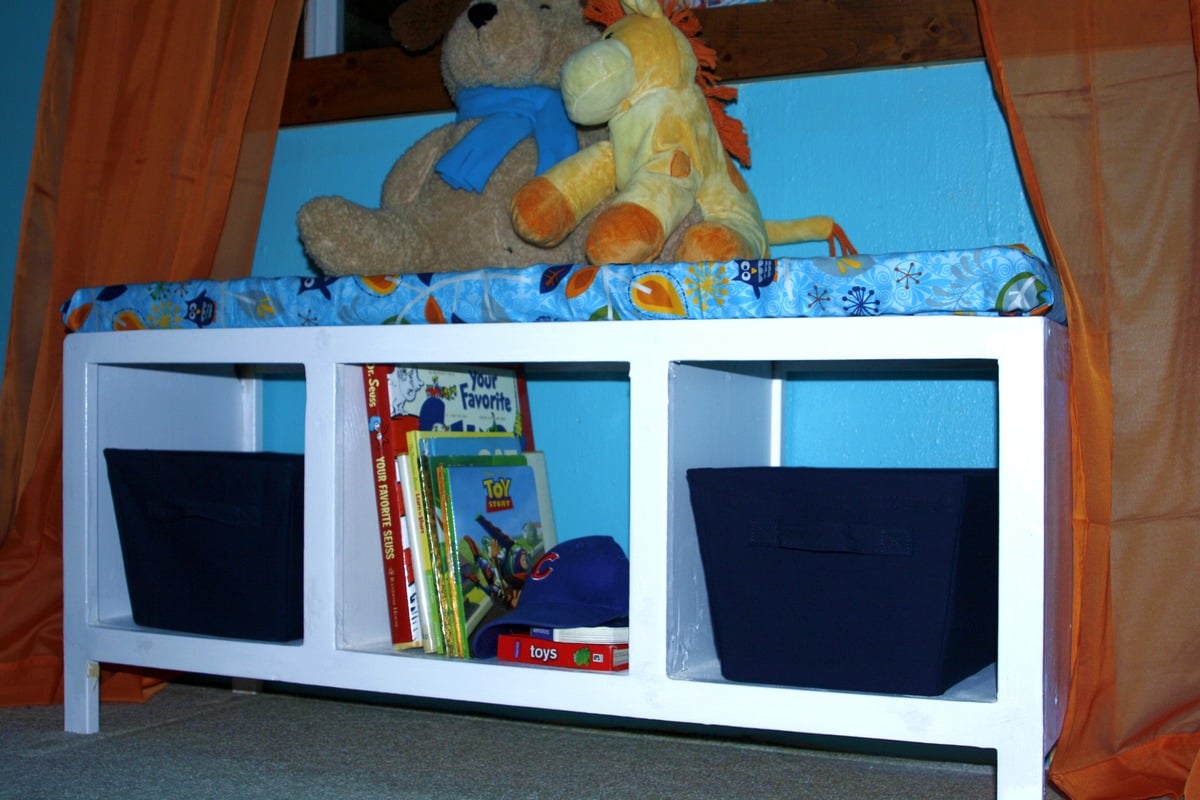
My 2nd project!
