Sliding Door Console
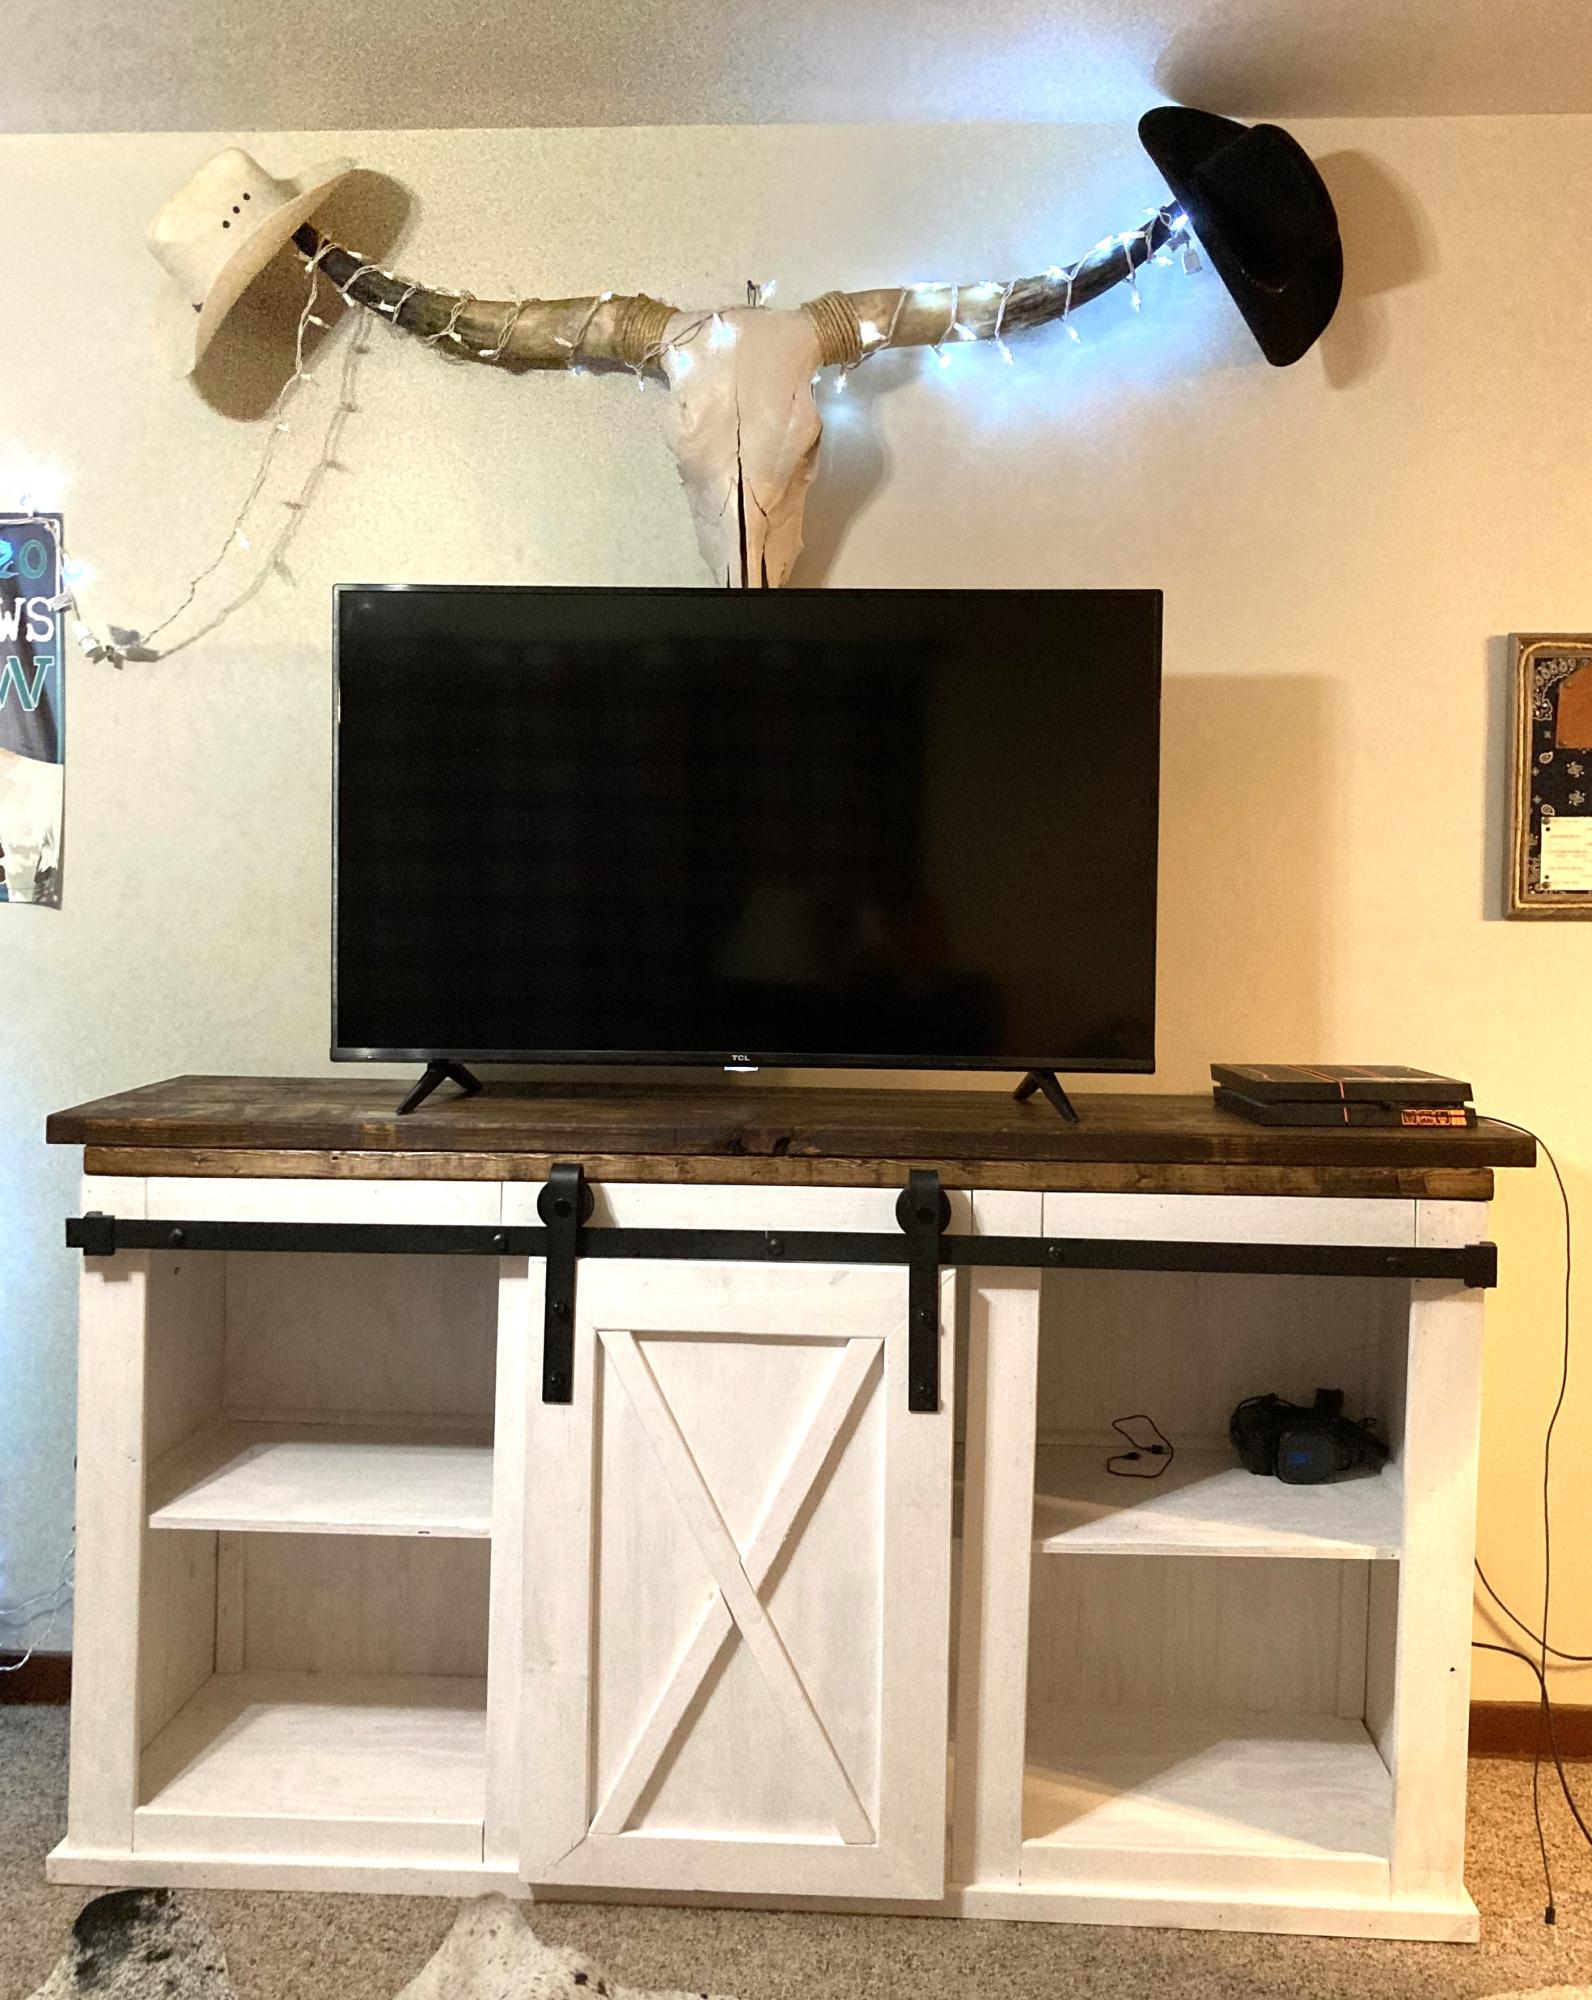
Easy entertainment center that I made for my son
Sue Herriott
Built from Plan(s)
Easy entertainment center that I made for my son
Sue Herriott
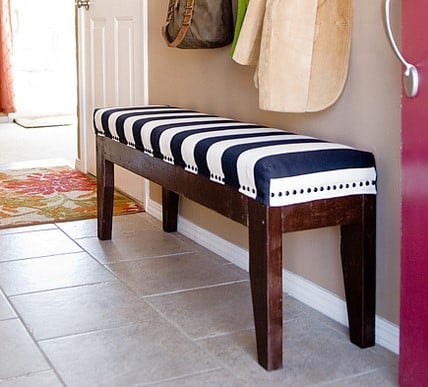
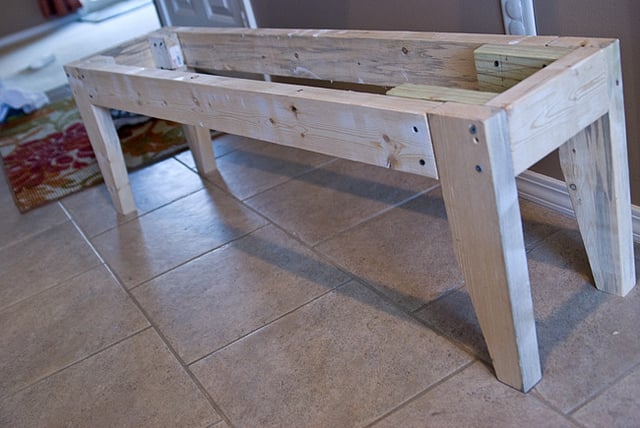
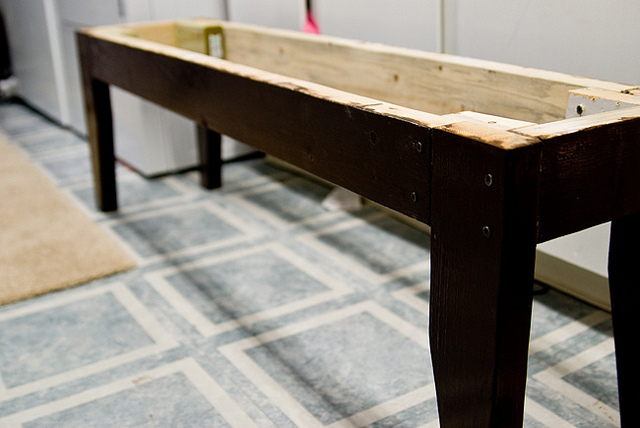
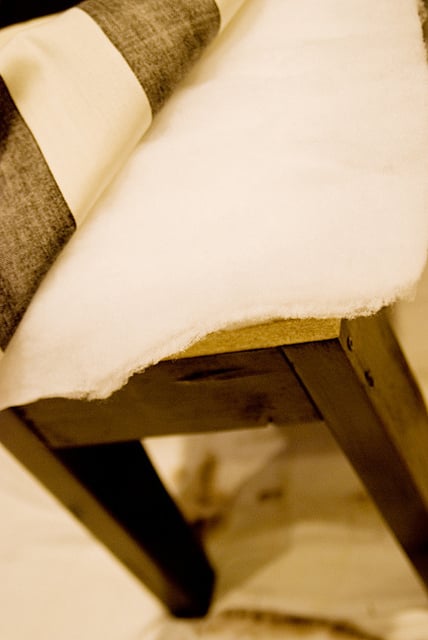
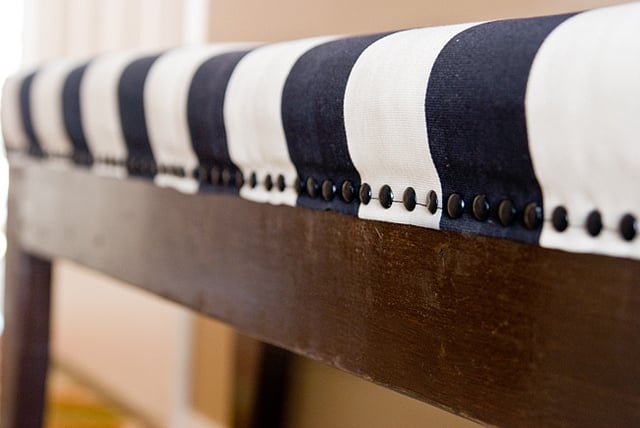
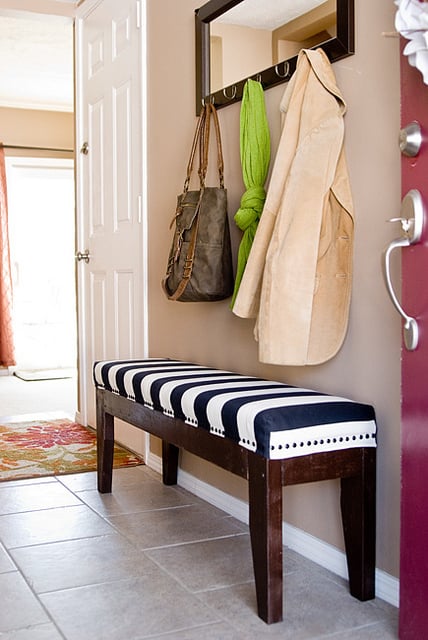
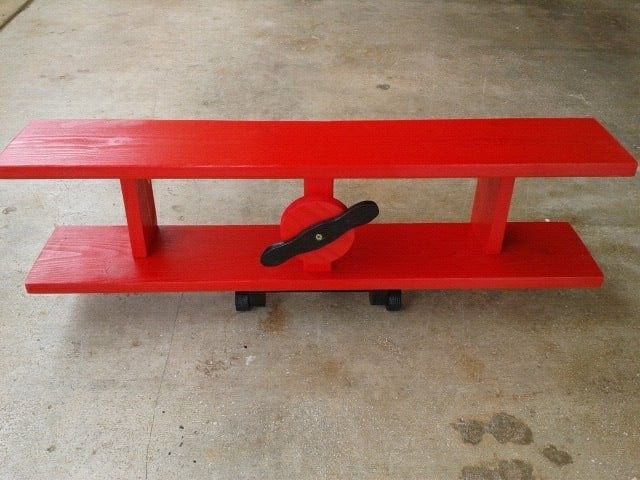
Wonderful project! Very fun. Built a bench from scrap 2x4s (left in the garage by our home's previous owner, so they were free!) and a piece of MDF shelving. Perfect for our entryway. The bench itself was incredibly easy to build. The hard part, in my opinion, was finishing it. So many pretty things to choose from! I used a piece of 2-inch foam plus a double layer of batting for the top, some striped upholstery fabric, and 160 nailheads to finish it off. Love it.

Tue, 02/14/2012 - 12:45
This really came out nice, and lovely selection of fabric.
Sun, 02/19/2012 - 12:54
Love it! Wondering if I could build it and have some type of slipcover on it. (house with three kids under 5 years old does not go well with permanent upholstery! haha)
Fri, 03/09/2012 - 09:06
If you check out Ana's original plans for the Easiest Upholstered Bench, you'll see that she DID use slipcovers! You could make different ones for each season, or for holidays like Christmas or birthdays...
Wed, 10/30/2013 - 08:36
Hi Katie, I am having a difficult time finding fabric (hard to believe)! did you get yours online? How wide are the stripes? most fabric I am finding is not wide enough to cover the top and sides. Thanks for the help! Great build!

We decided this year to make gifts for our family's Secret Santa!
Thanks again for the plans!
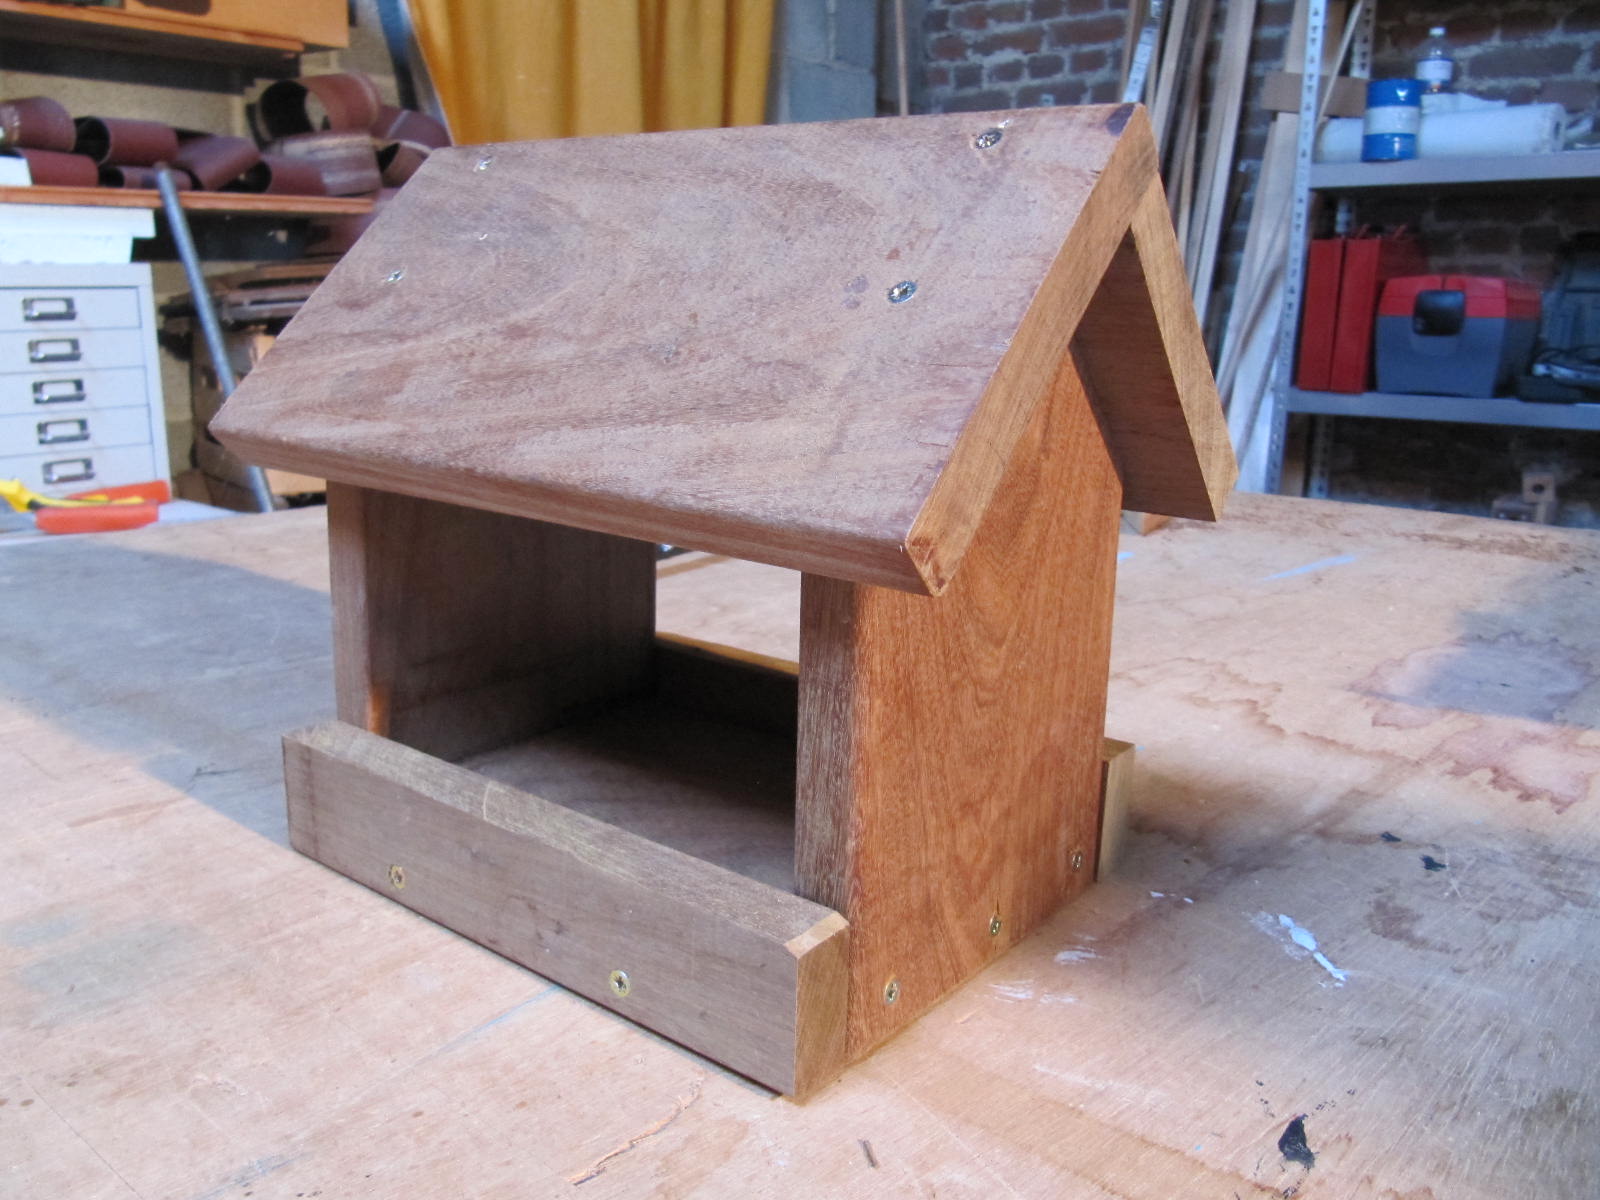
Bird feeder aksed by my mother. I used rest of IPE wood used for a deck. The thickness is a little big! 22mm but its strong and 30years waranty :) I changed a little bit the dimensions to convert in mm.
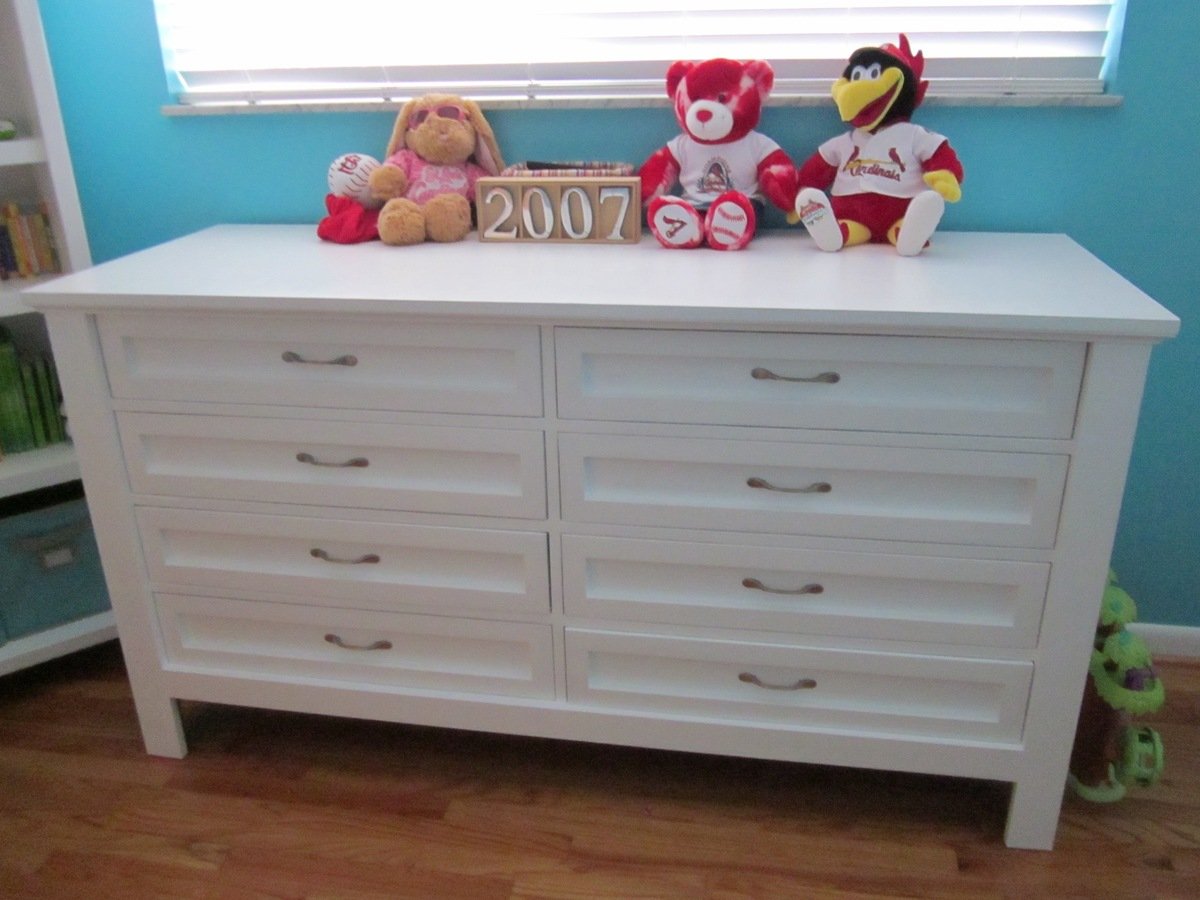
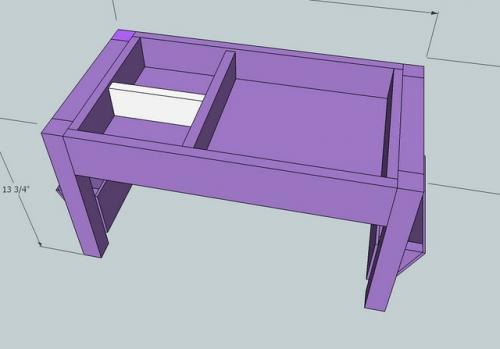
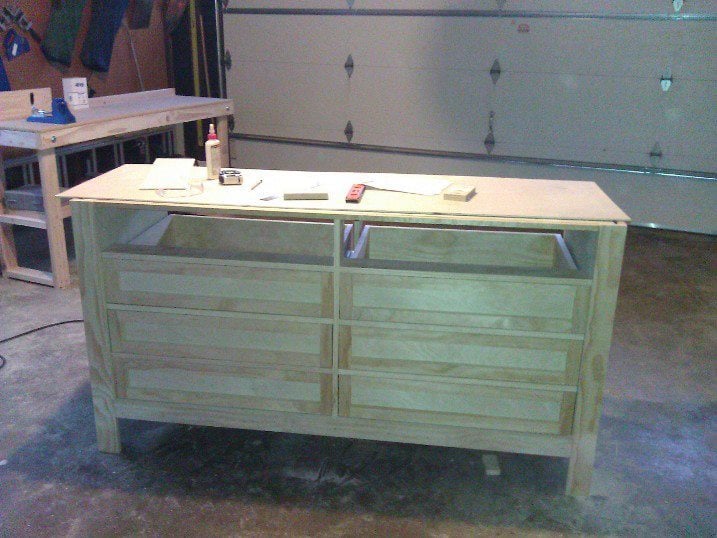
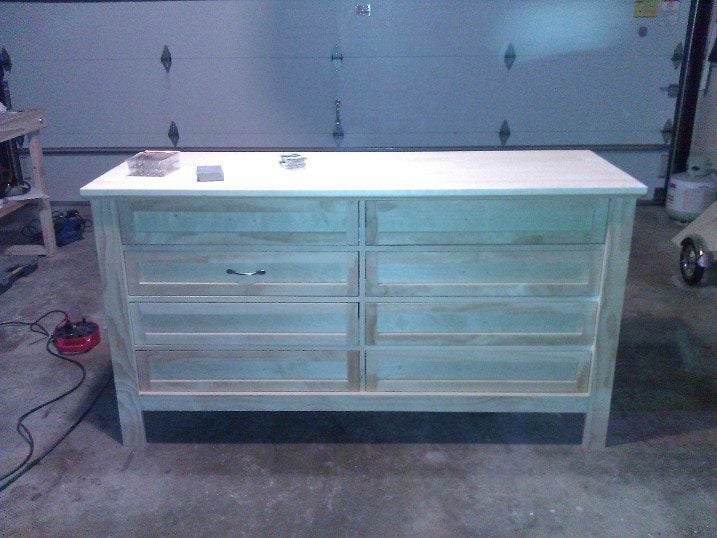
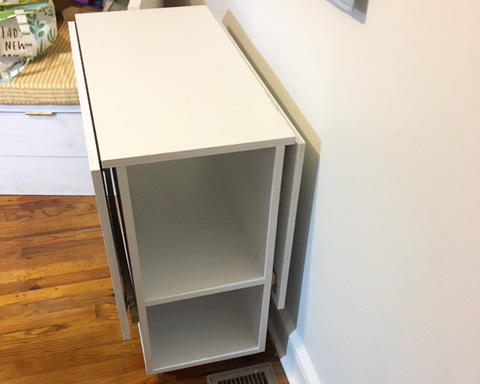
Took us about three weeks mostly working on weekends. We could only work when our child was sleeping. A worth while project if you have the time, space and tools needed. It weighs a ton when done. Our higher cost is due to using a higher wood quality and $125 for the eight ball bearing drawer slides. All the plywood is birch, the top is an Aspen panel and the rest is select pine.
Thu, 10/25/2012 - 11:44
I'm about to start building this and I was wondering how you installed the drawer slides.
Thanks!
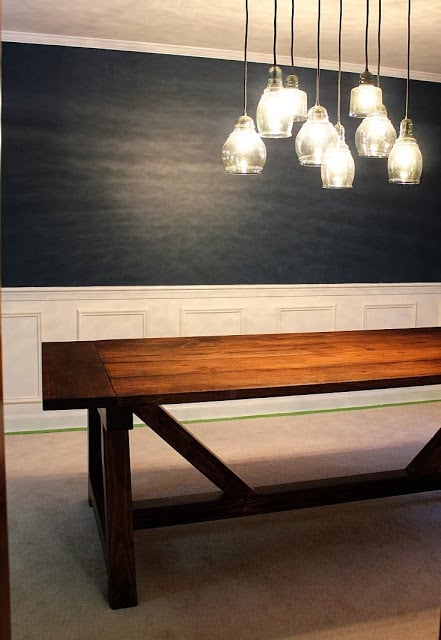
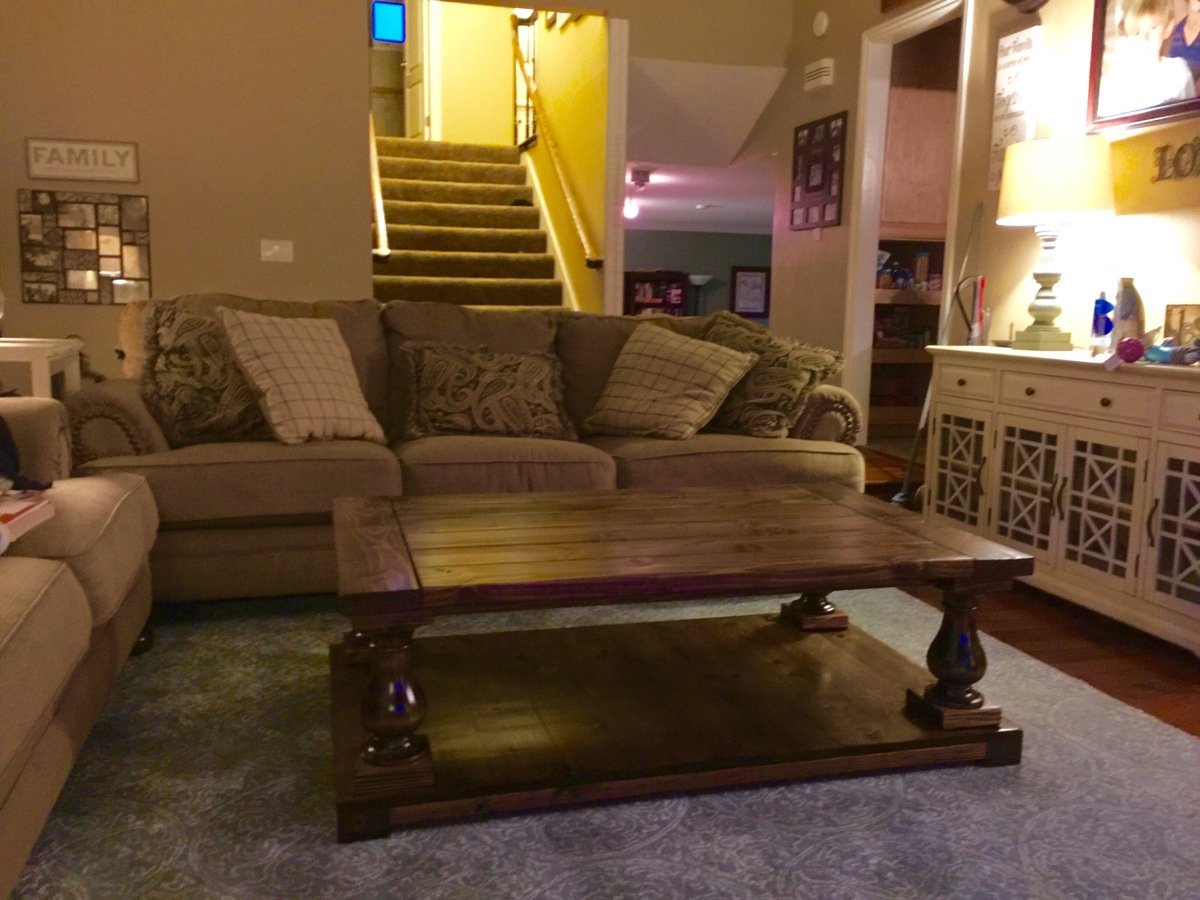
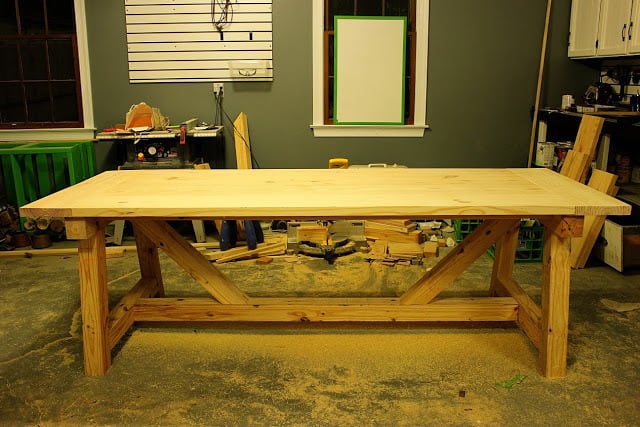
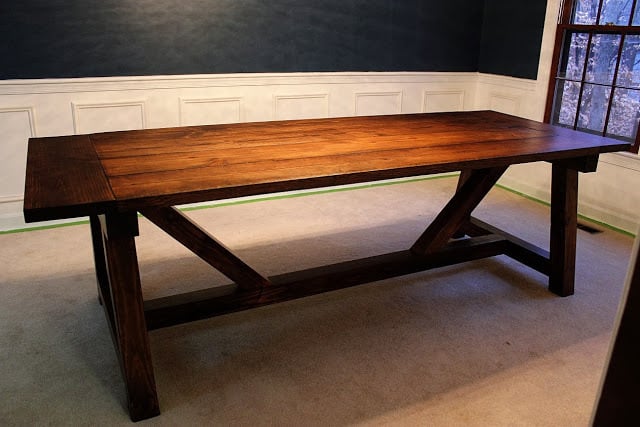
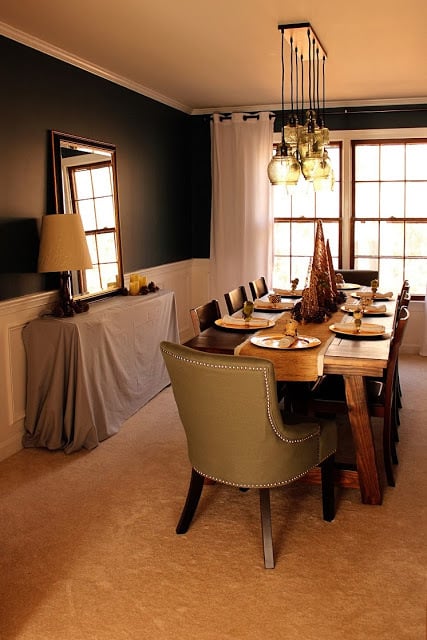
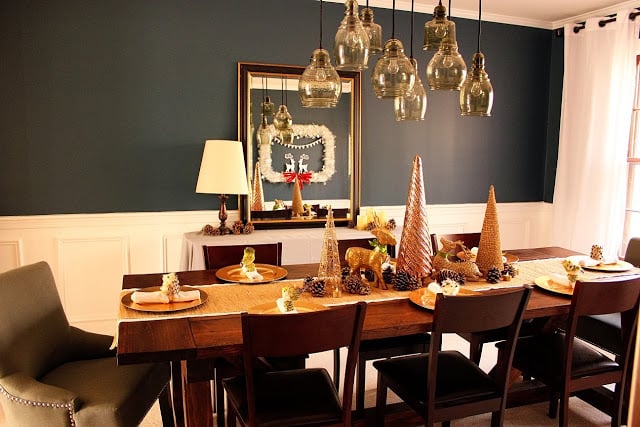
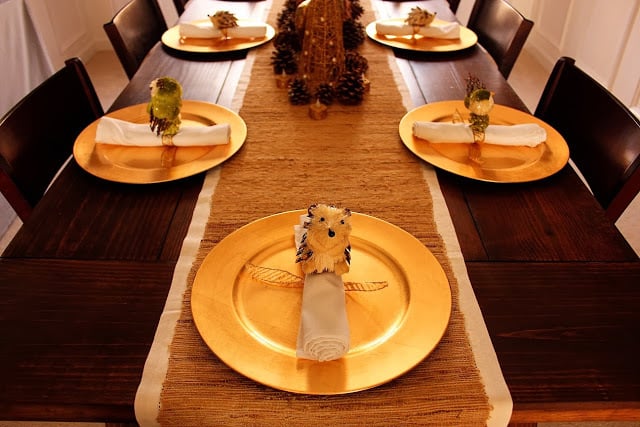
Eight foot Truss Beam Table built out of pine, for about $250 for all of the lumber, pocket screws, stain and poly.
This was my second project, and I found it easier than the Benchright Coffee Table, except for the lifting of the wood. It was so heavy that I needed my husband's help to move the table top after it was pocket screwed together, and we waited until we brought the table inside to attach the base and the table top, due to weight and size.
More photos of the build process: http://thehandcraftedlife.blogspot.com/2013/11/dining-room-progress-diy…

Sun, 01/25/2015 - 16:26
Gorgeous table, and it's now on my to-do list for this summer, but I also love the light fixture! Was this a DIY project as well? I've seen plenty of similar projects using mason jars but I much prefer the variety and shape of the glass covers used in this piece, are they upcycled? Any details I can get would be appreciated!
Mon, 01/26/2015 - 12:22
I have the same lights in my breakfast area, it's the Paxton Chandelier from Pottery Barn.
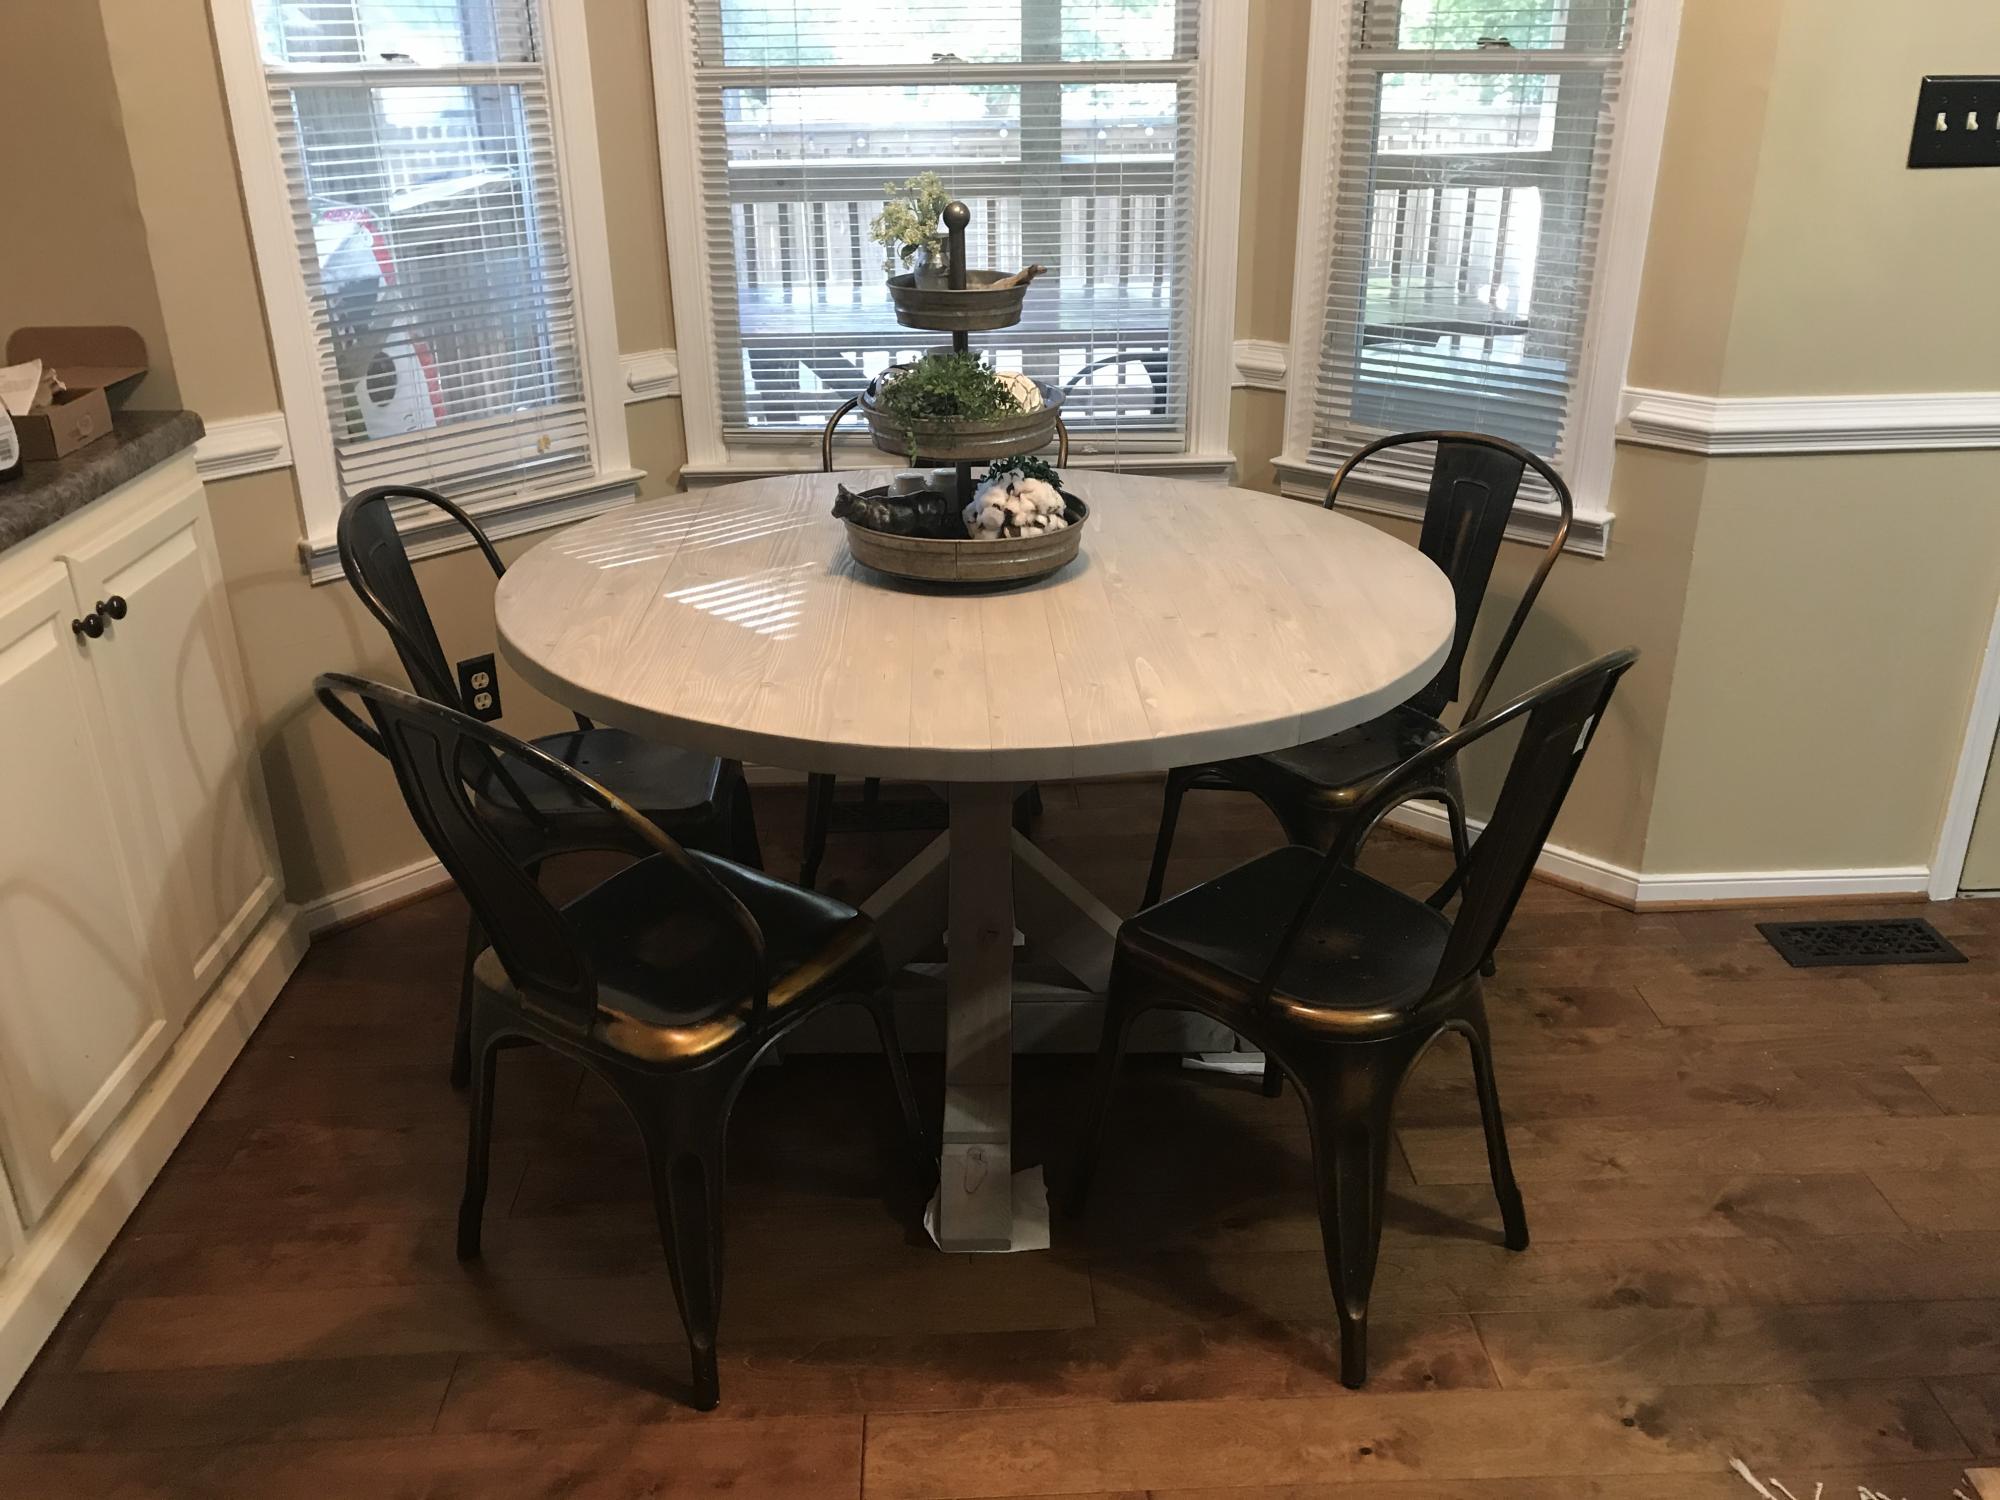
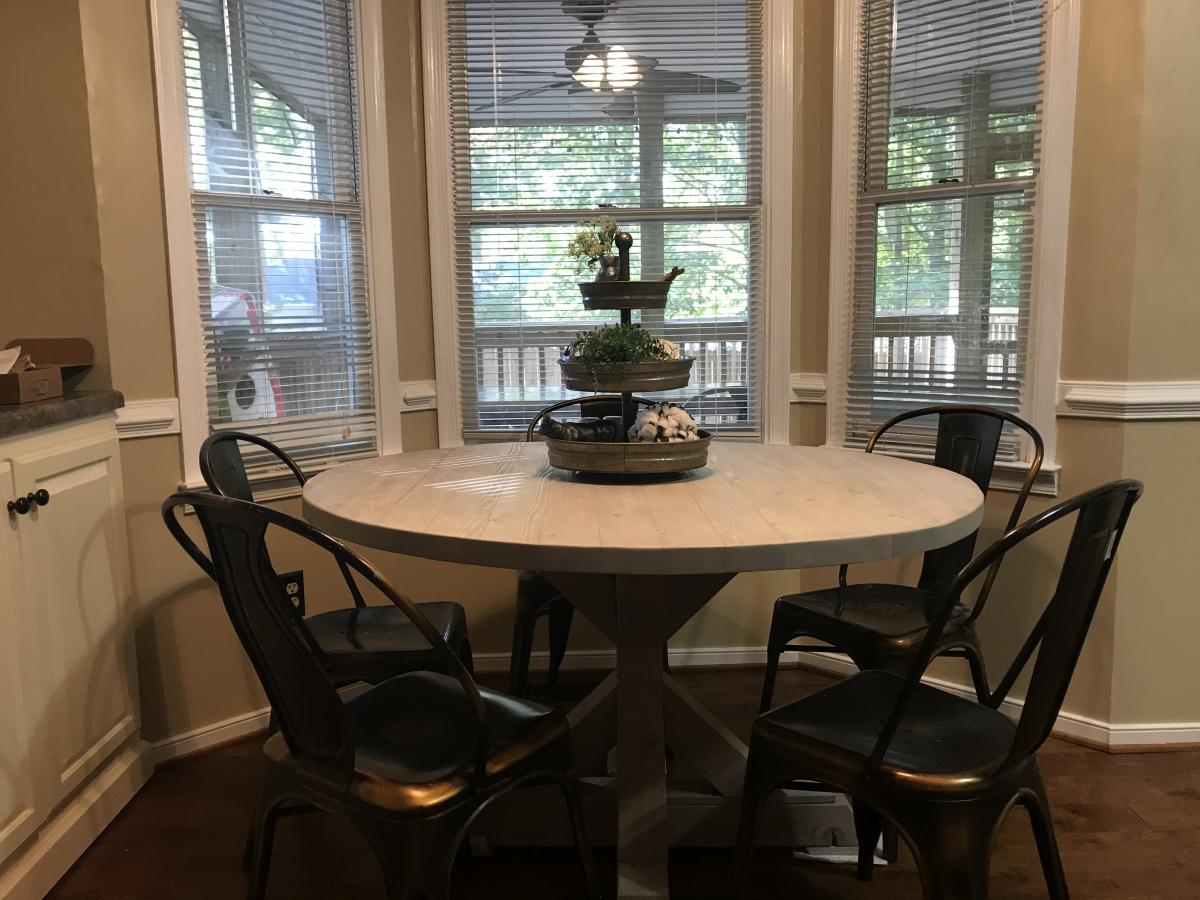
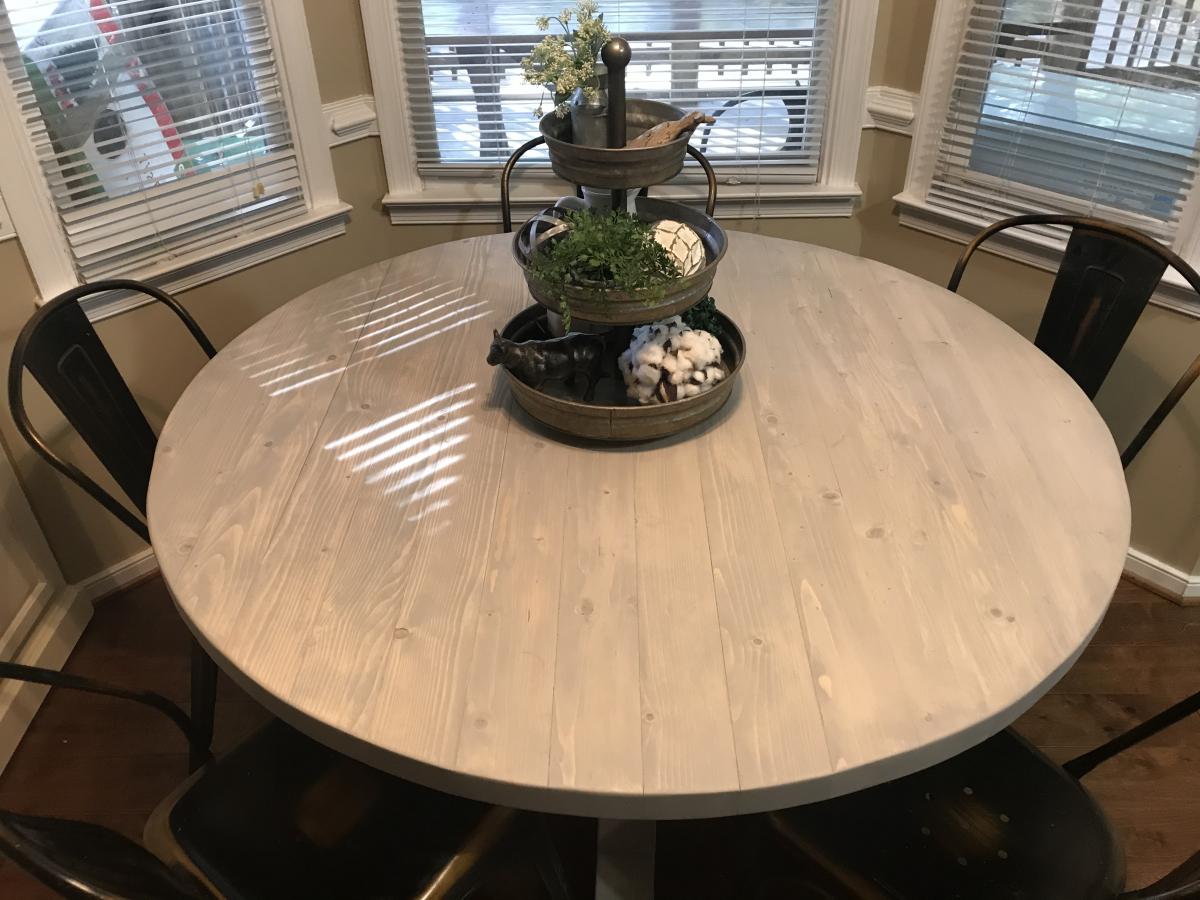
I used the 4x4 X Base Pedestal Dining Table with Planked Wood Top plans for the base but I decided to go with a round tabletop because it fits better in our kitchen. The tabletop is 16 2x4’s attached together using pocket holes and wood glue.
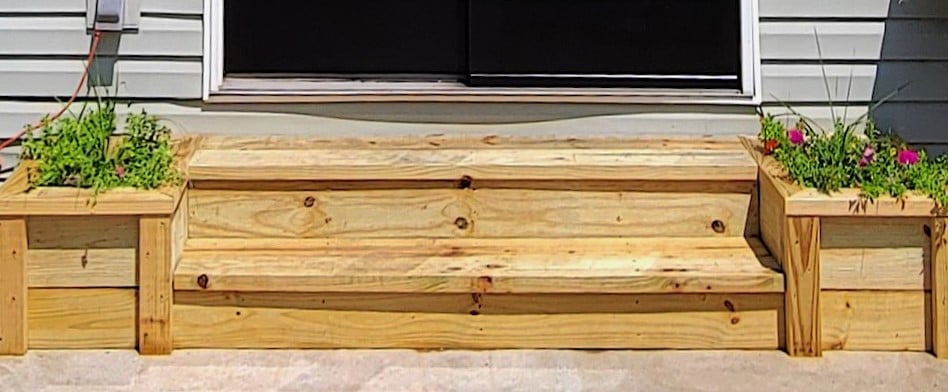
I had to modify the plans a little to make the steps 9ft long. I also used 2x6 on the bottom step, so the rise was the same.
Had to build this when I saw it. My coworker just had their first newborn baby boy and wanted hanging shelf's so I built one out of some scrap wood.
First of your plans I followed and already have two more projects on the go for different tables. Great plans and ideas!!!

My niece had an area in her master bathroom that she wanted to make into a closet. Since she is very interested in woodworking I was happy to assist her on her first project. It was a challenge as one wall was out of plum by 1.5 inches but we managed to successfully address the problem.
The project turned out very nice and now my niece has a large closet with lots of storage space. But we also created a monster as she has definitely caught the woodworking bug! Her birthday is coming up soon and all she wants are tools!
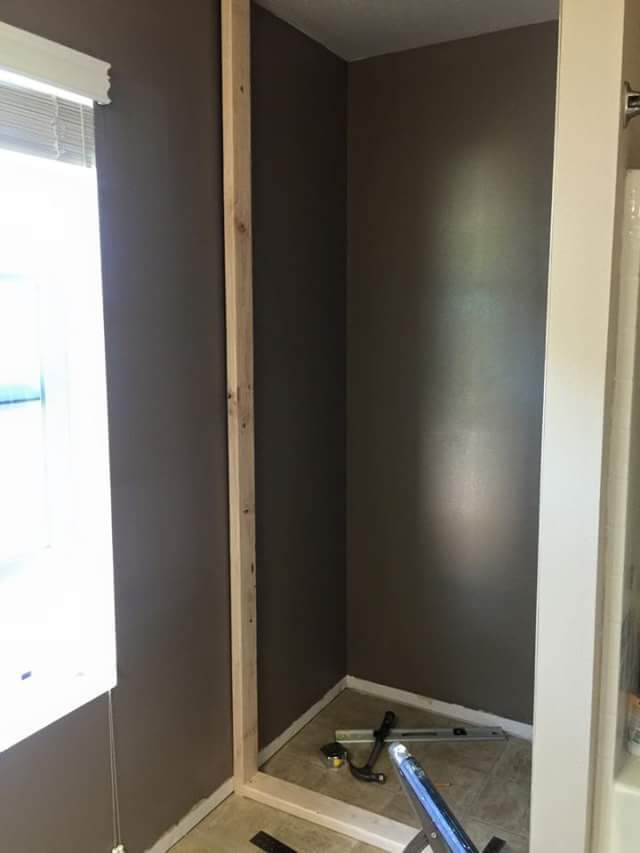
I had so much fun building this and has already proven to be helpful. Thanks for the wonderful plans! Can't wait to begin my next building project for this small space.
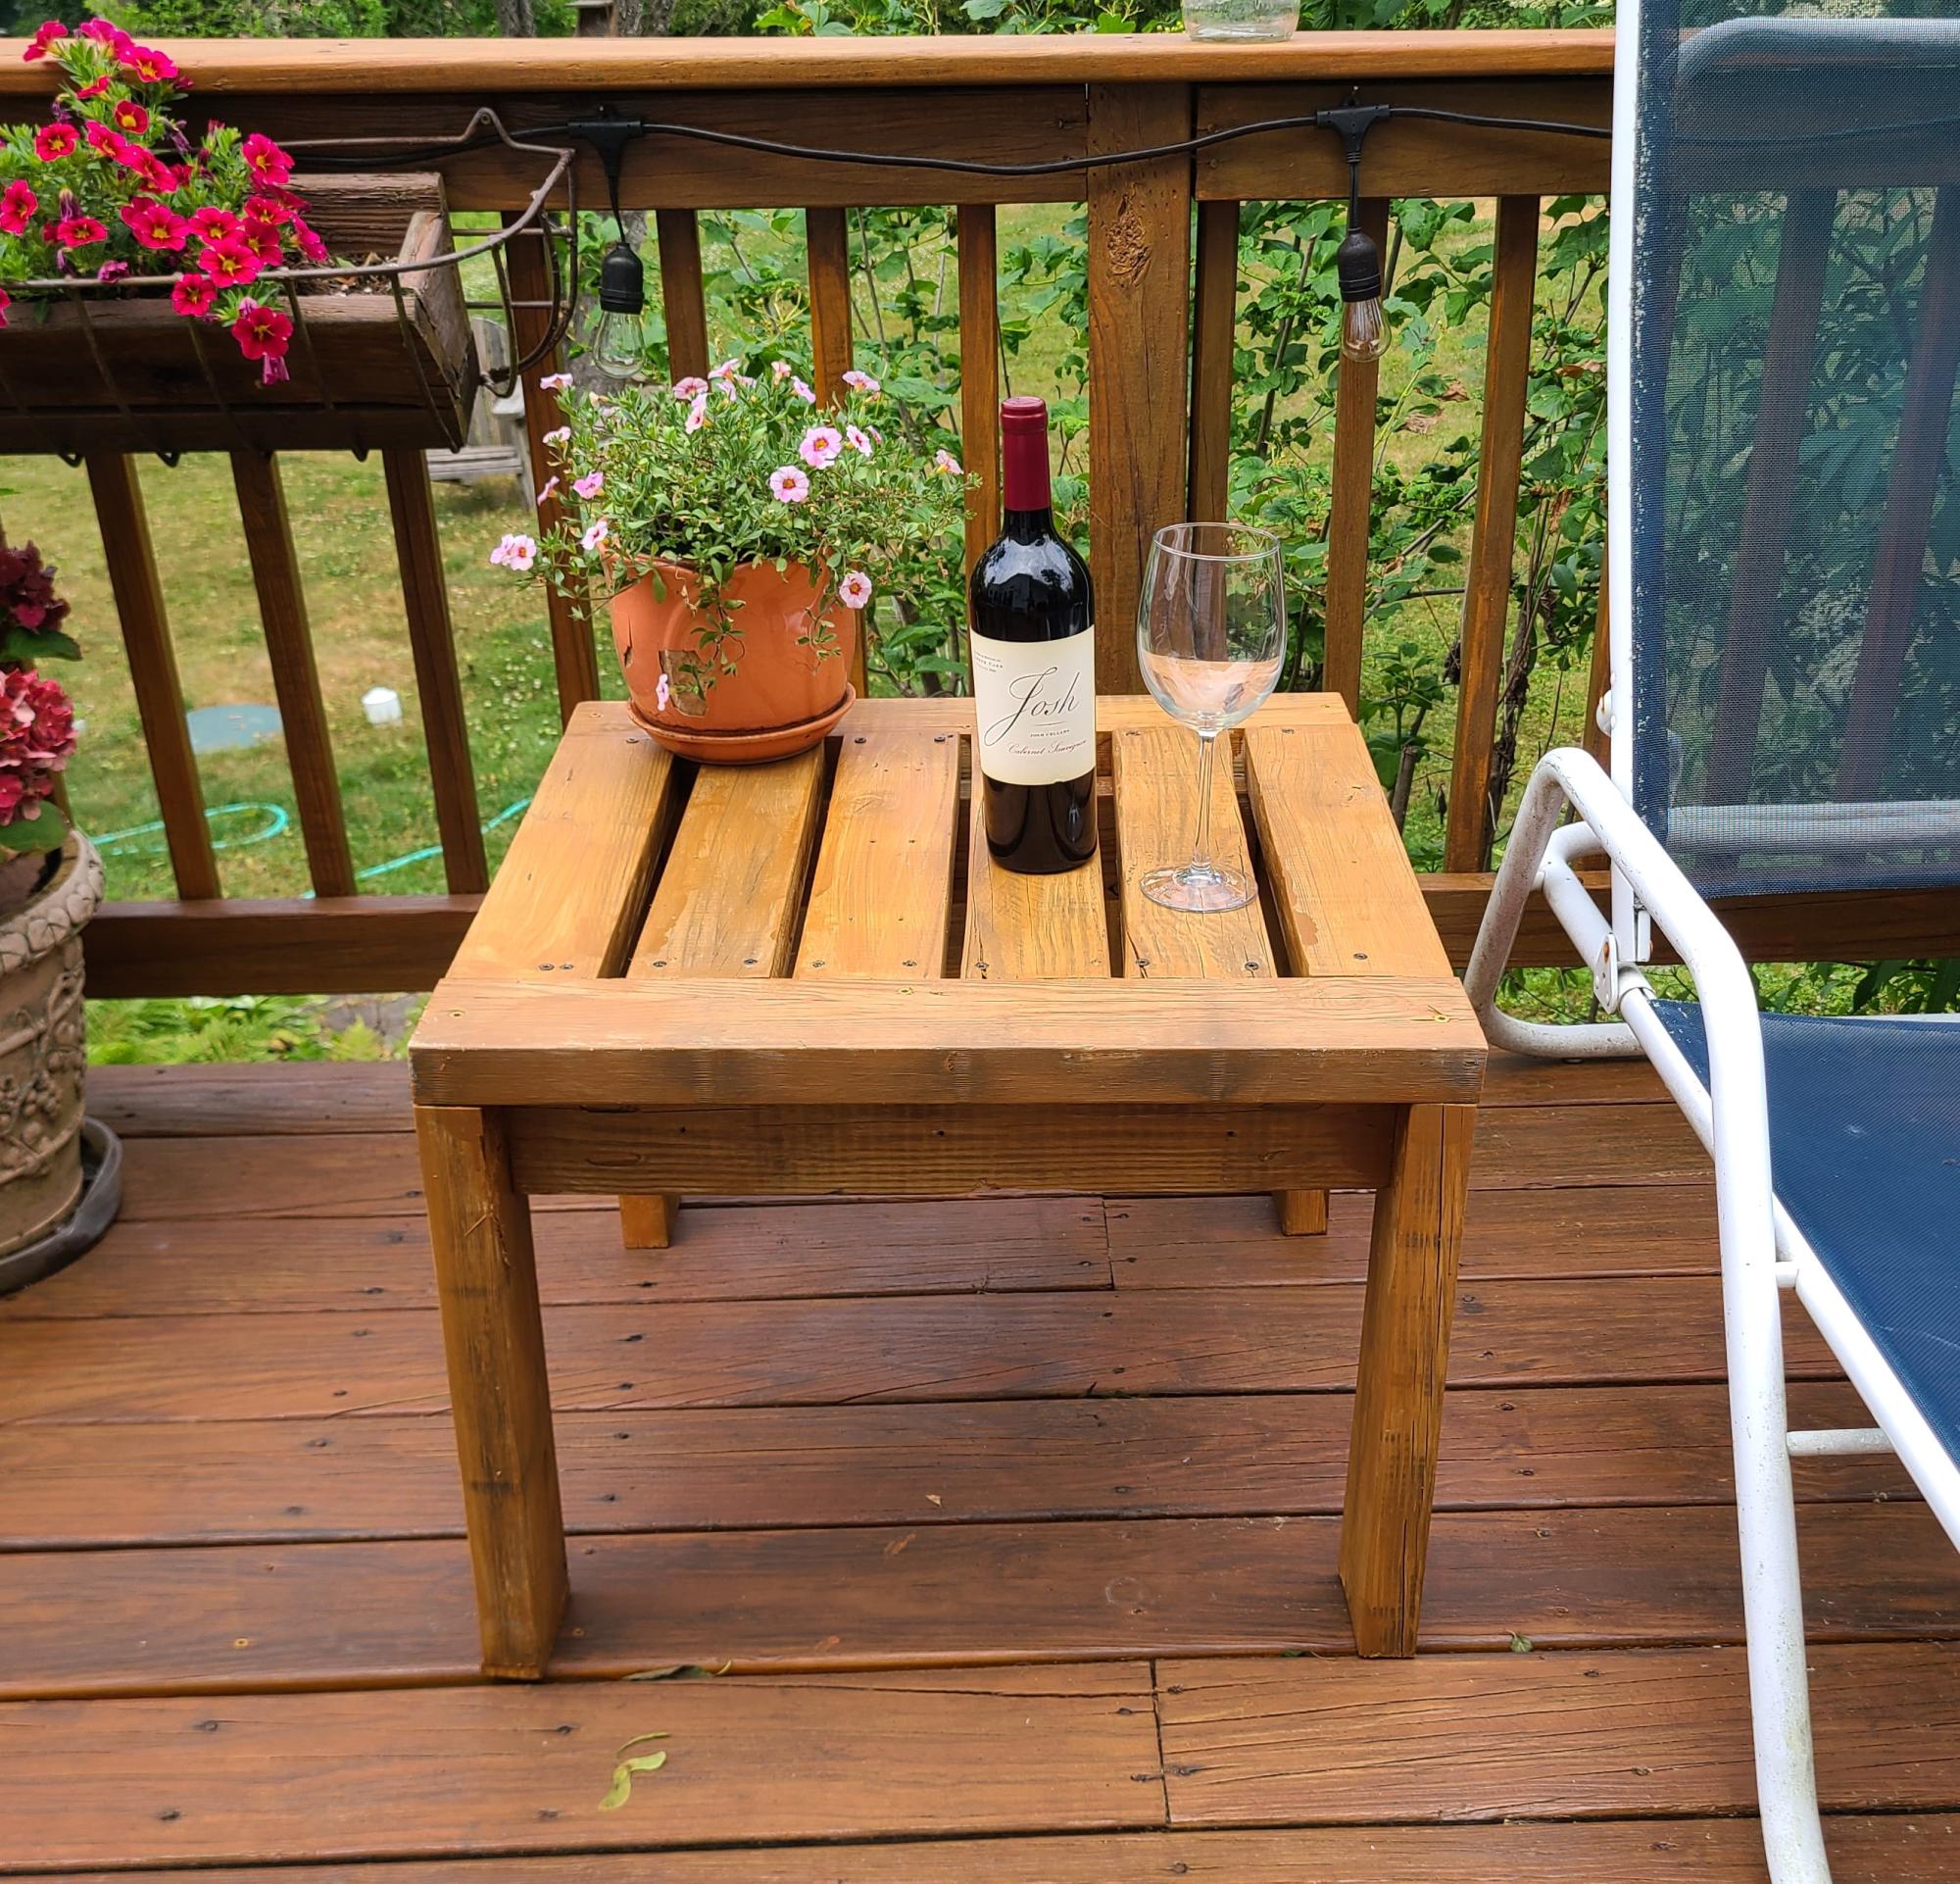
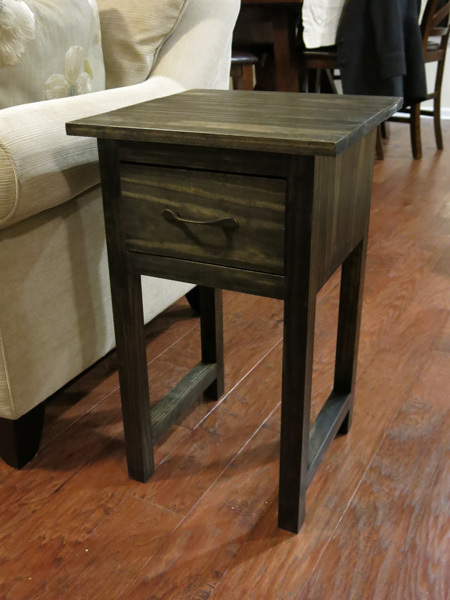
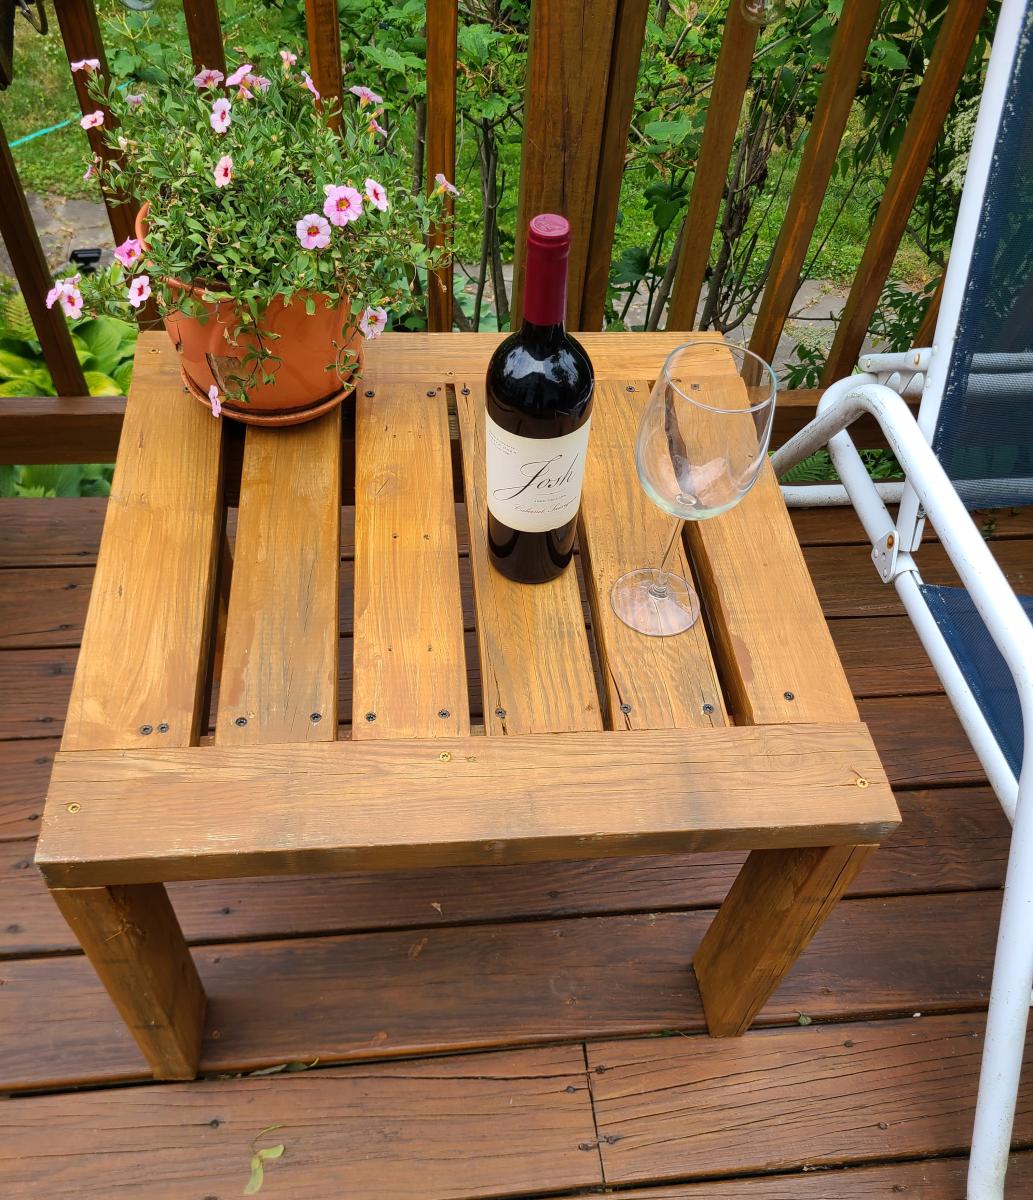
I built these deck end tabled from reclaimed decking.
Greg P

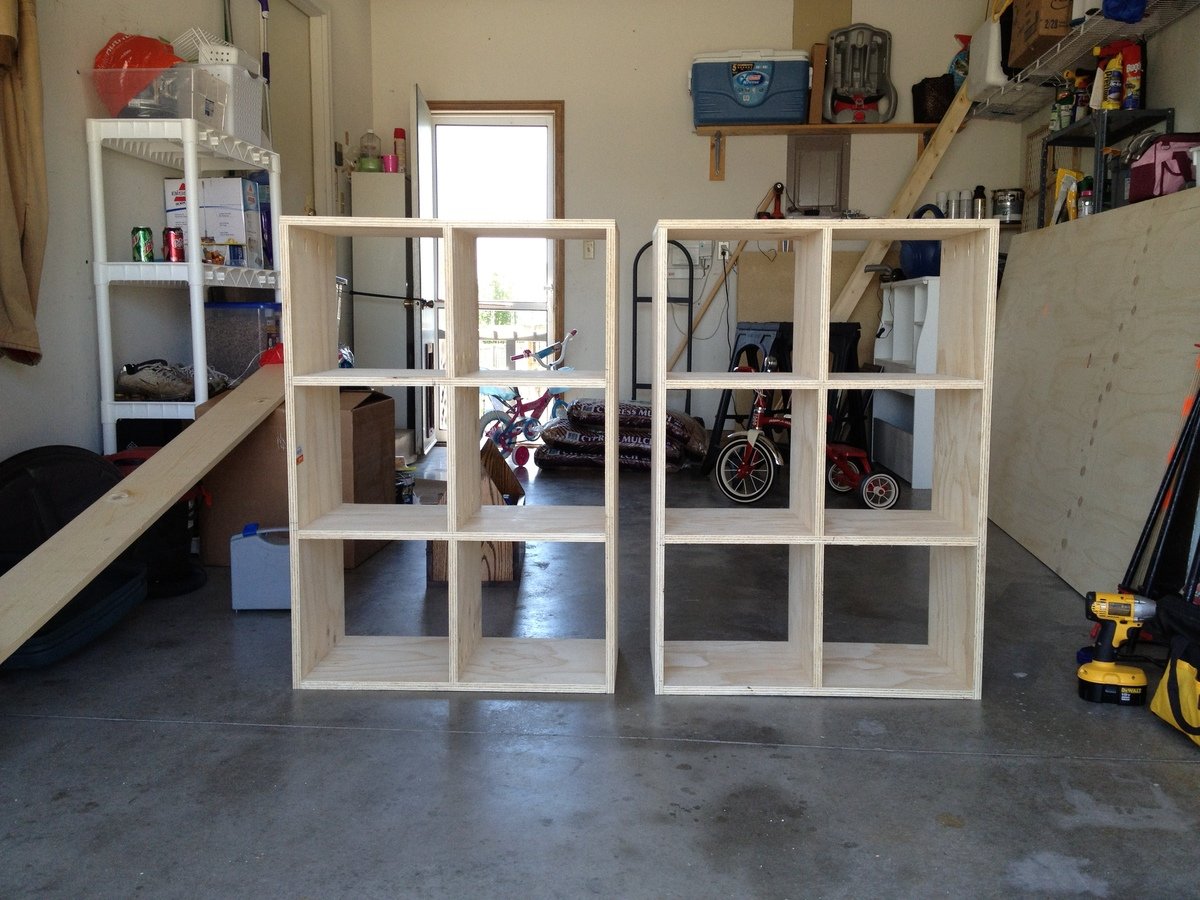
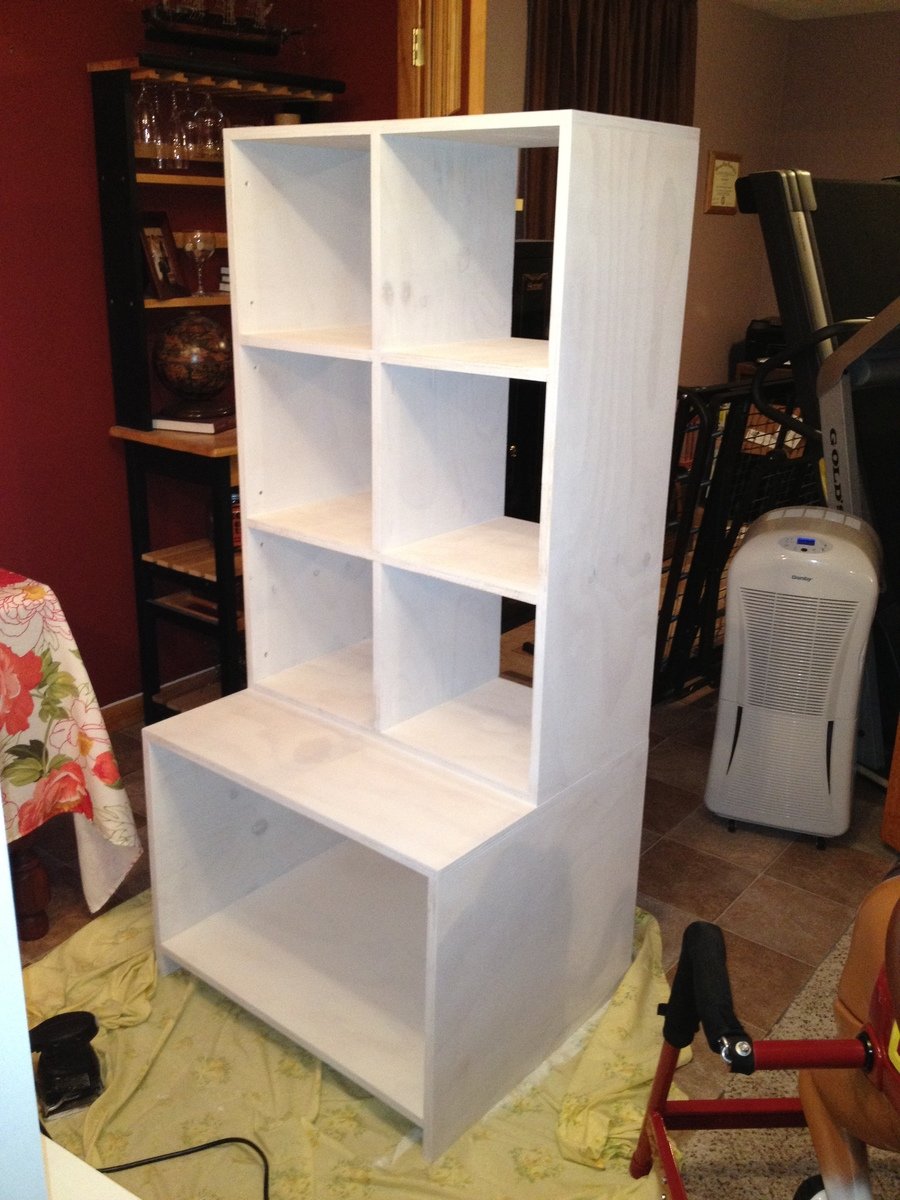
Half of the spare bedroom in our basement is our toy room and I wanted to be able to host visitors without them being overwhelmed by our toys. The units on top are three separate units. We didn't divide the middle unit so we could use as book shelves. The open units on the bottom are tall enough for car elevators, etc. I like the half units on top for the plastic storage boxes where I have craft/art supplies (I don't want my kids getting that when I'm not in the room!). We used white paneling on the back of the shelving. We used a piece of trim on the bottom to cover up the legs, but I wanted to show you that the entire unit does not sit on the carpet. The totes are Martha Stewart brand from Home Depot. (I apologize for the blurriness of the last photo.)
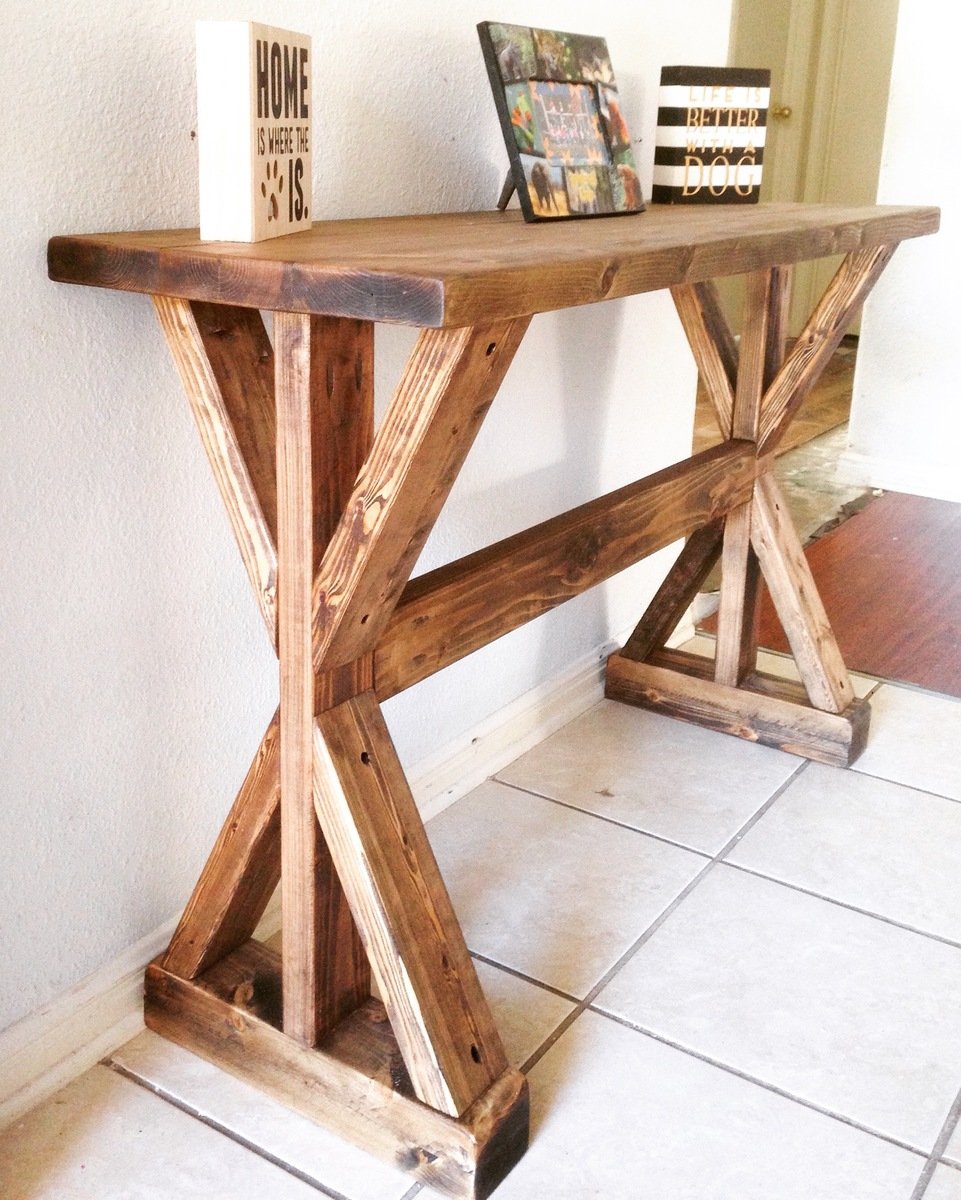
Handmade rustic entryway table. Stained with Varathane Stain and made from 2x4s & 2x6s Canadian white pine
Mon, 04/11/2016 - 05:30
Hi,
I really love your entryway table. Do you have a plan that we can use with dimensions and cut list?
Thank you
Tue, 05/17/2016 - 20:33
Hello can you provide us with plans for this? What saw(s) did you use?
Sun, 08/21/2016 - 08:18
Do you have plans for this entry table?! I love it but can't seem to find the plans?
Thank you!
In reply to Are there plans for this ? by Jatin2286
Fri, 03/16/2018 - 10:49
If you are OK with waiting a few days, I could draw you plans based off of the images.
In reply to Are there plans for this ? by Jatin2286
Sat, 03/17/2018 - 19:38
I modified the design slightly, by adding feet and a 1x4 board accent (that makes it easier to build). I'm assuming the overall height is 29.5" and the length is 48". If you want these to be different, feel free to reach out to me and I can help you adjust.
You can find the plans here: http://famousartisan.com/diy-x-base-sofa-table-plans-or-entry-table/
In reply to Are there plans for this ? by Jatin2286
Sat, 03/17/2018 - 19:39
I modified the design slightly, by adding feet and a 1x4 board accent (that makes it easier to build). I'm assuming the overall height is 29.5" and the length is 48". If you want these to be different, feel free to reach out to me and I can help you adjust.
You can find the plans here: http://famousartisan.com/diy-x-base-sofa-table-plans-or-entry-table/
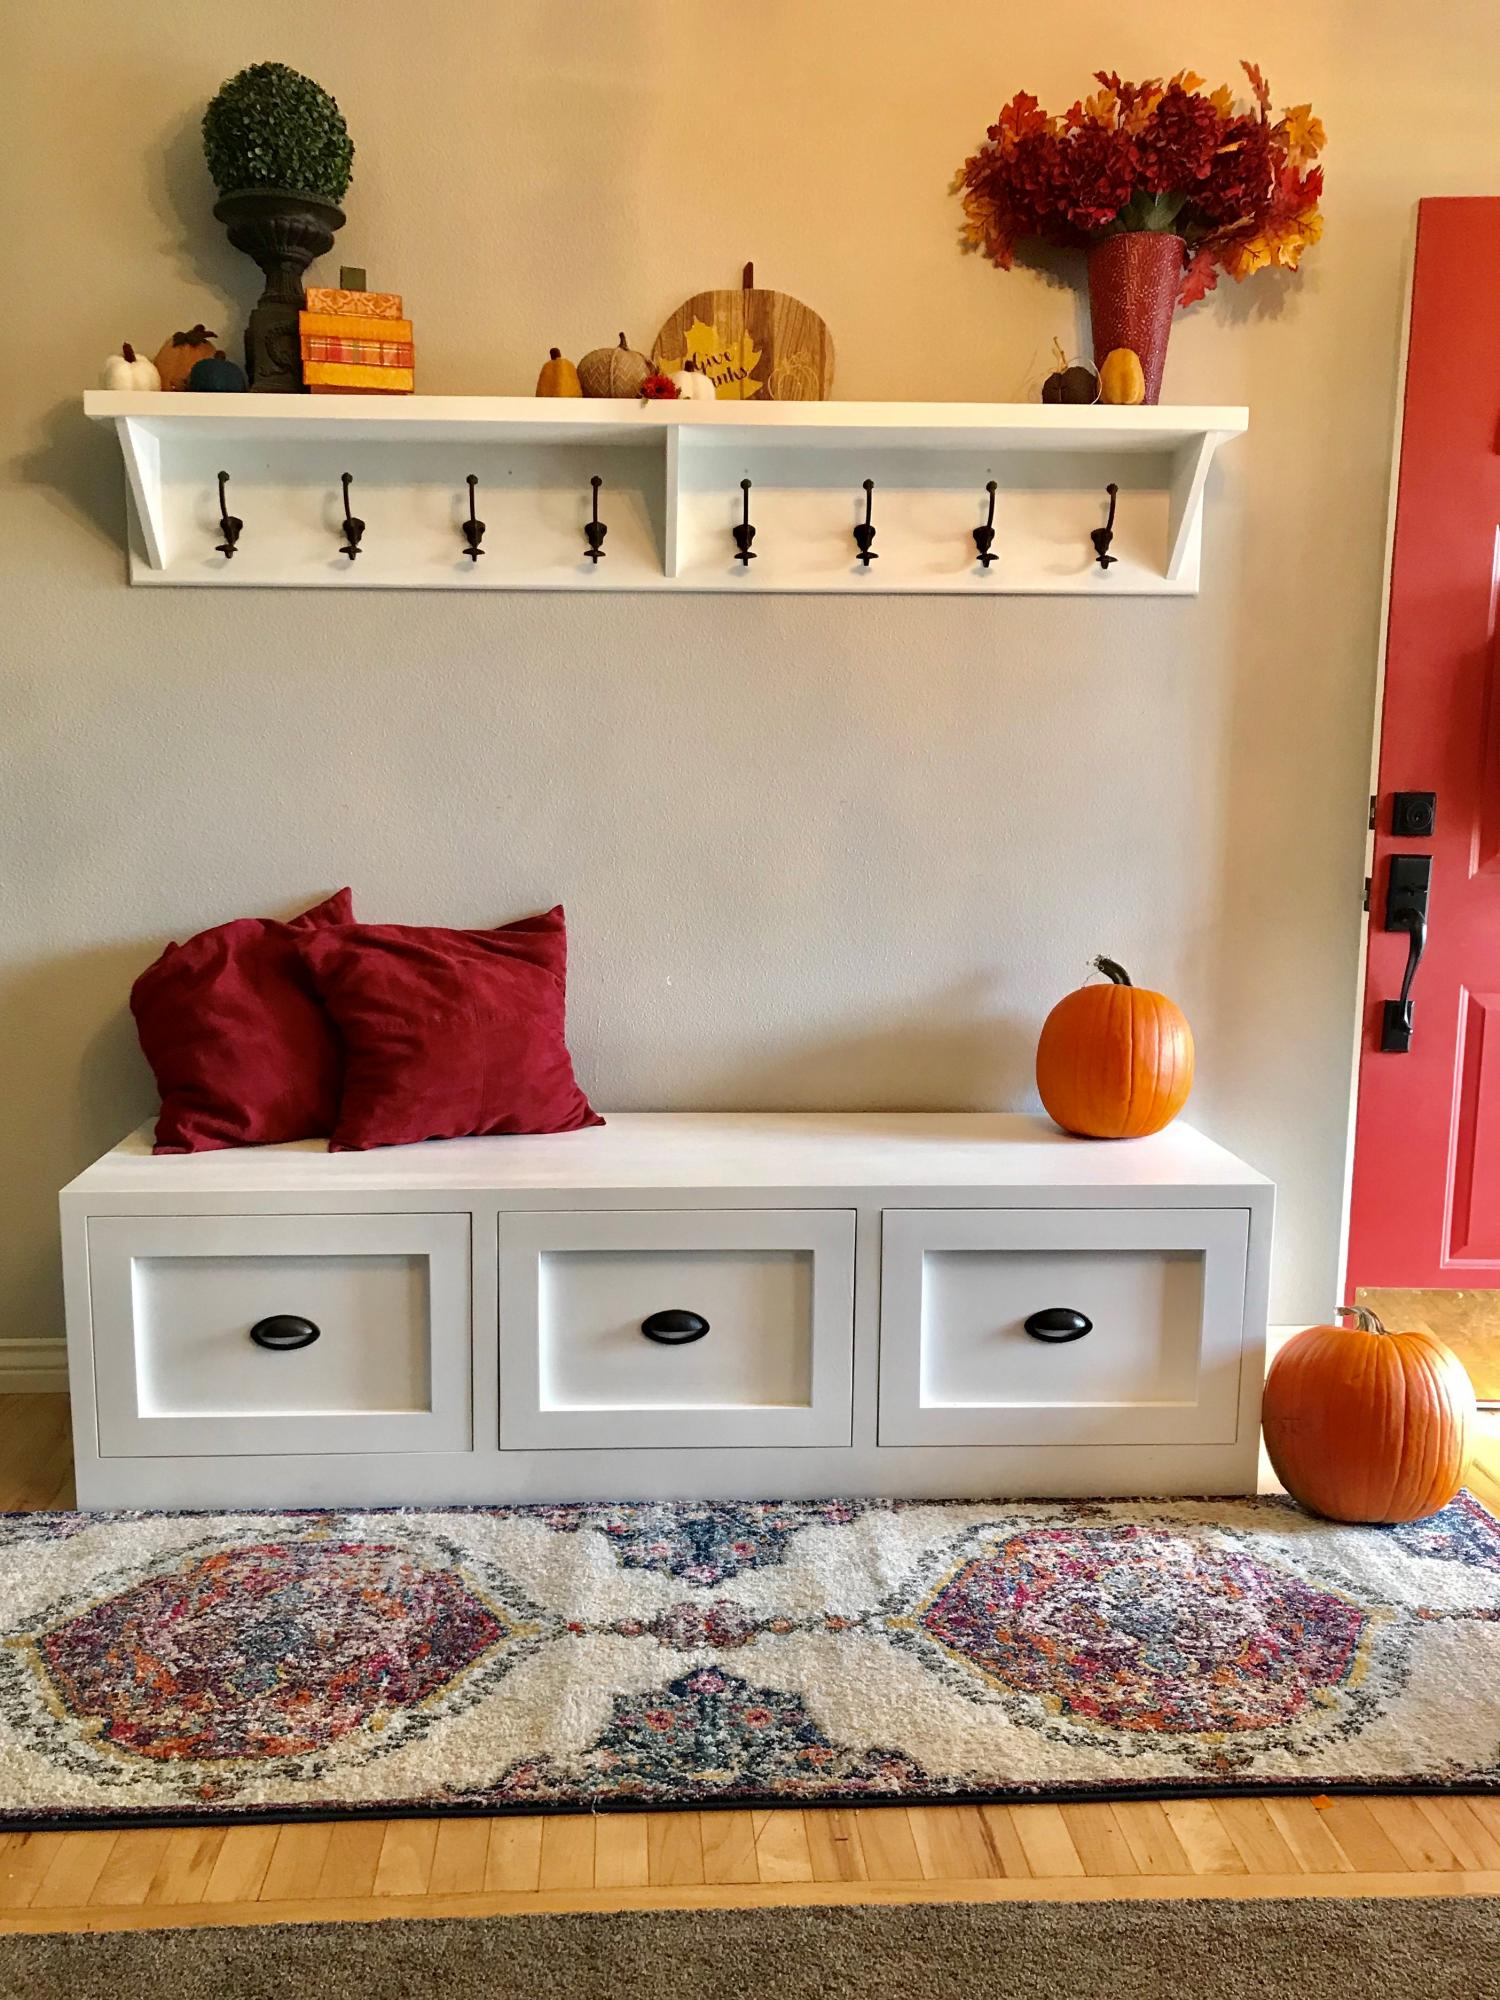
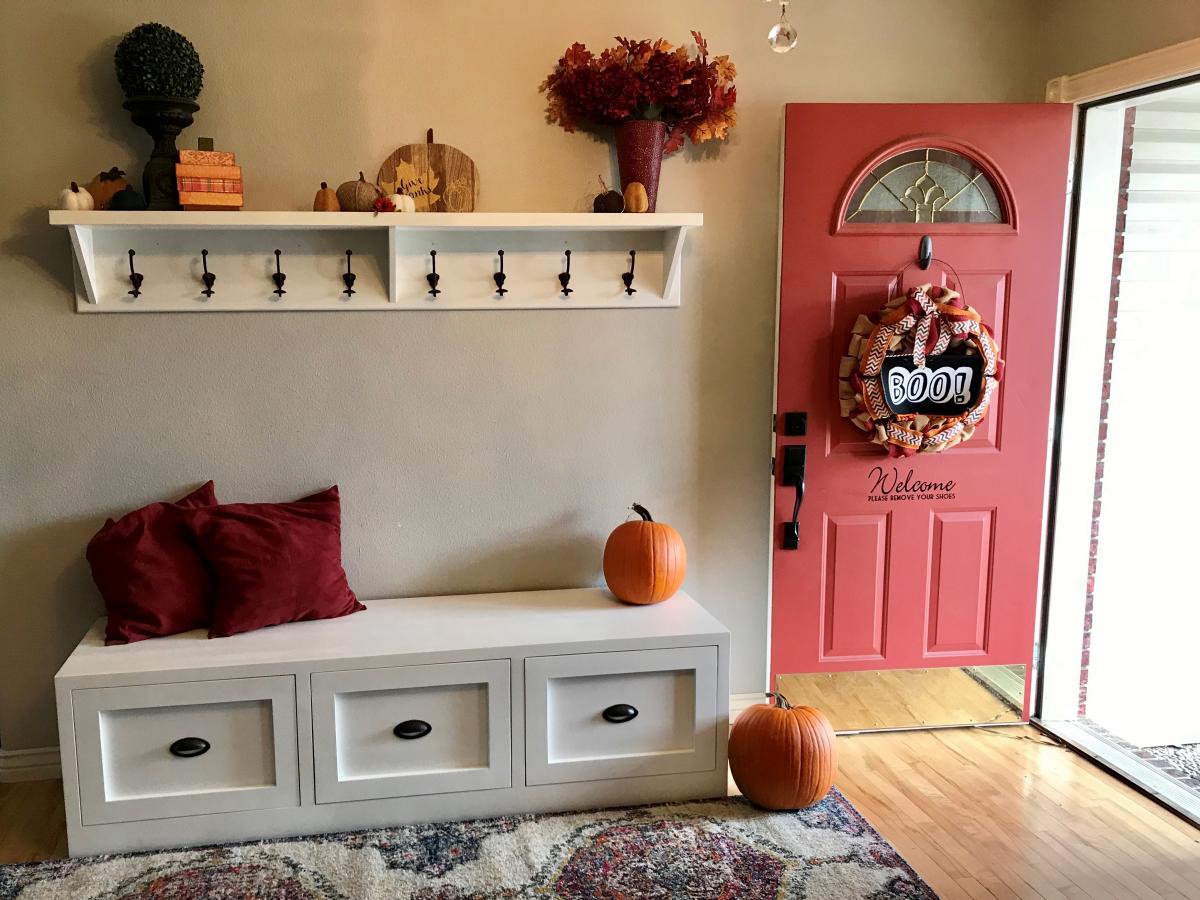
We needed a better solution for our entry way where kids tended to drop their backpacks and clutter the room. We used the "Mudroom Bench with easy drawers" plans and modified it to be just a little taller for our space. Adding a simply shelf above gave a space to hang up coats and backpacks while shoes and umbrellas can fit in the deep drawers.
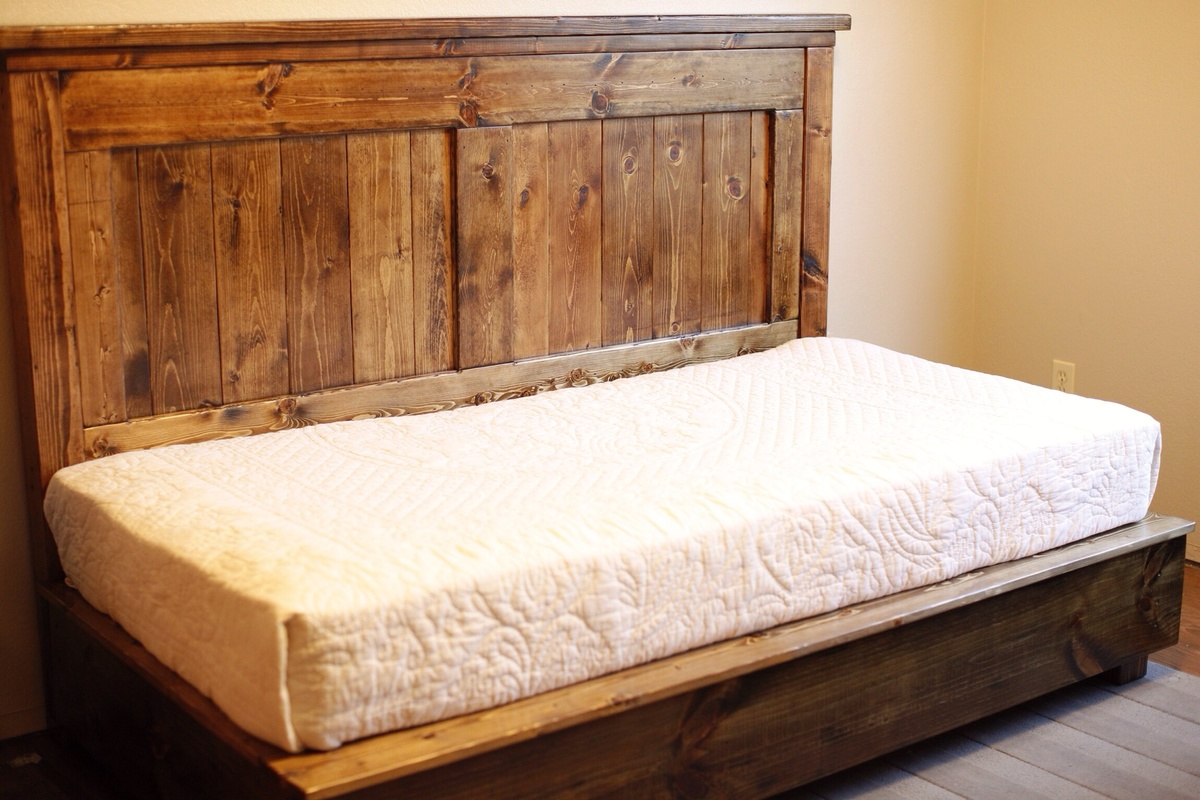
Great plans for a platform bed. My son loves it!
Jmimms
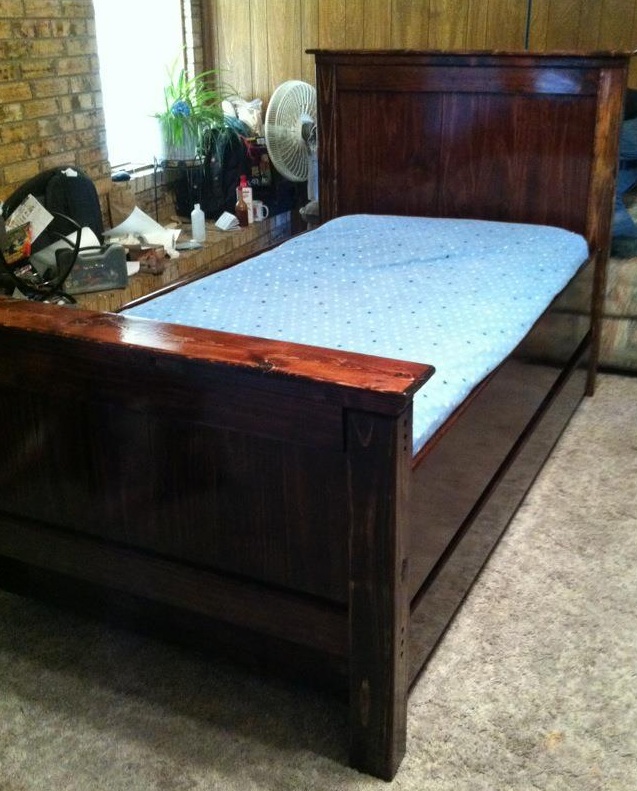
Twin farmhouse bed with trundle. Slightly modified to make foot board a bit taller.
Wed, 03/14/2012 - 07:44
Where can I locate plans for the trundle?
Thanks!
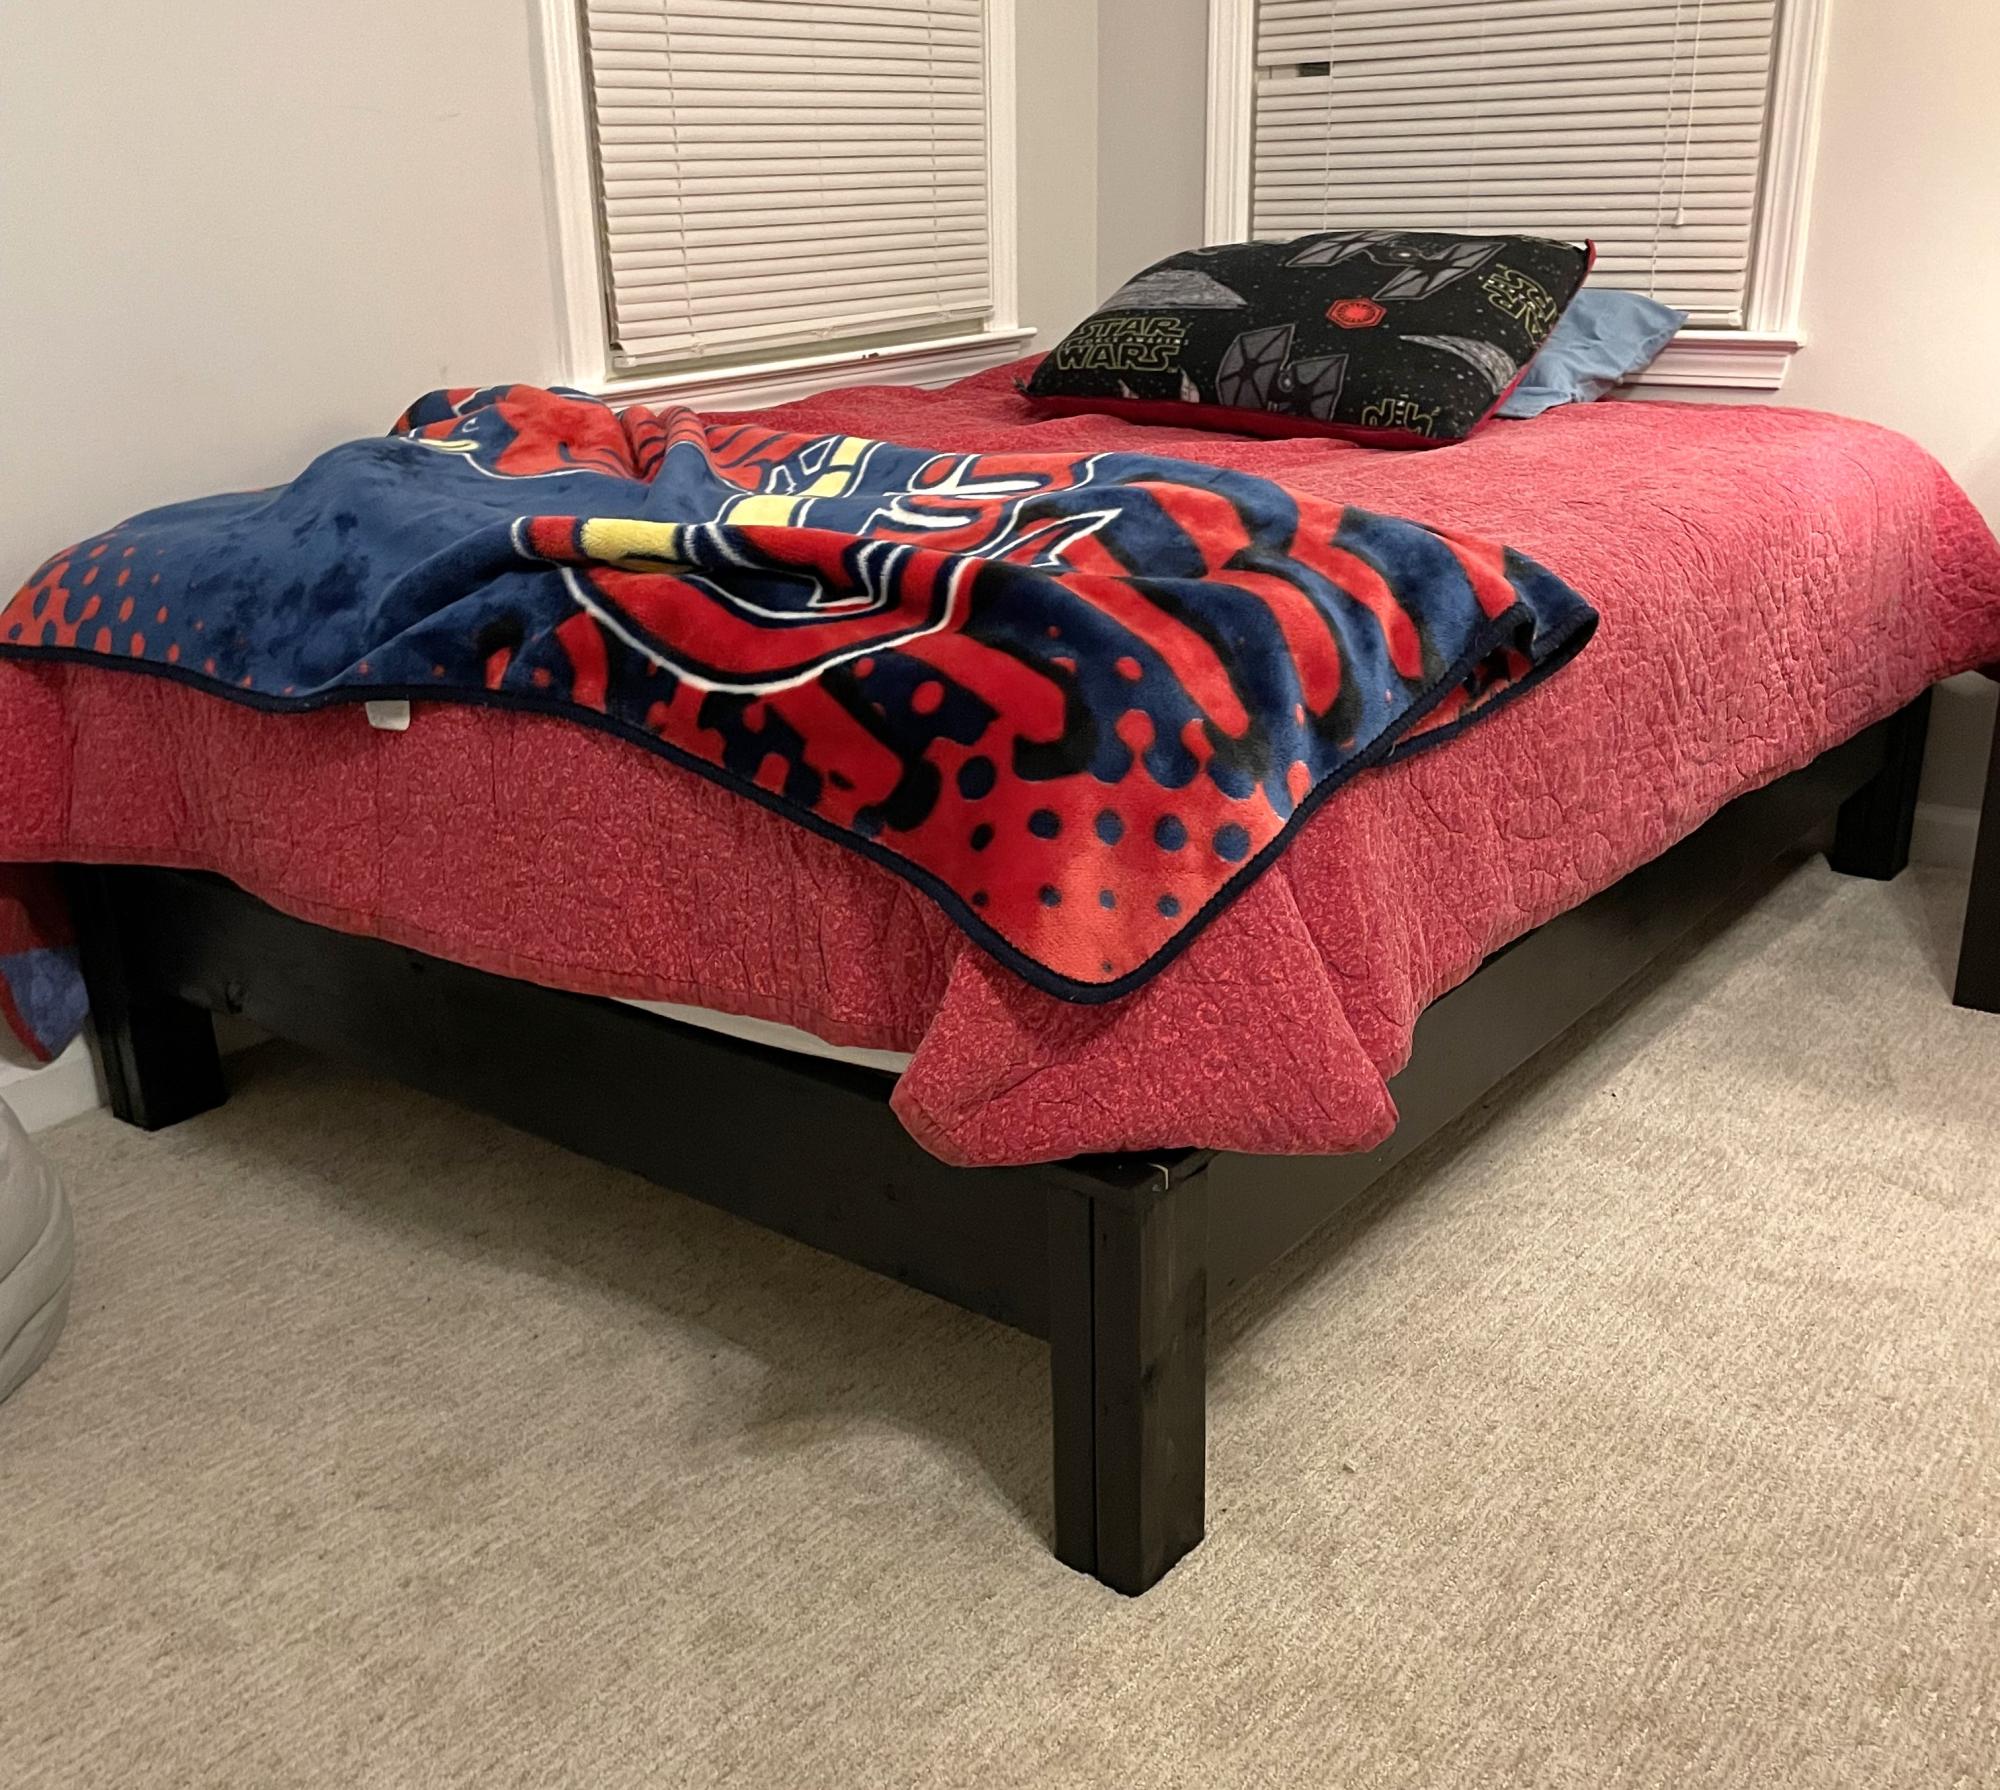
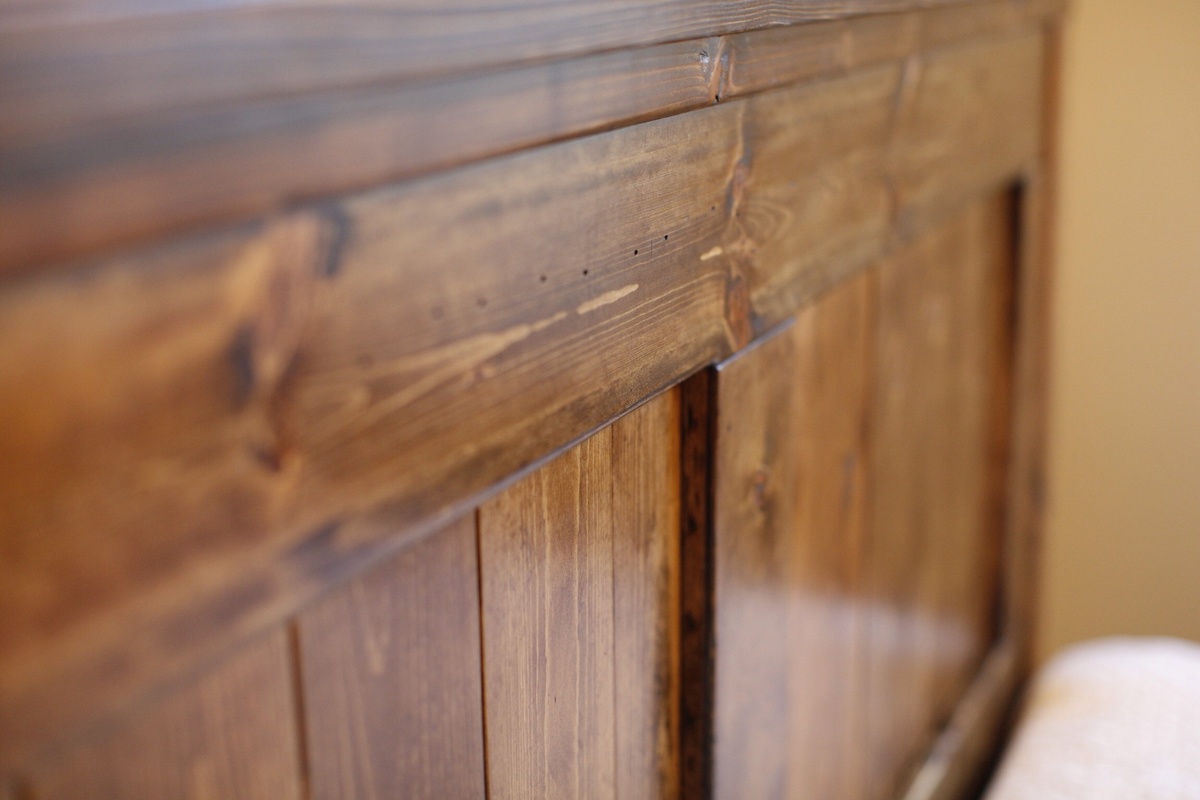
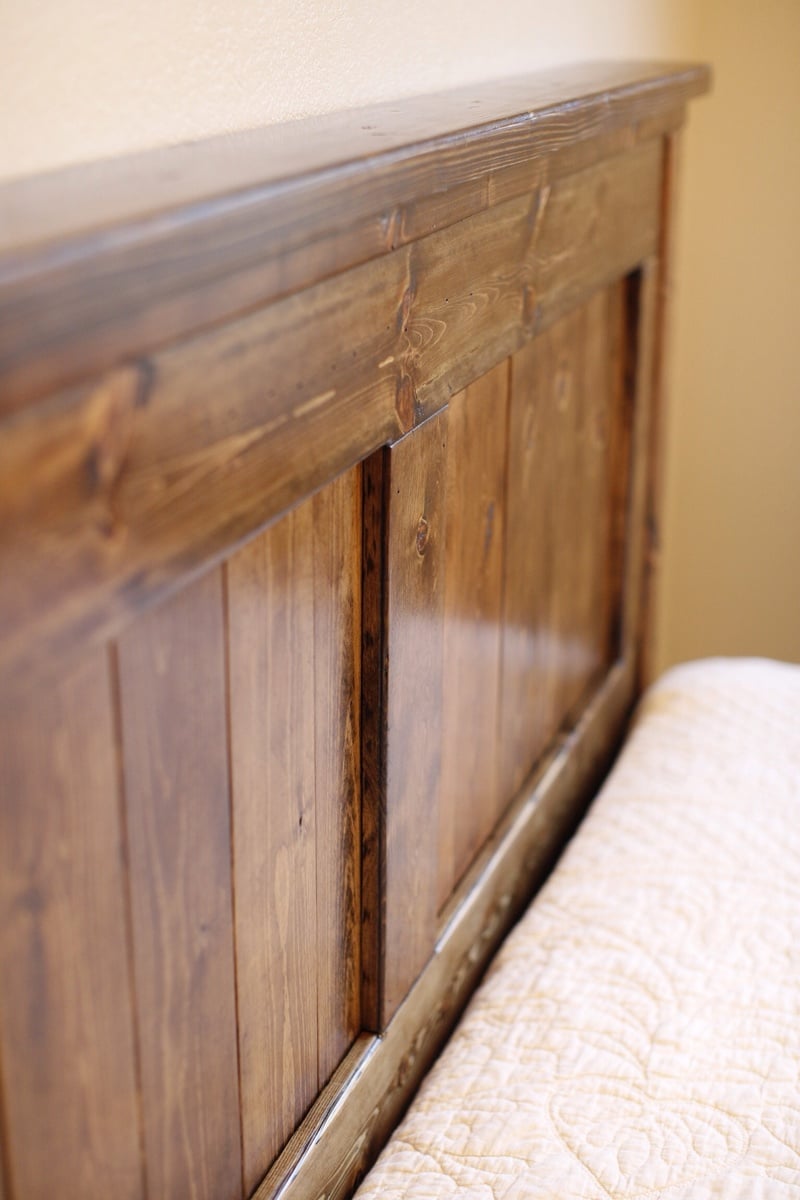
My son plays games while sitting on his bed, we love the farmhouse style, but for room sake and looks, making it this way turned out perfect. Took the basic layout added some thicker boards top and bottom and additional surface boards to give it depth. Since there was no footboard I built a free standing frame, and attached it to the headboard.
Tue, 12/22/2015 - 07:42
This is the perfect playroom bed for a boy! I'm looking to build two of them. Every other bed I've searched that is farmhouse style is boarded on three sides. I LOVE this playform style for the same reason you mentioned....they can sit all around on the bed and it's much easier for kids to change bed linens. I love the "chunkyness" and masculine appeal of this bed! You mentioned using thicker boards on the top. Would you mind shag what yo used? Also, what did you use to make your "feet" on the bottom? I would appreciate any tips