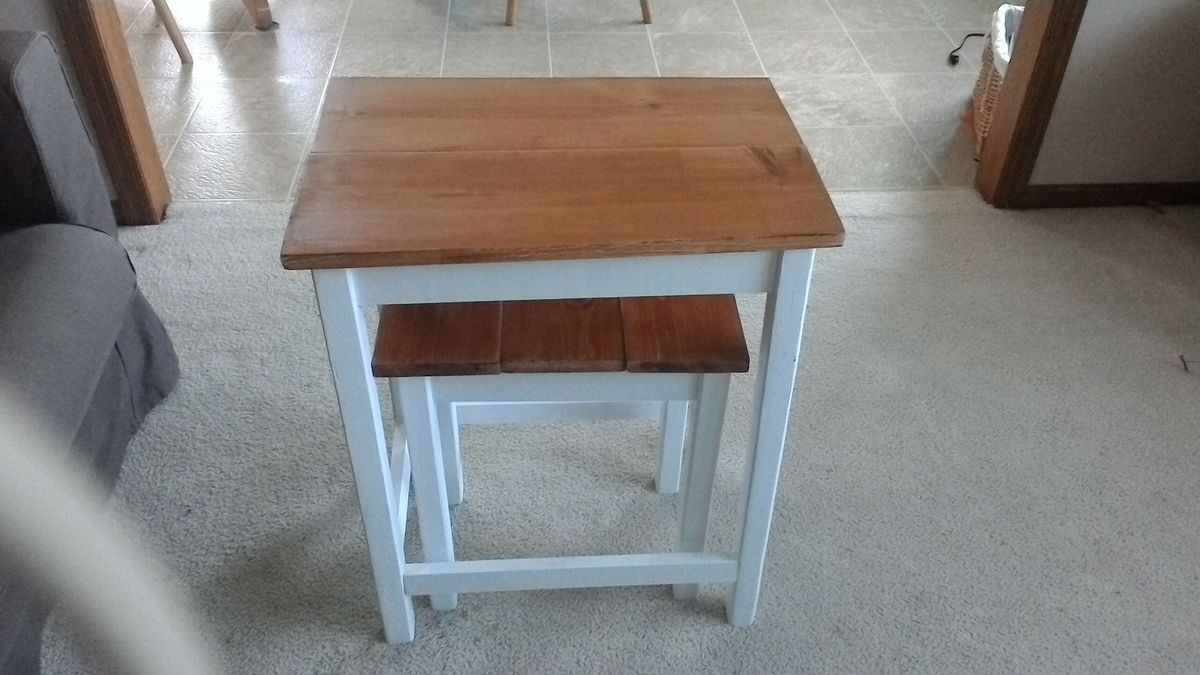
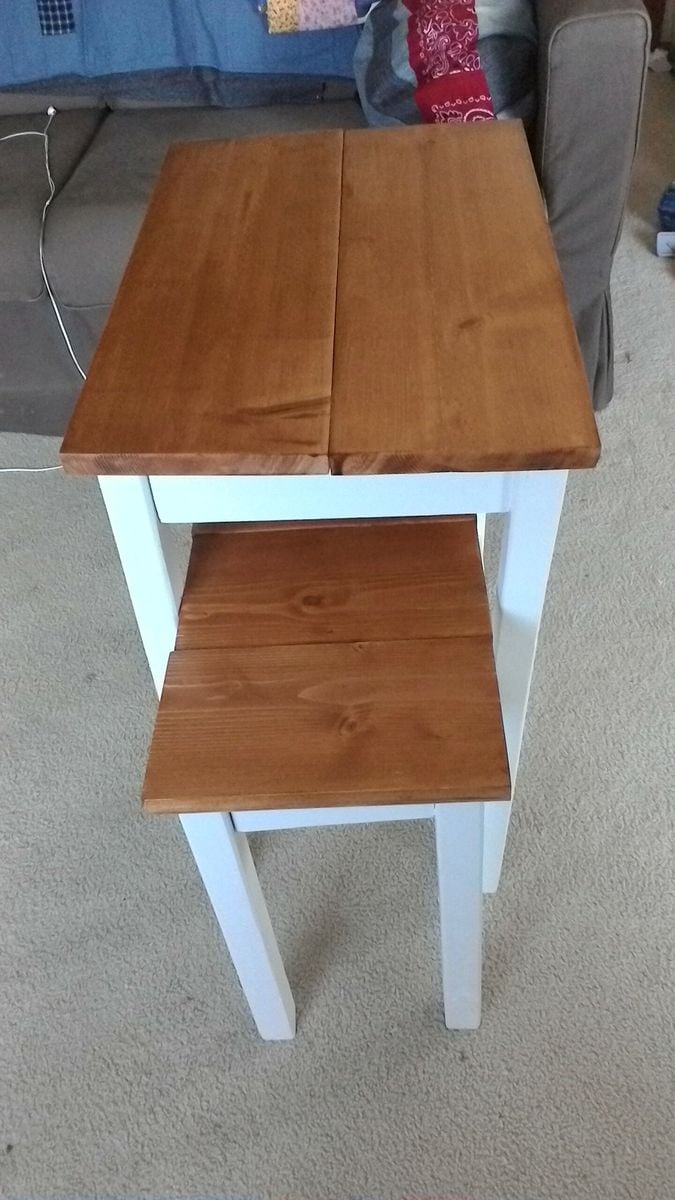
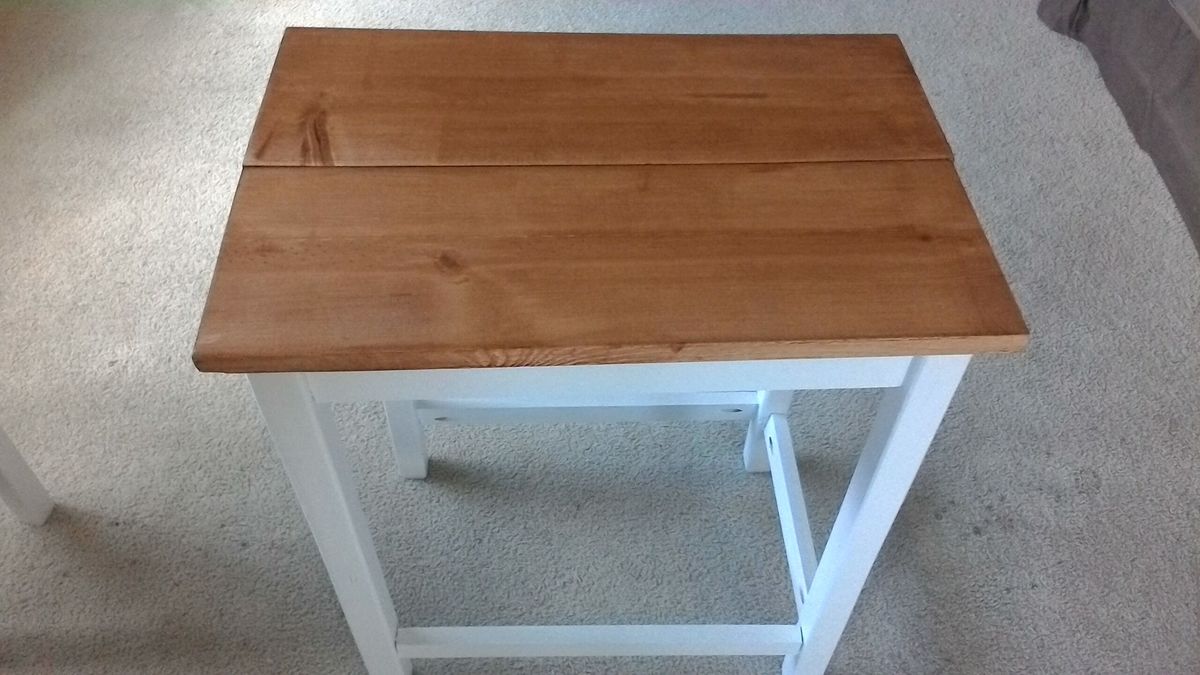
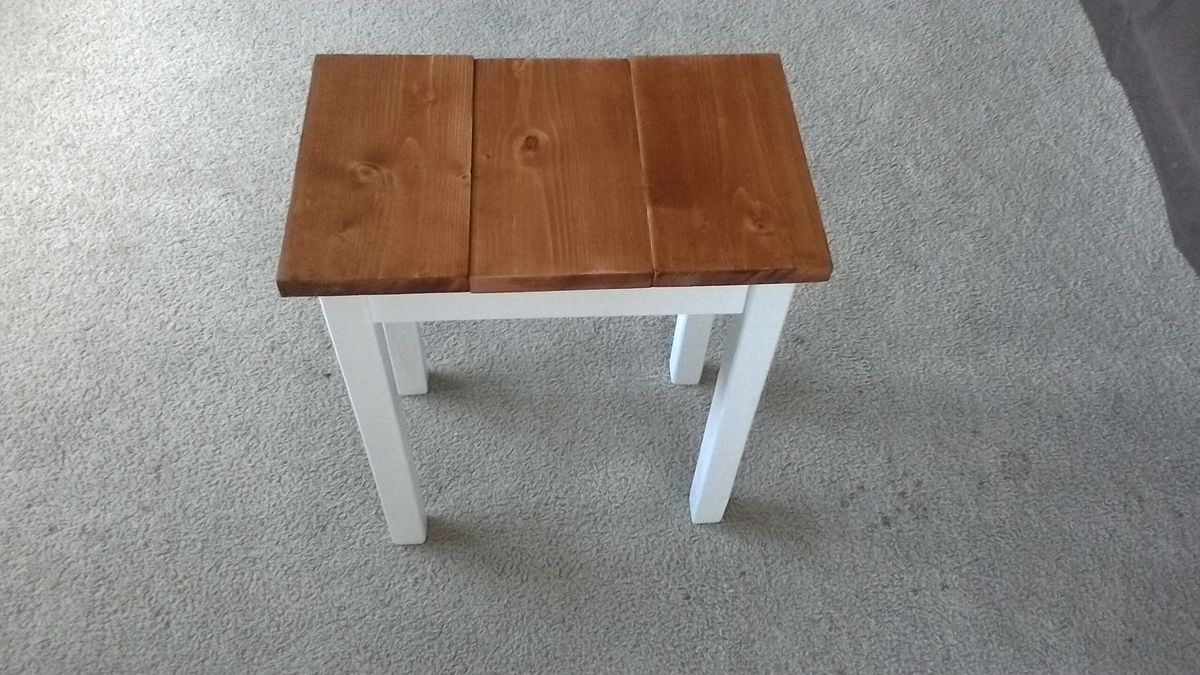
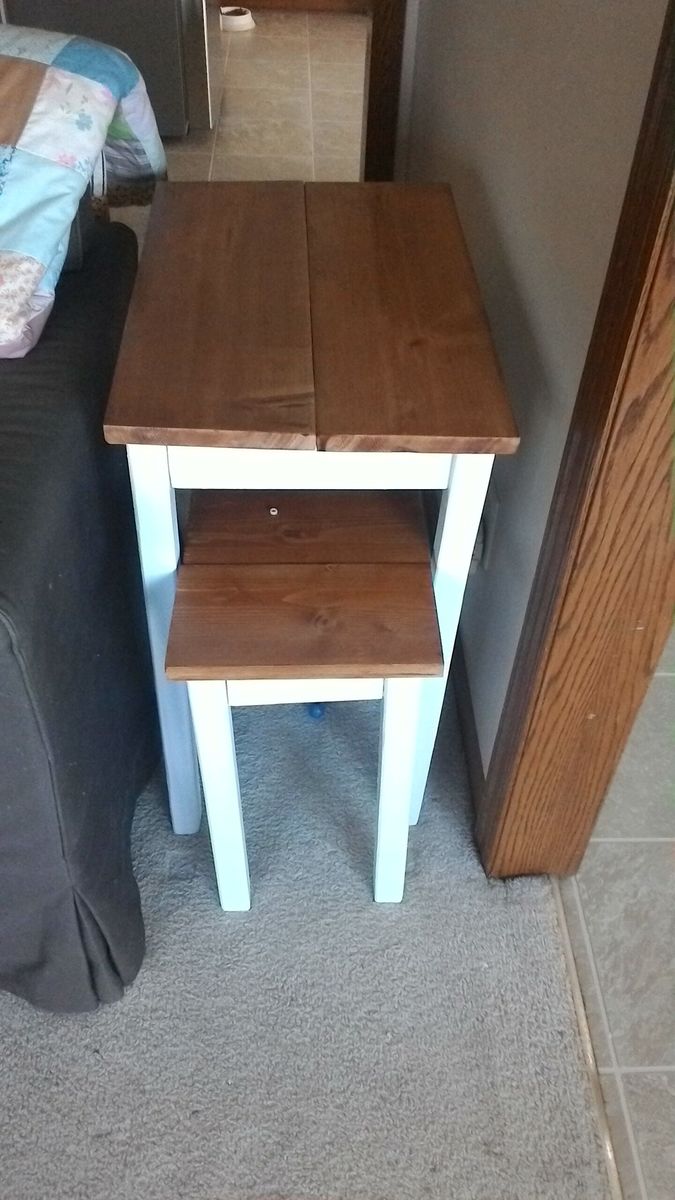
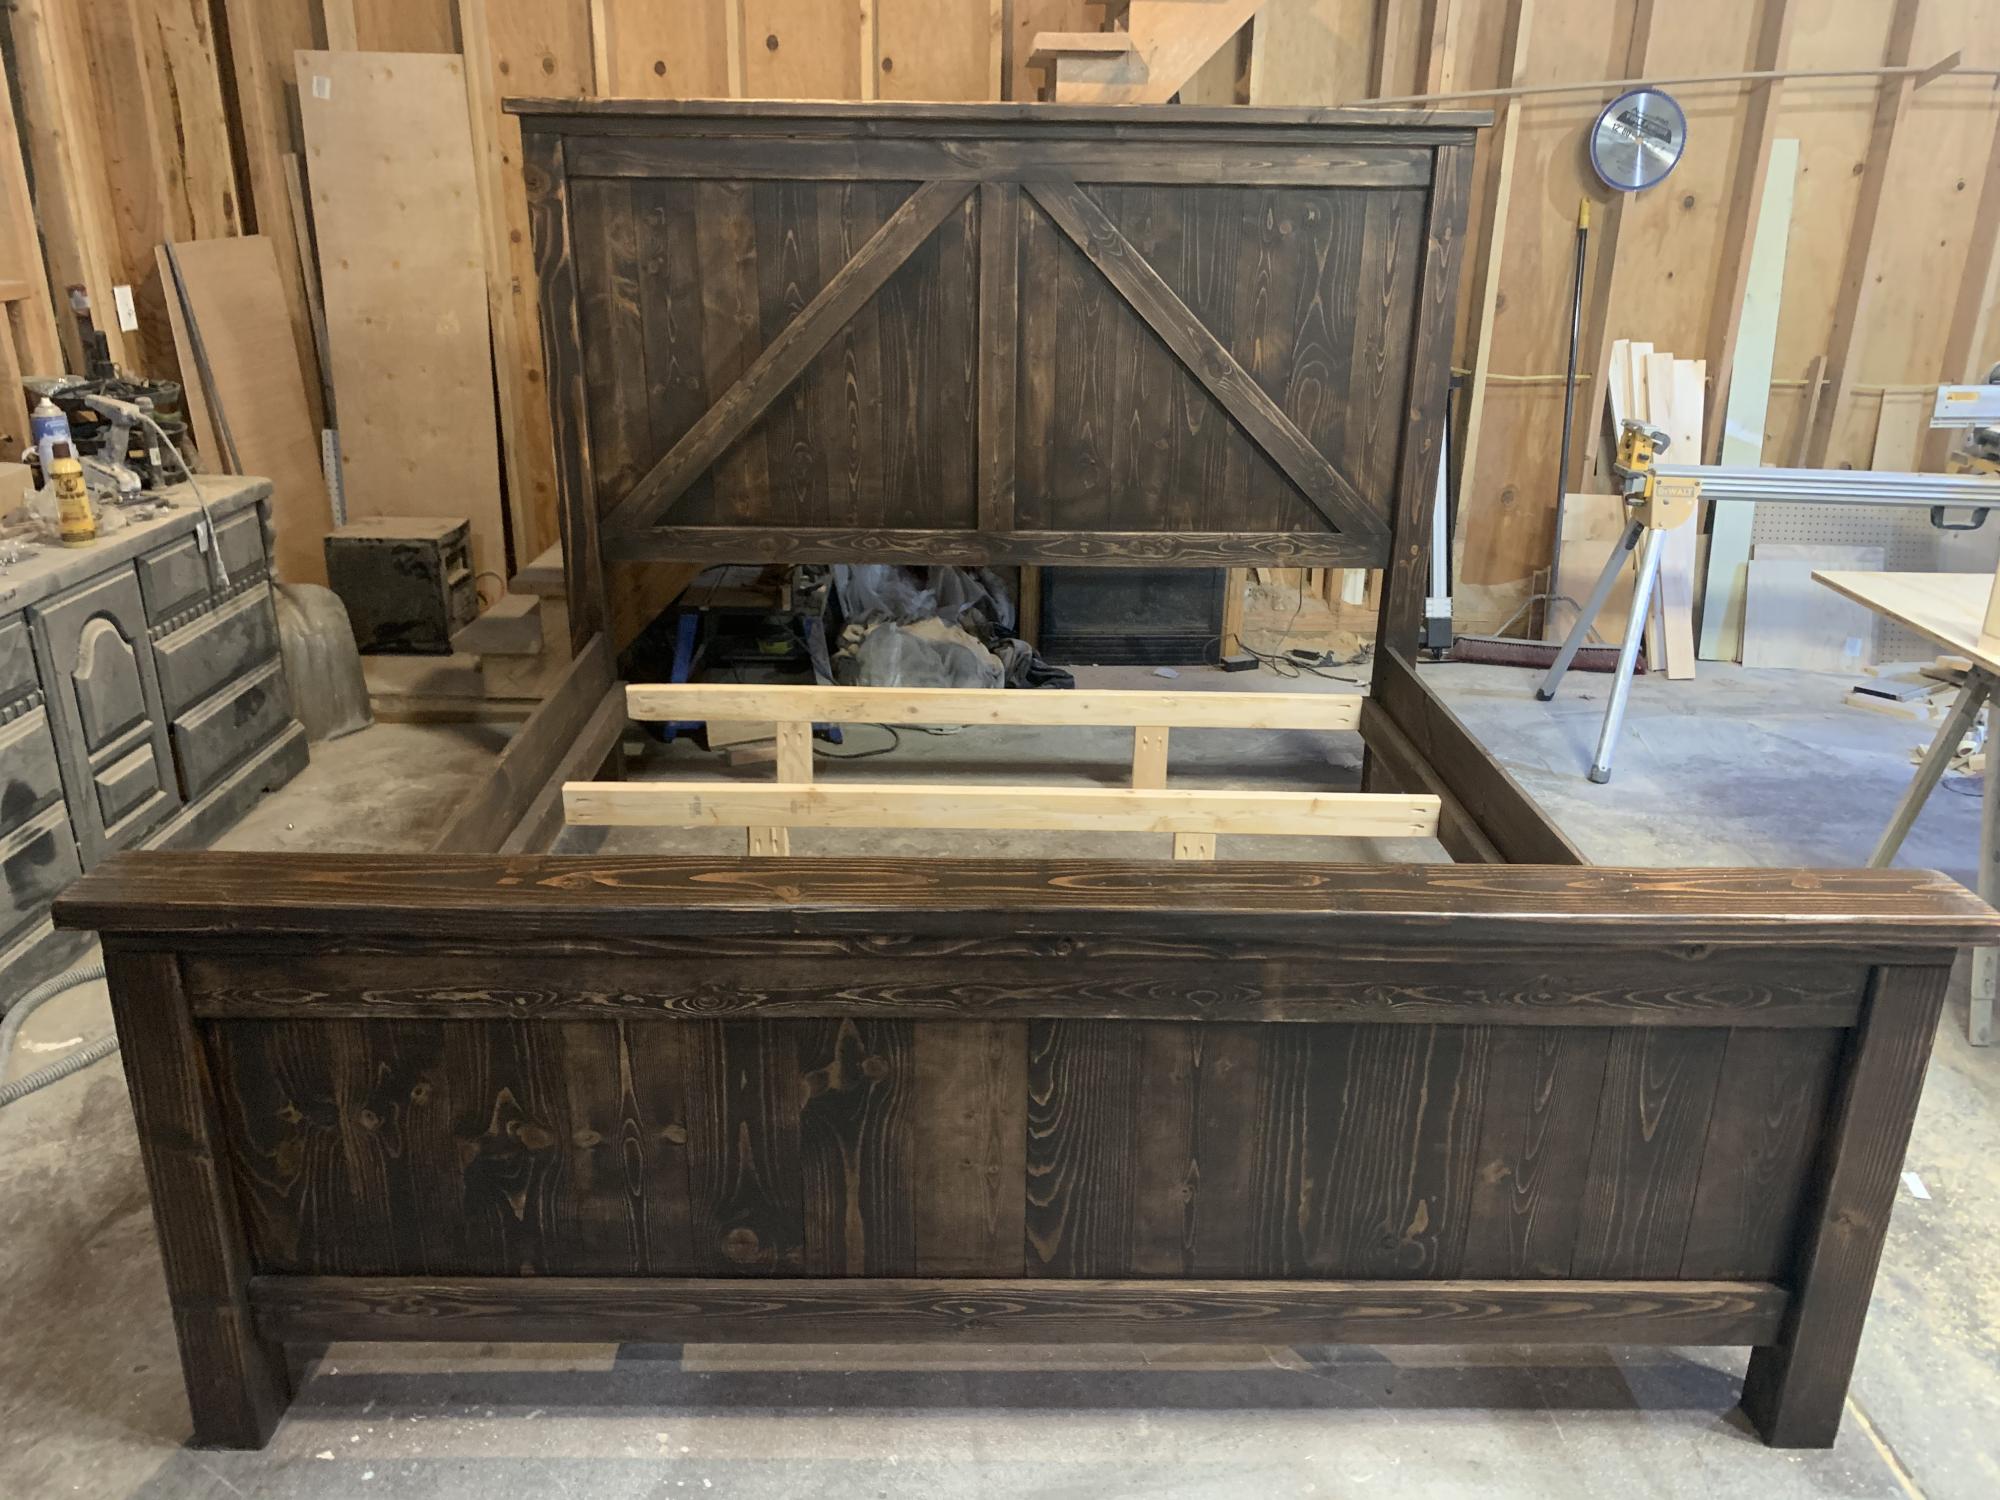
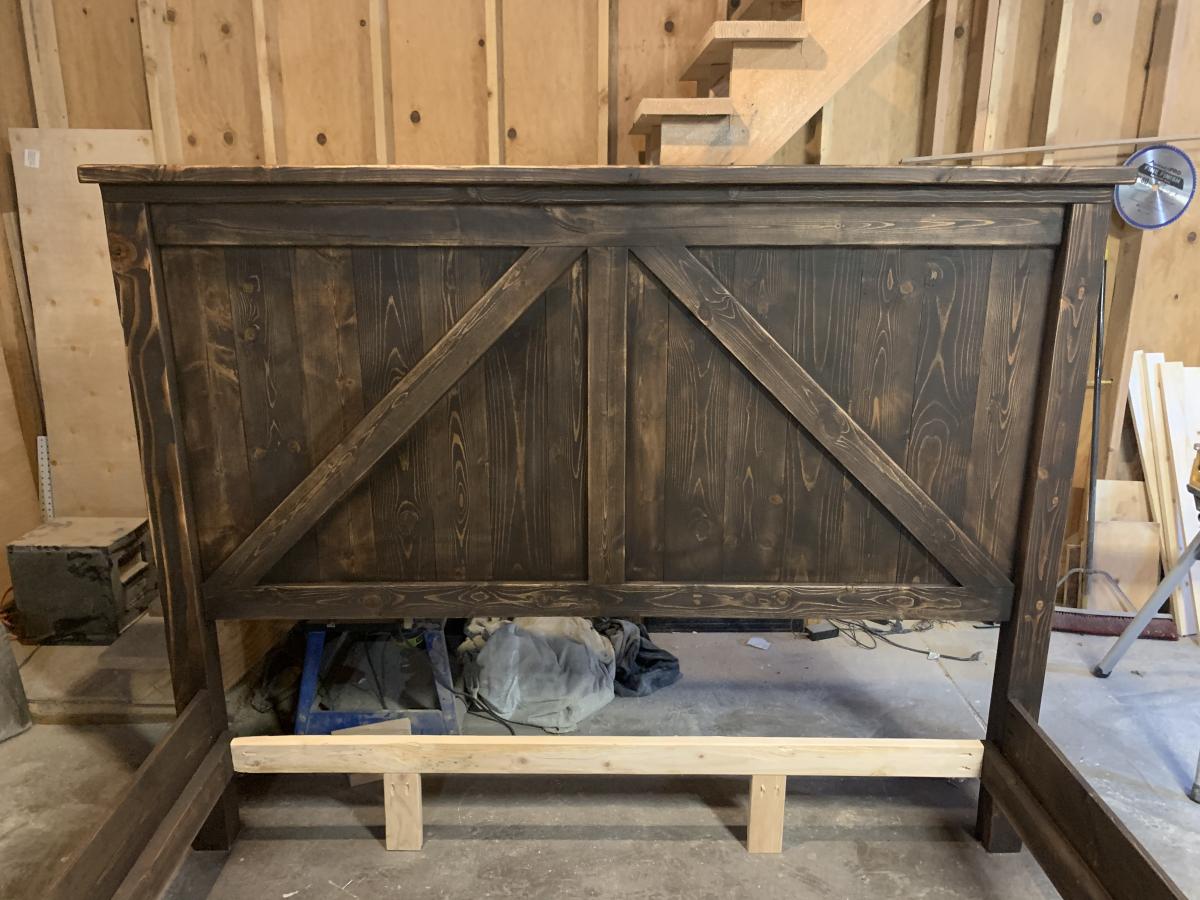
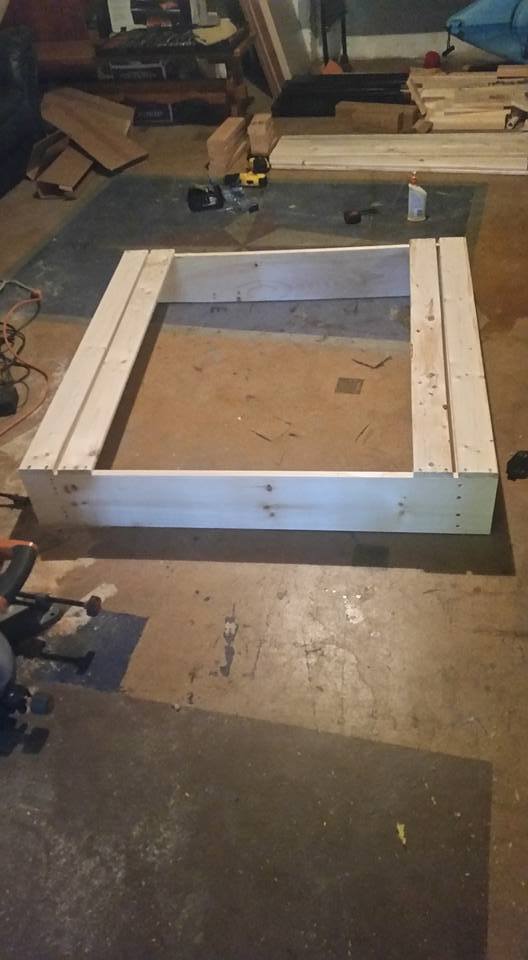
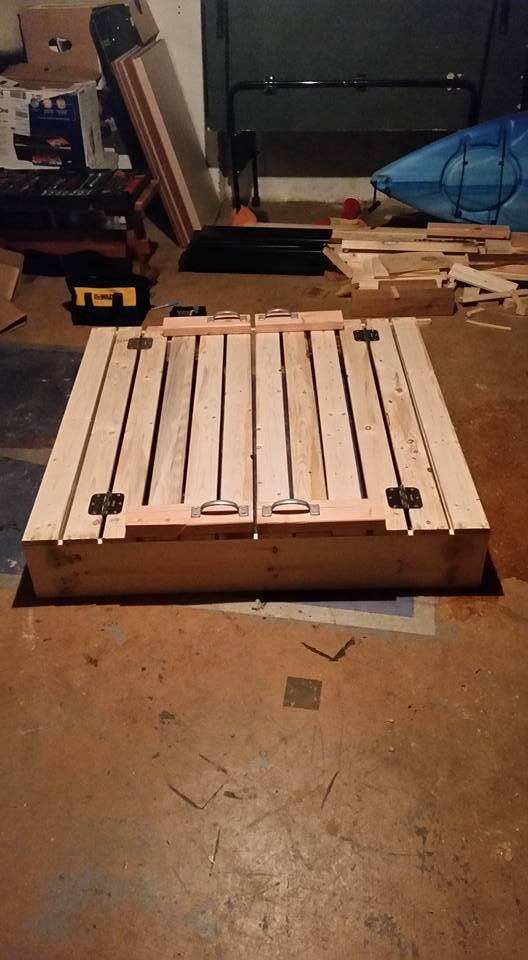
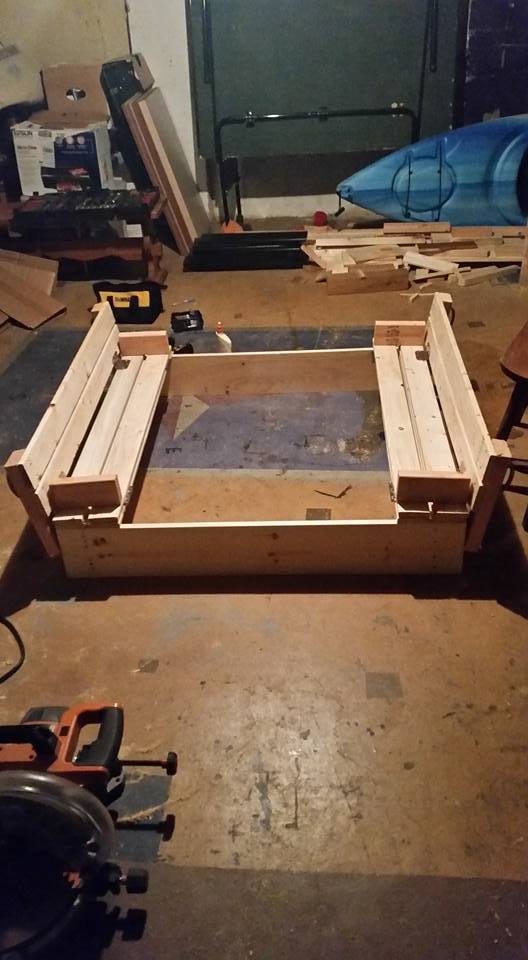
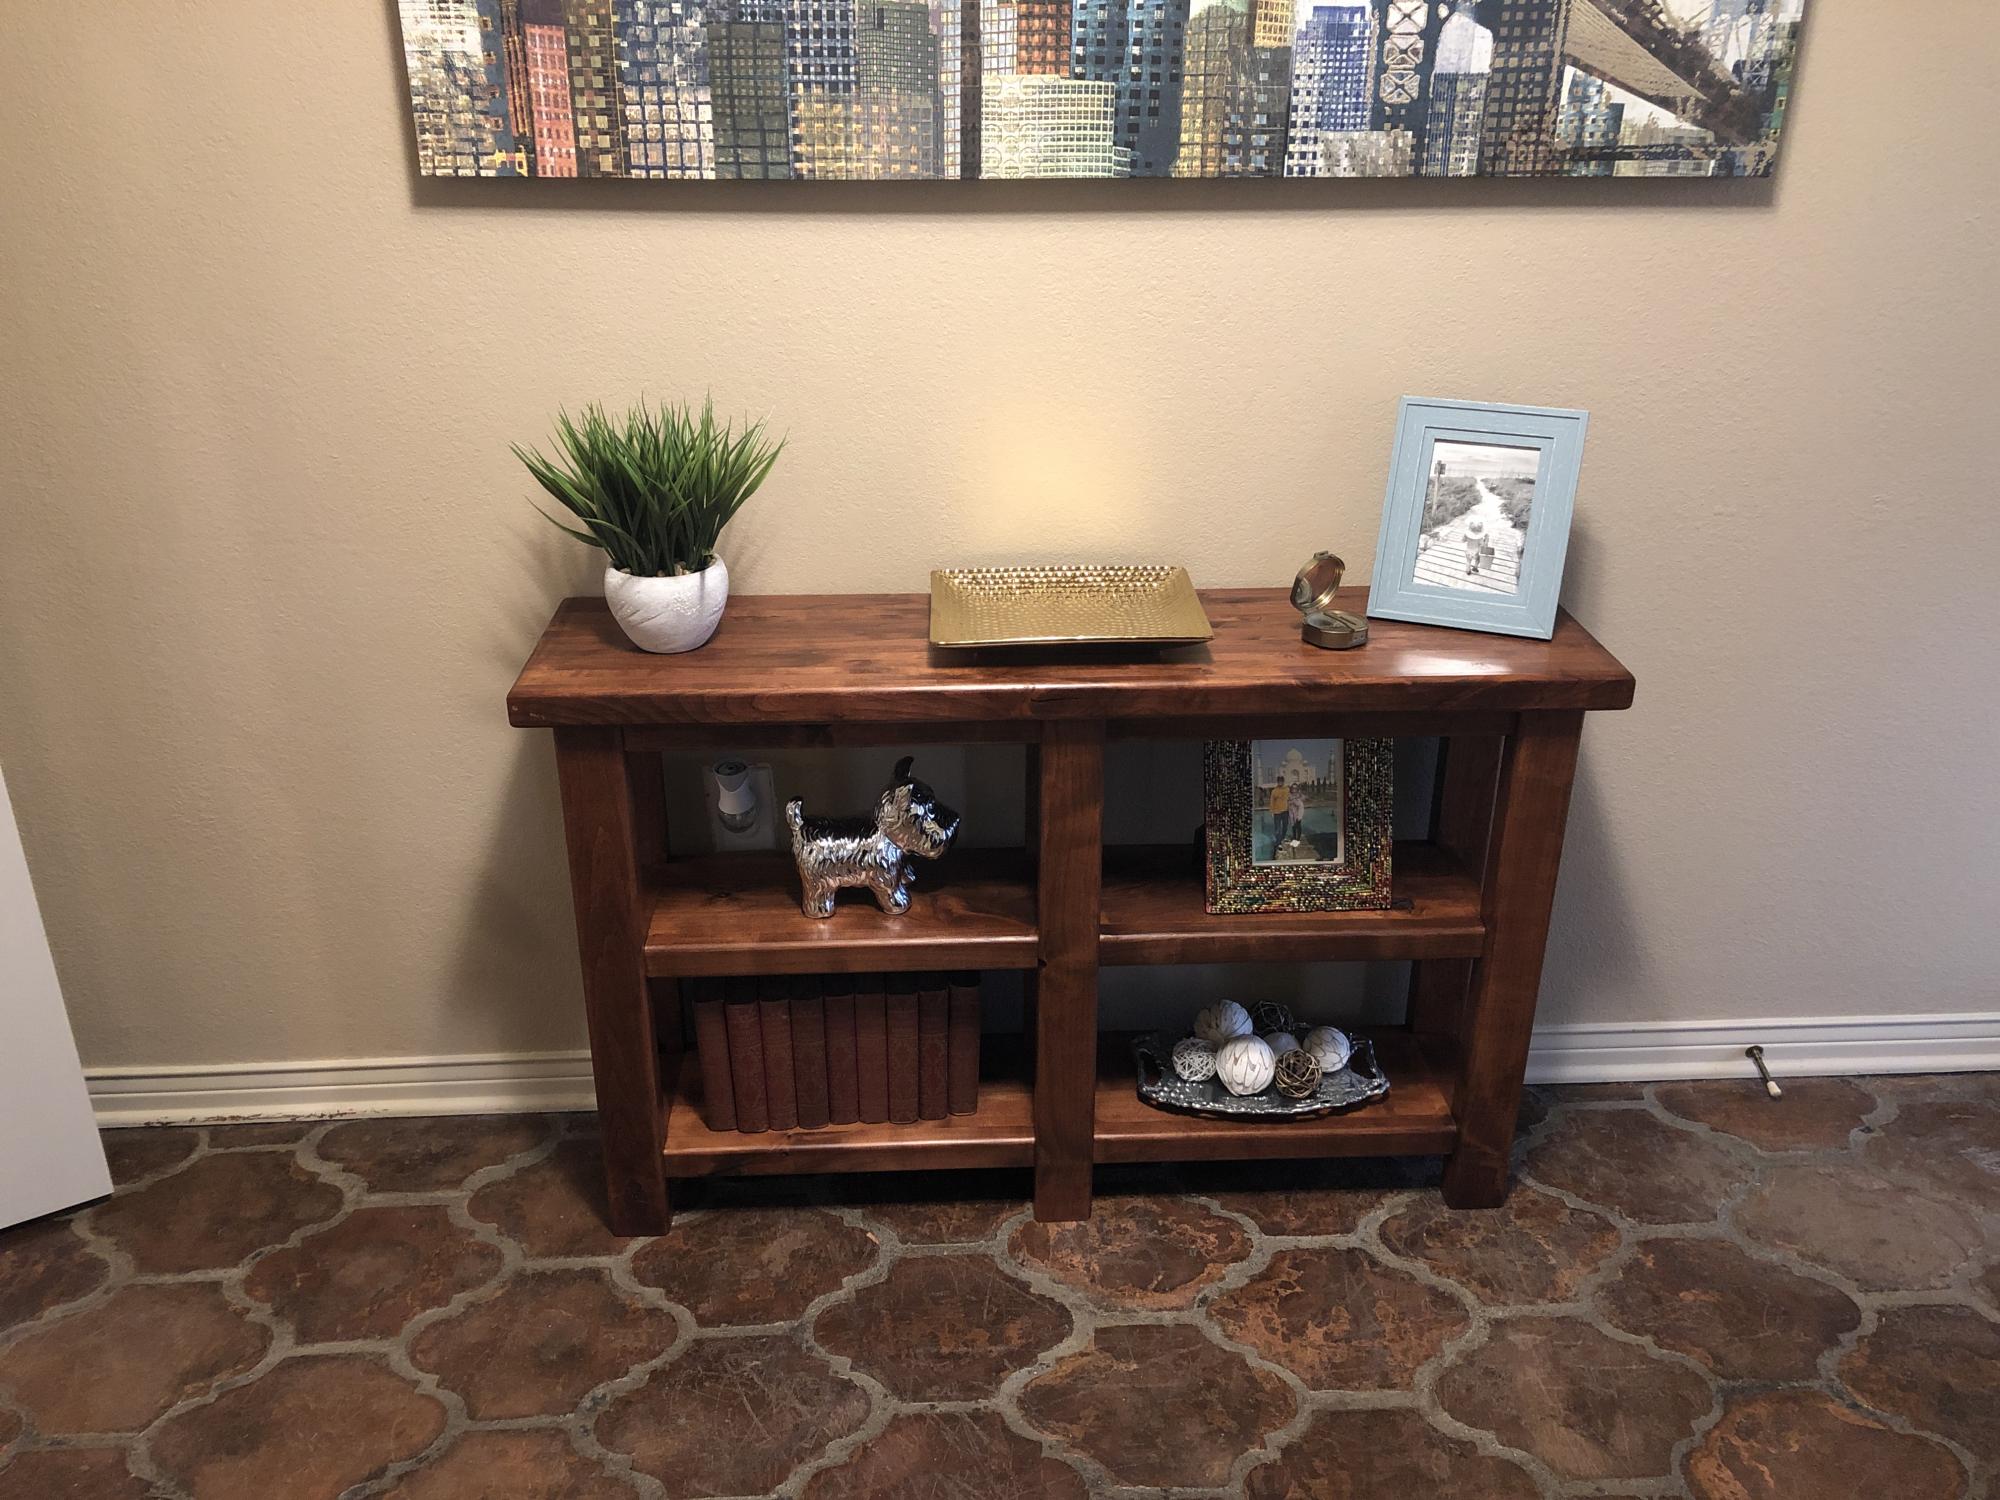
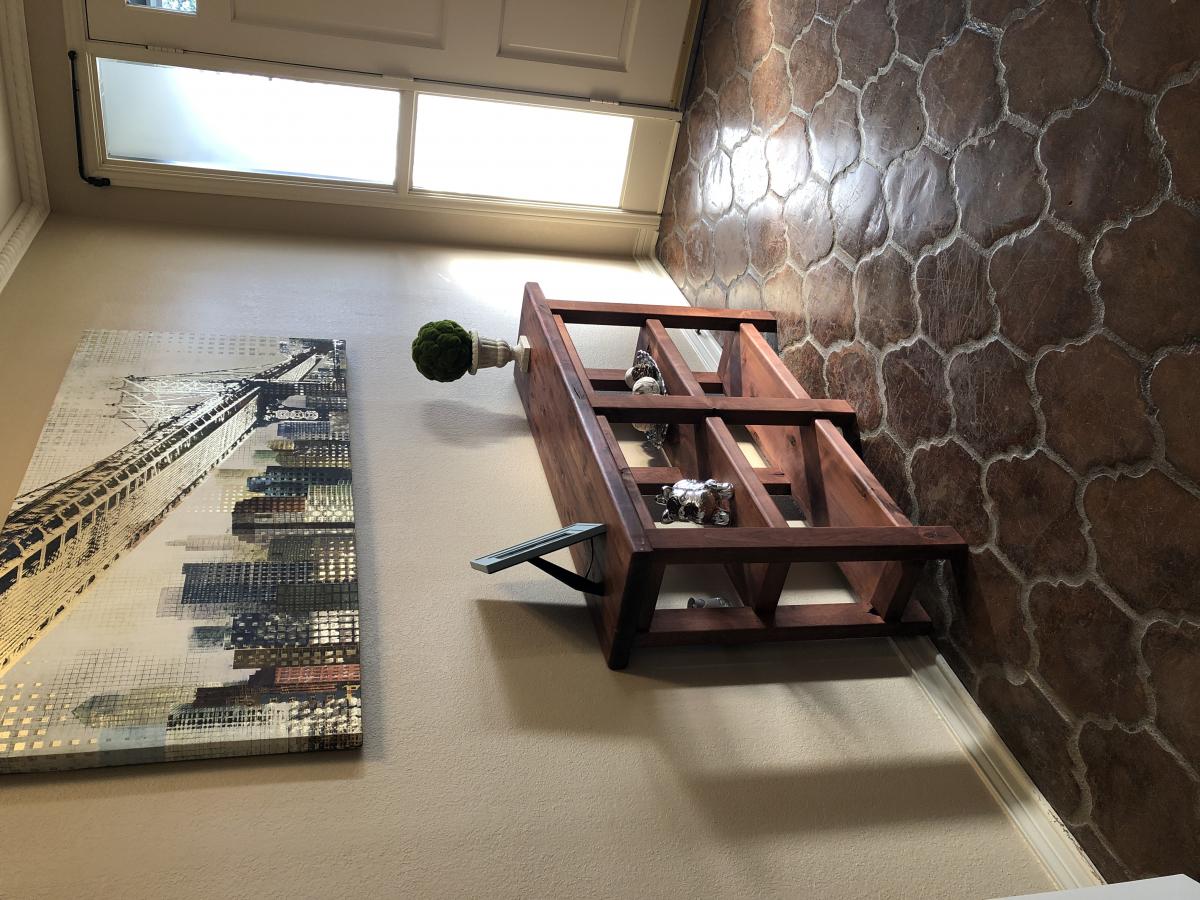
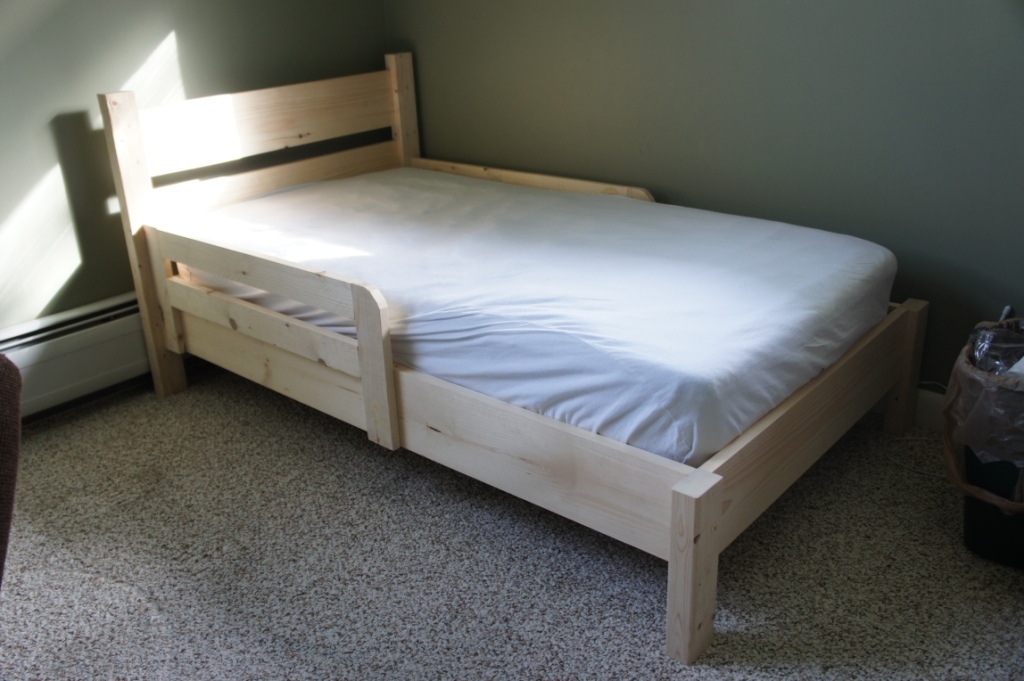
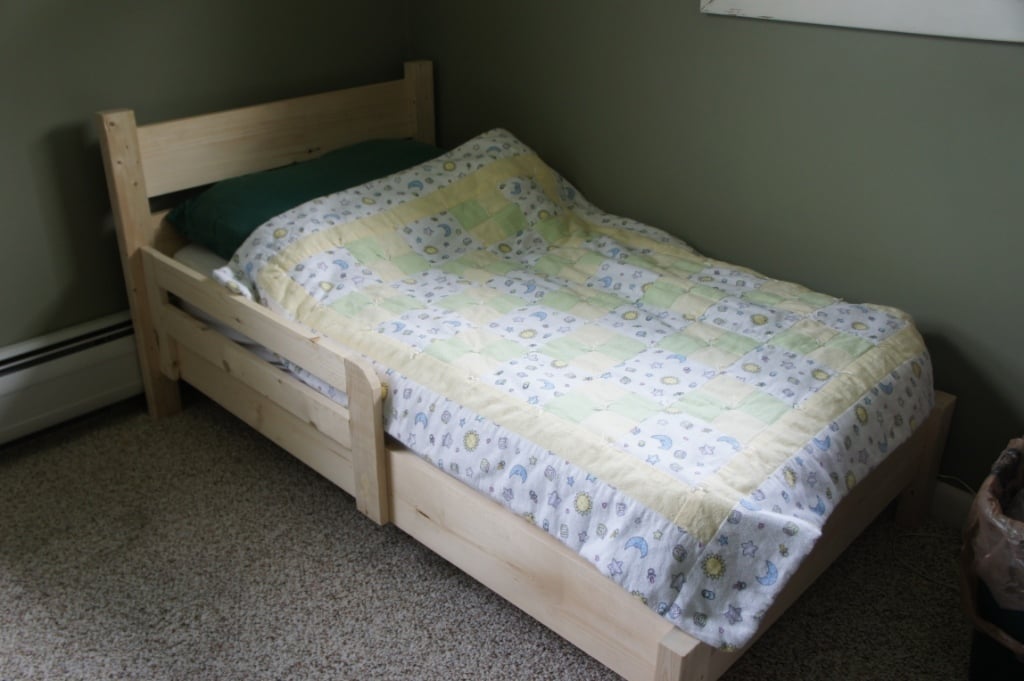
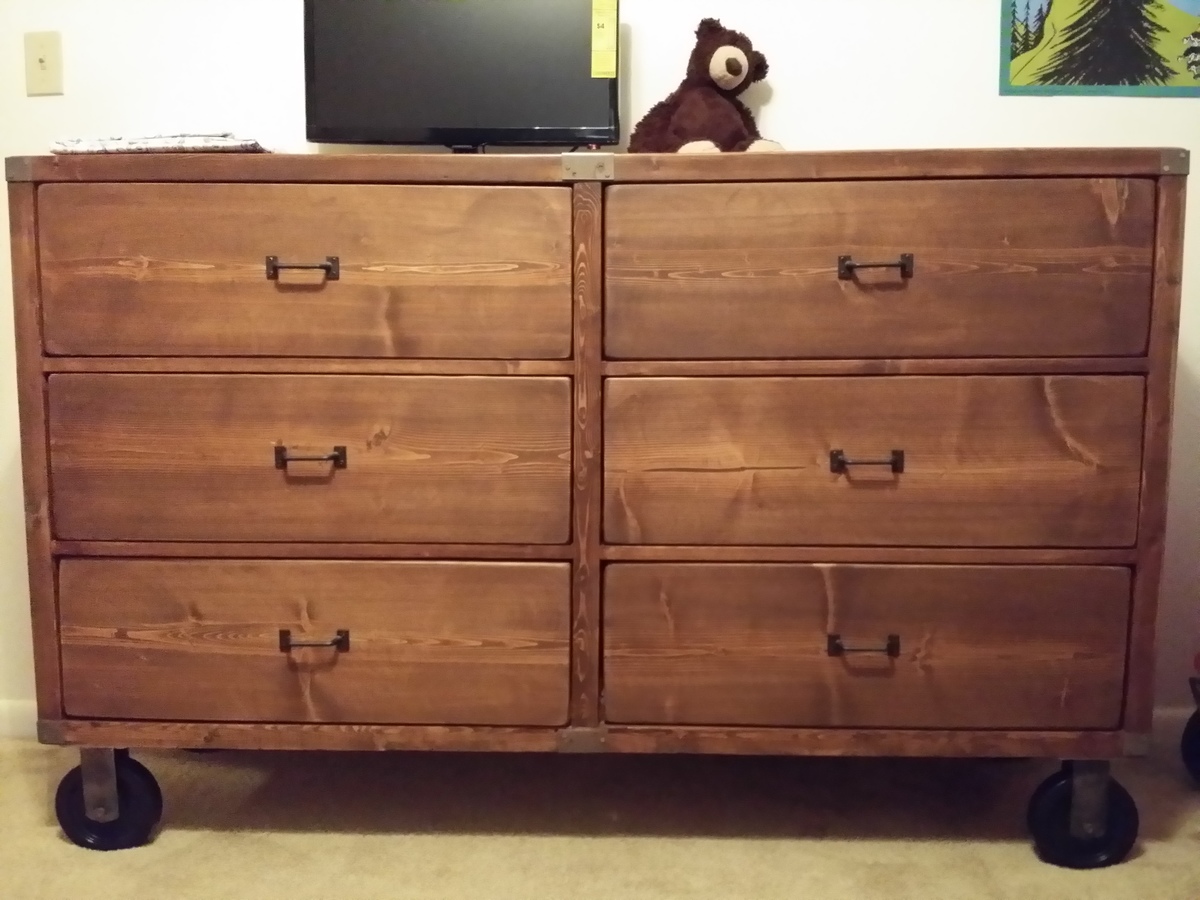
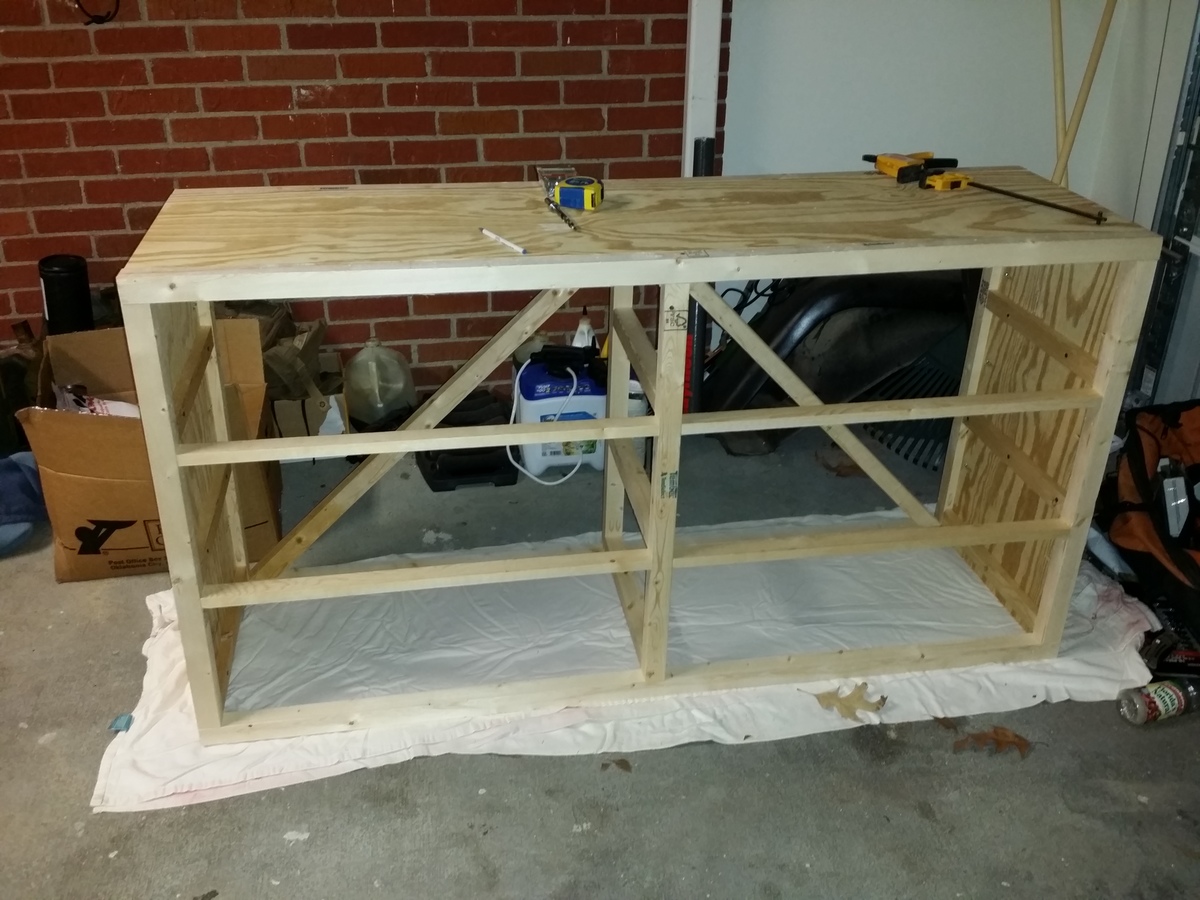
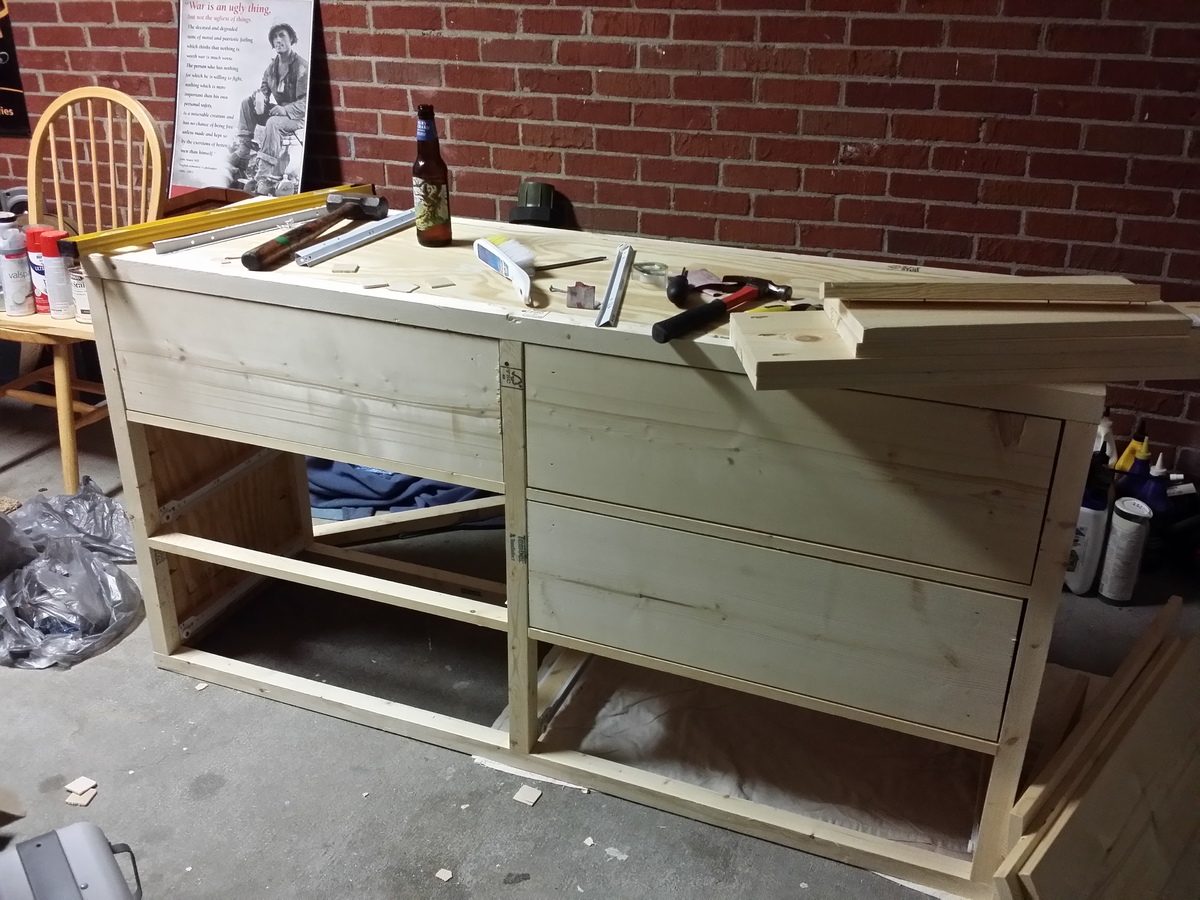
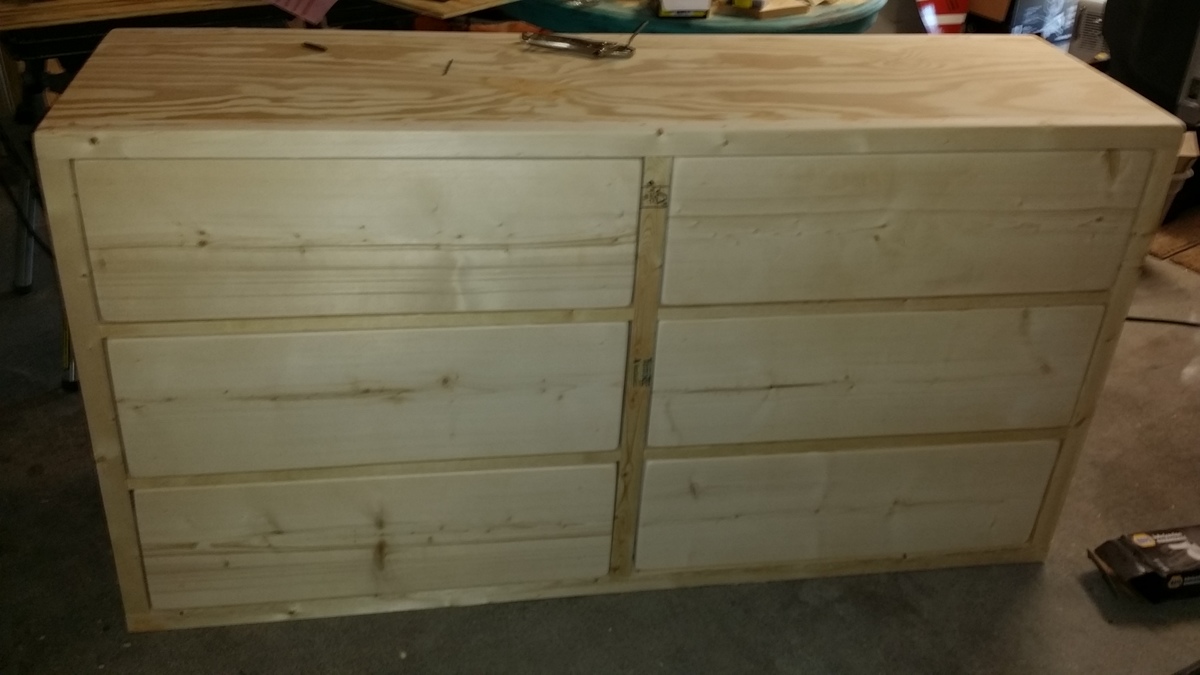
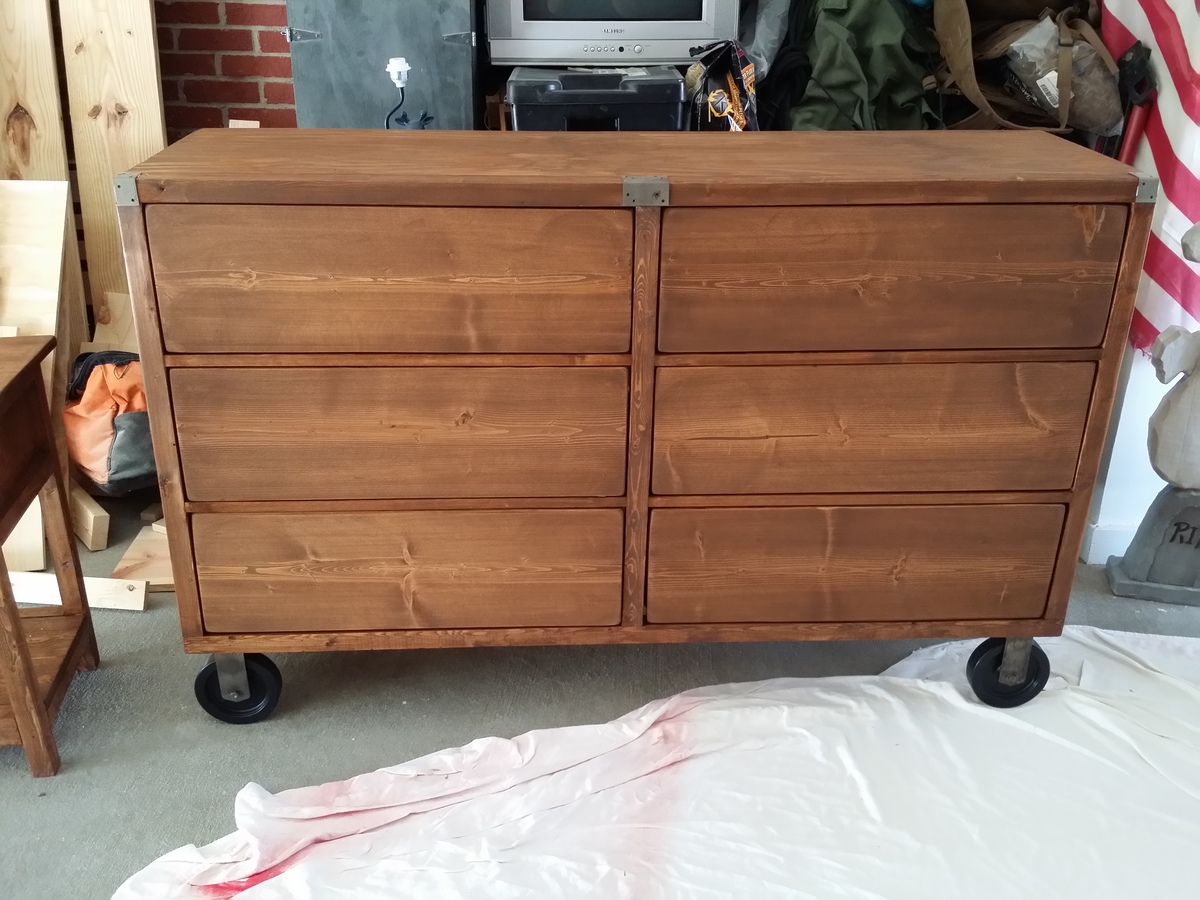
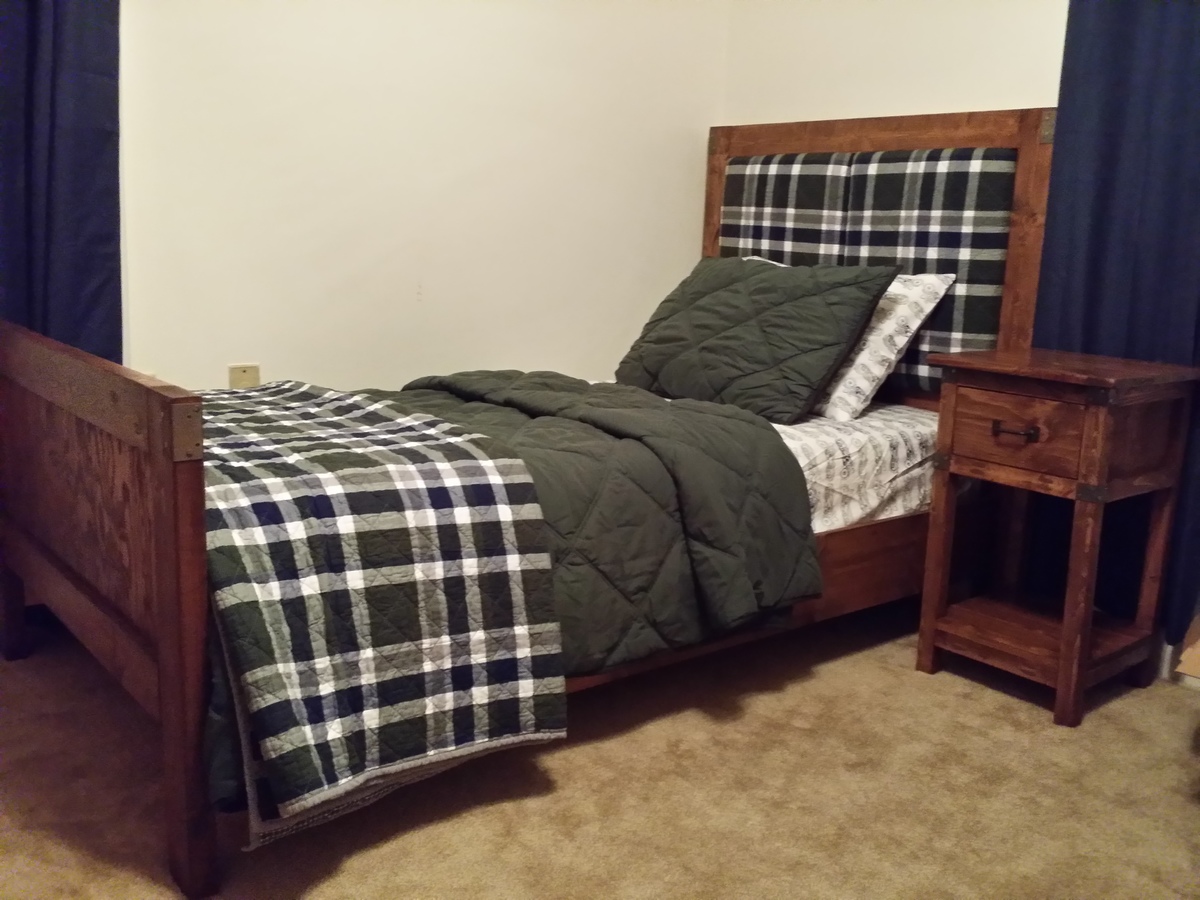
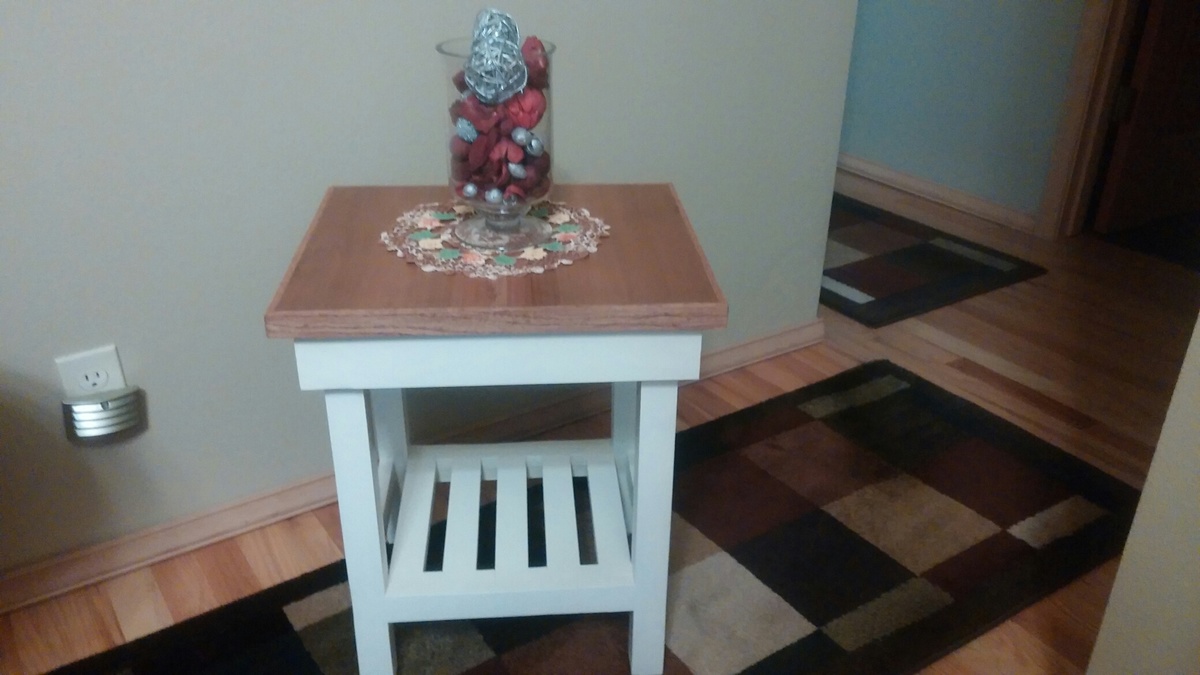
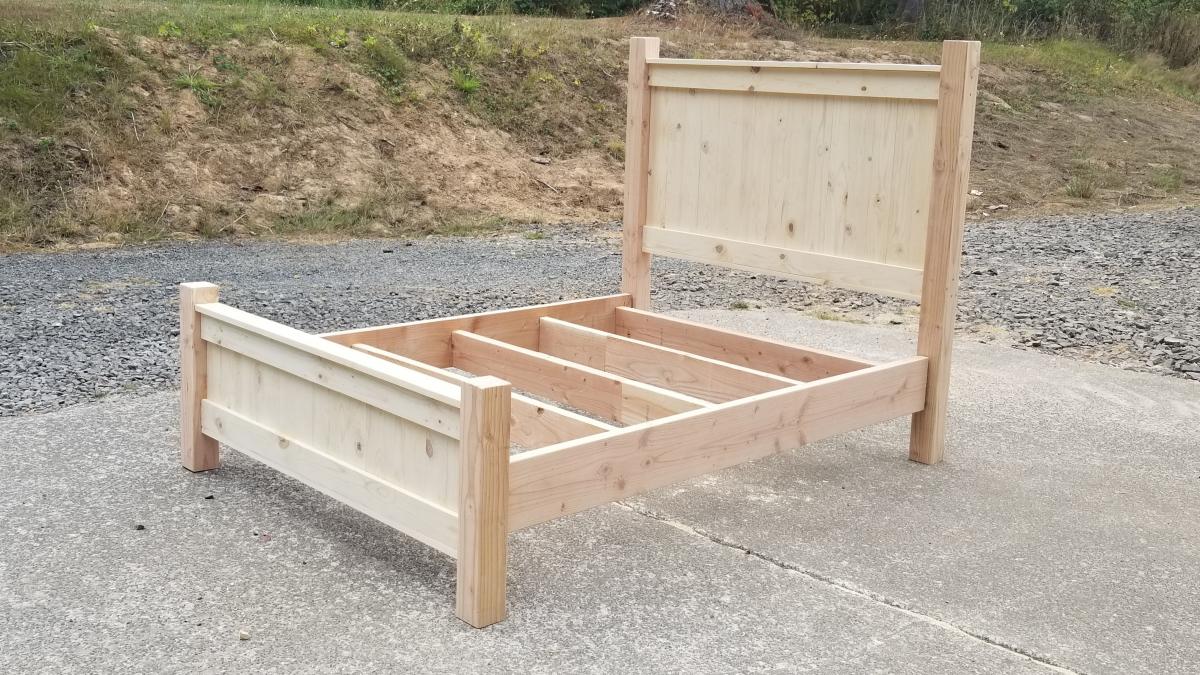
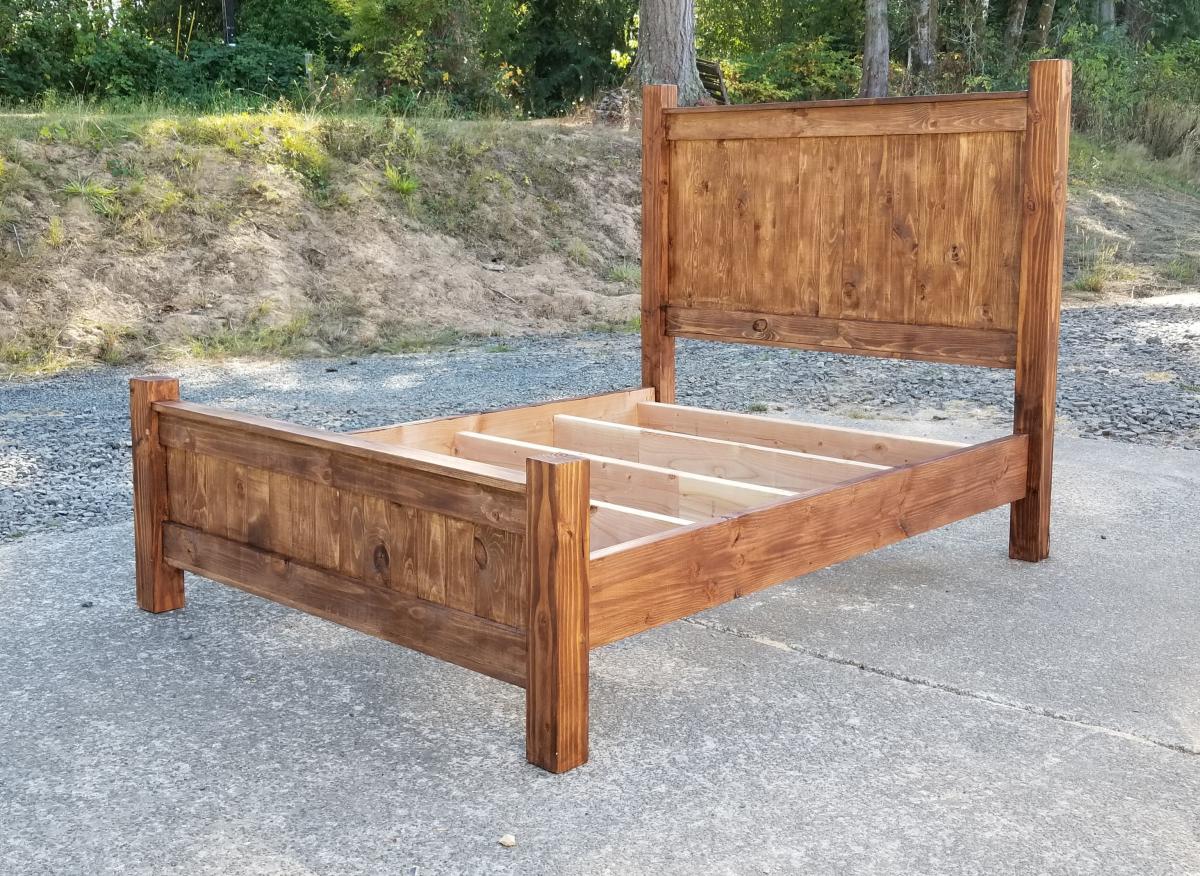
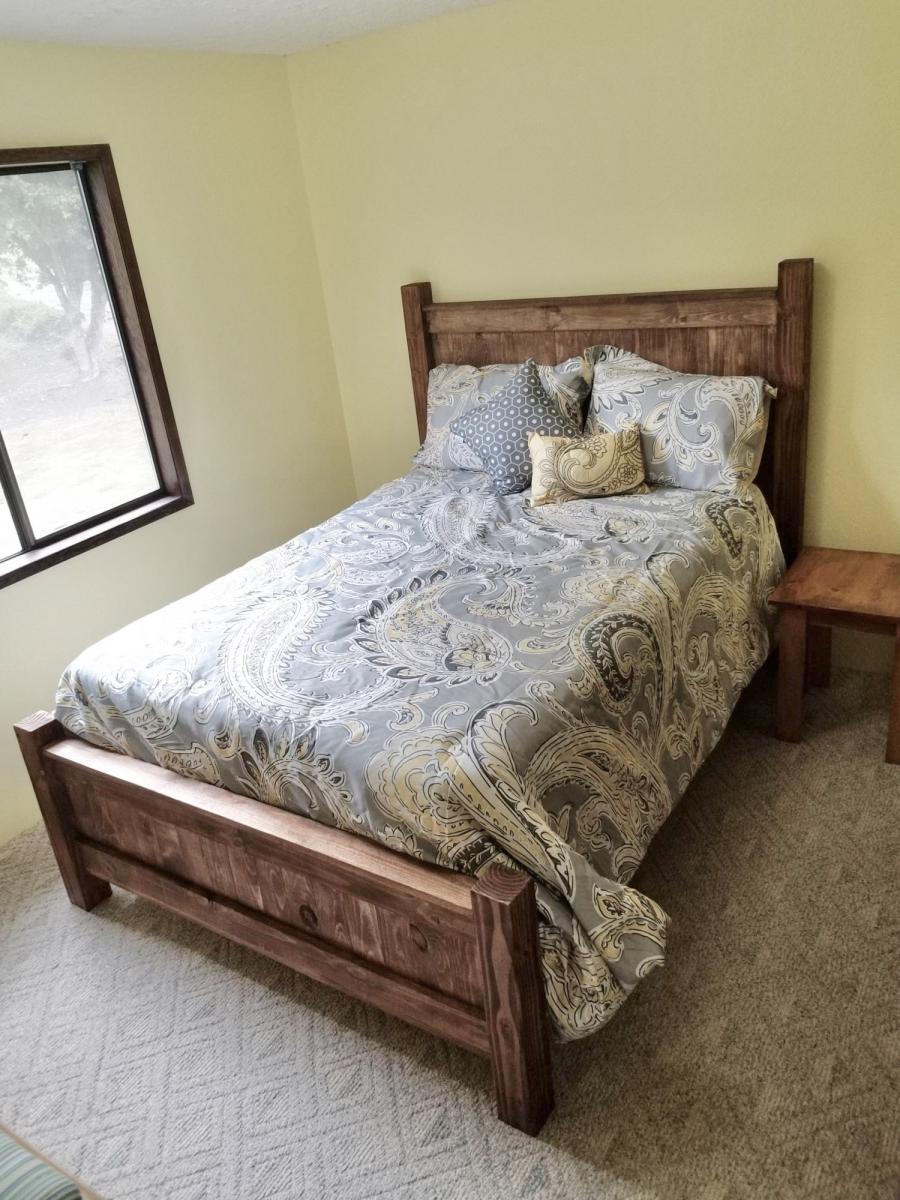
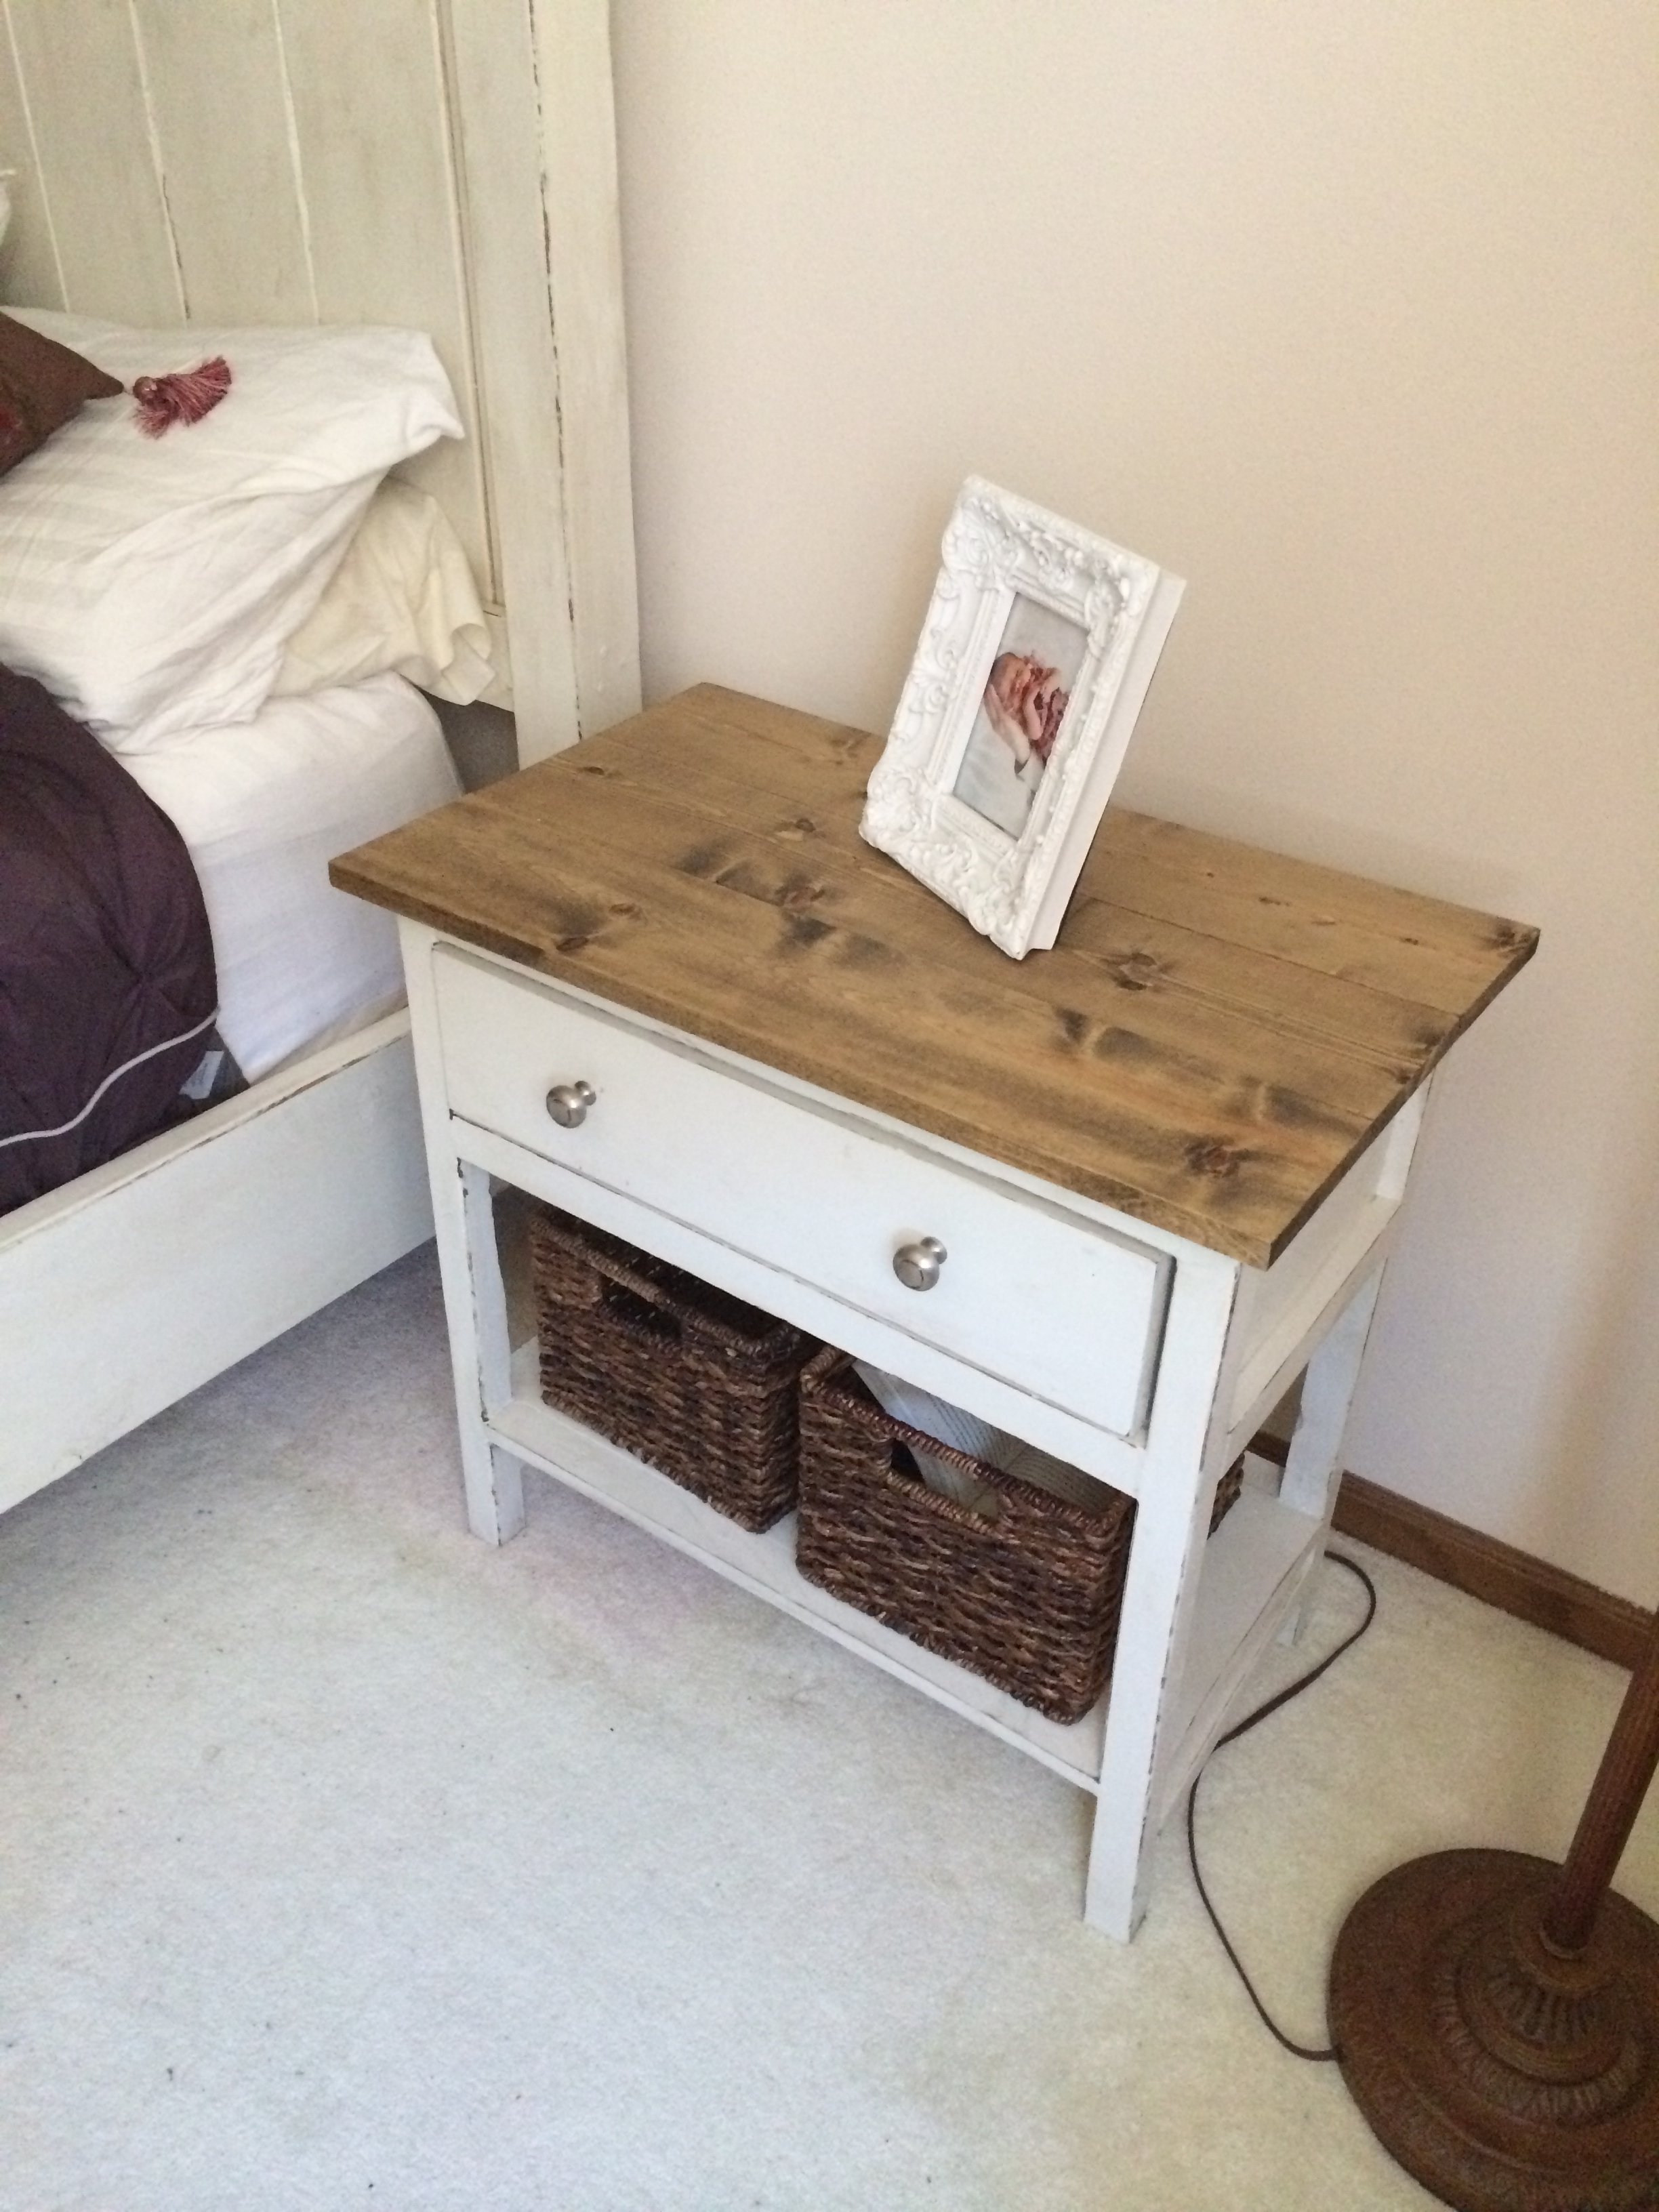
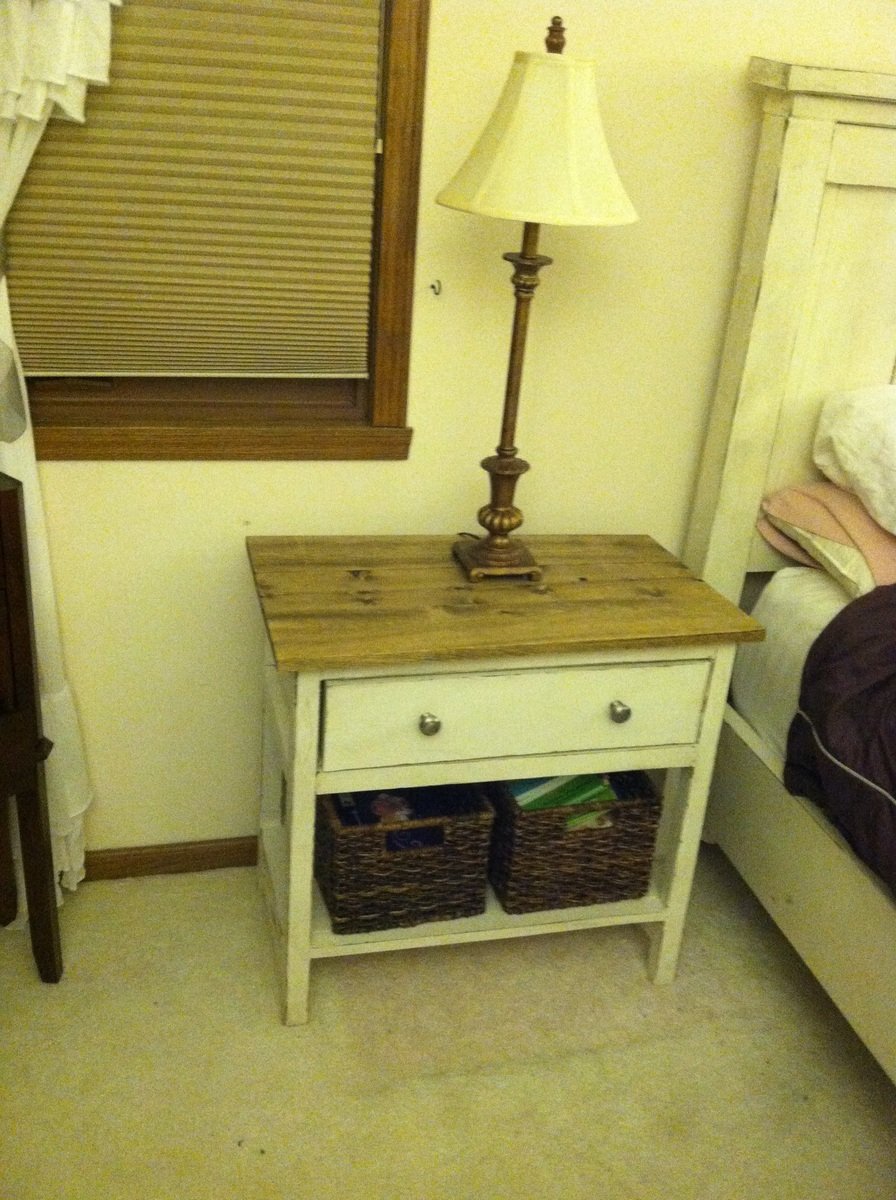
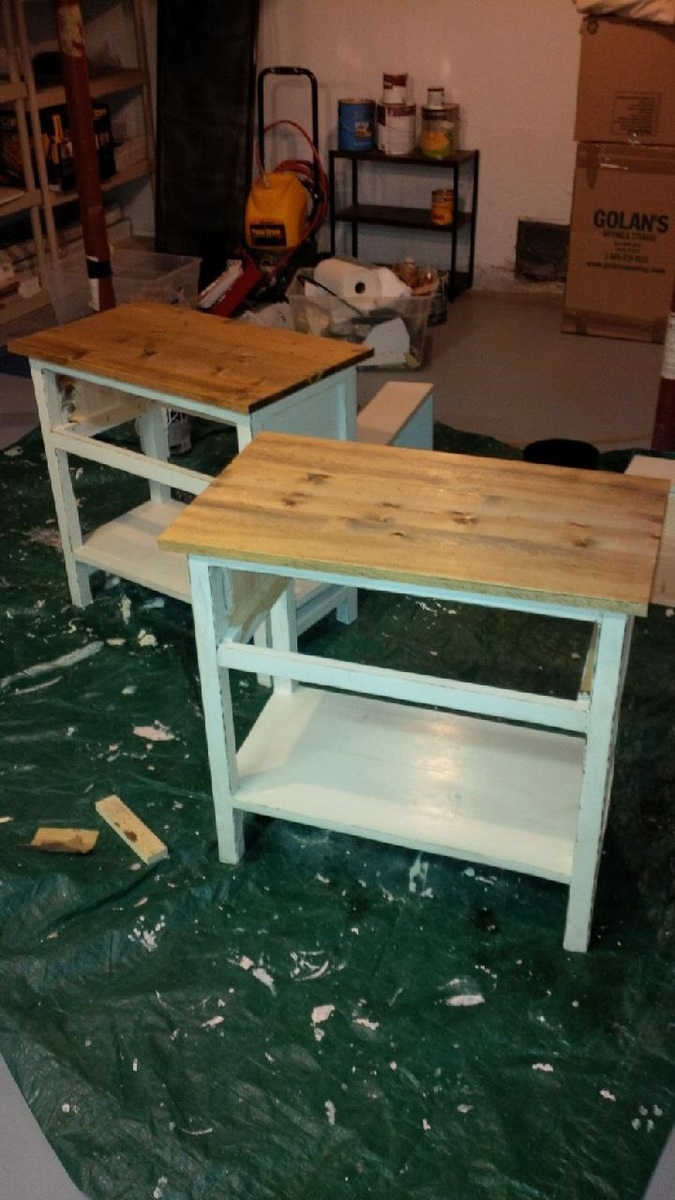
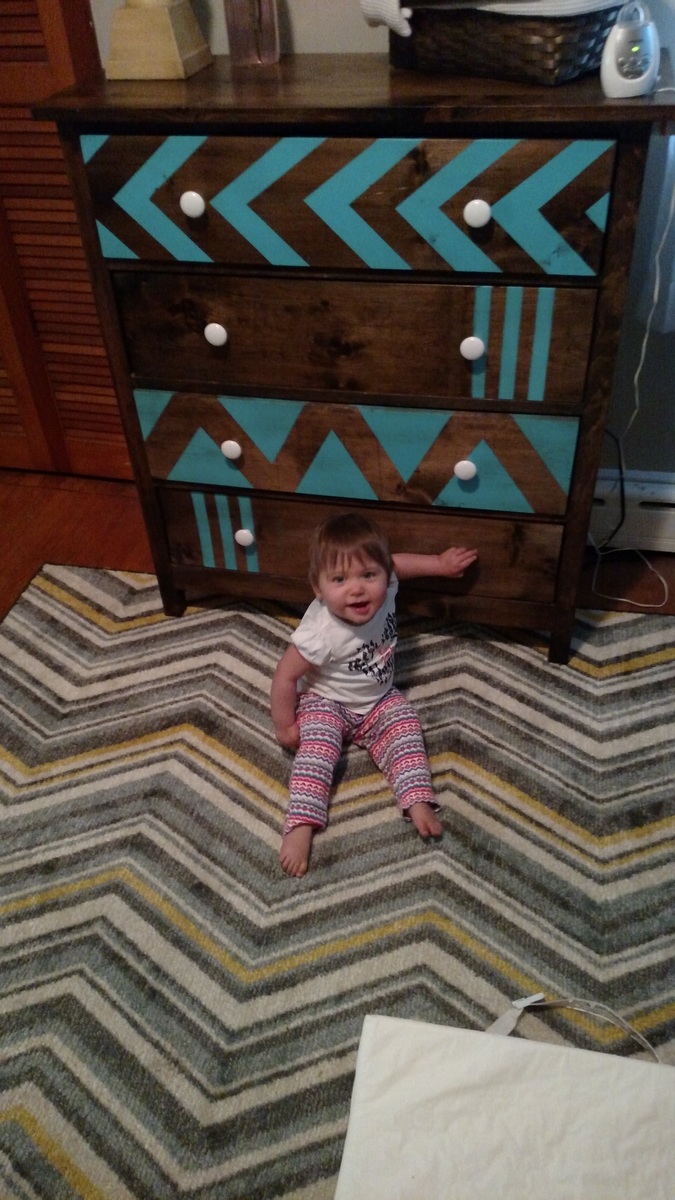
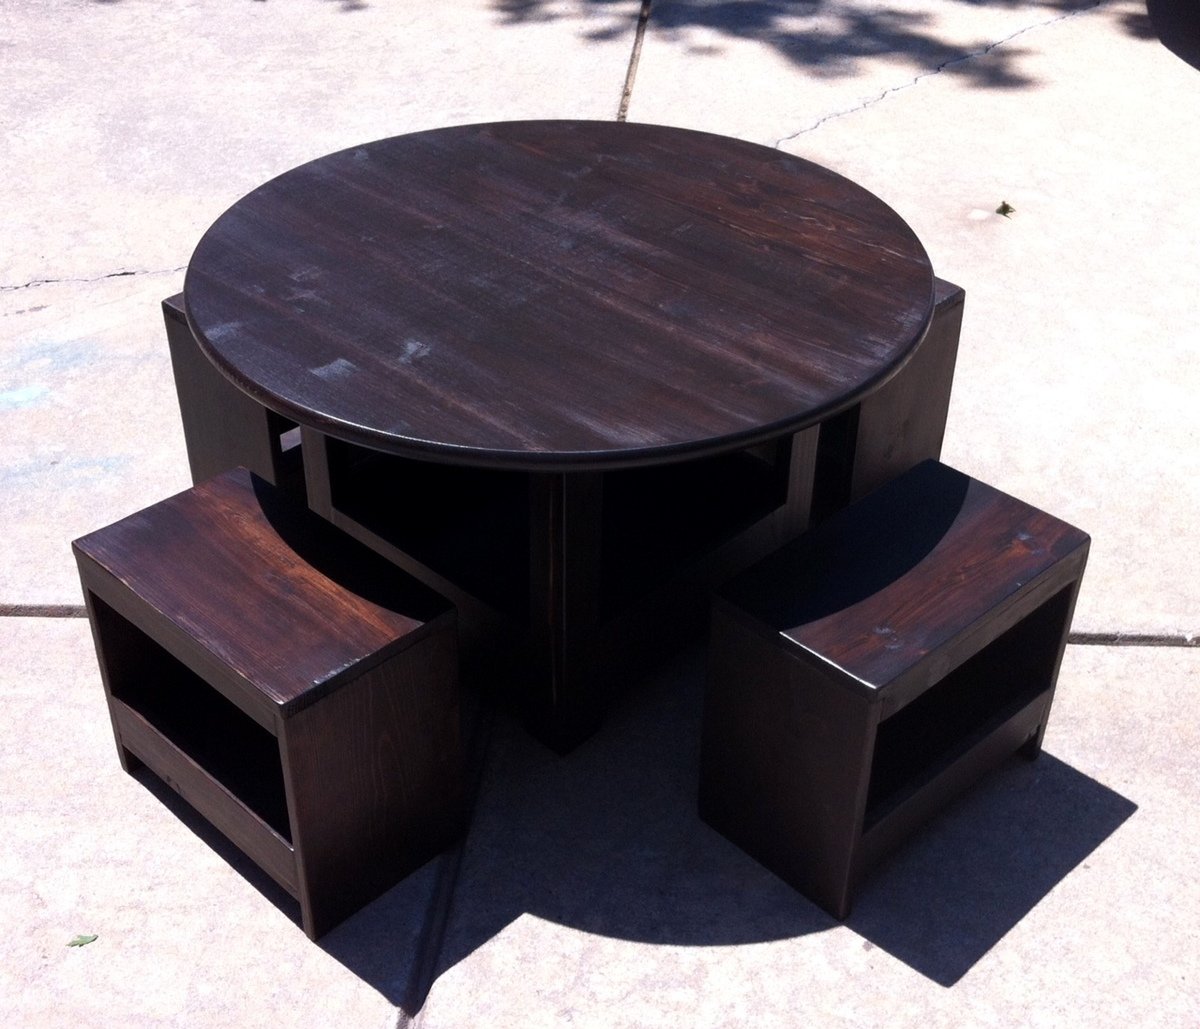
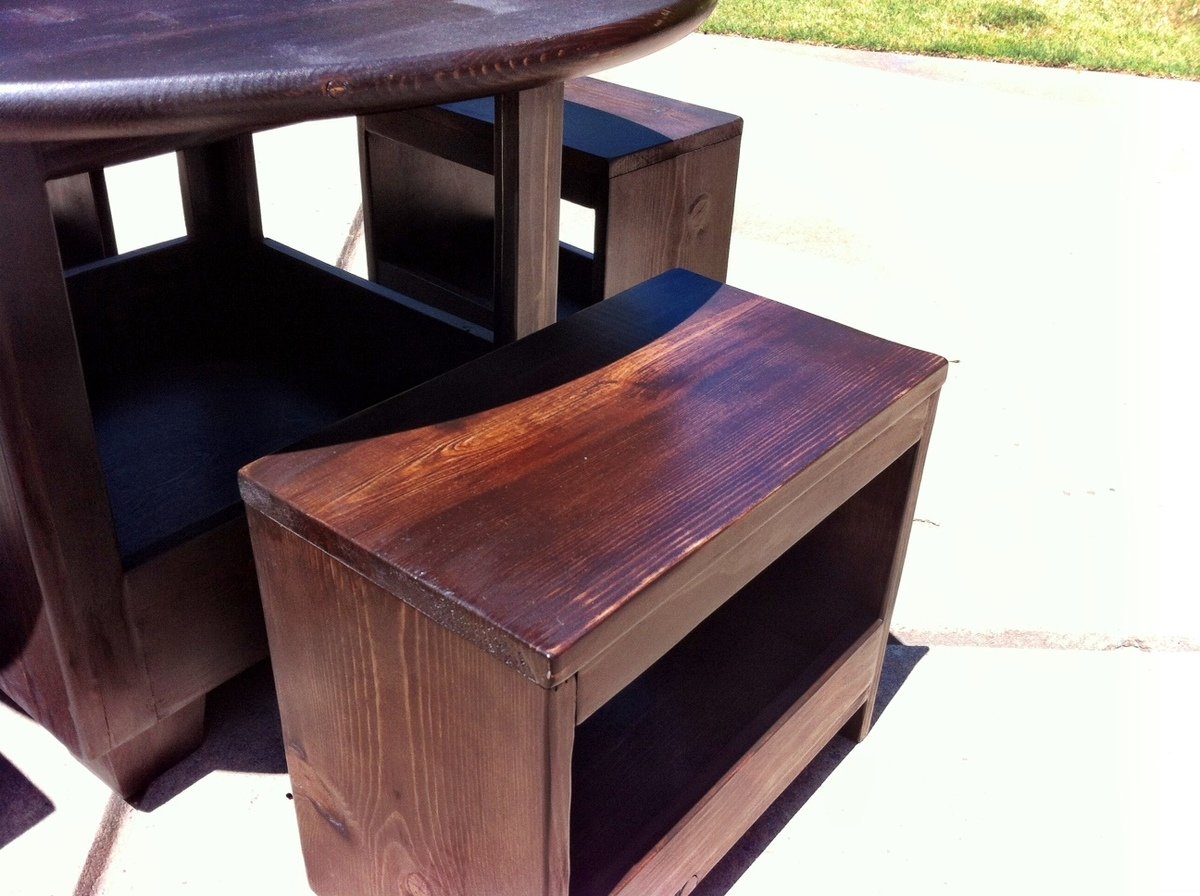
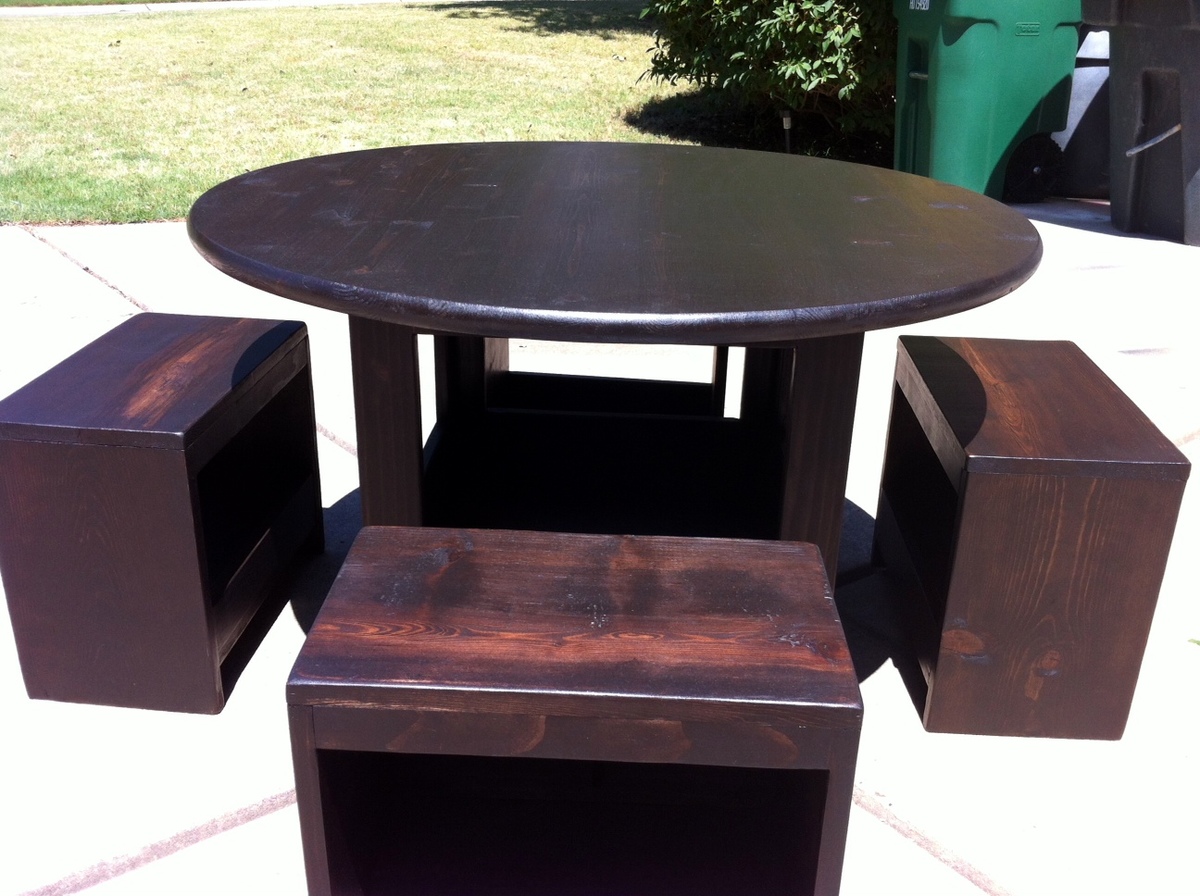
My son was too big for his toddler bed and had been spending his nights in the guest bed, instead. For his Christmas gift this year, his grandparents were going to get him bedroom furniture, but I insisted on building it instead! I love the rustic theme, saw the rustic dresser on wheels and thought it was perfect for him and perfect for us since we move so much with the military. Hello, a dresser on wheels? Like, no man labor trying to carry the thing out of the house? Just roll it? SOLD! I HATE the wheels that I put on it, but I really did not want to dish out $100 for the spoked wheels. I think I may change them one day and put the wheels on that will make it look ten times better, but for now, these will do. The wood for the dresser was pricey, but it was my first time buying plywood and I didn't realize that I could buy nicer plywood in smaller amounts that would have been a little cheaper since I didn't need to buy entire boards! Otherwise, it wouldn't have cost as much I am sure. I built a bed and a night table to match the dresser (as seen in the pictures), and frankly, I am very pleased with this set that I built! (CHECK OUT MY BED! http://ana-white.com/2014/02/rustic-twin-bed-upholstered-headboard-matc…) It was quite a difficult project for me, being the first time I had built drawers and because I didn't have more than a few hours in a week to get outside to work on it, but I finally finished :-) I also had a very small space to work in, since my husband consumes the garage with his man "stuff" and it was cold, so I needed the door closed with the space heater ;-). This project could definitely use some good amount of workspace!
Estimated Cost
$100-$200??
Estimated Time Investment
Week Long Project (20 Hours or More)
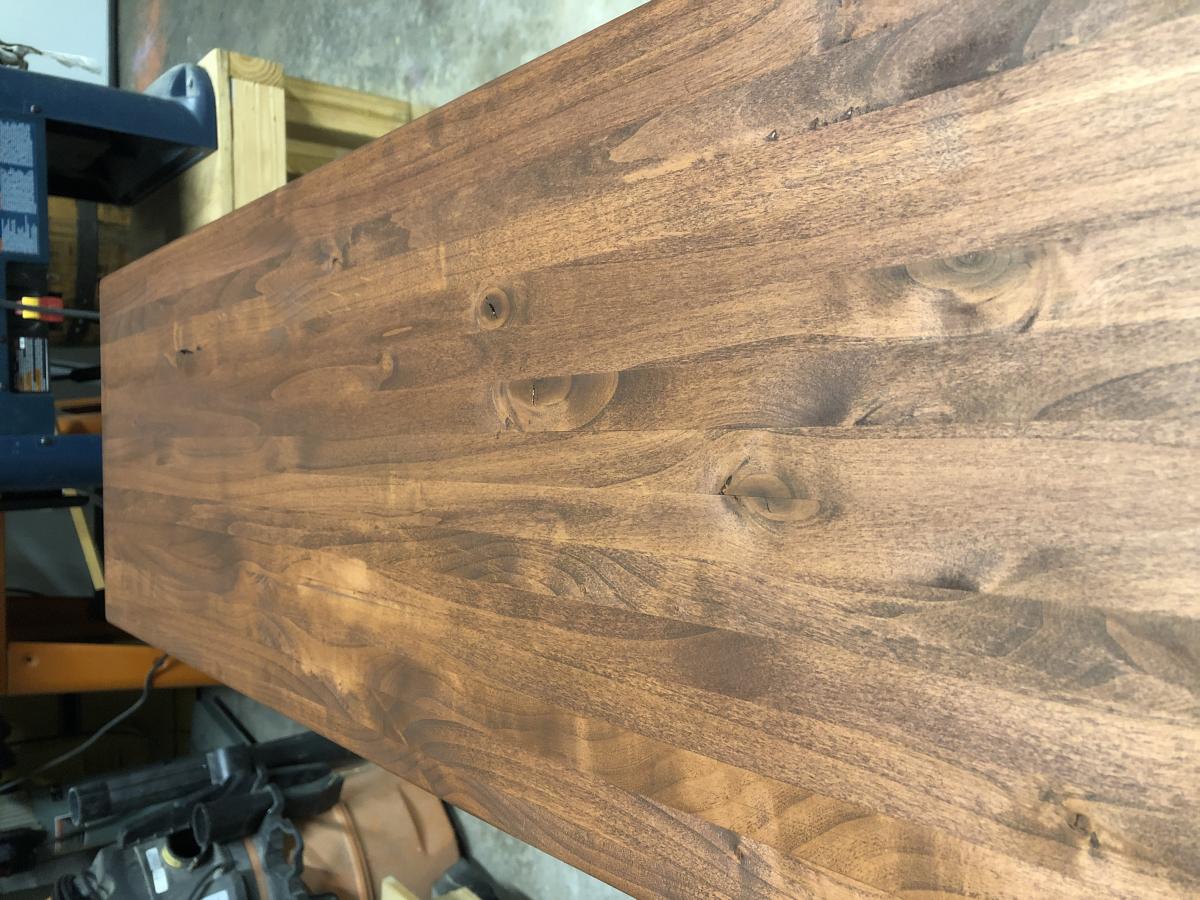
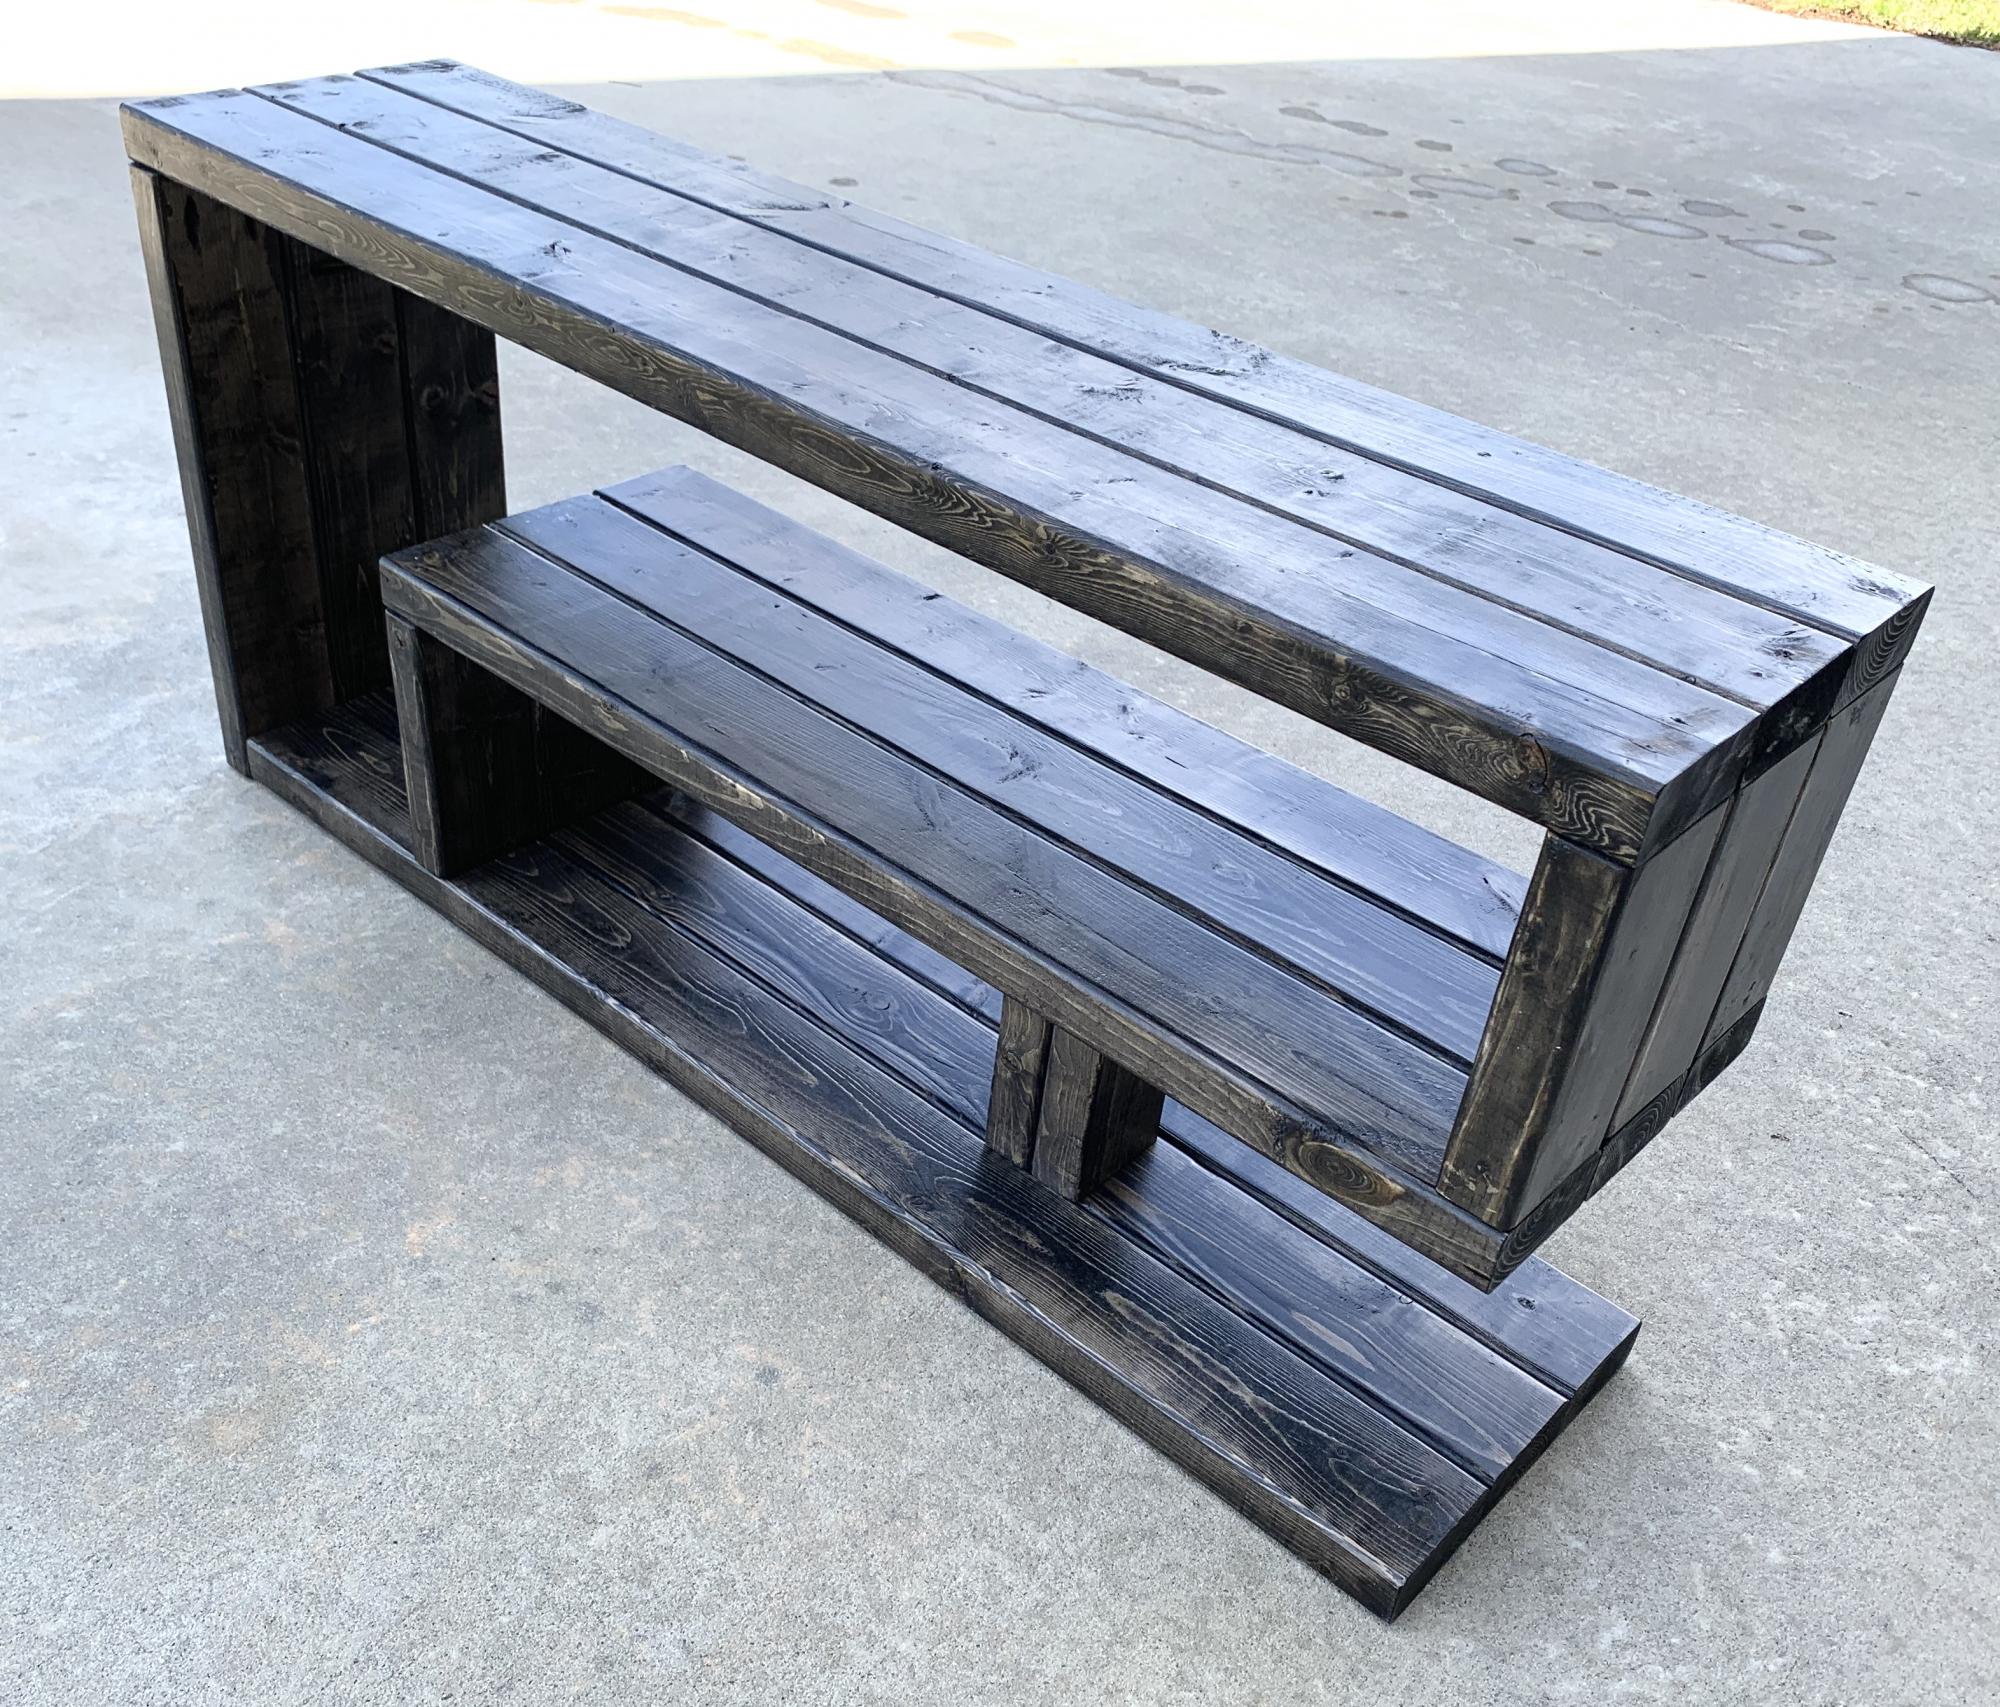
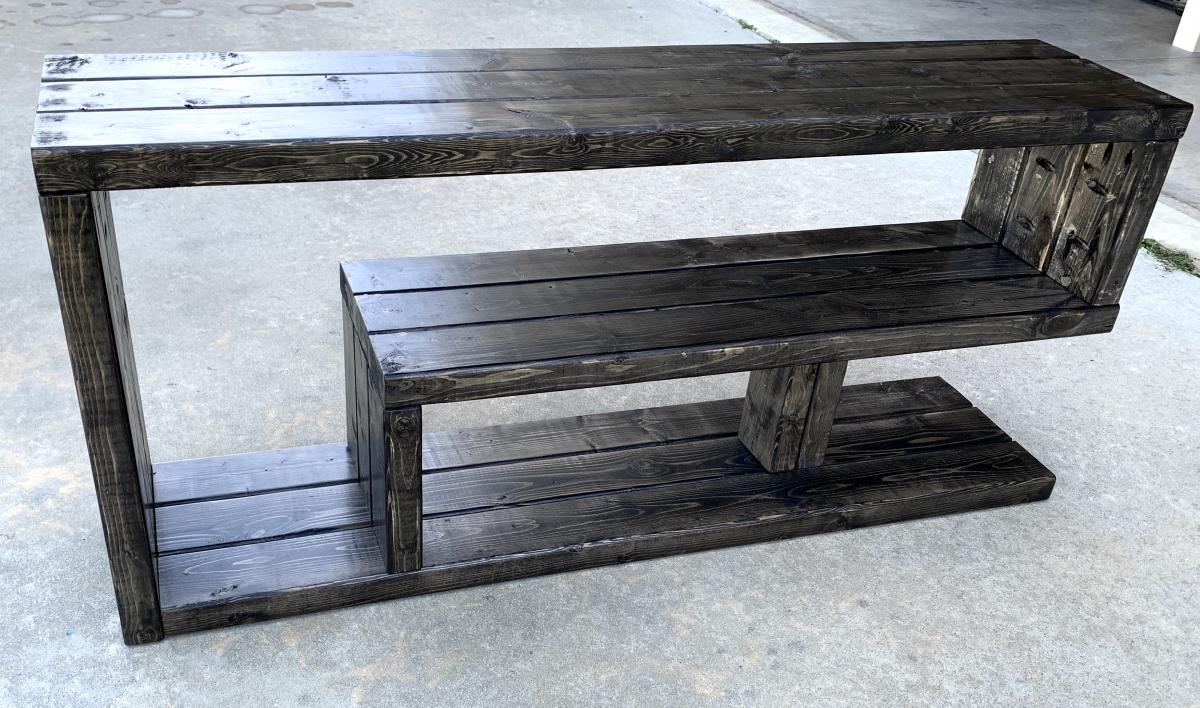
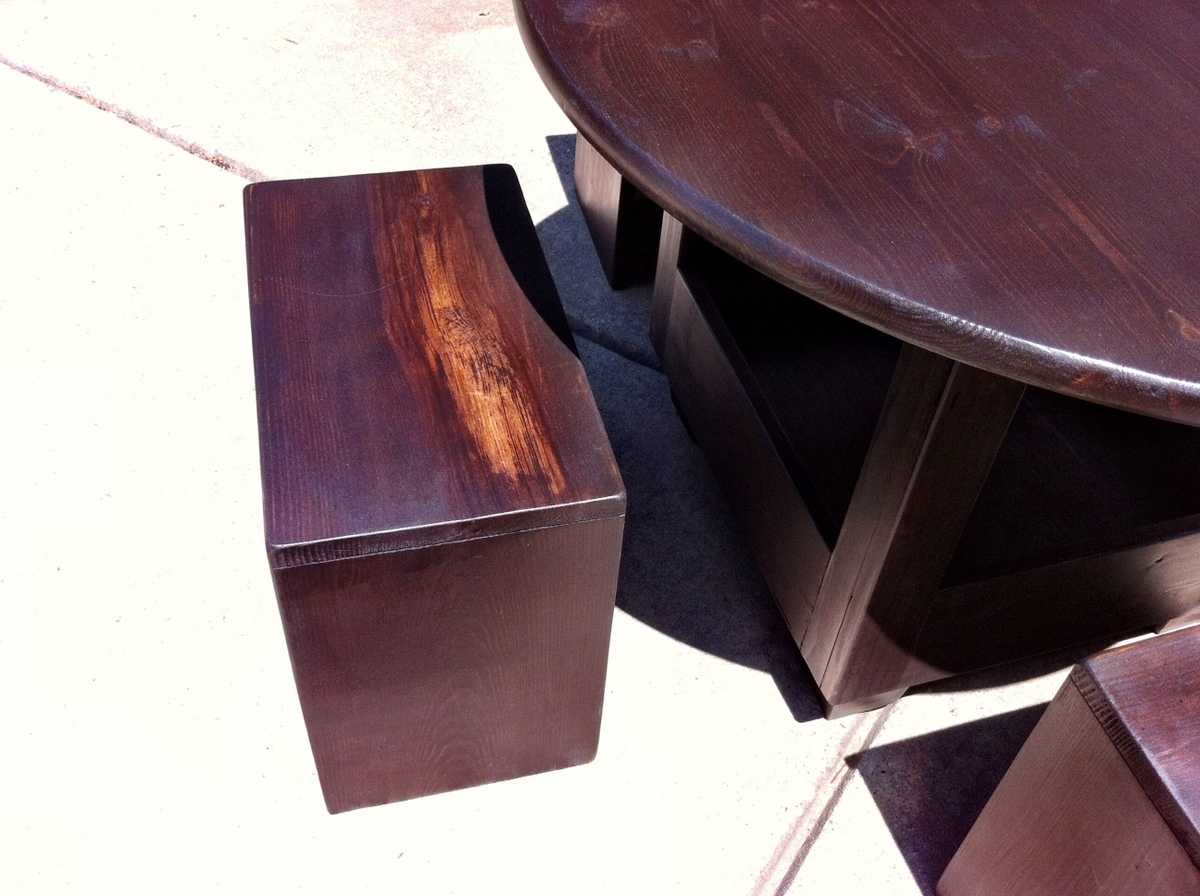
Finish Used
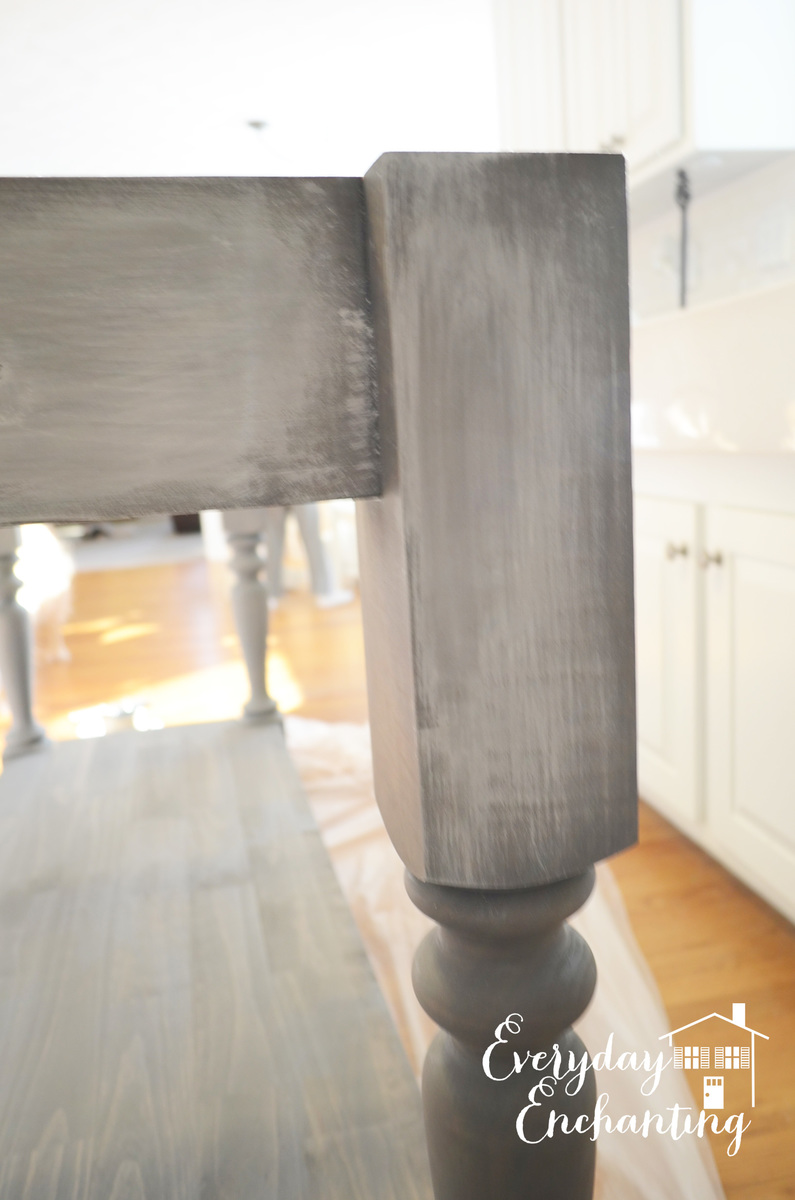
Minwax Early American , used a natural bristle brush, foam brush and cloth, set for a minute or two, wiped off.
Minwax Furniture Wax, rubbed on with cloth and let dry for a bit.
Recommended Skill Level
Intermediate