Community Brag Posts
My Version of the Nursery Armoire
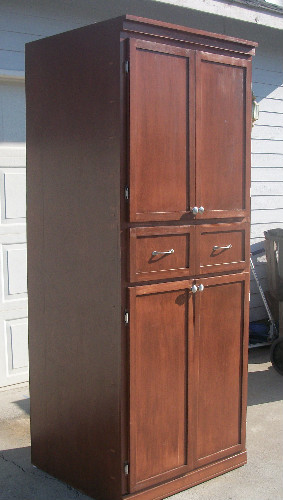
We built this armoire cabinet for a client of ours (this was a paying gig) who needed extra storage in her bathroom. I think it turned out beautifully if I do say so myself. So much so that I decided the build two of these to put in my laundry room for extra storage.
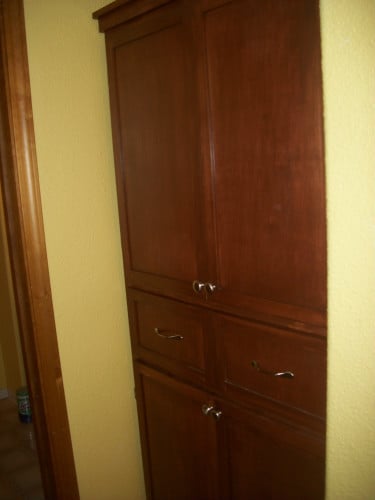
Minwax Polyurethane - 3 coats
Farmhouse King/Vintage Door Headboard with tin panels
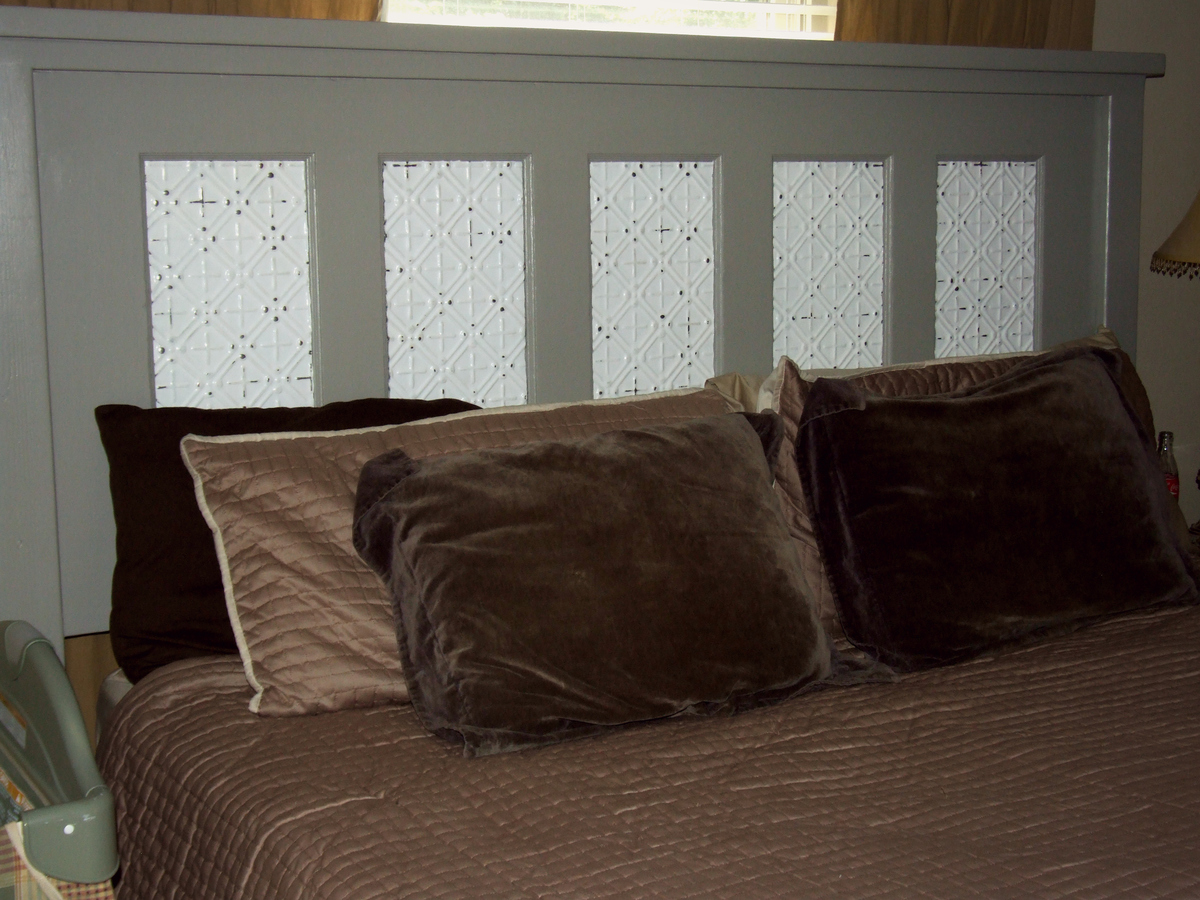
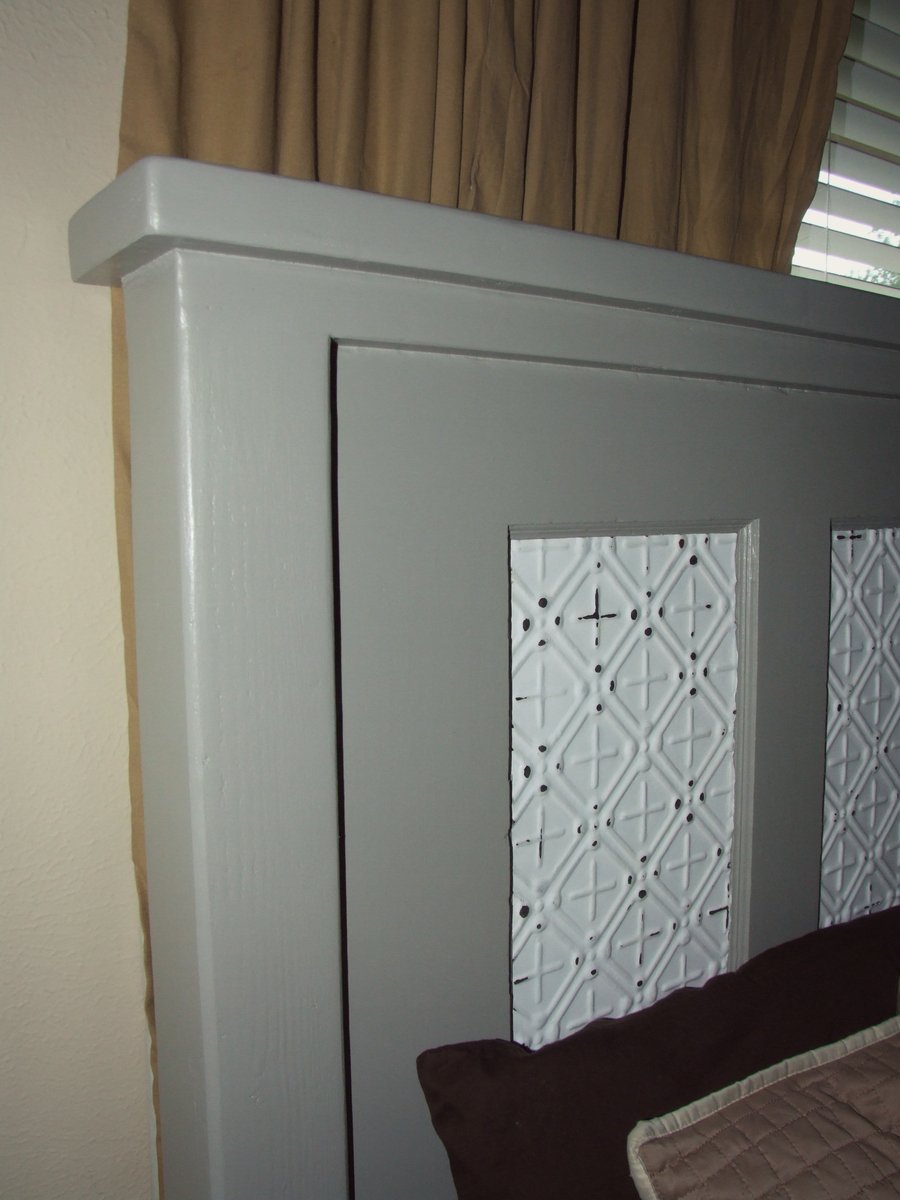
We used the modified king-size plans from the farmhouse bed to make this headboard. Instead of the planks, we used a vintage door that we cut to size, but the rest is according to the plans.
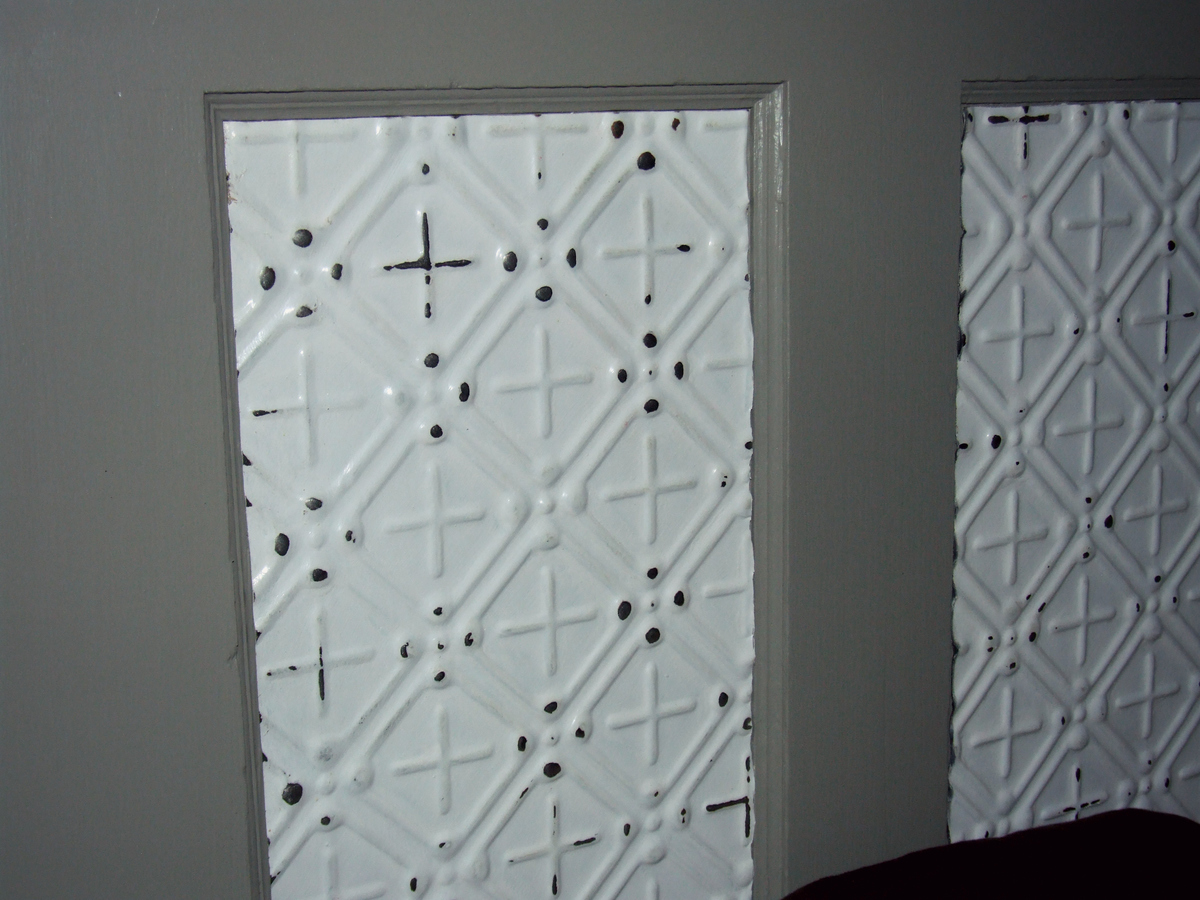
In each panel, we put a piece of painted, distressed ceiling tin, since this was our "tin" anniversary.
We used pocket holes to attach the door to the posts. My first time to use the jig!
Read more about the process in the blog post!
http://lassothemoon.typepad.com/lasso_the_moon/2013/06/diy-headboard-fr…
http://lassothemoon.typepad.com/lasso_the_moon/2013/06/diy-headboard-from-a-vintage-door.html
Comments
Fri, 07/05/2013 - 23:10
Love the Tin
This is so cute. I love the Tin ceiling tiles. I've always walked past them at HD and wanted to use them for something but never knew what to use them for. I love the idea of u using them because of your Tin anniversary. Turned out beautiful
~Melody
Fri, 07/05/2013 - 23:10
Love the Tin
This is so cute. I love the Tin ceiling tiles. I've always walked past them at HD and wanted to use them for something but never knew what to use them for. I love the idea of u using them because of your Tin anniversary. Turned out beautiful
~Melody
Sun, 07/07/2013 - 00:55
aww how sweet
He thinks out side of the box. What a great cotton gift. I got my husband DKNY towels. haha. (he always complained that ours werent soft enough. I think we stopped at wood because it got too hard. I cant even think of a wool gift since we live in Southern CA. You sound like you have a good man.
~Melody
Children's Castle Bed
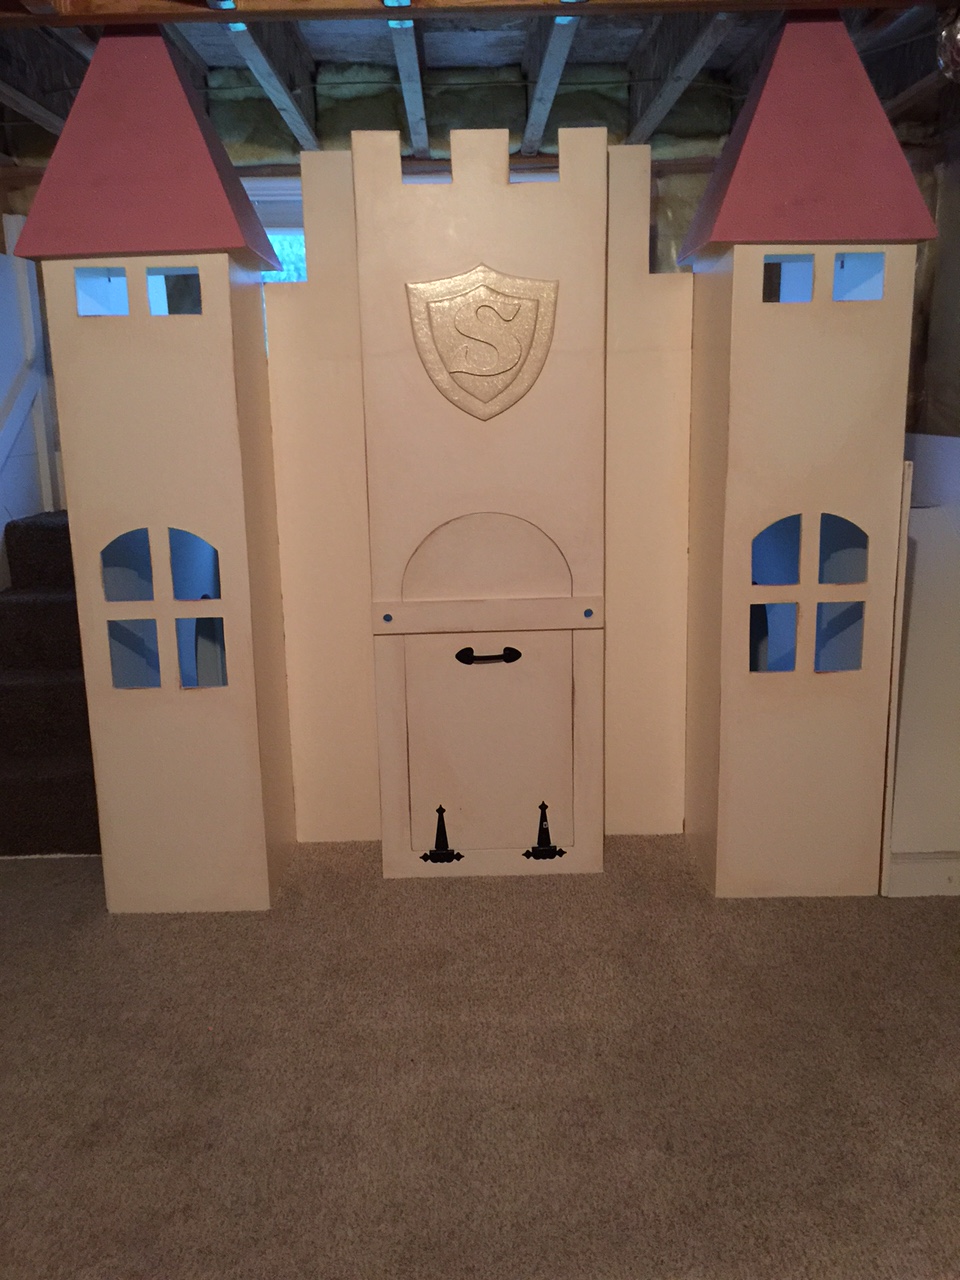
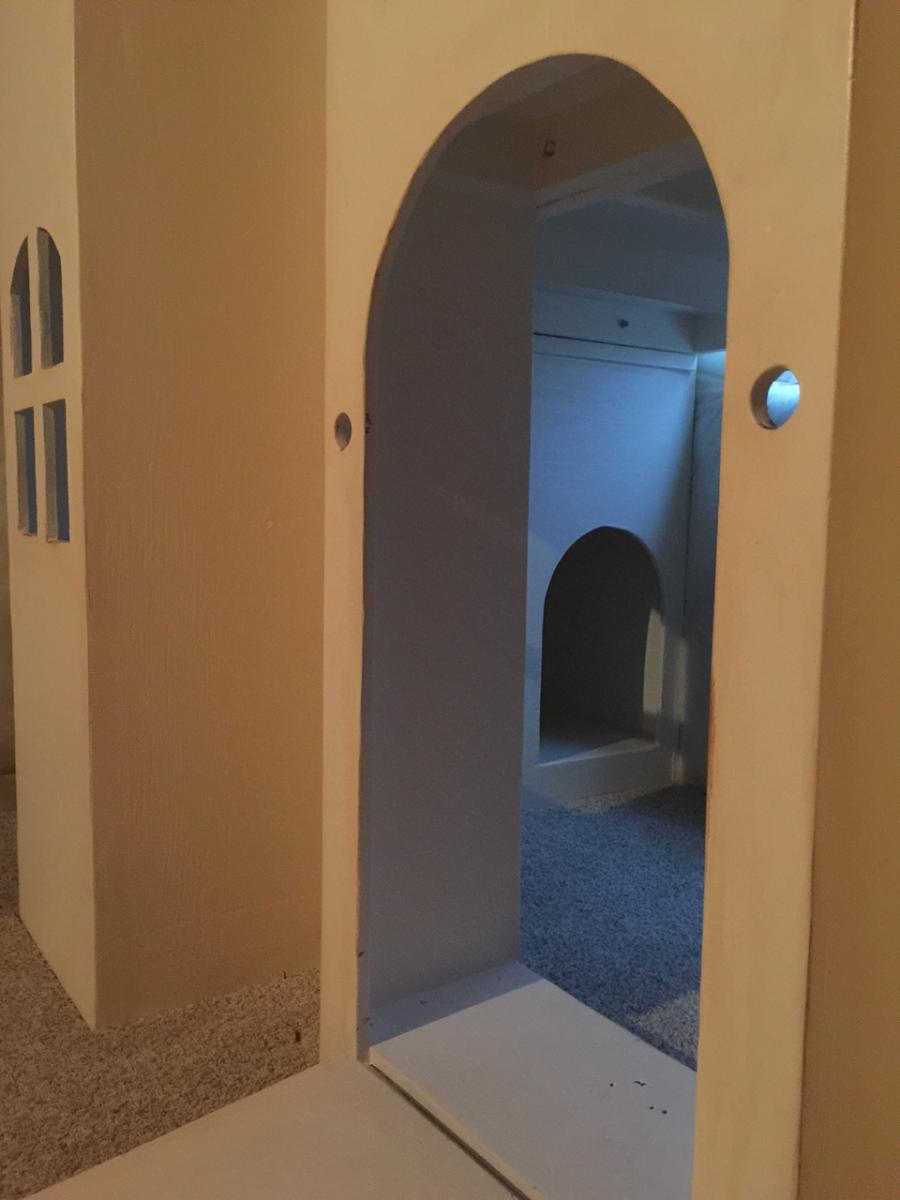
This was a project I took on for my two daughters (5 and 2). I was pretty intense as I used the castle loft bed as my starting point. The drawbridge is fully functional, but I had to remove the black ropes as my kids were running around and tripping (safety hazard). I made the top large enough to house two small mattresses for the kids to sleep on. I made use of the space under the stairs and the slide by cutting out doors. This is a very large structure and is modular (front, towers (2x), stairs, slide, platform). They are all joined with some significant lag bolts and is sturdy enough to have my wife and I and both children up top. I have also mounted LED lights under the platform wired to a switch so that they can see at night. Overall, it has been a hit for my daughters and their friends. Thanks for the plans!
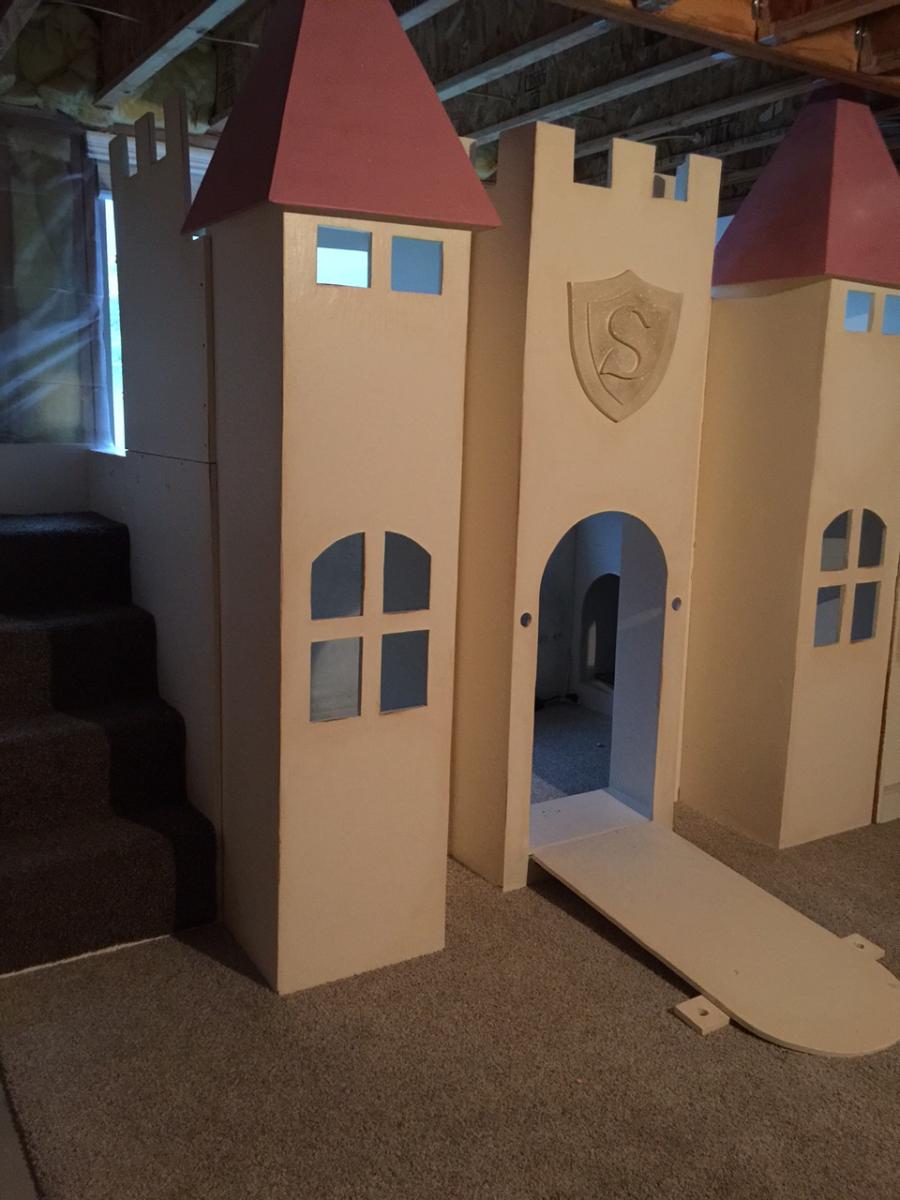
Tower Peaks - Mixture of leftover red and white paint (gold sparkle paint over the top)
Antiqued the body by sanding on edges, and applying a walnut stain lightly
Comments
Sun, 04/19/2020 - 18:25
What changes did you make from the plans?
could you possibly give me a rundown of what specific changed you made, what extra material I would need, ect. I'm wanting to build the princess bed- but I'm a little ocd and would much appreciate the symmetry of two identical towers. thanks if you can help.
DIY Planter Box
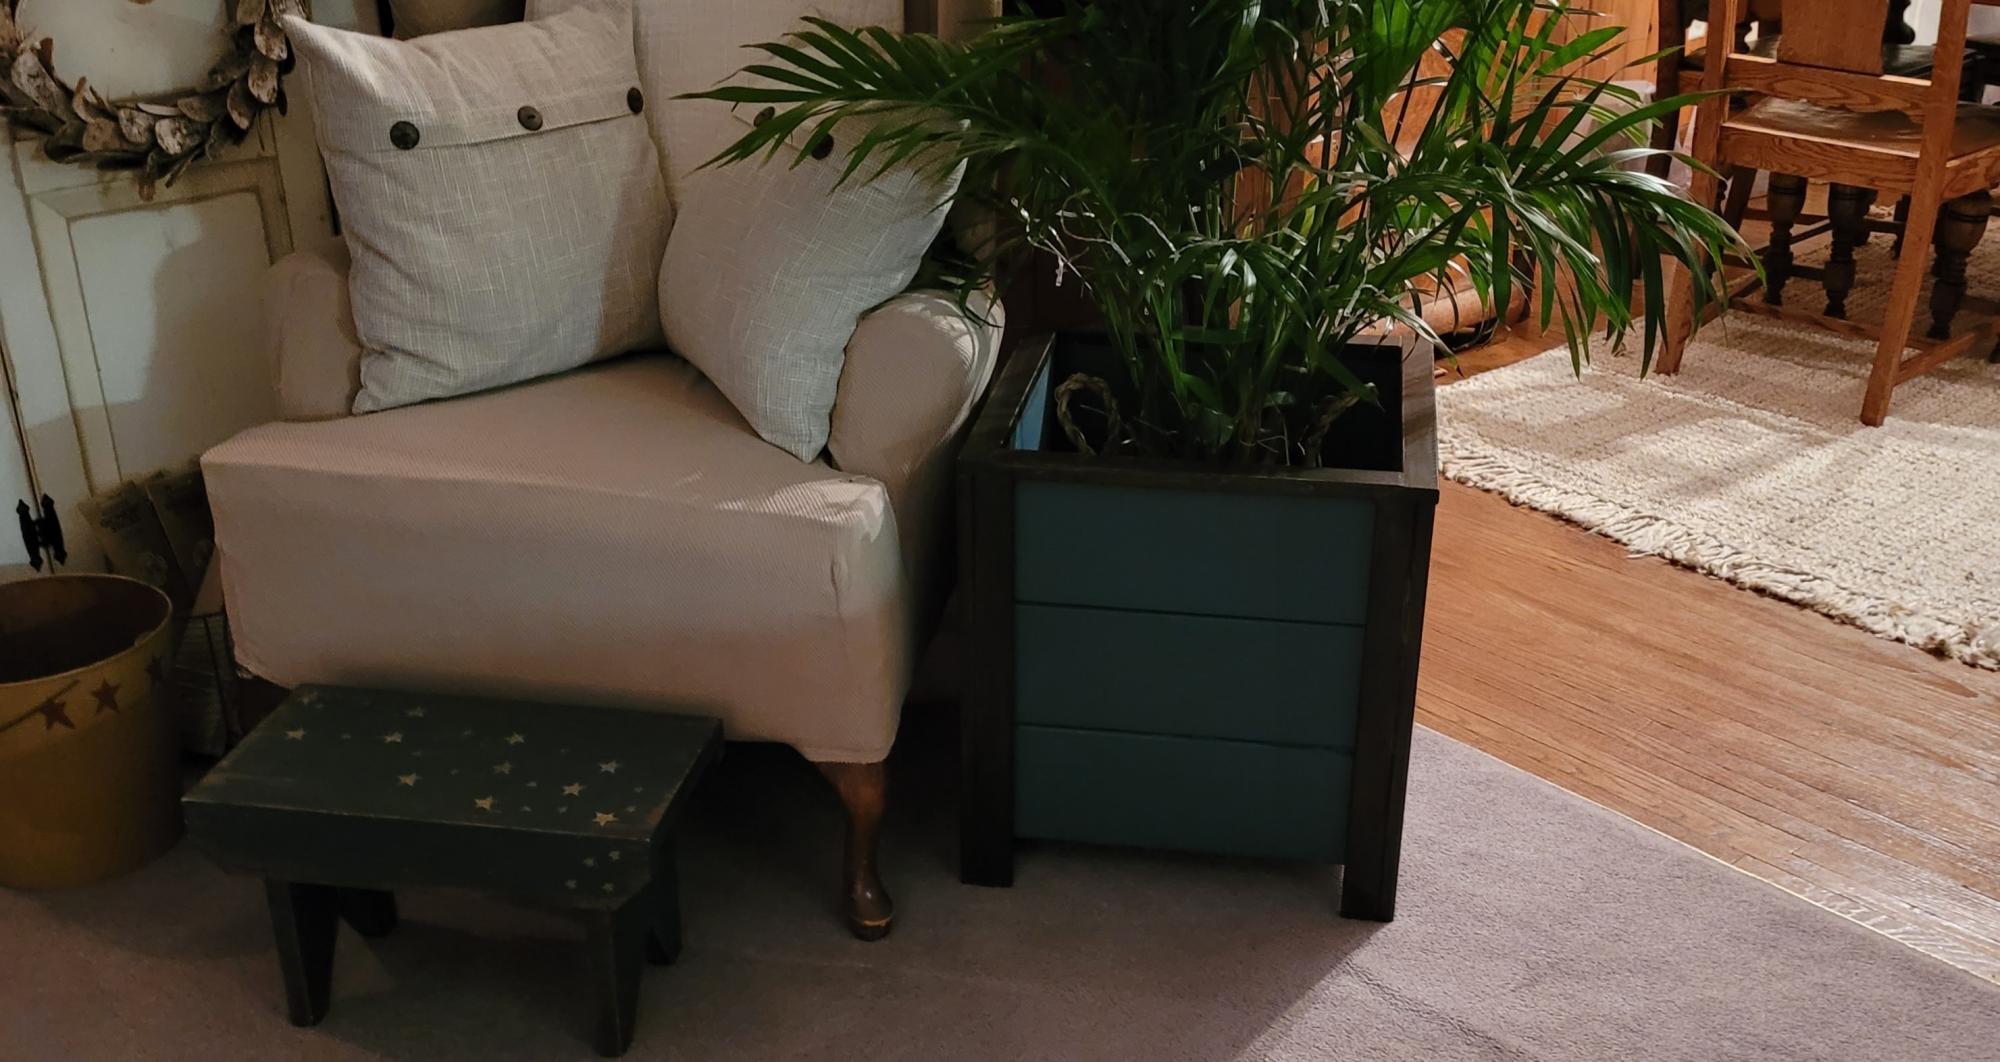
My very first project. Was so easy thanks to Ana's instructions. Dark walnut gel stain and Fusion Seaside. Thank you so much Ana.
Comments
James' Play Kitchen Chair
James got a sweet retro kitchen set for Christmas from his grandma. CarpenterMama scored a kids kitchen table (pretty sure it's authentic retro) at Goodwill for $8. All that he needed was a chair to sit in, and Ana's Four Dollar Stackable Chair fit quite nicely!
This was CarpenterMama's very first building project, and she is as proud as punch that she made something with her own two hands, some wood & screws, and oops paint. James is ecstatic that it is blue and he can sit in it. :-)
sofa table
sofa table made from console plan, I just changed the measurements.
Comments
Barnwood wall
Dear Ana White: Please stop posting cool - “must do” projects on your website … you’re killing us.
After we saw Ana White’s posting for her pallet wall http://ana-white.com/2015/02/free_plans/pallet-wall-hgtv-saving-alaska , we knew we had to augment our guest bedroom with this concept.
Before we began this project, we really didn’t have any idea how expensive “rustic” was or how complex “random” could be.
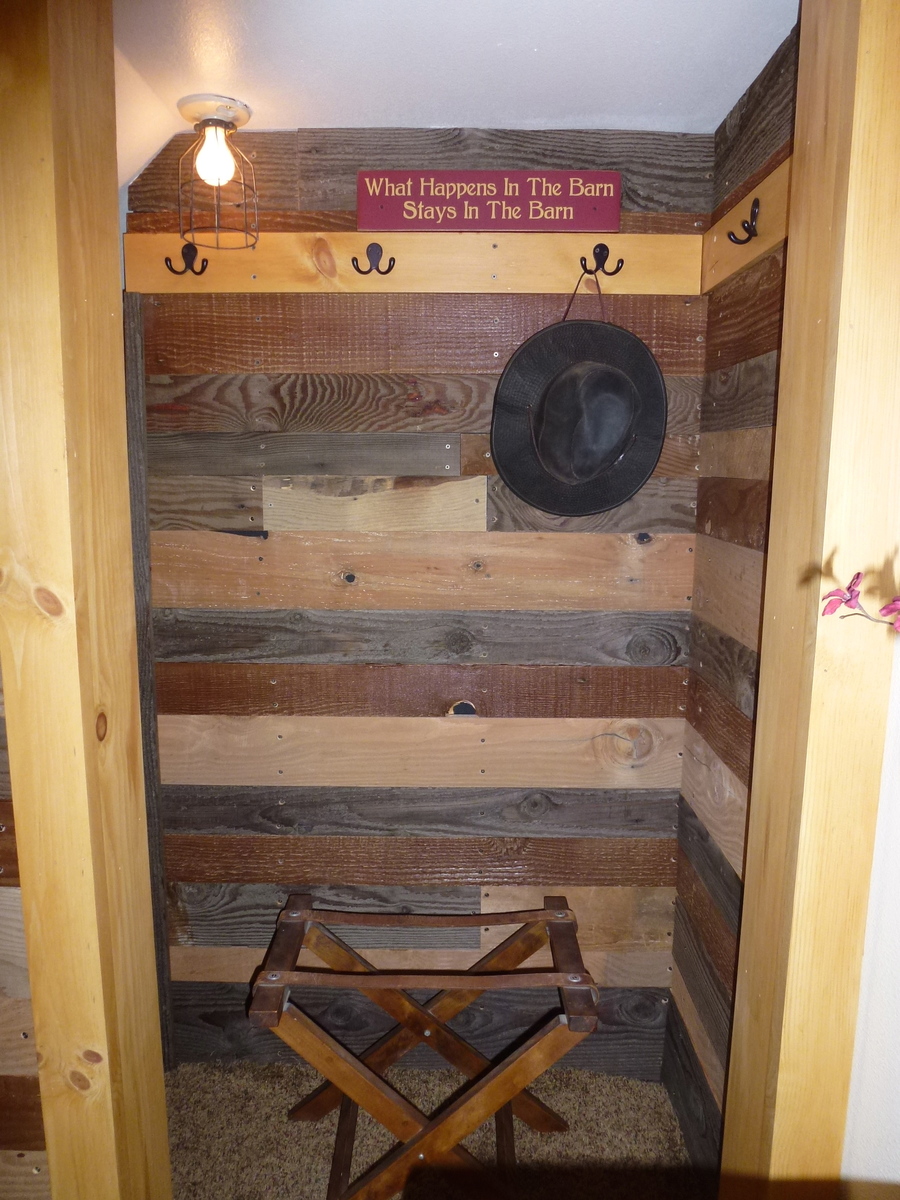
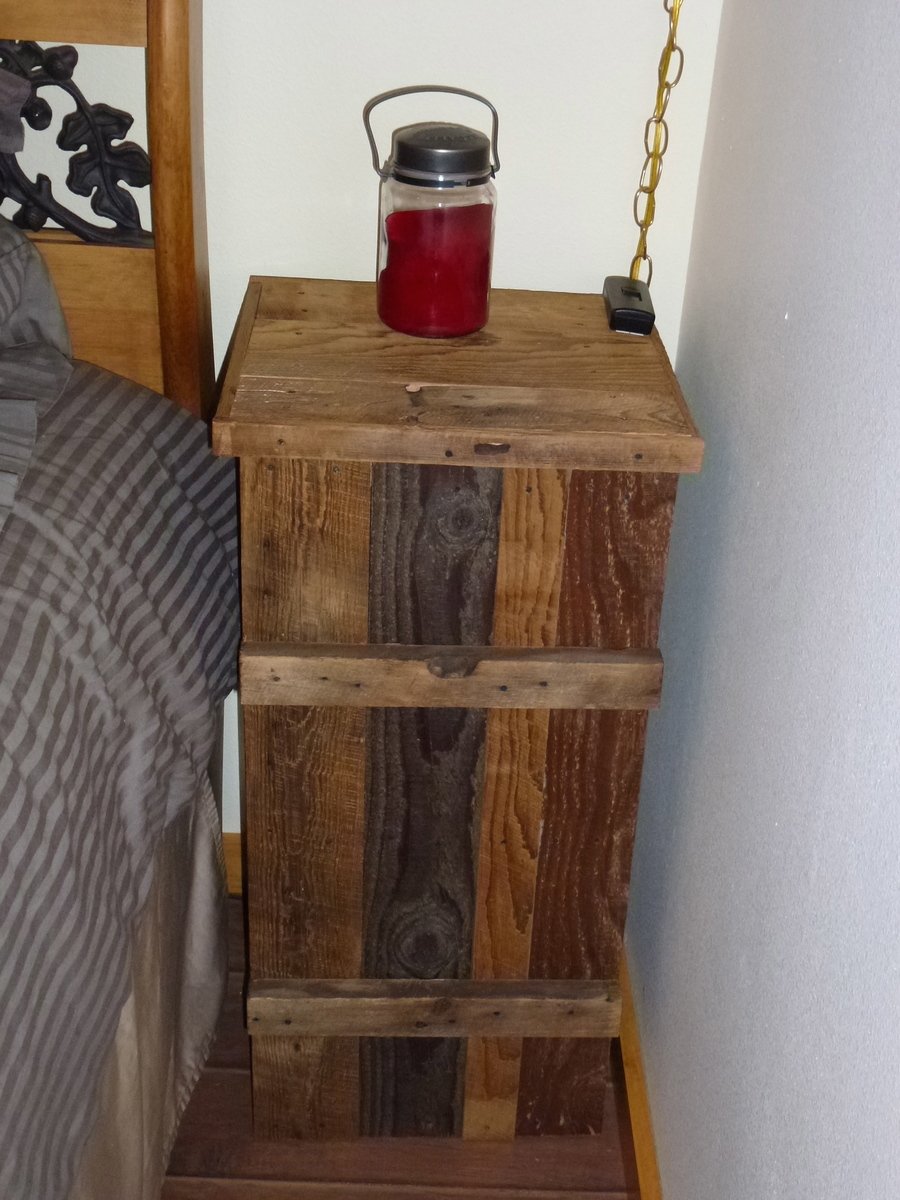
Mostly, we used 1 type of reclaimed barn wood and stained it with 3 different colors as well as using the natural un-weathered side to add color contrast. For added variety, we used some leftover reclaimed barn wood from a previous project spattered throughout the design.
This was really a fun project. Barn wood is very forgiving and user – friendly. Each piece of barn wood is unique in itself, very much like a snowflake, from being weathered in the elements.
We finished the room off with closet sans door, picture frame & nightstand.
The GOOD news is that we are now out of reclaimed barn wood and we can’t build anything else.
Thanks, Ana! You have helped us make our guest bedroom a special place for our visitors.
Small / Short Shed with doghouse...
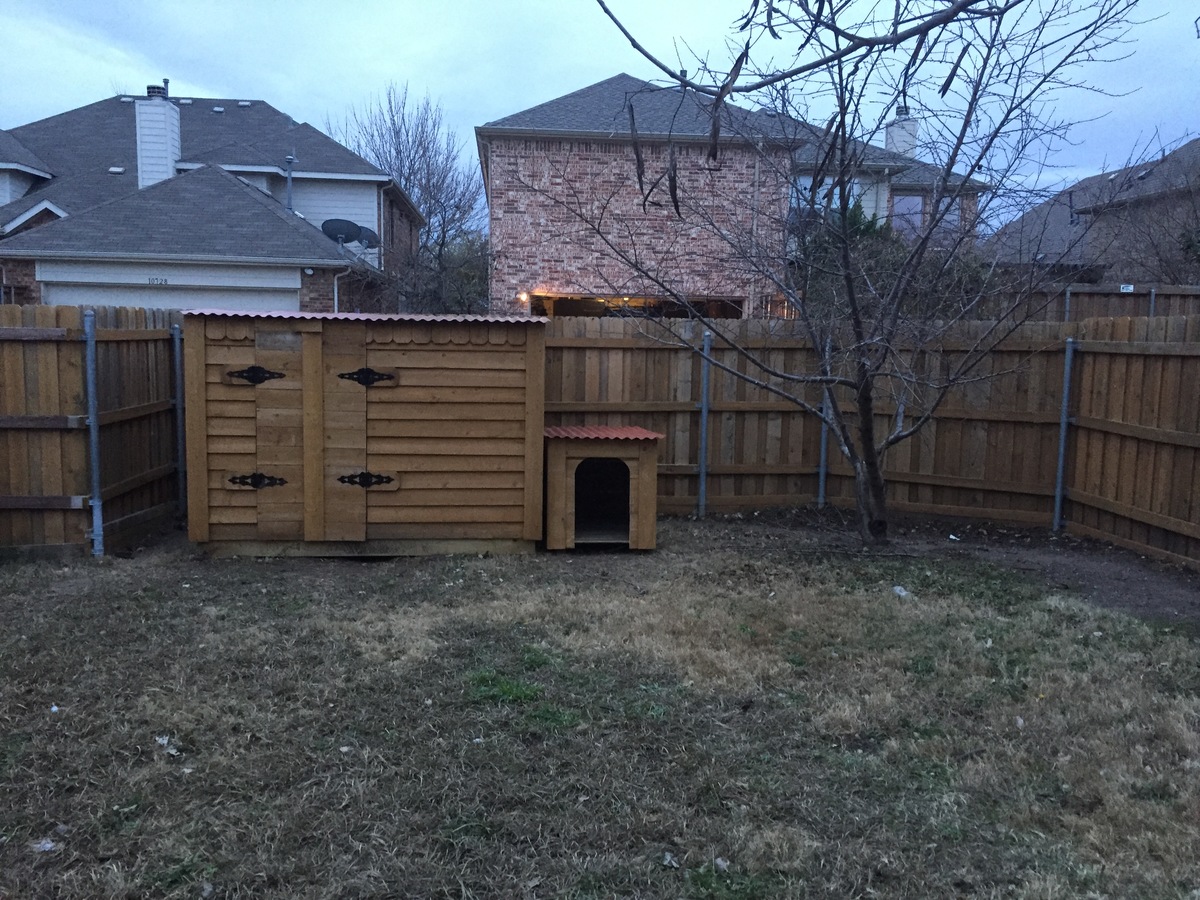
I needed a shed to get my outdoor and seldomly used equipment out of my gargage. But I needed the shed to be small so it doesn't take up too much space in the back yard and my HOA will not allow it to be taller than my fence. So I needed a small/short shed. I didn't use any plans, but it would probably have been quicker if I had. I did it with free time during a week, but could probably be all completed during a weekend. It was probably a few hundred total. I tried to reuse existing hardware/wood where possible. I'm a cheapskape. Here's my blogpost I did with additional pictures...
https://drowland.wordpress.com/2017/12/22/small-short-storage-shed/
You can see I also added a matching doghouse.
Hidden closet now a mantle
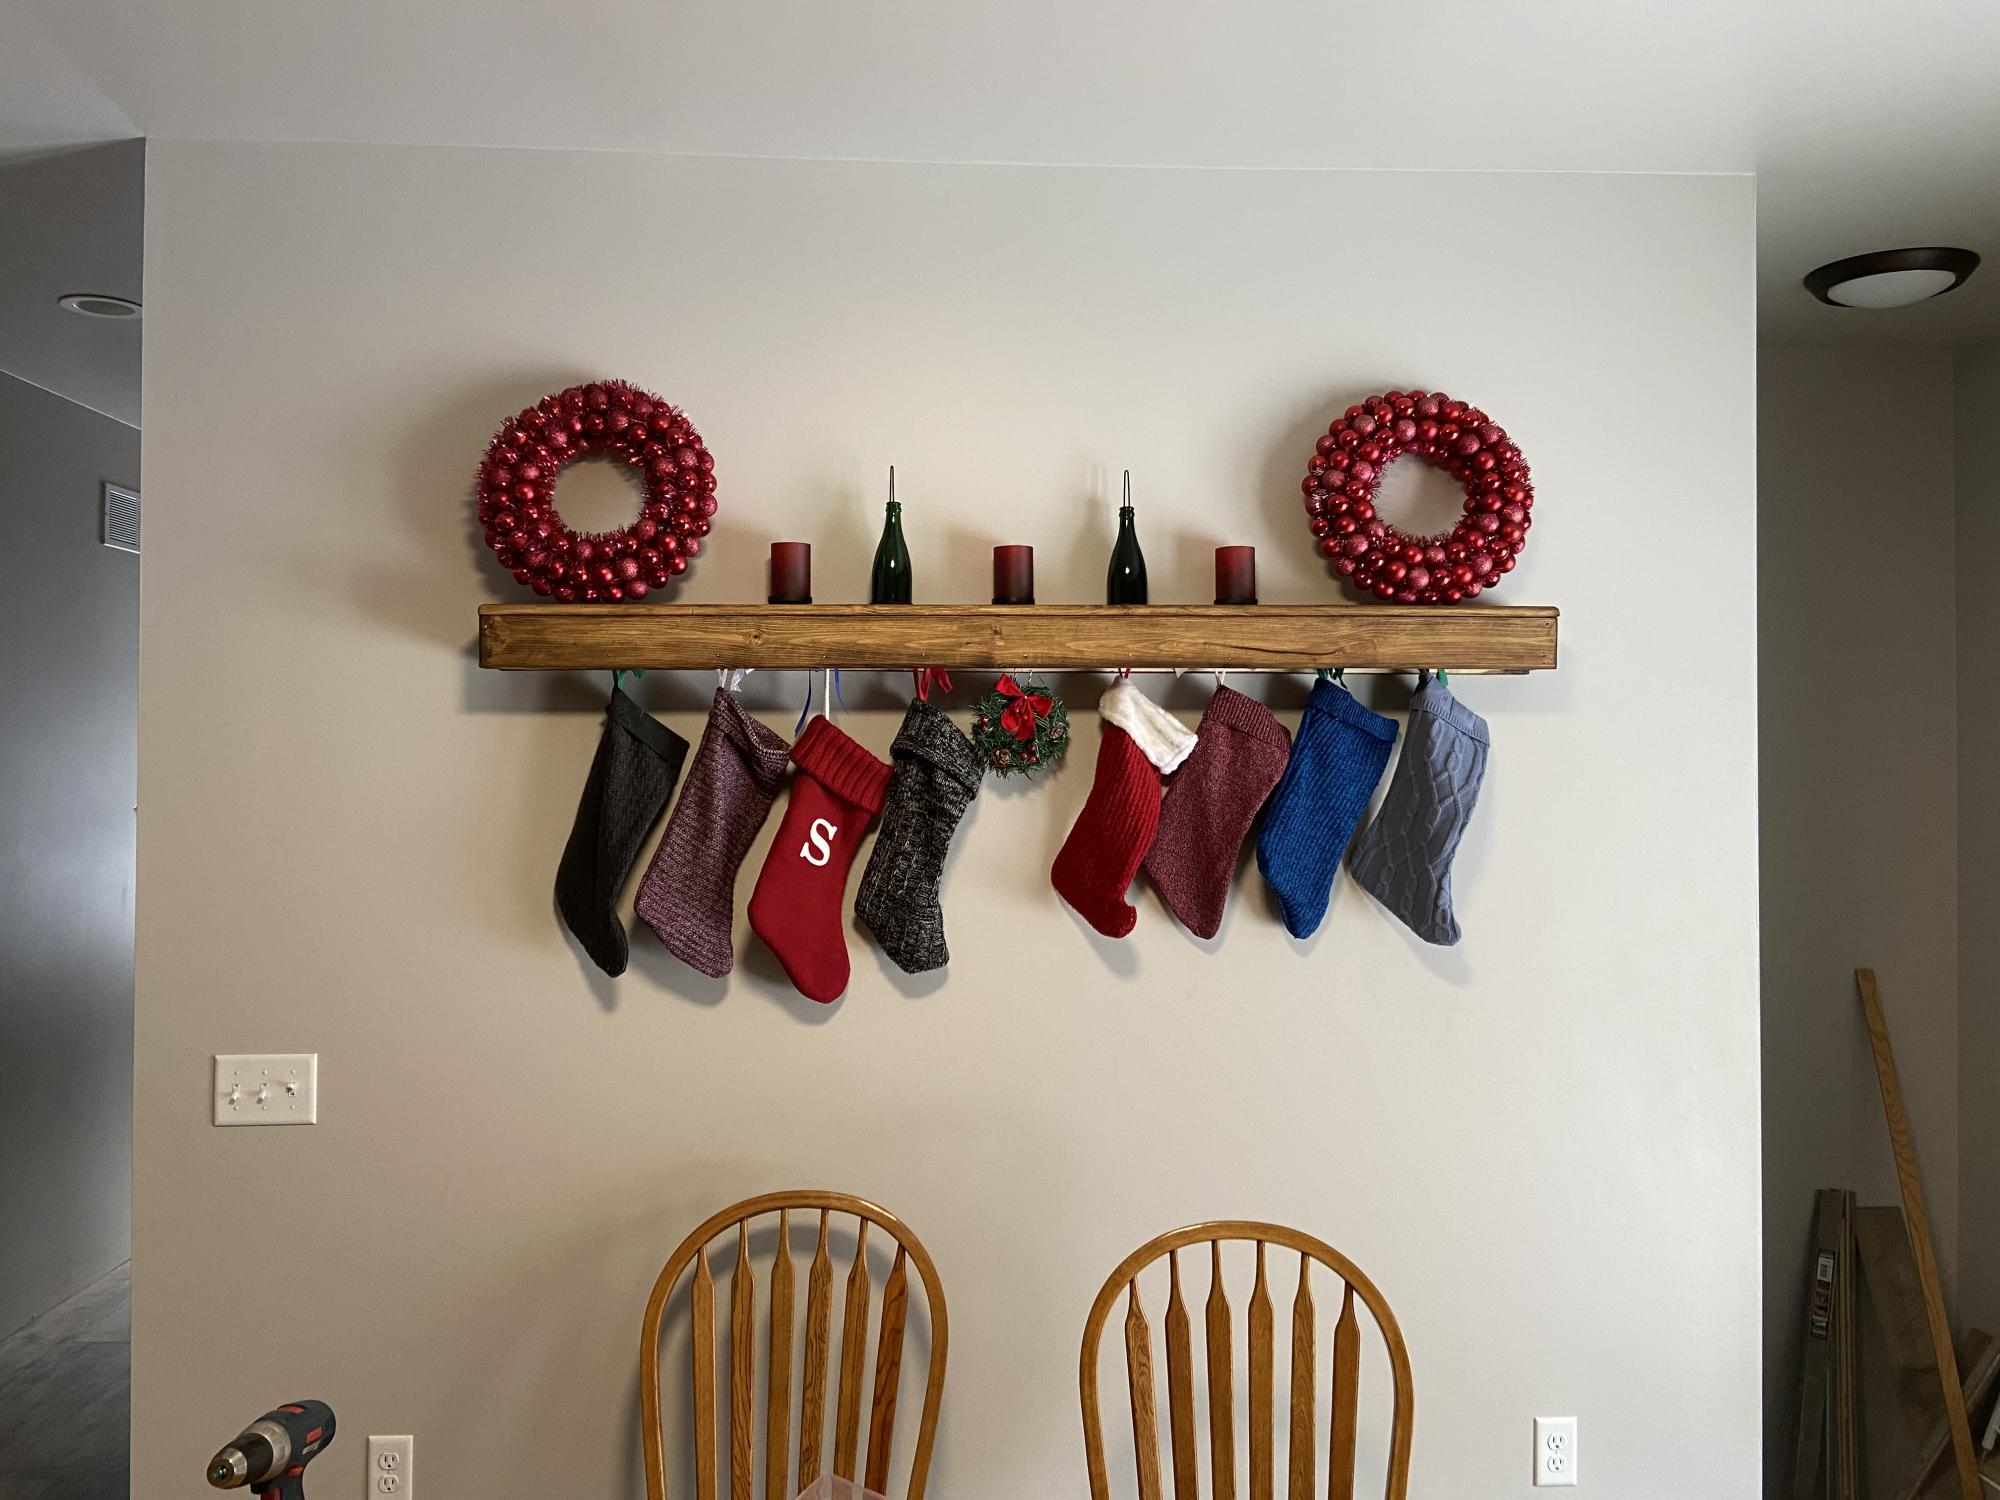
Needed somewhere to put Christmas stockings in my new house. And had to make it high enough so the new puppy couldn’t reach it. This was easy and perfect.
Comments
Doll furniture
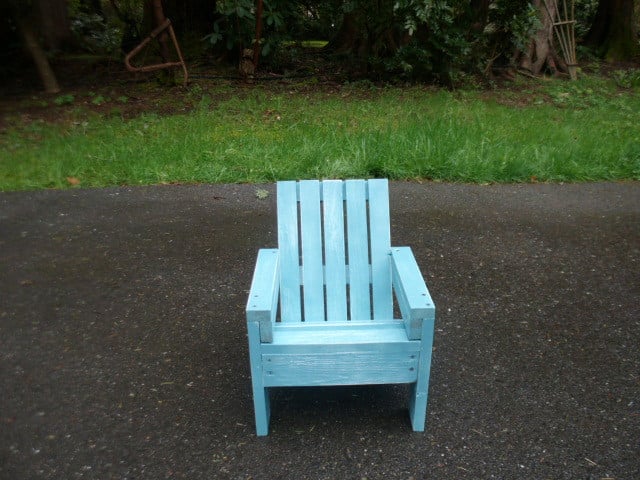
My husband made this chair in about 30 minutes. It was are first project from this sight. So easy and my niece loved it!! I painted he cut! what a team
Farmhouse Table
This was my first Wood Project - EVER.
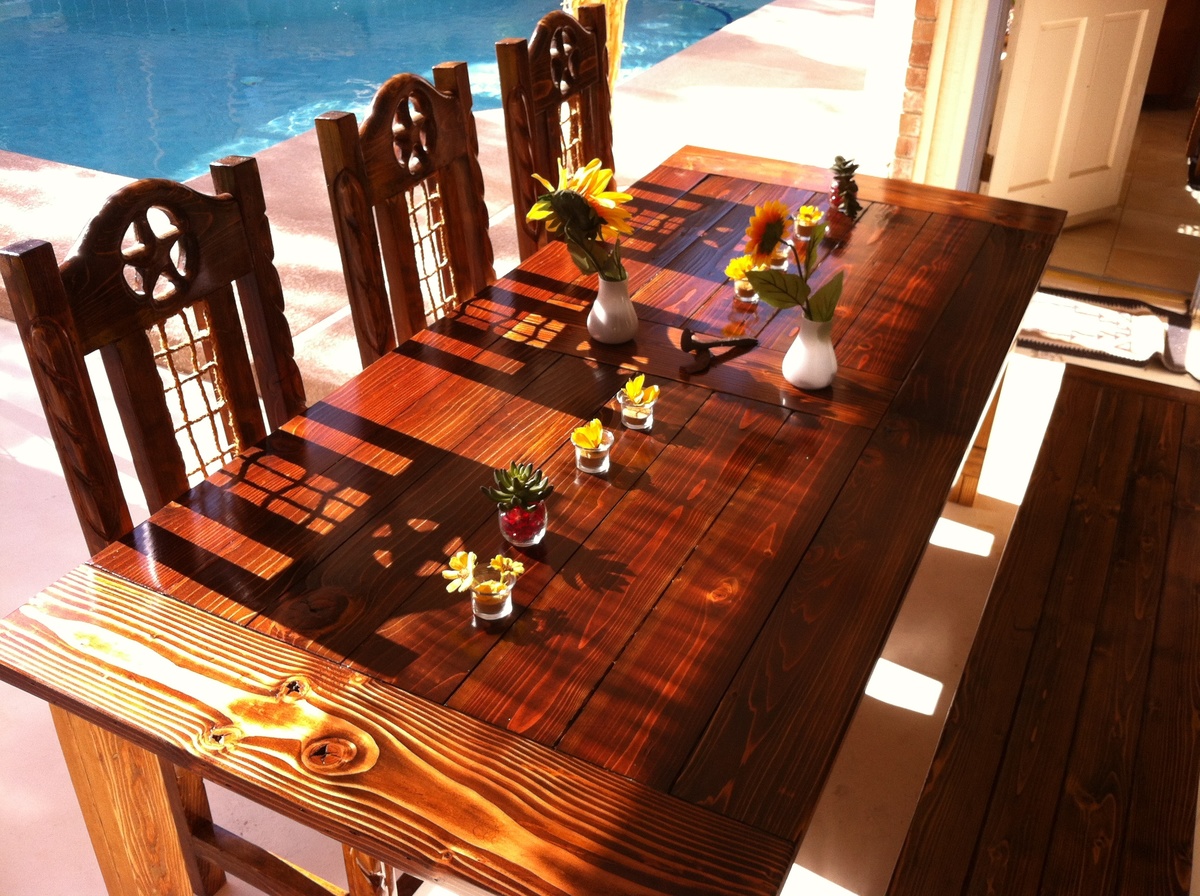
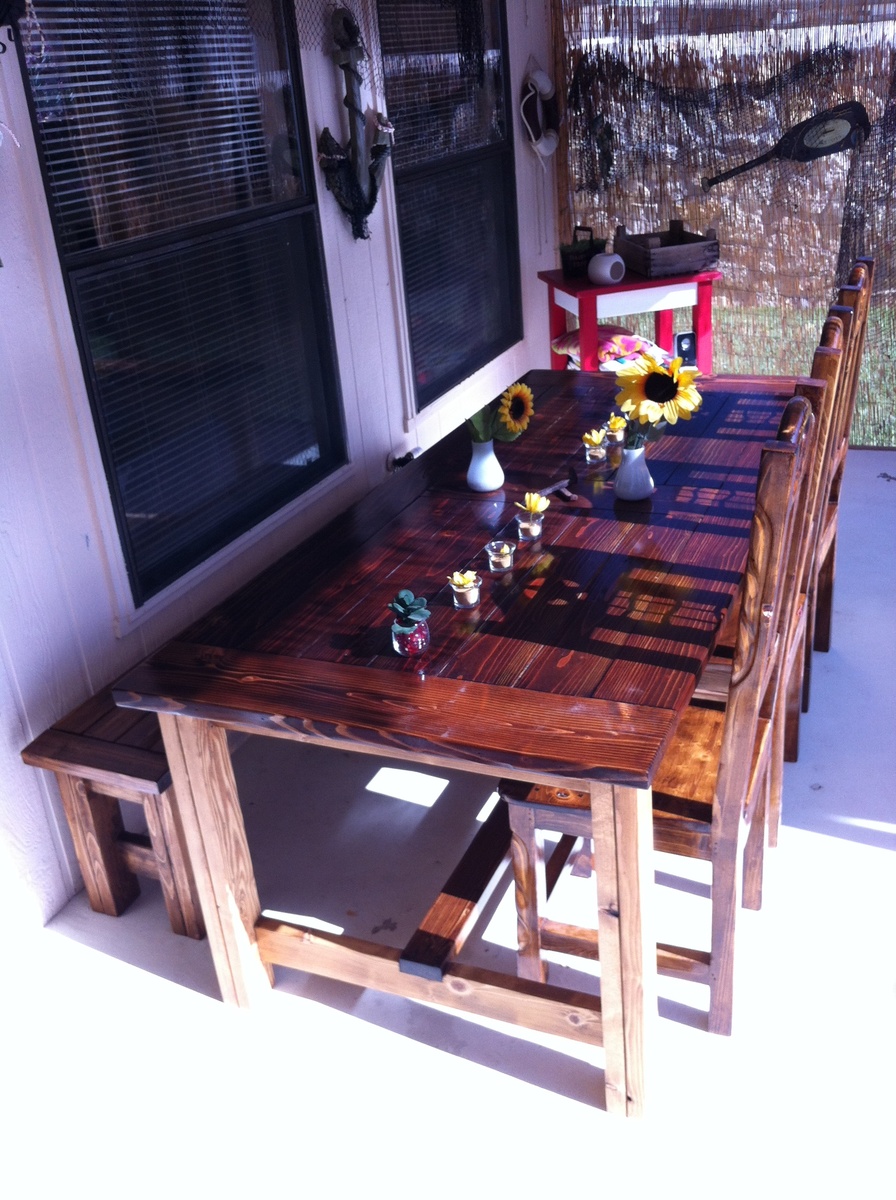
Working with this plan was quite easy. I just changed the design of the table top to my wife´s wish. I used "Golden Oak Stain" for the Legs and "Provincial Stain" for the Table top and Bench. The Legs are covered with Water seal and the Tops with 3 layers of Polyurethane. Chairs are Stained in Provincial also. Was a lot of fun for all of us. Learned a lot during this build.
Thanks
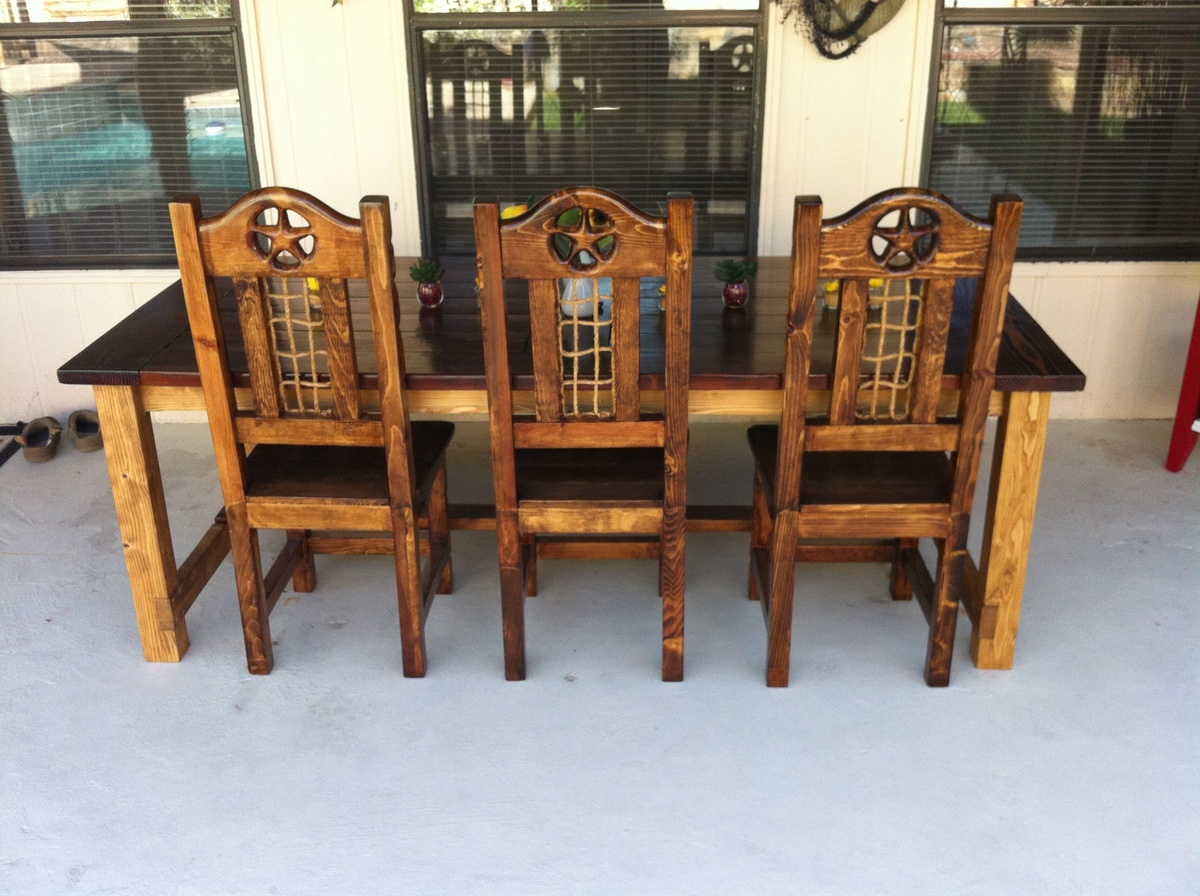
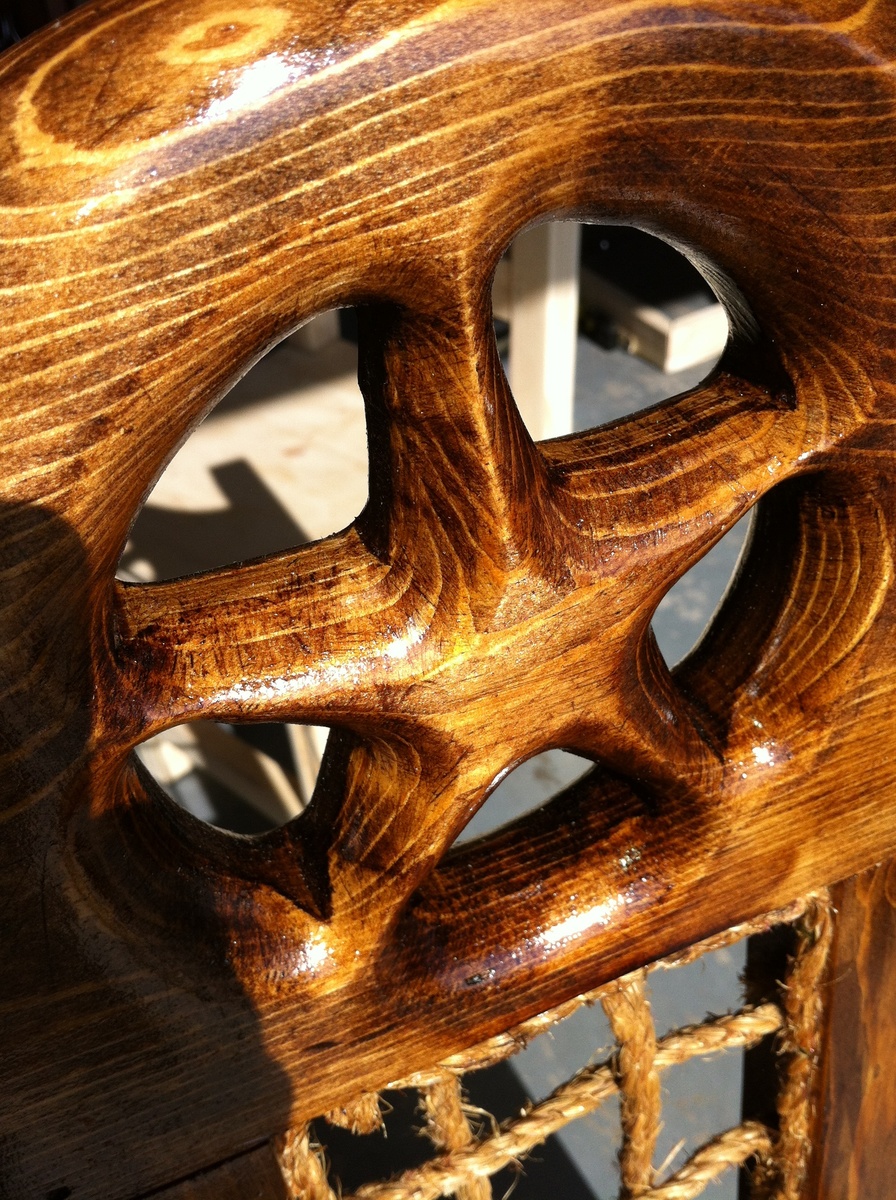
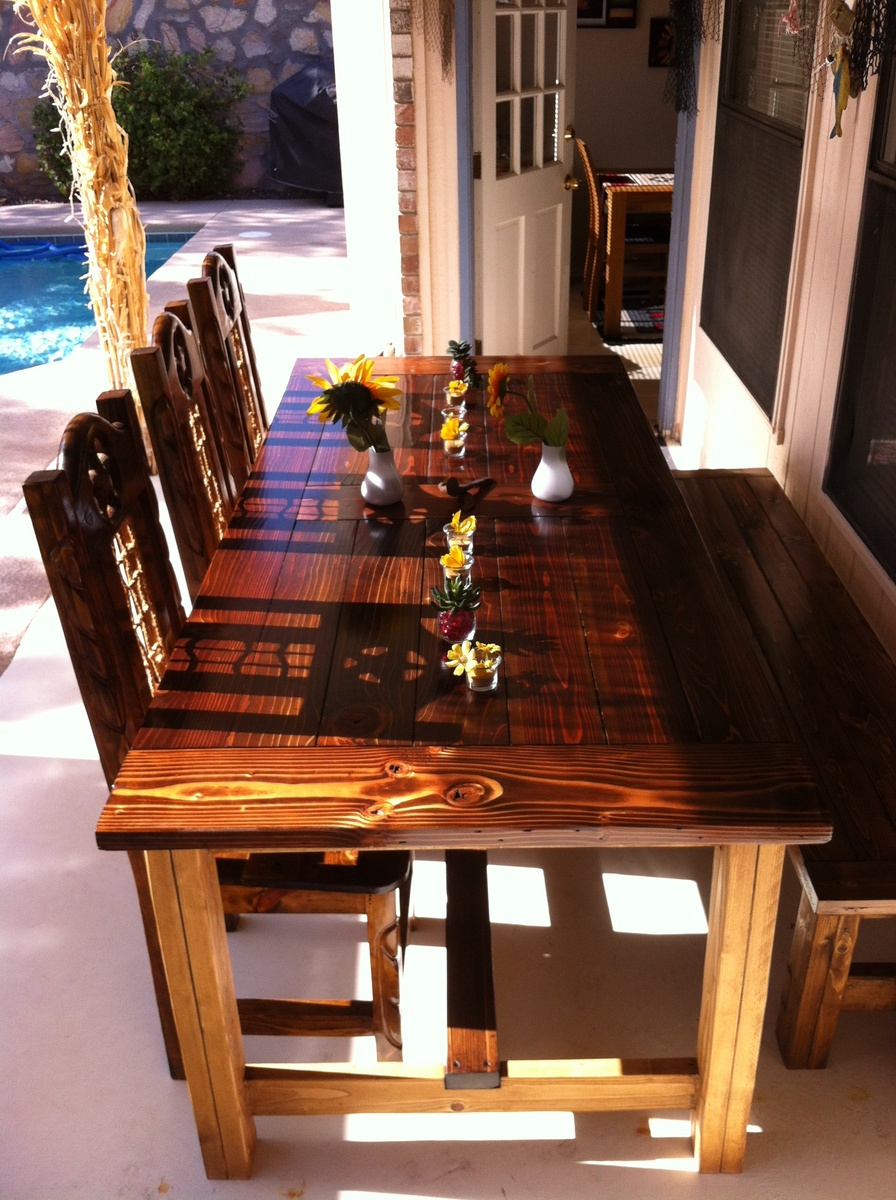
Polyurethane
Comments
Mon, 07/01/2013 - 21:10
The Chairs
Thanks for the nice comments. I bought the Chairs at a local Mexican Furniture Shop, sanded them, Stained them to fit the Table Top and put 3 layers Polyurethane on it... Came Out nice.
Thanks Alain.
Jann
Squared2 Full-size Headboard
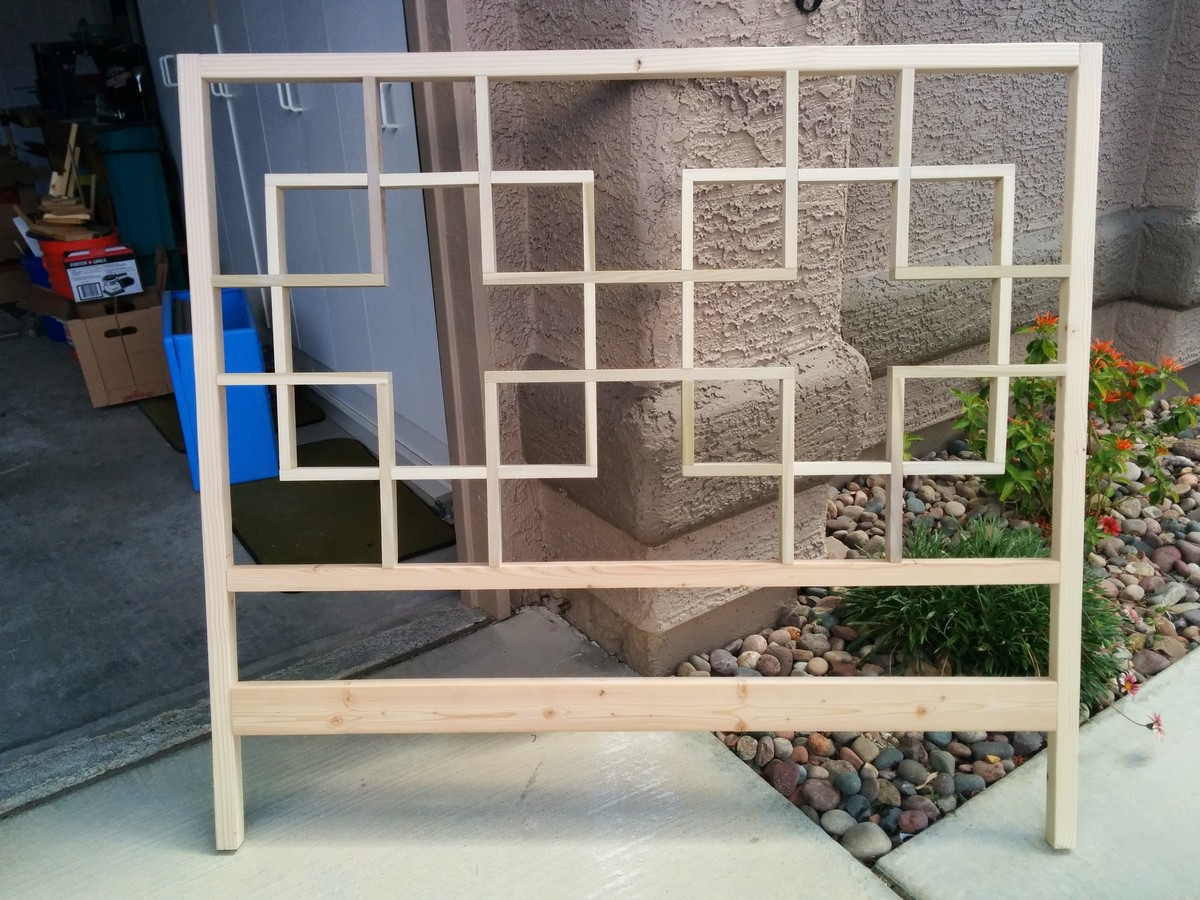
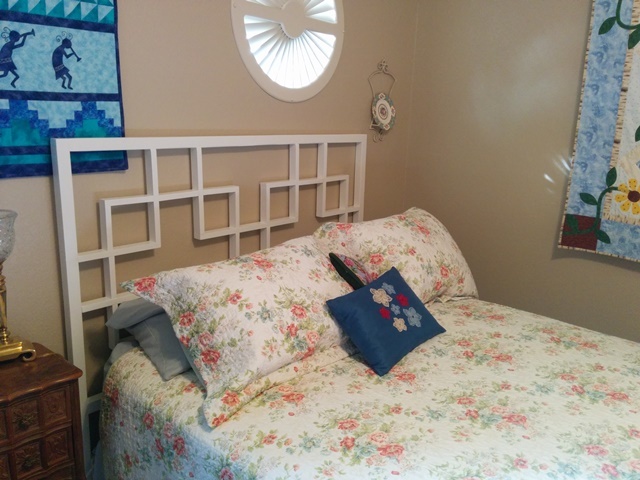
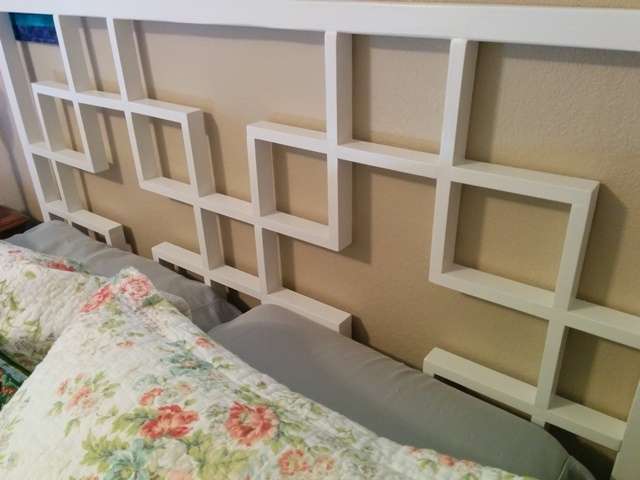
This is from Ana's Squared2 headboard plans. I made it for my Mom and she loves it. I adjusted the width to fit a full size bed by taking a few inches off each side. I found some right angle clamps at an estate sale that were invaluable in putting all this together. It would be very tricky getting everything just square and lined up with just regular clamps. I was worried about it being a little flimsy with all the small pieces, but it seems pretty sturdy.
Loft bed
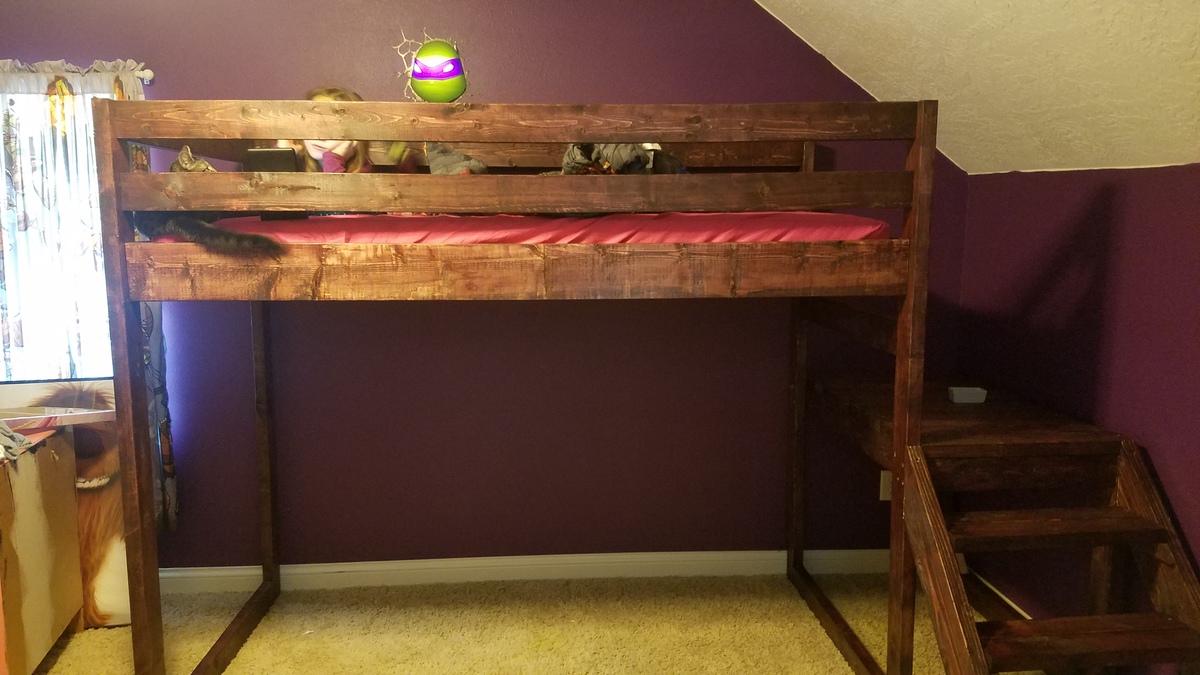
Built this for our daughter for Christmas! She loves it! Very easy build
Kid sized picnic table
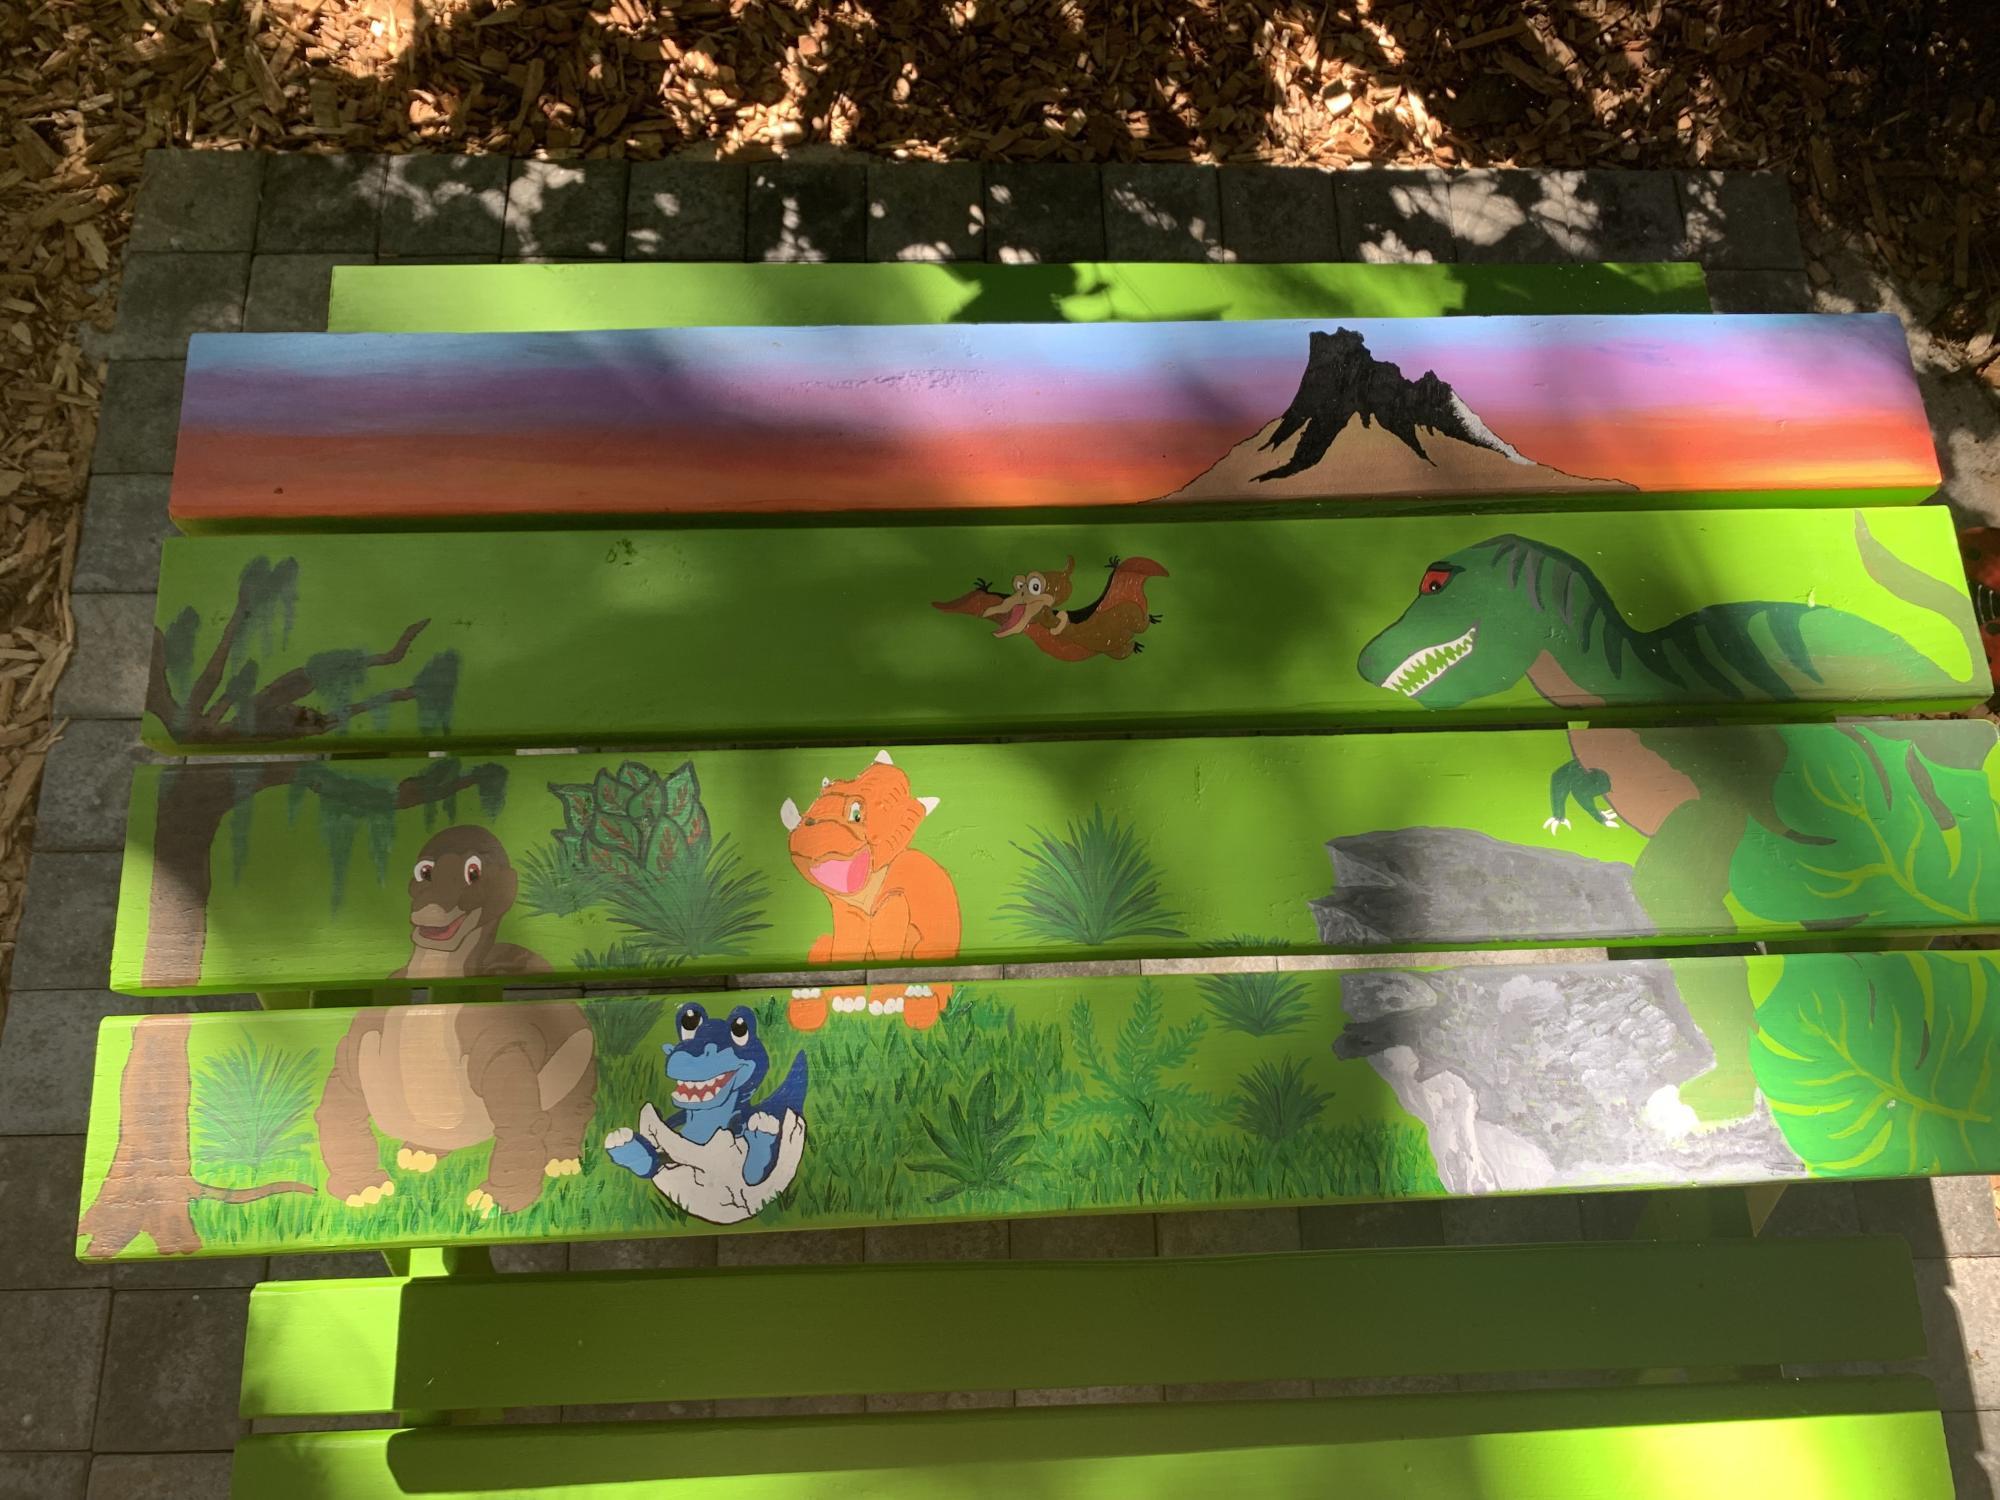
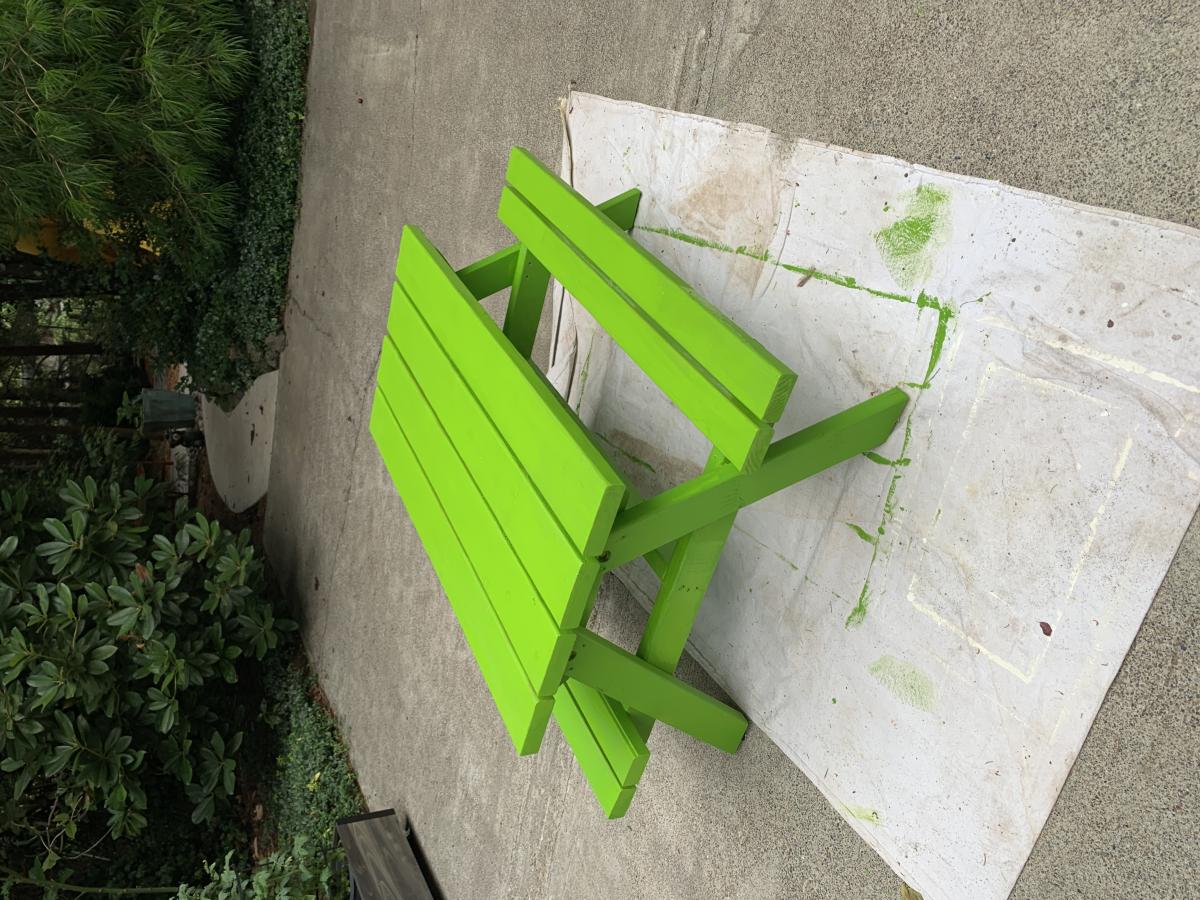
My daughter and I did this project together. It was our first wood working and painting project. Learned a lot in a short time. Plan was as said “Easy” although maybe a bit hard for us given we had no experience. All drawings and paintings were free hand.
Comments
Farmhouse Bed-My first build
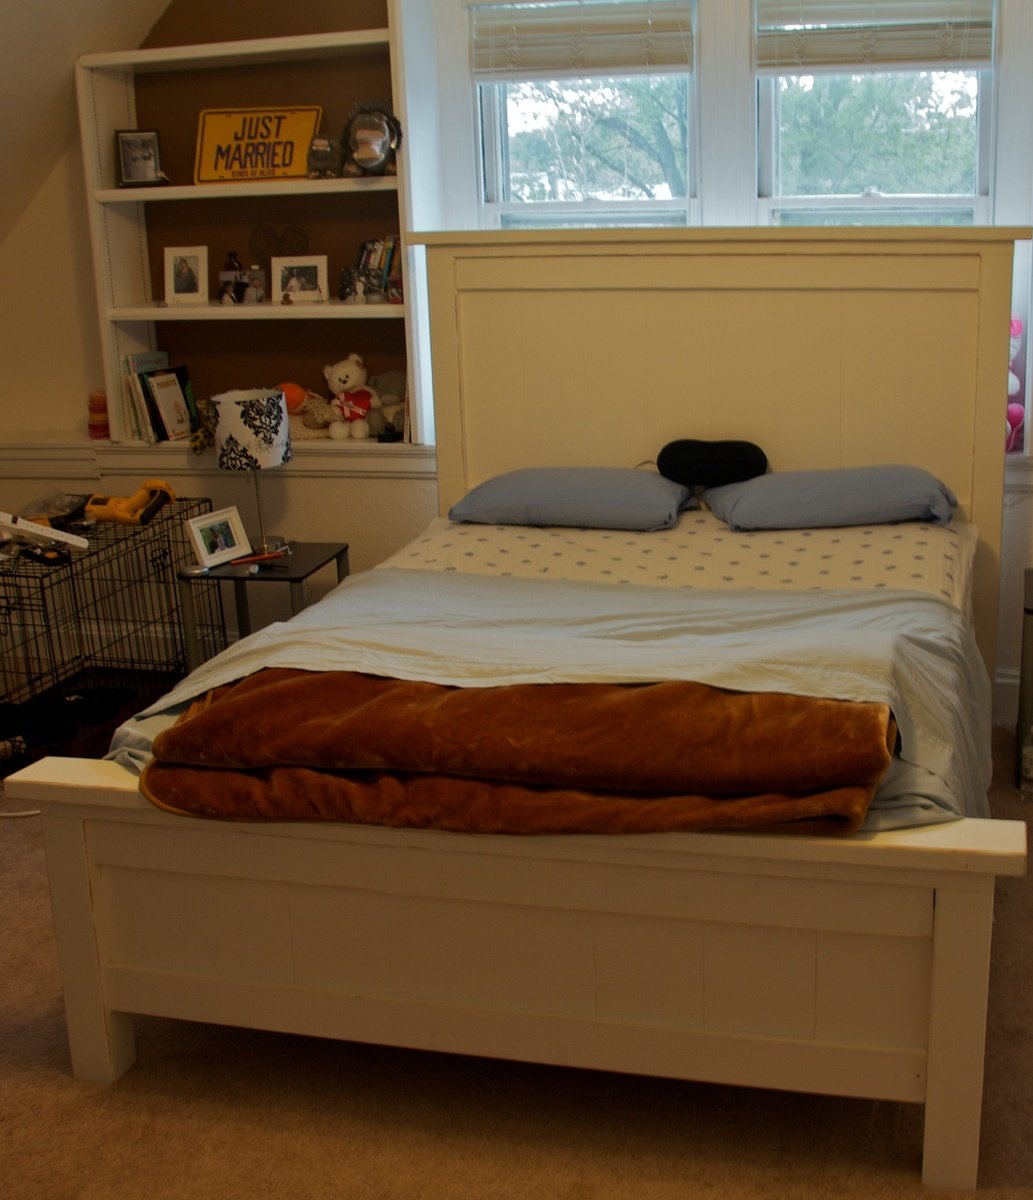
This was my first project. My wife saw it and told me to make it :)
Becca Trunk
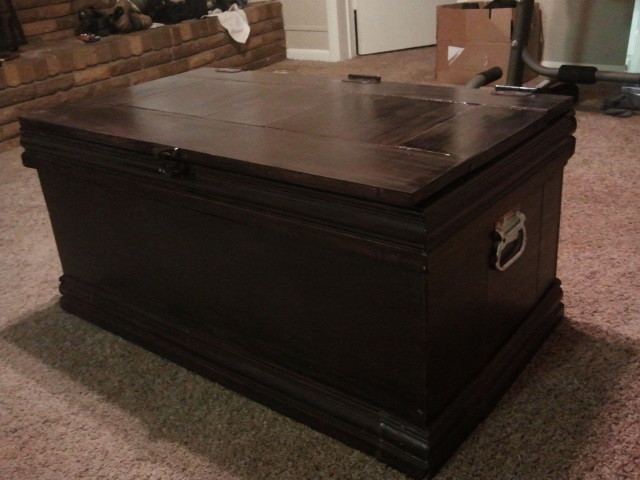
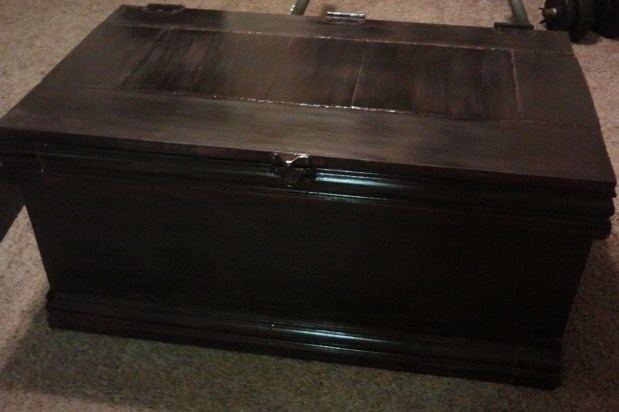
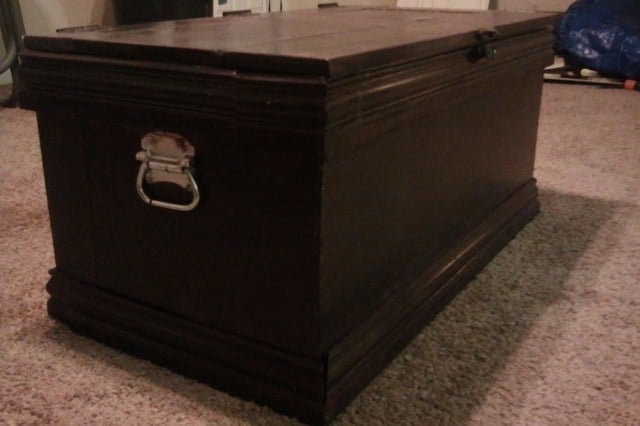
This was my first bigger woodworking project, and I loved the project and the plan! I'm just starting out buying tools, so the only power tool I used for this was a drill. I also have yet to get a work bench, so for now I was just working on the floor inside my apartment.
In order to use up some leftover wood, I made the sides out of several boards instead of one solid piece. I didn't use pocket holes for lack of a jig; instead I simply glued the boards on the sides and connected them with a few thin screwed-on boards inside. I will still line the inside with some sort of cloth, so I wasn't too concerned about what it looks like inside.
Considering my circumstances, I'm extremely pleased with the results, and ready to soon move on to another project.
From start to finish it took me about 3 weeks of working on it about 2 hours in the evening maybe 4 days a week (mind you, I'm a beginner and was using hand tools).
Comments
Sun, 07/07/2013 - 21:31
Hi 5!!
You did a very good job considering you did it all by hand. When I was afraid to use power tools I made my sons first bed by hand so I know how difficult it can be. Since you already have a drill I'd suggest getting a miter saw next. It will save so much time with your cuts. You'll also get perfect angles. :)
I dont have a pocket hole jig either but if you still want pocket holes you can buy a countersink drill bit at just about any hardware store (or use a regular drill bit but the countersink ones work better, I feel) and angle it at 15 degrees or so. Then just sink your screw right into the hole. Viola, hand made pocket holes. :)
I love the dark color too, job well done
~Melody
Simple Outdoor Dining Table
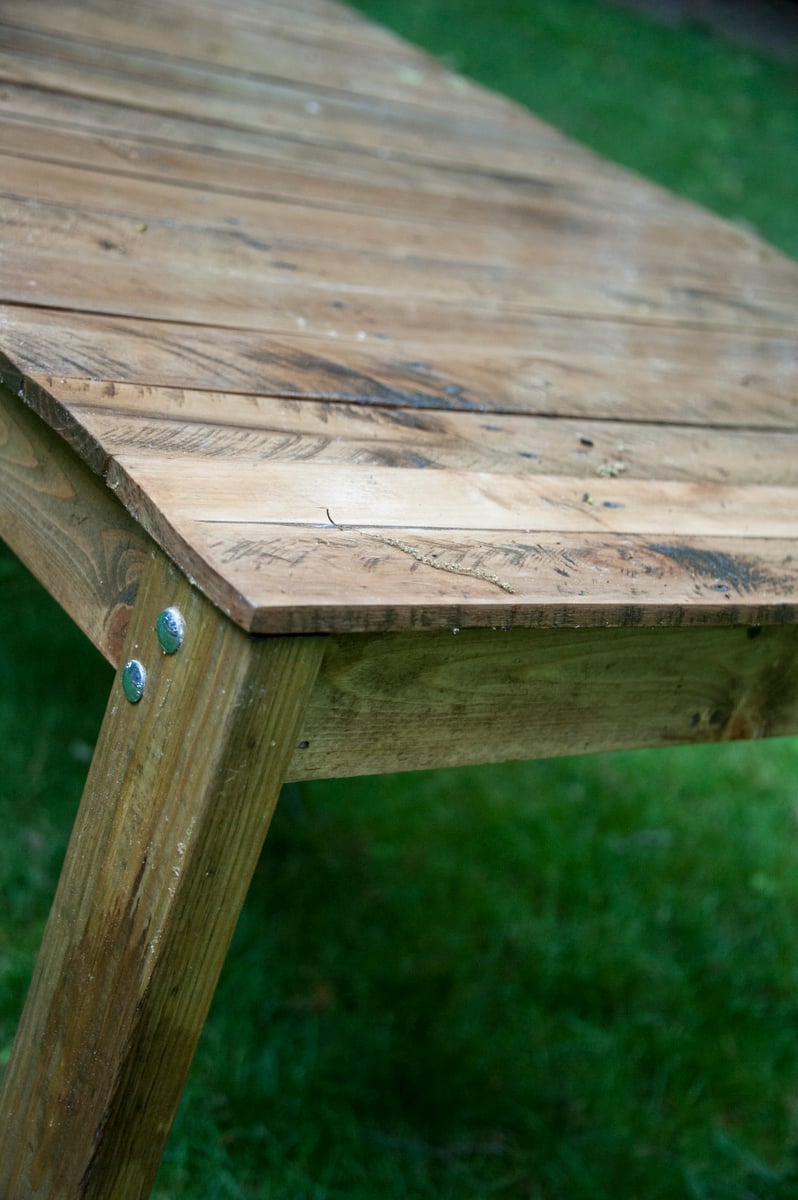
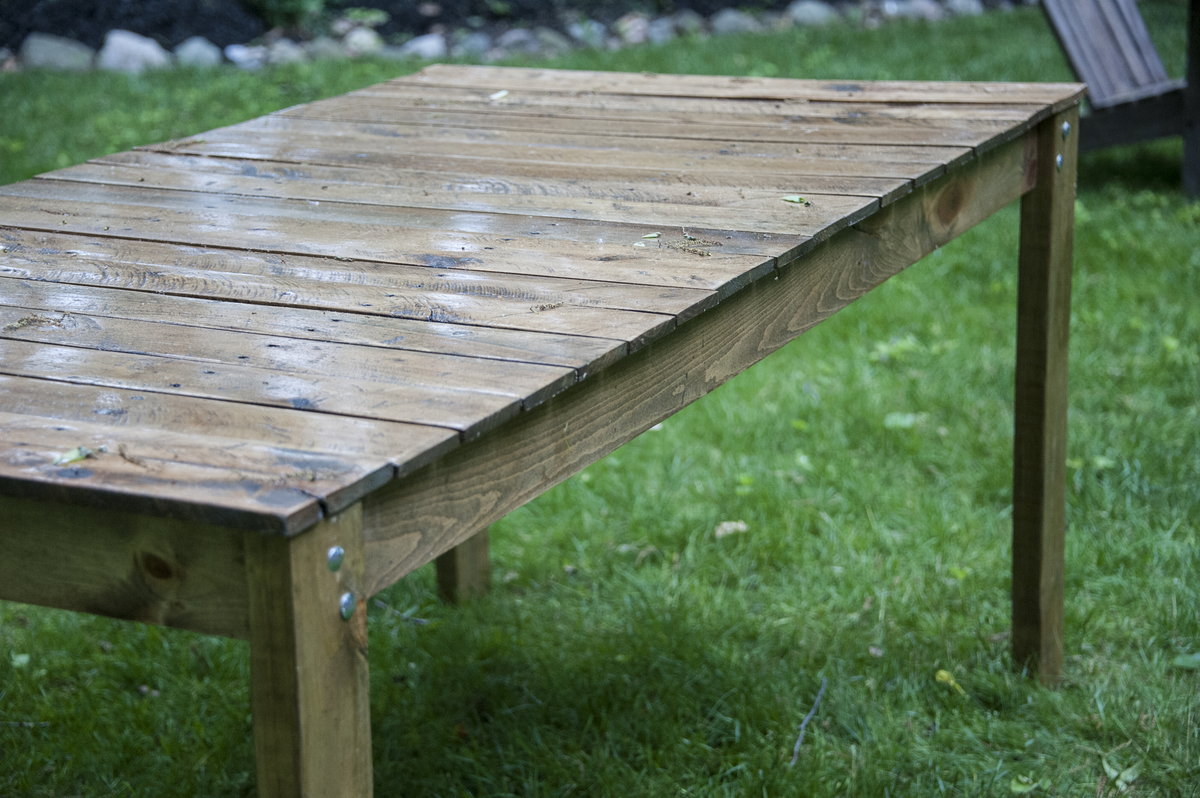
This was my very first project wood building project. I was very pleased with how it turned out. It's not perfect, but I have learned some tricks for my next project.
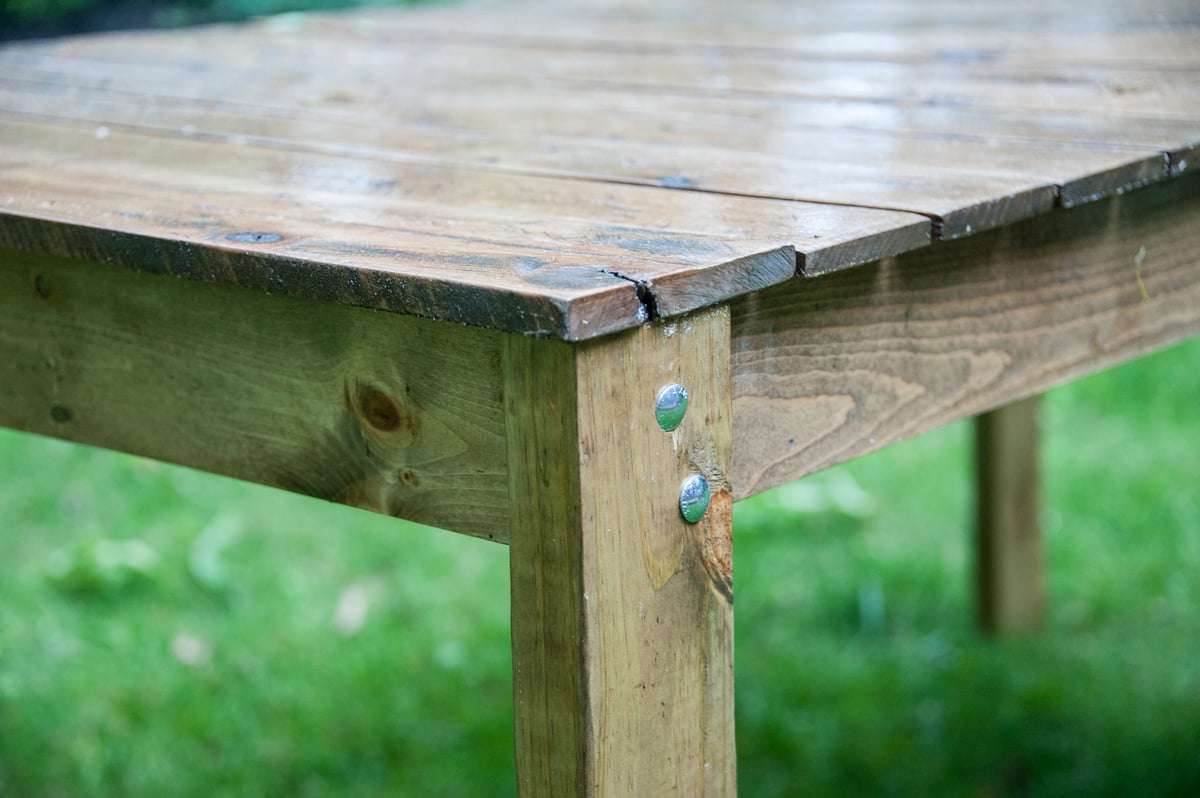
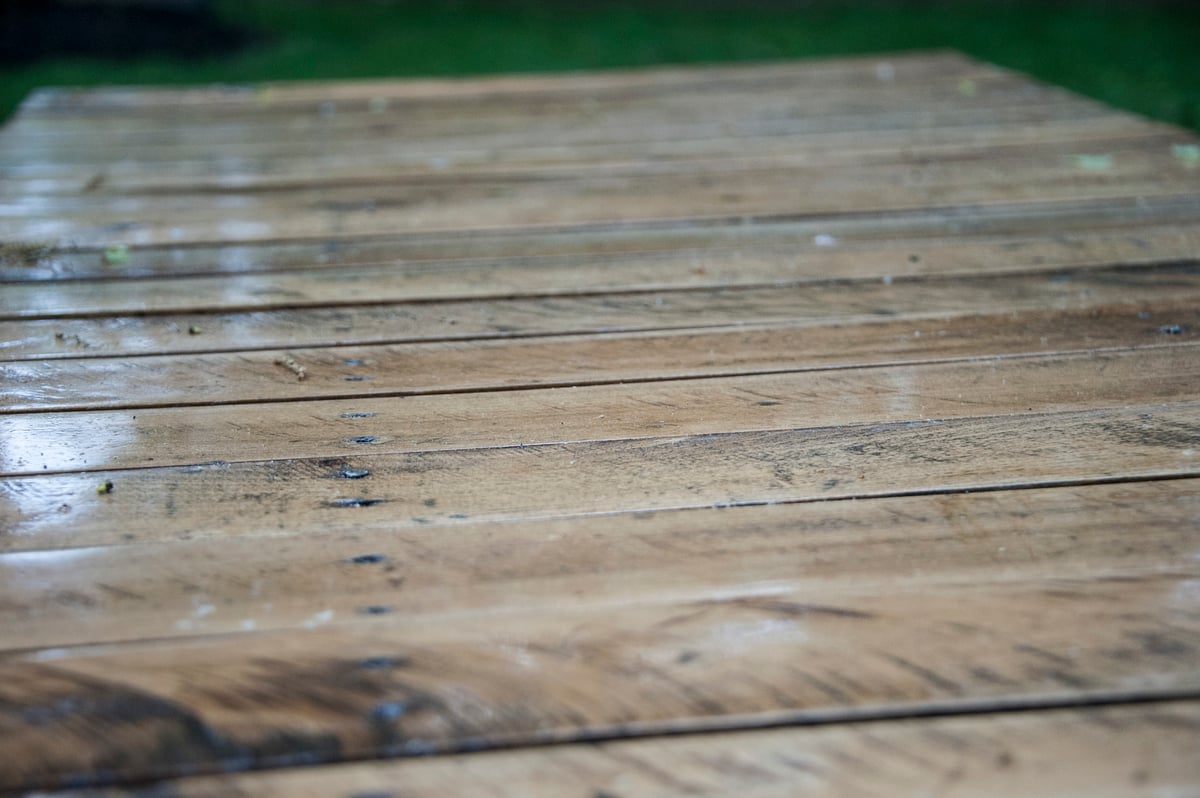
I wanted the older look, so the top planks are all boards cut from pallets (not very easy to take the pallets apart). The rest of the wood was purchased, with the legs cut from treated wood.
All parts were coated in 2-3 coats of spar varnish.
Skill level, I would say is intermediate, with the lining up all of the separate boards and the pocket holes making it a little harder than beginner project, in my mind. BUT, remember that is coming from someone who has never built anything.
Time was a little longer because of using the wood from the pallets. Removal from the pallets was difficult and time consuming. The boards then required extensive sanding, and then several coats of spar varnish before building to be sure that ALL surfaces were covered, since the wood was not treated.
Very glad that I did it. I like the imperfect top (most of it), with the nail heads down the middle (not functional, just kept them from the skids), and the worn top.
I completed the project myself, with a little help from my dad at the end, putting the legs on. Just using screws didn't sound strong enough, and the bolt locations were a little tricky with the locations of the pocket holes on the inside.
Plan to make a bench, next, but maybe not the matching one. I think a project with fewer cuts and attachments is next in my future.
Comments
Fri, 06/05/2015 - 14:17
Great job!
This looks super! Love the pallet boards on the top, and how you preserved the old wood look. Congrats on your first project!
Reclaimed Wood Headboard
I built Ana's Reclaimed Wood Headboard. This was the easiest piece I have built so far! Very quick! You can see the steps I took to finish it at our blog http://www.shanty-2-chic.com/2011/04/diy-headboard.html
Triple bunk beds with crib
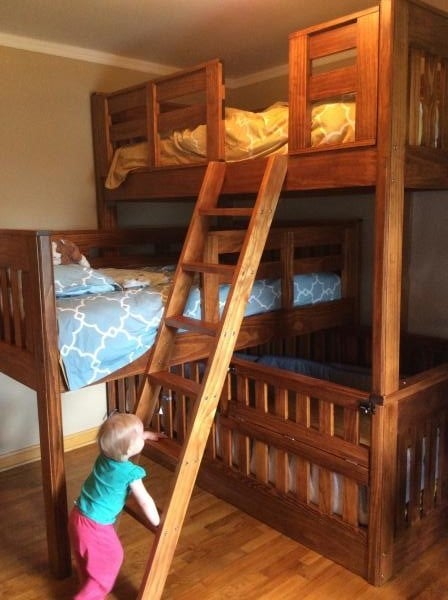
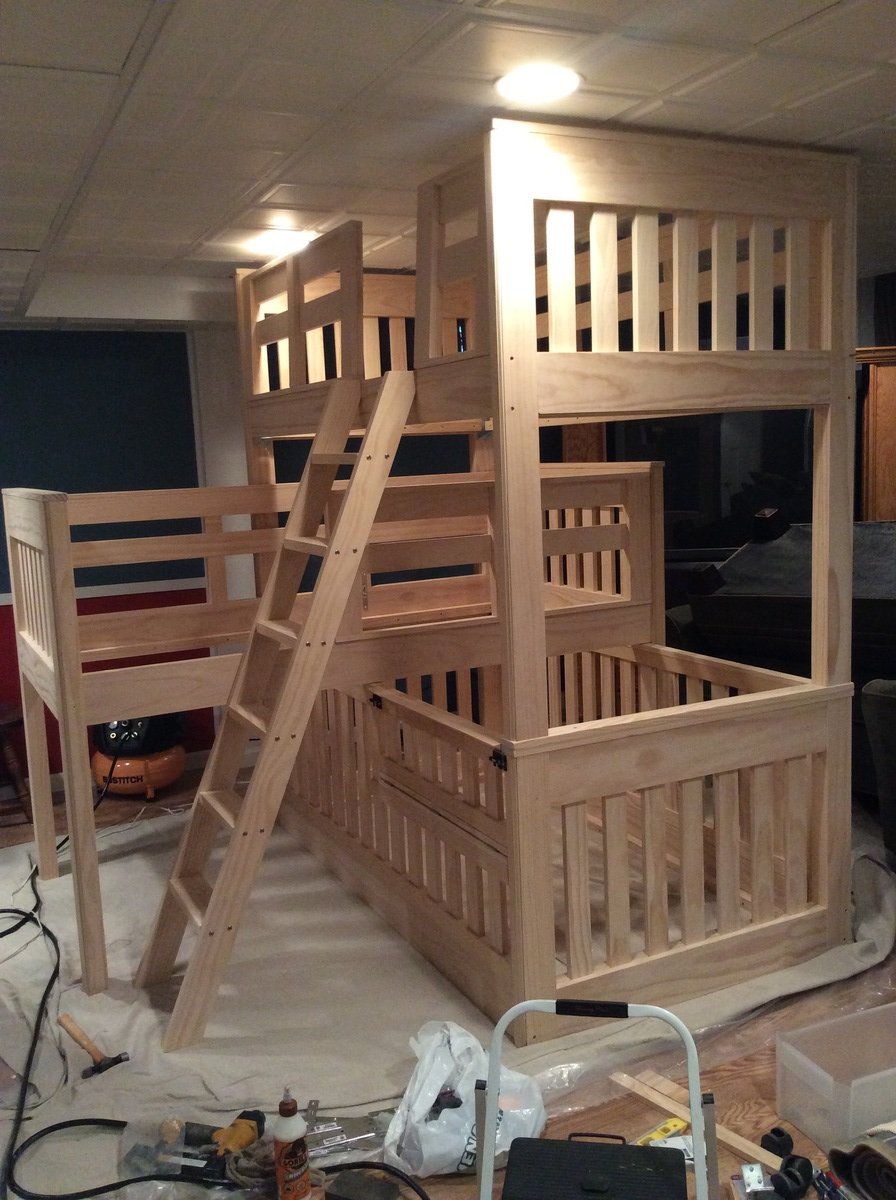
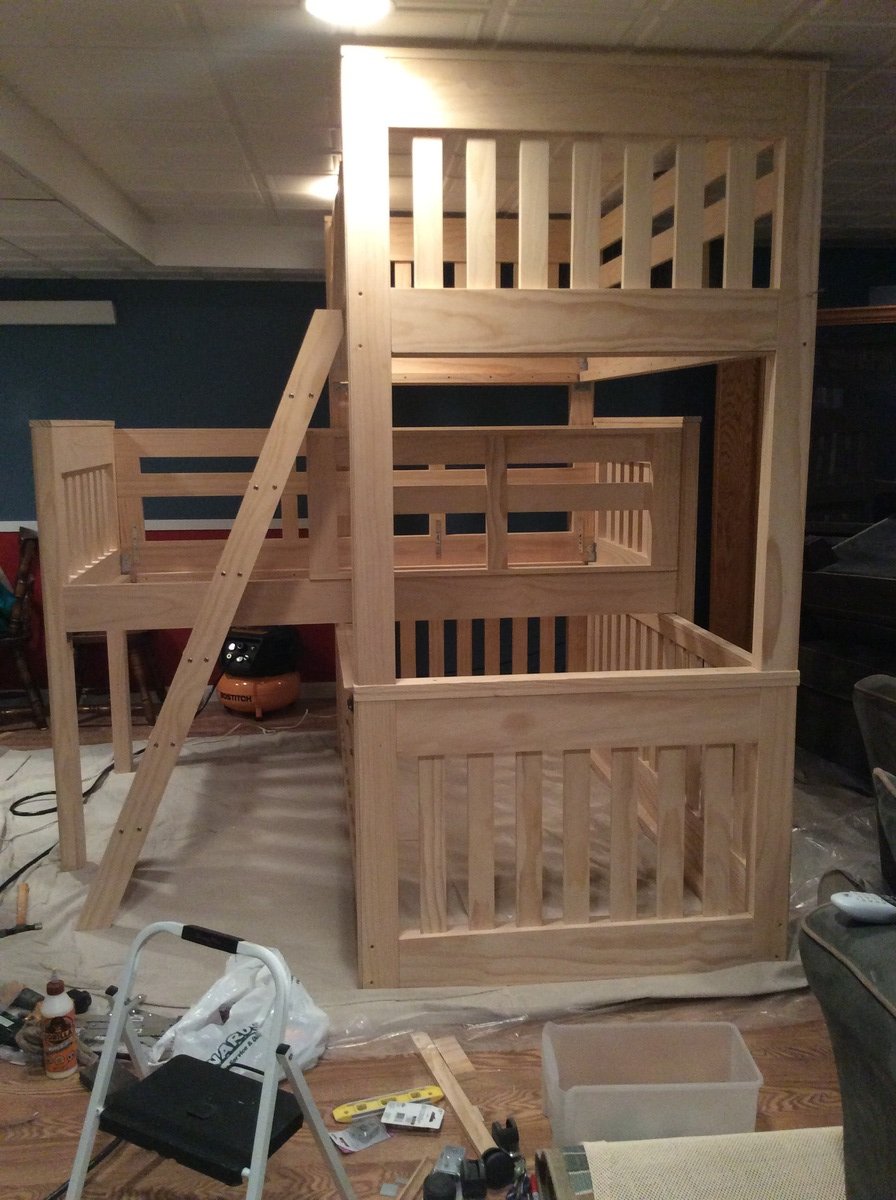
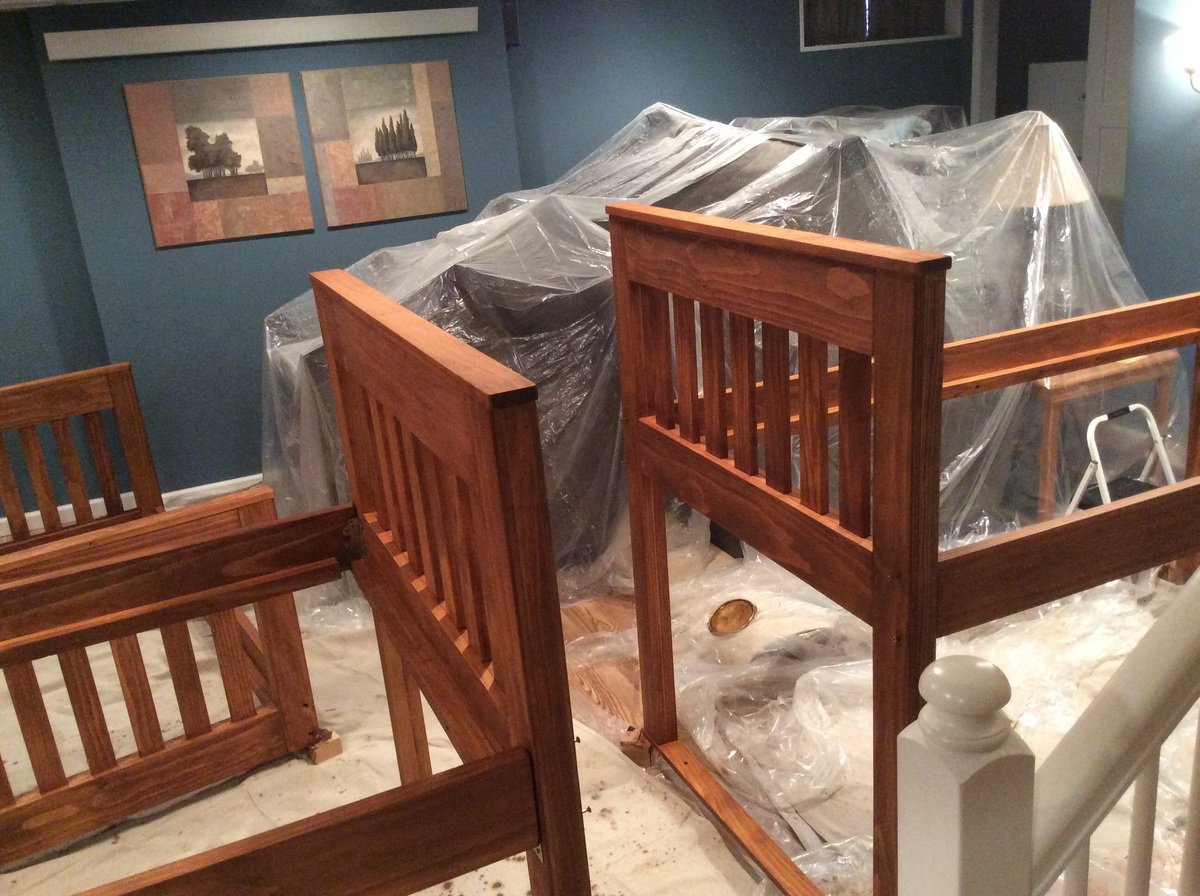
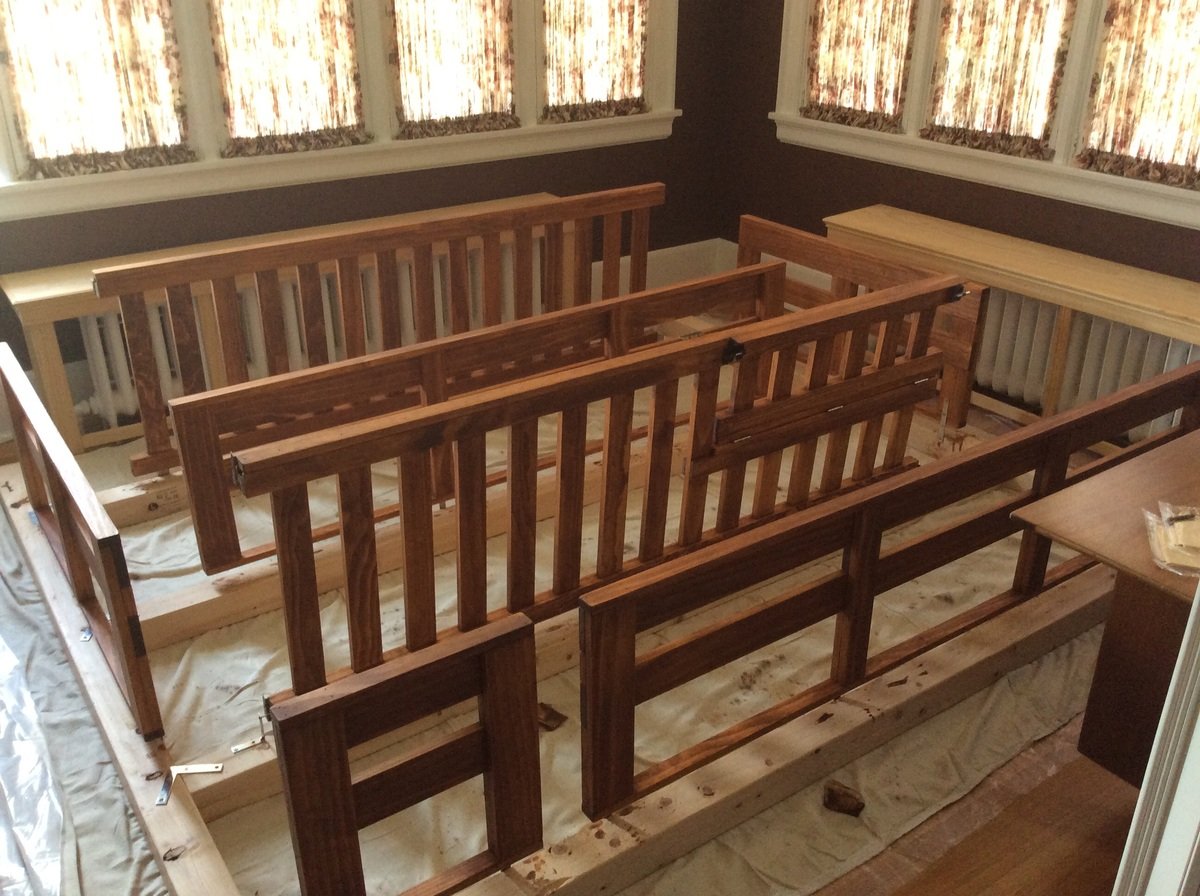
We needed beds for 3 children, one of which is 14 months old, in a small bedroom and with the simple bunk bed plan to start with I came up with this. The kids love it, although it took the 14 month old a few tries before she accepted the change from her regular crib in another room to this crib/bed and sharing a room with her siblings. Now it's all good!
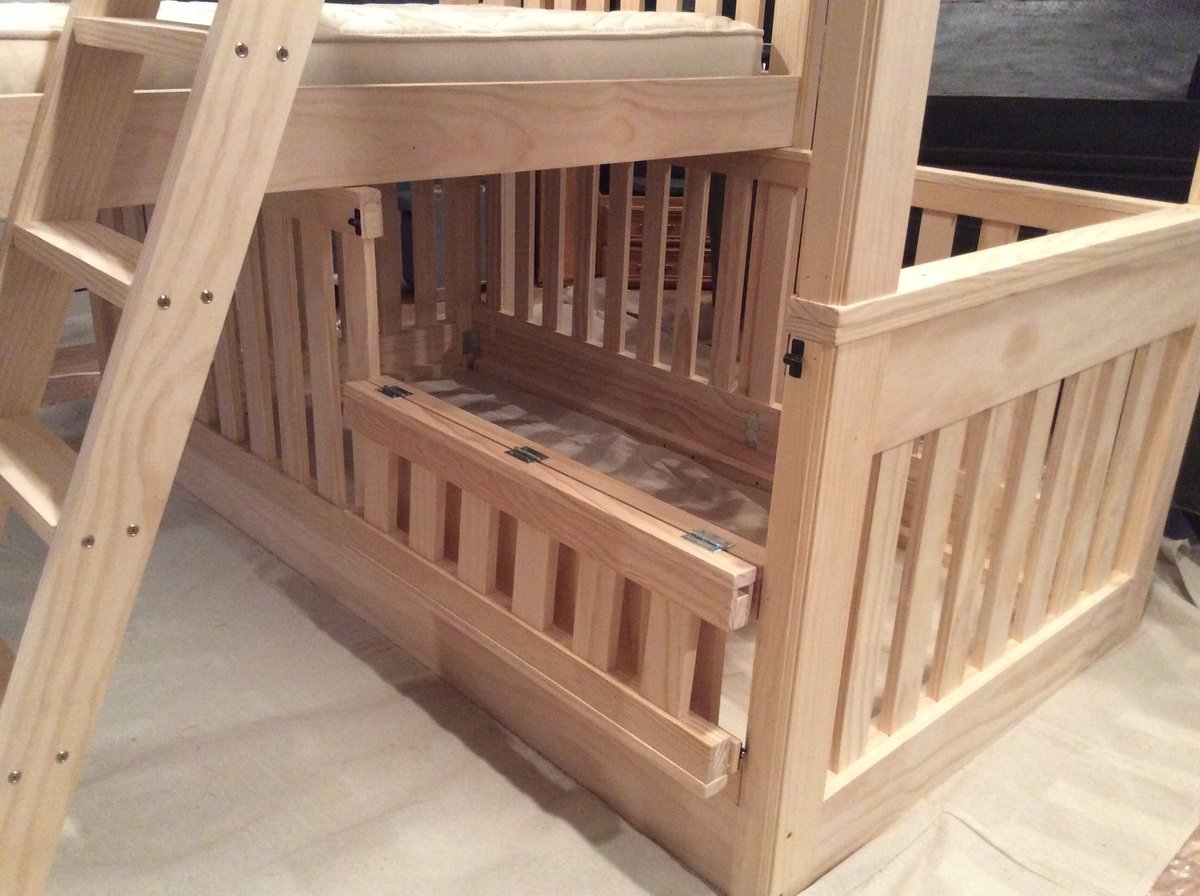
The beds can also be used separately. The top bunk and the middle bunk will stand 30 inches off the floor when used as separate beds, so like loft beds with storage space underneath for a dresser, reading nook, toys, etc. All side safety rails can be removed for unstacked beds as I finished them all separate from the beds. The bottom "crib" bed side rails can also be removed for single bed. At this point it would just sit on the floor as a single bed also but I may come up with some sort of feet to get it up off the floor when the time comes. They really wanted this set of bunks to be able to be used separately also. The fold-down portion of the "crib" side rail was designed to give easier access for changing sheets, etc. for the "crib". This "crib" bed also uses a regular twin mattress.
Comments
Wed, 11/23/2016 - 08:45
How is everything?
I have three boys (youngest is 10 months right now) and we're getting these built for us this summer. How did the baby take to it? Also, How tall was the bunk. I'm thinking about ceiling height.
Fri, 05/01/2020 - 12:50
Correct plans?
Thank you for this idea! We have special needs son who won't stay in bed unless he has a rail. Now that he is 7 this might work. Keep him with his brother in the same room too.
The link for the plans is not the same bunk bed. Is there another set of plans or do I need to just improvise based on the photos?
Thanks again!


Comments
Ana White Admin
Mon, 11/29/2021 - 05:41
Festive!
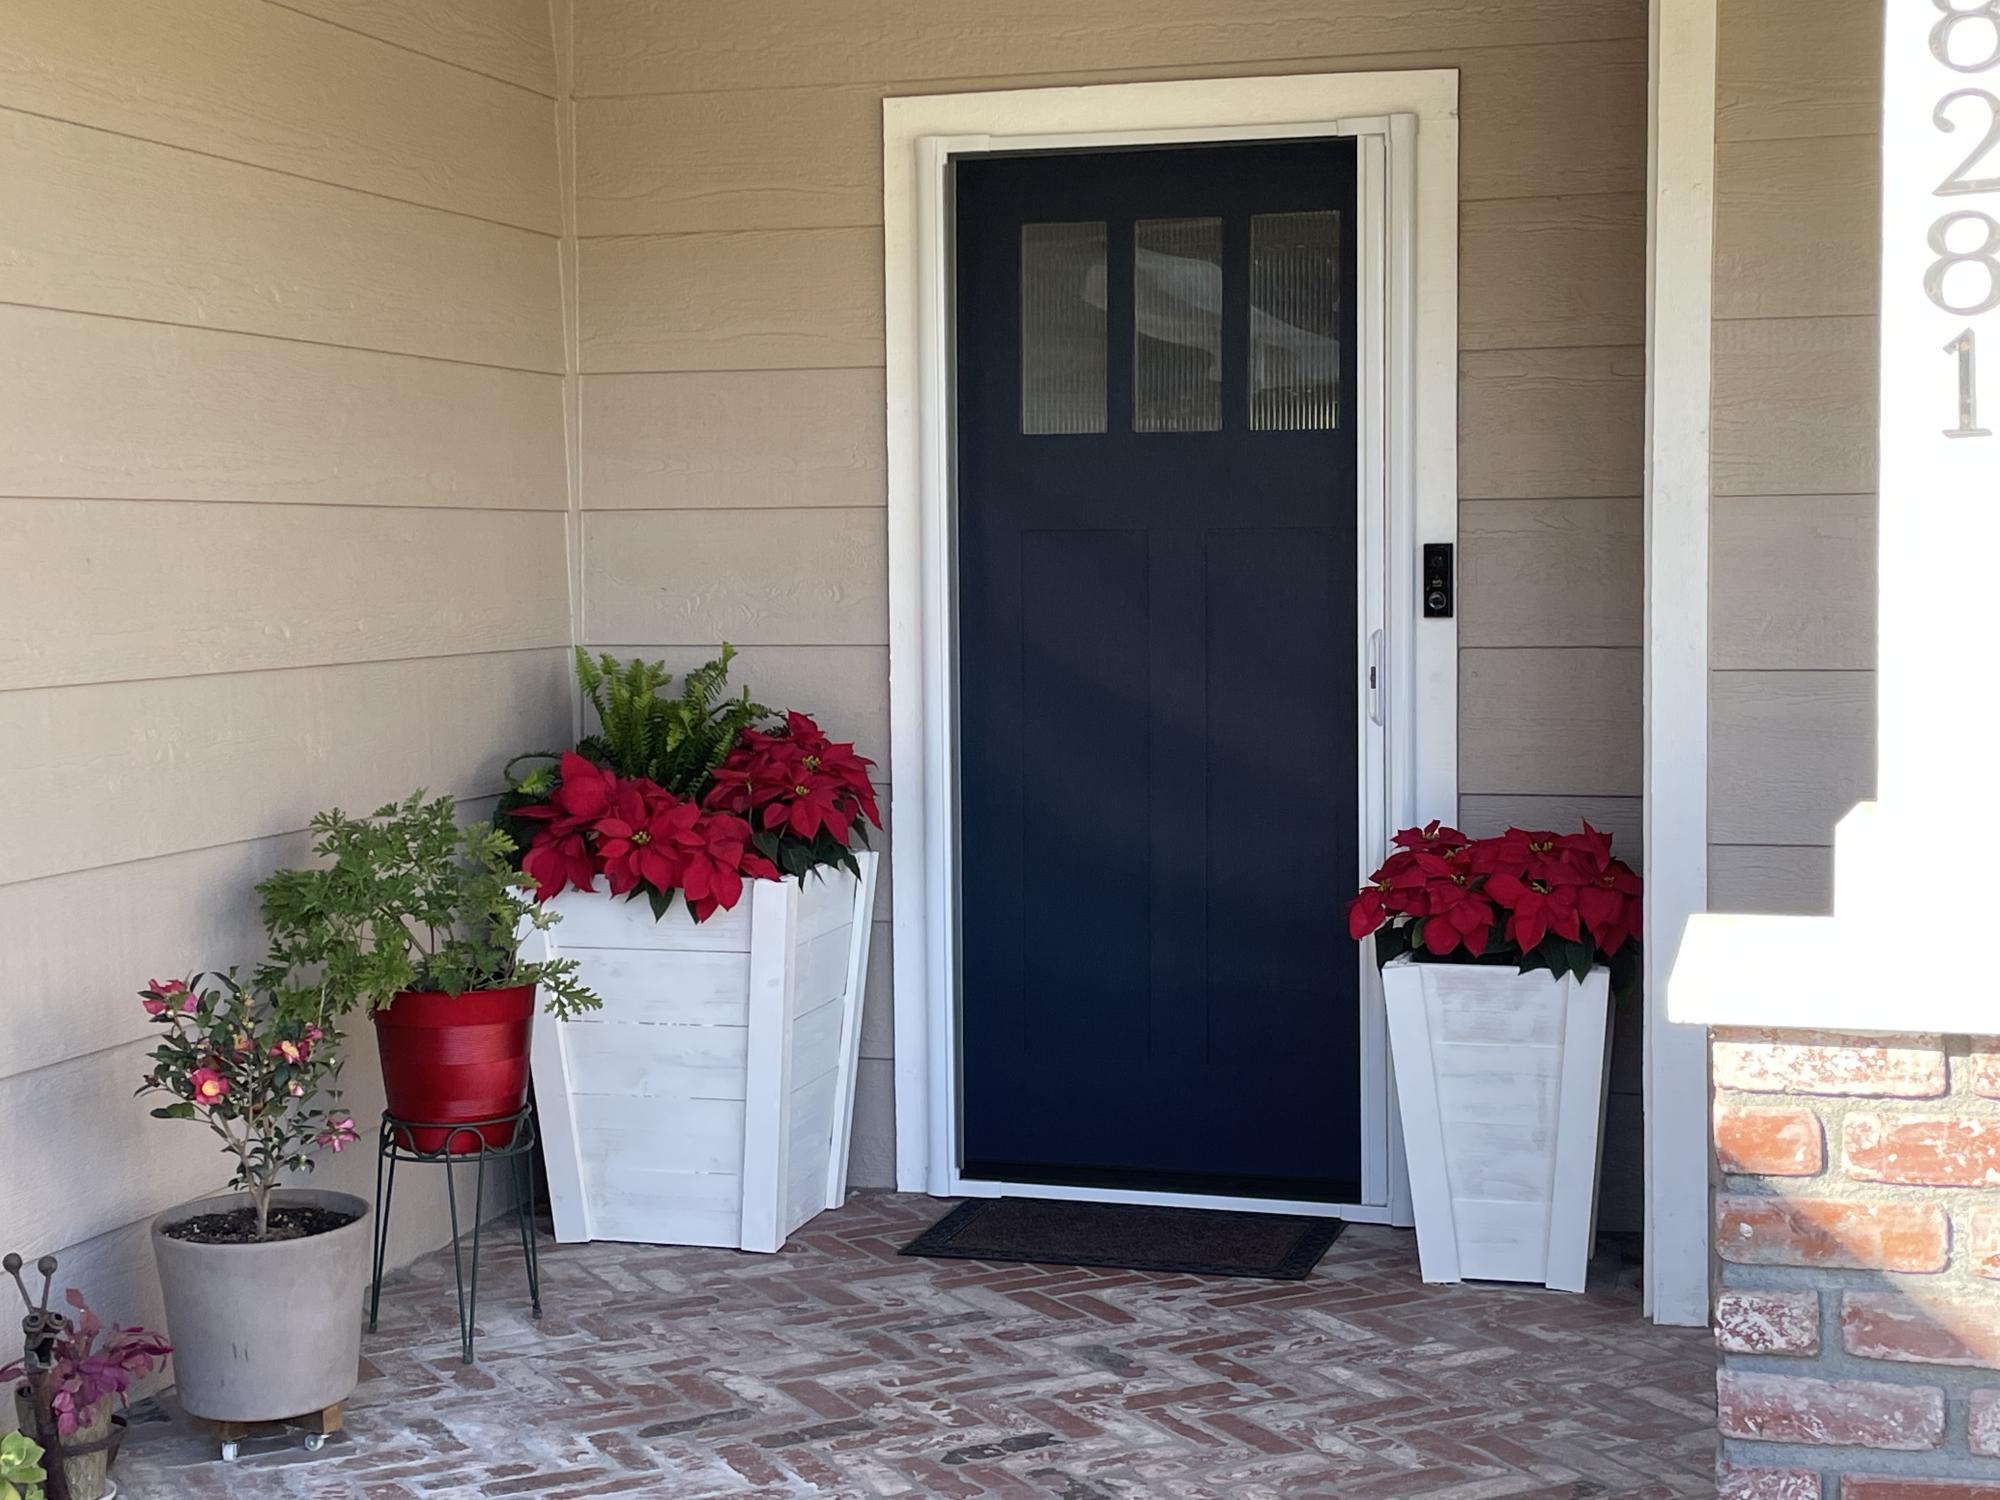
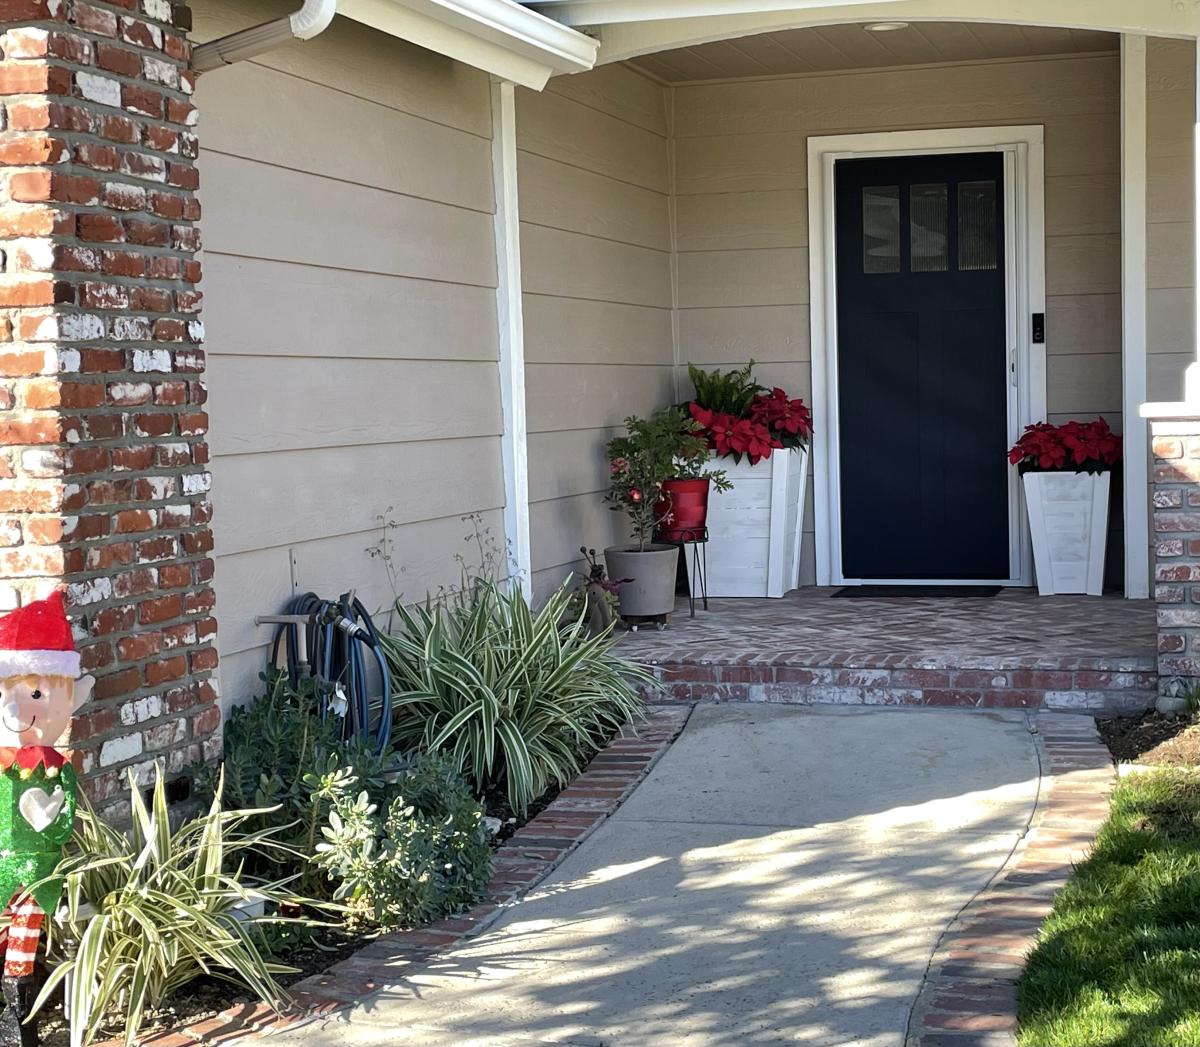
These look great in your entrance, thank you for sharing!