Community Brag Posts

Kaylee's Dollhouse

Submitted by akatherine on Wed, 12/31/2014 - 19:44

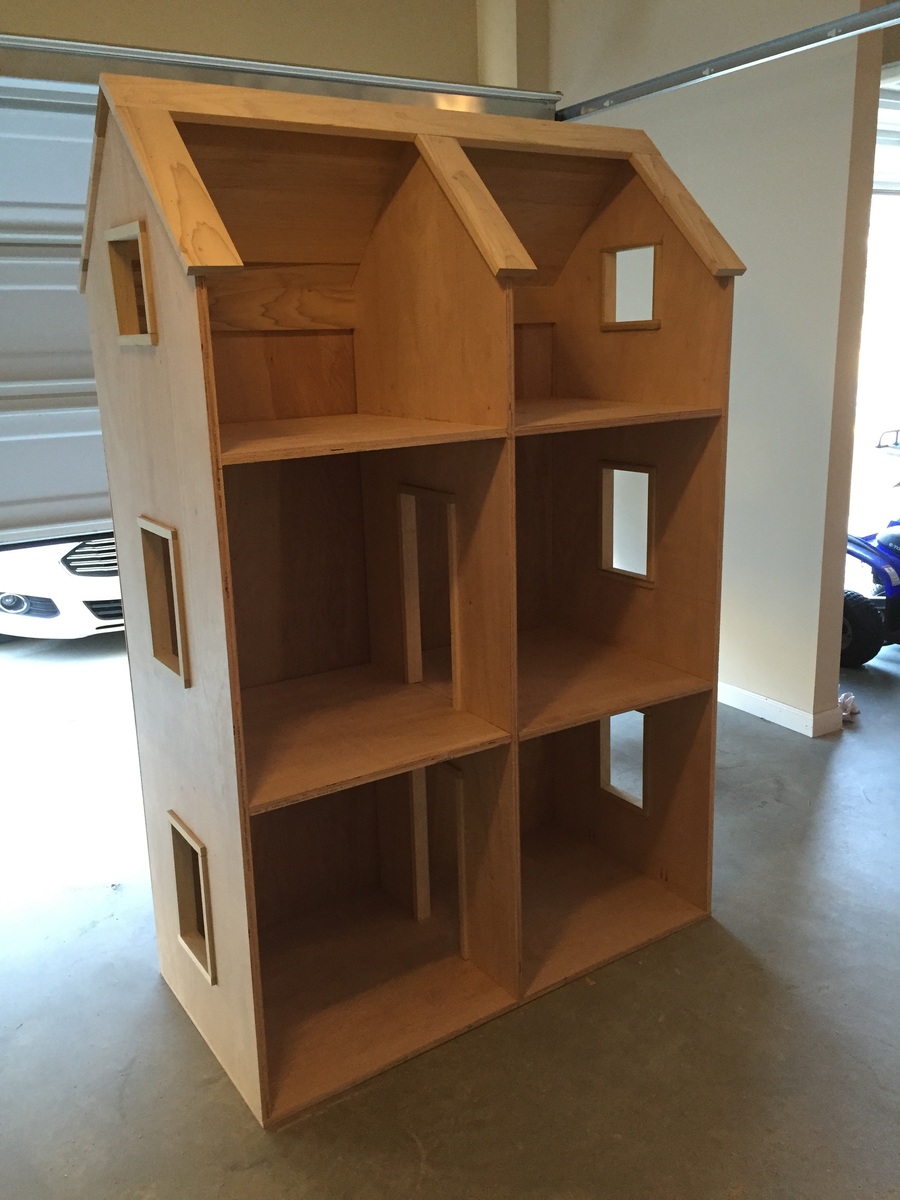
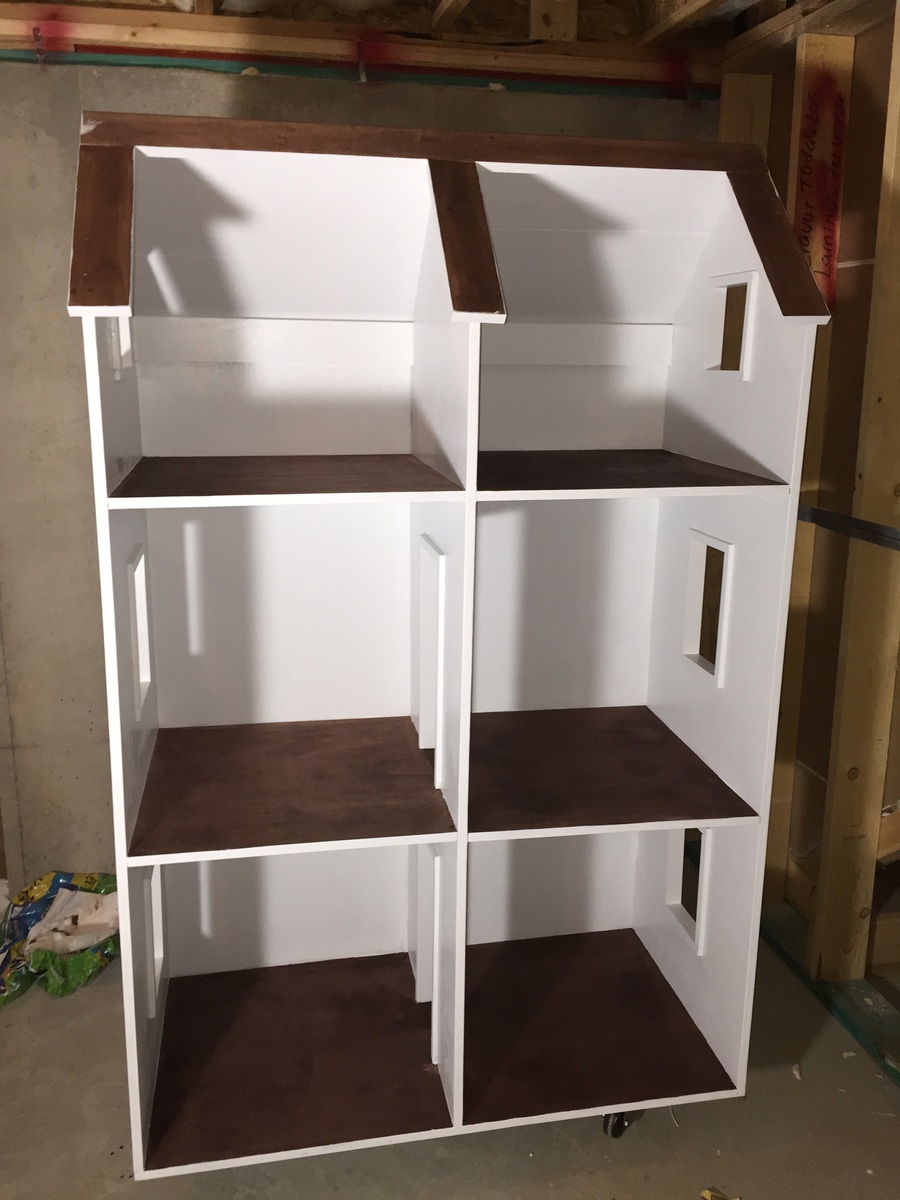
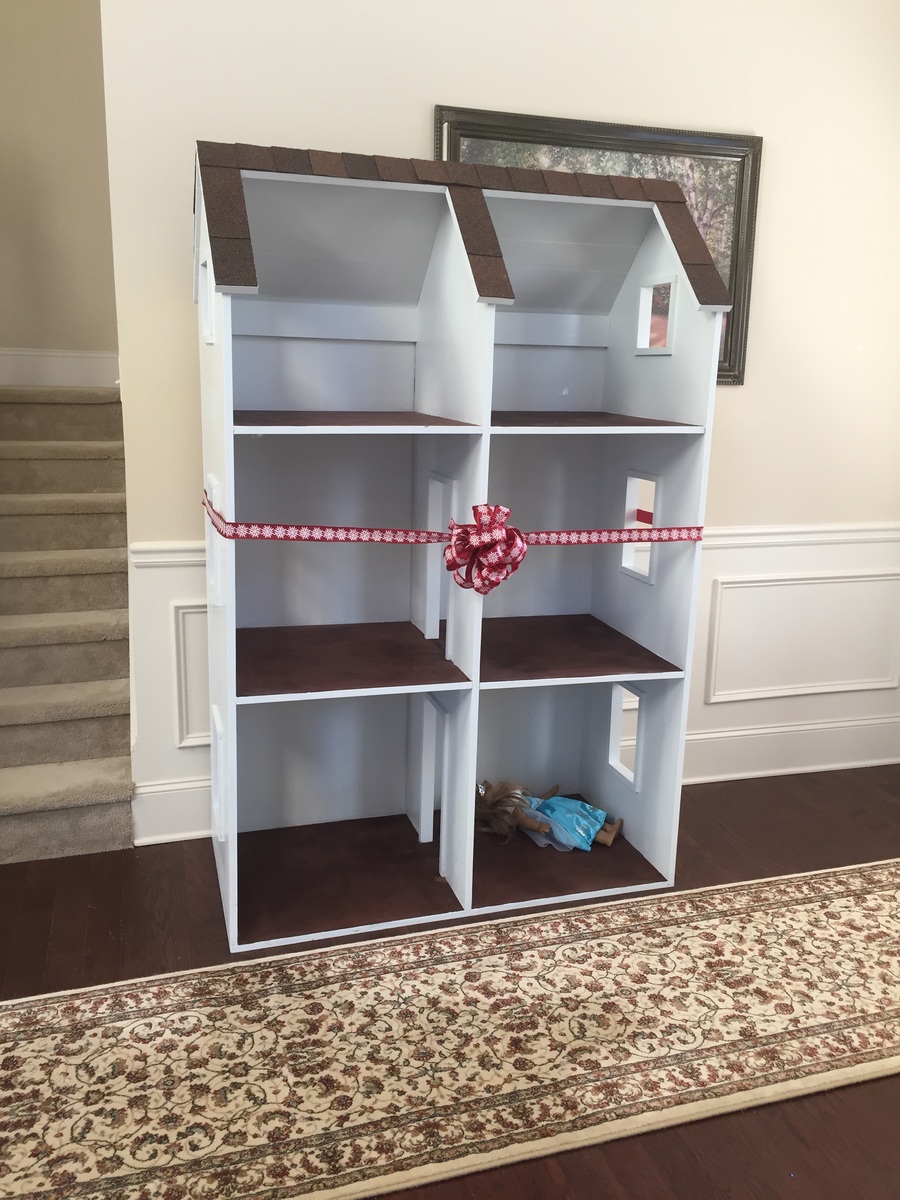
My fiance and I built this for my seven year old daughter's Christmas present. I have built several pieces of furniture before but this was our first major building project and I'm proud to say we made a great team!

We didn't make any major changes to the plan, we just chose to leave the wheels off the bottom and we added two boards across the back of the attic rooms so we would have something to attach the back too. We were lucky enough that this project coincided with my dad have his roof replaced and he had spare shingles, so her doll house has real asphalt shingles! They were actually a lot easier to add than I expected, we simply scored the back of the shingles with a knife and then they cleanly broke apart. We used a staple gun to attach the shingles we would be able to layer so you couldn't see the staples, but for those where the staples would have shown we used a hot glue gun.

The only issue we had was moving it around without my daughter noticing because it's so big! My fiance and I actually scratched up a door frame trying to sneak it under the tree after she went to sleep because it's so large (totally my fault, apparently I need to work out more). Other than that everything went smooth and it was fun to build and so exciting to watch my daughter freak out over Christmas morning!!!

Estimated Time Investment
Weekend Project (10-20 Hours)
Recommended Skill Level
Intermediate

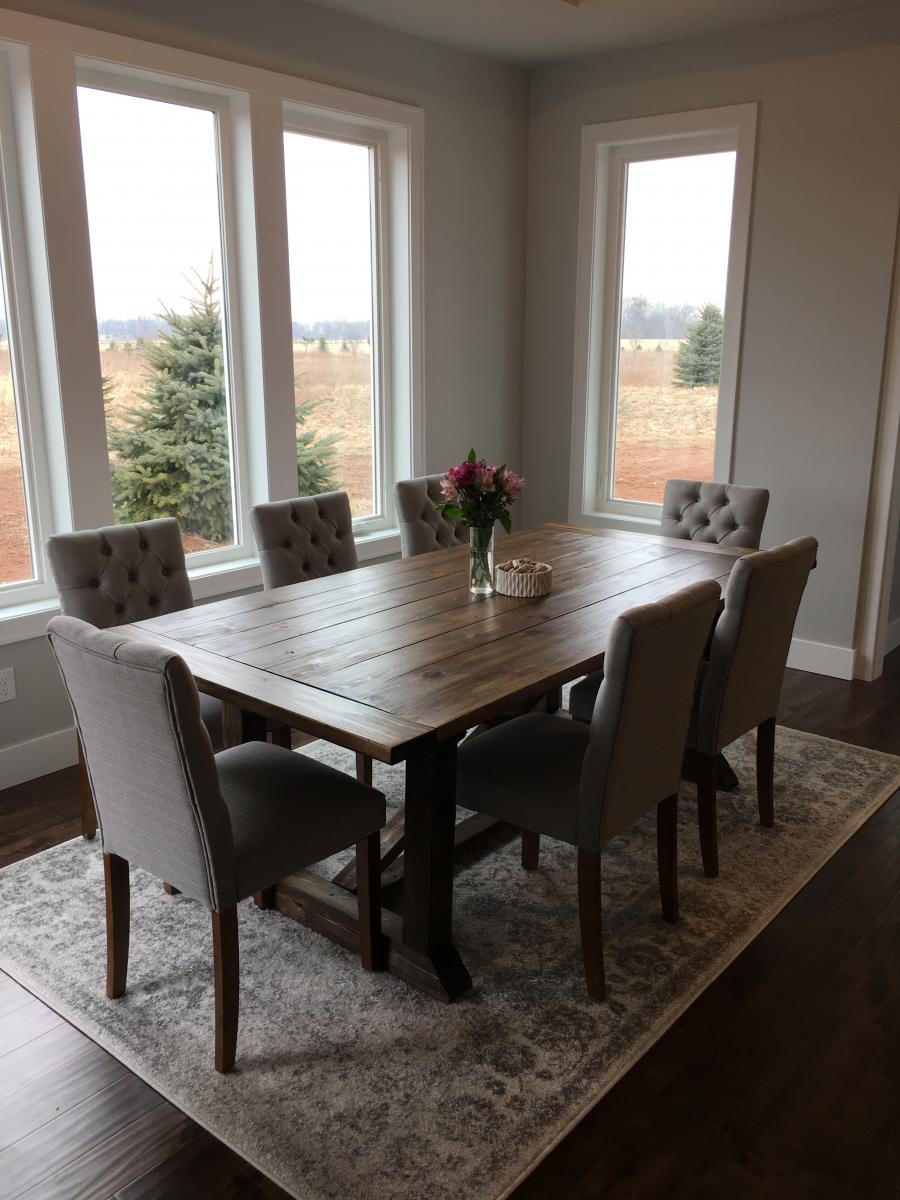
Rekourt table build

Submitted by Anonymous (not verified) on Wed, 03/29/2017 - 16:16

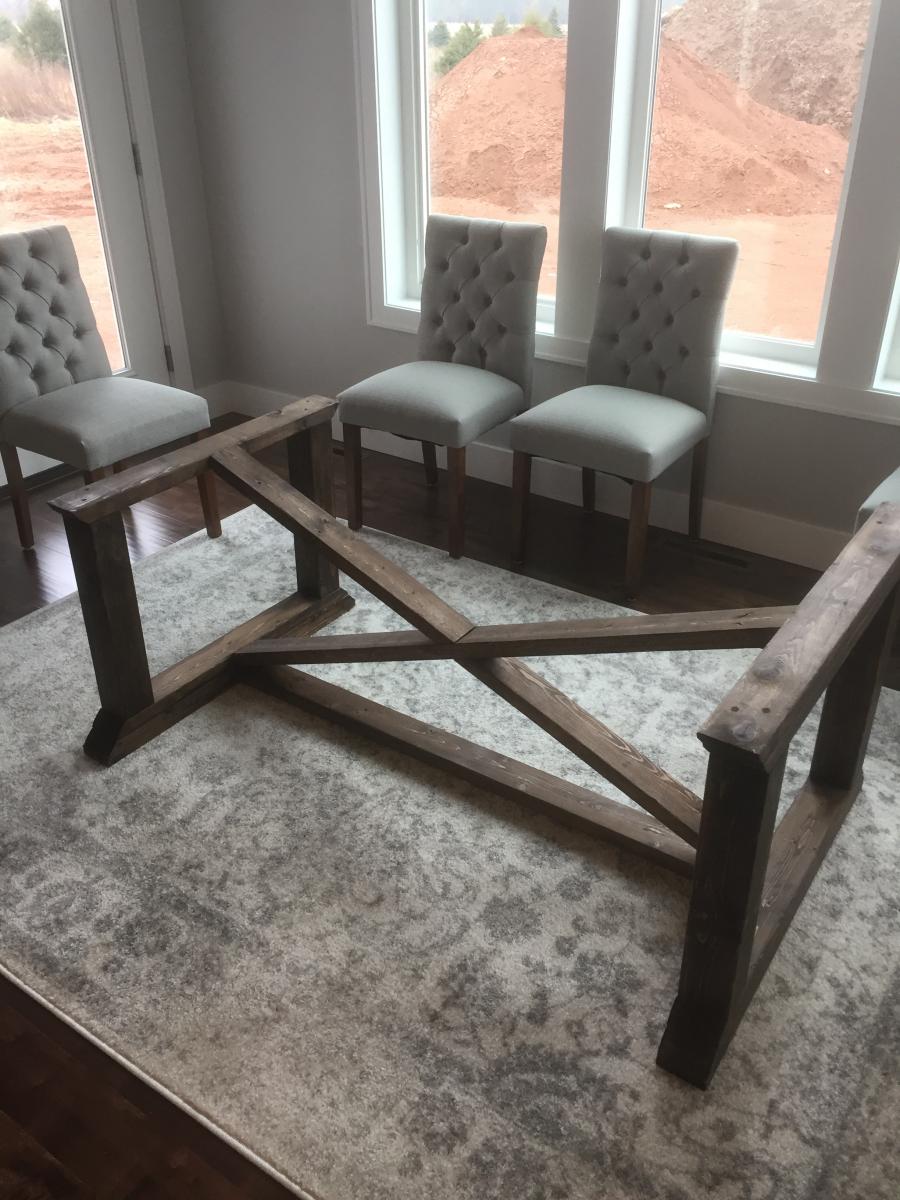
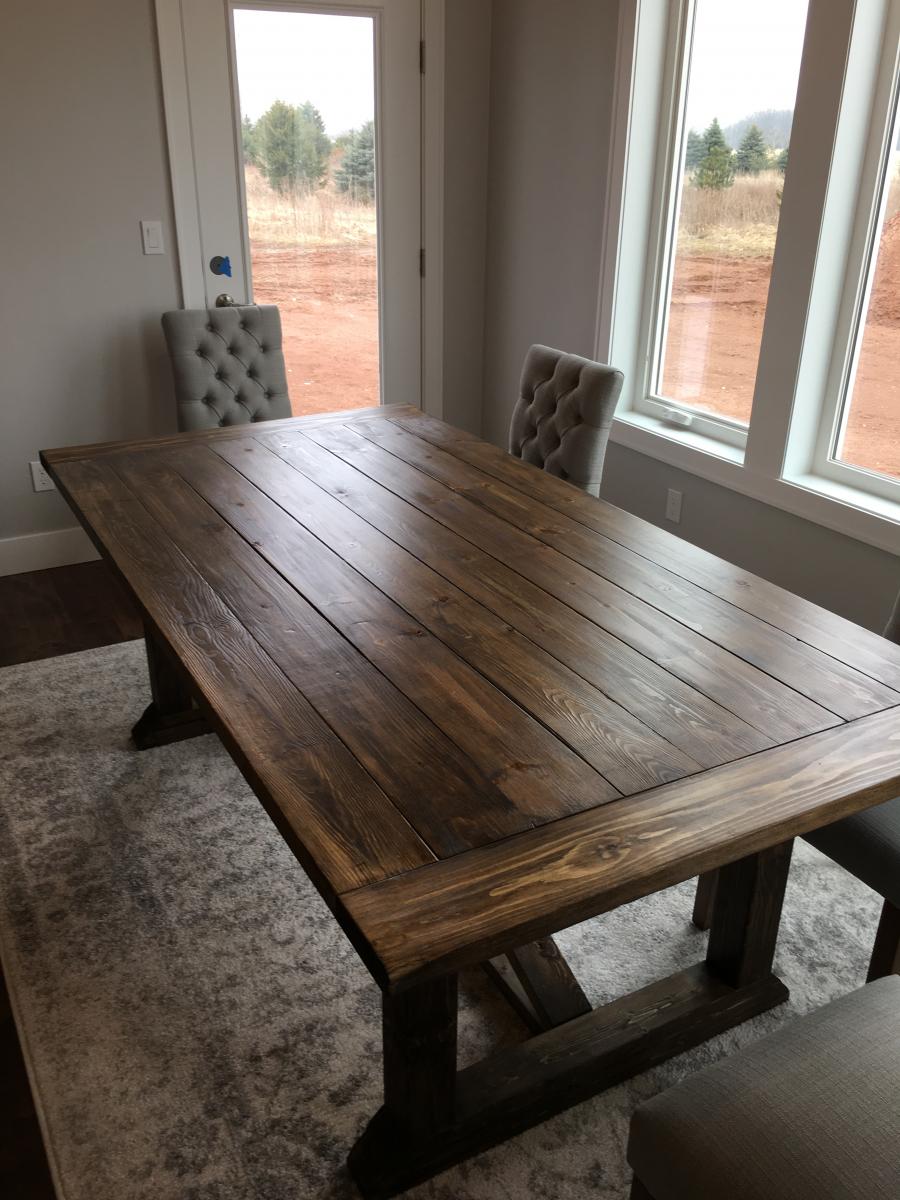
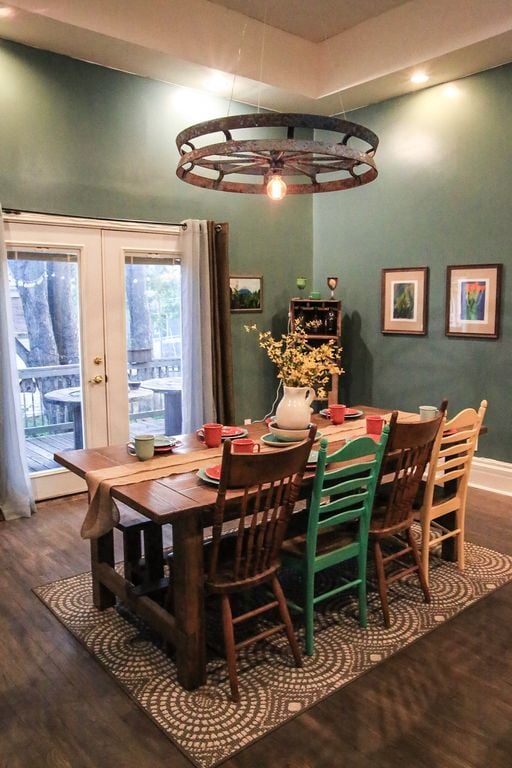
Adjusted the plans to 7' length to fit room size. 

Built from Plan(s)
Estimated Cost
$200
Estimated Time Investment
Week Long Project (20 Hours or More)
Finish Used
Dark Walnut Minwax stain, Clear Satin Polyurethane Minwax
Recommended Skill Level
Intermediate

Comments

BPluhar

Sat, 07/18/2020 - 11:00

What dimensions did you adjust to get this at 7 feet? It looks beautiful! We are new to building and 7' is what size we were looking for our dining room table.

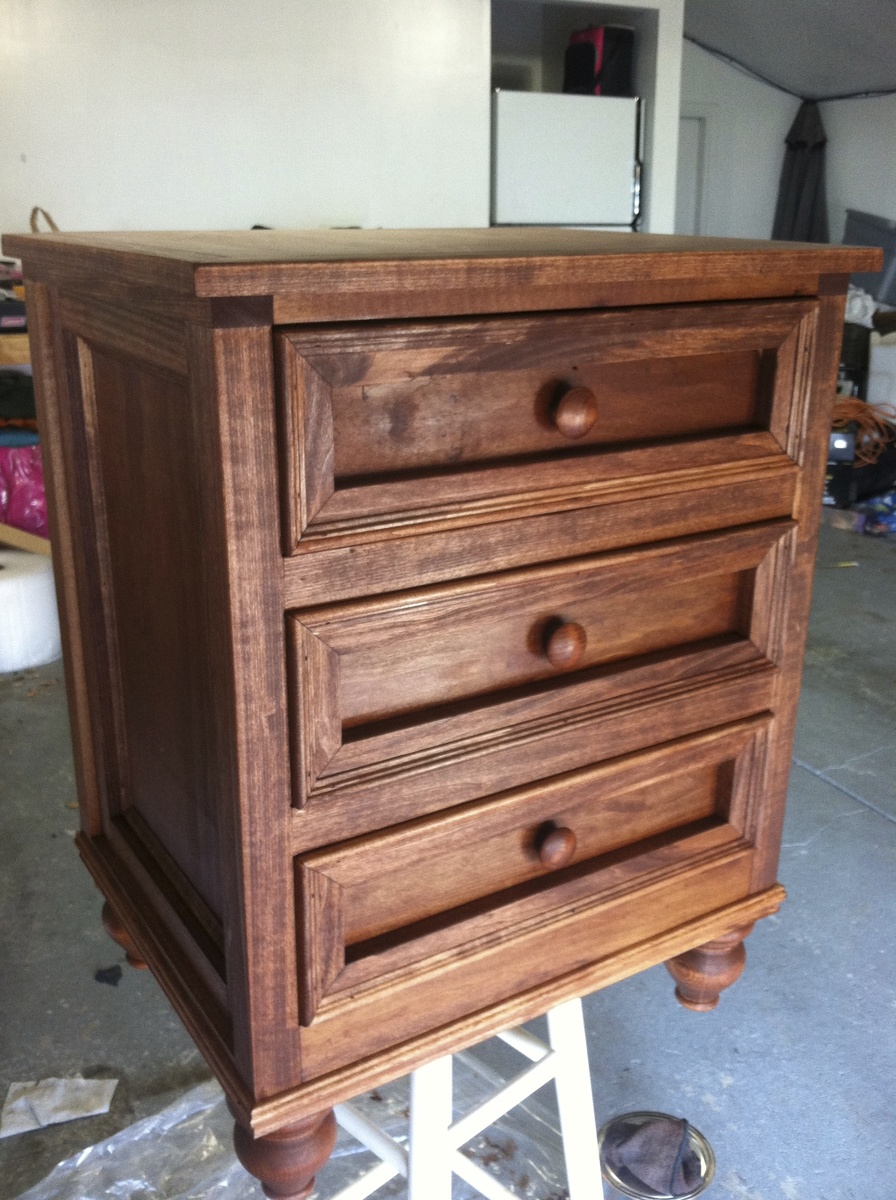
Brina Bedside table

Submitted by jlouki01 on Mon, 02/25/2013 - 07:59

Heavy modification to the original plan to accommodate extra drawers and trim. Finished with Min-Wax custom mixed color or Gunstock and English Chestnut.

Estimated Time Investment
Week Long Project (20 Hours or More)
Finish Used
Min Wax Oil Stain
Recommended Skill Level
Intermediate

Comments

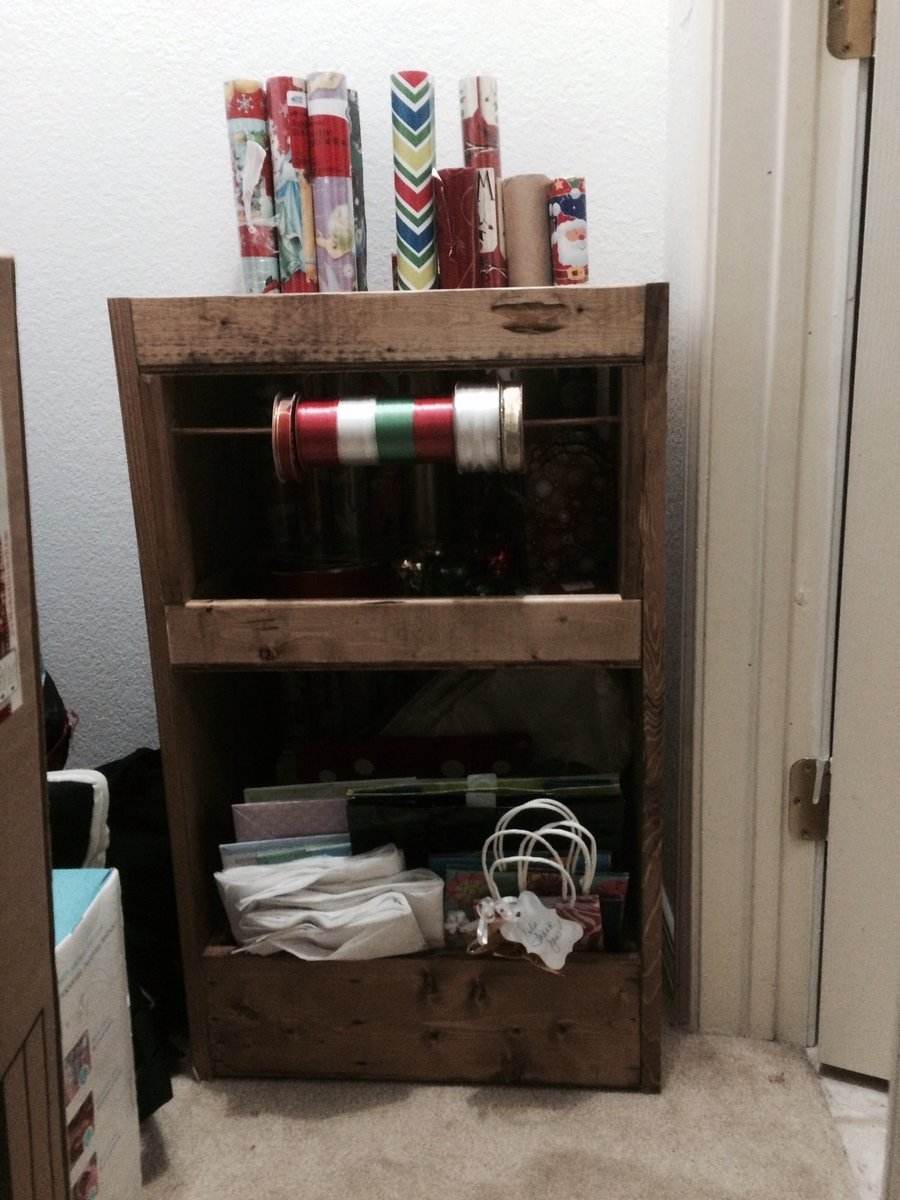
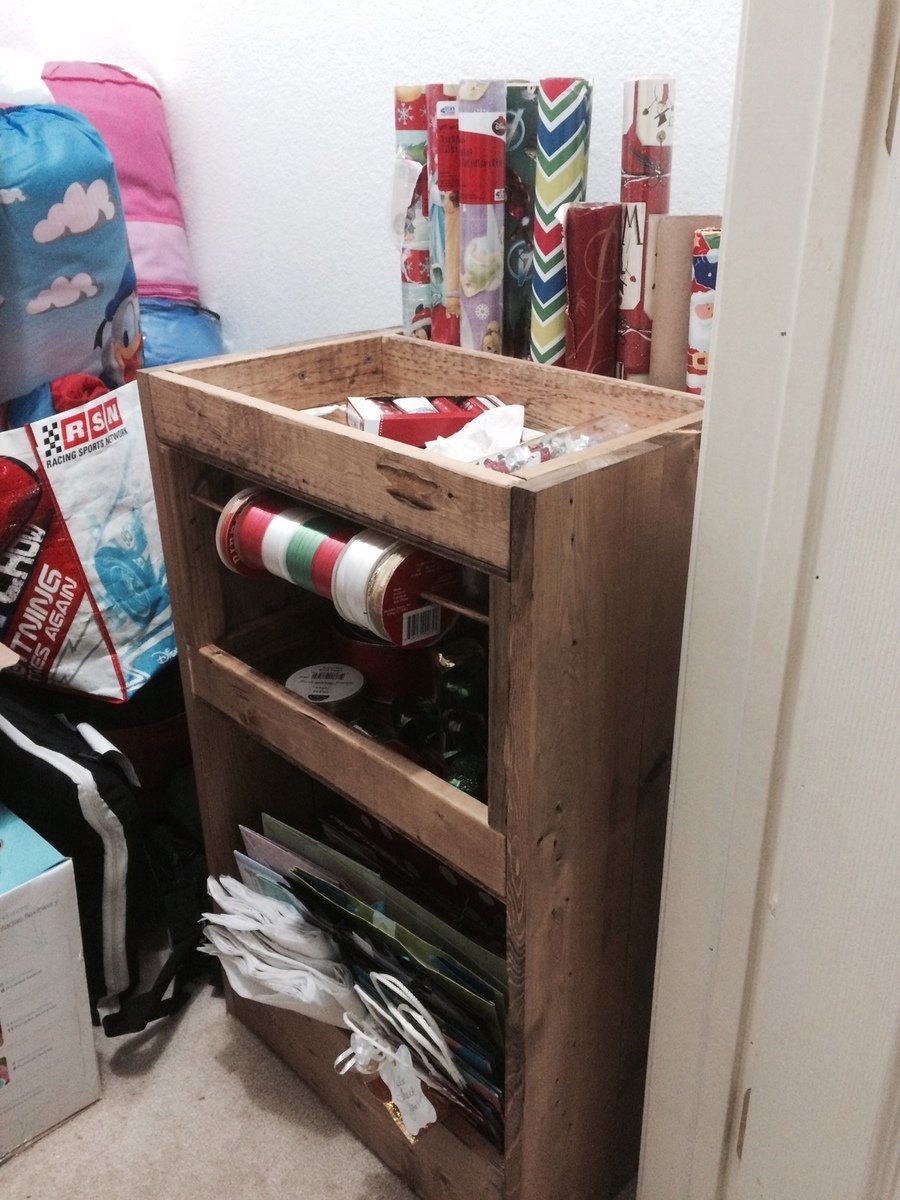
Gift wrapping cart

Put this together after Christmas. Not too difficult of a project. Decided not to put casters on to save a little money. Can always add them later if needed. I think if I created it again I'd make more space for the rolls of wrapping paper and smaller space for the trays. We have a lot of wrapping paper.

Built from Plan(s)
Estimated Cost
Cost about $50 because I bought some of the better 1x2's instead of the cheap ones just because I was trying to get straighter boards for the trays so I didn't have to work as hard.
Estimated Time Investment
Afternoon Project (3-6 Hours)
Finish Used
Used Early American stain just because we had some around. Not my favorite stain though but it sits in the closet 99% of the year.
Recommended Skill Level
Beginner

Vertical planter

Submitted by Anonymous (not verified) on Sat, 04/01/2017 - 18:45

This planter was so easy to build! super cute, fun, spring project.

Estimated Cost
$30.
Estimated Time Investment
An Hour or Two (0-2 Hours)
Finish Used
I Painted the 2x4's. I left the cedar as-is.
Recommended Skill Level
Beginner

Kendra Toybin with Shelves

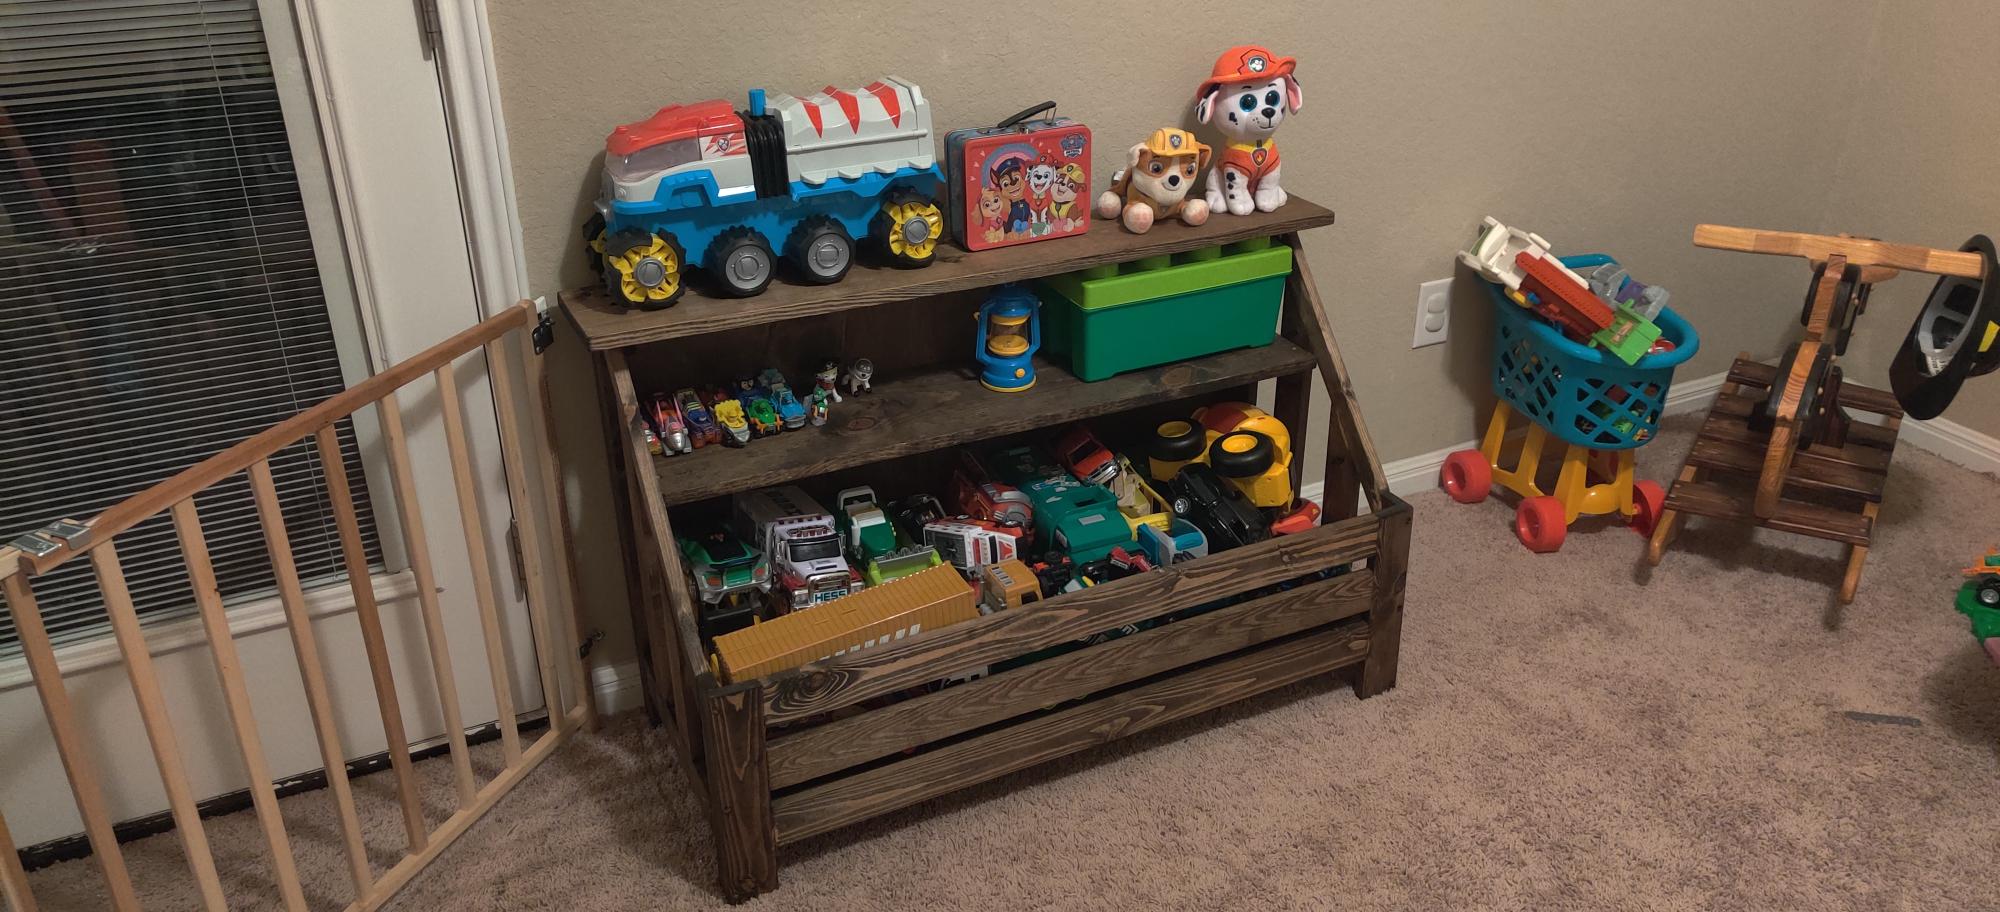
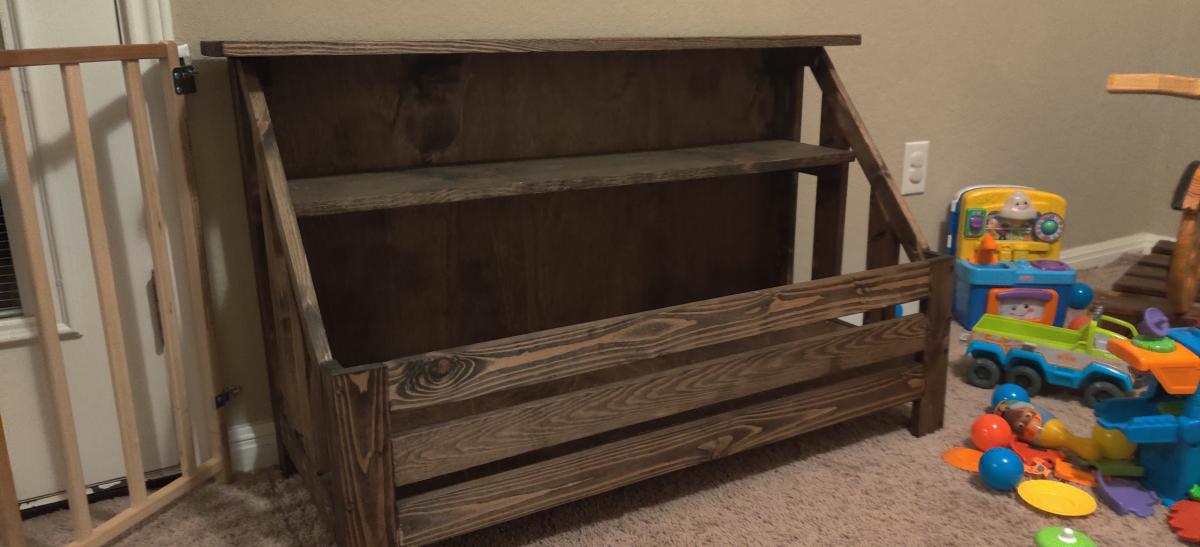
Decided a week ago that our son's playroom was way too busy and he needed a toybox. I started working on this and halfway through showed my wife how big it would be. She suggested I modify the plans to make it wider, and I'm glad I did!

Built from Plan(s)
Estimated Time Investment
Afternoon Project (3-6 Hours)
Recommended Skill Level
Intermediate

Comments

Small Scrap Wood End Tables

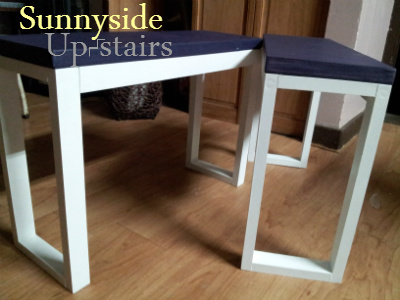
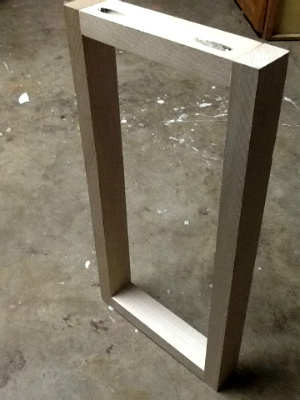
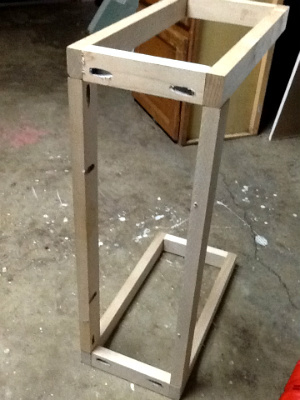
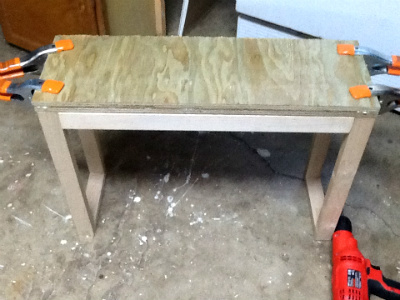
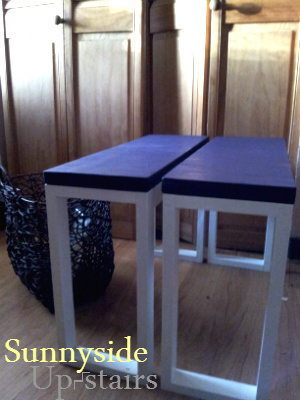
We had shortened our kitchen windows in our above garbage apartment remodel and had 1x2 framing wood left. I did not want to put this wood to waste, so I made two identical end tables in a similar style as the Ikea Besta Burs desk plan, but without drawers. These were the first two pieces of standing furniture that I built for our apartment and was technically free for me to build. The end tables are truly small, being only 8" wide, 2' long, and about 18" high, which is a great size to place beside our low modular sofas. The top is made of 1/2"x8"x4' plywood leftover from a floating shelving project (worth about $2.50). I cut the plank in half and glued the halves to make it thicker. These end tables are strong enough to function also as little benches for me and my daughter. :)

Estimated Cost
$5.00 each, but free using scrap wood
Estimated Time Investment
An Hour or Two (0-2 Hours)
Finish Used
Olympic Semi-Gloss white (straight off shelf) and water-thinned Royal Indigo Olympic Semi-Gloss to act as a "purple wash" or "purple stain" on the plywood.
Recommended Skill Level
Starter Project

Comments

yurra-bazain

Fri, 03/01/2013 - 00:24

Thank you! I actually hadn't seen the Ikea Besta Burs plan until after I built them. It just worked out that the scraps were about the size I needed to build them in that design. I don't think I can take credit for creativity when it was more like serendipity. :)

Sewing Caddie

Submitted by JoeCandy11 on Sun, 01/04/2015 - 22:25

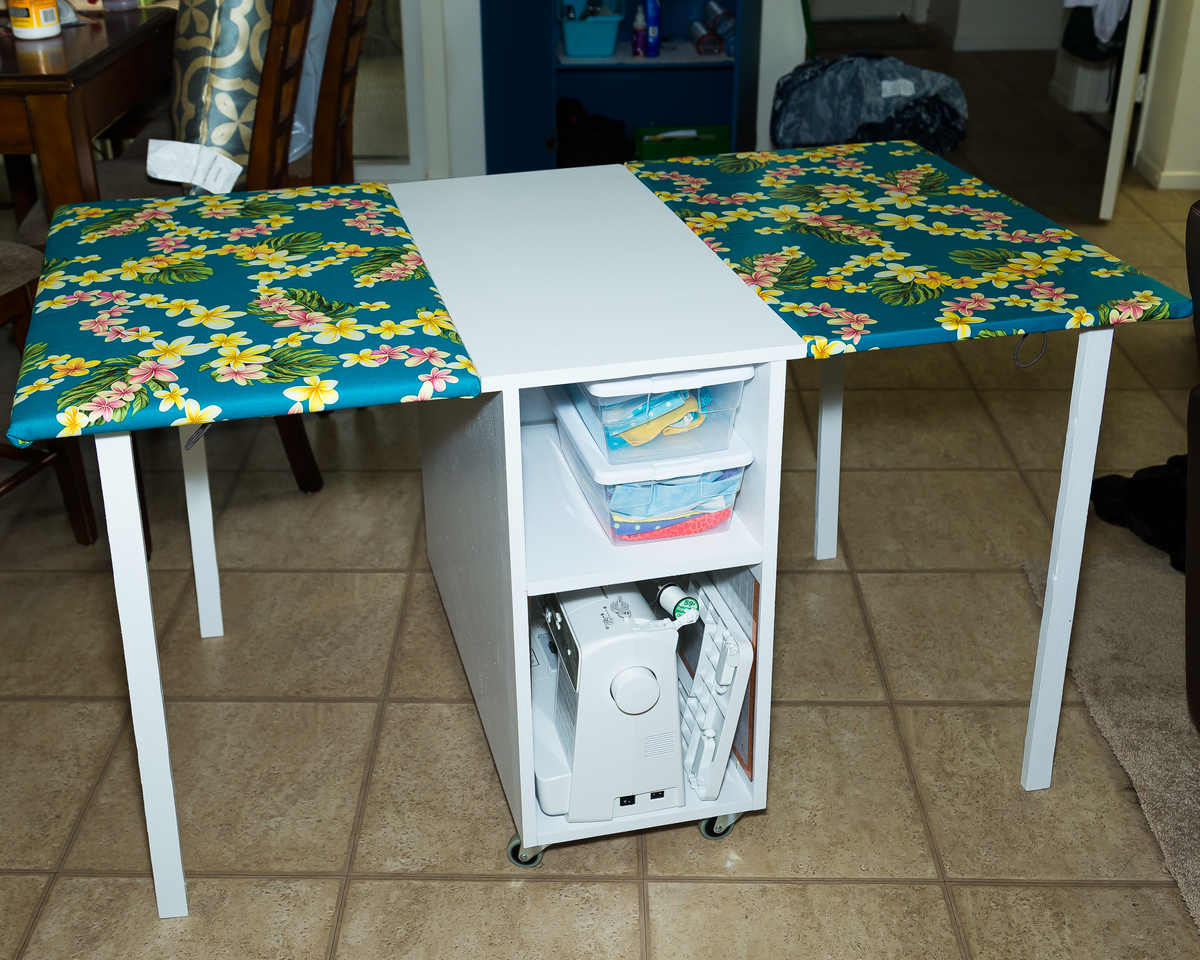
Thanks for the inspiration!  This was my first full blown creation and my wife loves it.  Cannot wait to do more!

Built from Plan(s)
Estimated Cost
$50 for birch plywood
$30 for wheels, hinges, paint, and accessories.
Estimated Time Investment
Weekend Project (10-20 Hours)
Finish Used
White paint with primer
Recommended Skill Level
Beginner

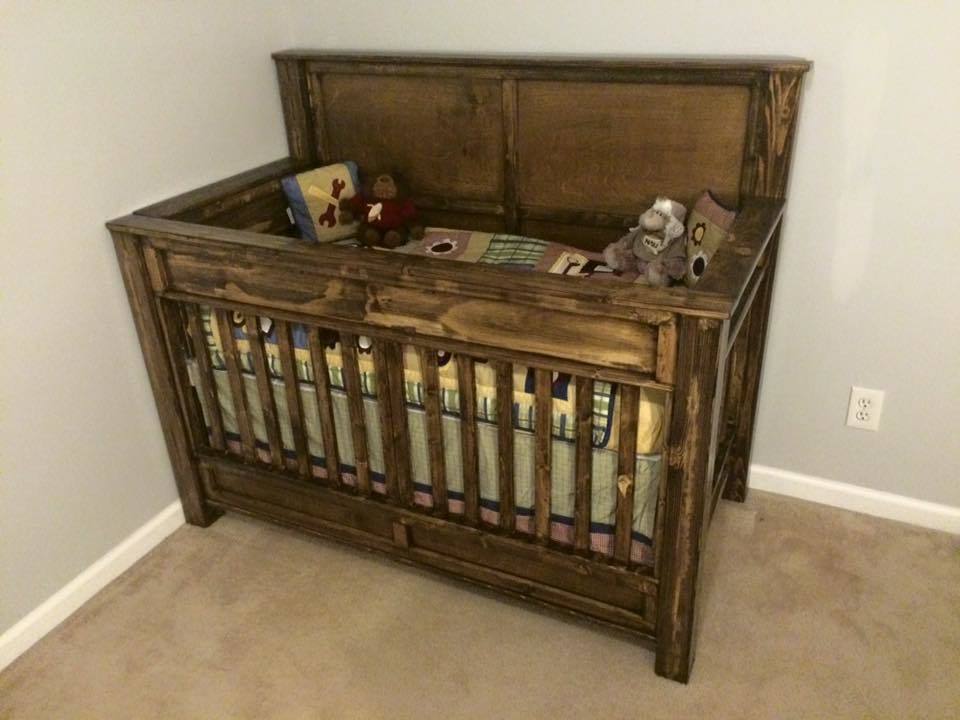
Rustic Crib

Submitted by Pomarola25 on Tue, 04/04/2017 - 11:41

This is my Son's crib that I built about a year ago.  I have the plans for them but I need to get on my desktop to get the plans.  But it's built to be a convertable crib like the expensive cribs you can buy.  If i remember correctly I had less that $150 in material.  With all the sanding and it being the first time I had made one I had about 100 hours into it. 

Estimated Cost
$150
Estimated Time Investment
Week Long Project (20 Hours or More)
Finish Used
Ebony with Satin coat. Rubbed on not brushed.
Recommended Skill Level
Intermediate

Kentwood Queen Bed

Submitted by c-e-fogus on Fri, 03/01/2013 - 15:04

This is my first wood working project, ever. I think it was a little ambitious but I was inspired by the design and the simplicity of the directions. I was actually trembling when I used the circular saw for the first time. But now that the project is finished, I am inspired to do more. I have a list of other things I want to make.

Built from Plan(s)
Estimated Cost
$80 wood, plus materials
Estimated Time Investment
Weekend Project (10-20 Hours)
Finish Used
Minwax color Early American stain
Recommended Skill Level
Beginner

Comments

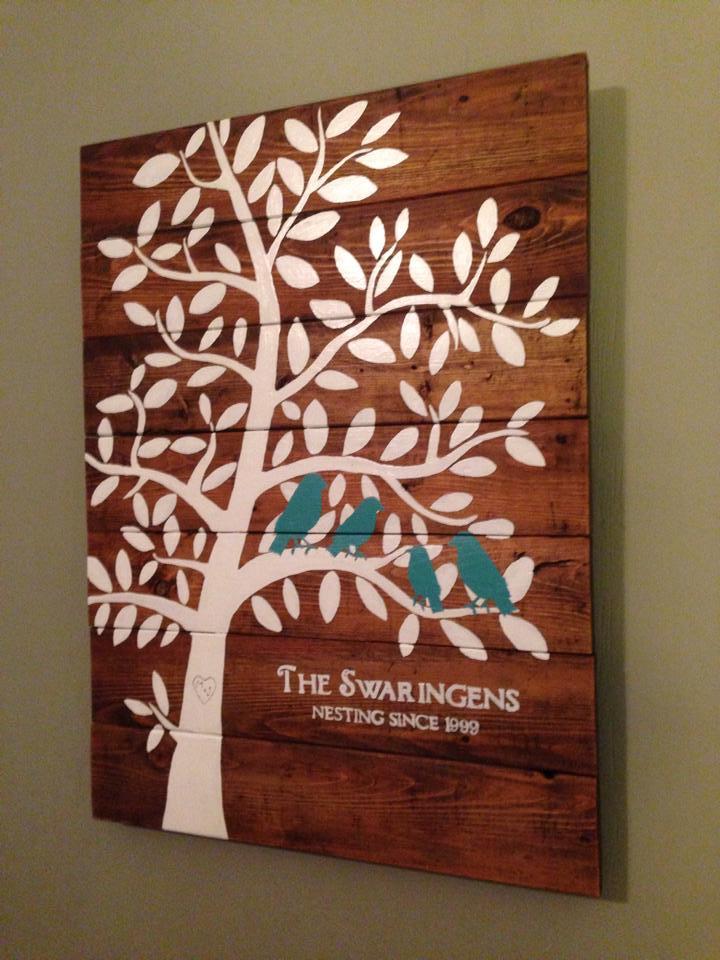
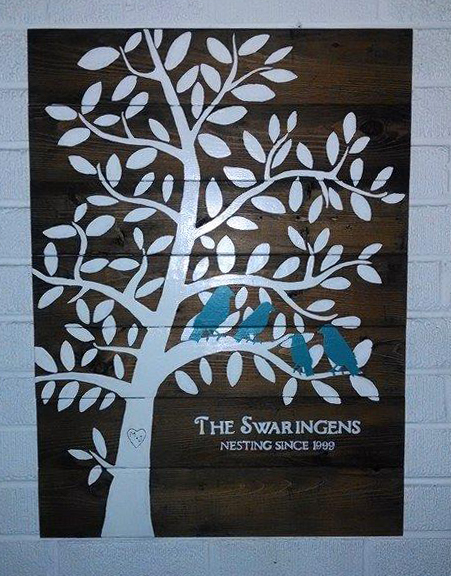
Family Tree Nesting Birds sign

Hello There! 

This was my attempt at the Family Tree Nesting Birds sign that Ana made. I ended up painting everything instead of doing the foam for the leaves, but I just love how it turned out! I used old pallet wood instead of new lumber and gave it a really good sanding before staining and painting.

Gave it to my brother and sister-in-law for Christmas, and it was a huge hit!

Thanks Ana!

Built from Plan(s)
Estimated Cost
Free Pallets and already had the paint!
Estimated Time Investment
Day Project (6-9 Hours)
Finish Used
Used Minwax stain for the base, then used primer and latex for the tree and birds.
Recommended Skill Level
Beginner

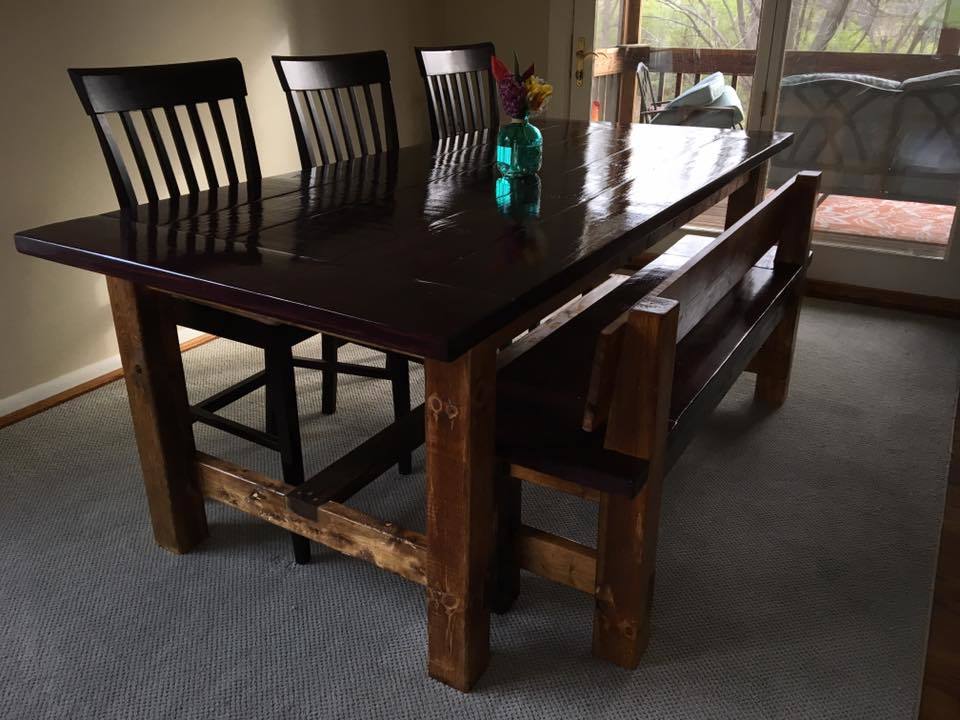
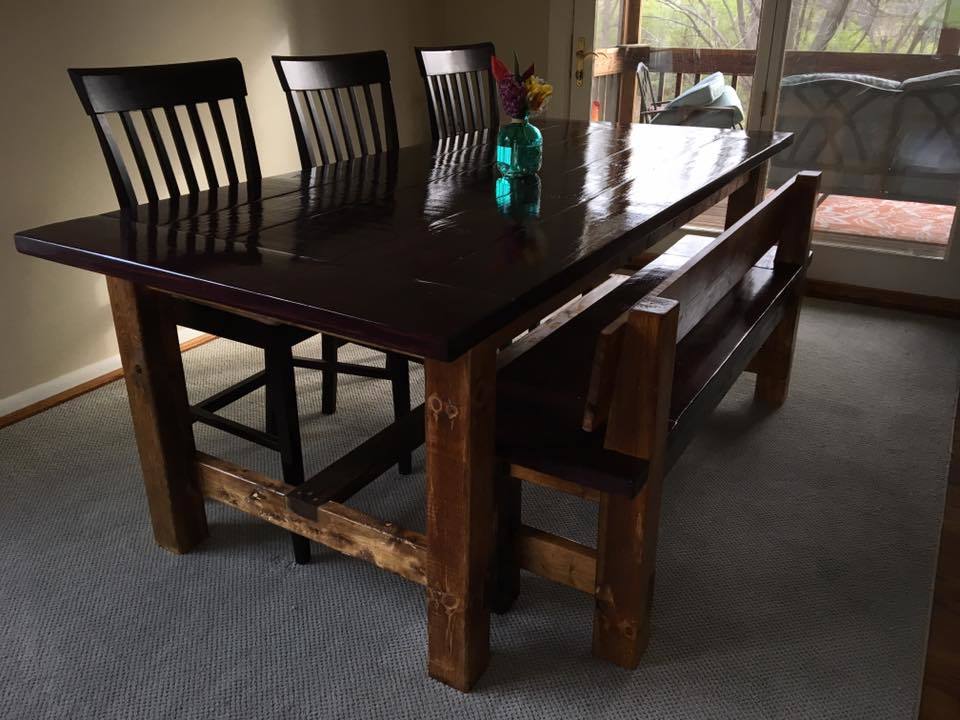
Farmhouse Table and Bench

Submitted by Anonymous (not verified) on Fri, 04/07/2017 - 11:37

I used the Ana White Farmhouse Table plans.  I made the matching bench with a backrest.  For the top of the table and the bench seat I used a royal plum stain.  I'm female, 54 years old and I do woodworking "Like A Girl".   Enjoy

Estimated Cost
Materials for the Table and Bench were under $150.
Estimated Time Investment
Week Long Project (20 Hours or More)
Finish Used
Royal Plum Stain for the top of the table and the bench seat. I used a steel wool/vinegar solution for the legs. High Gloss Polyurethane (2 coats on base and 4 coats on table top and bench seat) 220 sandpaper in between coats. I used the pocket hole plans.
Recommended Skill Level
Intermediate

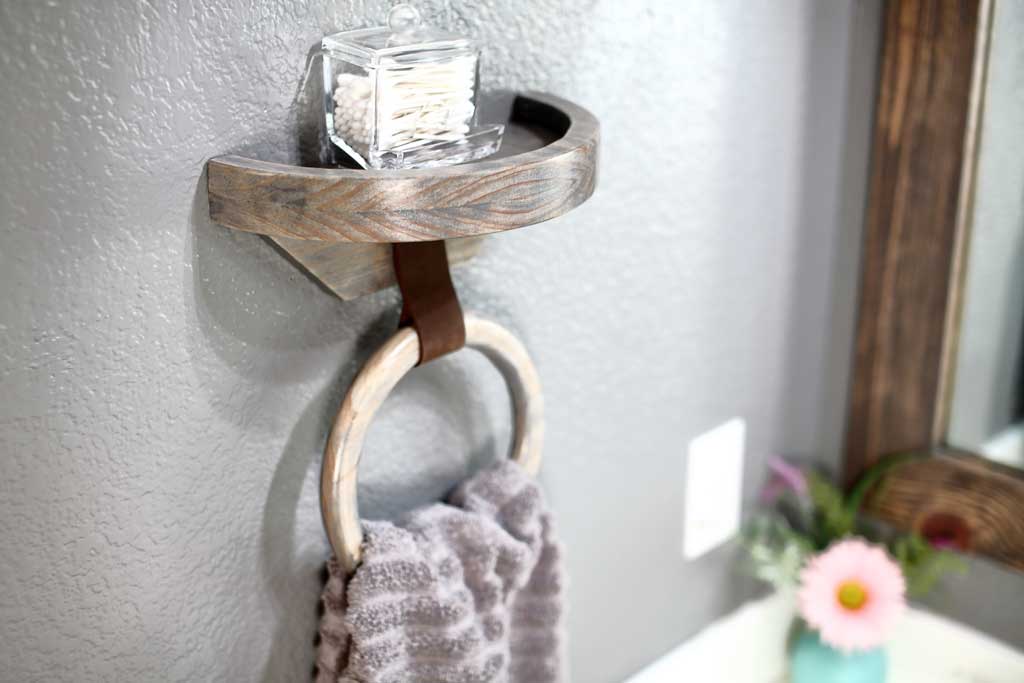
Wood Towel Holder Ring with a Shelf

Submitted by thediyplan on Thu, 03/04/2021 - 16:12

Finding a good location to hang your towels in the bathroom could be a challenge, especially if you’re limited on wall space. But it makes it even more challenging if you have kids. If the towel bar is attached to drywall, eventually the bar might be ripped off the wall and you’ll end up with a big hole. Having this issue I decided to make my own DIY Wood Towel Holder Ring with a Shelf. This towel holder attaches directly to the stud and will take some effort to be ripped off and doesn’t take much wall space.

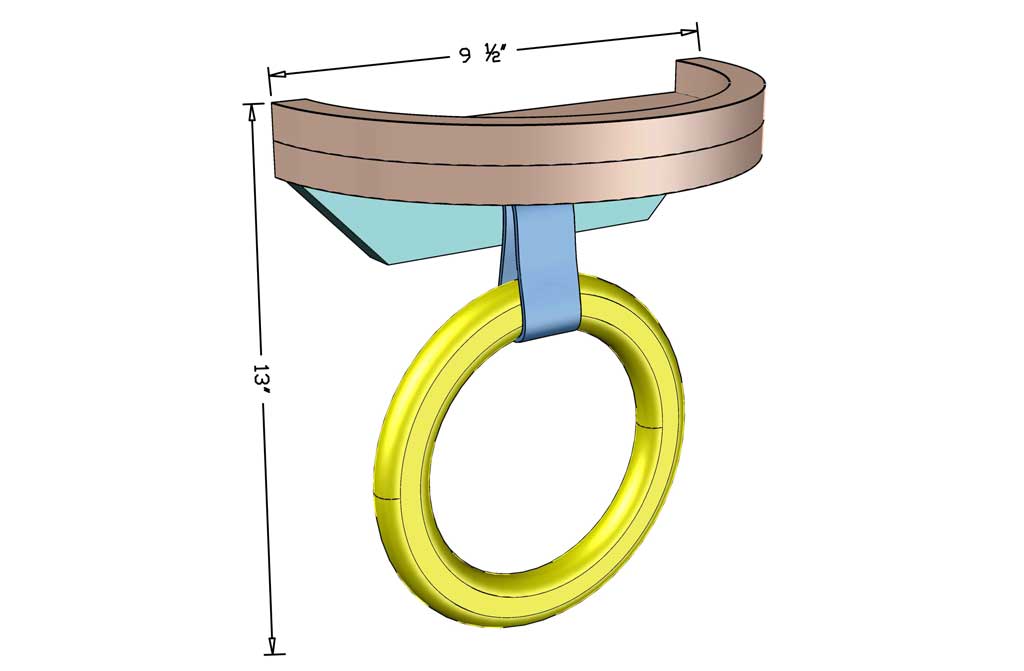
I made this project using scrap pieces that I had laying around in my scrap pile. If you have some scrap wood and interested in building something out of wood, this could be a great project to try. I created a step-by-step plan with 3D illustrations.

See my website for additional pictures and how I've built it,TheDIYPlan.com

Estimated Cost
$10
Estimated Time Investment
Afternoon Project (3-6 Hours)
Recommended Skill Level
Intermediate

Comments

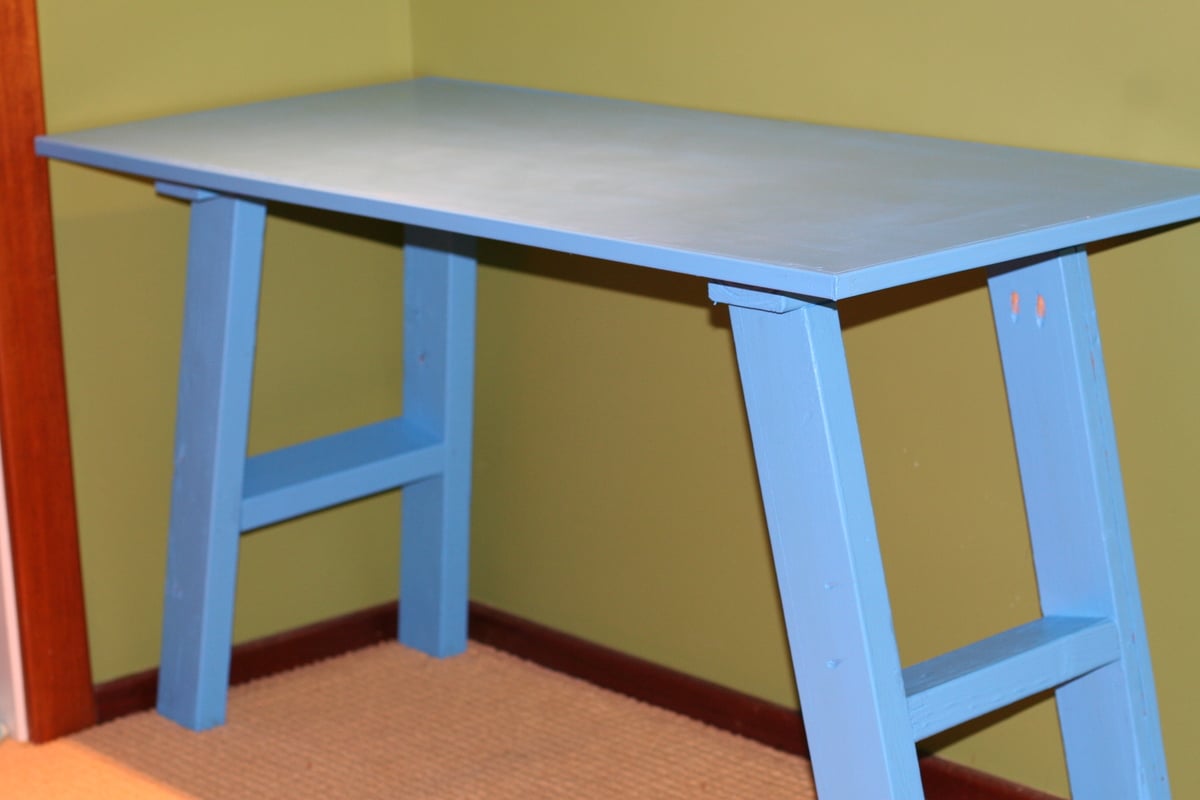
Simple Blue Desk

Submitted by hawaiitara on Mon, 03/04/2013 - 09:51

My daughter needed a simple desk for her room. I had leftover purebond plywood from another project and a bunch of 2x4 scraps from the Reuse Hawaii store. This made for an inexpensive desk. I based my desk off the simple trestle desk but made changes as needed to accommodate my materials. I used the plywood as the desk top and added some 3/4 flat trim around the edge. I used a 2x4 instead of a 2x6 to attach the legs to the table.

This was a quick project and my daughter loves the fun color!

Built from Plan(s)
Estimated Cost
$10 - leftover project wood and wood from a reuse store.
Estimated Time Investment
An Hour or Two (0-2 Hours)
Finish Used
Valspar signature paint in Splish Splash. Finishing wax on top.
Recommended Skill Level
Beginner

Comments

tmagin

Sat, 12/31/2016 - 16:23

Did you use just 2X4s for everything except the top which is plywood?

A Long Desk for My Beautiful Sister

Submitted by DeeWebb on Thu, 01/08/2015 - 21:22

I made this desk for my sister ( it is 3 metres long - sorry I am an Aussie dont know what that is in inches).

I glued 3 metre radiata pine together, planed, sanded, stained and varnished with polyurethane.

I made 4 sawhorses and then joined two of them together to make shelves.

Very happy with the result

Built from Plan(s)
Estimated Cost
$250 AUD
Estimated Time Investment
Week Long Project (20 Hours or More)
Finish Used
Wattyl Cedar Stain and Varnish
Recommended Skill Level
Beginner

Comments

Keepsake Box

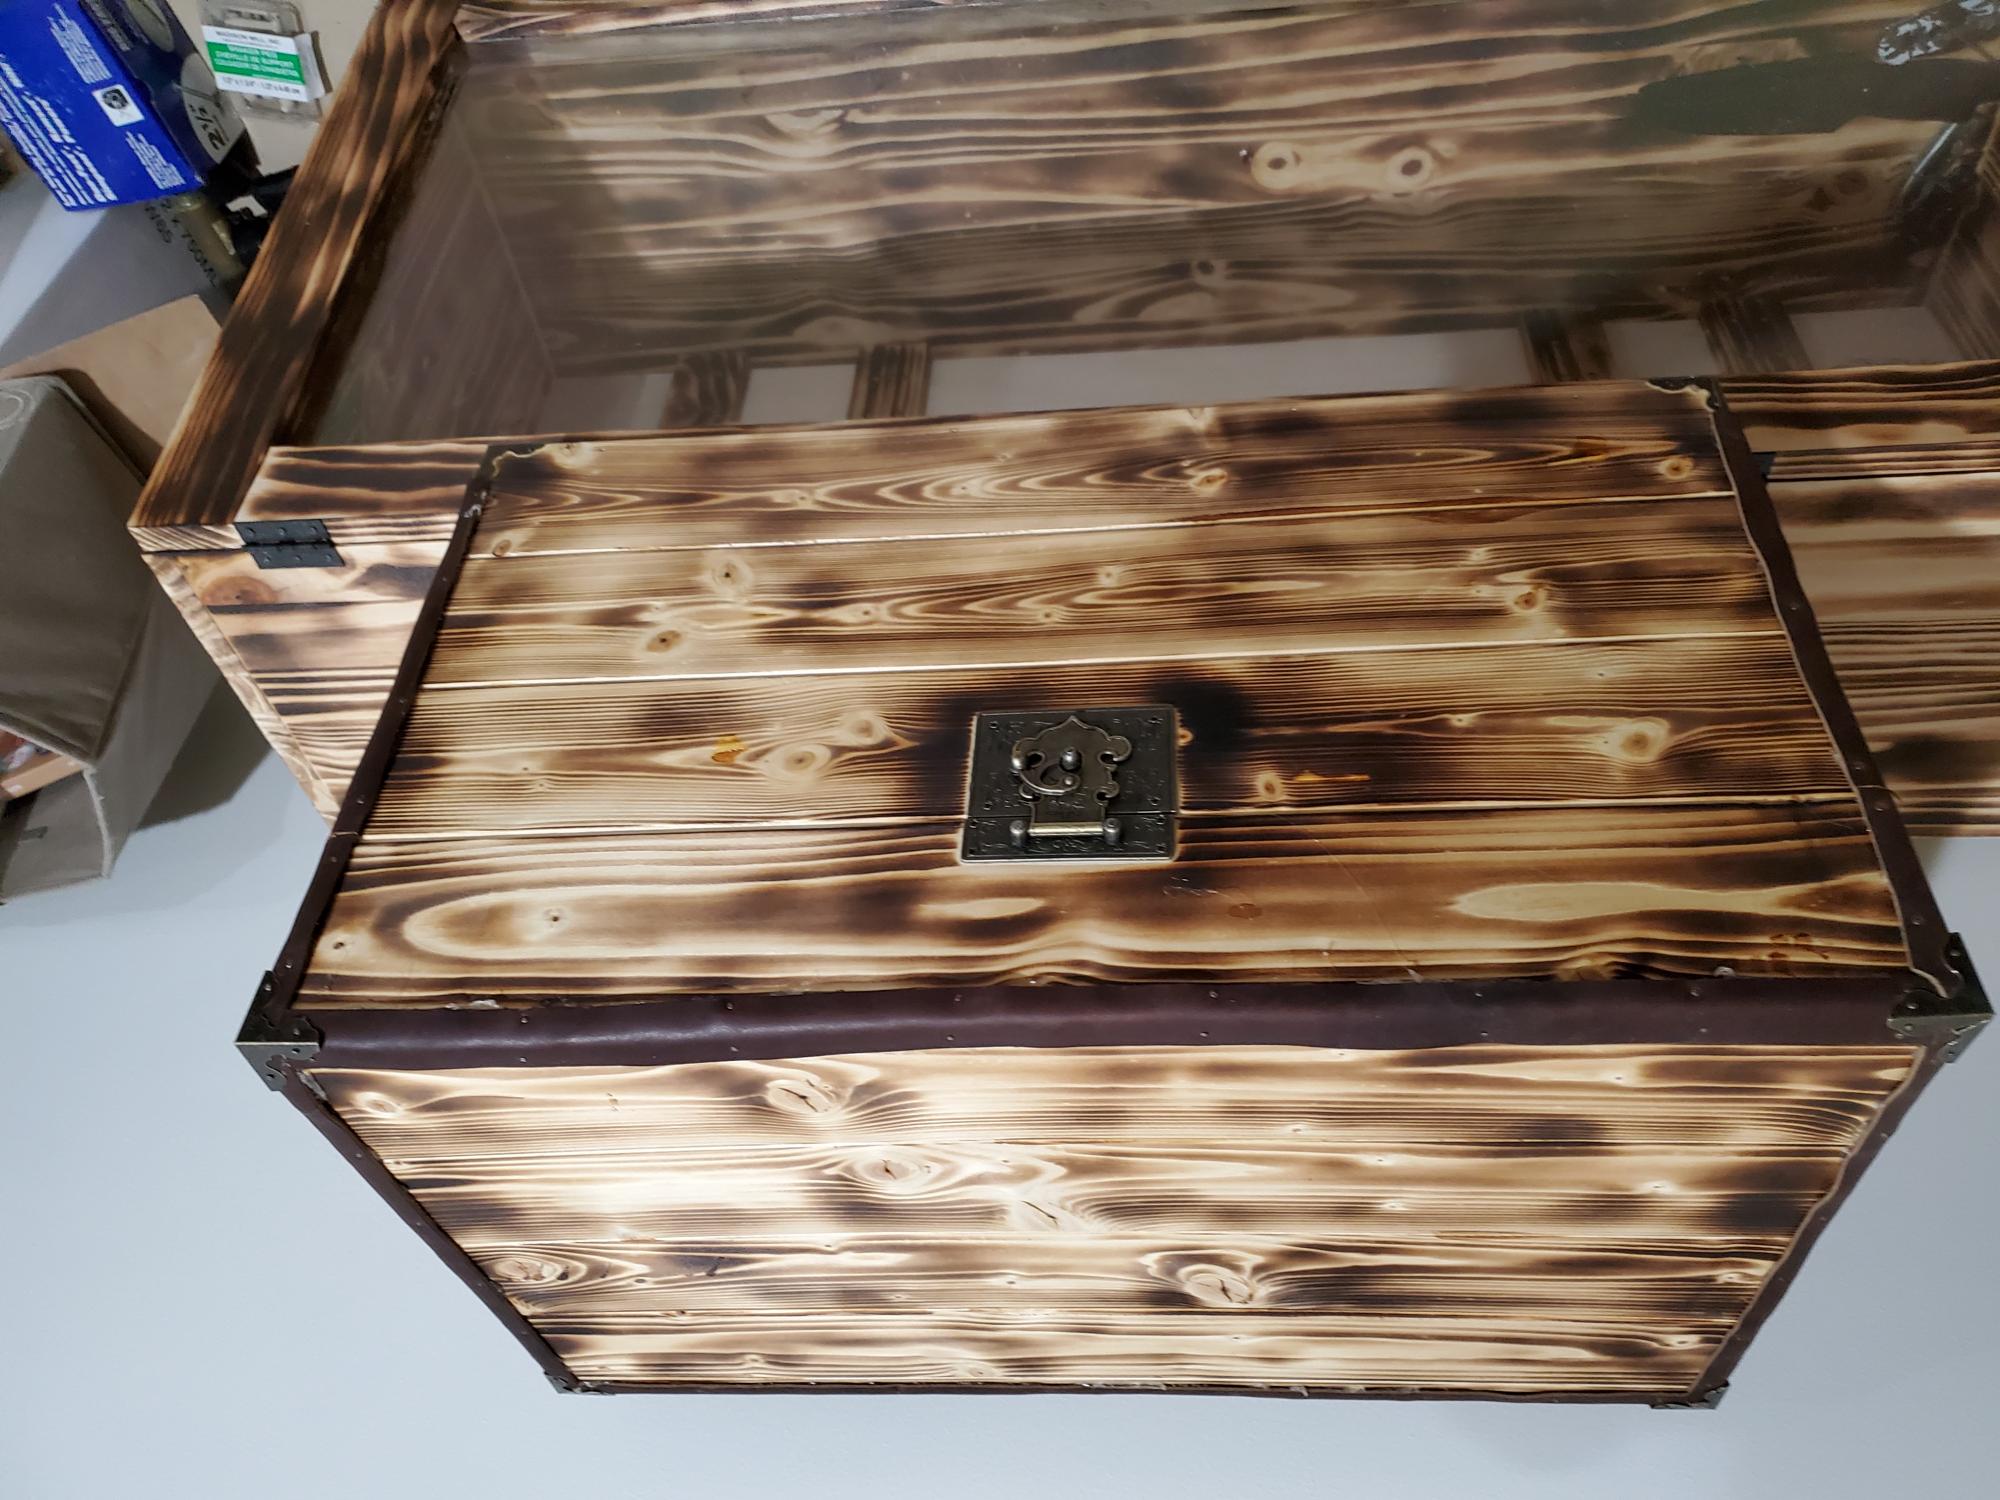
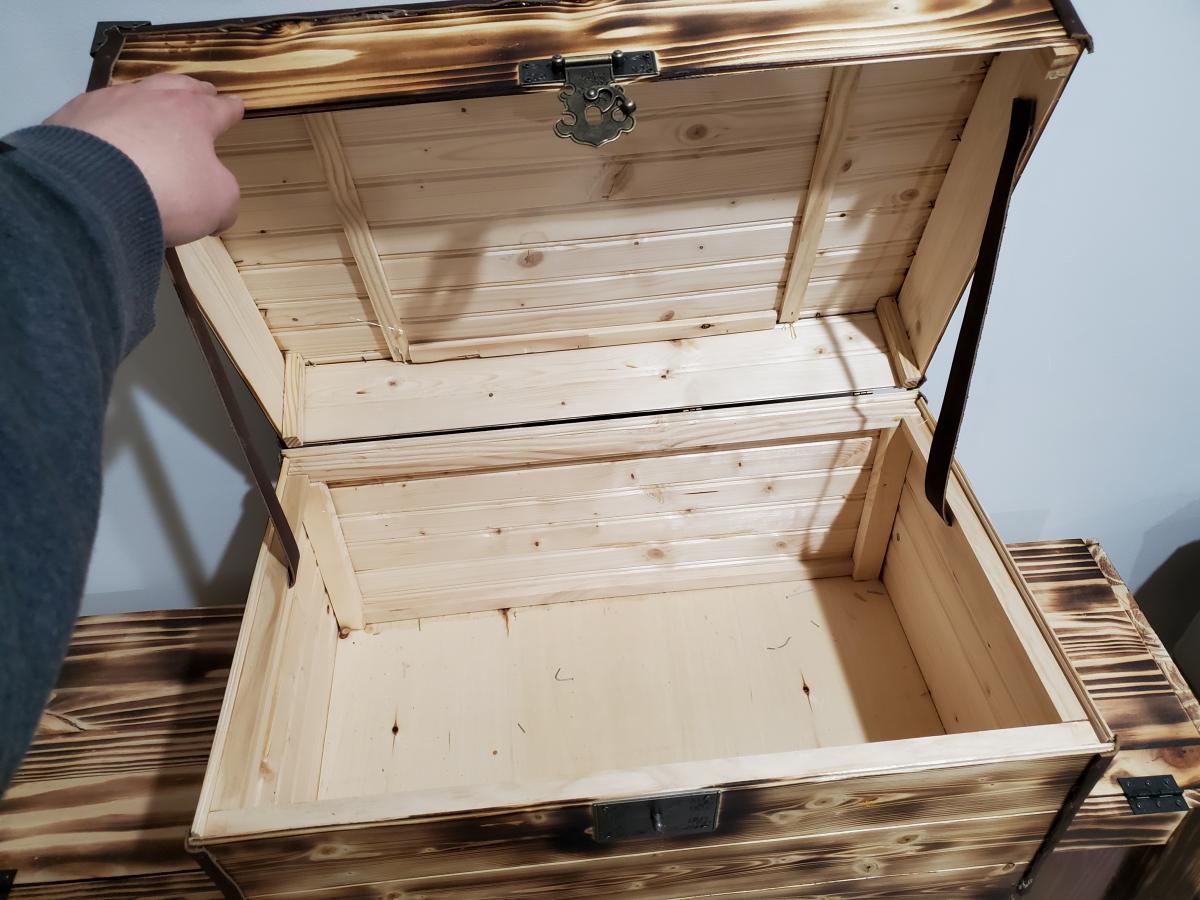
This is a treasure chest type keepsake box for a boardgame and its expansions.

Estimated Cost
$80
Estimated Time Investment
Weekend Project (10-20 Hours)
Finish Used
Medium torch with satin spray poly.
Recommended Skill Level
Intermediate

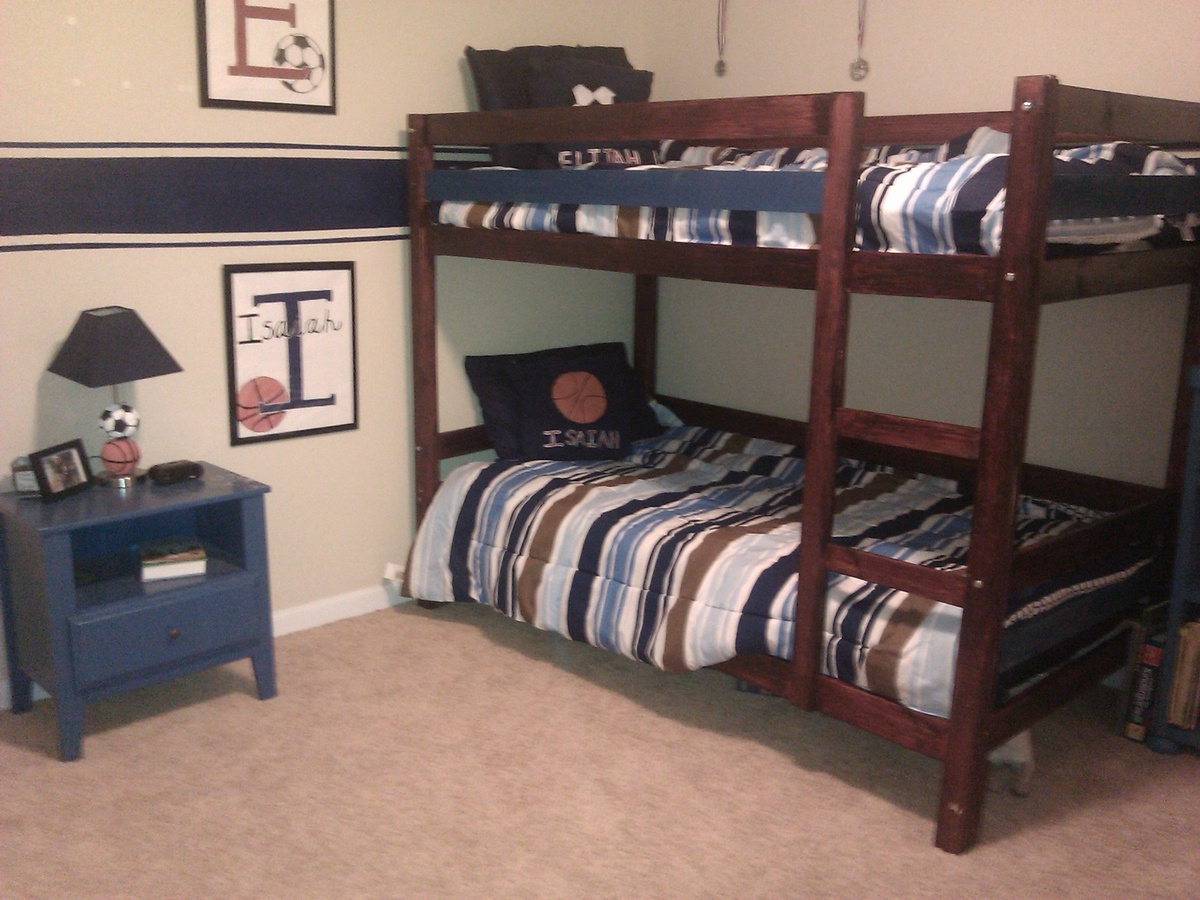
Classic Simple Bunk Bed

Submitted by Donnetta on Wed, 03/06/2013 - 19:52

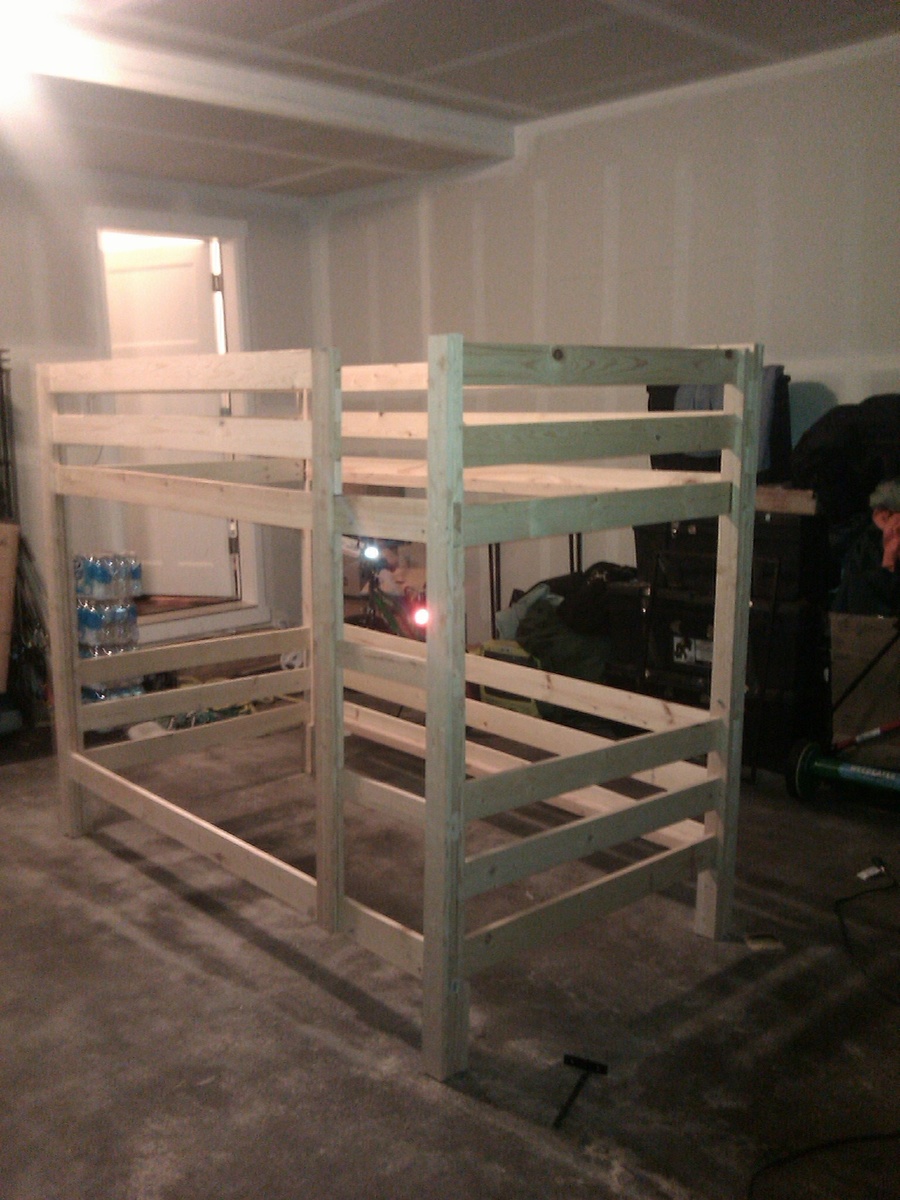
My boys had been begging me for bunk beds, but they were all so expensive! These were easy to make. I made these while my husband was away for military training. There are a lot of comments stating that you need more wood. And you do. The shopping list doesn't account for the 64" side rails. I ended up buying 11 of the 1x4 boards and that took care of everything with minimal left over. Lets see....what else...oh! When you are bolting the beds together, make sure you put a screw where there is another rail to catch it. The screws listed are long enough to go through the posts.. I had a lot of fun making these beds. My boys love it. I love this site and will be looking for more projects to get into!

Built from Plan(s)
Estimated Cost
$110
Estimated Time Investment
Week Long Project (20 Hours or More)
Finish Used
Mahogany stain
Royal blue
Recommended Skill Level
Beginner

Sunday Trinket Box Assortment

Submitted by JoanneS on Sun, 01/11/2015 - 16:15

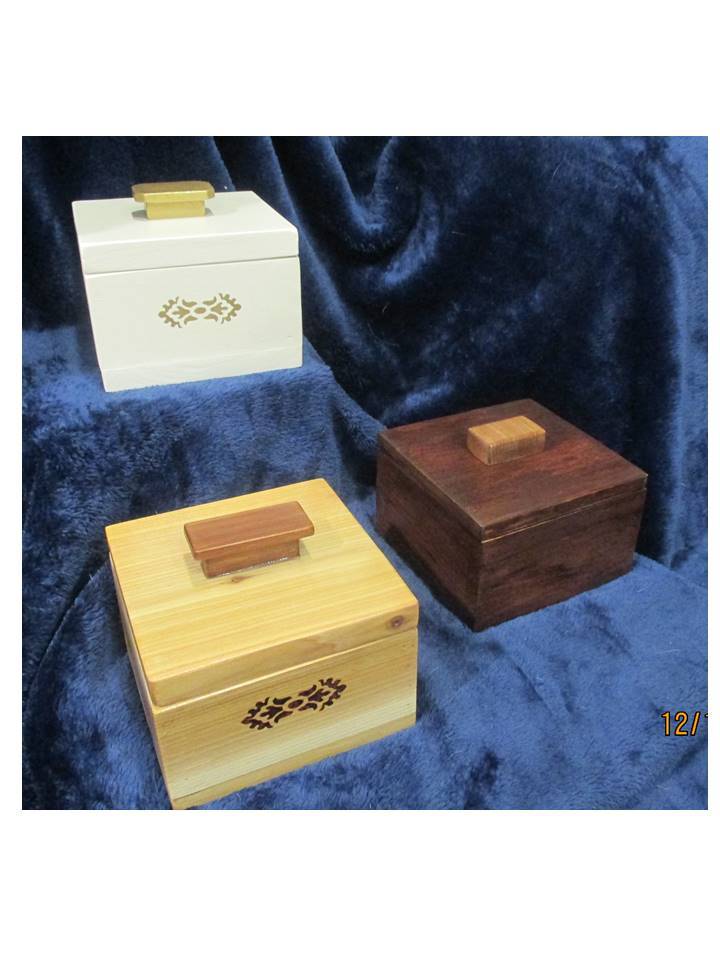
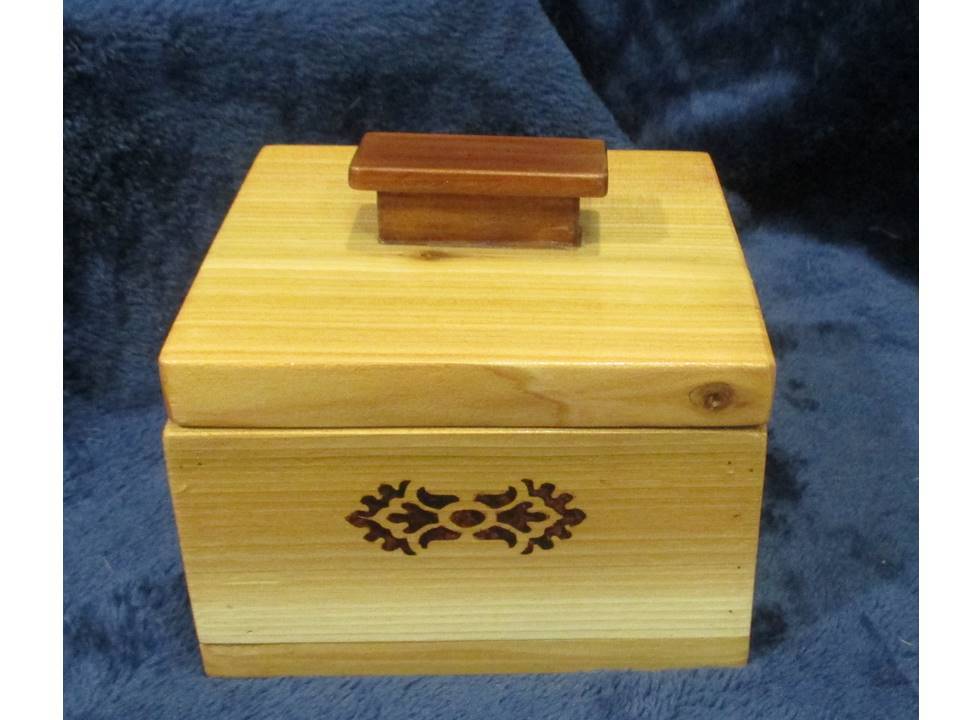
     These were built to demo the Sunday Trinket Box plan using 3 different wood types – 1/2" thick craft board, 1x scrap wood, and cedar 1x.  On the 2 that I made with 1x boards, I used some ¼” hardwood plywood scrap for the inner lids, which kept the top nice and light and worked very well.  I think I prefer this for the inner lid when working with the 1x material and would recommend that for the build.  My craft room work table looked like a mad scientist’s laboratory with all the cans and tubes of finishes I’ve been trying out, and projects at different levels of completion.  

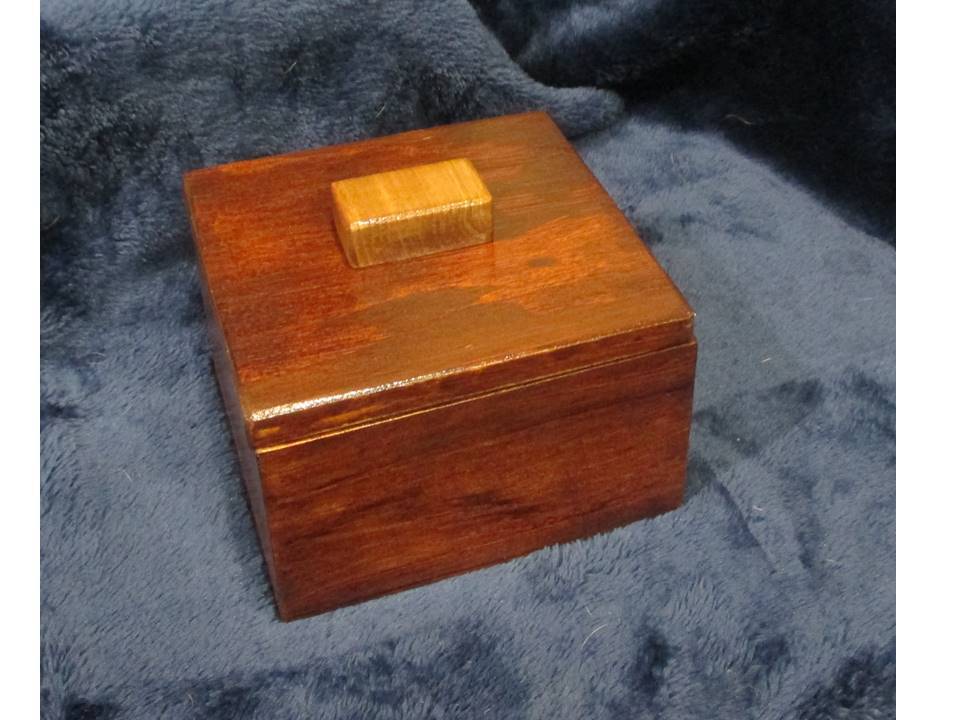
     The craft board box is finished with 1 coat of Rustoleum Stain + Poly in Walnut (the kind in the tube, I had picked this up at Michaels to try it out), and 3 coats of gloss polycrylic.  The radiata pine craft board took this stain really well, even without wood conditioner.   The inner lid for this one is the same ½” craft board used for the box.   The pull for this one is a rectangle of cedar, with a light coat of Varathane stain + poly in Walnut, and a coat of gloss poly.   Cost:  Wood:  $8.47 for craft boards, Finish:  $0 (used finishes already on hand).

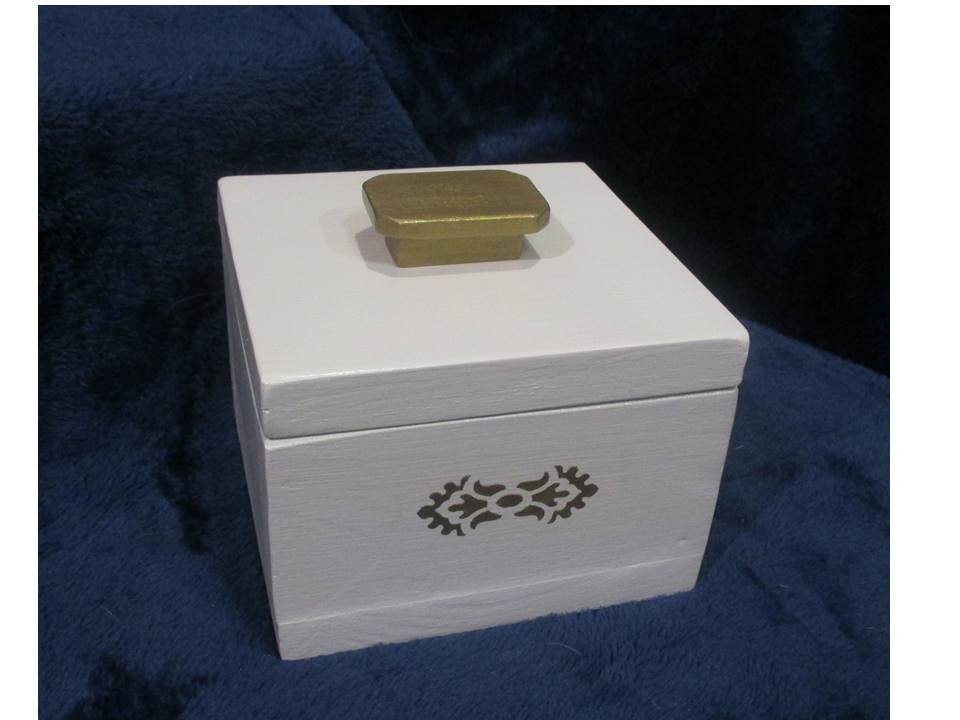
     The scrap wood box is finished with 3 coats of Clark & Kensington semi-gloss in Crushed Peanut, a stencil design added on the front in gold craft paint, and a DIY pull made from a ¾” wide “slice” of the ½” thick craft board, topped with a scrap of ¼“ x 1 ½” poplar craft board, super-glued and pin-nailed together, and finished with 2 coats of gold craft paint and 2 coats of gloss polycrylic.   The pull is attached with crystal clear super-glue.  Cost:  $0 for wood (scrap), $0 for finishes (left over), $4.99 for the stencil (which I am re-using) and $4.99 for a pkg of 4 stencil sponge brushes (also re-using these).

     The cedar 1x box is finished with 3 coats of gloss poly. The knob is another DIY – a ‘slice’ of the 1x cedar, topped with some ¼” aromatic cedar, glued and pin nailed together.  This received 1 coat of Rustoleum Walnut Stain + Poly on the top part and 2 coats on the bottom part, topcoated with 2 coats of gloss poly, and was super glued to the top.  The inner lid for this one is a piece of ¼” plywood, glued and clamped in place.  The front design re-uses the stencil, in the same Rustoleum Walnut as the pull.   Cost:  Wood: about $5 worth of a cedar 1x8 (cut down to size on the table saw).  Finish: $0 since the finishes were already on hand. 

    These were a super easy and quick build – I built and sanded all three in an afternoon.  I’m sure the finishing could all be done in a day too, but I spread mine out a few minutes here and there as I had time to work on them, while changing my mind several times on the pulls and embellishments.  These were all given as gifts.


Built from Plan(s)
Estimated Cost
$0-10
Estimated Time Investment
Afternoon Project (3-6 Hours)
Finish Used
Craft wood box: Rustoleum Walnut Stain + Poly, Minwax gloss polycrylic
Scrap wood box: Clark & Kensington semi-gloss in Crushed Peanut, 3 coats; stencil/knob: gold acrylic paint (2 coats on stencil, 1 coat on knob)
Cedar box: 3 coats Minwax gloss polycrylic; stencil/Knob: Rustoleum Walnut stain + poly
Recommended Skill Level
Starter Project

Piper's Dining

Submitted by Anonymous (not verified) on Fri, 04/14/2017 - 08:09

This was just the right table design for our history home built in 1880! Love the plans and easy to build!

Estimated Cost
Table- $95 without Kreg Jig cost($20) or screws
Bench- $24- screws
Estimated Time Investment
Week Long Project (20 Hours or More)
Finish Used
Wood primer first on all surfaces,SW Rustic gray, minwax mahogony low lights and satin minwax poly finish(5 coats)
Recommended Skill Level
Intermediate

A Really Nice Serving Tray

Submitted by Jake on Sat, 03/09/2013 - 05:14

I saw this serving tray on Ana's site and it looked like I could build it with the wood and materials I had laying around in the garage. Other folks had made some nice versions of the tray also, and it looked like something we could use around the home.
I was right on all accounts, except I had to spend about $1.50 for the 3/4" dowel.

The overall dimensions are 27" x 131/2". Tray dimensions are 21" x 12"

The frame is attached to the tray with countersunk 1.5" wood screws and buttons covering the holes. I added the brass round-head screws to each corner to give it an industrial look. Glue was used only on the dowel handles and the buttons. Otherwise no glue.
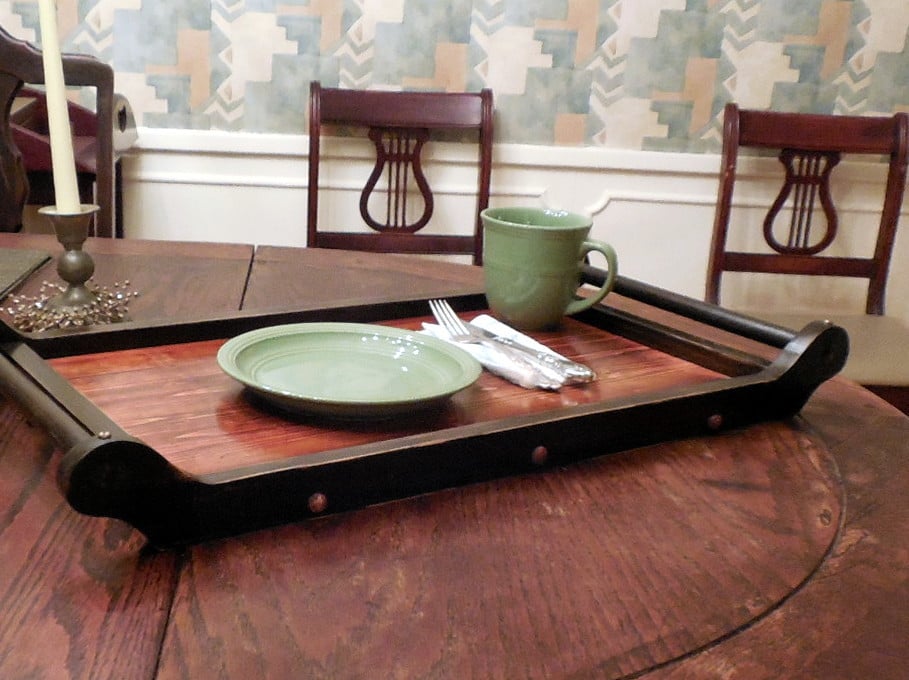
I also distressed the top edges a bit to give it a used look. With time it will get is own look but this is a star

Built from Plan(s)
Estimated Cost
$1.50 because I had the rest of what I needed laying around in the garage. If I had to buy everything it would cost about $15.
Estimated Time Investment
Weekend Project (10-20 Hours)
Finish Used
The frame is stained with black Kona and the tray insert is Cherry with a little Kona mixed into it to darken it a little. I sanded everything to 320 grit and the visible areas to 1000 grit. I know that is over-kill but I just wanted to try it. Between sandings I used mineral spirits to clean which also acts as a wood pre-conditioner. Then each piece was given two coats of antique oil finish rather than the old standby polyurethane.
Recommended Skill Level
Intermediate

Comments

Jake

Sat, 03/09/2013 - 14:22

Thanks for the kind comment. I try a lot of builds and some do come out right. Some day I will own that sliding miter saw and a router but for now it is just a few saws (my favorite is a small back saw) and clamps.

Loving These Shelves

Submitted by woody311 on Thu, 01/15/2015 - 18:51

I changed the plans a little bit to add on the extra shelf on top as well as making the shelves an inch narrower than the plans. The project was actually pretty easy and really only took me about a days worth of work.

Estimated Cost
$160
Estimated Time Investment
Day Project (6-9 Hours)
Finish Used
None
Recommended Skill Level
Beginner

Comments