Benches that Convert to Picnic Tables
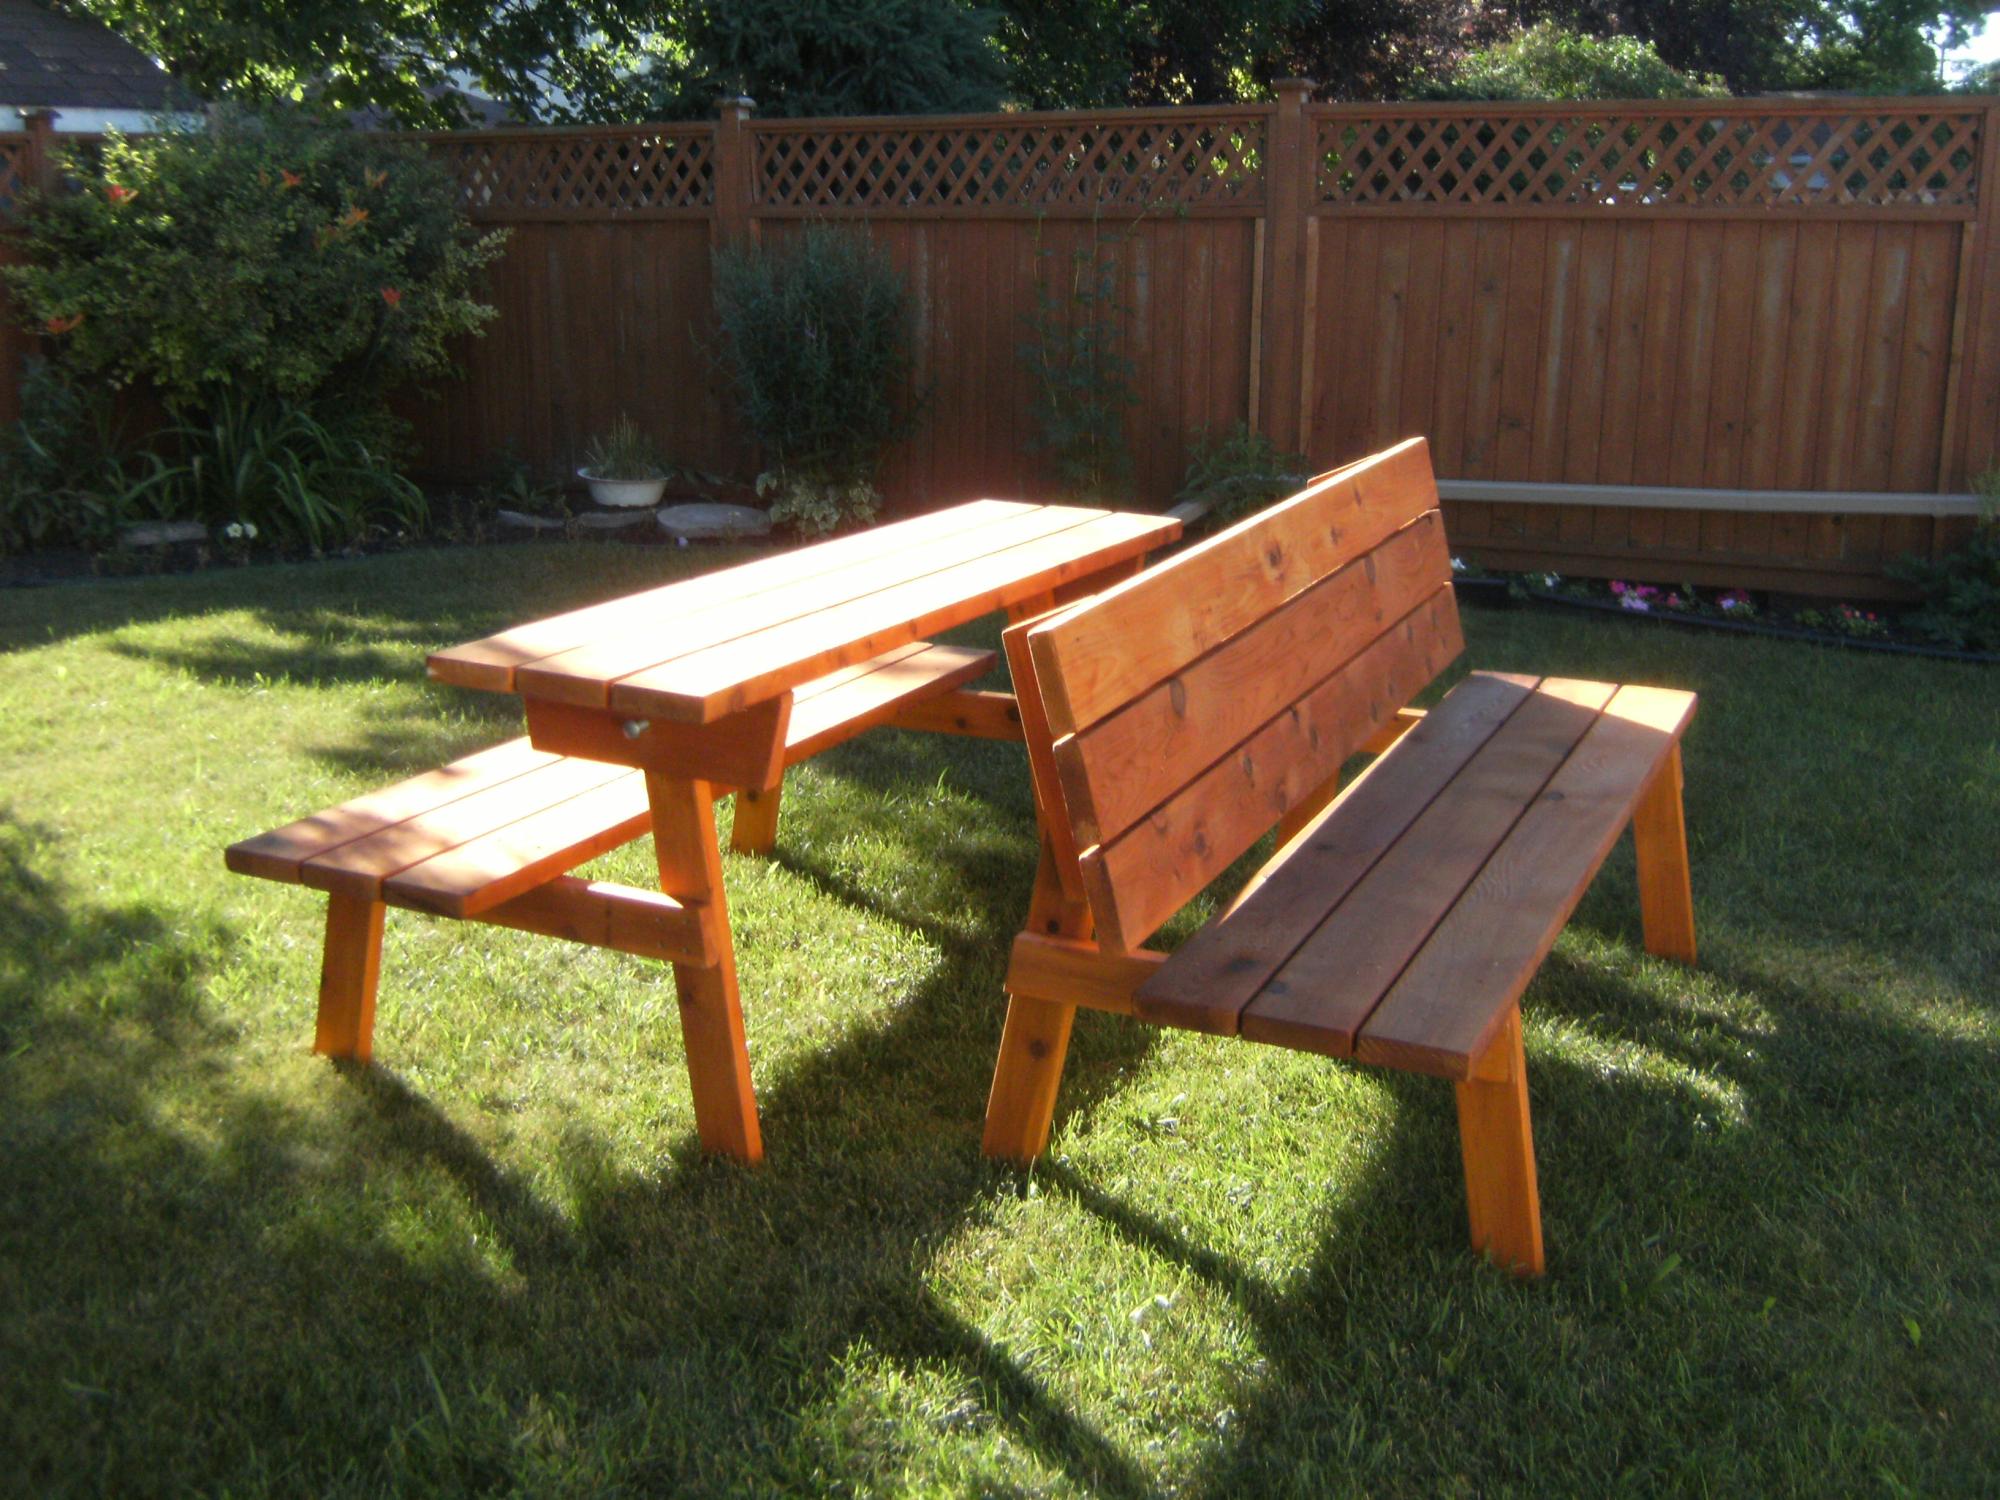
Simple benches that convert to picnic tables
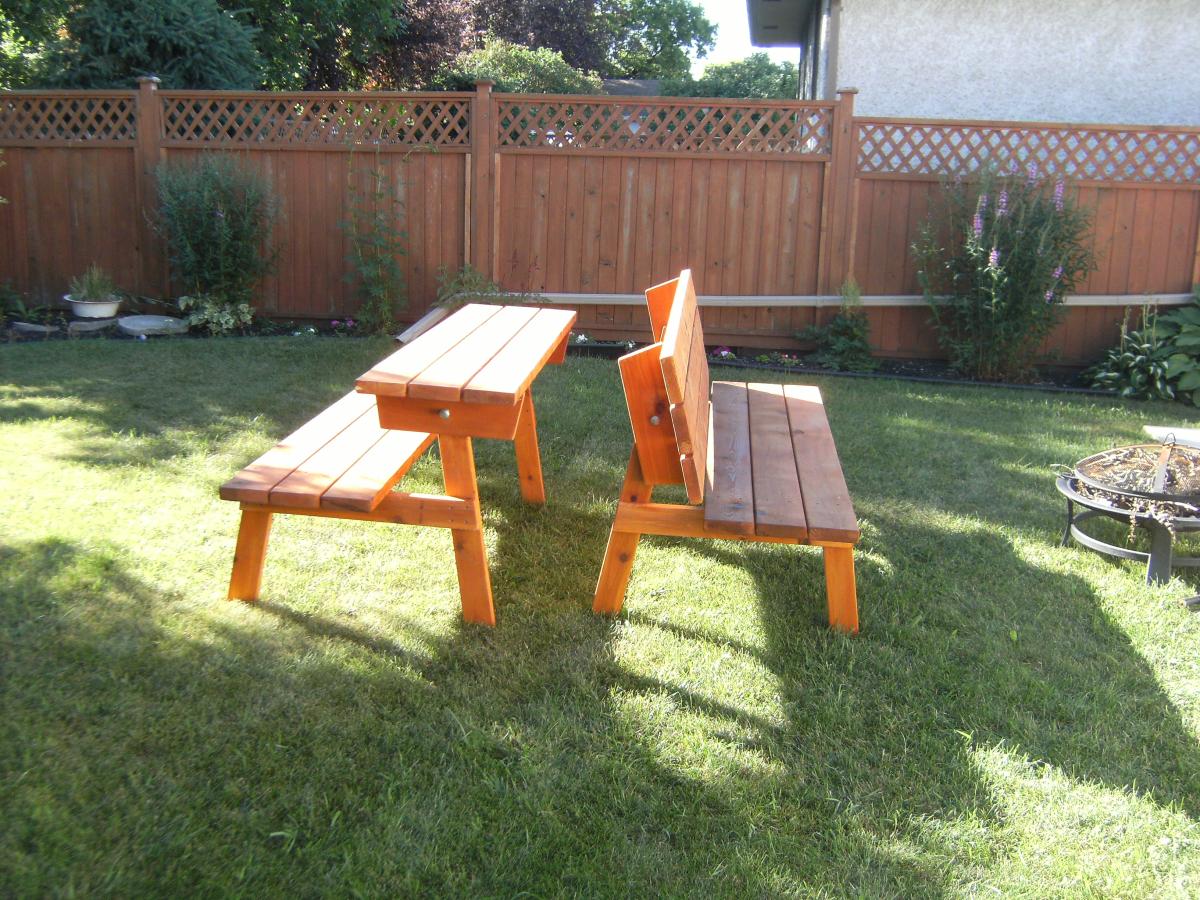
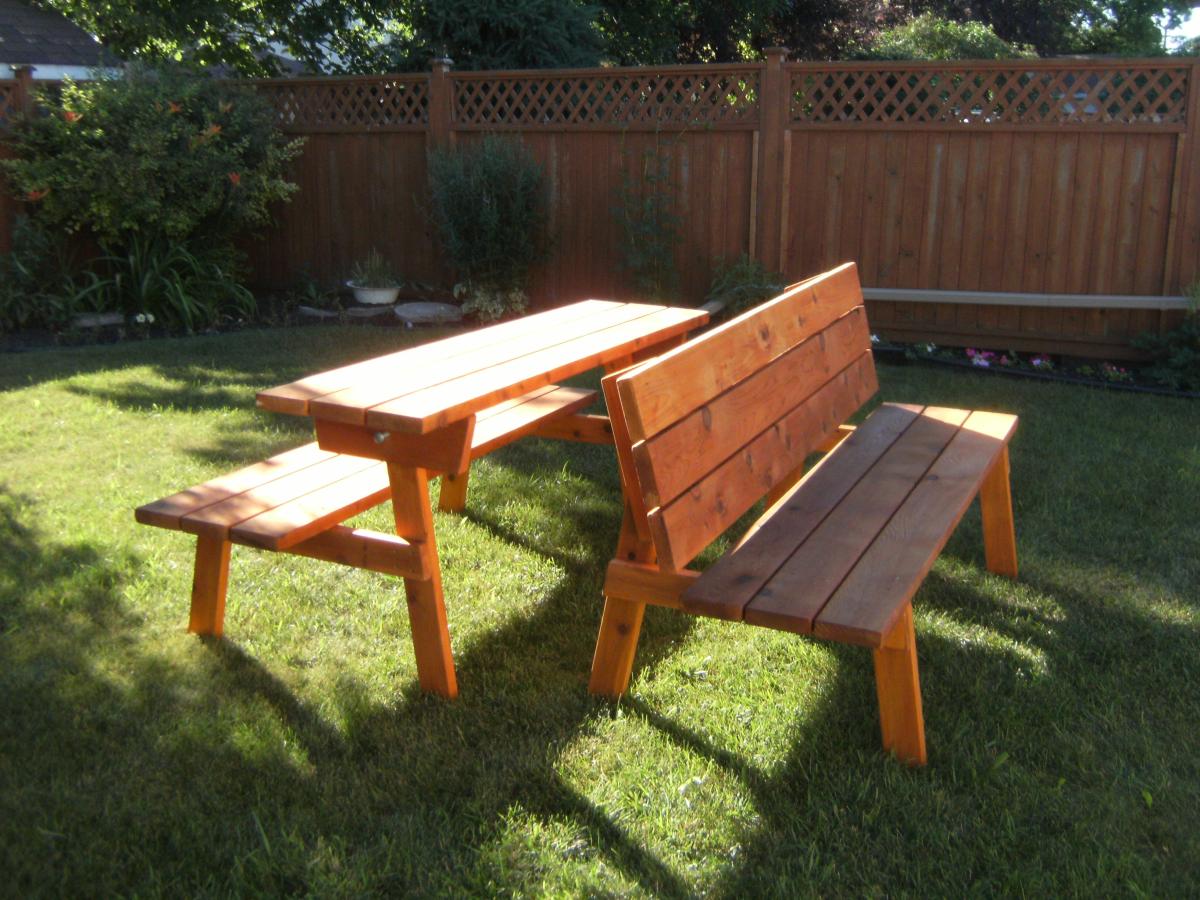

Simple benches that convert to picnic tables


Tryde Media Console plans, with slight modifications.
This was my first real project after building a very basic woodworking bench. It might look a bit daunting but is actually very simple - build the box and add some legs. Keep your cuts square and accurate and have a lot of wood filler (putty) on hand for mistakes :)
Tricky parts of this project were:
1) building it here in Australia - our wood sizes are different, and untreated 4x4's are not easily available.
2) hinges - I hate them! Still can't use 'em and may never do again.
I began this project sticking pretty much to the plans Ana posted, just making the width of the console a little narrower as my tv is 36" wide only.
Then I saw a post by the Shanty2Chic sisters who made a Apothecary Media Console with stained doors project and I fell in love. To be honest I wasn't crazy about the open sections on each side of the Tryde Console anyway, and I thought adding doors would be easy. Plus the glass knobs used by the S2C sisters were gorgeous! So I guess you could say this is a Tryde/Apothecary Media Console hybrid.
So this project is pretty much as Ana wrote it except it's narrower, and has doors with faux drawer fronts. And as it always goes the longest part of this project was doing the finish.
Please please read about this on my blog - I go into a lot of detail about the build and finish process and I make a lot of mistakes so you don't have to.
I will be posting the matching hutch project soon as I've finished that too.
UPDATE: You can read all about the matching hutch here
Hello,
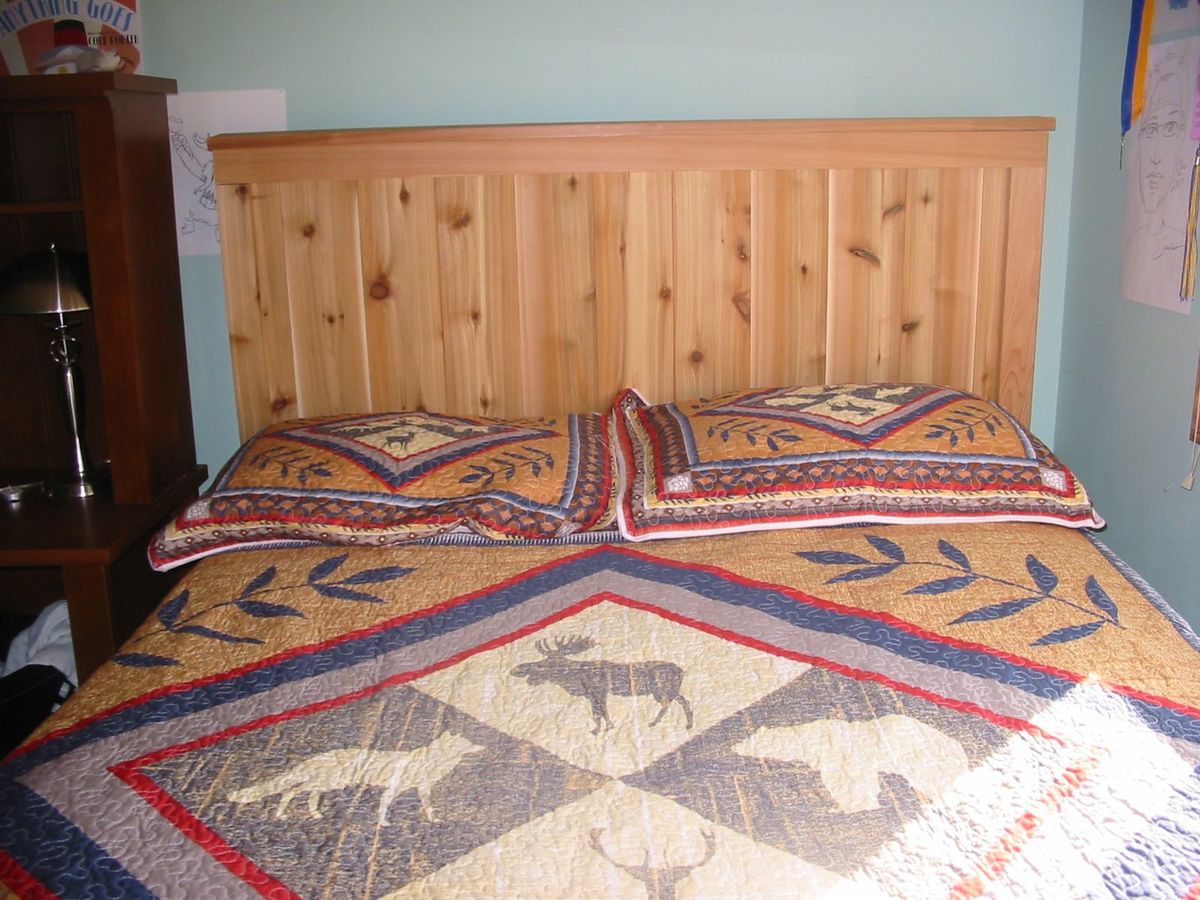
I made the head board from the farm house bed project. I used western red cedar for this project and I bolted it to a standard metal bed frame. It came out really well and I'm very pleased with the plans and the results.
Thank you,
V. Woodcock
Minnesota
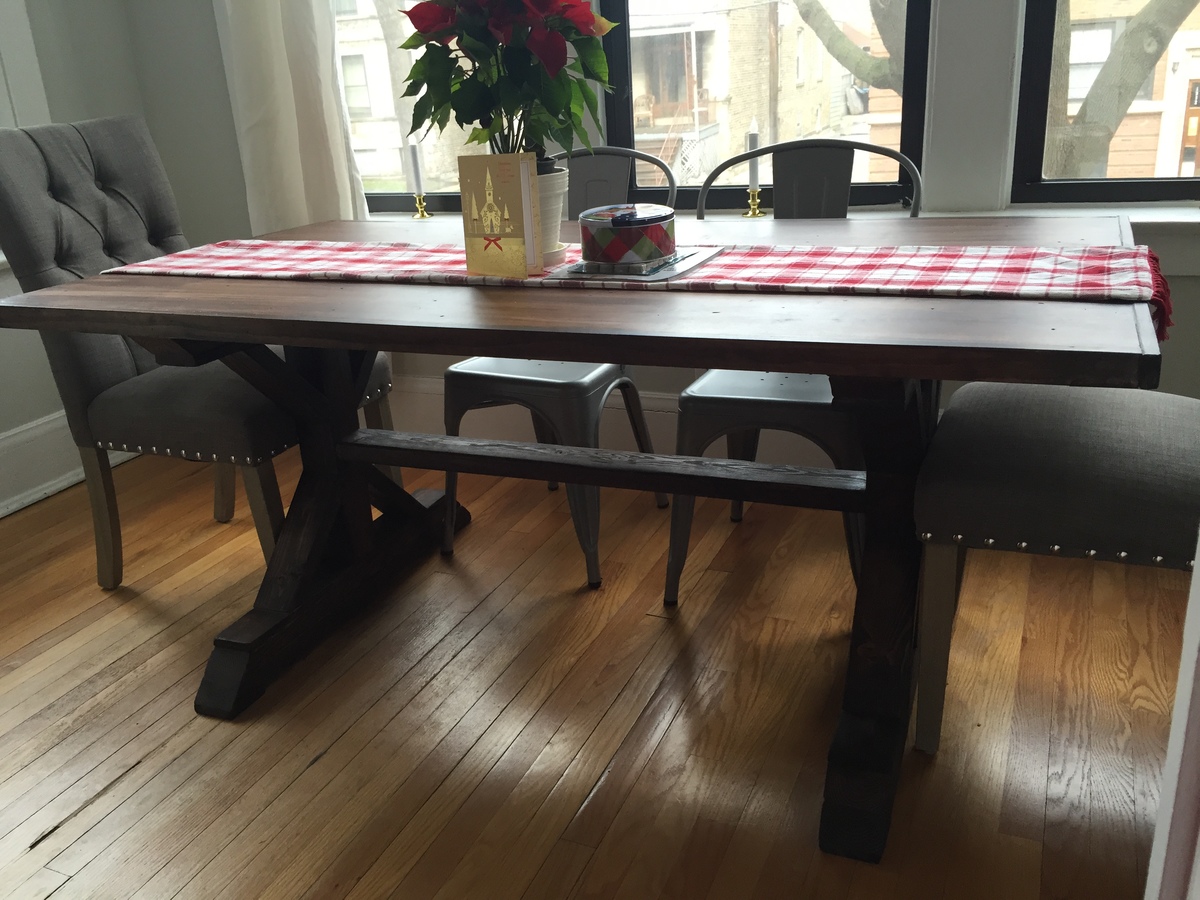
I wanted to make something for my daughter Jaclyn and her significant other Sam for their new condo that would bring memories to the table each and every time they sat at it with memories that would last a lifetime. This was perfect. I made it in a week and was ready just before they moved into their new condo. The top is a slab of maple and the frame is pine 2x4's. I deviated by using a 4x4 center post on each side of the pedestal. I used my keg jig to hide the hole in various places. I used chains, a hammer and nails to distress the top.
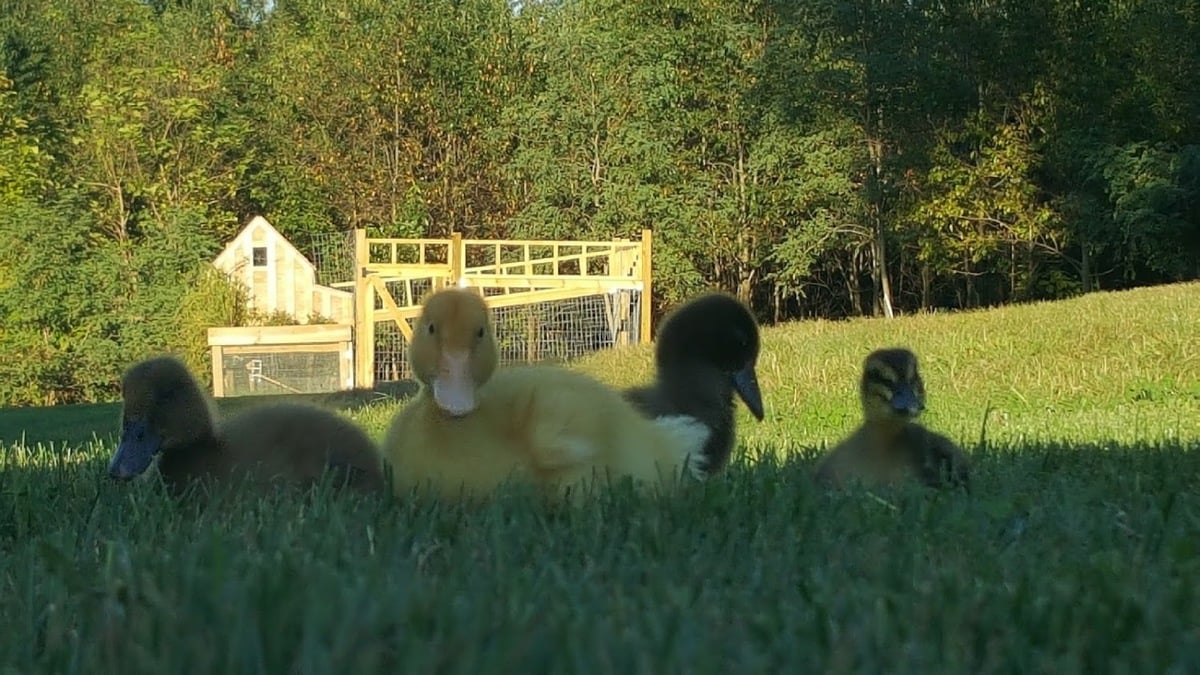
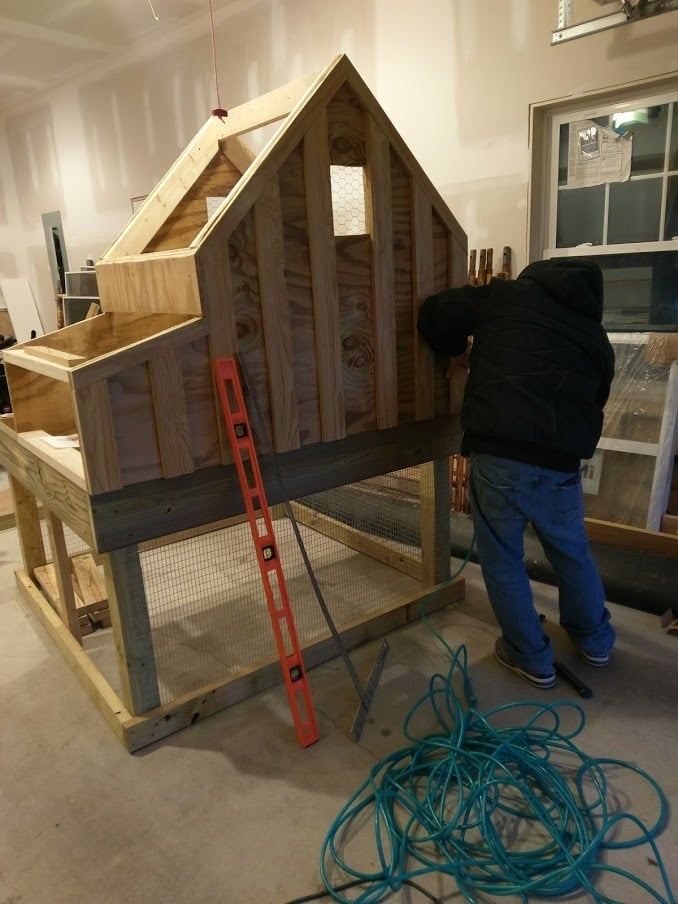
Built in 2017 for our ducks! They use the ramp just fine! I am now working on editing this coop plan to make a coop for 4 chickens we just brought home. I'm going to leave out the planting area, since it's going inside their open run.
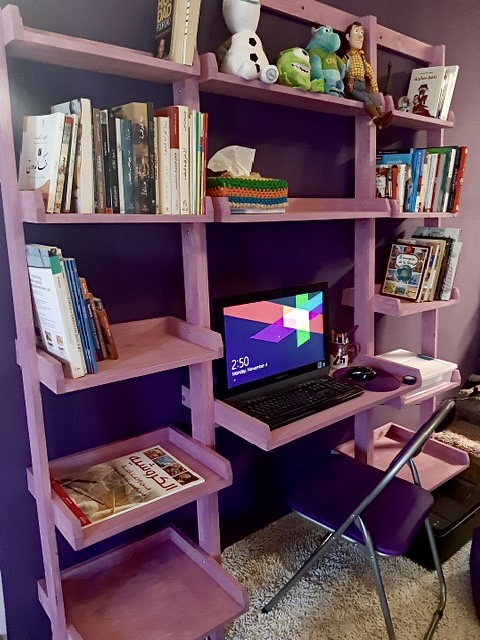
Leaning Desk System by Khalid Al-Bahi
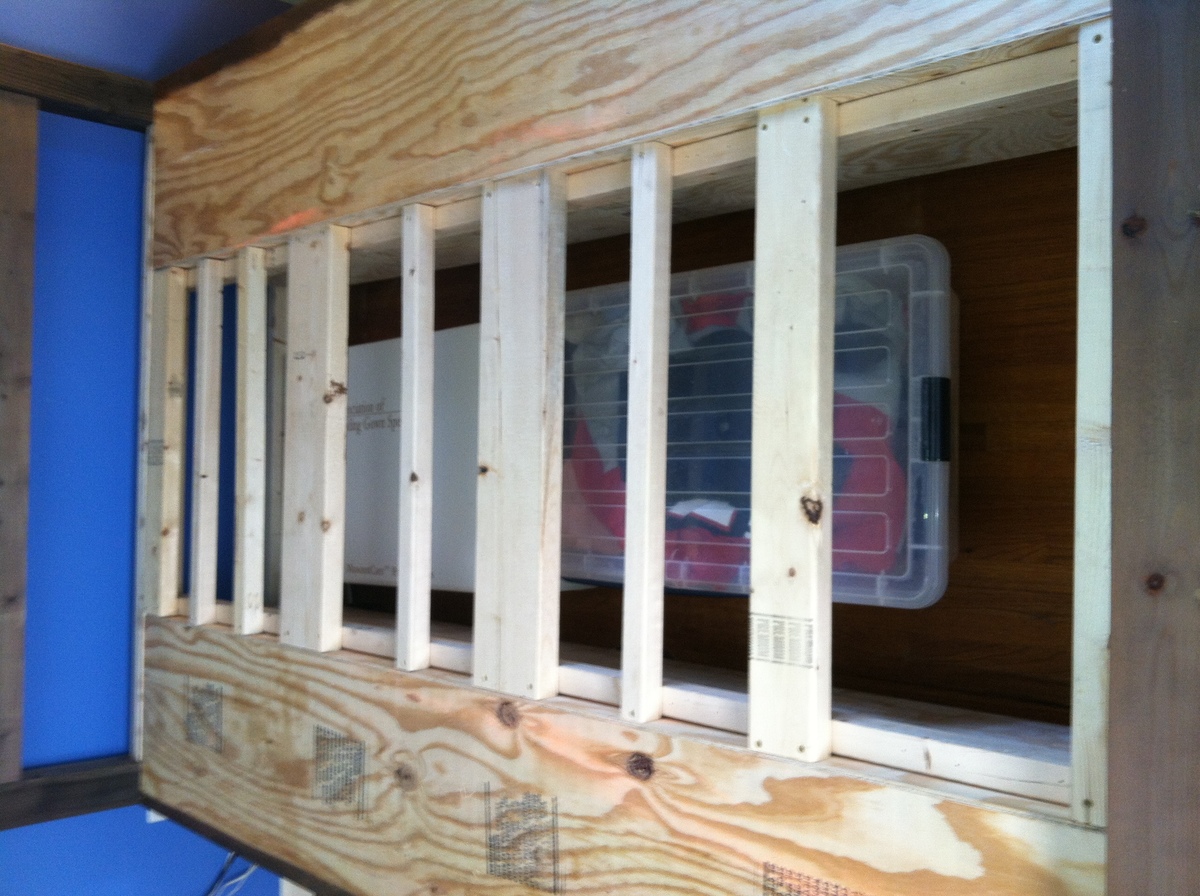
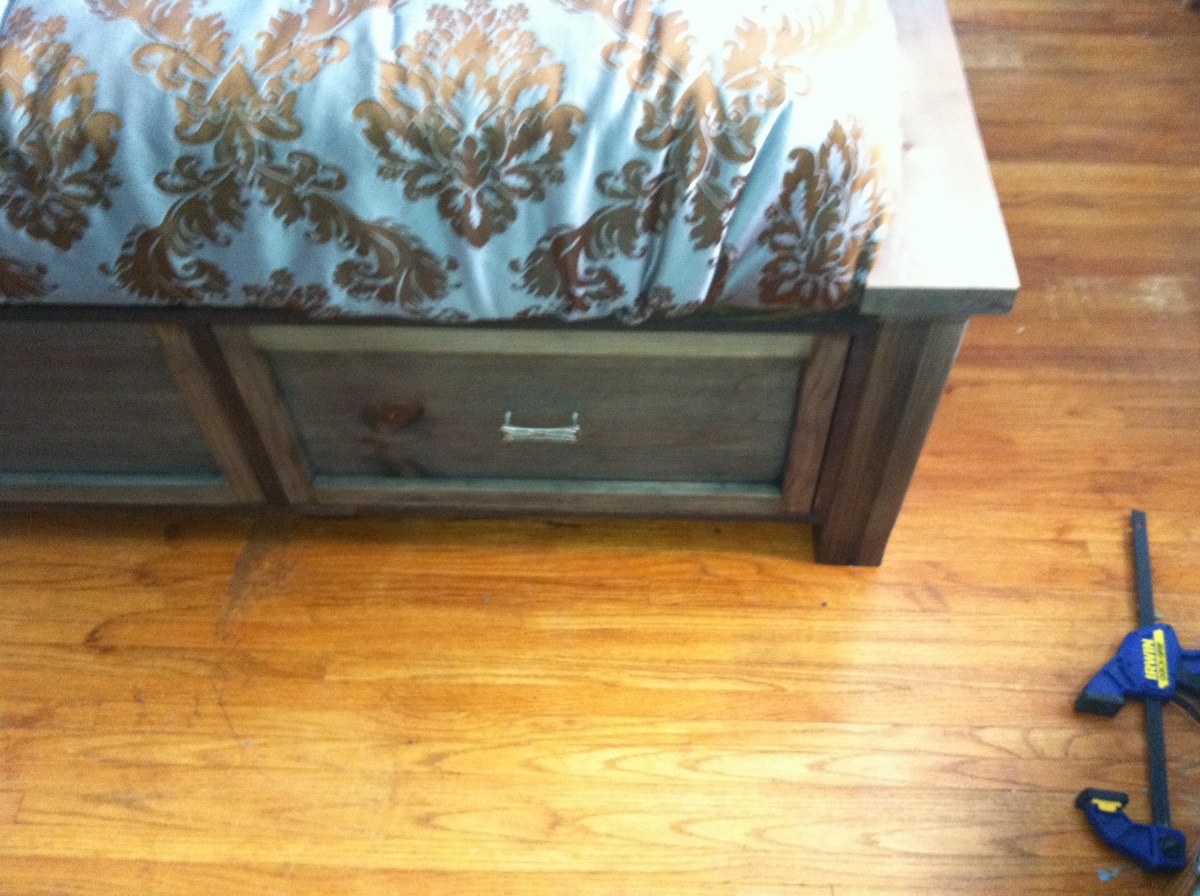
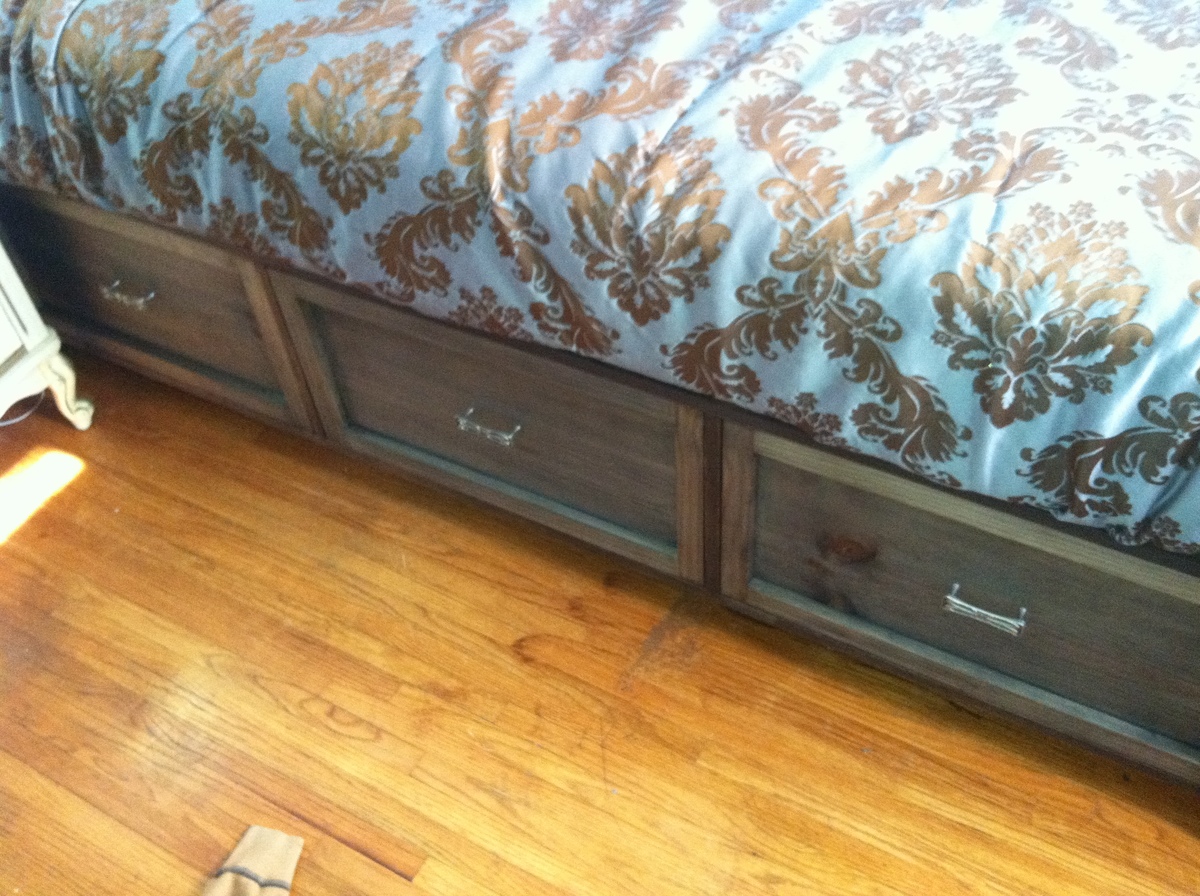
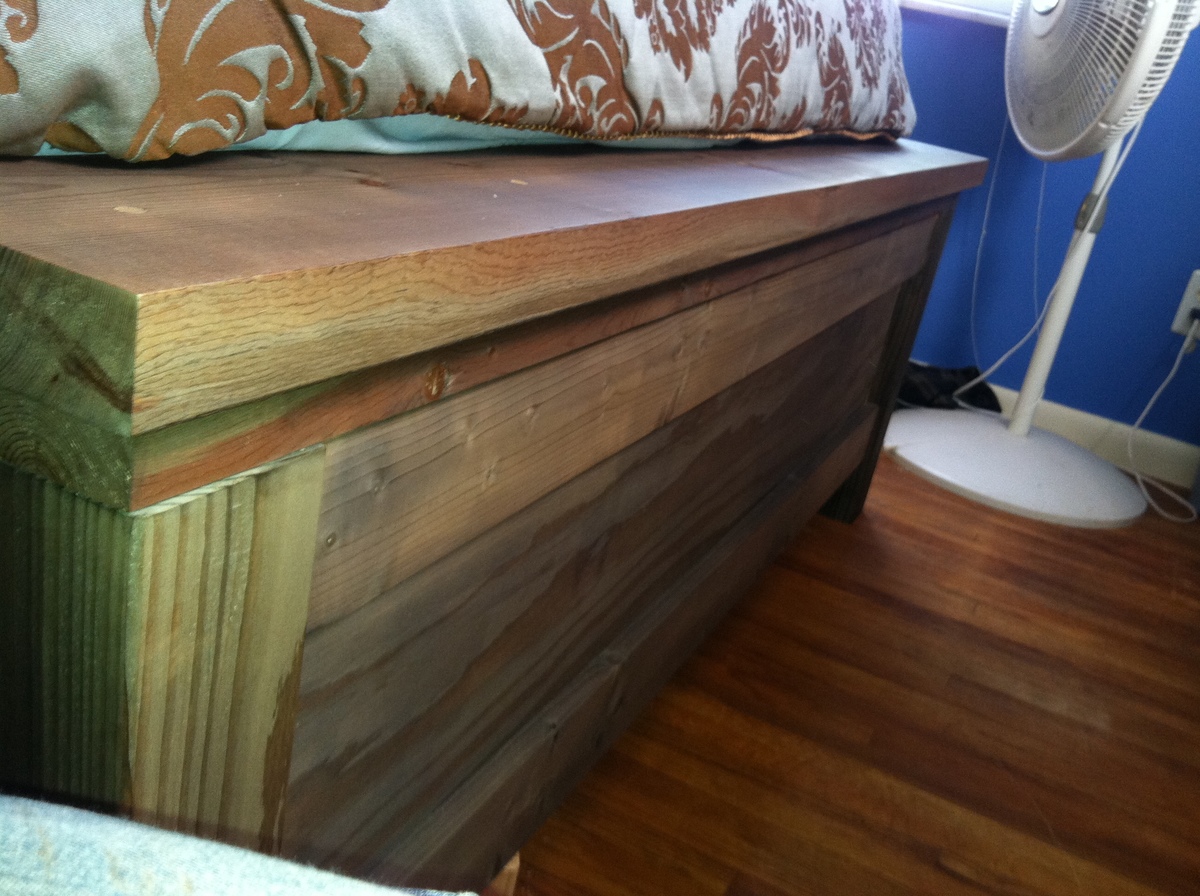
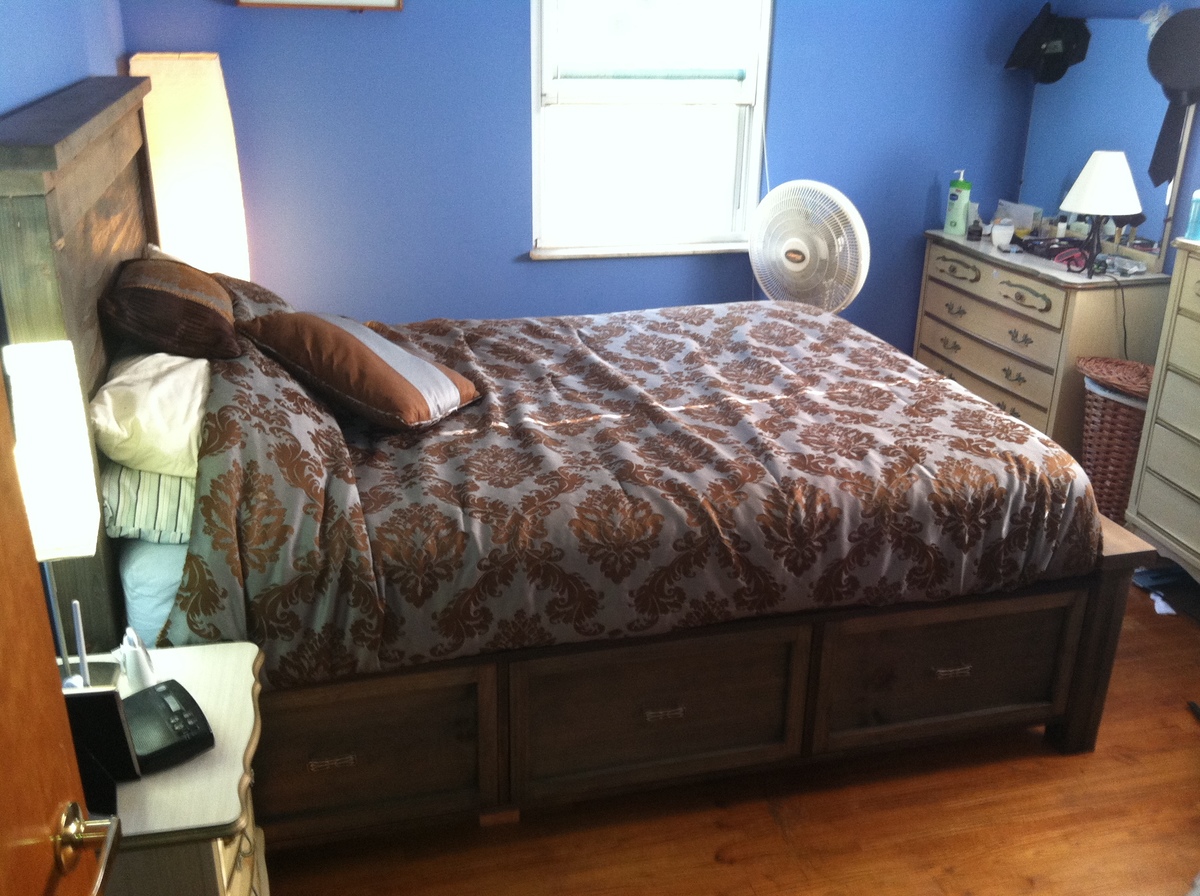
The first piece of our replacement bedroom set. We have this hand me down set from the 70's that is just awful looking. I have dressers, bed side tables, a wardrobe, and closet doors to do still. I love the way this turned out. I tried the oxidized finish from Hillary and with some trial and error I found the right colors. I replaced the standard slats with a one-piece frame that can be lifted out for the storage space below. I can't wait to replace the rest of that awful blonde furniture and repaint the room. I made wood slides like those on my built in dresser although this time they are positioned beneath the drawers. The front of the drawer boxes make up the drawer faces with a face frame. I changed the front of the boxes to 1x12 to achieve this concept. The drawers work flawlessly and will be perfect for seasonal clothes accessed less often.
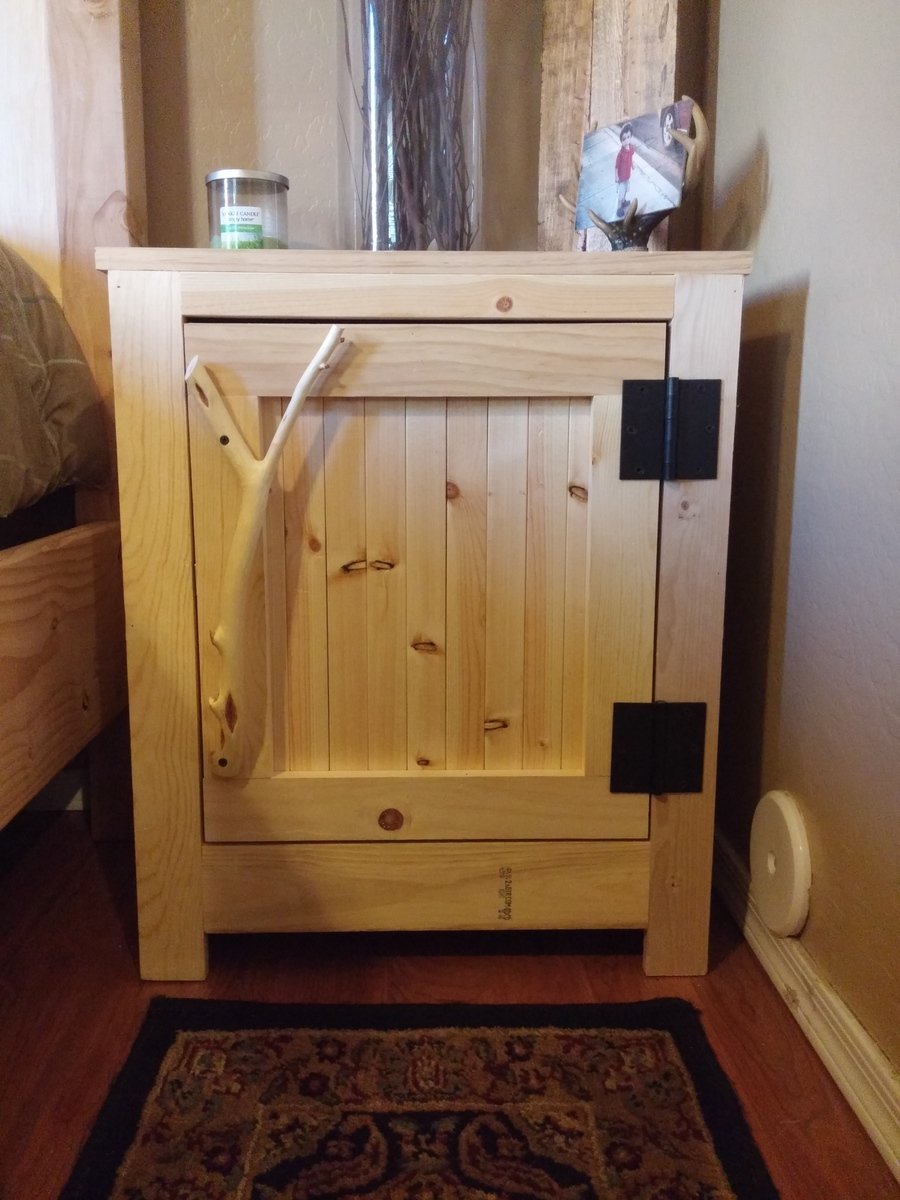
I made this nightstand and one other for my bedroom. I used 1x2's for the door and diamond willow for the handles. :)
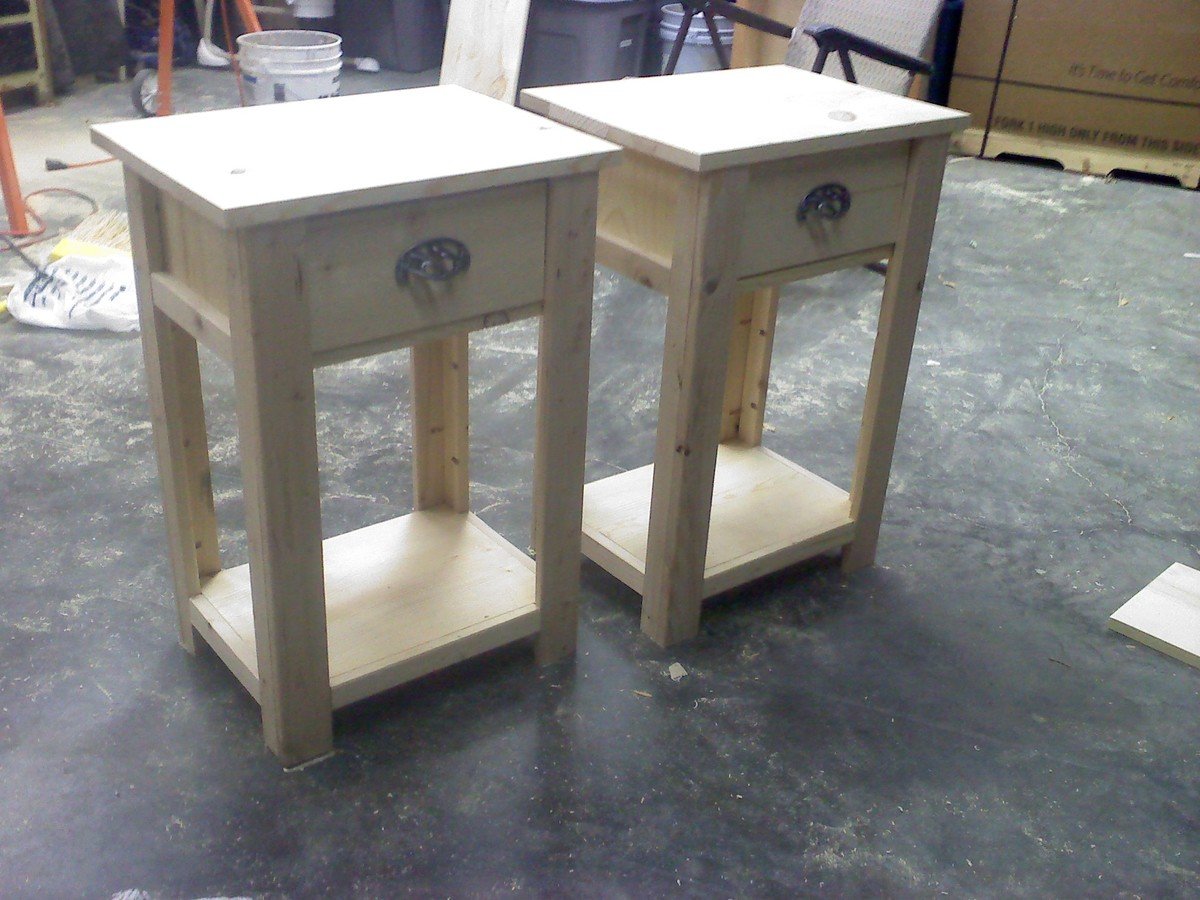
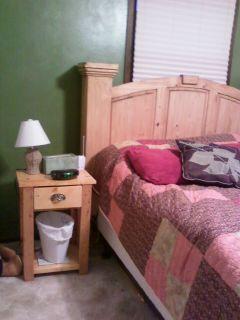
I was itching to start another project, so when my friend said she was moving to a new house I was excited to make her a custom-made housewarming gift.
She has a beautiful pine bed and to my delight she was in need of nightstands. I looked over many different plans but kept coming back to the simple nightstand plan.
I was concerned about plans that had drawers, and some plans have multiple drawers. Since I haven't made drawers before, I decided I could tackle a 1 drawer nightstand and do the simple night stand.
I was pleased in the end how it turned out! The hardest thing was choosing stain and the perfect drawer pull.
I was pleased when she sent me a picture of it and it matched her bed well.
Mon, 10/24/2011 - 22:02
I'm also making this, (it's half finished under my porch) but yours looks so sturdy and well built. Good job, I am feeling very inspired to go and do some work now! :)
Tue, 10/25/2011 - 05:52
I was concerned about the strength while constructing but once I began putting everything in place it was very sturdy.
I wasn't crazy about how my drawers turned out but I wasn't about to take it apart and rework it!
I was tempted to keep it for myself, but I couldn't since my friend was expecting a special gift.
Thu, 02/02/2012 - 21:14
The plans are in the "About This Project" section of this page - click on the link where it says "From Plan: Simple Nightstand". You're welcome.
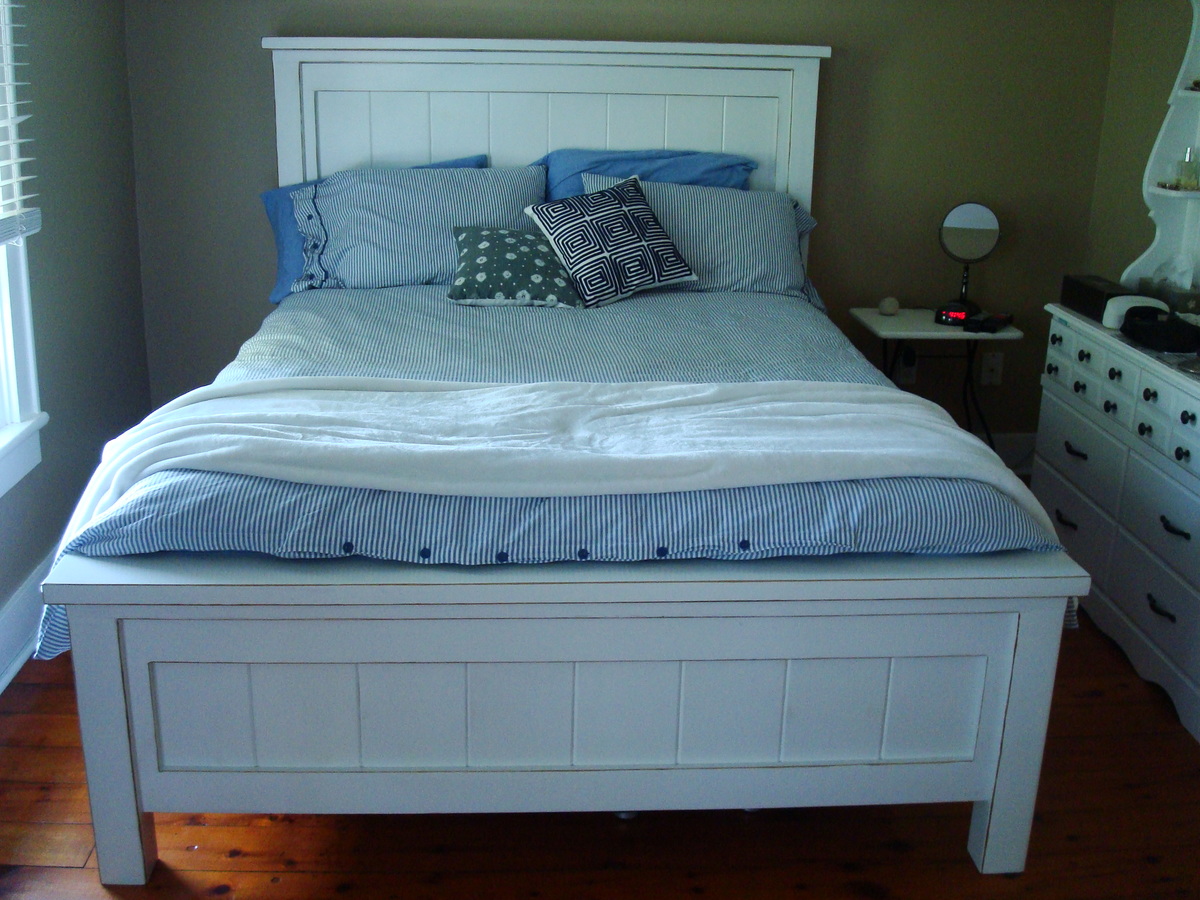
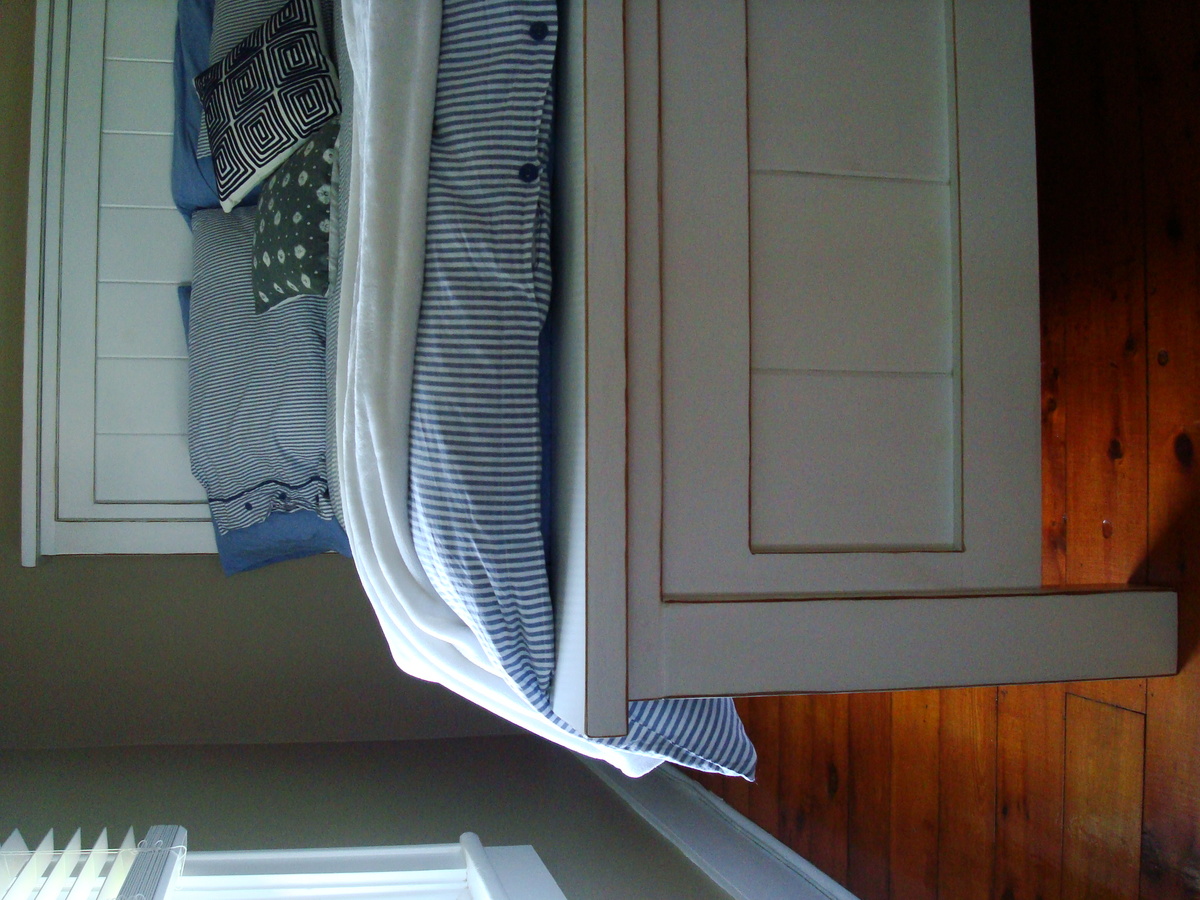
First building project ever! I wanted a new bed for our new mattress and got inspired when I came across this website. A compound mitre saw, orbital sander, nailer, and many more tools later, I am building furniture whenever I get a chance!
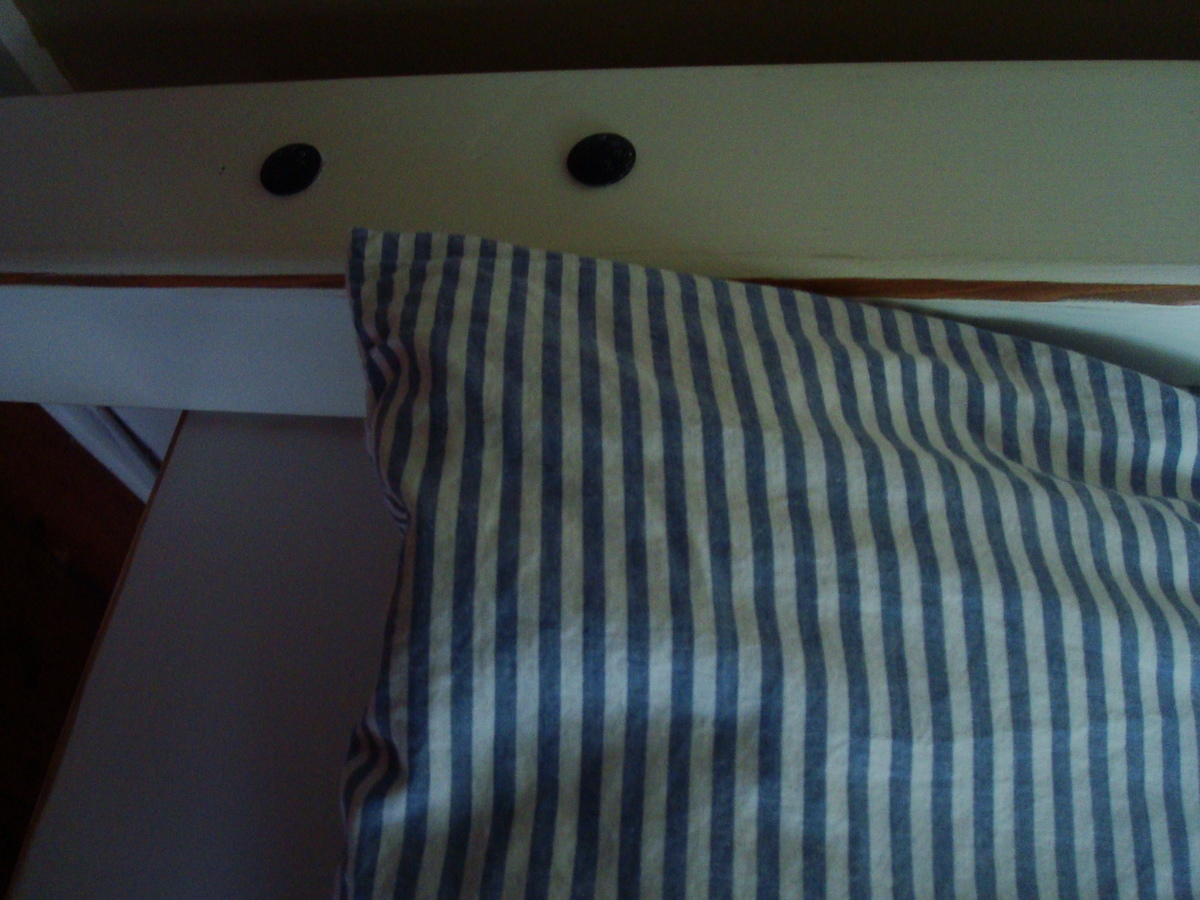
Modified the way I attached the frame to the head board and foot board a bit. I used joist hangers on the footboard, which the frame slid into perfectly, and secured it with a couple screws on each side. I attached the headboard with 2 large carriage bolts on each side through the posts and frame.
Overall, I loved the way it turned out. On to the next project!
Sat, 10/19/2013 - 08:14
Thanks for sharing this amazing build. It turned out beautifully, can't wait to see your next project!
In reply to First Build?!? by Ana White
Wed, 10/23/2013 - 19:38
Your website really guided me through everything, from buying the wood to the finish. I credit you and tell people to visit this website whenever anyone asks me about my projects :)
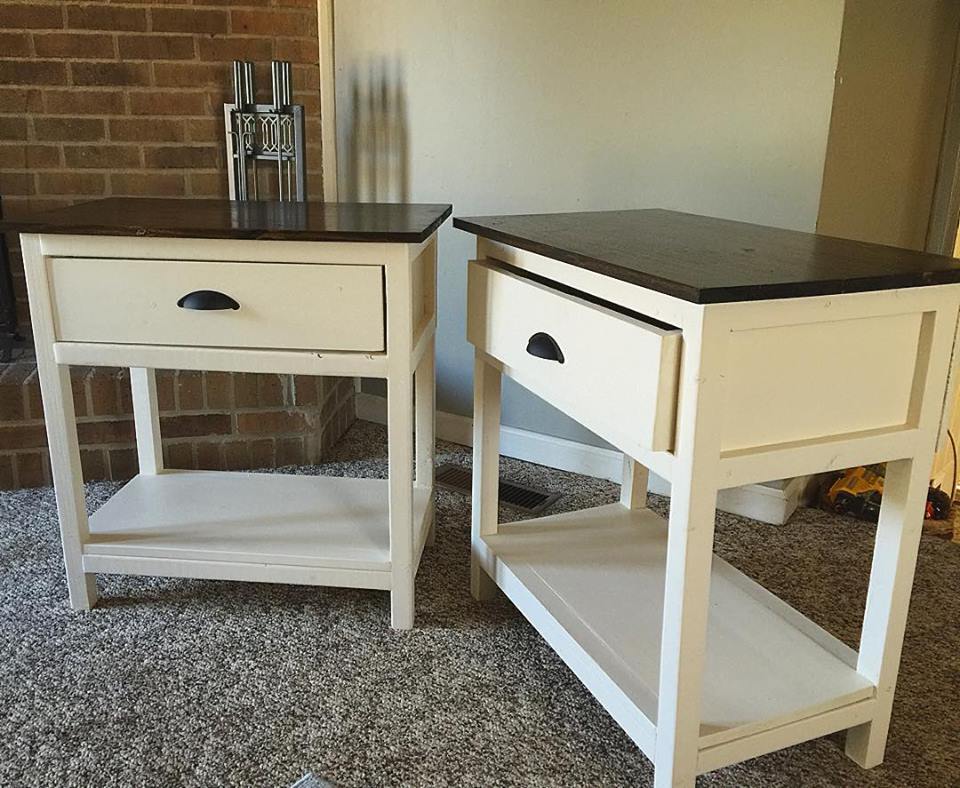
Super easy project. Both tables matched almost identical. Buying wood from Home Cheapo/Nowes makes it a little tougher because they aren't as straight as they should be, but a little sanding never hurt. Plan on making a few more for the other rooms.
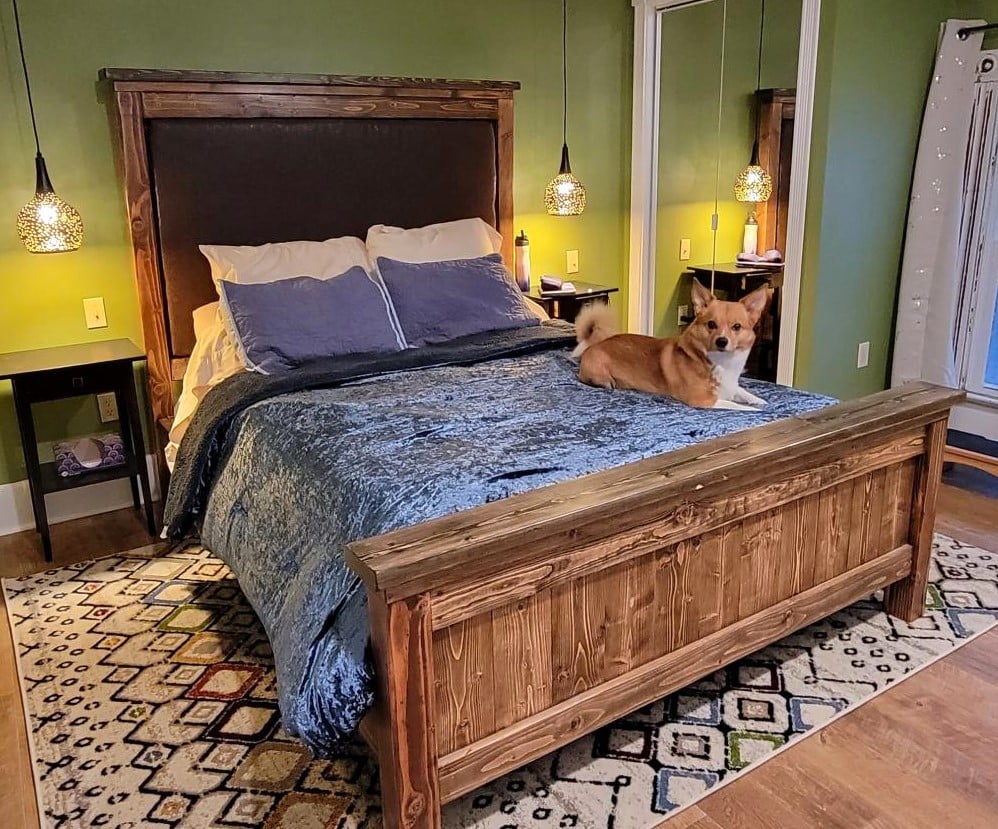
Apologies if the photos are upside down - they were rightside up when I uploaded, but flipped on me ????
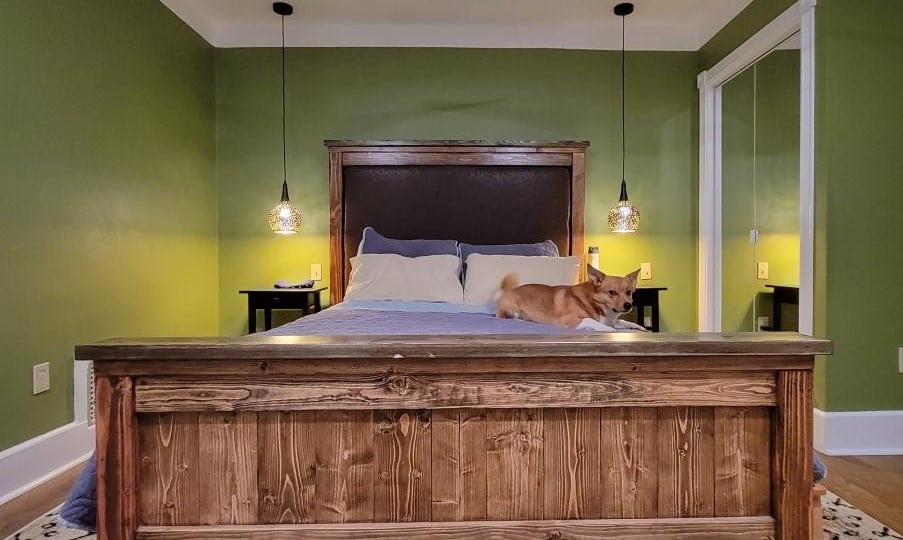
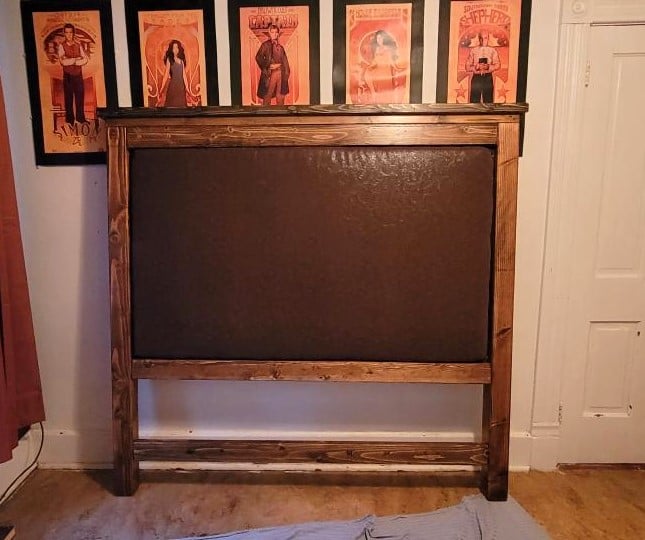
I wanted an upholstered headboard, and my house is 121 yrs old, so a farmhouse vibe fits.
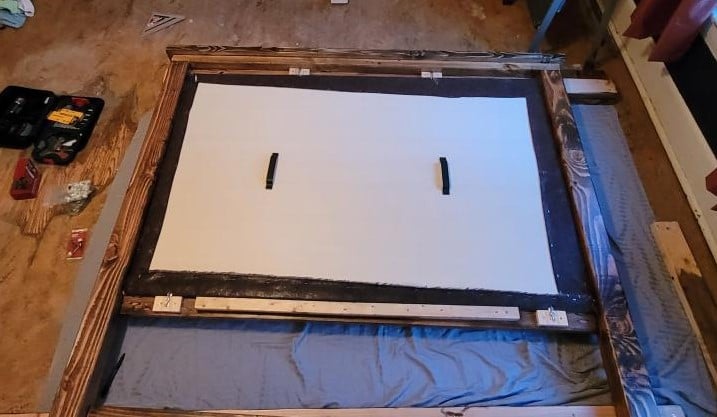
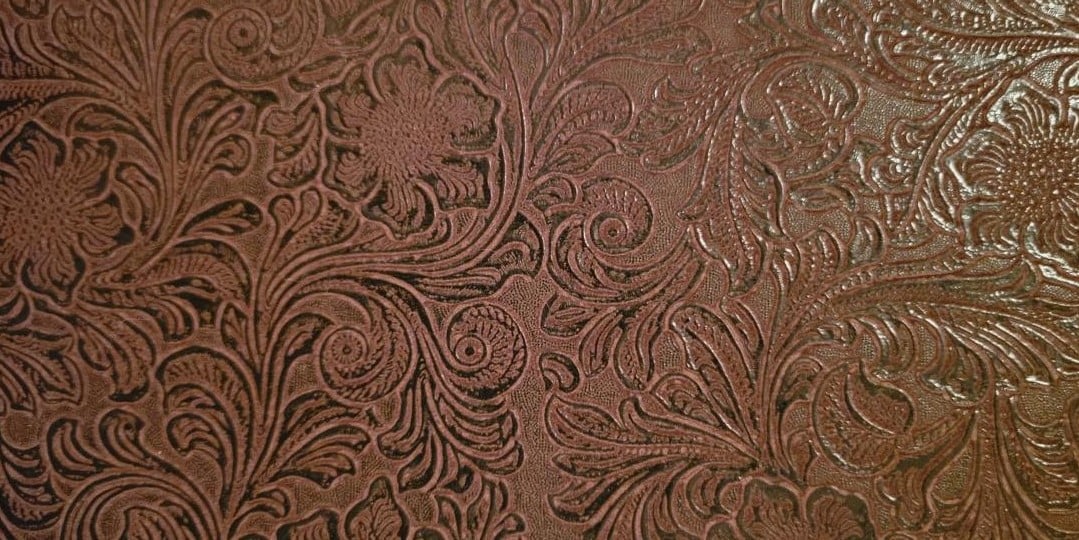
I modified Ana's Queen Farmhouse Bed Plan so that instead of mirroring the footboard design for the headboard, I created a foam-and-upholstery-covered plywood panel that inserts from the back, like a picture frame. It's held in place with storm door toggles, with a support cleat on the back, and and low-profile handles to make manhandling it easier. The insert comes out so it can be re-upholstered easily enough if ever desired. I made the entire unit 3" taller than Ana's plans so that when sitting up against the headboard, my skull is supported by foam instead of wood. It's also anchored to the wall with anti-tip hardware for safety.
The entire bed comes apart into 6 pieces for moving: Headboard frame, upholstered panel, footboard, center support, and the side pieces. The slats are screwed only to the side boards, and fit together like combs across the top of the center support beam. The sides are attached to headboard/footboard with standard bed frame hardware, and I had some joist-hangers from another project that I used as cleats for the center support beam to connect it to the head/footboard.
I designed the modifications in SketchUp, and my mum and I built it during our weekends over about a month using tools borrowed from other family members. Total cost, including the lumber, upholstery foam, fabric, hardware, etc, was about $350 in 2019.
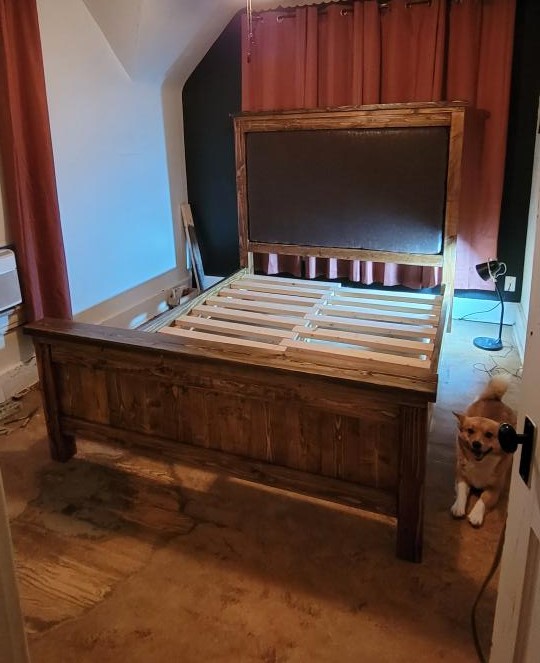
Tue, 02/21/2023 - 08:52
Love this and the way you framed it out to easily change the look with the upholstery portion! Thank you for sharing, I got those photos fixed for you:)
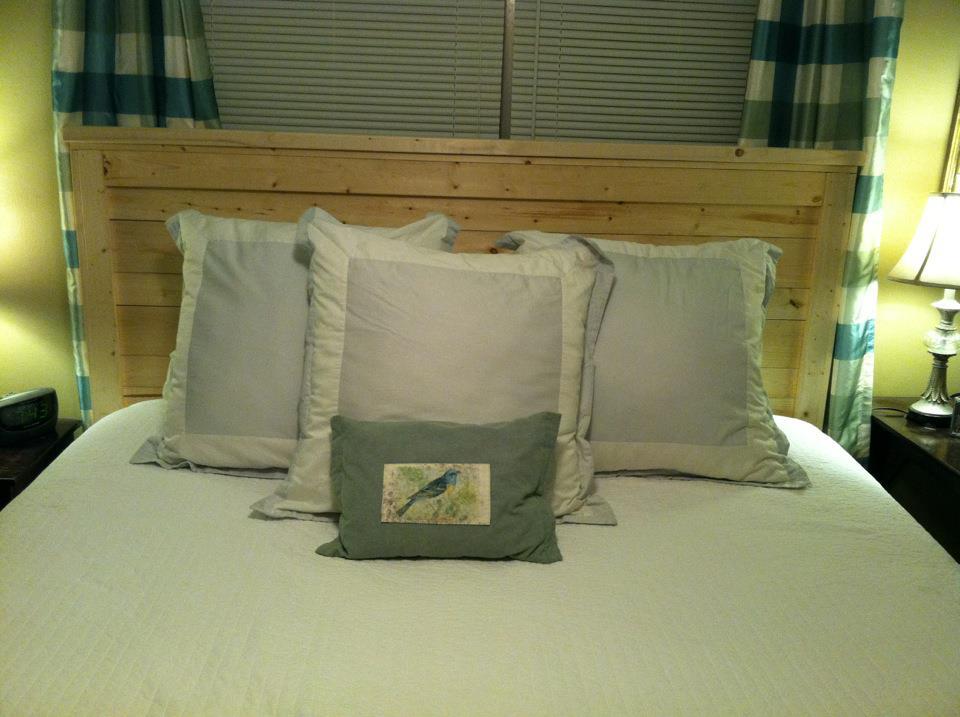
I am in love with this project. My husband built this for my birthday this afternoon. It was an easy project for his first time. We haven't finished it yet. I would like for him to put a 2x6 on the top to give it some visual weight. The only problem i am having is I don't know how to finish it. What would you suggest? We like the beachy distressed look so I am thinking whitewash. Anyway, I love it! I told my husband that he was in trouble now because now I am going to give hime tons of projects to build for me.
Sun, 10/30/2011 - 08:48
Looks great! I love the beachy look too. You could also do a yellowish stain (golden pine? it might be called) and then distress it and rub over with a darker stain for a different beach look.
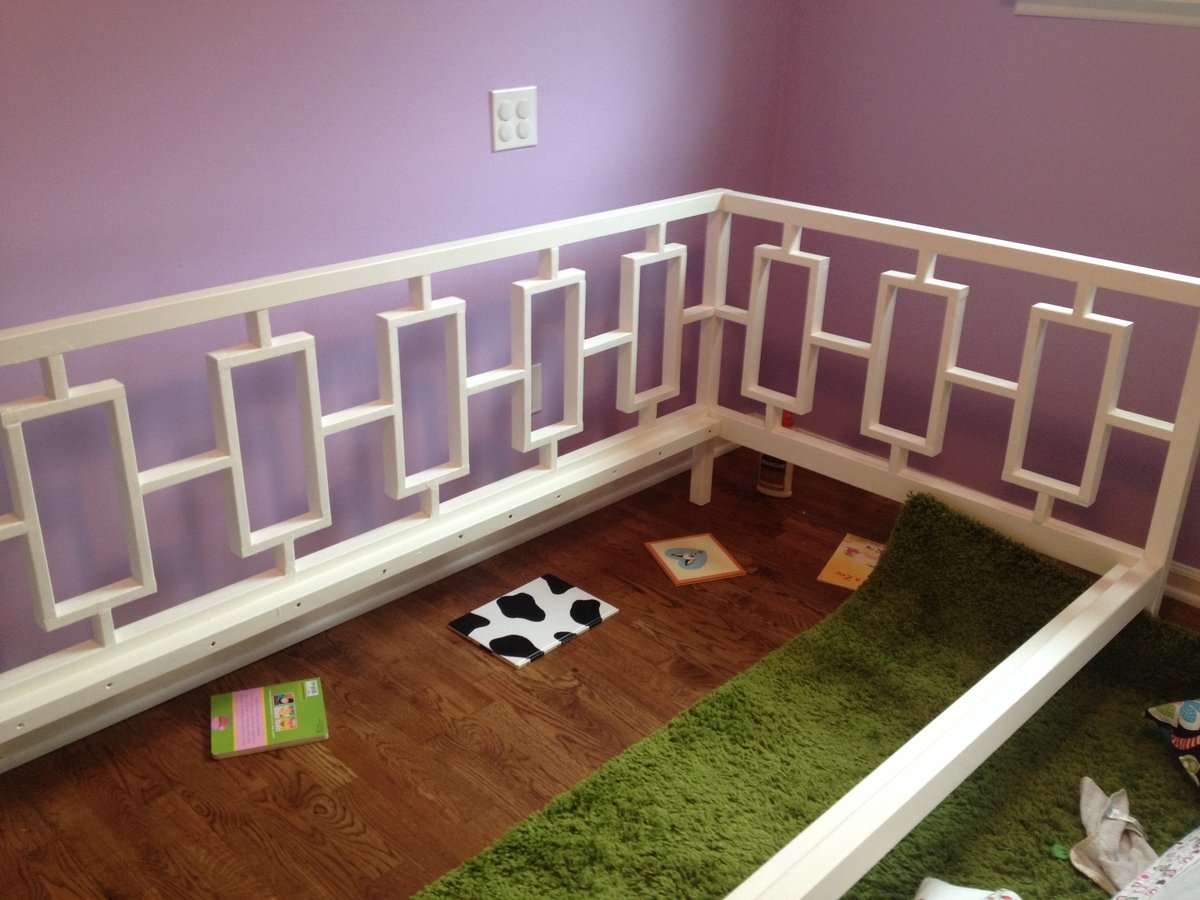
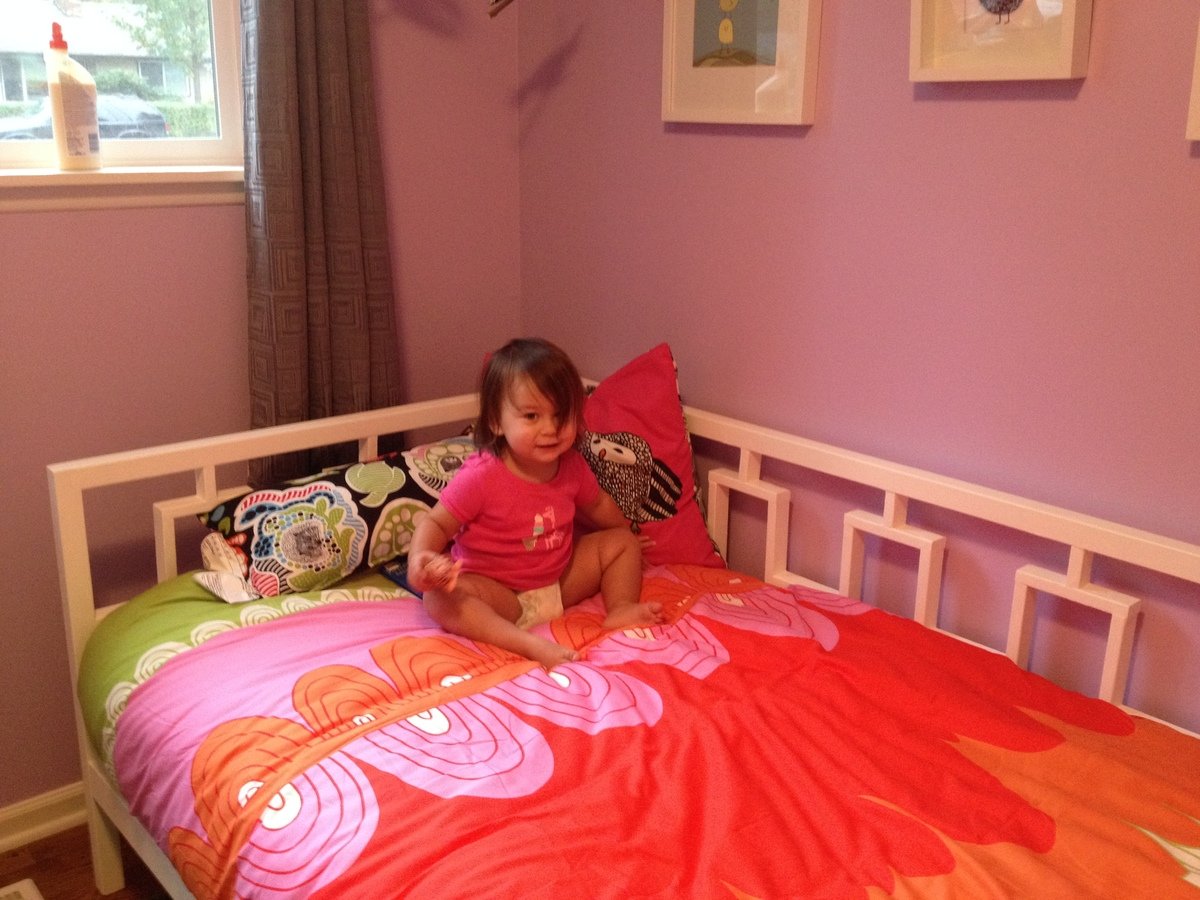
This was my first ever experience working with wood, circular saw, and a drill (other than hanging pictures in my house). After catching my toddler trying to climb out of her crib on three separate occasion, I started looking around for daybeds. I found one I loved, but it was no longer for sale. Luckily, this plan is the exact replica of the daybed on West Elm! It was a fun (and educational) first experience, and I think I'm hooked! It took me several weekends to put this together and paint it. The paint alone took nearly seven hours with three coats of paint to get the right color of white. I didn't add the extra support as mentioned at the bottom, but this coming weekend I'm going to add it for additional support. My toddler LOVES it!
Tue, 10/22/2013 - 19:07
What a perfect daybed for a little girl! I'm a big girl and I still love it! Cute.
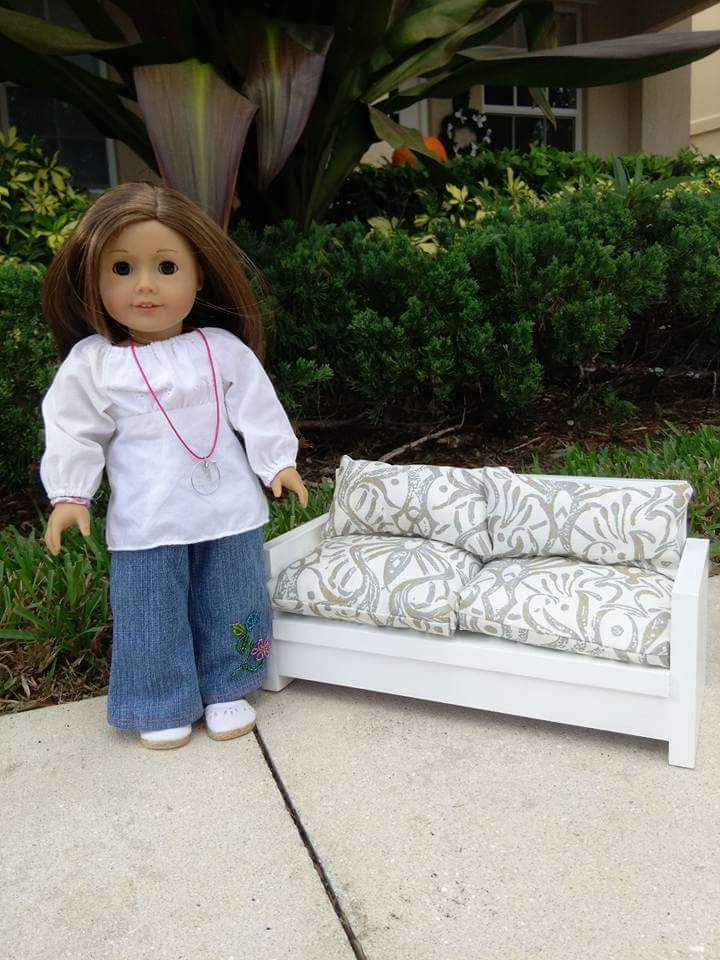
My very first Ana's project, I used the left over baseboards from our house remodel and the extra fabric from our tablecloth for the cushions. And first time using power tools and the kreg-jig I got for my birthday .
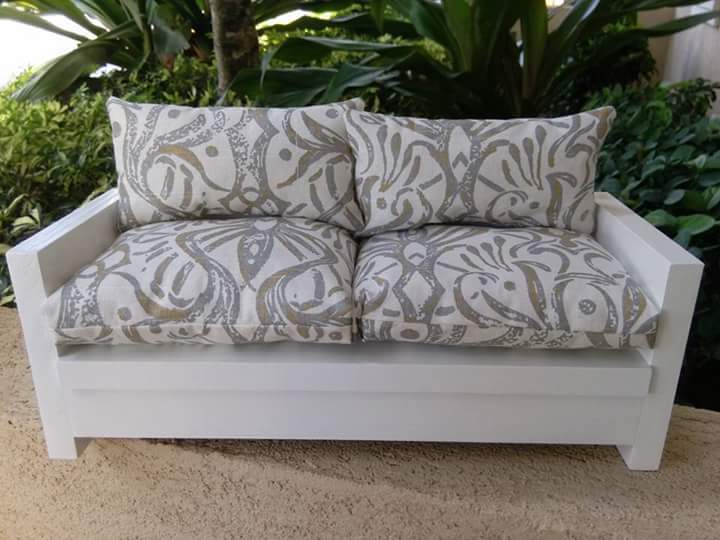
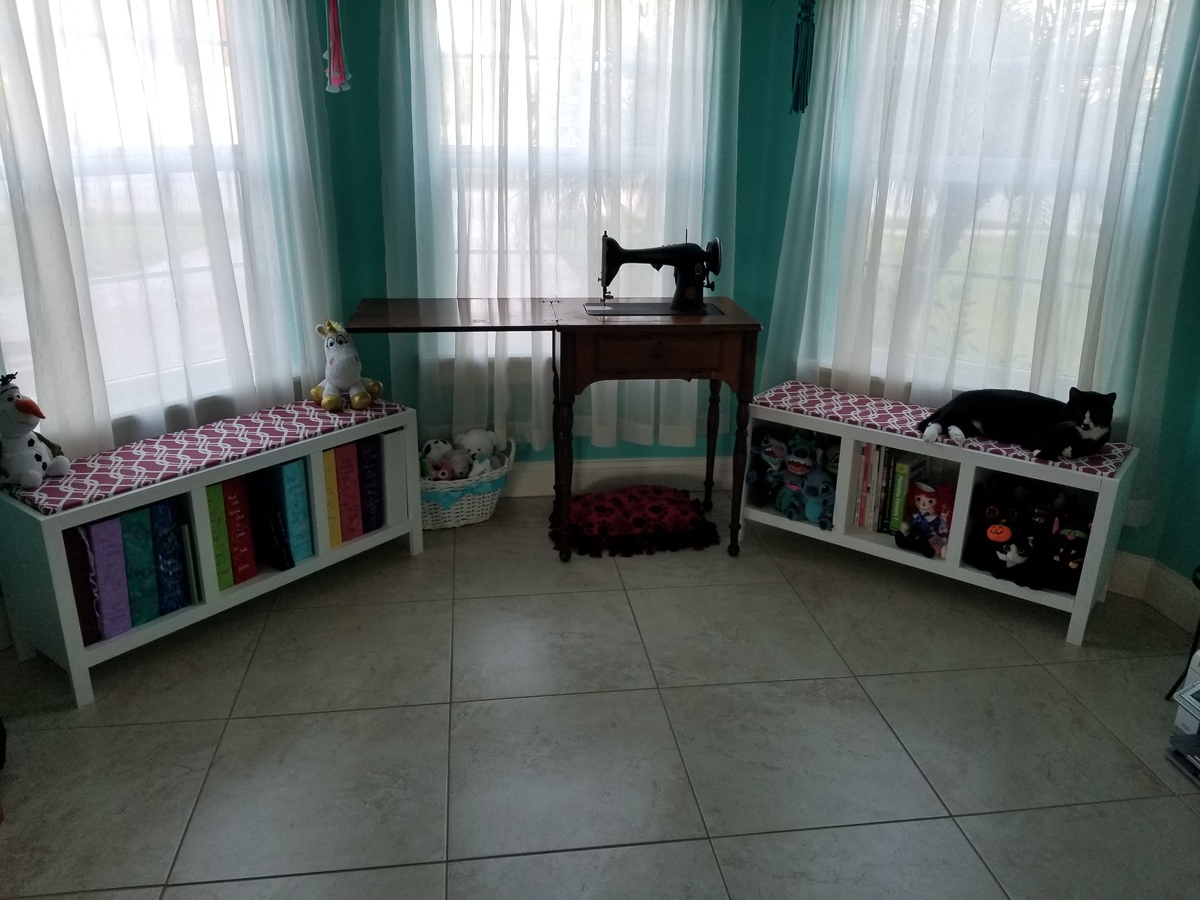
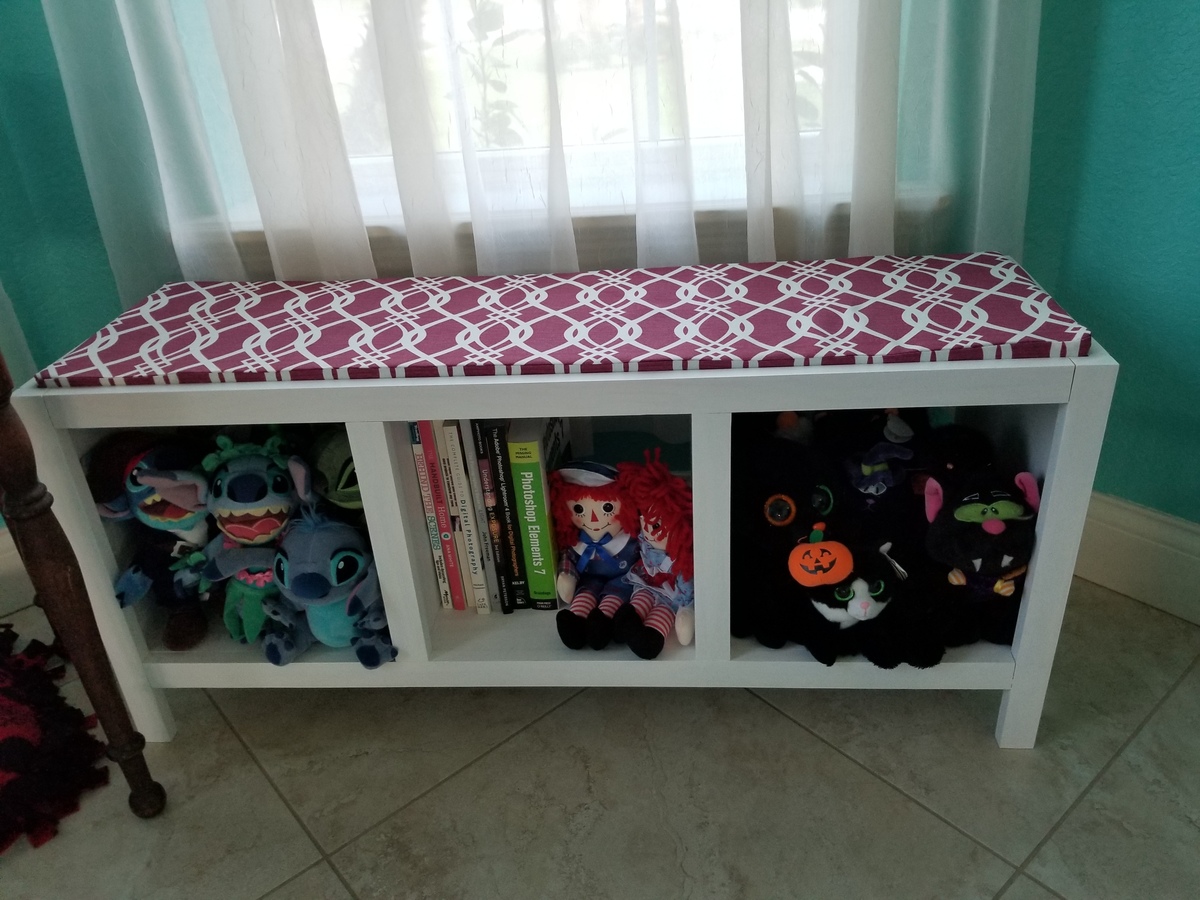
These Easy Three Cube Benches were my first project from Ana White's plans! I love how the plans are broken down, making them easy to read and understand and I learned so much from the concepts! The "build the box" concept is how I gained the confidence to build all of the furniture in my craft room myself! I started with these Three Cube Benches, then designed and built a printer stand using the concepts I learned and, after that, finally finished an corner office/crafting desk.
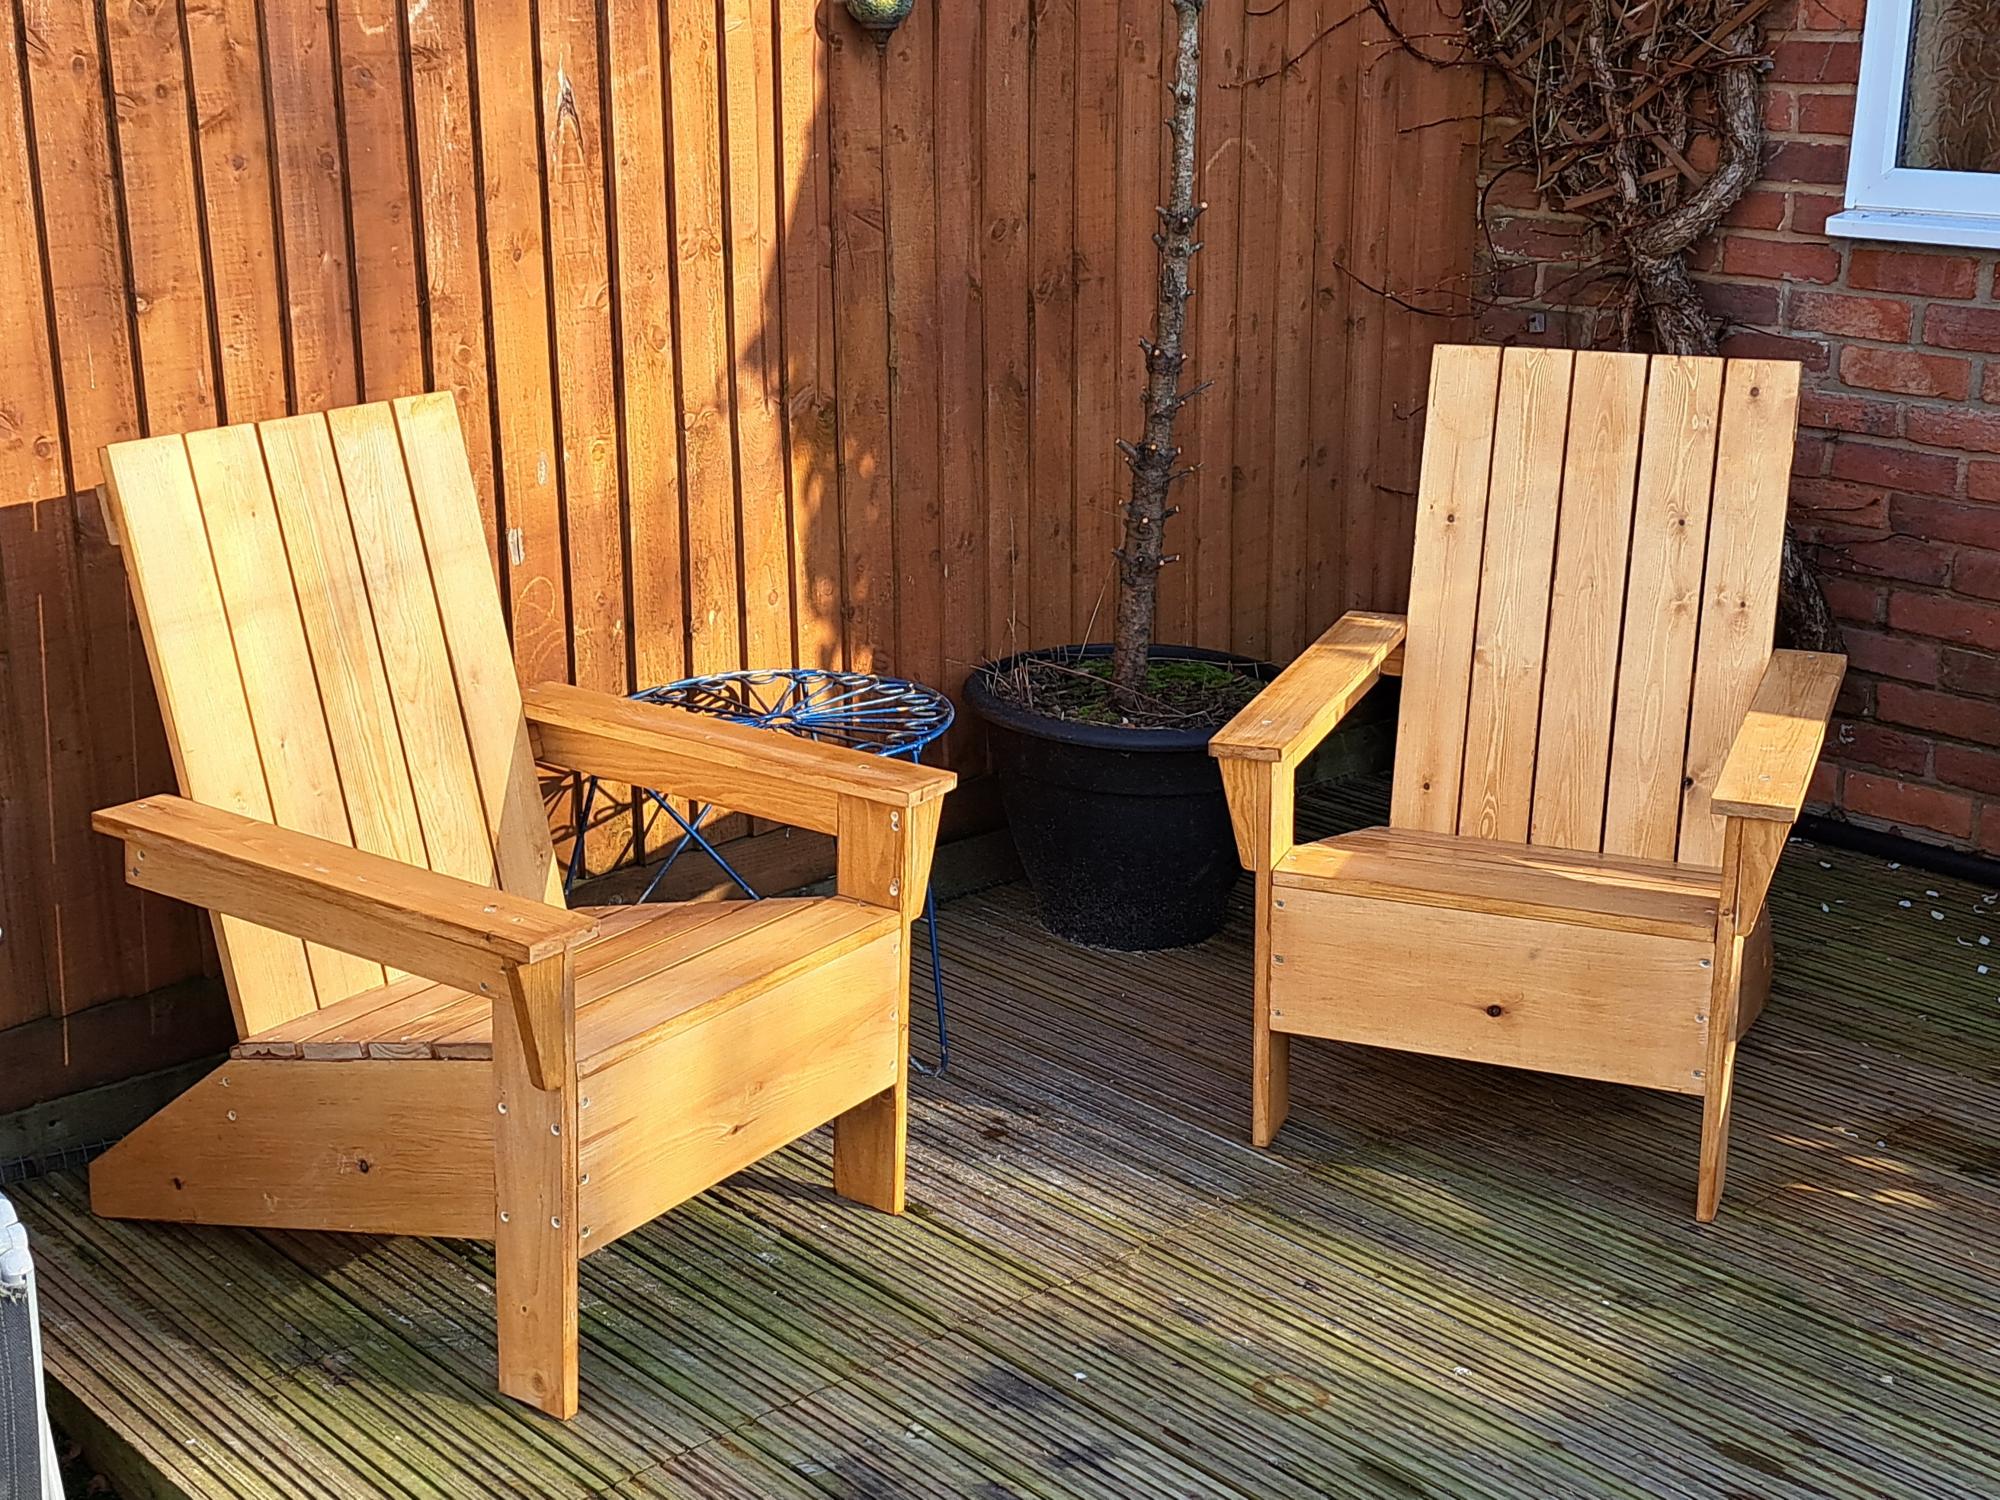
Used your original plans for these. I'm very pleased with the result. Carpentry is not really my thing, but I'm inspired to do more now.
Sat, 02/25/2023 - 11:59
These look fabulous, thank you for sharing! Can't wait to see your next project.
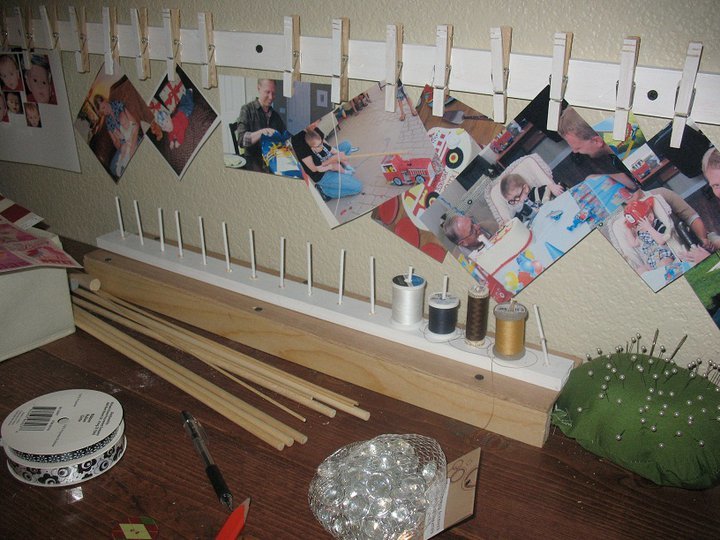
I love this even though I did not take the time to cut the dowels properly. I needed something for my sewing thread. Just a plain board and some dowels thin enough for the spools. Drill some holes in the board and glue in the dowels. I also made the picture holder for scrapbooking. I got the idea from the Ruler Clip Art Rails on this site. Thanks!
My husband and I built these chalkboard shelves today. We are very happy with the way they turned out! We are donating them to our son's cooperative preschool to be used in their upcoming auction, which is a big money maker for the school. Hopefully they make good money! We added some artistic touches to the tops of the shelves (polka dots and chevron stripes). A fun, easy build!
Comments
Ana White Admin
Thu, 02/02/2023 - 12:41
Beautiful work!
These look great, love the finish!