DIY Rustic Console
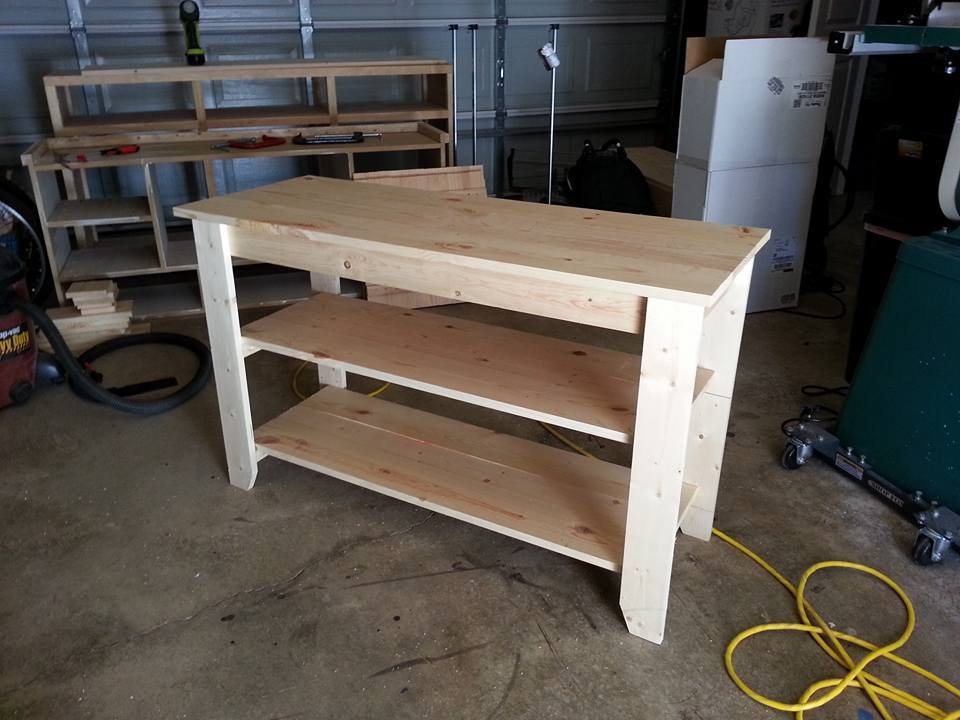
I had a friend make a request for a console table. We came up with this design to fit her space and needs. It was a pretty easy build.
ECOS Paints Woodshield - Satin Varnish
I had a friend make a request for a console table. We came up with this design to fit her space and needs. It was a pretty easy build.

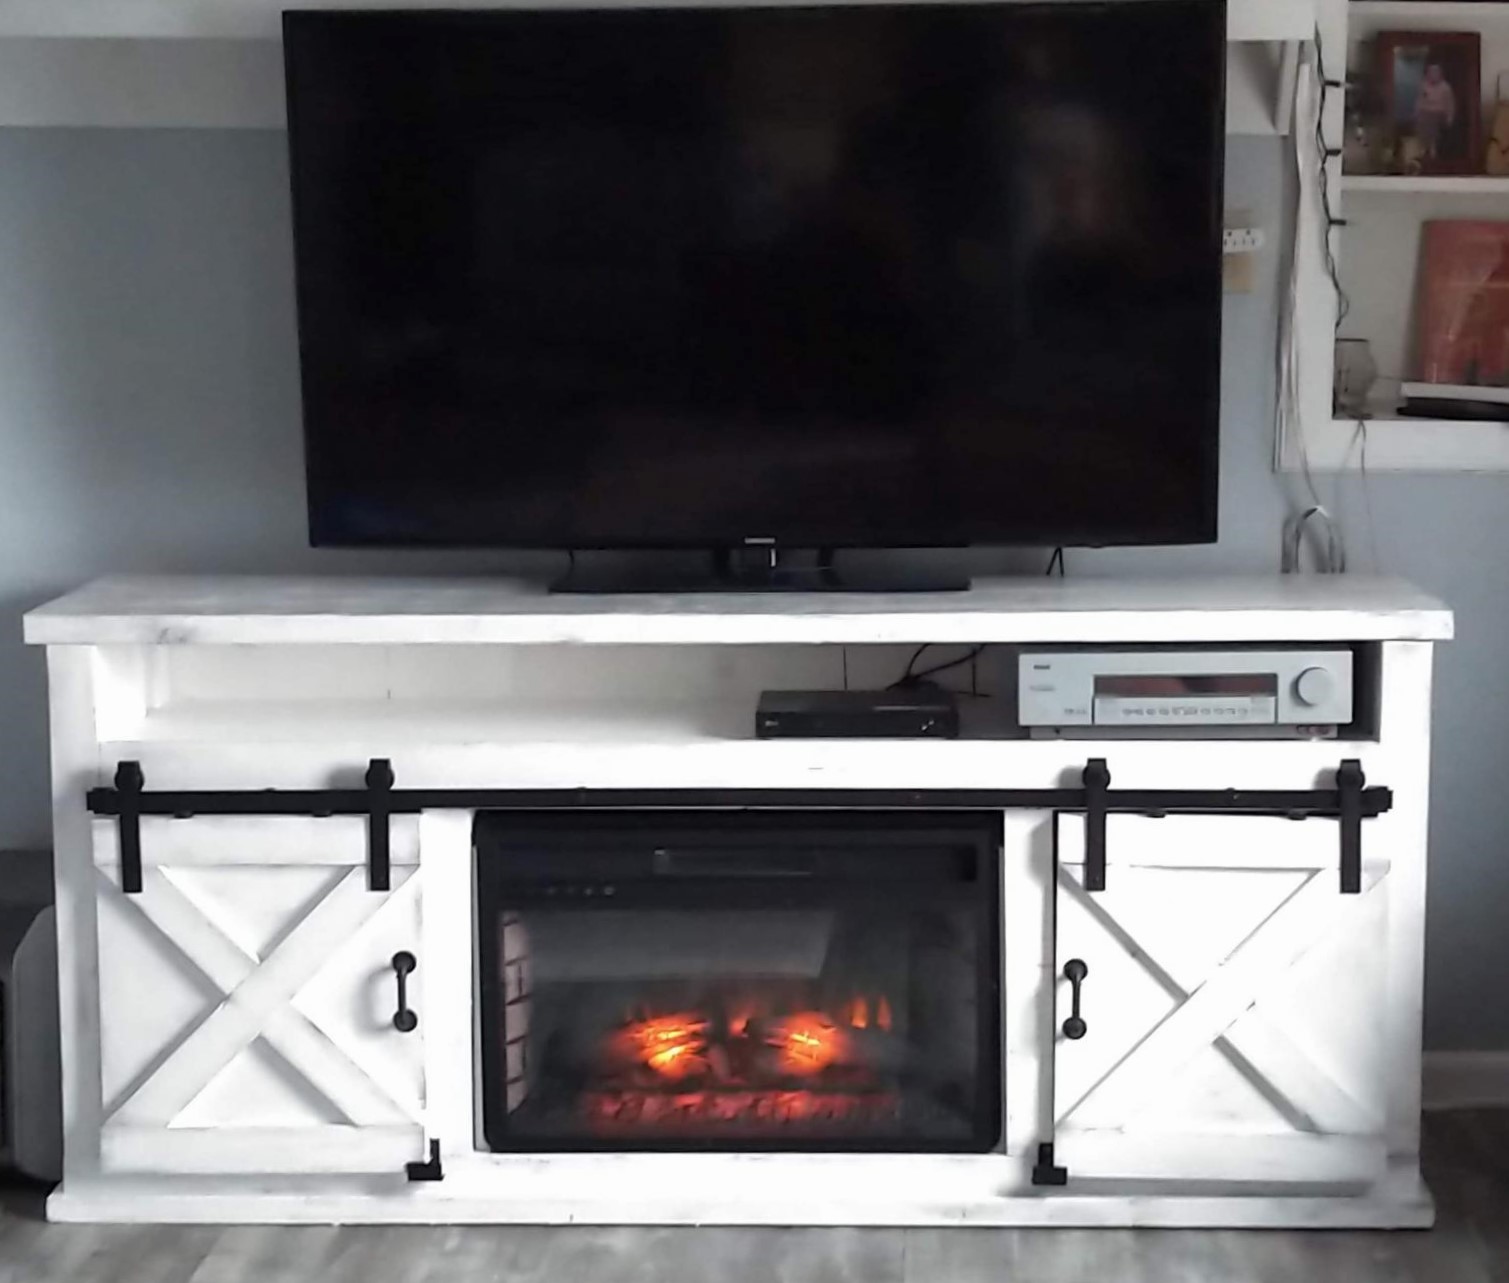
I used the plans from the "Grandy Barn Door Console" for the basic layout, and then altered them to accommodate an electric fireplace insert in between two cupboards, and an open shelf across the top to put in the stereo receiver. The tv is actually mounted to the wall over the top rather than sitting on the console. Overall, I love how it came out. It's exactly what we wanted!
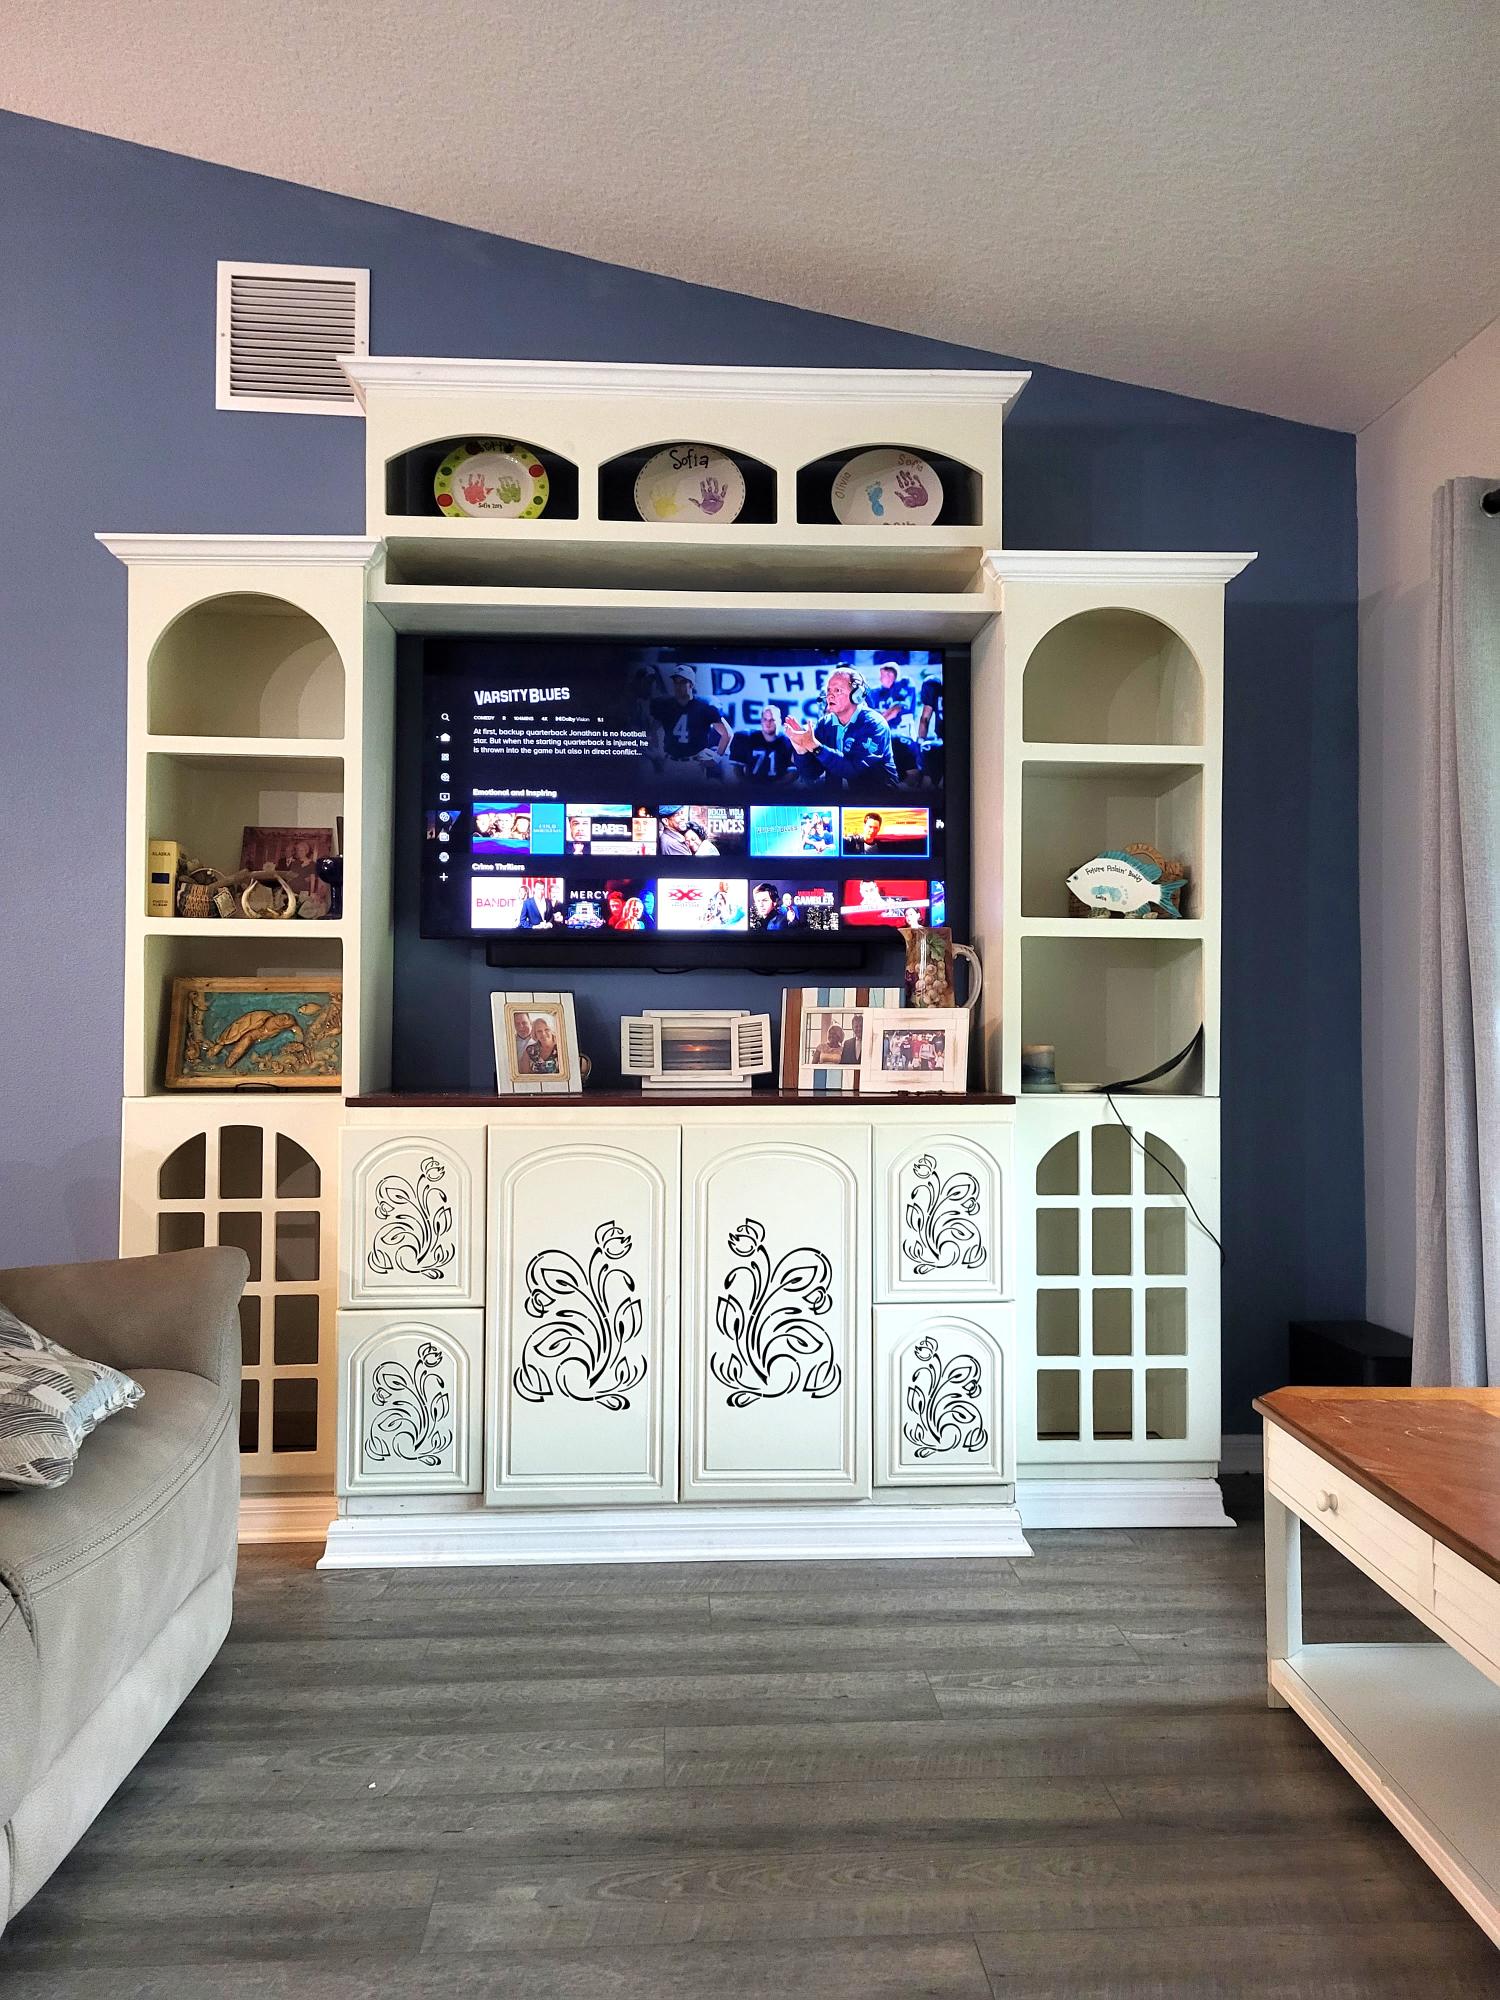
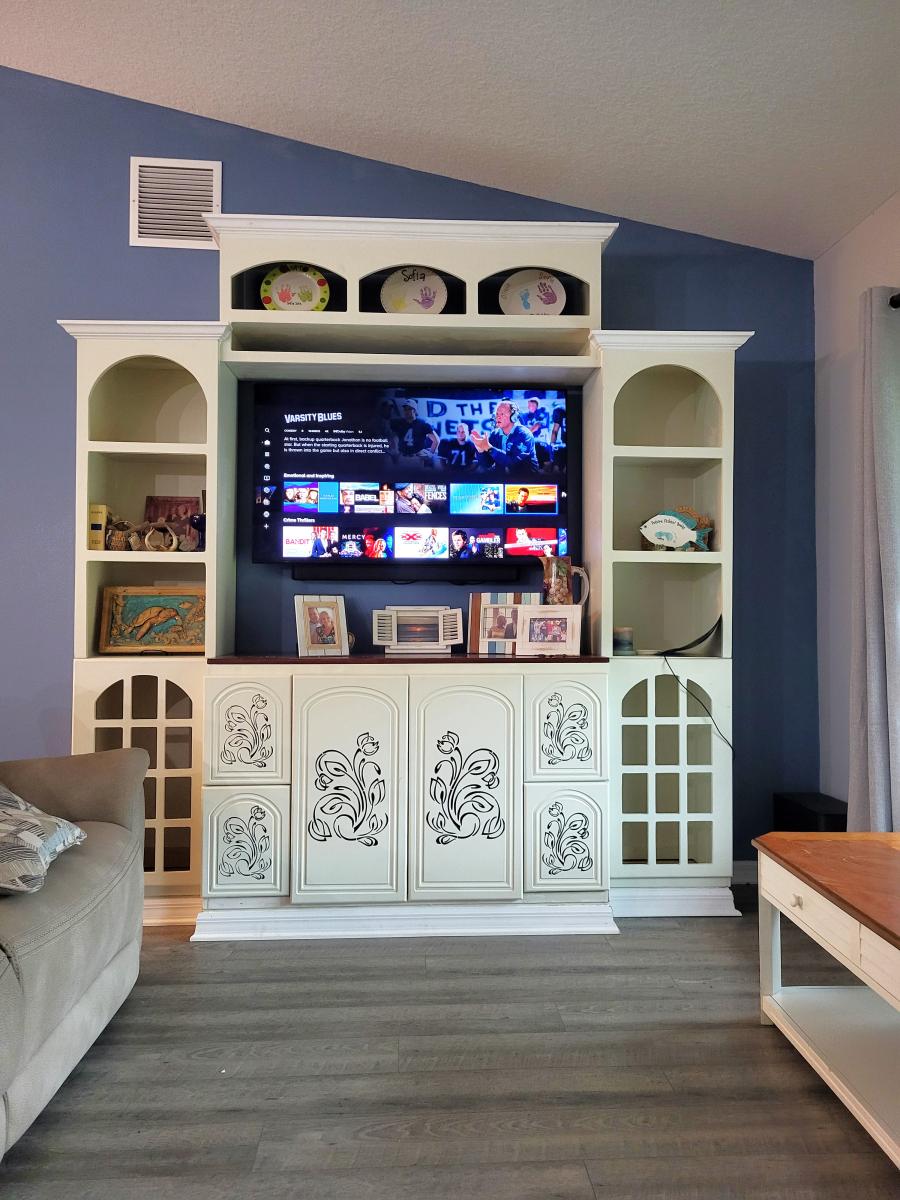
Built the entertainment center for our new home. Thanks for the great plans.
Sat, 11/18/2023 - 12:59
Fabulous build, love all the extra detail! Thanks for sharing.
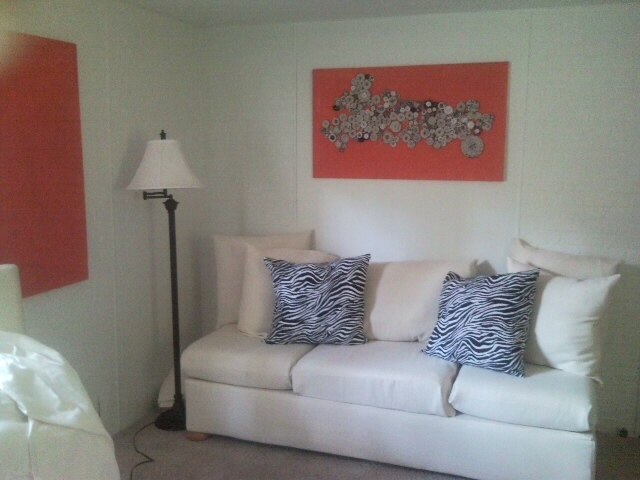
This is my new couch ,that I built with my husbands help,I could not find a one piece cushion in my area but, I did manage to find individual cushion.I am no expert , but I am learning as I go.
Thu, 05/31/2012 - 22:51
Thank you!........... any tips to help me improve?
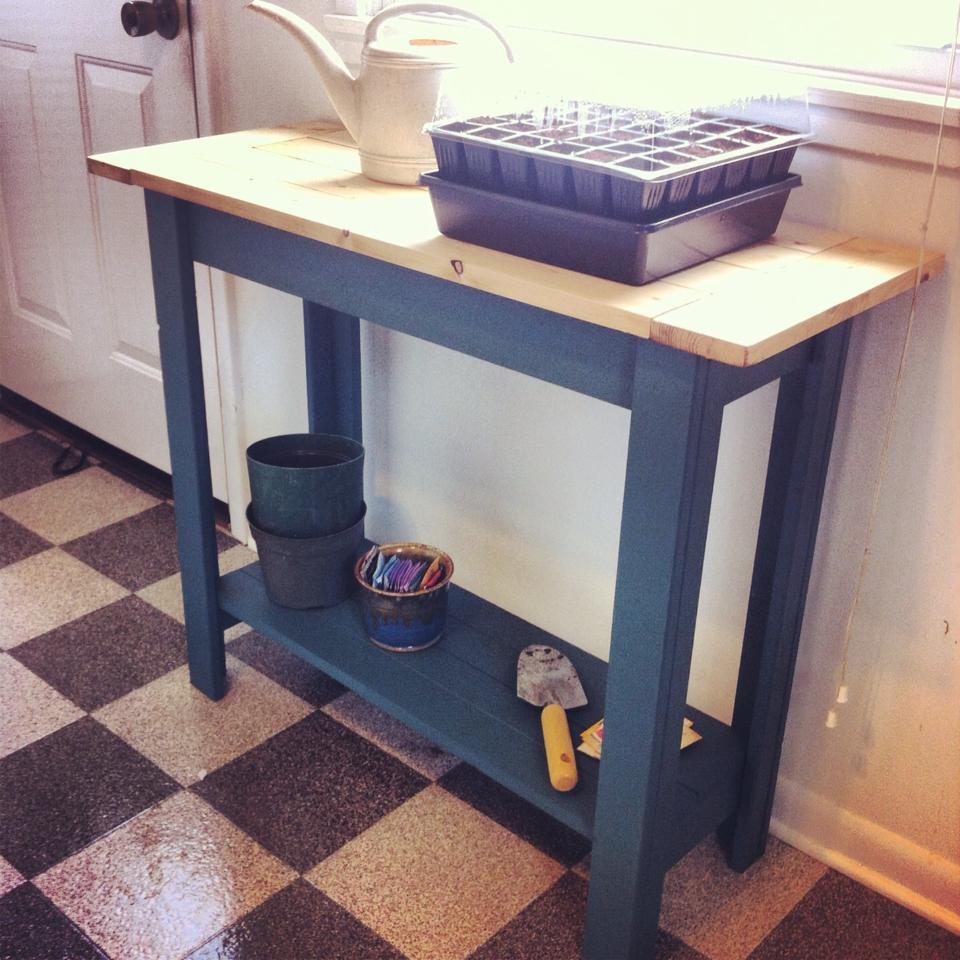
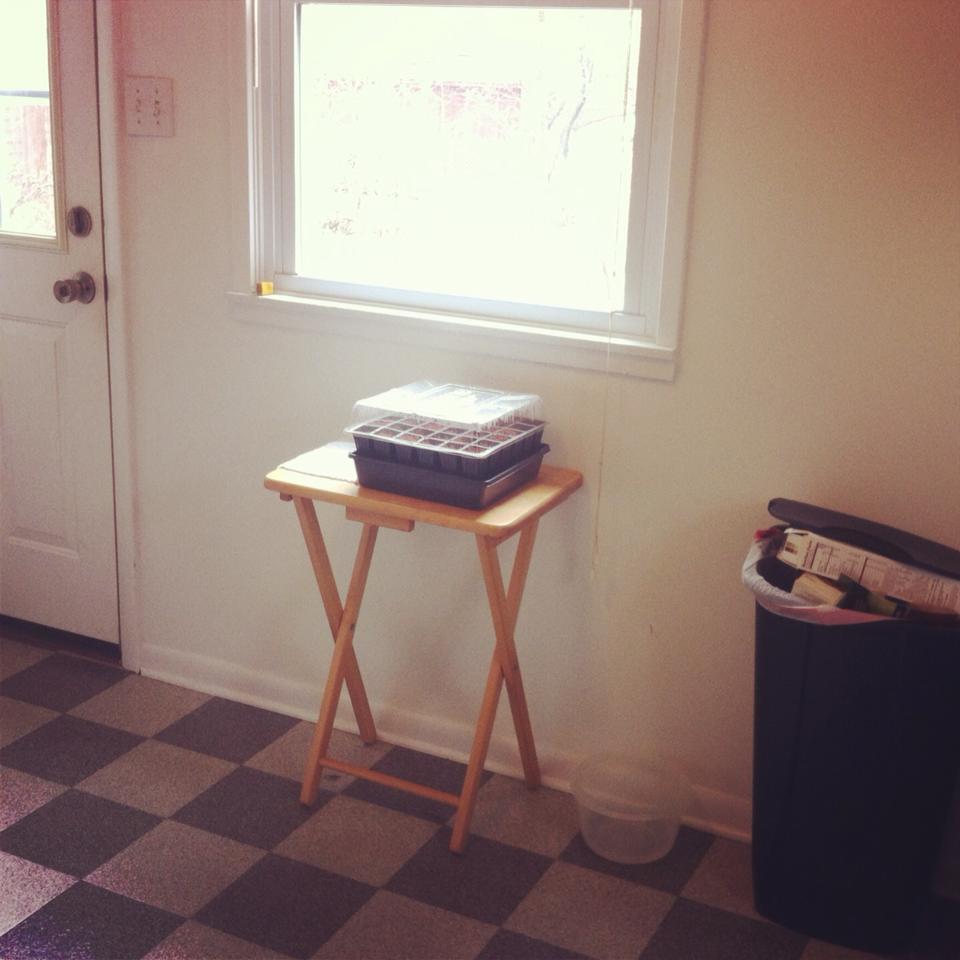
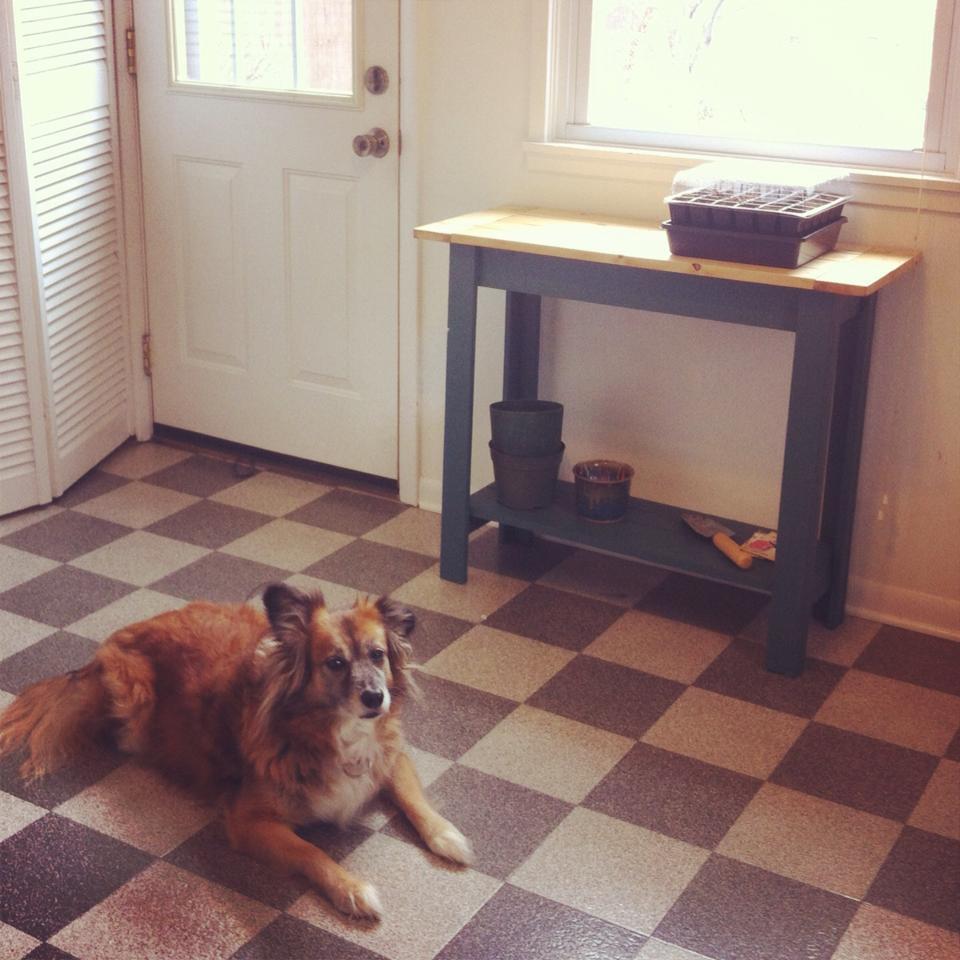
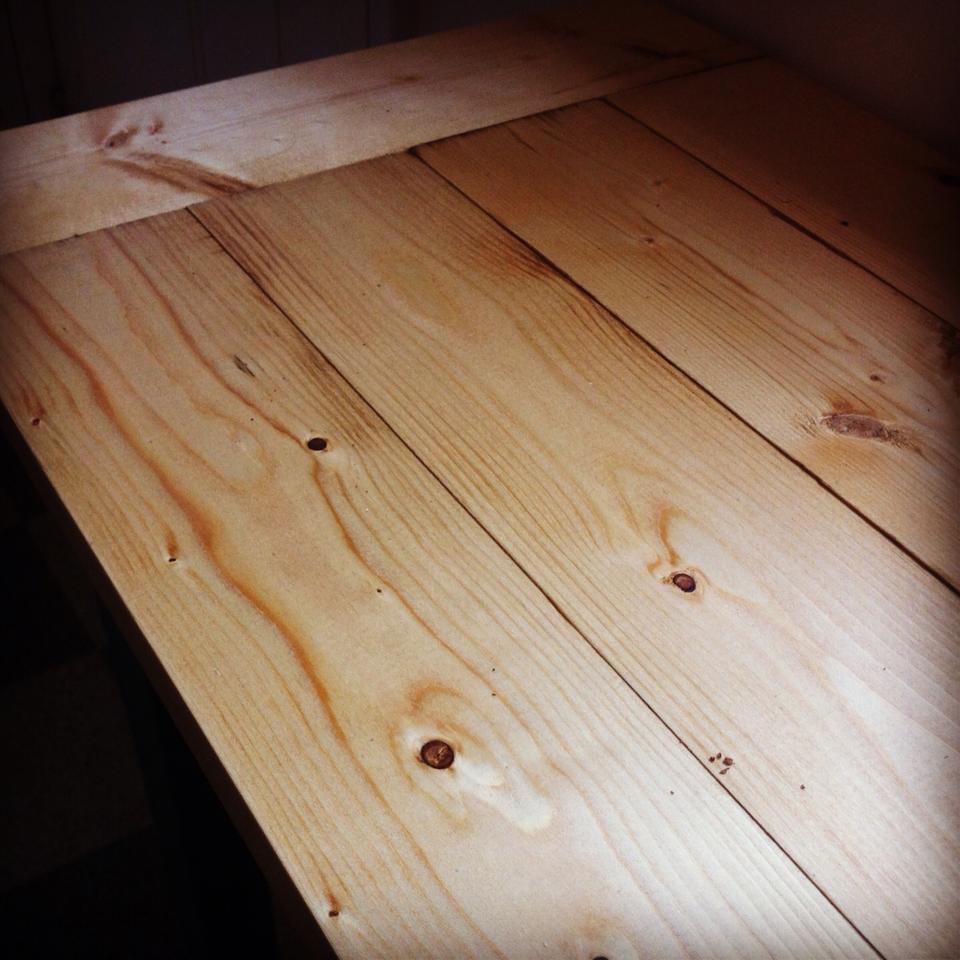
I had my seed starters sitting on a TV stand by my sunny window, which was as ugly as it gets (see before photo...). So, I built this little console for my gardening stuff to sit on while my seedlings are growing. It turned out being the perfect size for what I'm using it for. I only modified it slightly, by adding end pieces to the top (just subtracted 6'' from the length of the top pieces and measured the width of the top to decide the length of the end pieces. I also used pocket holes to attach my bottom shelf pieces and the top shelf pieces, instead of nails. I've never done a 2 tone piece (I love the look of stained wood) so I was nervous about painting over the wood...but I'm really really happy with how it turned out! It was easy to make, and mine was done in an afternoon. Thanks Ana!!
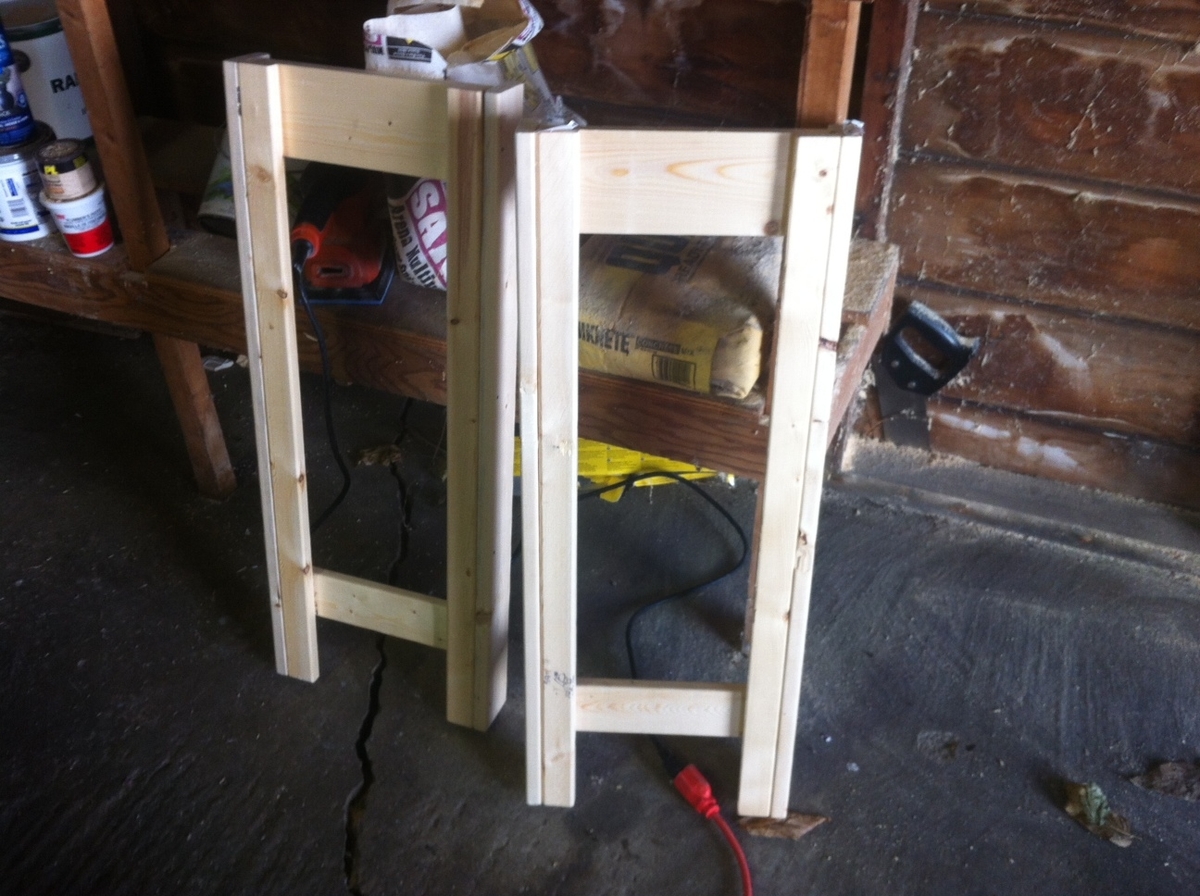
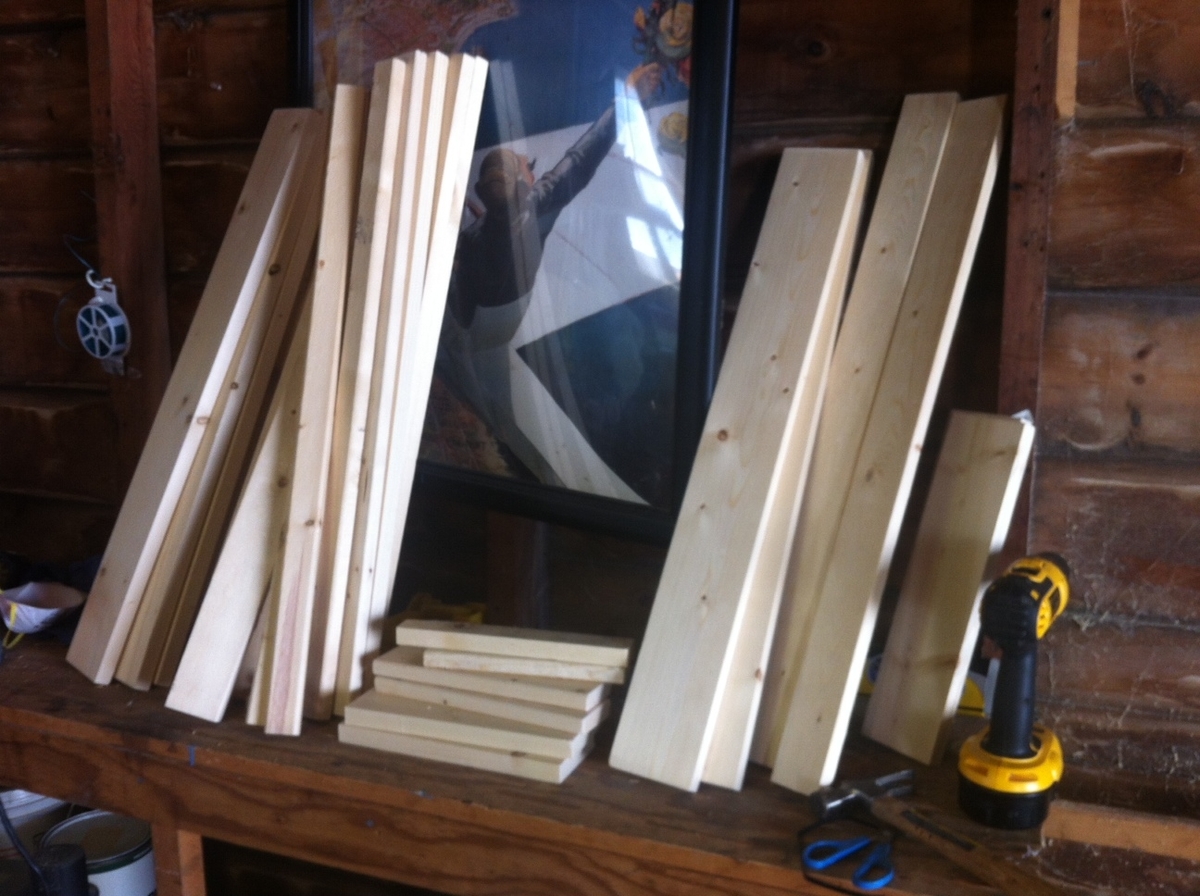
Build Instructions:
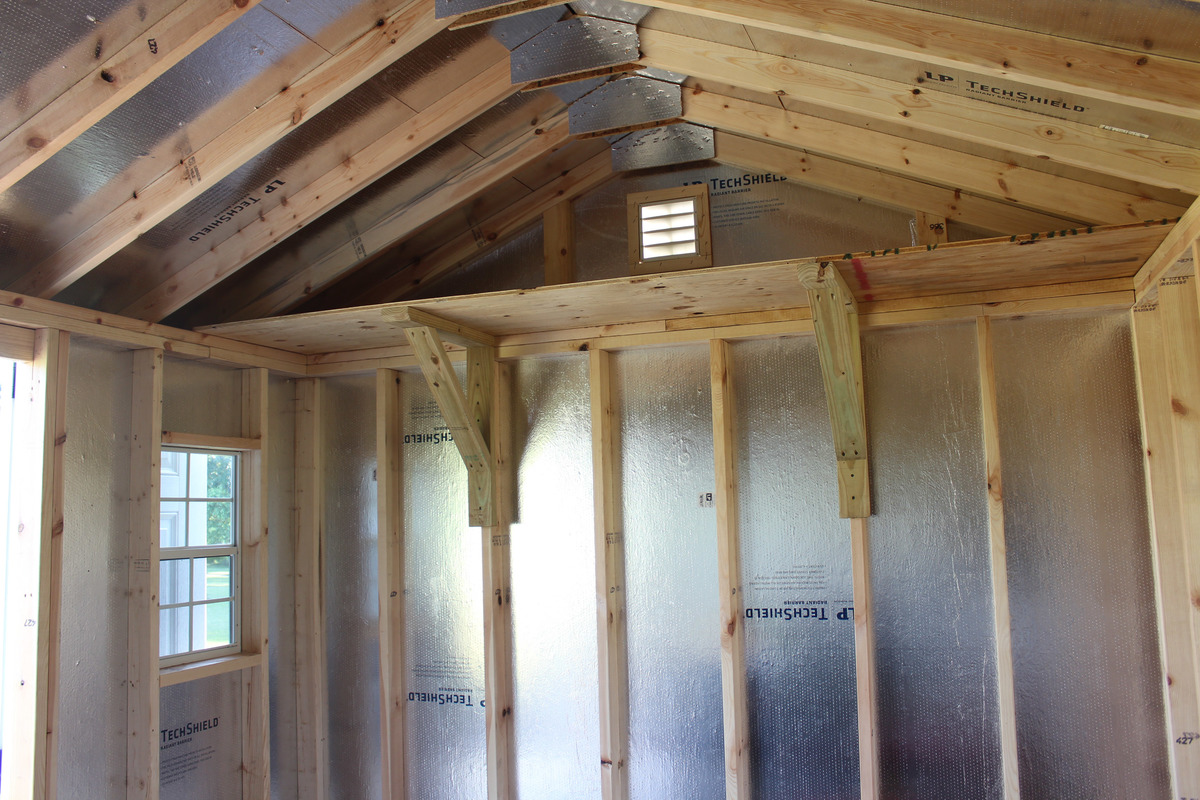
http://www.instructables.com/id/Shelves-for-a-Shed/
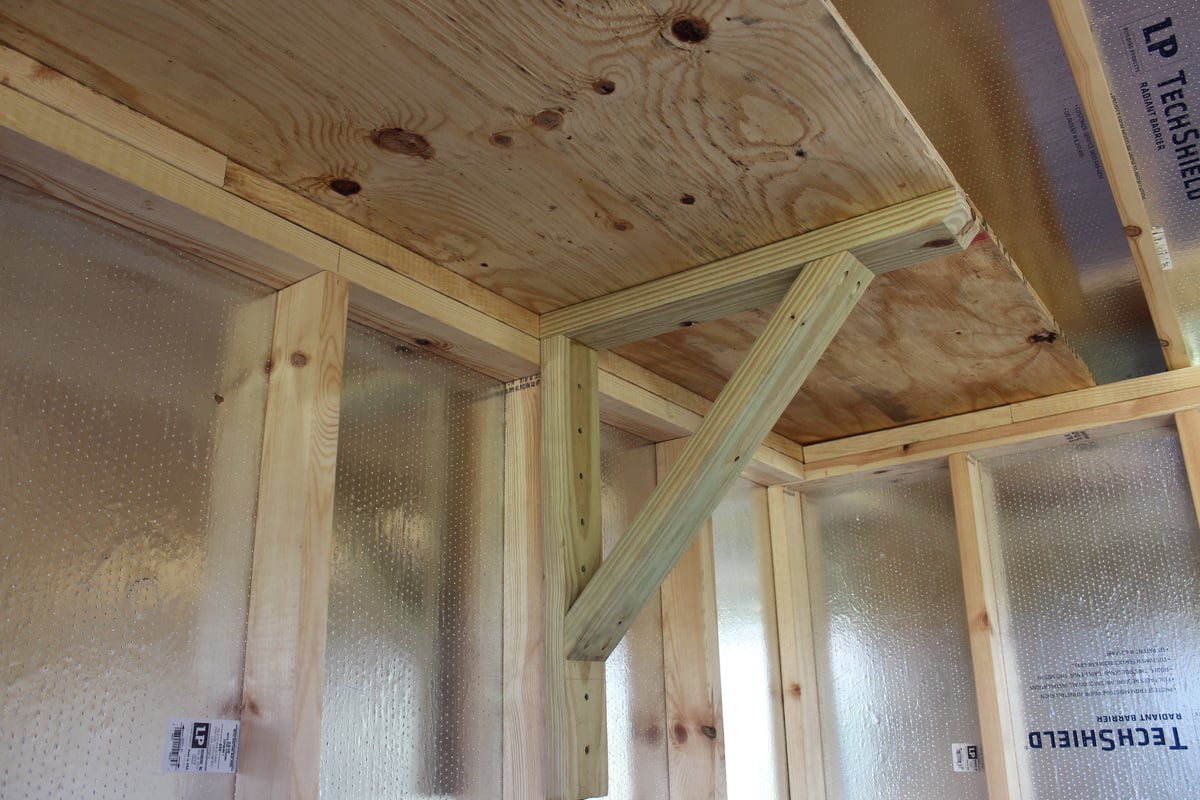
I looked at purchasing brackets but I couldn’t get the exact size and the price seemed high for something so simple – plus I had a few excess 2×4s from the last job. Mainly, I wanted to utilize the area in the upper portion of the shed while keeping the floor clear for yard/garden equipment. There are multiple variations of this style bracket online. I took a little different approach by utilizing the existing part of the shed (top plate) for support. I don’t know the load capacity but I’m quite sure it will handle any of the items (tarps, paint cans, etc.) I plan to place on the shelf.
Loved building it. Took me and my husband a couple hours to build. Originally wanted to do the lift top but by the time we were ready to do that realized the front sides weren’t wide enough to do hideaway. Wish I could have made it a little smaller but I’m in love with it. Looking to do more projects during quarantine.
My wife saw this project on your page. I had to shorten it to two feet, but, it pretty easy to do and turned out pretty well 👍🏼😁
Steve Phethean
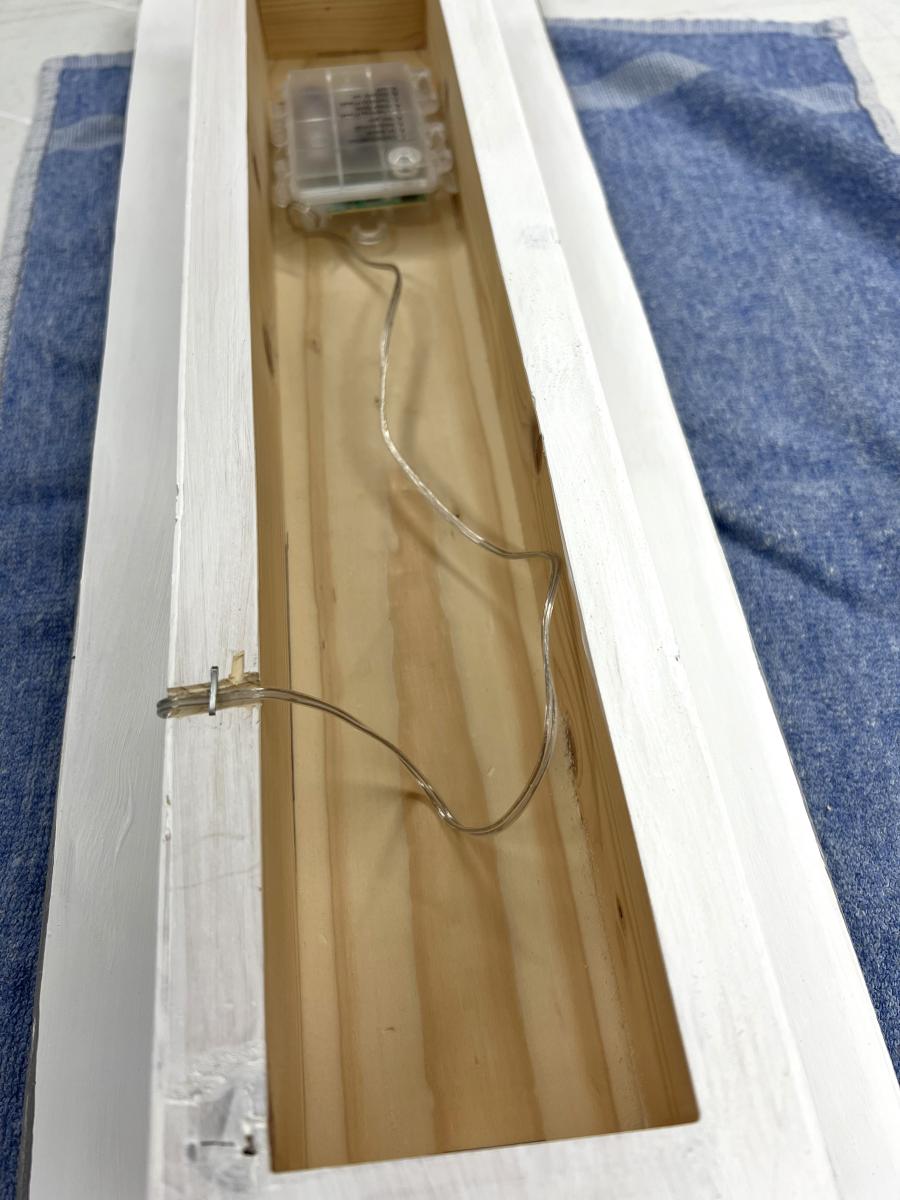
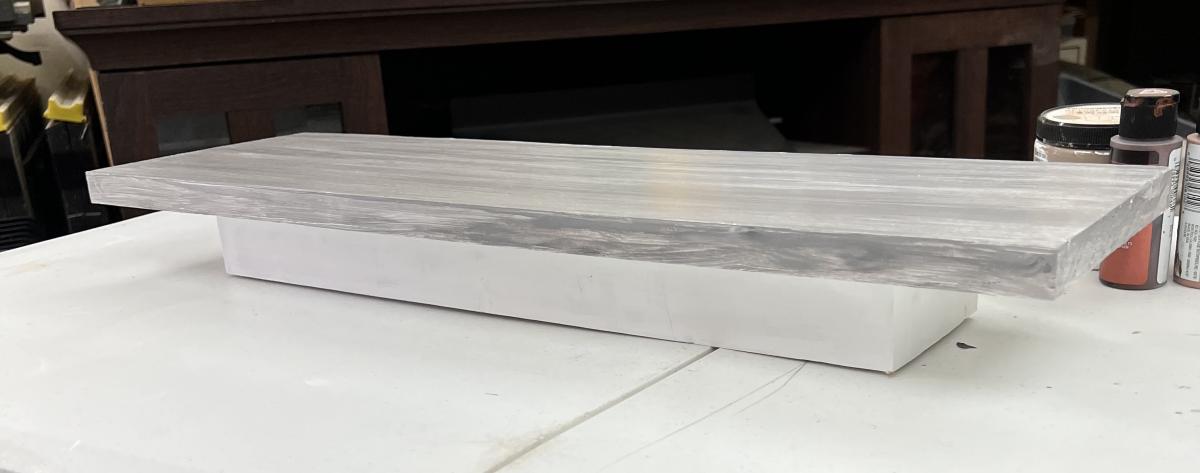
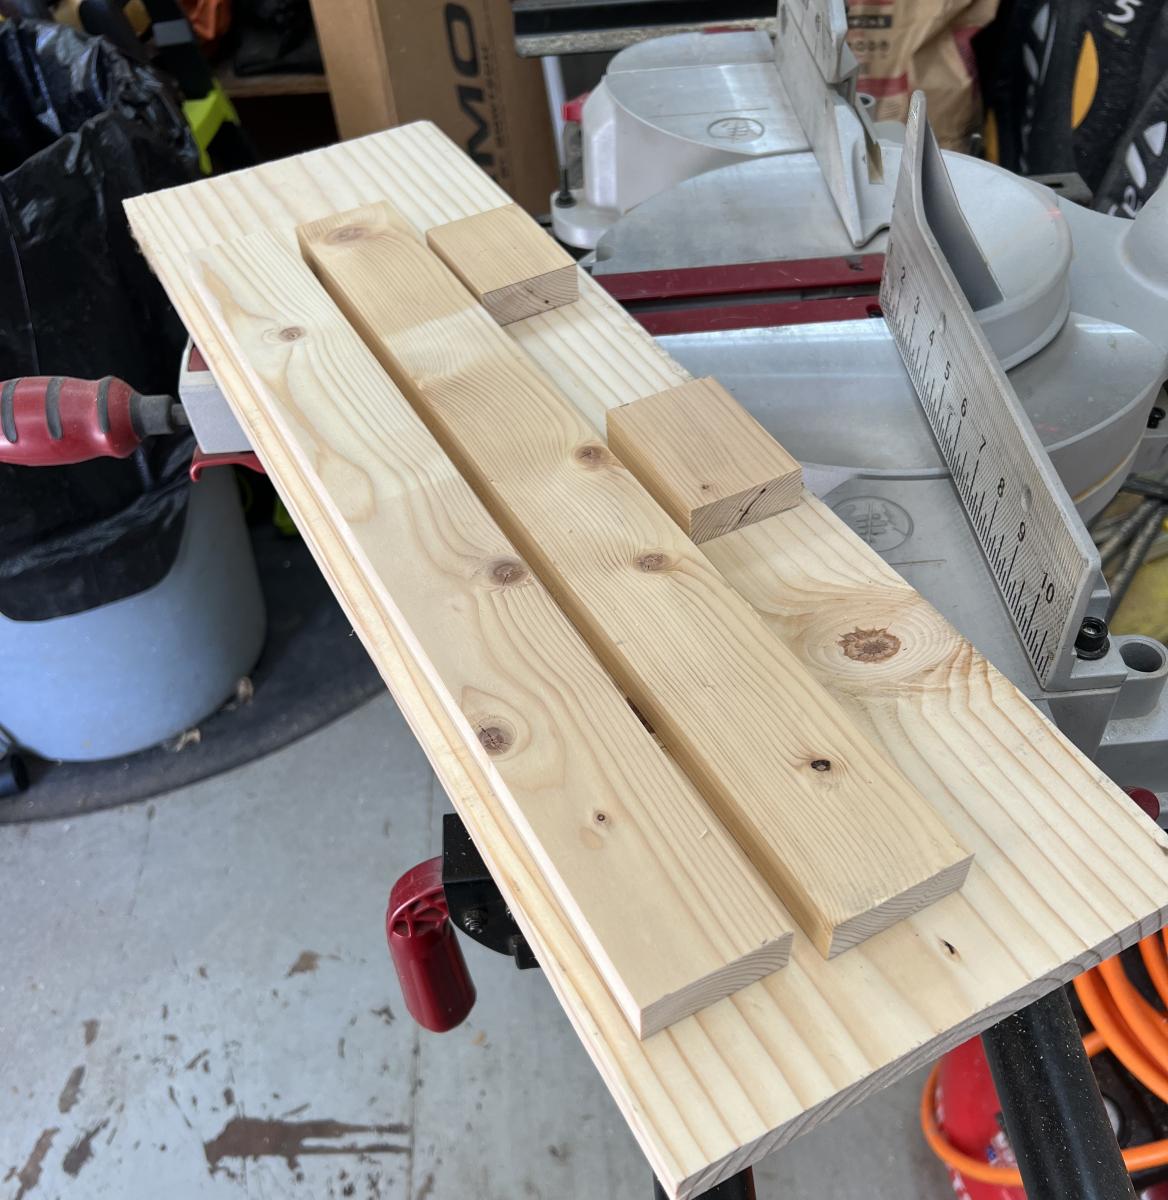
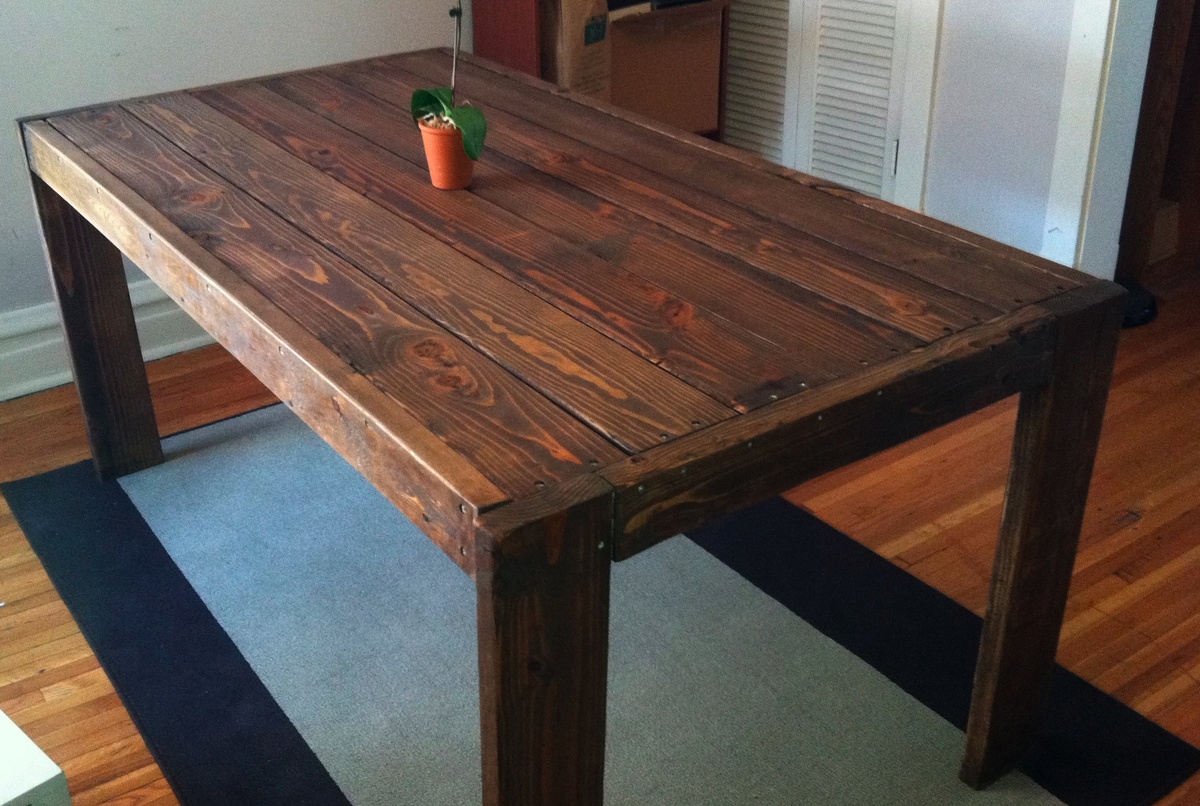
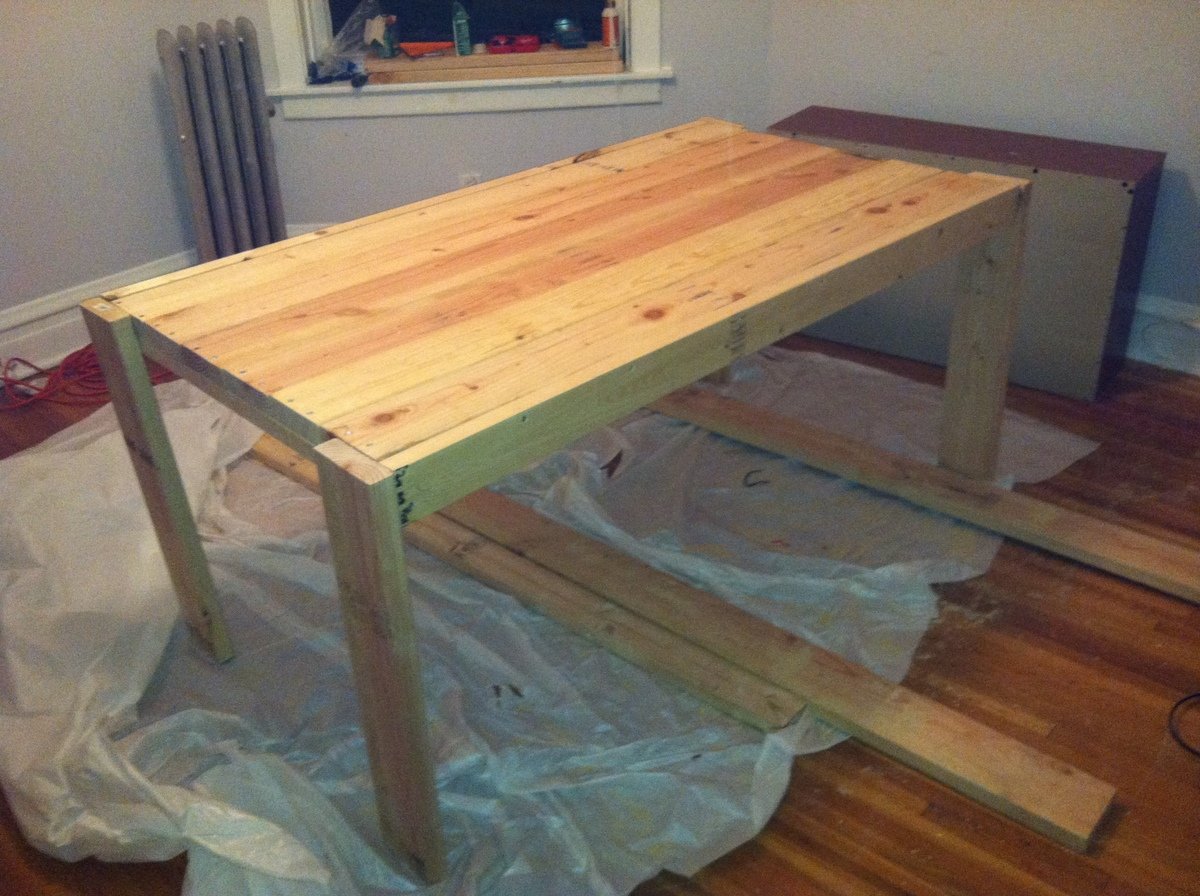
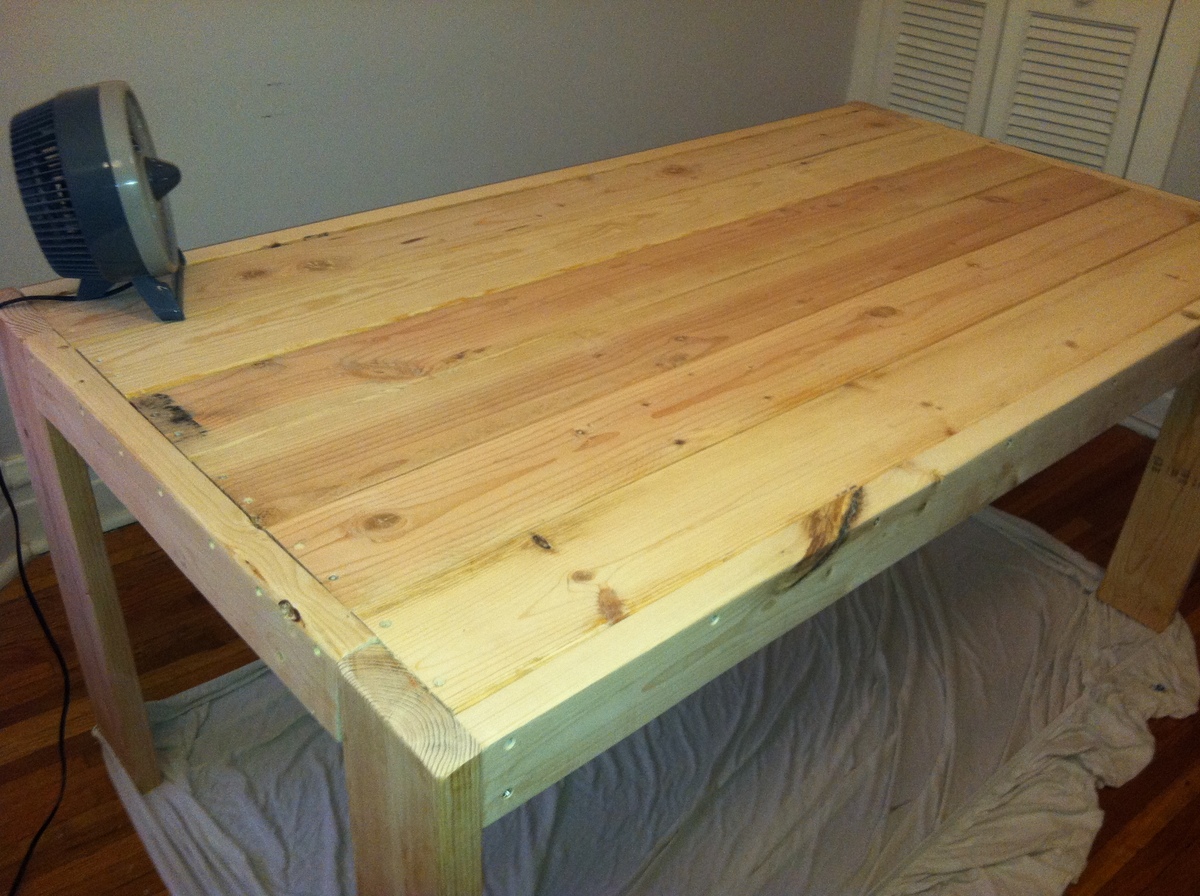
After spending weeks lurking on the site, I decided to go for it. I have no real experience doing this sort of thing, so everything was a learning experience. I had to invest in a lot of tools but the materials only cost about $100 ($50 in pine from local home store + ~$50 in other materials).
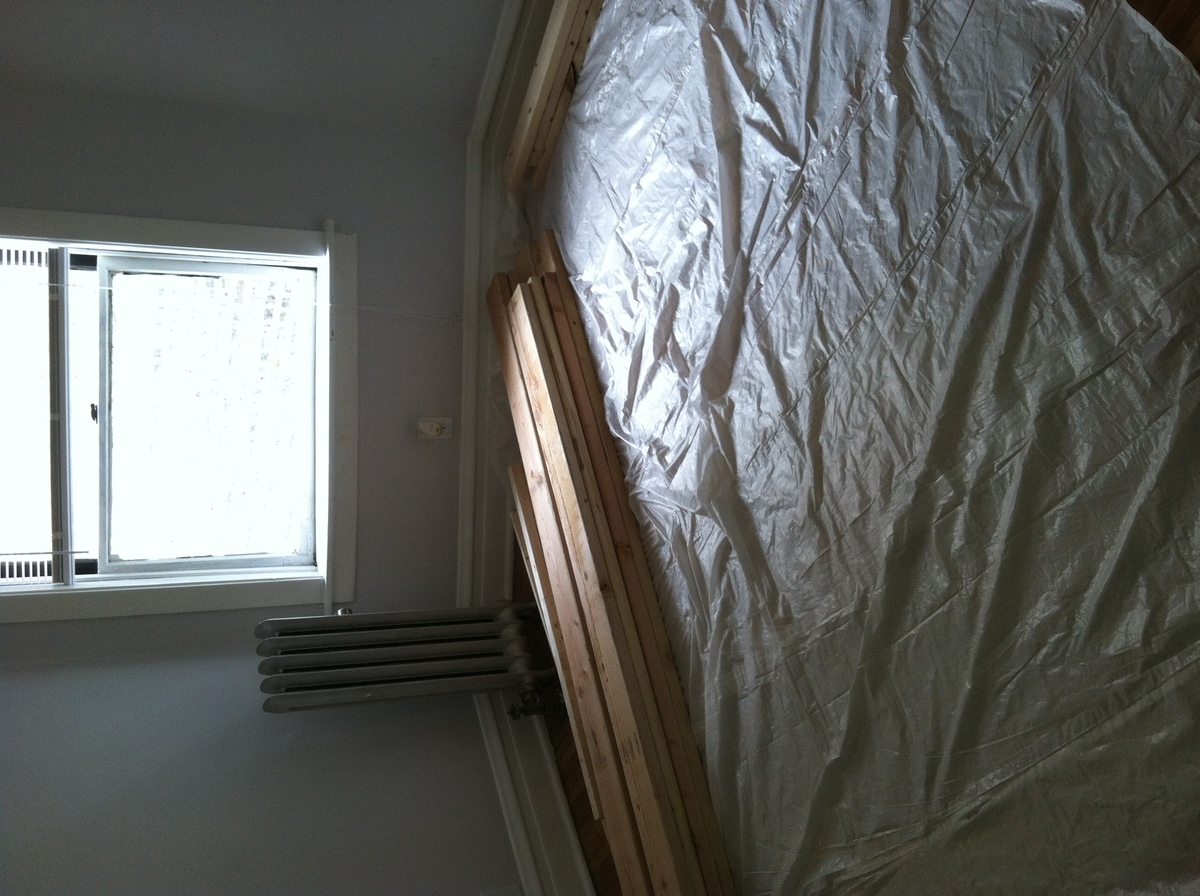
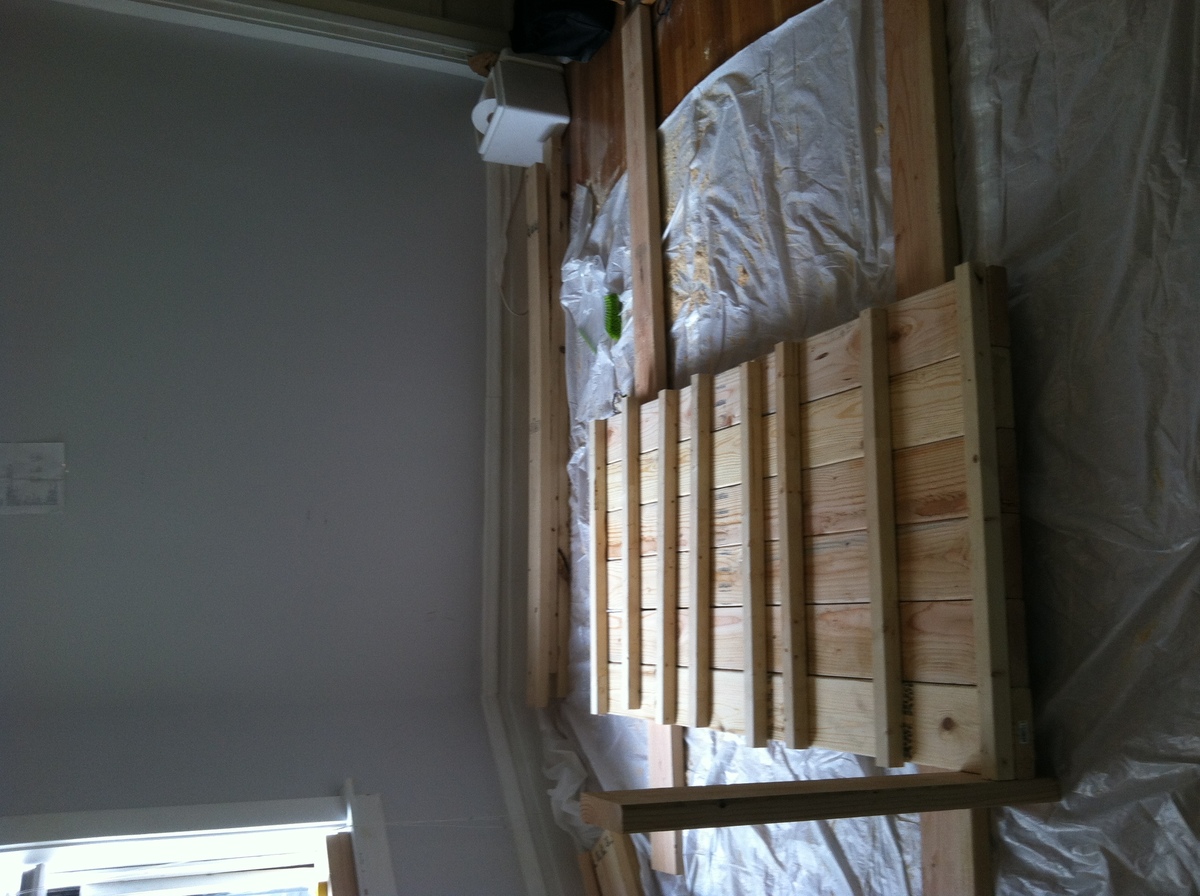
I live in a small apartment, so my workplace was less than ideal. I did a lot of sawing and sanding in the space you see so I made a HUGE mess, but I didn't really have any other choice.
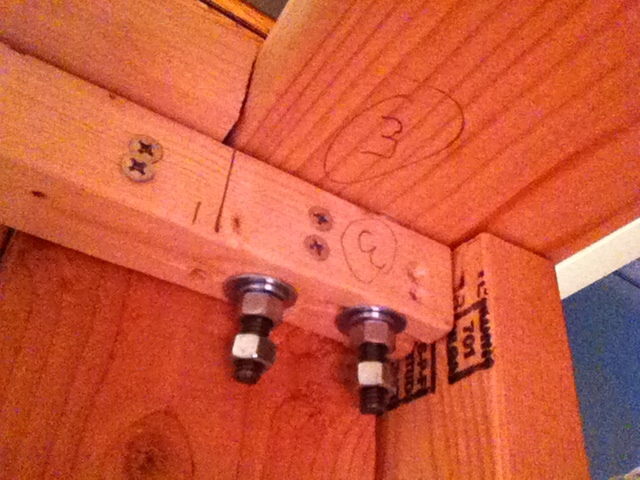
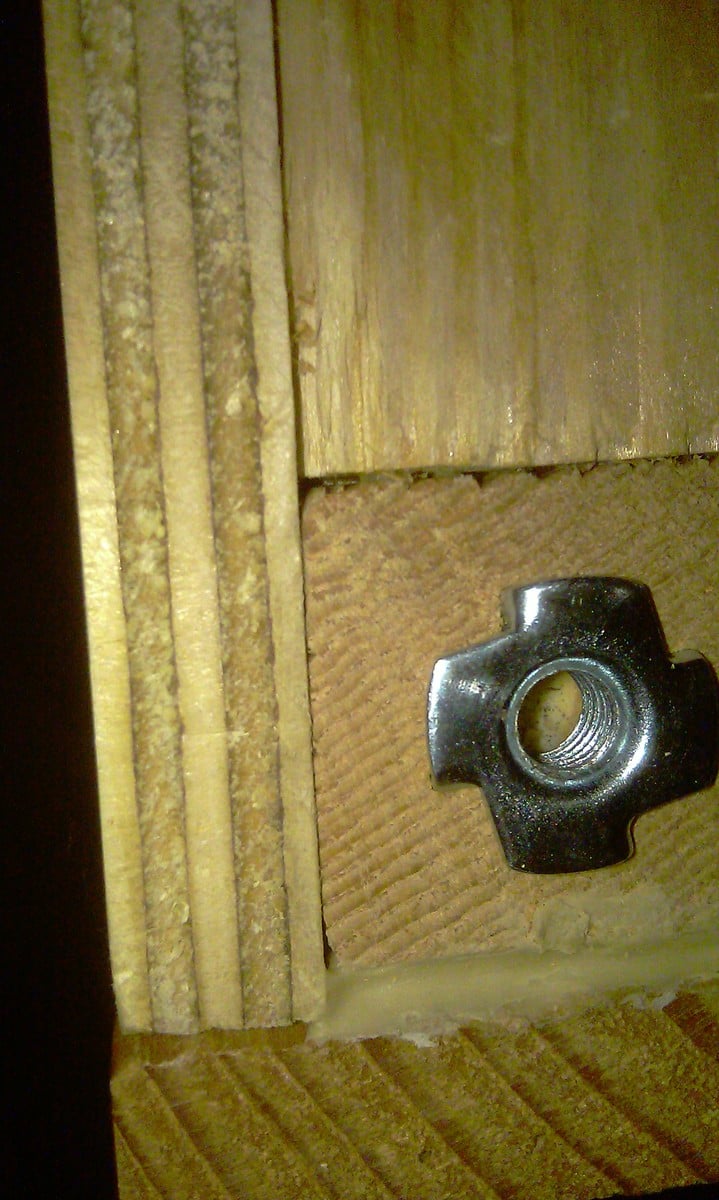
I'm really pleased with the outcome. It isn't perfect, but it doesn't have to be. There are gaps in the planks on the table top, but I can live with it. I didn't follow the plans exactly in order. I built the table top first which allowed me to add removable legs for when it comes time to move. Instead of screwing the legs, I hung hanger bolts and did a nut/bolt setup (as I type this, I realize this was not a necessary step - I could have bolted the legs instead of screwing them in per the stepwise instructions, which would have been easier. Alas, what's done is done!). The picture shows two sets of nuts per bolt, but this is only because I had extra bolts and this ensure that I don't lose them.
I plan on finishing with a polyurethane and building the benches but that will be in the future. My advice to anyone on the fence is to just do it. It's easier than you think and if it doesn't turn out exactly perfect, no big deal. My project goes to show that even with a tiny Chicago apartment, as long as you're willing to make a mess, it can be done. Good luck, thanks for reading!
*sorry my photos are aren't right-side-up - just tilit your head :)
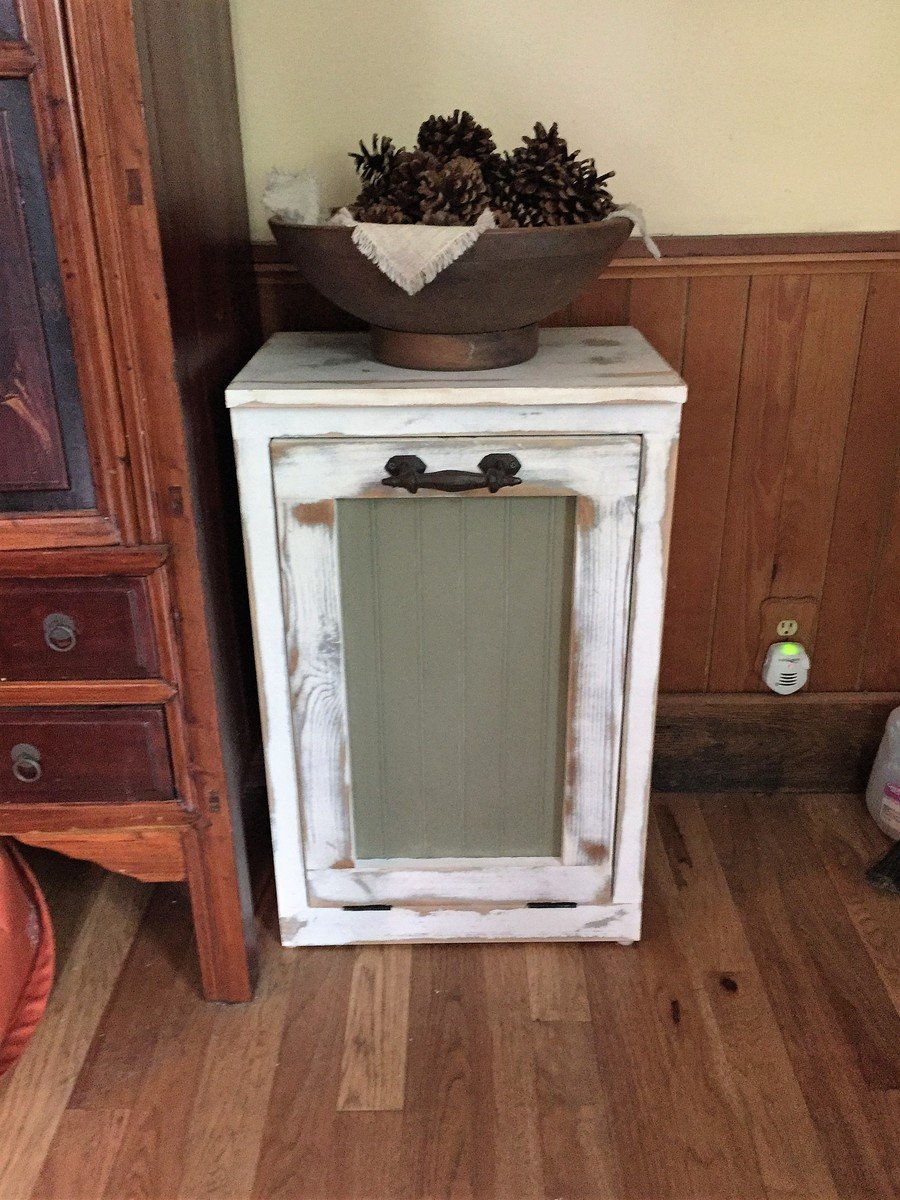
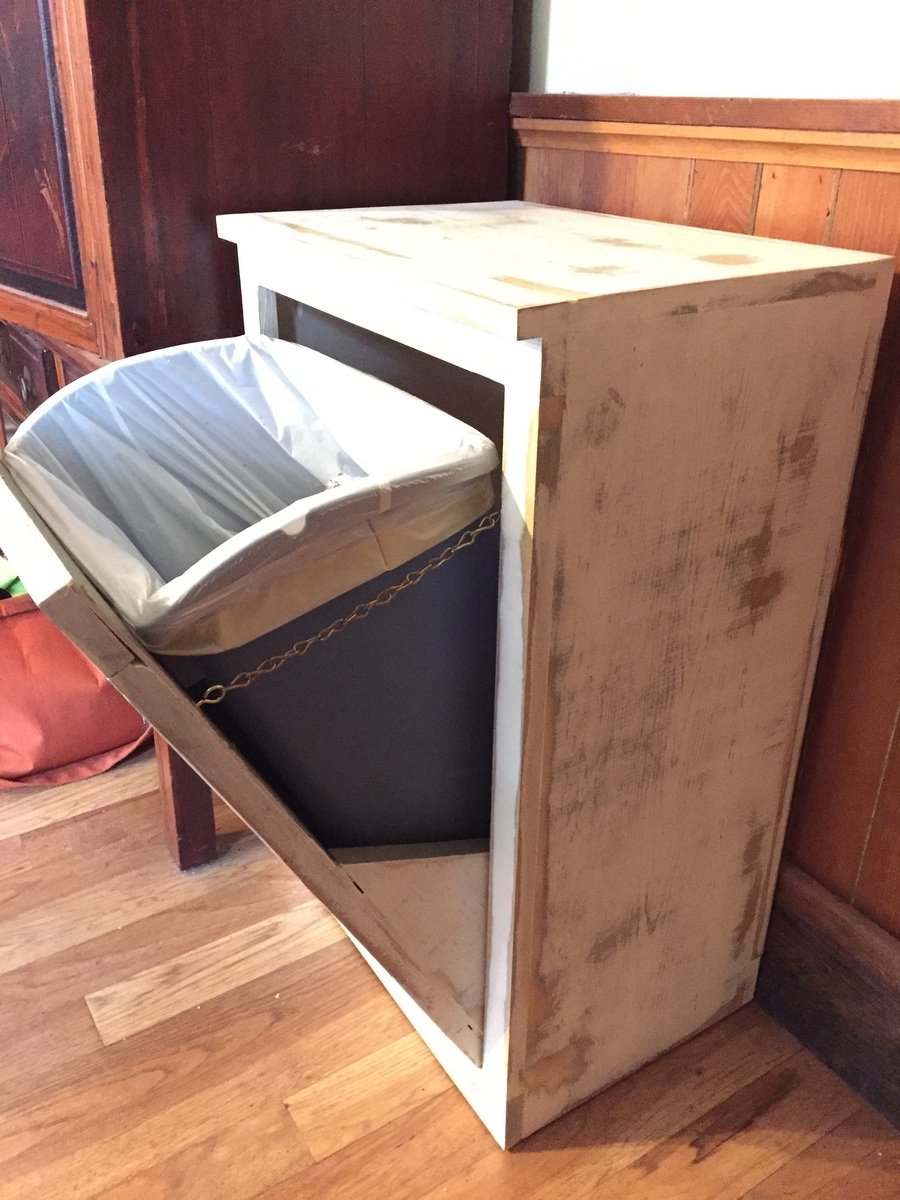
I've been looking for a way to hide my ugly garbage can in my kitchen for a while now. I figured it would cost way too much to buy something like this and was so excited to find Ana's plans online. This was my first furniture attempt ever. The plans provided made the entire process so easy. I used some leftover beadboard for the door and some odds and ends we had laying around for the hardware to keep the costs down.
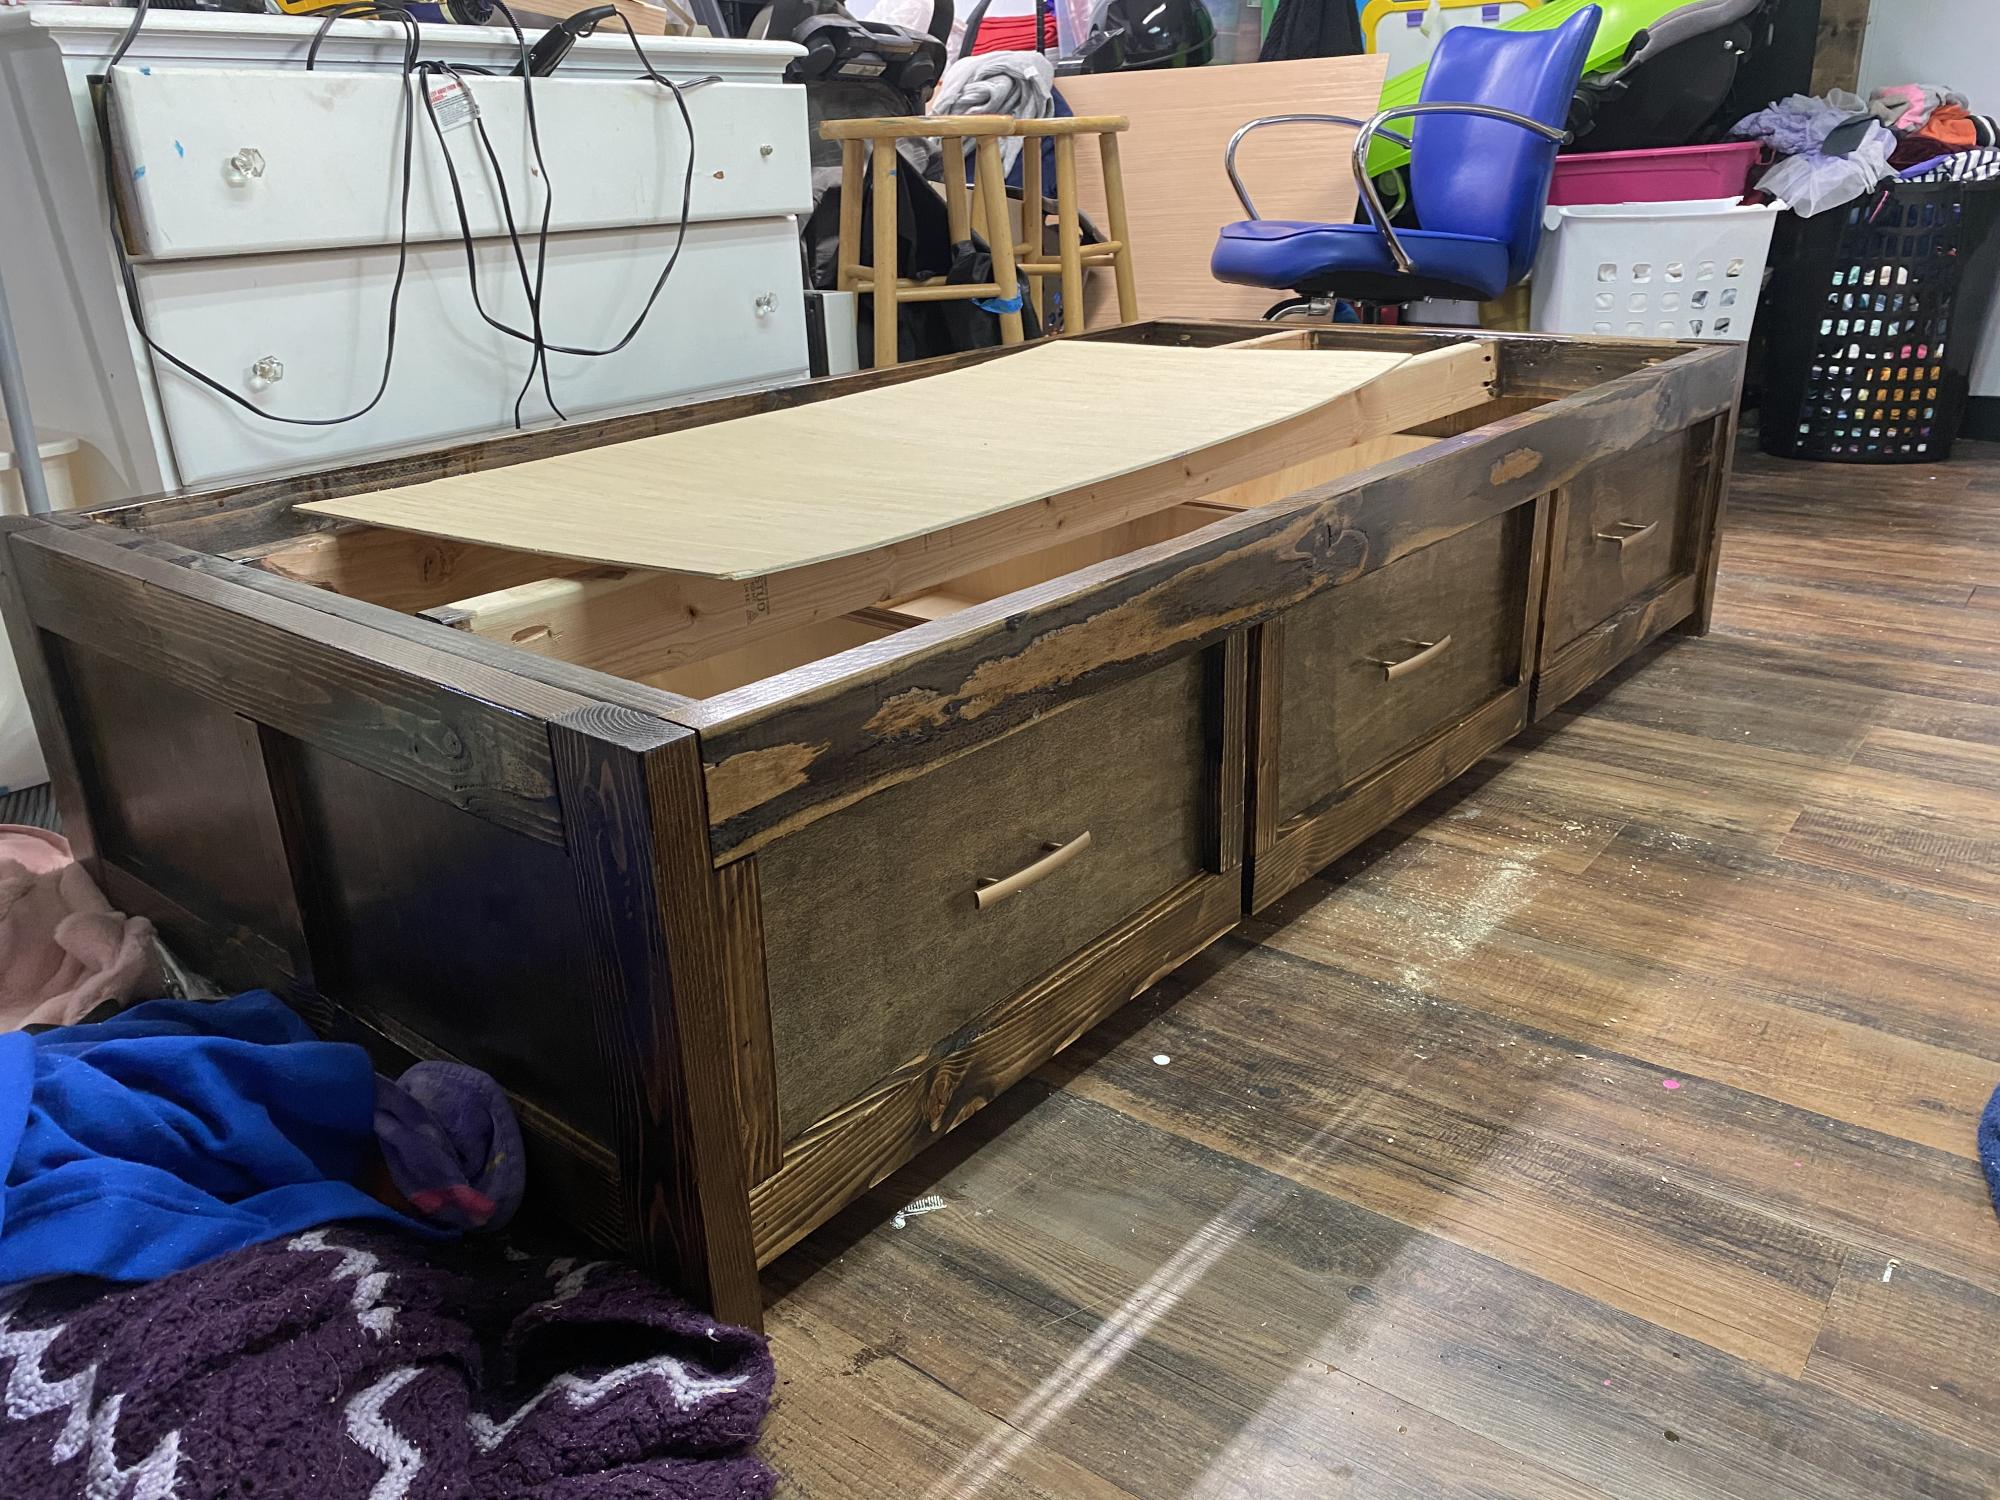
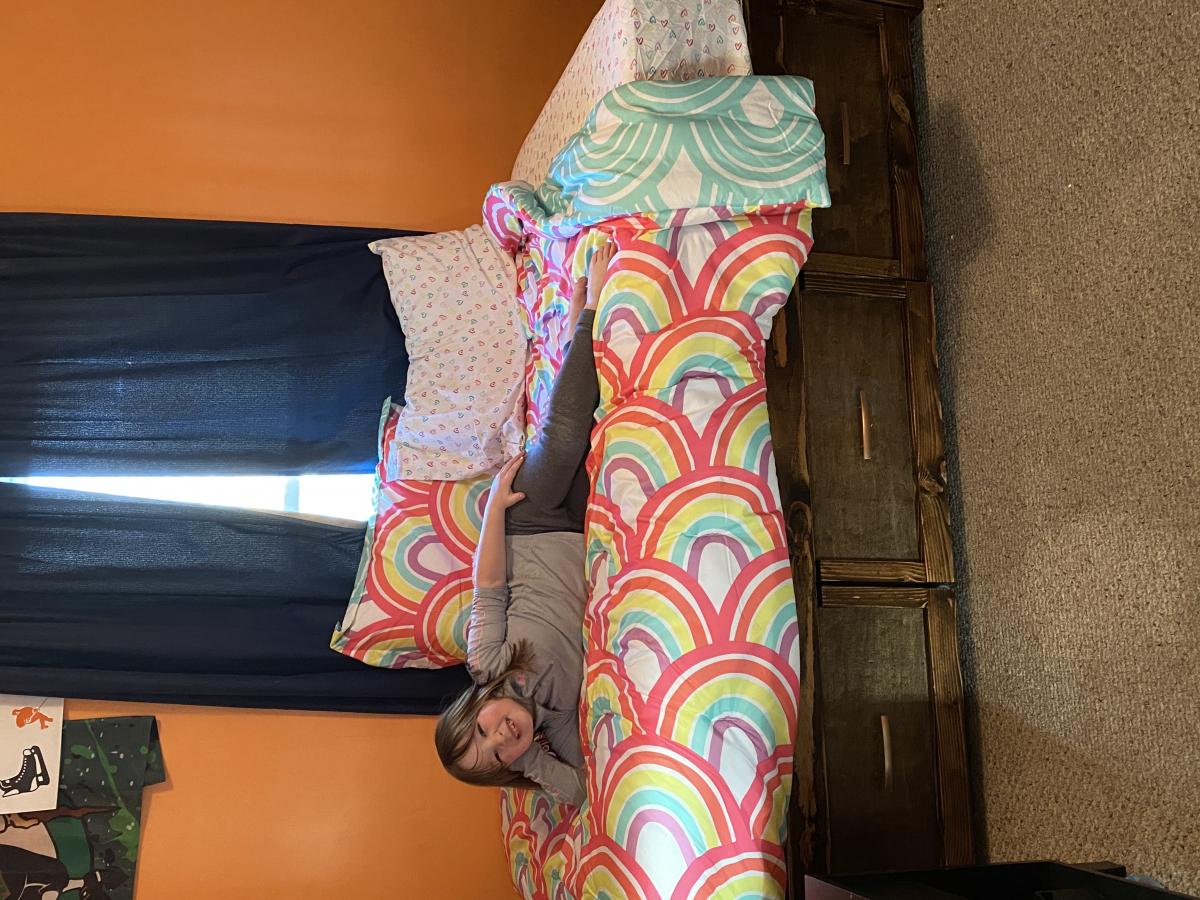
Such a fun project and my niece was so excited for her new “big girl bed”
Mon, 04/20/2020 - 14:28
You are such an awesome aunt! Love the stain color, it's perfect! What a big smile on your niece's face!
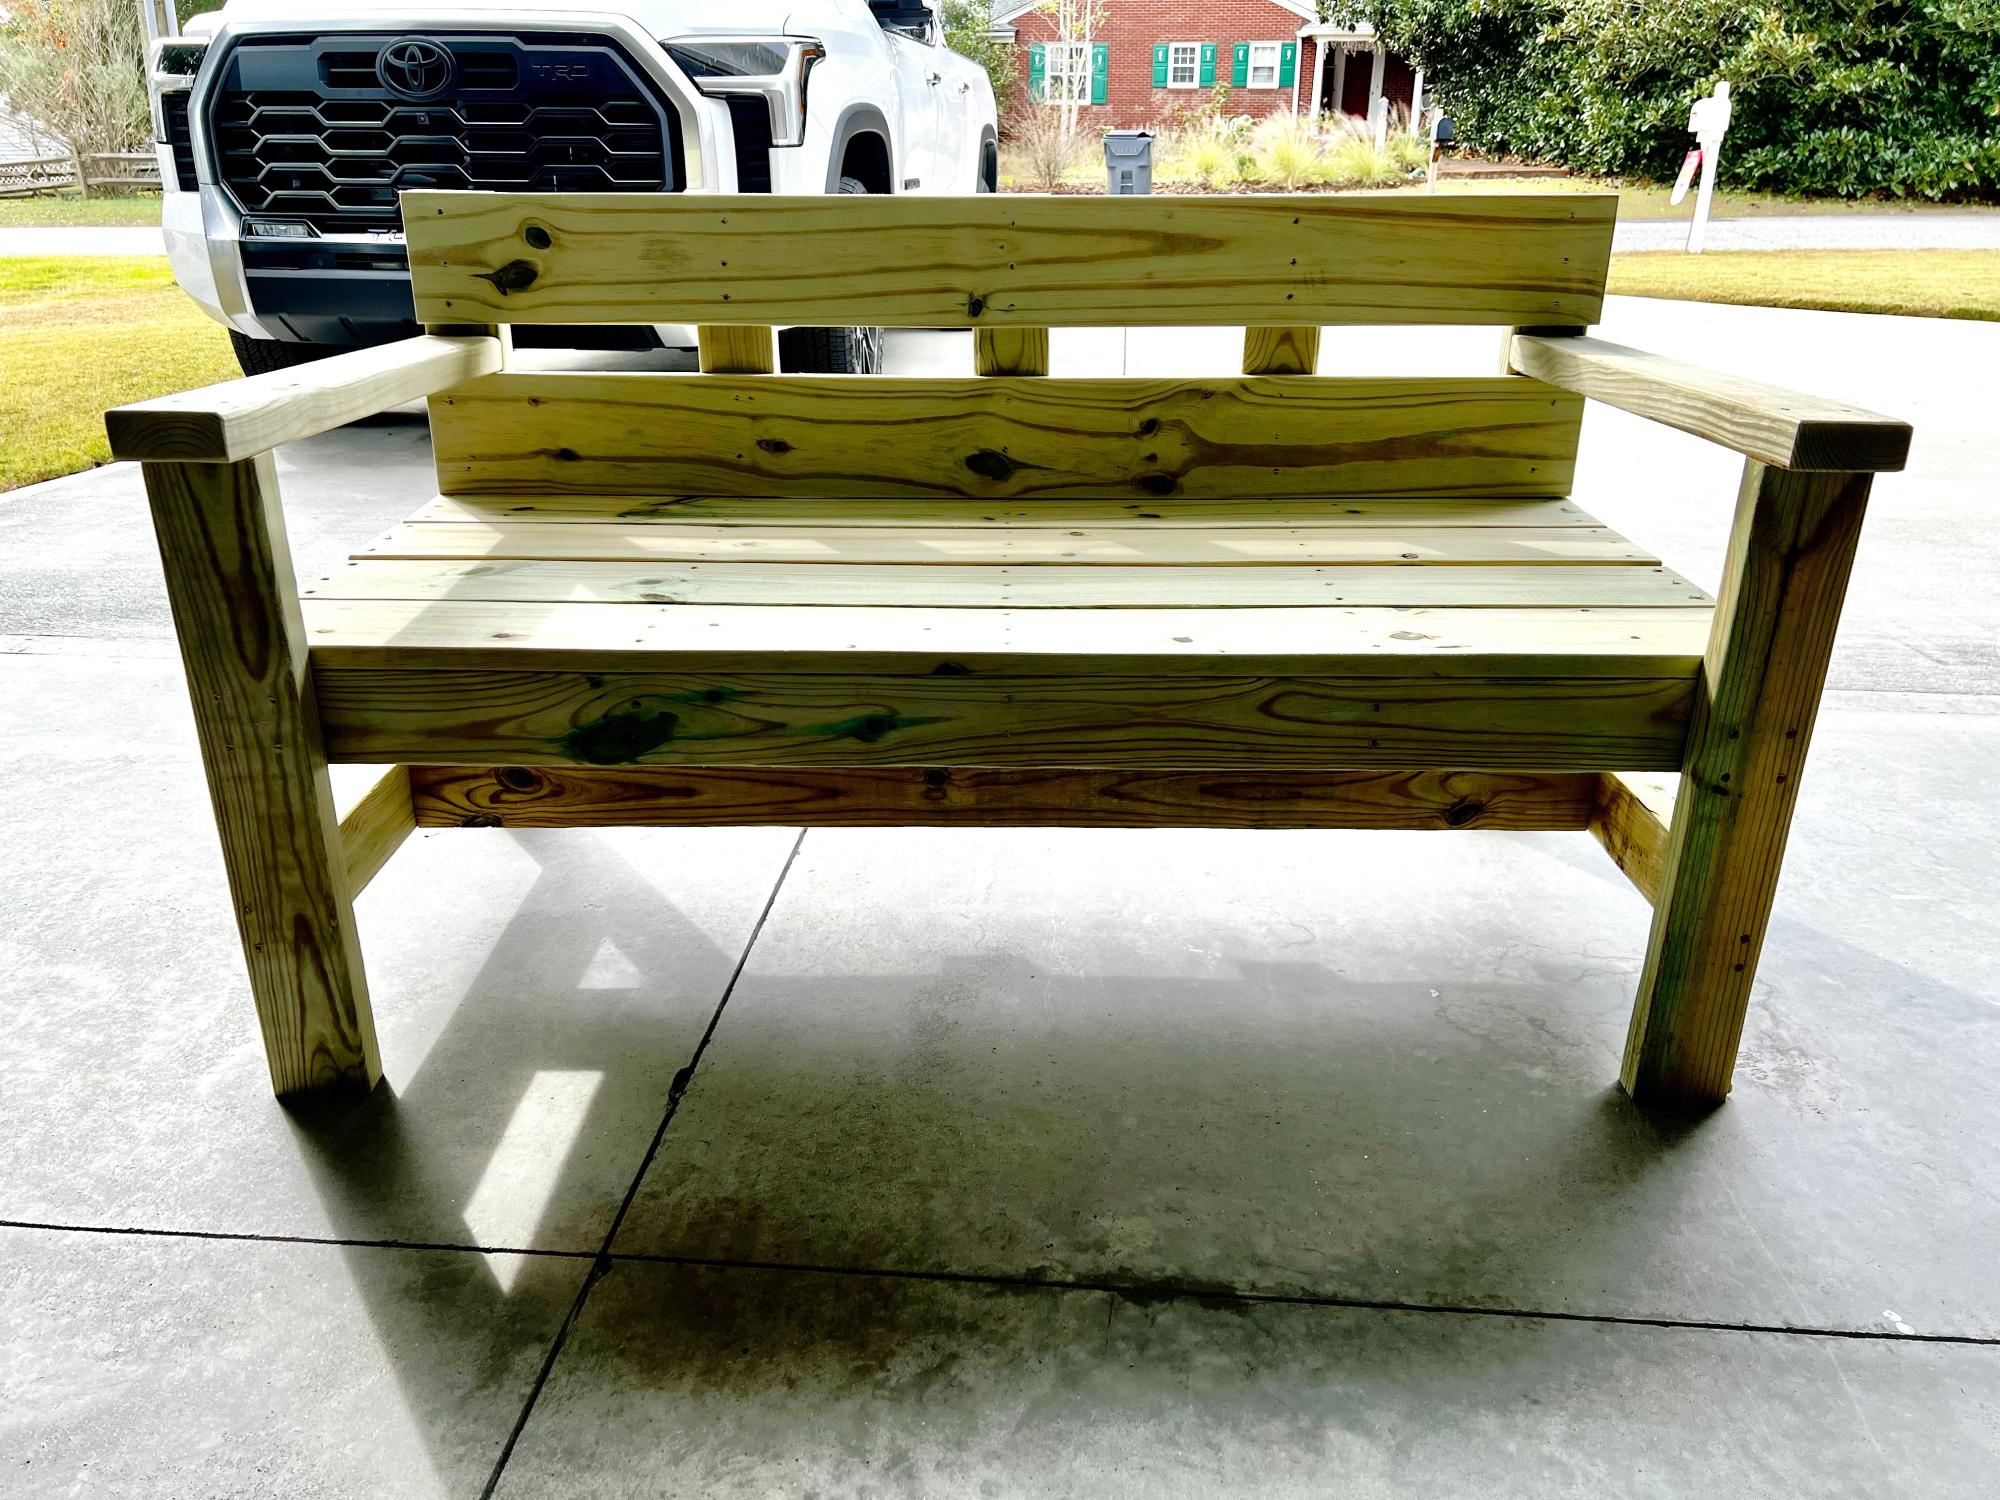
Garden Bench Project. Christmas Gift for my daughter-in-law. Cost of materials $75 and invested about 5 hours into the project. I modified the length to fit their porch. I sanded all the material and slightly rounded over all of the material edges. Recommend installing the seat BEFORE you install the arms as it is much easier to fasten. I extended the arms by an inch because I thought it looked better than cutting it flush to the leg. We will paint it in the Spring after the material dries out and can accept paint. It was fun to build. I have seen similar benches on Etsy for over $500.
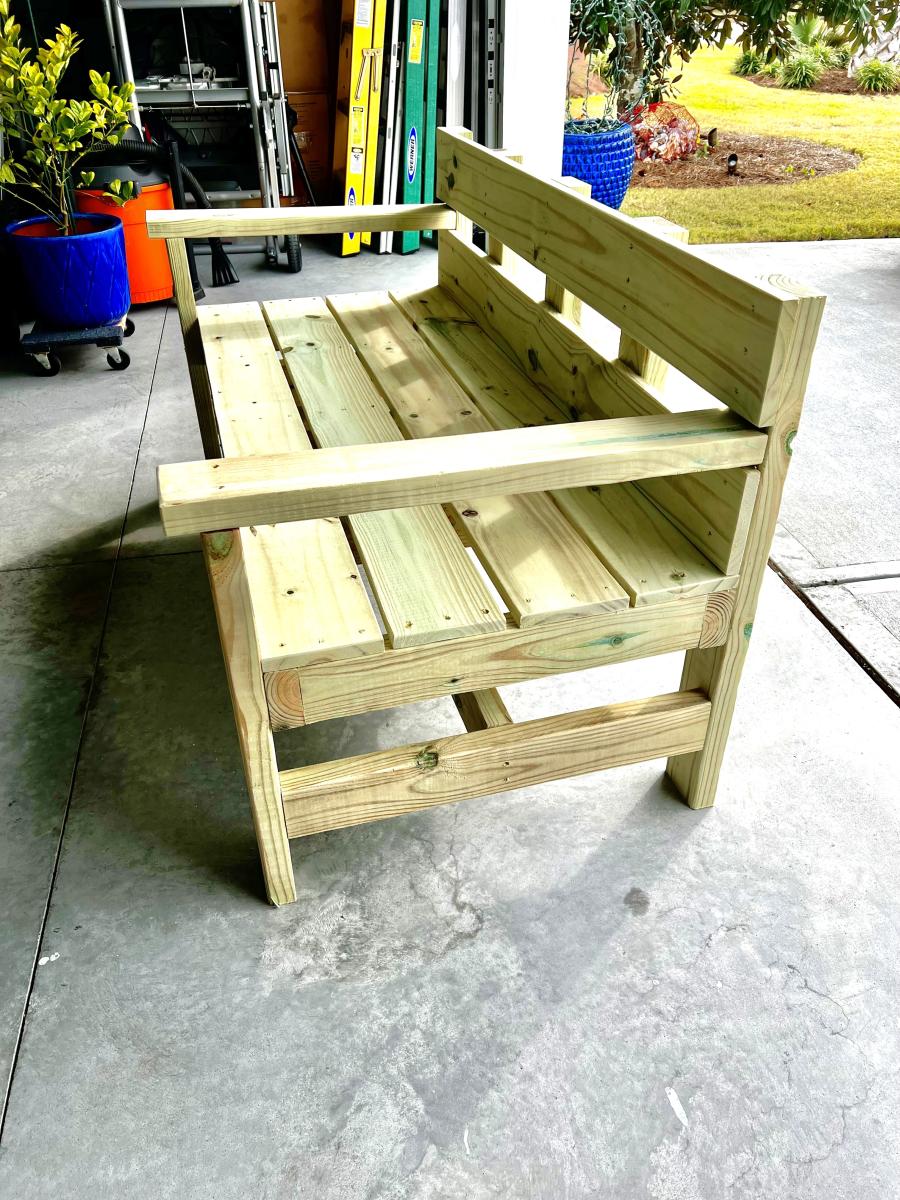
Simple but beautiful!
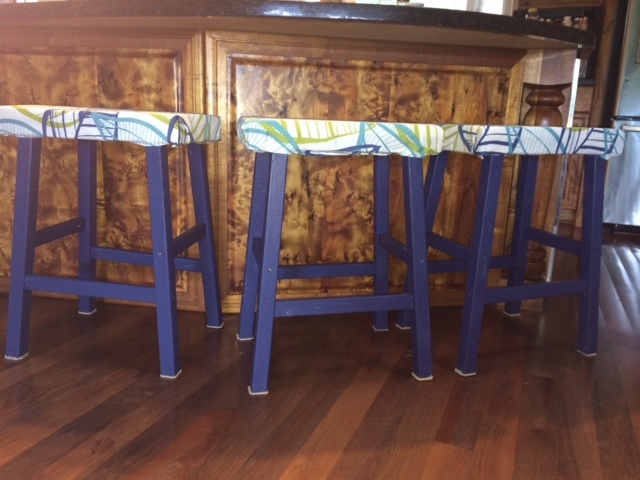
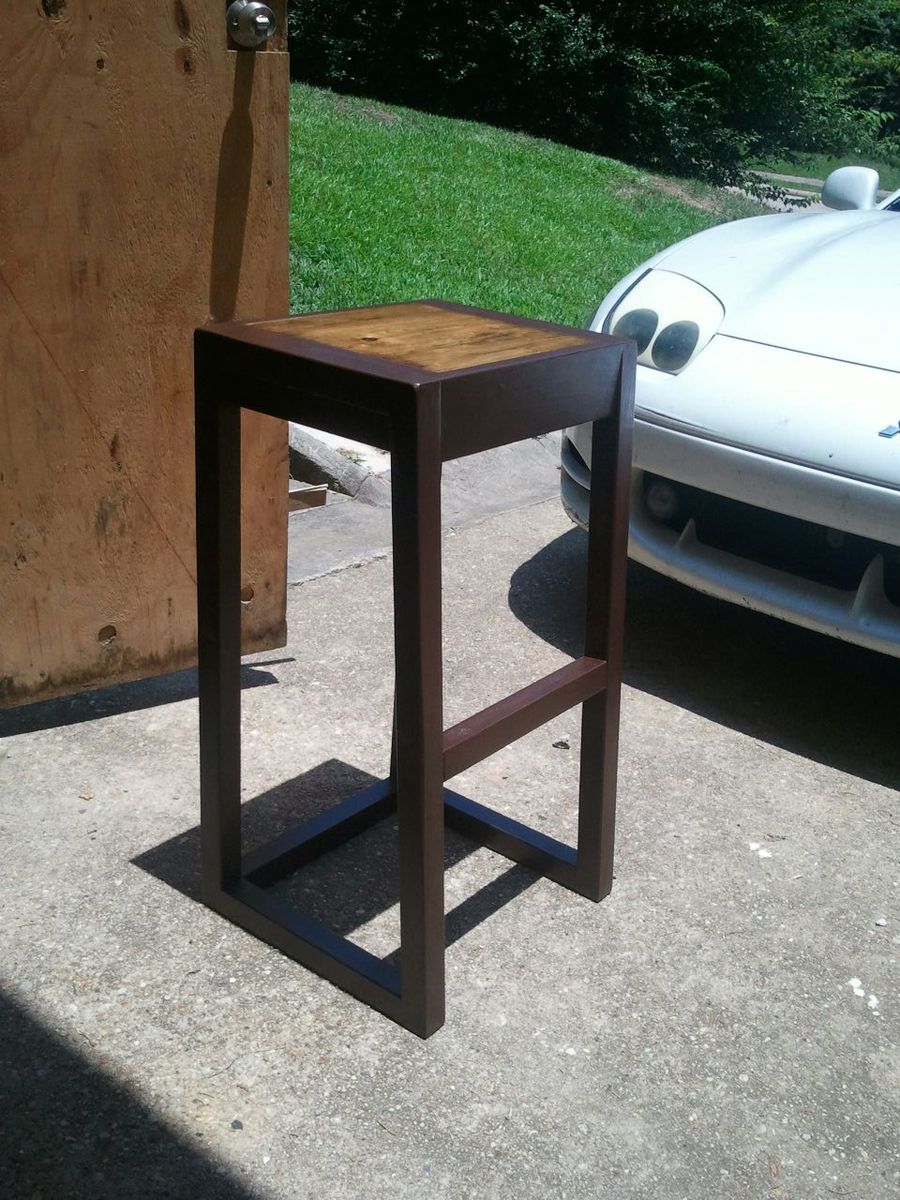
I needed 3 stools for my kids to eat breakfast at the counter. These were perfect.
I already owned the fabric so I only needed to purchase the wood and the foam. I made it entirely out of furring strips so it was really inexpensive.
I took me a couple of hours to build and sand all 3.

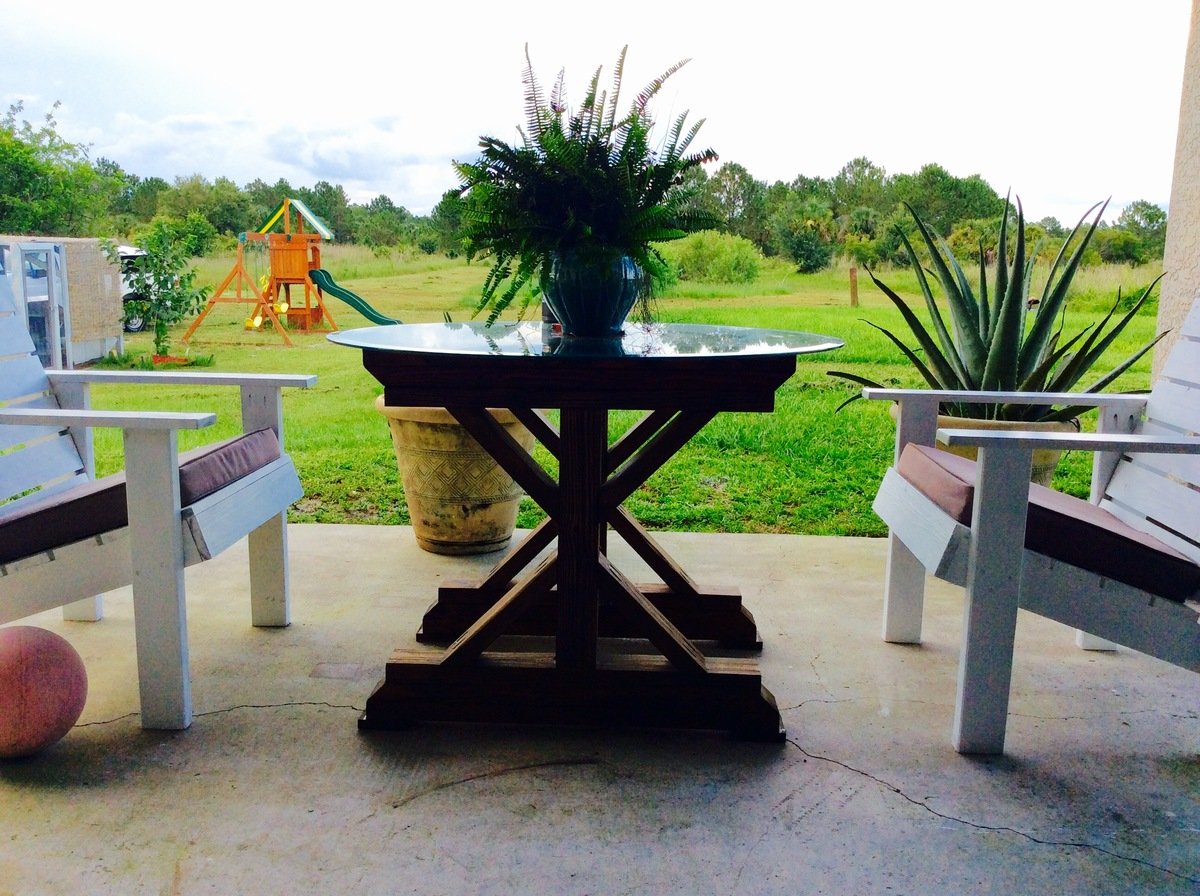
Thanks for sharing this plan, I served to use a round glass tha I have saved,
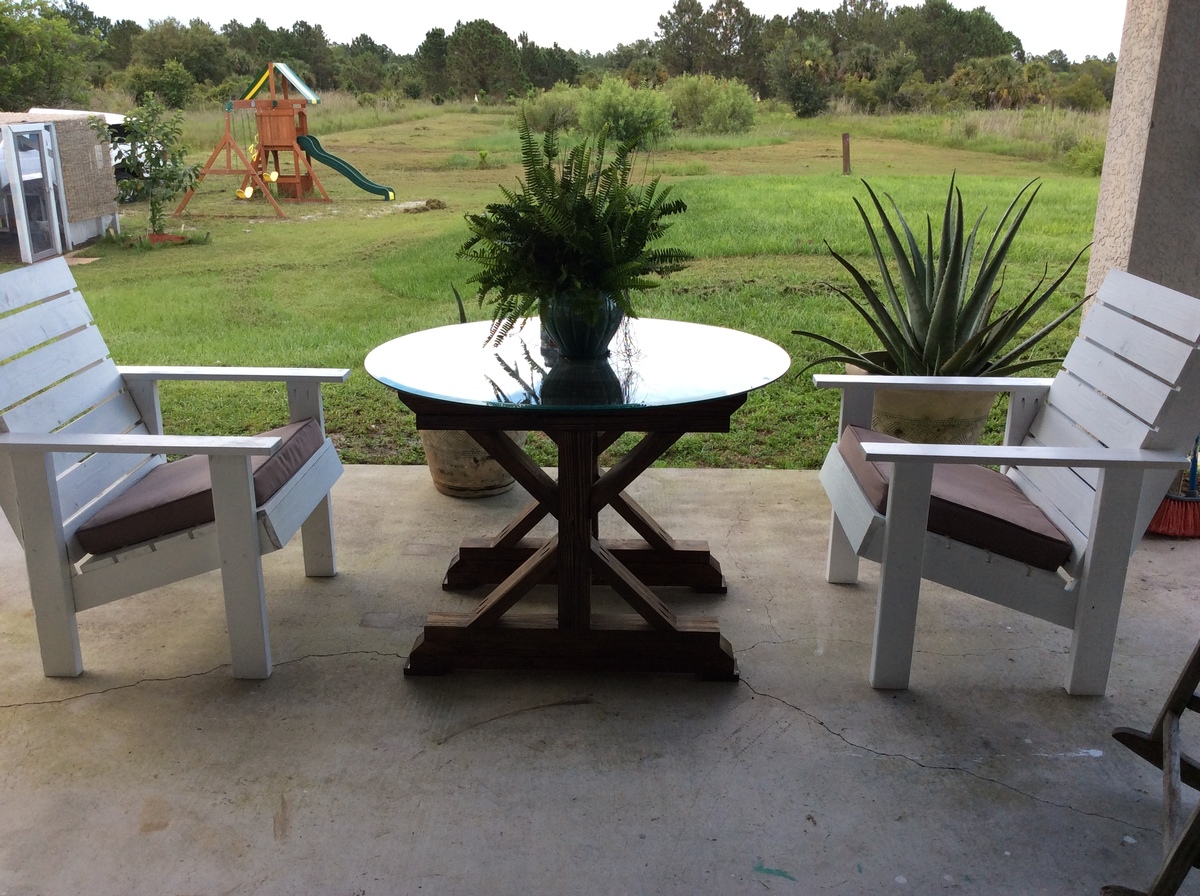

Nice update for our place. Pretty simple based on the plans.
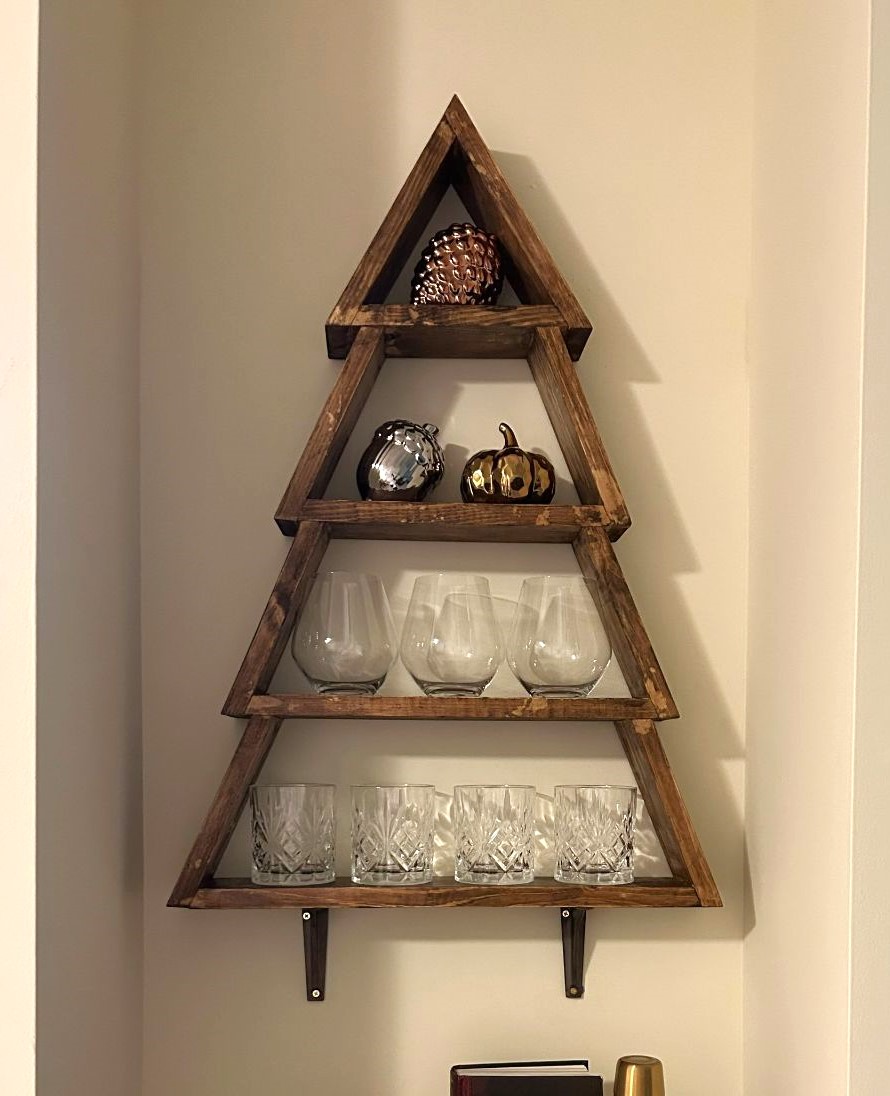
Hi Ana,
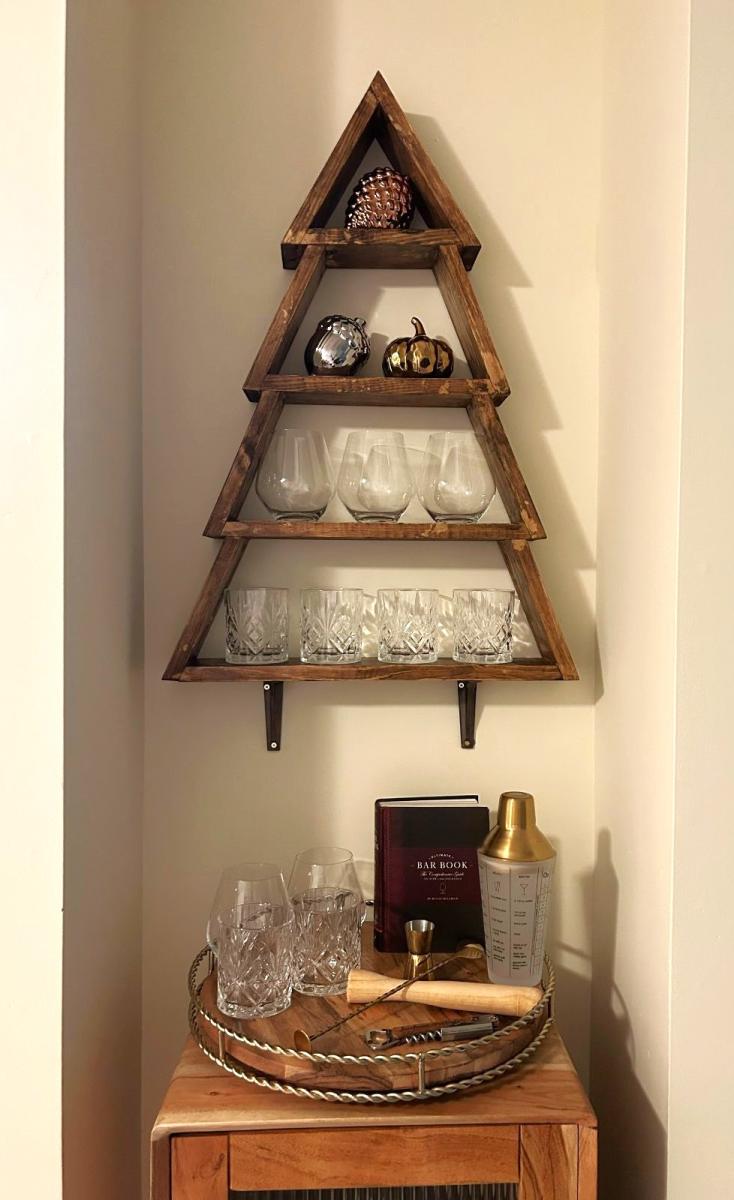
I just want to thank you for sharing your projects. My father is 92 years and was always a "maker." For the last three years he is living with and being cared for by my sister, but while he no longer has use of his basement workshop, he still gets up early each morning and goes to his small work area in her craft room where he does small projects like bird feeders. He had made and given away so many bird feeders that we were searching for another small project he could take on. I came across your Christmas Tree shelf. My husband cuts the pieces to size and then my dad completes the projects. He has made enough to give his six children and 10 grandchildren each one as a keepsake. Pictured is the way one of the grandchildren has recently used the shelf he was given. So thank you for being so generous with your ideas and plans!
Mary Beth Sharp
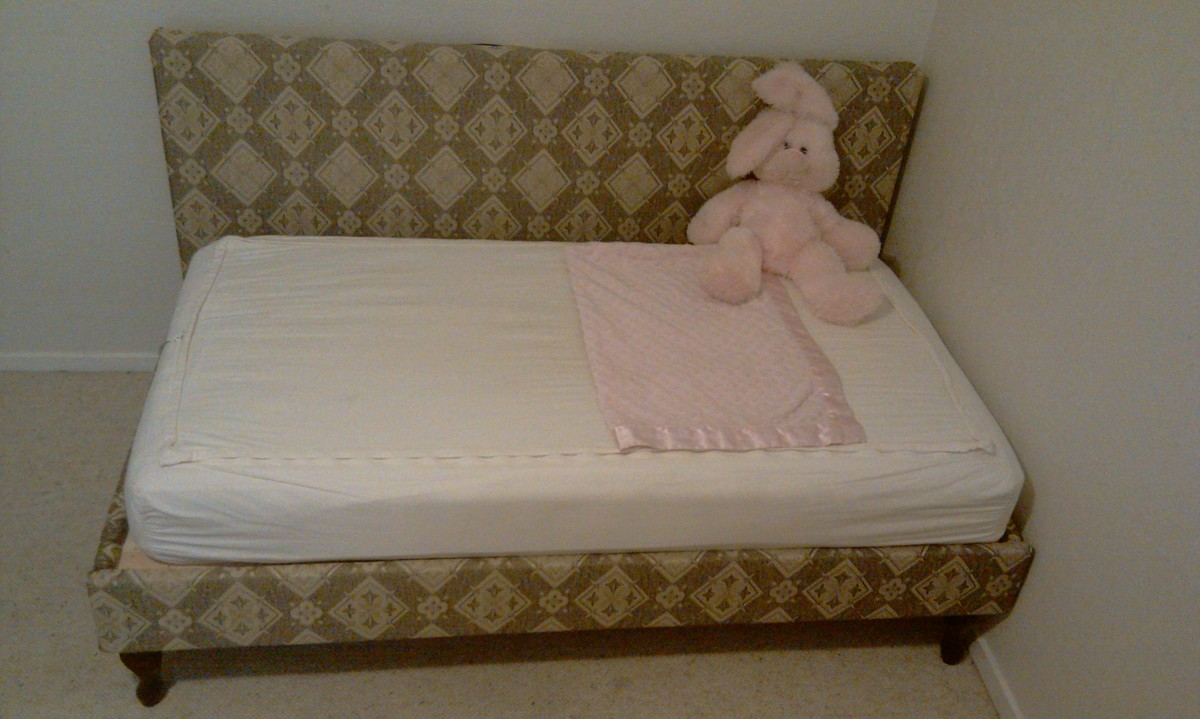
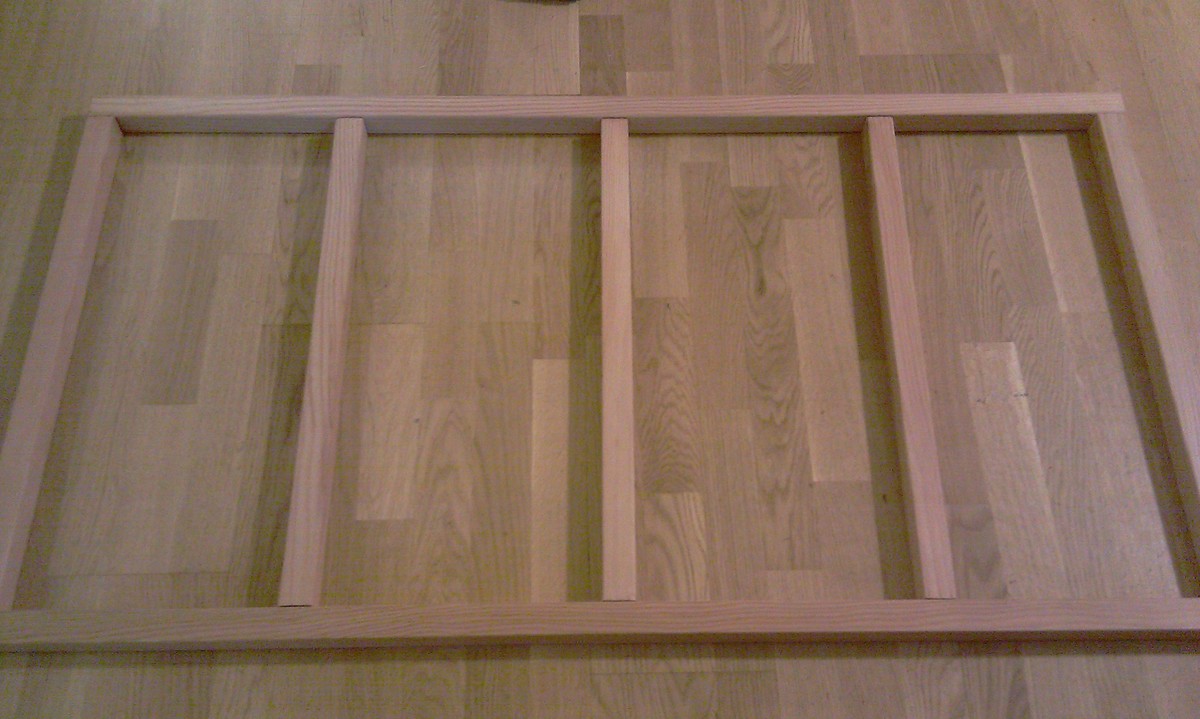
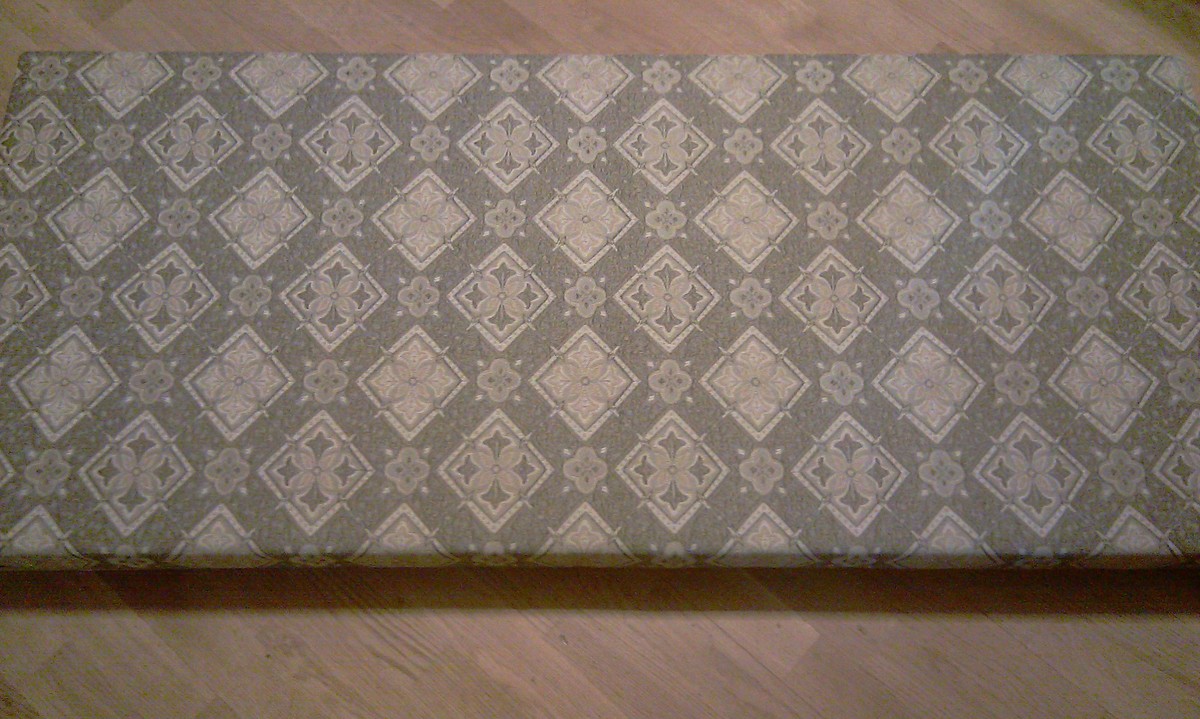
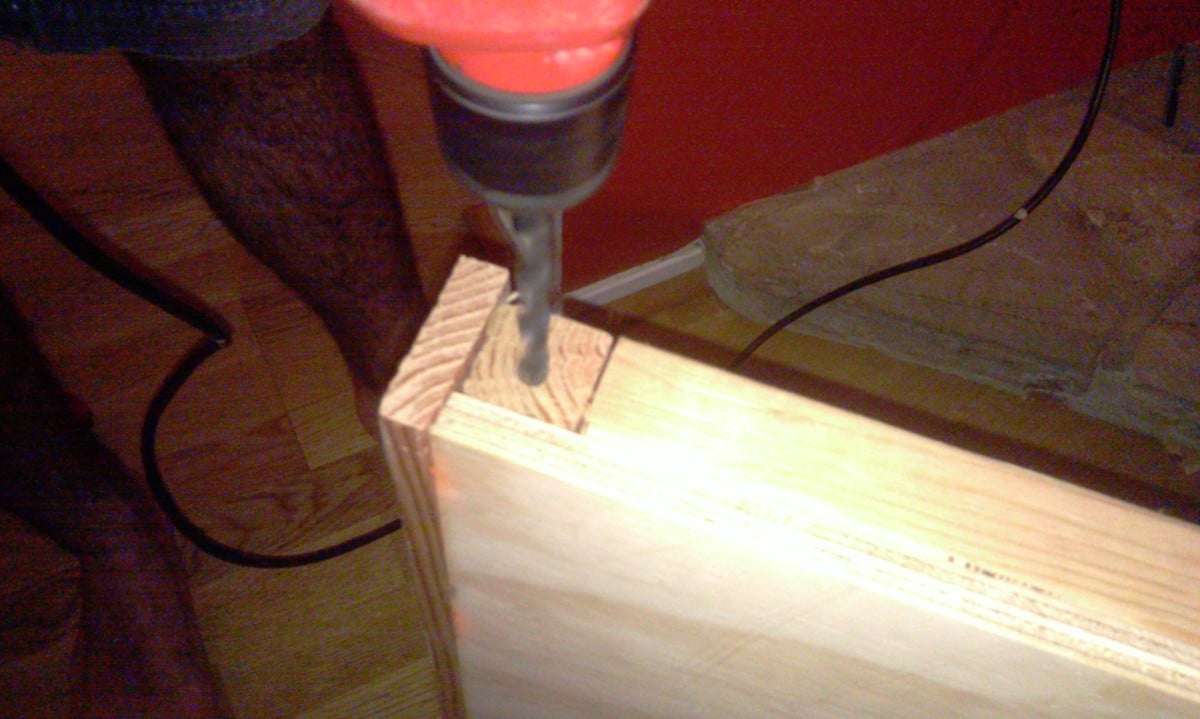
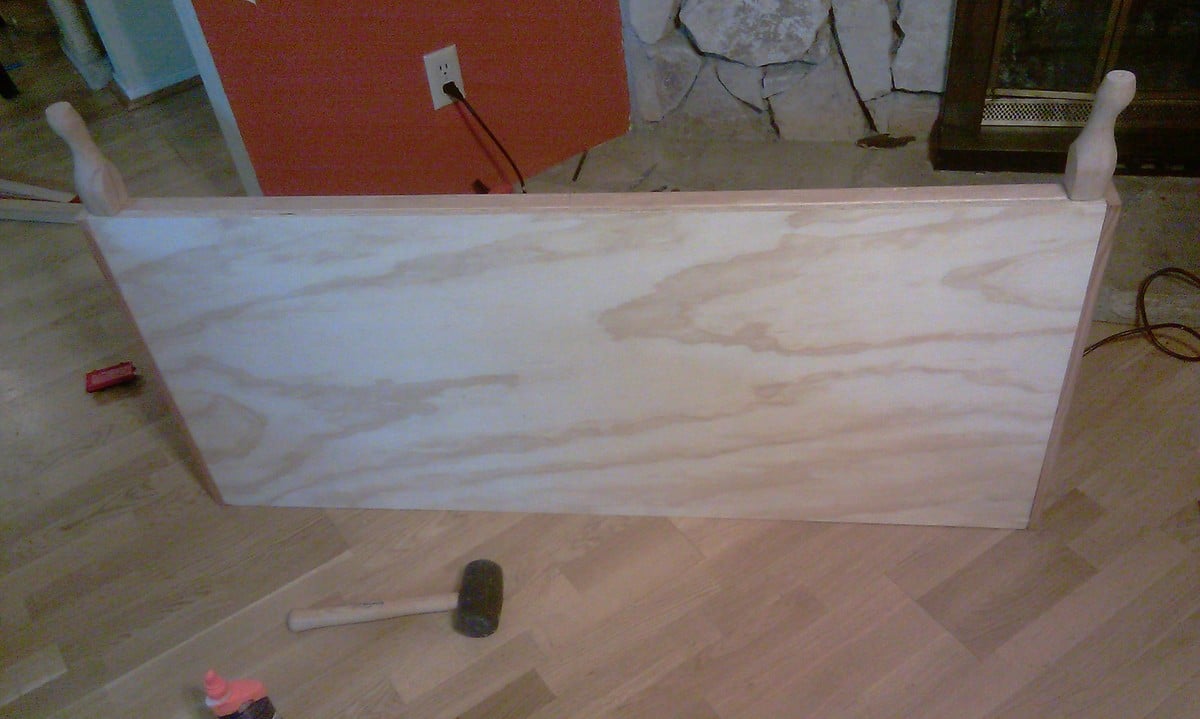
We followed Ana's "Toddler's Upholstered Bed" plan nearly exactly. The only major change I made was to add fancy looking french country legs I found at the local hardware store. They were screw in, so I used metal screw guides that popped right in after a little pre-drilling. I included some pictures to help explain this variance to help give others ideas. Thanks so much for these plans Ana!
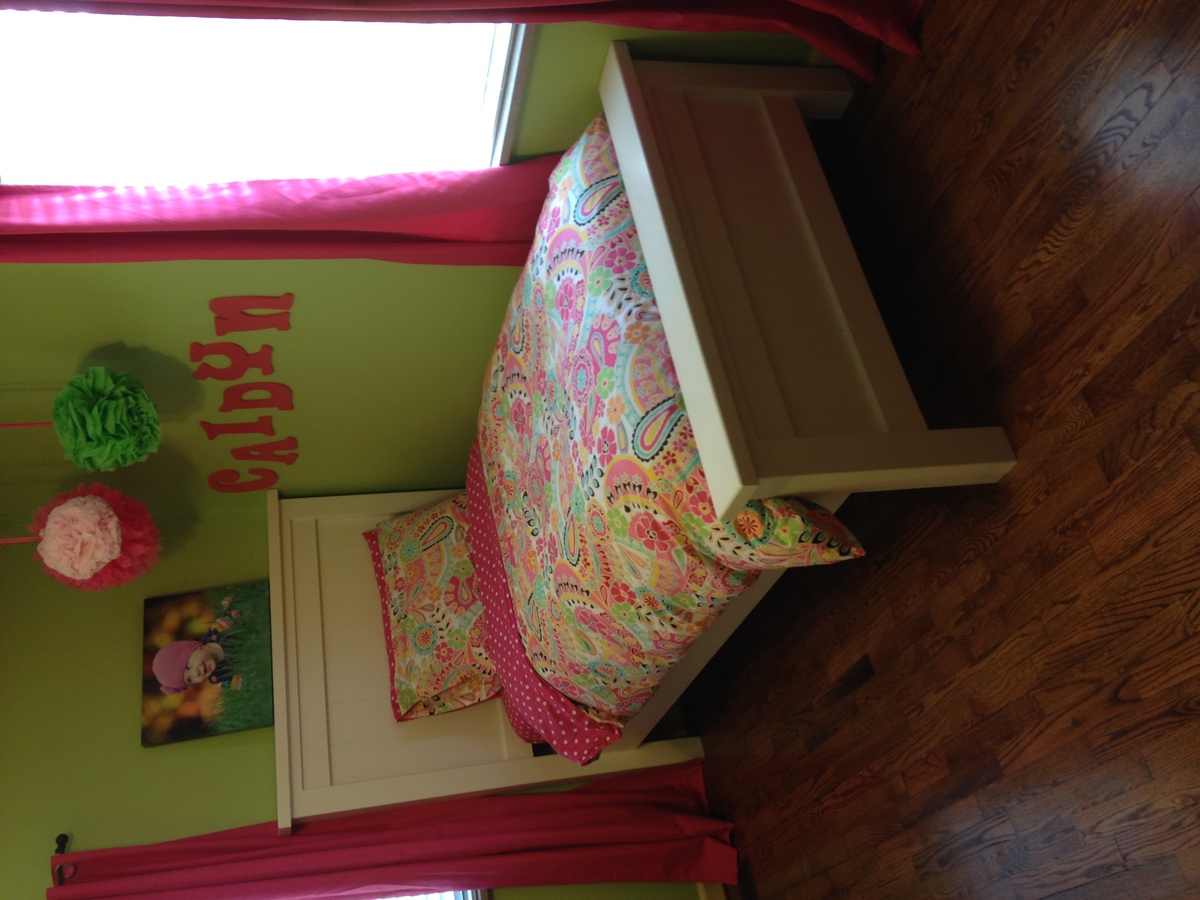
Took a couple of weeks to complete but, hubby only worked on it in the evenings after he got off work. He had trouble finding untreated 4x4s so he glued untreated 2x4s together (which took extra time waiting for the glue to set up and dry). He used paint grade pine wood so our cost was a little higher than what was estimated. We ended up having around $350 in it after buying paint and everything. Overall, he said it was a fairly easy project.
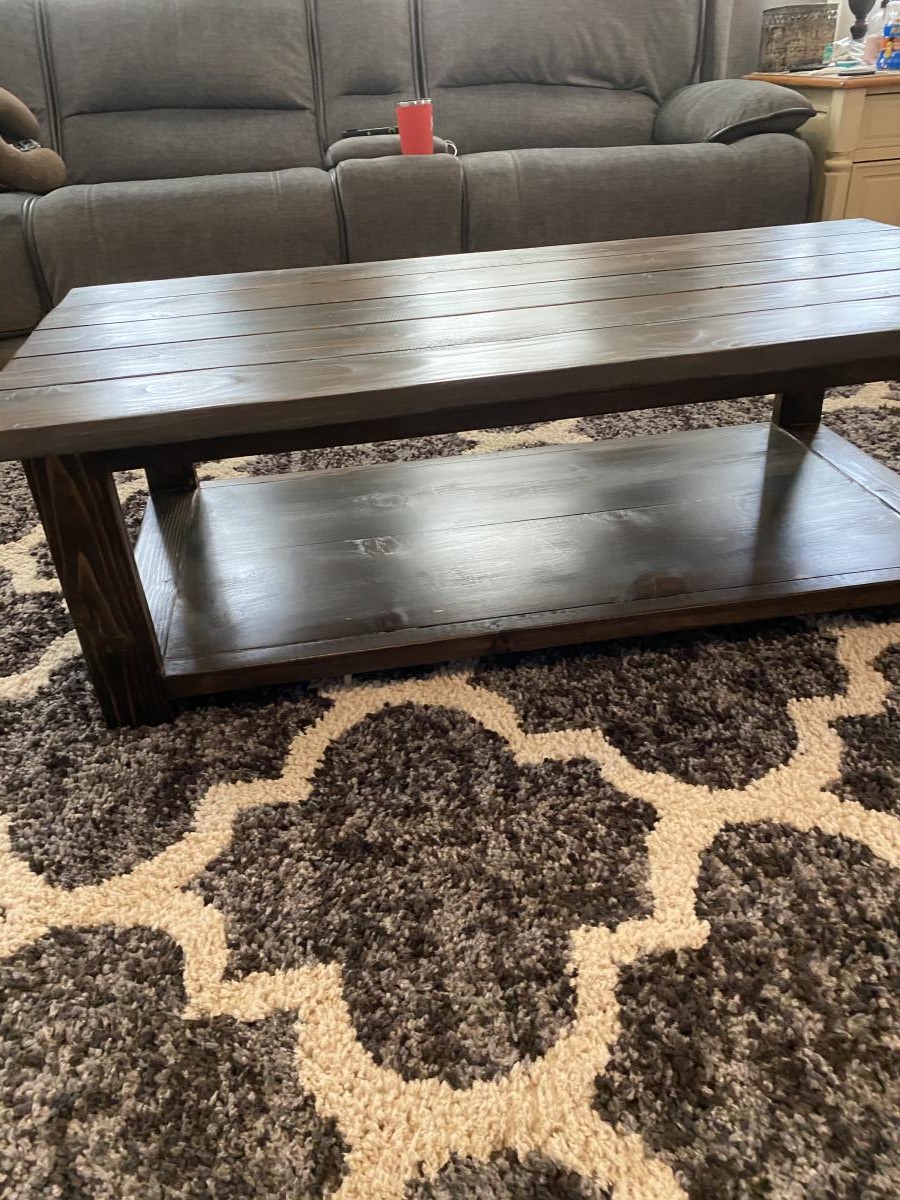
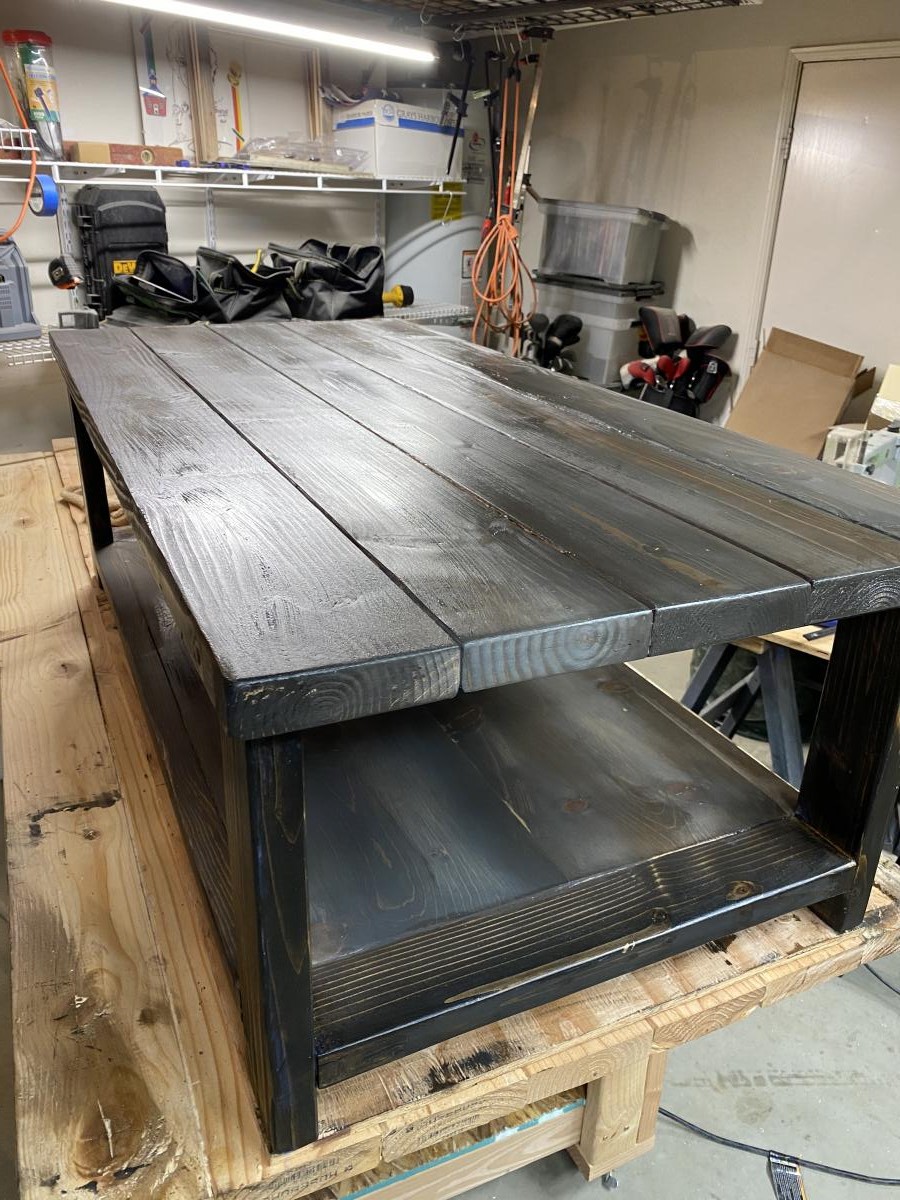
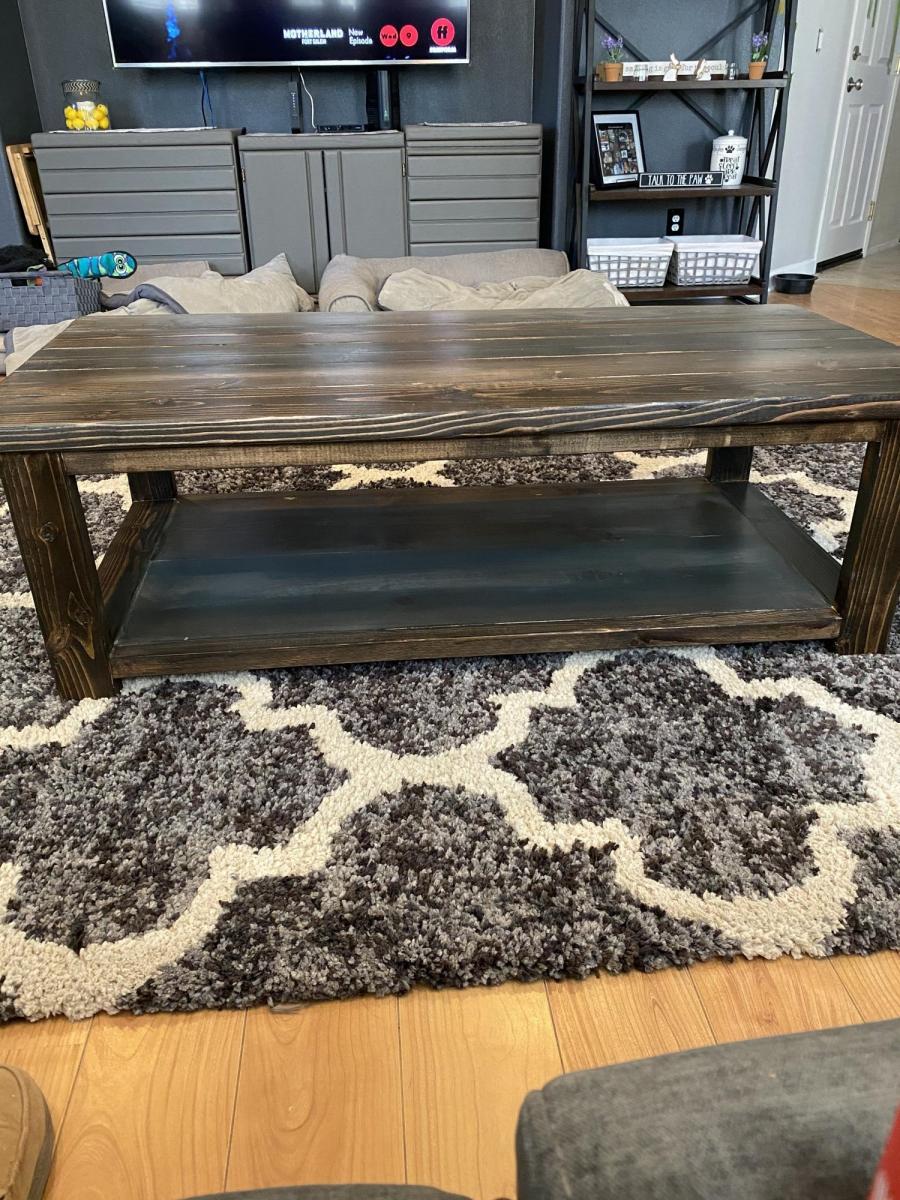
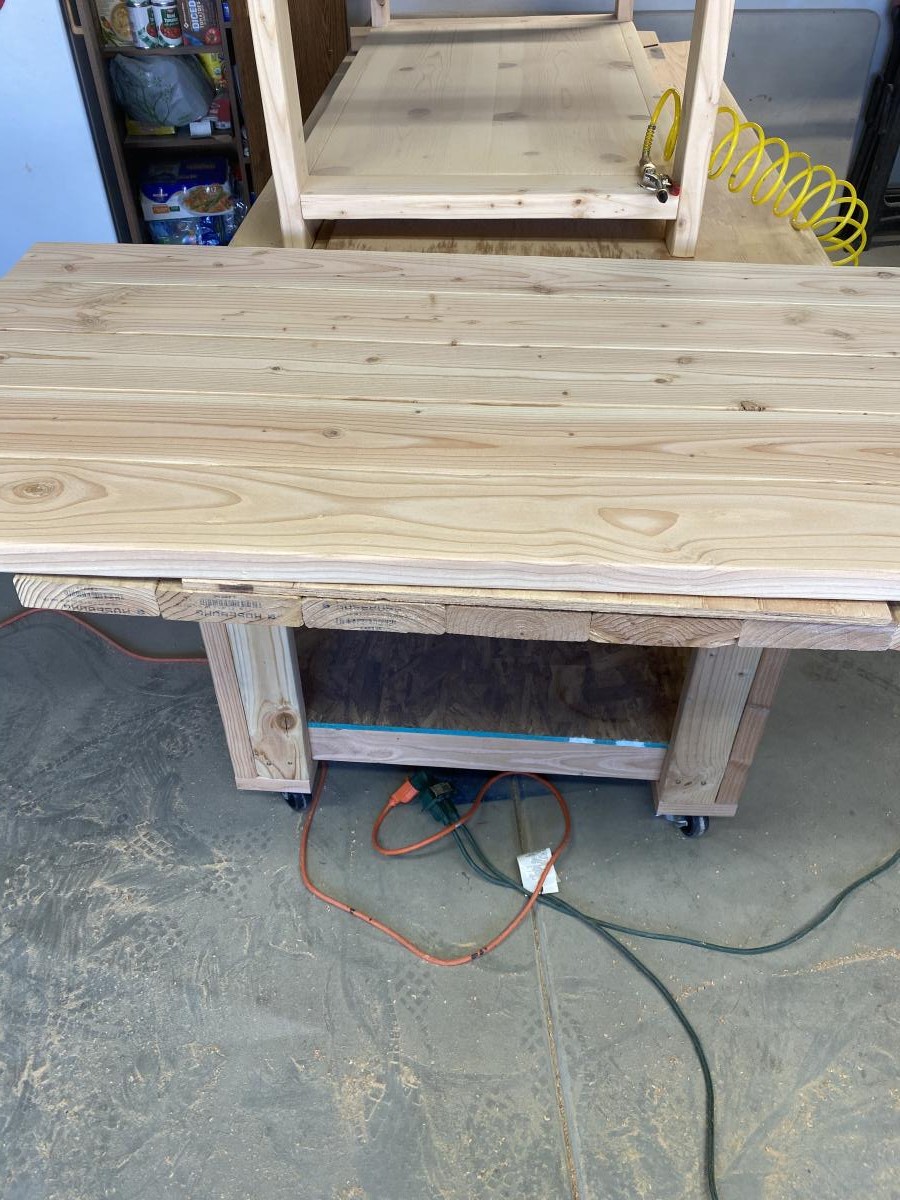
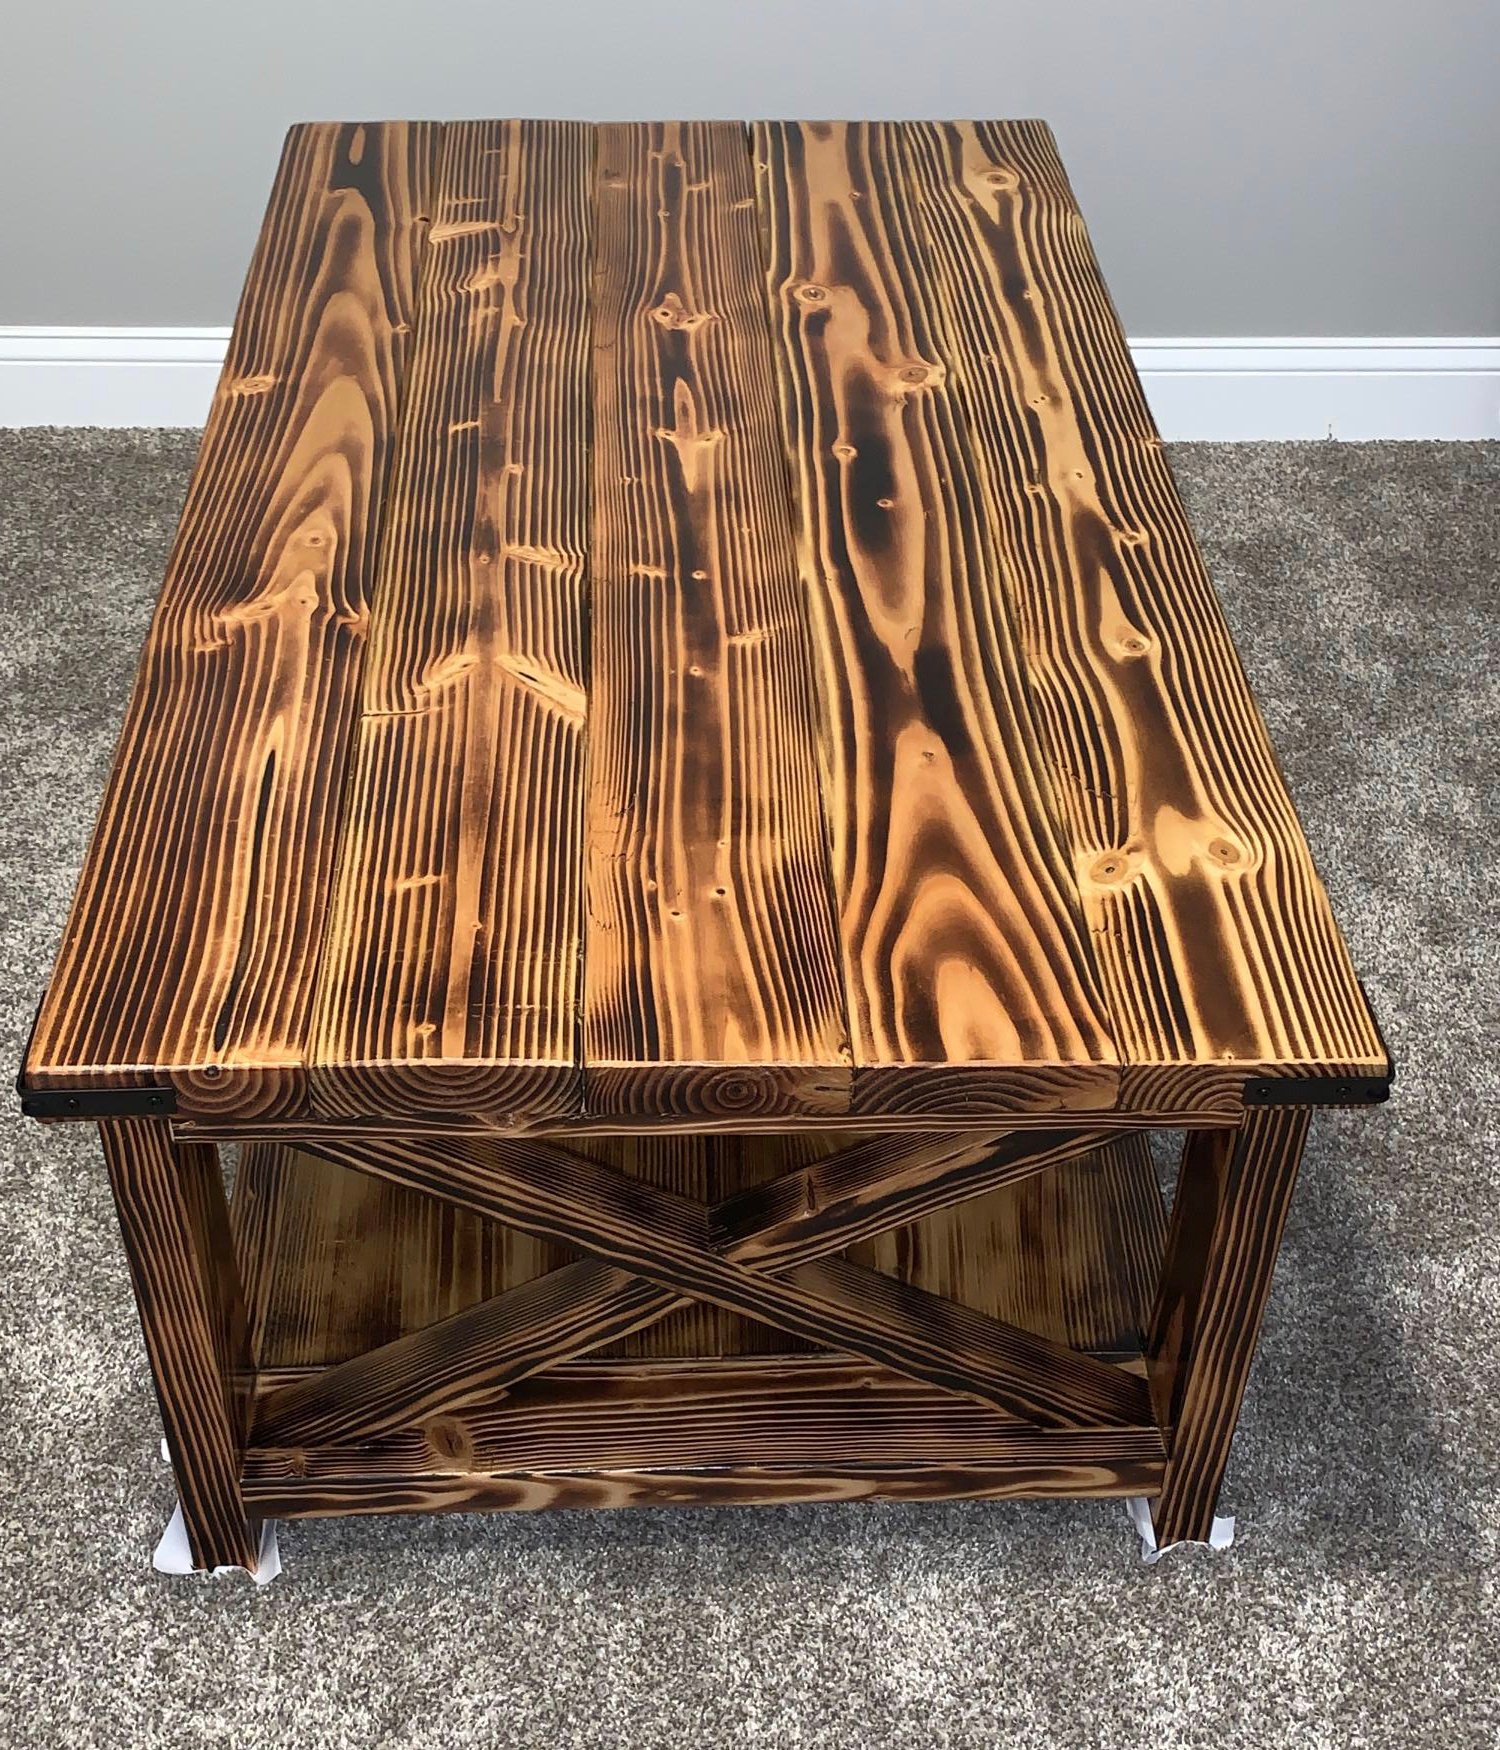
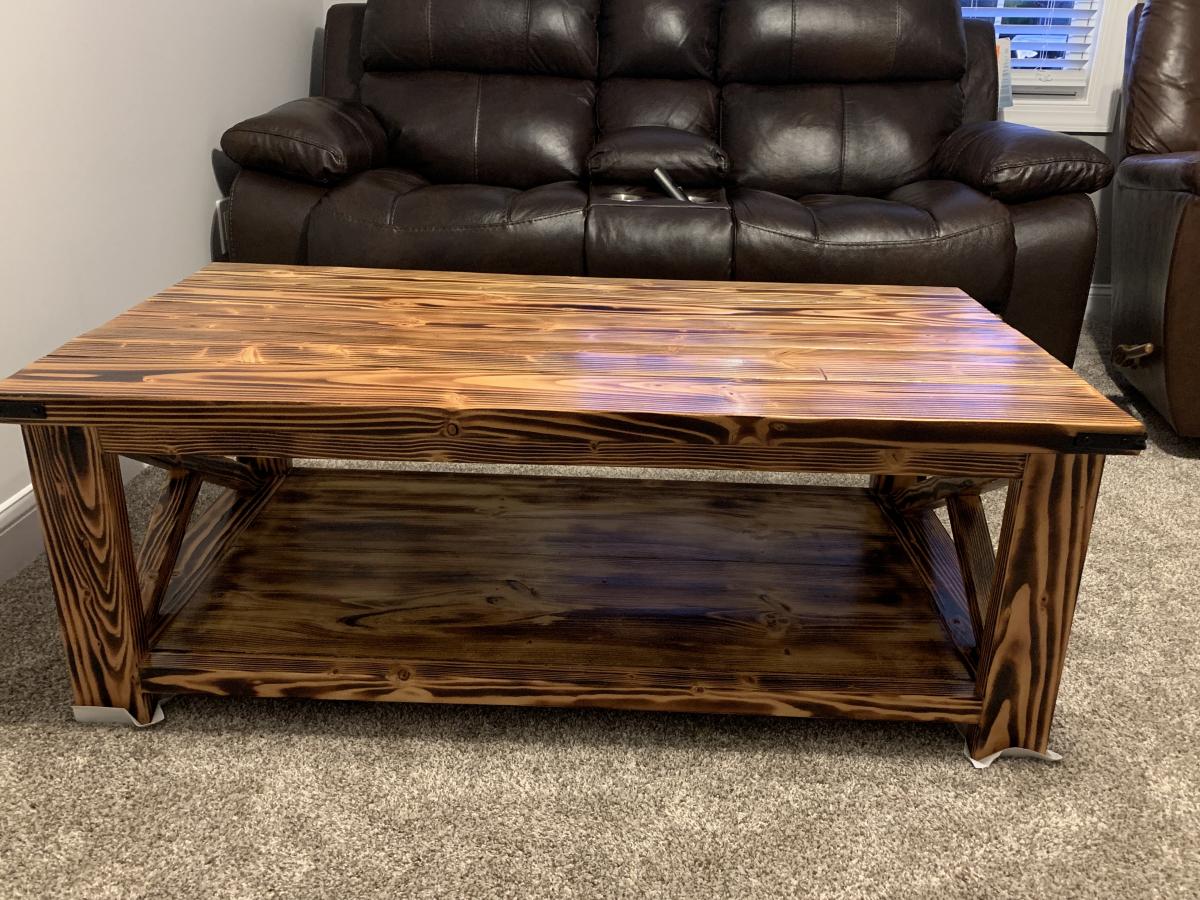
This is a modified version of the Rustic X coffee table I added six inches to the length And I used 4 different color stains to get the aged looked All done with construction grade lumber.
