COVID Projects
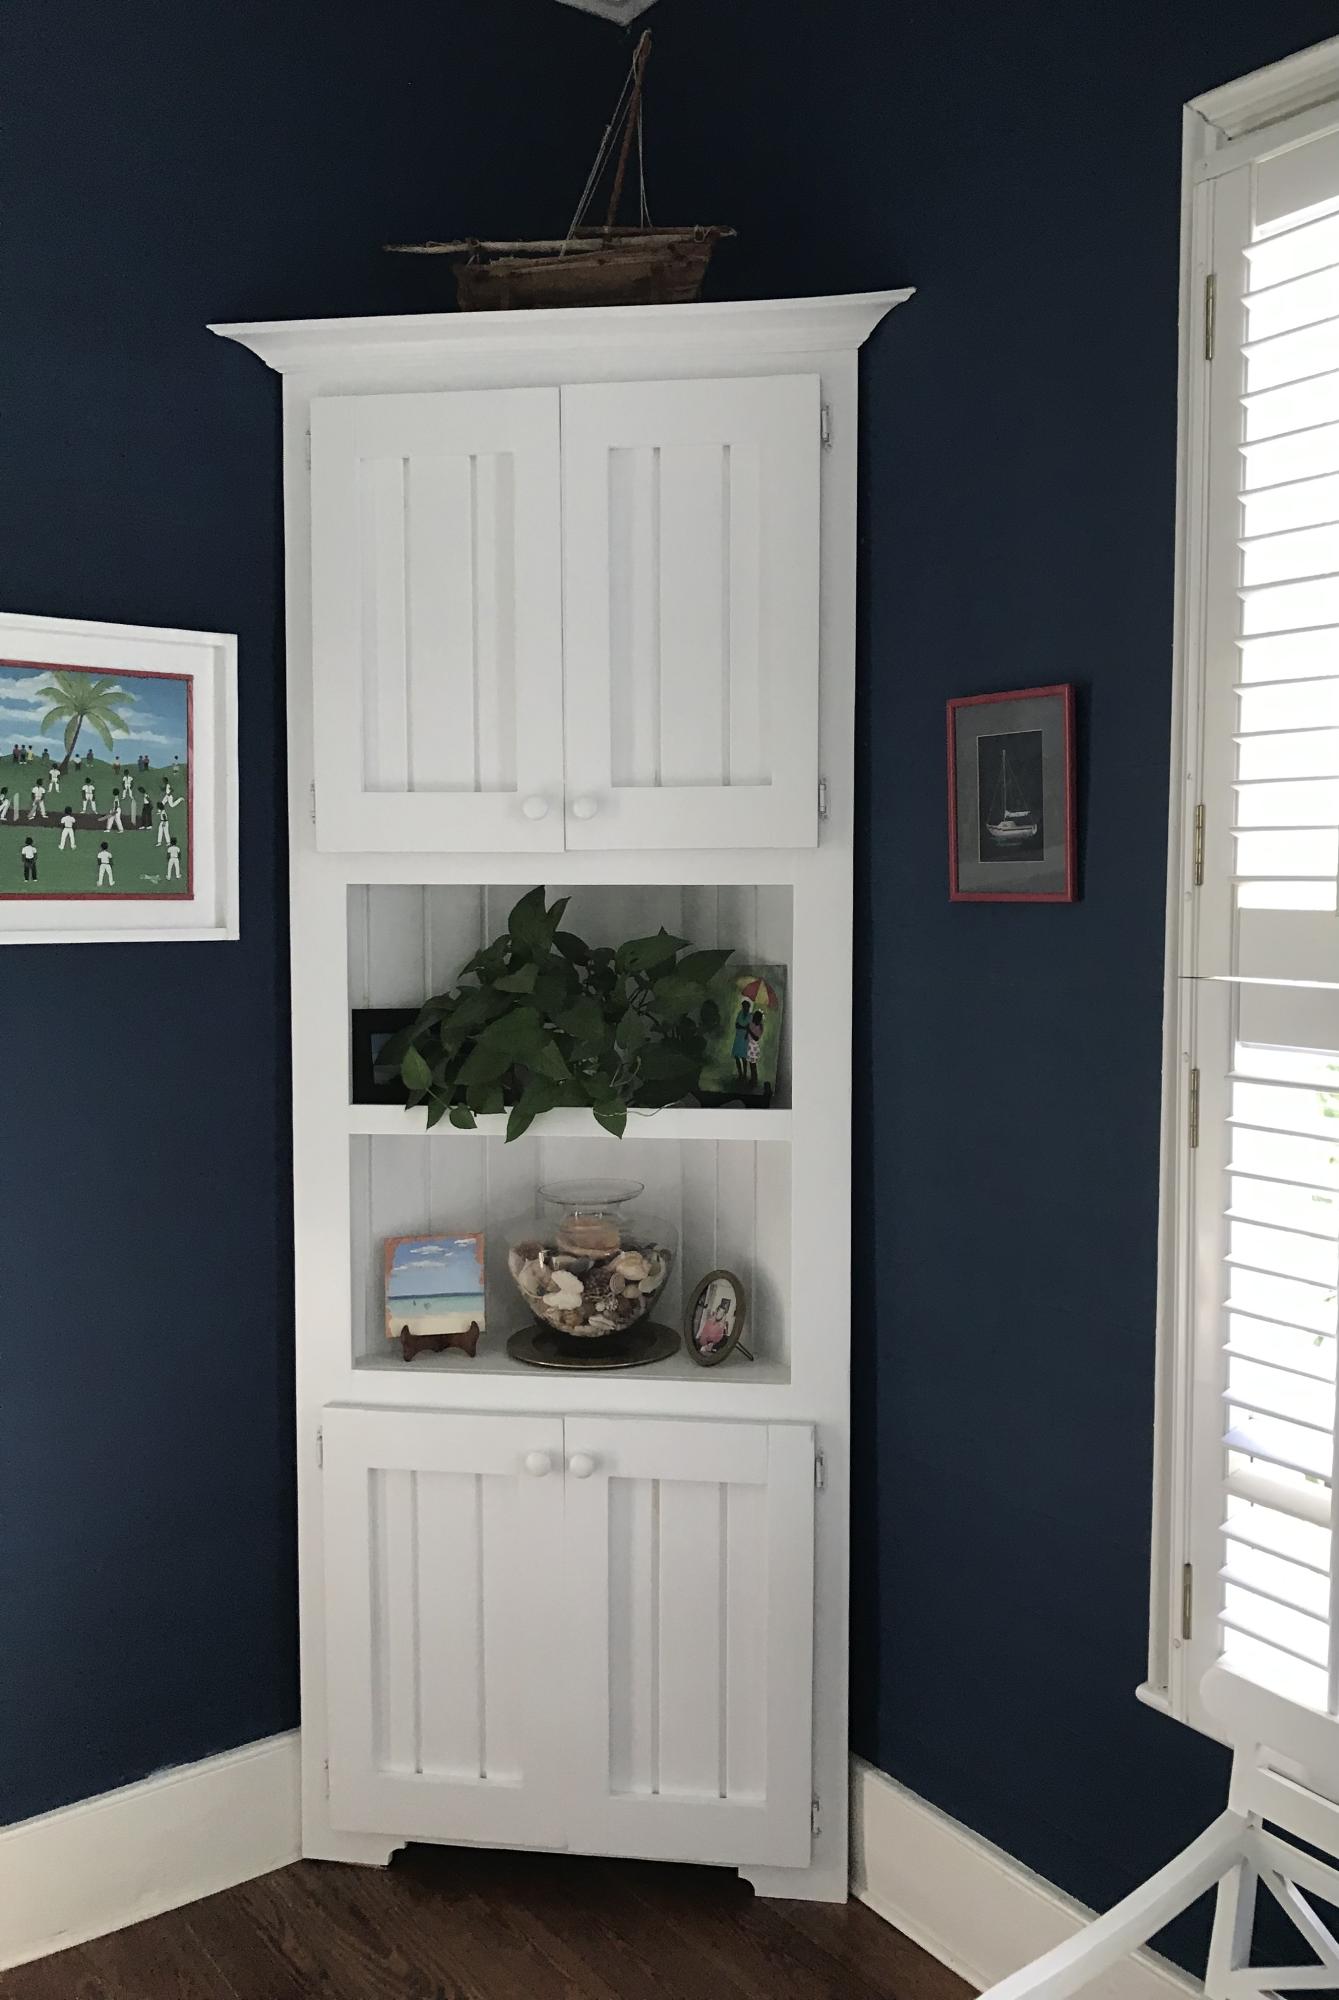
A few alterations to plans….thanks for the inspiration!
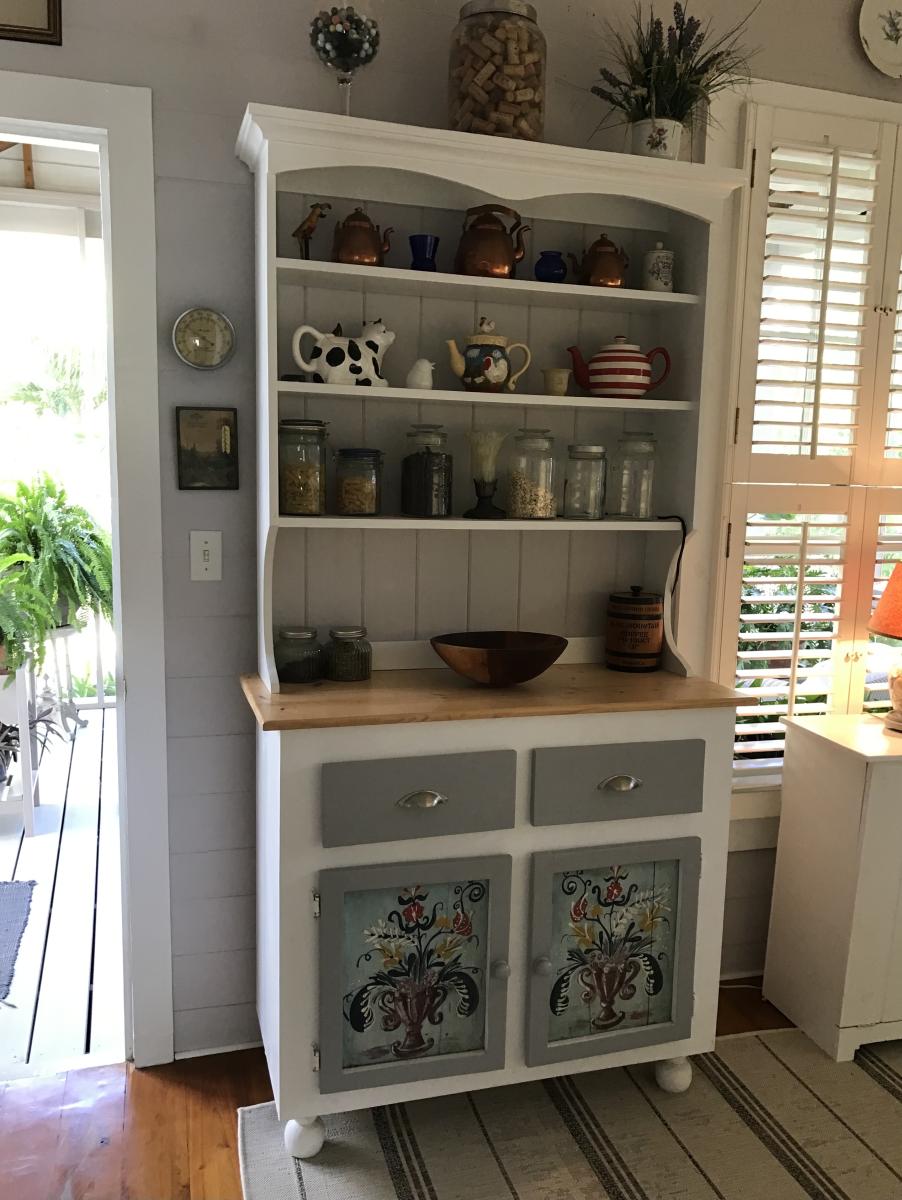

A few alterations to plans….thanks for the inspiration!

Christmas 2010 my husband and I made our little girls a kitchen using Ana's plans. We used the materials on her cut list, and used paint for the finish. Used fabric scraps to sew the sink skirt, found the knobs at hobby lobby and habitat for humanity, and small bar faucet at Home Depot. It turned out amazing!
Thu, 12/15/2011 - 19:04
Julie, this kitchen set is gorgeous!!! Thanks for sharing!
In reply to Julie, this kitchen set is by Ana White
Tue, 12/20/2011 - 16:04
Thanks so much for the compliment! Means SO much coming from you! I love your site and your plans, Ana you are amazing! Thank you for making me your featured builder this month, I had no clue until someone saw my face on your blog! I feel like a rock star now ;)
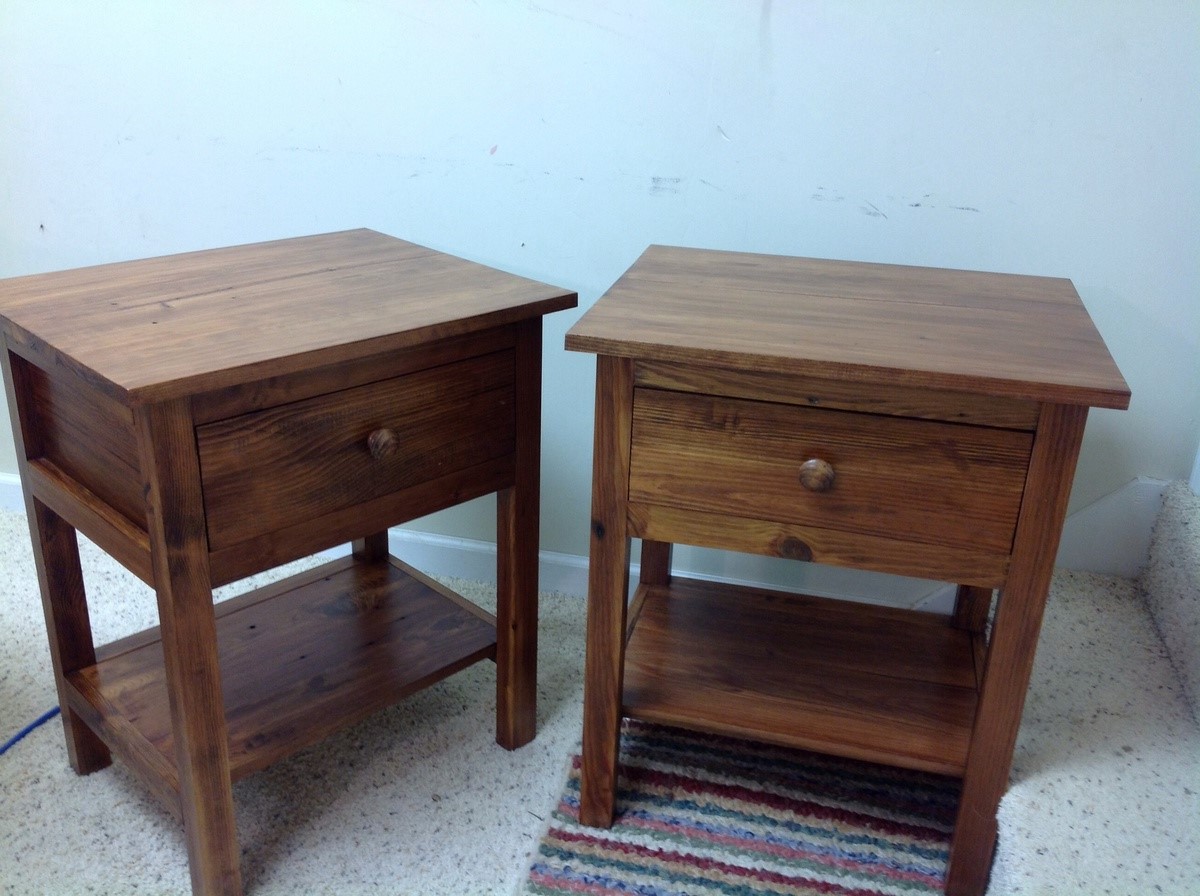
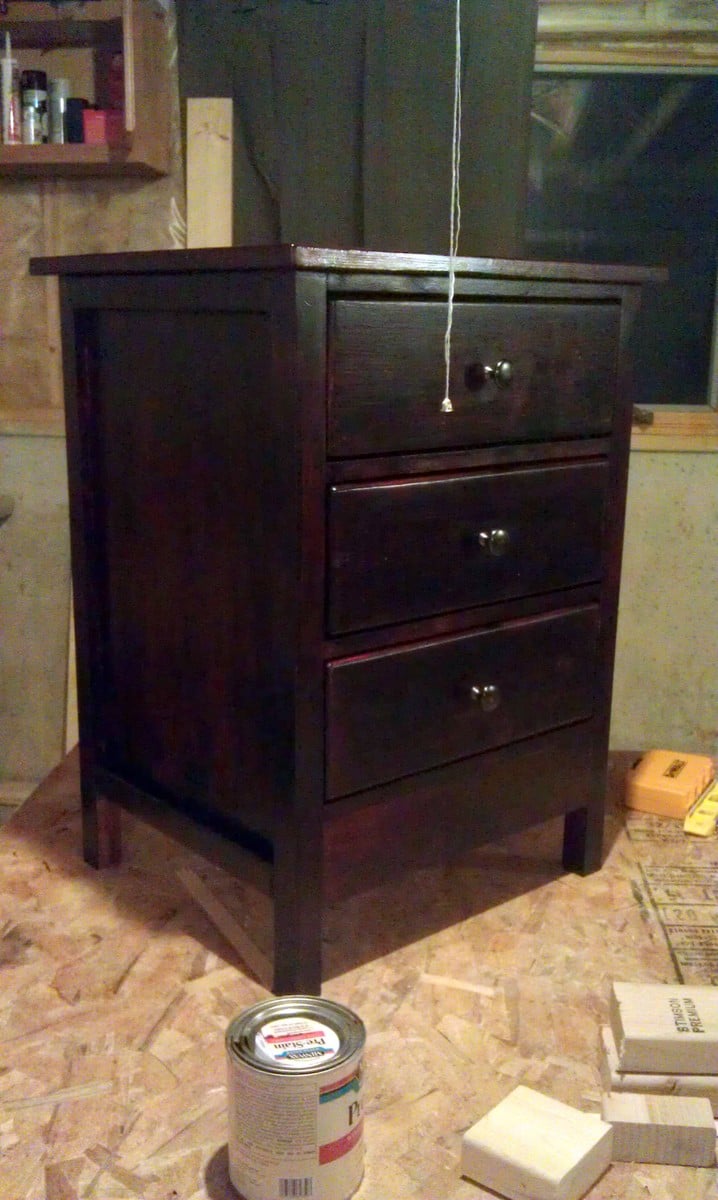
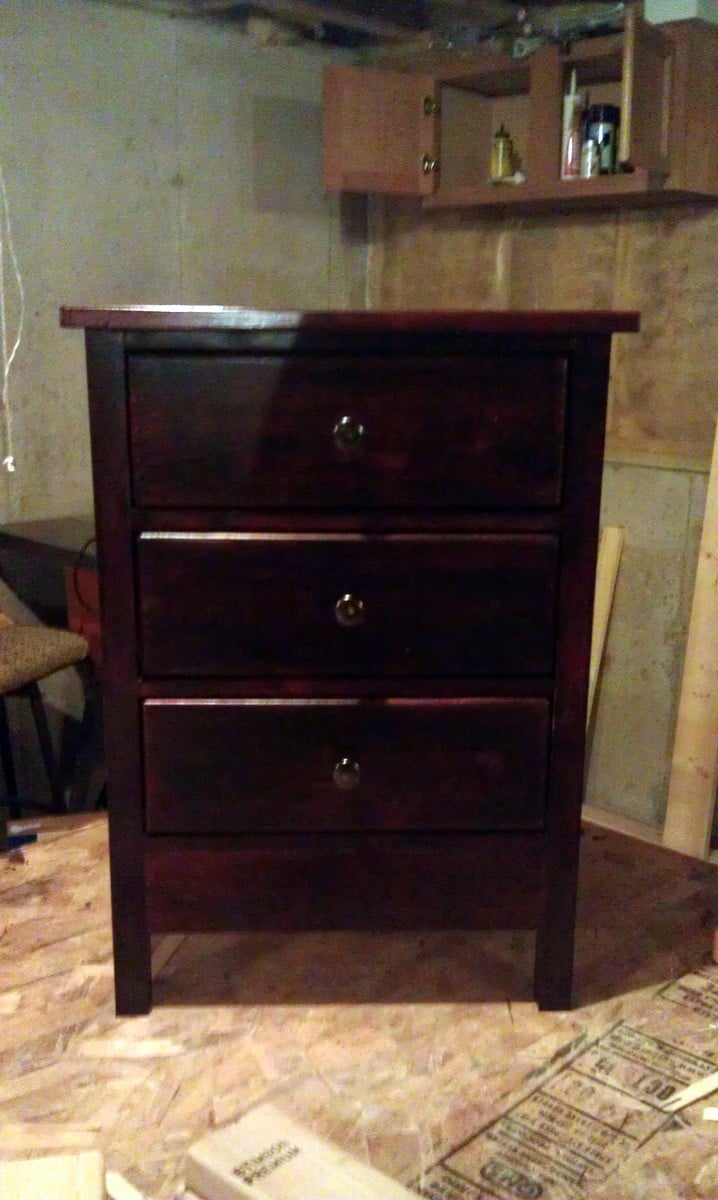
Made these out of left over antique heart pine flooring. Definitely not for beginners. Lots of small pieces, good for using up scraps! Made to match a Reclaimed wood headboard made from the same wood.
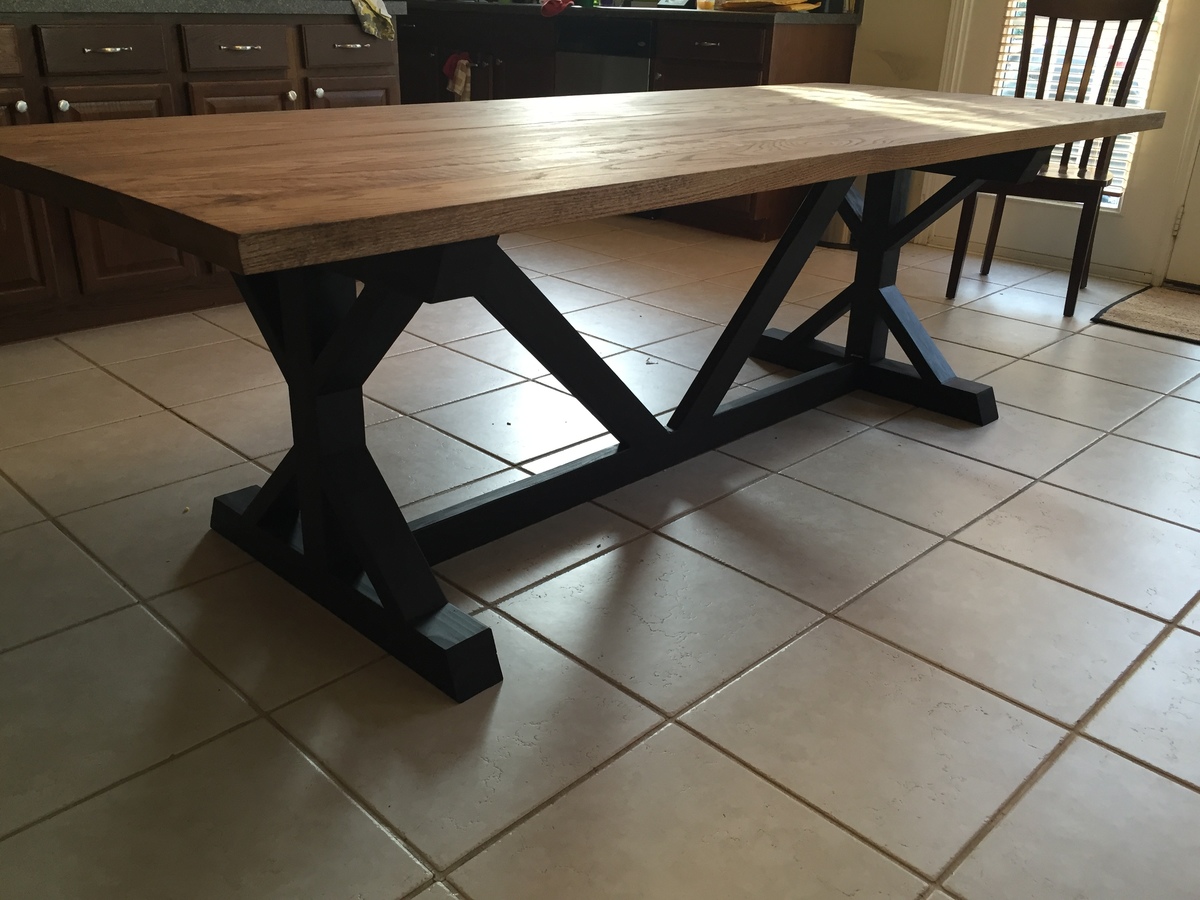
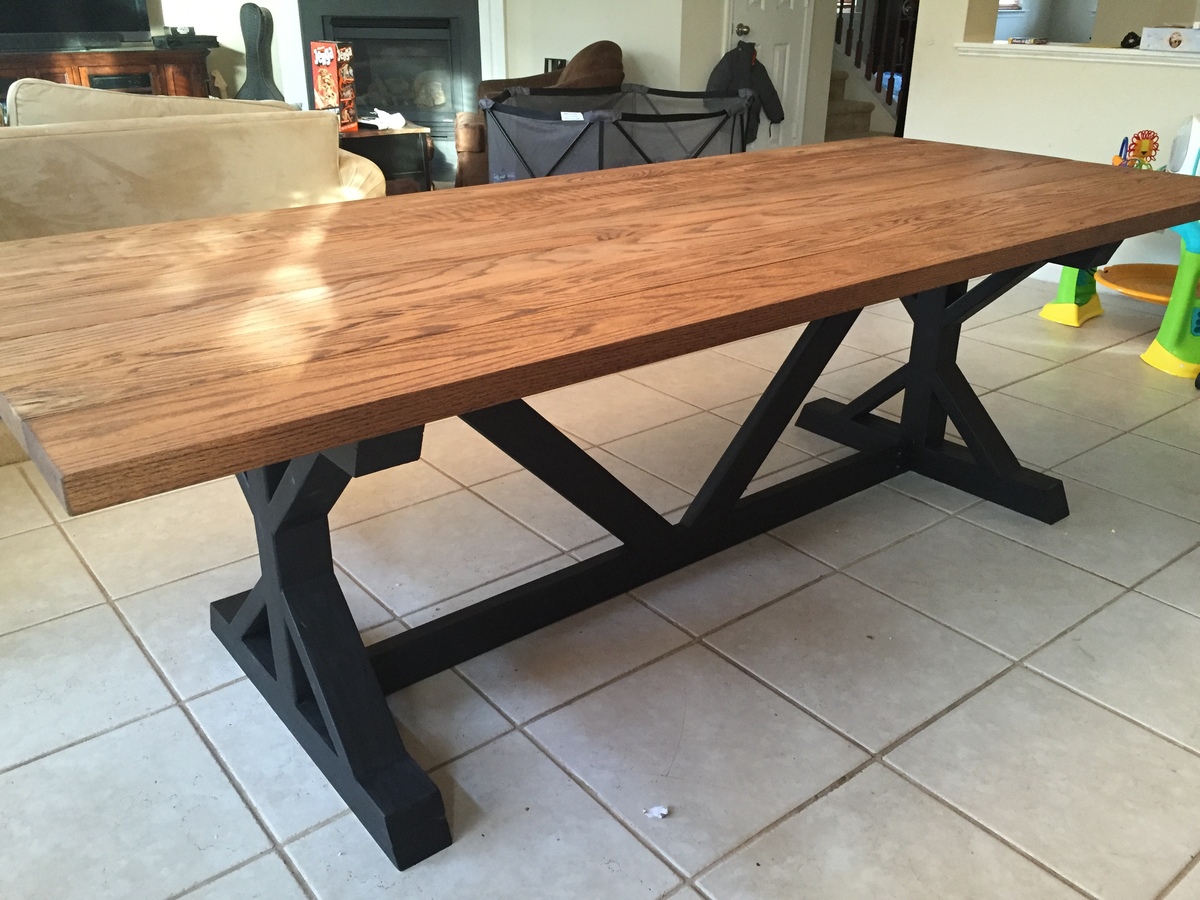
First attempt at building a large piece of furniture. I had success with other smaller projects from Ana White so convinced myself I could do this too! I used 2x6 red oak boards for the top and pine 2x4's for the frame. Love the way it turned out.
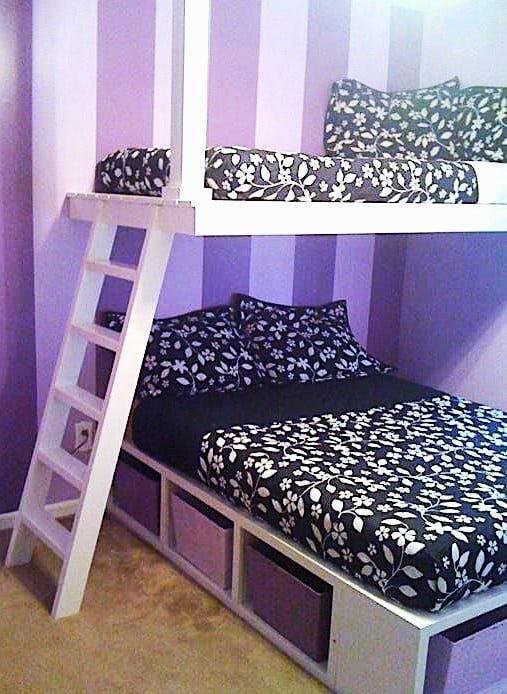
So...we are 6 people in a 3 bedroom house. We needed more room! Thanks for the inspiration Ana. I think these beds turned out GREAT. And the girls love them!!!
Sat, 04/08/2023 - 15:37
Love what you came up with, plus extra storage! Thanks for sharing.
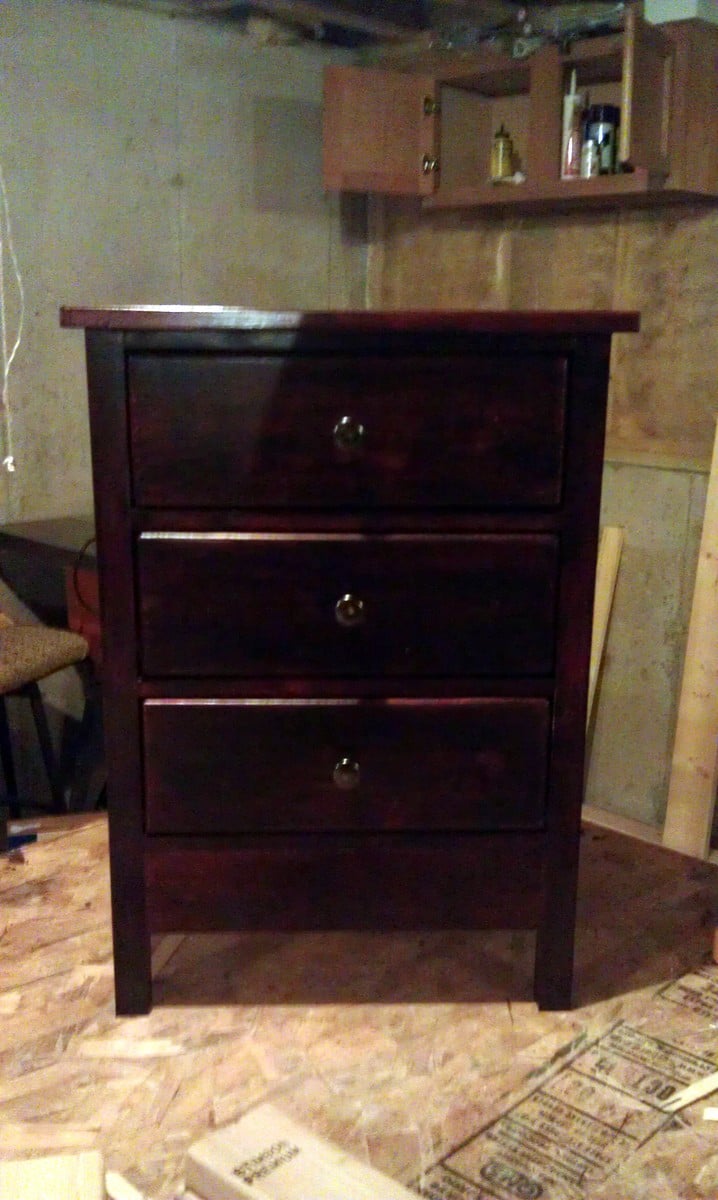
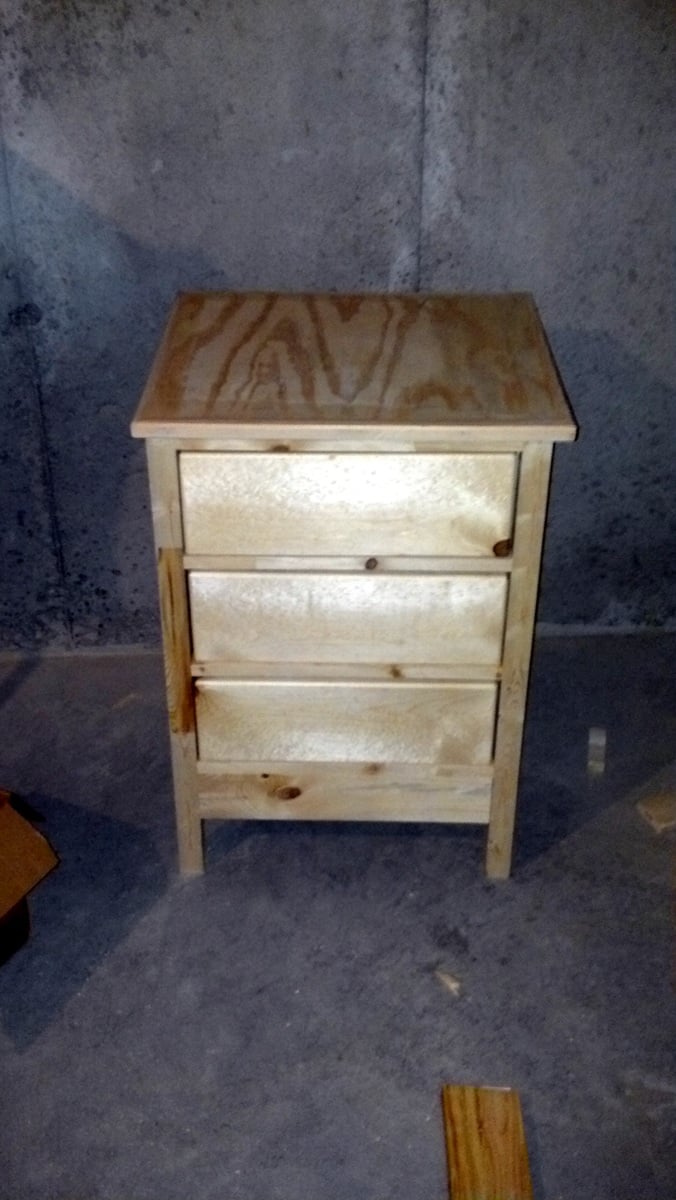
Another project my husband worked diligently on! It took him forever because he's a perfectionist, but he finally got one done. He used a piece of 3/4" plywood framed with mitered wood instead of the planks for the top. Now, on to the other one.
Mon, 12/19/2011 - 16:37
Yes, and it matches our headboard (that he also made) perfectly! I'm excited to eventually have a matching set!
Wed, 01/22/2014 - 07:51
I love the way the top is done.......... I made a bed and stained it with the same stain as you used. I'm hoping my nightstand turns out like yours.
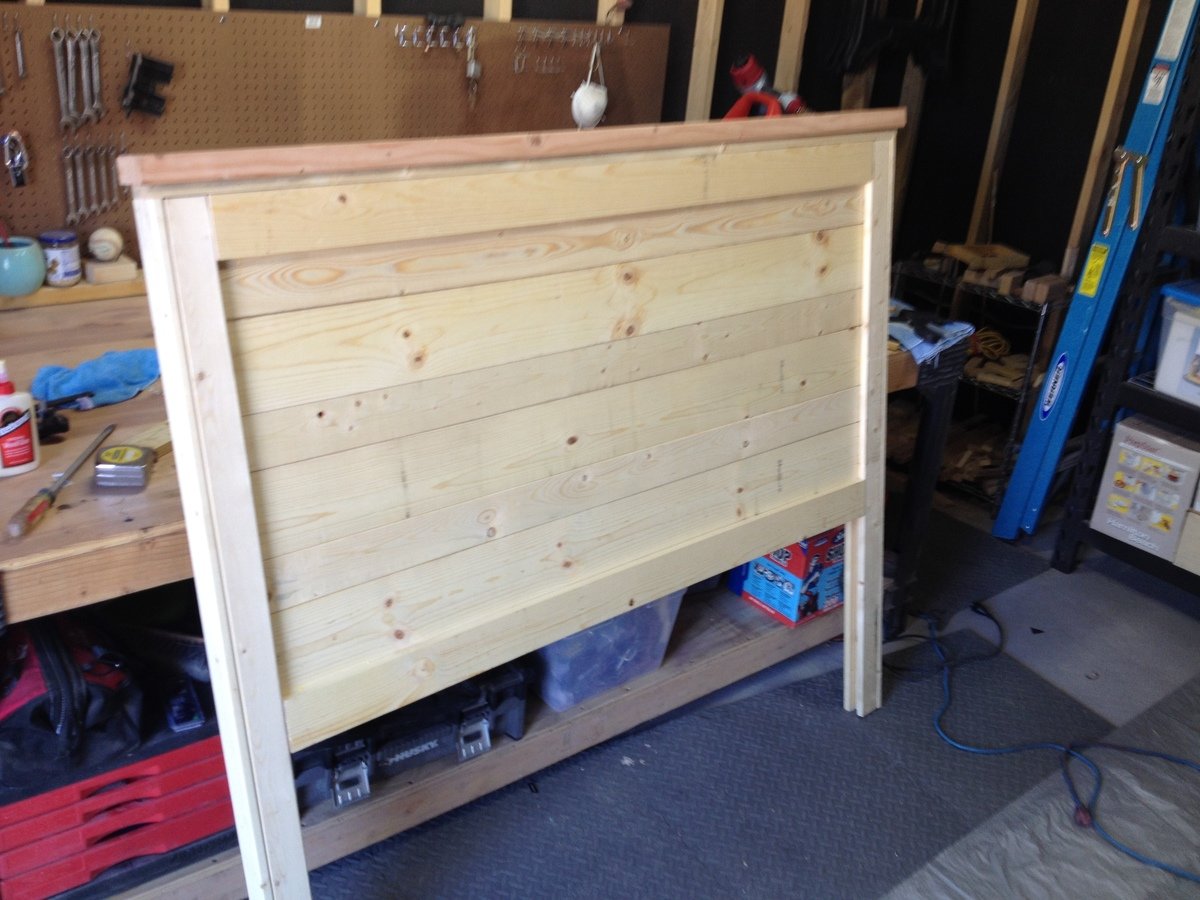
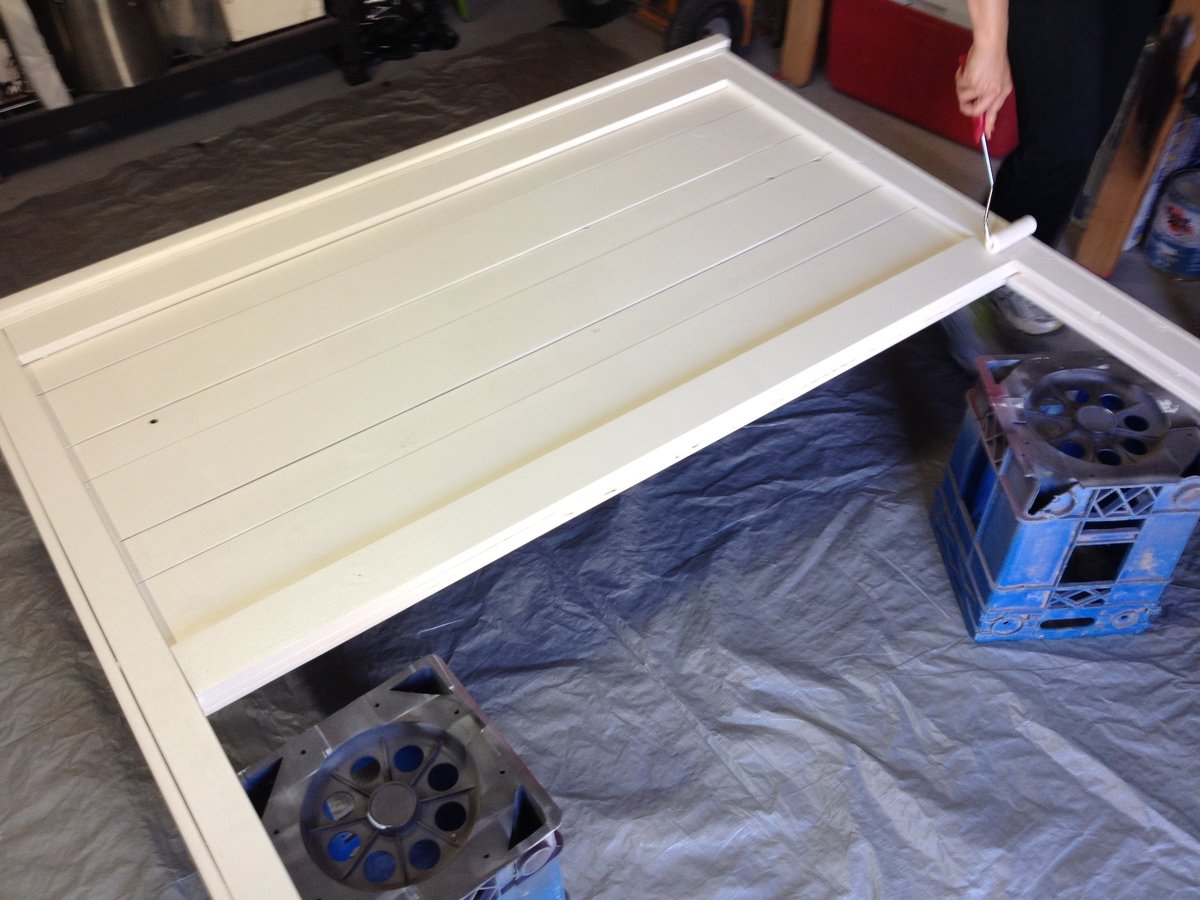
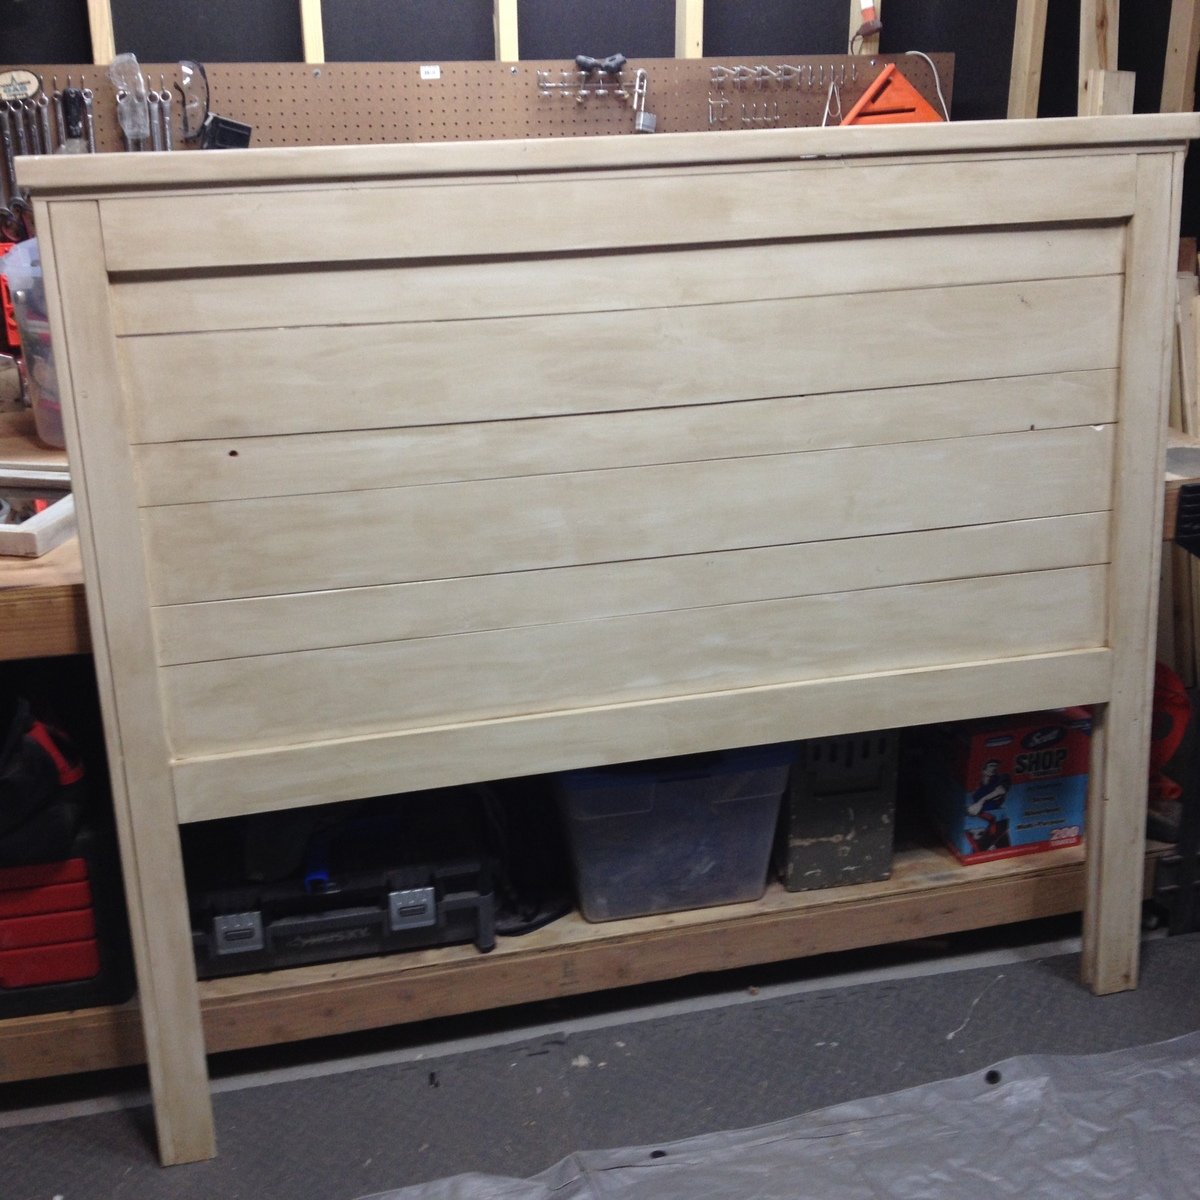
A friend found Ana-White, found the plans and asked if I could build this for her. I'm still new to building, so this was a great, easy project to work on. I went with slightly less expensive boards/furring strips. It means more searching/digging though.
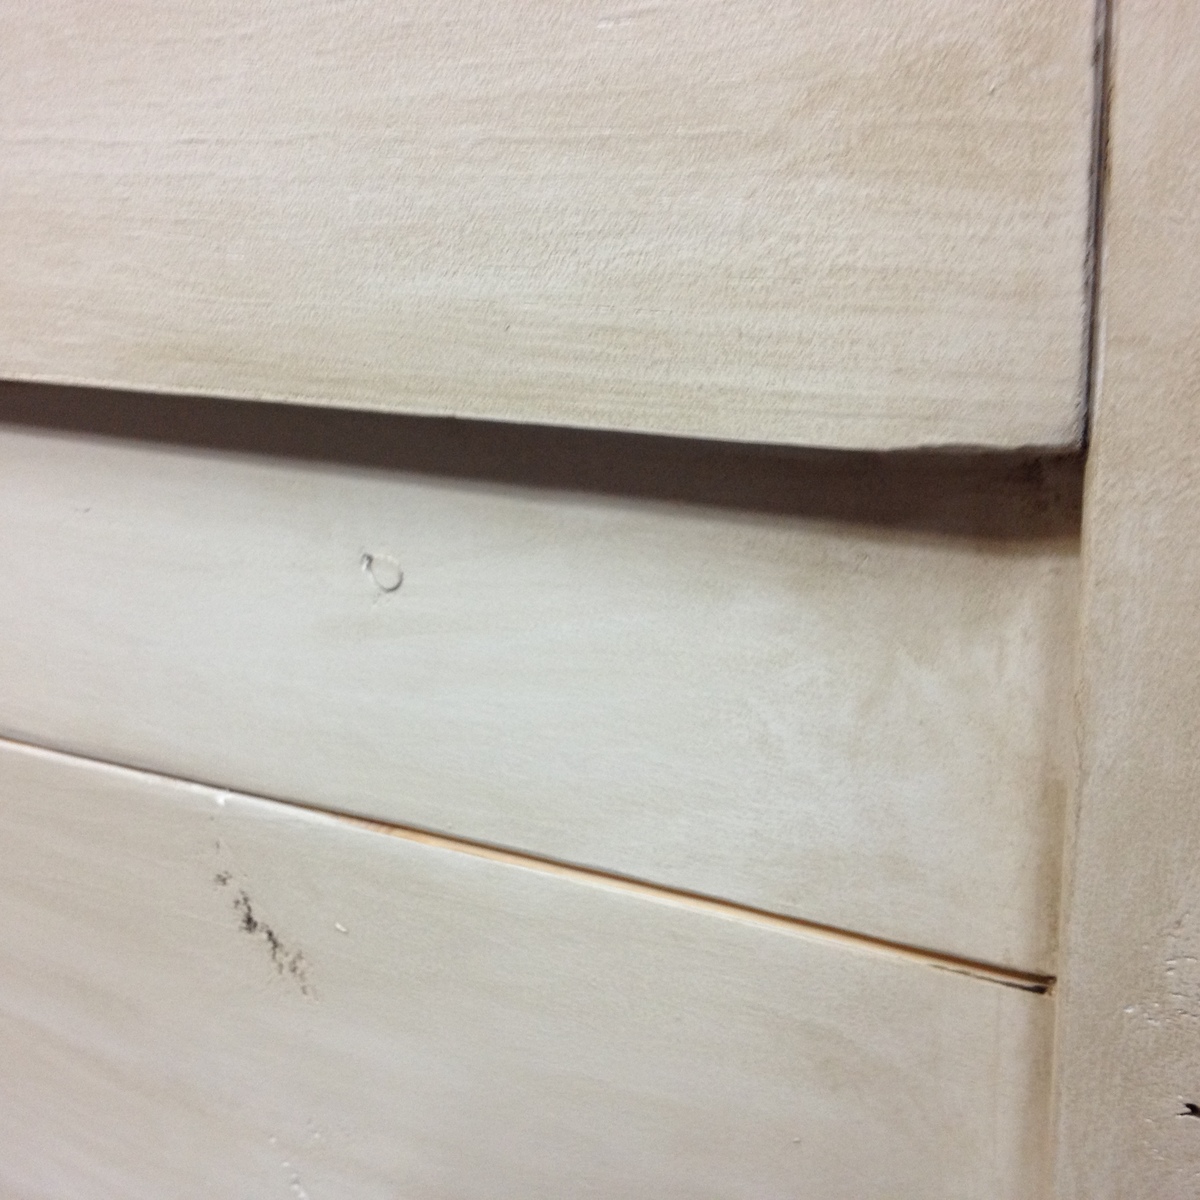
Jaime_C mentioned having to use boards on the back to brace/even up the face boards as much as possible so I did this as well.
We were very happy with the finish. She painted a couple of coats of the base color (antique beige) then we glazed the headboard. We thought about distressing but the practice board looked great without it. I wiped on the glaze and she followed wiping it off to get the look she wanted. The picture really does the finish no justice.
Great plans, easy to follow and fun to build.
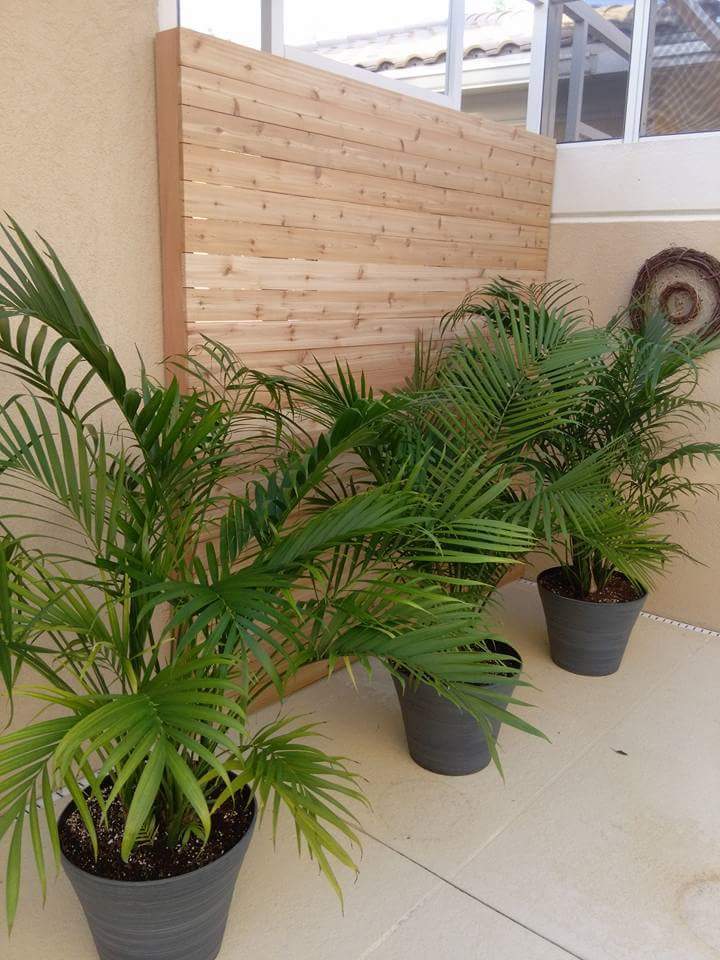
We needed some privacy from the neighbors and to hide their pool equipment and voilà!!! 4 2x4 for the frame 22 1x4 for the slats
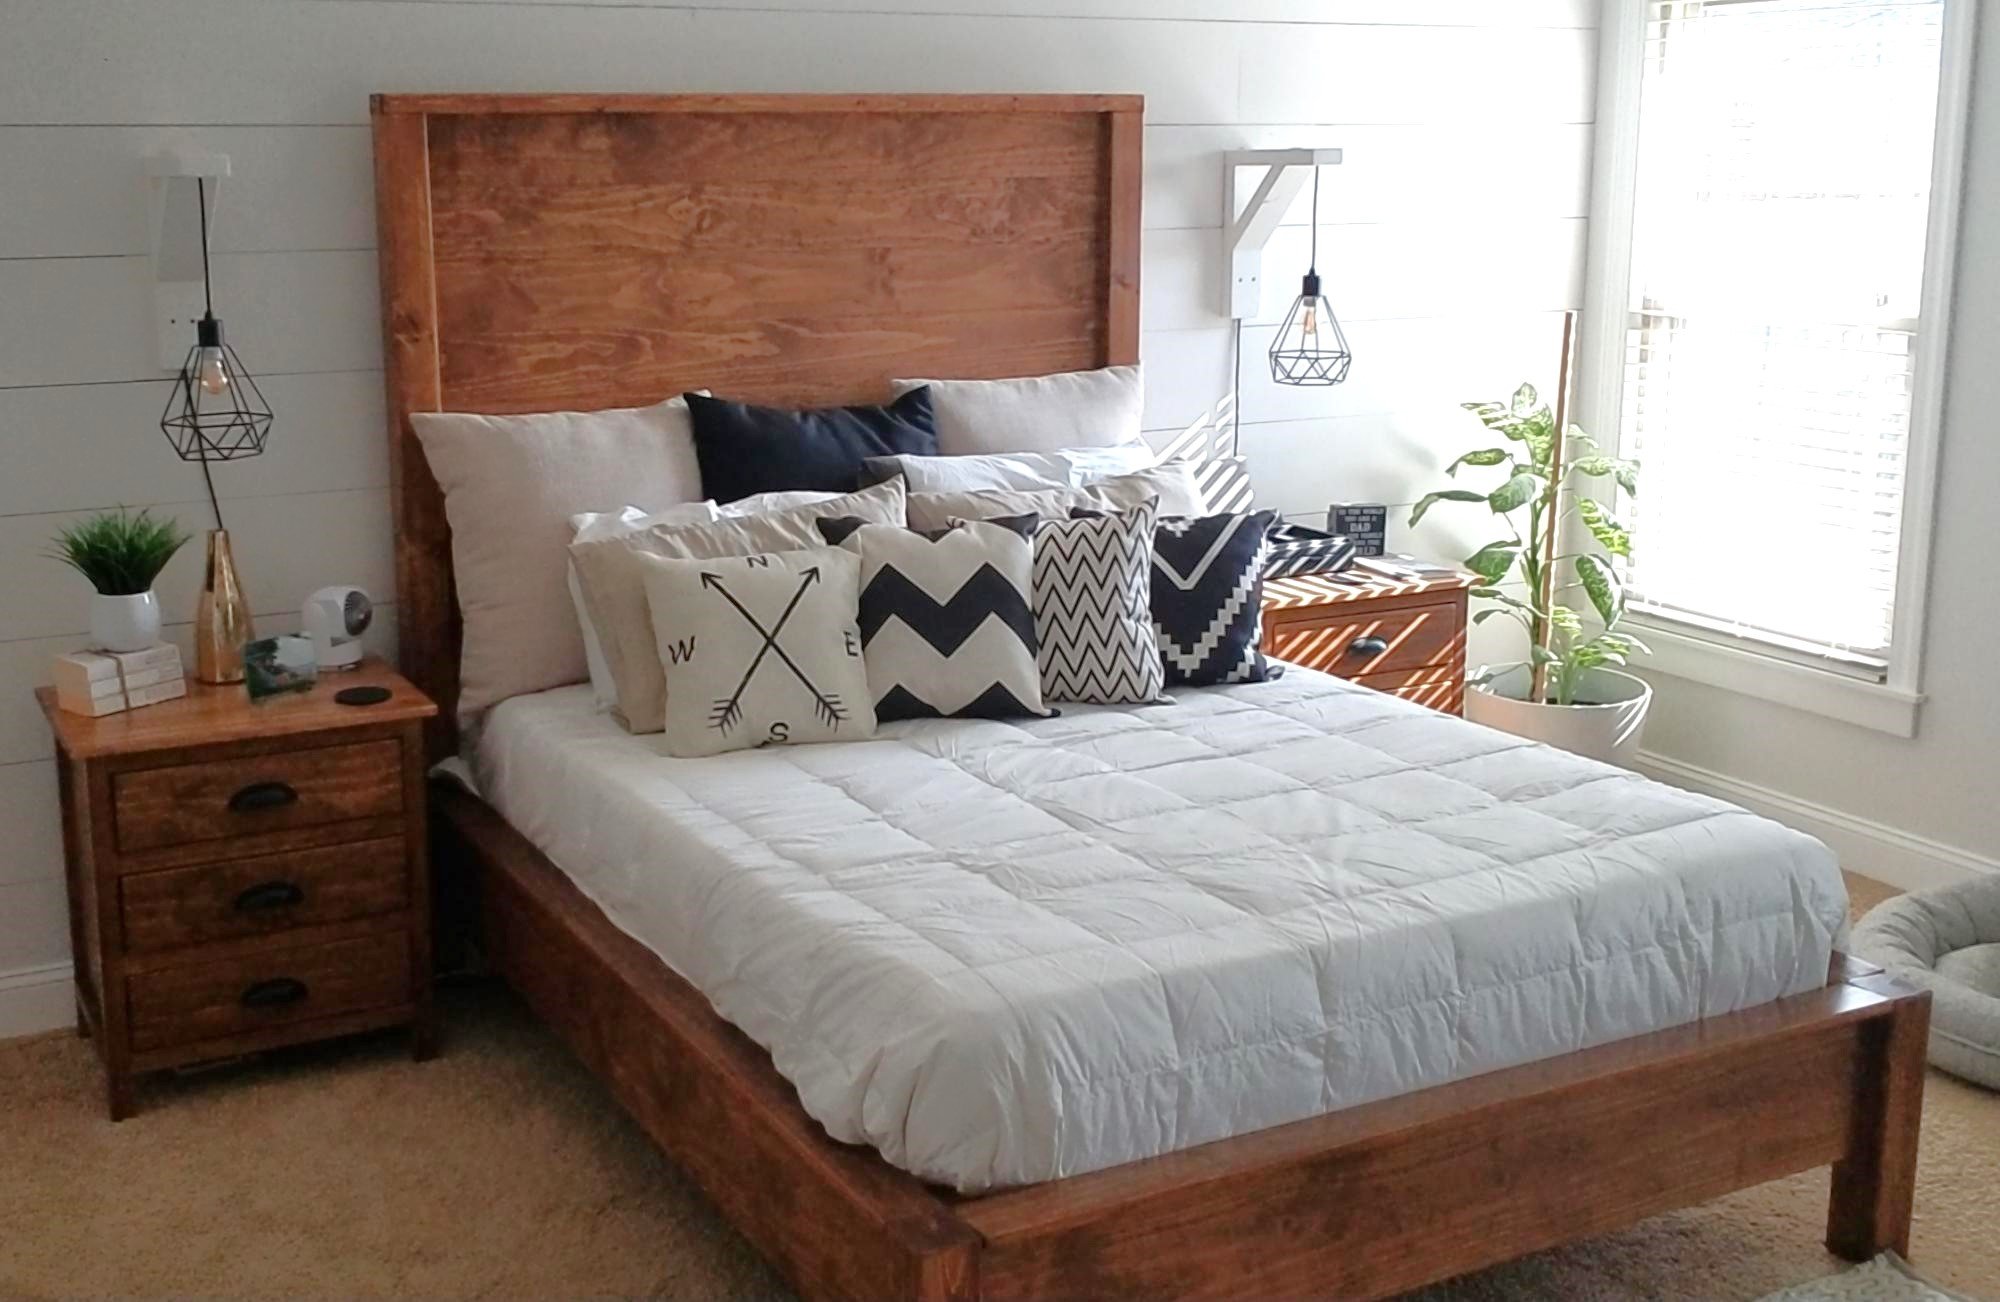
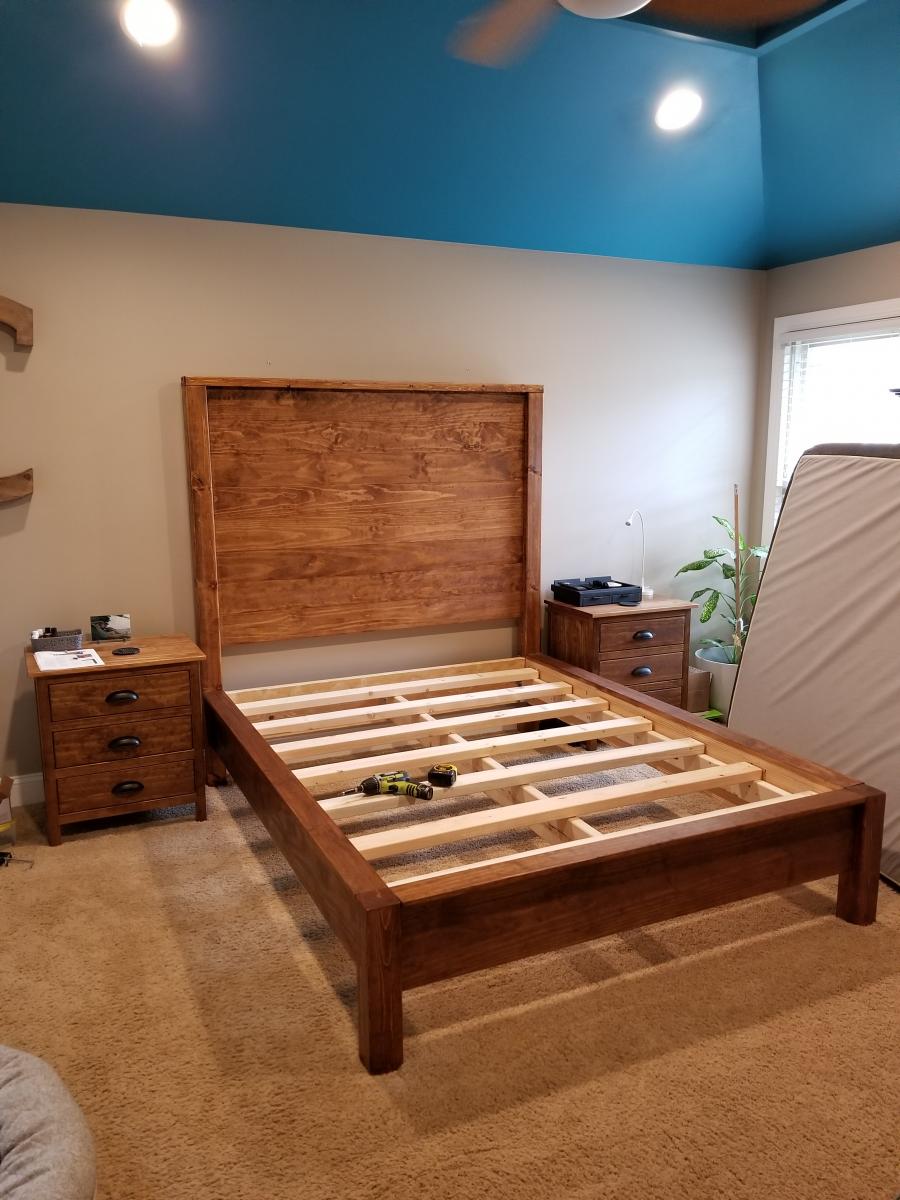
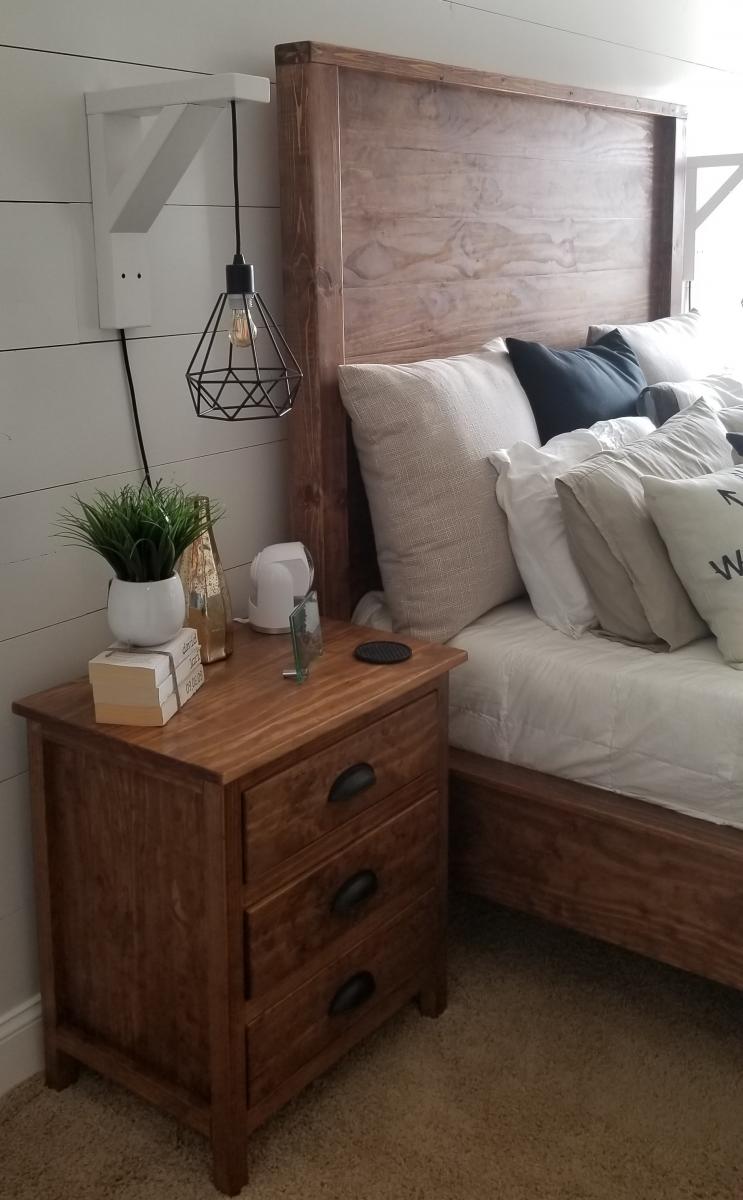
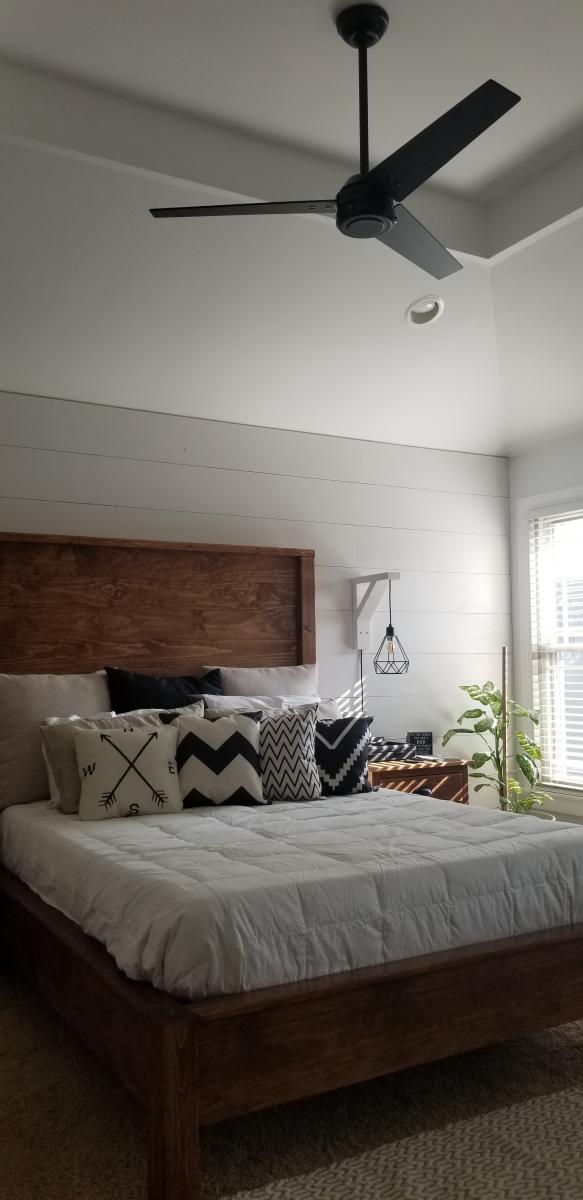
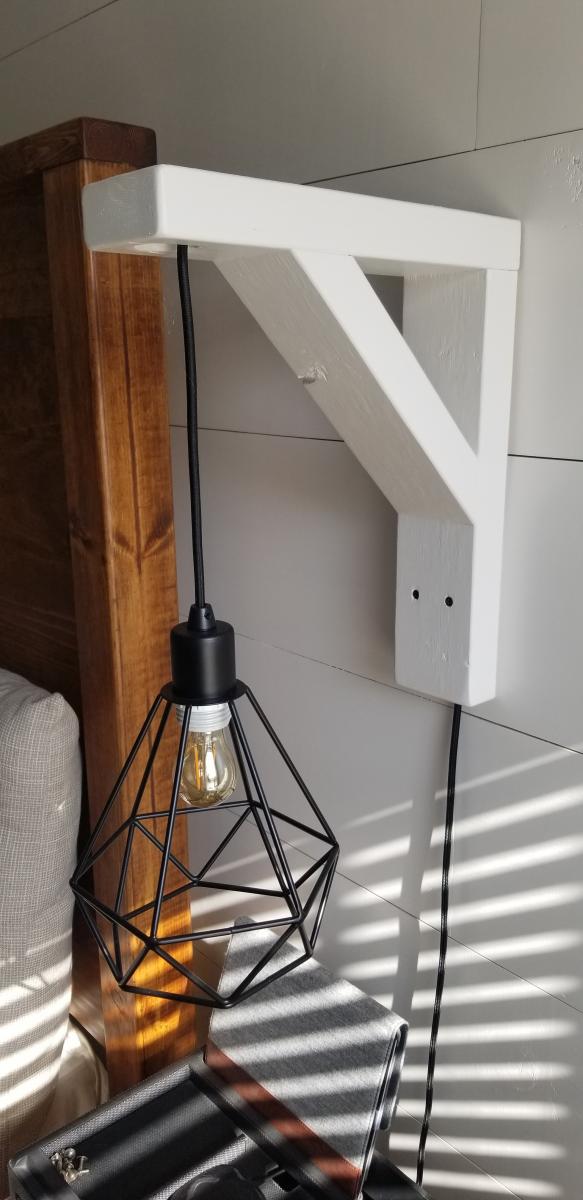
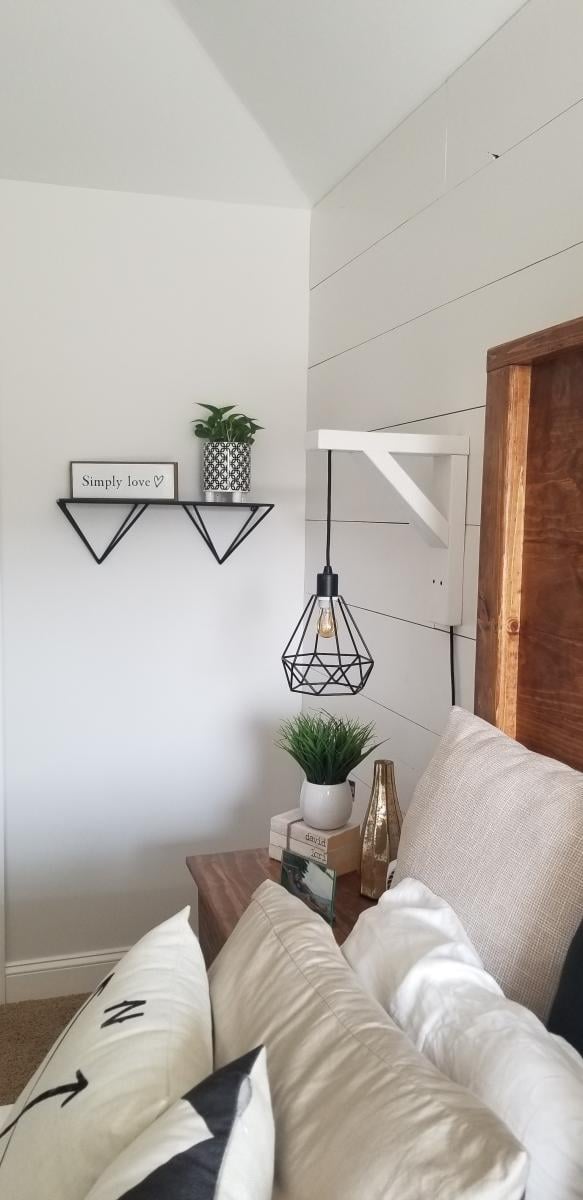
Just like my previous post on the nightstands, It was cheaper to build a bed than I envisioned instead of searching for something over priced. I found the plans for this bed on the site but made the headboard a little over 6 feet tall. This came out amazing and really compliments the nightstands. I also built the sconces that are centered over the nightstands to keep the tops of the nightstands clean and not cluttered. They also have touch pads for the lights mounted behind the bed to make them easy to turn on and off.
This is hands down the best transformation in any room in my house. Ana, you saved me a ton of money with DIY. I even picked up most of the Kreg jigs along the way which is an added bonus!
Tue, 07/09/2019 - 10:09
What a gorgeous room! The bed is just stunning in the space! Those nightstands and lights are perfect. Thank you so much for sharing brag posts!
In reply to What a gorgeous room! The… by Ana White
Fri, 07/19/2019 - 11:39
Thank you so much! I need to thank you for the plans!
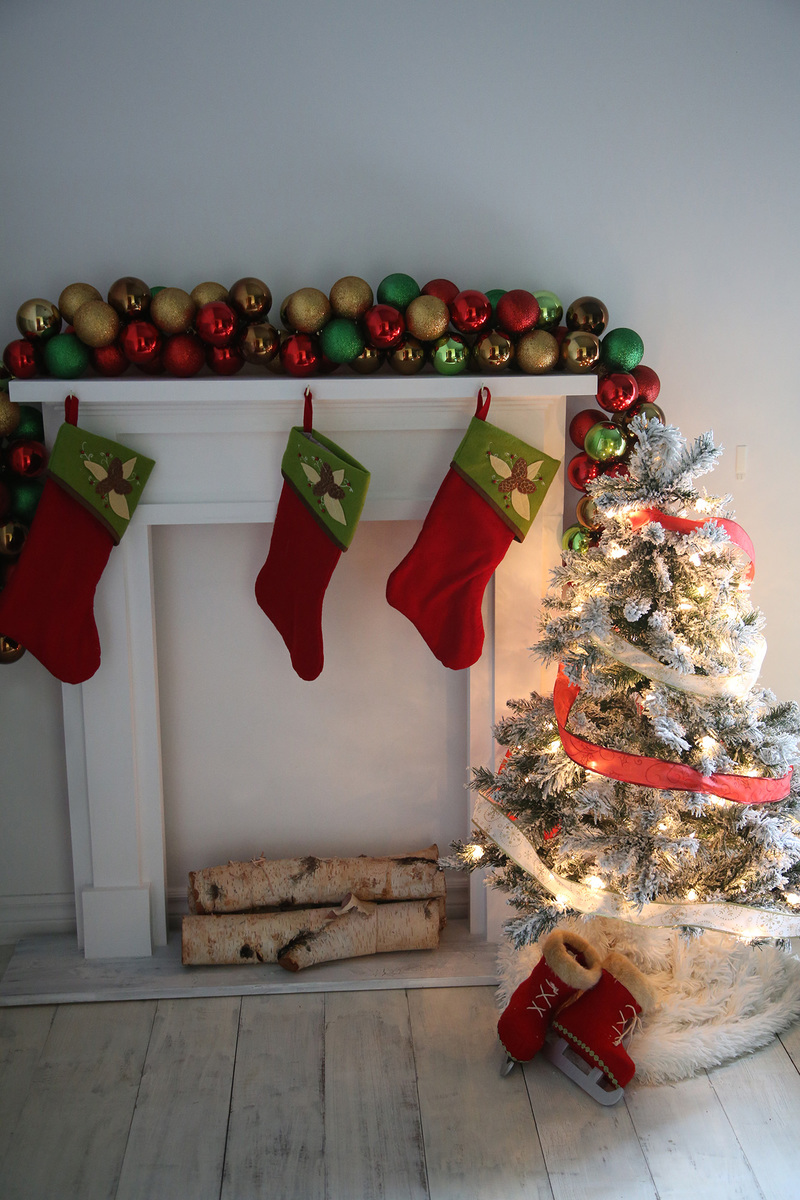
I tweaked the plans to fit the spot I had in mind- It's a little skinnier, but still super cute!
I eliminated some of the extra trim, but I don't think it suffers any for it.
It's super cute!
Thu, 11/14/2013 - 09:50
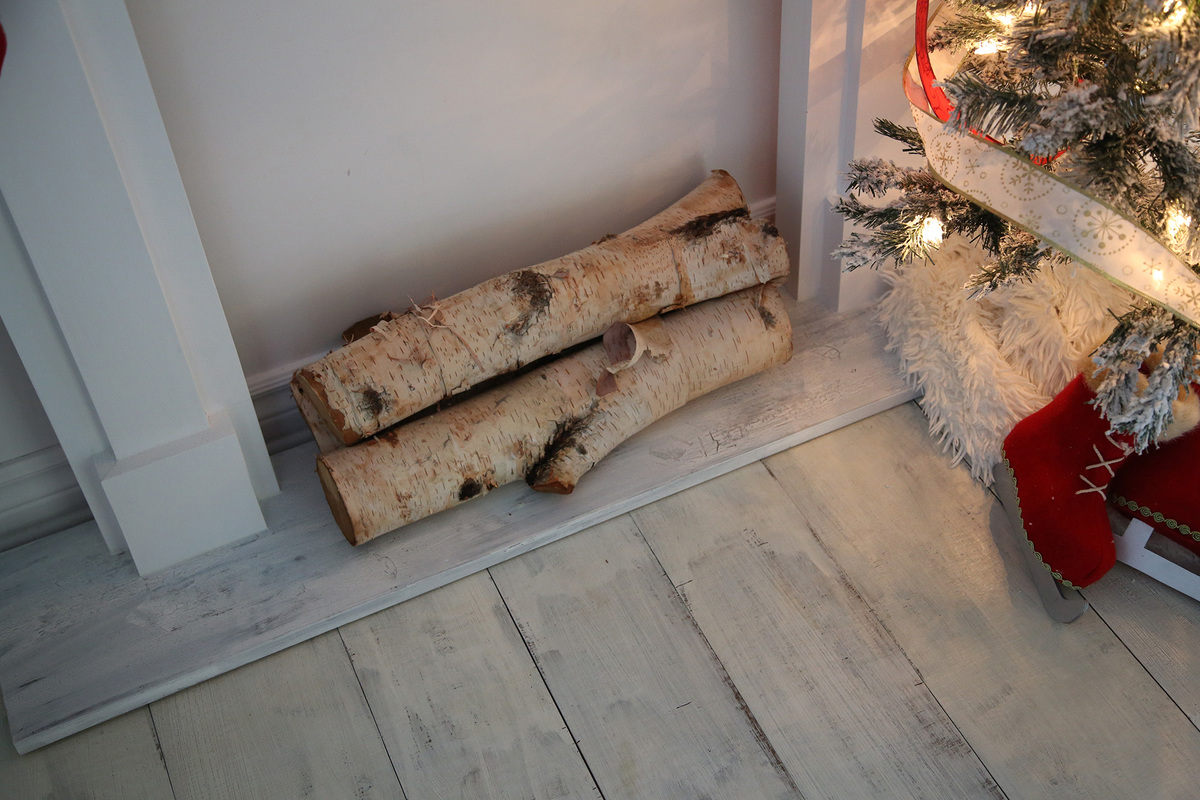
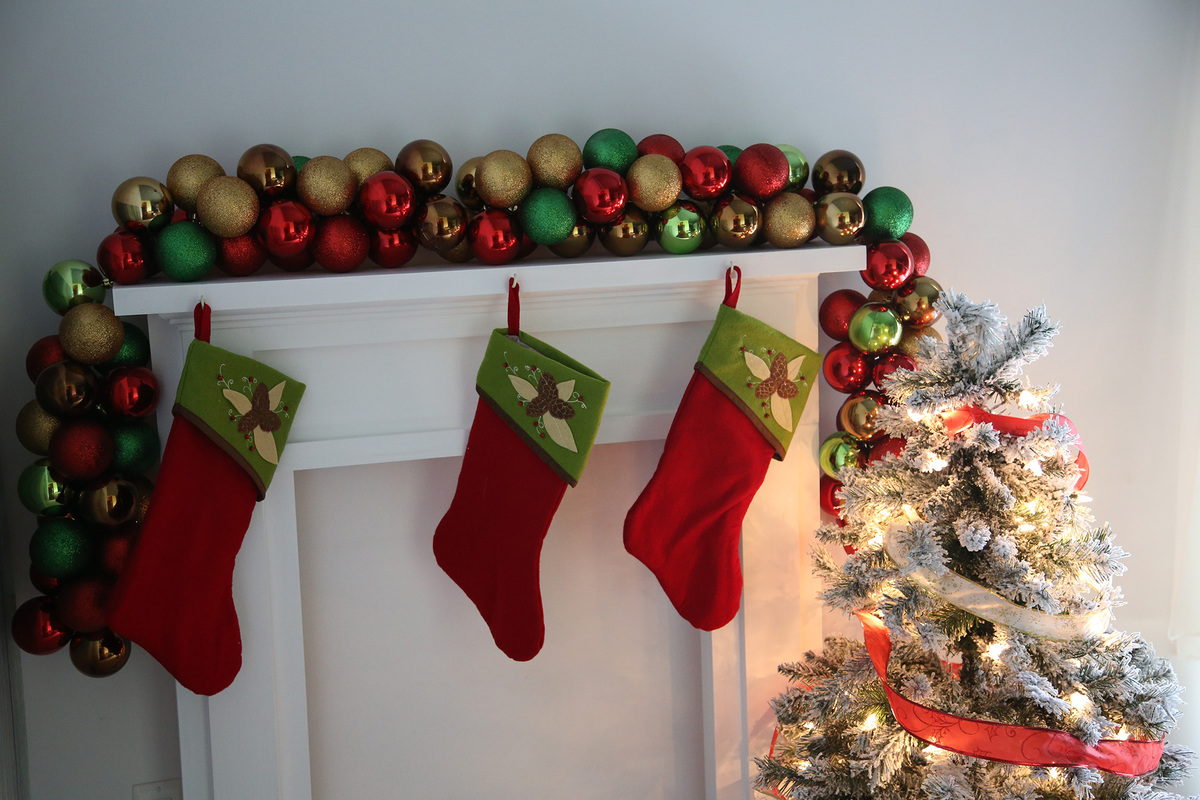
The "fireplace" looks really good! And I'm glad to hear how you did your floor. I've been trying to convince my hubby to do a 1/4" plywood floor in our trailer as a temporary fix until we can either afford to put down "real" flooring or build the house we have been intending to build on this piece of property for the past 17 years. I've pointed out that we can replace the almost 30 year old, worn-out vinyl and carpet in the living room, kitchen and main hallway for less than $300 including paint/stain and polyurethane. But he thinks it will look tacky. I'm going to show him your picture so he can see for himself that it can look pretty doggone good!
Loved this! It was really easy. Can't wait to build more!

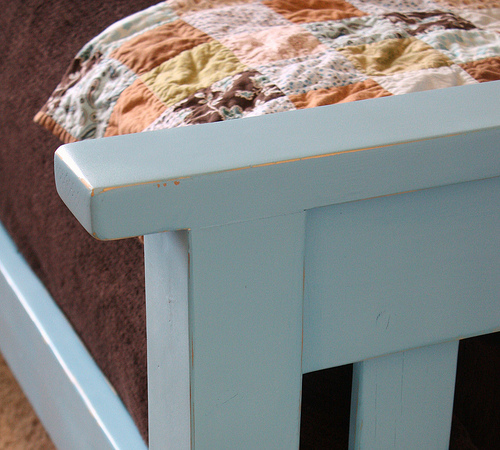
Pretty blue painted finish on simple bed
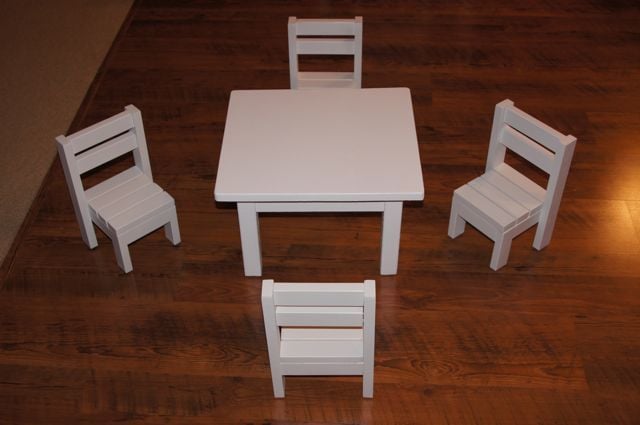
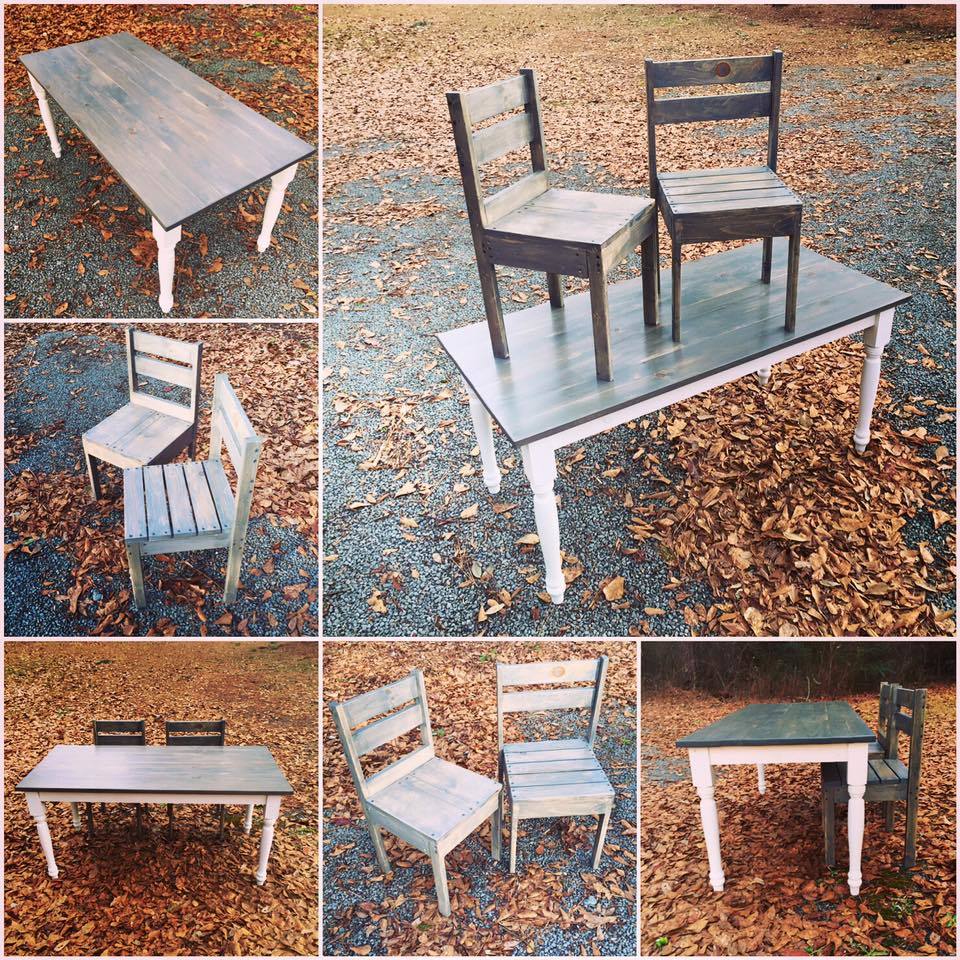
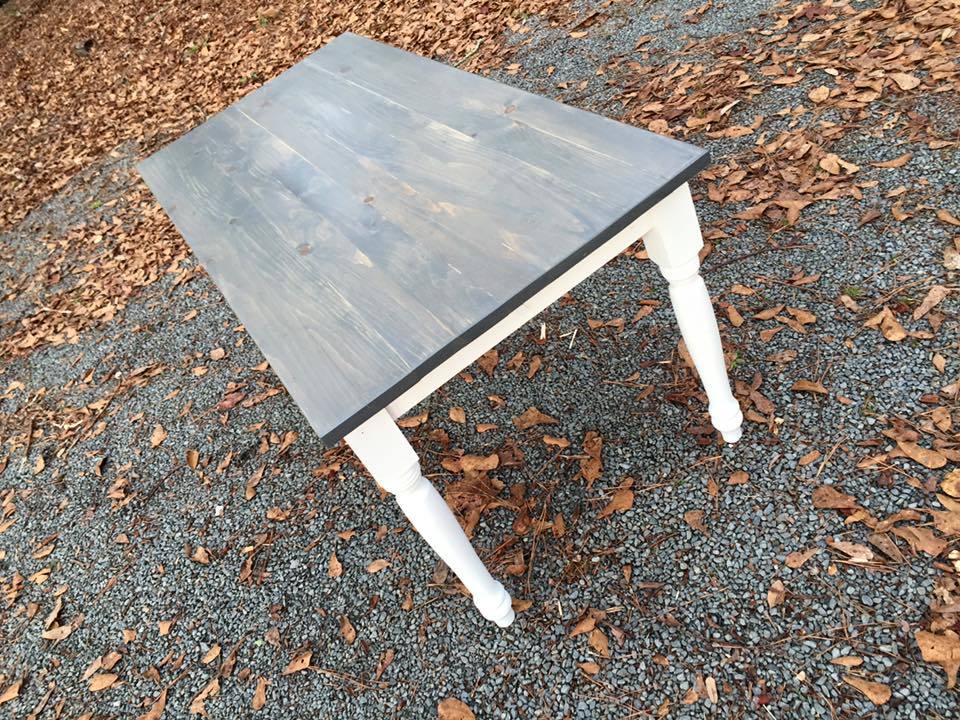
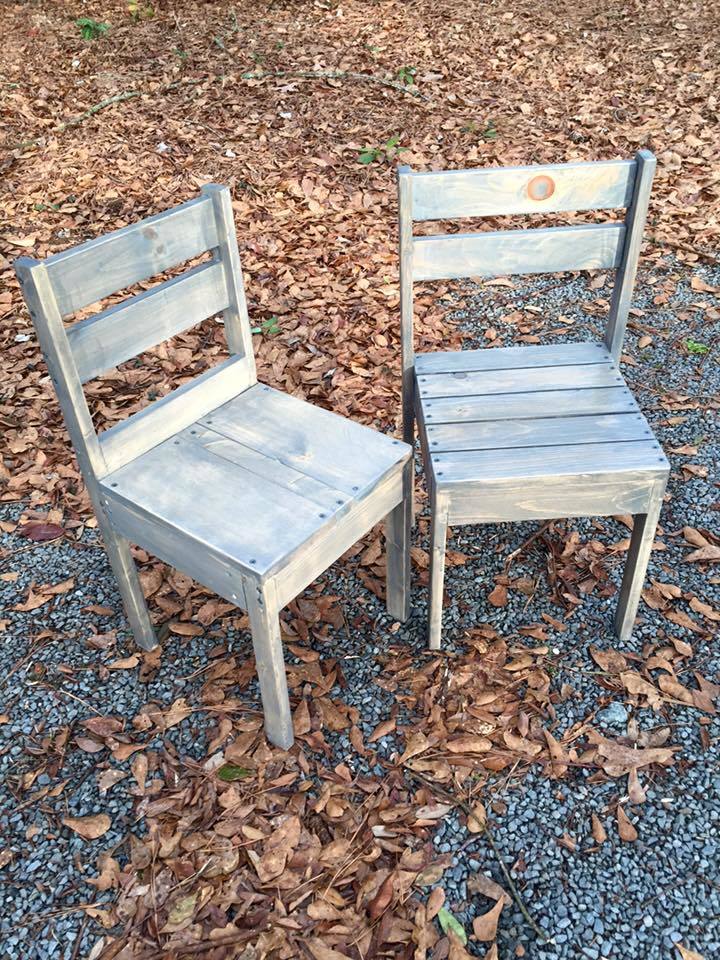
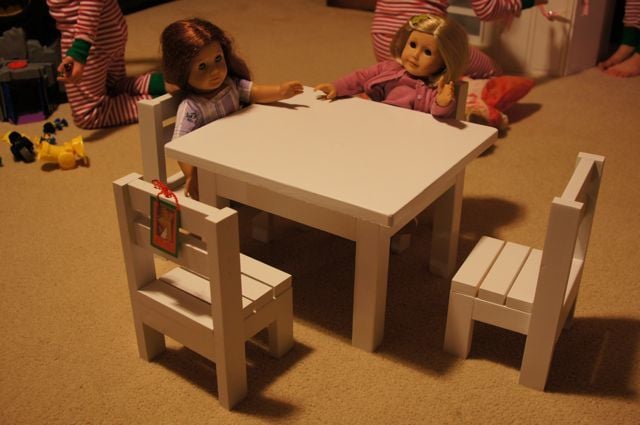
I decided to make the Clara table and the $4 stackable chairs for my daughters for Christmas. They were not for them though but rather for their American Girl dolls. I had to modify the plans to work for standard 18" dolls.
The Table:
It is a little taller than it should be but it allows the doll to fit under the table/apron while sitting in an appropriately sized chair (5" seat).
I also changed the length from 18" to 15 1/2" so the cuts could be made from a 4ft board.
3 - 1 x 6 @ 15 1/2" (Top) (1 @ 4ft)
4 - 2 x 2 @ 10" (Legs) (1 @ 4ft)
2 - 1 x 3 @ 10 1/2" (End Apron) (1 @ 4ft)
2 - 1 x 3 @ 9" (Side Aprons)
The apron is 1 1/2 inches. a 1x2 would probably work for the aprons too. You could then shorten the table legs by about an inch.
The Chairs:
The over all dimensions are now 12" H (back), 5 1/2" H (seat) X 6" W X 6 1/2" D
Cut List:
2 - 1×2 @ 4 1/4" (Side Aprons)
2 - 1×2 @ 5" (Side Supports)
3 - 1×2 @ 4 1/2" (Front Legs and Front Apron)
7 - 1×2 @ 6" (4 Seat Slats, 2 Back Slats and Back Apron)
2 - 1×2 @ 12" (Back Legs)
Not bad for our first project...We love it and so does our daughter! Followed the directions except we did 1x10's instead of 1x6's and we left one inch to hold the mattress on instead of the 1/2 inch it called for since we bought her a foam mattress it needed a piece of plywood for extra support.
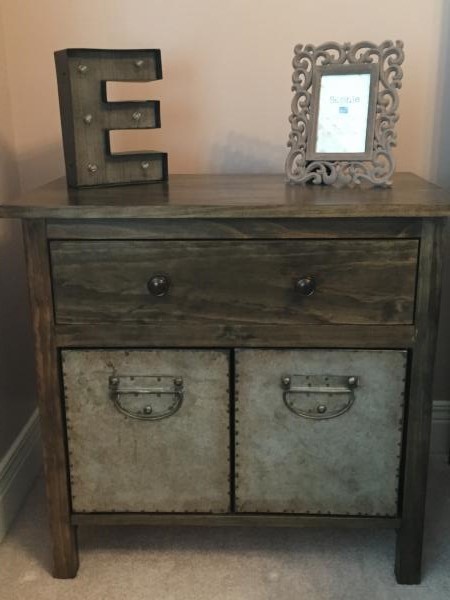
I loved this plan. It fits perfect in our daughter's bedroom as a night stand.

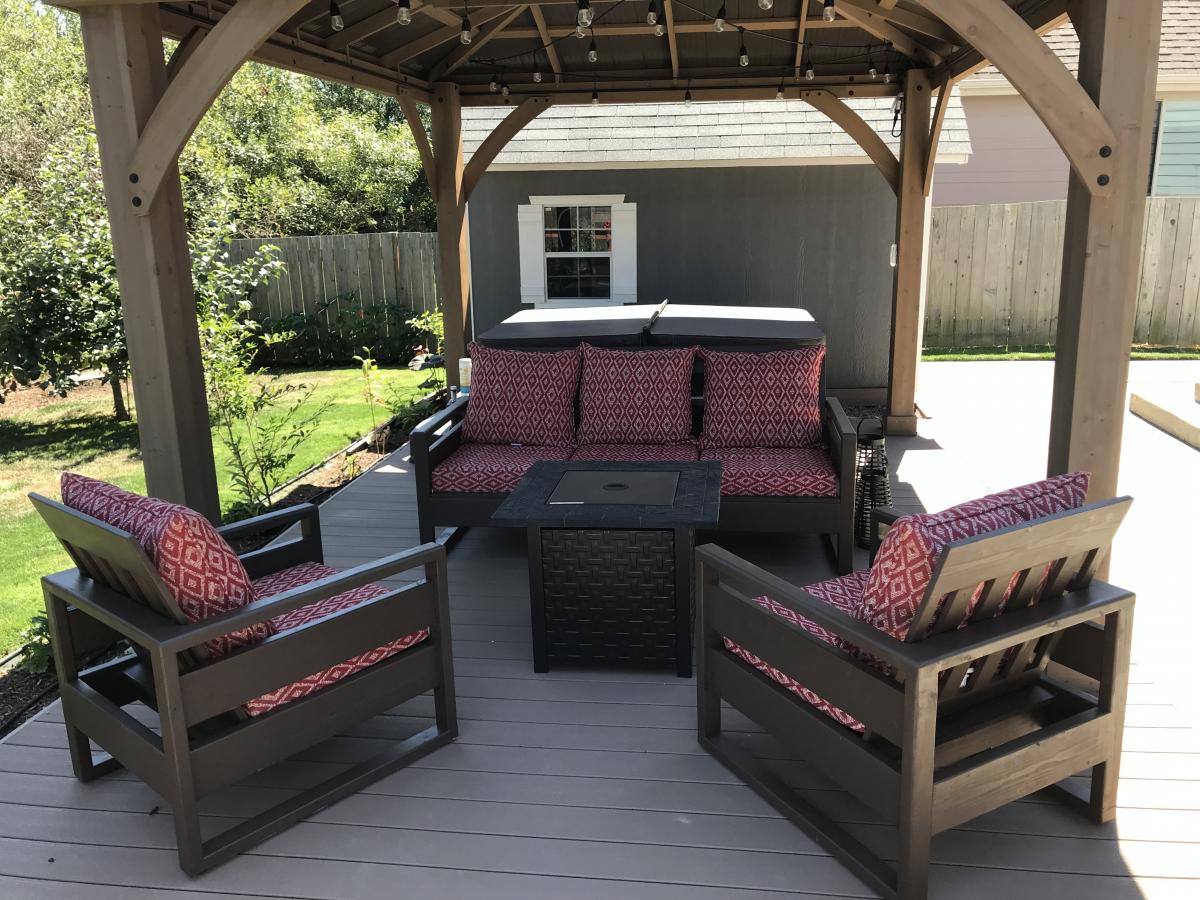
Combined the 2x4 sofa and 2x6 chair plans. Added the extra 2x6 under the arm rest, to keep future pillows from falling through the gap. Great plans! Thanks!



Mon, 07/22/2019 - 11:54
Love this! The 2x4 arms are so much better too. Thank you for posting!
Wed, 08/14/2019 - 23:38
Thank you! Actually added another couch, two side tables, and a ottoman to match! Looks like it came out of a magazine! Planning on doing one of your bedframes next. Love your site!
Mon, 12/21/2020 - 12:04
@papadog - I love your build and the way you iterated on the plans to make it work best for your specific needs. I'm in the process of building off these plans myself, and the one thing I cannot figure out is how the base of the back is intended to be secured to the sides. In the plans (step 7) it just says "secure to the sides using 2 1/2" screws". Am I supposed to drill from the outside of the sides into the back base? I'd like to avoid that, and based on the pictures, it looks like you have. If you can share how you secured the back base to the sides for your build, I would be very grateful.
Tue, 01/10/2023 - 10:24
So sorry, didn’t know there was a question/response to this! I didn’t secure them. Hasn’t been an issue.
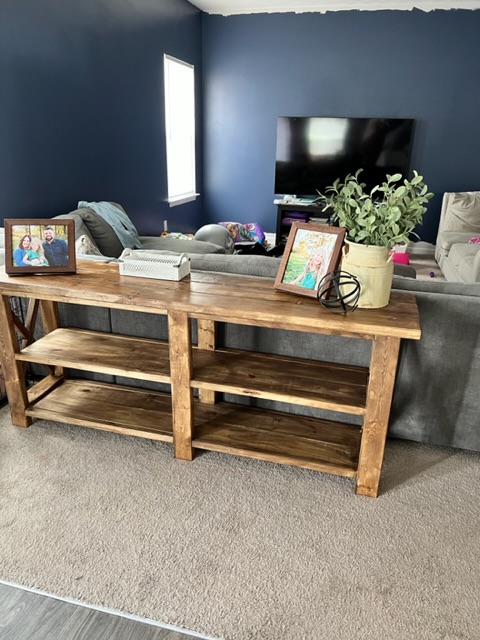
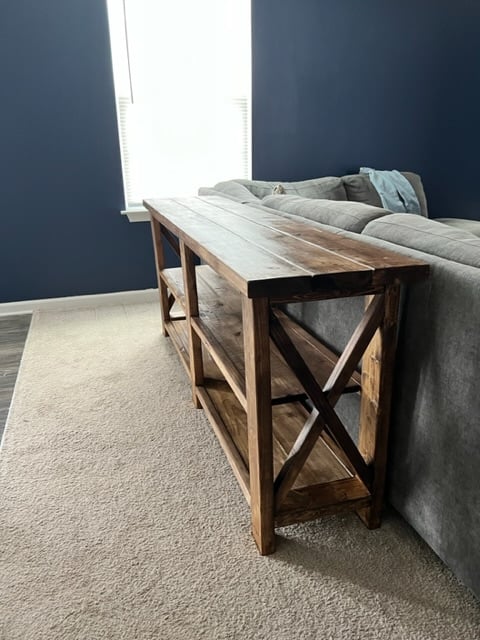
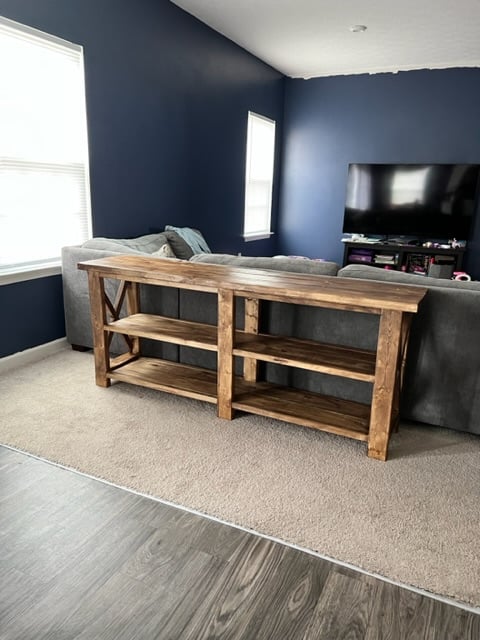
This was a big undertaking for indoor furniture and I learned so much! I slightly adjusted the size to what I had available with some scrap wood from my old stairs so saved a little on costs with lumber!
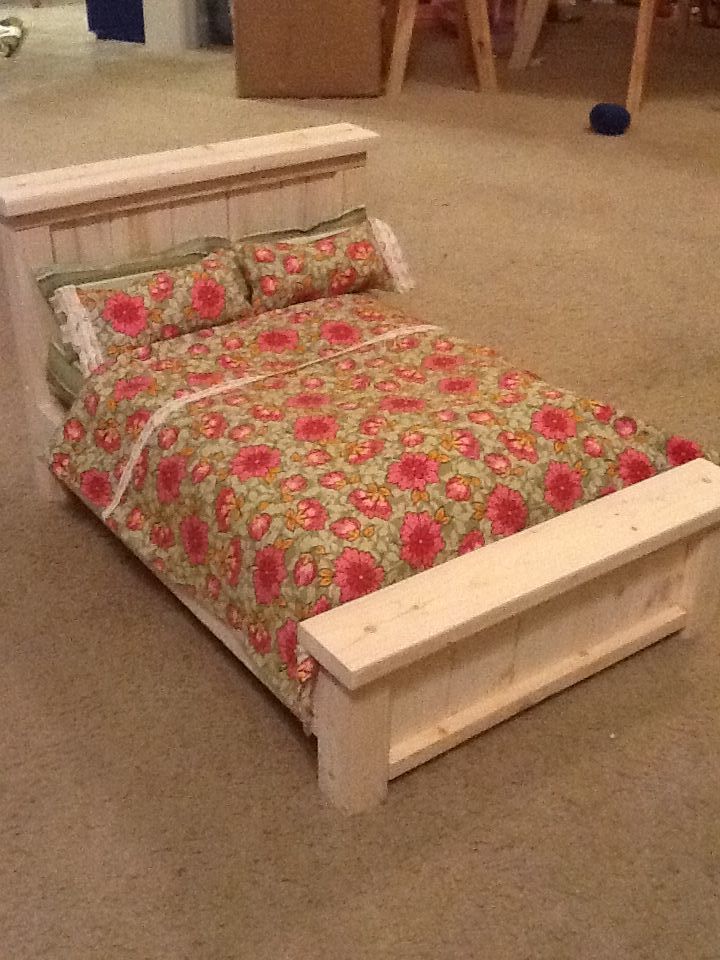
A cooperative project. Hubby made the bed and I did the bedding.
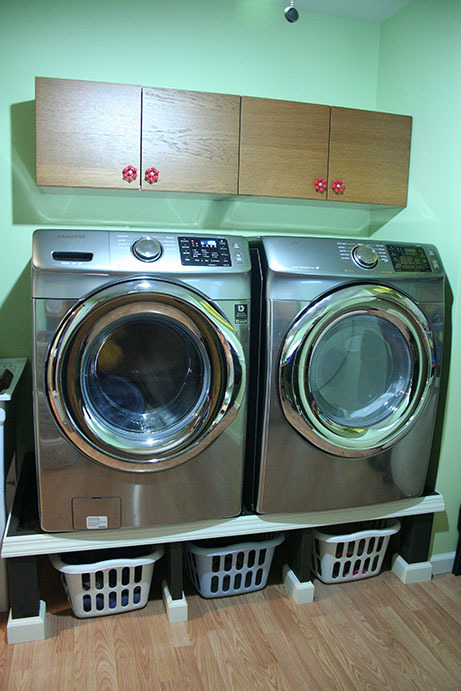
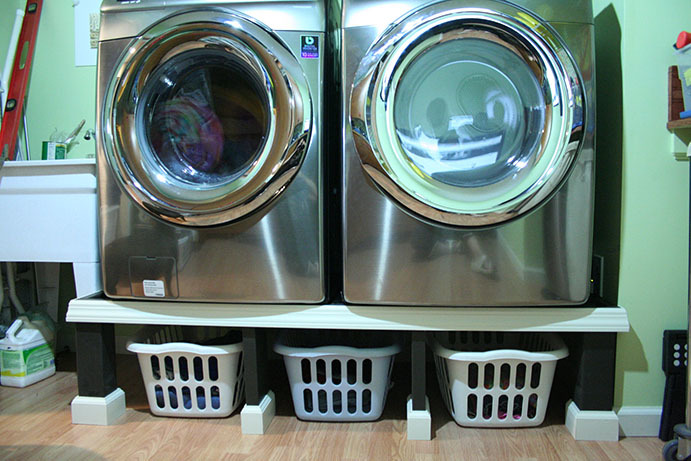
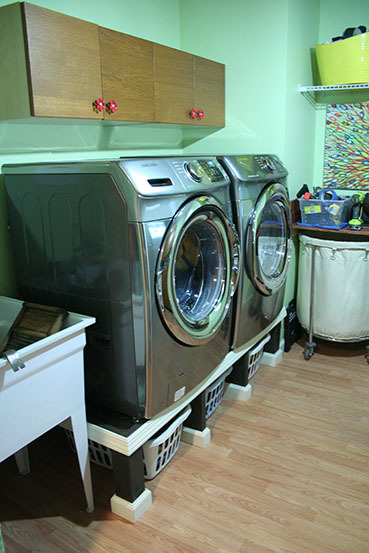
I loved the idea of building a washer and dryer pedestal for extra laundry basket storage underneath! Sashua's is beautiful so I took her idea and modified it a bit to work for me. My washer is very, very heavy and I was worried that if there was no support under the weight in the middle, it would start to bow and sag. The original plan also put the washer too high for me to have been able to use without a step stool. So in my modification I screwed cleats into the 2X4 frame of the laundry room wall, placed the 3/4" plywood on top of it and screwed it in. In the front, I used 4X4's as the two corner leg supports and then added two 1X6 supports in the front center, creating three laundry basket bays. I placed it directly onto the floor as opposed to building the bottom base. This saved me money since I was able to buy half the lumber and also allowed me to lower the height of the platform while leaving enough space for my baskets. The top of my platform is approximately 14 1/2" high, which is just low enough so that I can see into the soap filling compartment at the top of the washer. Being that I'm only 5'2" I would have needed to use a step stool to use my washer at the original 19 1/2" plan height. I framed the top edge of the platform with 2X2's, to ensure that my washer or dryer never walked off the edge. Finally, I added some trim along the front edge and around the legs and that's it!
Mon, 02/15/2016 - 12:25
I REALLY like this modified version, I think it looks GREAT! when you say you screwed cleats to the back wall, are you talking a 2x4 across the back fastened to the studs, or what did you use? I think my wife would love this version, and I may just have to get started on one myself. ![]()
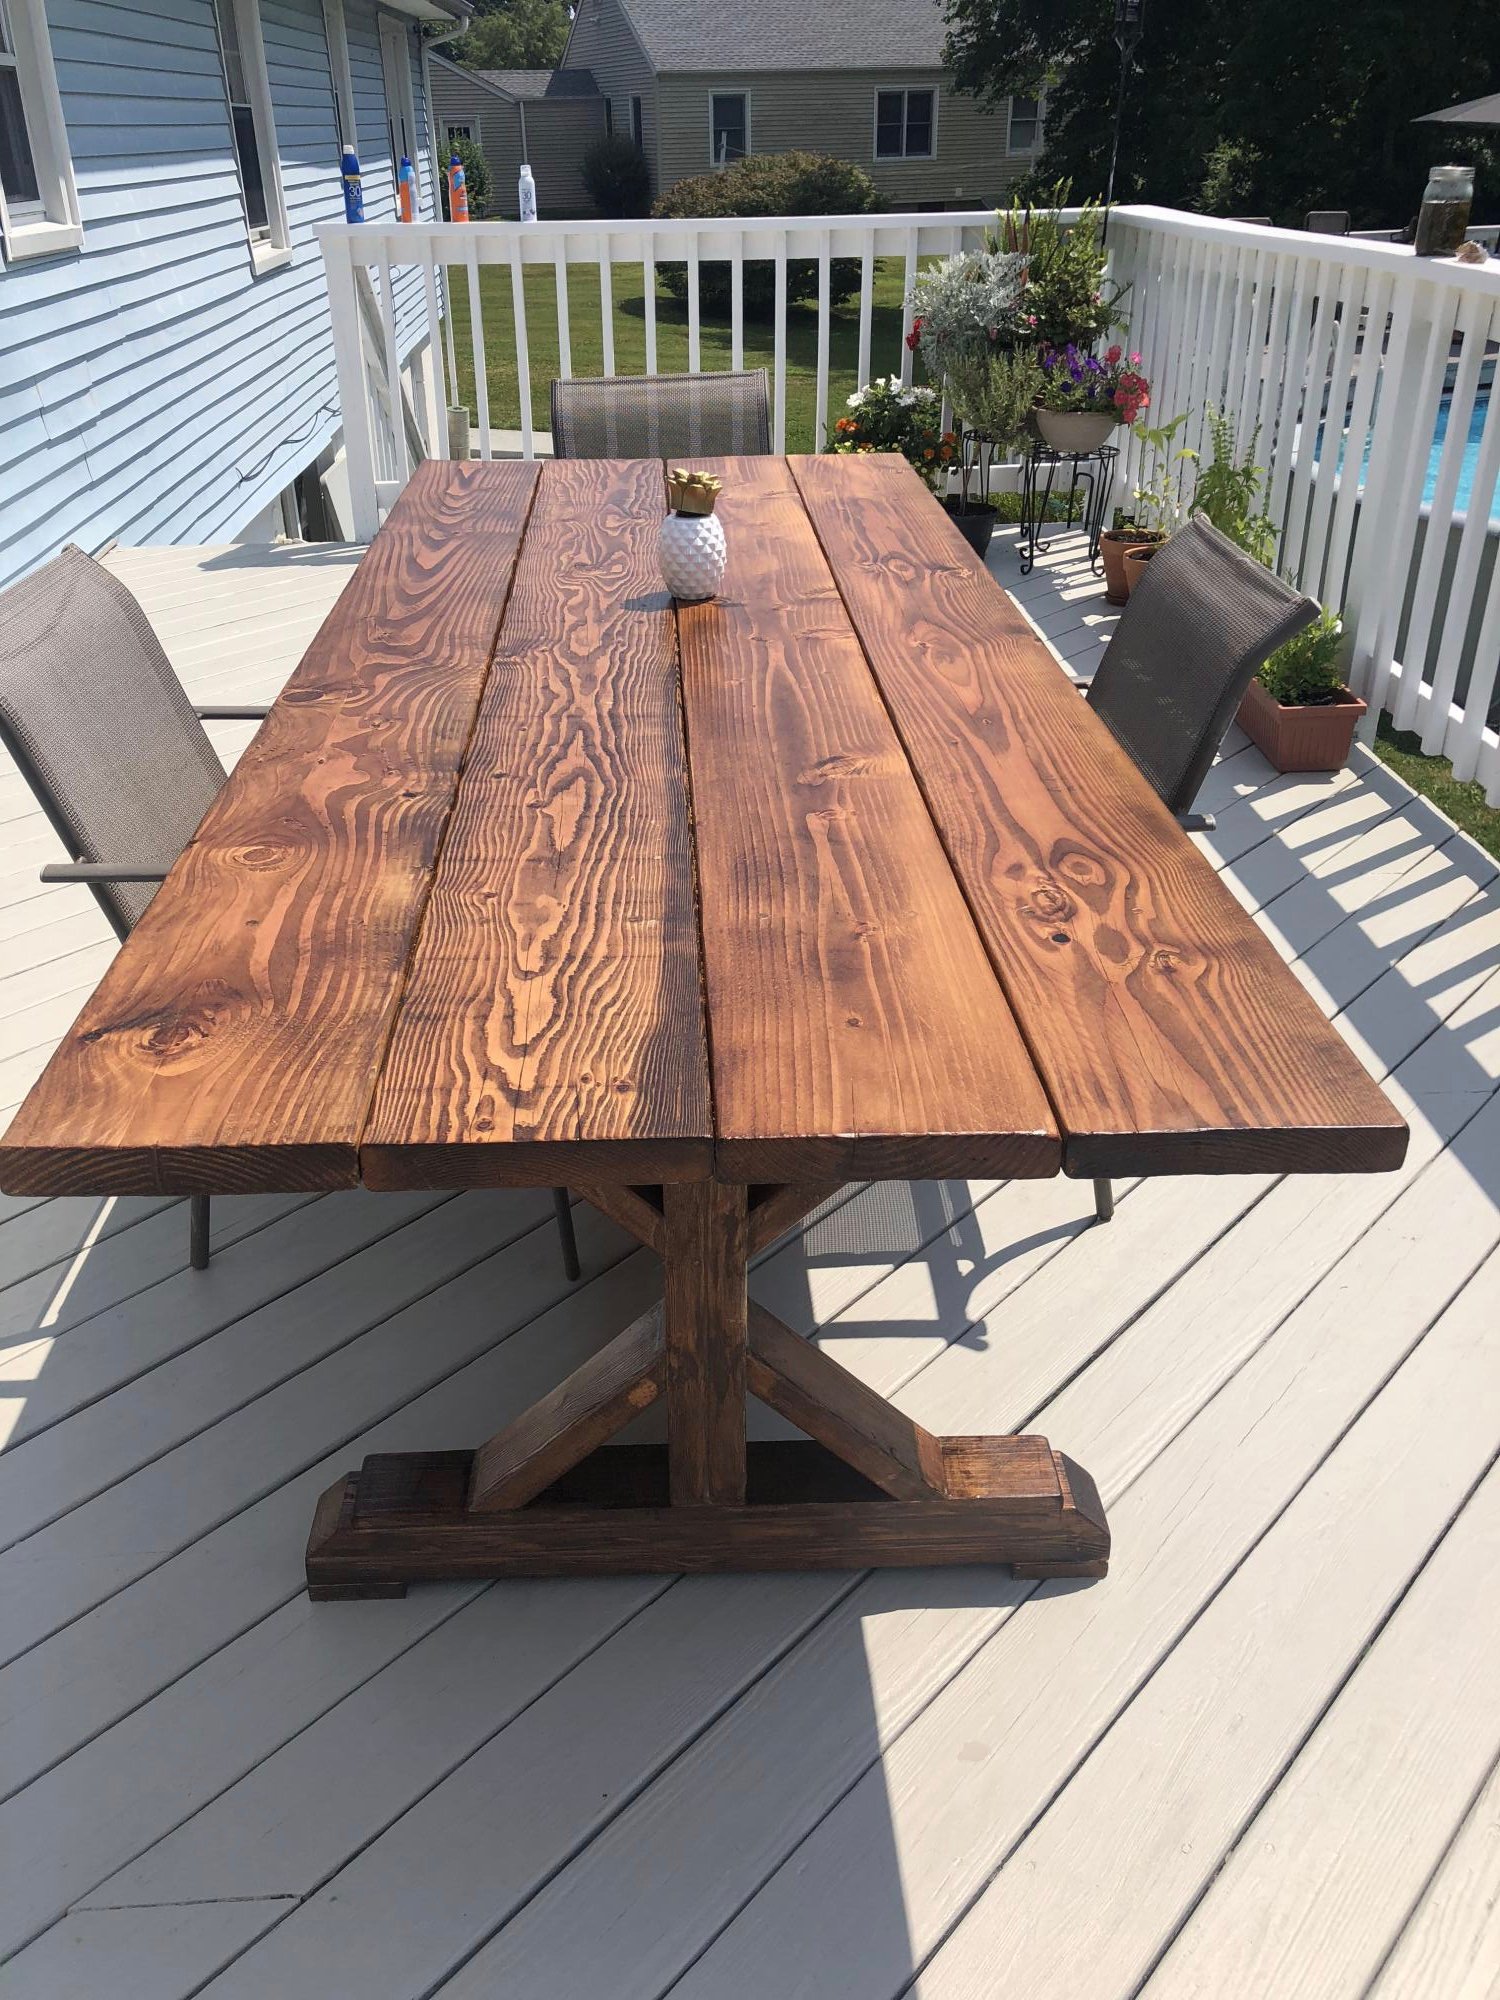
After looking for an outside table with no luck, not to mention the unbelievable price tag, I asked my husband to make me this table..He worked on it for the day with my son and ILOVE the way it came out!!! The plans were simple and easy to follow. Thank you Ana!!!

Comments
Ana White Admin
Fri, 03/31/2023 - 10:33
Stunning work!
Love these, they look fabulous! Thanks for sharing.