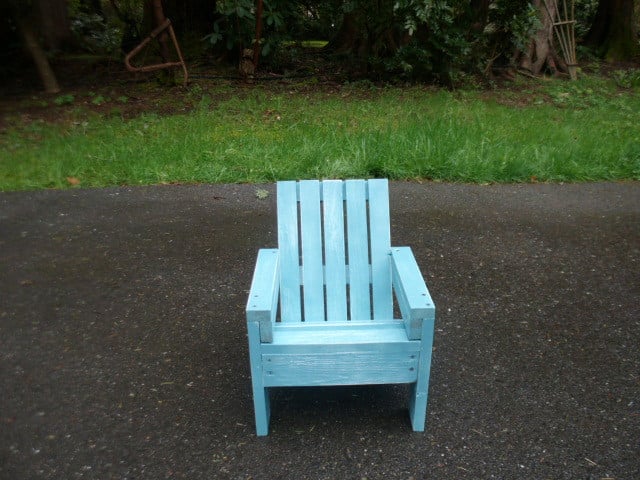
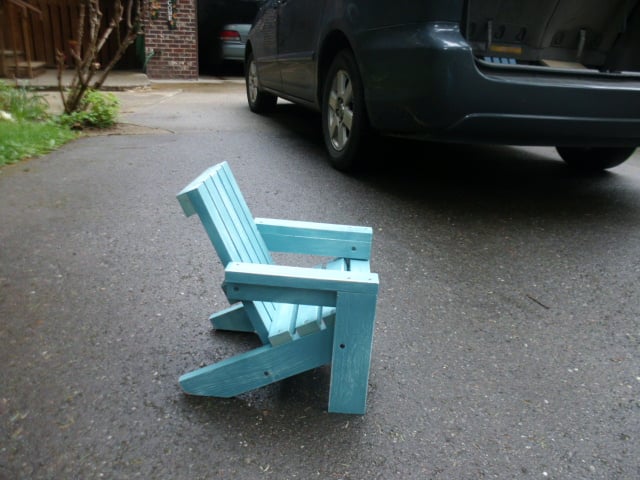
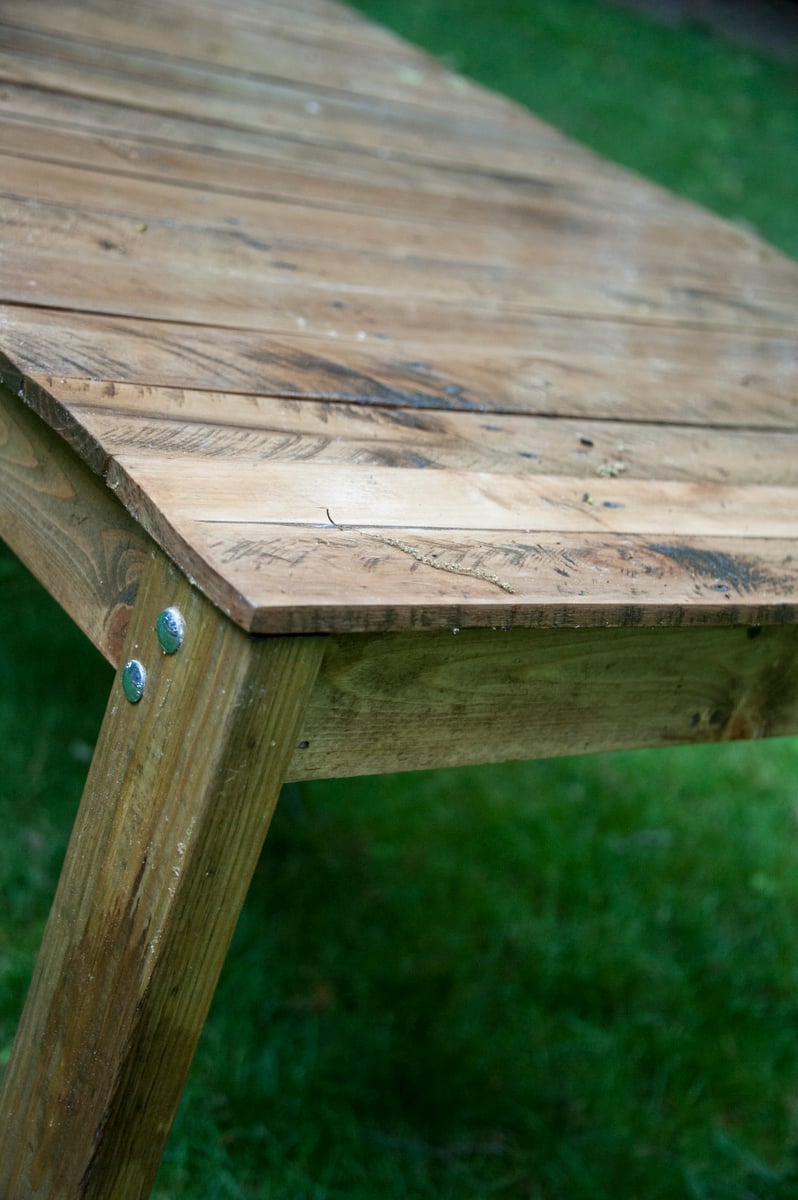
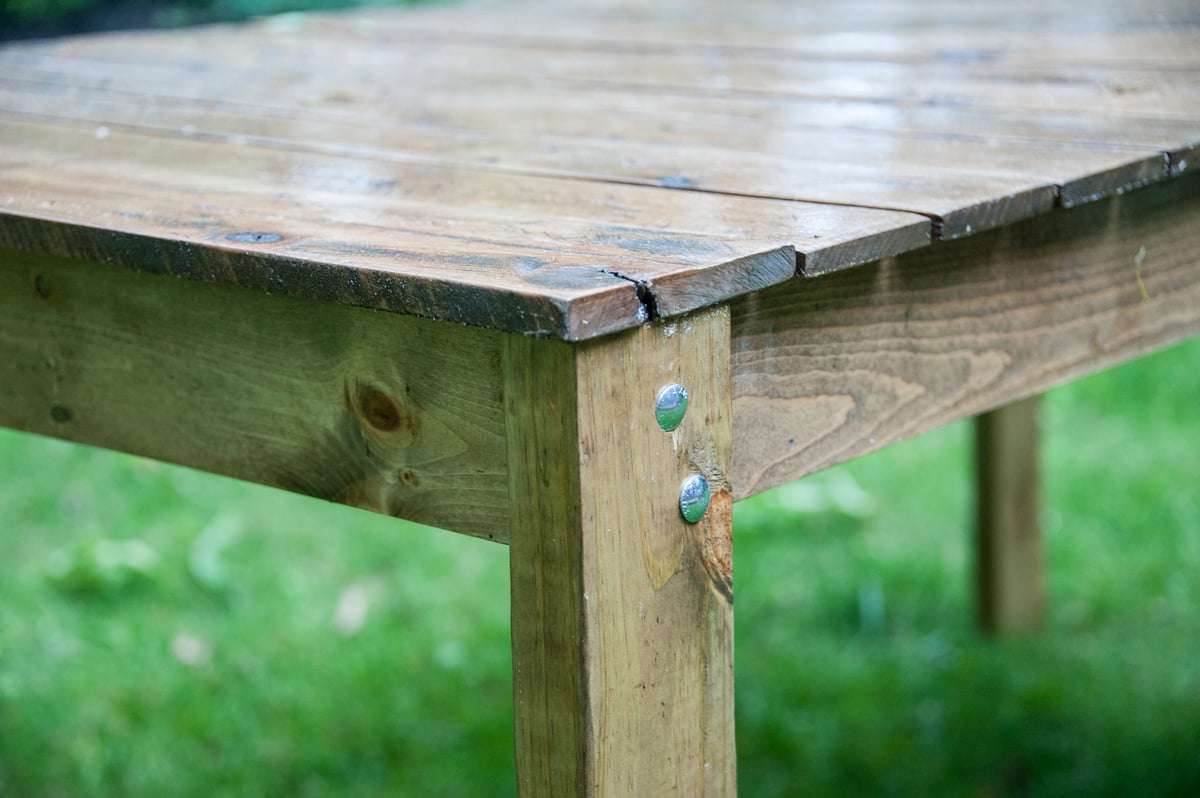
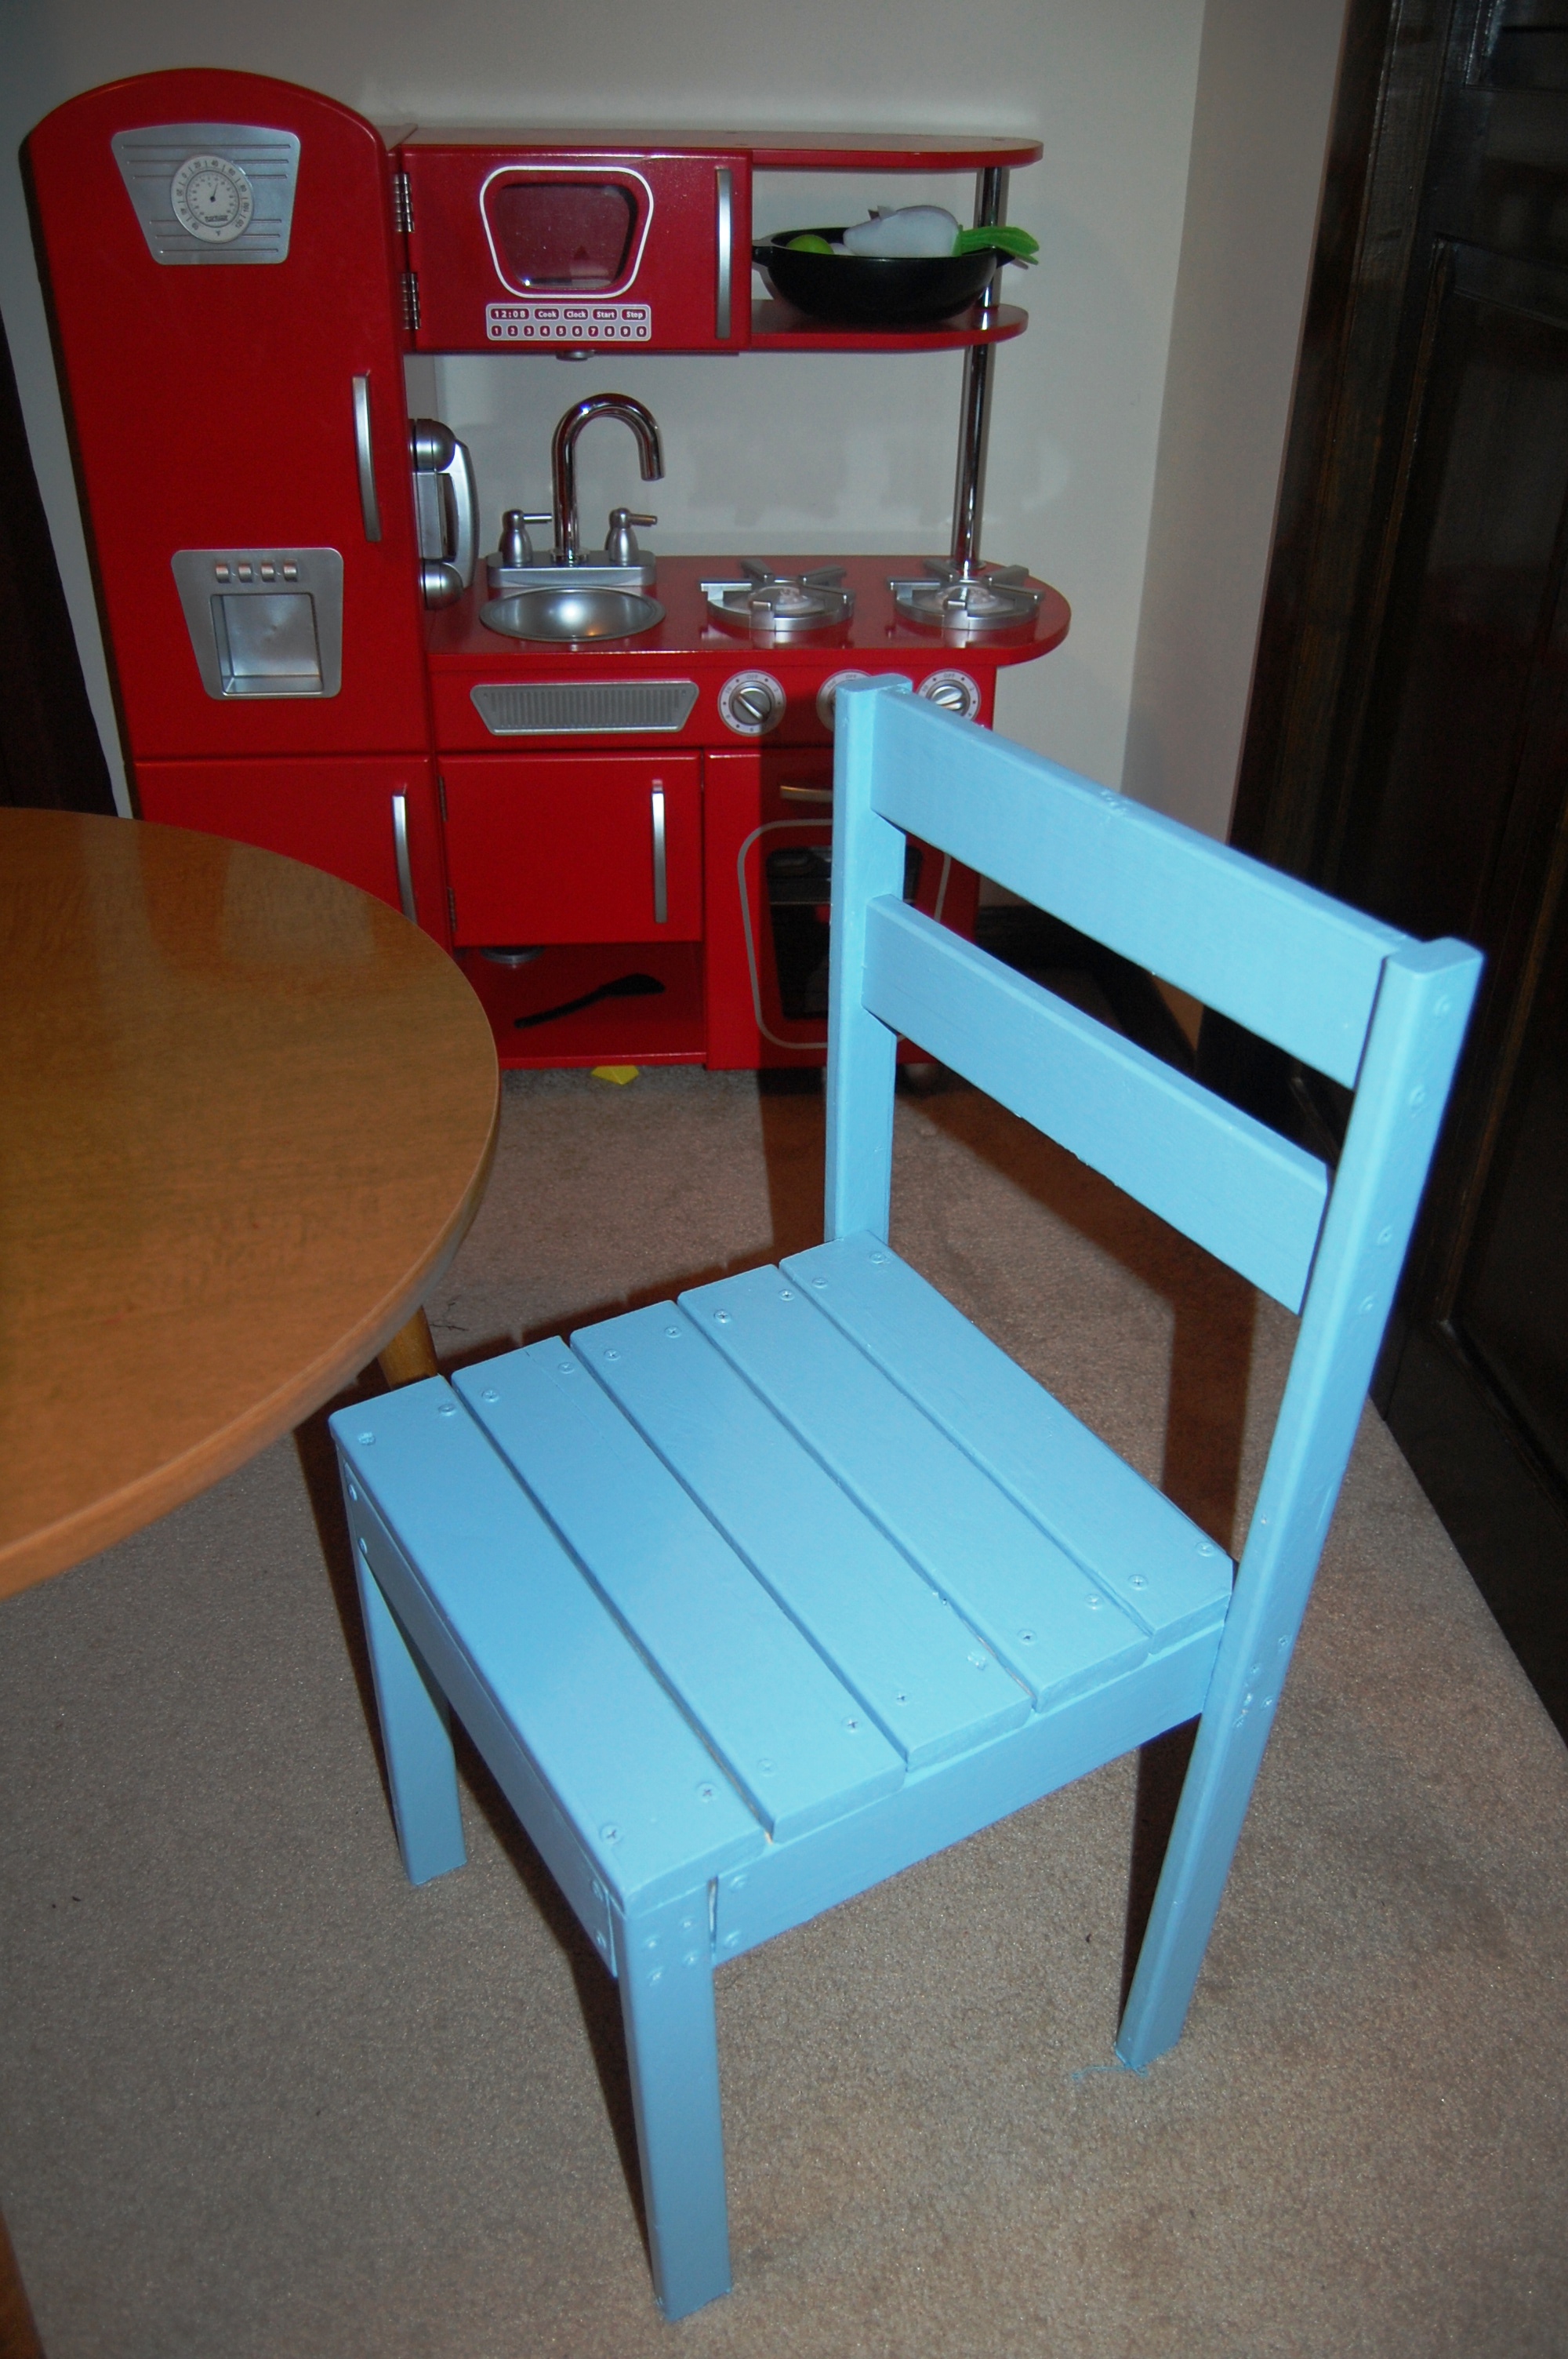
James' Play Kitchen Chair
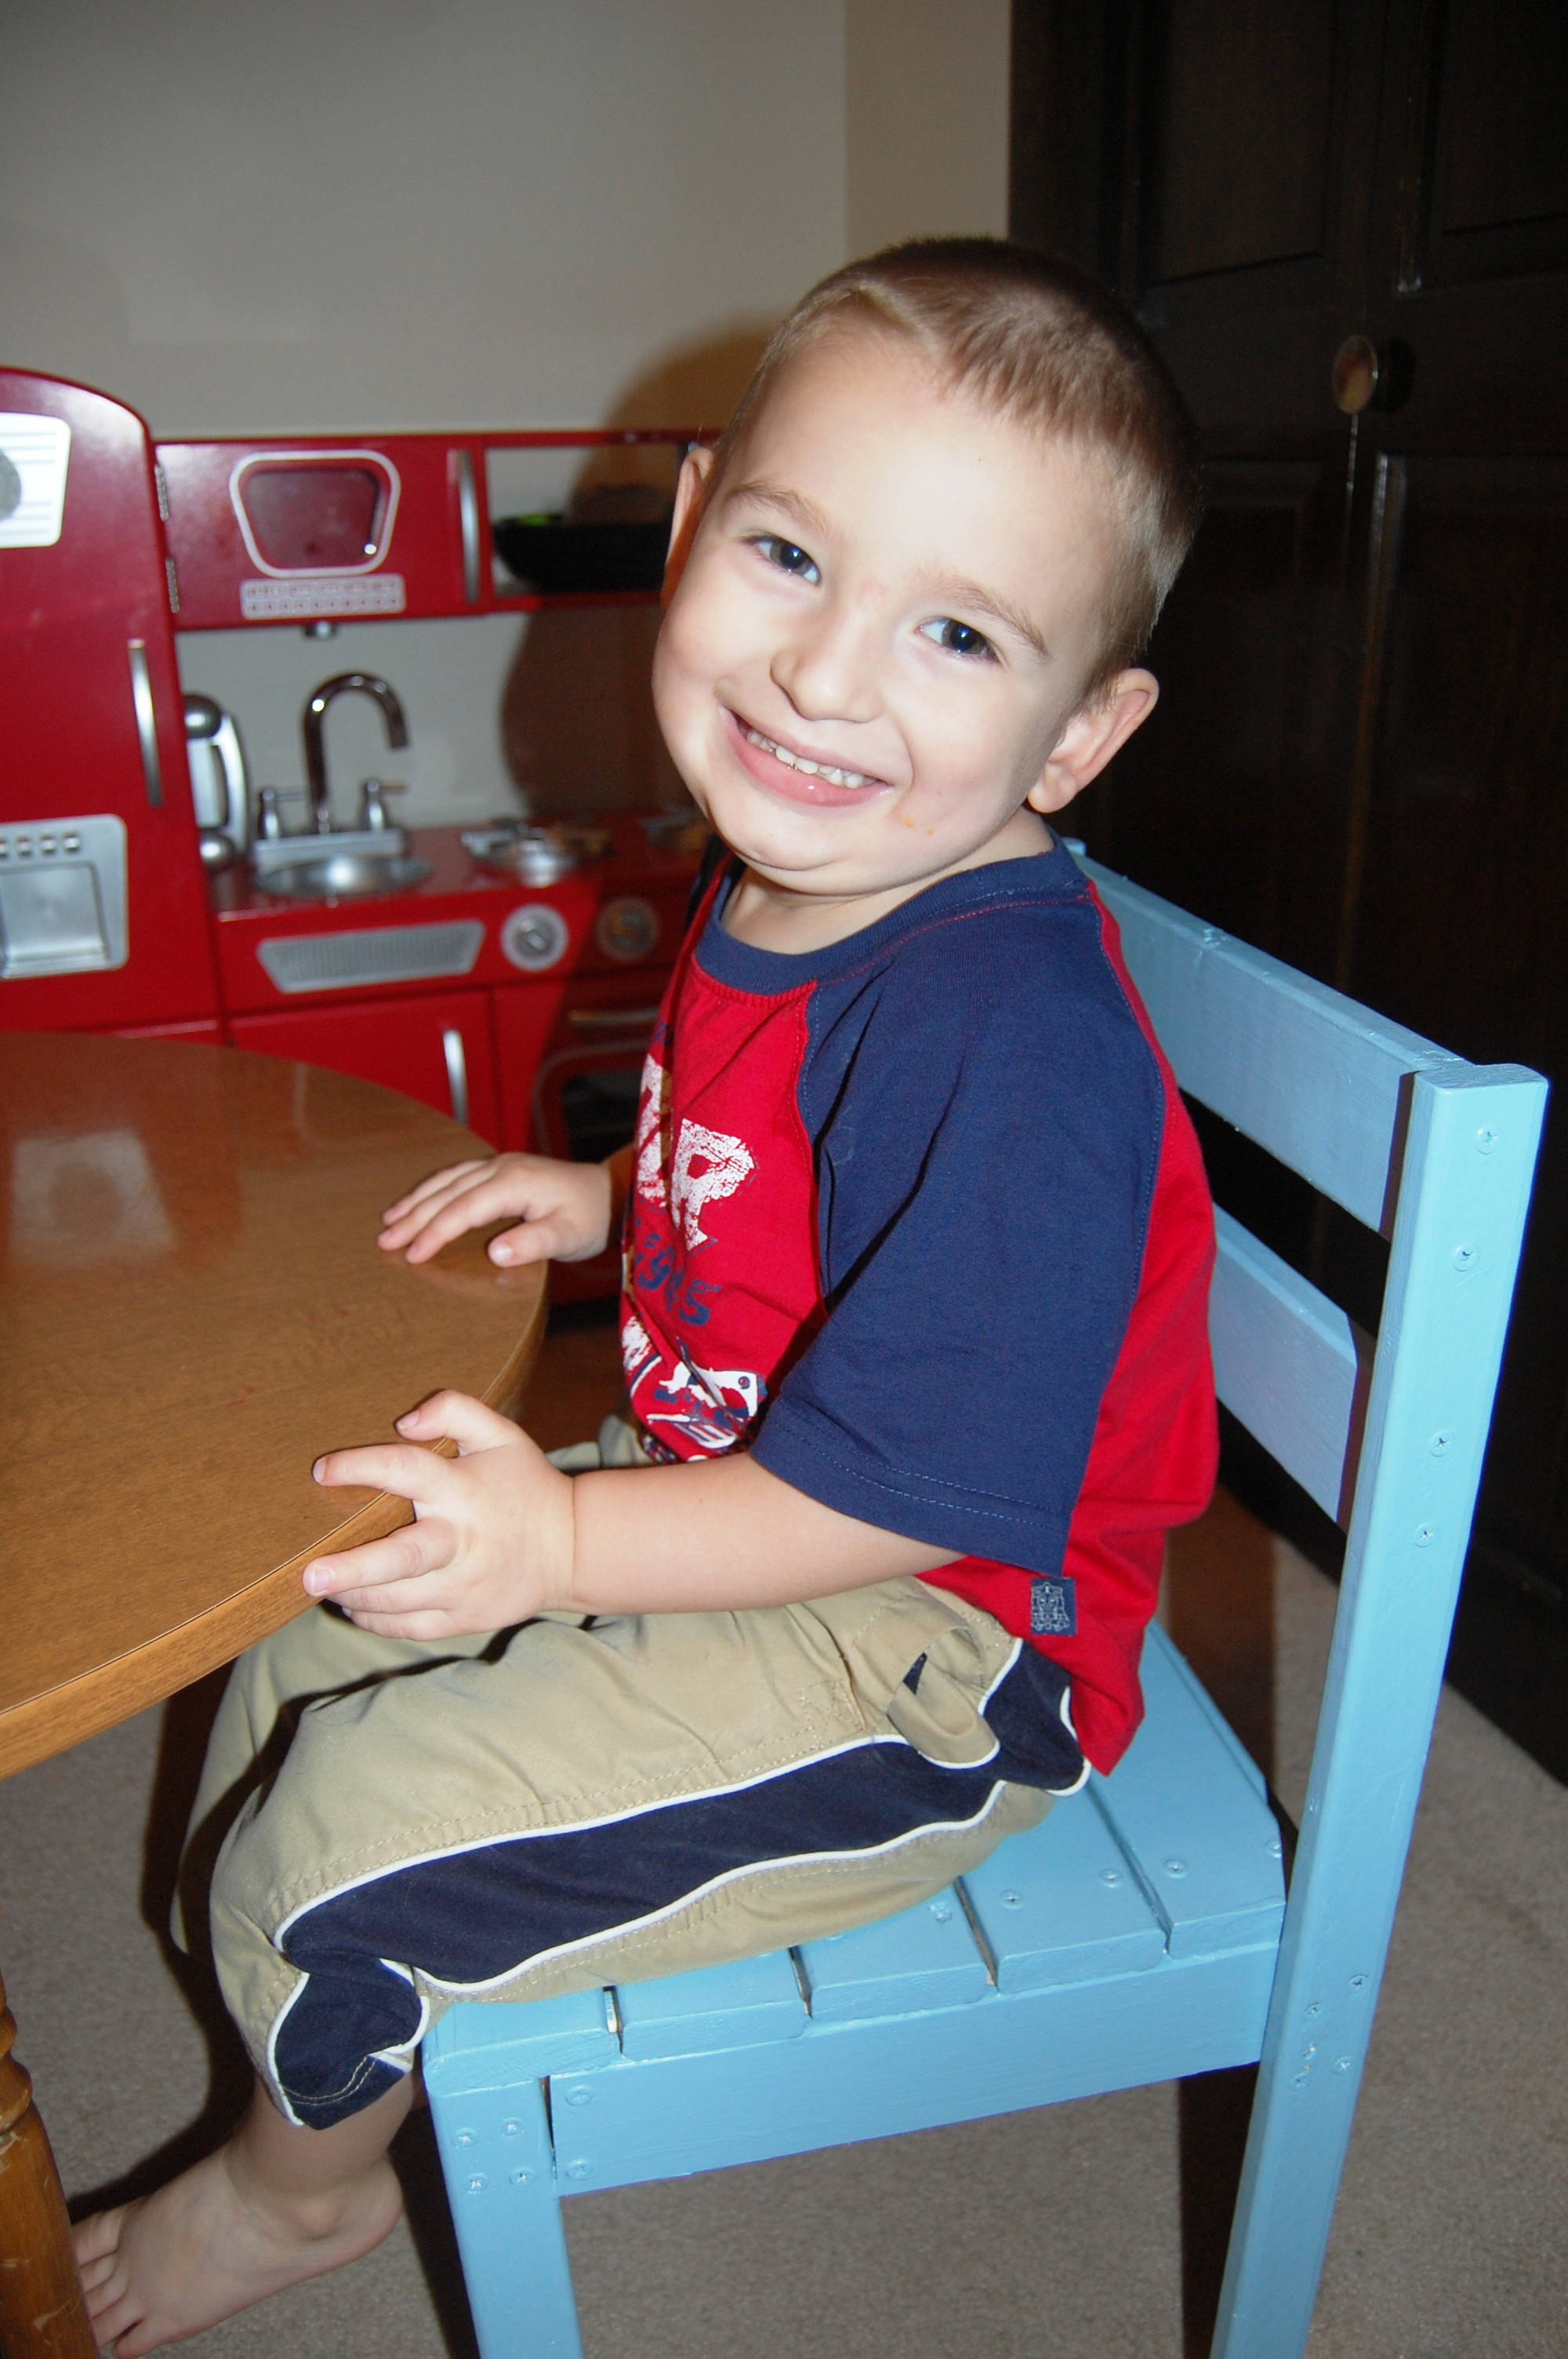
James got a sweet retro kitchen set for Christmas from his grandma. CarpenterMama scored a kids kitchen table (pretty sure it's authentic retro) at Goodwill for $8. All that he needed was a chair to sit in, and Ana's Four Dollar Stackable Chair fit quite nicely!
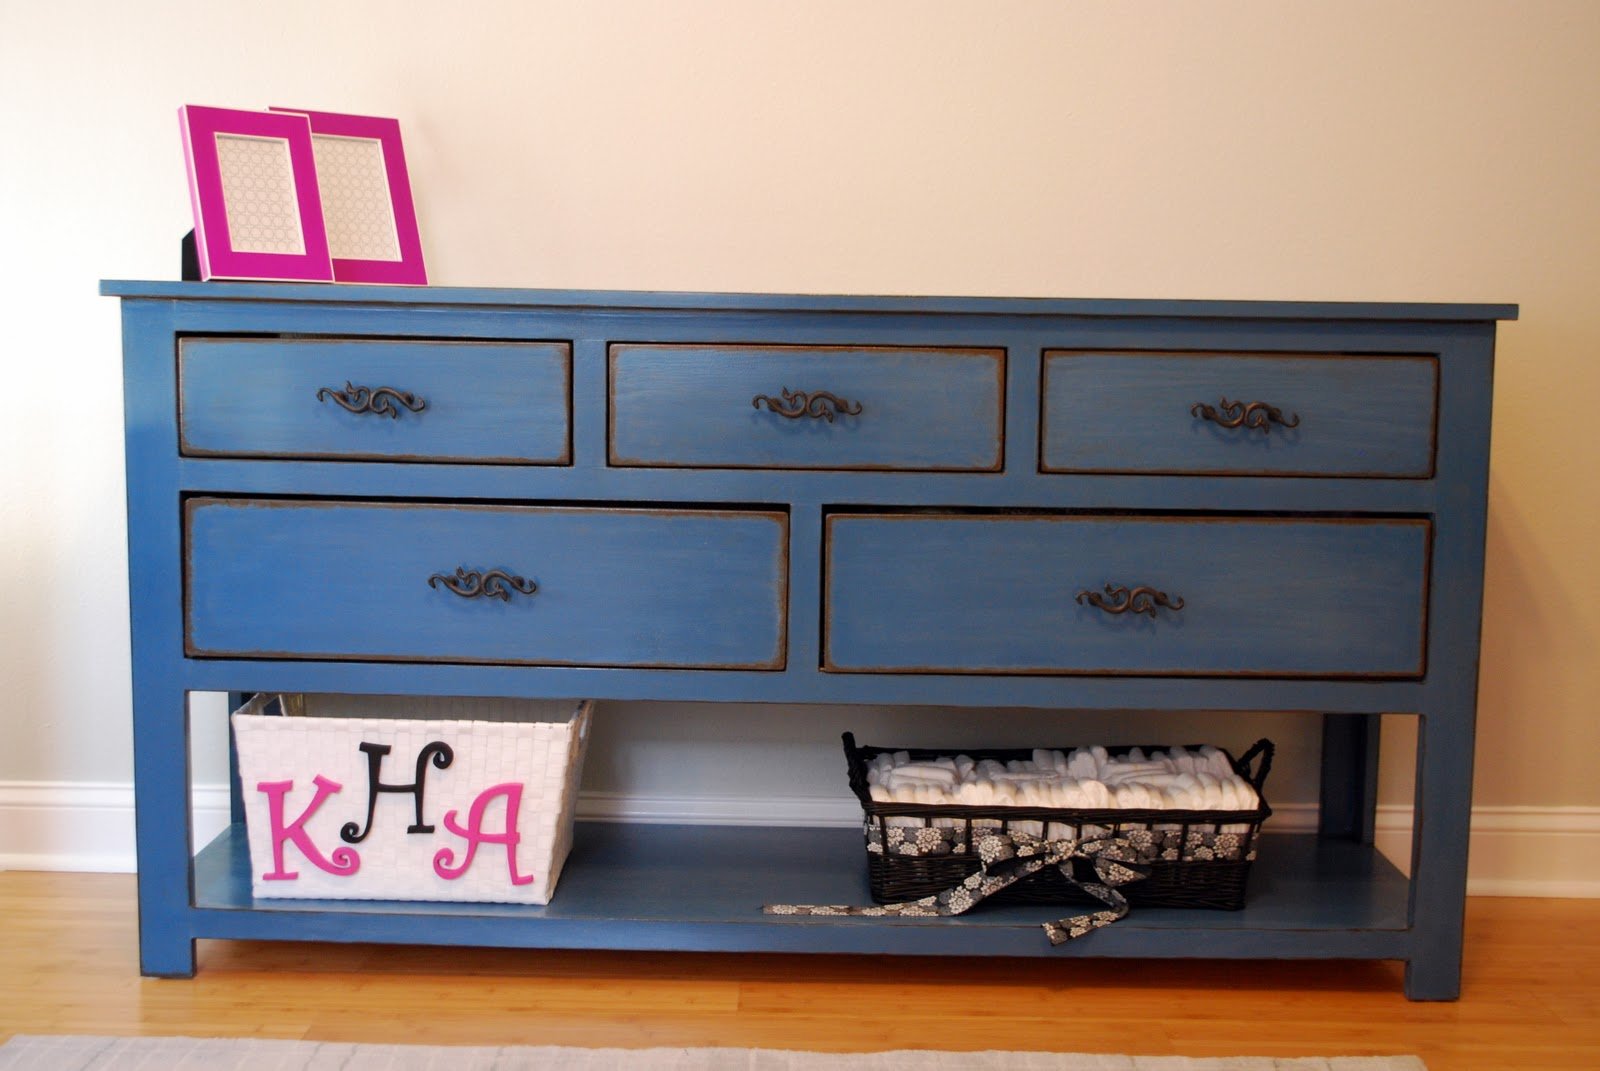
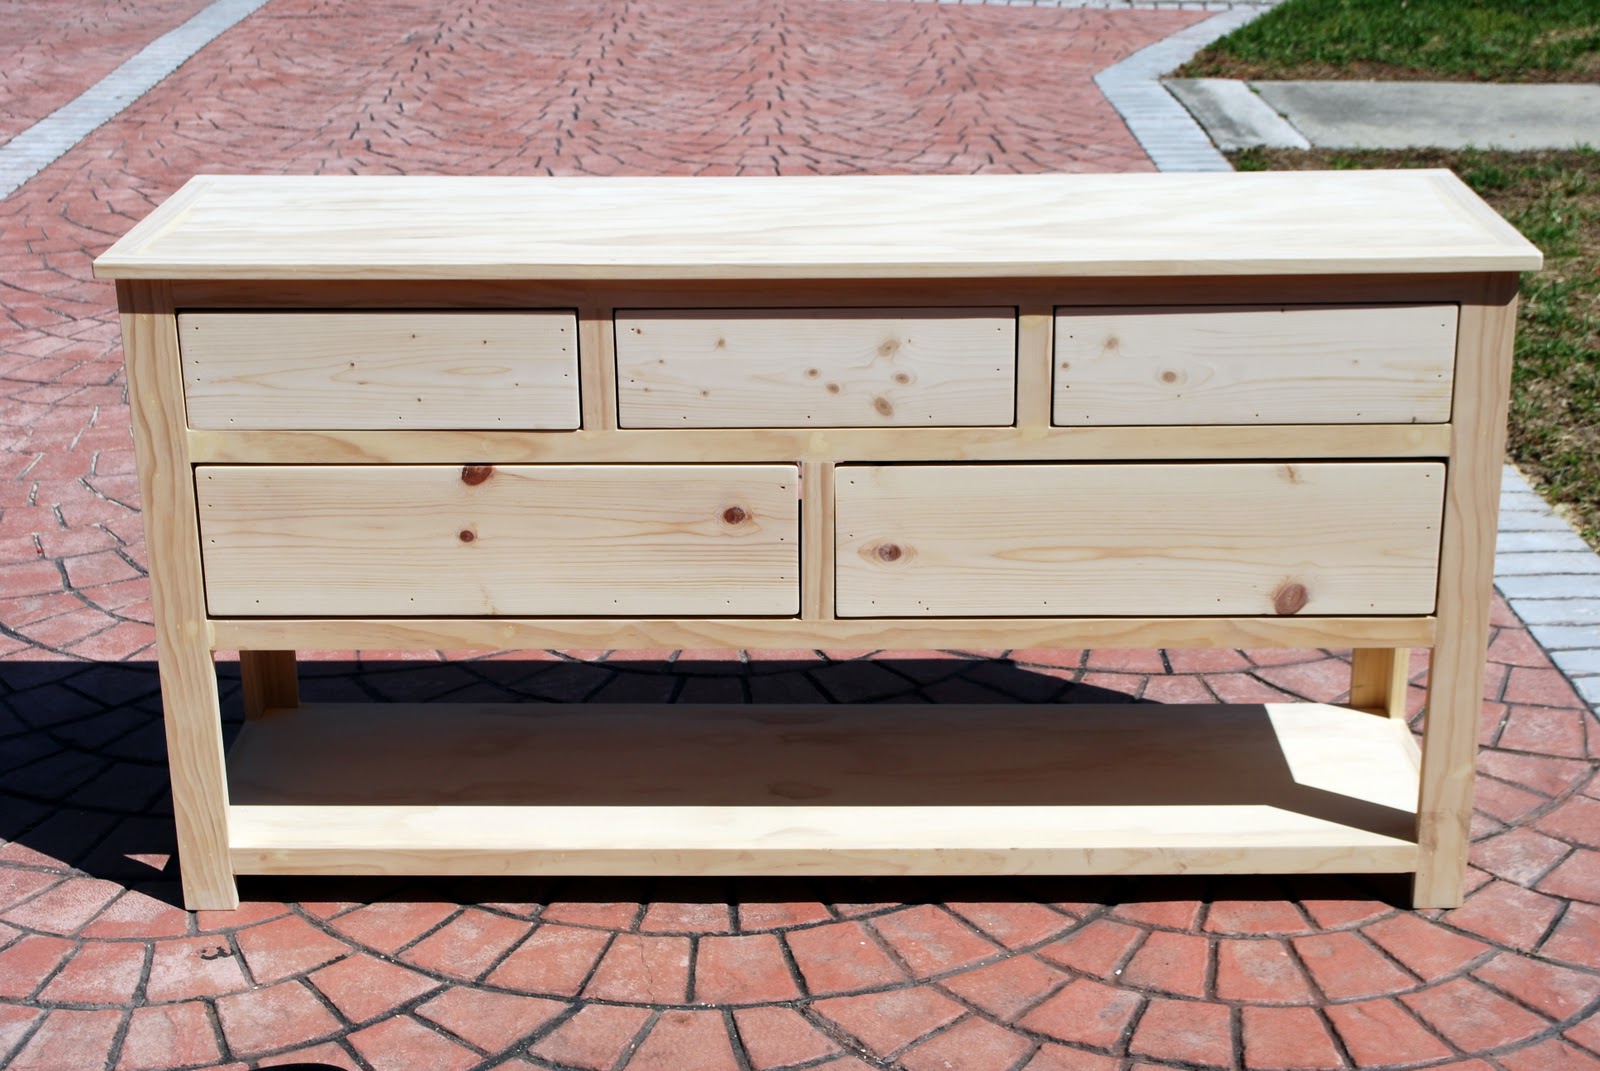
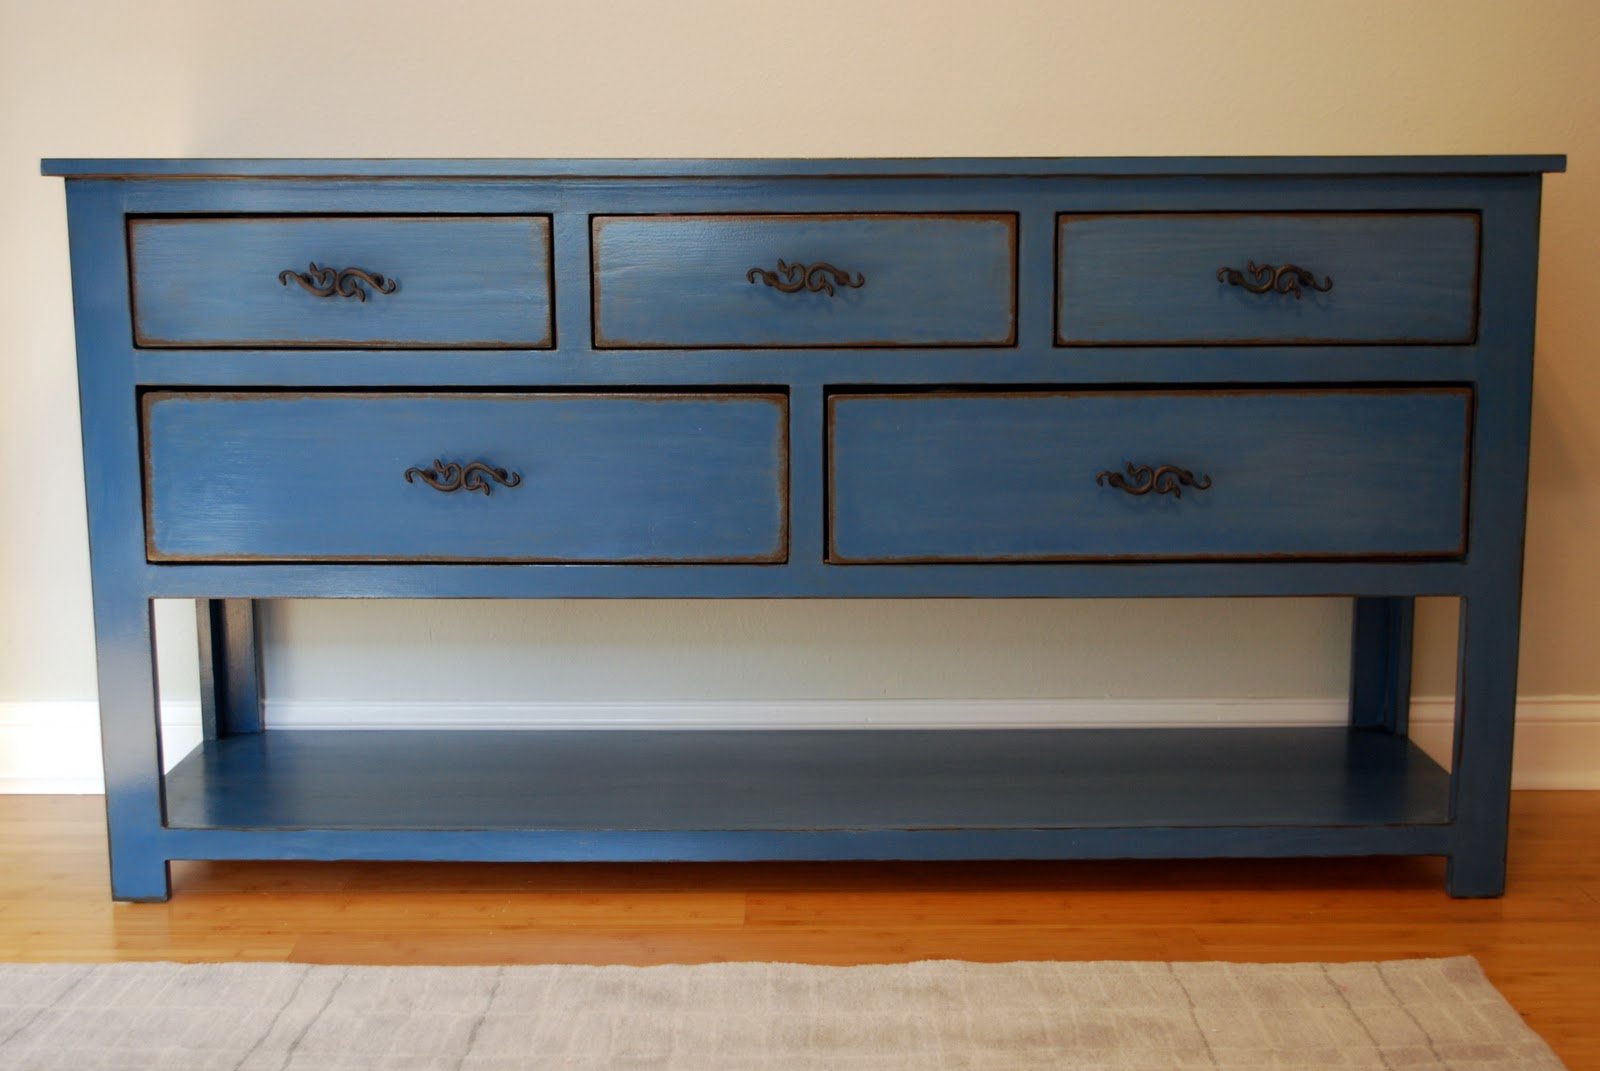
This was CarpenterMama's very first building project, and she is as proud as punch that she made something with her own two hands, some wood & screws, and oops paint. James is ecstatic that it is blue and he can sit in it. :-)
Estimated Cost
$5
Estimated Time Investment
Afternoon Project (3-6 Hours)
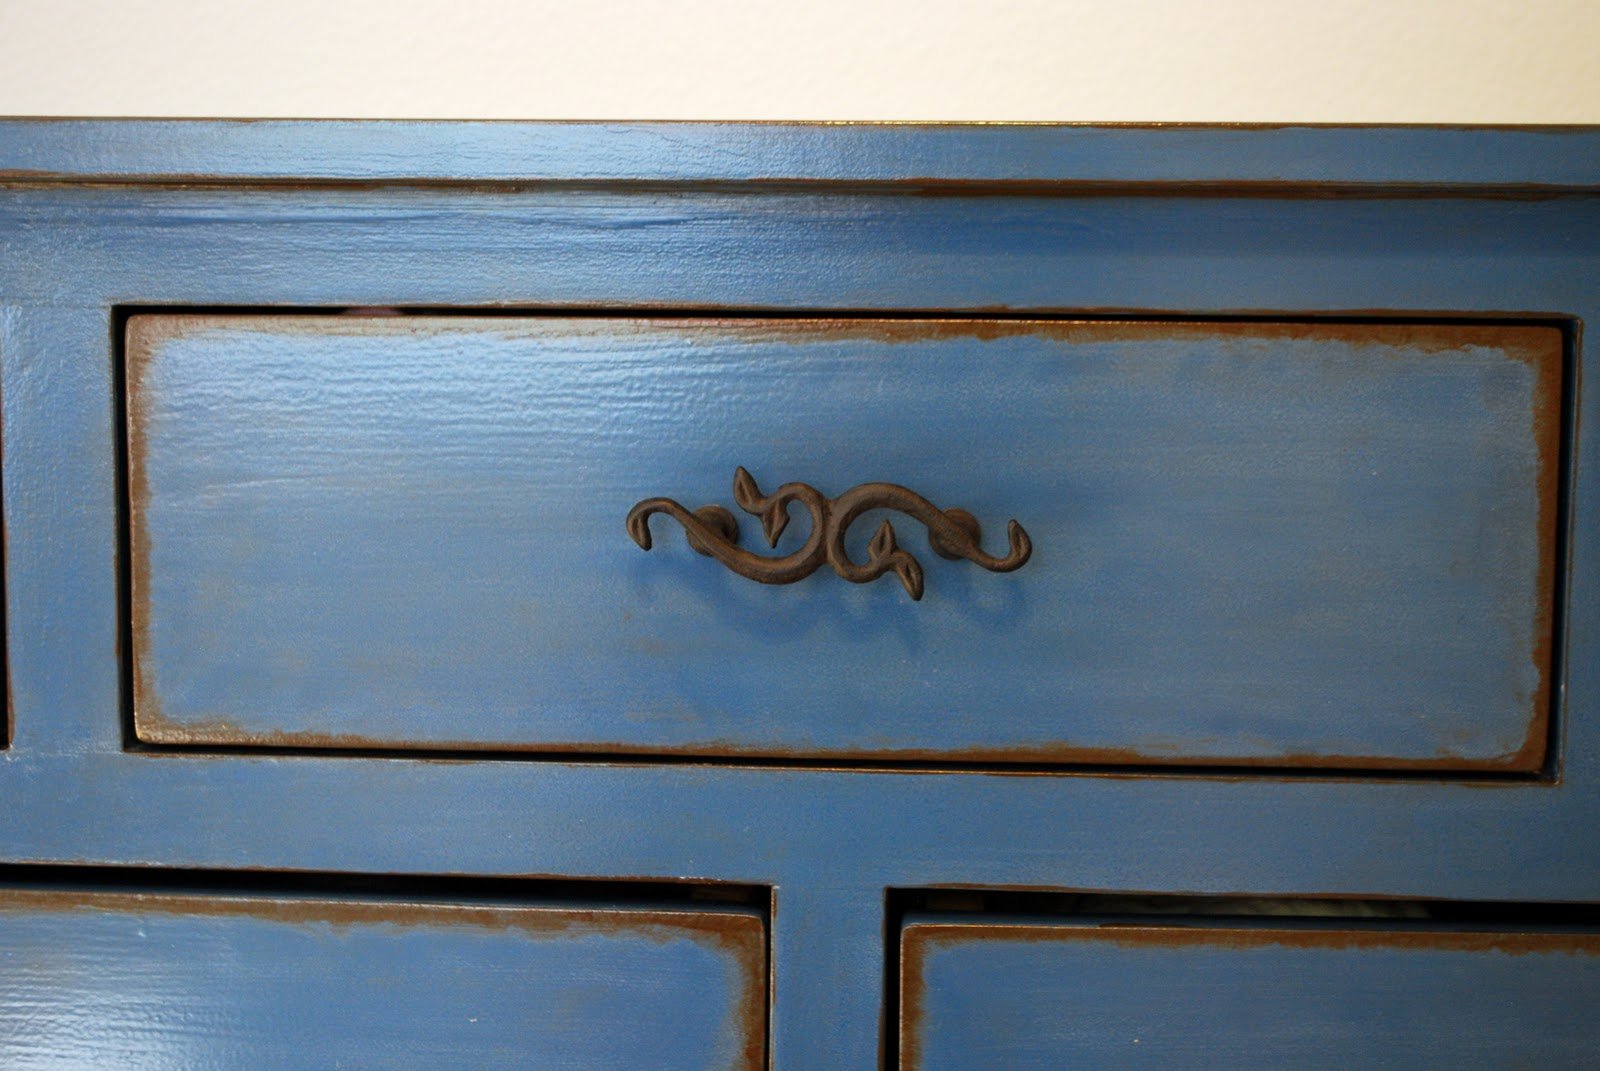
Finish Used
2 coats of Kilz primer then 1 coat of Behr medium base interior eggshell paint (from the "oops section" of the big orange store--only $5 for the gallon)
Recommended Skill Level
Starter Project