Farm Table
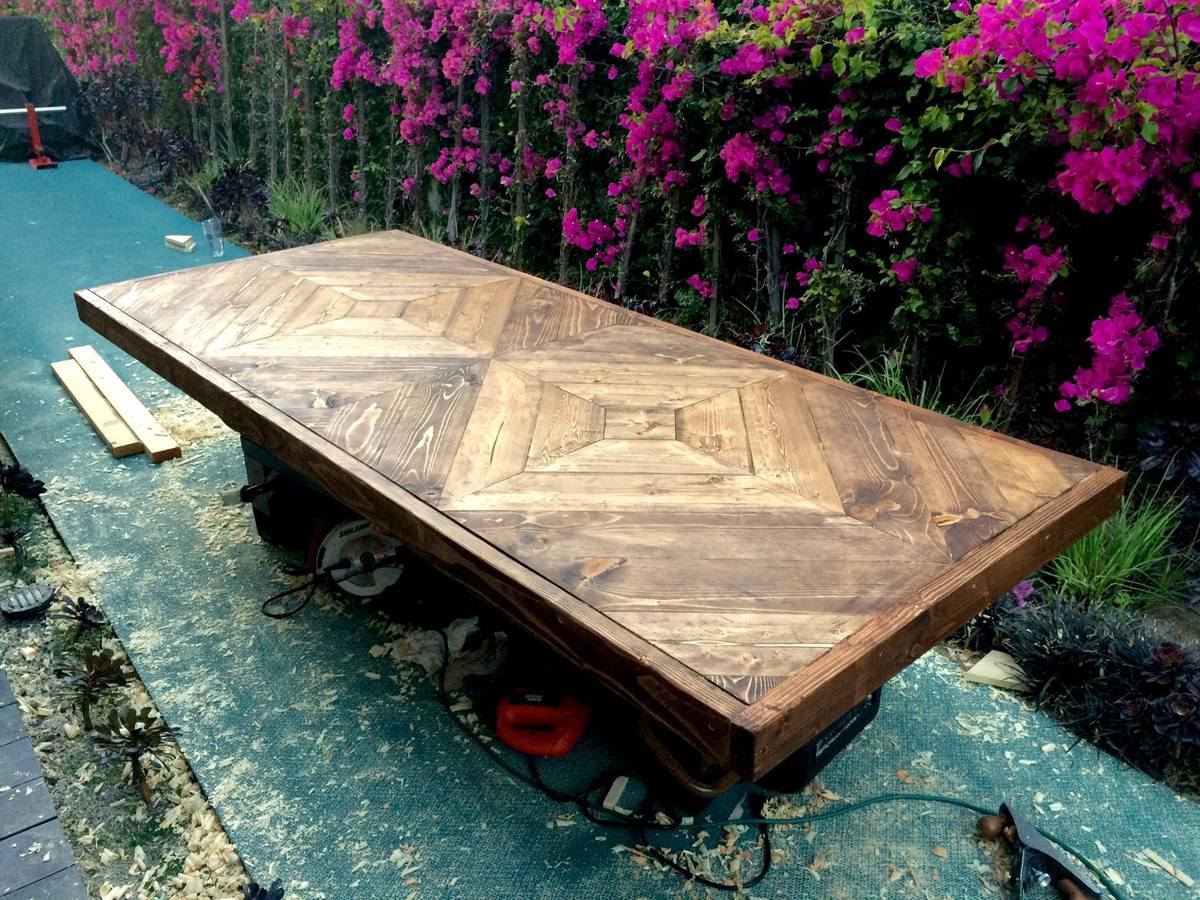
Took a lot more wood than I thought and time, but was a nice distraction from Law School.
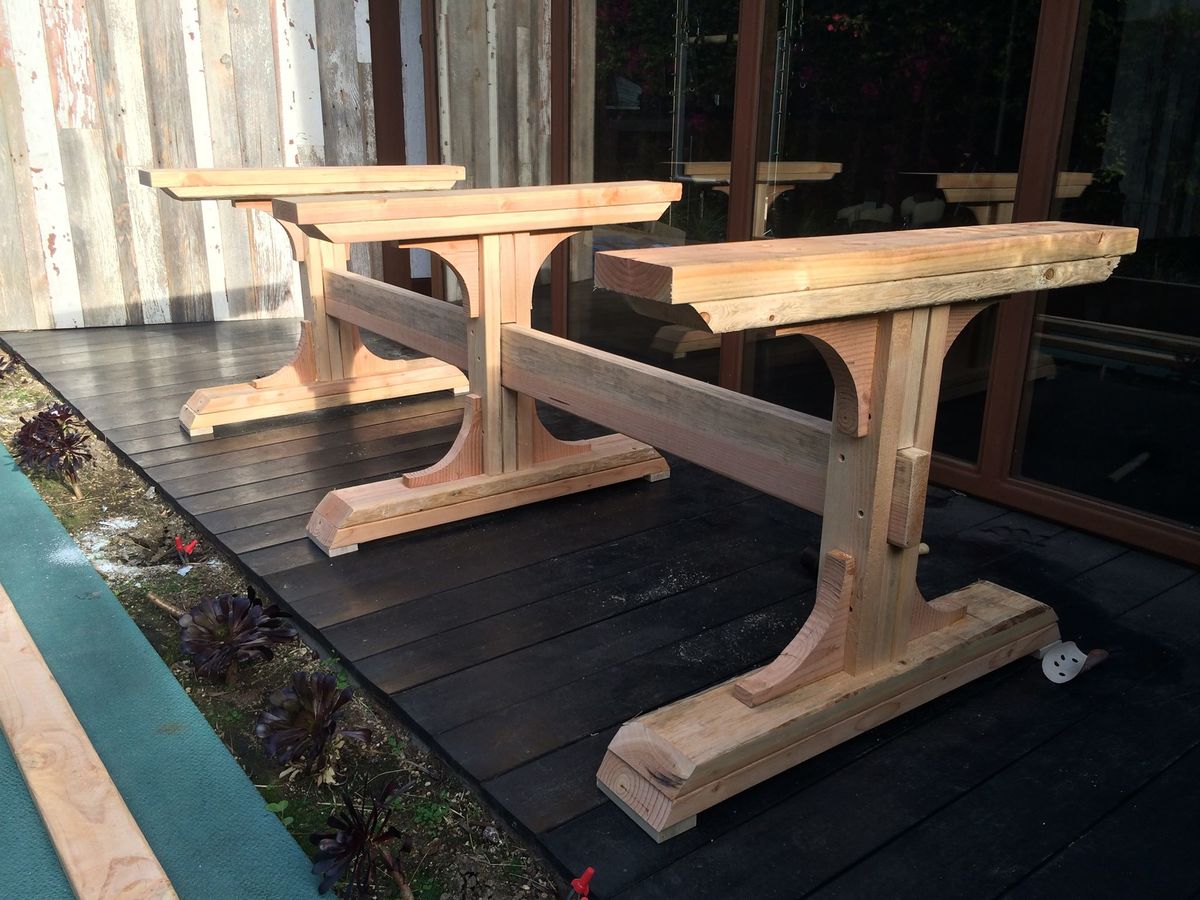

Took a lot more wood than I thought and time, but was a nice distraction from Law School.


I copied your plans with just 2 exceptions. Instead of the shelf brackets to hold the wings up, I copied the idea from the Family Handyman Magazine. Also, the sides where the boards would rest would get all chipped up in use, so I made them 3/4" shorter and added a 1 x 2 to protect the plywood underneath.
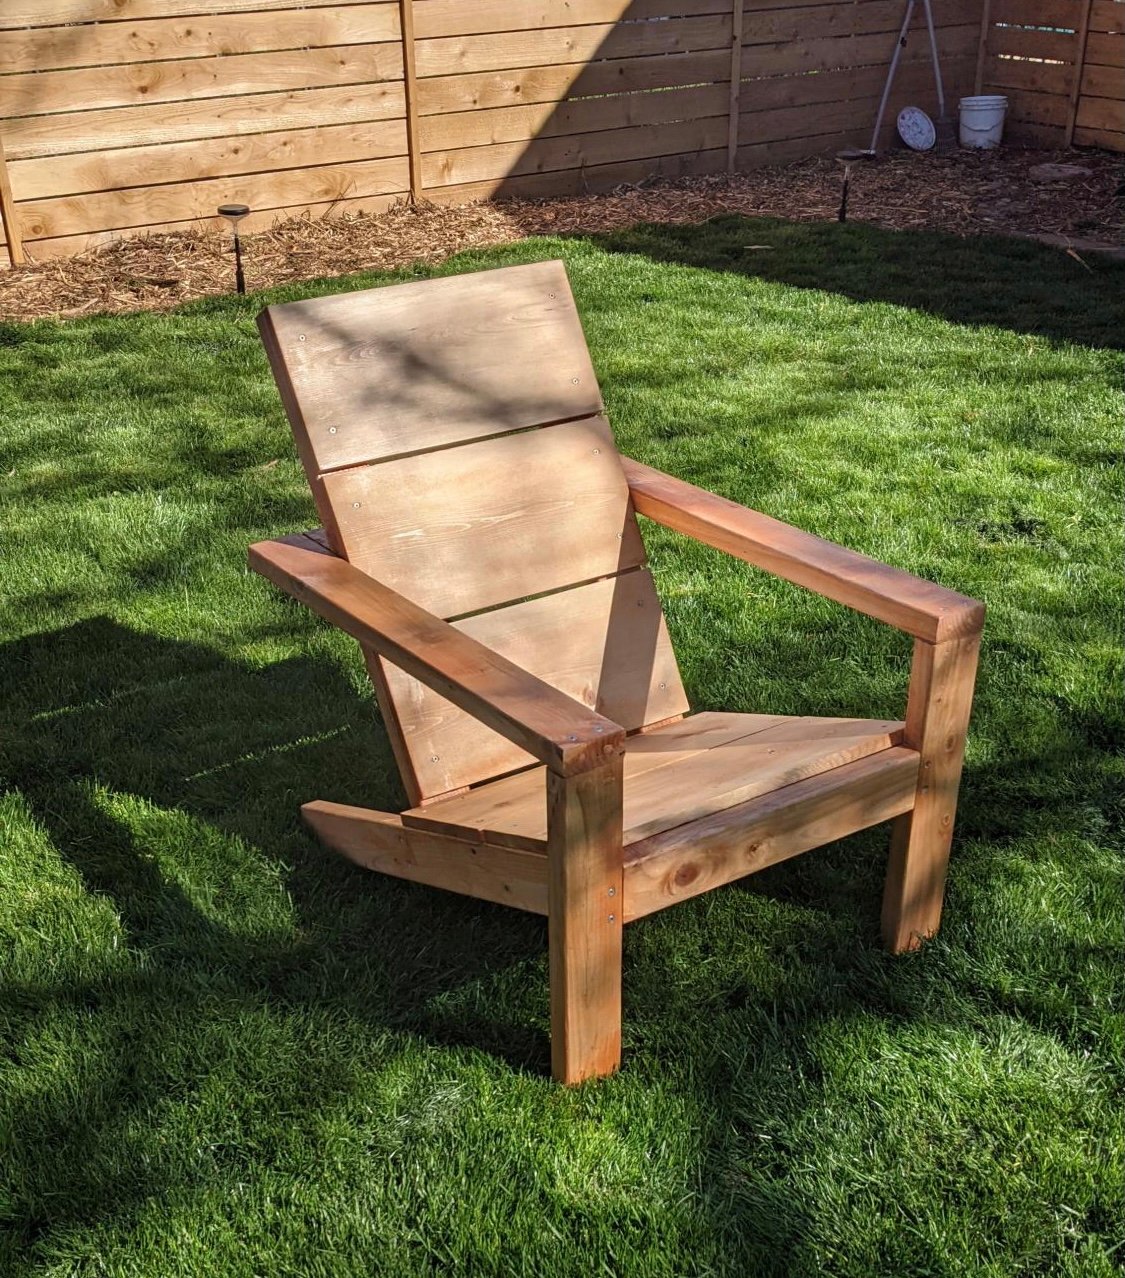
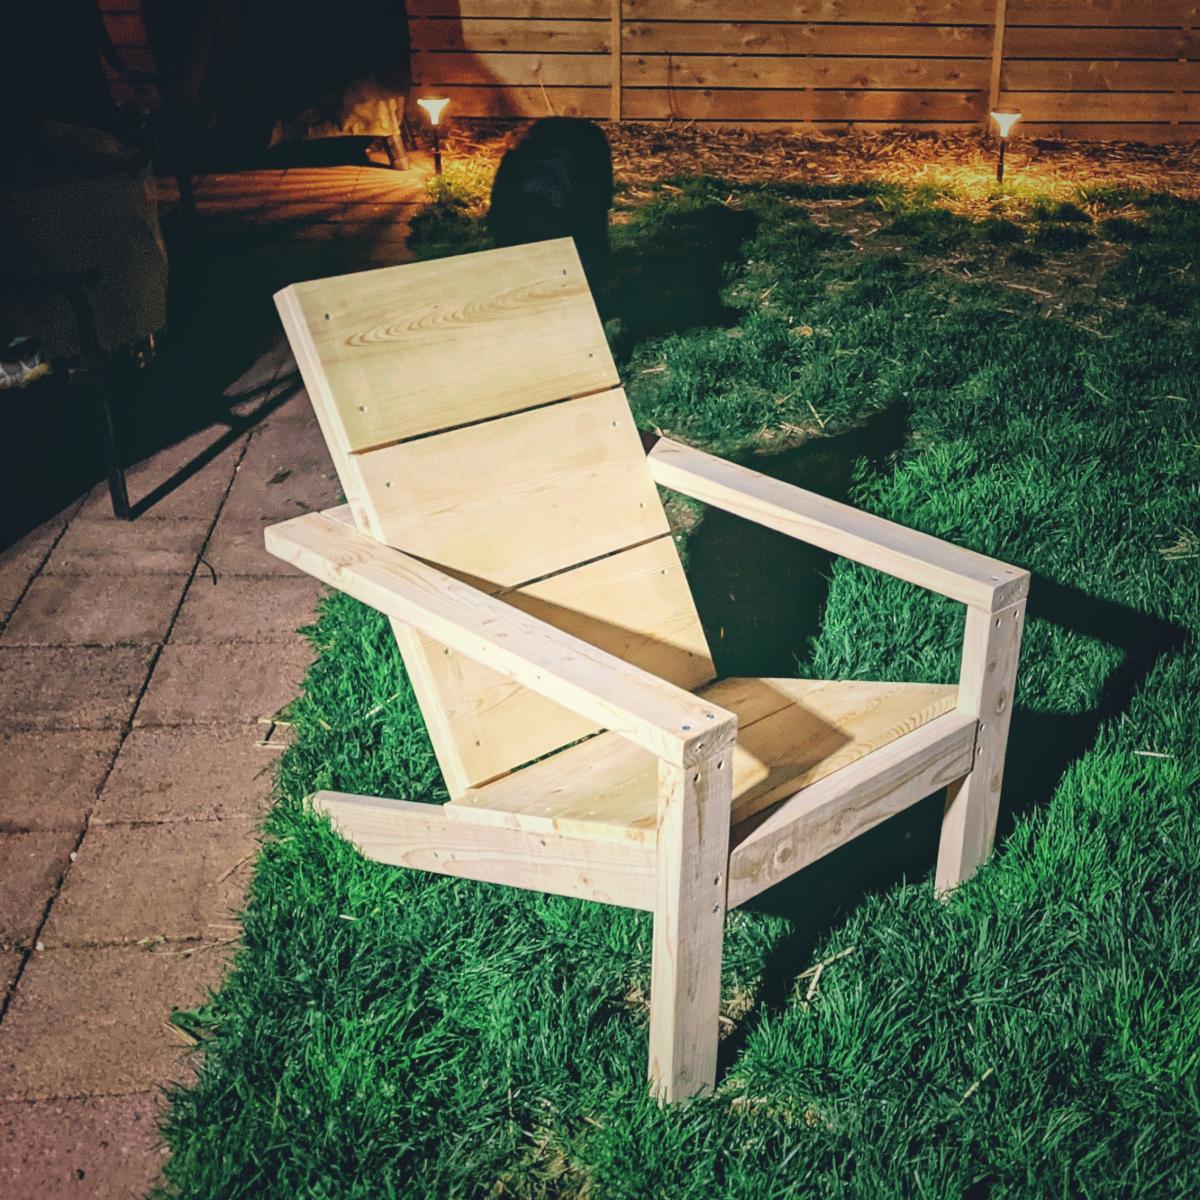
I've made 2 of the Modern adirondack chairs. Really enjoyed the plans and the video for help as I'm new to woodworking. I look for new plans all the time to see what I might build next
Entryway bench, modified size to fit space and added cushion. ** Cost includes foam and fabric for cushion. Bench itself cost about $60.
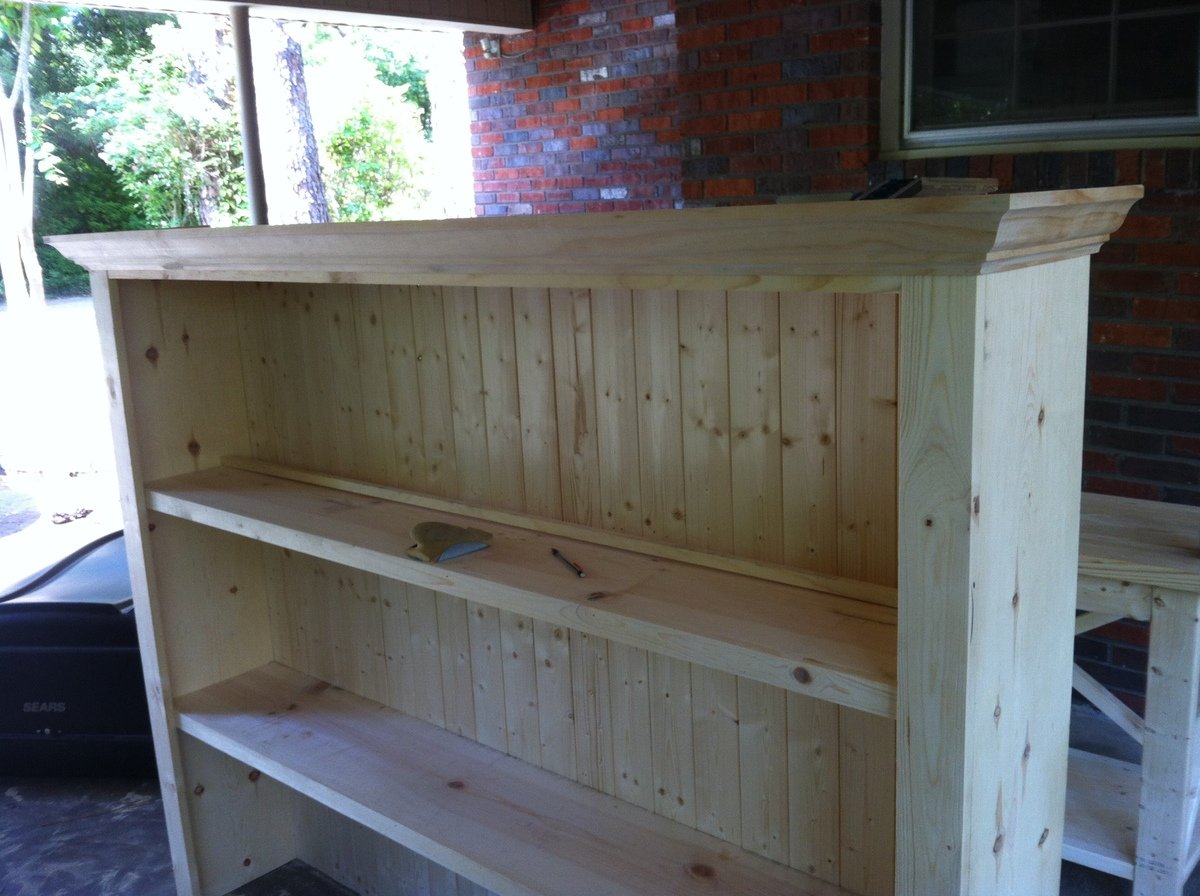
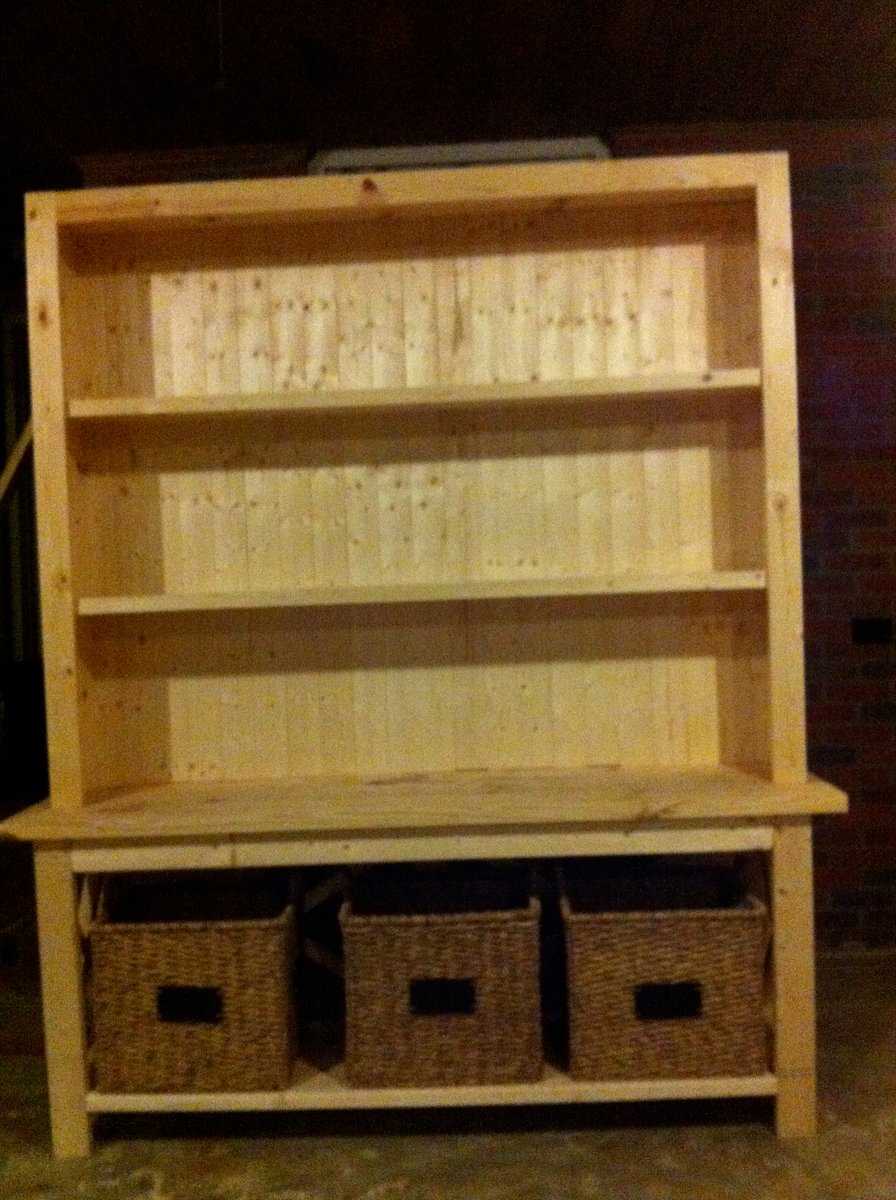
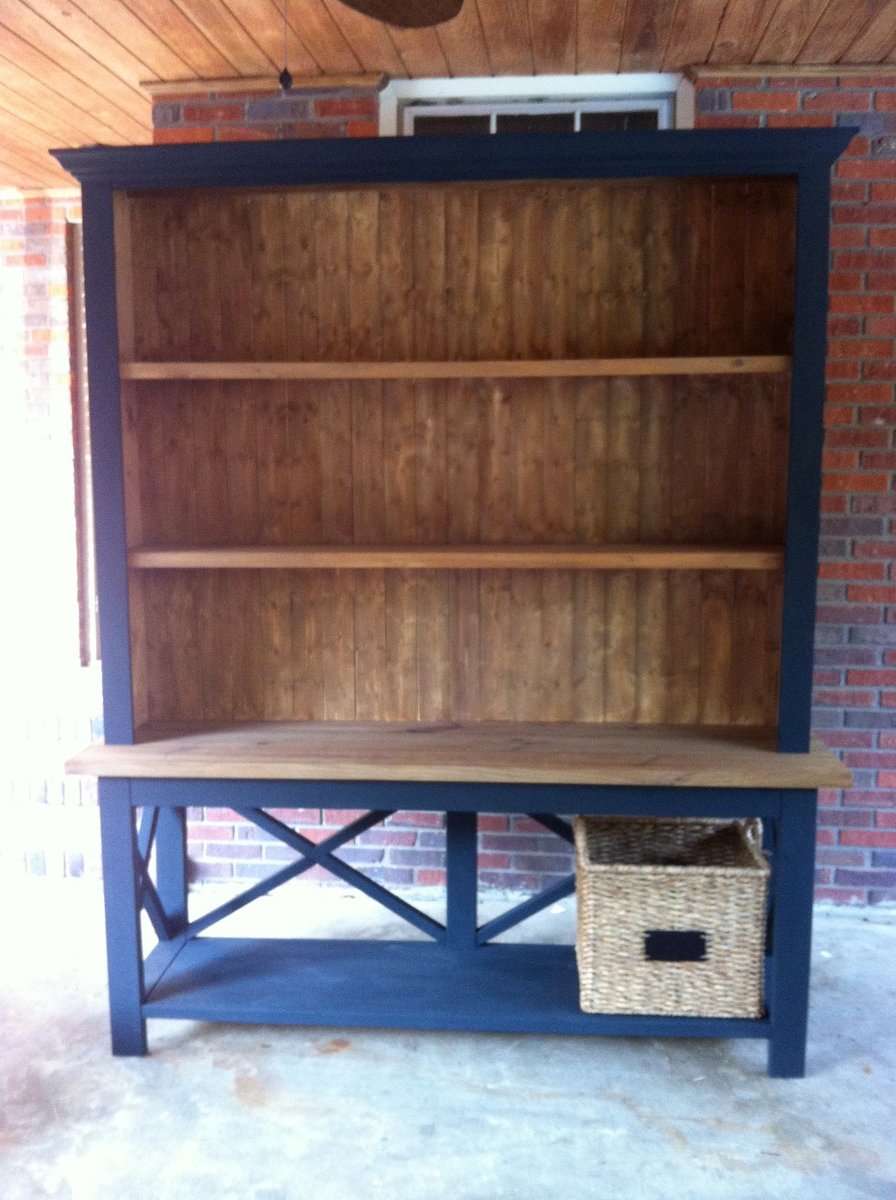
I have been dreaming about this piece of furniture for 3 yrs....I used Ana's plans for the rustic x console but took out the front middle support and made it a little deeper I also turned the 2x4 vertically and added an extra 2x4 behind it to add extra strength.....because I wanted to fit 3 baskets from Target underneath...the hutch i just winged!....Thank you so much Ana for giving me a place to start!...I am in love!......

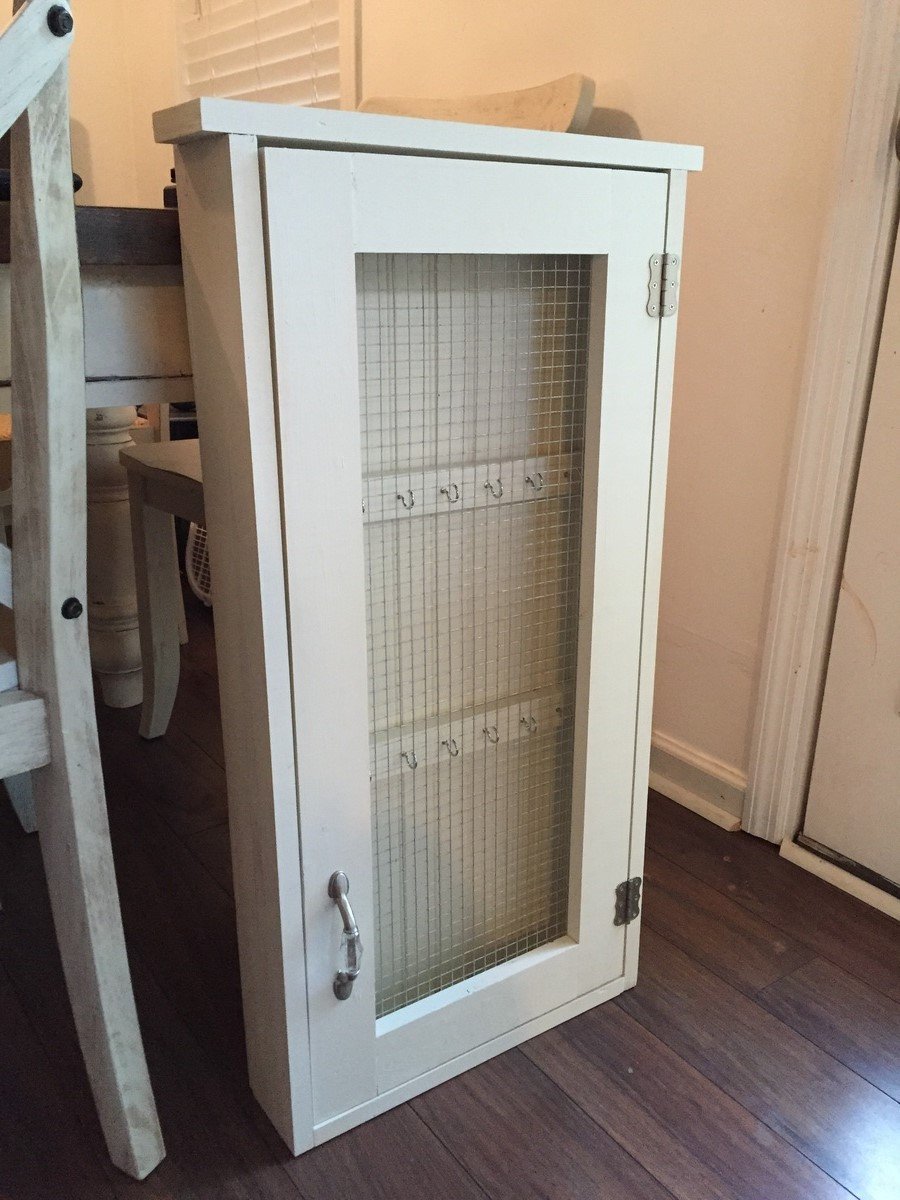
This is such an easy and fun project! This is the second time I've made this cabinet. The first time I made it identical to the one in the plans but this one was for my 11yr old niece so I wanted it to look more girly and less rustic. I used hooks instead of nails which I really like. Thanks for such a great plan!
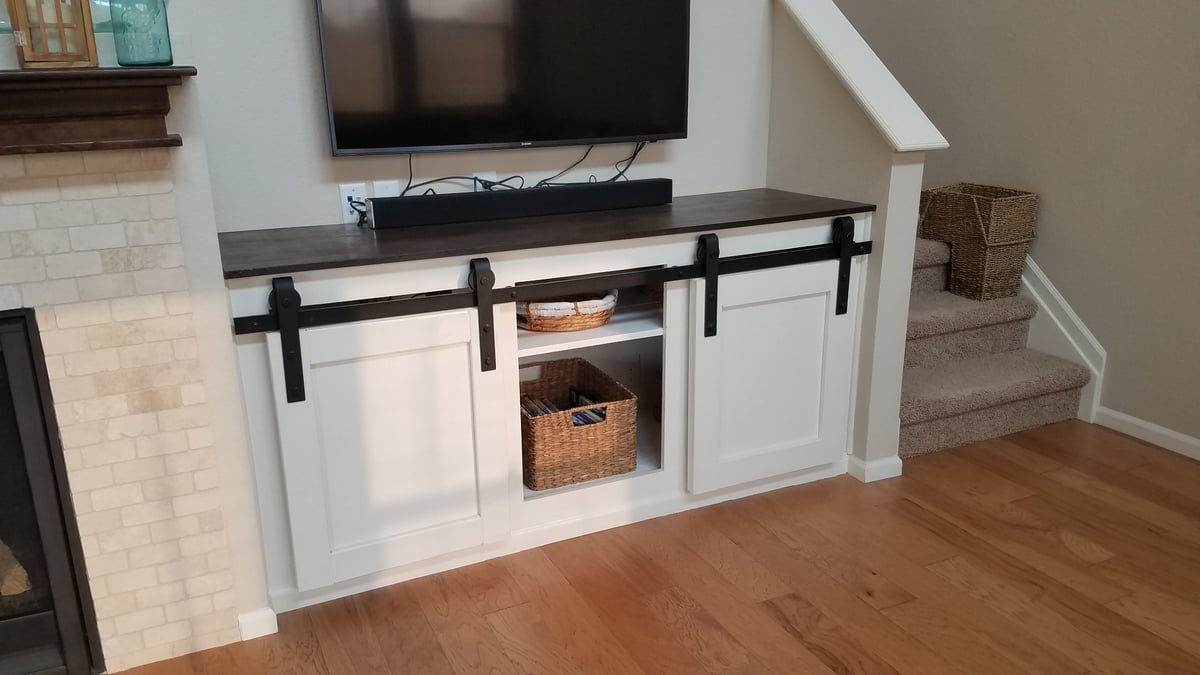
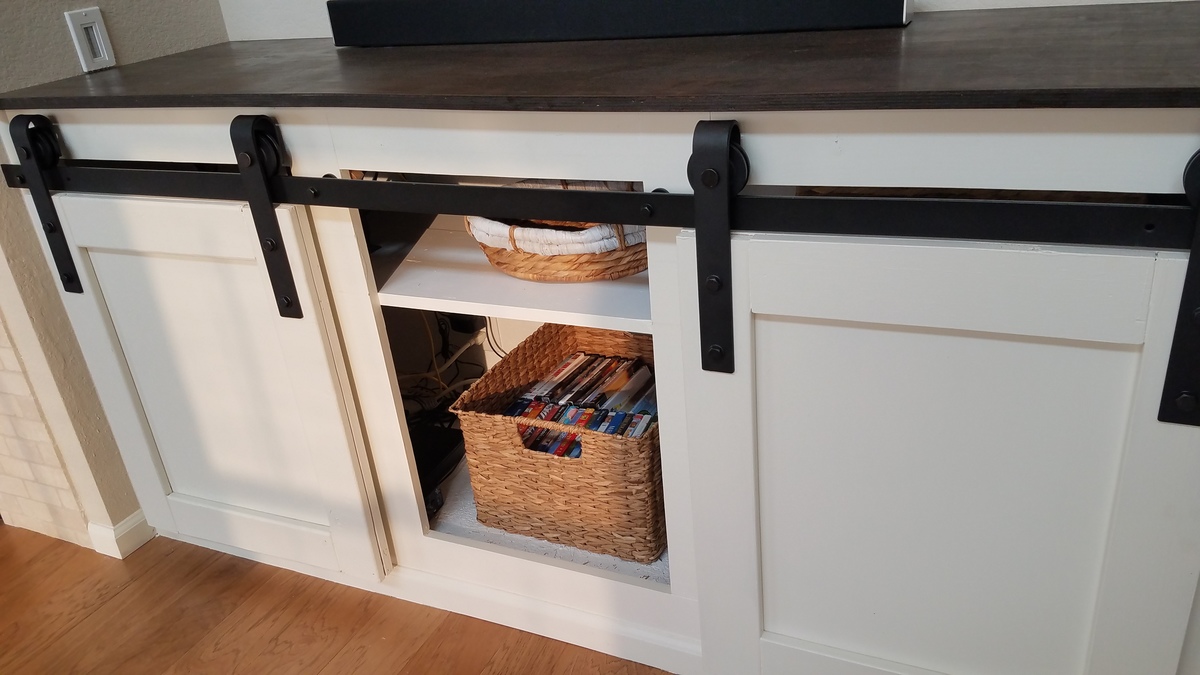
I wanted a sliding barn door concept but as a built-in piece. I had a drywall niche that the builders had made that I've always hated so I ripped that out, and used those measurements to create my version of the sliding door console from Nikki and Ana. This was a big project but so worth it! I ordered the door hardware from Amazon but had to drill my own holes because they did not line up where I needed them to be.
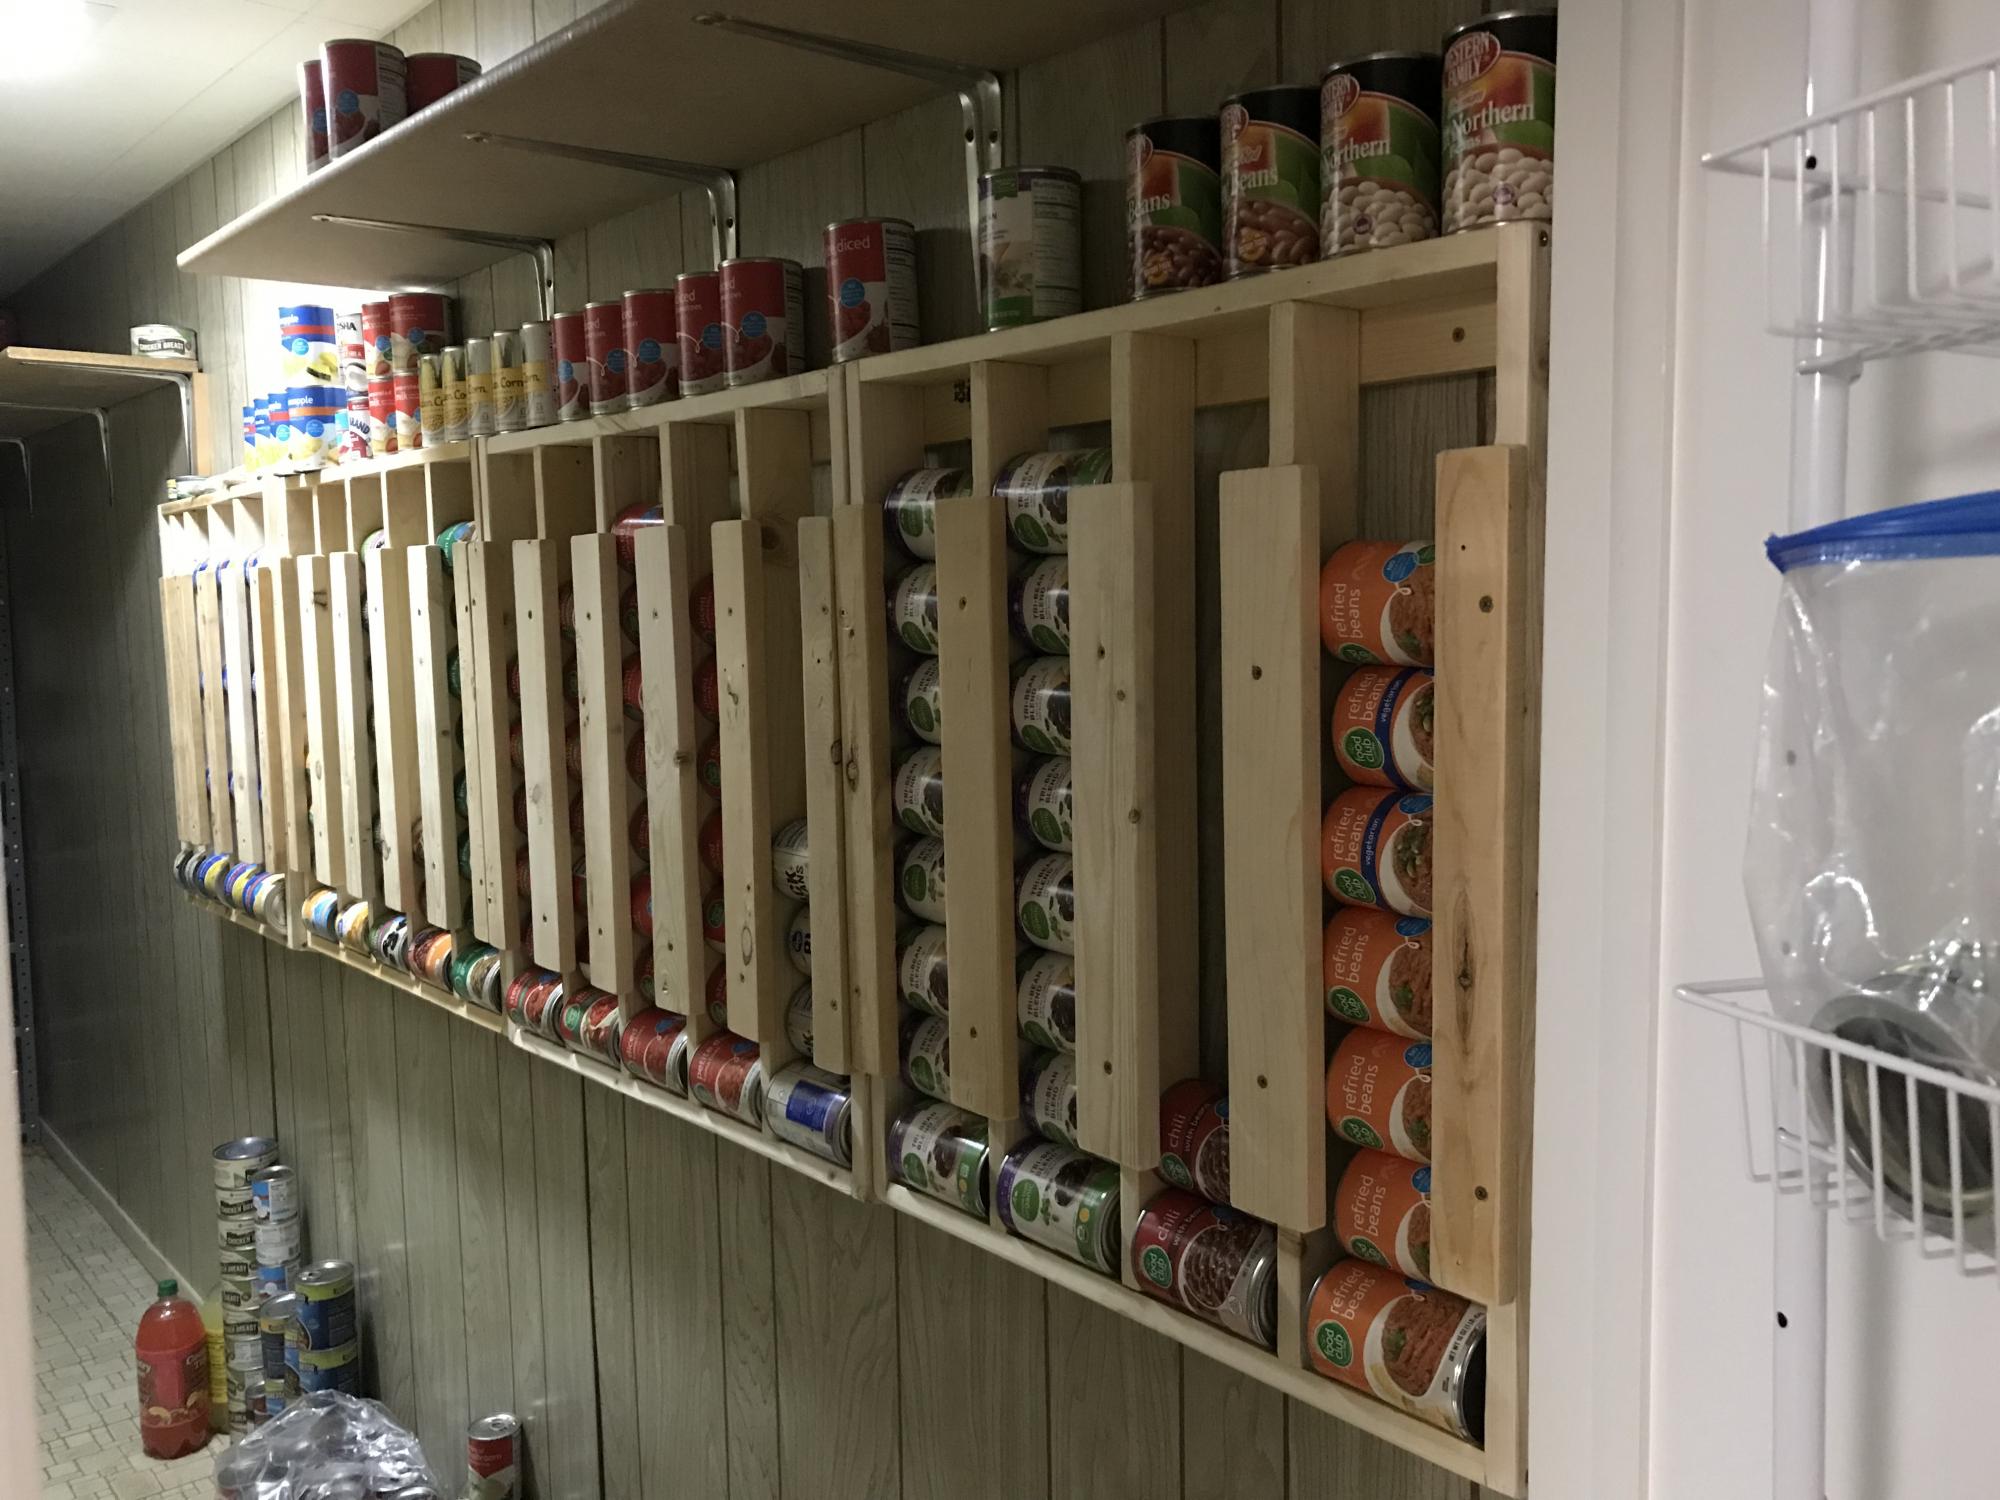
Love this! My husband used this project to help boys learn to use power tools and work with wood. They made one and he did the others. THANK YOU!
Wed, 10/06/2021 - 10:15
Great way to get the kids involved, it looks very nice, organized and functional! Thank you for sharing~
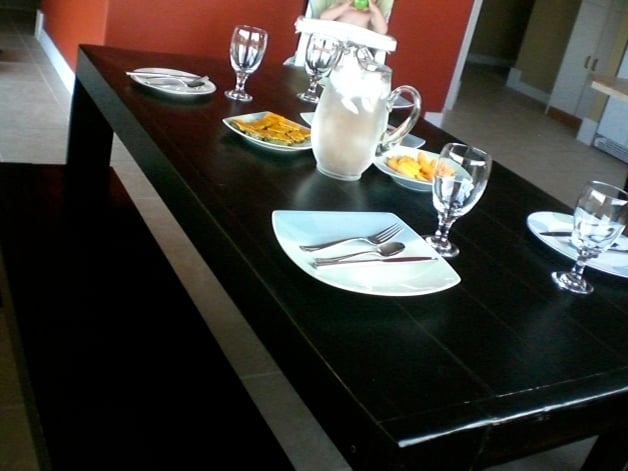
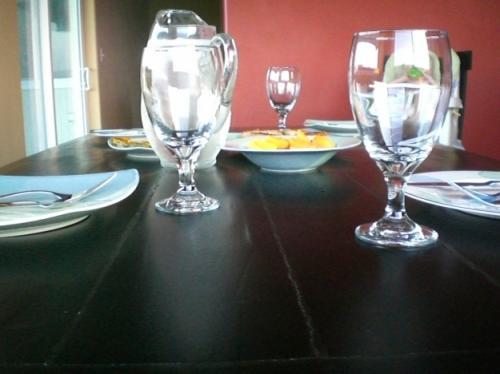
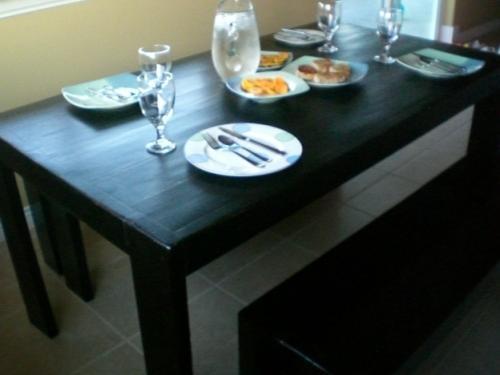
This was my first project I did close to a year ago. I was so excited about the site I decided to go big right away and do a table and benches for our first house we hadn't moved into yet. I had help and it was quite the learning experience. I think I would start with something smaller first but in the end we got a wonderful table in our dining area that has had plenty of use!
Here is an industrial style coffee table I recently built. I used reclaimed pallet wood for the top and shelves and I built the shelves to be removable if needed. For the finish I used oil based poly in a satin.
@timberandsoul
Built for my daughters 2nd birthday.
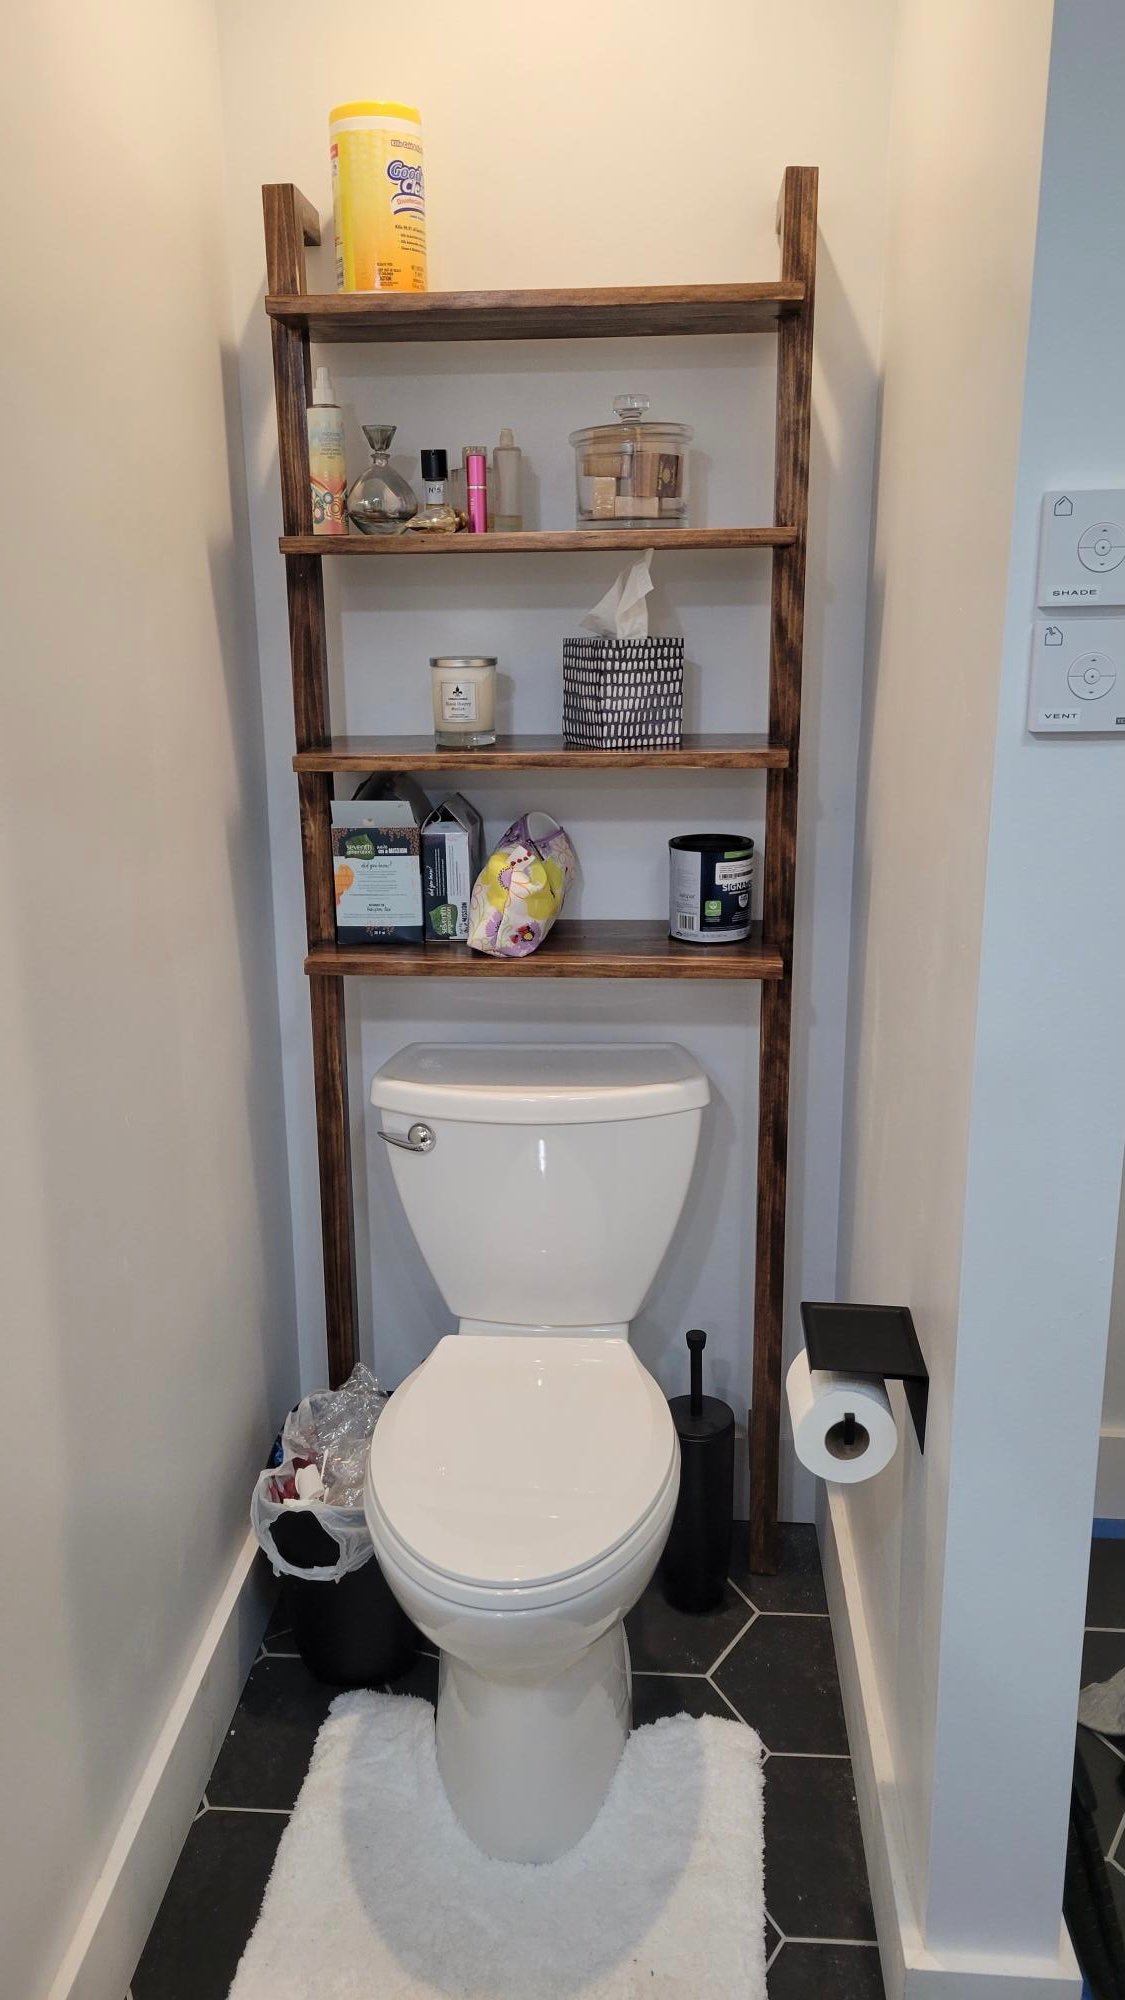
Quick little project
Thu, 10/07/2021 - 06:50
That looks pretty and functional, way to go! Thank you for sharing:)
This was my first build I have wanted to get this particular desk from Pottery Barn but don't have the space for it. I used the corner desk plans but on one side I used the plans for the legs used on the smaller desk. Since it wasn't too big I made the desktop one piece. All in all it was pretty straightforward. The only problem I had was when I put the legs on the wrong side, I didn't realize until after I had used wood filler and painted.
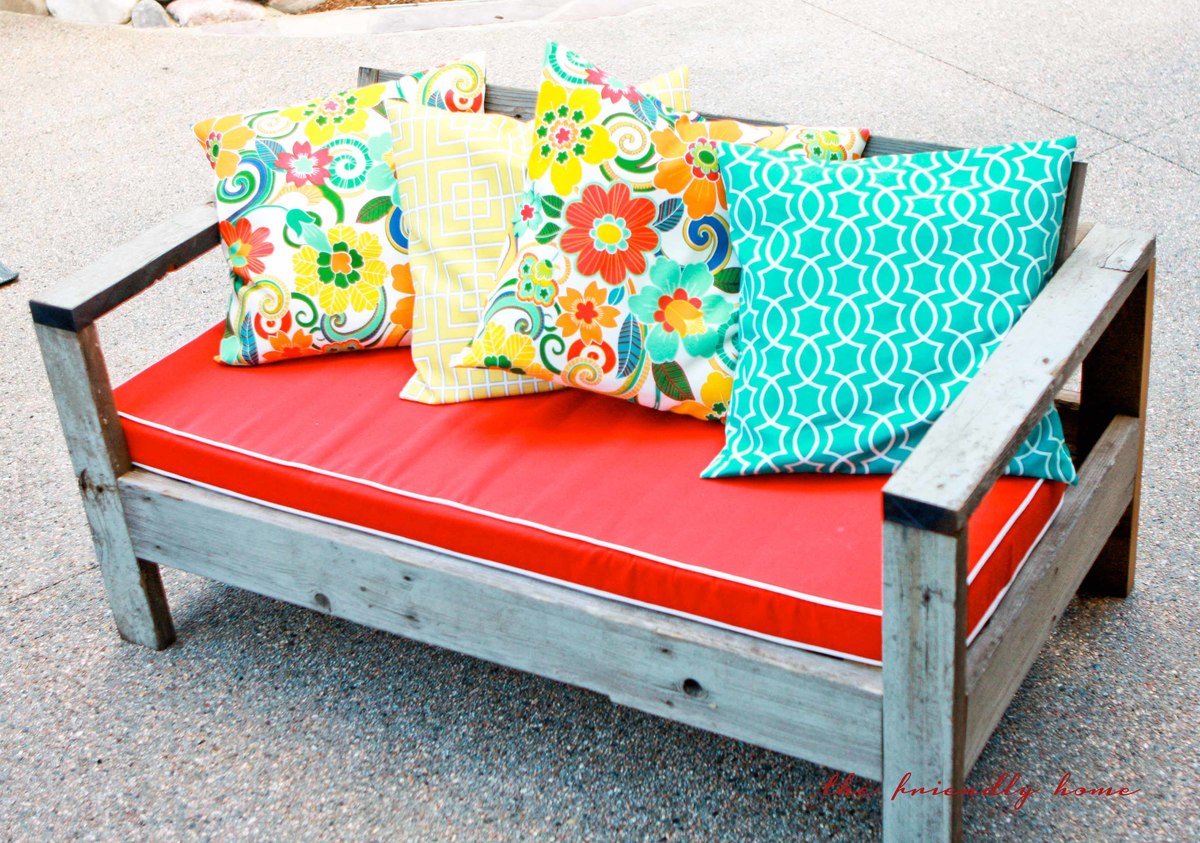
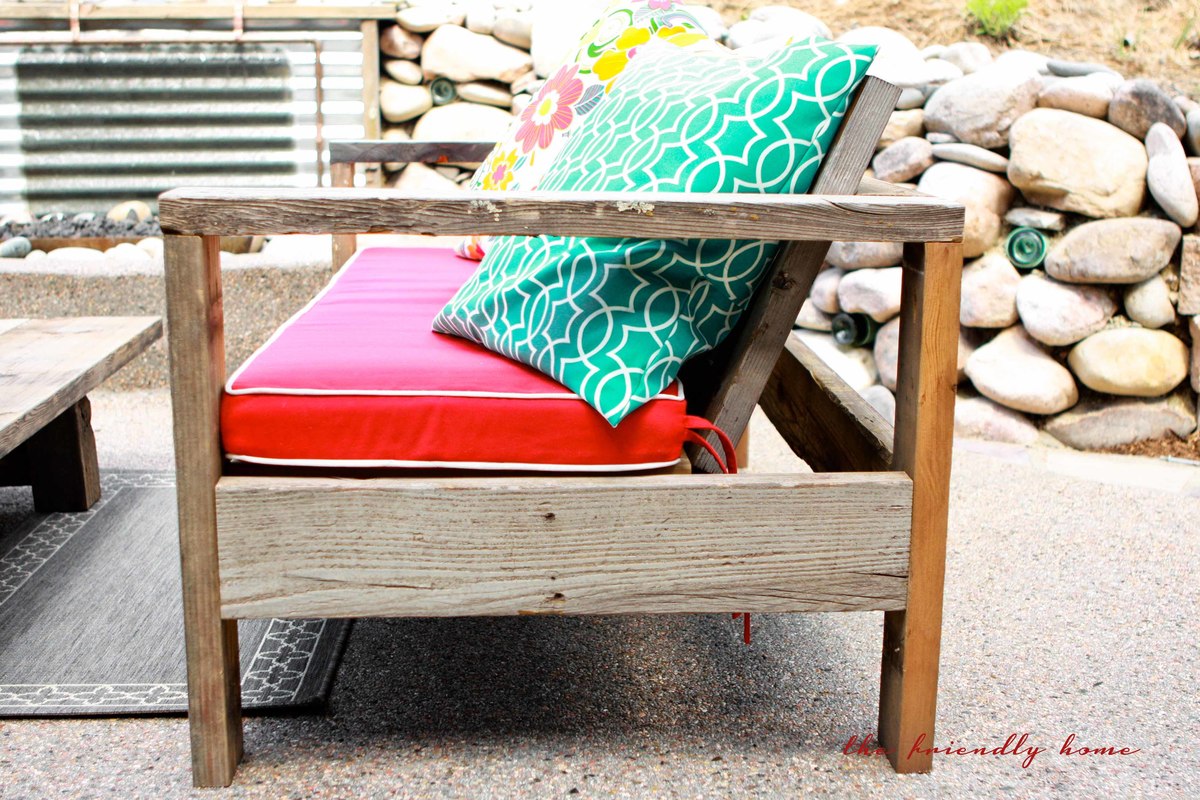
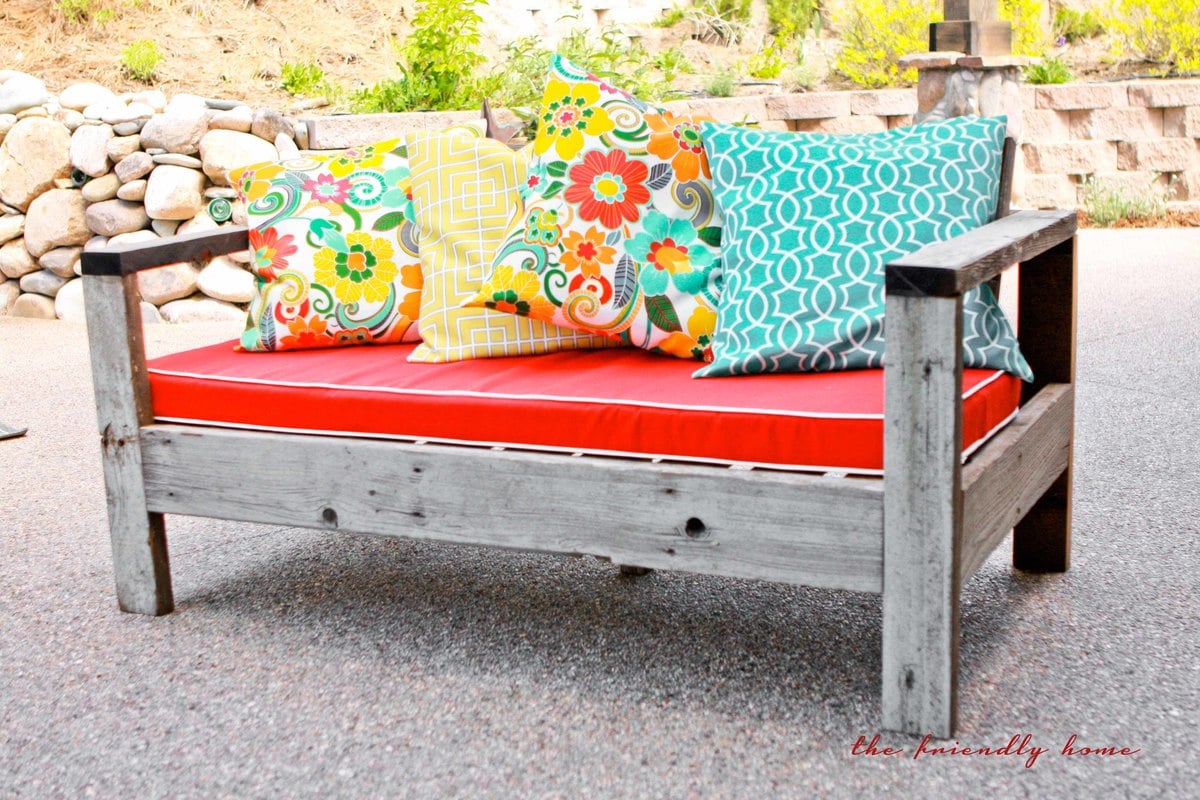
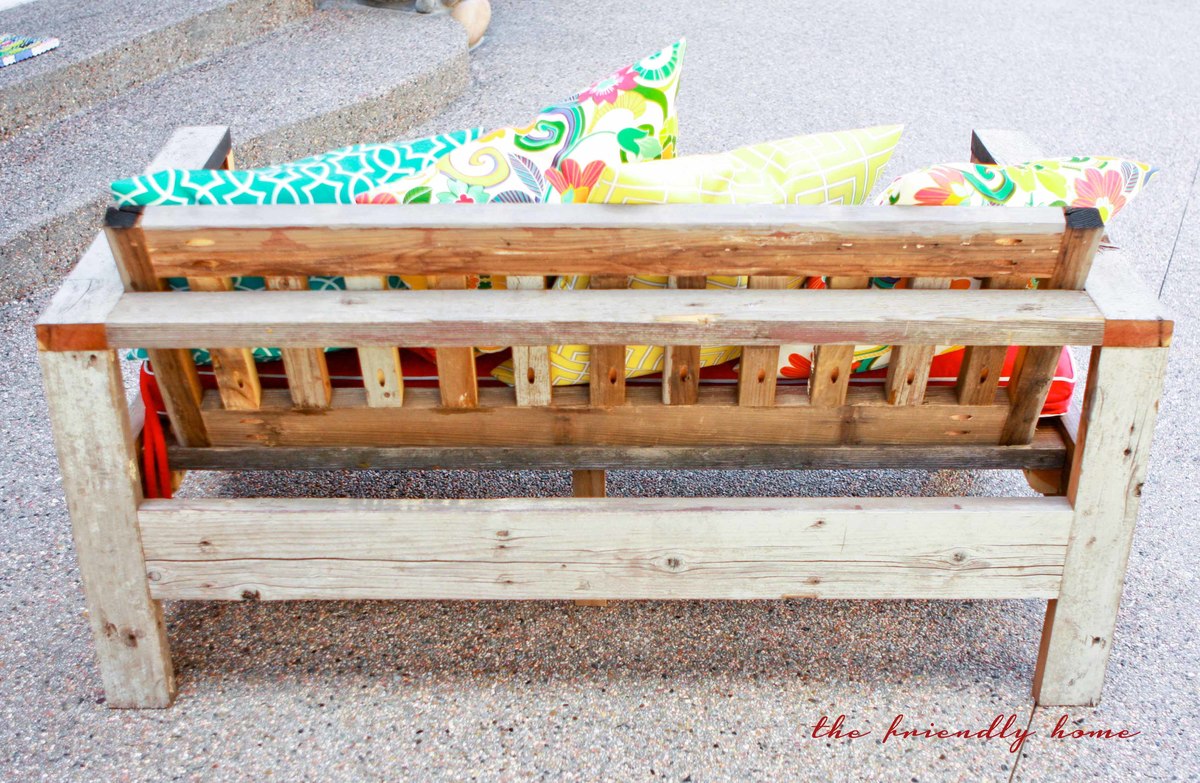
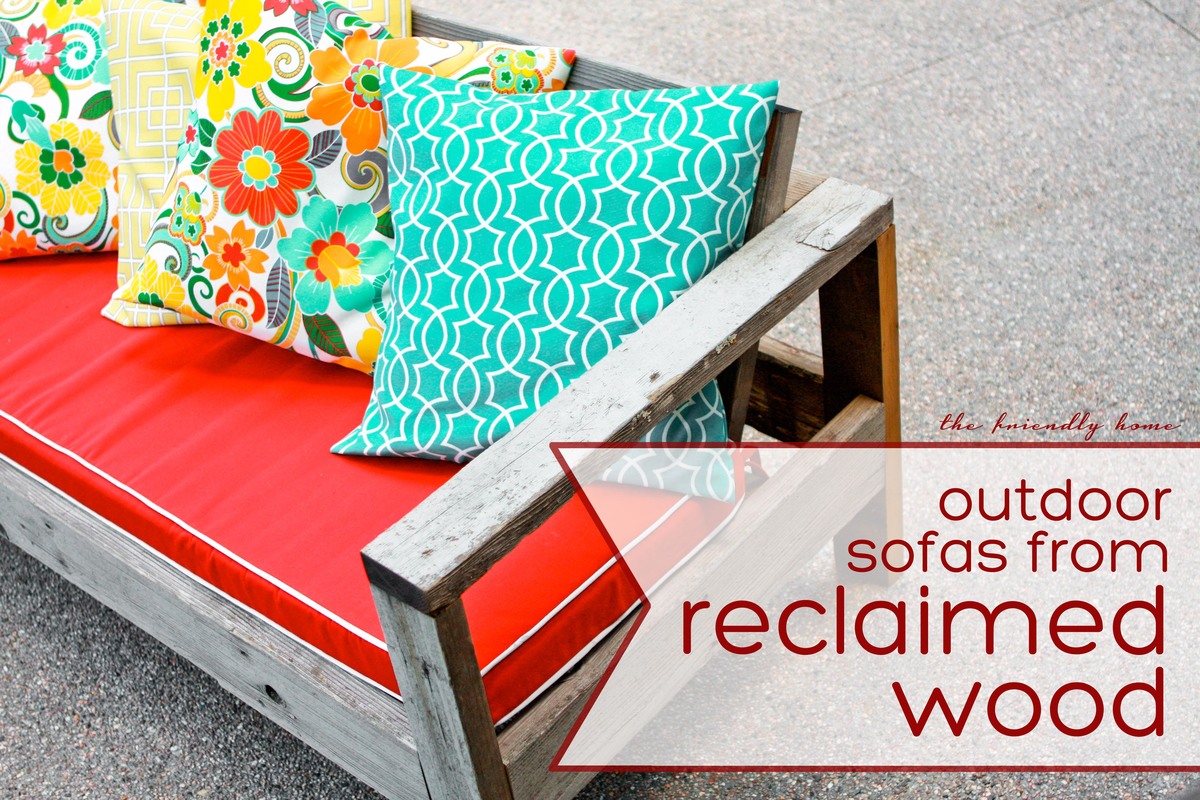
Using Ana's plan as a guide, I built two of these sofas to fit an outdoor cushion I already had. I used wood from our old deck -- a great way to re-use and save money, too!
I went ahead and splurged on this project. It's all oak with a clear finish to show off the wood. I also put full extension slides on all the drawers. The bed is solid. It doesn't move a bit.
Fri, 05/01/2015 - 12:19
Thanks for sharing, lots of storage right there! Beautiful build!
In reply to This looks great! by Ana White Admin
Thu, 10/22/2015 - 05:18
I especially love the storage options. Lots of stuff !

Built this to go along with my son's new Chelsea loft bed so he'd have a place to set a glass of water and some books. I was able to use almost entirely scrap wood, except for the 1x4. Cutting and assembly took less than an hour, and the thing is rock solid. Sealed it with polycrylic, because it will probably get spilled on many, many times. Probably the easiest project I've done, and I think it would make a great starter project for anyone looking to try out using pocket holes for the first time.

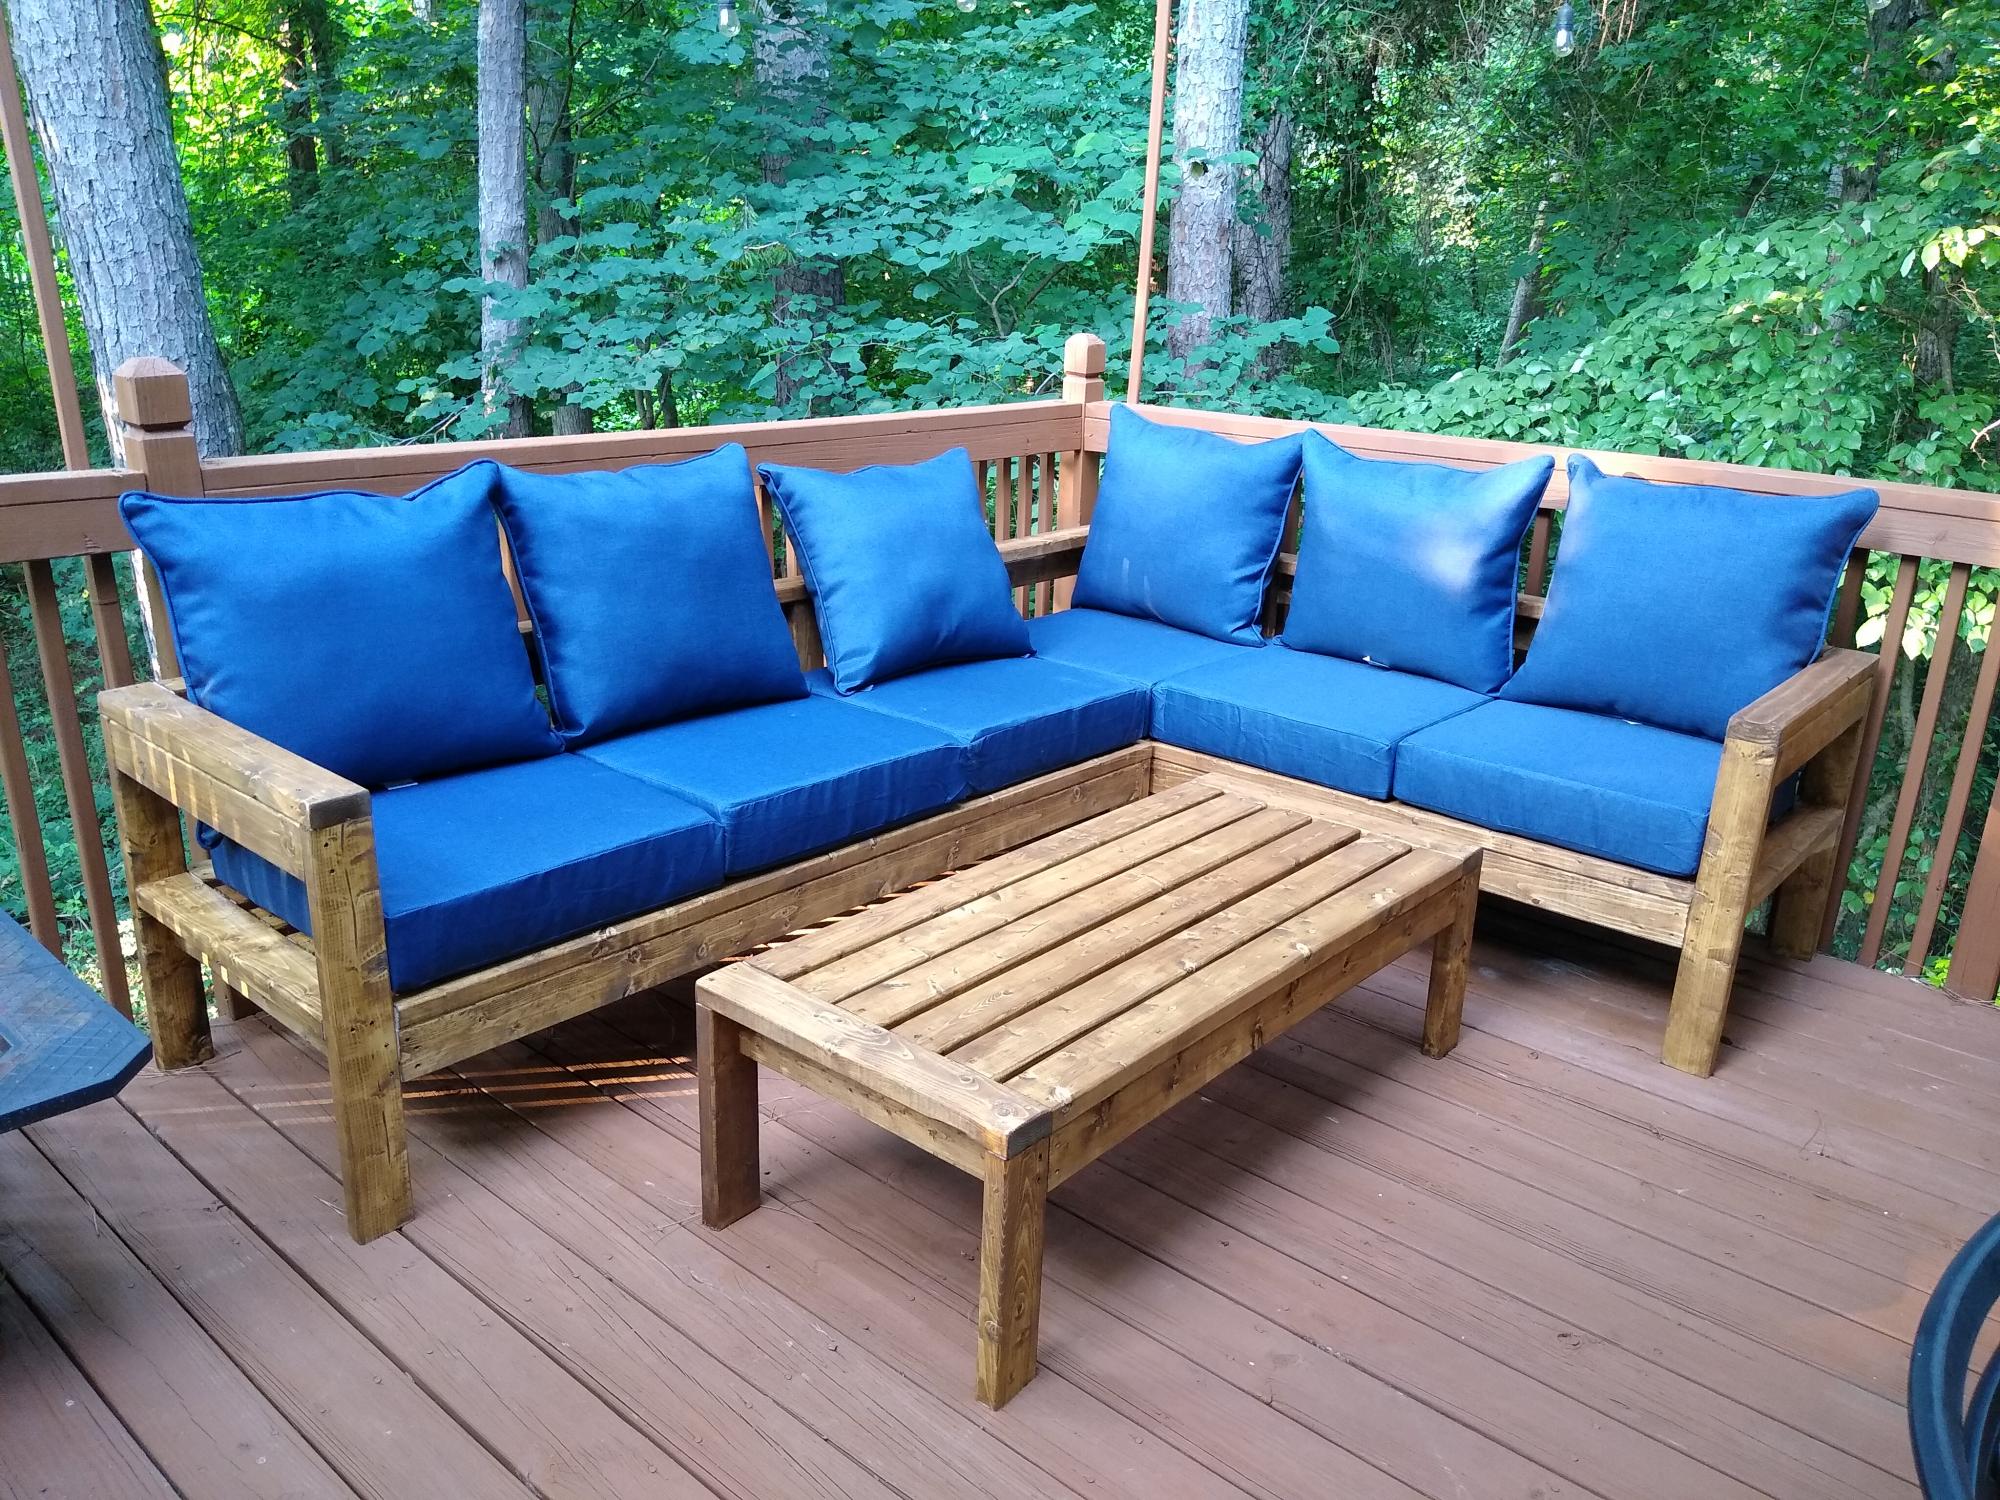
Ana did an awesome job explaining everything in the plans. Make sure you buy your cushions first and build your sectional around your cushion size. I added more 2X4's on the back seat and back rest so the cushions would not slide through the opening and to minimize the feeling of the one 2x4 going across your back. I get so many compliments from this beautiful sectional. Thanks Anna!
Fri, 10/08/2021 - 10:42
Such a perfect addition to a peaceful place, thank you for sharing!
This is the doll bed from Ana's plans! My 6 year old wanted to make one for her friend's birthday. She helped with nailing, sanding, painting, sanding, painting oh and painting!
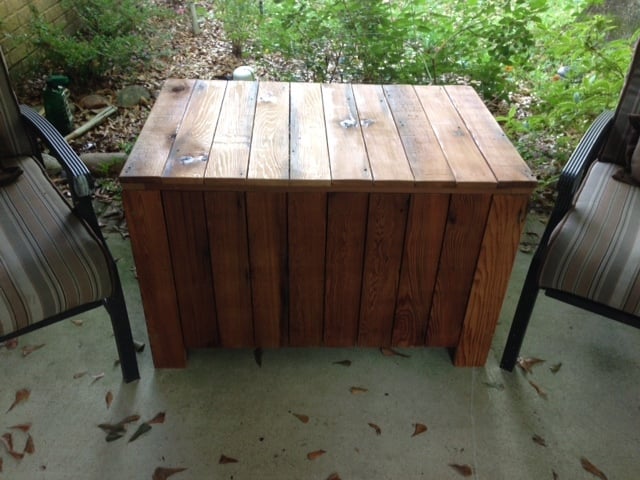
I used cedar siding that was removed from a home remodel. I had to rip all the wood down on a table saw to work with the plan. I was glad to put this good wood to use for my recycle bin and it looks good on the back porch. I had to change the plan a bit to fit my bin.
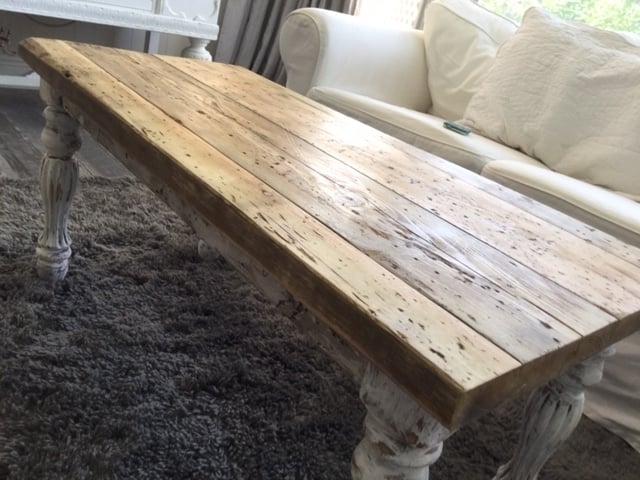
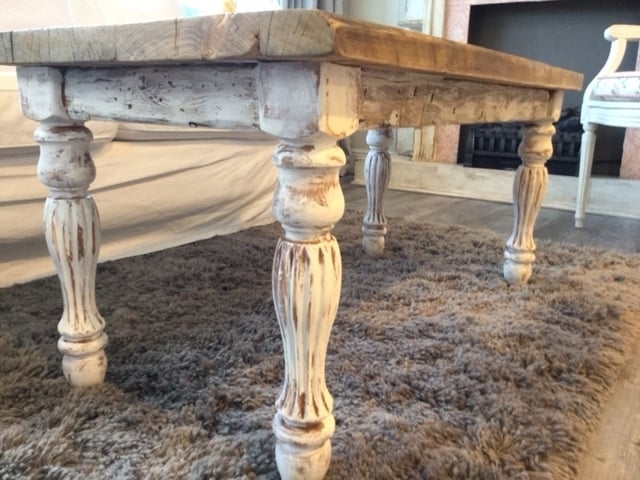
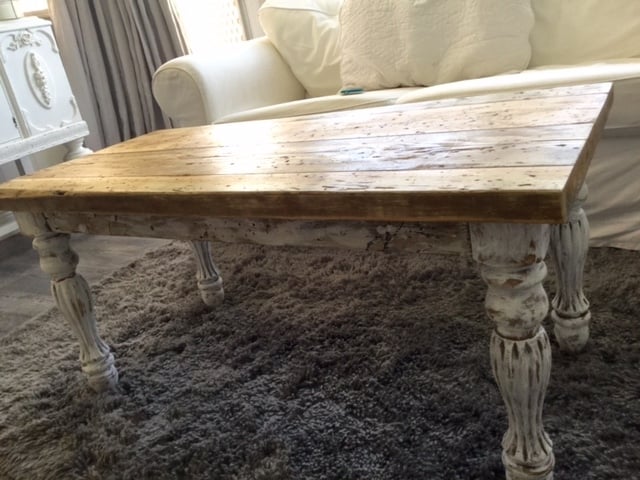
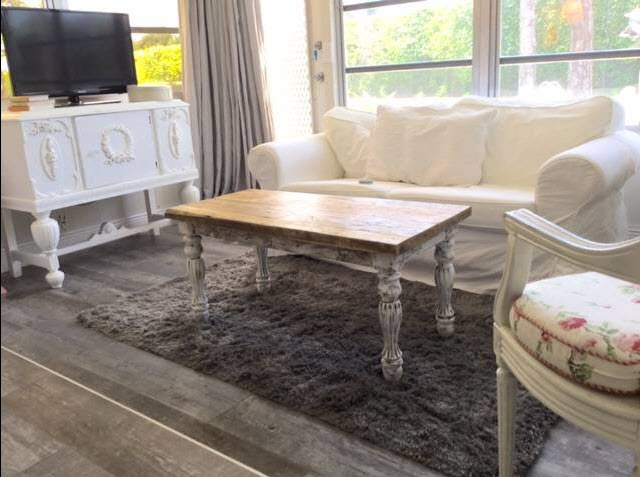
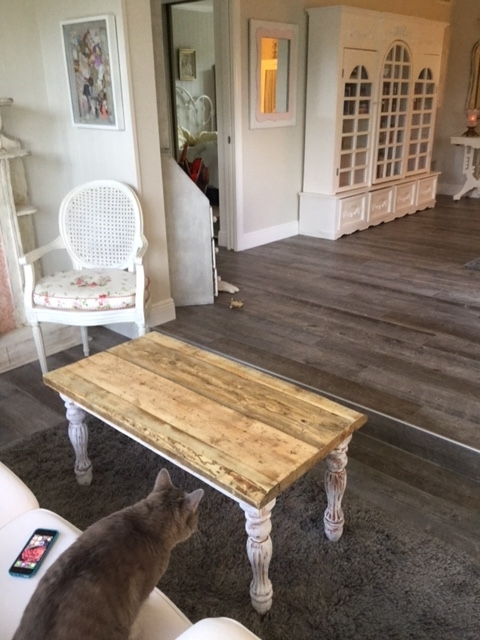
This is a turned leg coffee table that i built for my mum. the top is reclaimed and the legs were found on a cheap craigslist side table!
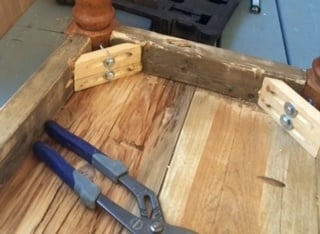
I used corner brackets to secure the legs so they could be taken on and off...as i needed to ship the table in the mail.
The boards on top were already distressed but i used a gooey month long festering vinegar and steel wool concoction to add even more interesting layers.
I am so happy with the table and my mother is in love with it!!!!
Thanx again for the great plan and resource that helped me build it!
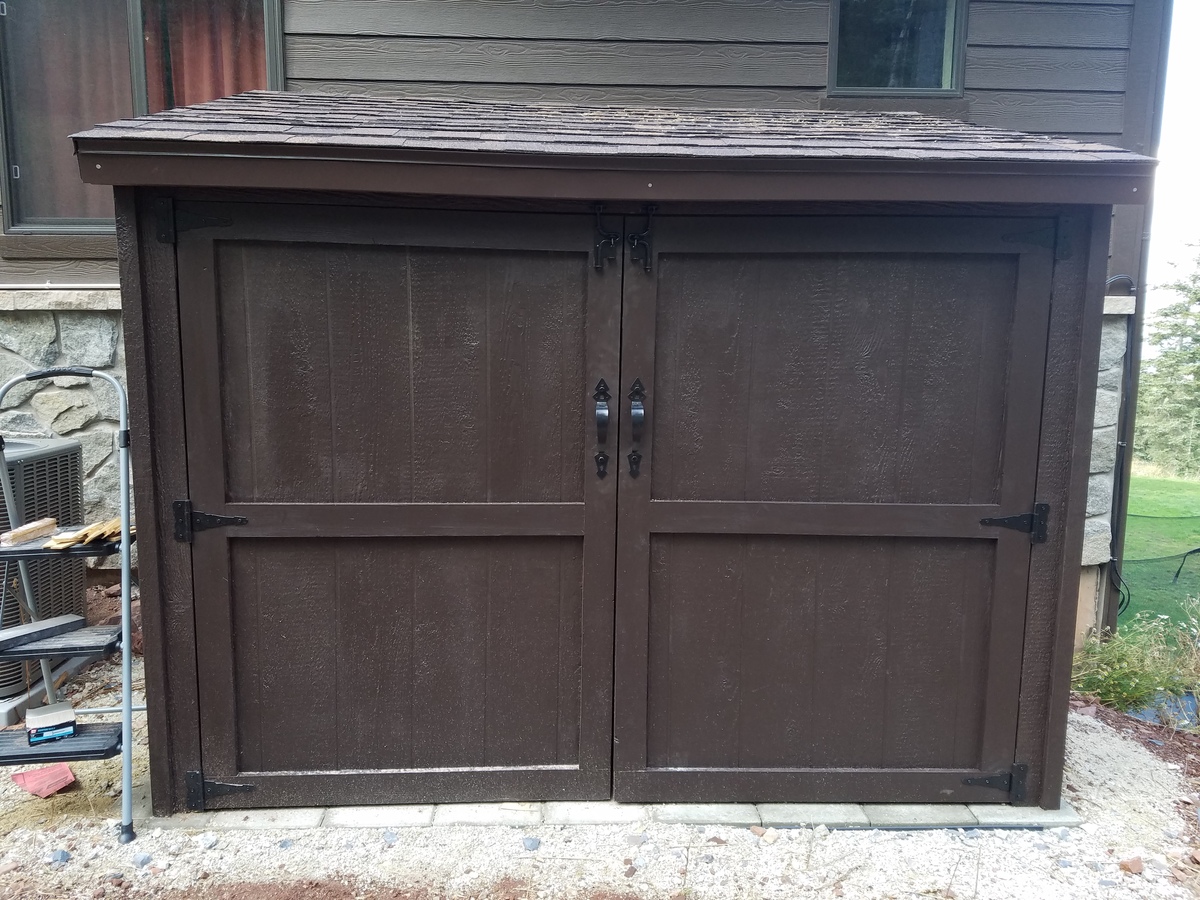
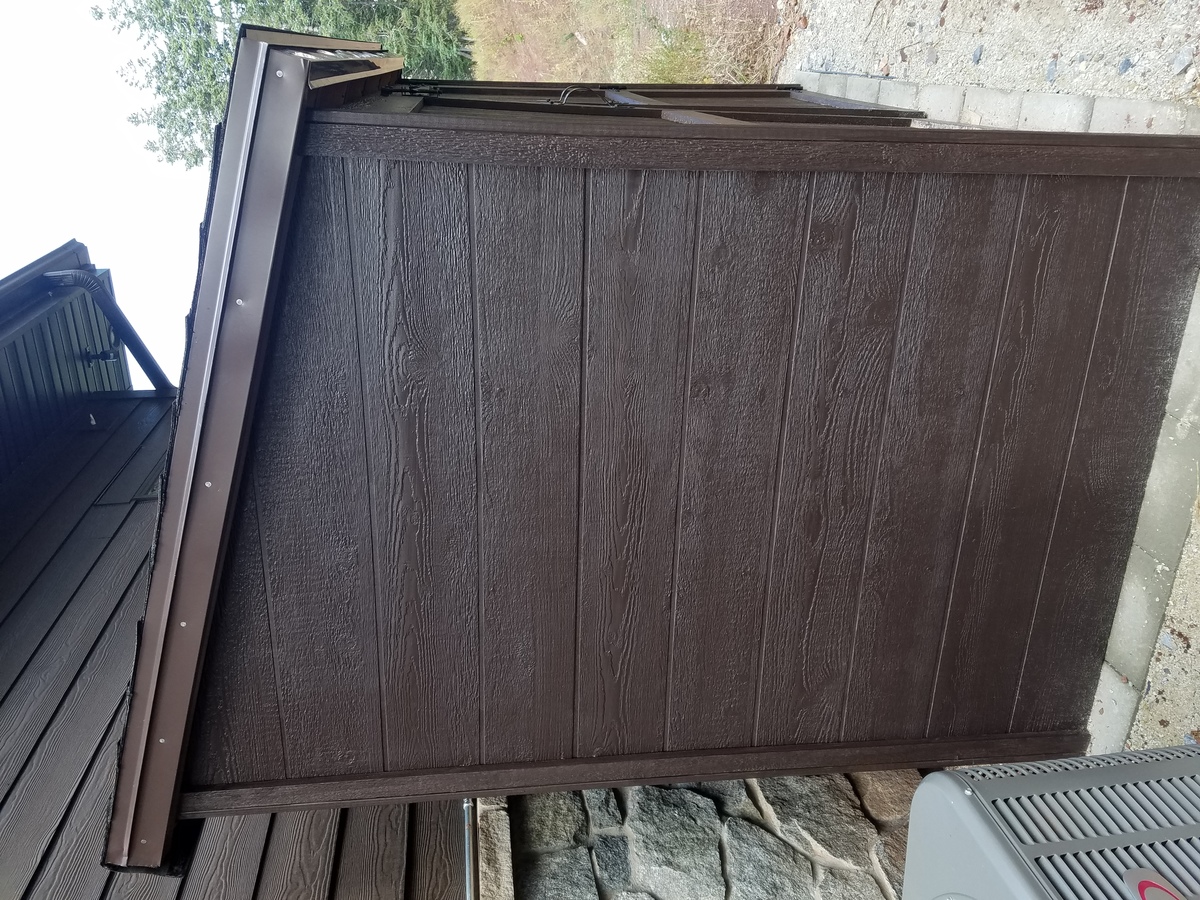
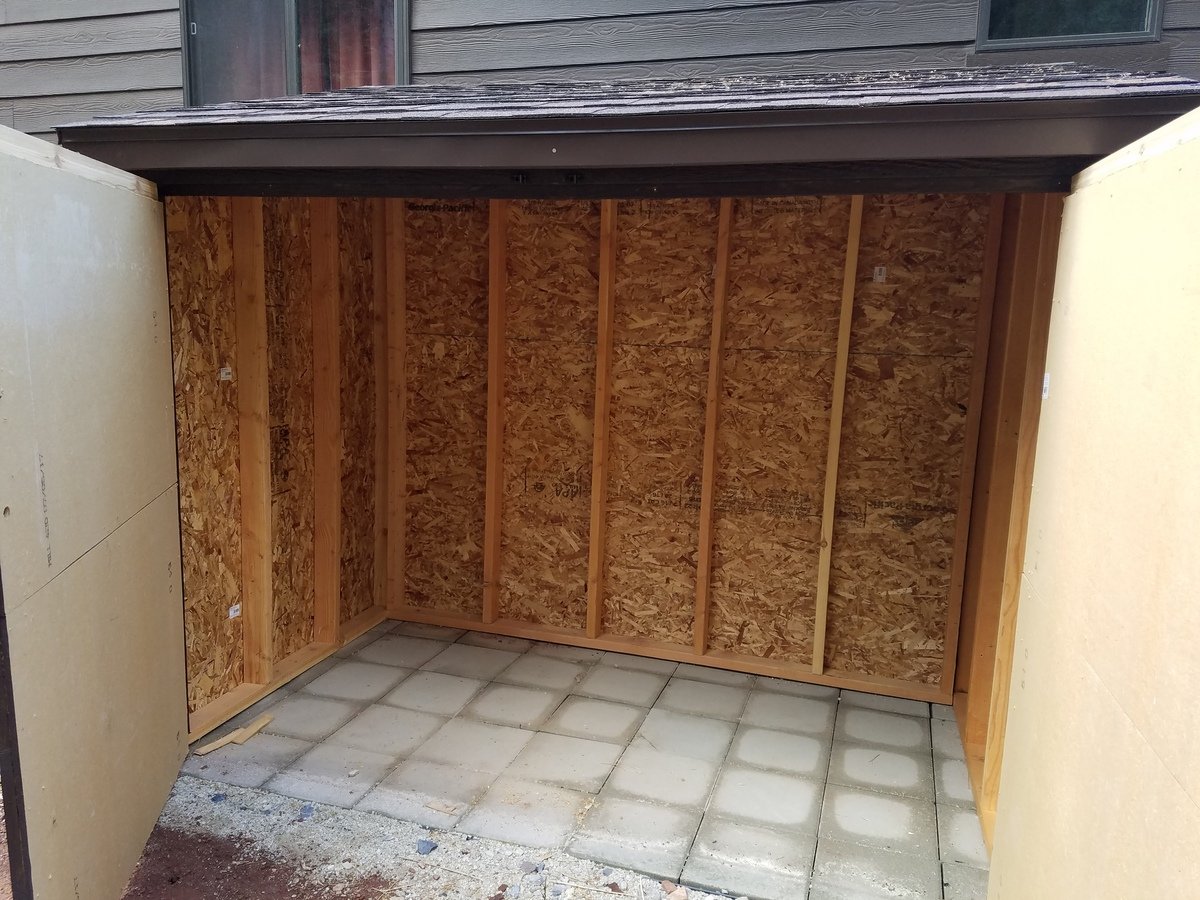
Using your shed plans, modified to use the 2x4s I already had on hand, I designed this 4'x8'x7' shed to match my house. I replaced the ceder fence boards with a hardiboard, but the construction was pretty much the same. My husband and I are so happy with this shed,which looks very similar to the $4000+ sheds we have seen, and it cost us less than $400 to make and matches our house perfectly. Your instructions were great, and I know you saved me a lot of time and trouble. Can't wait to load it up with our snow and gardening equipment! Thank you!
Comments
Weekend Woodhacks
Mon, 04/20/2015 - 18:19
The table top is very
The table top is very impressive! Must have taken a very long time to cut / glue.